Kitchen Renovation Update: Decisions have been made!
I found some interesting ideas while making a pit stop @ Home Depot AND Lowe’s yesterday. After lots of thought, I’ve made some decisions! I LOVE the idea of painting my kitchen cabinets black as I posted the other day, but am relunctant because the current countertop is a dark greenish laminate (it sounds worse than it is) and I don’t want to invest a huge amount into it (since ONE DAY, I hope to do a BIG reno)!! Since I am on a TIGHT BUDGET and don’t want to invest too much money for a short fix, I have tried to thoroughly think through the whole process before taking action!

One of my readers suggested using a Gel Stain to darken the cabinets without taking the huge step of painting them. I thought this idea was genius! The cabinets are actually in good condition and the style is livable, so this is what I am leaning toward.


So on to the decision for the countertops. I’m a bit stuck… Of course granite would be lovely and hopefully we’ll eventually go that route (when we do our BIG reno ONE DAY). I’m thinking of painting the laminate countertops. Did you know you could do that?? You CAN!!

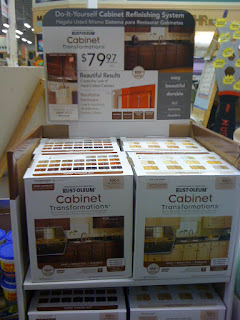
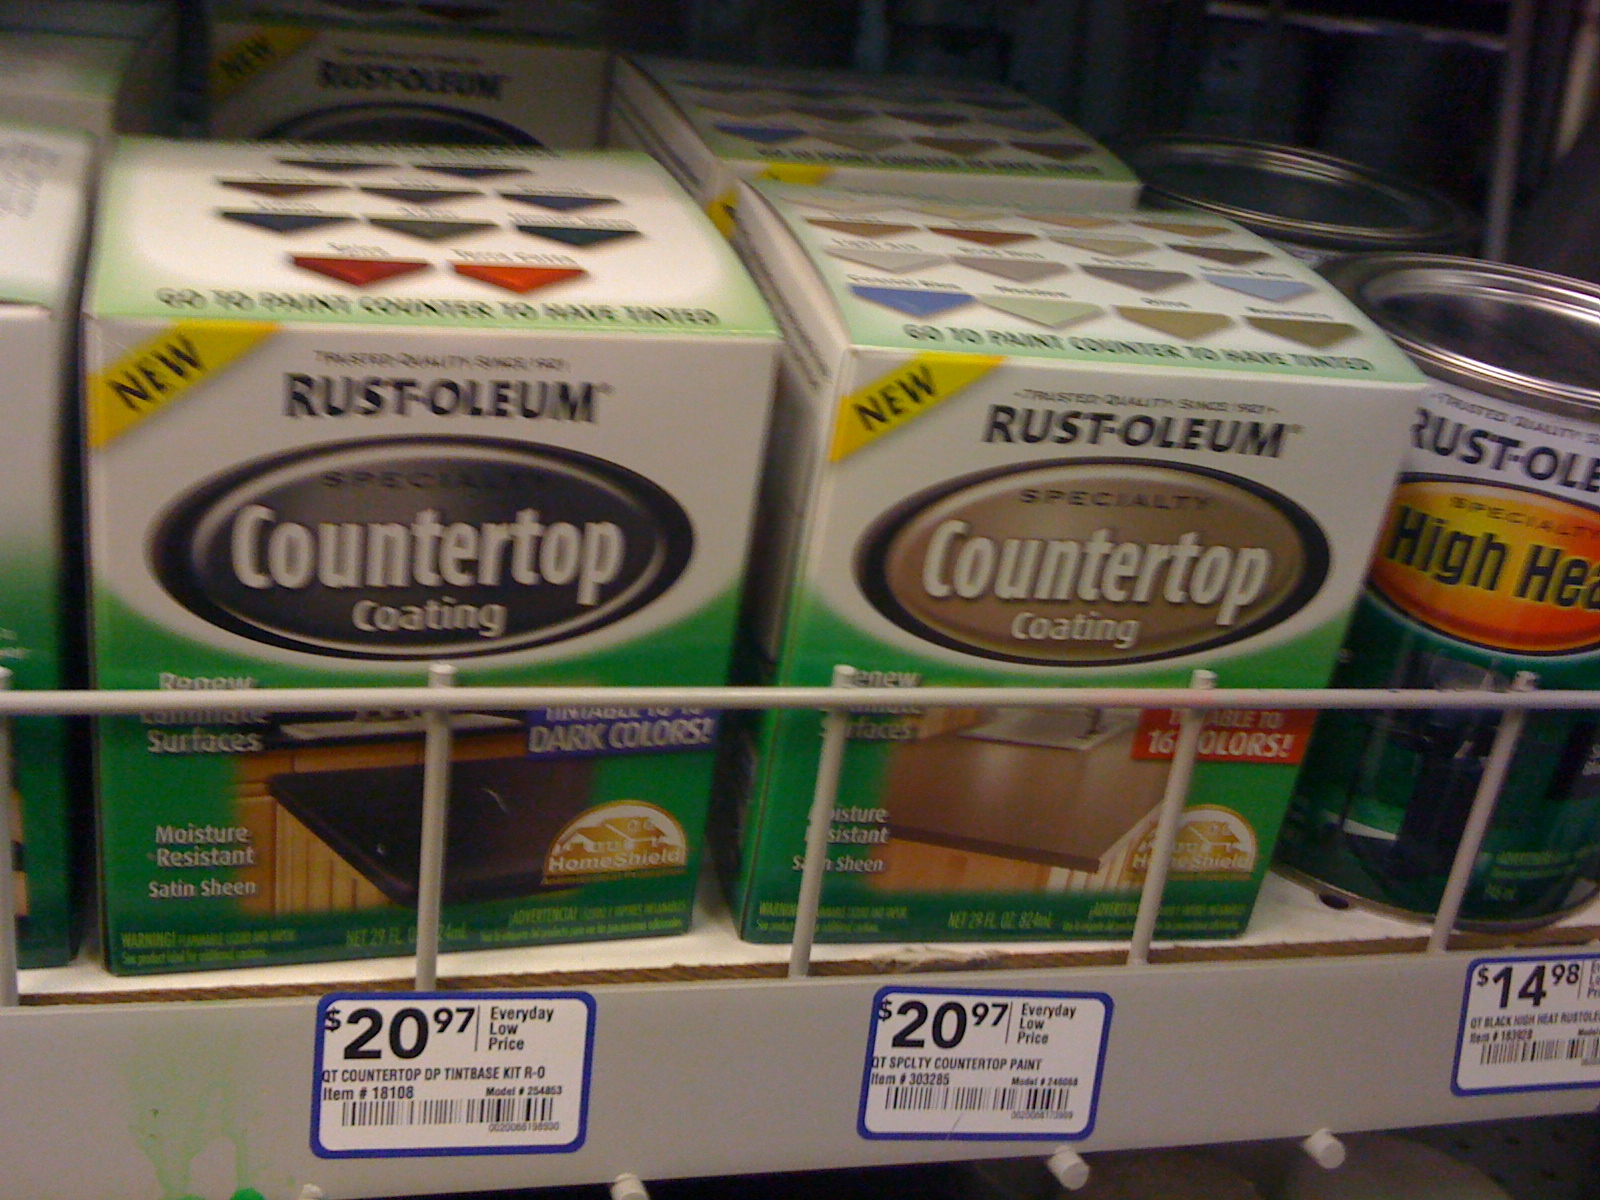
Lowe’s has another product by Rust-oleum called Countertop Coating. Basically it’s a one step process of 2 coats of ‘painting’ your countertops with this product. The drawback, the surface will have a monochrome, painted look. It might ‘look’ okay, but I’m not sure. I’m leaning towards this idea, BUT want to try a sample first. The cost of one can is $20+/- (an average kitchen would be about 2 cans ~ read the back for more details)
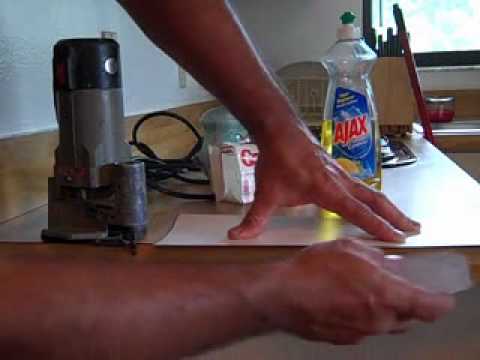
Another idea opposed to painting the countertop surface is to resurface the existing laminate with new laminate. Laminate is available in an array of colors and textures, and can truly liven and transform a space! This idea is nice for a permanent solution since it’s time consuming and labor intensive. Read More.
How to paint countertops (using the Rust-oleum Countertop Coating shown above)
How to paint over a laminate surface
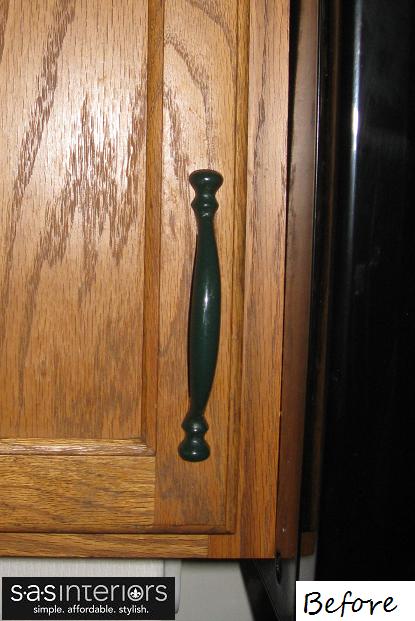
Cabinets: We’re going to use a Gel Stain with a walnut finish to cut down on the ‘orangey’ oak color. They won’t be black, but they will be darker 🙂
Countertops: We’ve decided on Idea #2. One because of the cost (less than $40) and two because it’s a fairly easy (hopefully ~ I’ll probably regret saying this) process. Unfortunately though, from my research, the smell is very BAD so the countertop painting will have to wait till Spring/Summer when the windows can be open for proper ventilation. With two young kids, there is NO WAY we can do this process in the Winter!
Toe Kick: Remove the laminate and install 4 x 4 or 4 x 12 tile
Window: Add new valance ~ stay tuned to see this transformation coming in a few weeks!
Upper (lonely) Cabinet: The one upper cabinet that is by itself will have the door removed and I’ll get baskets for storage (again, crossing my fingers that this will work…we shall see)
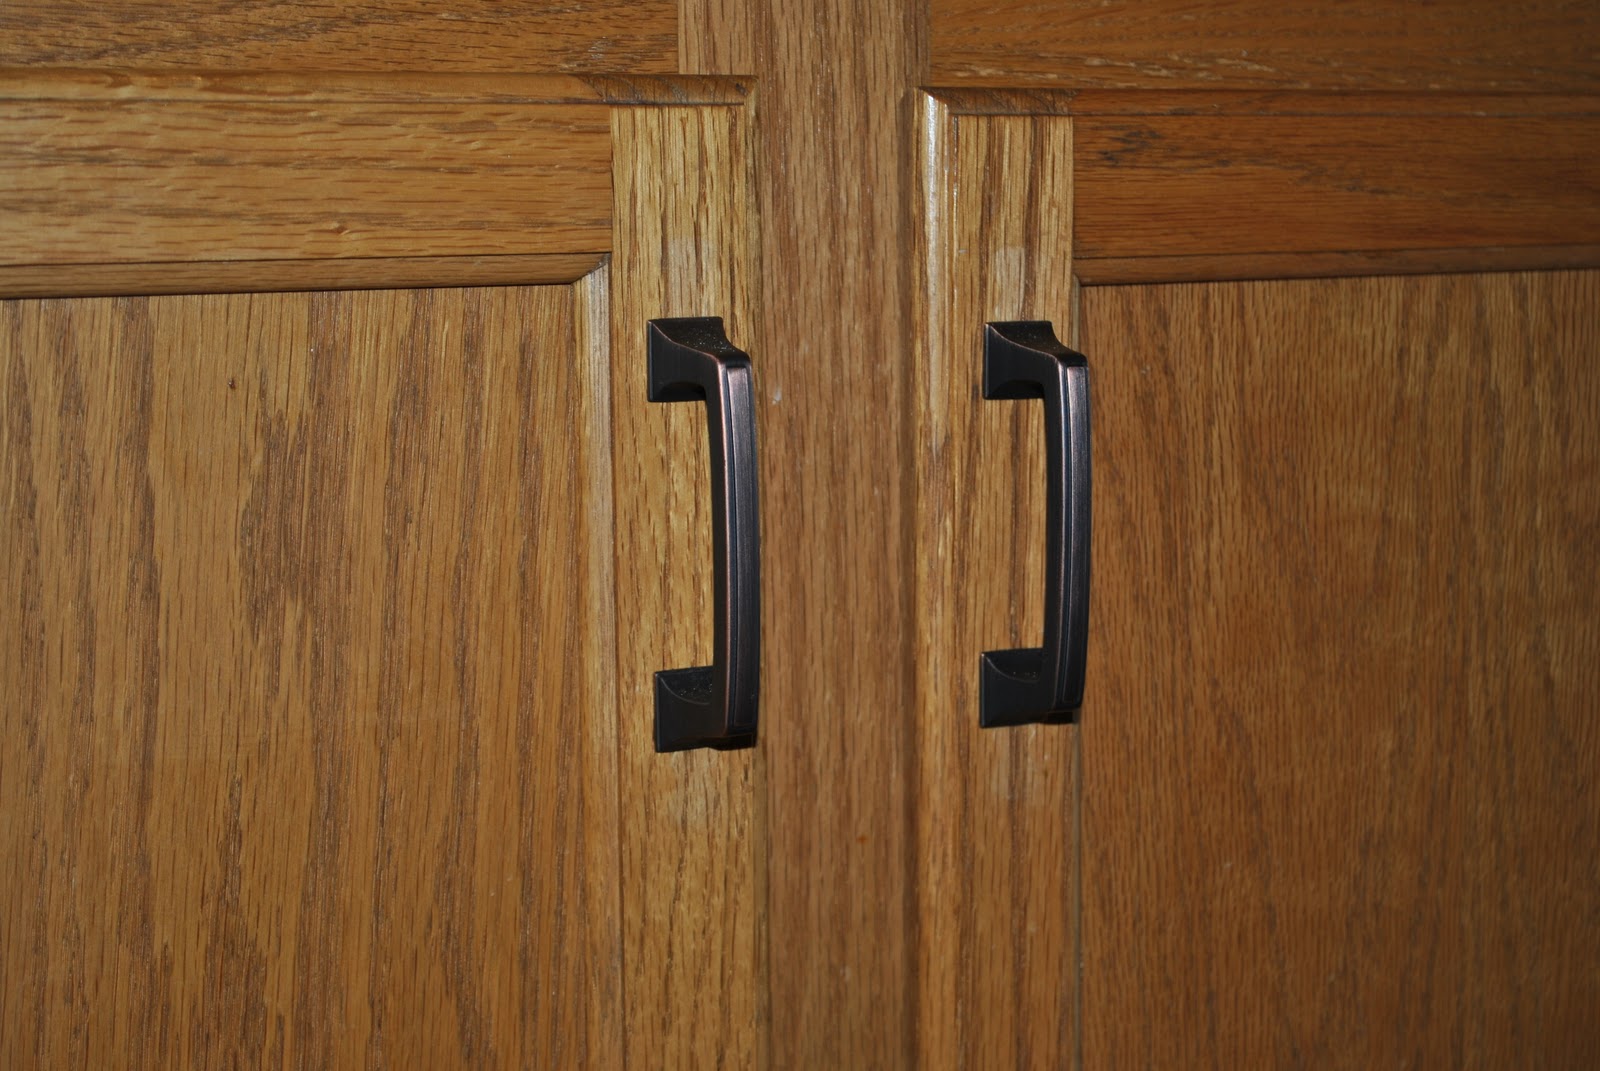
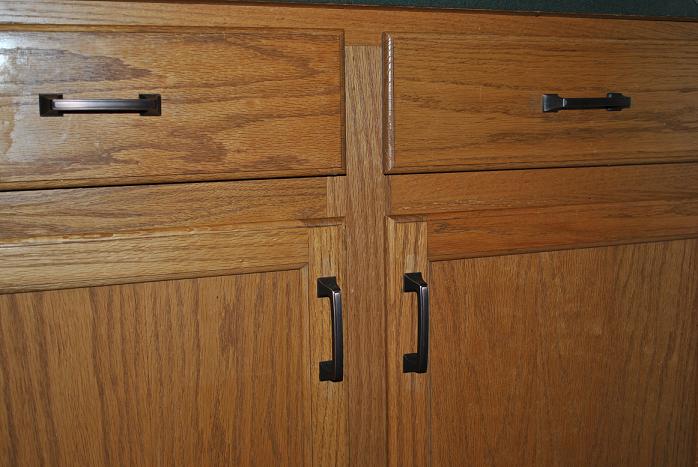
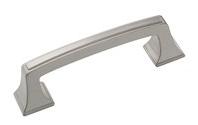
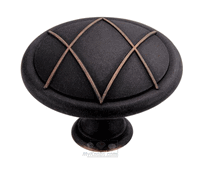
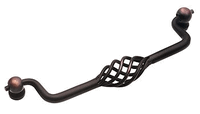
Cabinet Hardware: DONE…take a peak!
Do you have plans to update your kitchen in 2011?