Simple things, make a BIG difference.
I’m always sprucing my house, thinking about what to update, and continually making changes. A quick reno that I just finished was adding a tile backsplash to my powder room sink.
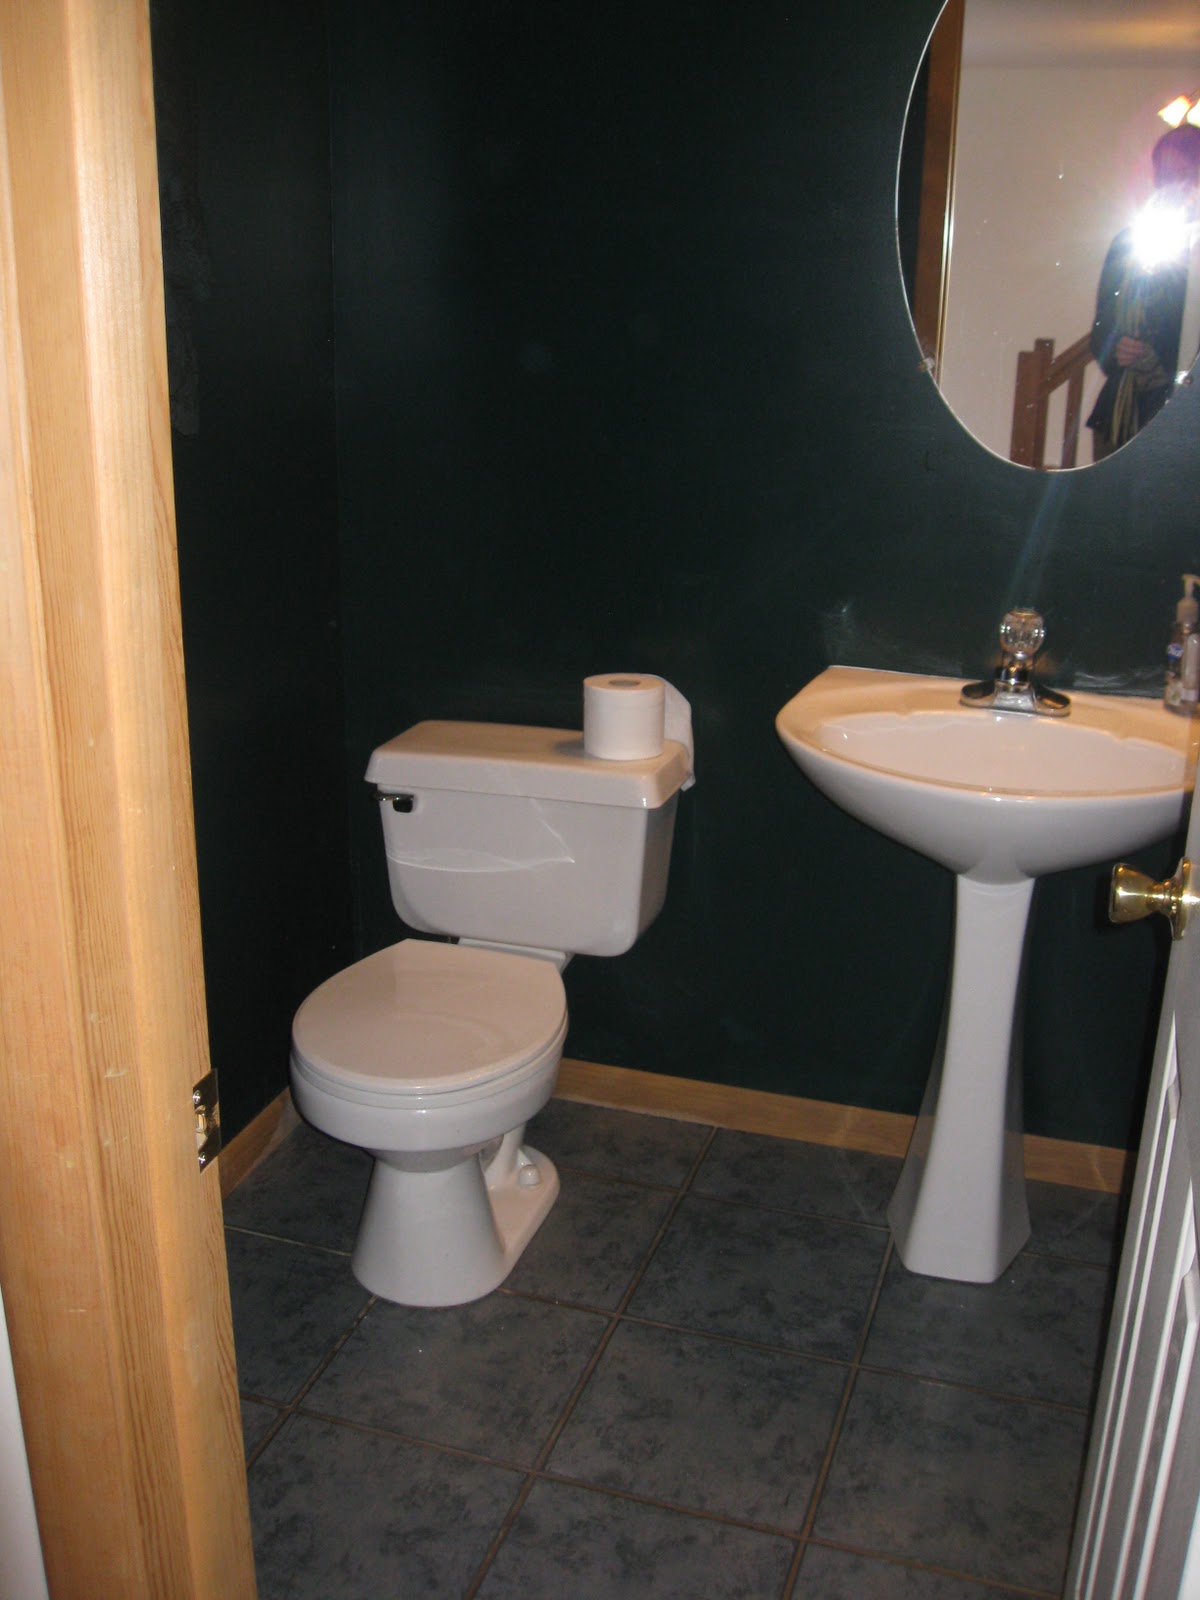
This is how the powder room looked before we moved in.
The walls were painted a semi-gloss, DARK forest green color and there was an ugly flower border at the top ~ too bad I don’t have a picture of that…you would have loved it, NOT!
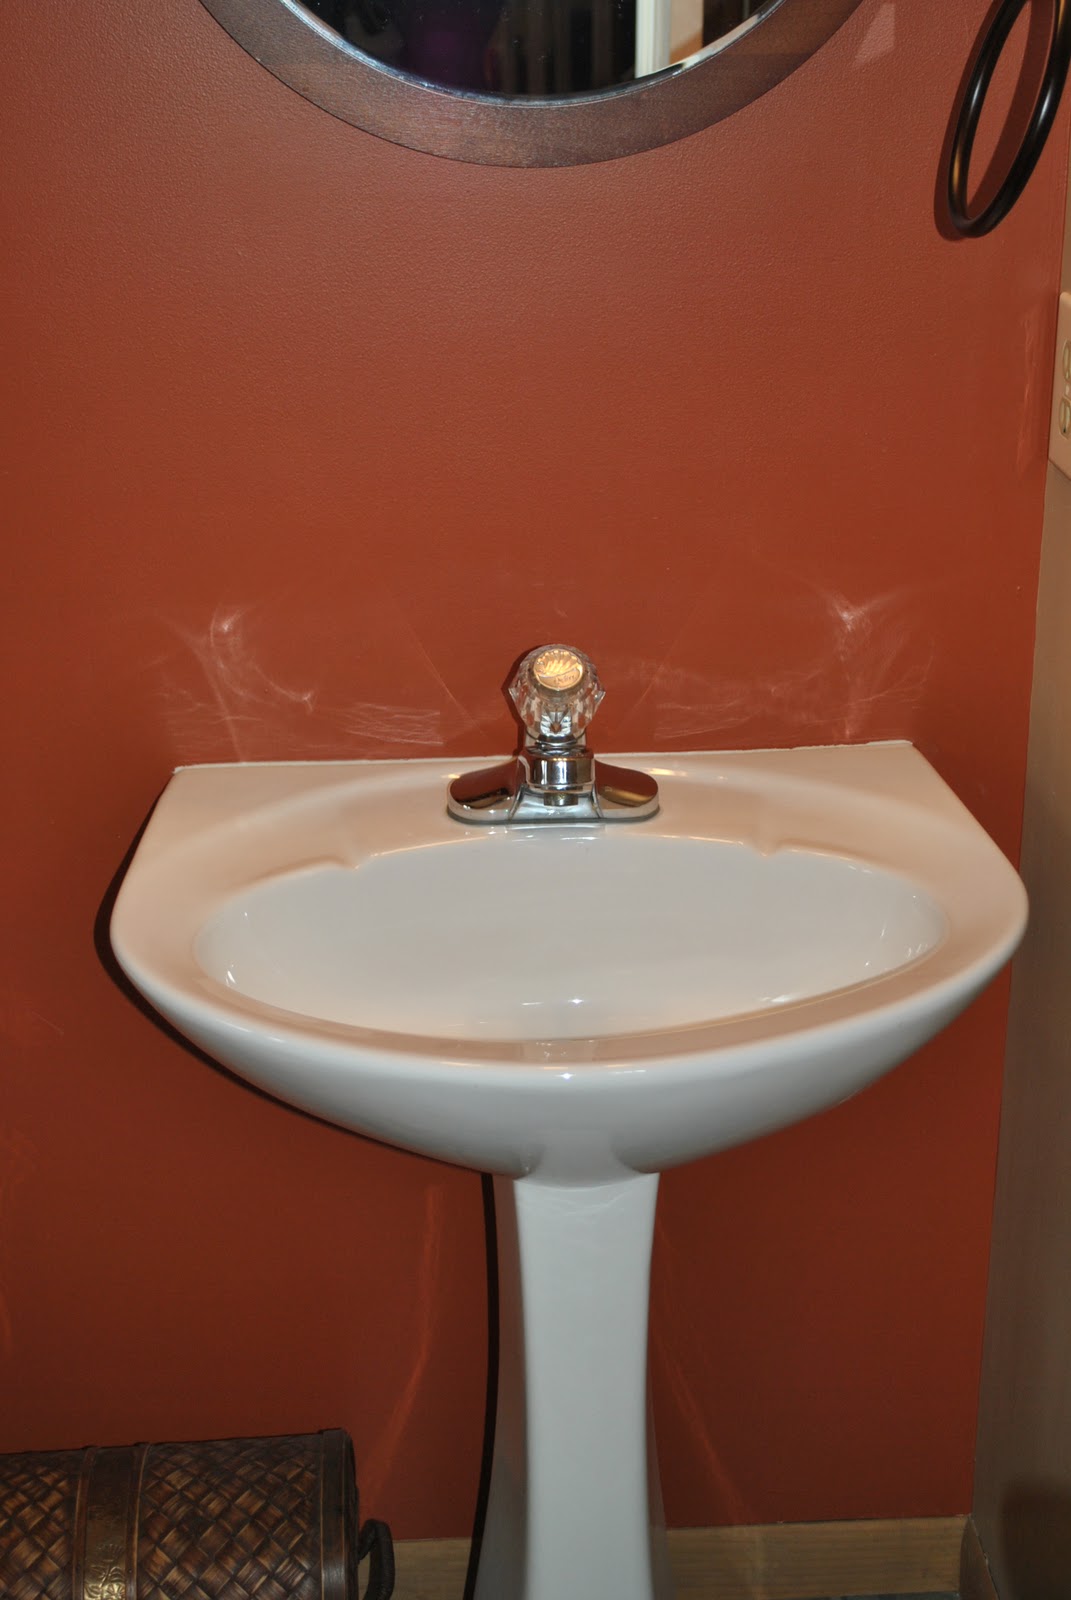
Once we got our hands on it, we removed the ugly border and painted the room a card board brown color (one of my favs) and the sink wall, a burnt orange (very warm and inviting ~ the accent color throughout the house). BUT the sink was still missing something…
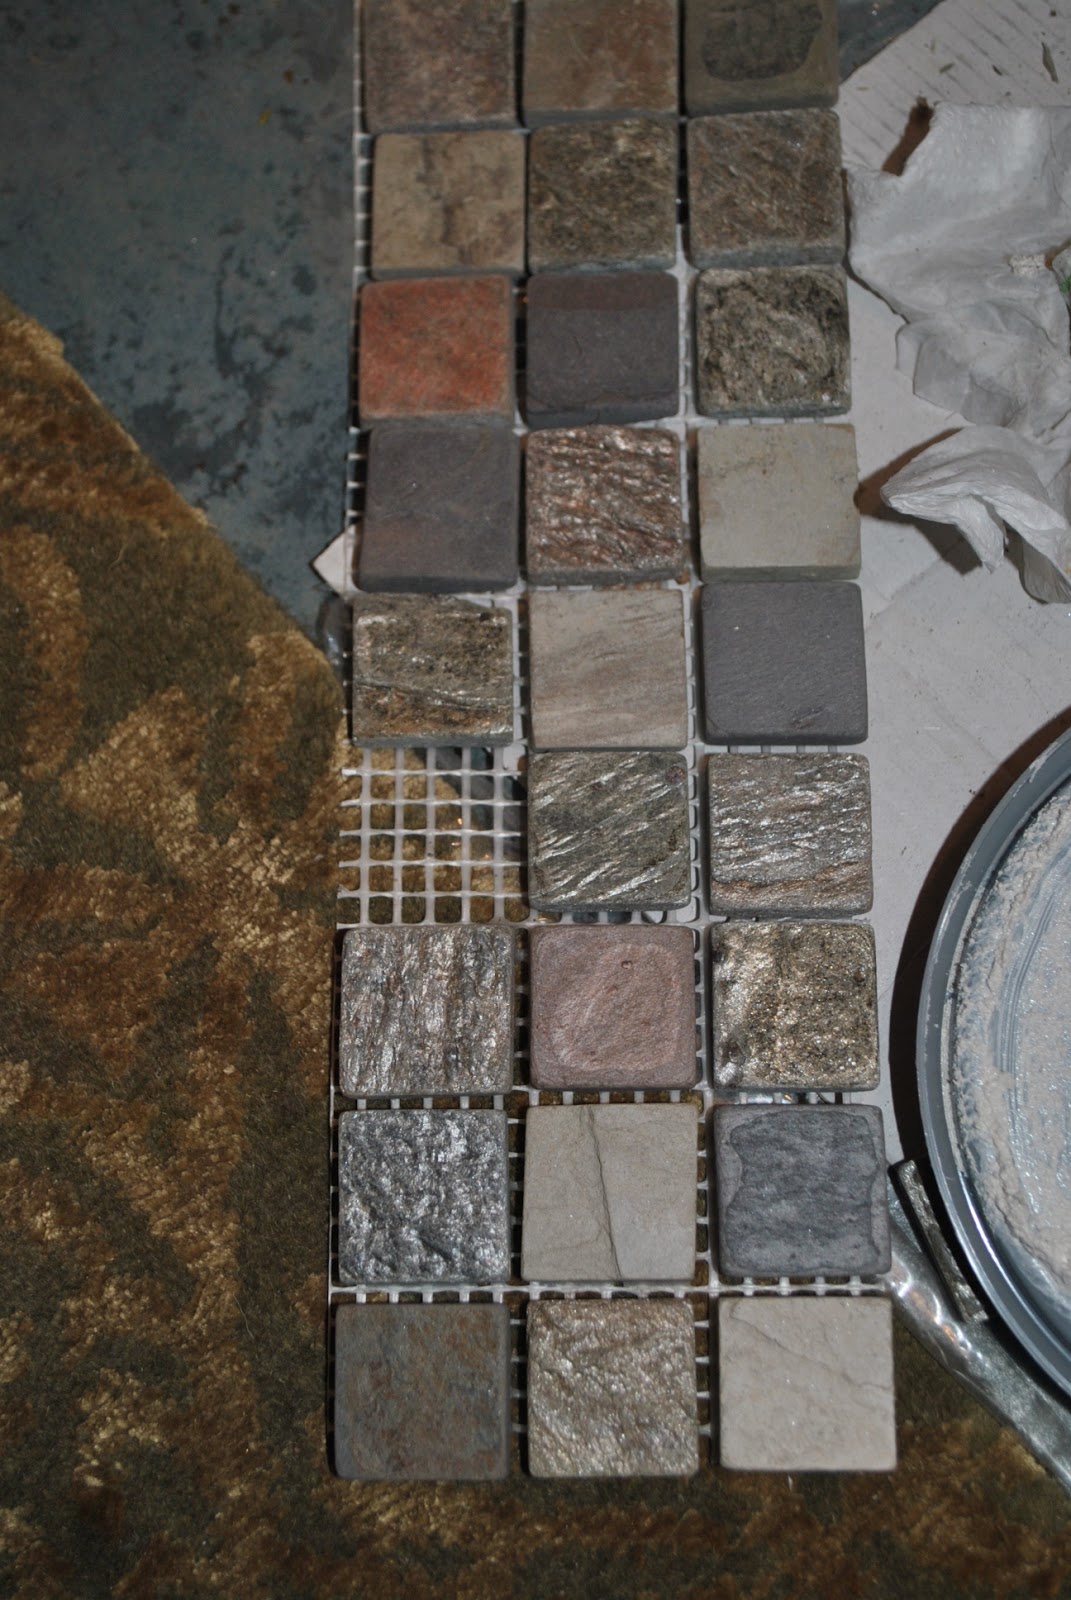
So on one of our numerous Home Depot trips, I was strolling down the tile aisle, and picked up a 12×12 sheet of 1×1 slate tiles and thought they’d be perfect for the backsplash of the powder room. I also picked up this great product that’s an adhesive and grout; its available in different colors as well…I got a bone color.
All-in-one….FABULOUS!
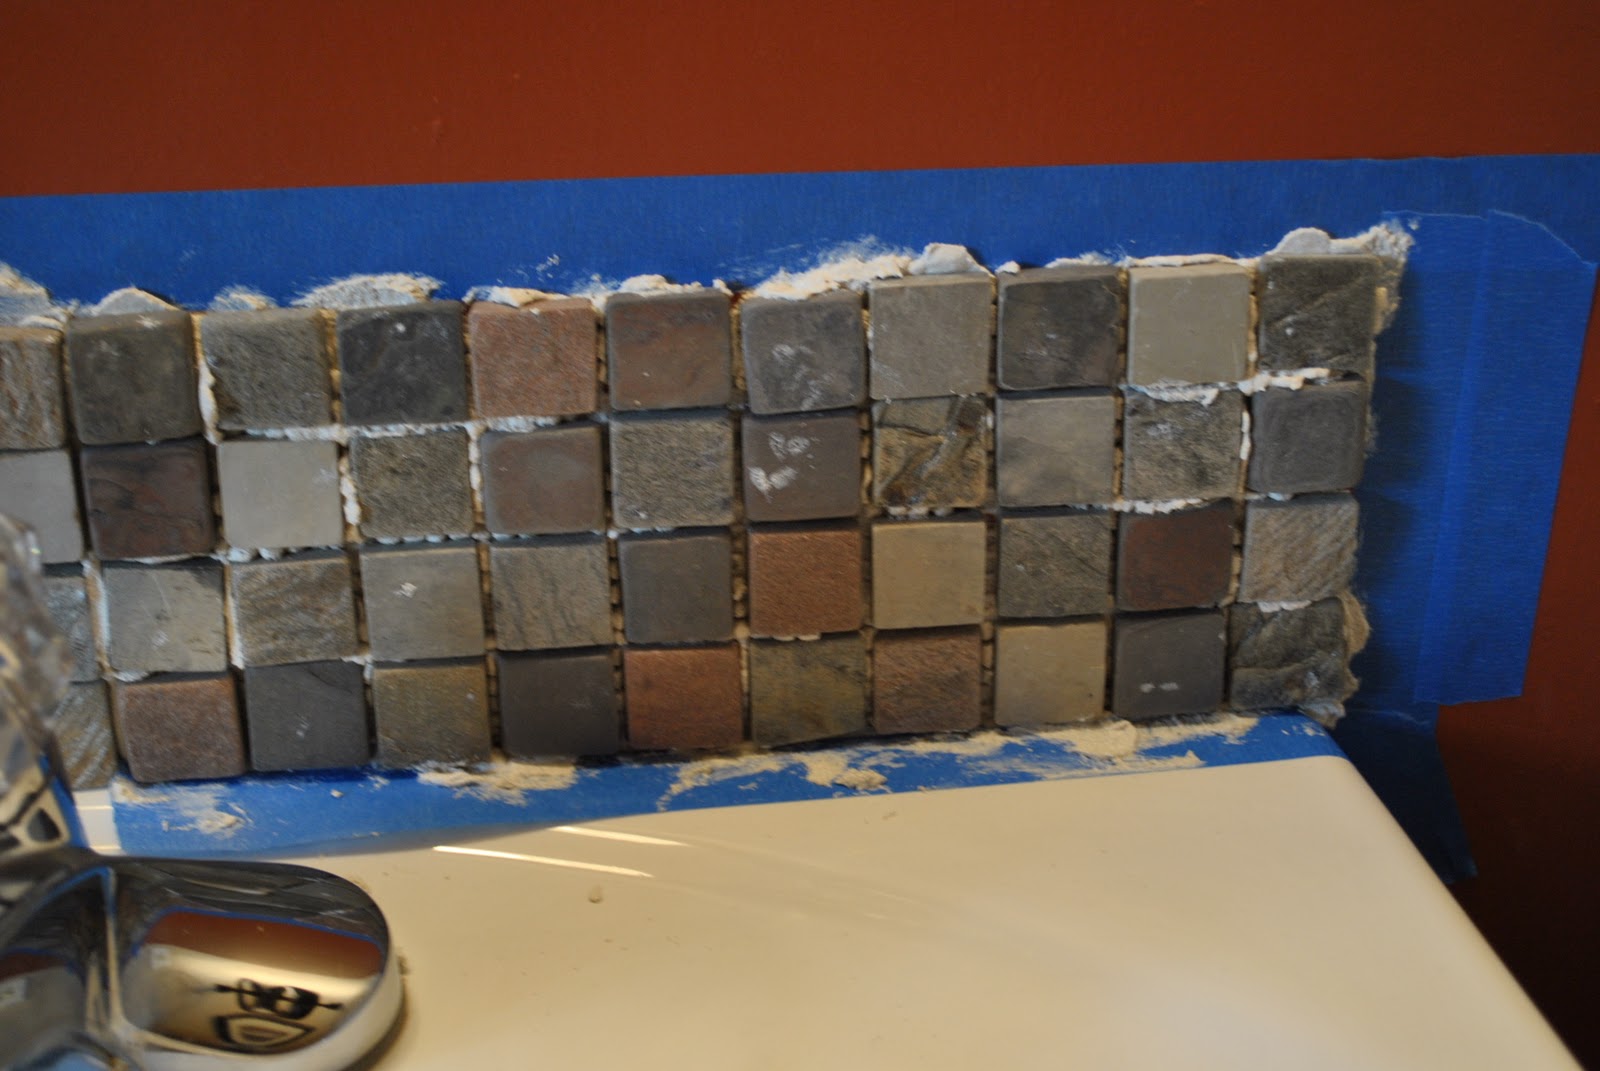
The process is fairly simple and straight-forward. Before putting on the adhesive, lay the tile onto the wall and mark the outline with a pencil. Then using painters tape, tape the outer perimeter so you avoid any glue getting onto your wall. Then using a putty knife or your finger (which is what I did), put a thin layer of adhesive onto the back of the tile. Do this in stages….one tile at a time. In my case, the tiles were adhered to a mesh bag, but I cut the mesh lining and adhered the tile in 3 row segments. So now all the tile is up…
Once the tile is on the wall, carefully remove the painters tape ~ you can do this before the adhesive dries. The drying time is about 24-48 hours.
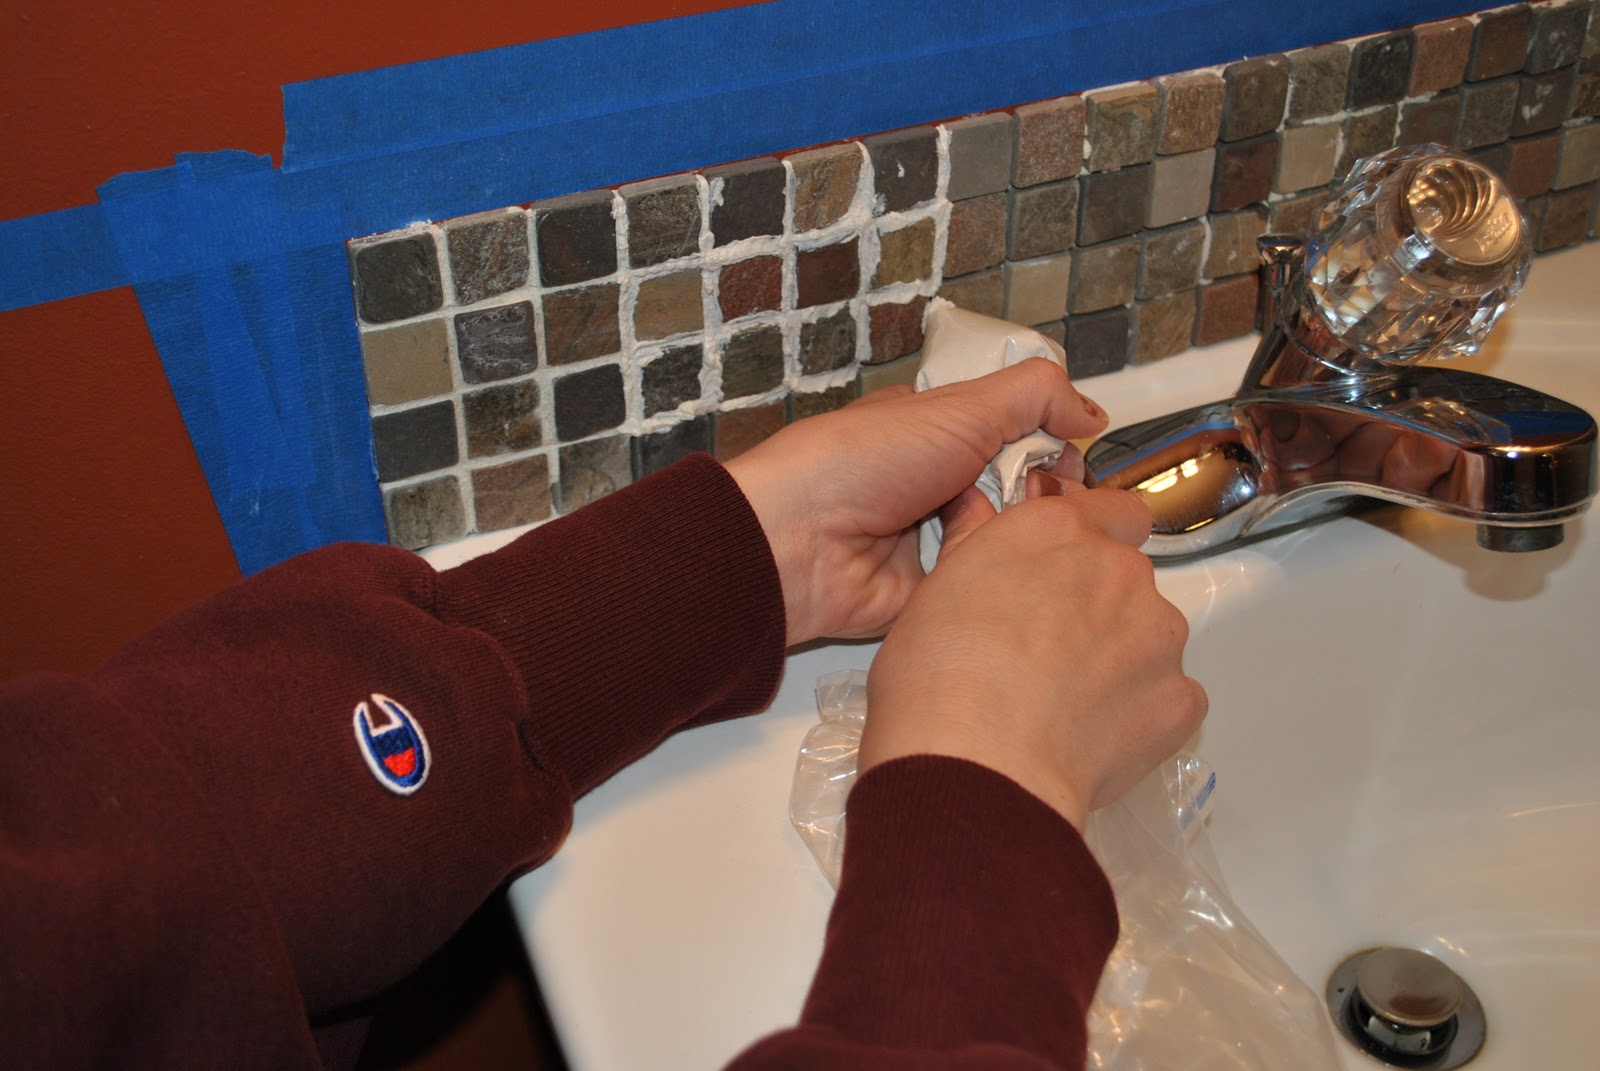
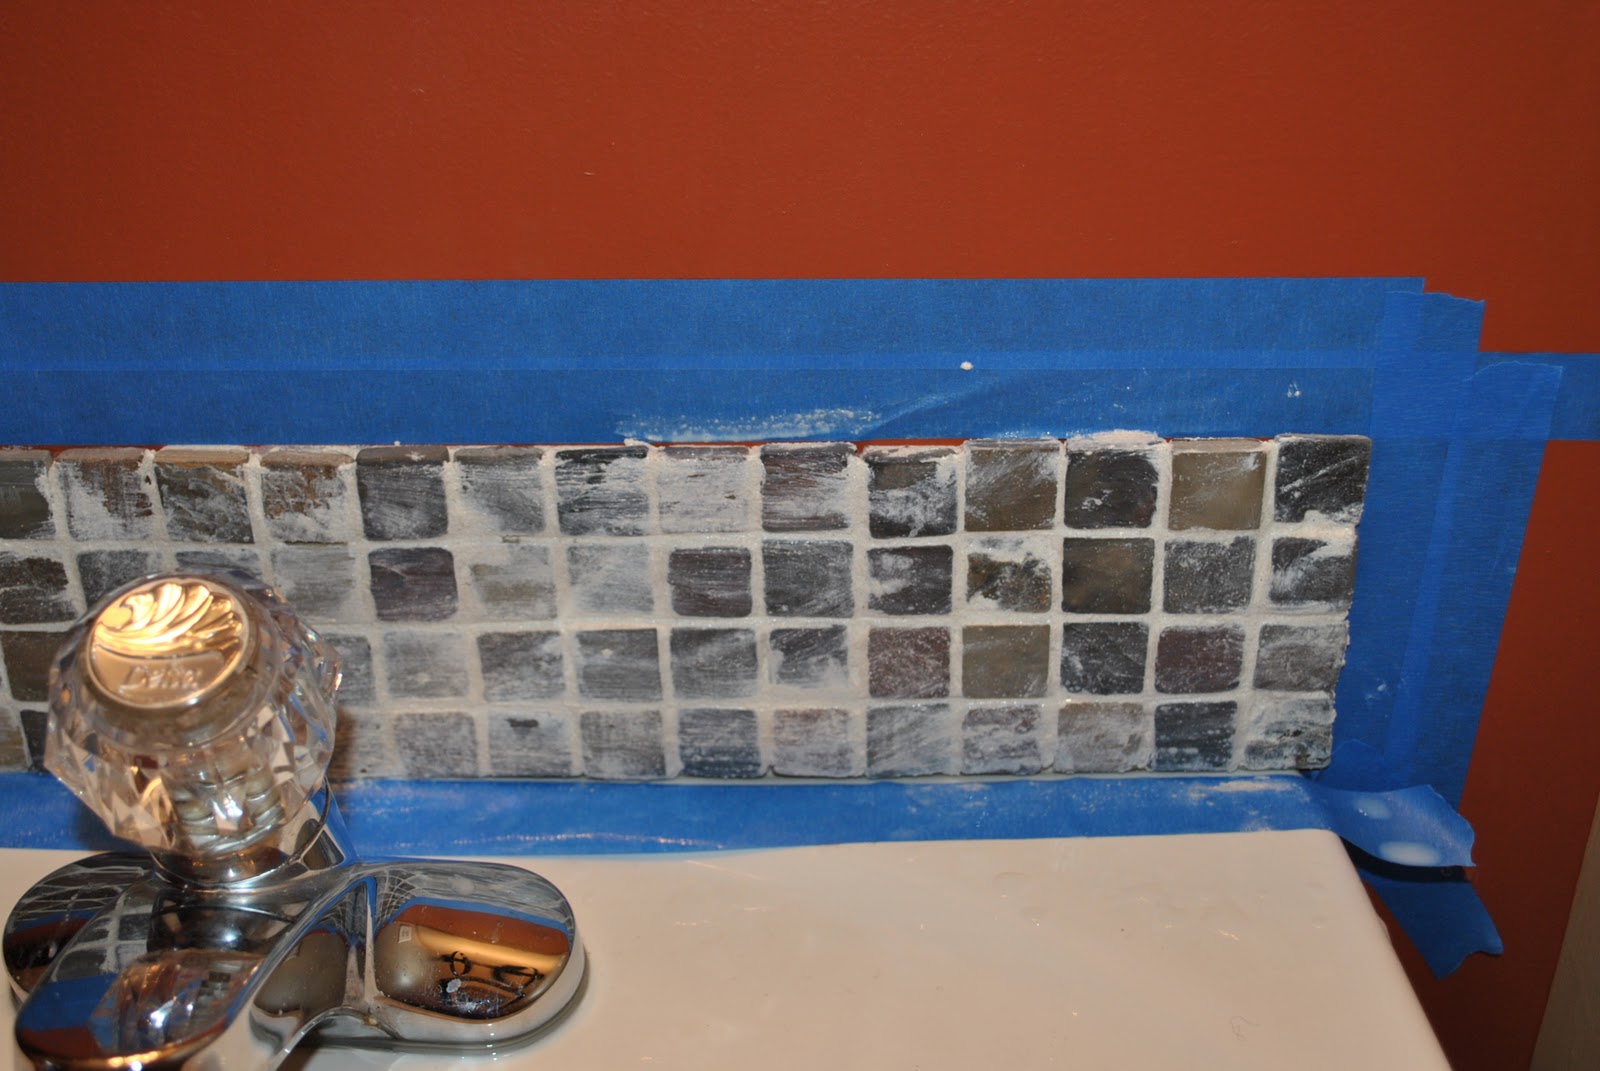
After the tile is completely dry, it’s time to grout. The area that I was working in was tight and awkward, so I couldn’t use a typical grout application, using a float. I put the grout in a Ziploc bag and snipped the corner edge off to create a 1/8″-1/4″ hole. Then just like piping a cake, I filled the joints with the grout.
After the joints were grouted, it’s time to wash it away with water. Using a rough sponge, go over the tile with water. Over and Over and Over until the tile surface is clean and grit-free. Depending on the look you want to achieve, you may want to use a sealing product on the tile BEFORE grouting. This will seal and protect the tile. Also, when you are finished, it’s always a good idea to seal the grout lines too. Both sealing products are available at any hardware store.
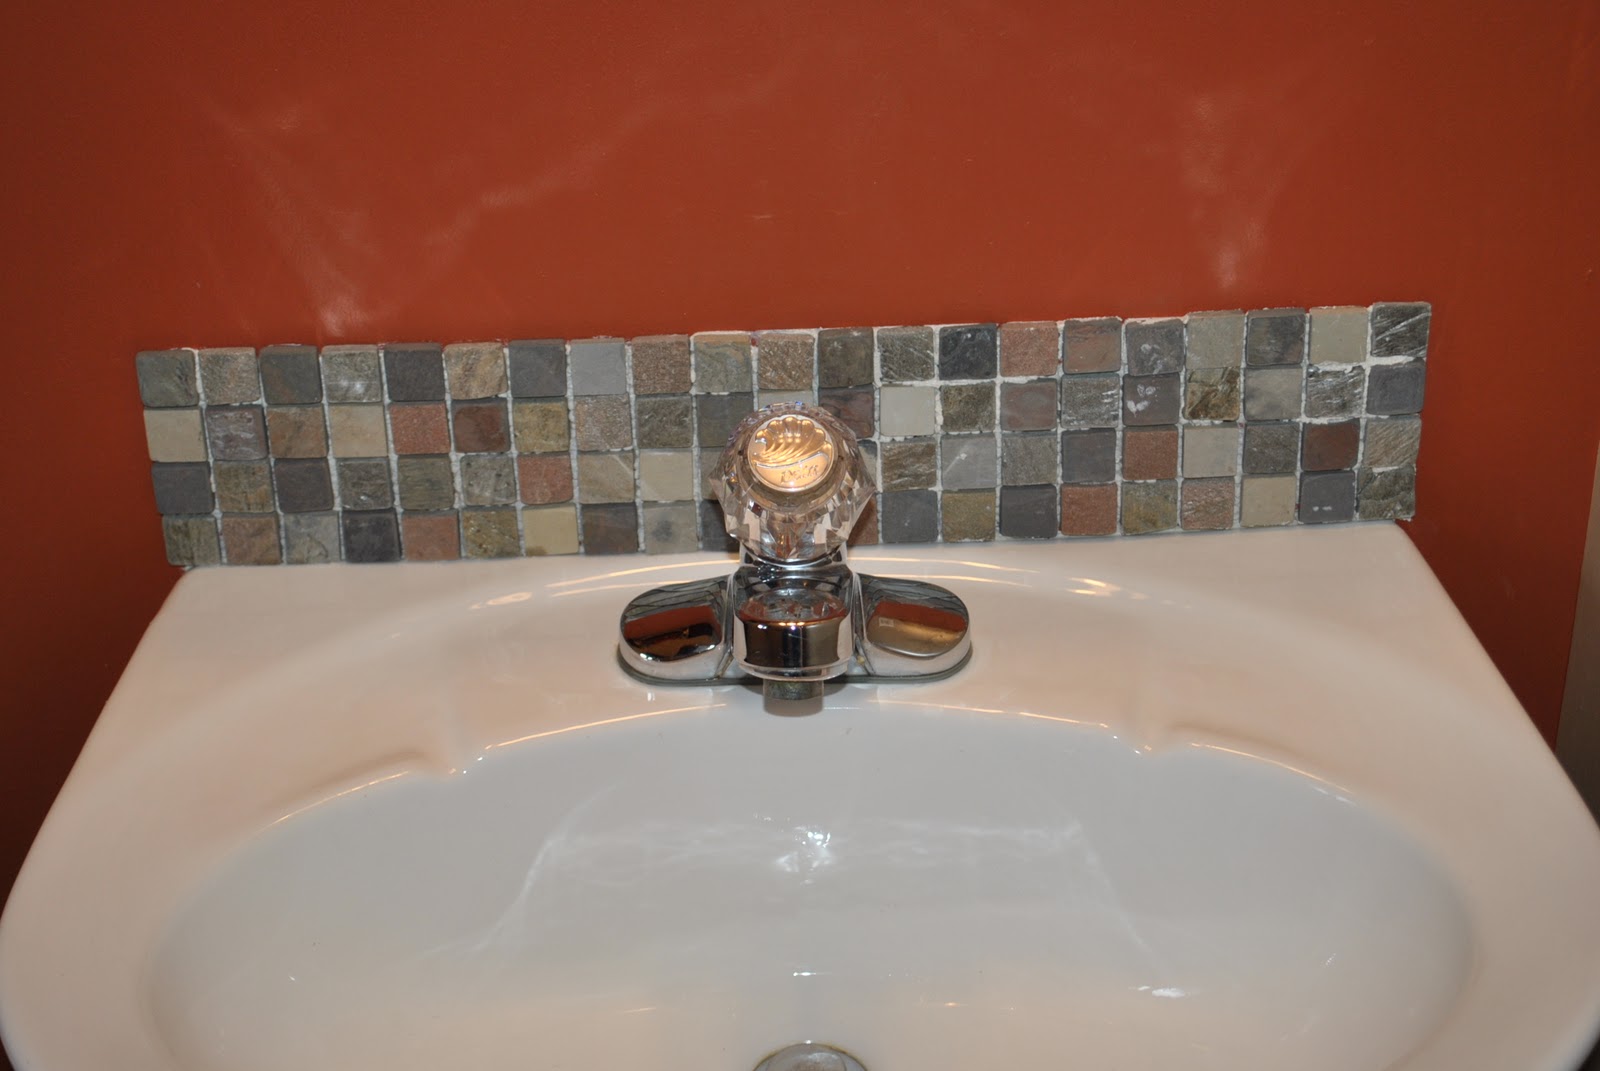
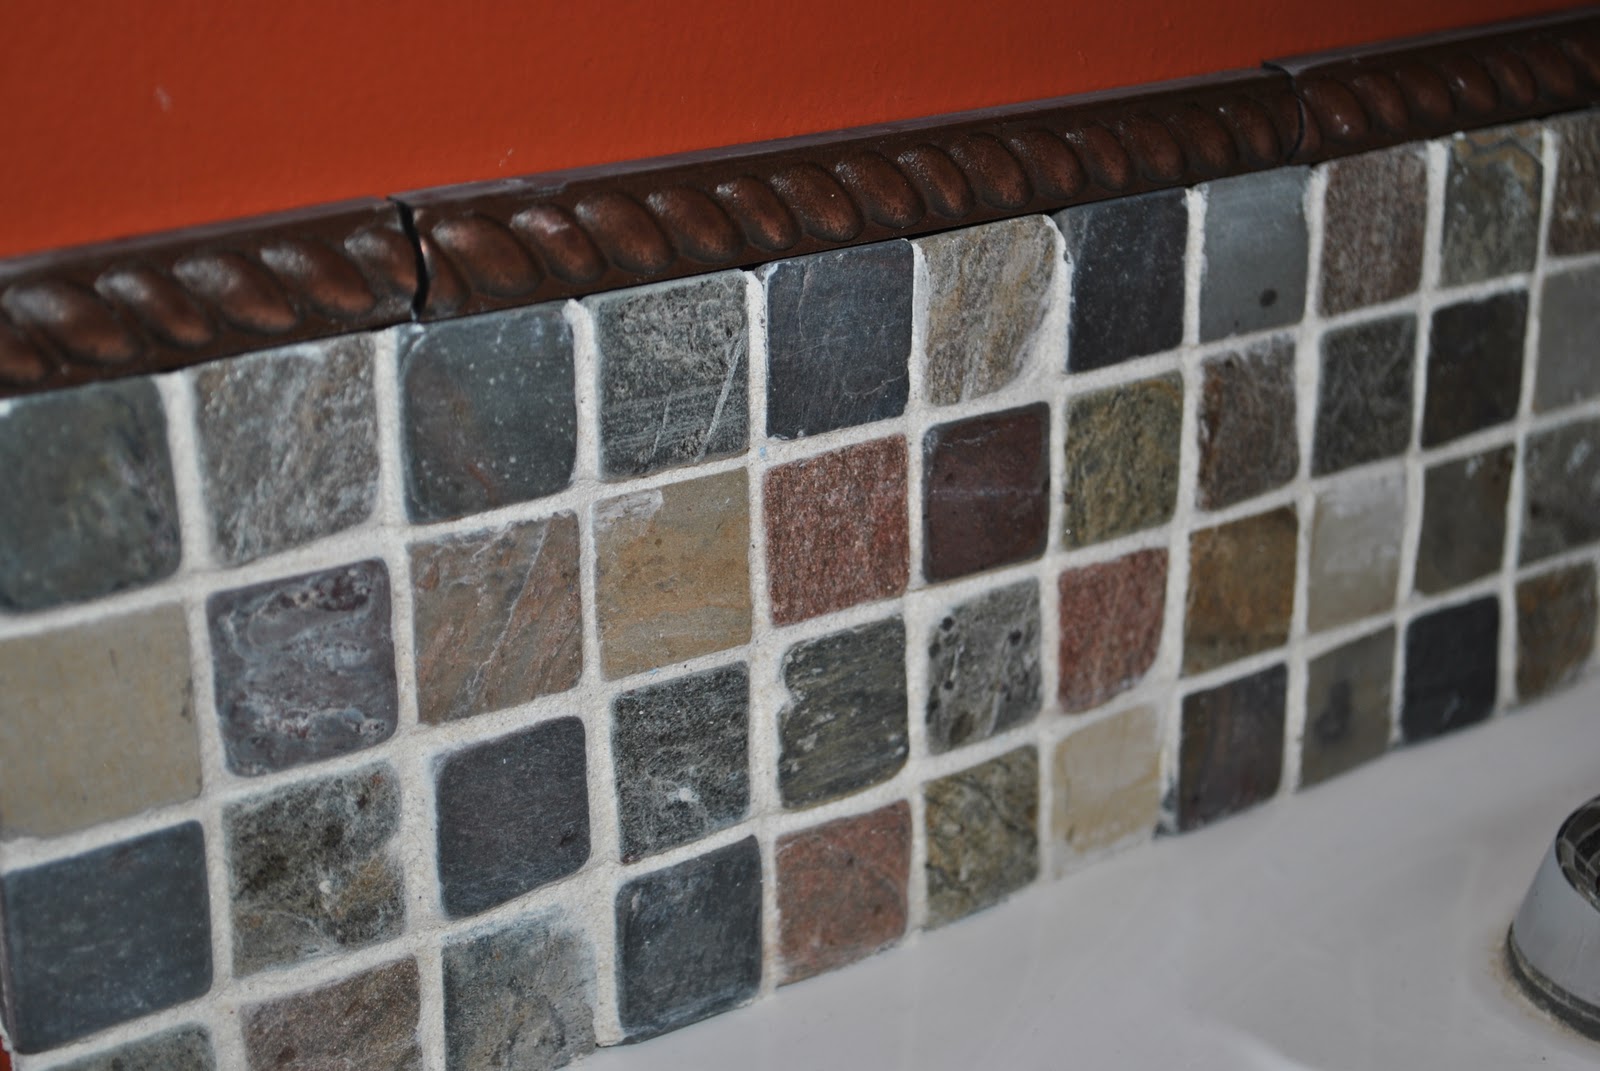
Voila…complete.
To cap off the top of the backsplash, I used a 1/4″ barliner….it just needed a final touch! The next step is to replace the sink faucet…I’m thinking something in an Oil Rubbed Bronze finish….that I might need a little handyman help with 🙂
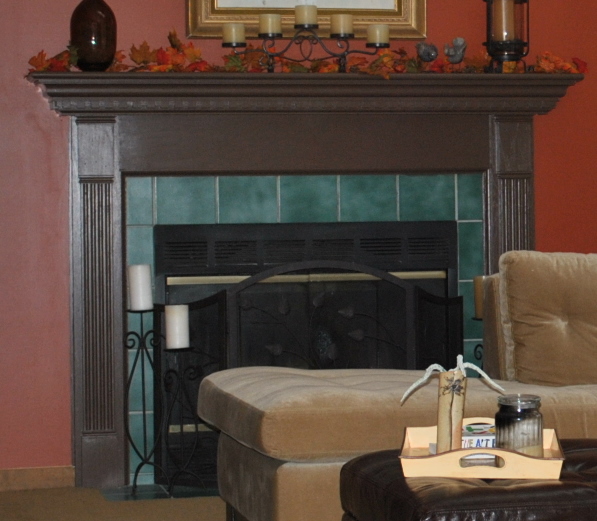
Onto my next tiling project….the fireplace surround
Check back soon for the results!!
Check out my metamorphosis at
BNOTP


Comments are closed.