Your Favorite Top Posts of 2011
I hope you had a wonderful Holiday filled with many blessings. I had a beautiful Christmas and was so thankful to spend it with family! With the weeks of anticipation leading up to the big day, it’s kind of sad to see it end. At the same time though, it is exciting to think about what the year ahead has to offer.
I can not believe 2011 is just about over. Can you? I’m always asking myself, where has the year gone! It seems like it was January, just two days ago. Do you feel that way? As a wrap up of 2011, I decided to walk down memory lane to see what posts were favorites of my SAS readers. Some of them, I was quite surprised about, and others I knew you really enjoyed.
Let’s take a look by counting down from 10 to 1
10. DIY: How to Make Simple Lined Window Drapery Panels
 Funny that this post is in the top 10… My lined window treatments for the master bedroom that I still have yet to complete – ha! I was a bit nervous to make these window treatment panels since I had never made something like them before, but using drop cloth as the lining material and a fun geometric fabric, I was quite surprised how easy and luxe they turned out! I hope to finish up this space soon…that’s on my 2012 list of To-Do’s.

9. DIY: Personalized Dry Erase Calendar
 This is the post I’ve probably received the most comments / questions about! It was definitely a favorite of mine to create and something that I use EVERYDAY… my personalized dry-erase calendar that I made for my central command center . Upon being inspired by Beth’s, I made one for my family to keep us on track so we know where to go and when! Yes, you can use a dry-erase marker directly on glass and if you’re looking for the calendar printables, click {here}.

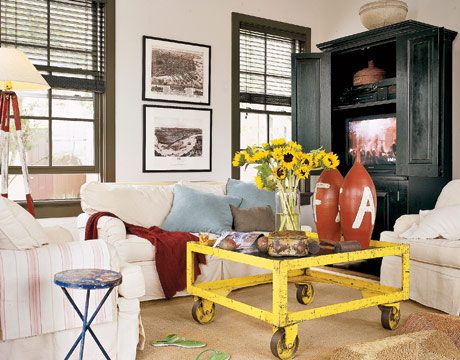
8. 5 Ideas to Accessorizing Your Coffee Table Decor
 It’s the center of most living / family rooms, yet it’s often forgotten about or is cluttered with magazines, papers, and remotes. Even though in my home most of the coffee table decor is thrown on the ground and instead my 2 & 5 year old sit or jump on the coffee table (a.k.a. large leather ottoman), here are some 5 easy tips for accessorizing your coffee table.

7. Faux Animal Heads For Your Interiors
 I’ve realized for a while that this has been a popular post by y’all, but of the many that I’ve written, it surprises me. I know faux animal heads /antlers were hot-hot-hot this year, but it’s interesting to me how many views this post received. I have to admit, some of these interior spaces are gorgeous!

6. Decorating Above Kitchen Cabinets
 Another decorating post that was really popular – How to decorate above the kitchen cabinets! I felt alittle bad after publishing this post with what I said about ditching the faux vines… Sorry if I hurt your feelings, it’s just my opinion. Above the cabinets, is often a bare space of unchartered territory that you may have thought to add some decor, but just didn’t know what to display or how to pull it all together. Am I right? By having a focal point, adding layers and varying heights, this “real estate†in the home can become Oh-So-Stylish!

5. DIY: Child’s Play Kitchen
 The kids play kitchen was probably my favorite diy project of the year. I’m not sure if it’s because it’s outside of the typical realm of my everyday “interiors†life or simply because my kids get so much enjoyment out of it, but this was a great project to imagine and then create.

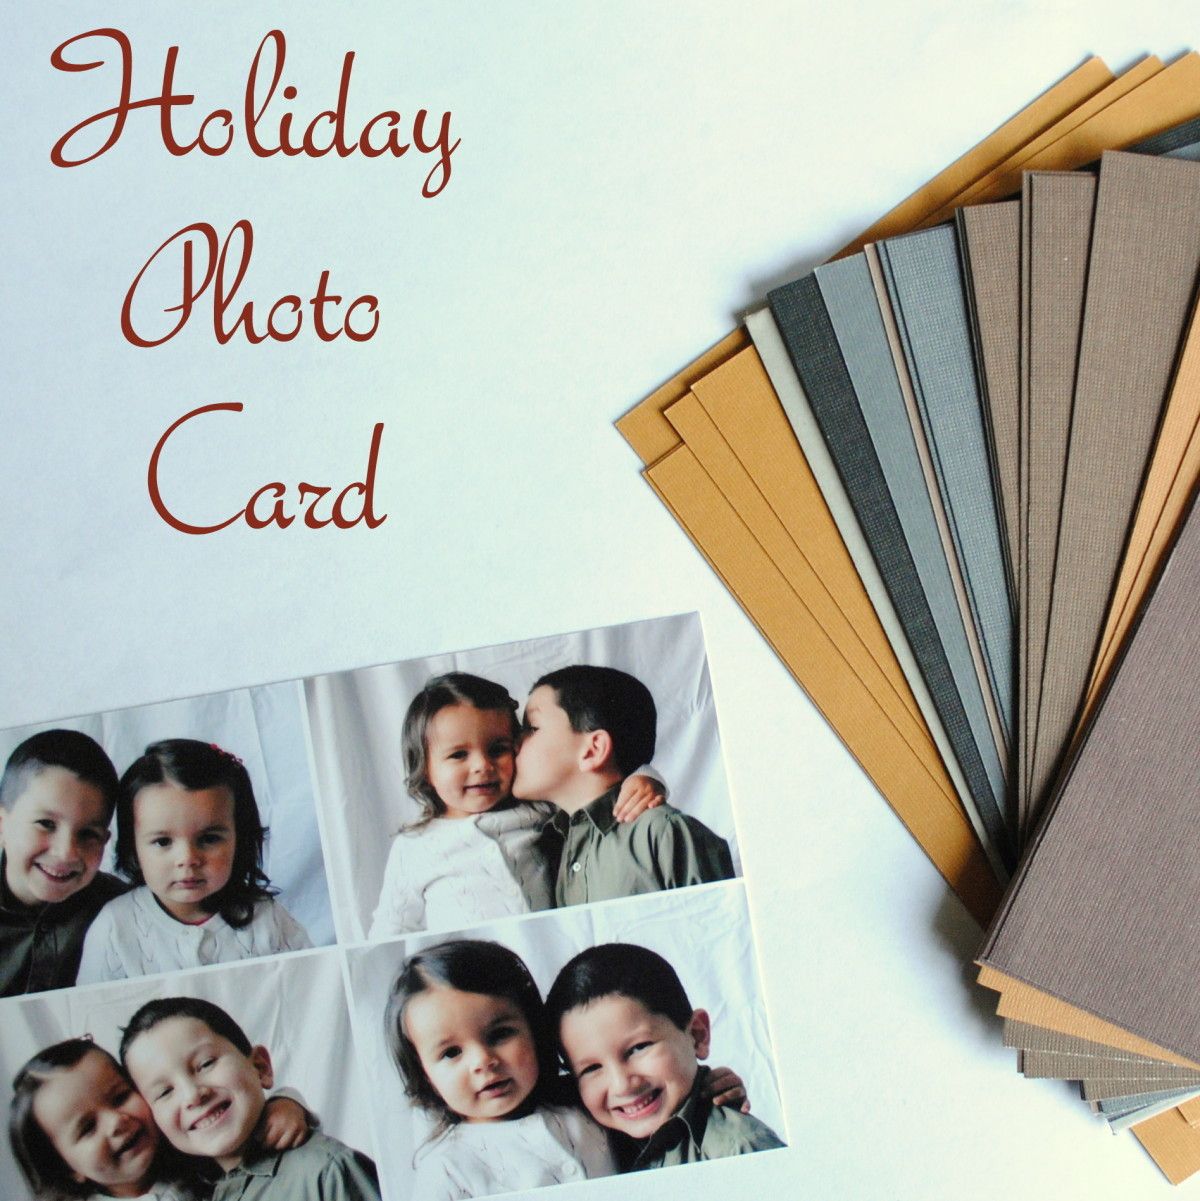
4. 15 Creative Ways to Display Christmas Cards
 I only write this post three weeks ago, but it has received an unbelieveable amount of interest and views. I guess many of you needed ideas on how to display your Holiday cards (I did – that’s why I wrote the post and created this). I’m glad you enjoyed!

3. 15 Inspiring Autumn Wreaths
 Some of the most enjoyment I receive when putting together posts are researching and being inspiring by others creations. Autumn is my favorite time of year and I was so excited to create this post of Inspiring Autumn Wreaths. There were SO many amazing wreaths to choose from and the ones I showcased were just a few of my favorites.

2. Creating a Photo Wall Display
 Creating a montage of photos can be a bit tricky (and intimidating) to figure out where to start and then how to balance the sizes and layout. In this very popular post, I shared room examples and actual layout ideas to help make displaying those beautiful family photos alittle easier.

DRUMROLL…
1. 5 Minute Autumn Centerpiece

With over 20,000 views, my Autumn log centerpiece blew every other post away by a landslide. This was the easiest and most beautiful DIY creation that I have ever made, and it literally took my 5 minutes! The response from this post alone has been crazy. My daily pageviews since this was published has gone up 3x – I truly never thought this simple project would get such great attention.
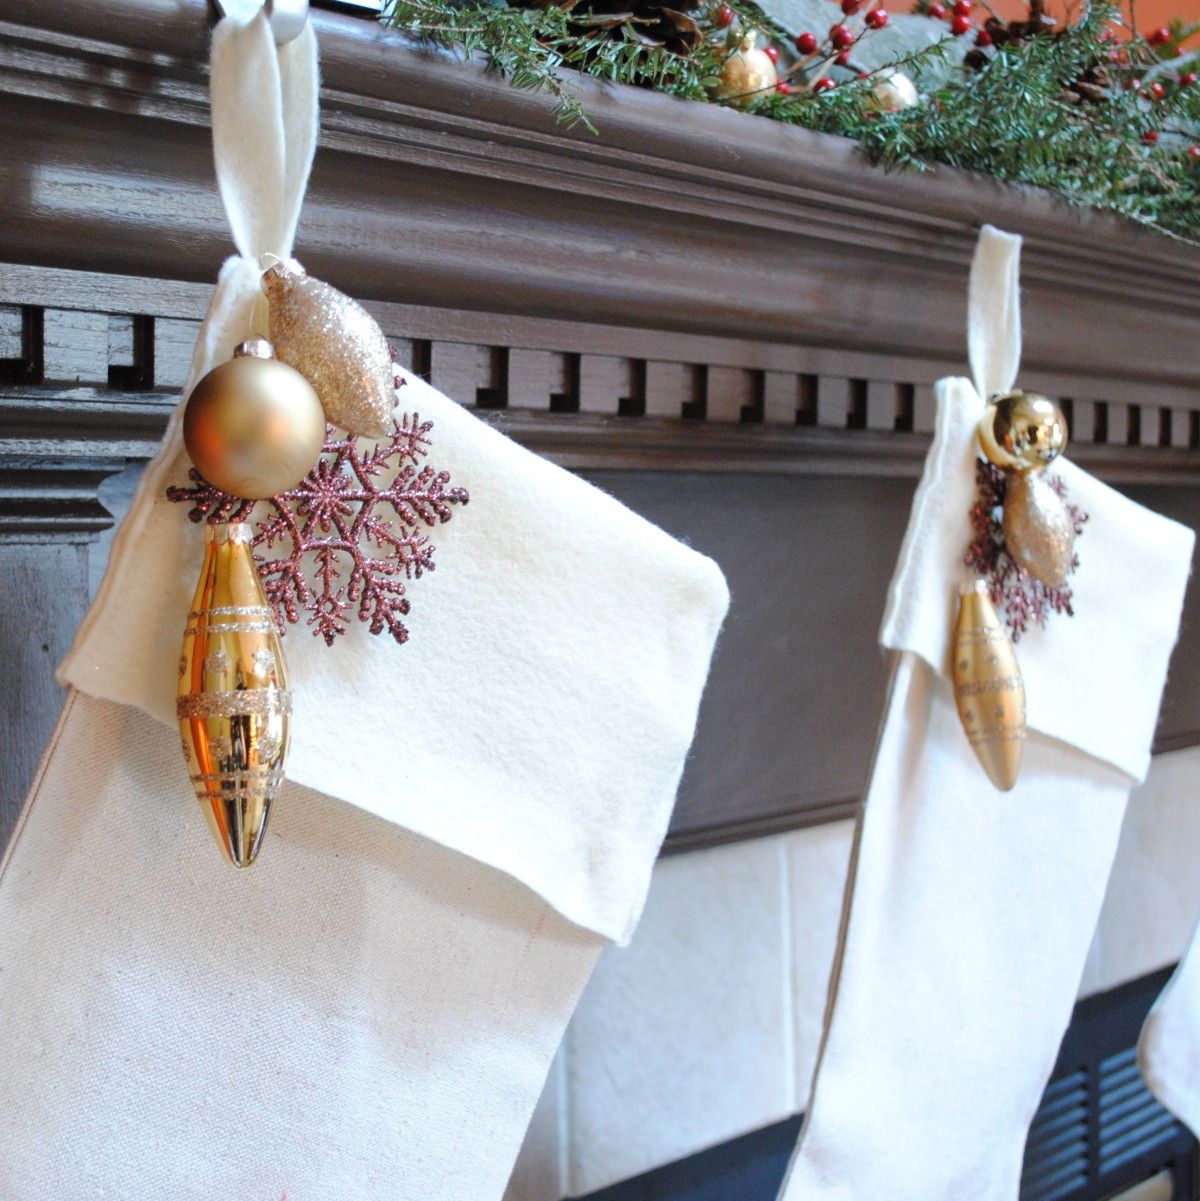
And this is how I transformed it for the Holidays.
I never know what will make a good post. Some things that you love surprise me and other things that I thought would be very interesting to read, no one really cares about. That’s what makes everyone different! Thanks for taking a trip with me down memory lane to peak at your favorite projects and posts from the 2011. Later this week, I’m going to share a month by month review of what I’ve accomplished and then in a few weeks after the New Year, I plan on sharing a post about my goals for 2012… I’ve got to give some more thought to that.


