Painted Two-Toned Desk + Tips on Painting Furniture
I’m just about finished with the updates for my son’s bedroom makeover. It hasn’t been a huge overhaul, but with rearranging the furniture, adding colorful stripes on the wall, and hanging new DIY pallet shelves, this space has received a welcome refresher. In the midst of moving around the beds and dresser, I realized my little man is at the age where he really needs a desk to work at and hold all his creative supplies.
If you remember back quite a long time ago, I purchased a beauty of a desk off Craigslist. It lived in my family room ever since (over 6 months), but wasn’t “right”. Then pufff… I had an idea – it would be perfect for my son’s room.

And this is the evolution of the Craigslist Desk…
It started off as a stained executive desk typical of the 1940s and is in really great condition. The only thing it needed was a little makeover to update it and bring it back to life to mesh with today’s decor style.
In knowing that the desk would live in my son’s room, I wanted to do it right. With my lack of patience, I sometimes skip steps or rush, but with this desk makeover I took my time so the result would be something he could live with for many years.
Supplies: Onto the makeover – here’s my arsenal of supplies…
1. Fill Holes & Sand: I started off removing the hardware, which I decided to replace with simple knobs. Then I filled all of the scratches, holes, and nicks with wood filler. And the last step before painting was to sand the overall desk surface with my orbital sander using a 120 grit sandpaper (medium coarse), then a 220 grit sandpaper (very fine coarse).
2. When the sanding was complete, I cleaned off the entire surface with a damp rag before I started priming.
3. Primer: Once the desk was completely dust-free, I added one coat of primer with my favorite Kilz Primer which blocks the stain and allows for a well-prepared surface to paint.
4. Secret Agent: With every painting job, I always add my favorite “formula” to eliminate brushstrokes – Floetrol. It always works like a charm to achieve a clean, brushstroke-free surface! (And I wasn’t even paid to say that – I truly just love it 😉
Desk Colors:
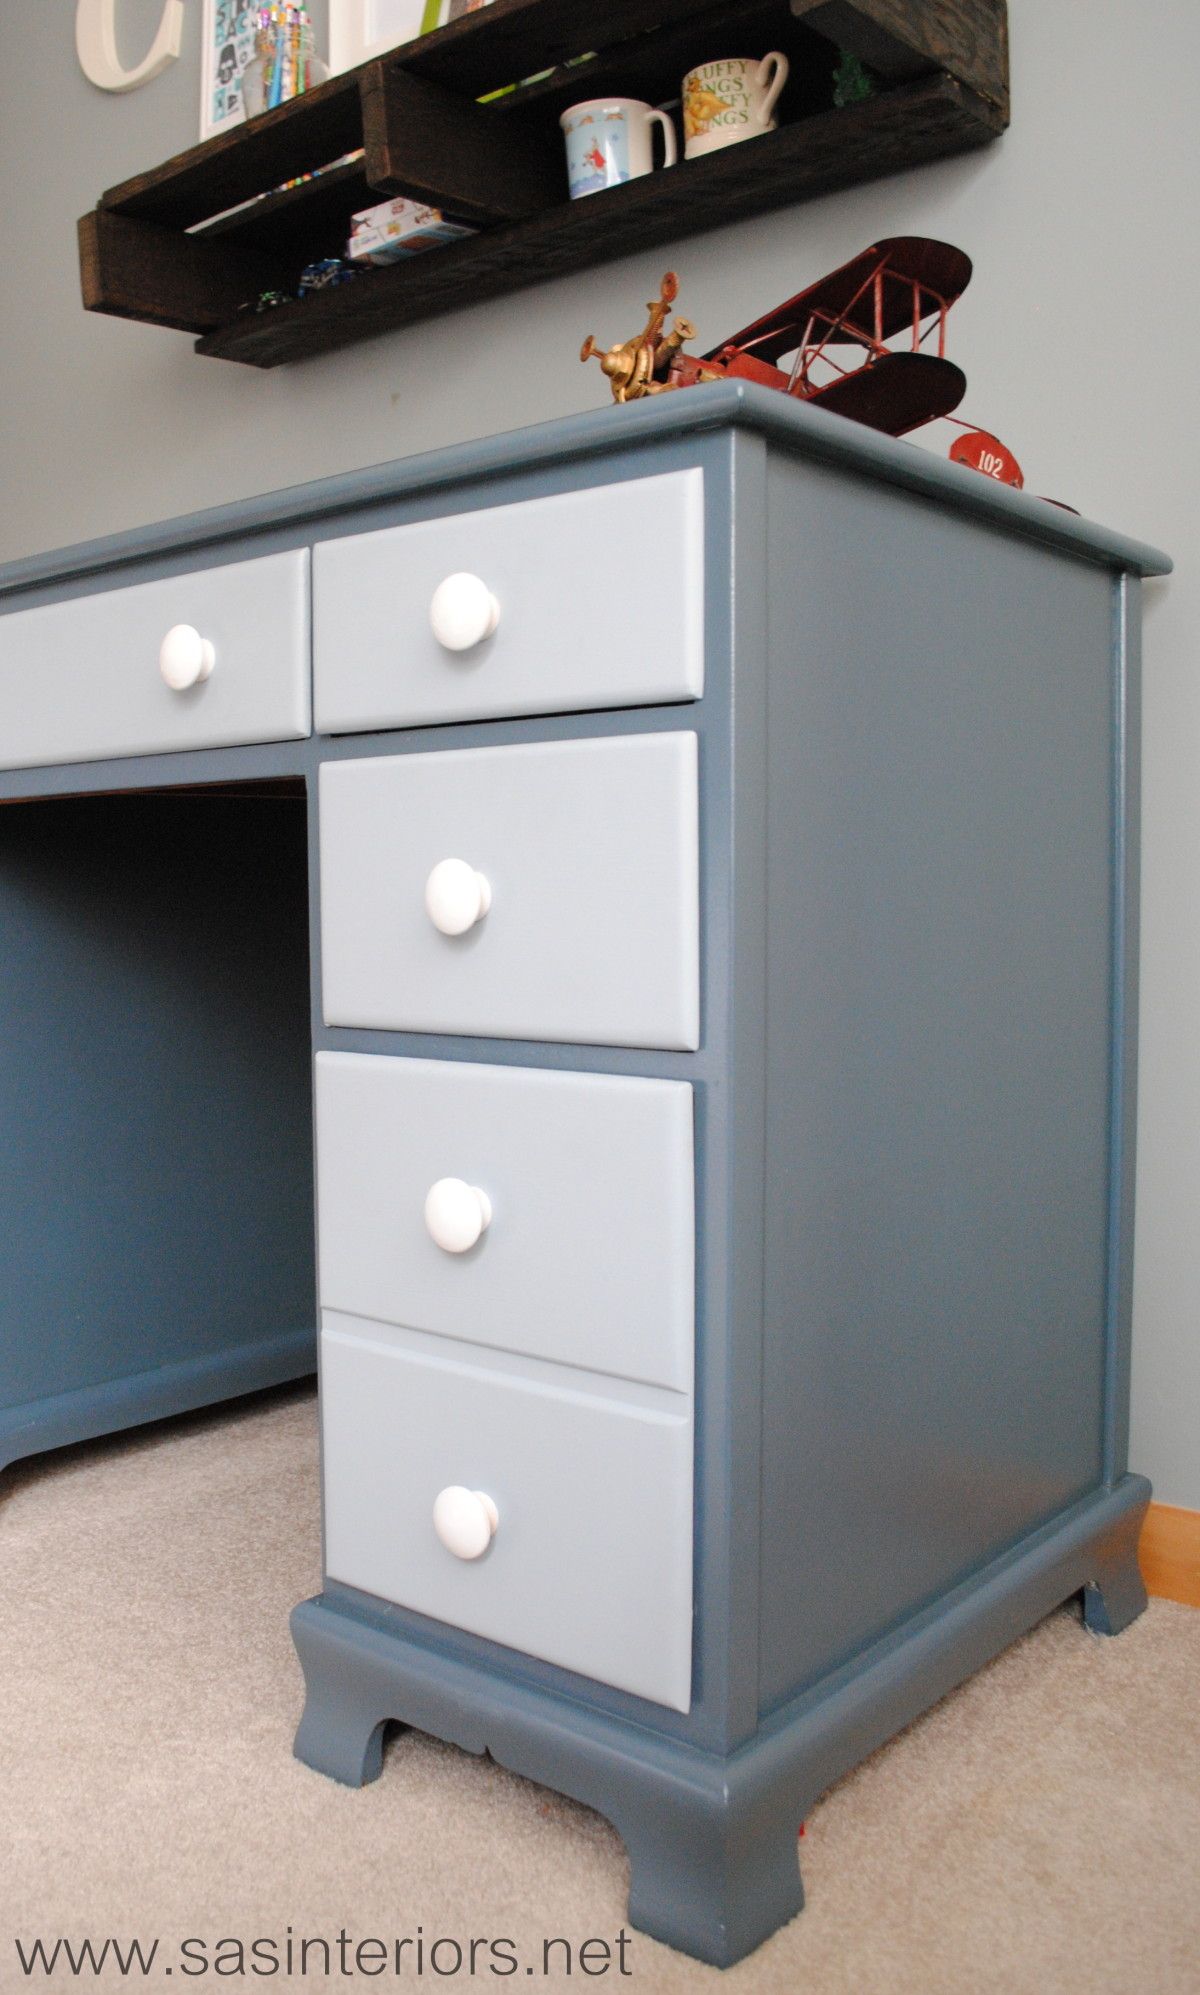
- Desk Top & Frame – Dutch Boy High Seas
- Drawer Fronts – Dutch Boy Hurricane Cliffs
5. Paint: After the one coat of primer, I added the first coat of paint, which I used both a brush and roller. On the top and flat surfaces of the desk, I used a 5″ wide small roller and for the difficult crevices and edges, I used my favorite 1.5″ wide Purdy brush. *Sometimes, I used the brush first and went over it with the roller. The roller makes for a smooth surface to avoid brushstrokes.
6. Then onto painting the drawers. I wanted this desk to be a little playful and not just one color, so I decided to use a lighter color blue on the drawer fronts.
7. Polyurethane: The last painting step was to add a coat of polyurethane – truly the most important part in finishing any piece of furniture! I usually use water-based clear satin polyurethane, but since I knew this desk would be getting lots of use in the years to come, I decided to use an oil-based polyurethane, which really is more durable (hands-down).
8. Hardware: Once the painting was complete, I drilled one hole in each drawer front for the new knobs, which were originally natural that I spray painted white. The knobs went in and the desk was complete.
To add a little unexpected fun to the desk, I added a drawer liner that has a geometric pattern with green, blue, and turquoise colors. My son was quite surprised when he opened the drawers to find this hidden treasure!
And once again here is the before and after…
And these are just a few important tips to remember when painting furniture:

Do you like painting furniture? Have you painted anything lately?


Comments are closed.