Wonderful White Kitchens
On the gloomiest of days, a white kitchen will always put a smile on your face!

I am so excited to share that I am in the midst of designing a kitchen that I’ve always dreamt of AND it’s for me!
I’ve created beautiful kitchens for many clients & I am thrilled that I finally have the opportunity to put all the wants + needs of a gorgeous + uber-functional kitchen into my own home. I’ll be honest, I can walk in to a clients home and with a snap-of-a-finger see how to transform it. With my own kitchen, it hasn’t been so easy… my finger snapping failed me.
I, like many others, have always wished for white. And so of course, my new kitchen will have white cabinets (not all, but most). I was hesitant about white at first feeling that it might be too sterile or too ‘white’, but with layers + pops of color throughout, I know it’s the right choice for now + later.
If you’re dreamy about white like me, here are some kitchens to be inspired by that perfectly balance white with layers of color, texture, and style…
WHITE IN A COTTAGE STYLE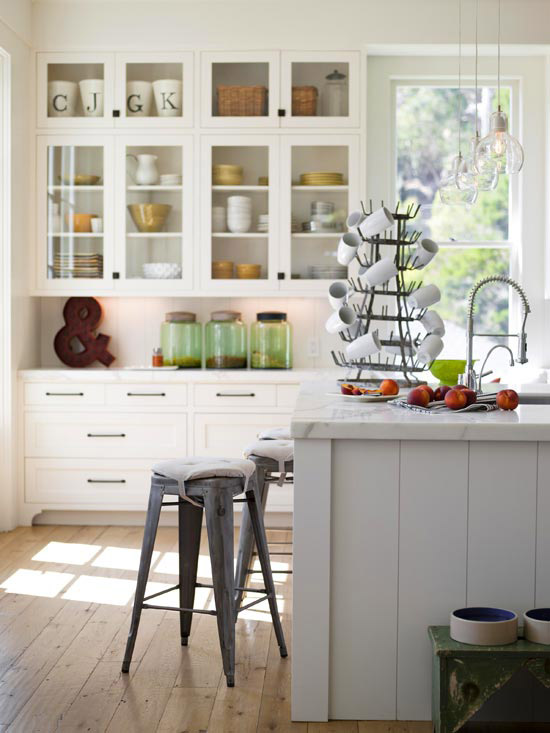 Featured at BHG
WHITE WITH POPS OF CITRINE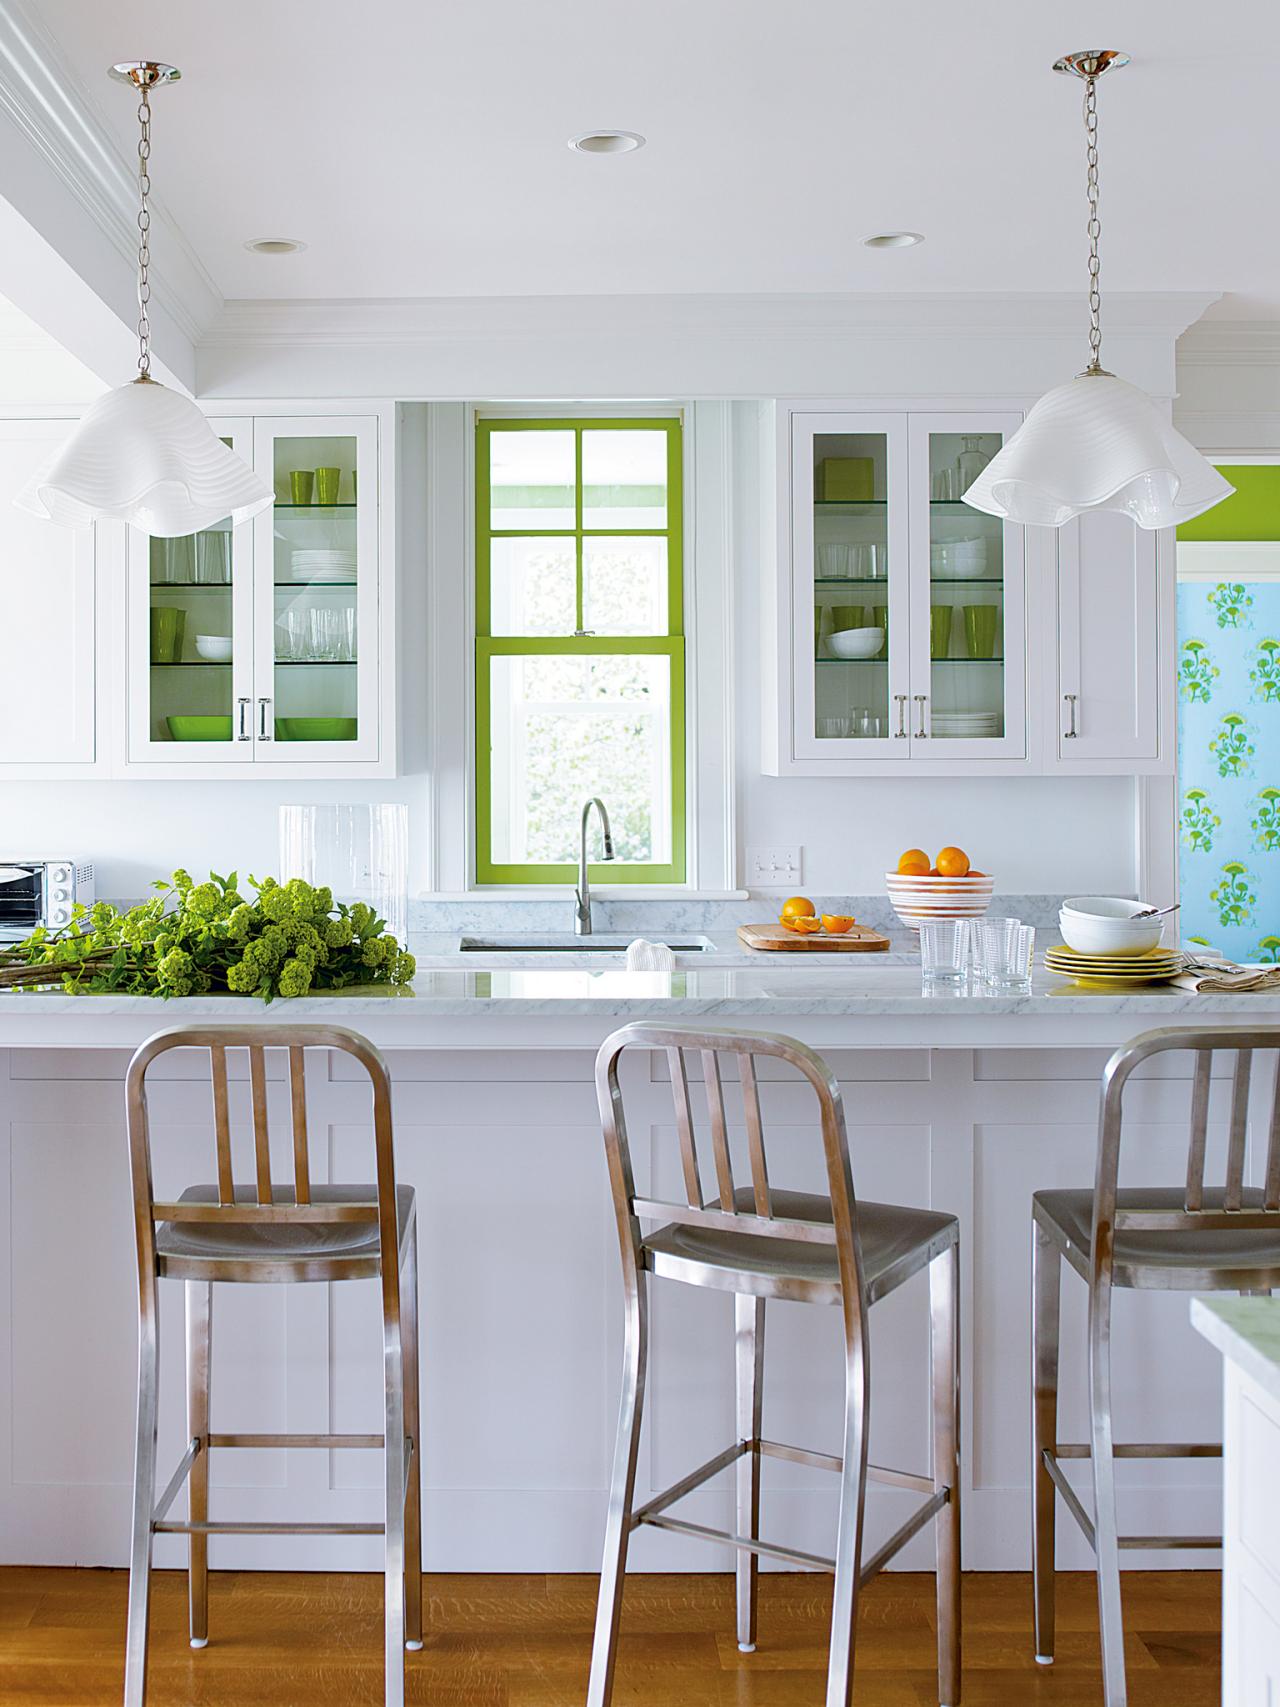 Photo by Eric Piasecki; Katie Ridder Rooms; Featured on HGTV
WHITE + A COLORFUL ISLAND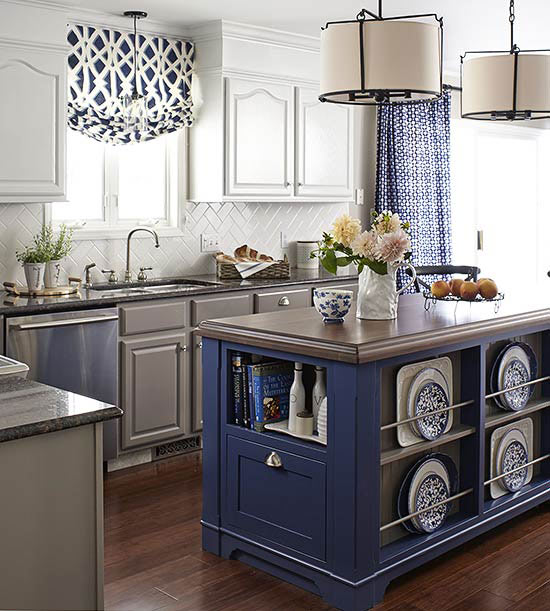 Designed by ME! Photographed by Laura Moss, Featured at BHG
[more details on the before & after of this kitchen can be found in this post – it’s a must see]
WHITE WITH WOOD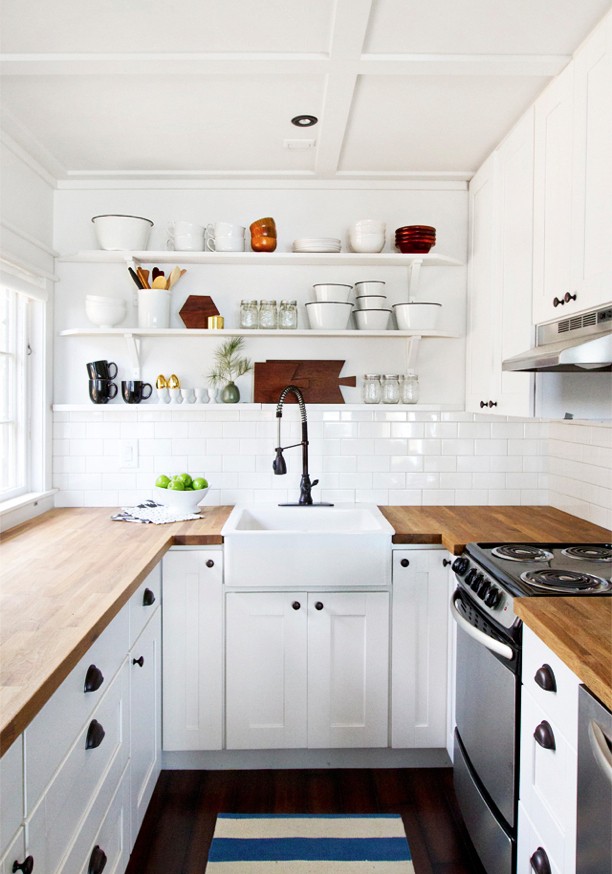 Kitchen of Sarah Sherman Samuel
WHITE WITH A CONTRAST TILE + FLOOR Kitchen designed by Mary Jo Fiorella
WHITE WITH OPEN SHELVES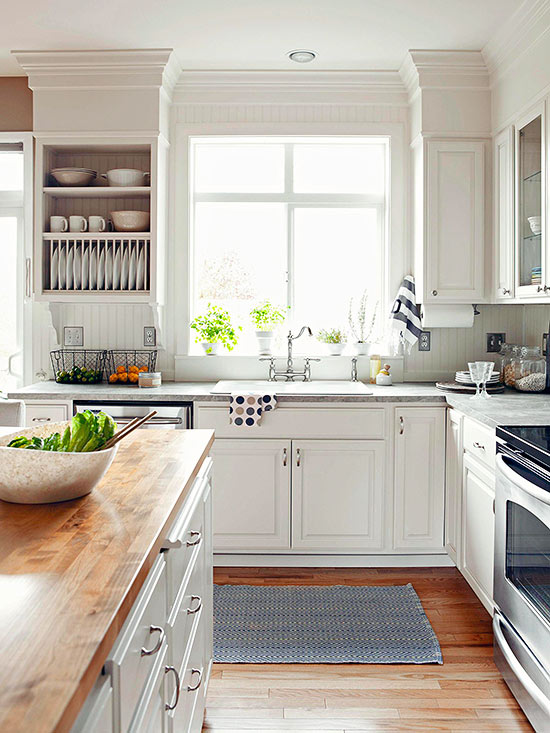 Kitchen featured at BHG
WHITE REFRESH WITH NAVY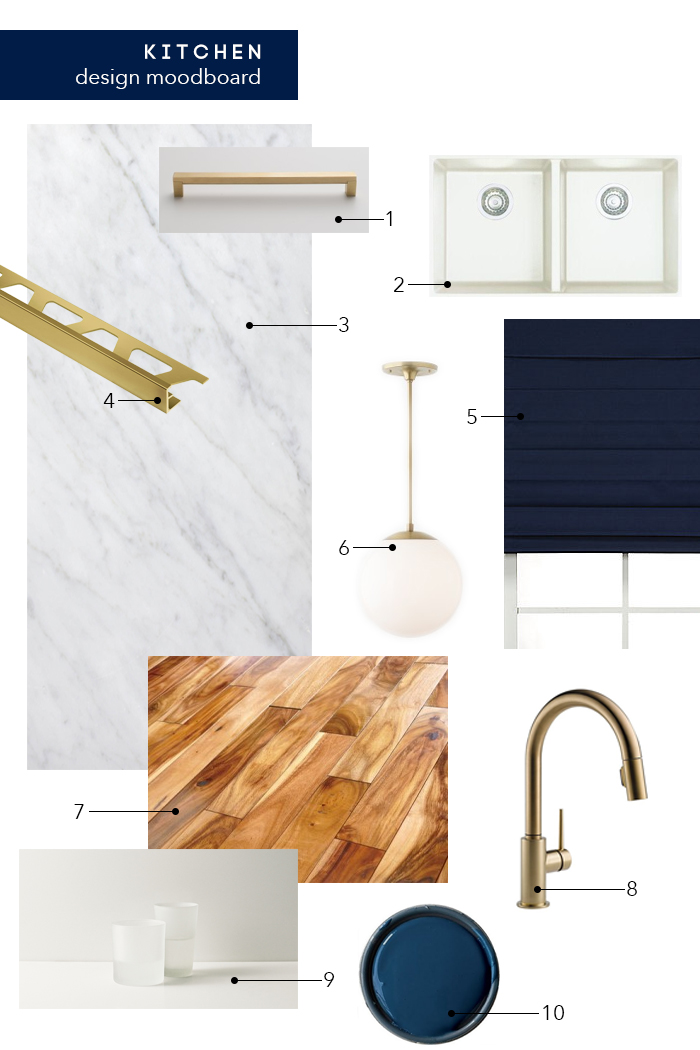 Kitchen + Mood Board by Emily Henderson
INDUSTRIAL STYLE WHITE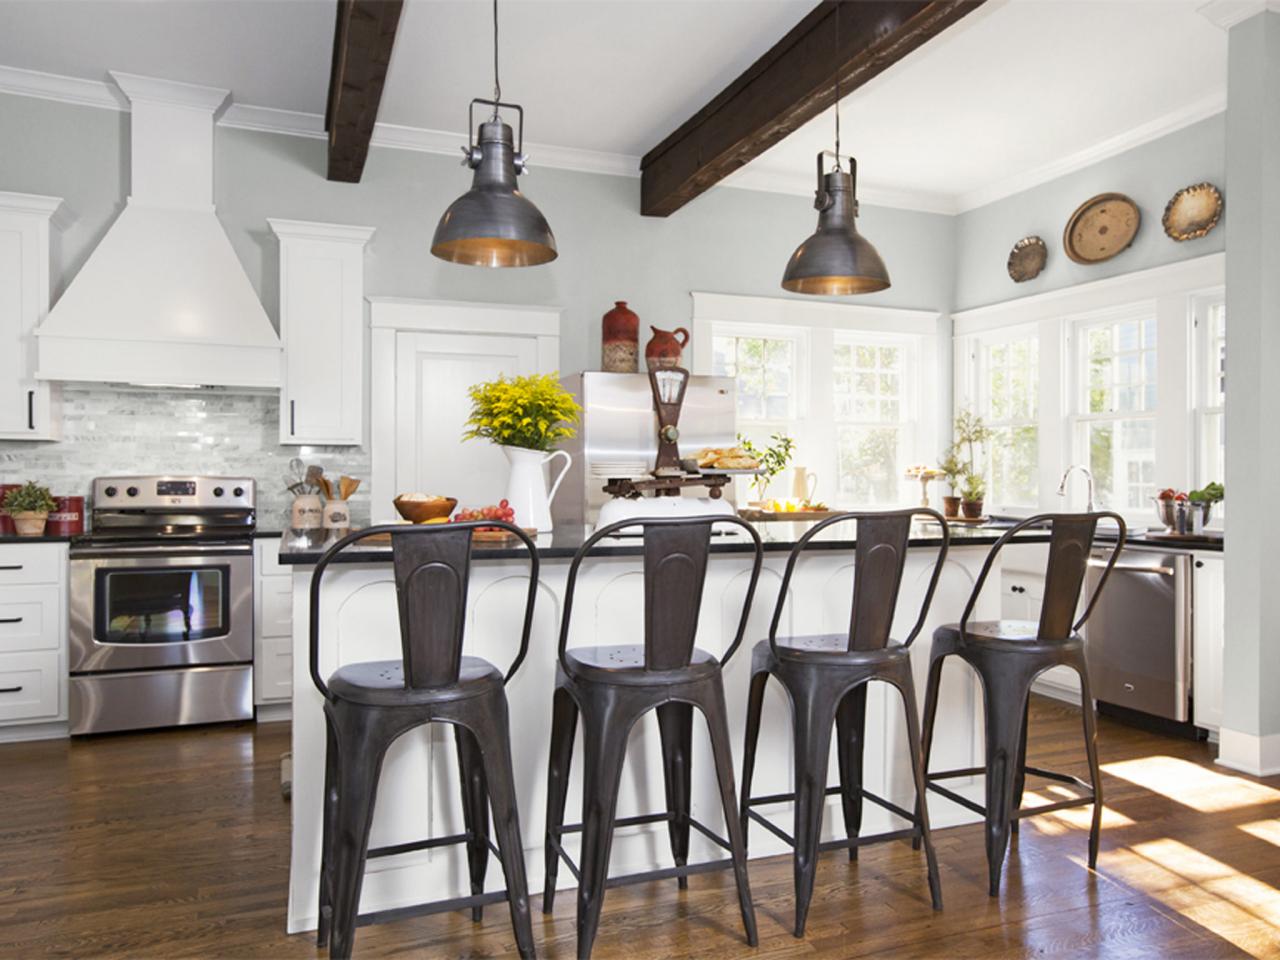 Designed by Fixer Upper‘s Joanna Gaines; Featured in HGTV Magazine
A MIX OF WHITE + GRAY 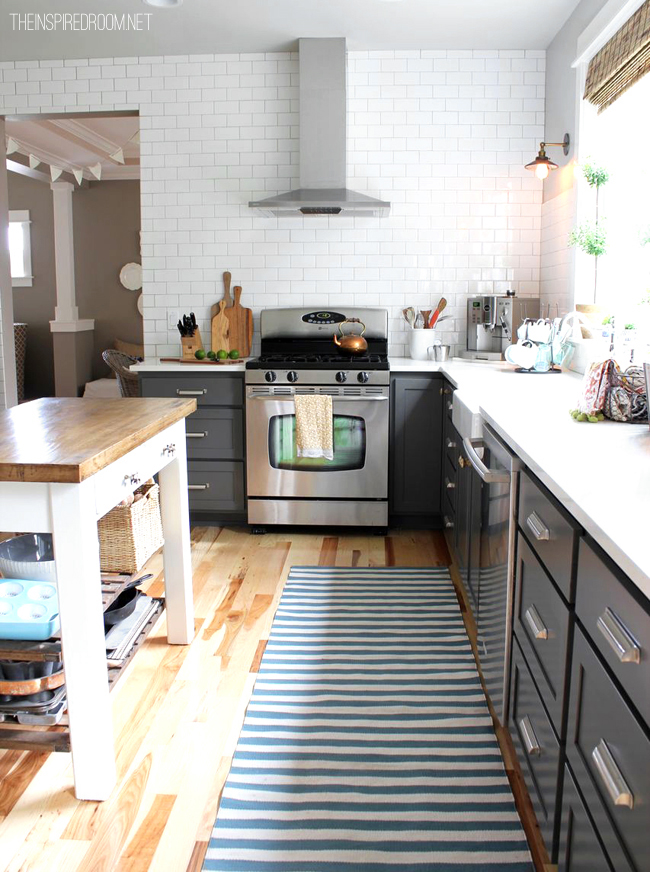 Kitchen by Melissa of The Inspired Room
WHITE BACKSPLASH WITH DARK GROUT Kitchen by Taste Interior Design
SMALL BUT SOPHISTICATED Kitchen by Hunted Interior
GO BOLD WITH A BACKSPLASH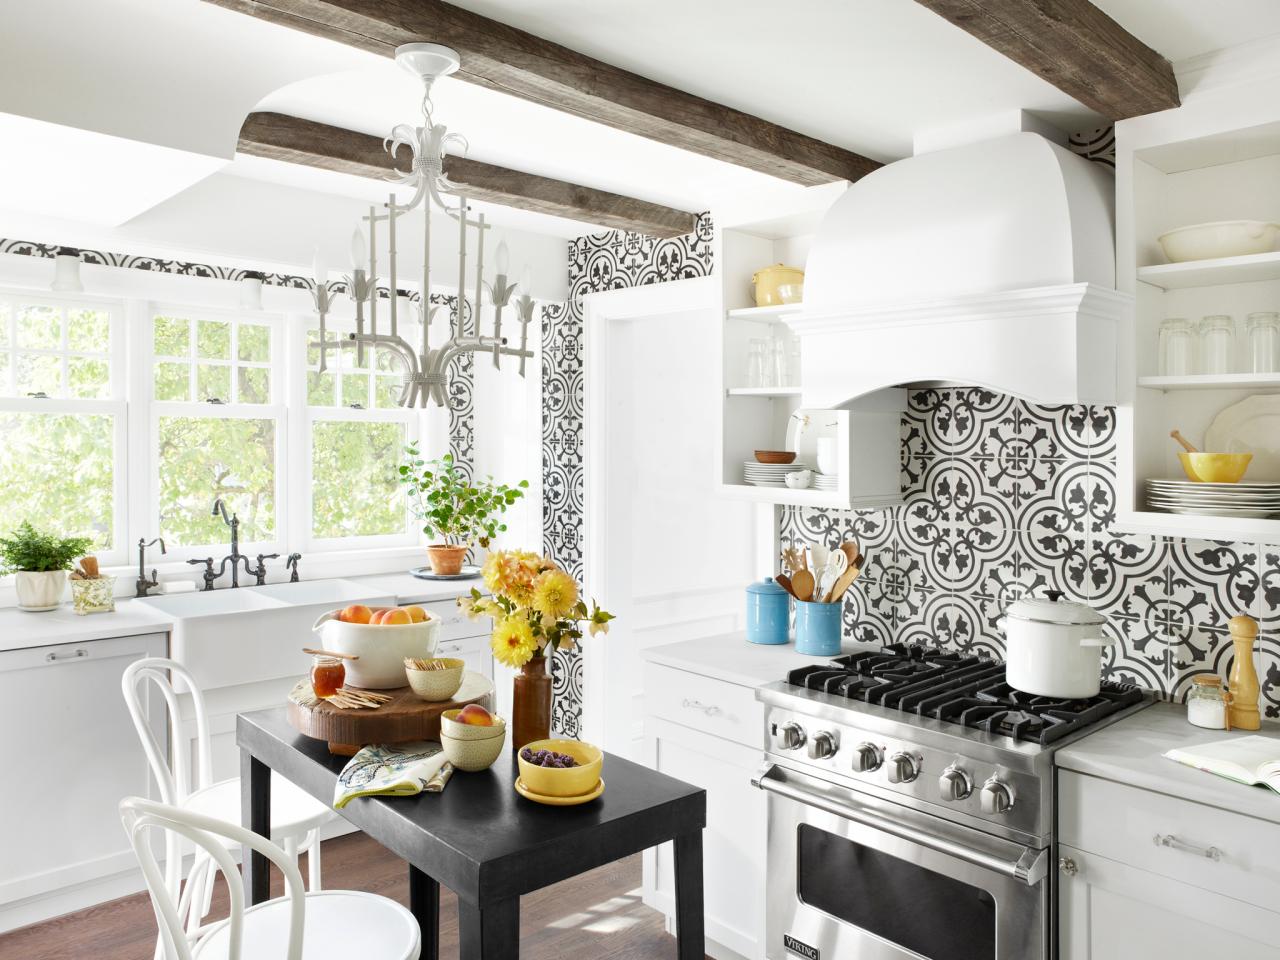 Photography By: Kim Cornelison; Home of Kim Cornelison + Alfie Ferreyra ; Featured at HGTV
WHITE IN A TRADITIONAL SETTING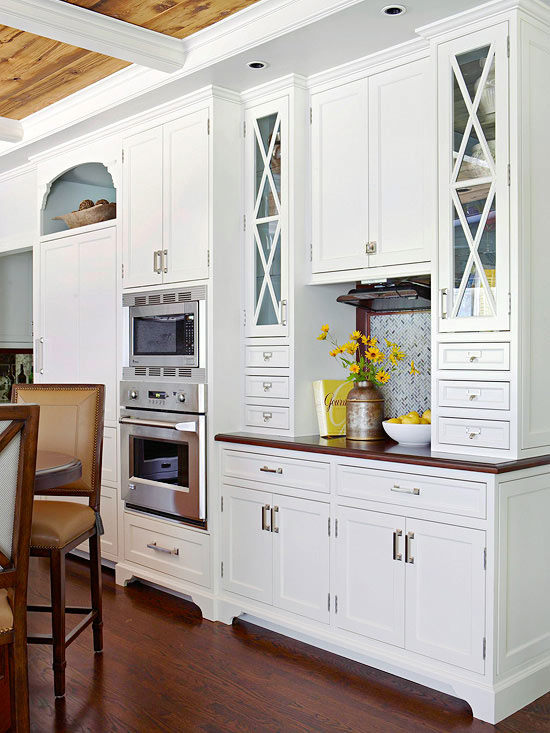 Kitchen featured at BHG
WHITE WITH OPEN WOOD SHELVES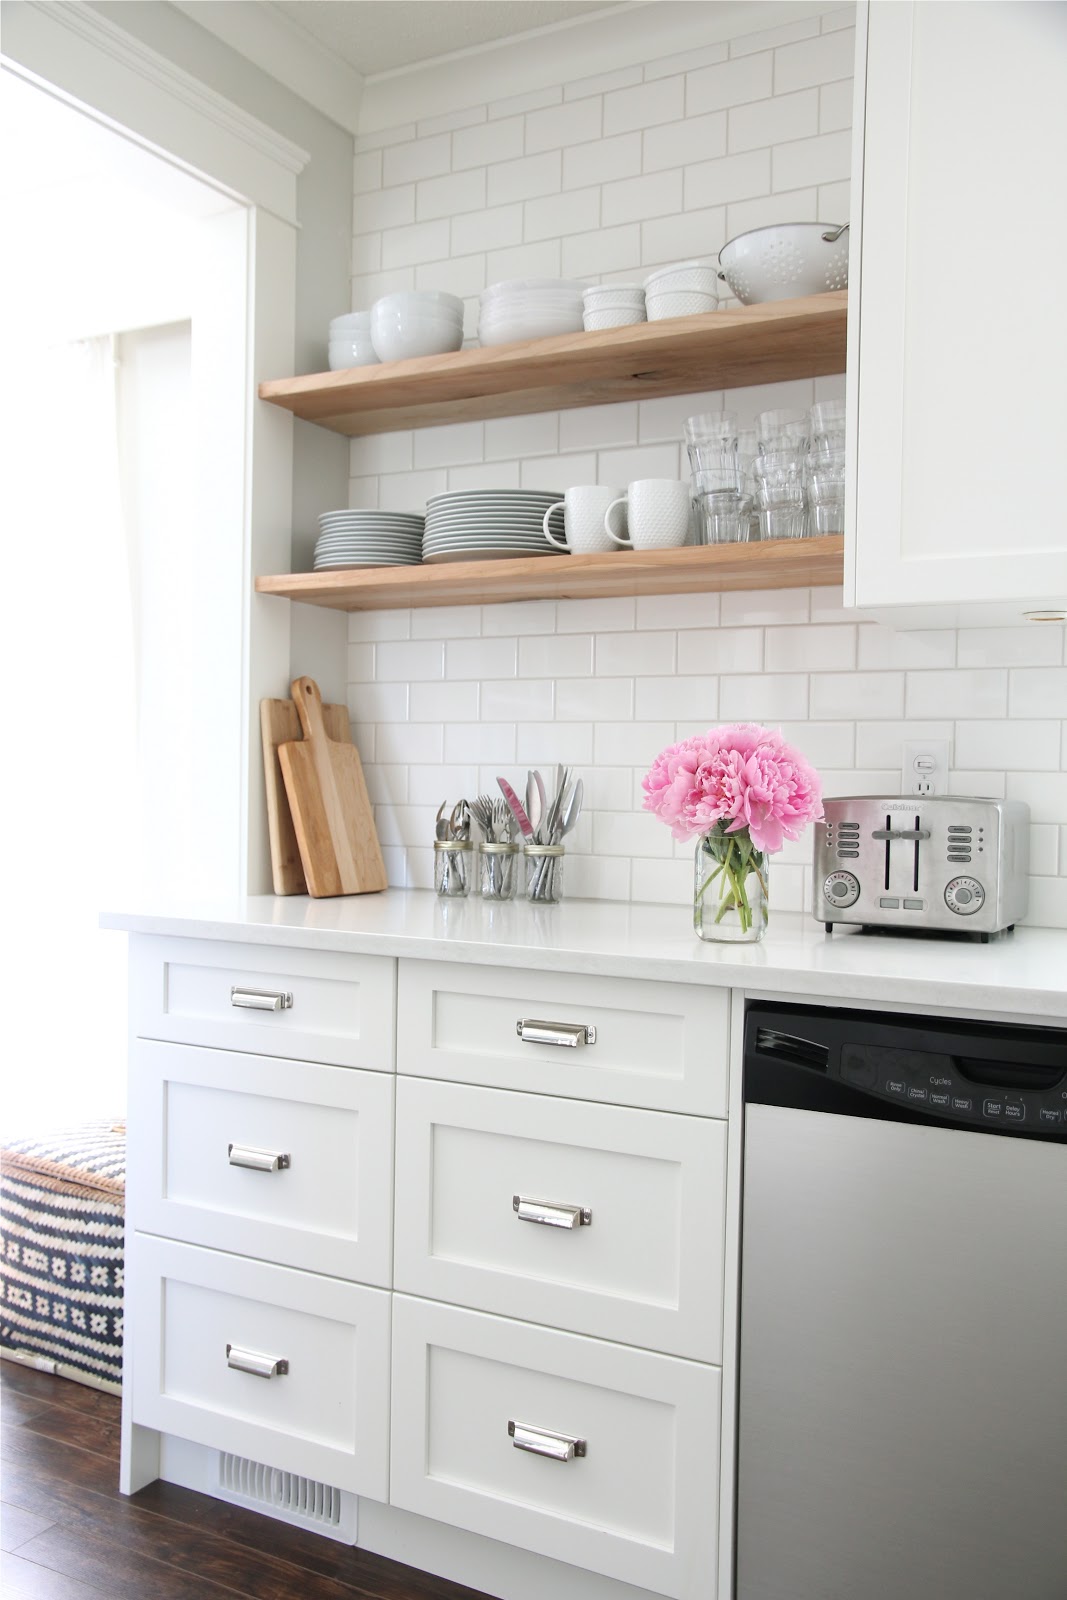 Kitchen by Our House
WHITE WITH POPS OF COLOR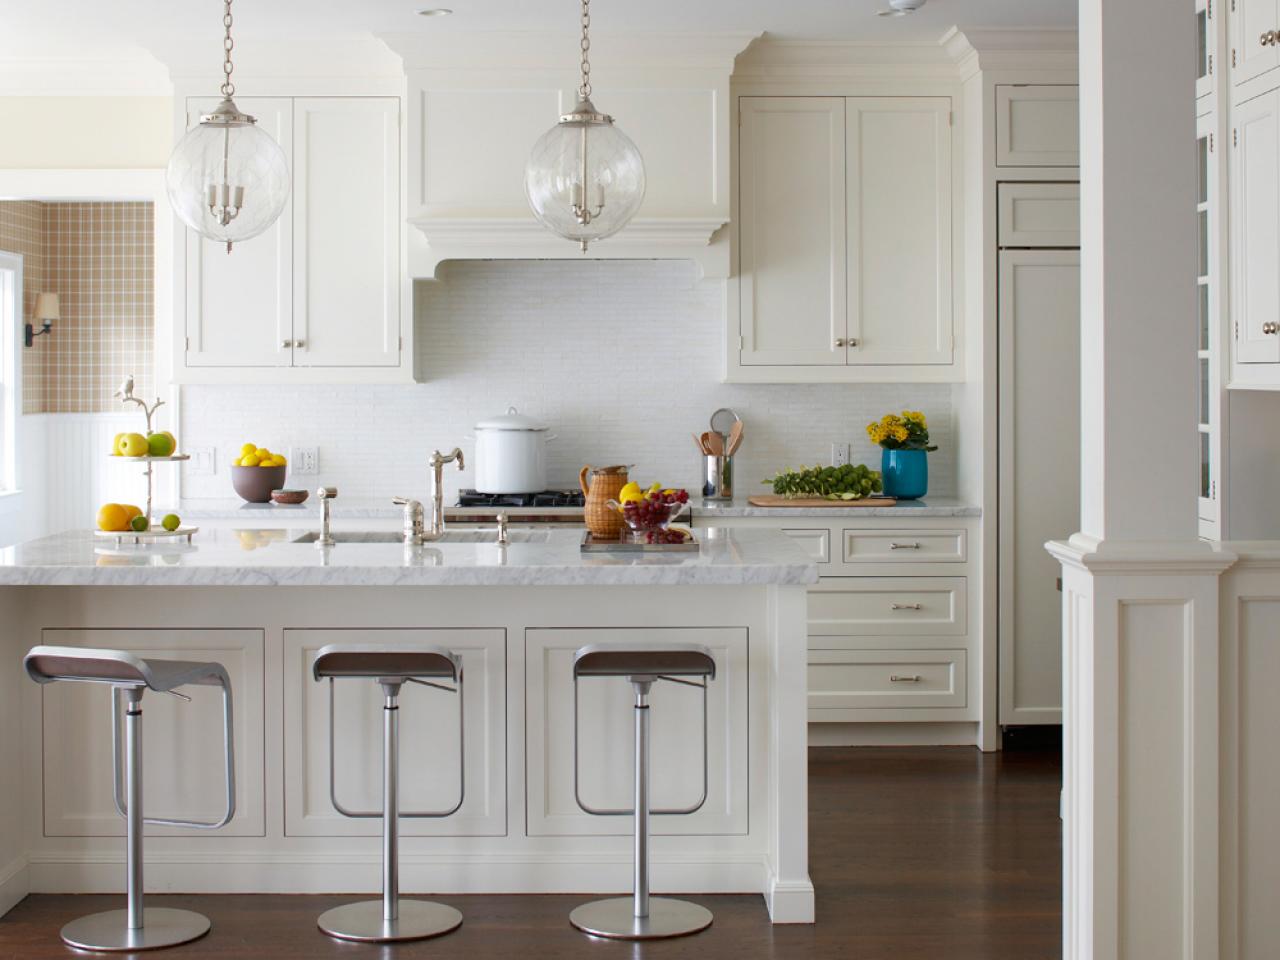 Kitchen designed by: Lauren Muse; Featured at HGTV
FLOOR TO CEILING WHITE IN A GALLEY LAYOUT Kitchen design by: Design Development
WHITE WITH BOLD LAYERS [turquoise is a favorite]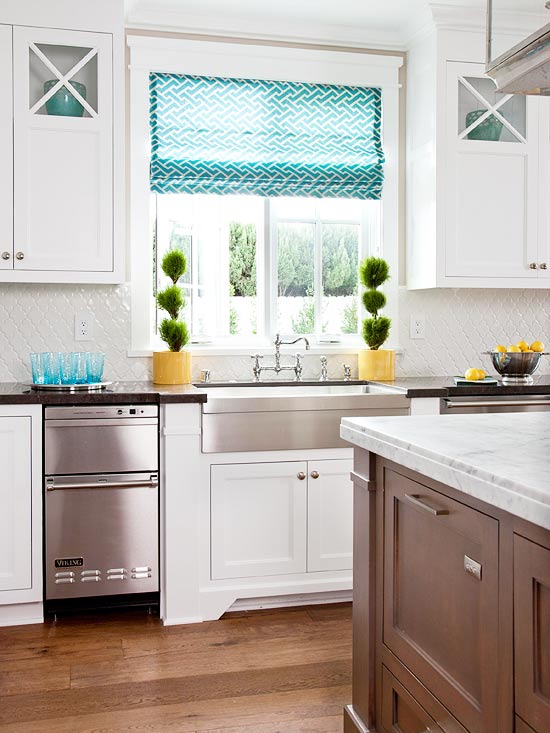
Kitchen featured at BHG
ECLECTIC WHITE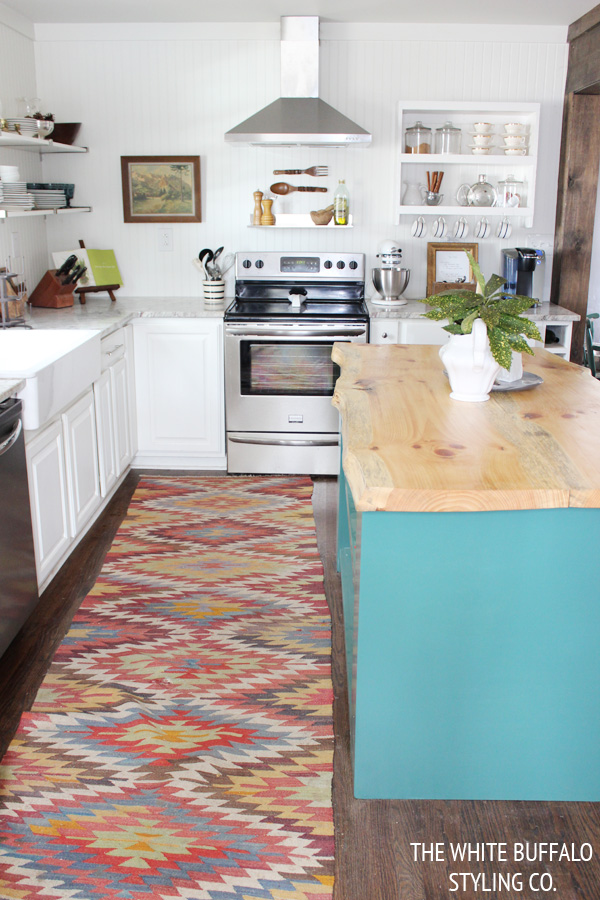 Kitchen by White Buffalo Styling Co
Open Shelves. Wood. Pops of Color. White Tile. Contrasting Grout. Colored Island.
Many elements from these inspirational pictures have influenced the design decisions for my kitchen. I can’t wait to share the details + plan of action with you… Next Week hopefully!
What colored cabinets would be in your dream kitchen? Is it white?

DID YOU HEAR? WE’RE RENOVATING OUR KITCHEN
If you want to see all the posts documenting the kitchen renovation, here they are from start to finish:
Wonderful White Kitchen Inspiration
Kitchen Remodel: Before + Plan of Action
Demo Day: Steps for Demolishing the Kitchen
Kitchen Progress: Staining Hardwood Floors
The Cabinets Arrive + Get Installed
Natural Quartz Countertops in the Kitchen
10 Countertop Materials to Consider for the Kitchen
Subway Tile Installation + Choosing the RIGHT Subway
Kitchen Backsplash Tile Options + Inspiration
Choosing a Paint Color + Wallpaper for the Kitchen and Dining Room
Kitchen Renovation: The Appliances
Dissecting the Details
Kitchen Renovation: REVEAL + RESOURCES