


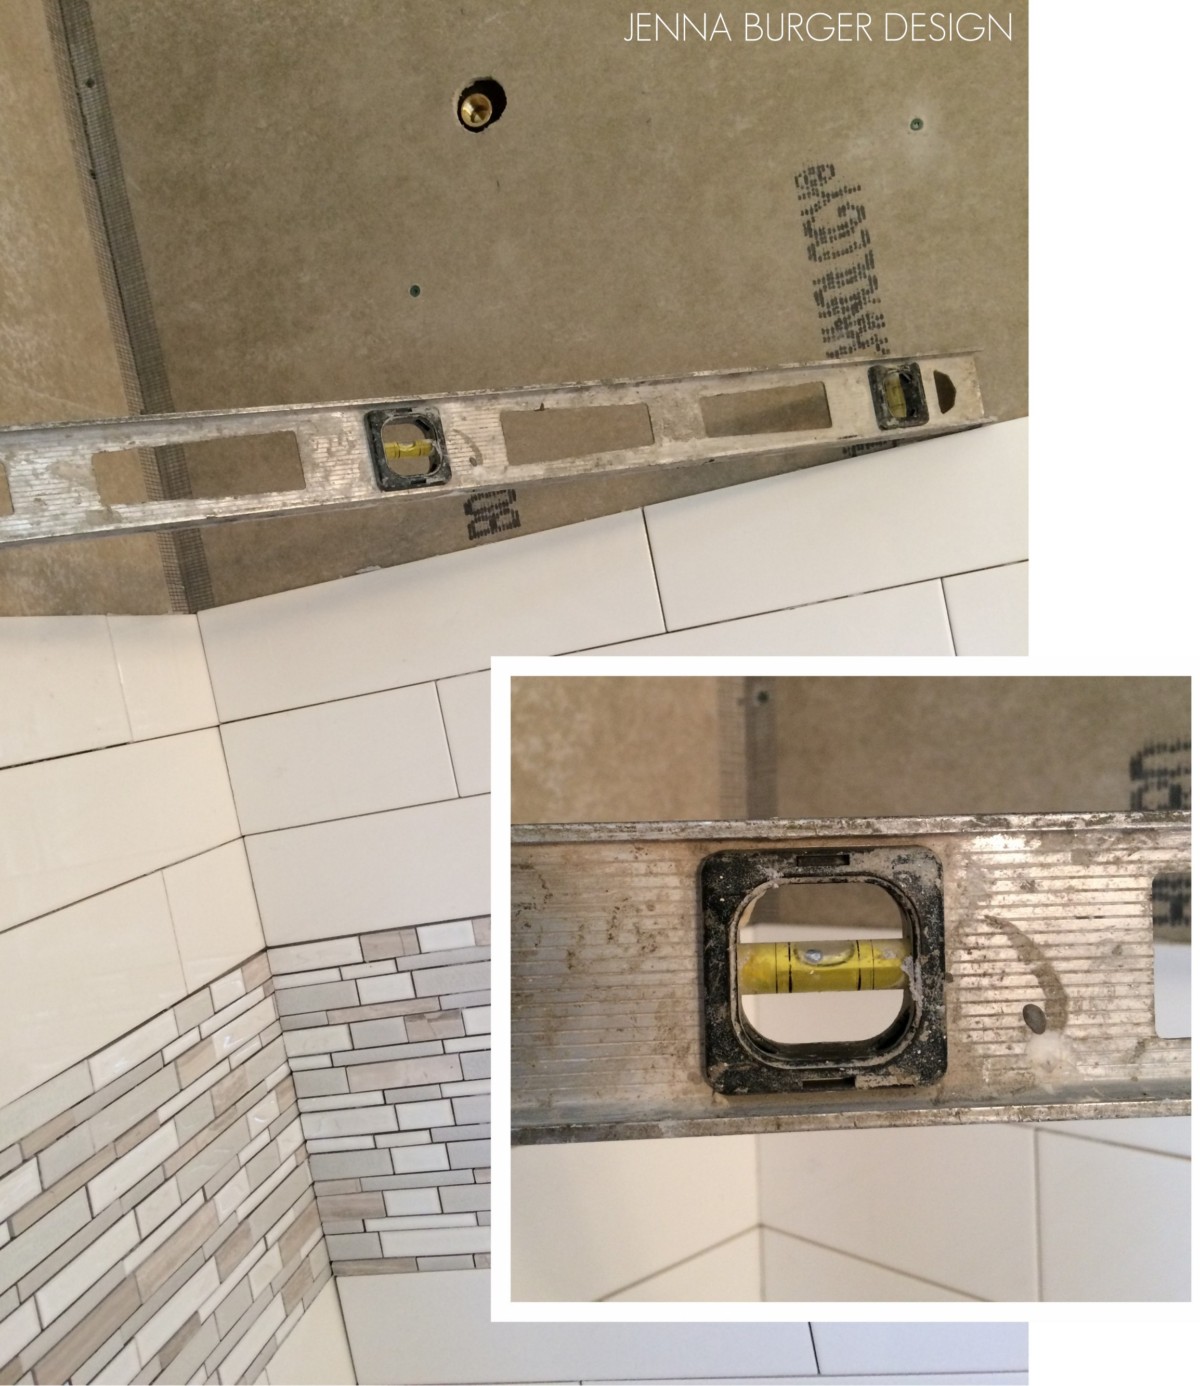
Making sure the tile is straight is so important!
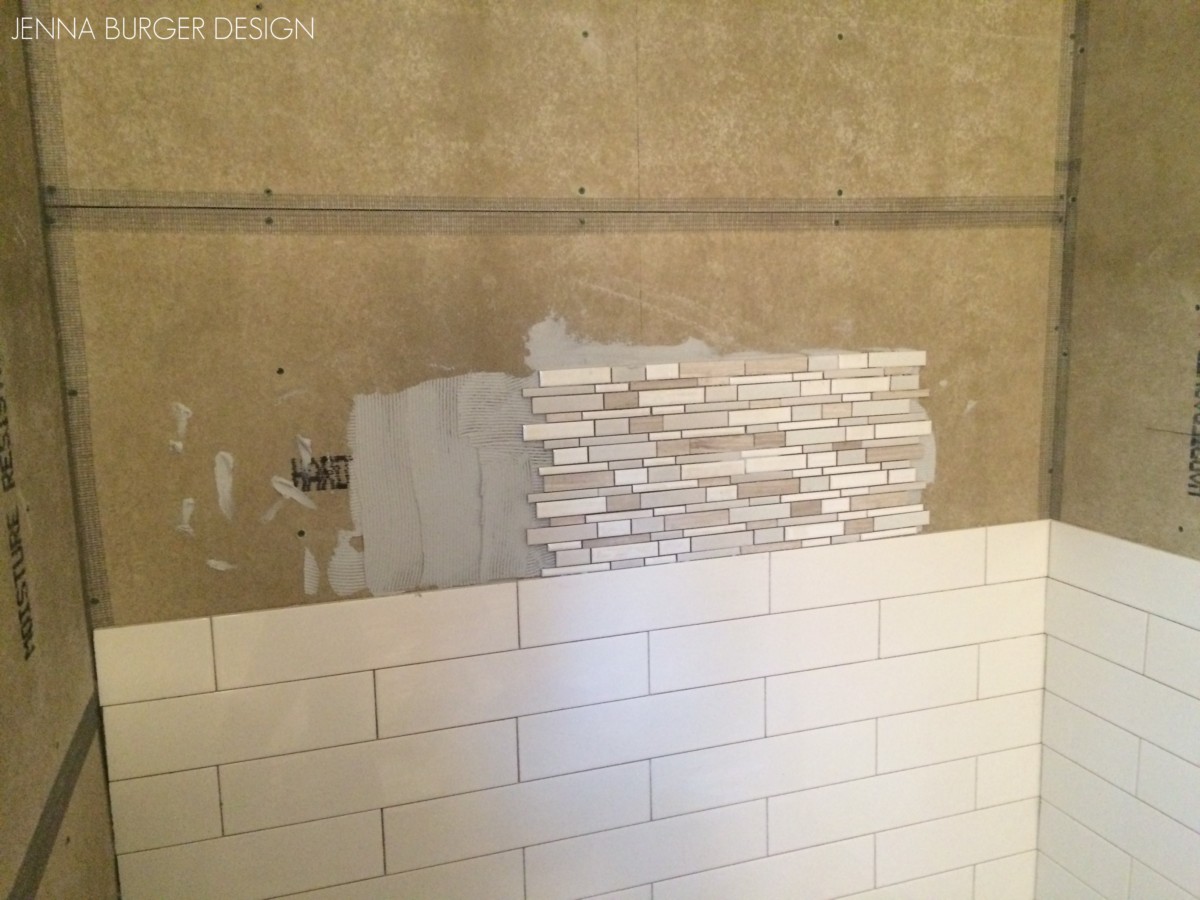
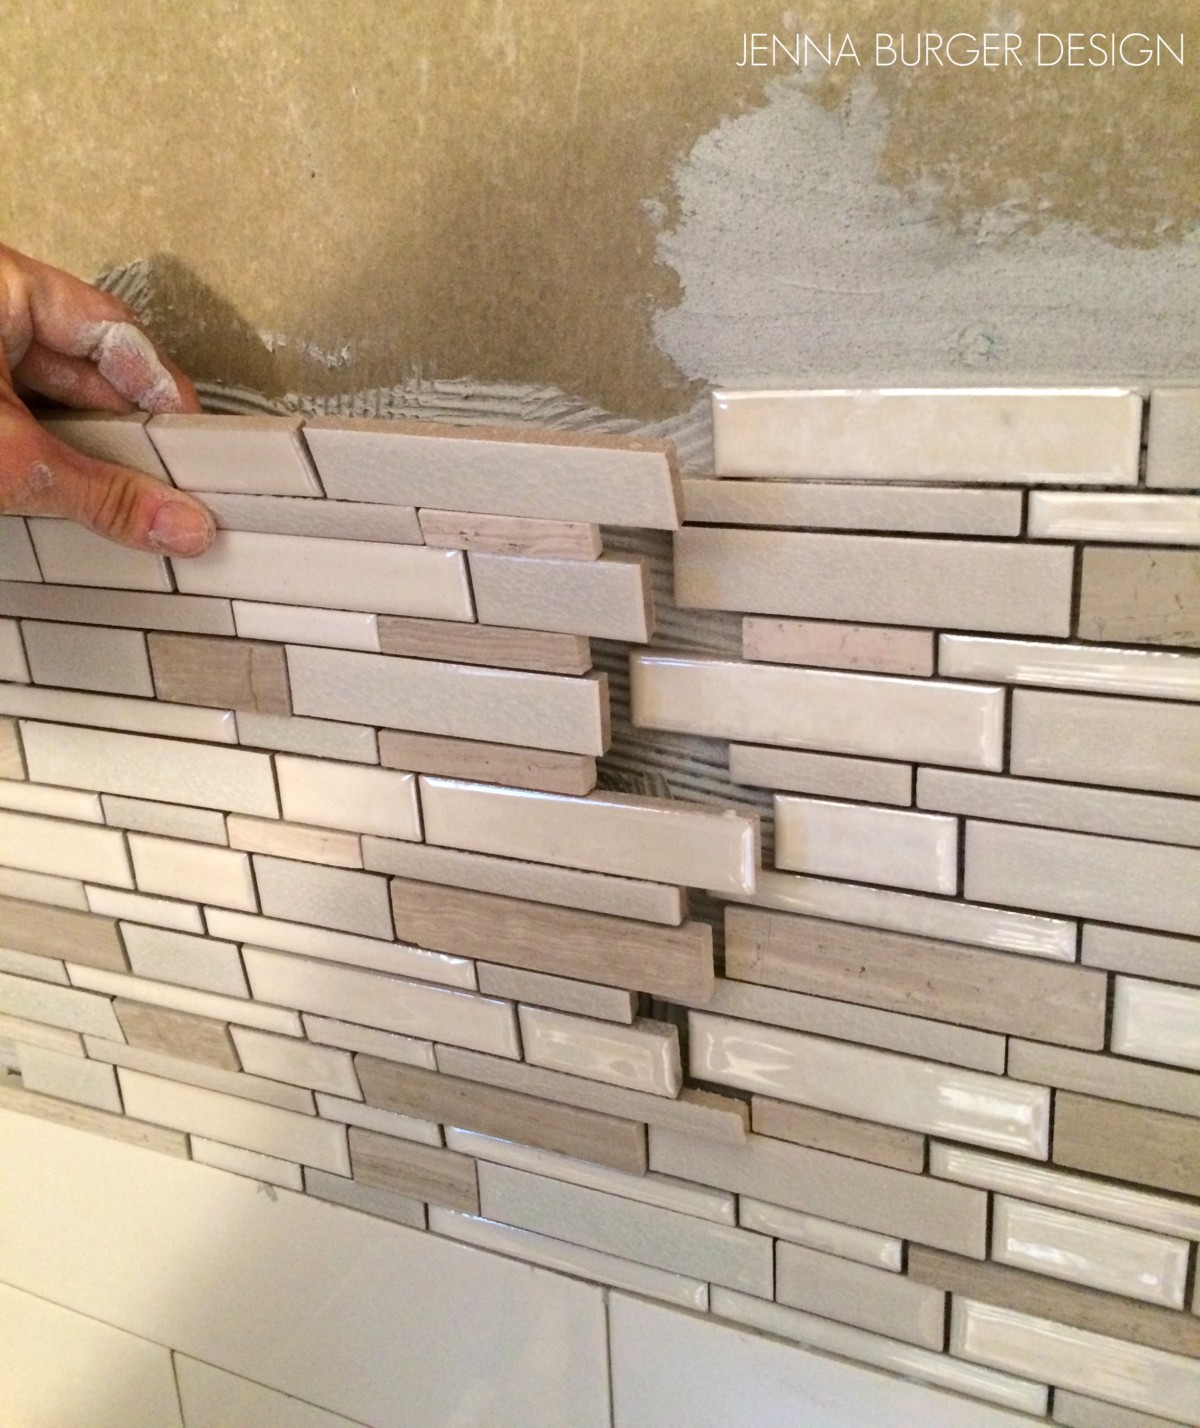
About half way up the wall, it was time to add the pretty mosaic tile.
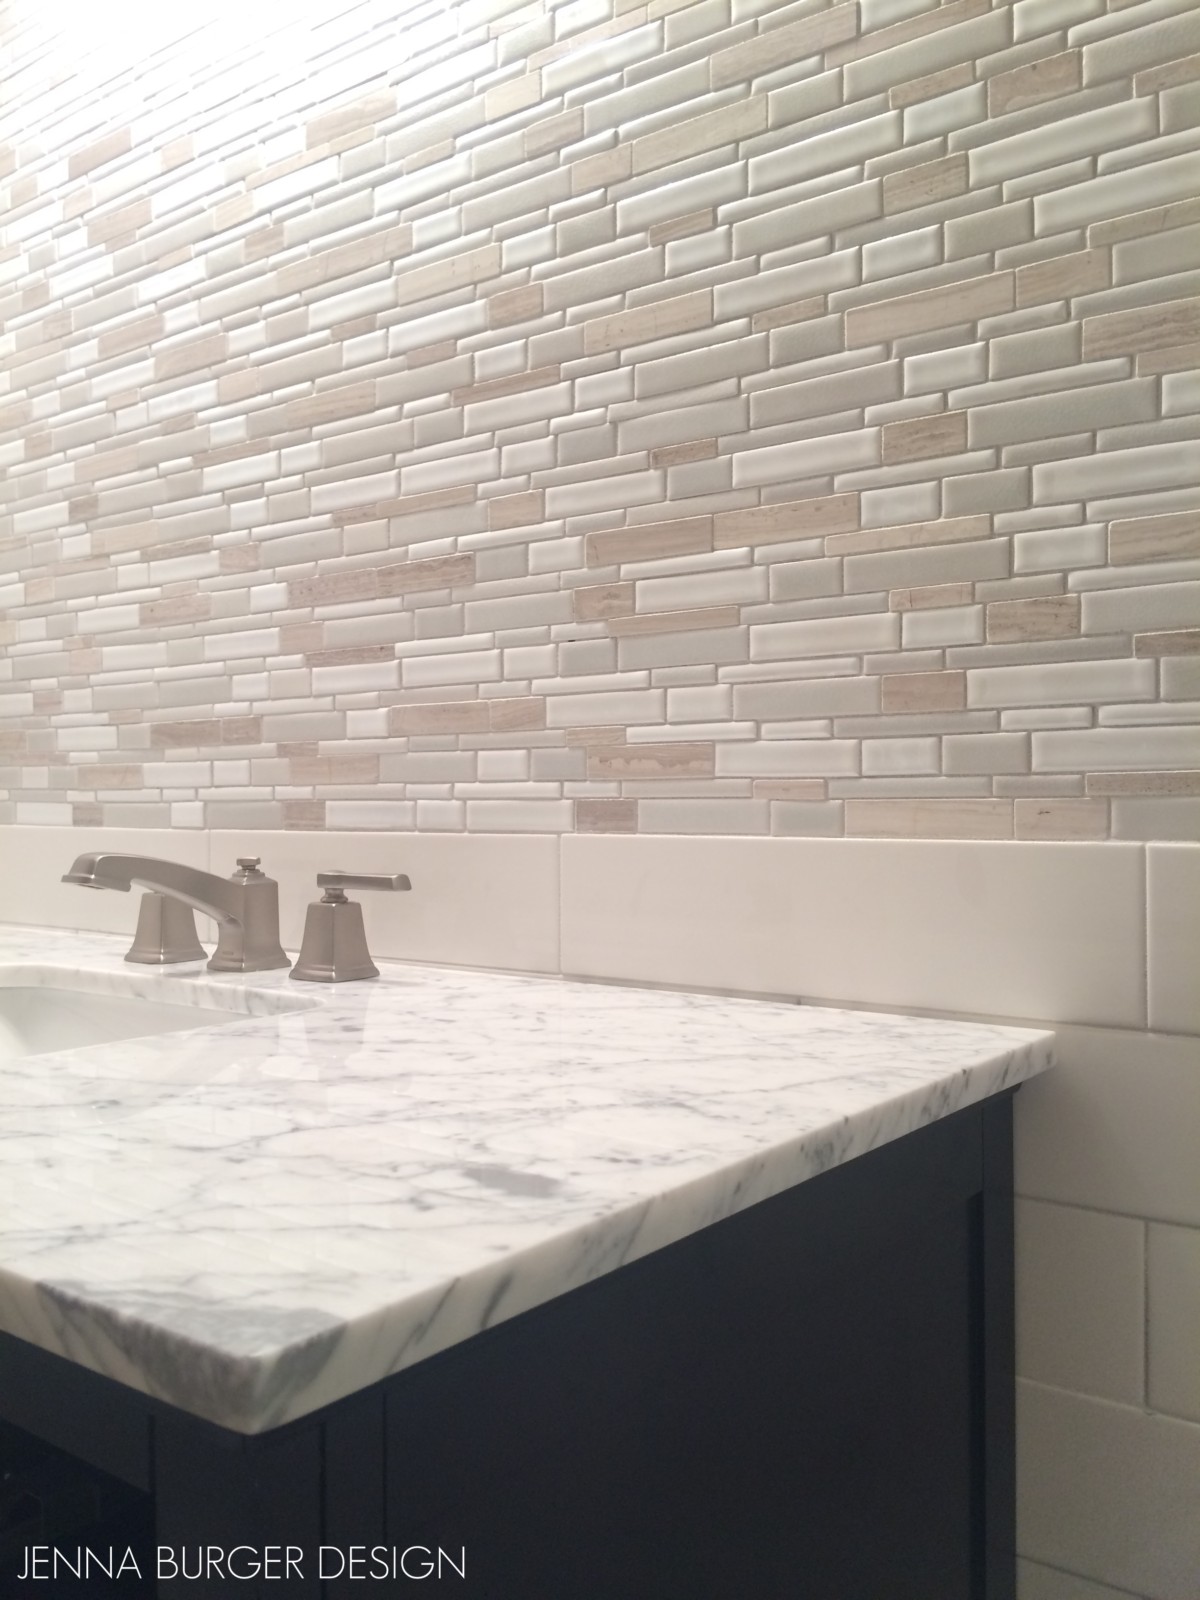
It took a while for me to decide on a mosaic tile, as there were so many beautiful options…
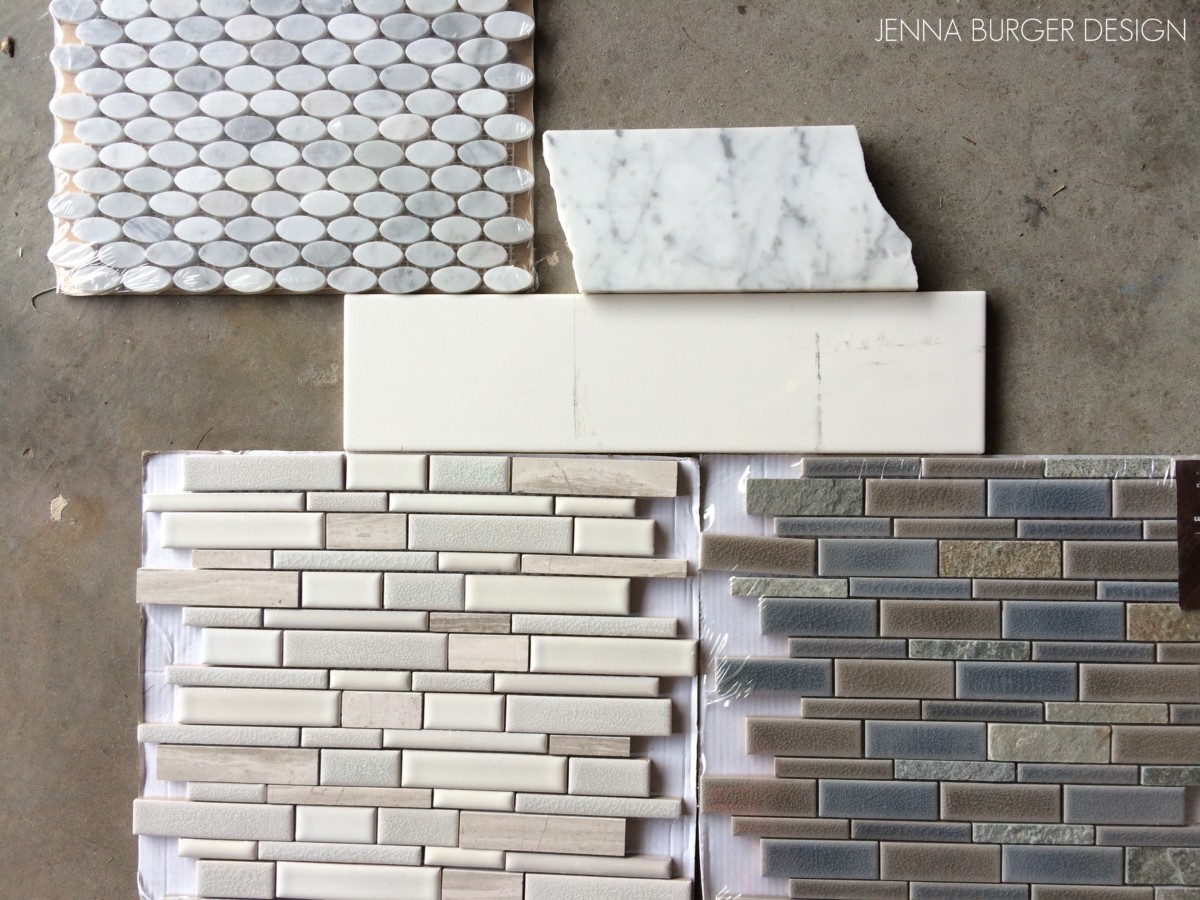
In the end, I chose the bottom left mosaic which is a mix of ceramic and natural stones all in lighter tones of creams and whites. Because of how much mosaic I am using (entire wall above the vanity) + with the overall serene and calm aesthetic I want to achieve, I felt it was a perfect pairing with the white large subway tile.
Same as with the first tile installed on the wall, I found the center point of the back wall and adhered the first mosaic sheet.
And continued around the shower.
Here I am in my Sunday best…

The beauty of these mosaic tiles is how each sheet links together to create a seamless pattern.
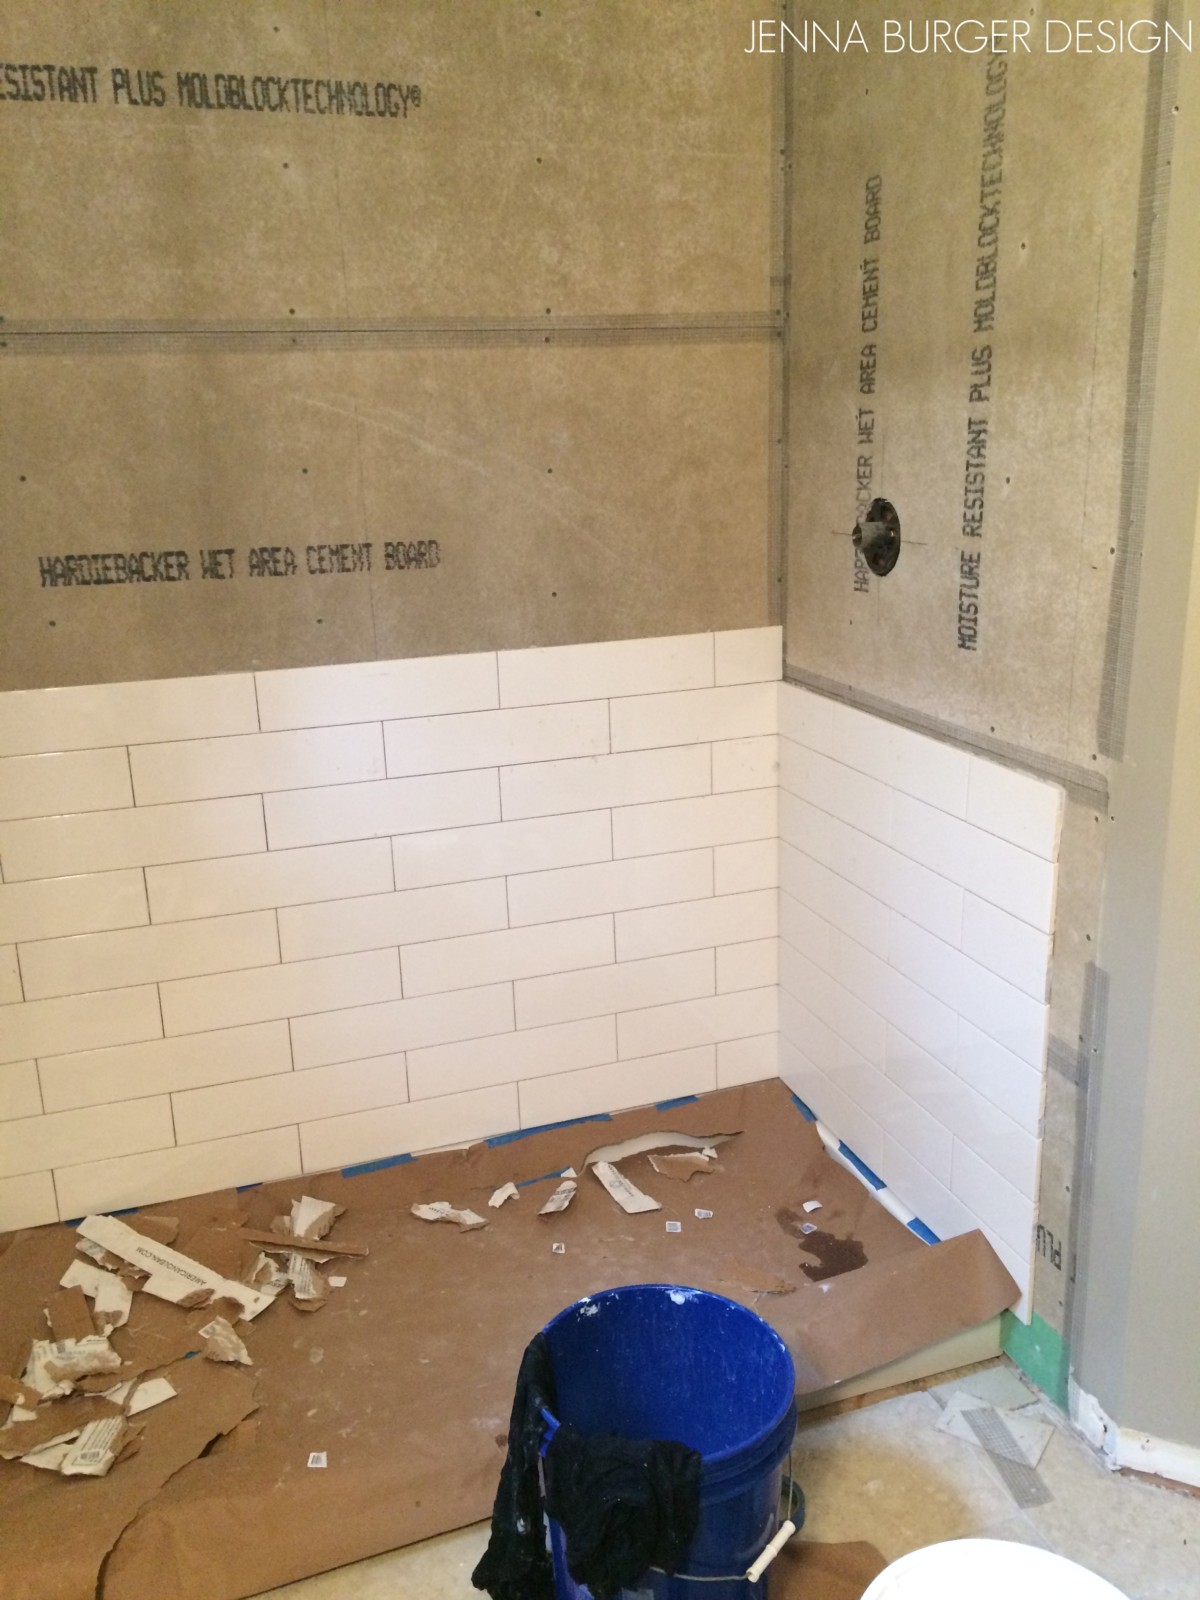
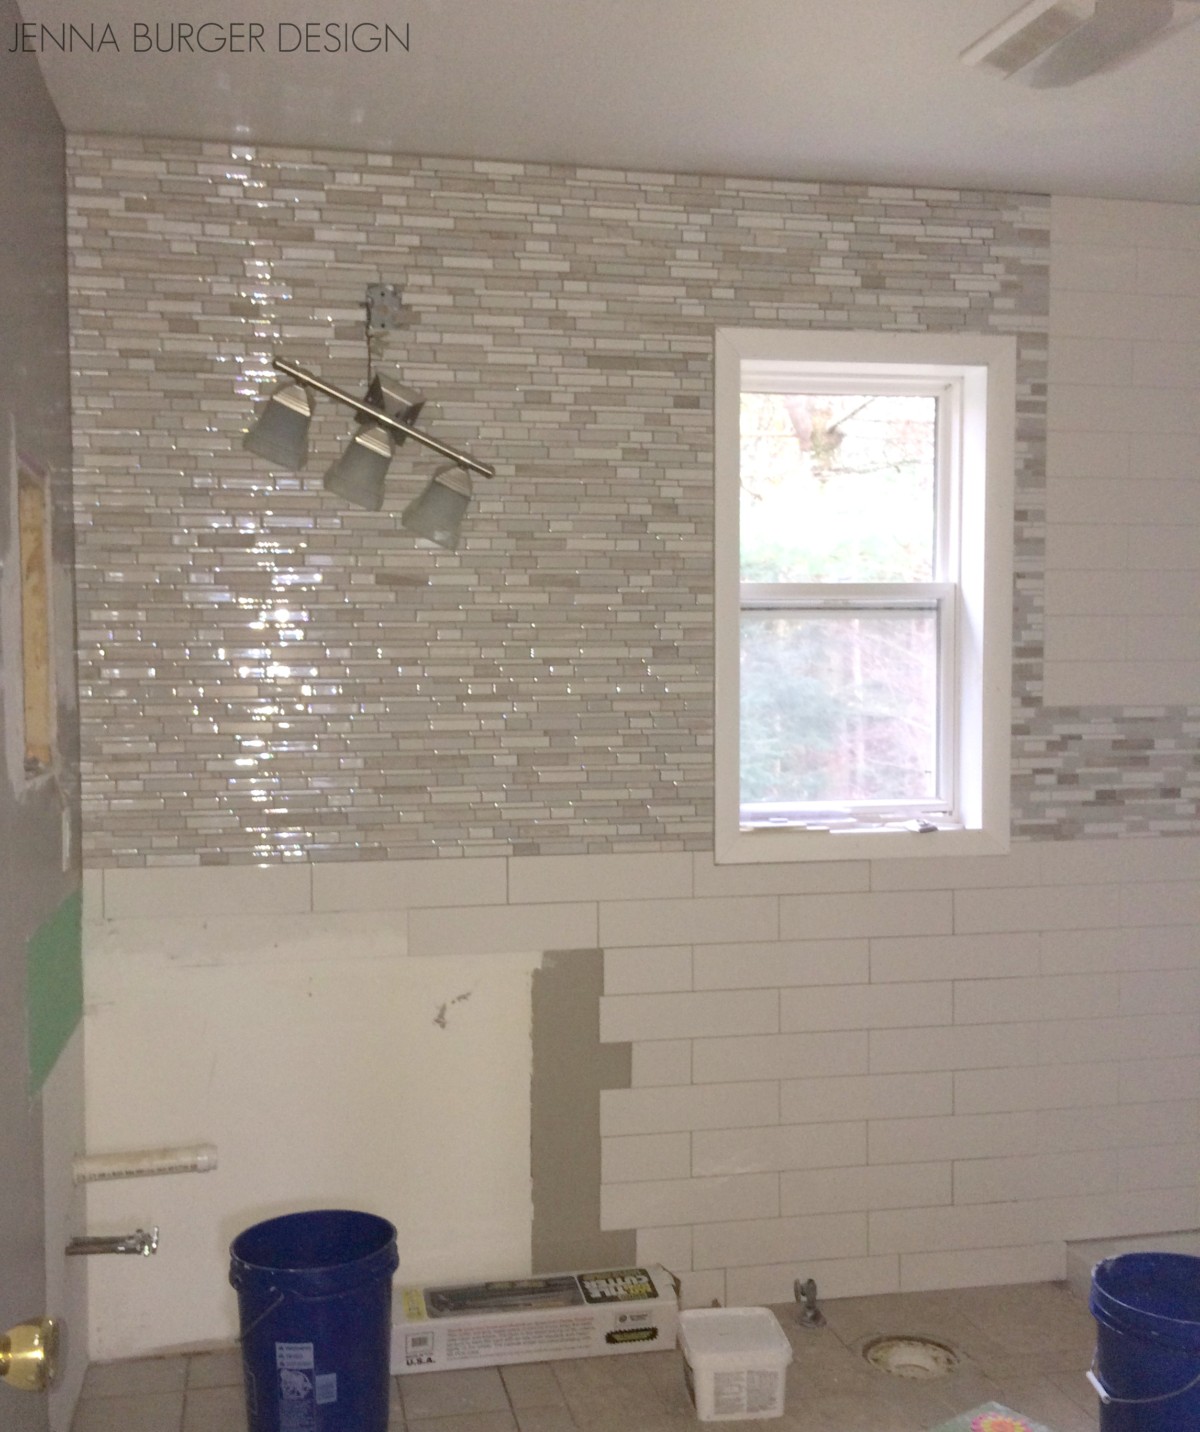
After the one row of mosaic in the shower was installed, I continued above it with the 4″ x 12″ tile.

But outside of the shower, the mosaic tile continued to the ceiling and all the way over above the vanity.

It was a lot of tile to install and my shoulder was sore for days, but the result is breathtaking!
There are two methods I used to cut the tile, (1) with a hand-held tile cutter (like this) or (2) with a wet saw (like this). There are pros and cons to both.
HAND HELD TILE CUTTER
The subway tile was fairly easy to cut/trim, so for those cuts I used the hand-held tile cutter and was able to do it right on the bathroom floor. This made the project easier and more manageable to tackle at night (which is when most of the bathroom came together).
Once I marked where the tile had to be cut. I lined it up on the tile cutter. Scored it 3-4 times with the manual blade. And snap. The tile was cut.
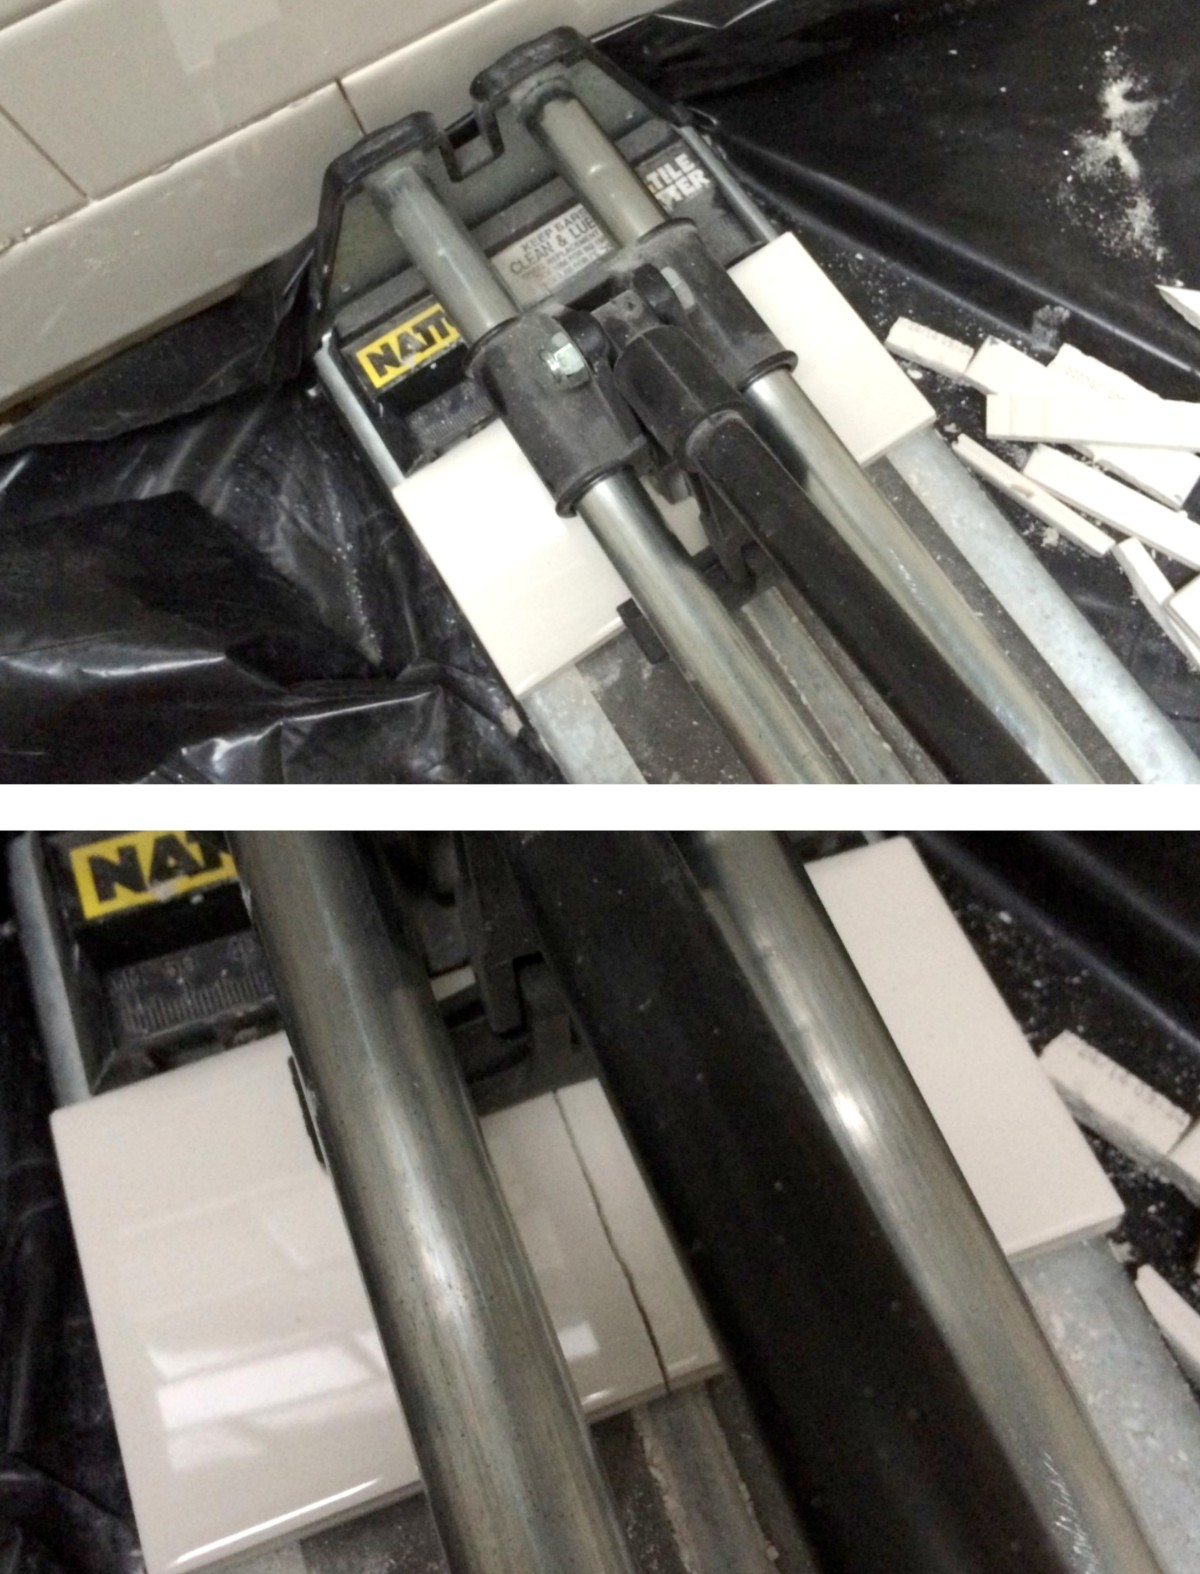
For smaller sized ceramic tile, I find that the hand held tile cutter is perfect, but for larger tile (ie: 12 x 12 or larger) and thicker natural stone, a wet saw is needed!
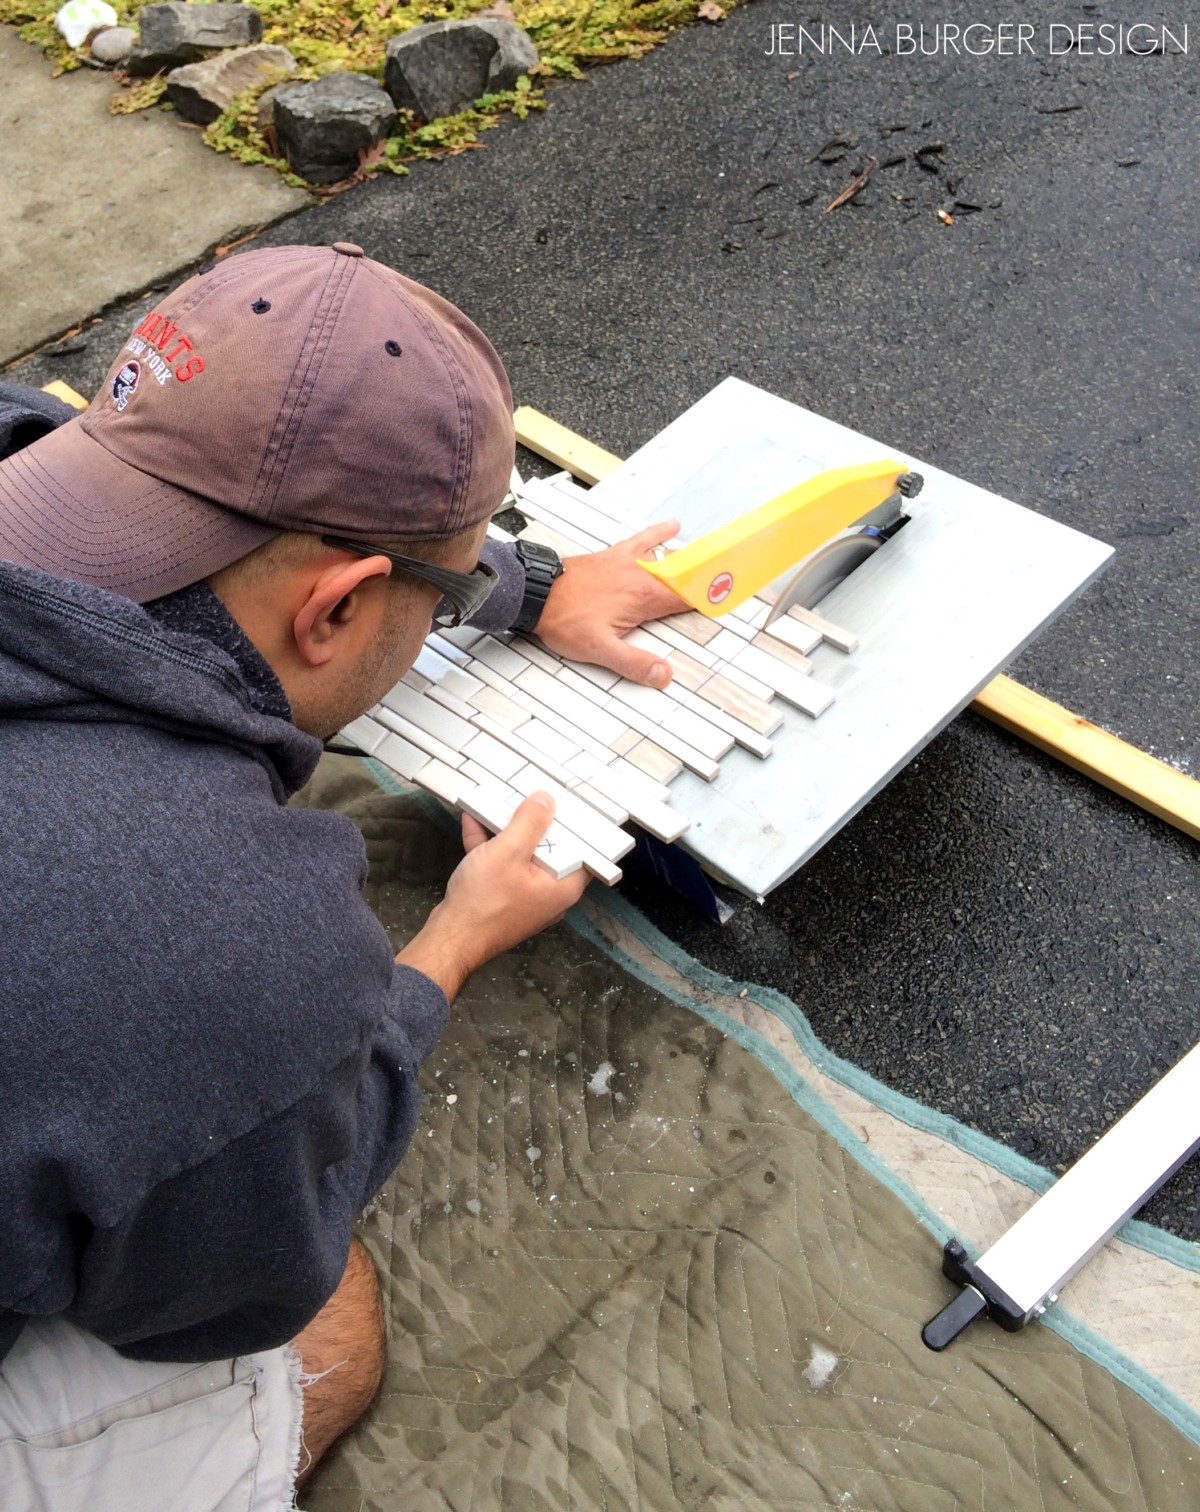
WET SAW
The beauty of the wet saw is the ease and preciseness of the cuts. BUT it’s messy and there is a setup / cleanup process. Many wet saws come with a stand, but we don’t have one and instead set it up on our driveway. Since water is needed, there is a tendency to get wet and when working on a project late at night, who wants to be running up and down the stairs to go outside to cut tile? NOT I. So when it came time to cut the mosaic tiles, we waited till the weekend.
ADDING ADHESIVE TO TILE
Because I couldn’t spend 8 hours a days tiling (I wish – I’m glad if I got in 2 hours each day), I purchased pre-mix adhesive (instead of making my own batch each day) which was a life saver.
HELPFUL HINT: Instead of cleaning out the bucket of mortar (as well as grout) each time, grab about 5-10 small buckets so they can be thrown away. And never ever, ever cleanup your tools in the sink of your home. Yes you can wash your hands, but be sure to run hot water for a few minutes afterwards. Washing a bucket or the tools in the sink of your home could result in the mortar (or grout) hardening in the pipes. been there, done that

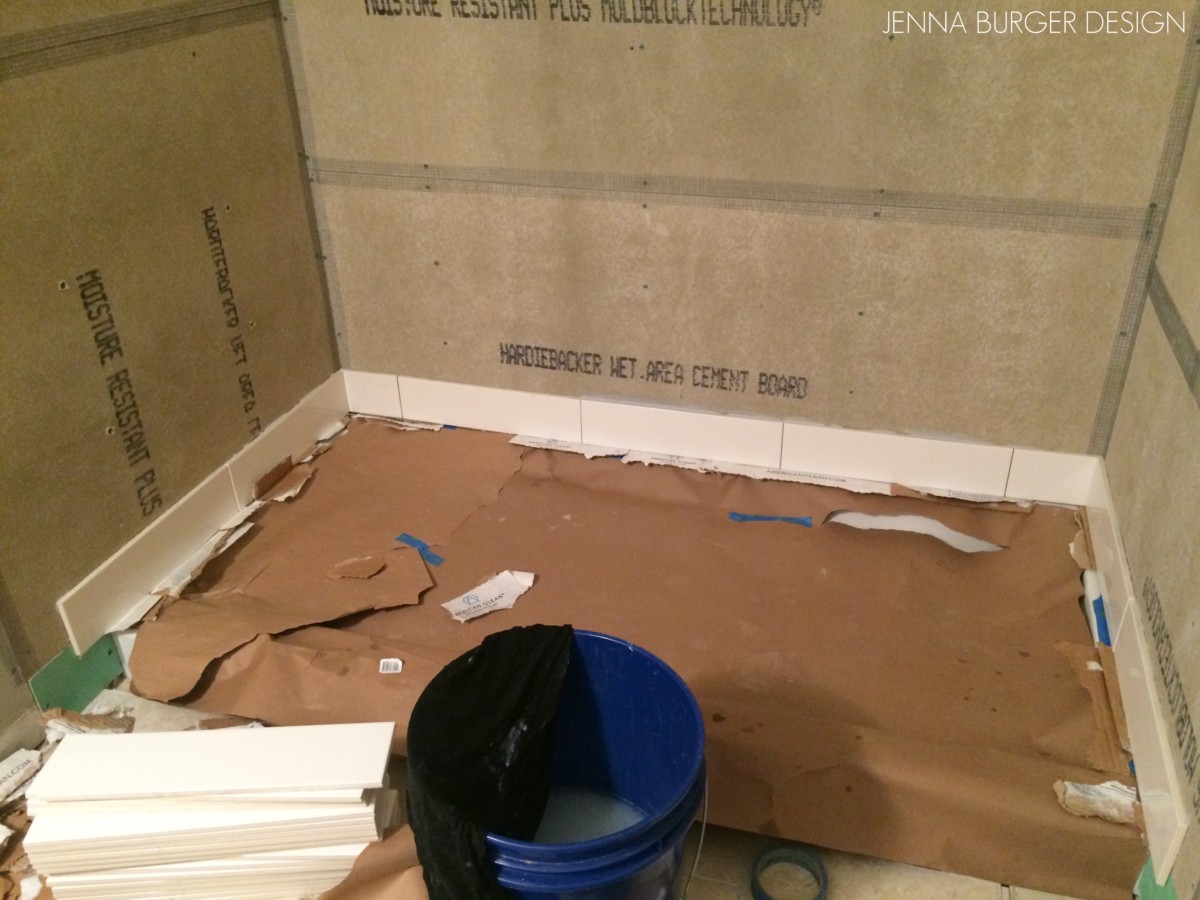
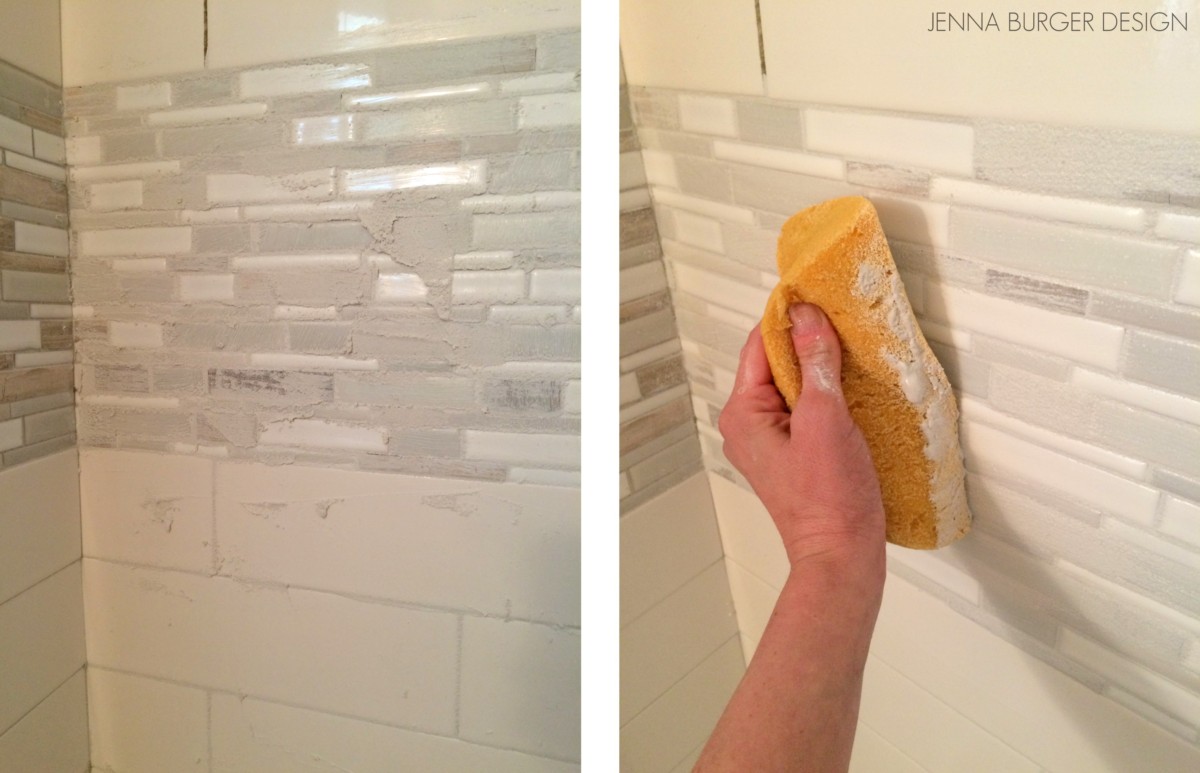
HOW-TO GROUT TILE
Grout seals the deal! It not only gives a finished look, but grout “locks in†and secures the tile to stay in position.
For this bathroom renovation, I chose to use a premixed unsanded grout. Sanded grout is typically for larger joints from 1/8″ – 1/2″, while unsanded grout is for smaller grout lines that are less than 1/8″.
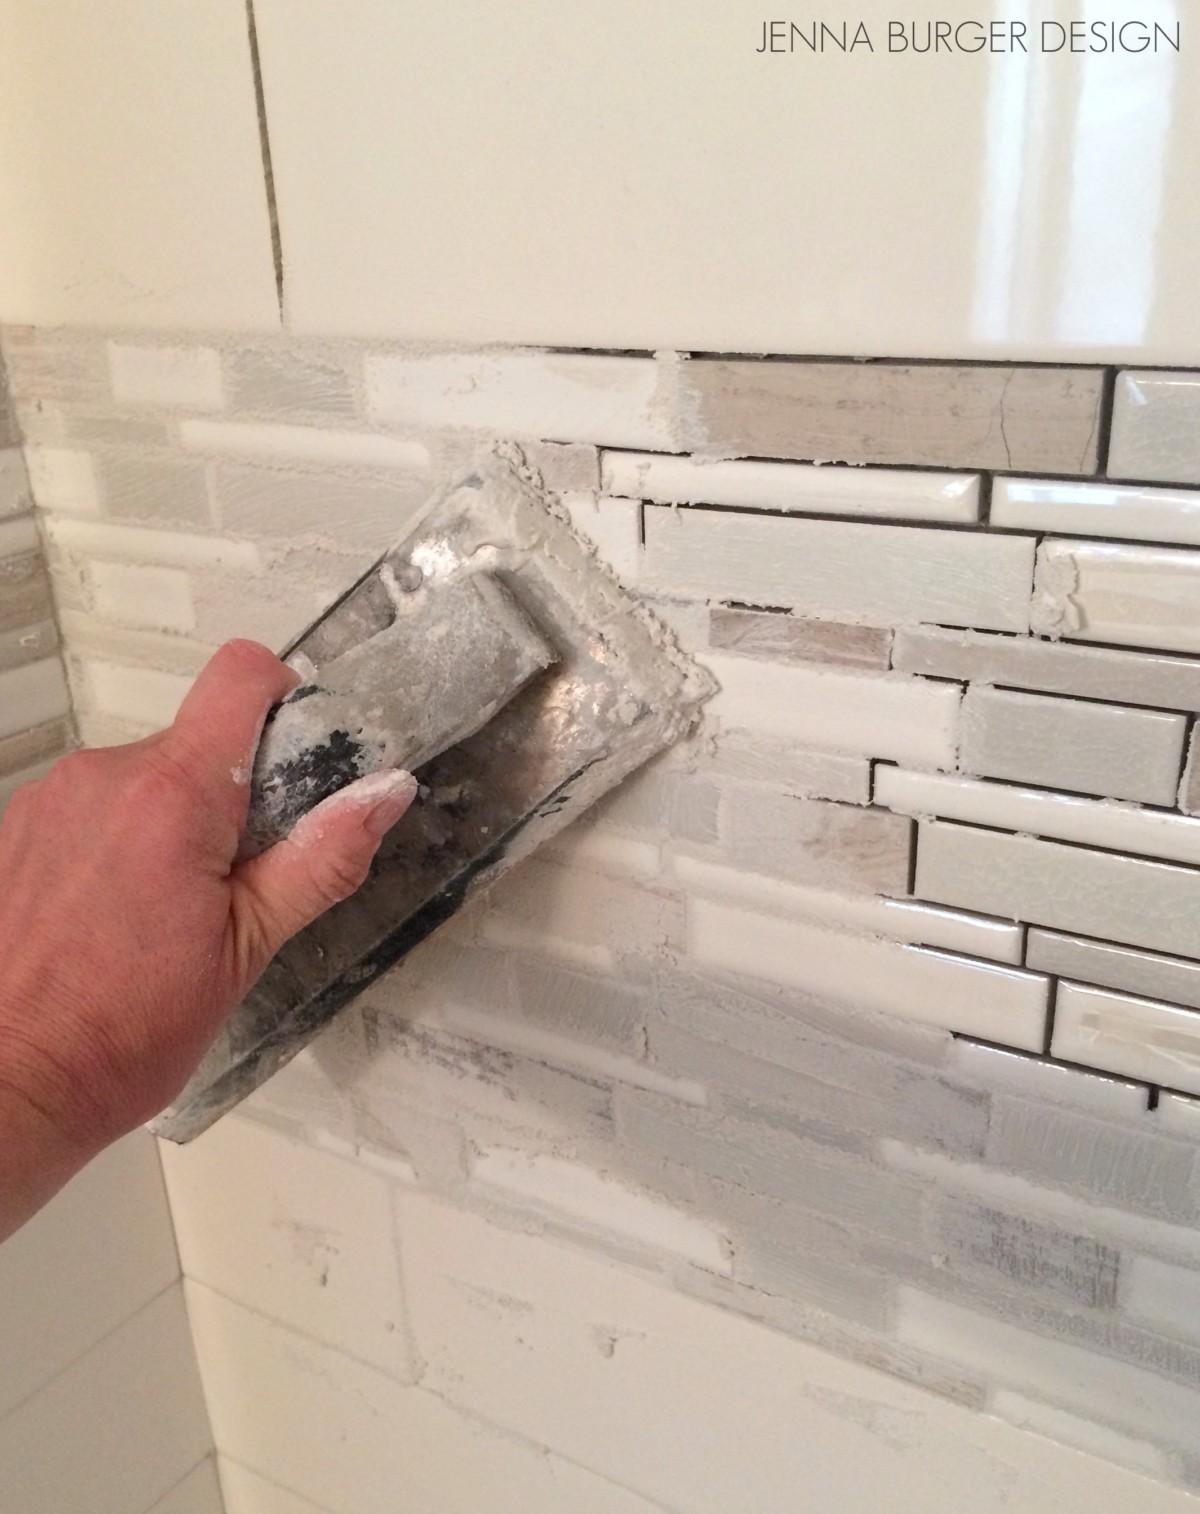
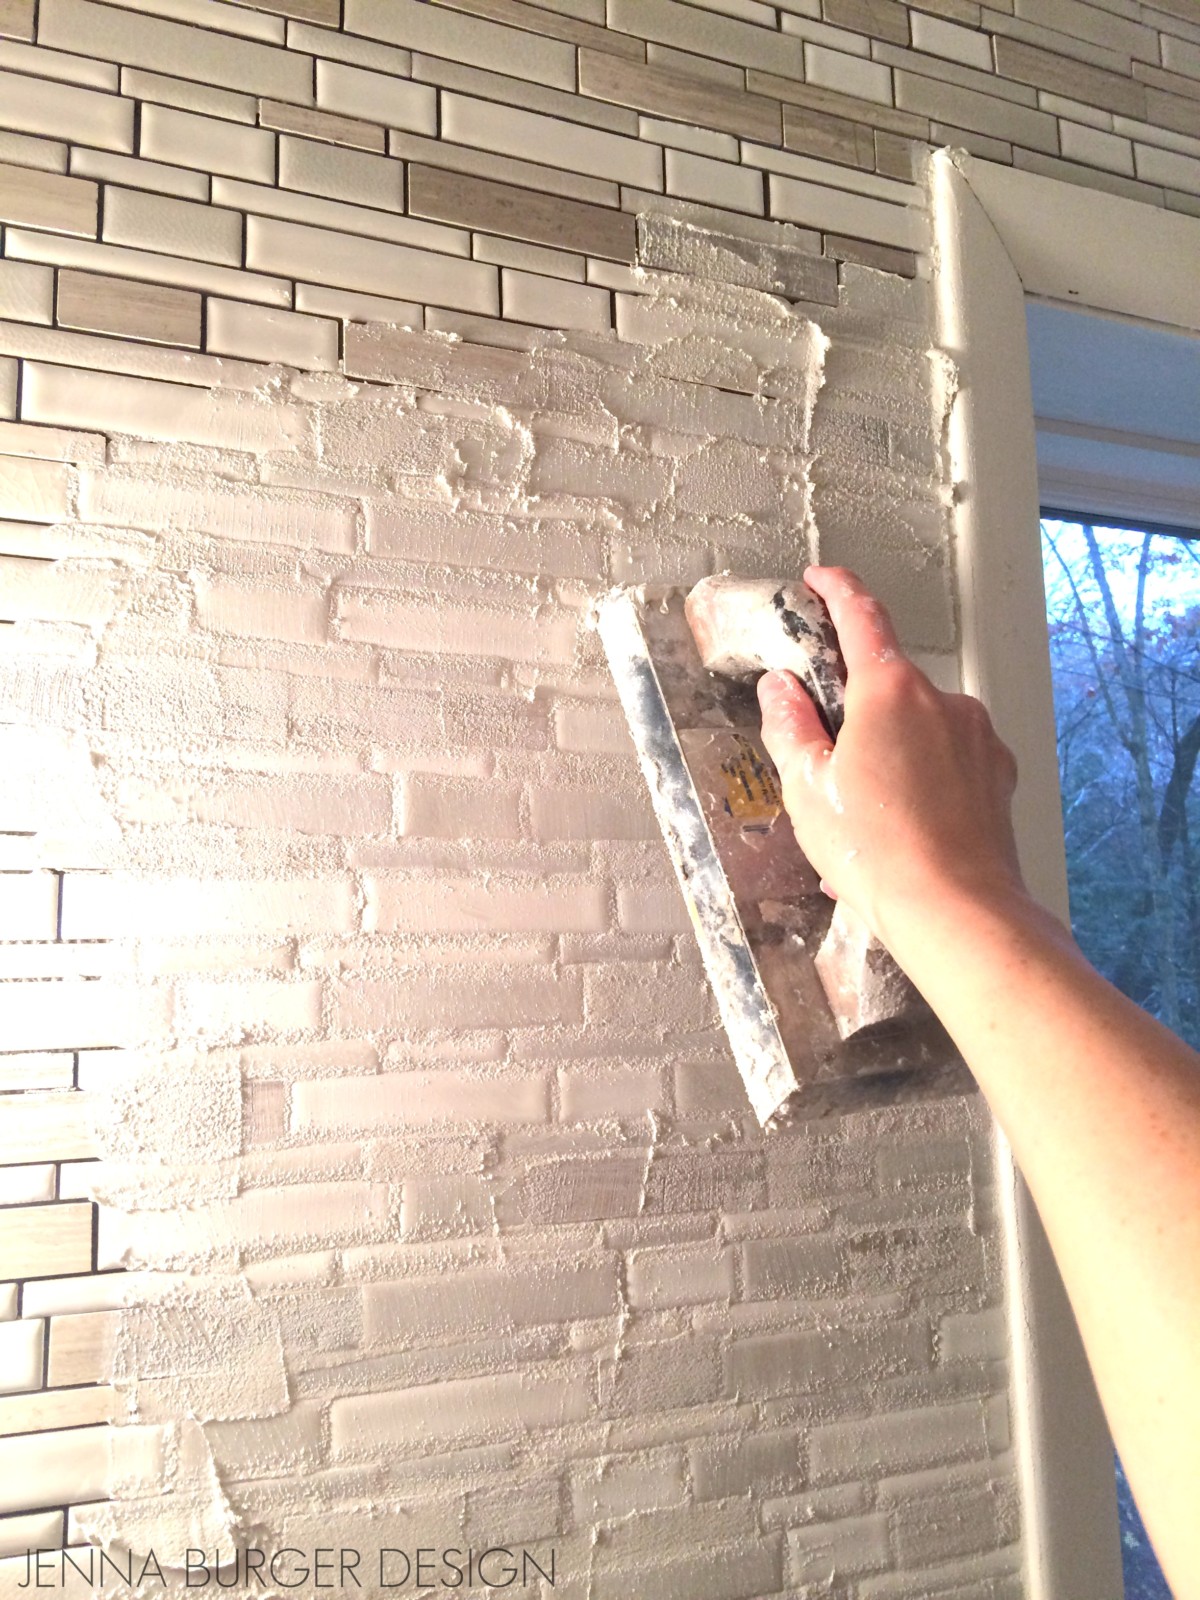
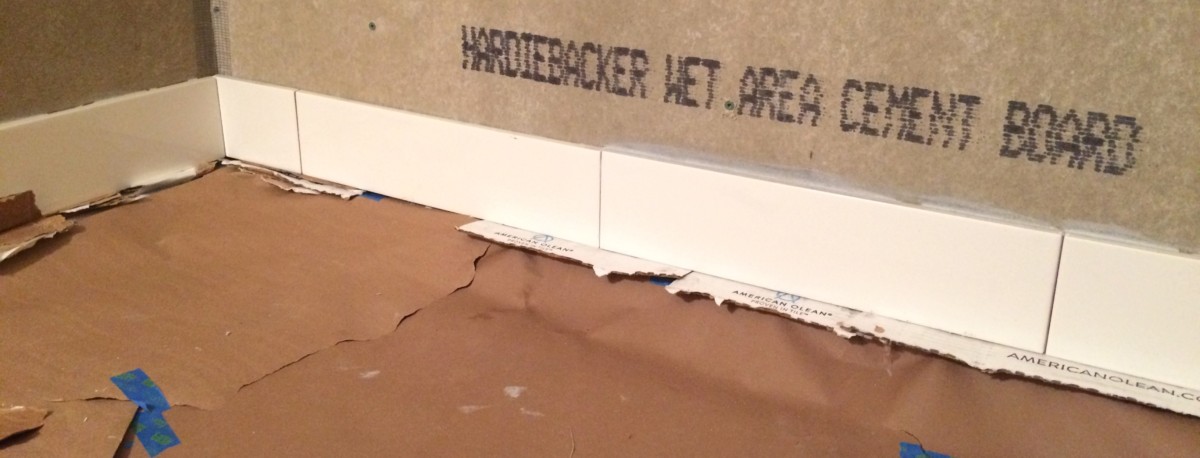
Using a float, smear the grout on the tile surface. Then to wipe away the grout, use a damp sponge. A light haze will soon show after, but with a few more passes of the damp sponge, the tile will be clean and complete.
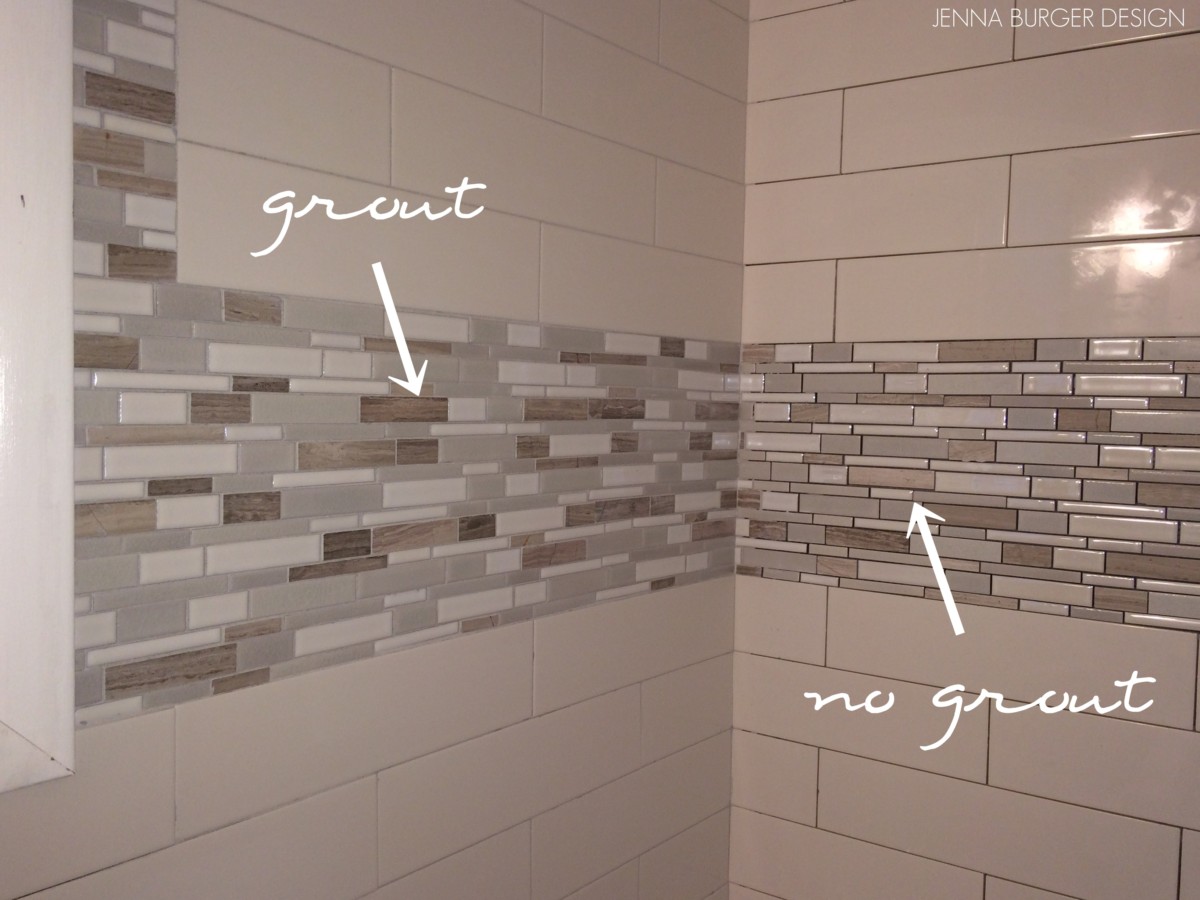
You can see how finished the wall looks with the grout by comparing the area with the joints filled in and the area without.
Once the bathroom was tile and grouted, this was the result…
The installation & grouting of the tile & grouting took about 2 weeks – in total about 25 hours
Onto the finishing touches of the space…
DISCLAIMER: THIS BATHROOM RENOVATION IS A COLLABORATION WITH LOWE’S. ALL OPINIONS + SELECTIONS ARE MY OWN.