Kitchen Renovation: Details
I’m overwhelmed by the outpouring of kindness + sweet thoughts for the new kitchen space.
It being called, A HAPPY KITCHEN, was by far my favorite comment because that just completely + perfectly sums up the new setting. A happy space is exactly how I envisioned the new kitchen to look + feel.
As a whole, the kitchen from top to bottom is entirely new, and last weeks KITCHEN REVEAL post focused on the before + after, as well as the overall design & changes. But there is still so much more to tell… a follow up post to share the nitty-gritty details + thought-process of WHY & HOW the design came to be, had to be told…
When the planning process of the kitchen renovation began, I started by focusing on the big picture; the space as a whole. From there I put my efforts into spending time on the details + layers. This attention to the smaller elements is what really makes a space complete and unique.
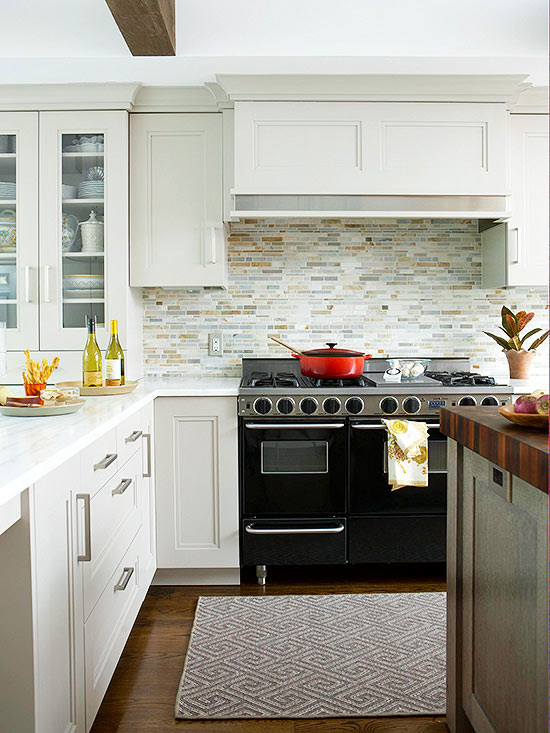
Upon making the decision to change the layout & have the new cabinetry be white, I set out to find inspiration. Before putting together the mood board for the new space, I wanted to analyze + dissect other kitchens to see what elements I liked and didn’t like. With this process, along with my past experience designing client kitchens, here is a list I created as to what details were important and needed extra focus + attention:
> tile backsplash
> open shelving
> outlets
> cabinet hardware
> lighting
> color
> storage
With attention to detail in these 7 areas, I knew my kitchen would be set apart from the norm.
Here’s How…
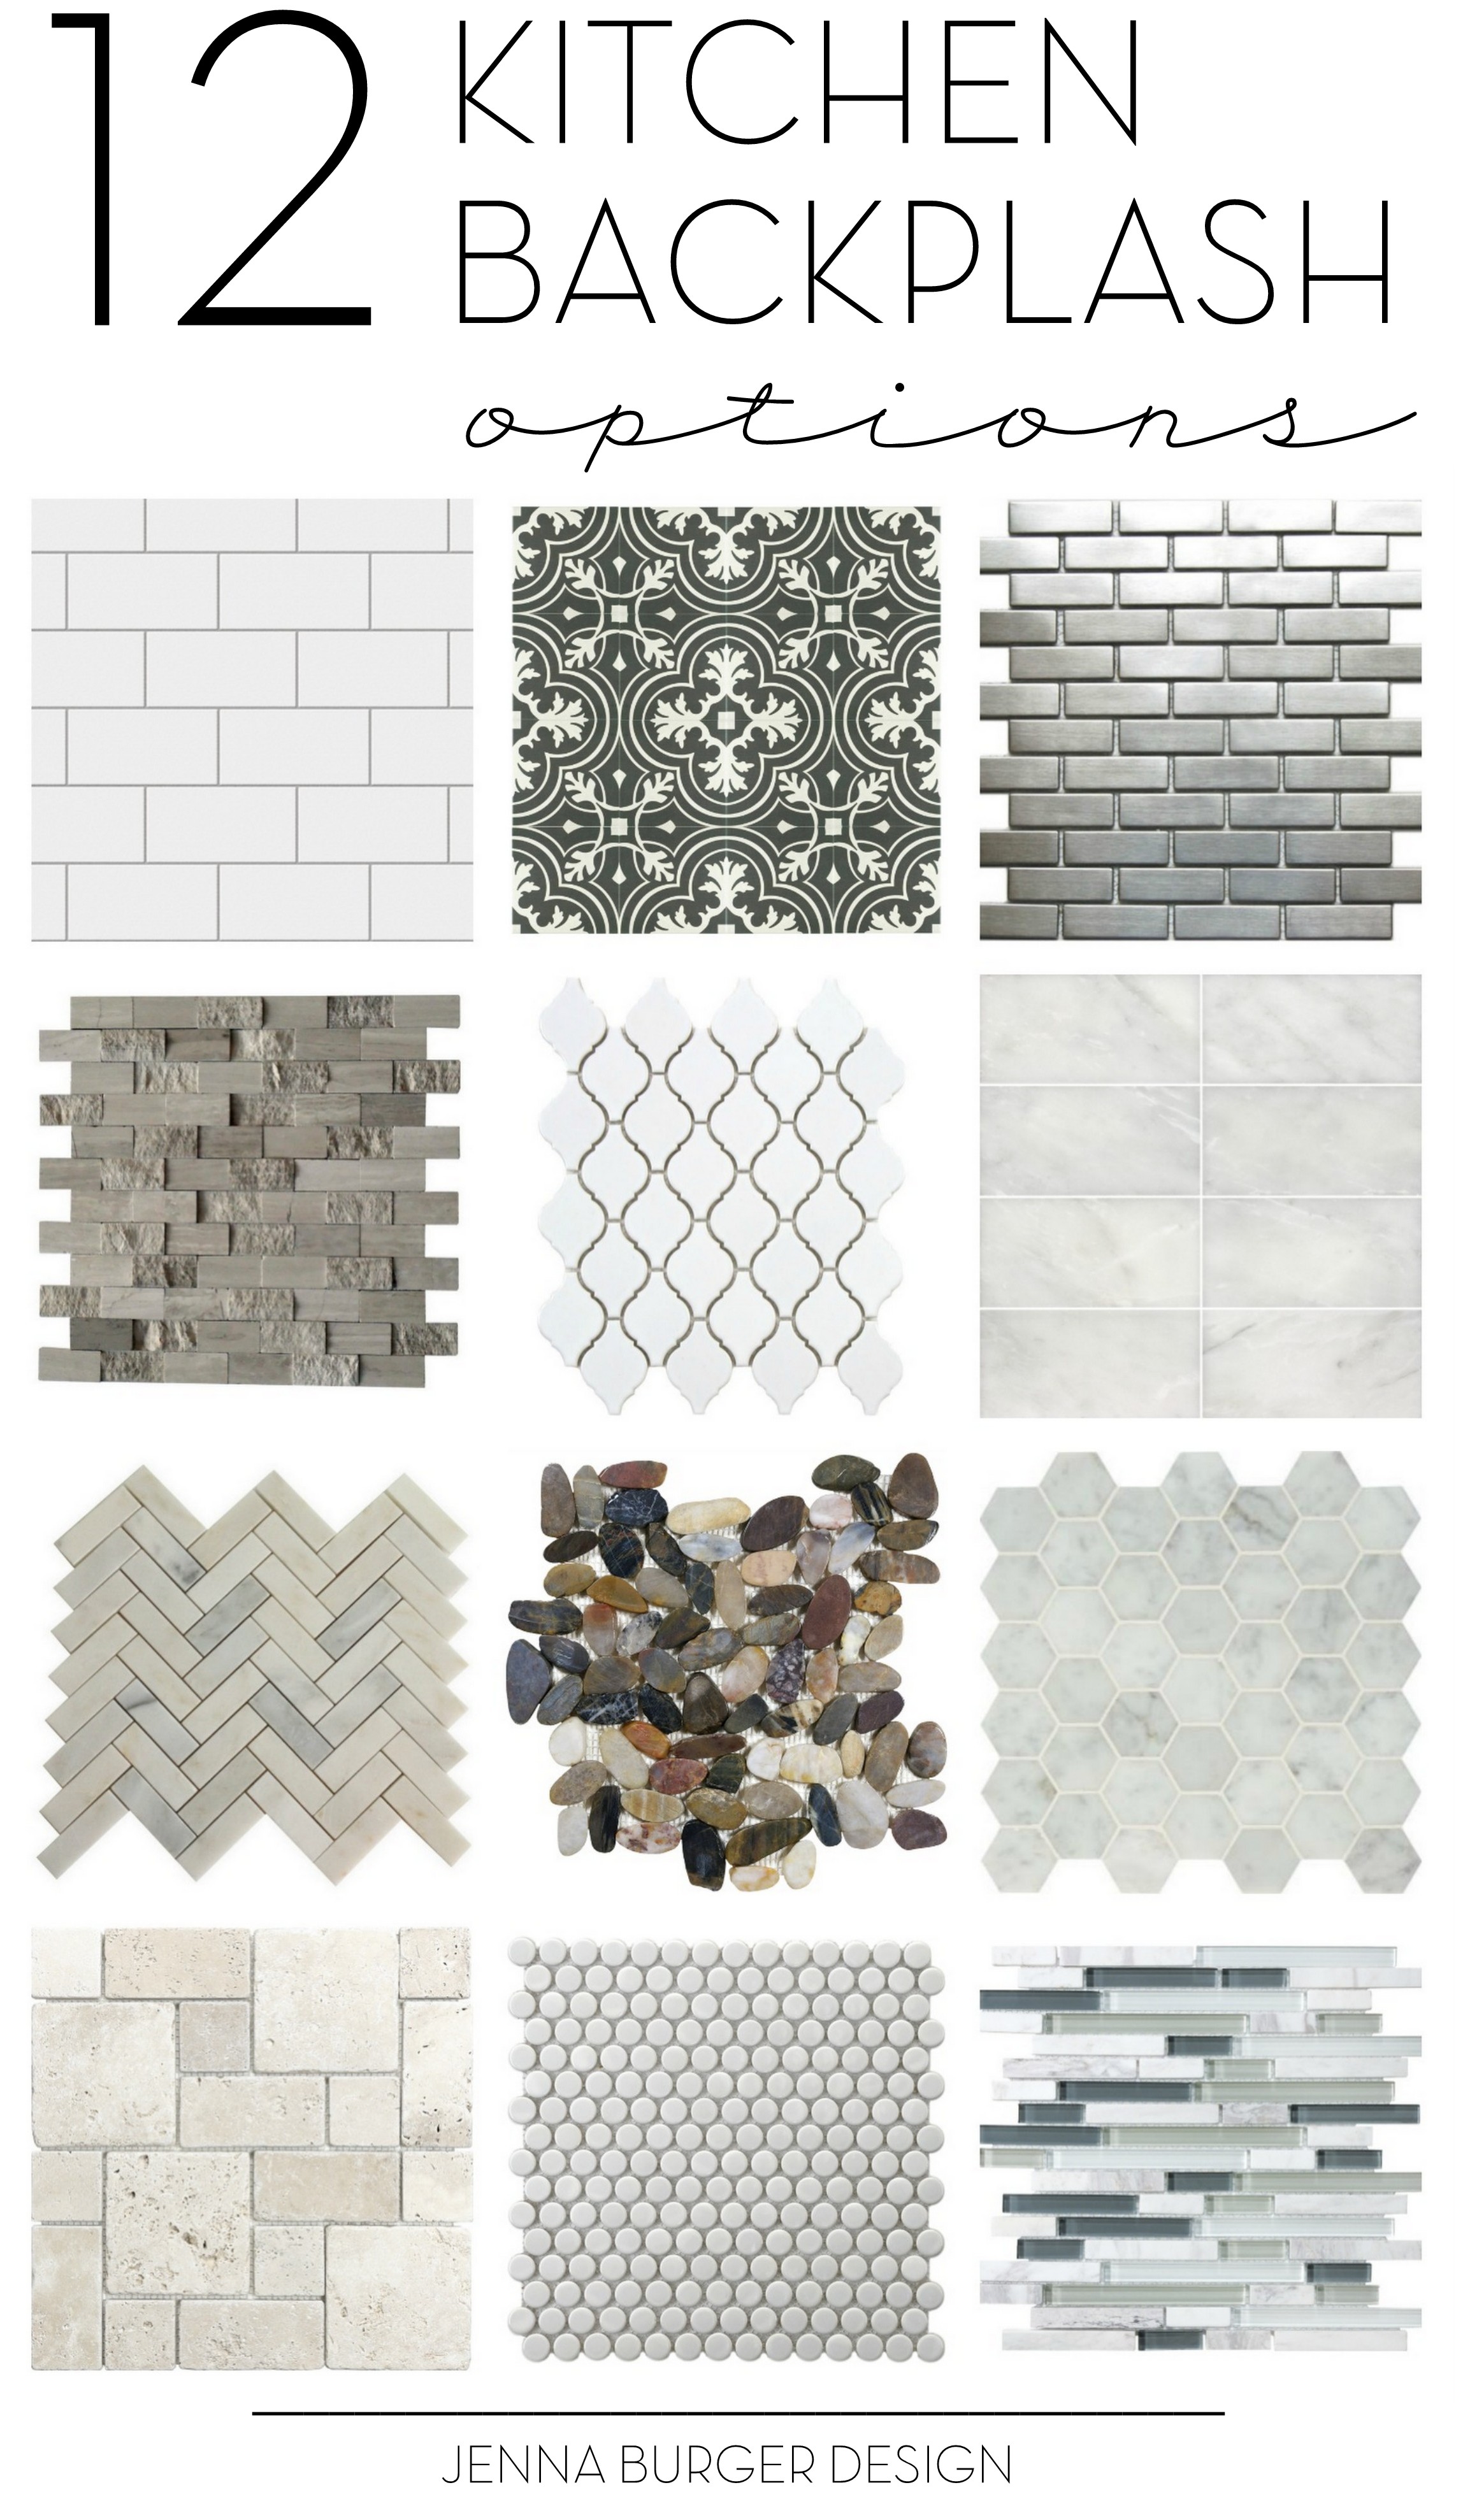
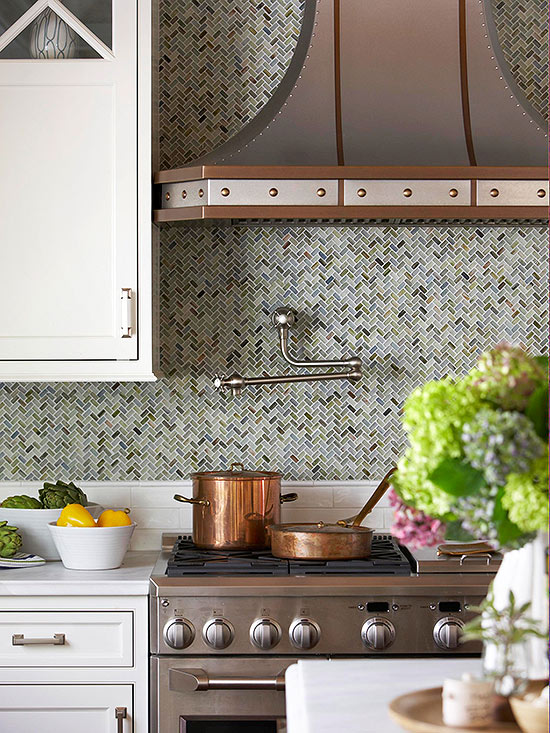
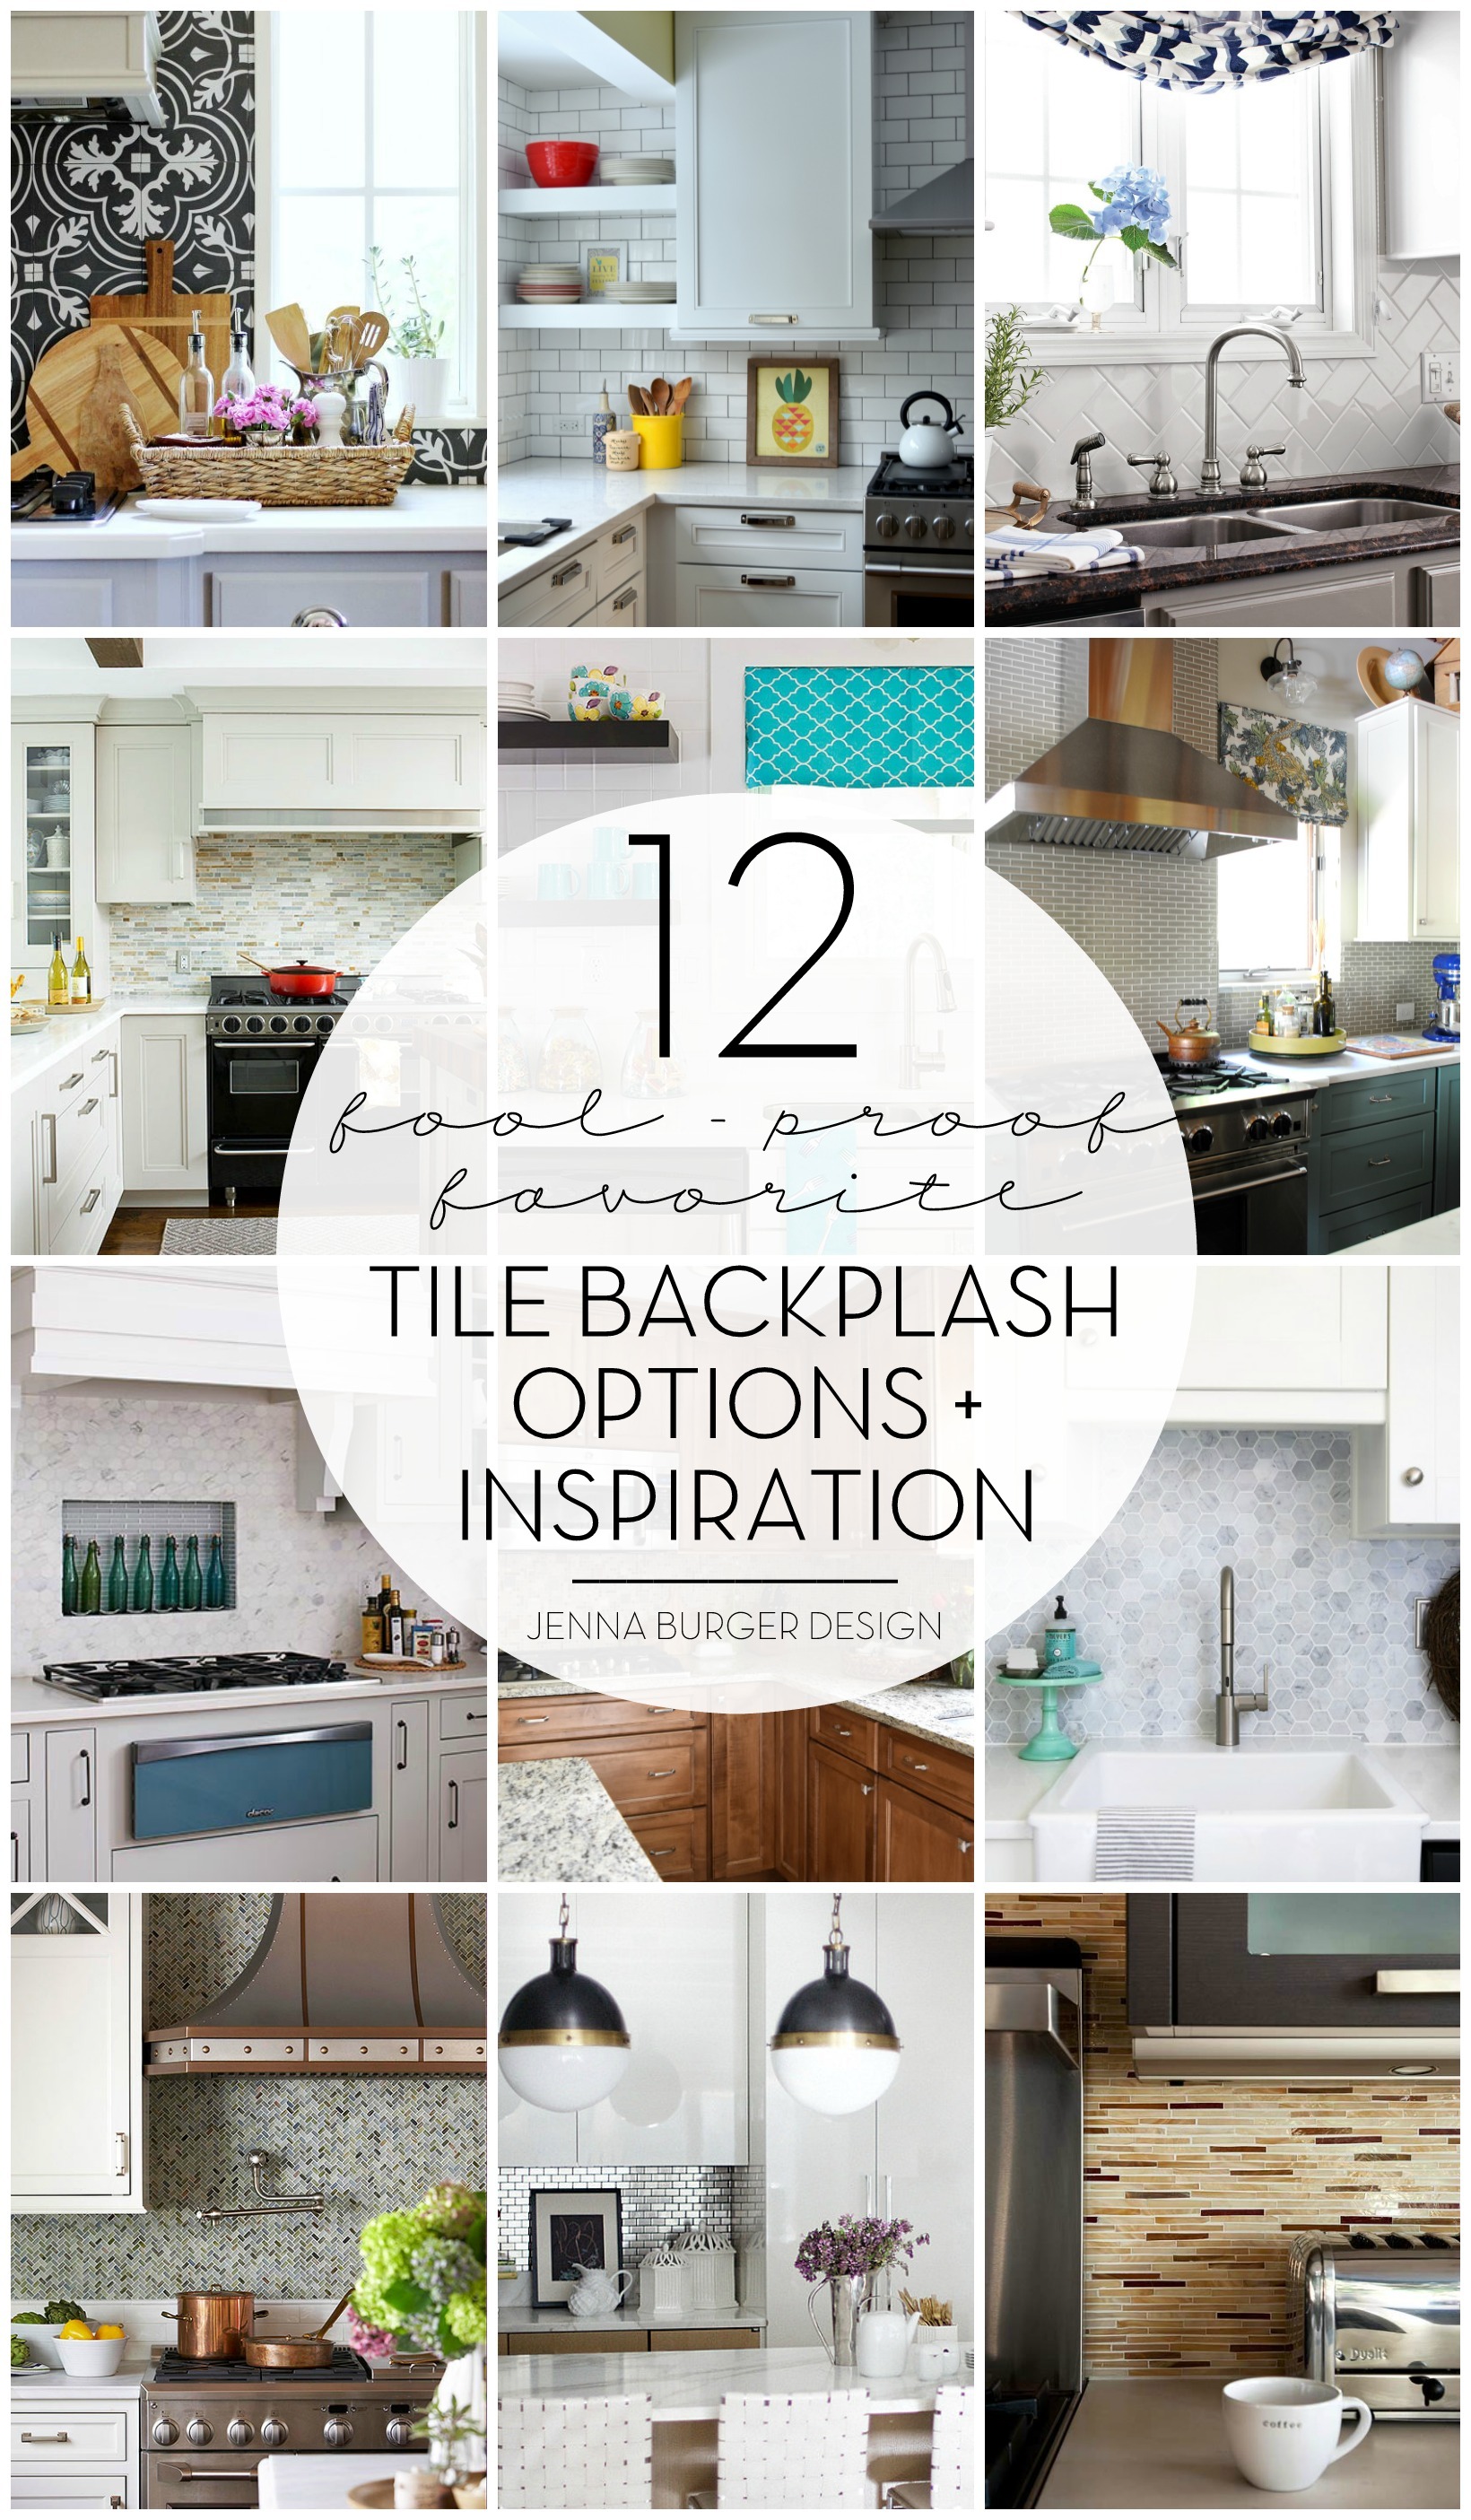
1. TILE BACKSPLASH
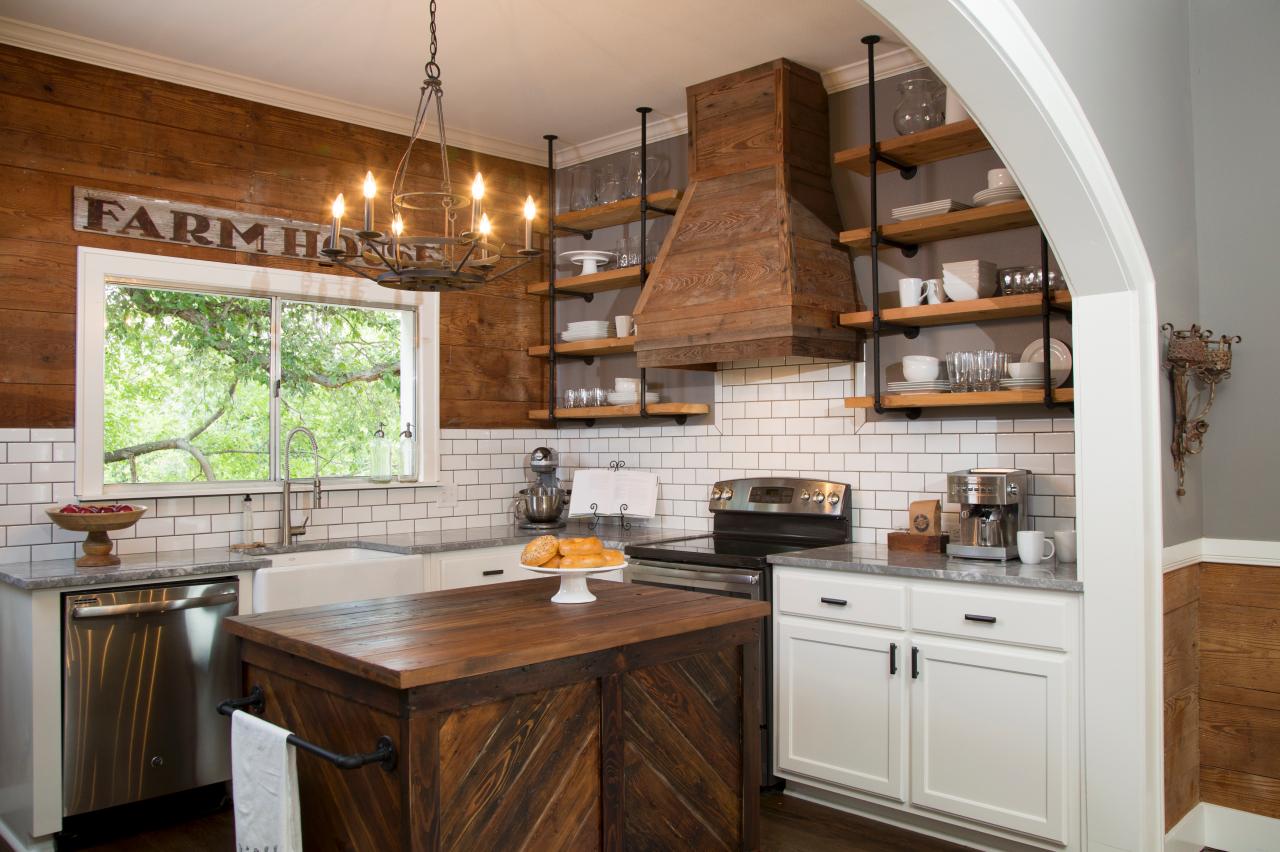
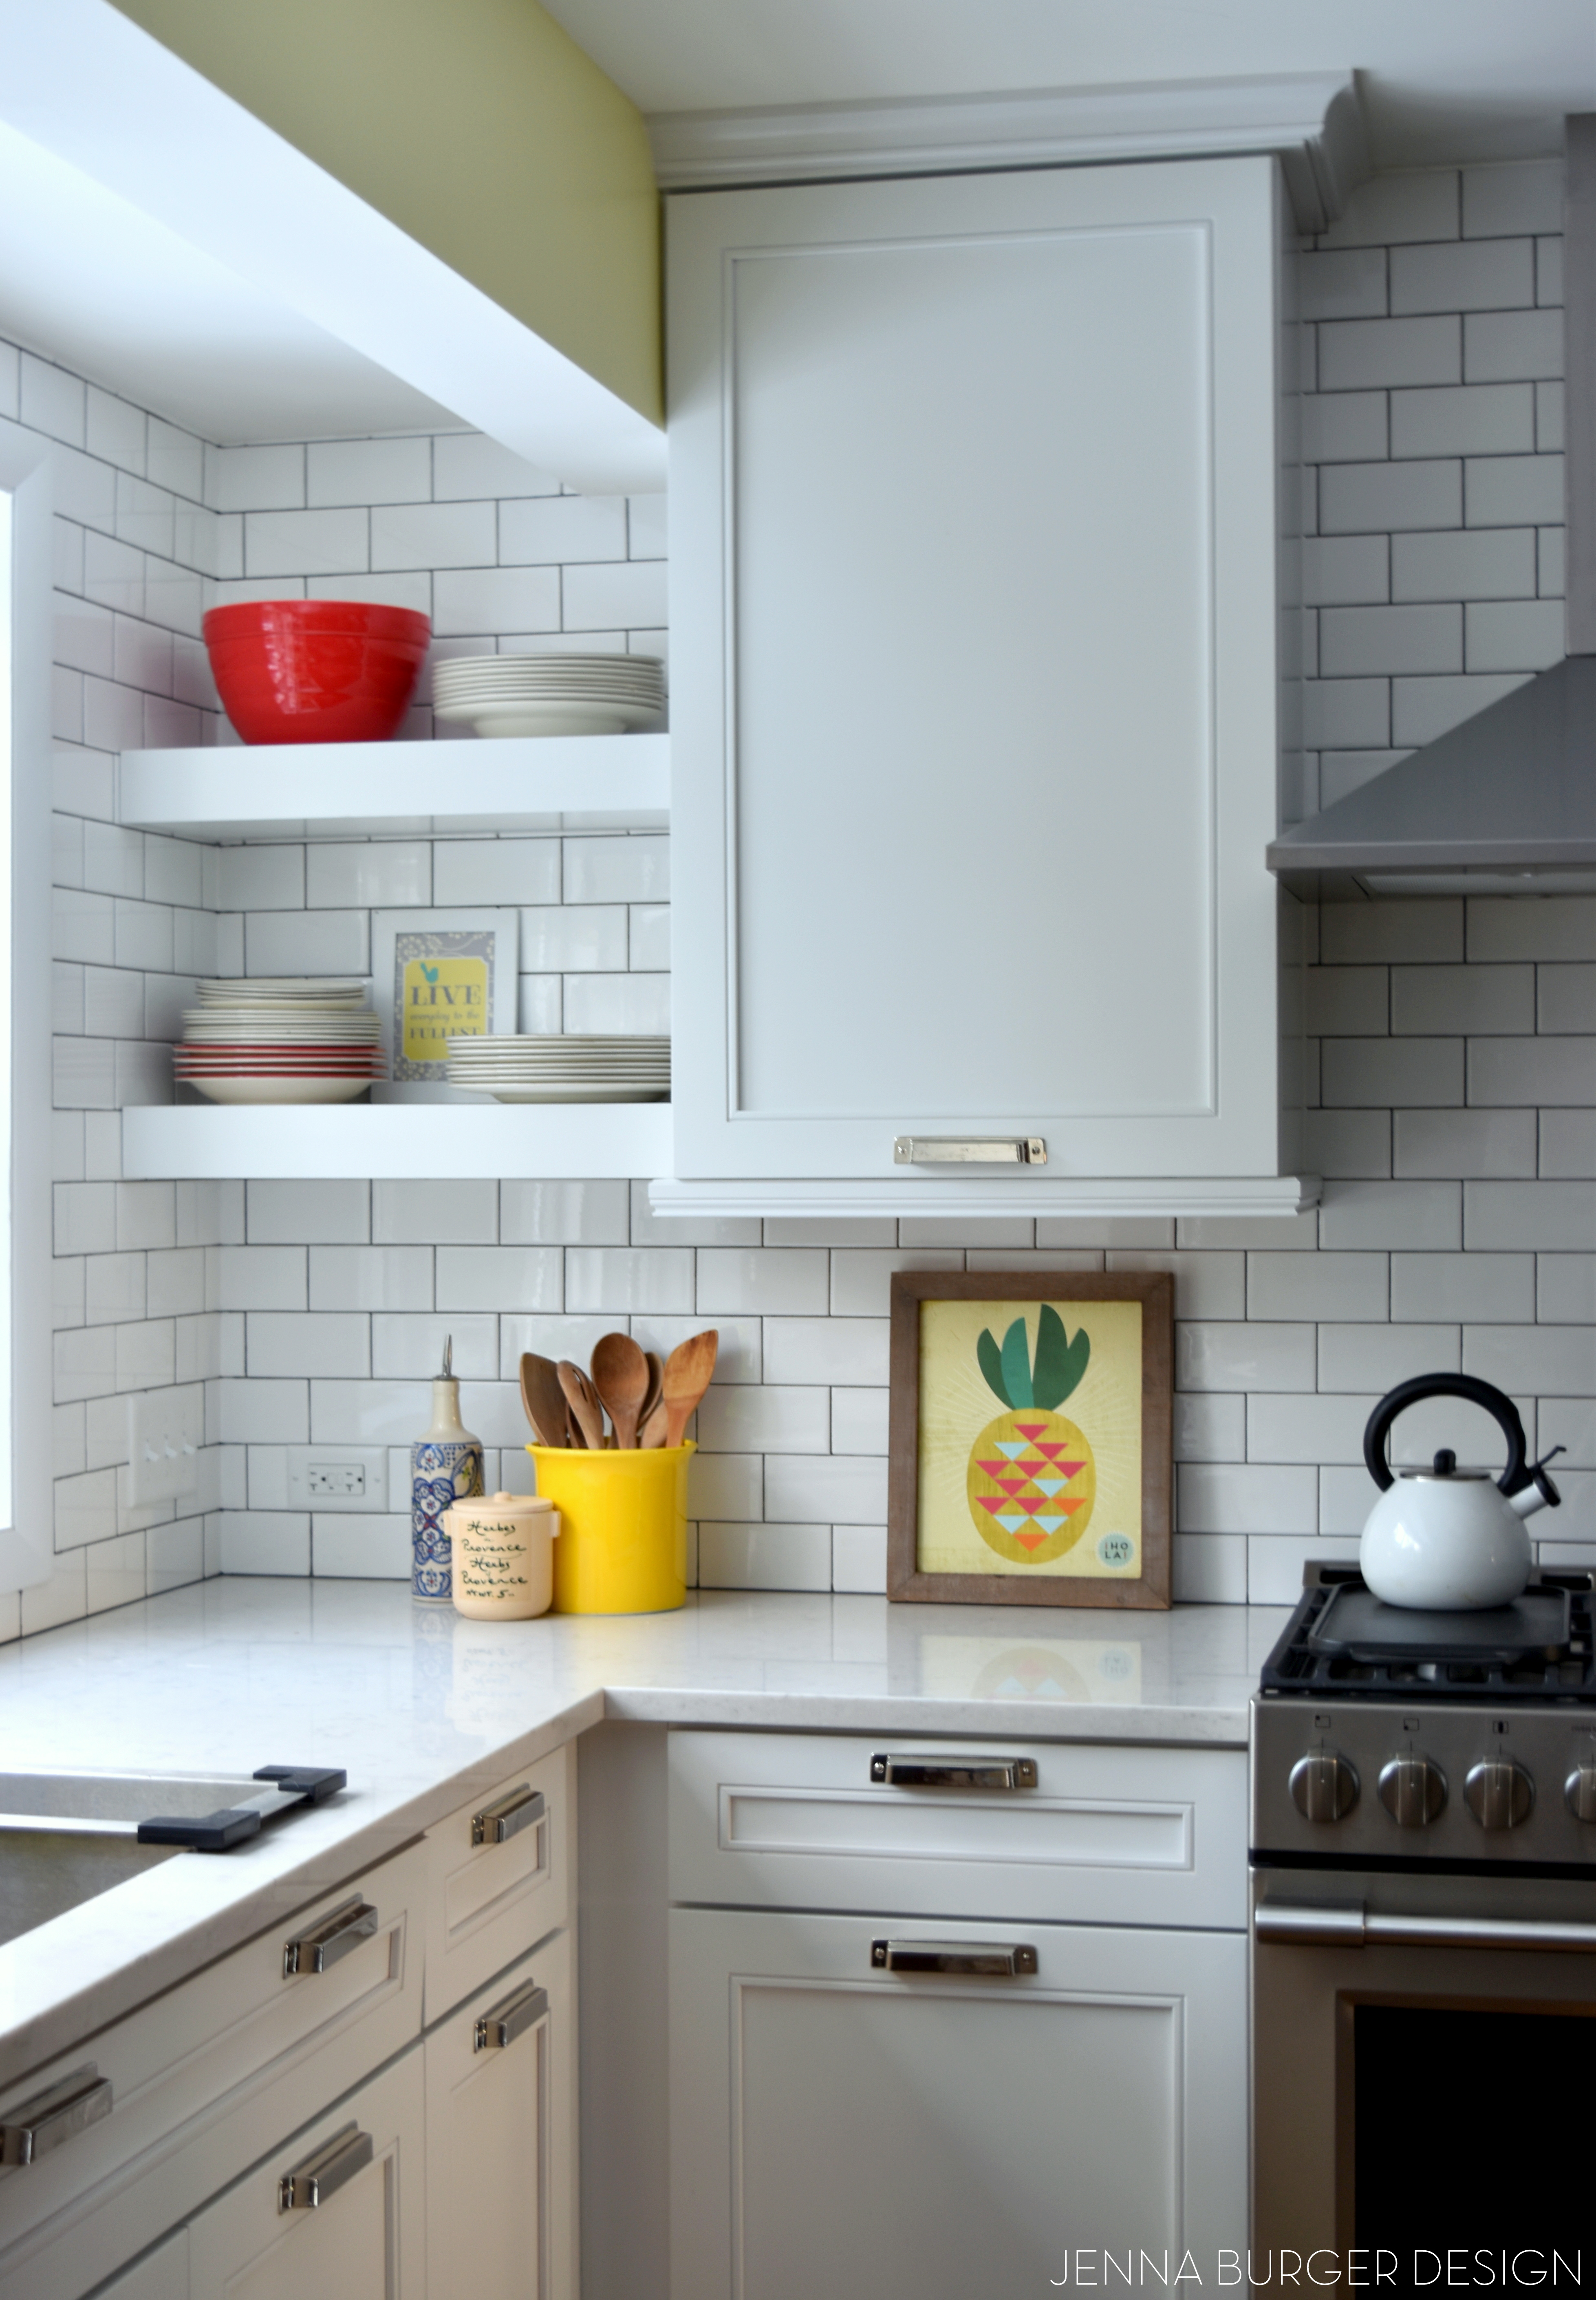
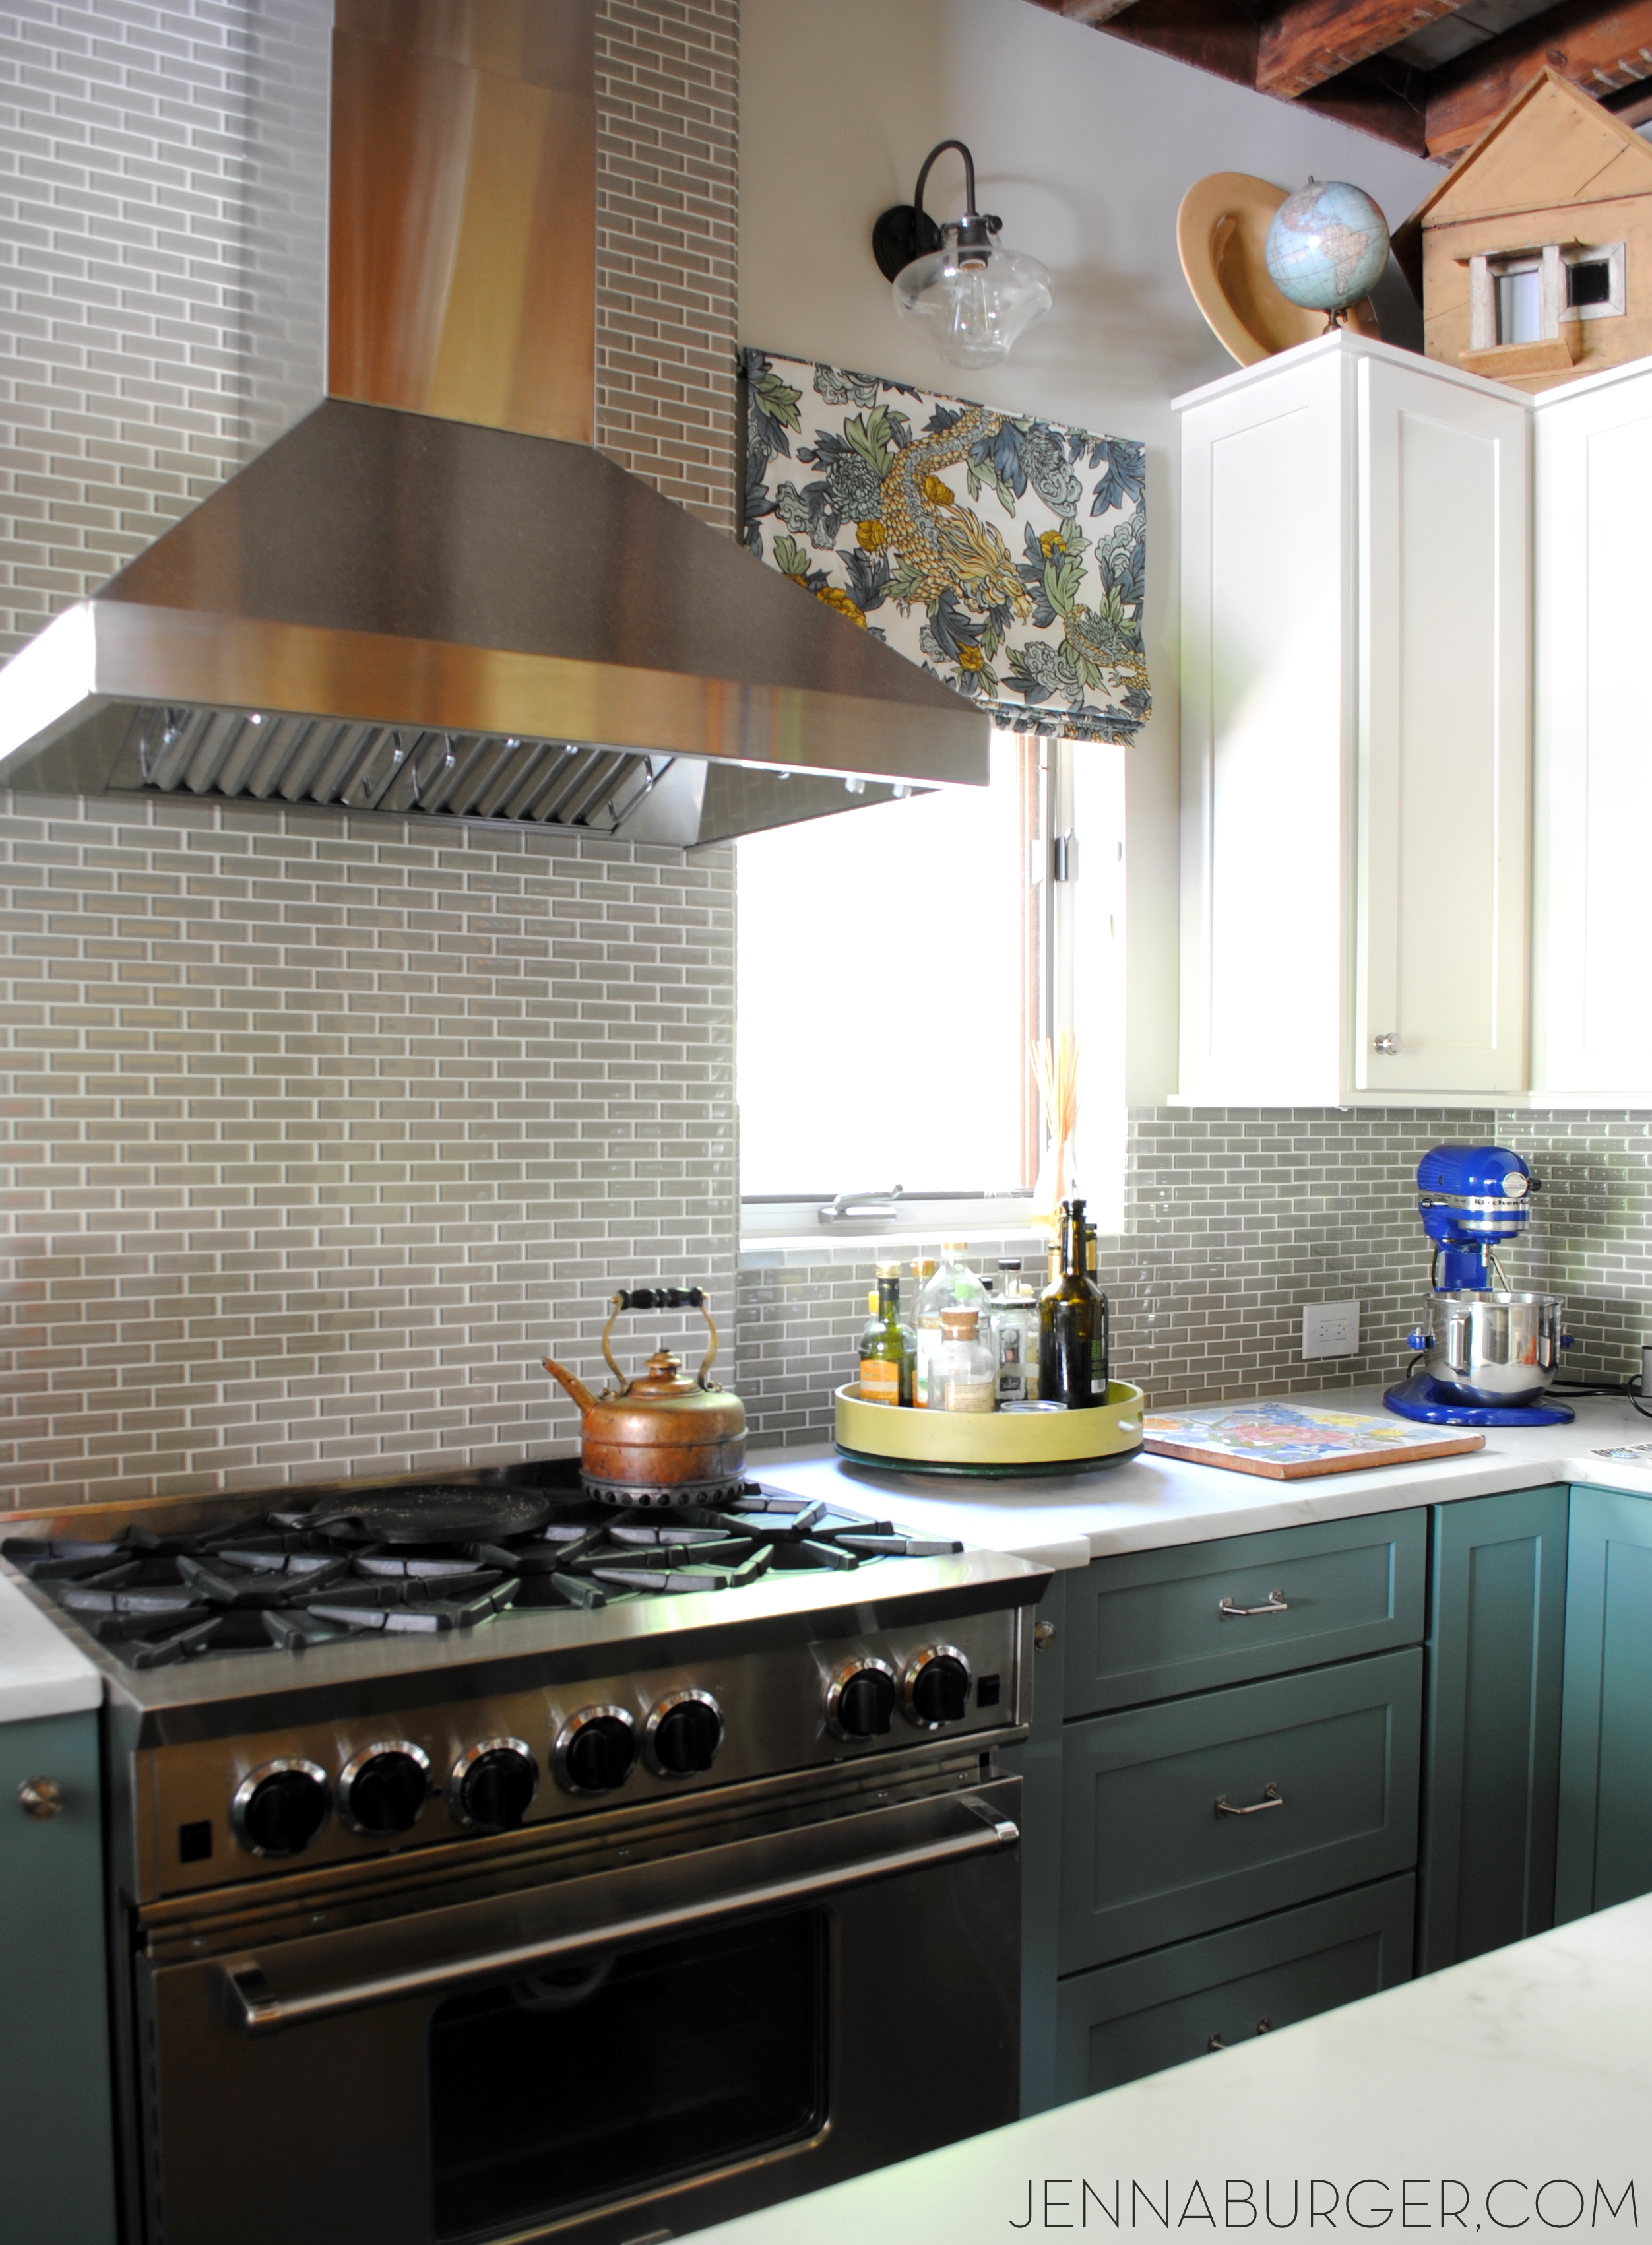
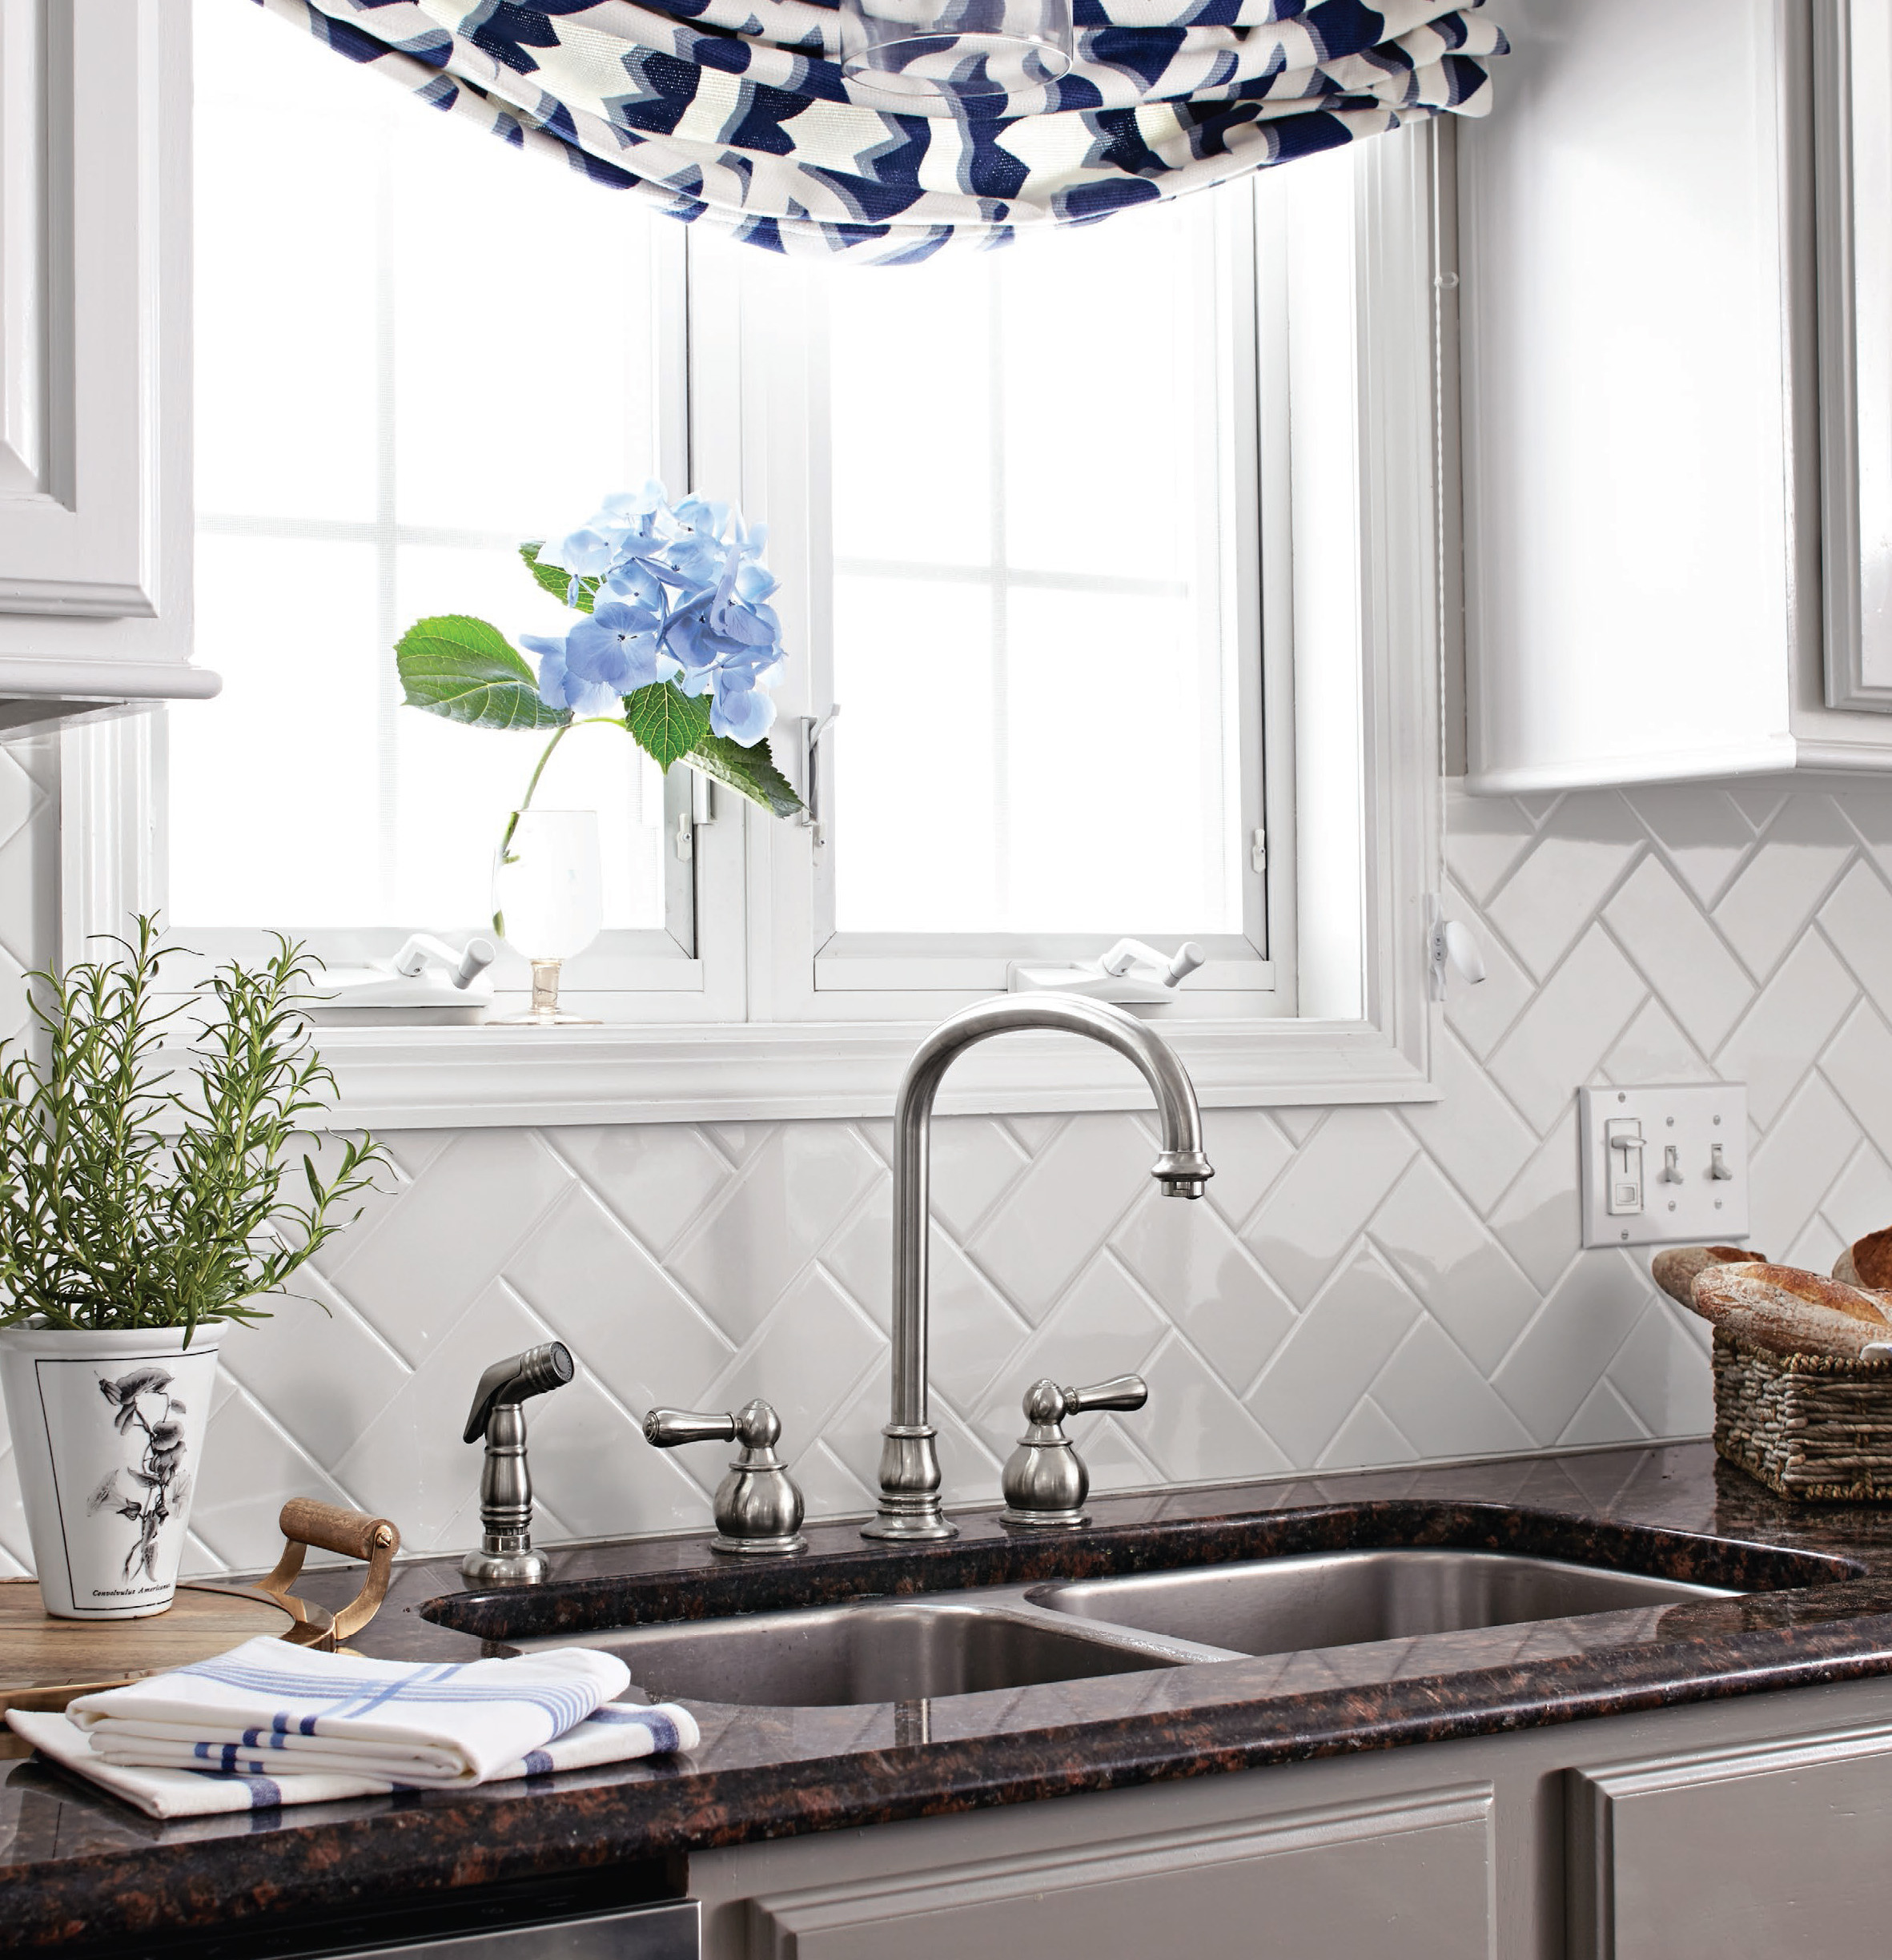
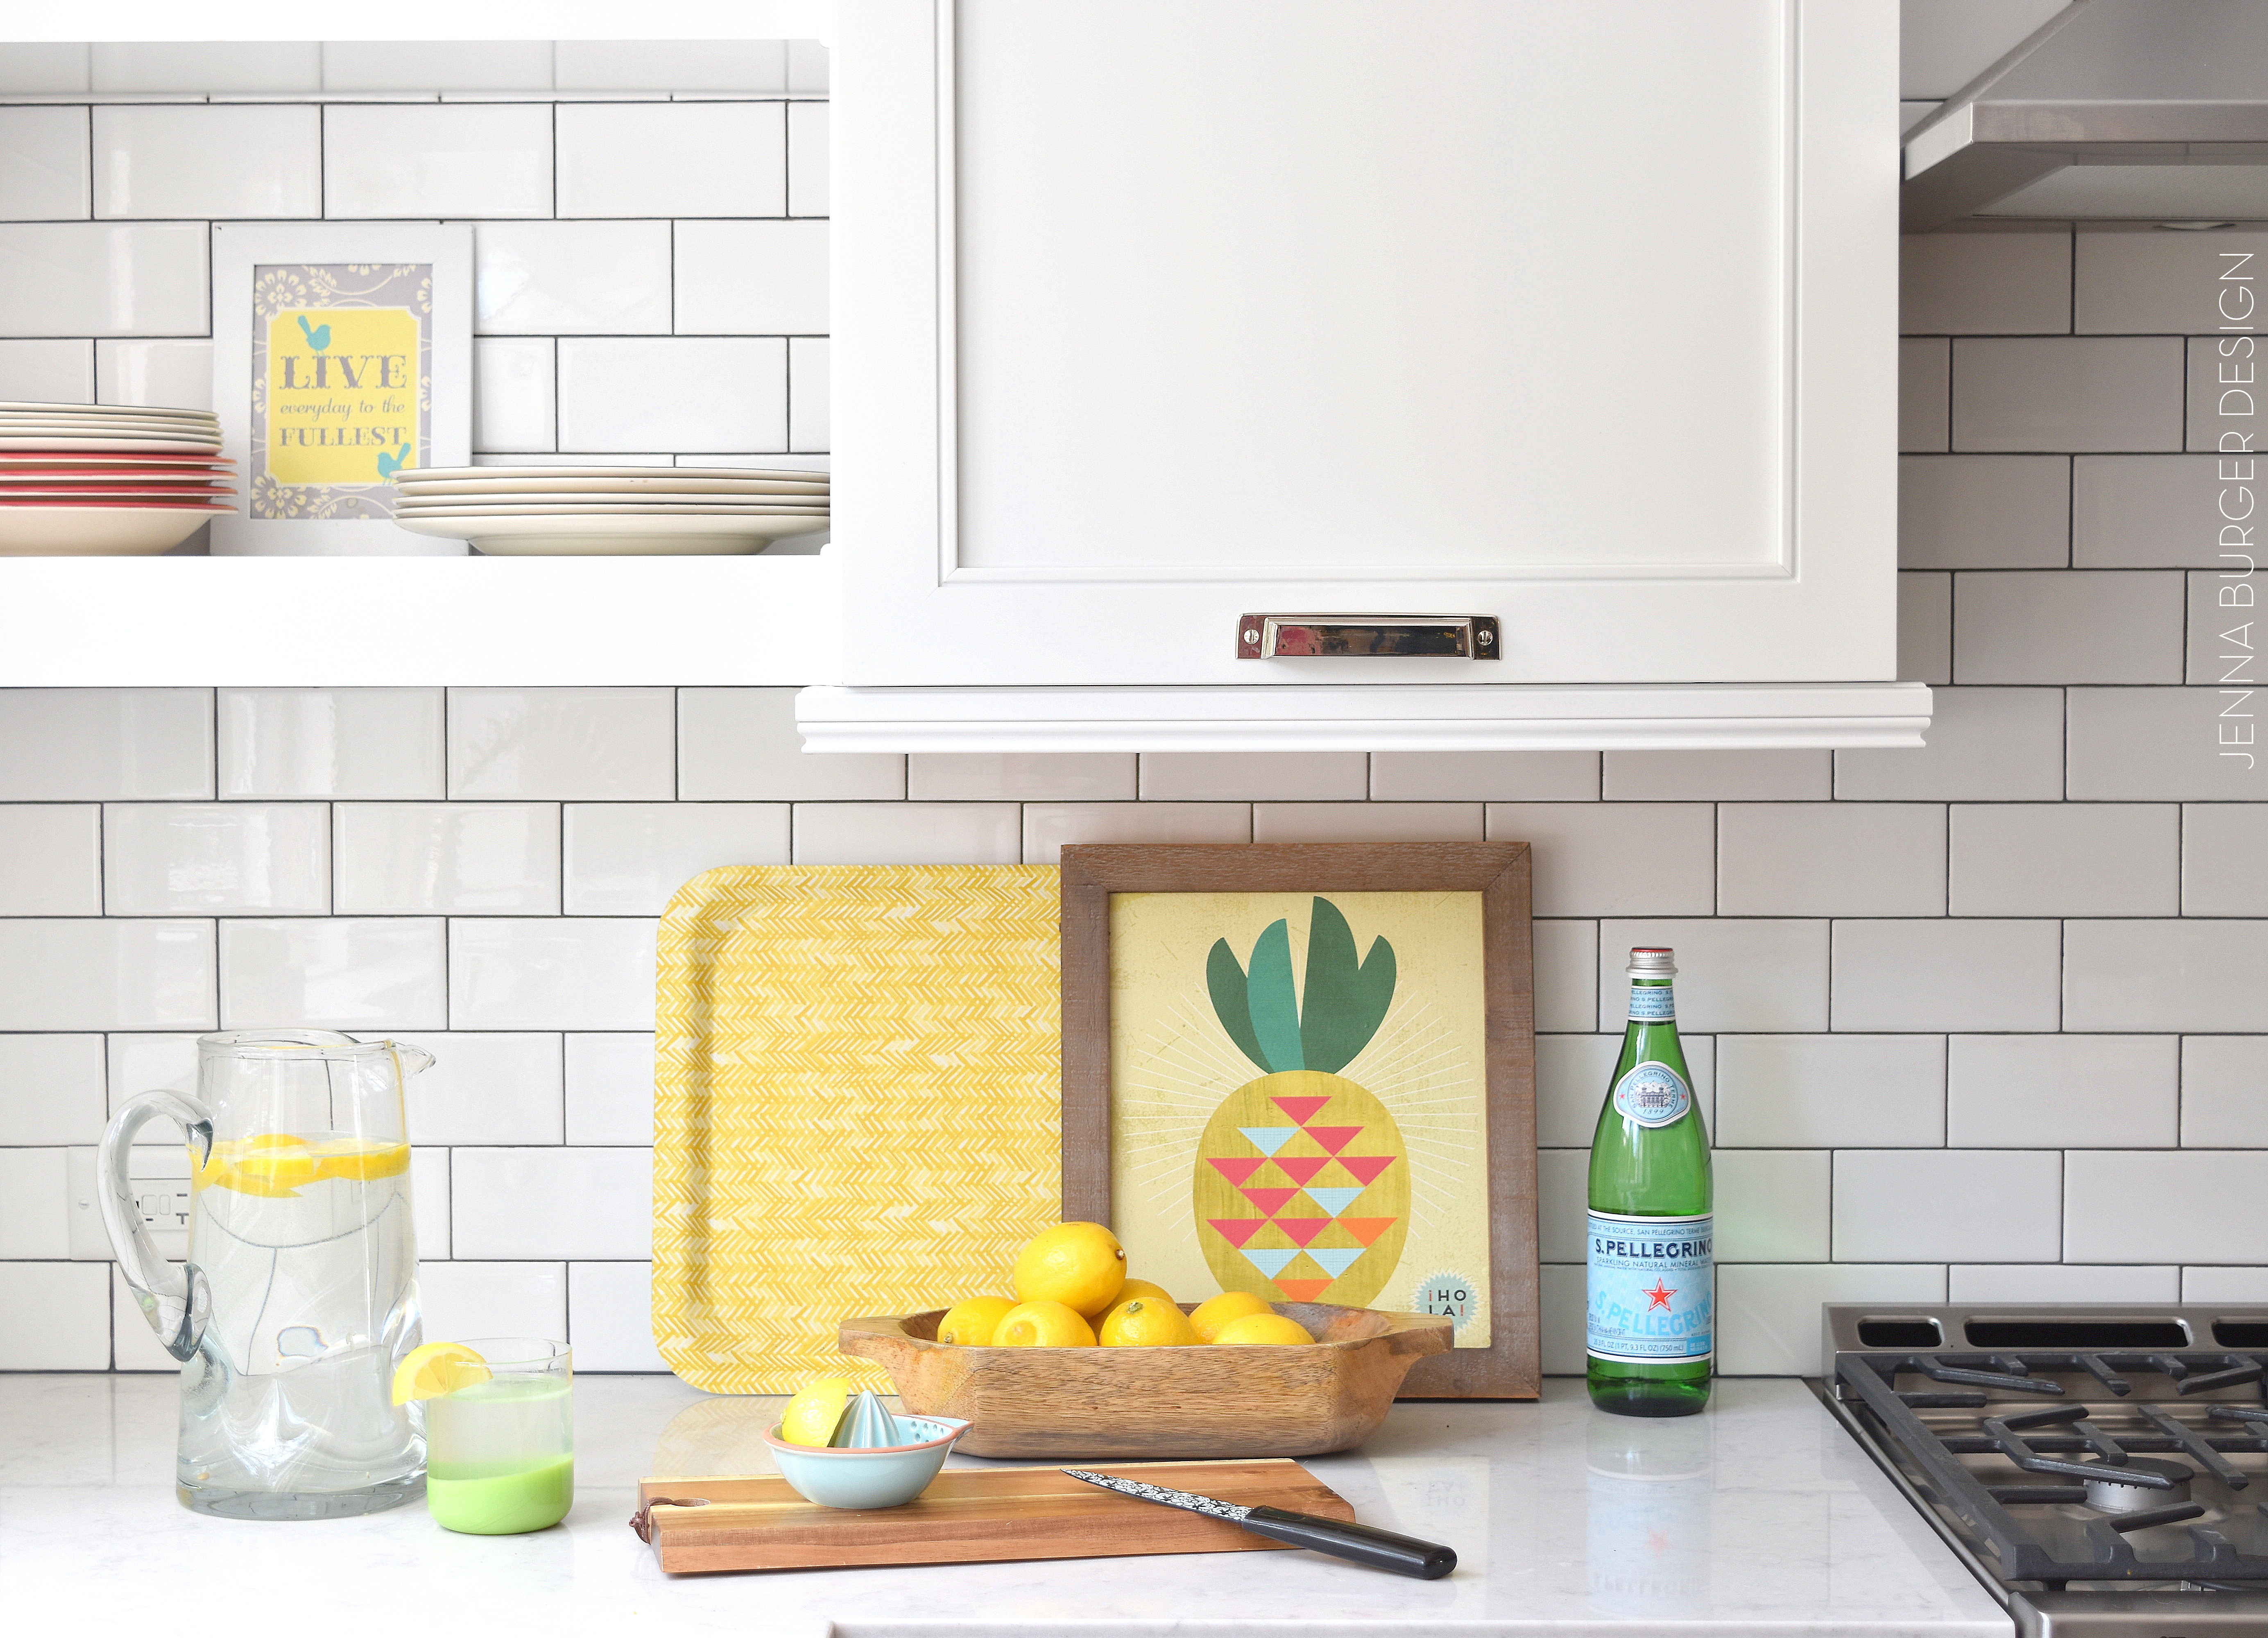
The white subway tile I chose is probably the most common + least expensive tile out there. Yes, very ordinary. That’s okay though, because I was still going to set it apart from the others.
How? Grout and Layout.
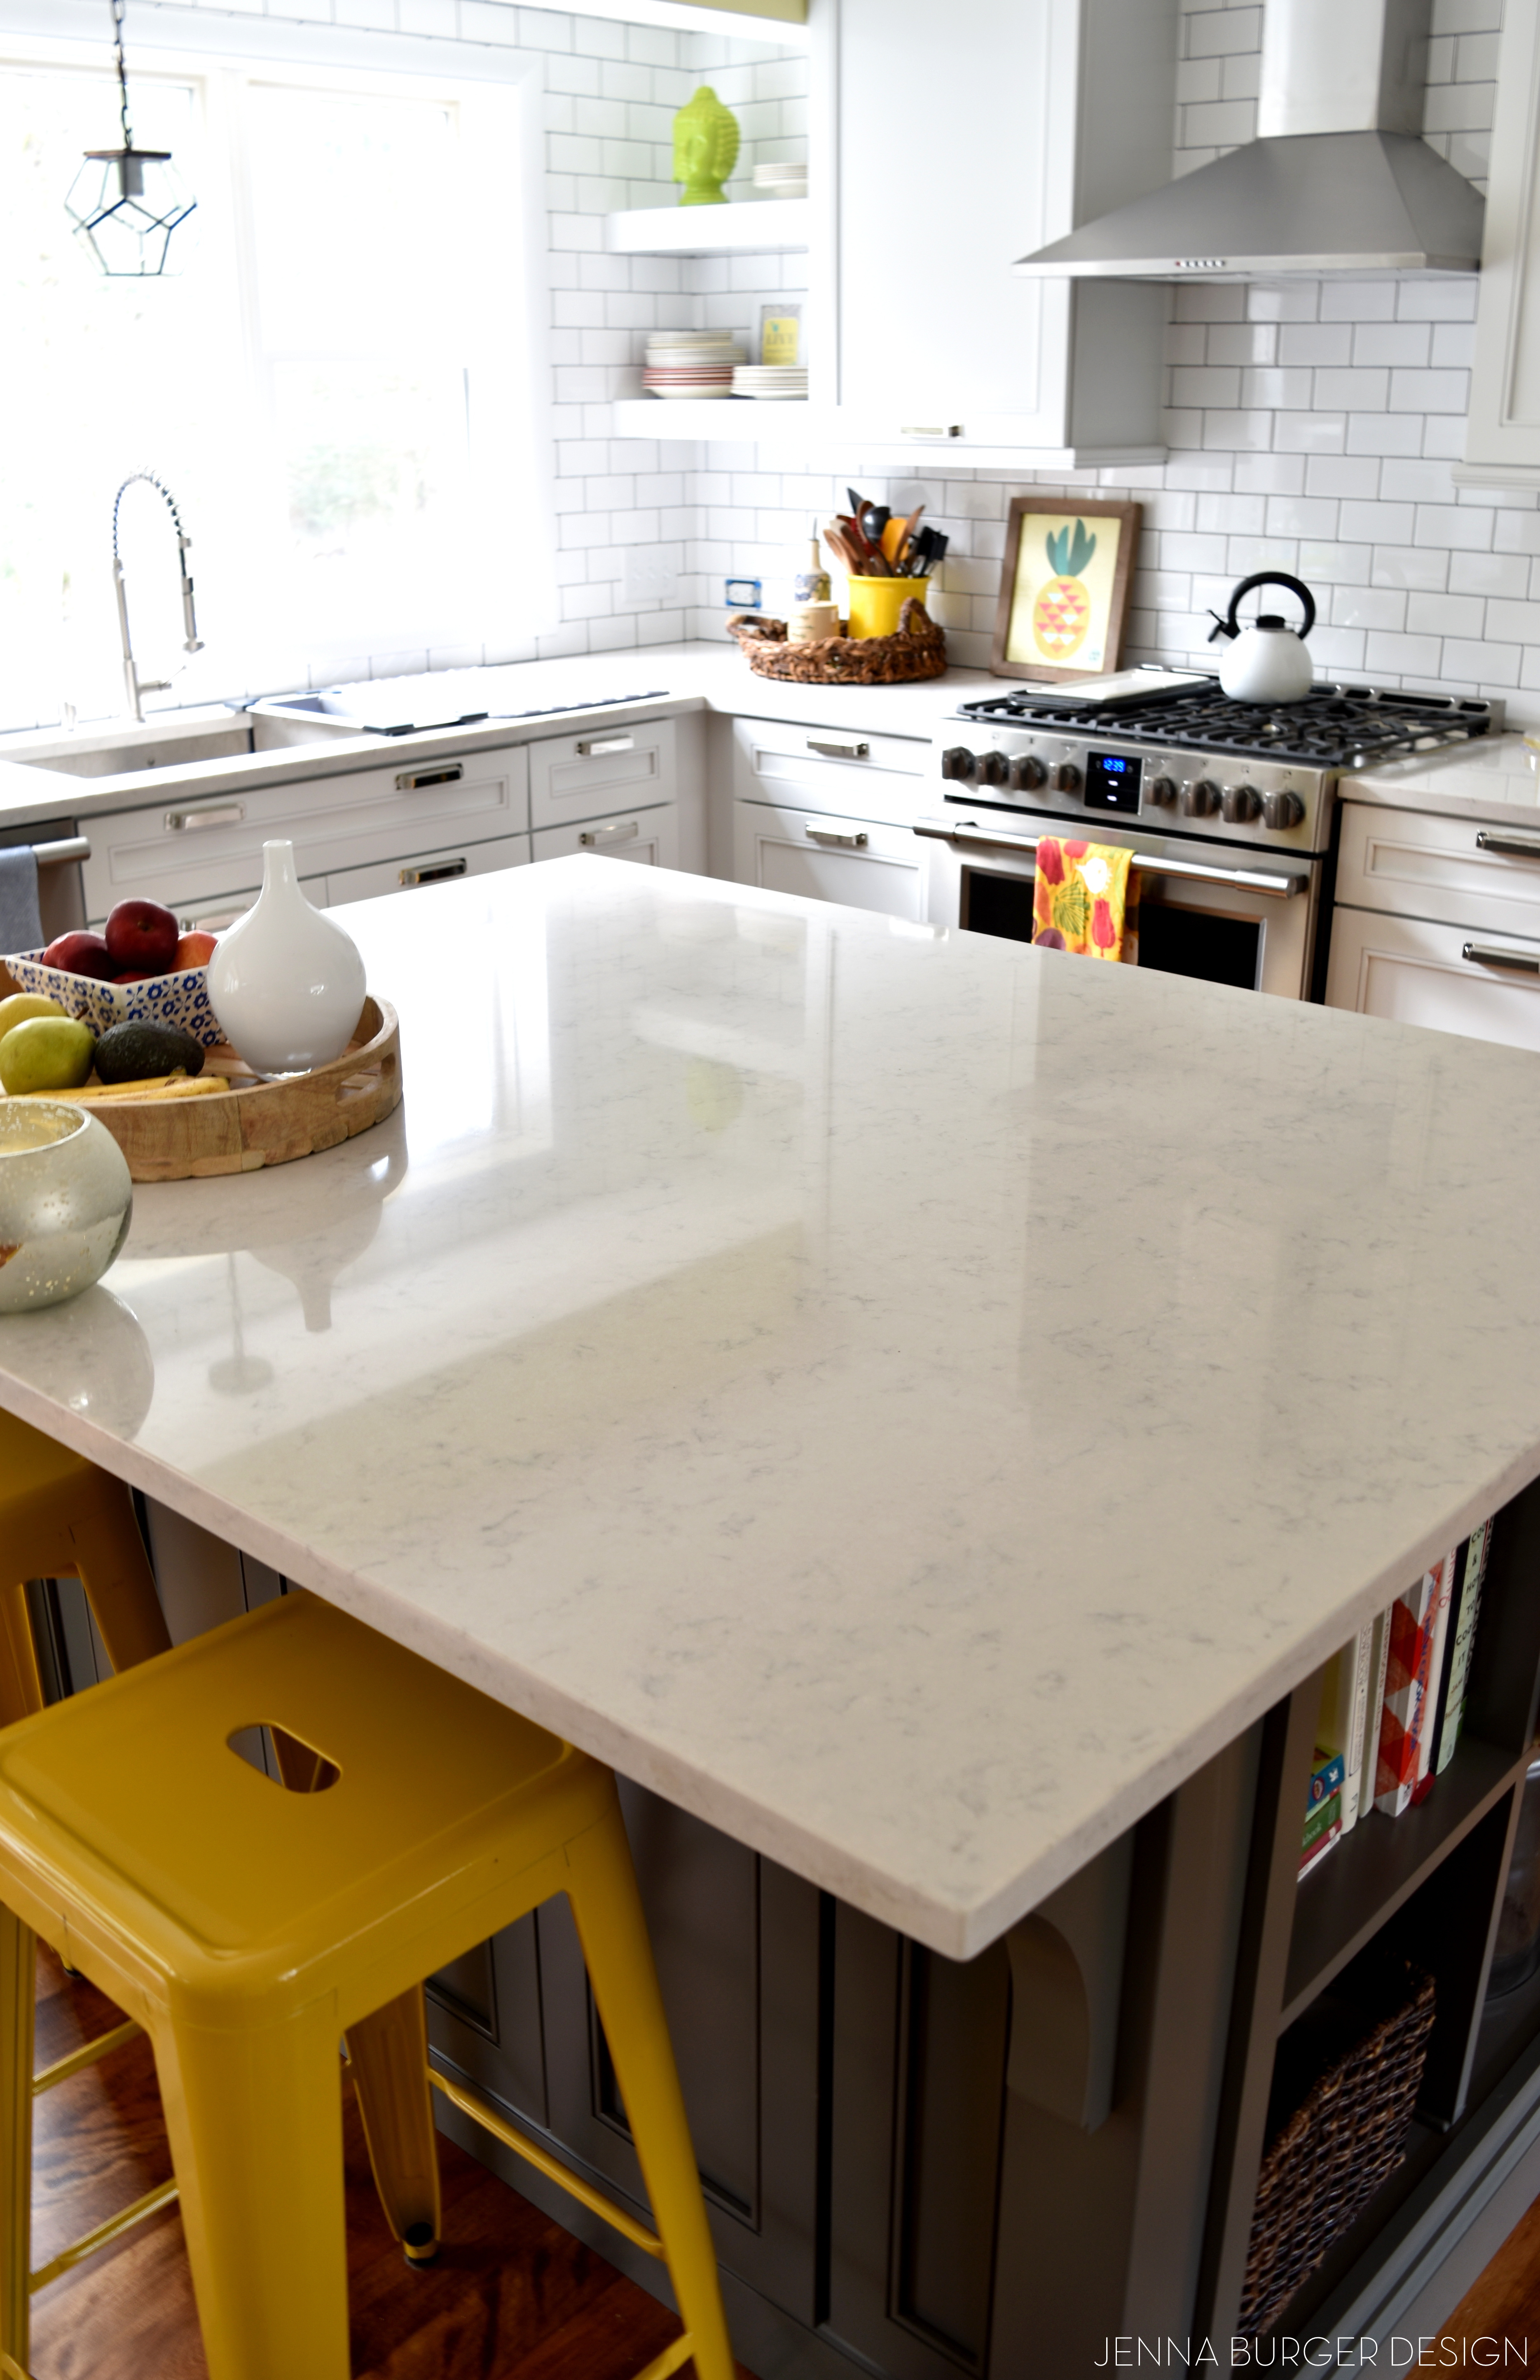
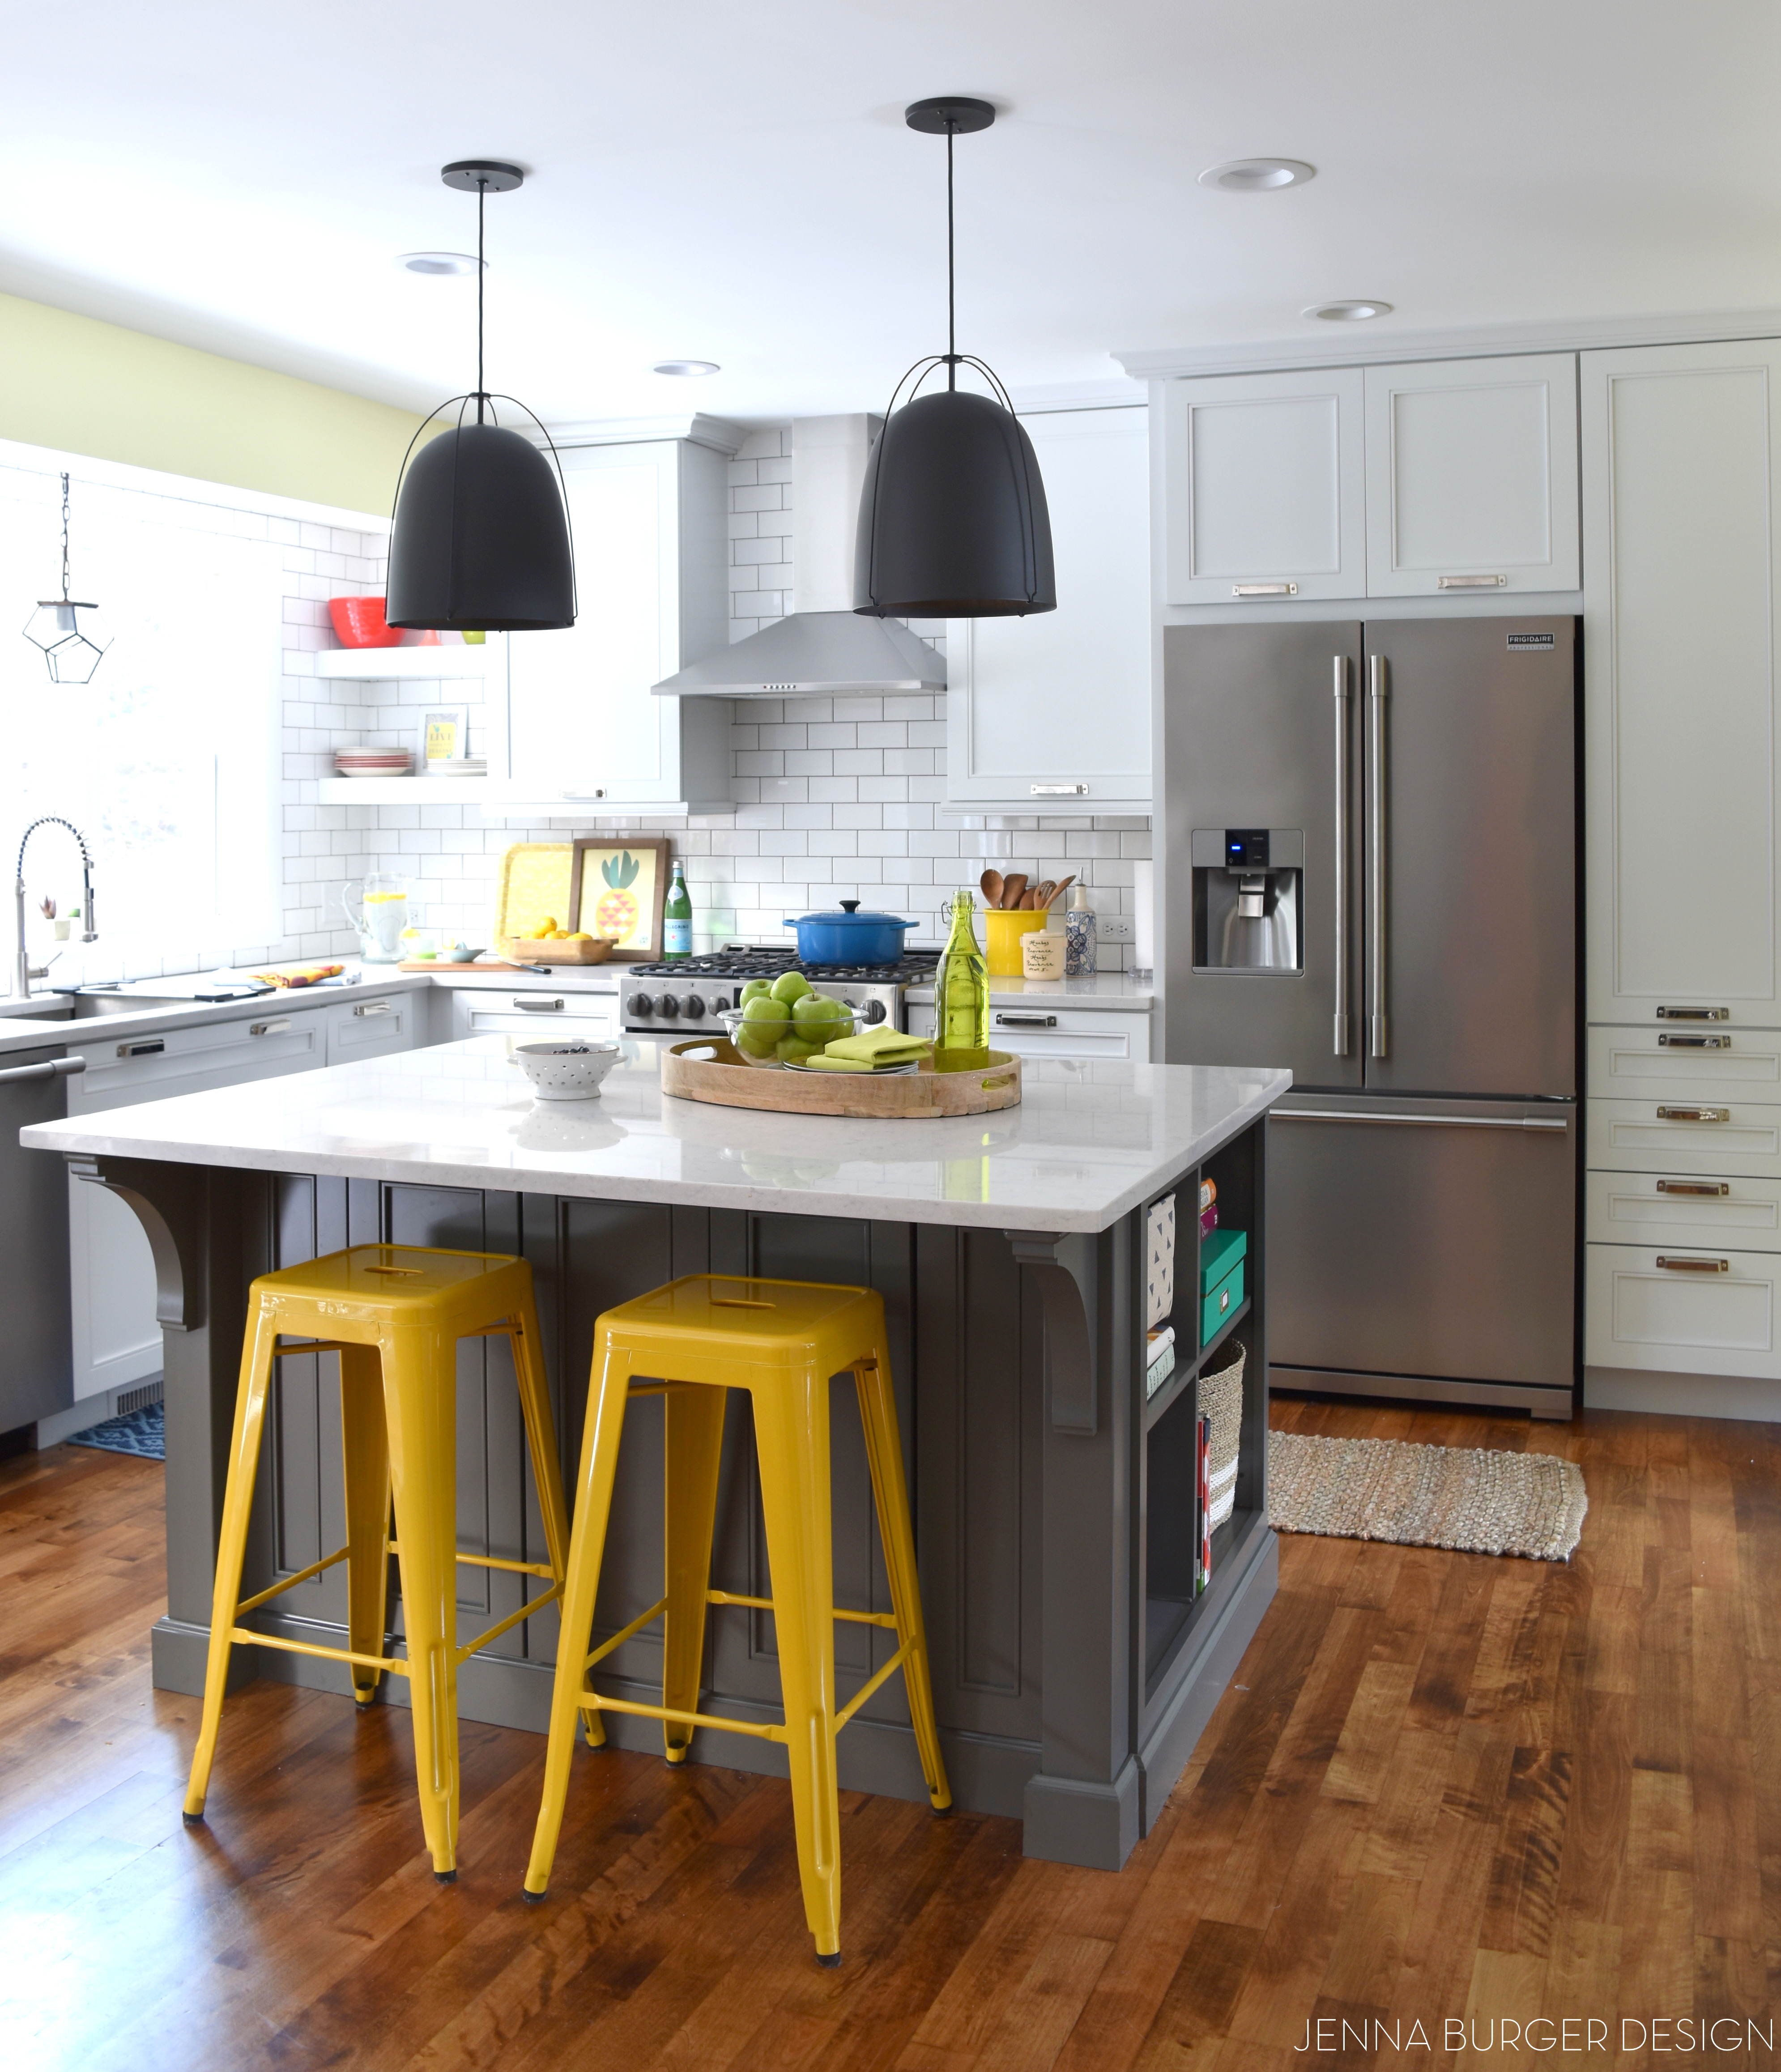
Instead of choosing a grout color that coordinated with the tile (which would’ve been white), I chose to use a contrasting grout color. Lowe’s has a display with all their grout colors and with a sample of the island color in hand – a dark grey called Greyloft by Kraftmaid – I chose a grout color that matched. By choosing a like color to the island, this allowed the deep hue to carry through in other areas of the kitchen. The dark island color wouldn’t be a stand-alone in one spot but instead a common thread throughout.
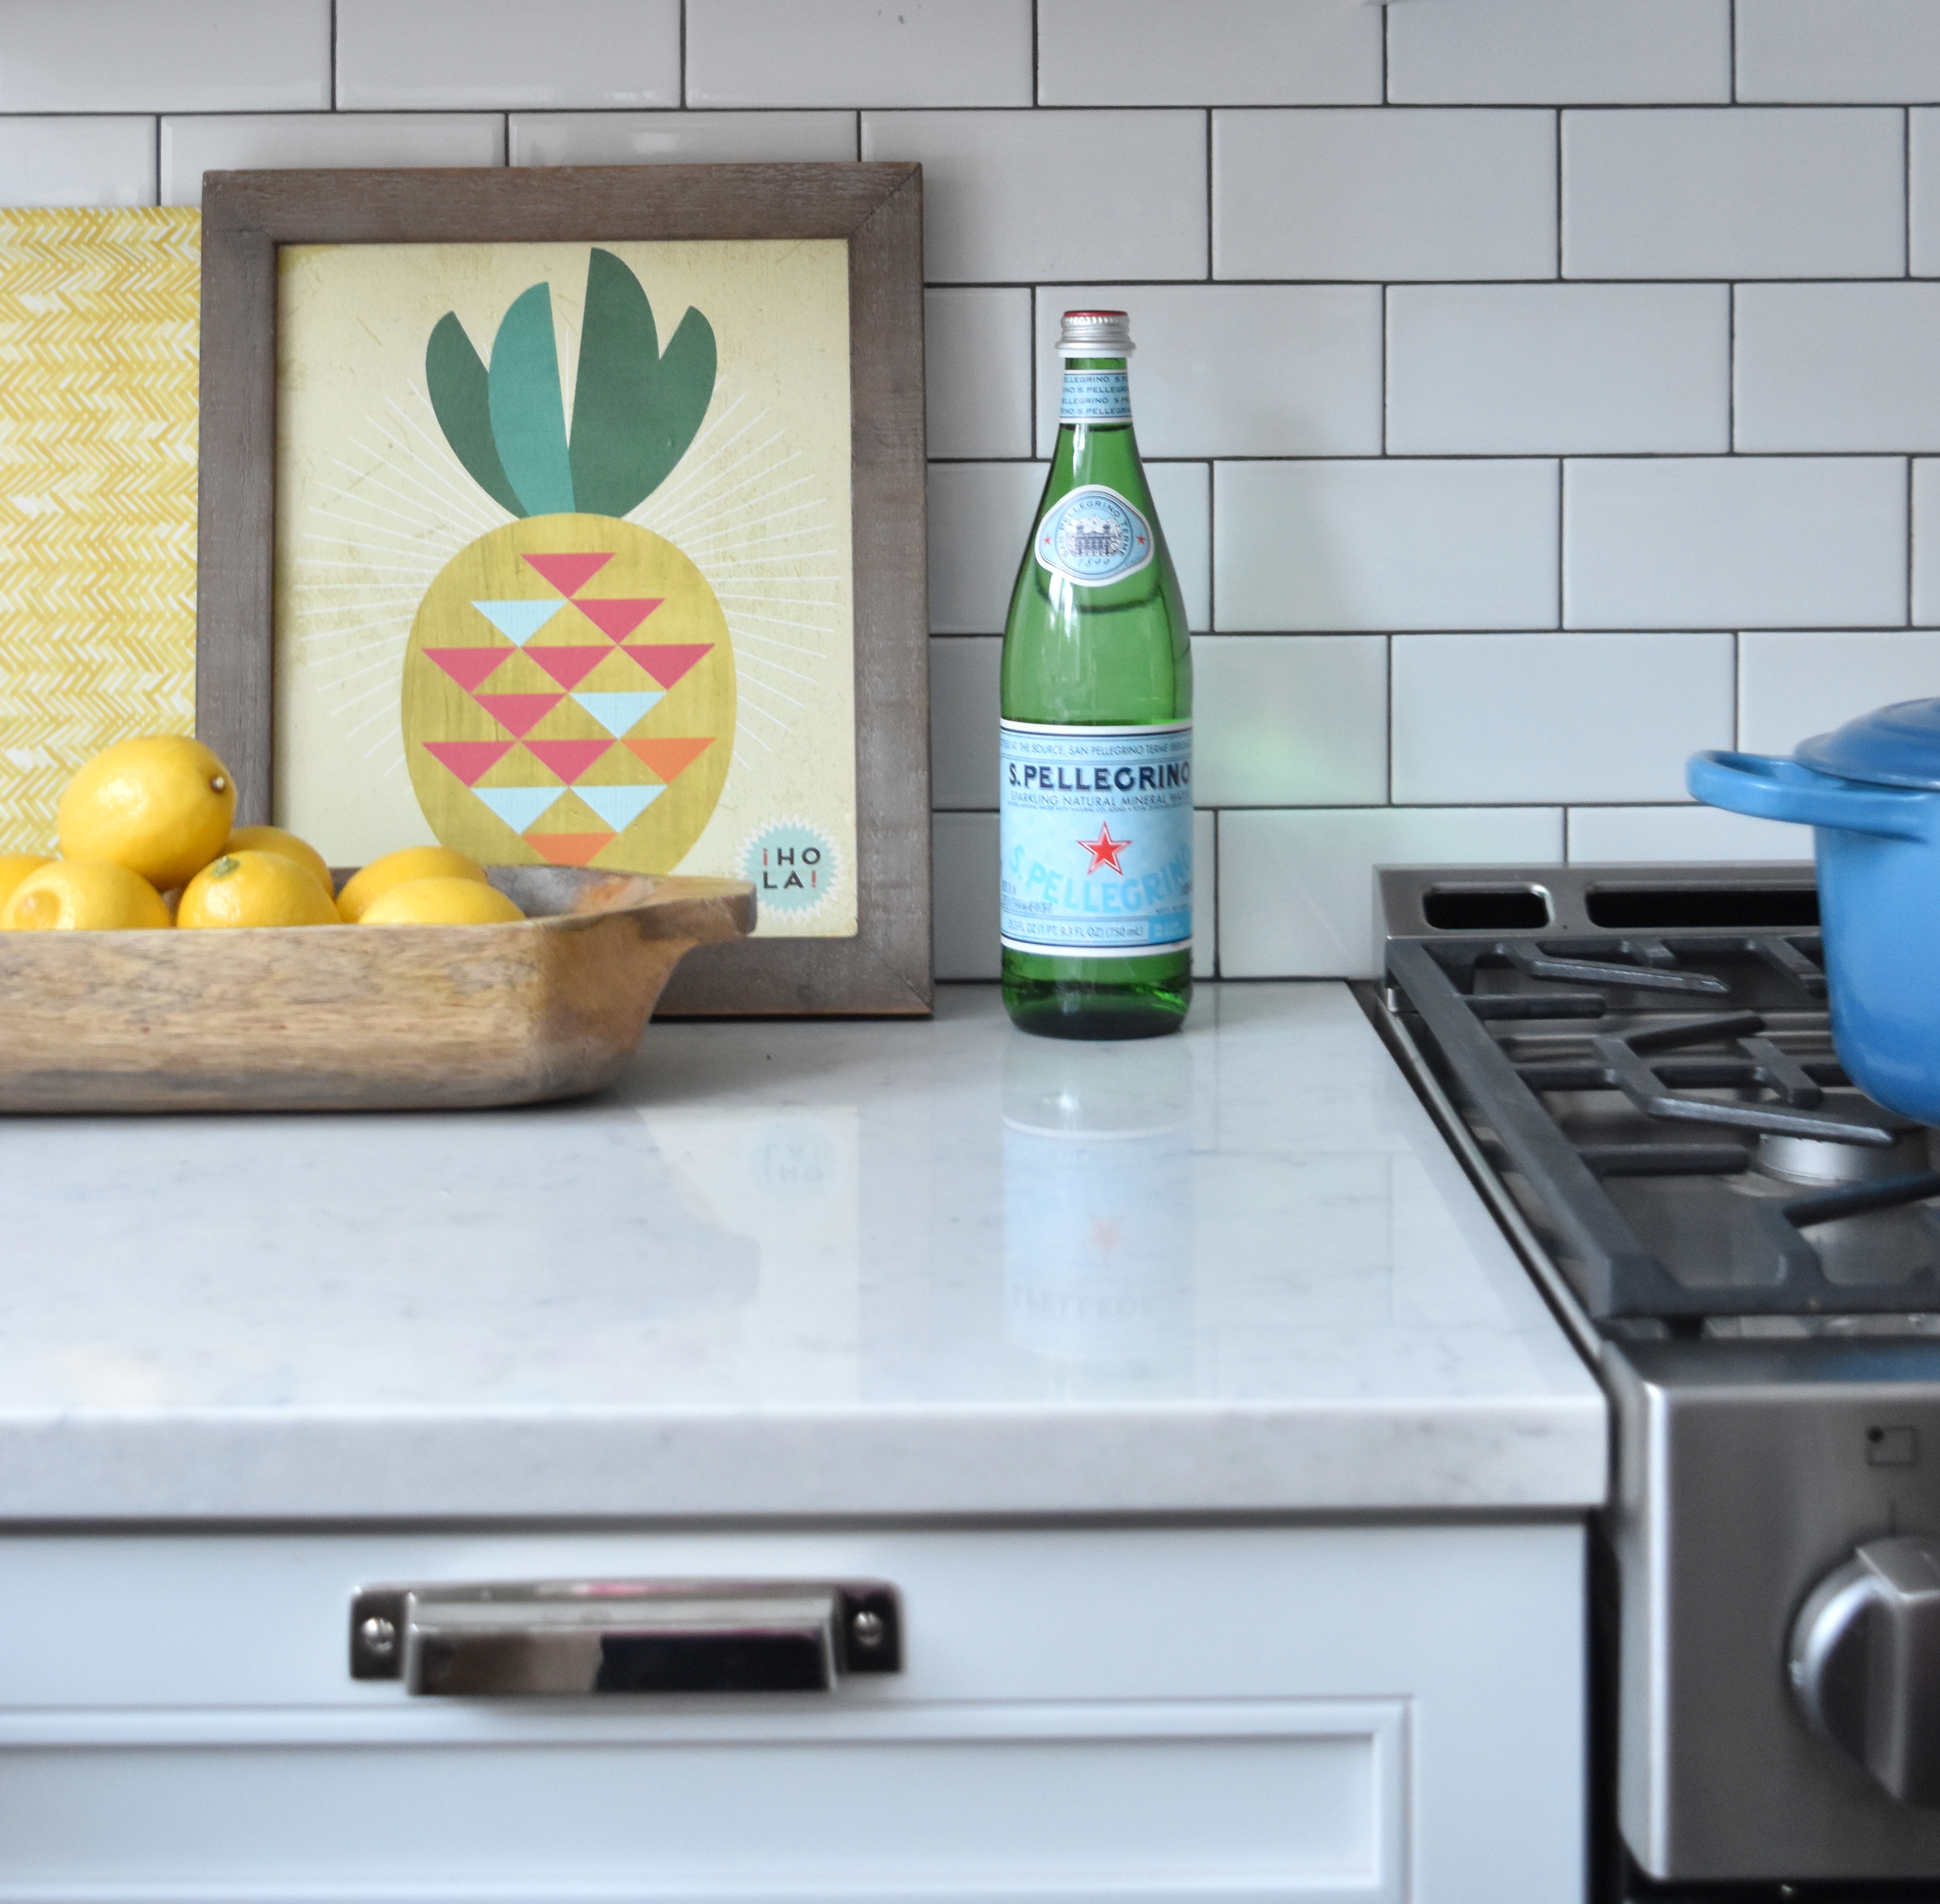
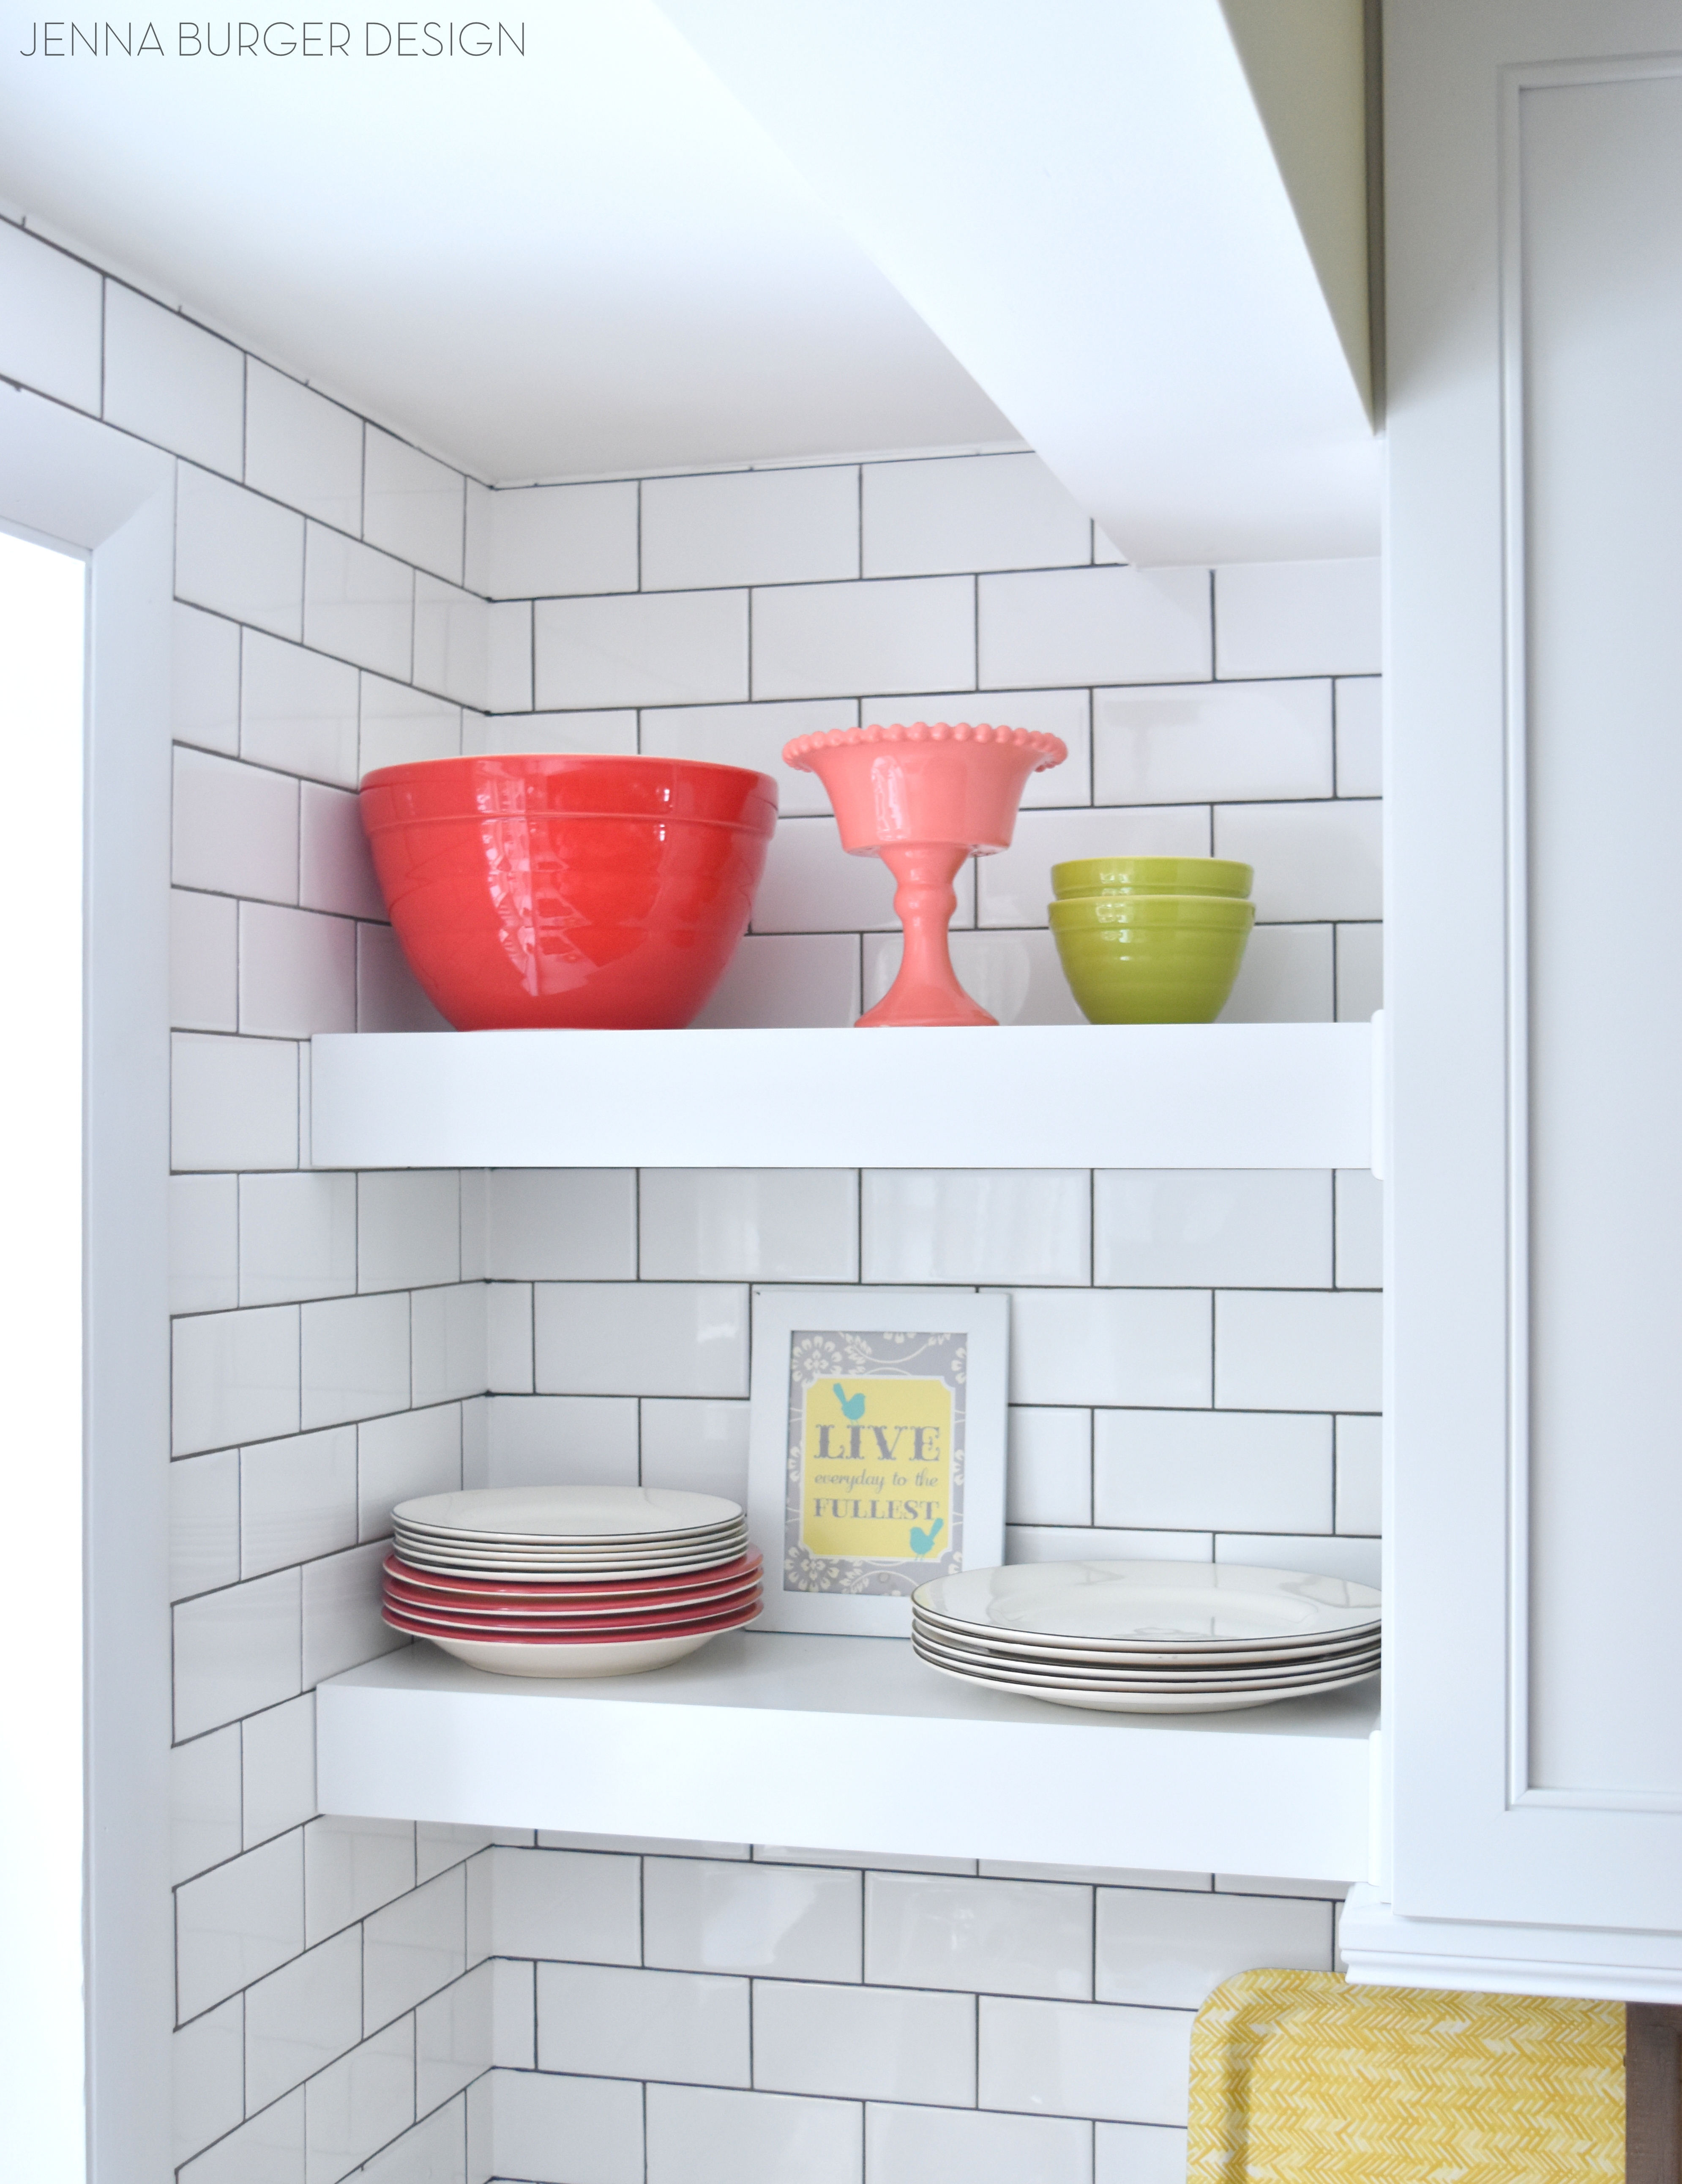
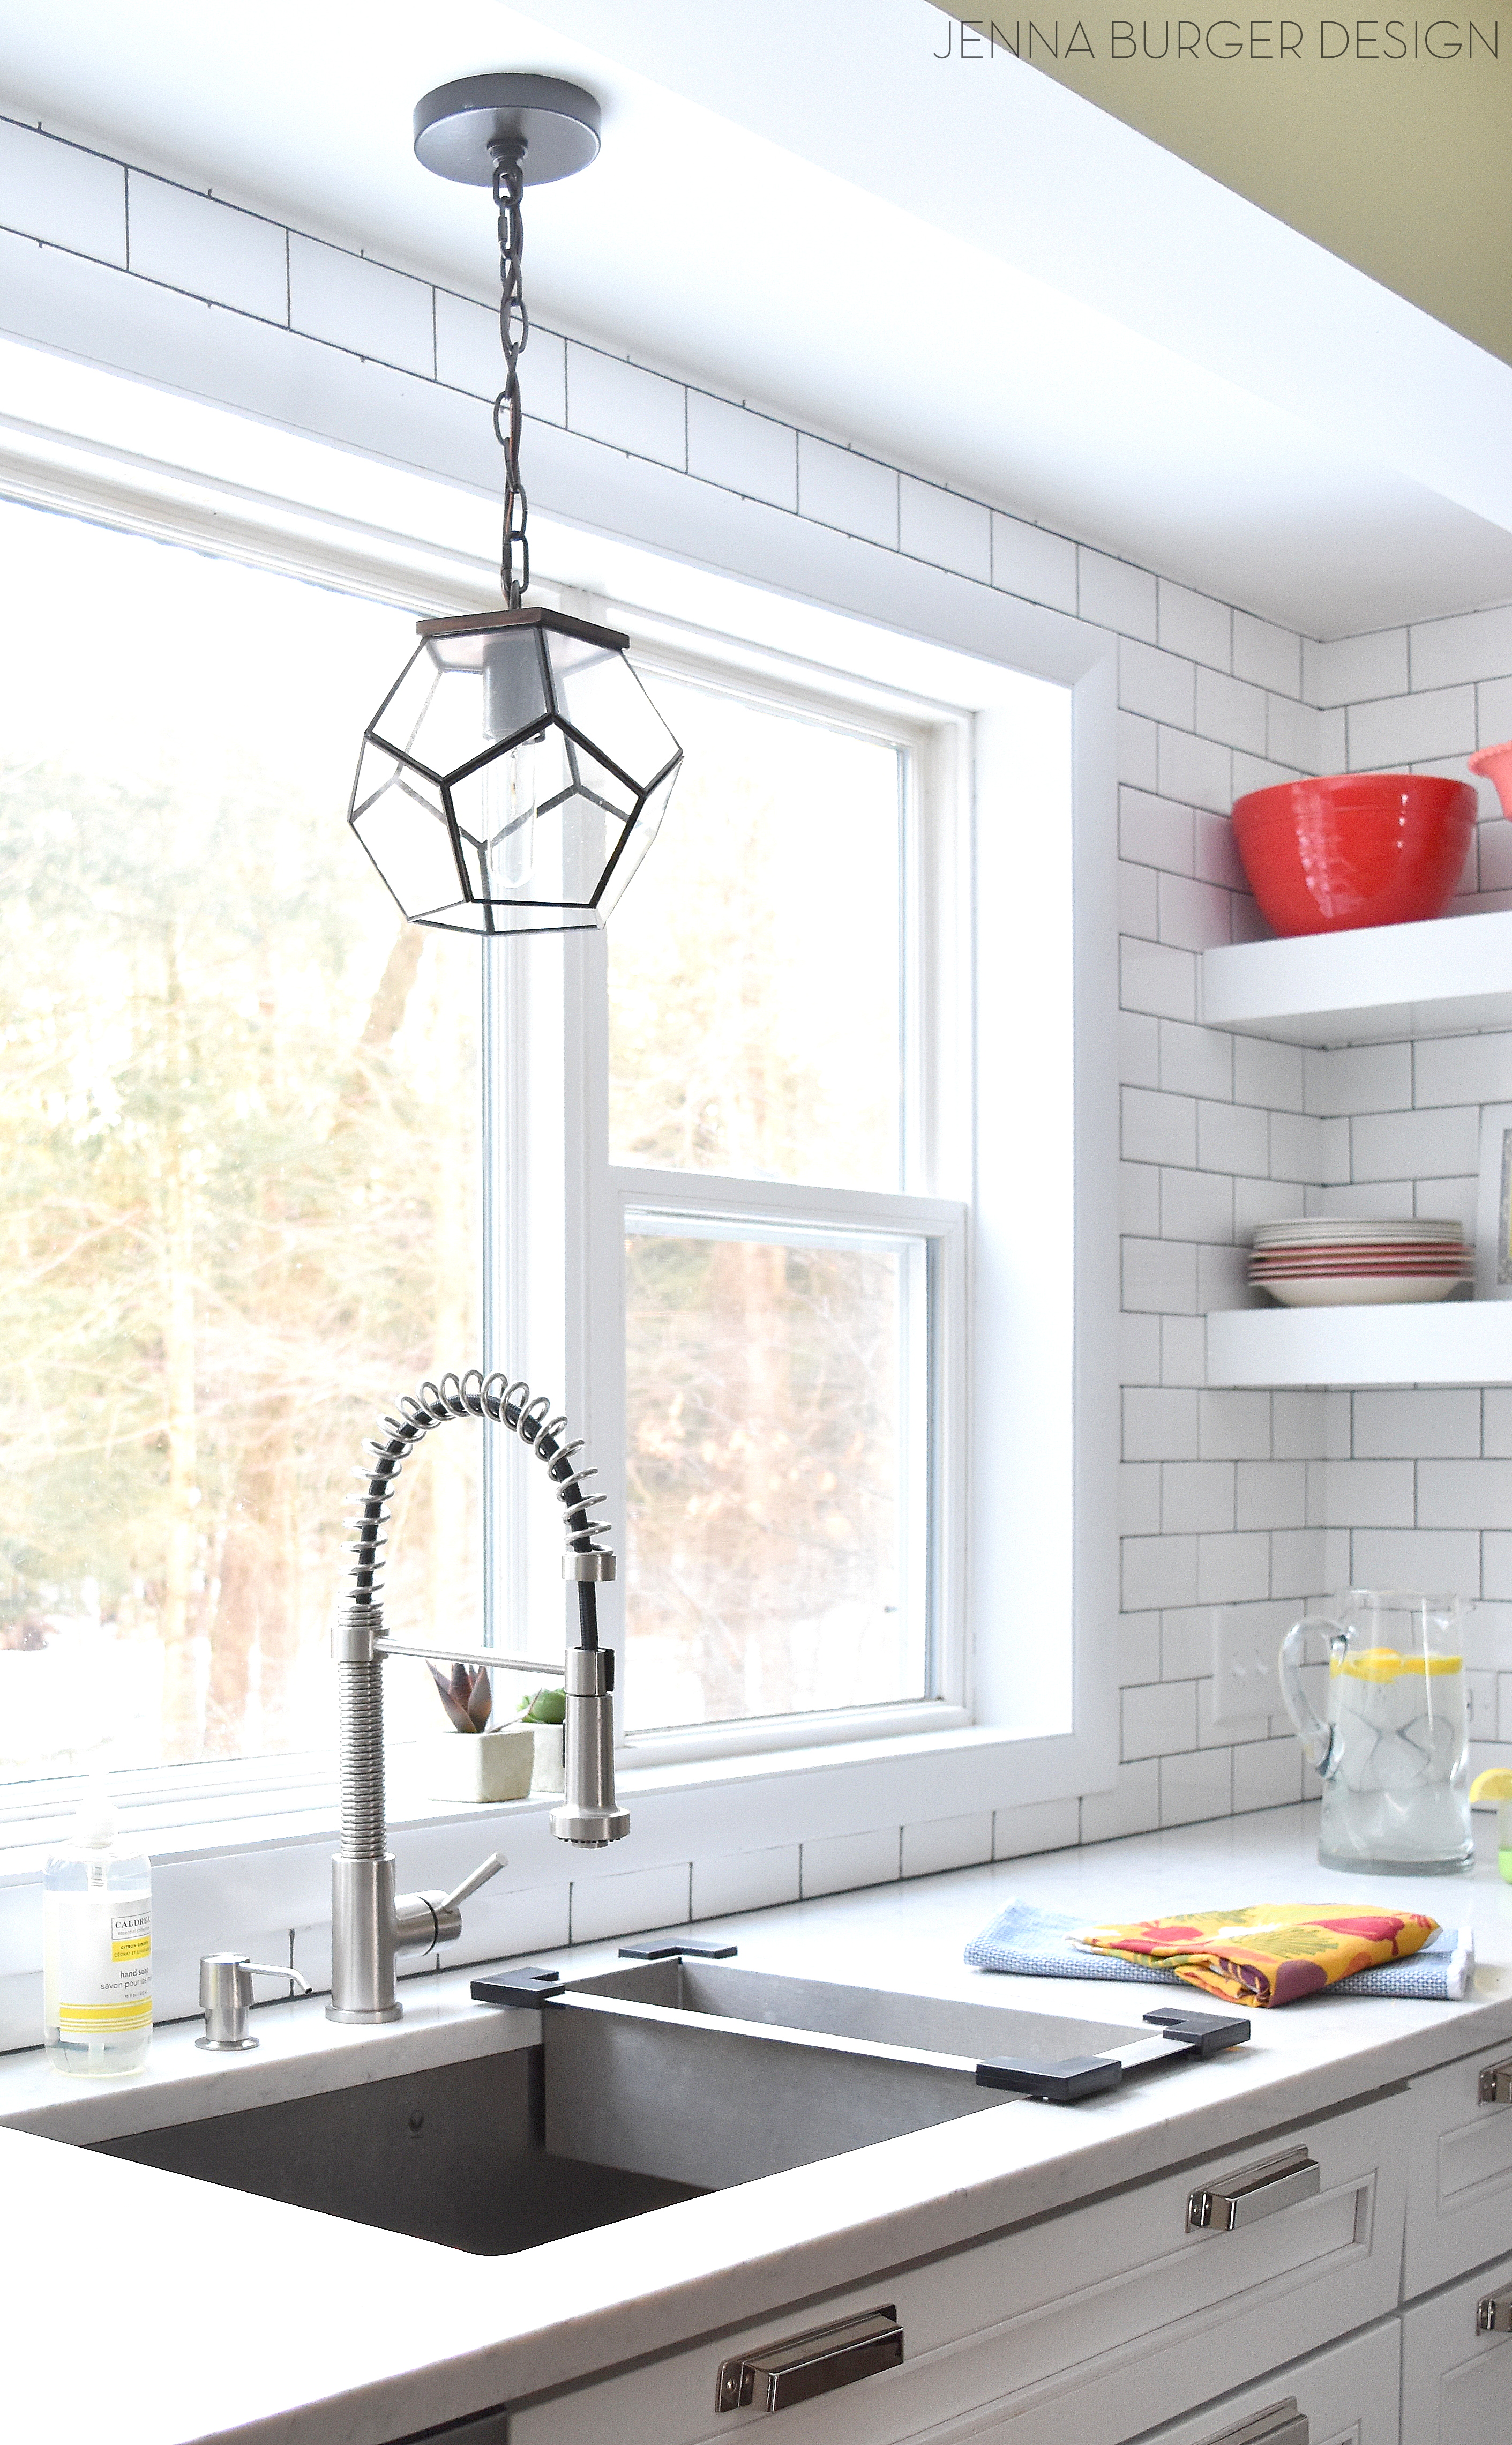
The staggered / brick layout of the subway tile is Oh So Norm, BUT I set it apart by continuing the tile behind the hood, as well as up and around the window. Instead of stopping the tile at the line of the upper cabinets, I continued it up to heighten the space. Additionally, the tile was installed behind the open shelves, which makes the space feel larger.
>>> CLICK HERE FOR MORE DETAILS ON THE TILE INSTALLATION
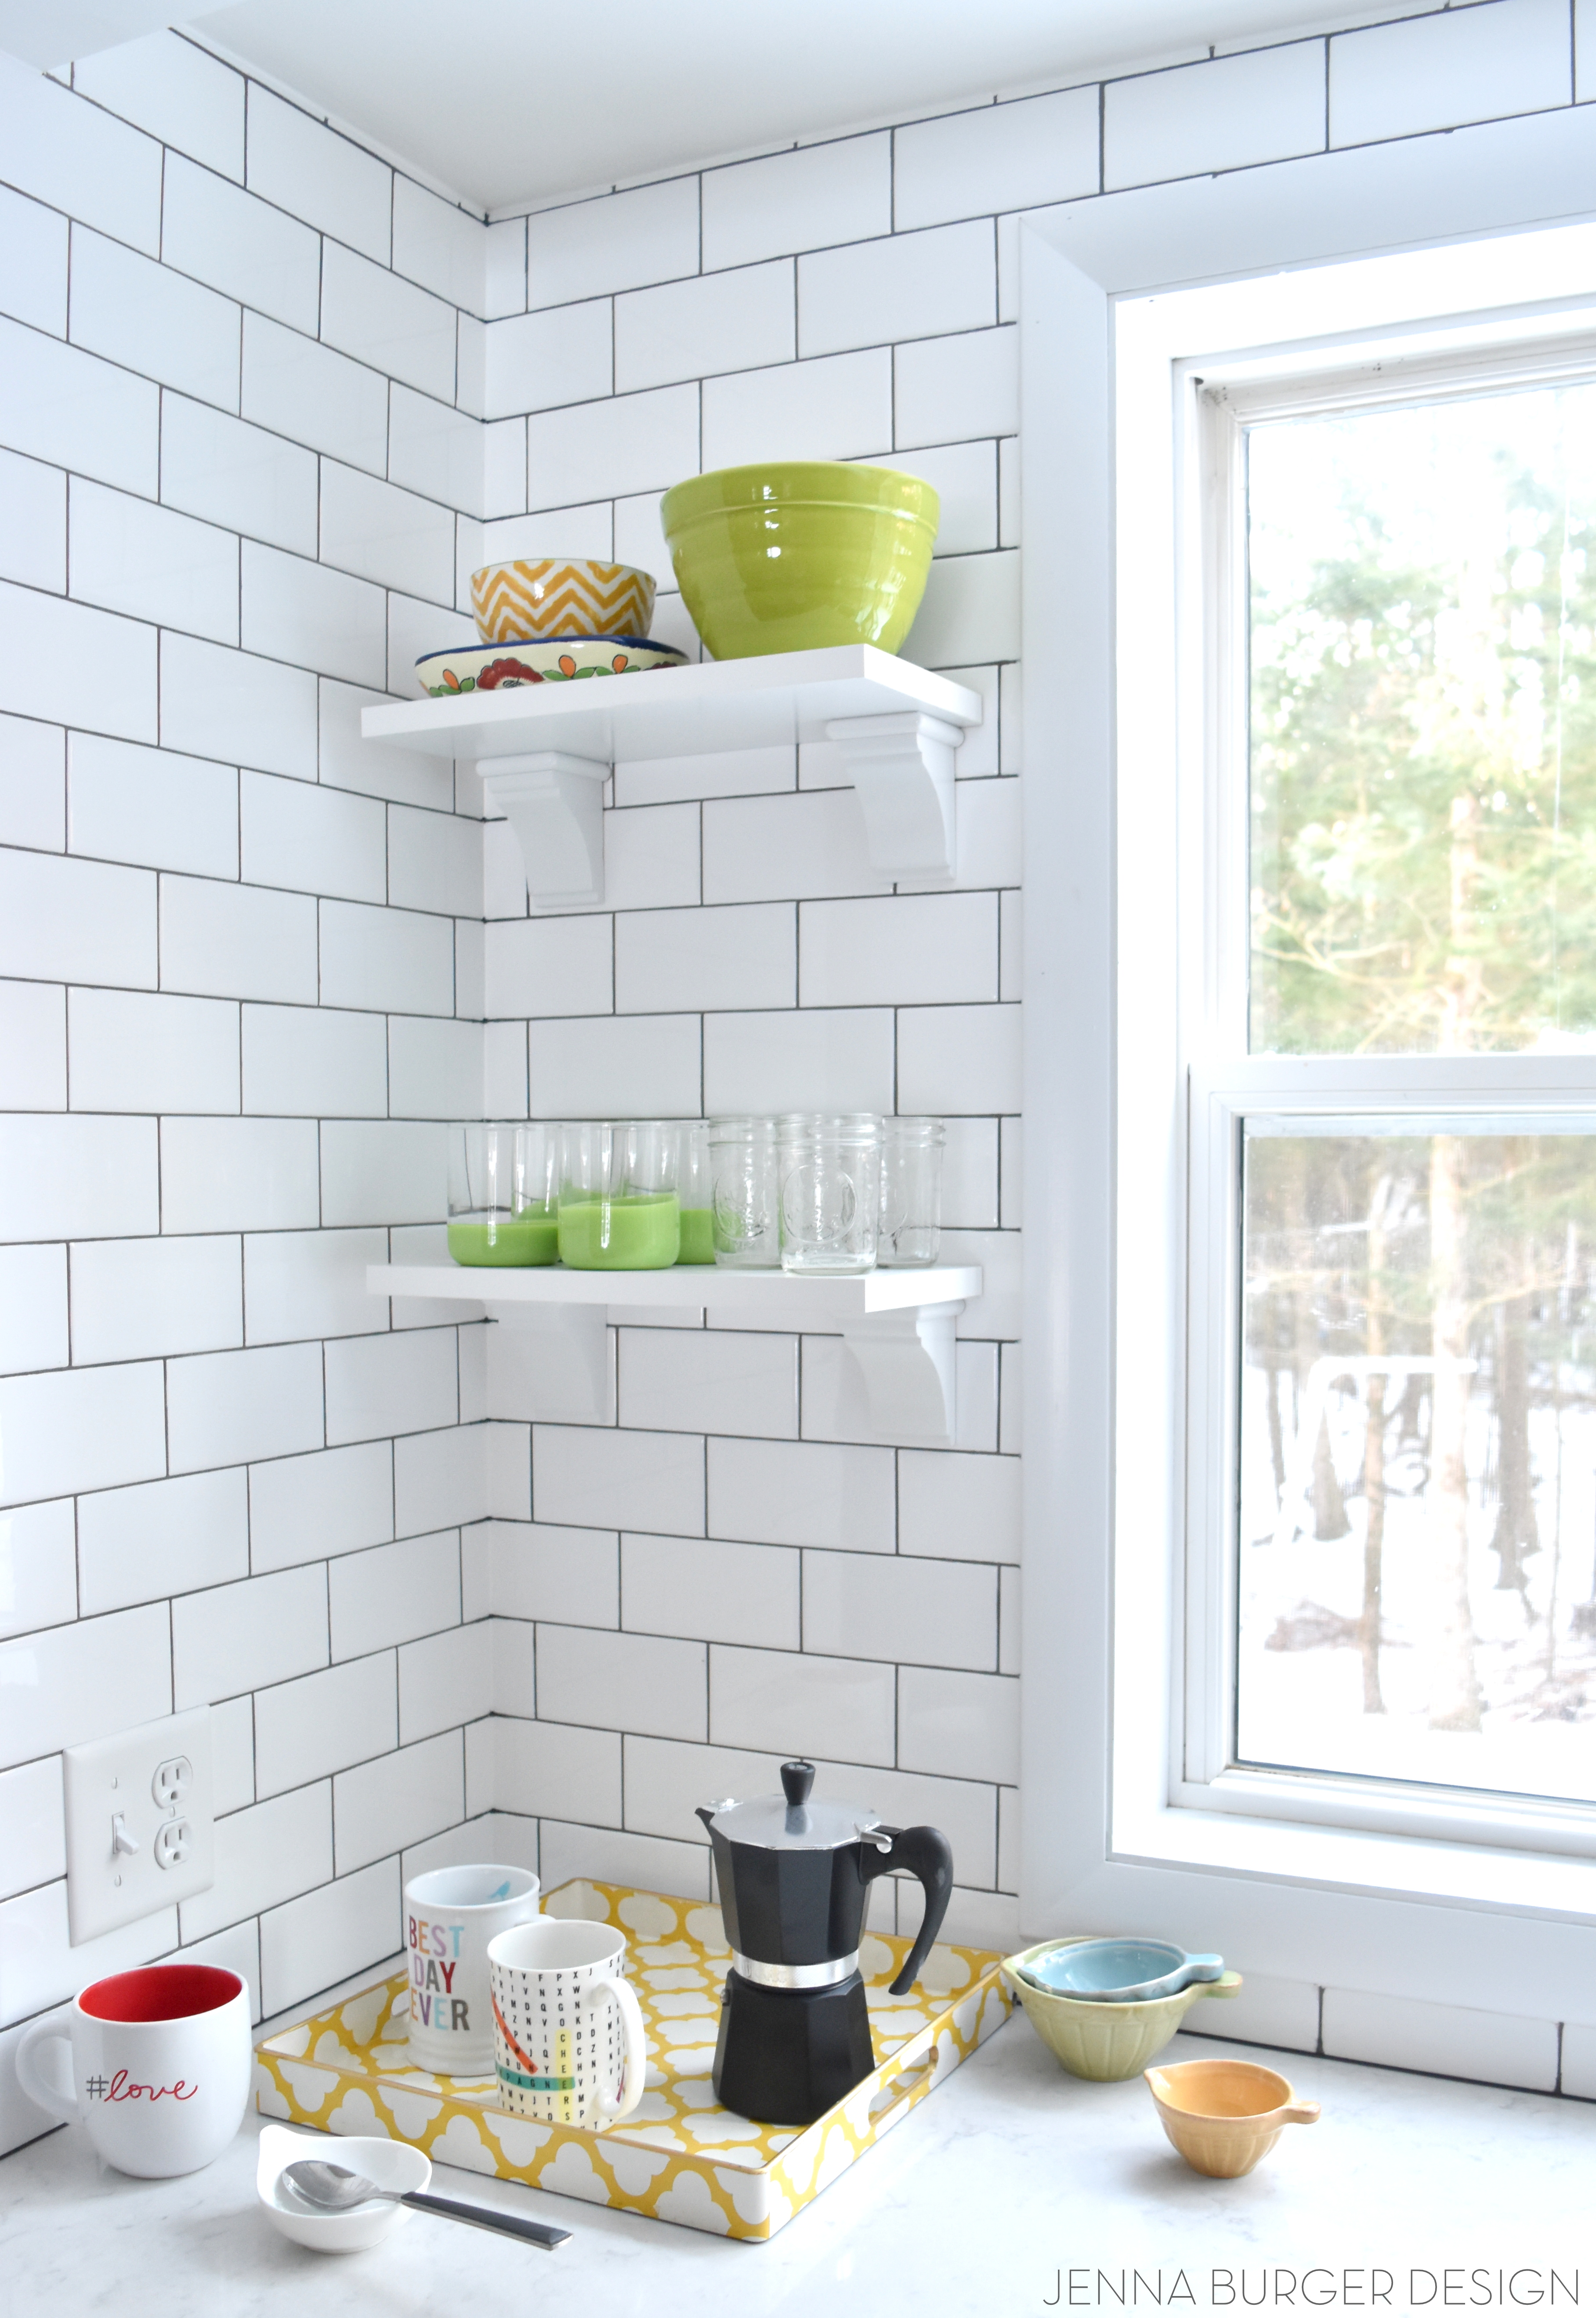
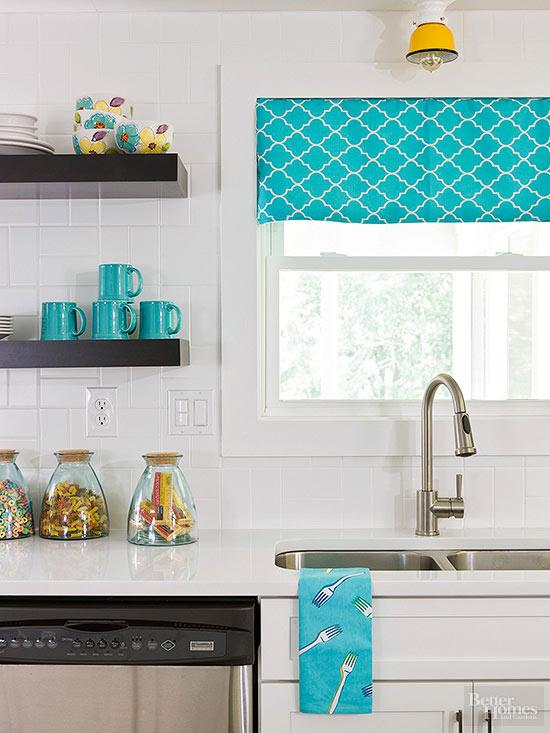
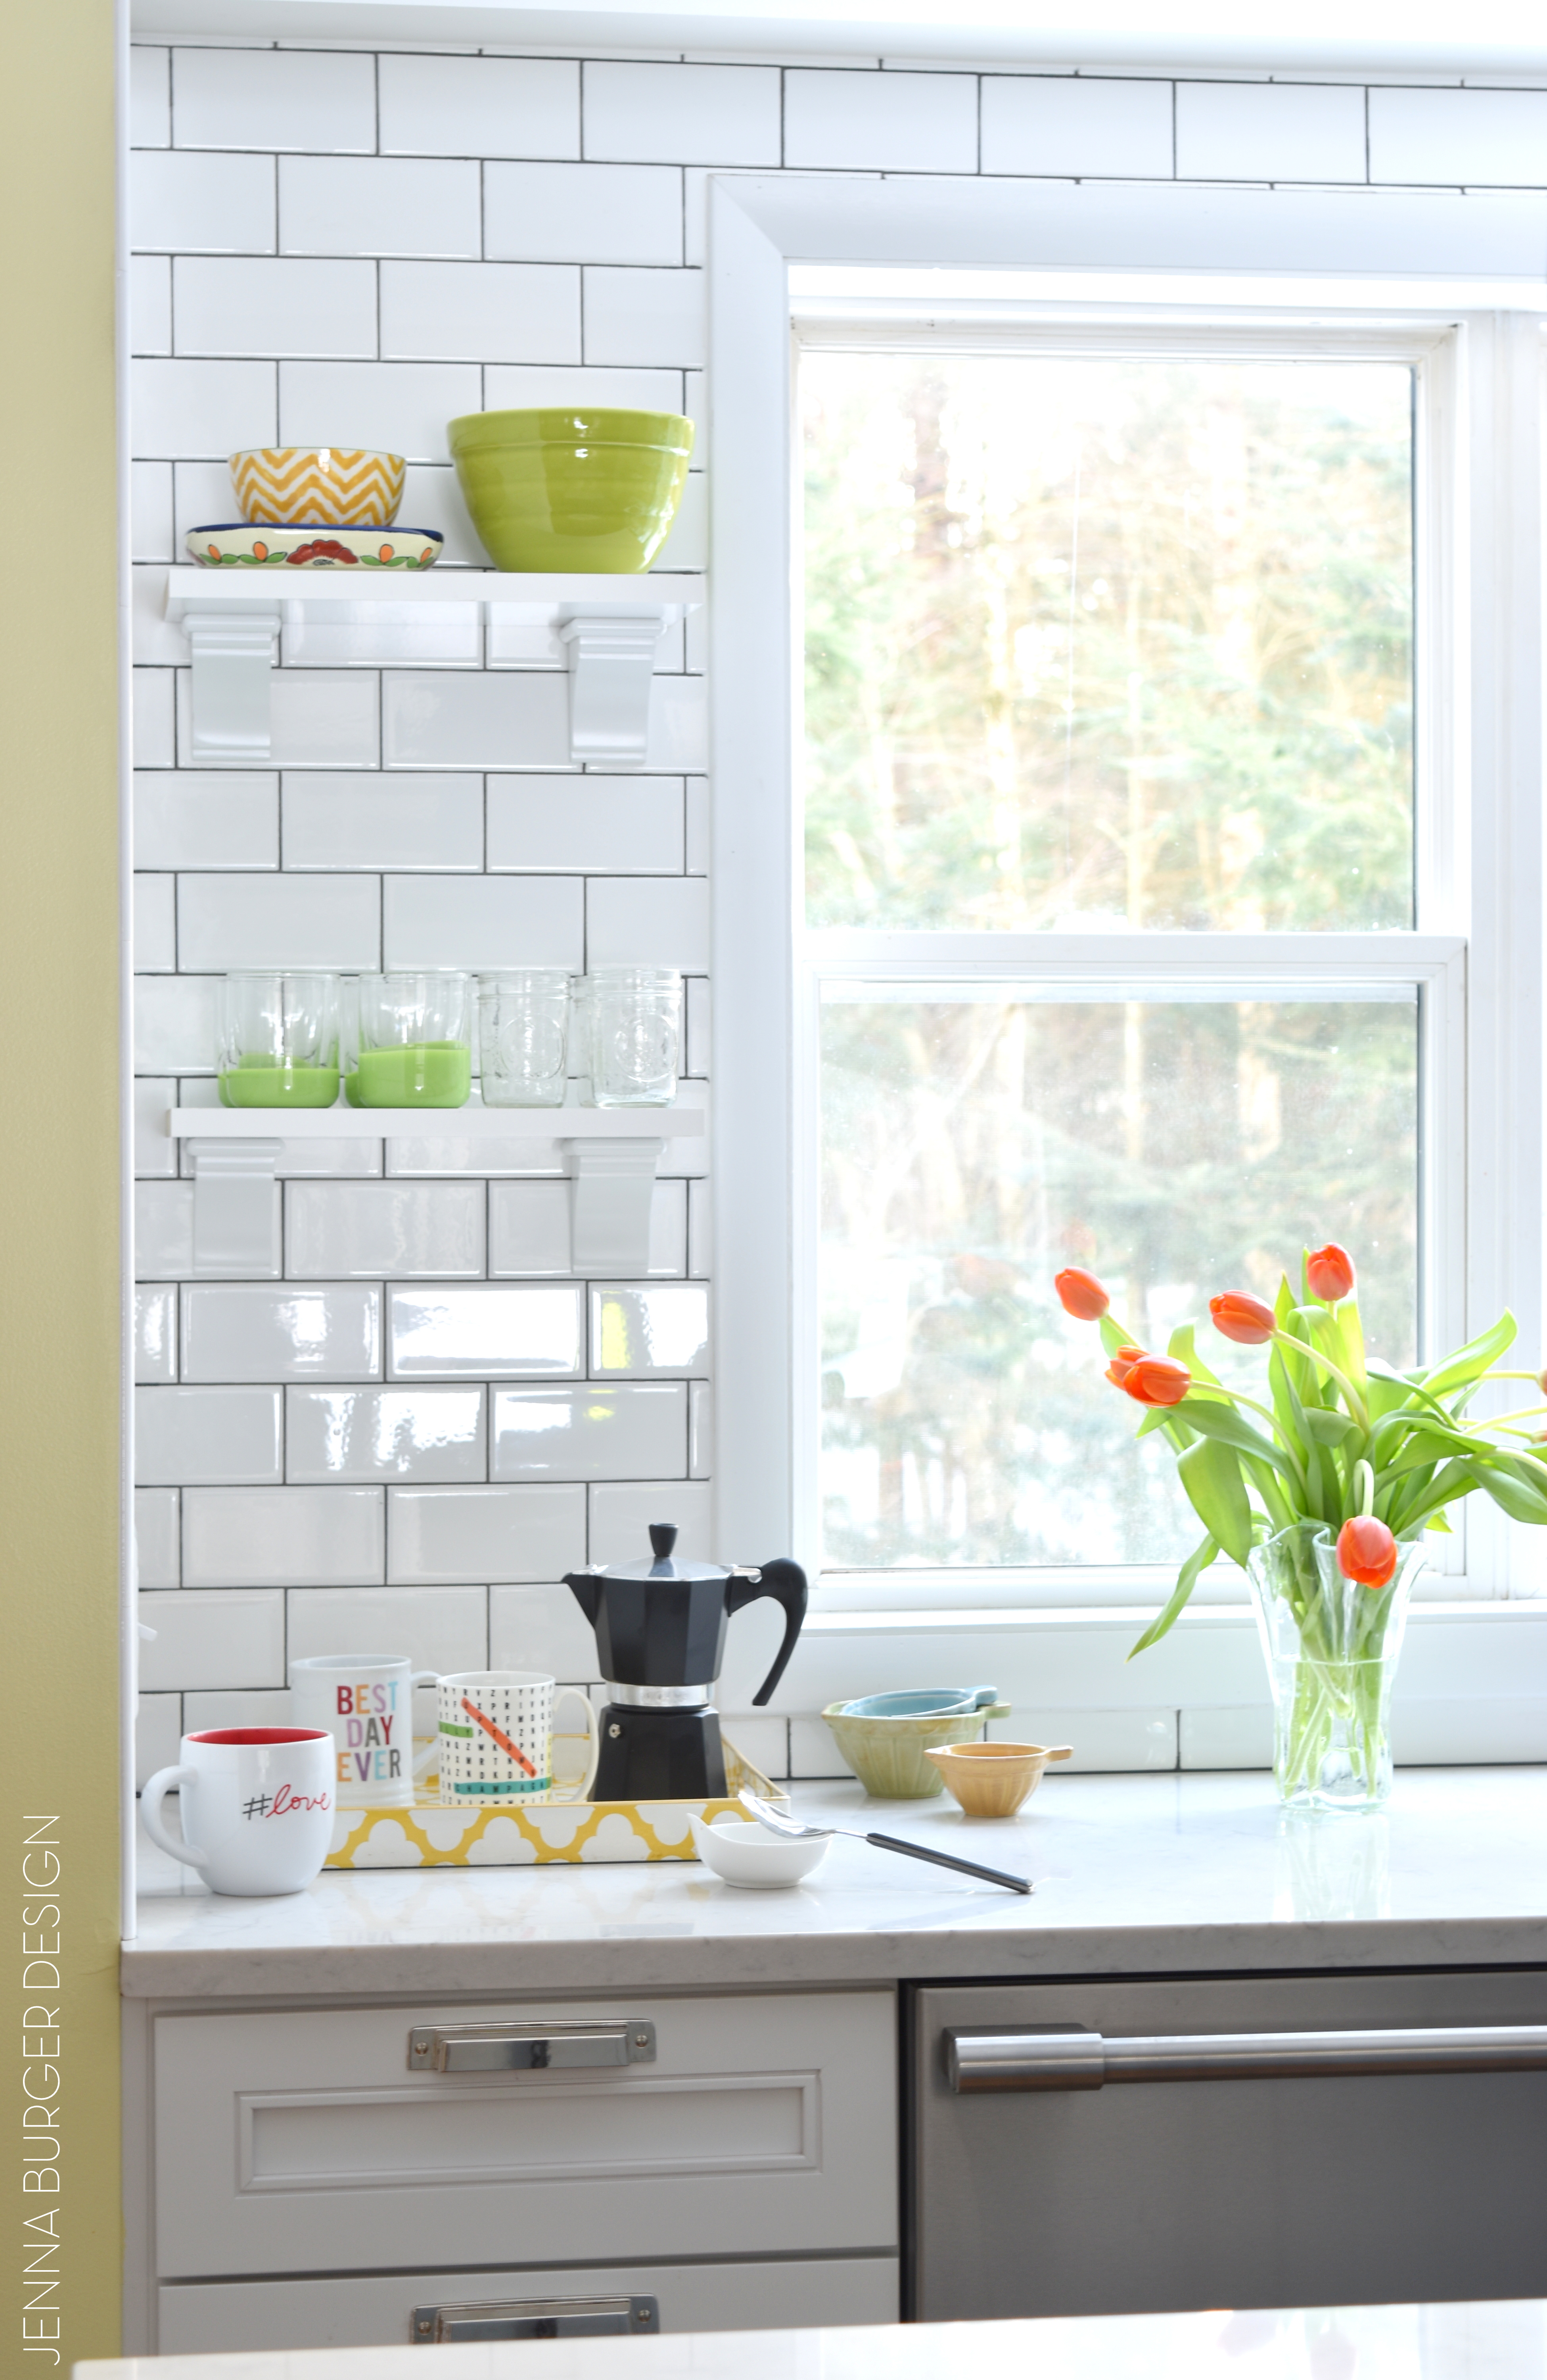
2. OPEN SHELVING
Since we’re on that subject, let’s jump right in… Open Shelving. Most of you would never think of open shelving in the kitchen. Who would want to display plastic cups + mismatched dishes?! Wrong my friends… My kitchen doesn’t have all open shelving. In actuality only a small portion of the space has open shelves. Like you, I have cups, plates, and a lot of other things that I want hidden. And those things are behind closed doors. BUT, I do have some nice dishes, pretty glasses, and colorful bowls. All perfect for display + easy access to grab.
Why open shelving? Shelves add depth, openness, and a way to introduce color. Look through your cabinets and figure out how many ‘nice’ things you have to display, then figure out how much open shelving is appropriate for your kitchen.
3. OUTLETS
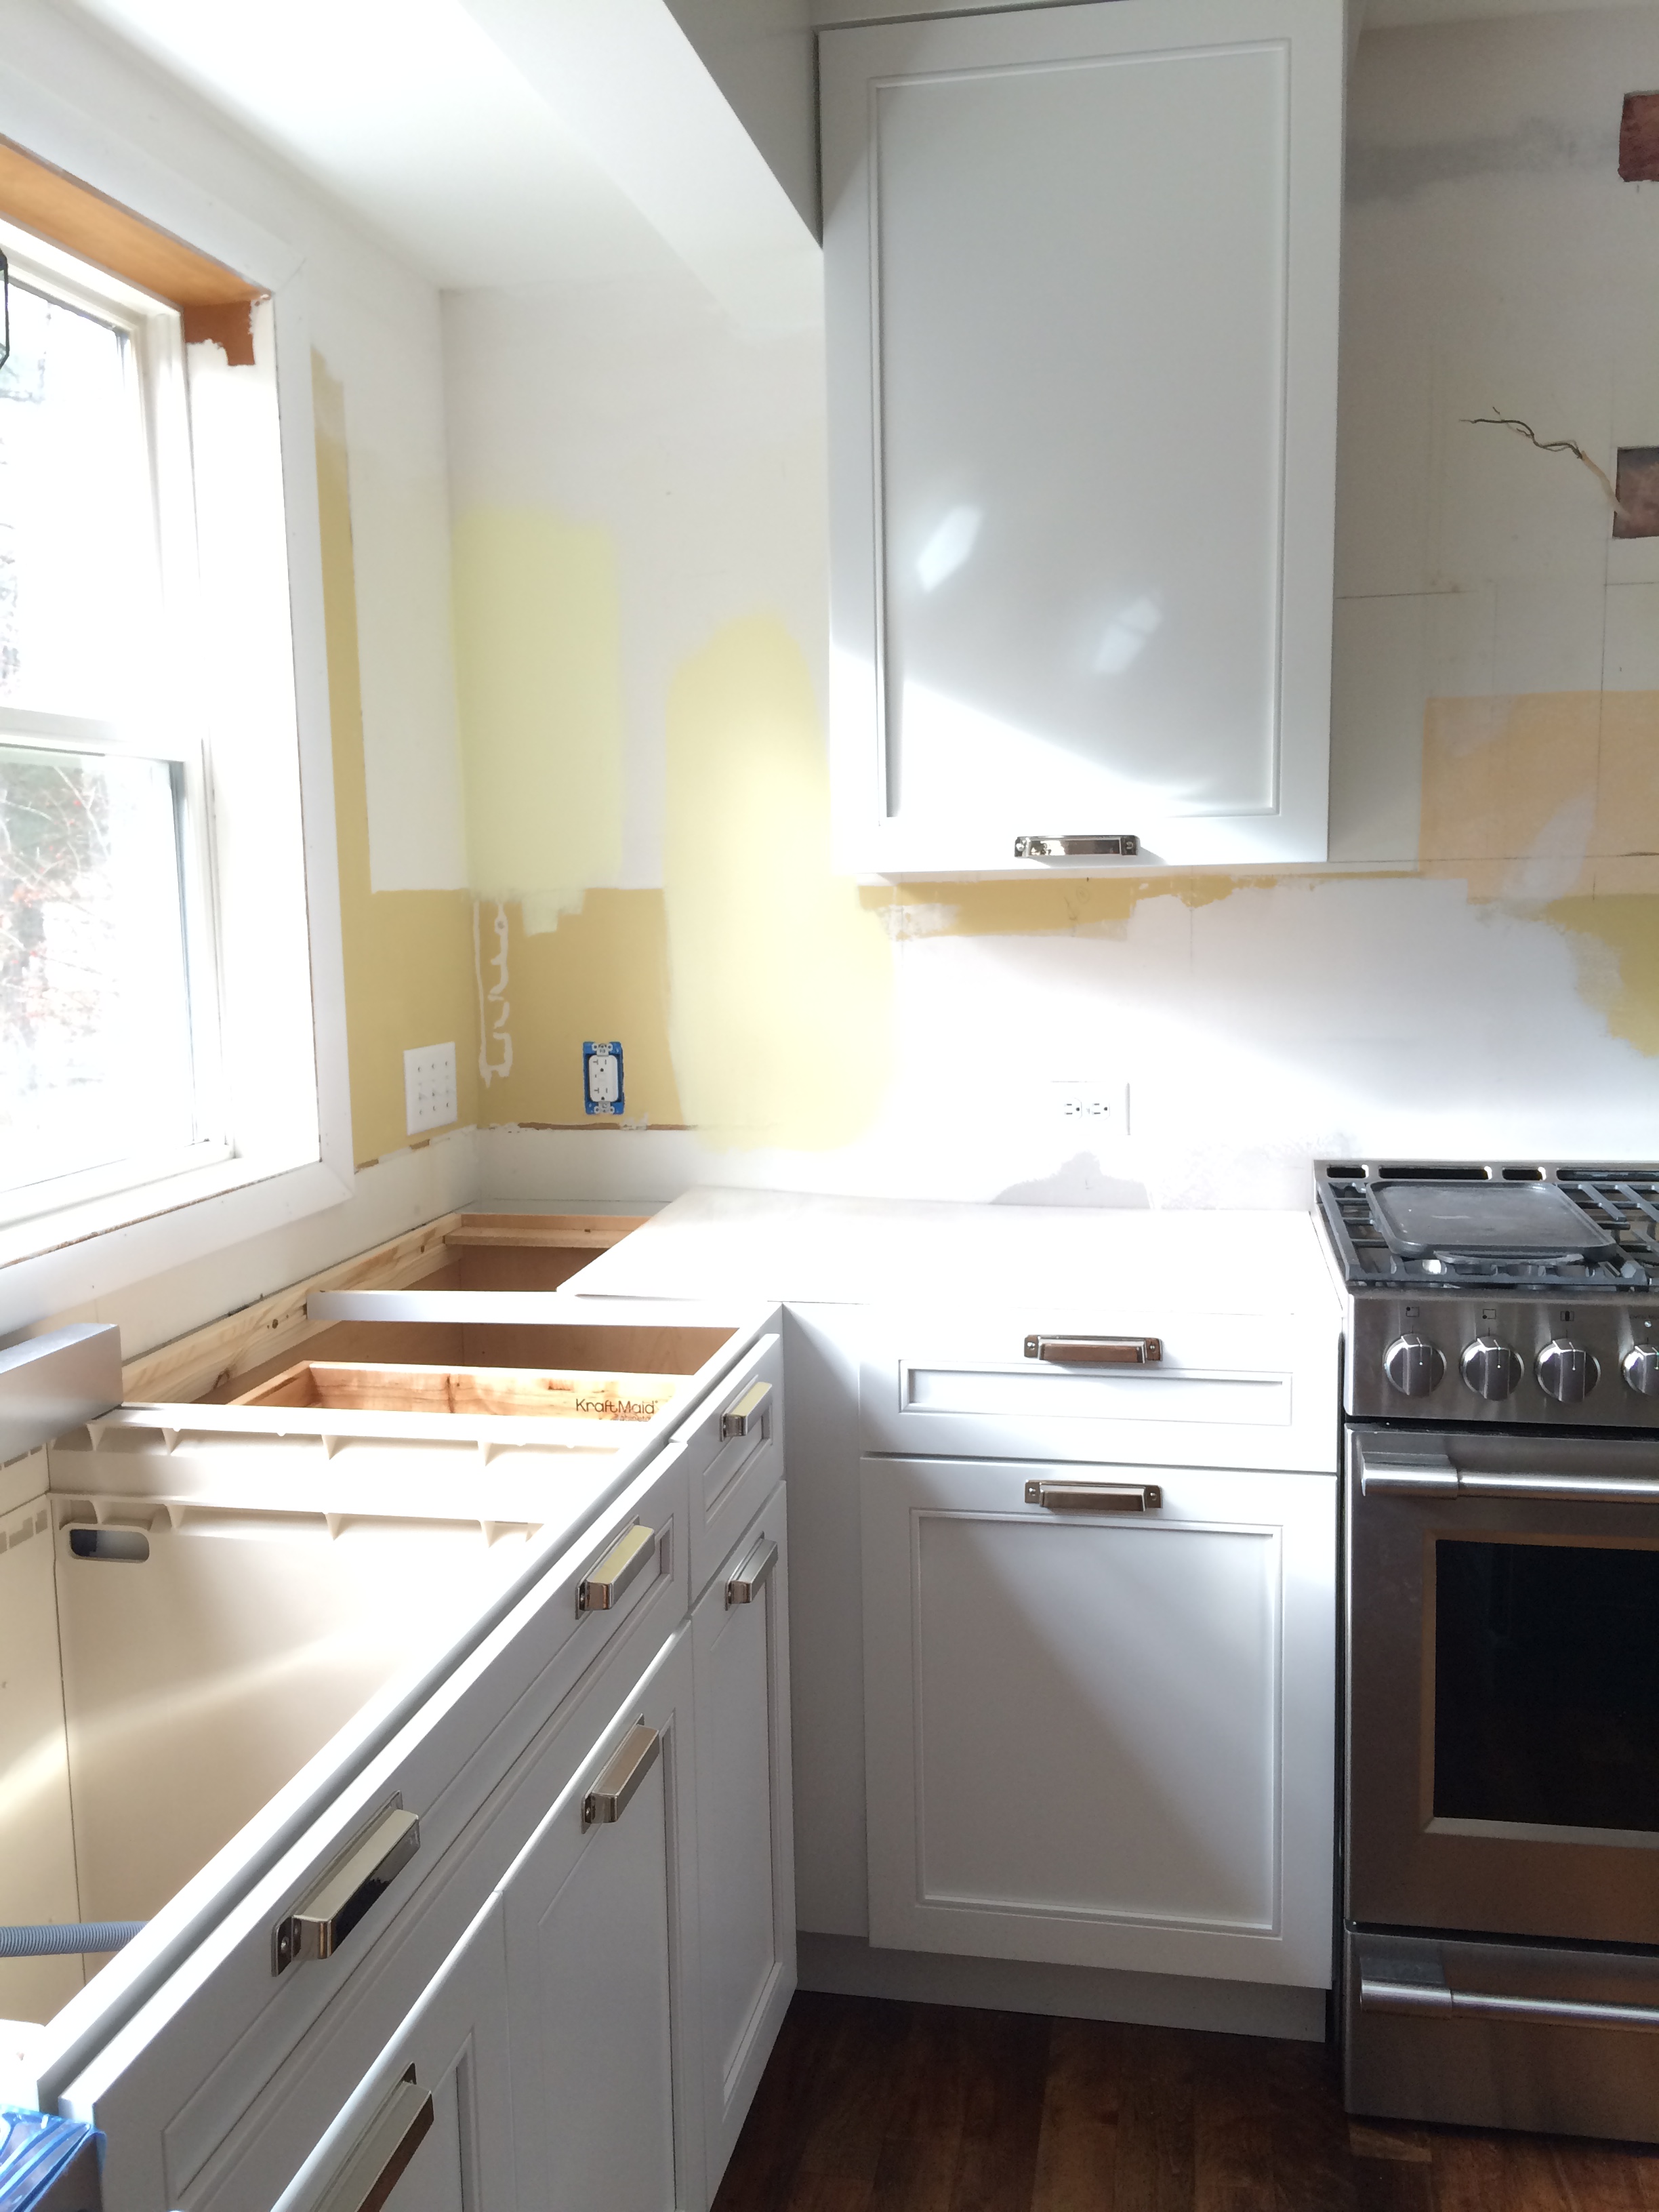
Still on the subject of the backsplash, outlet locations are important to figure out during the design phase. More often or not, outlets are typically every 18-24″ apart and are positioned half way between the counter and the upper cabinets. So basically, they’re an eyesore smack in the center of the tile. Outlet placement can be daunting, but avoid the eyesore mistake by giving thought to the outlet placement BEFORE you renovate.
Moving the outlets lower, about 3″ above the counter, and to a horizontal position, will help keep them out of sight and in line with your appliance plugs. As an alternative, try one horizontal outlet on the backsplash for the appliances / items that sit permanent on the counter – think beforehand about where they’ll be placed – then add outlets to the underside of the upper cabinet for the temporary plug-in / take-out items.
The outlets in my new backplash can barely be seen…
And please always use GFCI outlets above countertop level to avoid electrocution!
Outlets in the island is another area of focus. You want + need outlets in the island (and they are required by building code), but it is important to place them in a pleasant looking place. Have a recessed panel on the side of the island? Be sure the outlet is centered and position it in the same orientation as the backsplash.
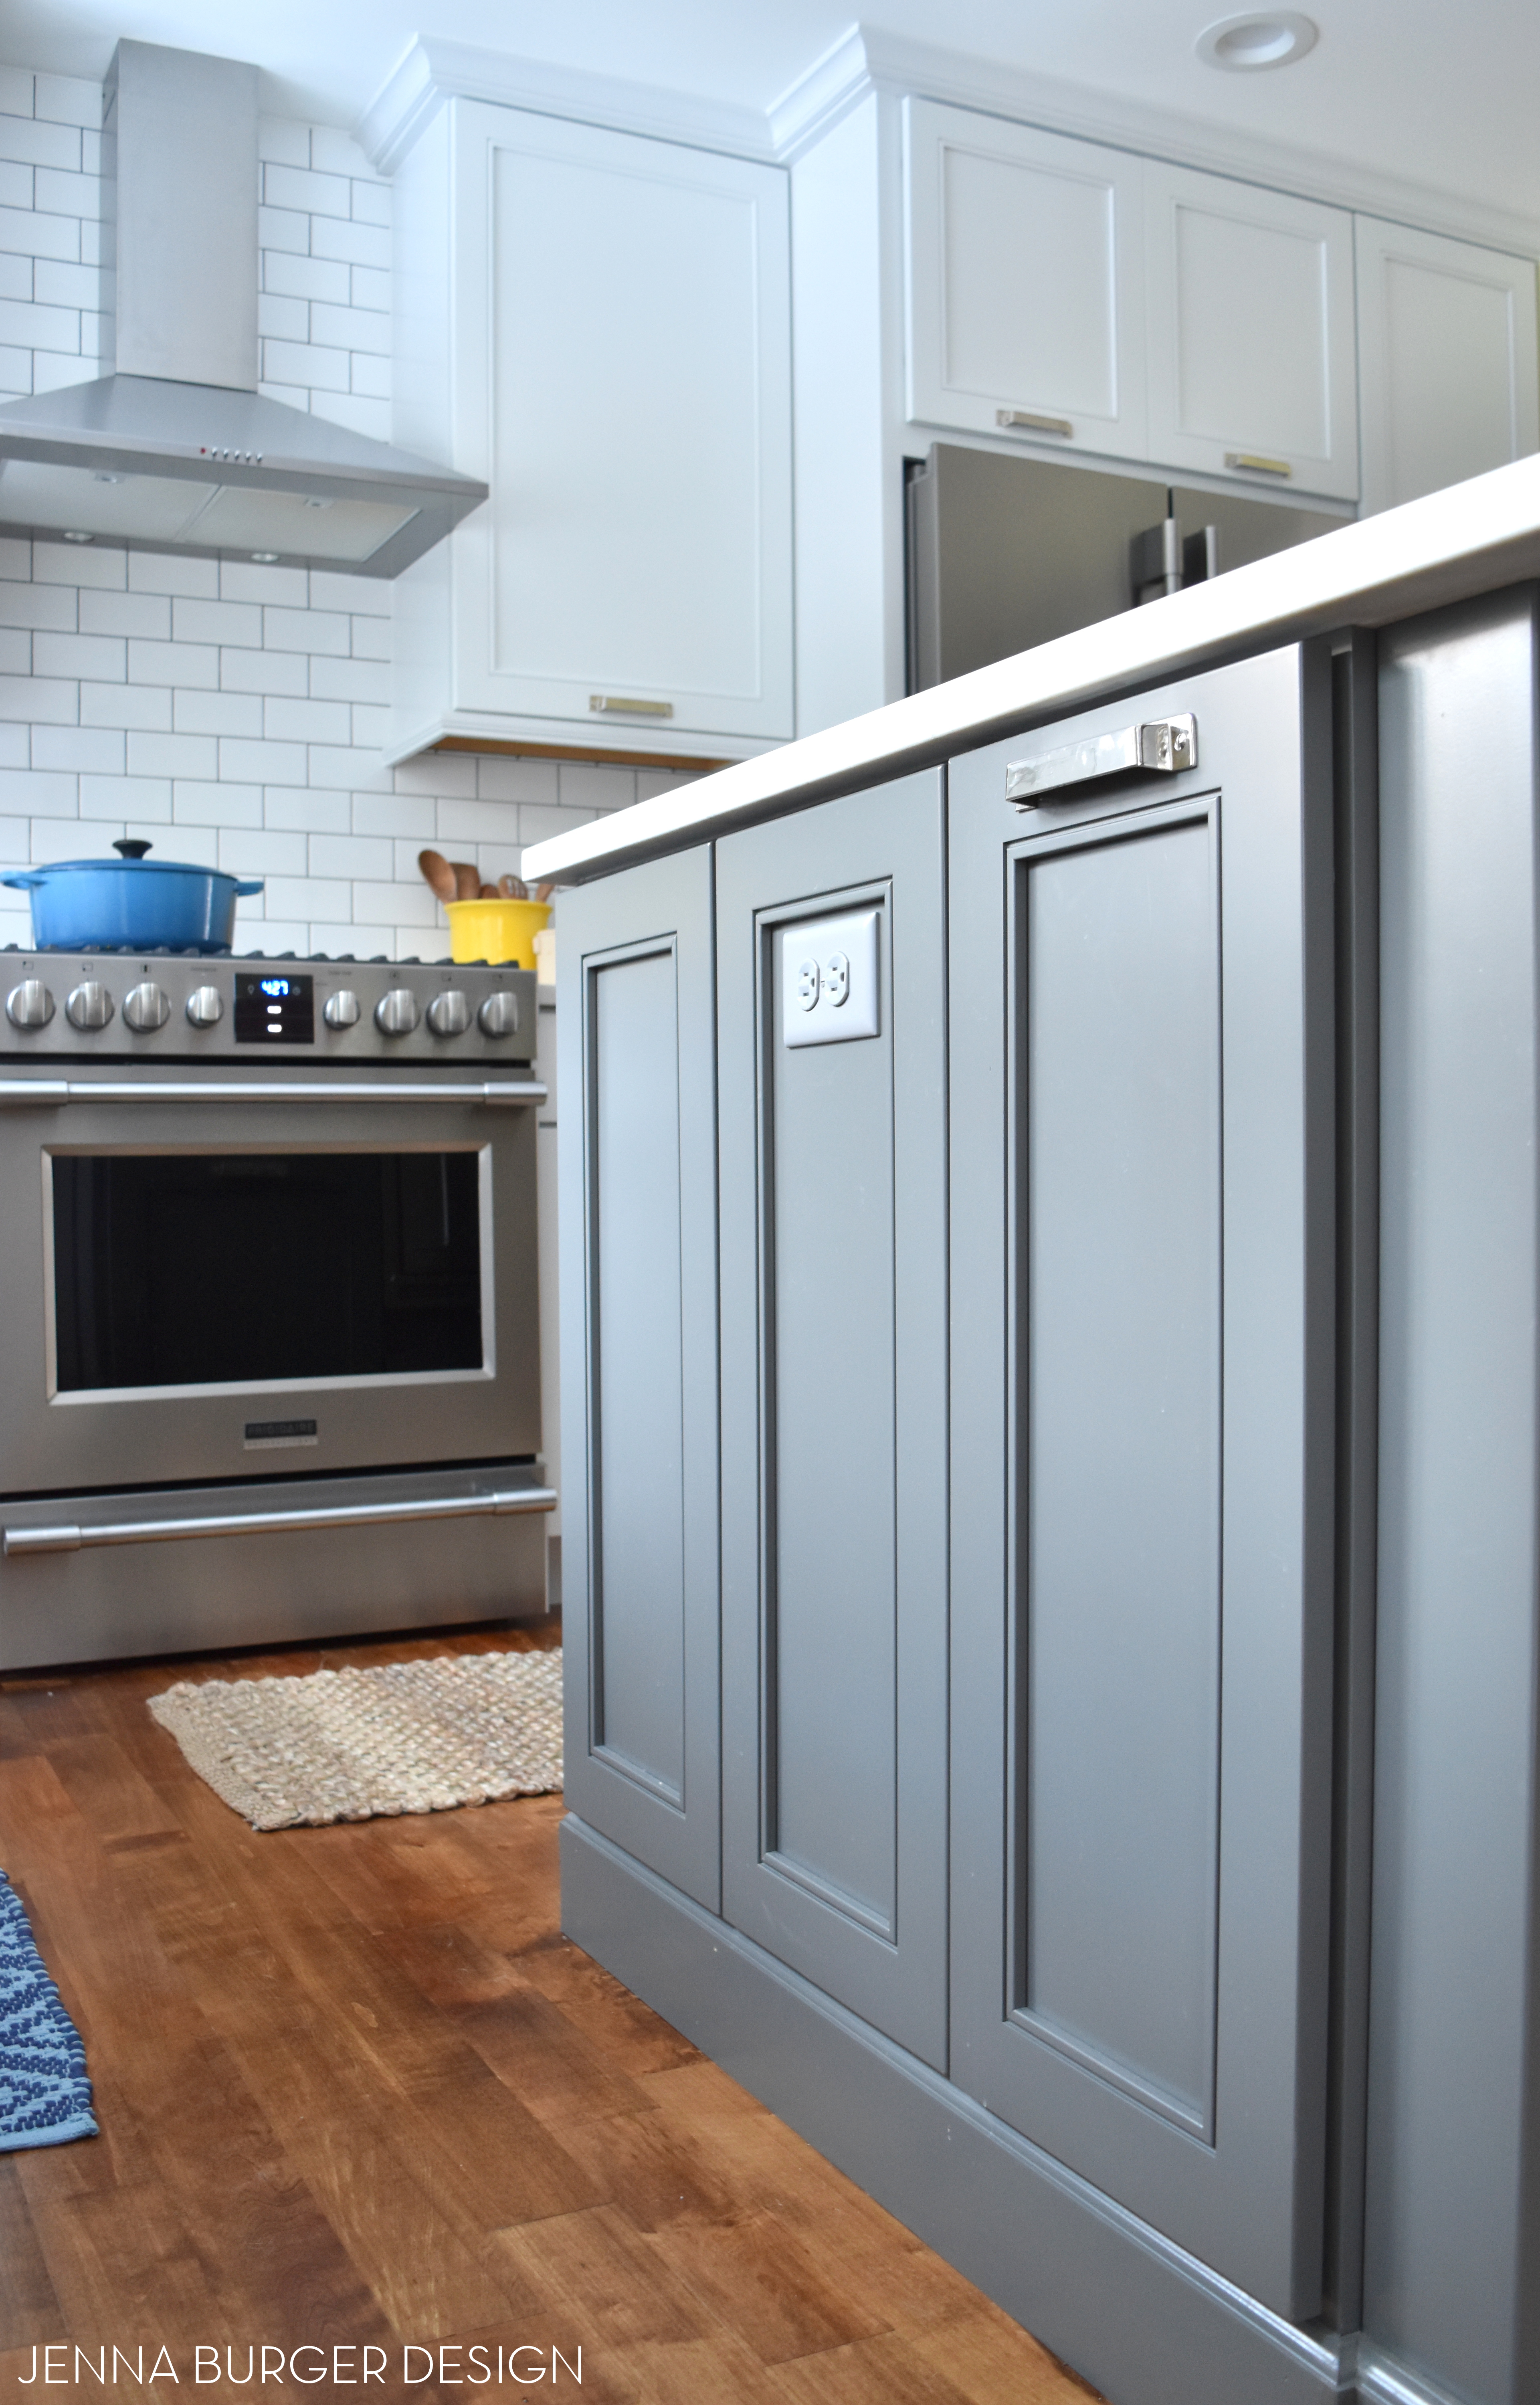
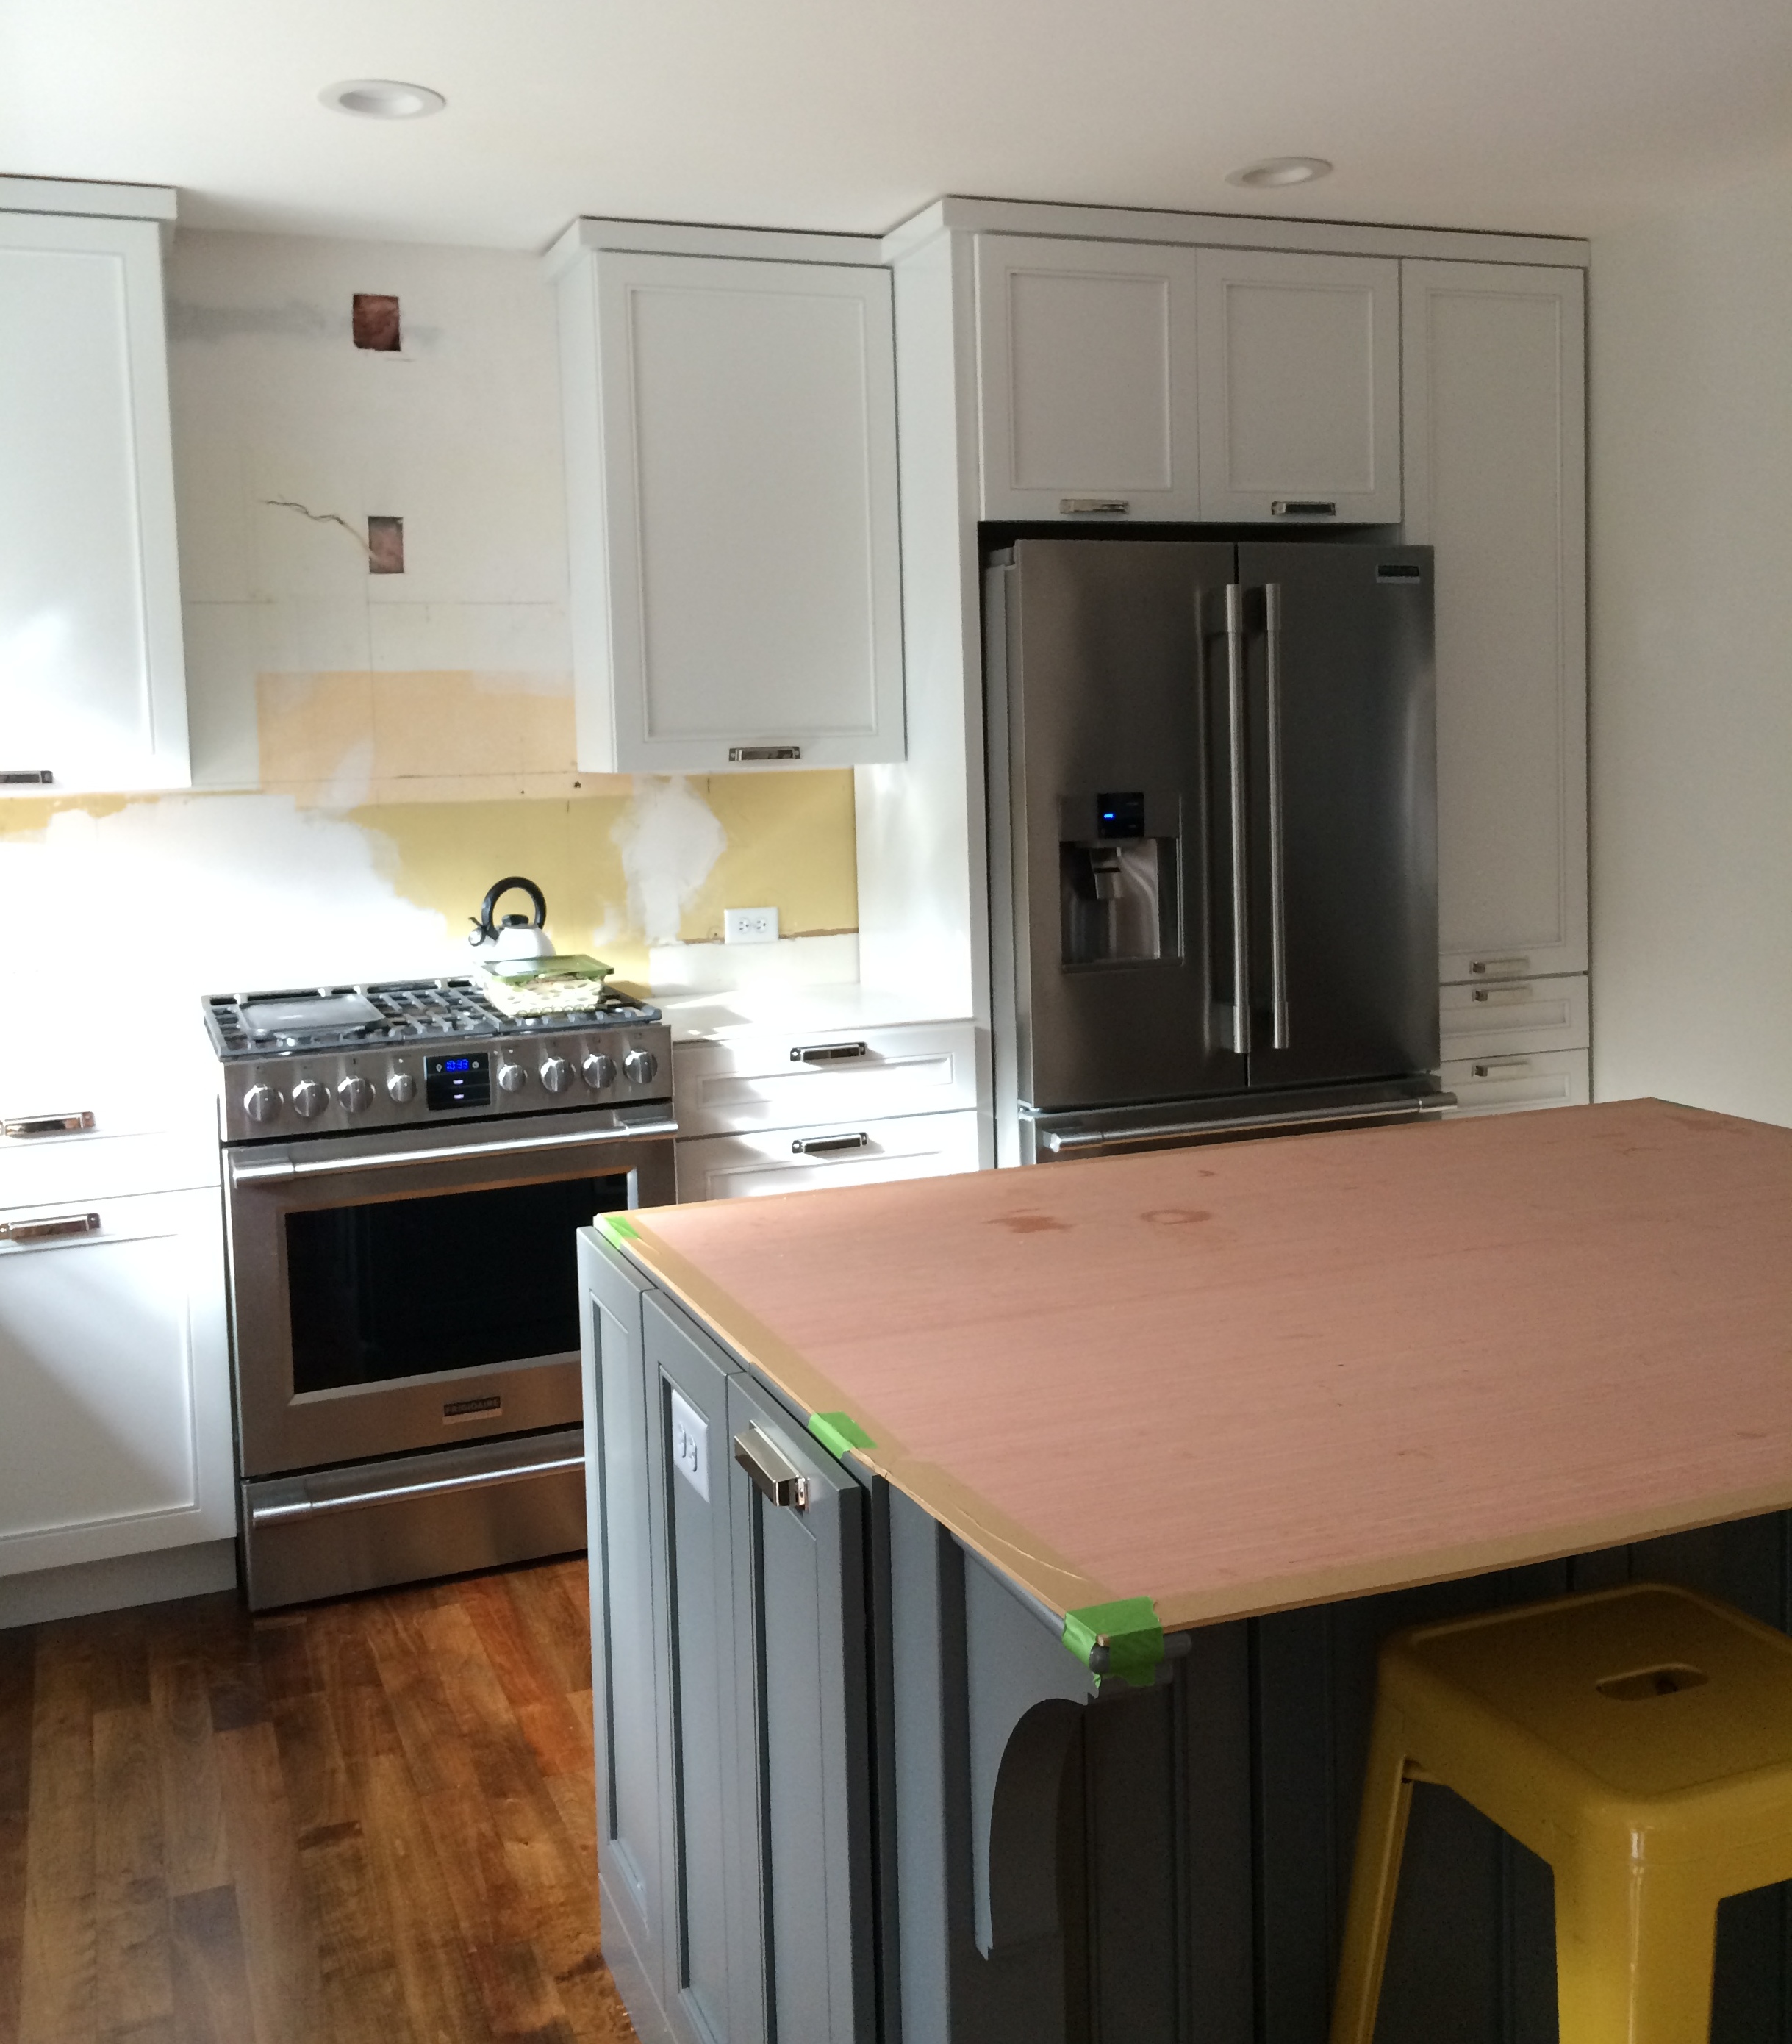
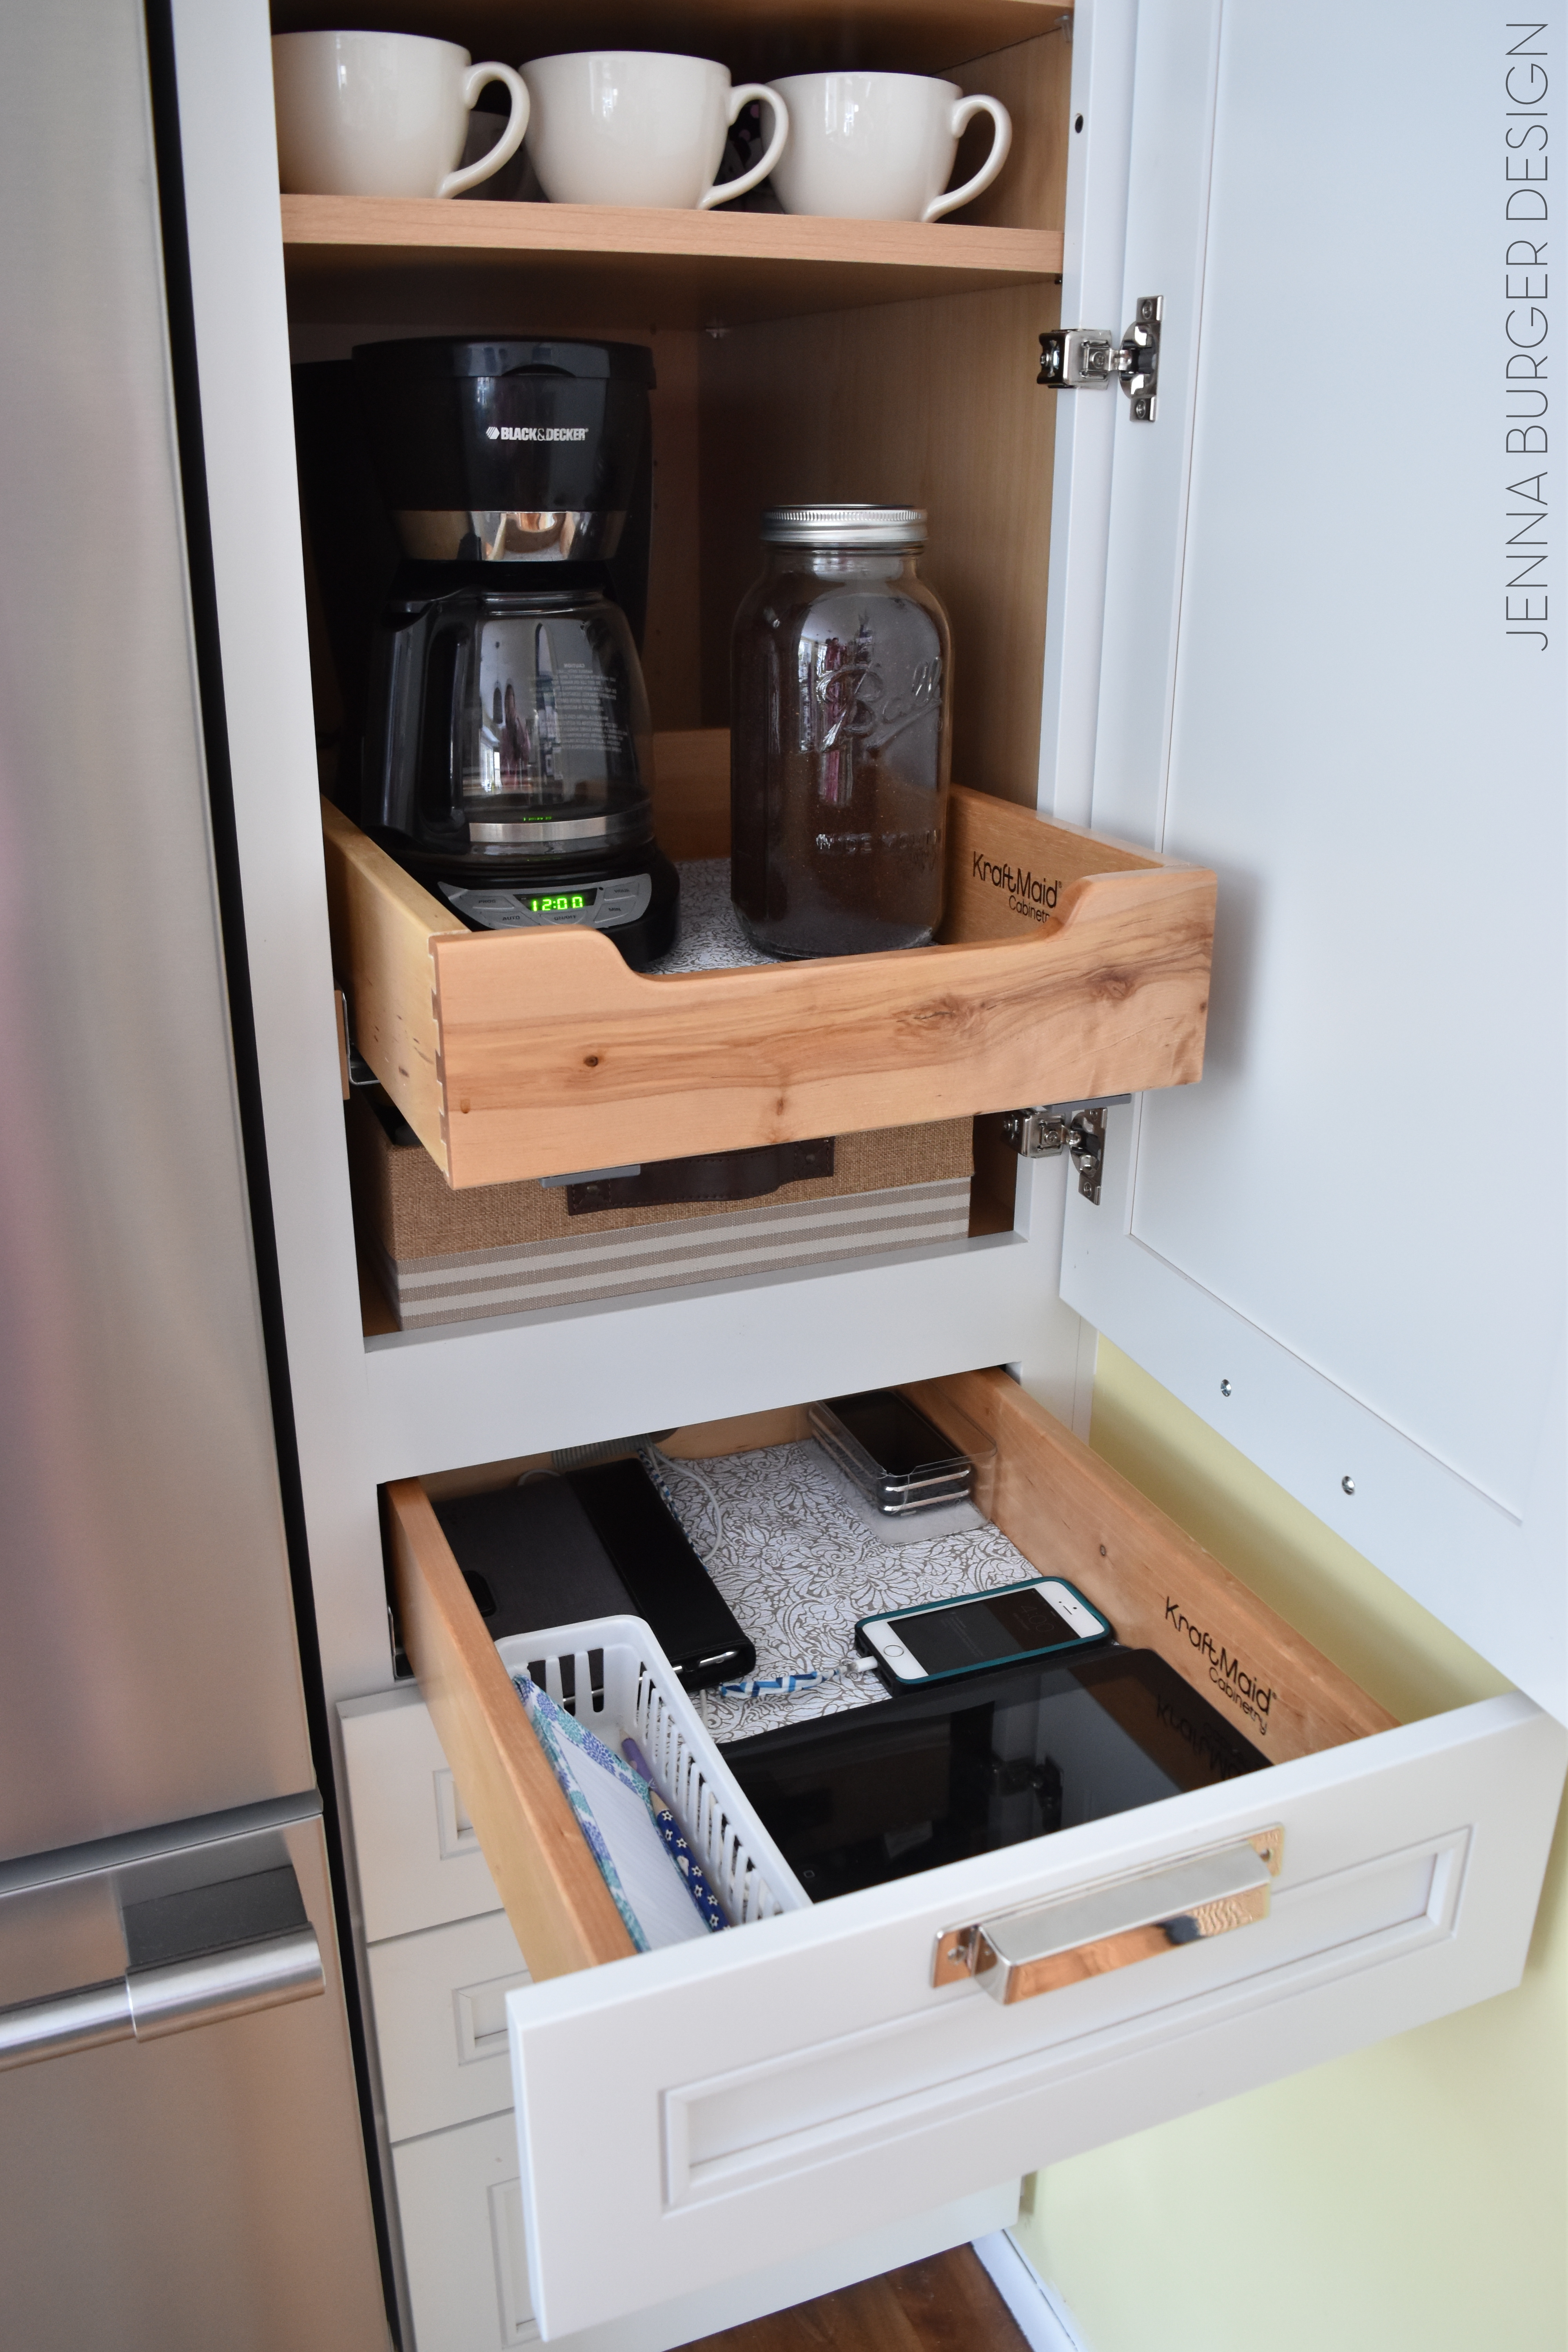
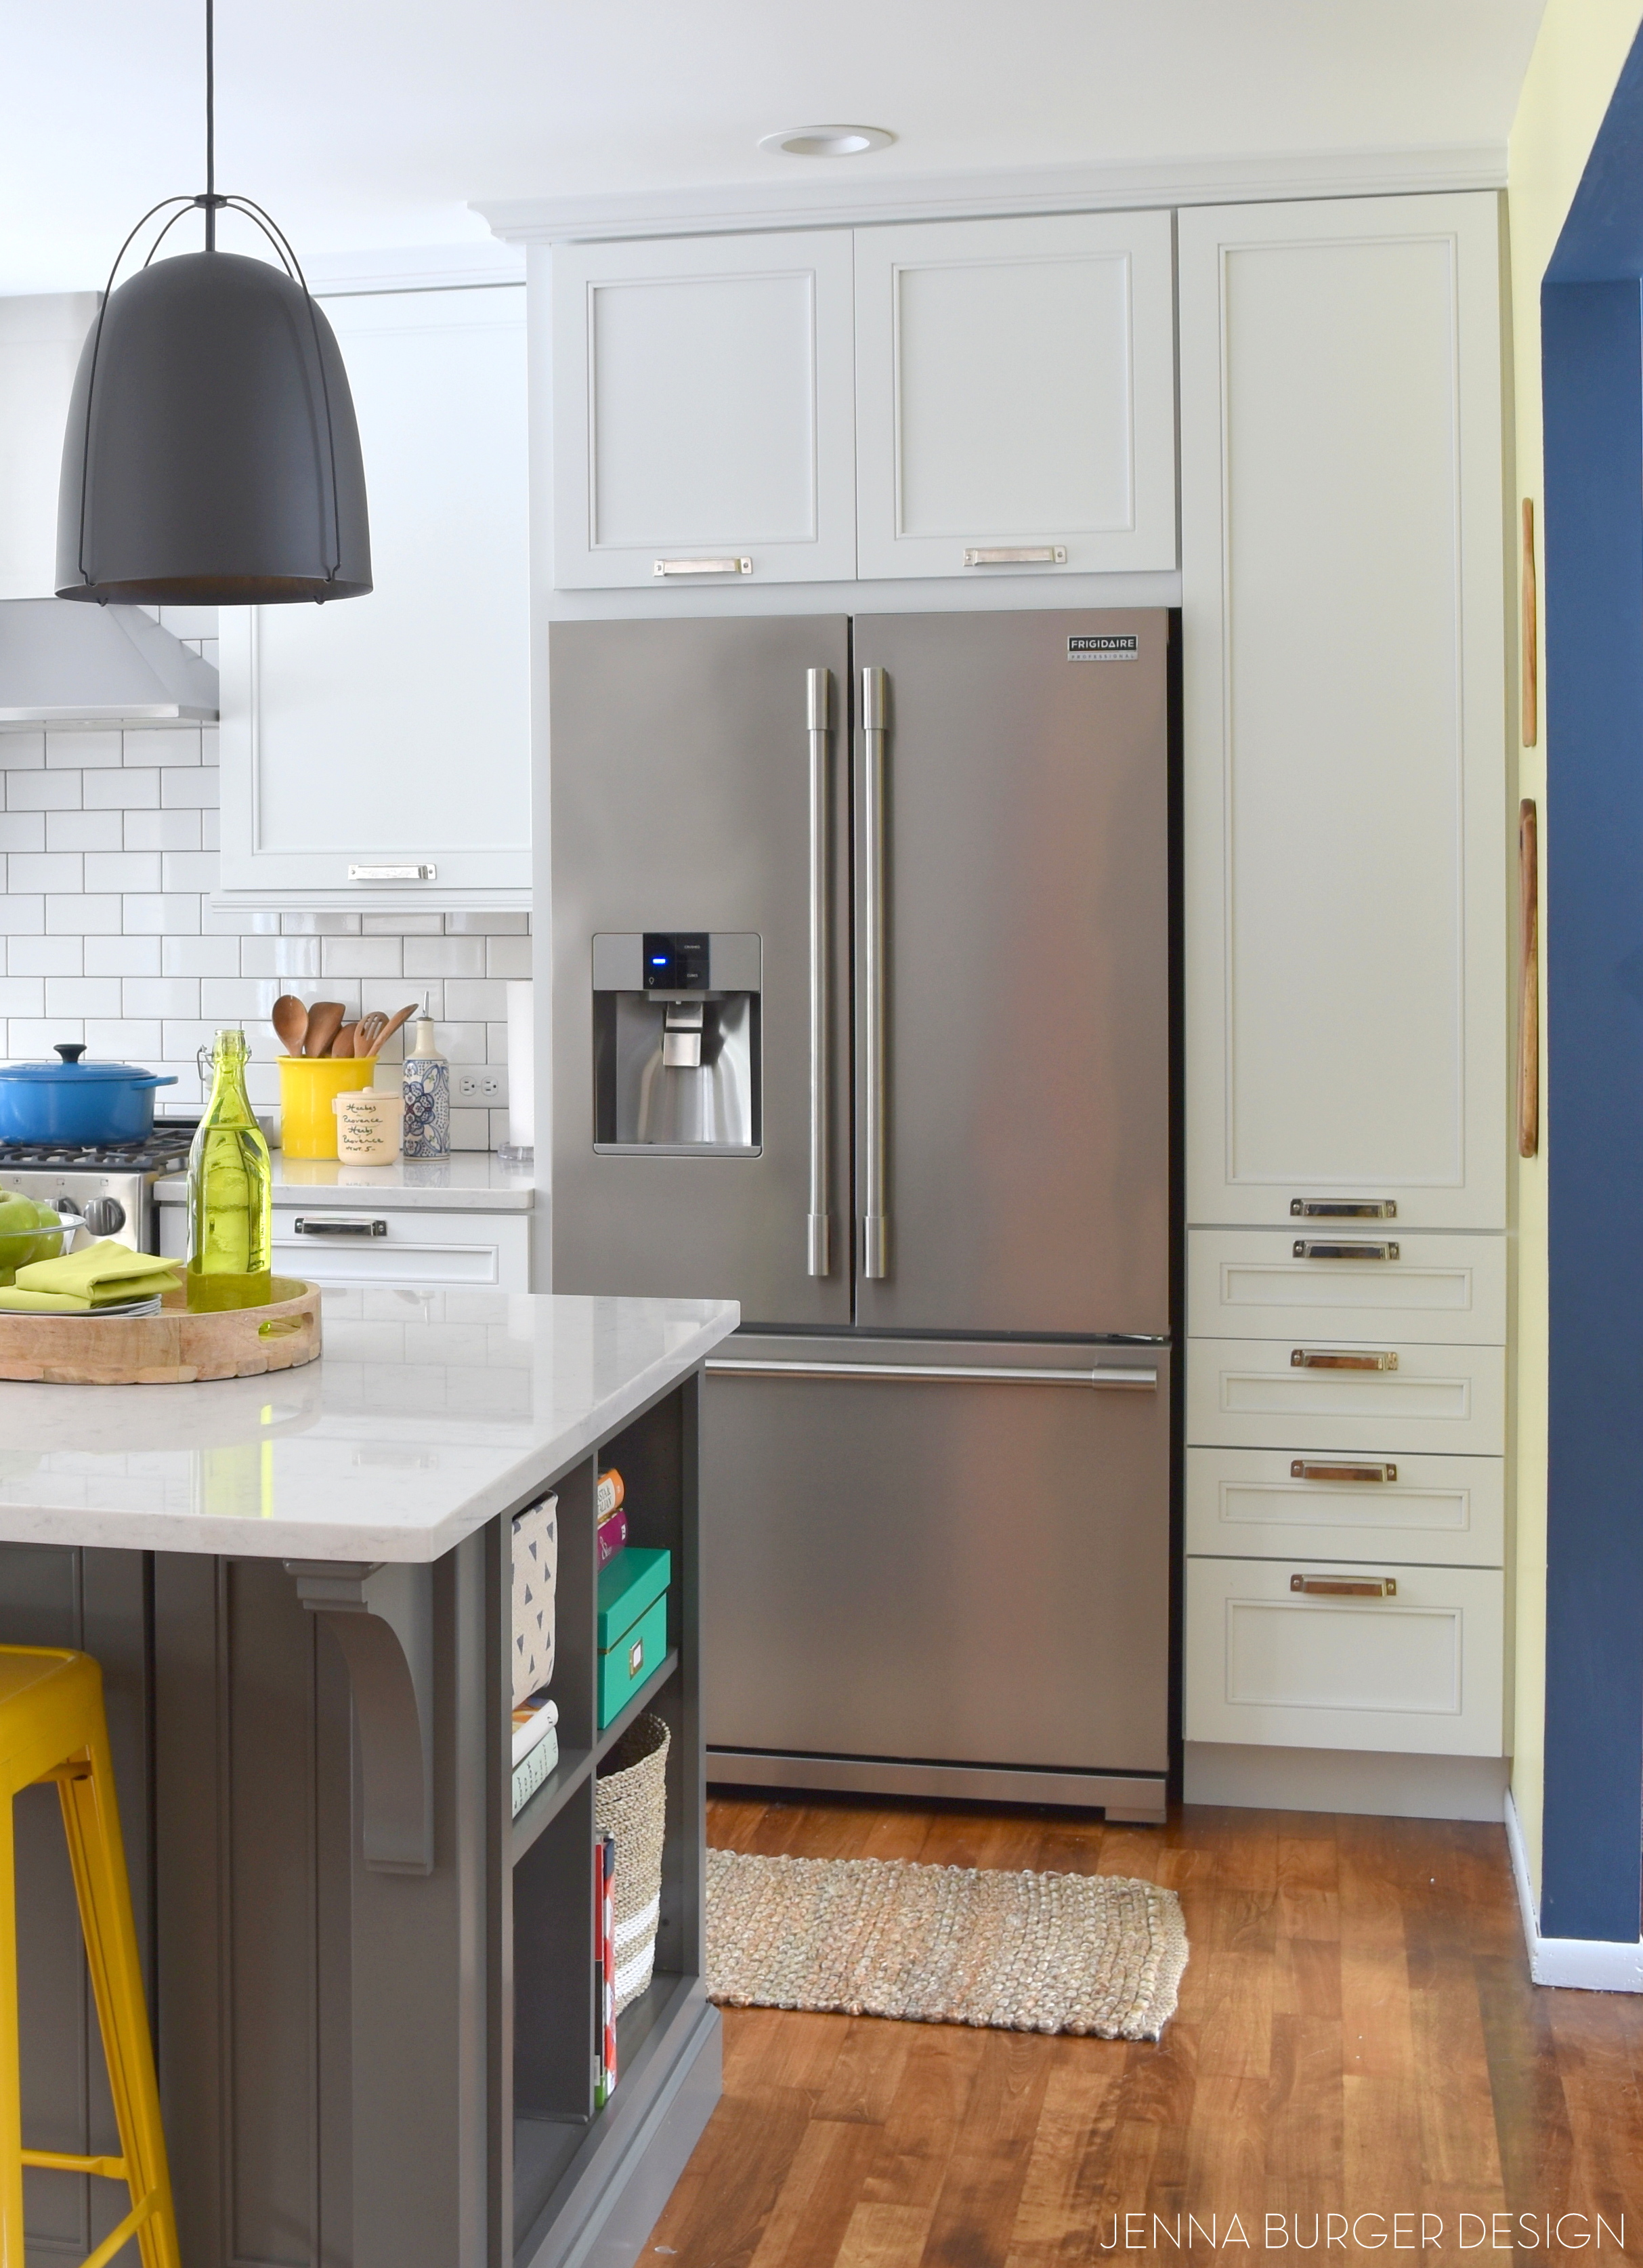
Aside from the major appliances – refrig, micro, hood – it’s important to think about what will be going where when the kitchen is finished. I knew I wanted to create a coffee station + charging station in the new pantry next to the refrigerator. With the specs of the cabinet – showing the heights – in hand, the contractor and I layed out the outlets to provide electric for our needs.
4. CABINET HARDWARE
Hardware (and lighting, which I’ll get to) is like the jewelry for an outfit. A black shirt + jeans are nice, but the outfit is set apart by the layers that are added. That is where hardware plays a huge part in a kitchen! White cabinets + White backsplash in a kitchen are pretty norm, but it was the details that were added that set it apart from others. I had this nutty idea about placing the cabinet hardware in the center of cabinet doors instead of at the side which is typical. Because many of the doors lined up with the drawers below, I had a feeling it was going to look stellar as a whole. In the end, it did!

I chose polished nickel for the modern cup pulls and they are bold. Against the basic, minimal door, they shine. Truly, the polished pulls shine and make a statement.
Doors are doors, make a statement with the hardware!
5. LIGHTING
I’m a lighting snob. I like big lights and I can not lie! that was corny… sorry.
Seriously though, big or small, lighting is important.
I had a difficult time with the lighting because I knew it would make or break the new space. I didn’t feel polished nickel lights (to match the cabinet hardware) would work well in our open concept home where the other lights are black / dark. I found these gorgeous statement-worthy pendants from Rejuvenation and hit place order. They took a few weeks to arrive and when they were installed, the kitchen looked truly complete.
For the pendant over the sink, I chose something that was different but that coordinated well with the oversized island pendants. This prism pentagon pendant was the right match.
6. COLOR
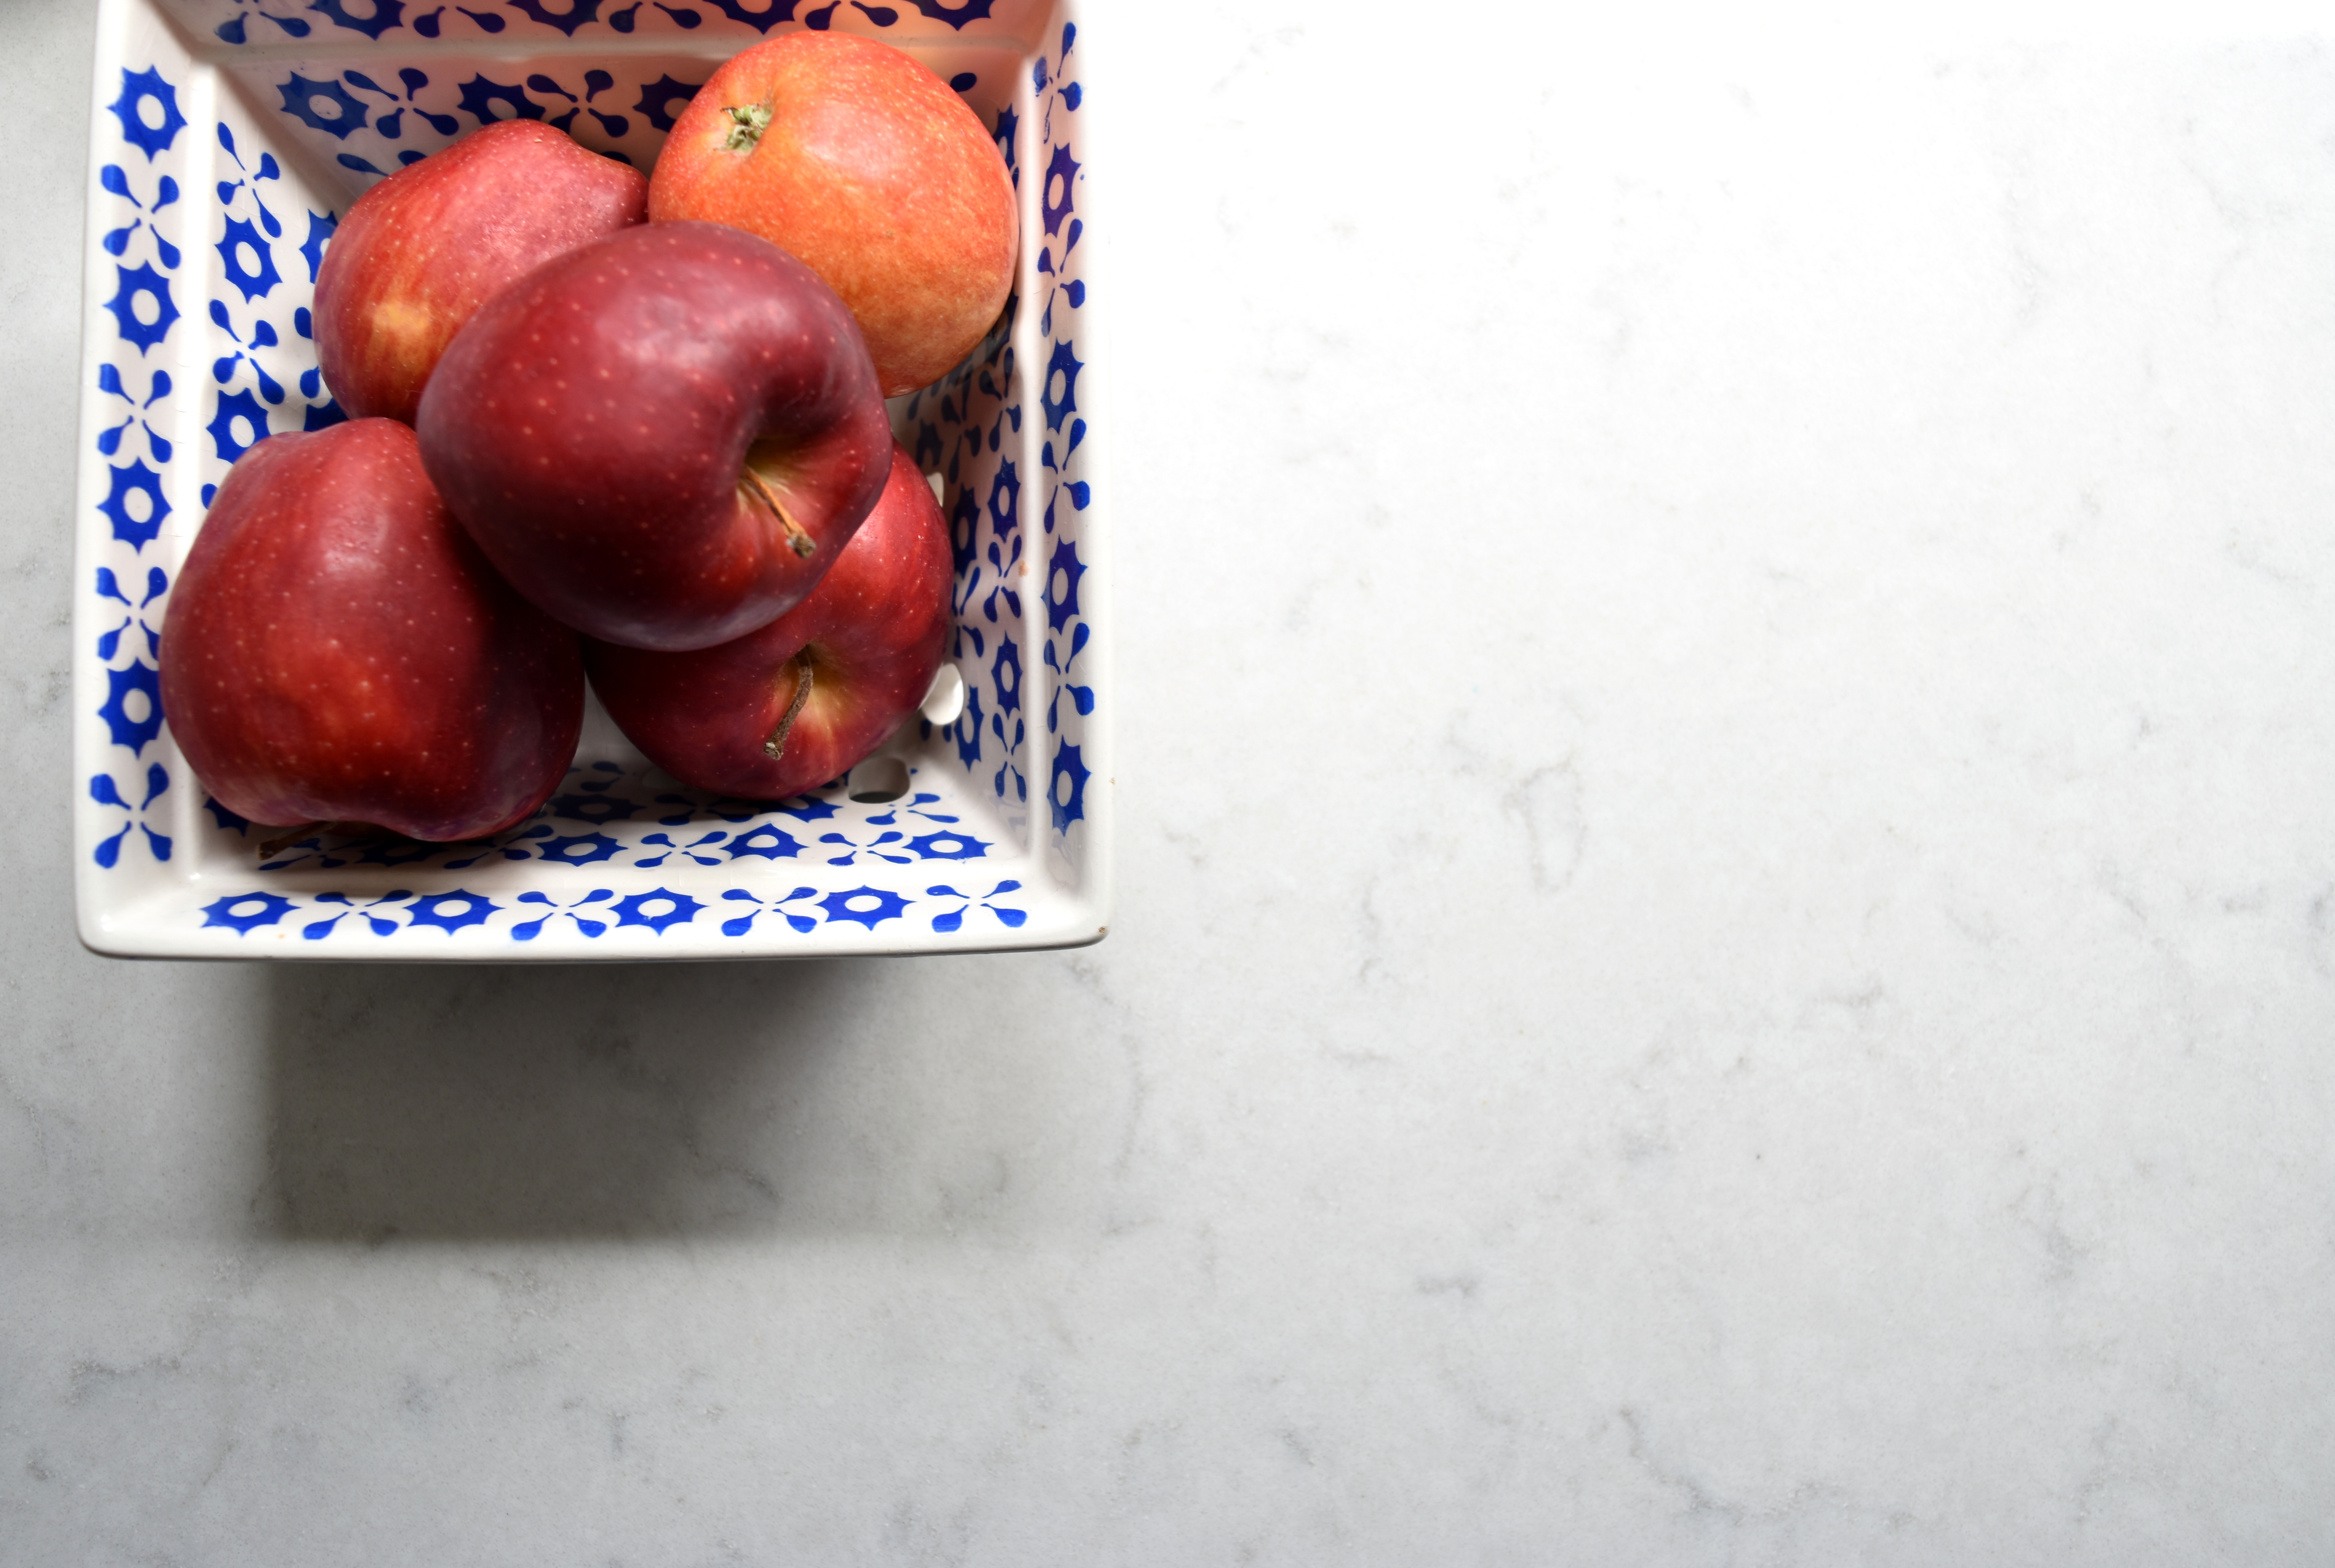
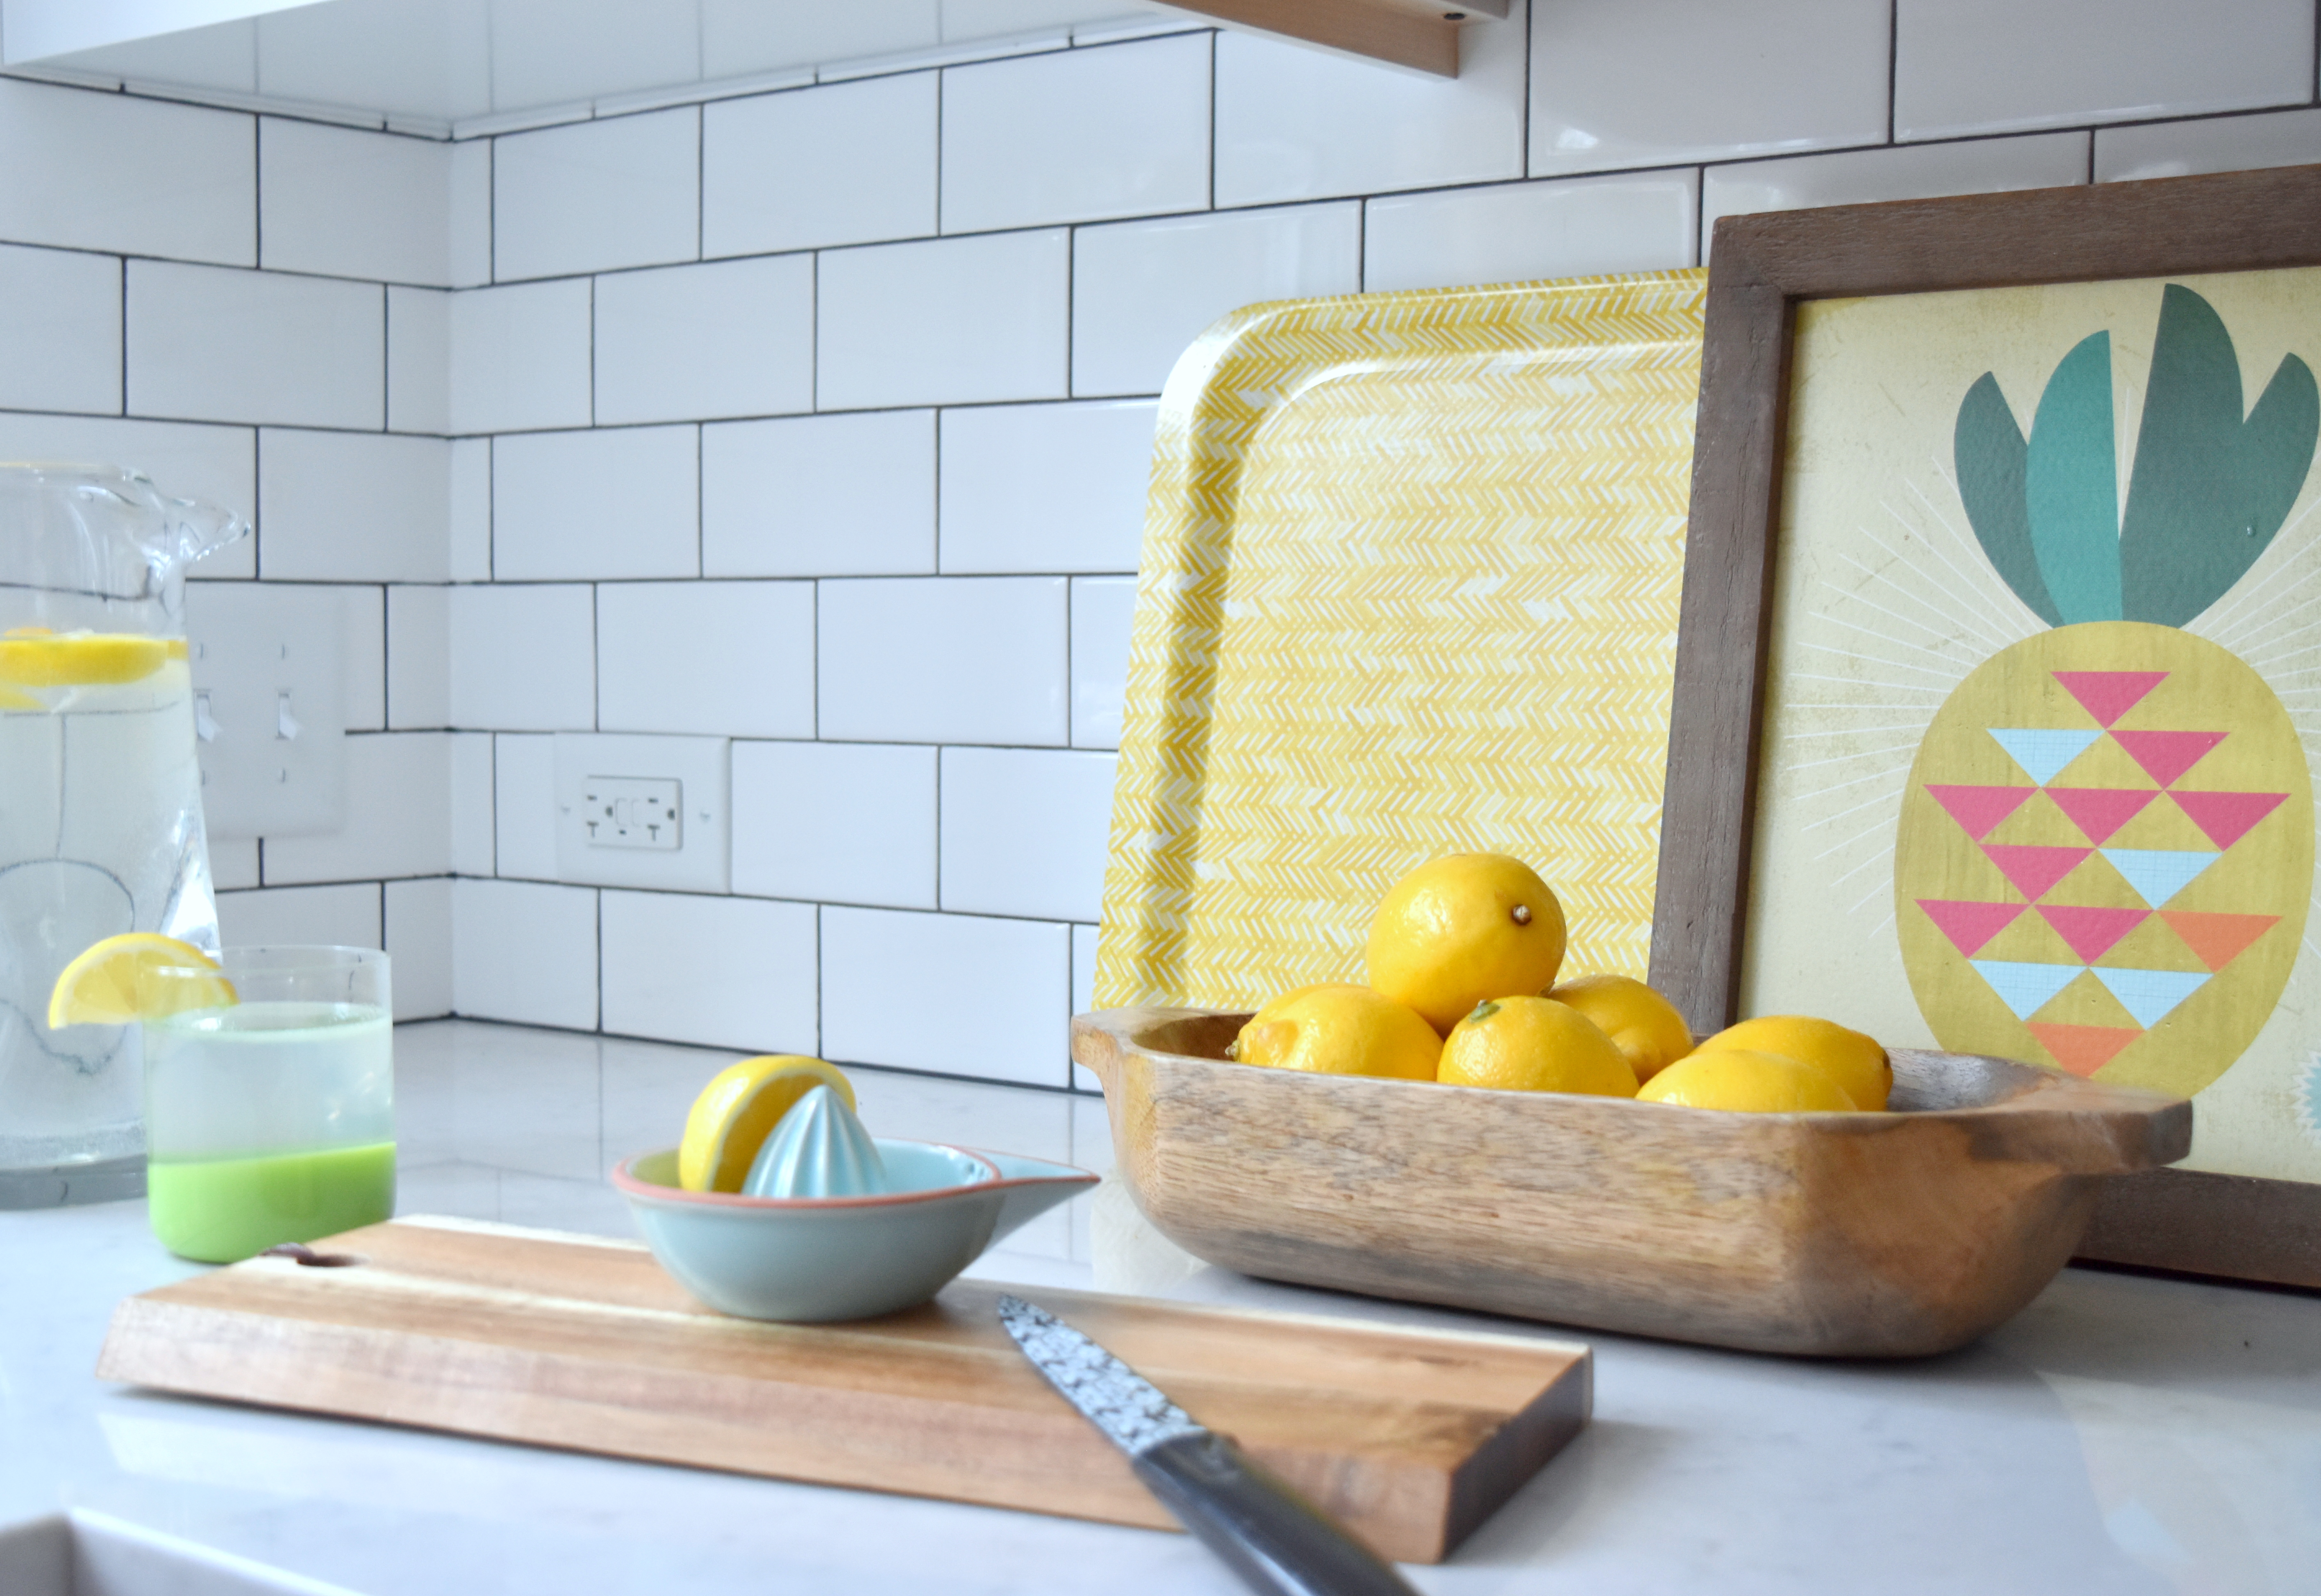
I’m a color person. I heart color. Yet everything was white. What? I knew when all was complete, the kitchen would come alive with the layers of color that I would add. From the dishes to glasses to artwork to food, this kitchen comes alive with the color that has been injected into it with all the layers.
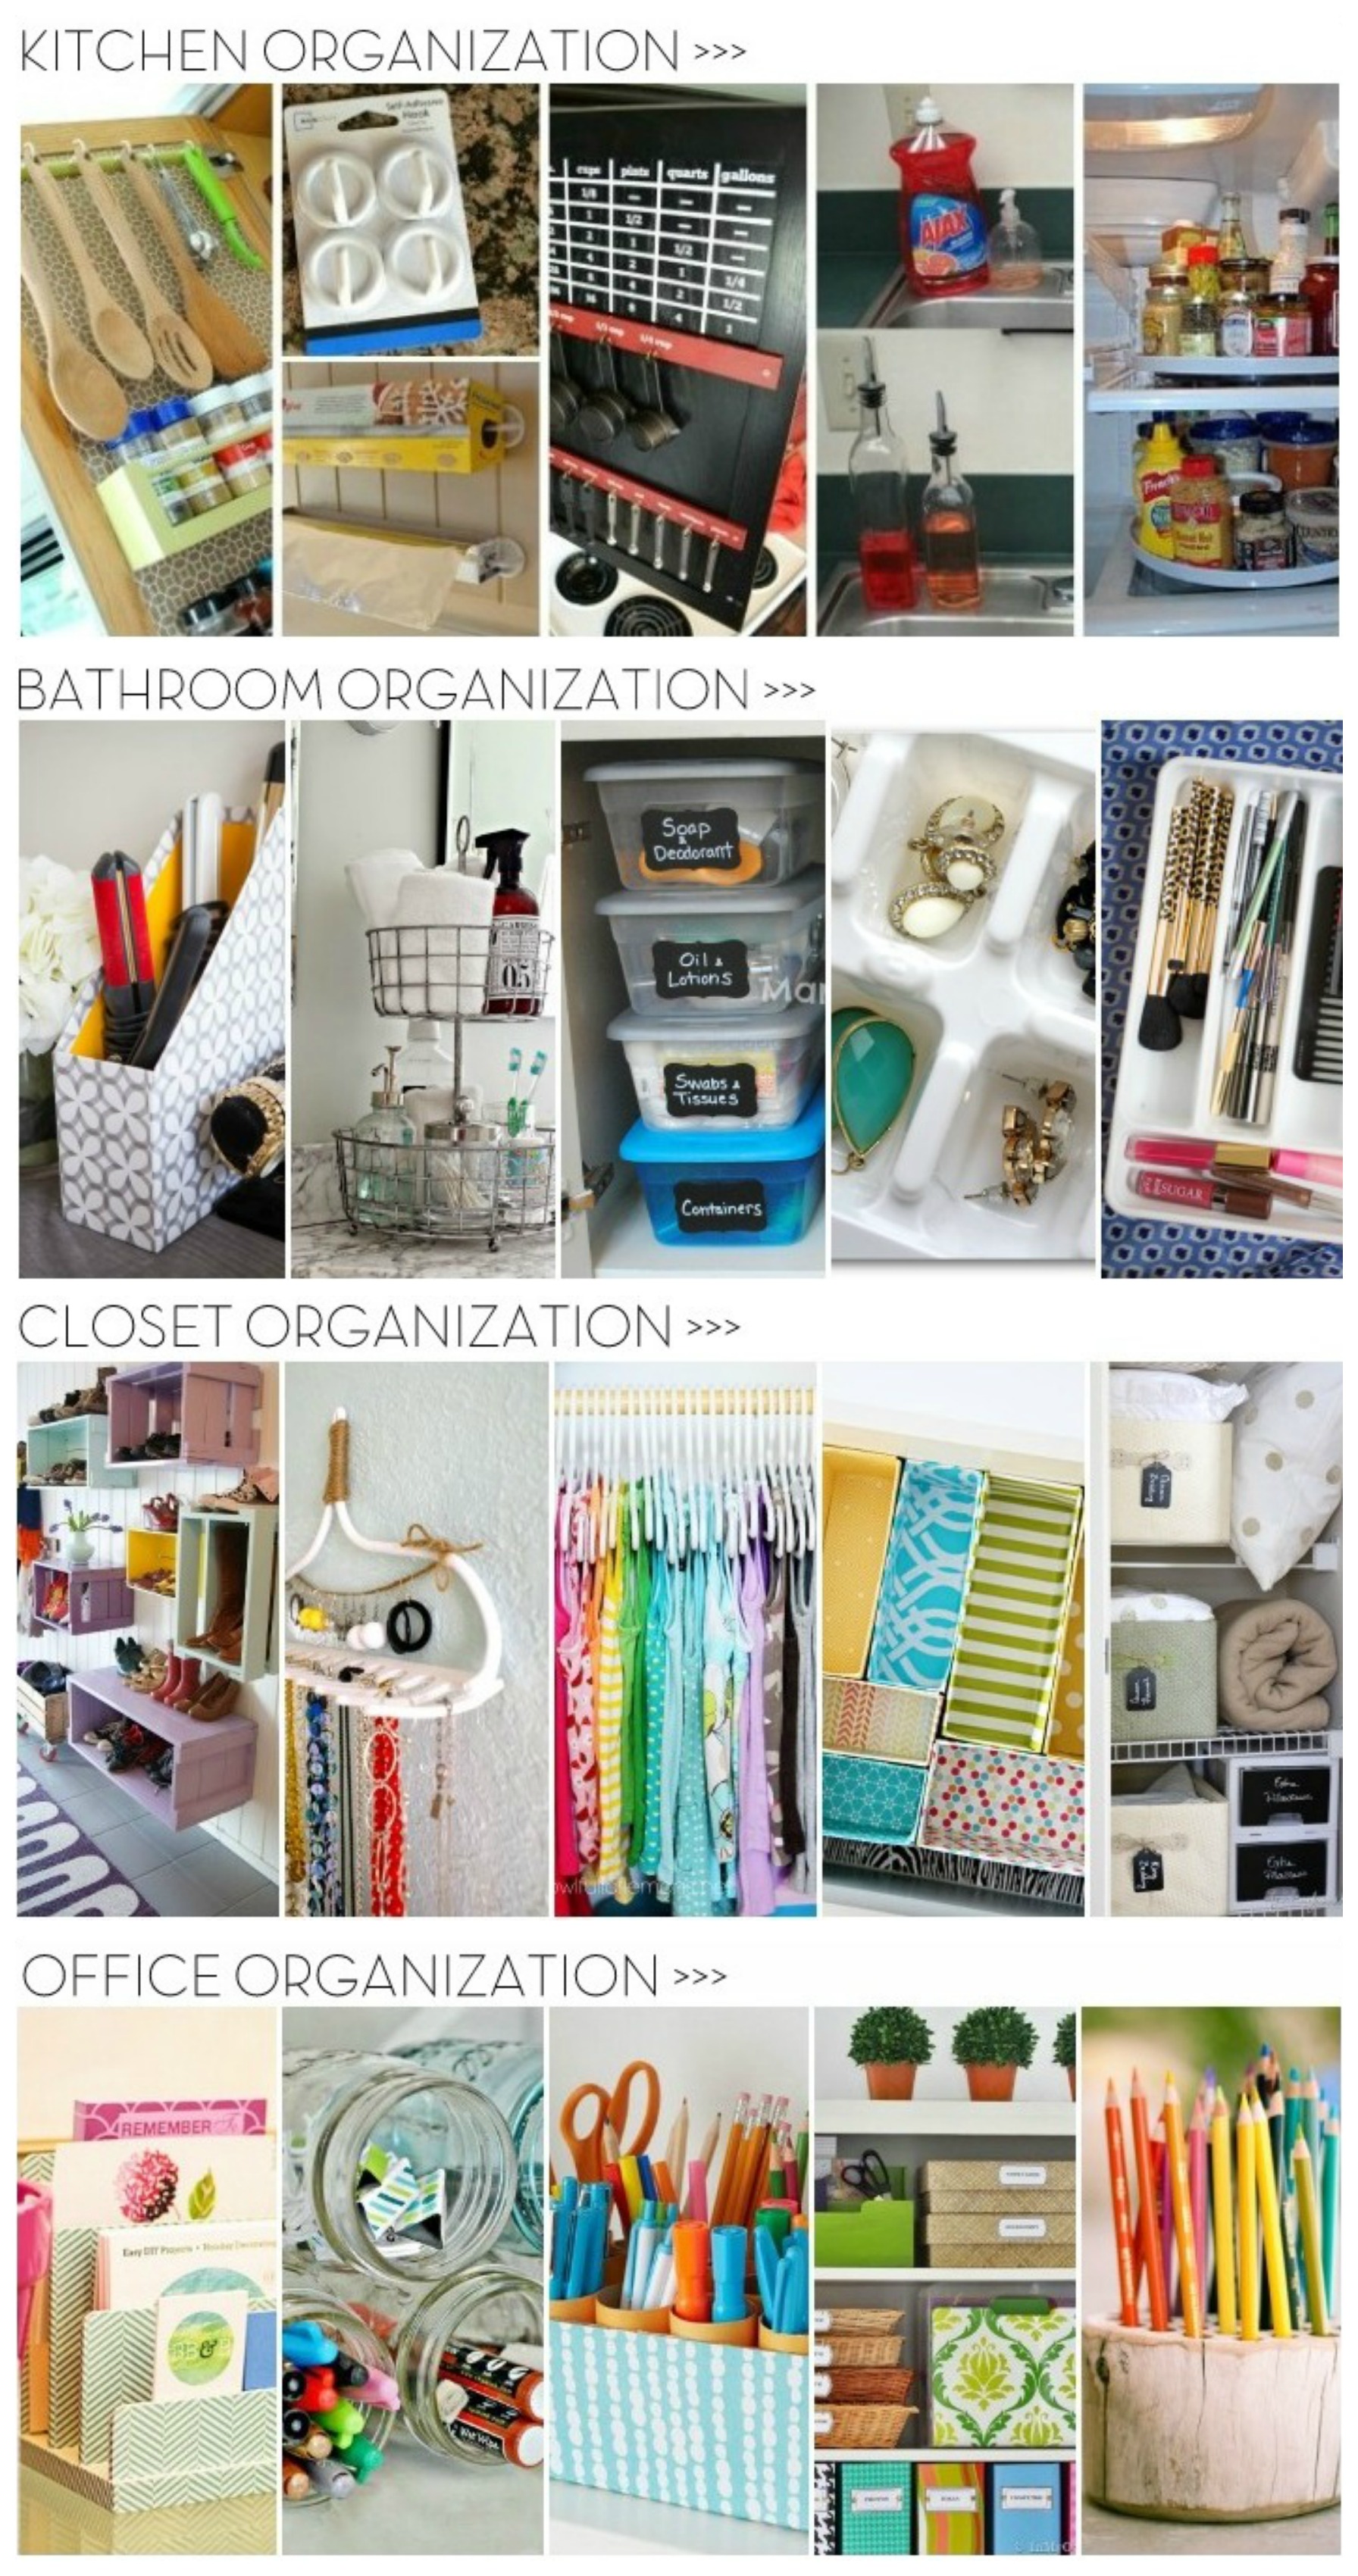
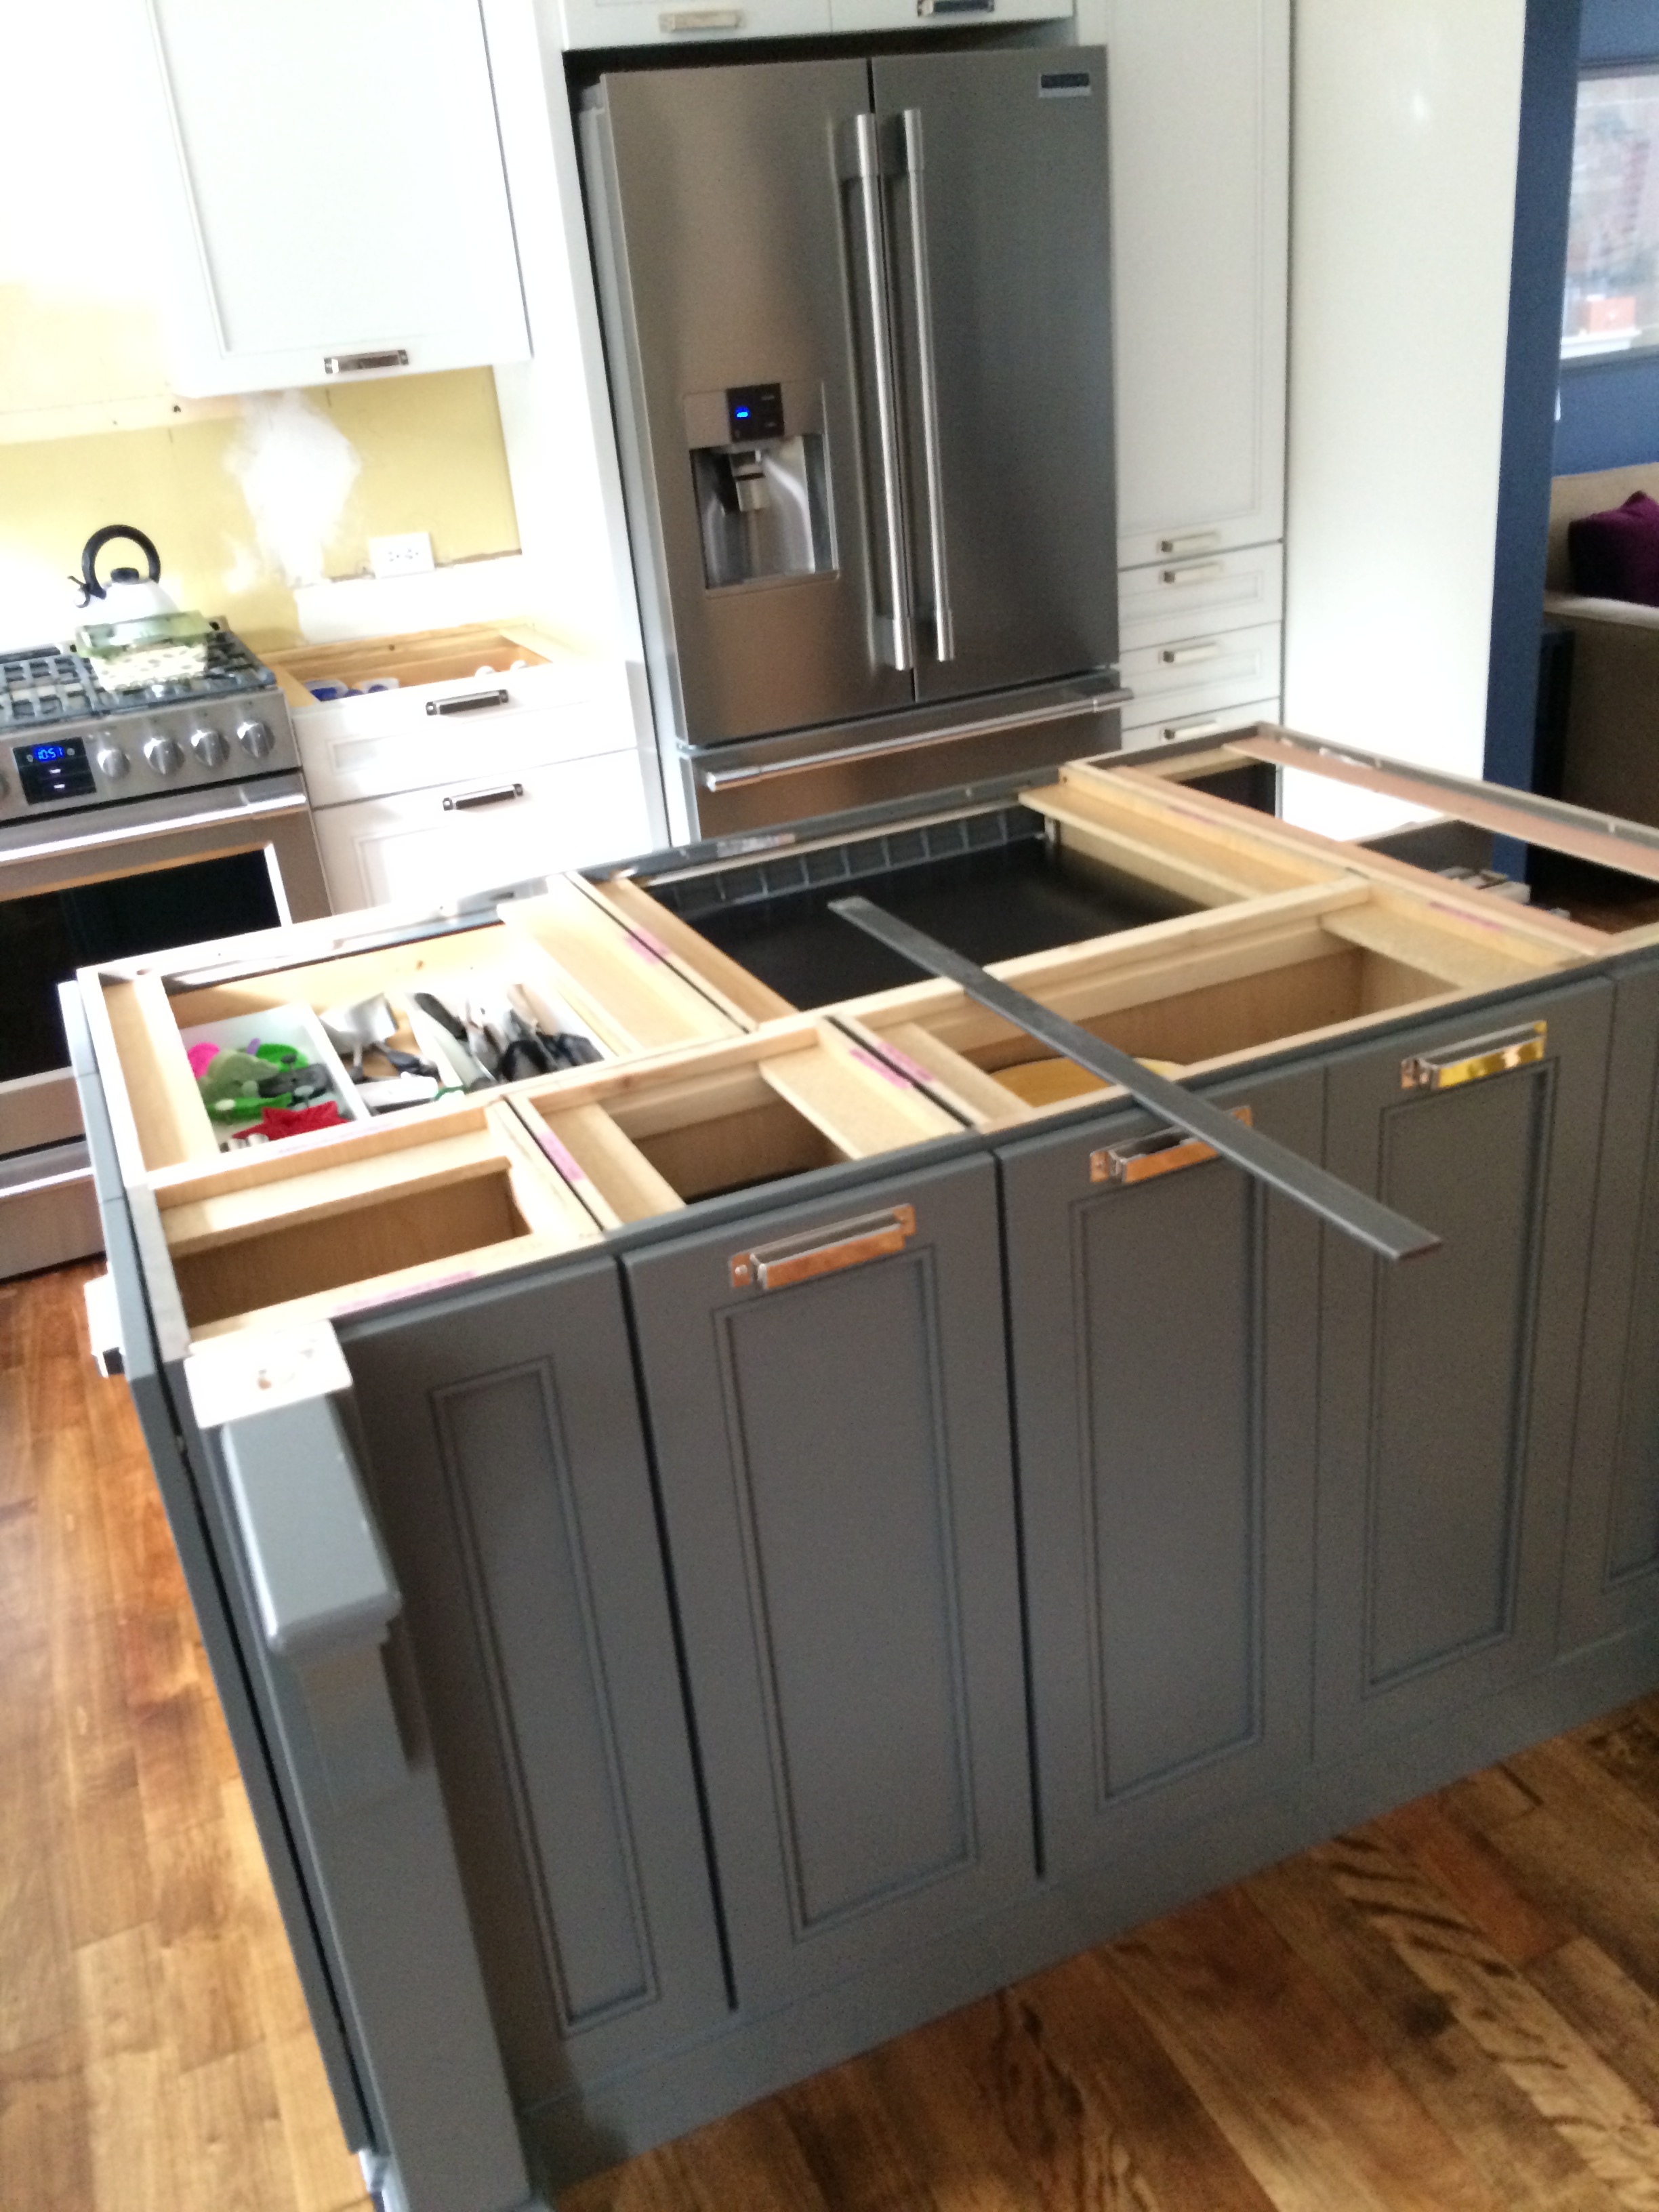
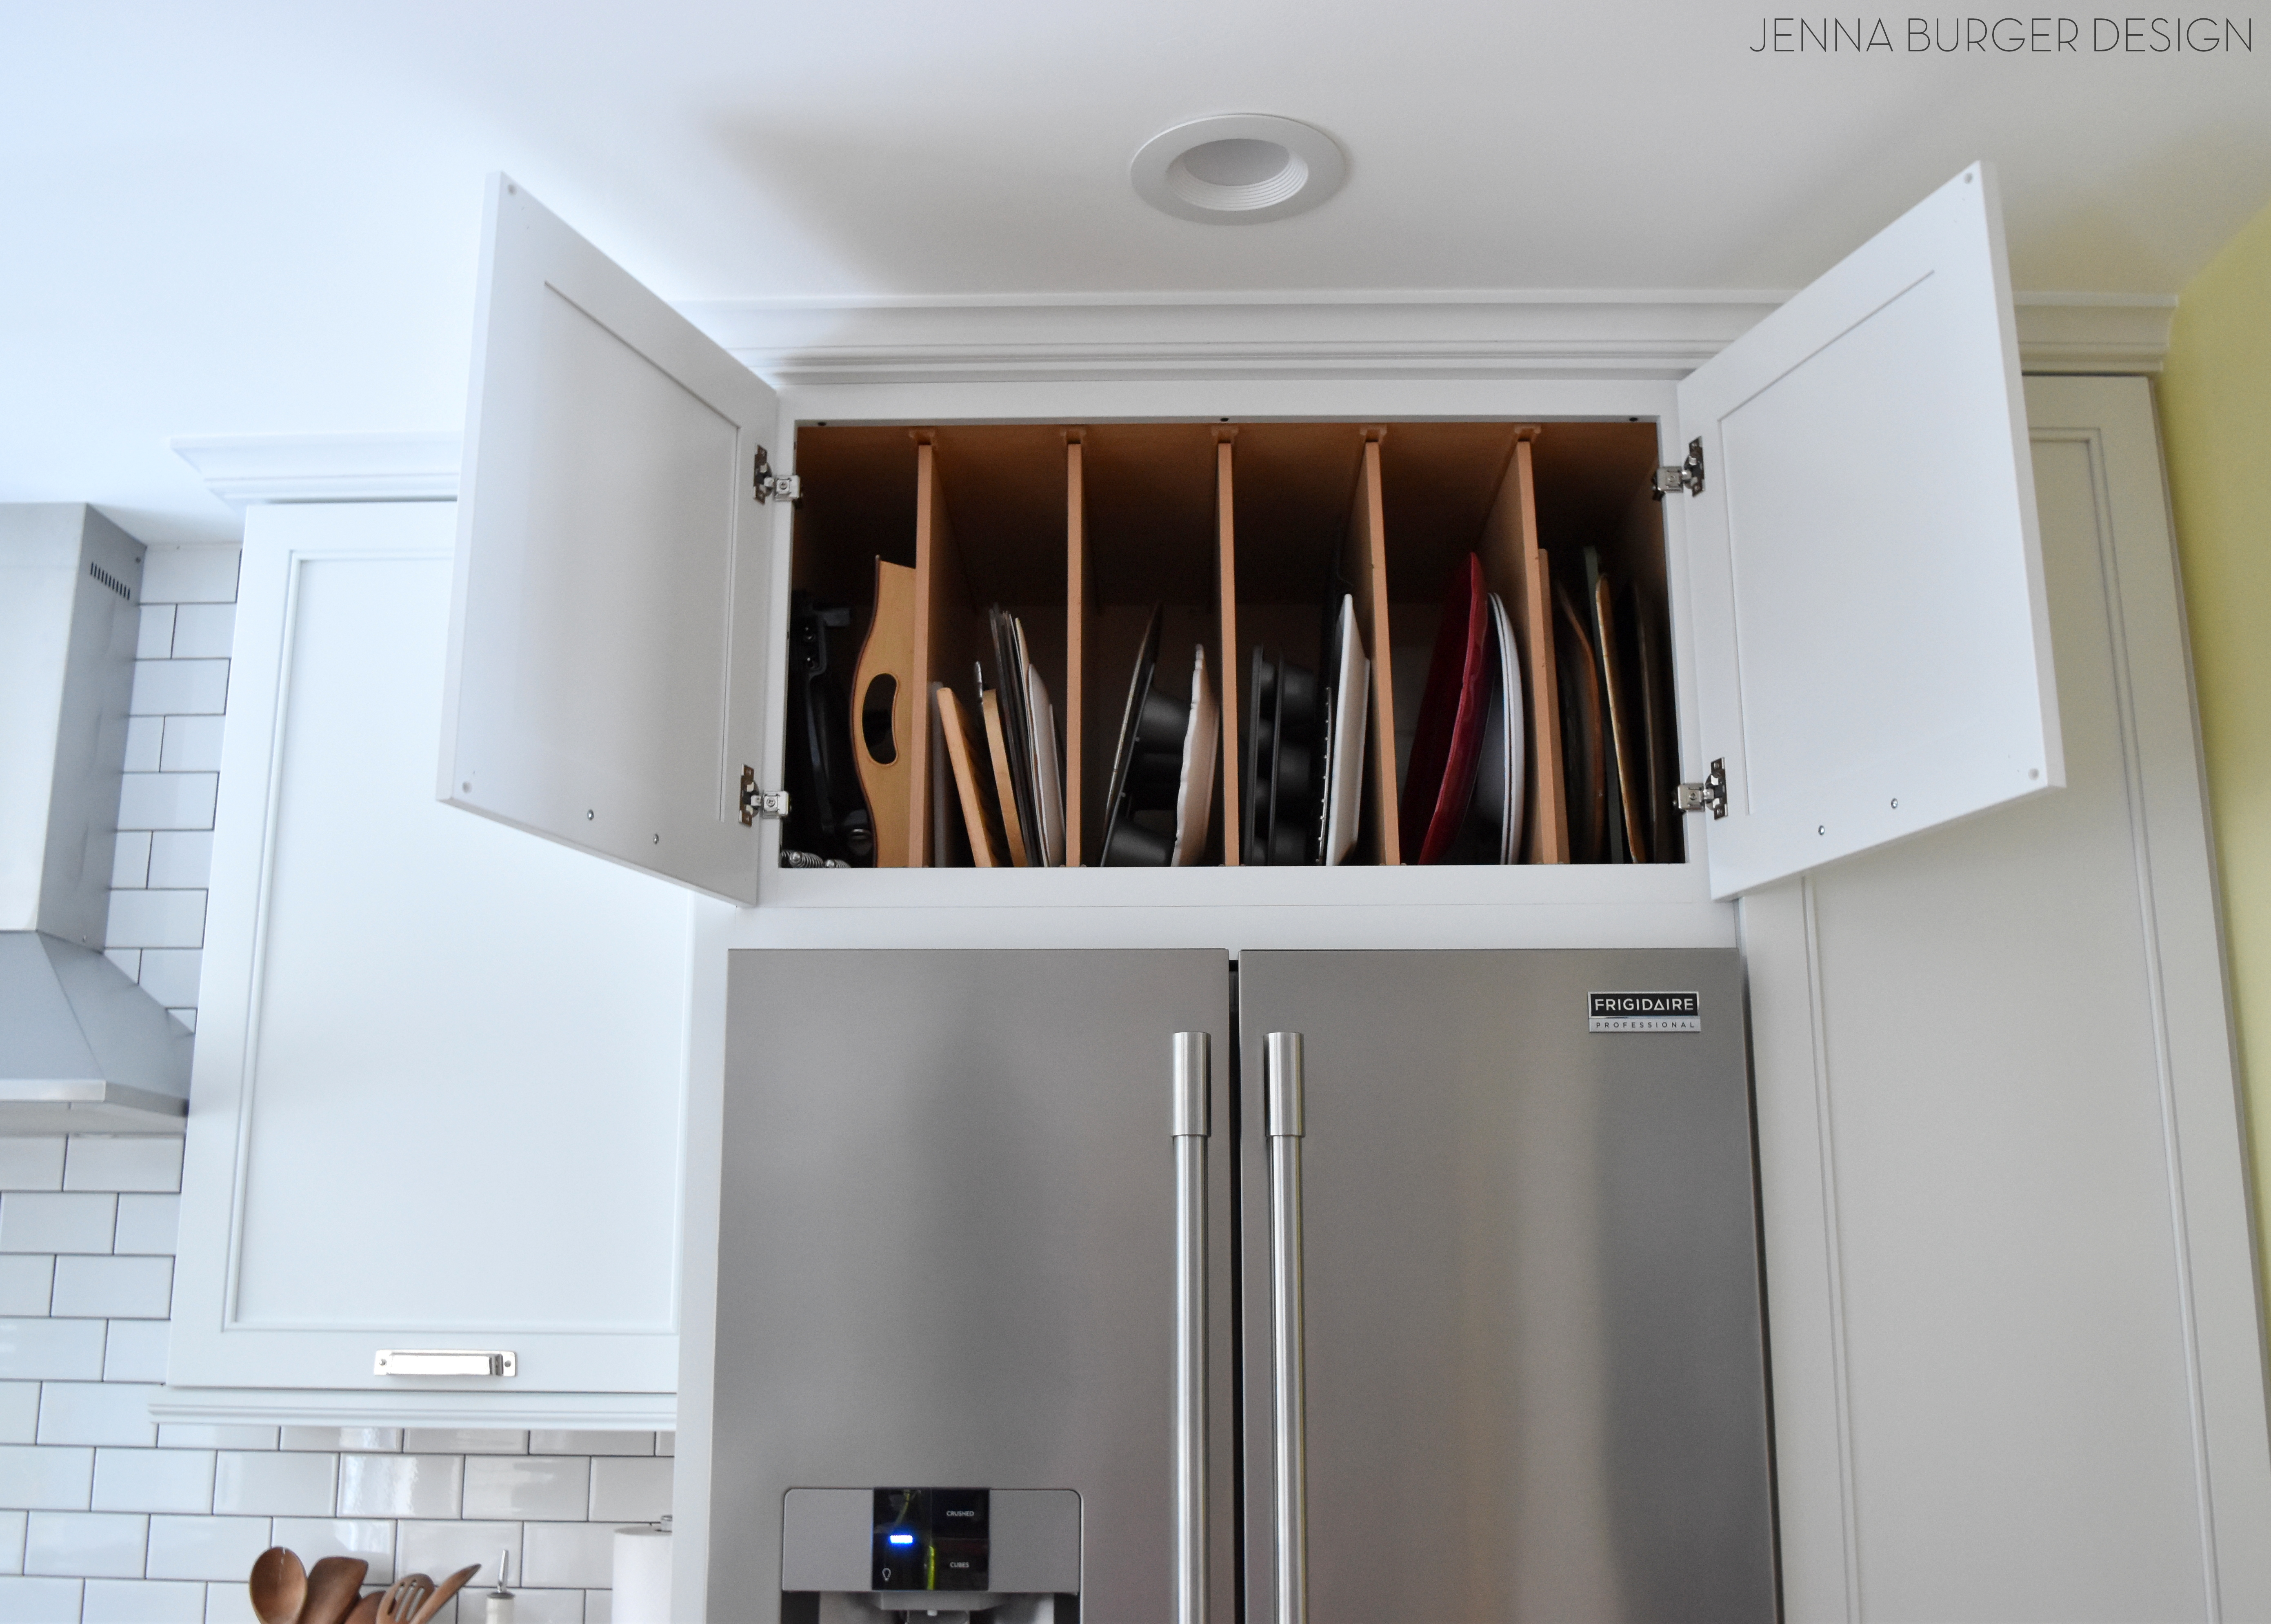
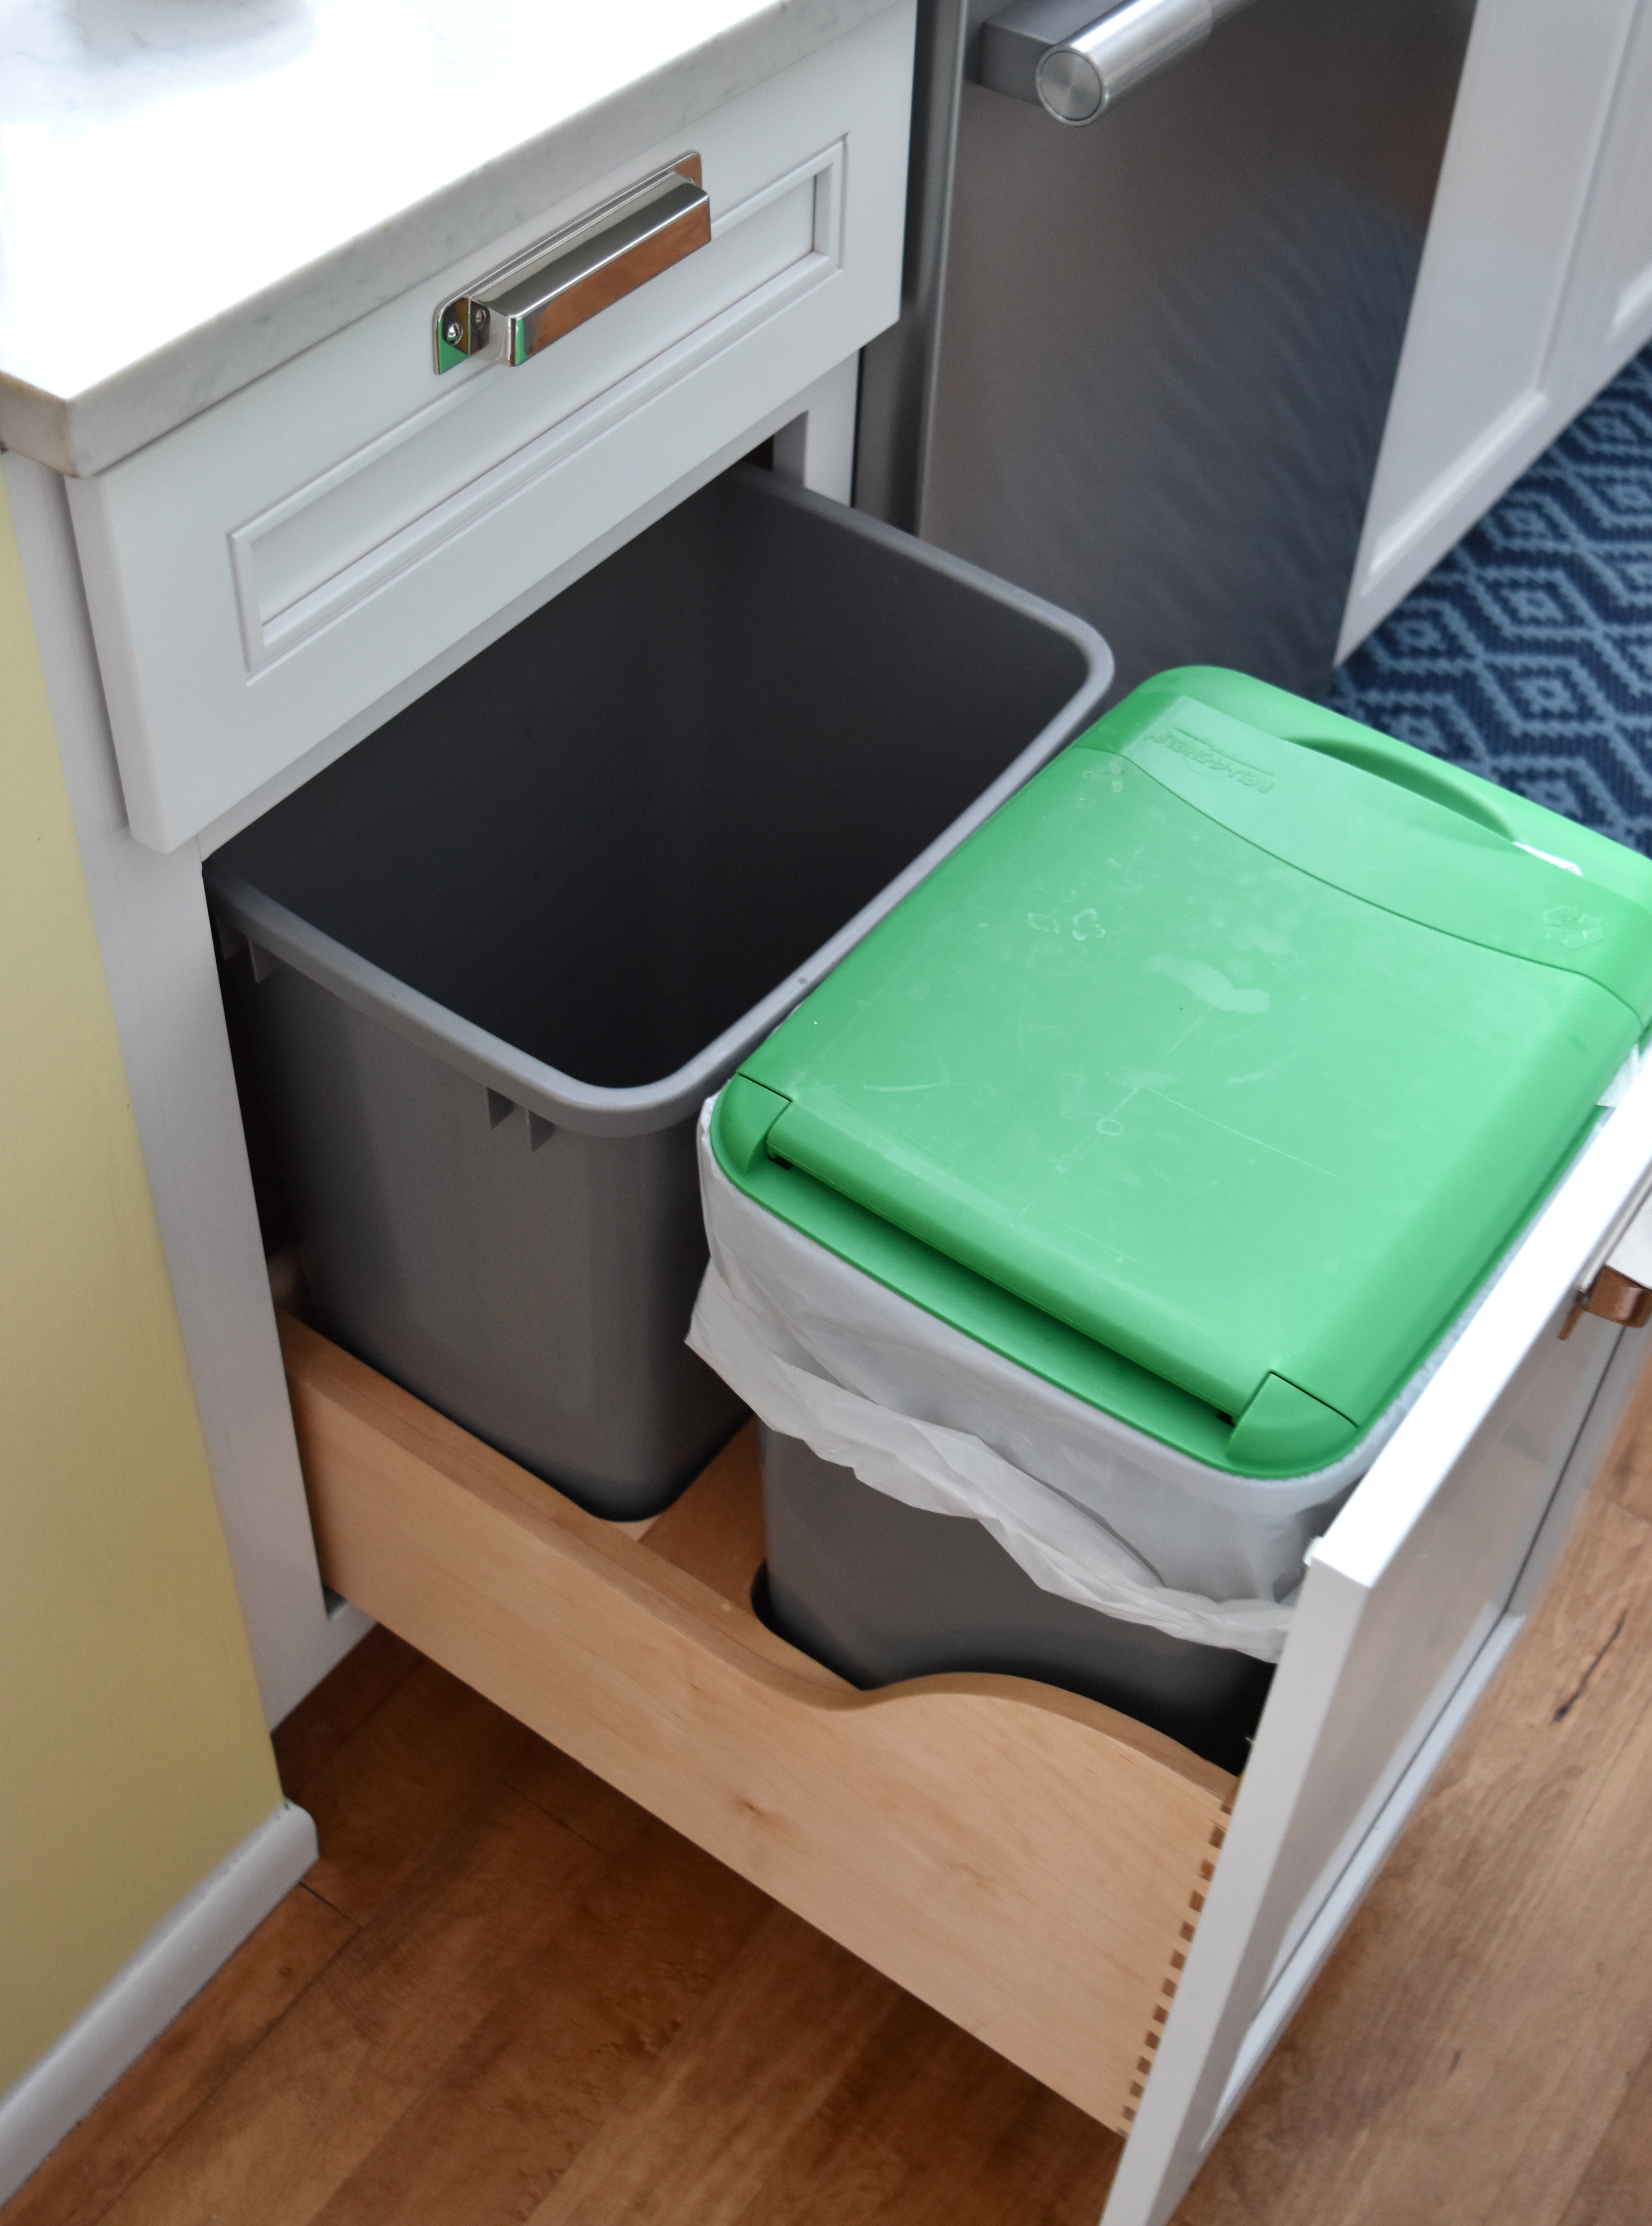
7. STORAGE
The insides of the cabinets are truly just as important as the exterior. The insides of the Kraftmaid cabinets are filled with savvy storage components. Everything has a place. There is no question of what goes where…
These are a few favorites…
Full depth cabinet above the refrigerator with Vertical Dividers, perfect for trays, cookies sheets, and more…
Trash Bin + Recycling Pull Out… no more floating garbage can in the center of the kitchen.
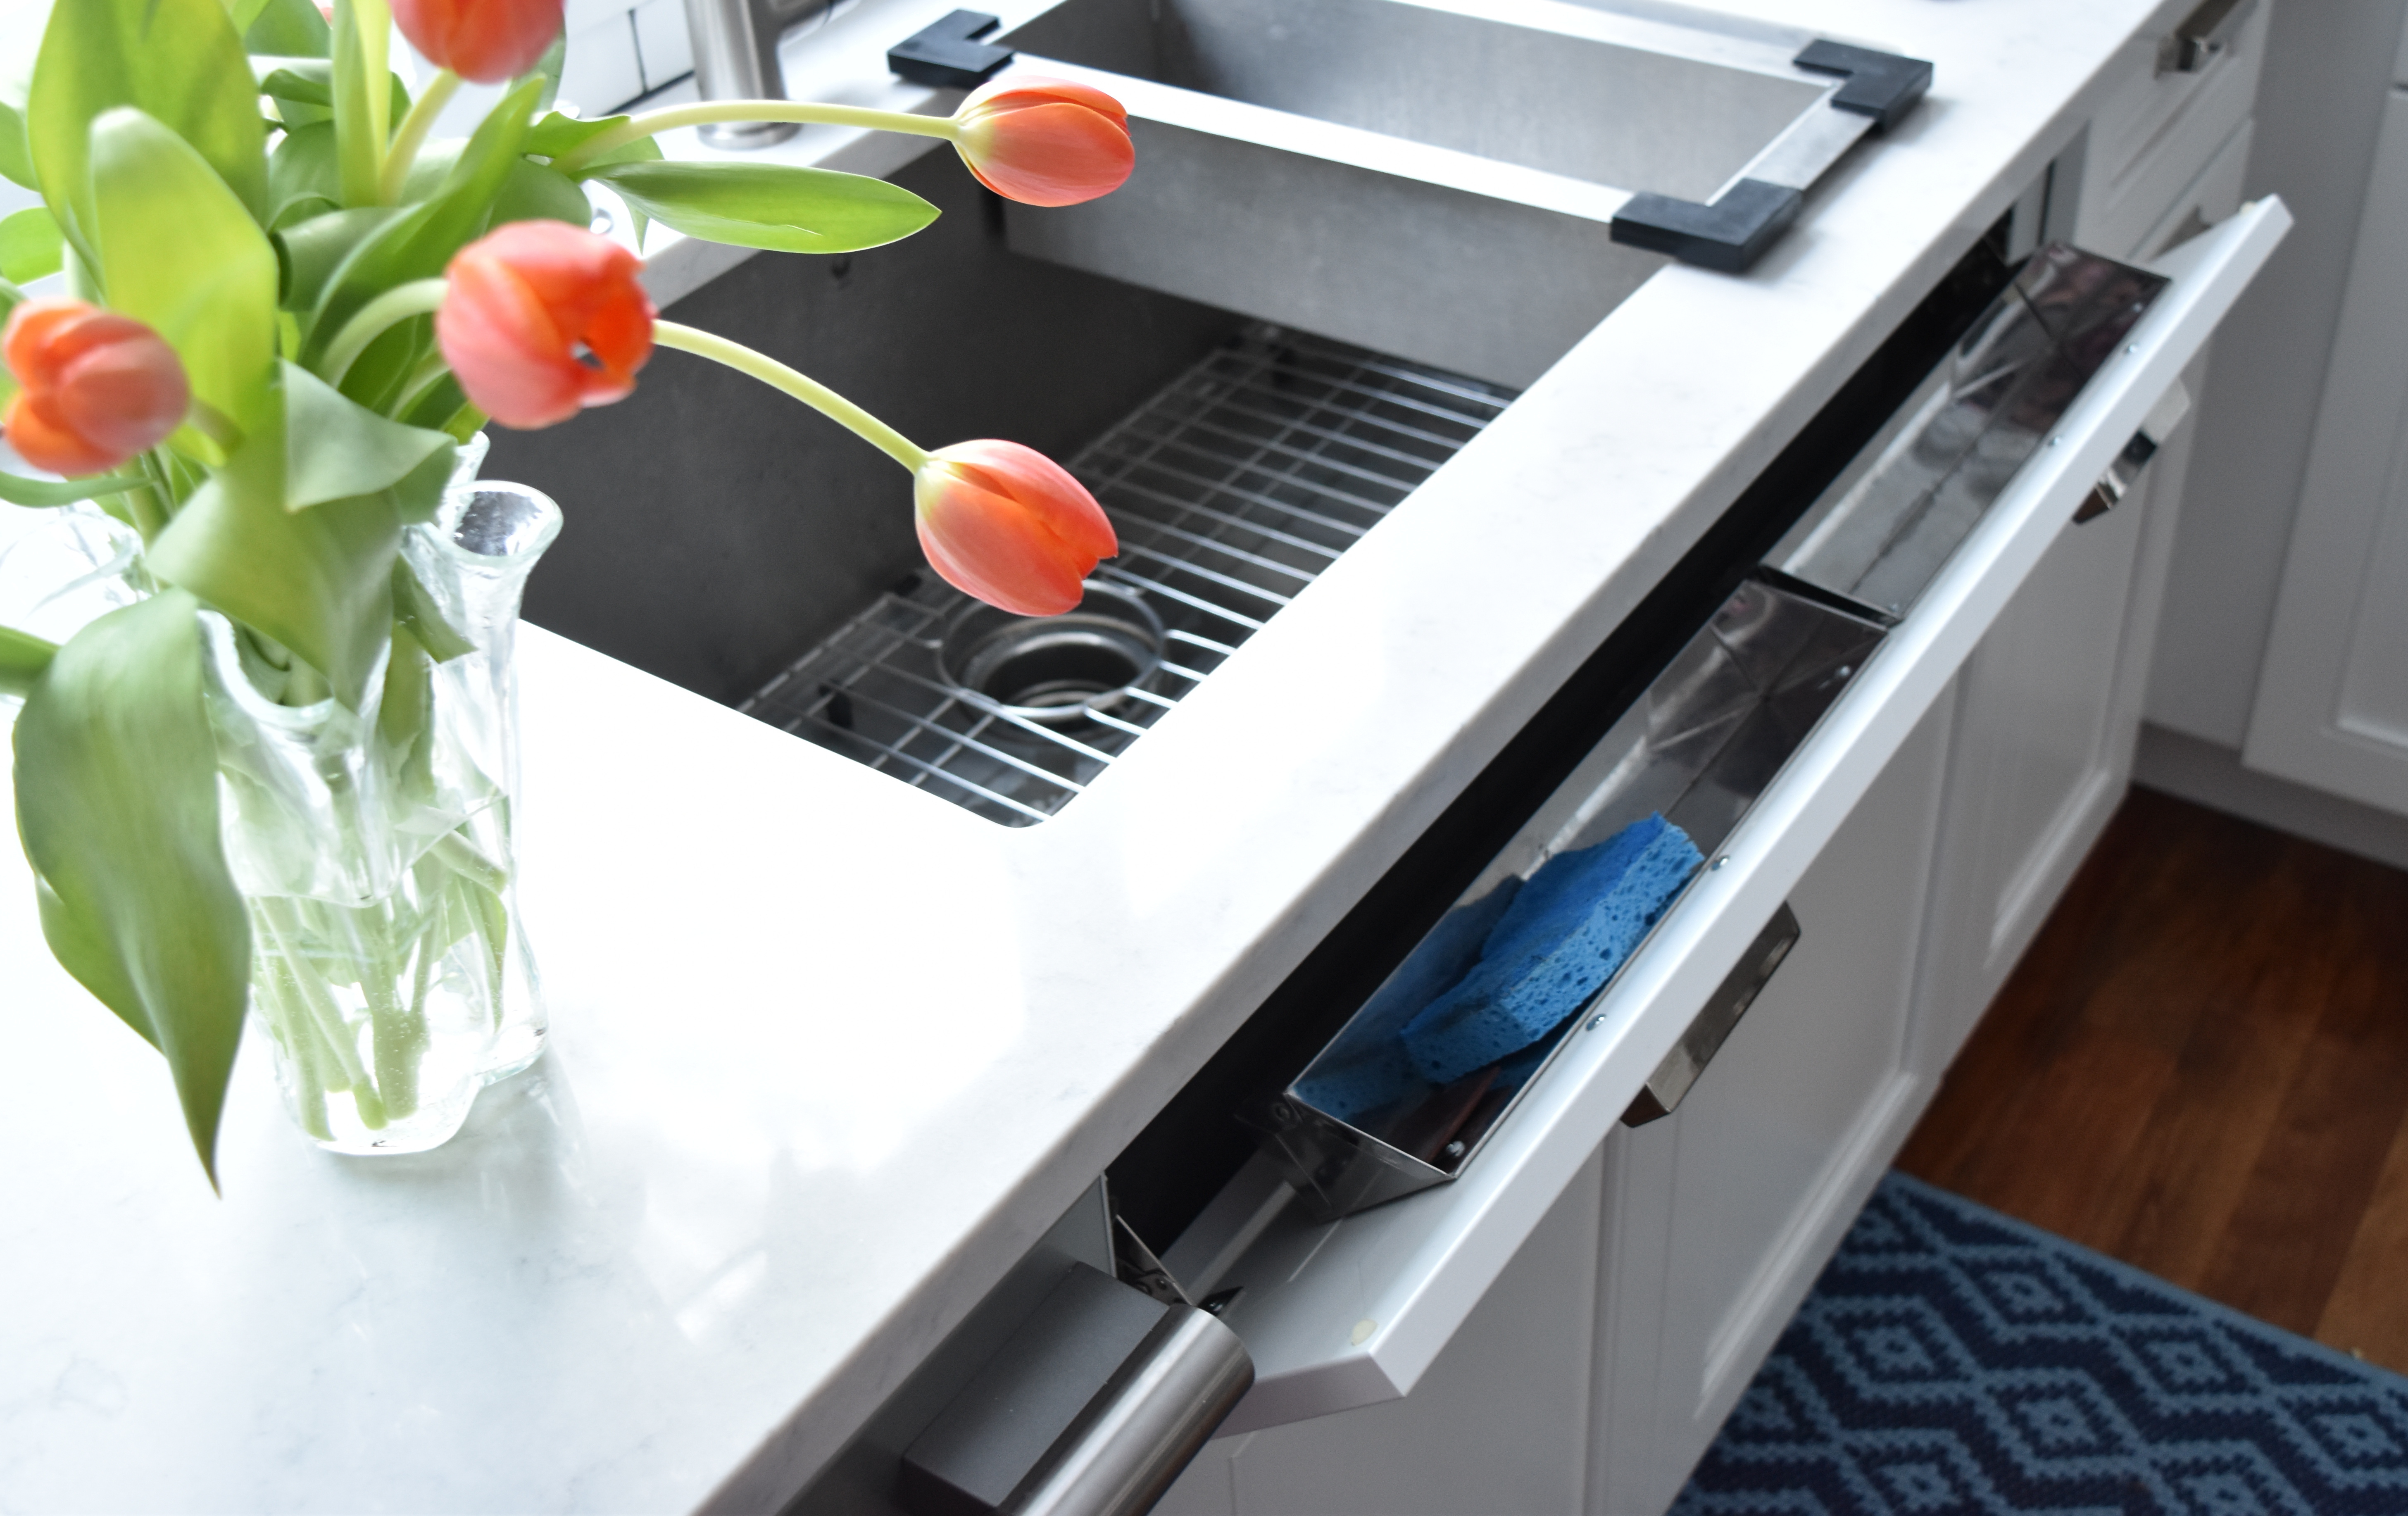
Tilt Tray at the sink front to hold sponges + clothes, which eliminates sitting on the counter.
Full extension roll-out drawers in the base cabinets so from front to back, everything can be seen!

As you can see, the details are important and those details are what make up the whole to create something different. The details are what make the kitchen stand out of the norm. Most elements are typical and ‘most popular’ but it’s how they are mixed together that sets them apart.
One more post coming soon… the Resources of the kitchen. I’m sharing all the scoop of where I shopped!

If you want to see all the posts documenting the kitchen renovation, here they are from start to finish:
Wonderful White Kitchen Inspiration
Kitchen Remodel: Before + Plan of Action
Demo Day: Steps for Demolishing the Kitchen
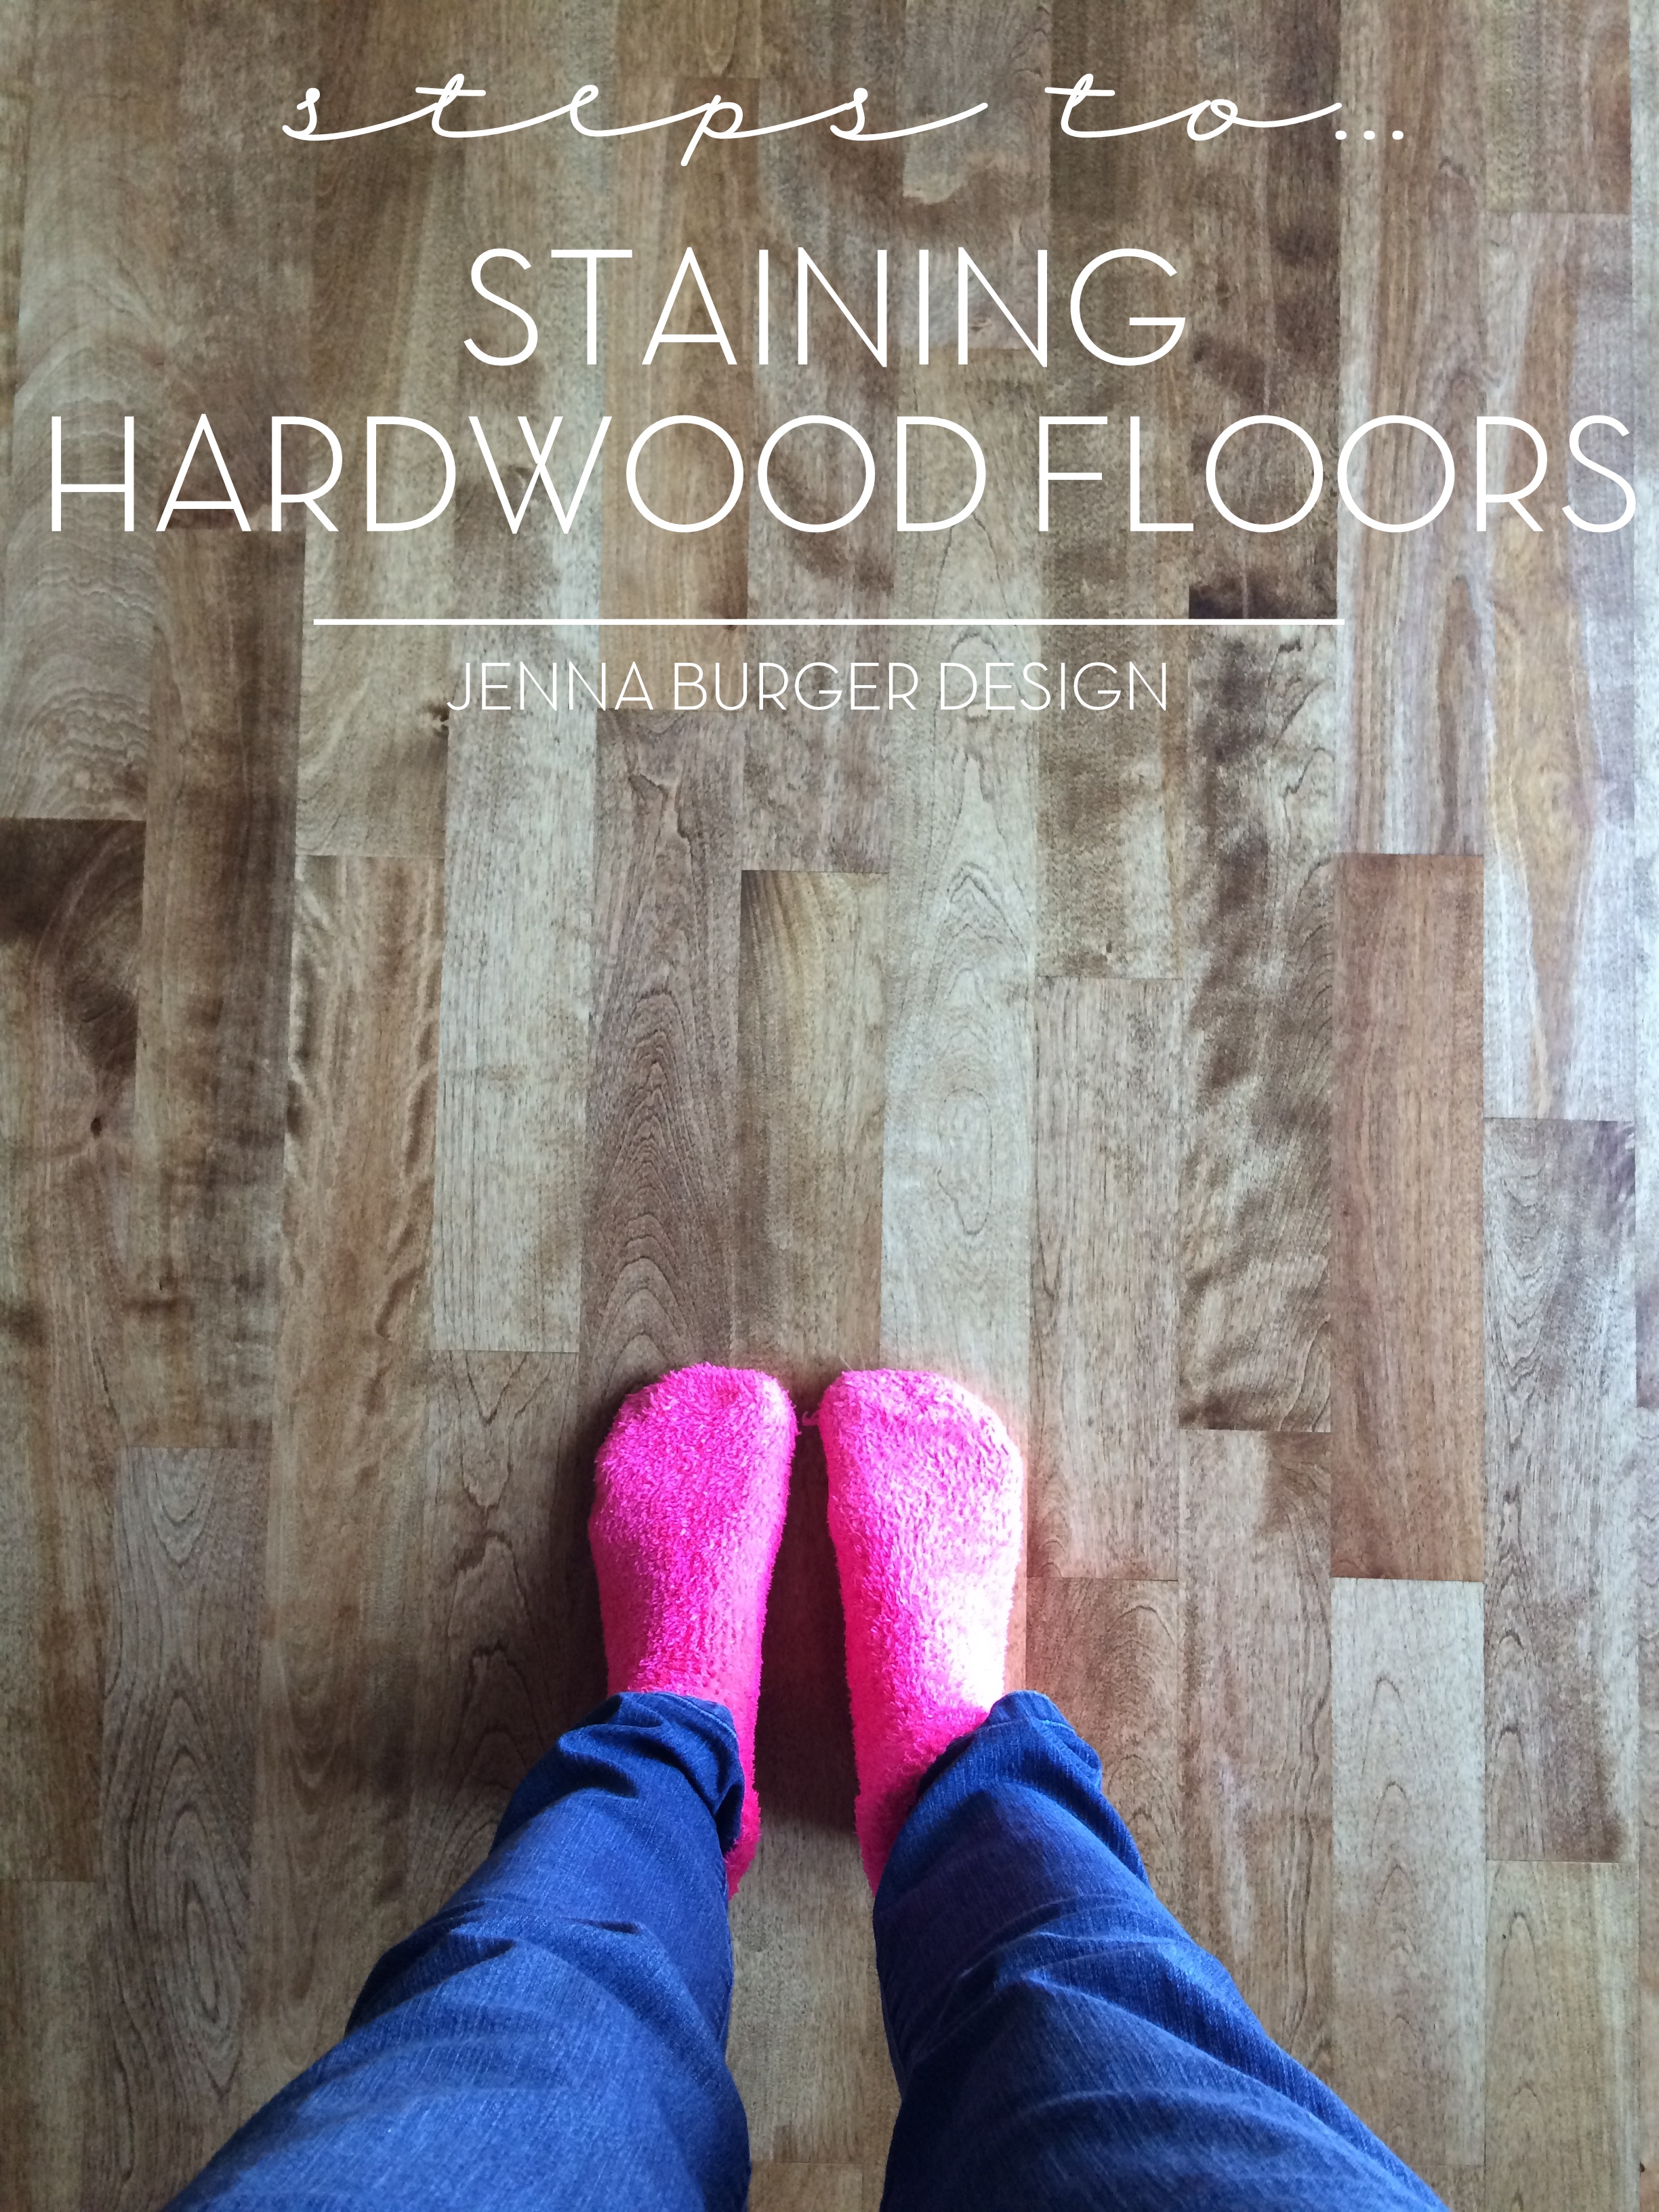
Kitchen Progress: Staining Hardwood Floors
The Cabinets Arrive + Get Installed
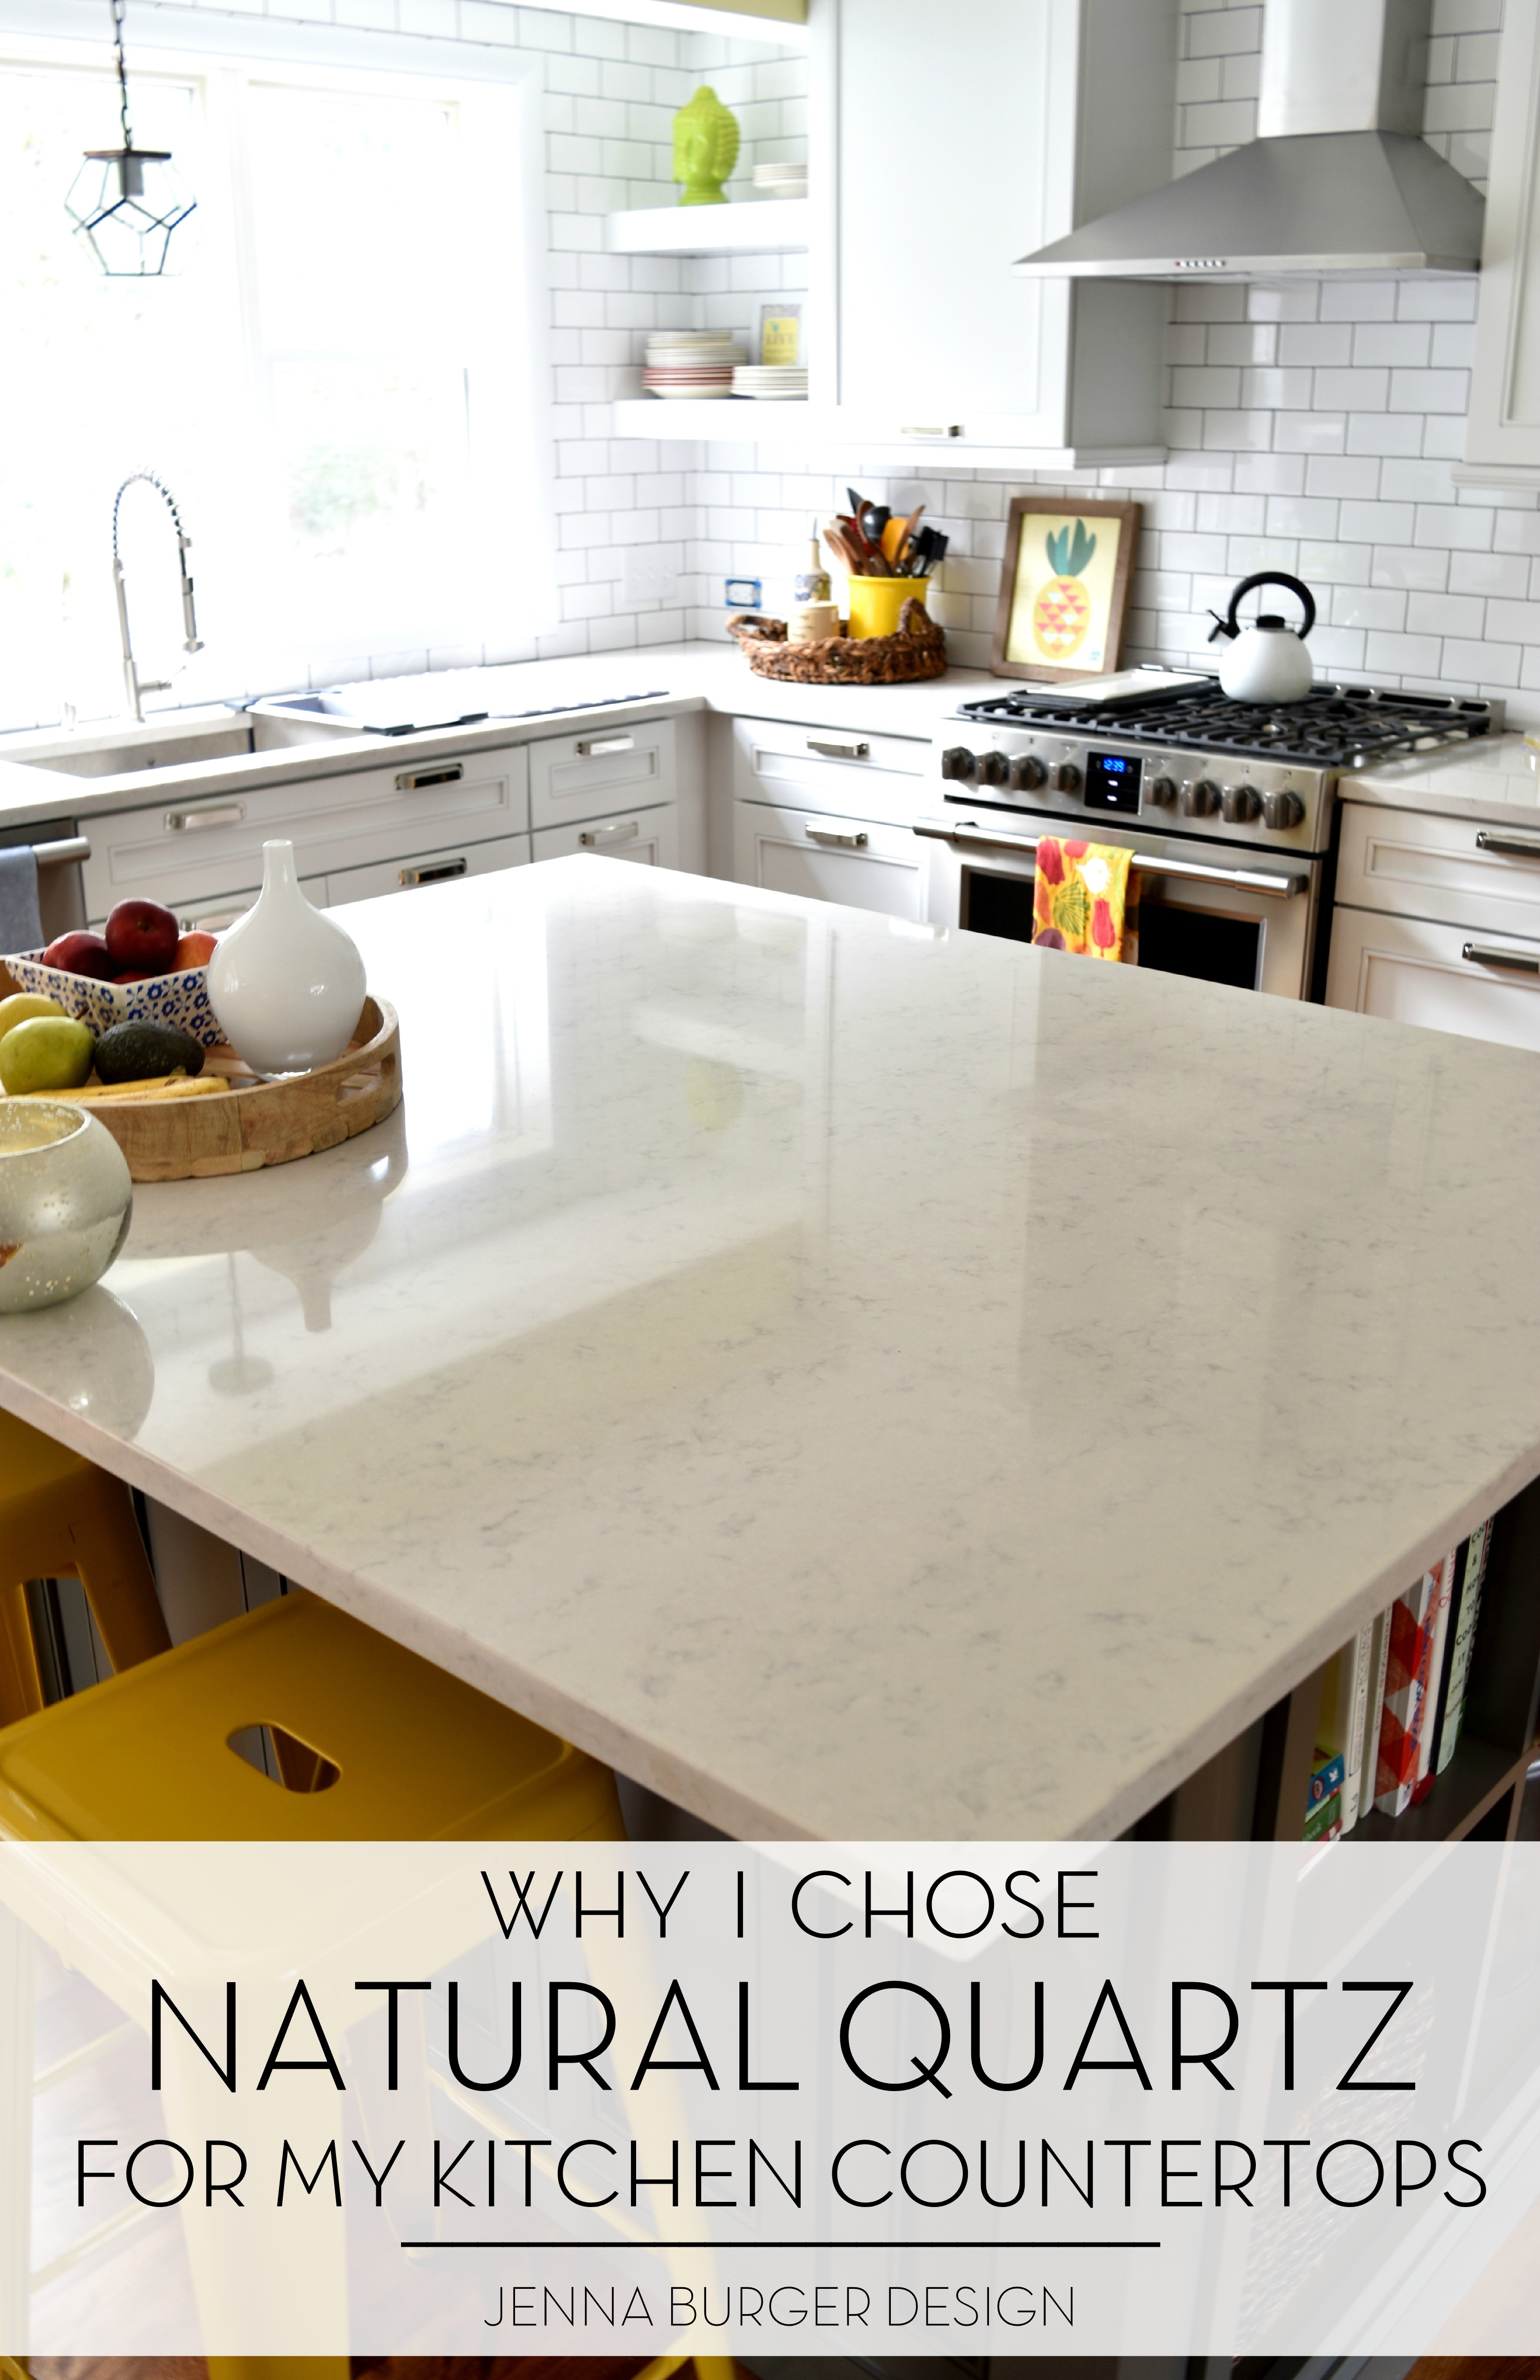
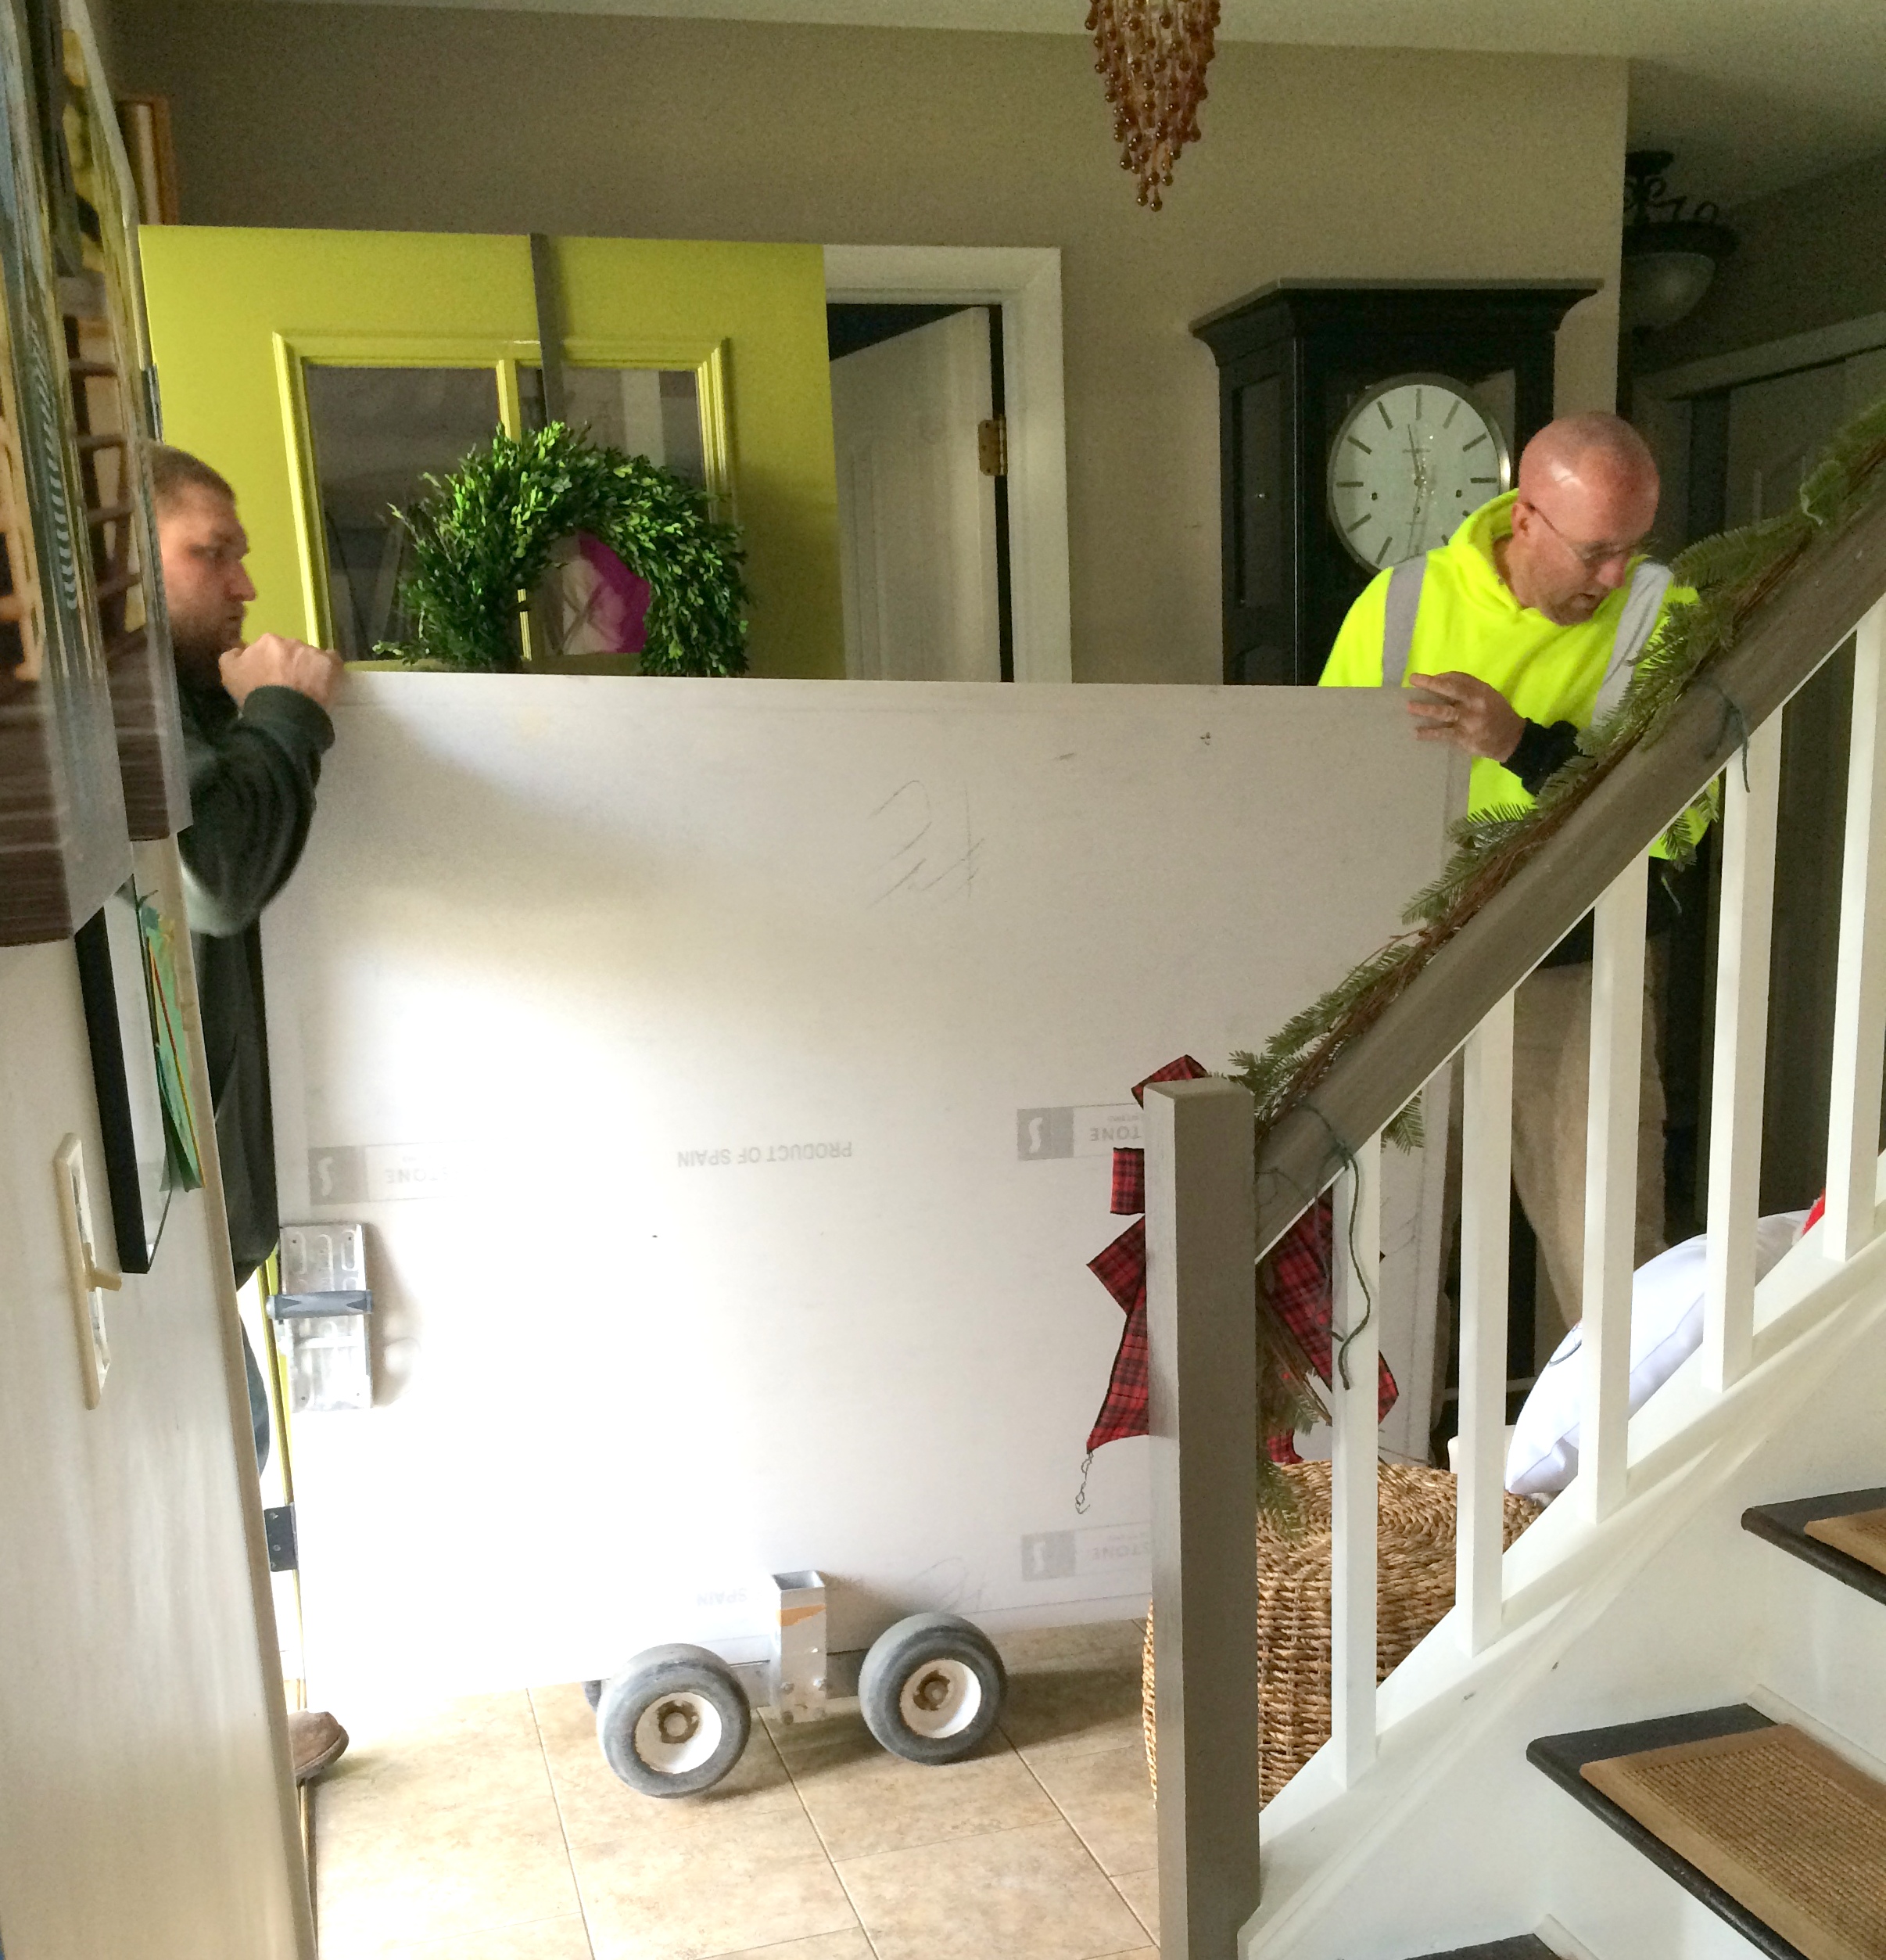
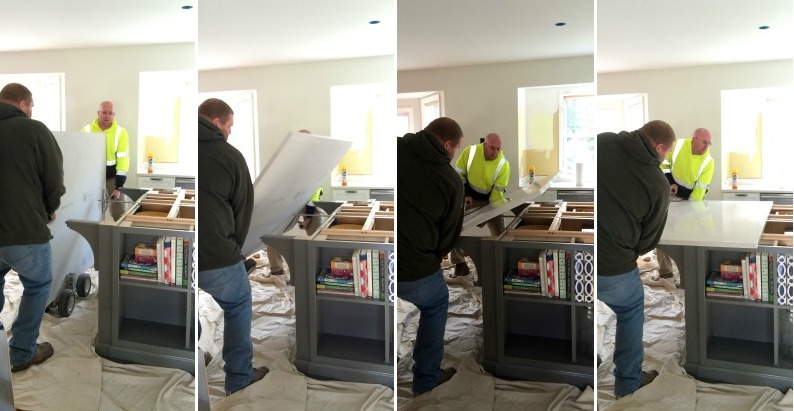
Natural Quartz Countertops in the Kitchen
10 Countertop Materials to Consider for the Kitchen
Subway Tile Installation + Choosing the RIGHT Subway
Kitchen Backsplash Tile Options + Inspiration
Choosing a Paint Color + Wallpaper for the Kitchen and Dining Room
Kitchen Renovation: The Appliances
Dissecting the Details
Kitchen Renovation: REVEAL + RESOURCES
DISCLAIMER: THIS KITCHEN RENOVATION IS A COLLABORATION WITH LOWE’S, KRAFTMAID, FRIGIDAIRE, AND HGTV HOME BY SHERWIN WILLIAMS. ALL OPINIONS + SELECTIONS ARE MY OWN WITH THE ASSISTANCE OF THE LOWE’S DESIGN TEAM.