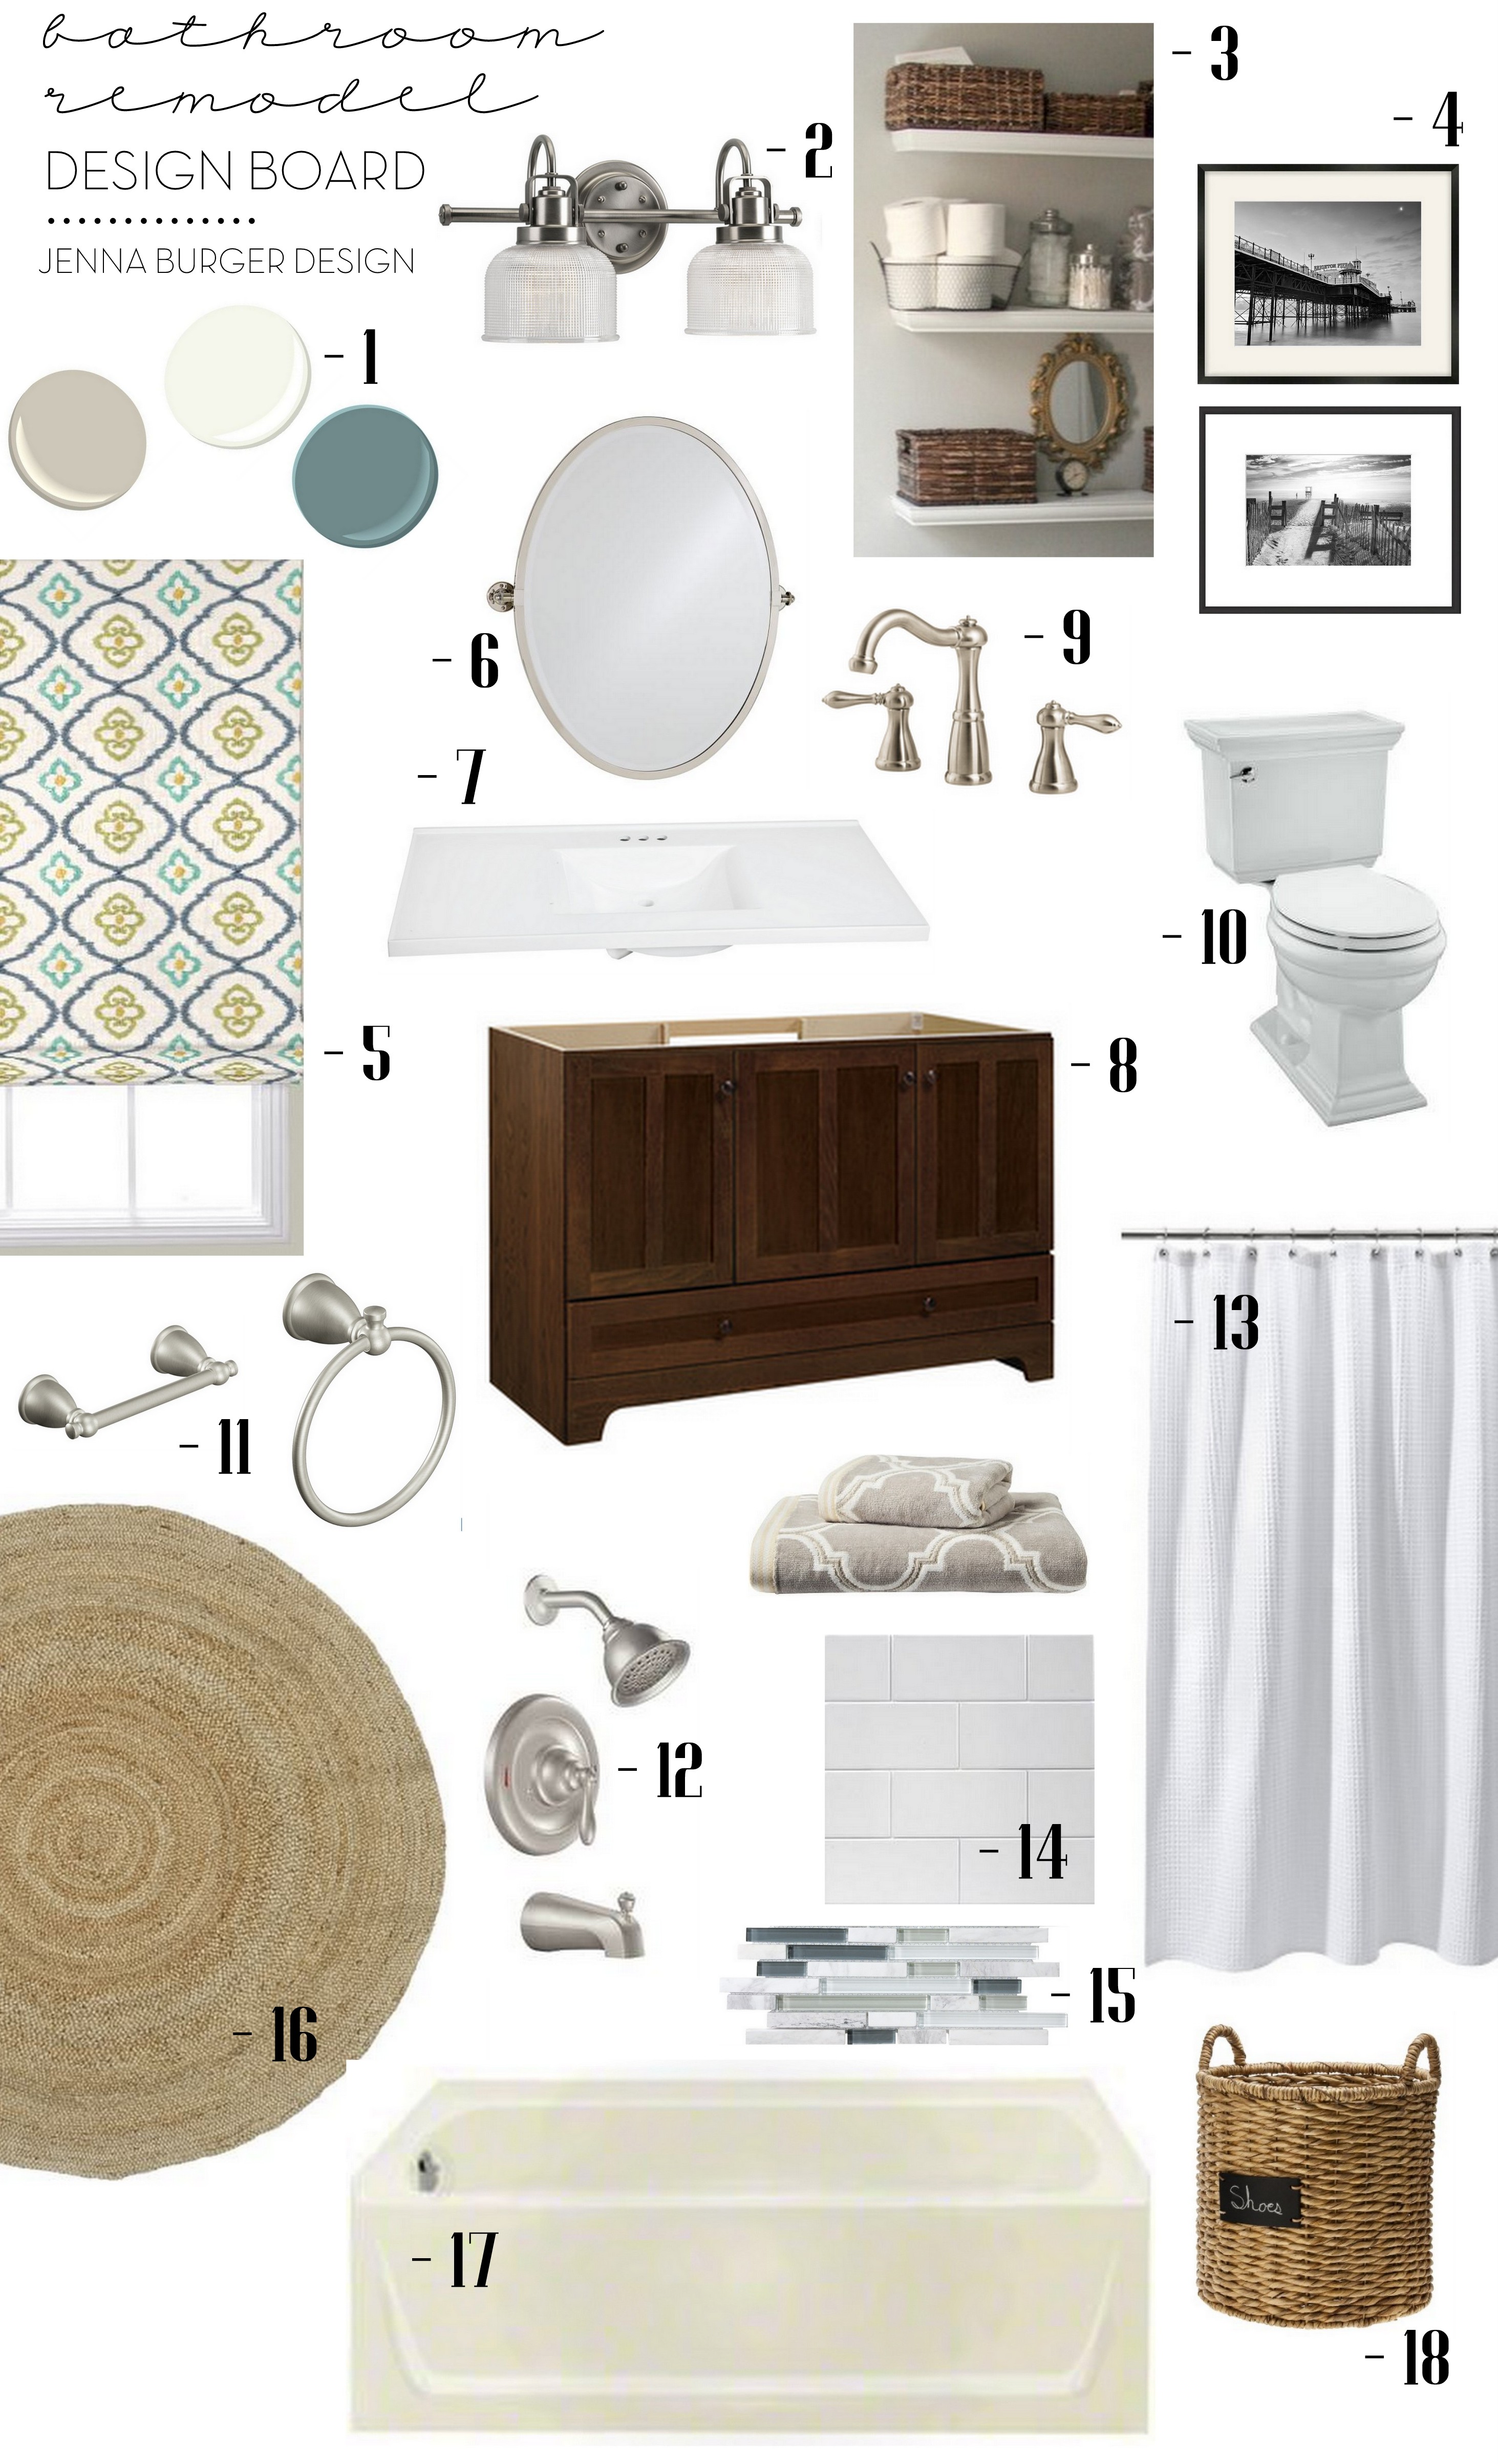
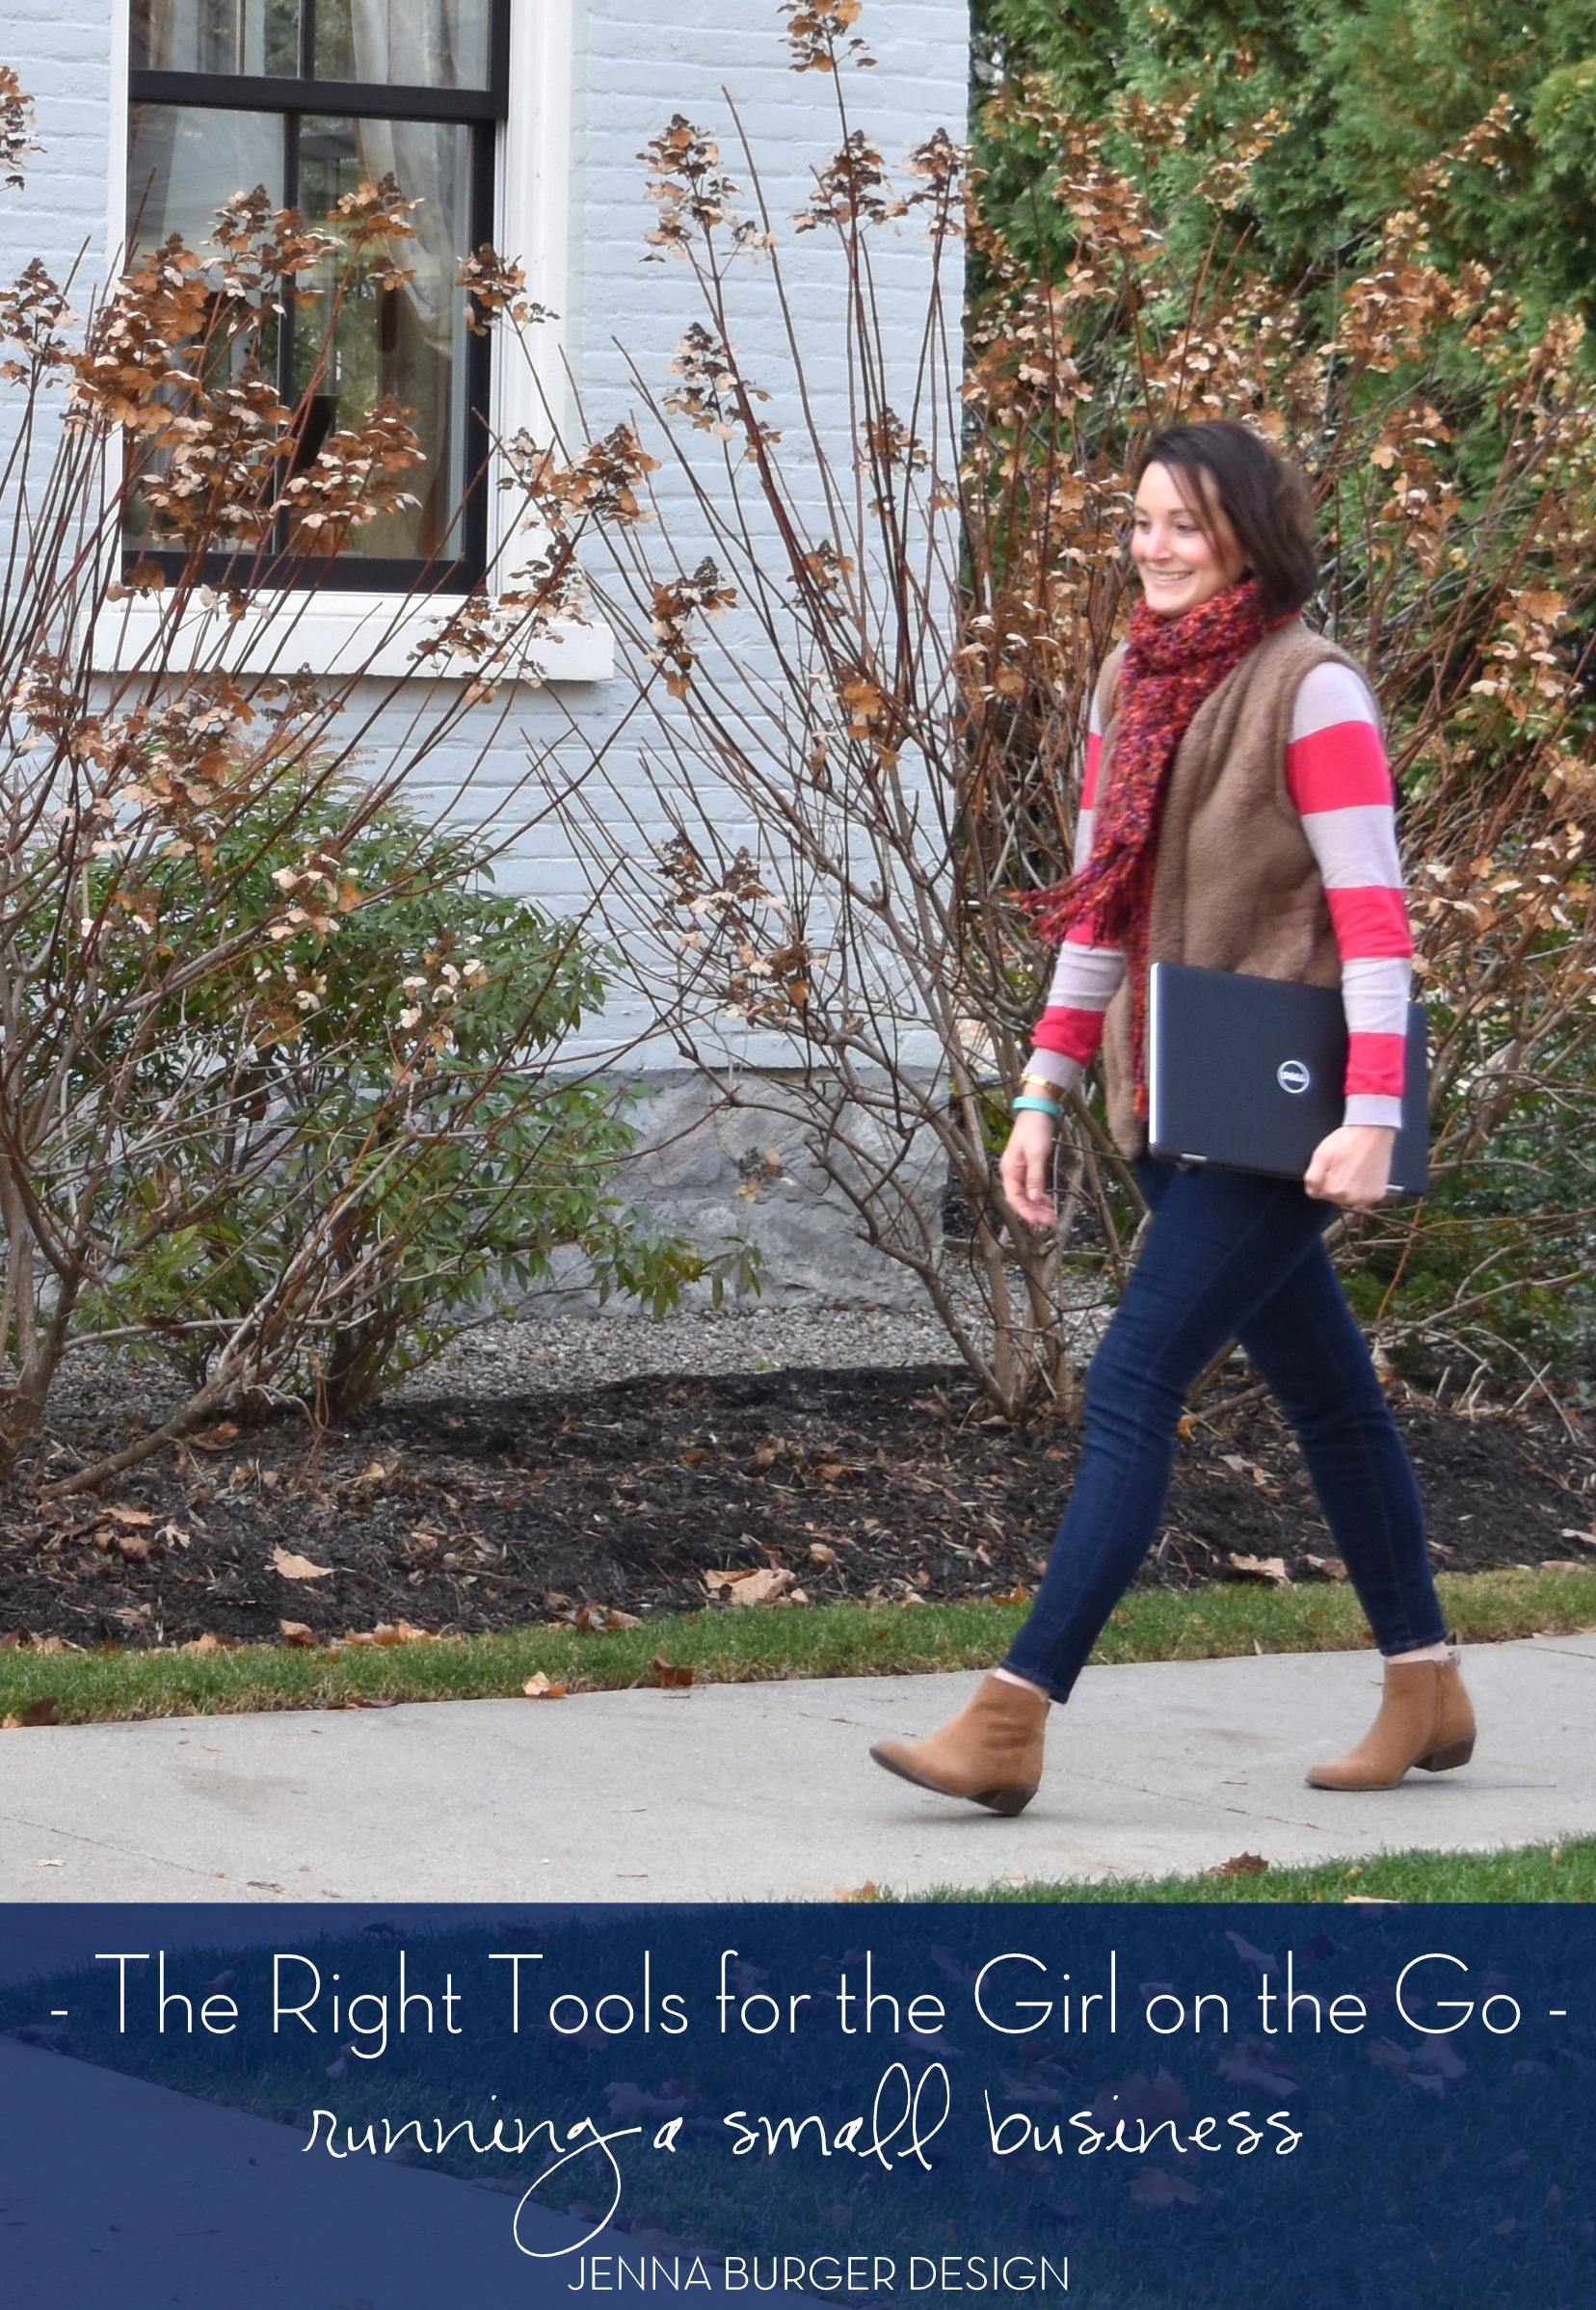
The Right Tools for the Girl on the Go
Without a doubt, I can say I am a girl on the go.
Owning + Running + Managing a small business takes a lot of time + effort and everyday brings on new challenges. At the same time though, I know I’m on the path that was set out for me and most moments of the day don’t even feel like ‘work’. While trying to manage my business + my family’s needs & obligations, everyday is different. I somewhat have a routine, but ‘my job’ is certainly not 9 to 5.
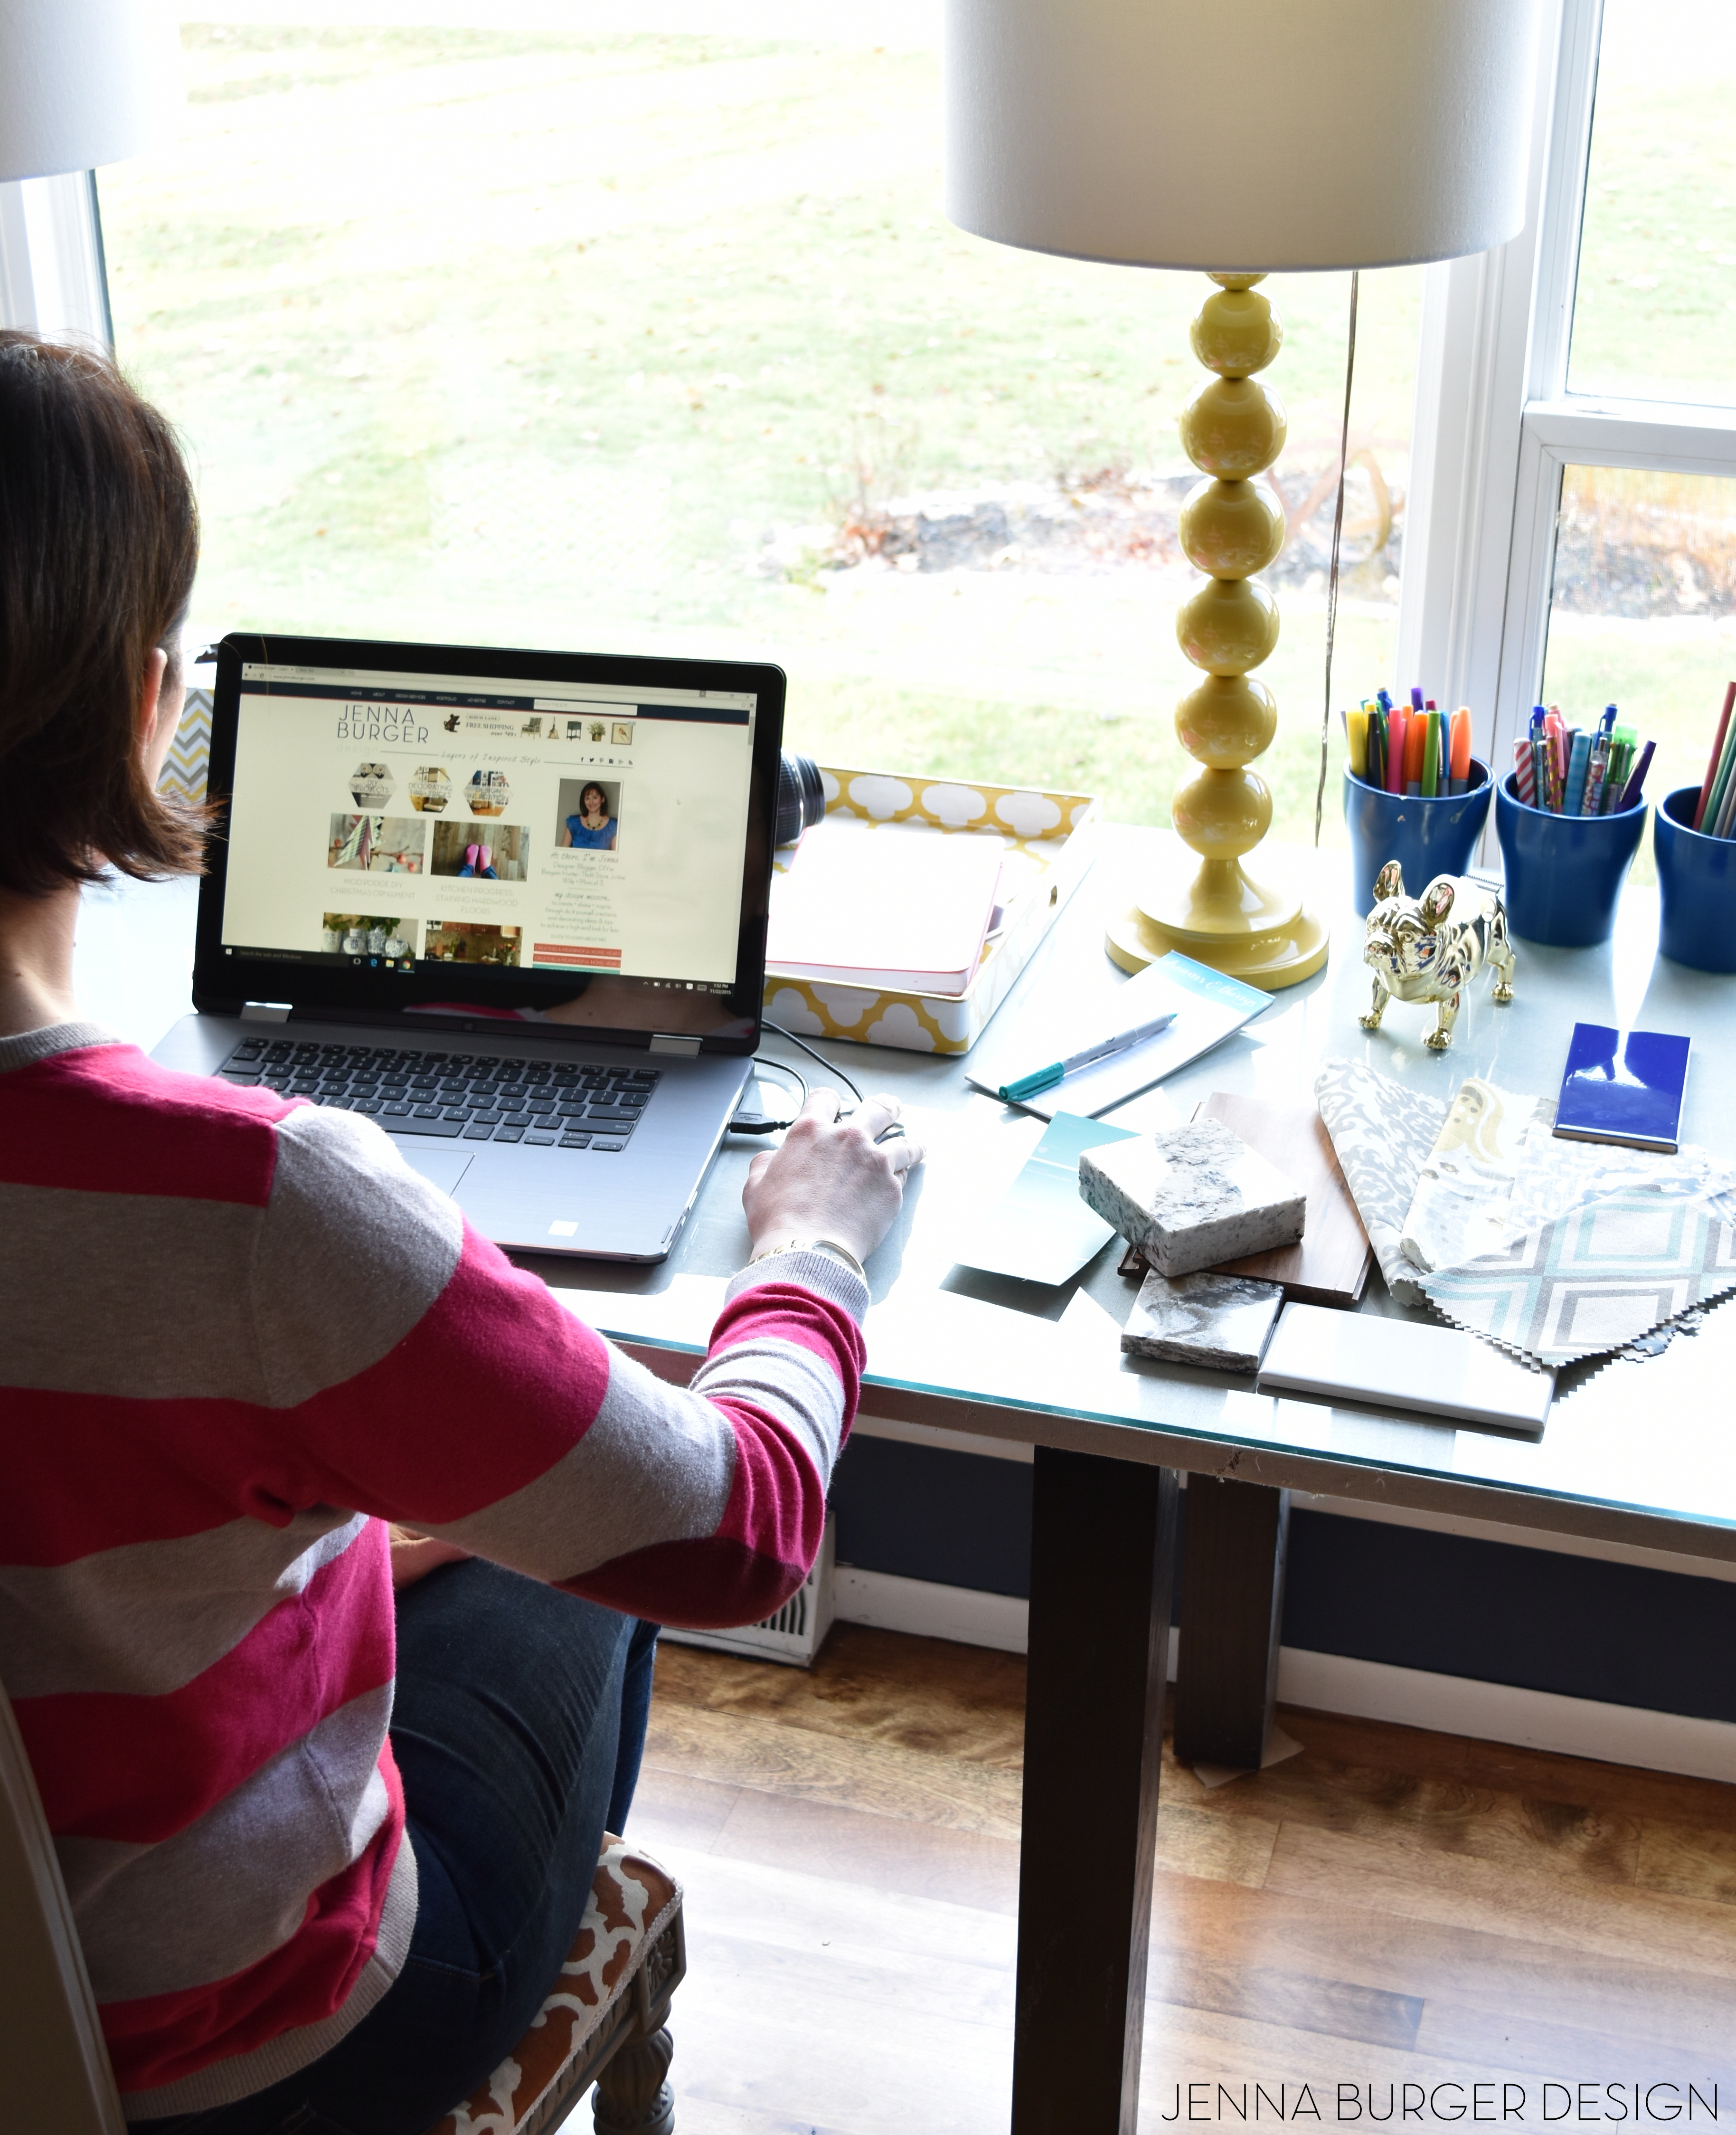
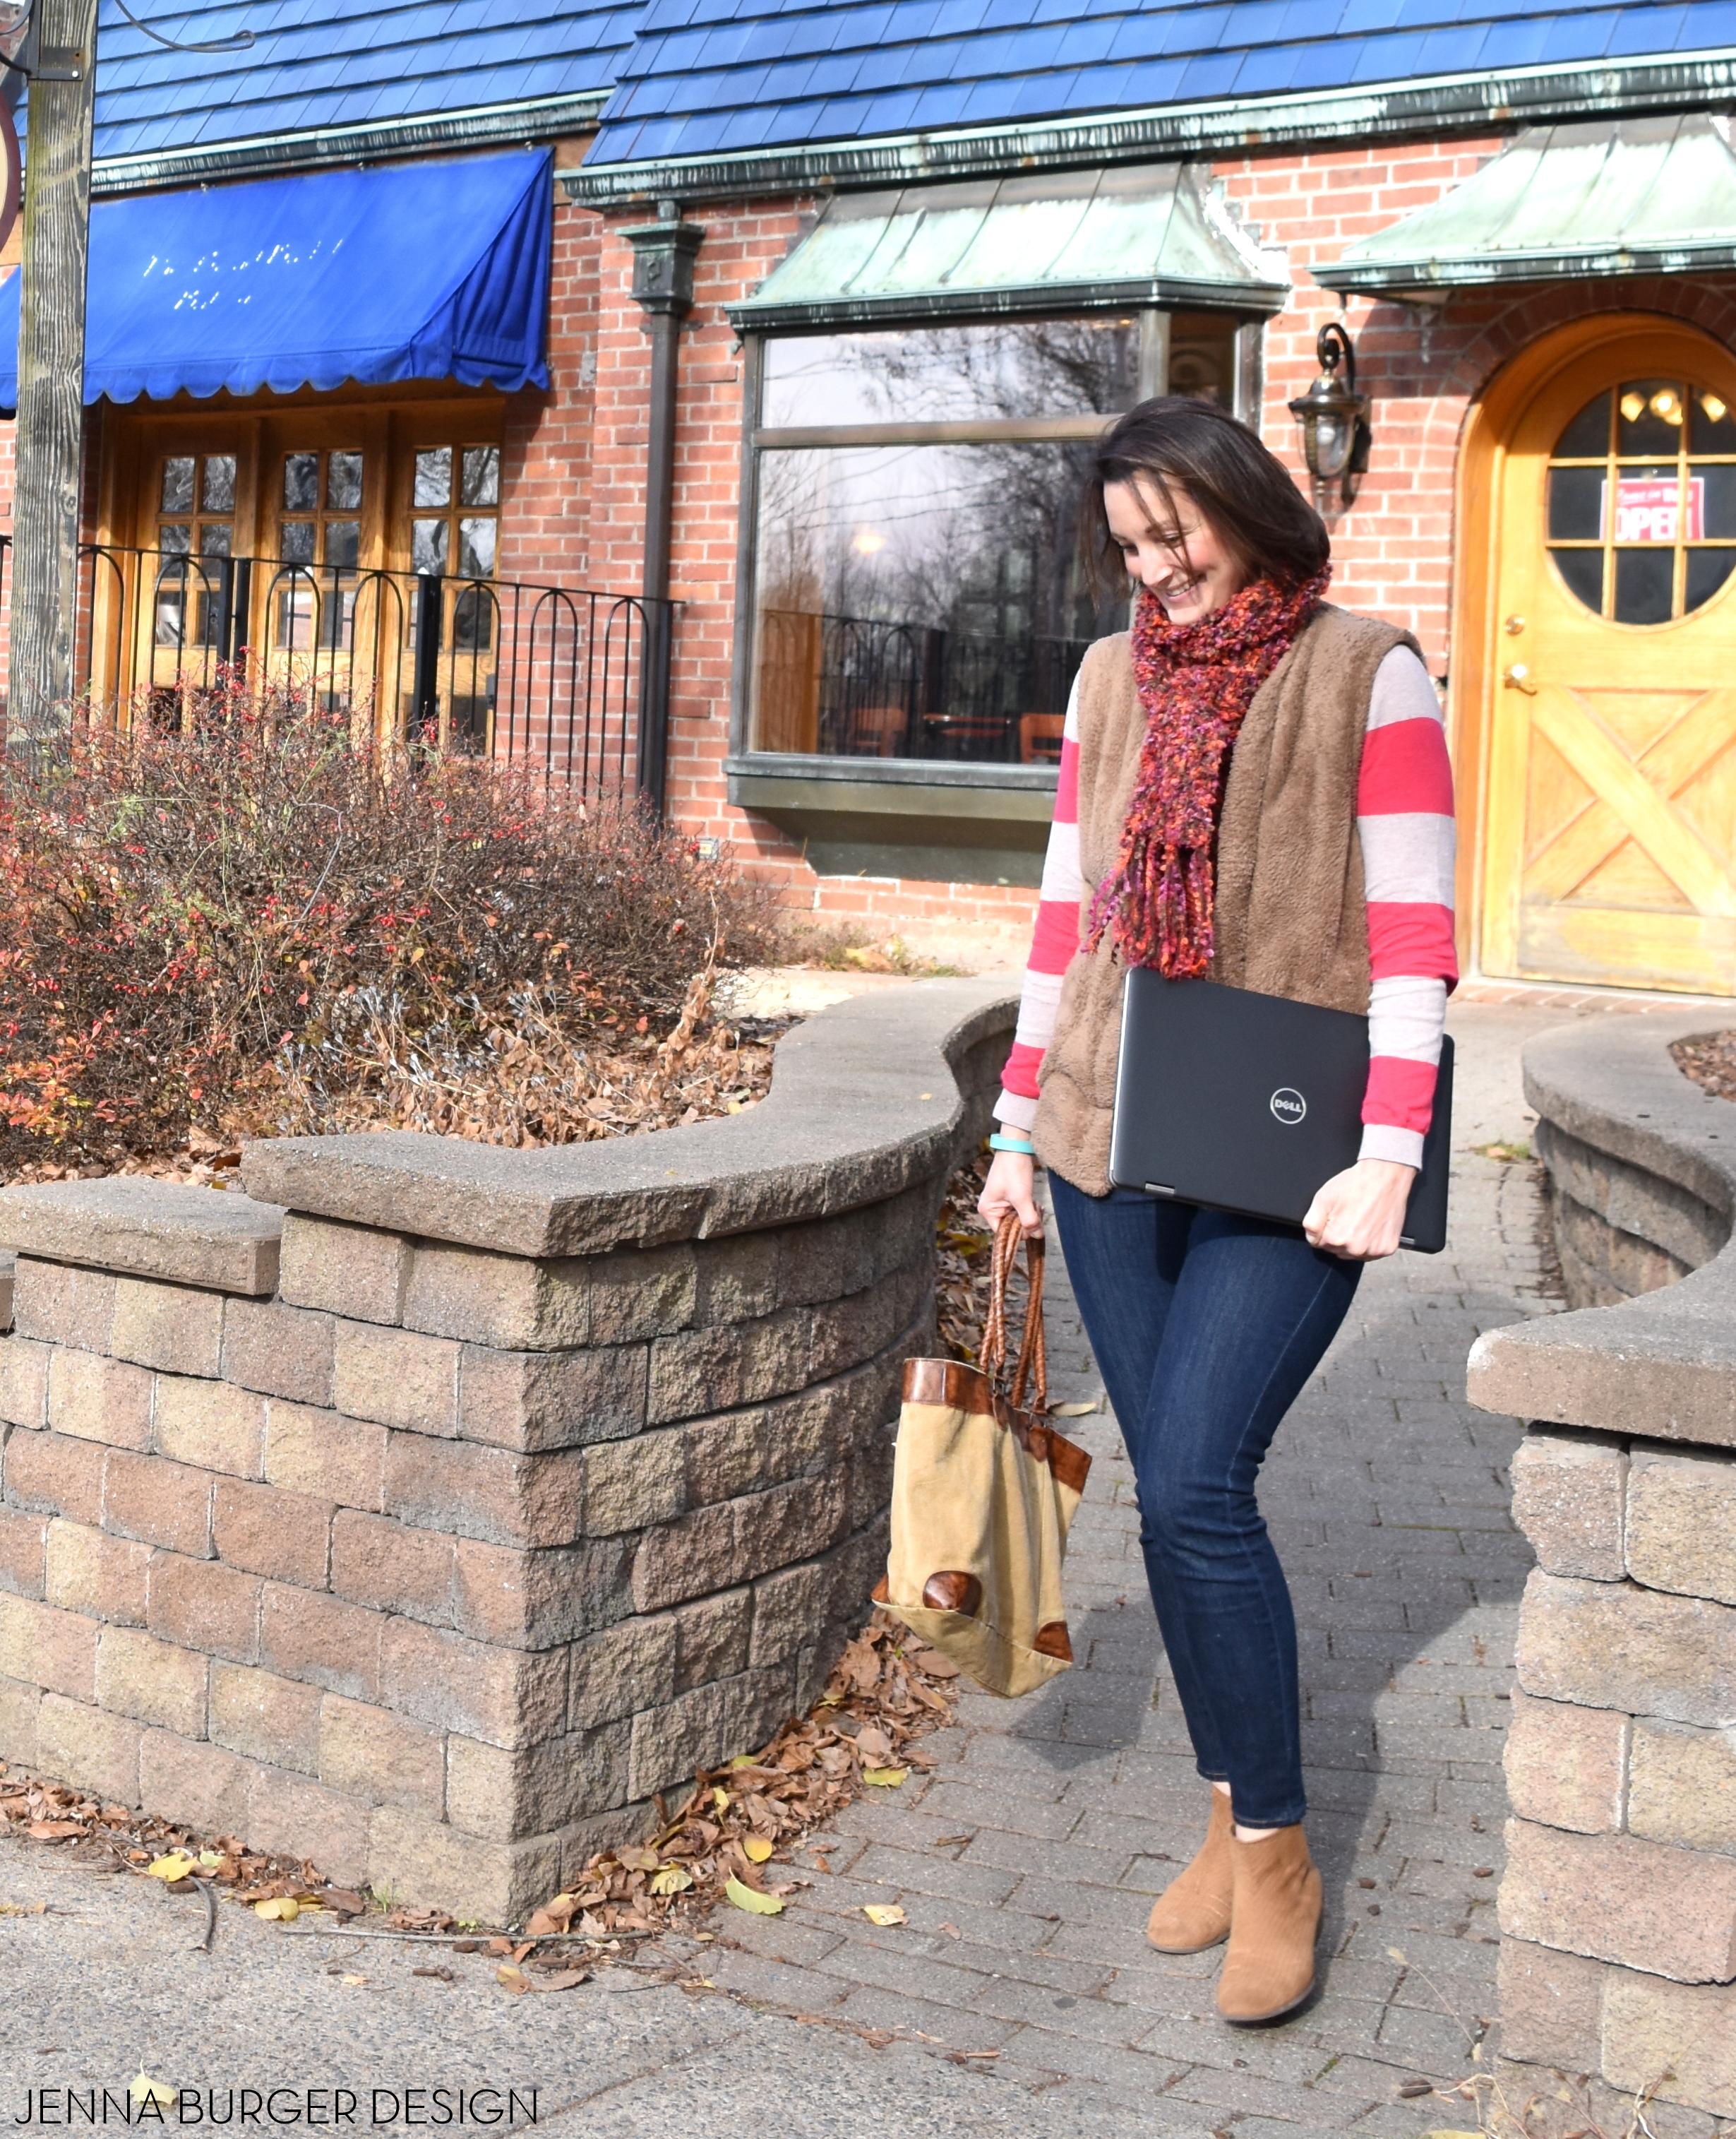
When I carve out the time to work, it’s often on the go. From my desk to the library to the local coffee shop, I sit + design where I feel most inspired at that moment. Some days are strictly at-my-desk, buckle-down days to pump out as many design plans as possible, while others days I hit the pavement at 9am and am out & about all day from job to job. On those days when I’m meeting with a client, I often throw all my stuff – Intel 2 in 1 laptop / tablet, camera, notebook, sketchpad, calendar, pens – in my work bag and hit the road running…
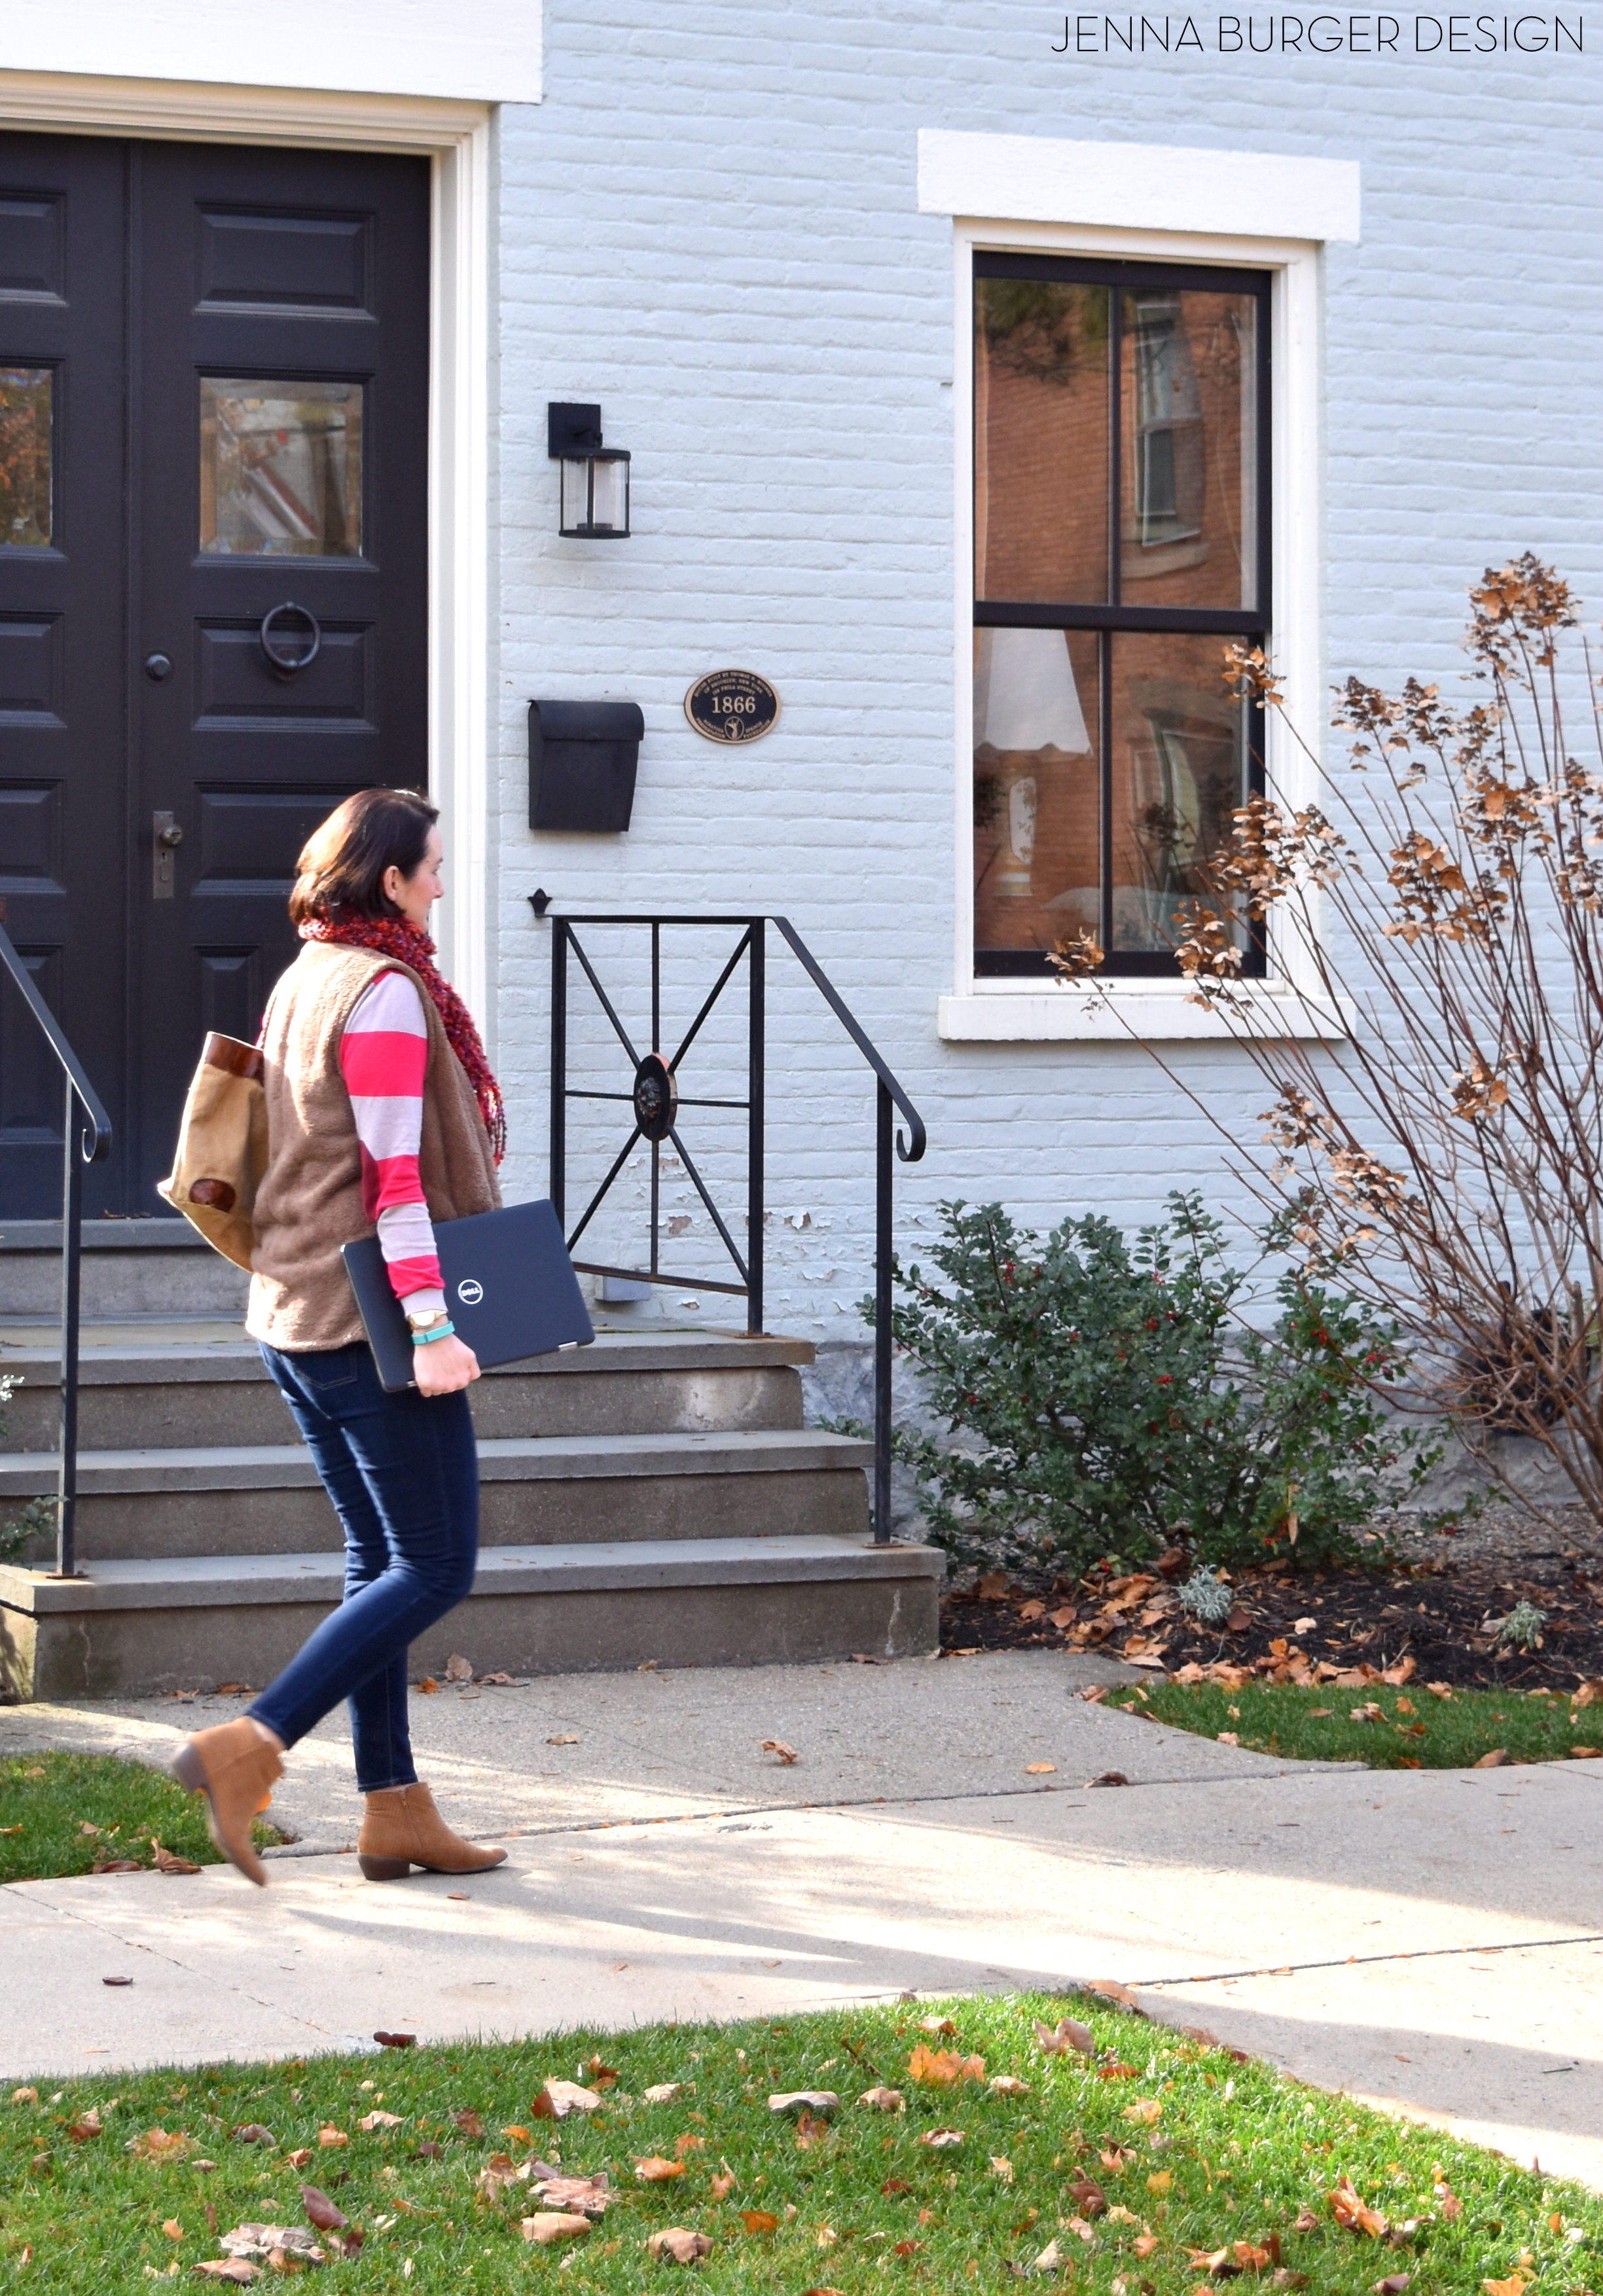
No matter what time of day (or night more often than not), my laptop is like my 4th child. It’s by my side, pulling at my leg to give it attention until it rests for a moment, then rises again in a few hours… Seriously though, my laptop is my everything pertaining to work. From creating design plans, to searching for client inspiration + printing vision boards, to blogging about my latest DIY creation, my laptop is open + on A LOT!

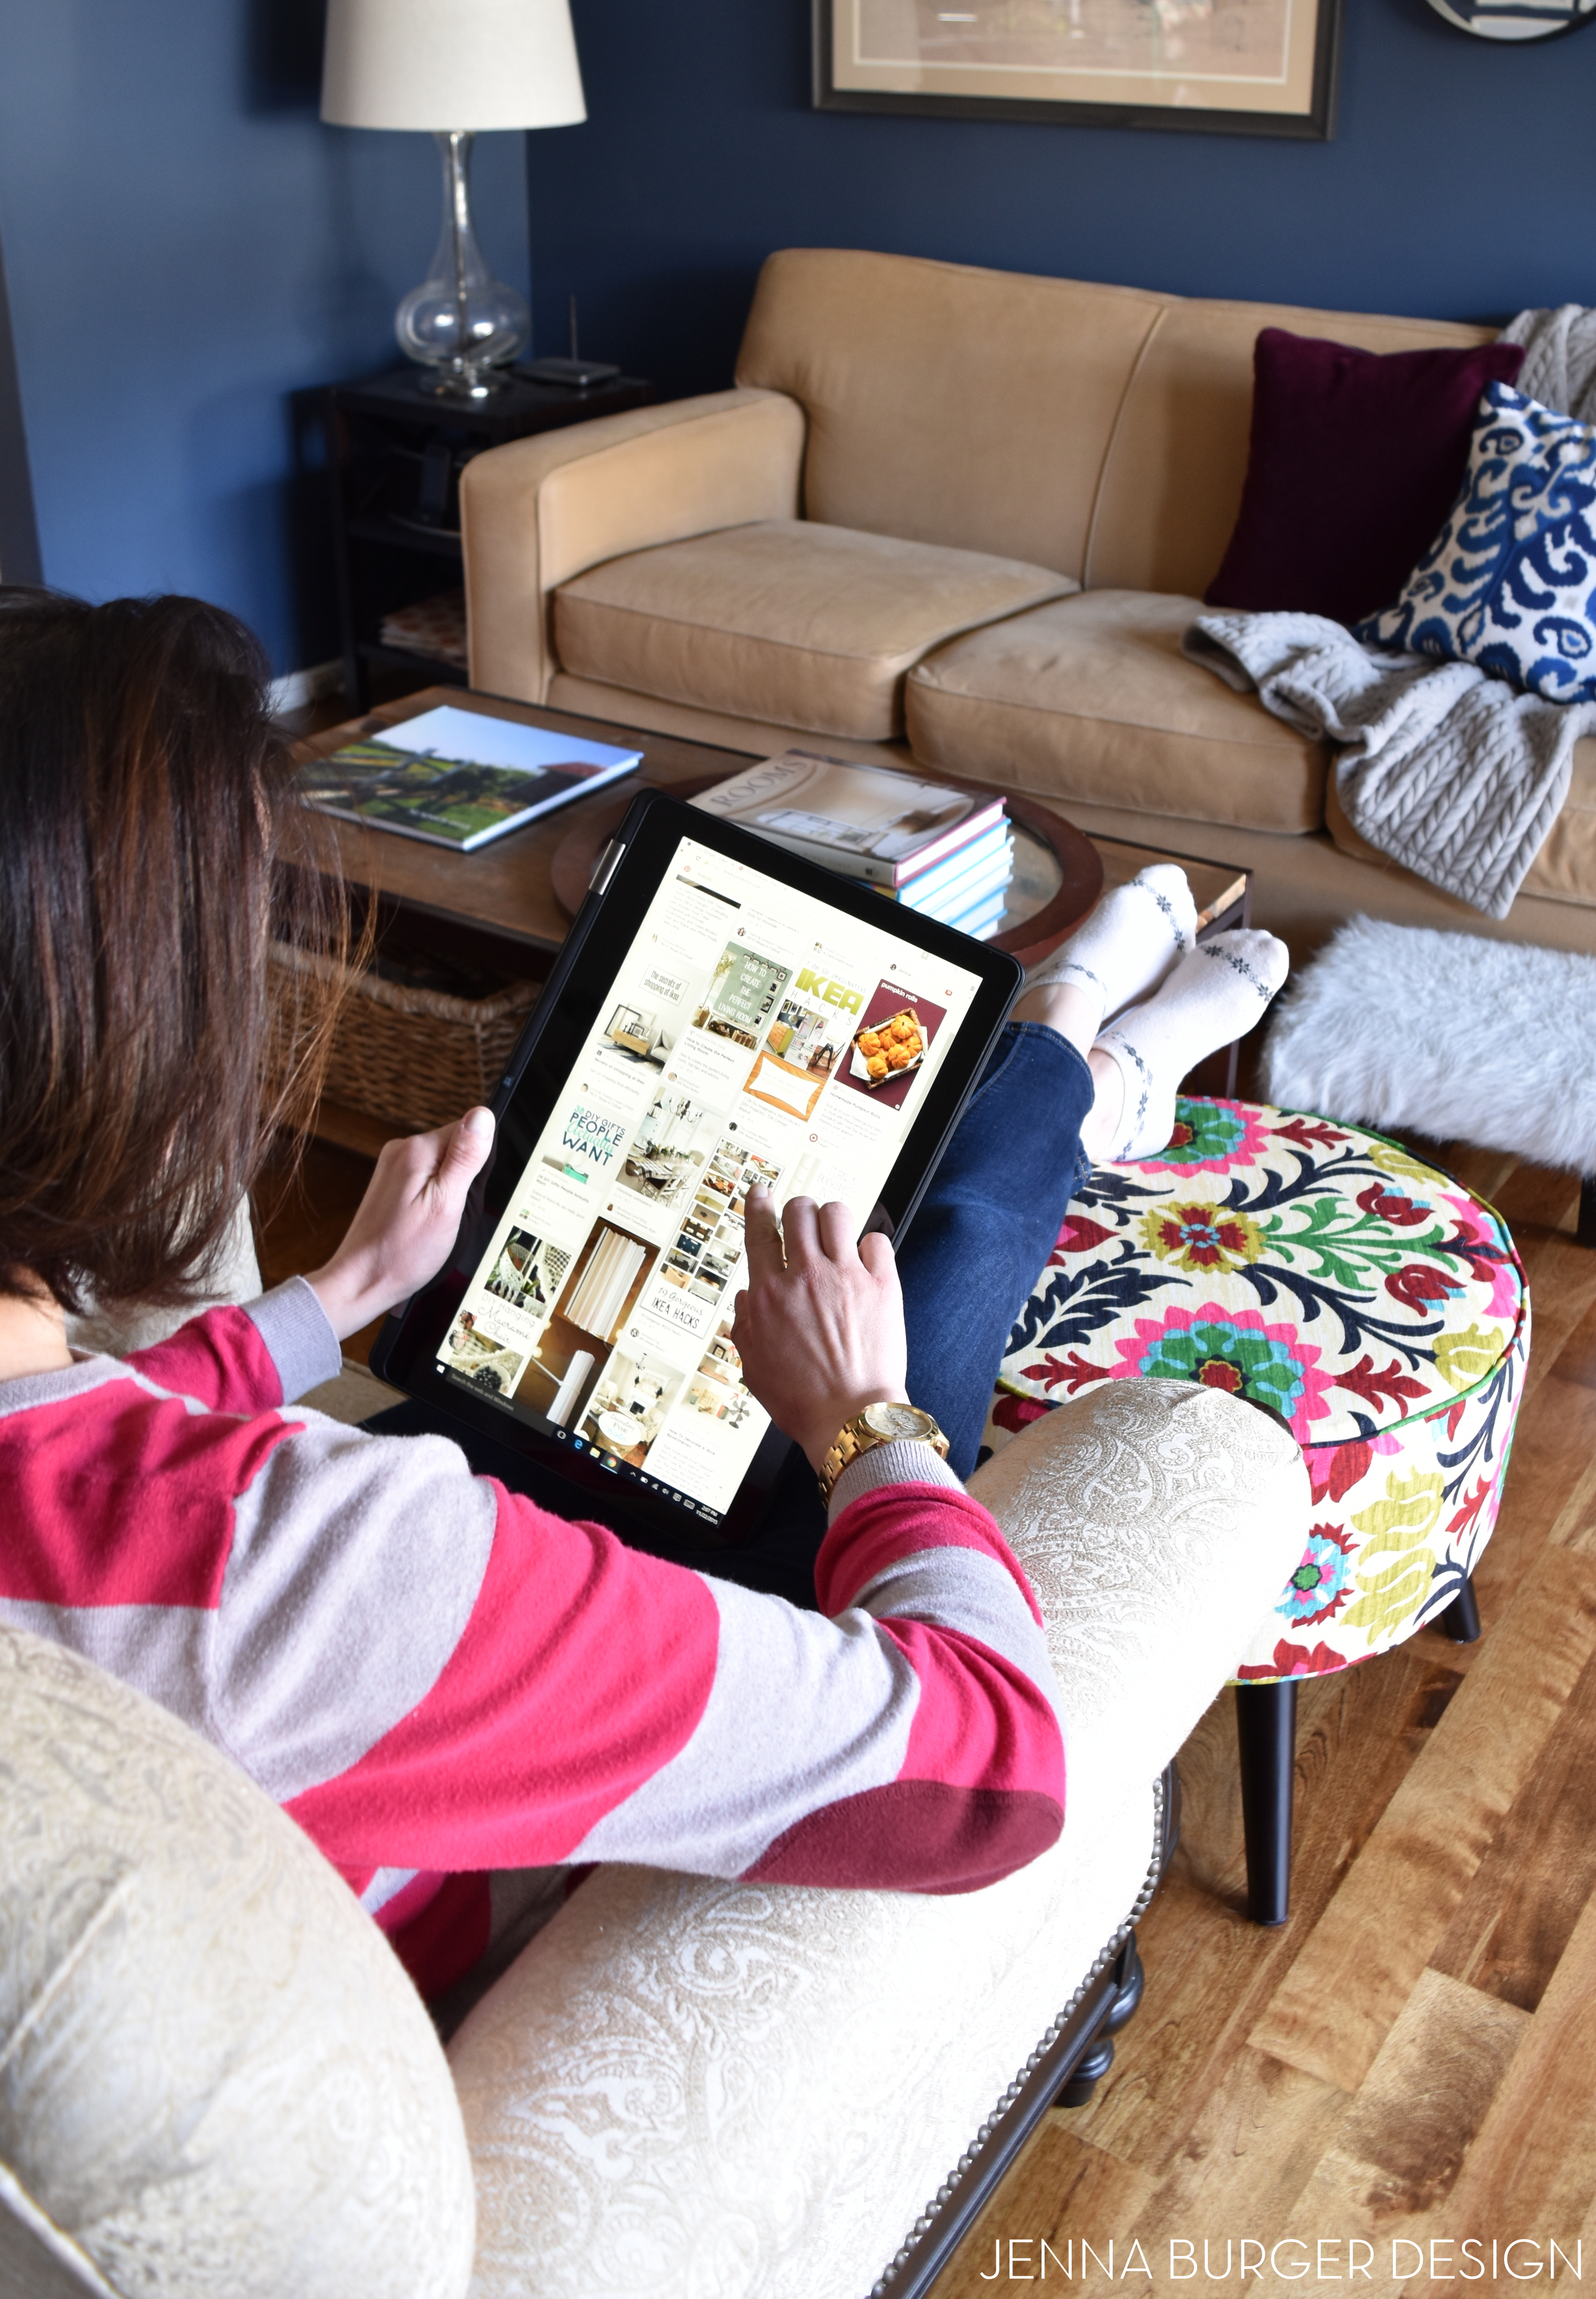
And how can it not be when it can easily switch from laptop to tablet in seconds?!
When I’m at my desk creating a floor layout + design plan for a client, I am often at a flat surface with a mouse in hand (yes I still use a mouse) working away…
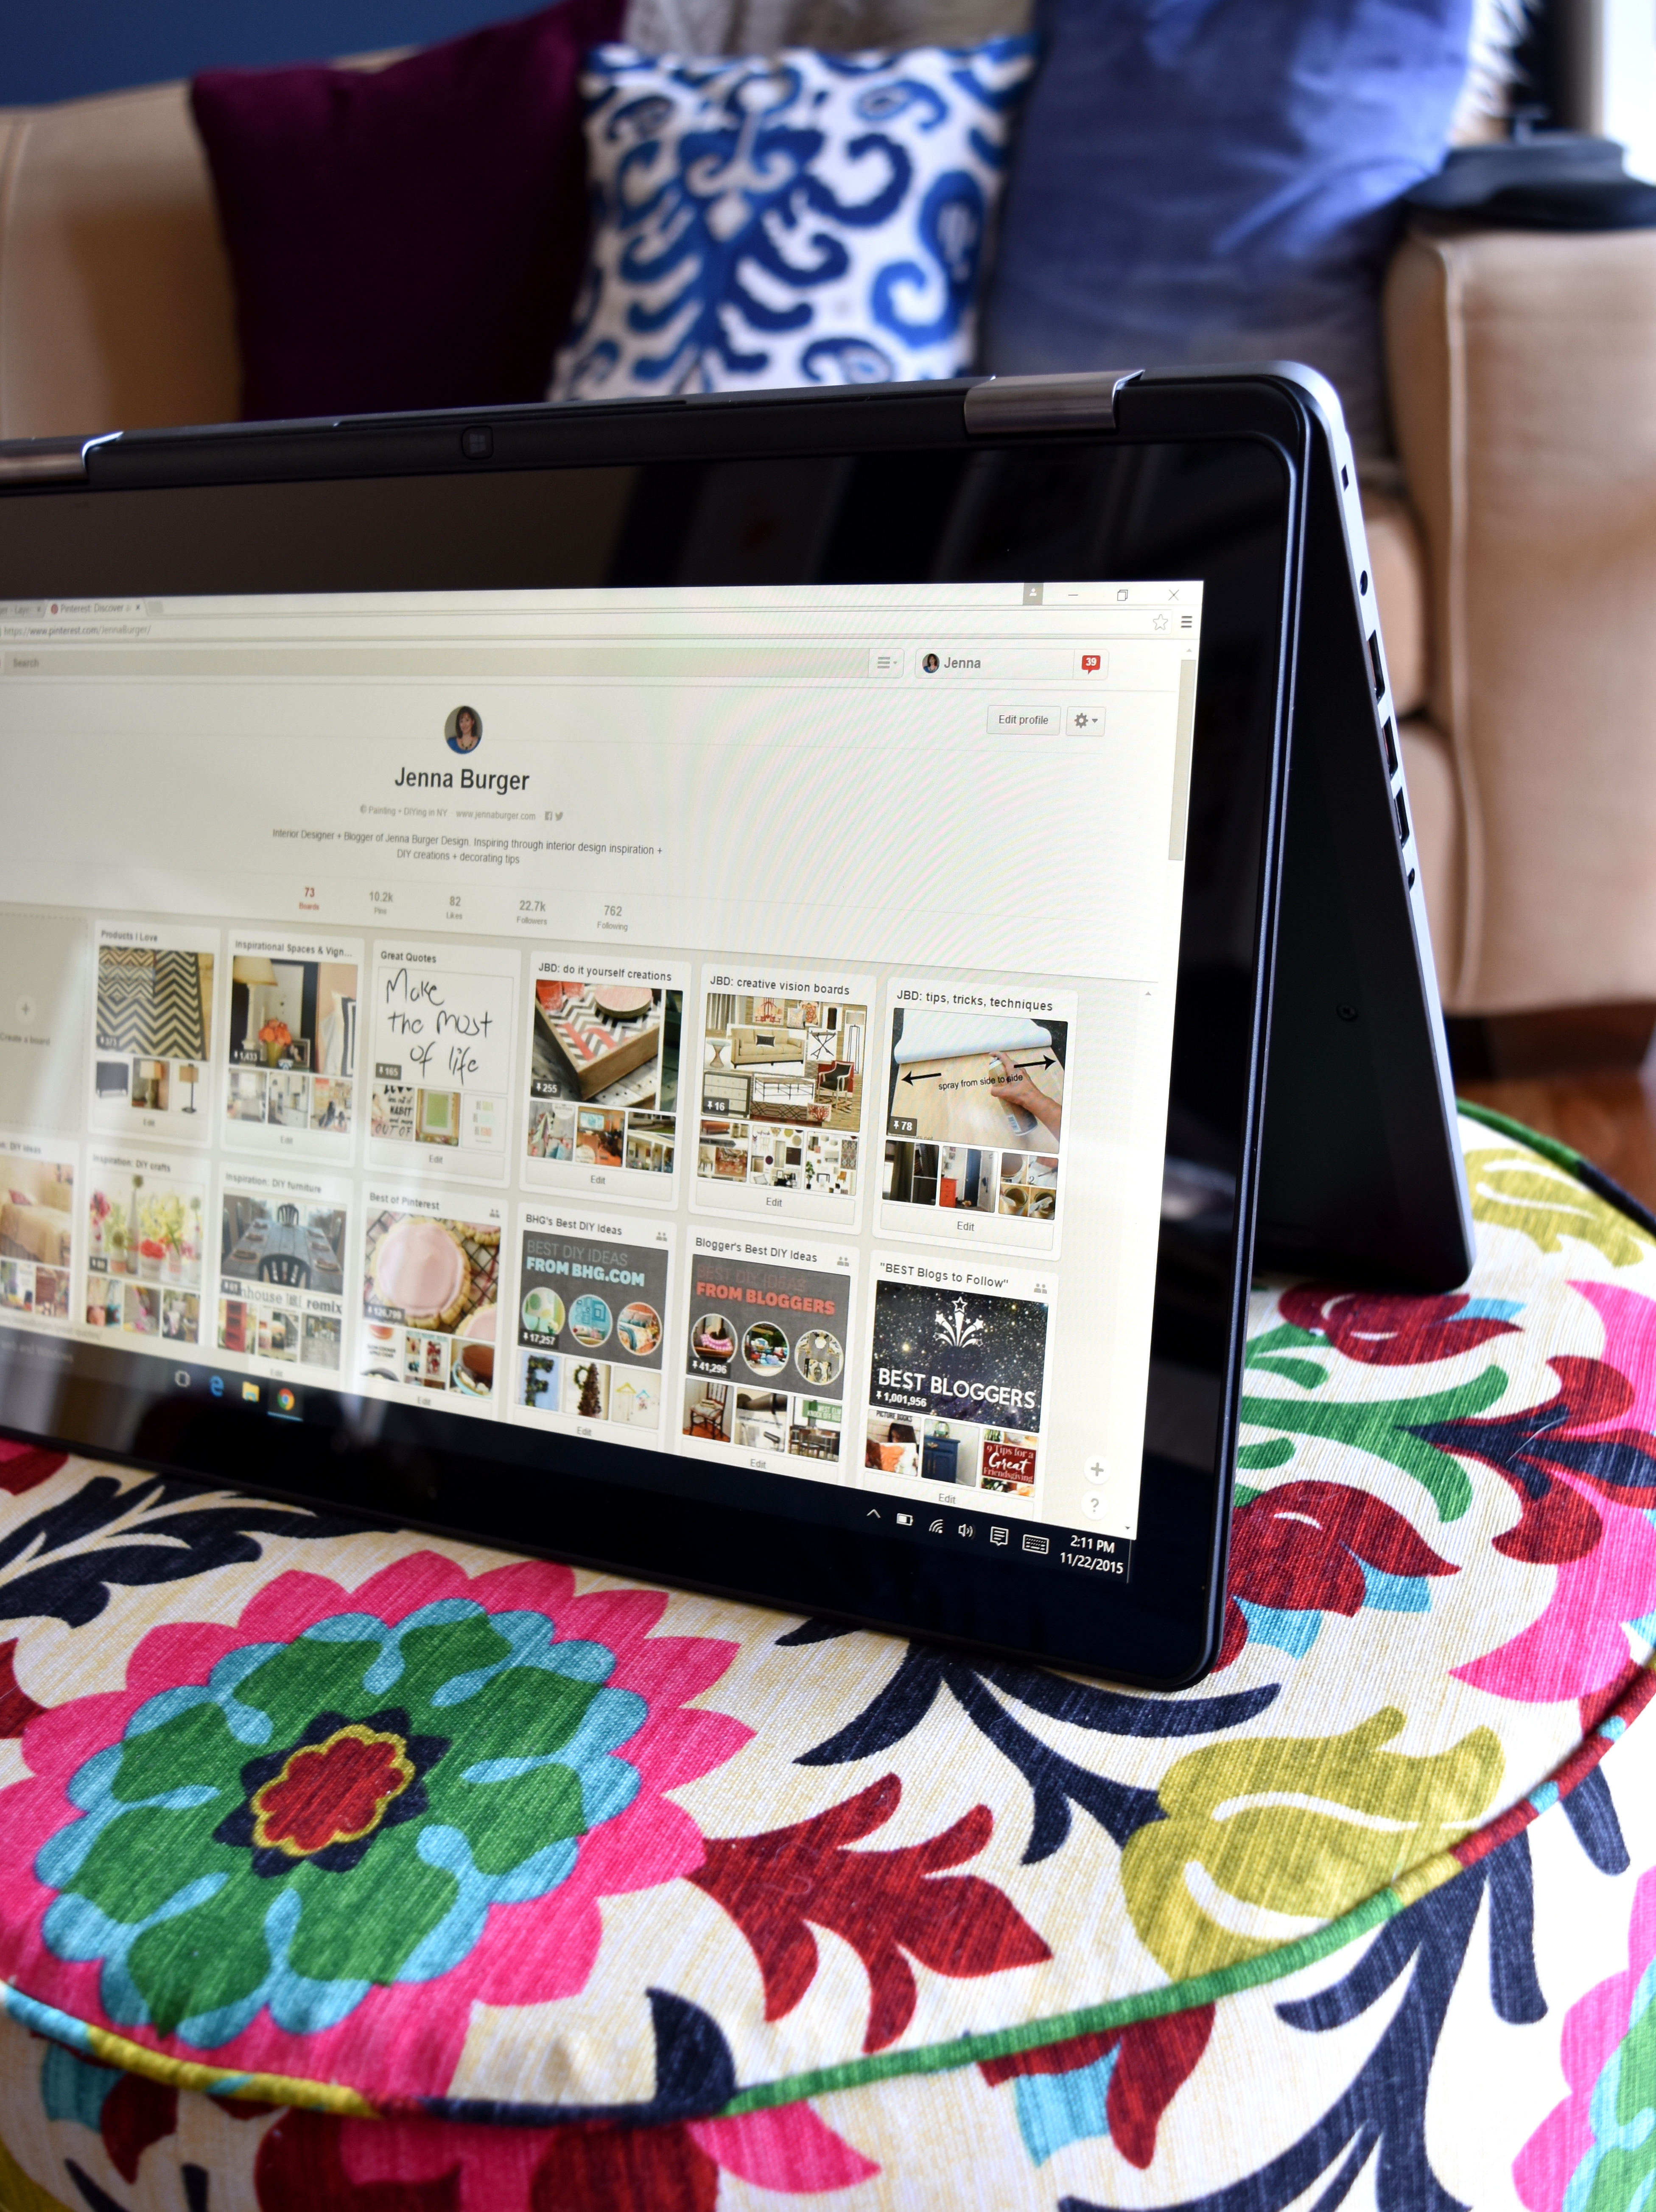
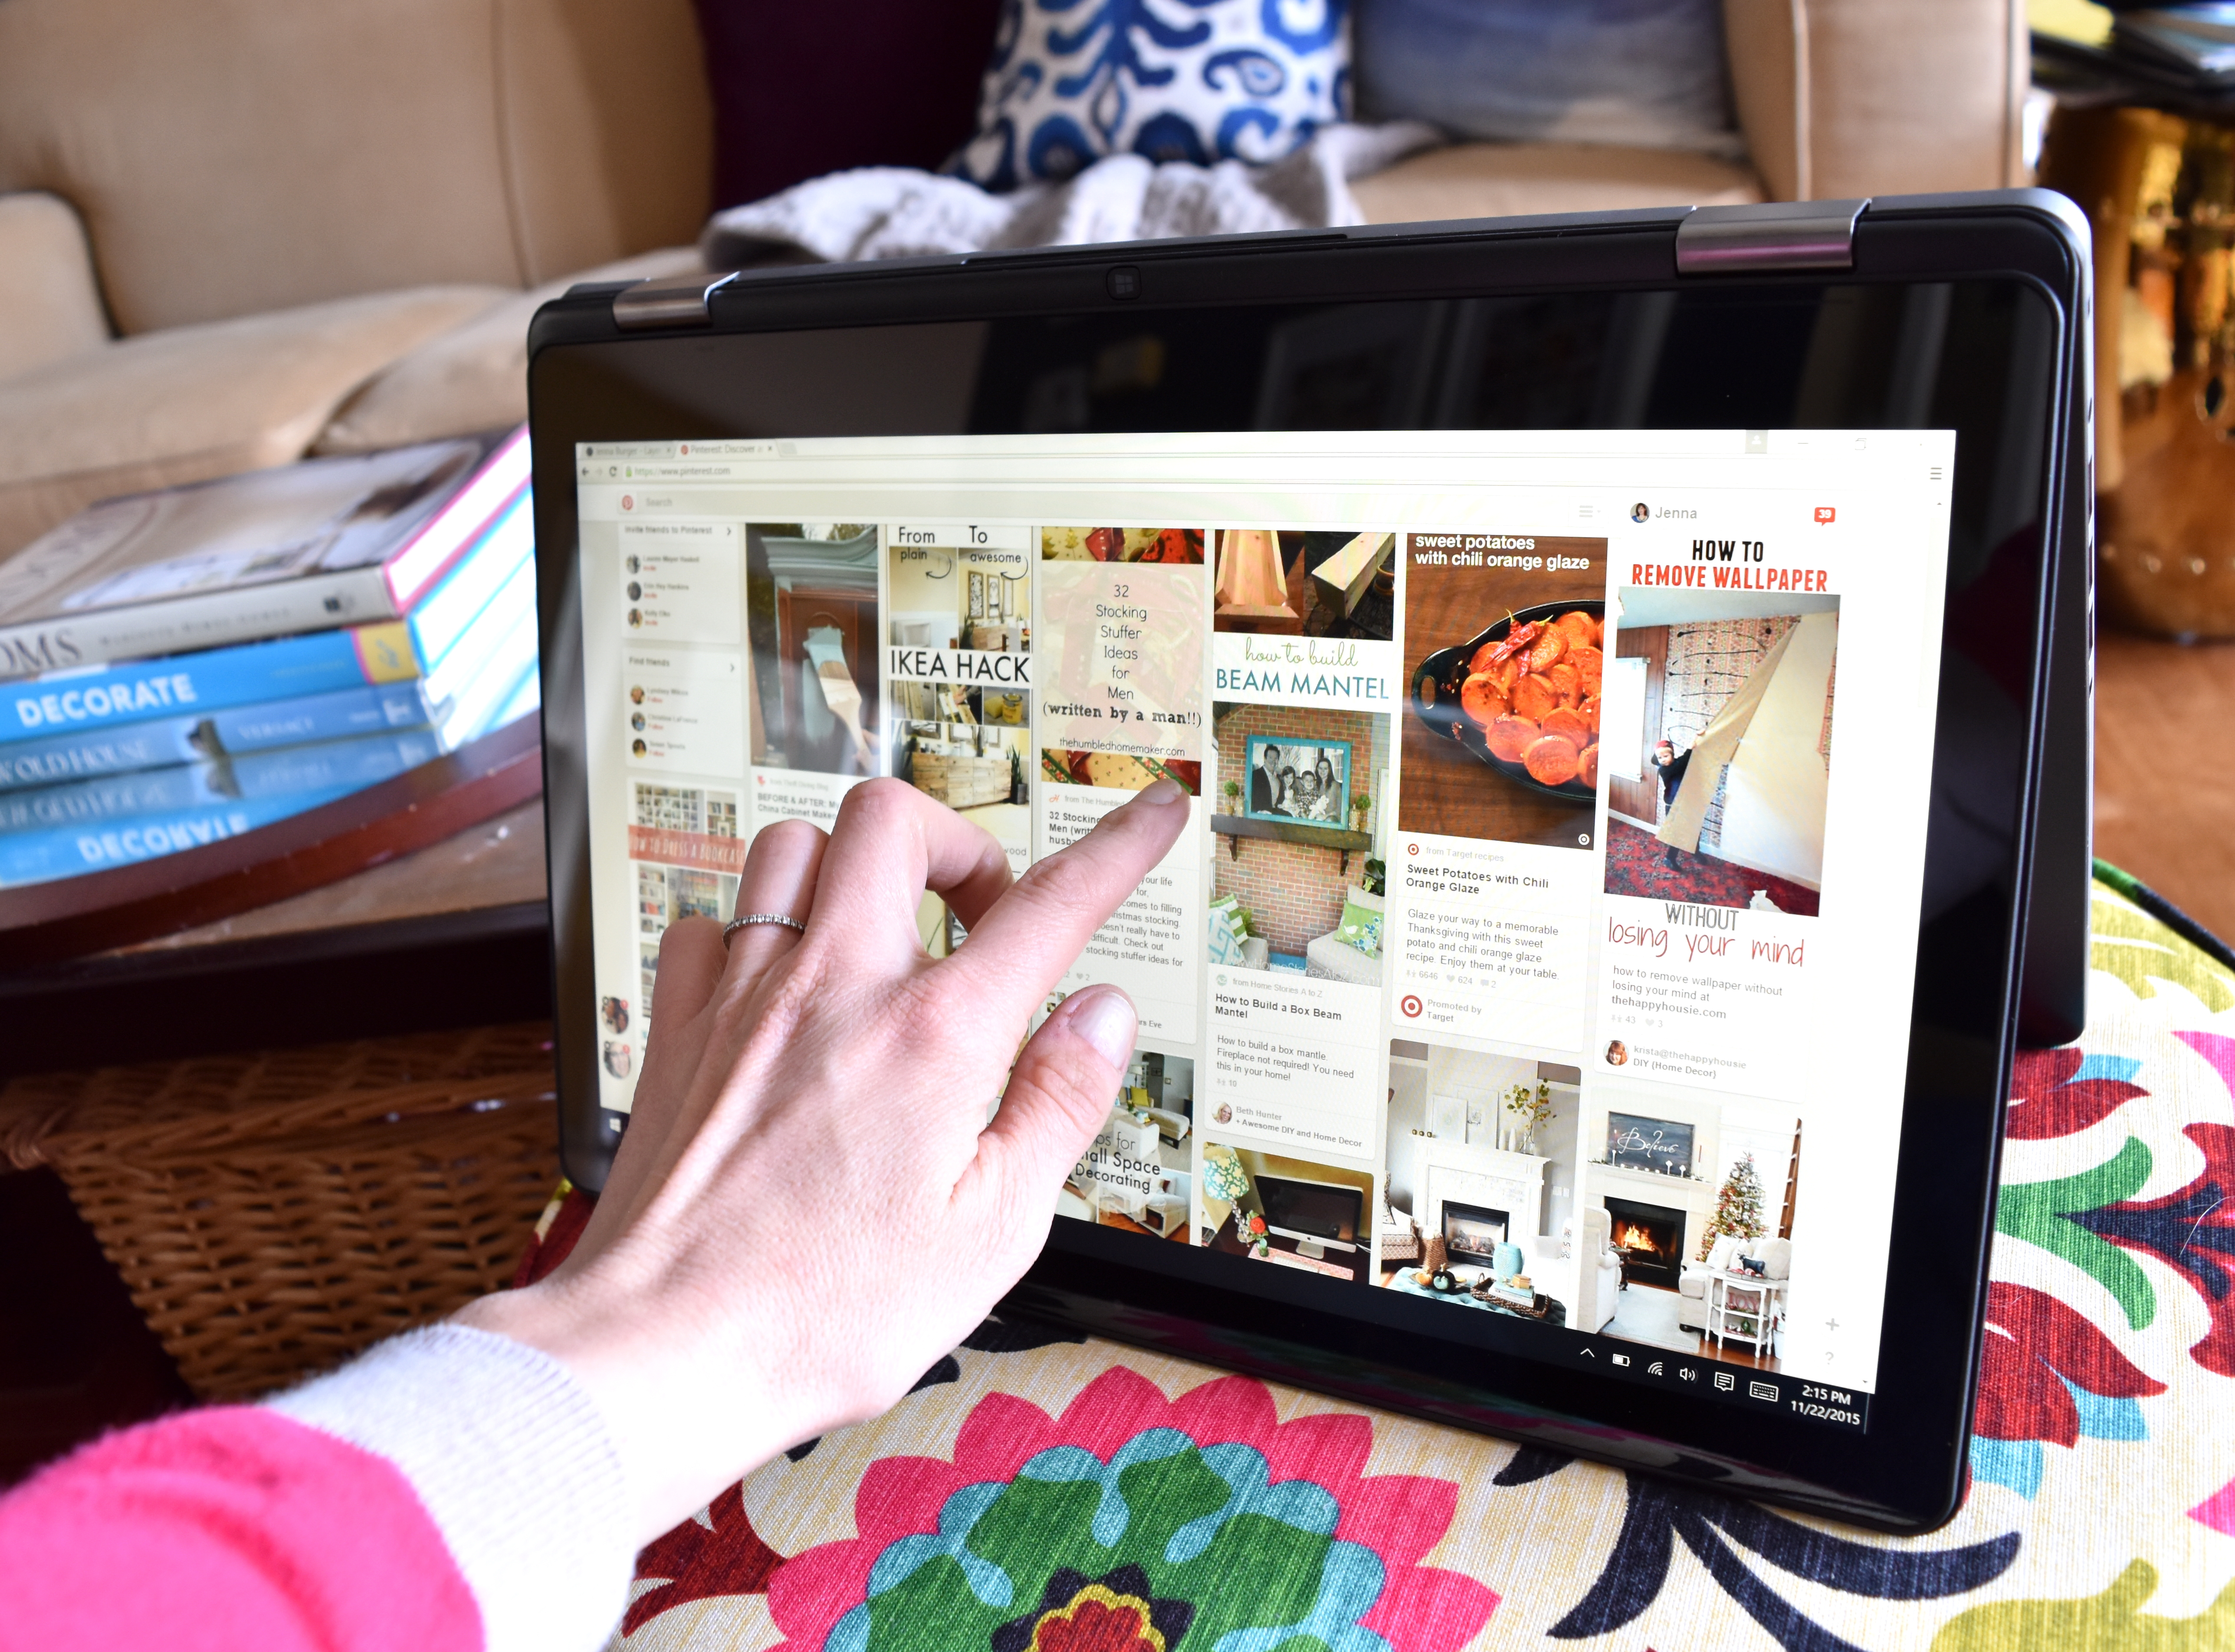
But after hours of sitting straight – often by the afternoon – I like to enjoy an afternoon tea and put my feet up to scour the internet for inspiration. This is where the tablet comes in perfect…
Along with cutting out images from magazines (it may be old school, but it’ll never go out of style), I also hunt through favorite design sites & resources, and create collaborative pinterest boards with clients to gather my ideas.
For me, a laptop + tablet is most important for my job because it allows the flexibility to work anywhere at any time. I’ve had a desktop and I’ve had other tablets in the past, but I can’t lug a huge desktop with my to a job site and I don’t want to be weighed down with multiple devices.
The Intel 2 in 1 laptop and tablet make my life easy and as a girl on the go, I couldn’t be happier.
Along with my laptop, here are a few other essential tools that help me run my business…
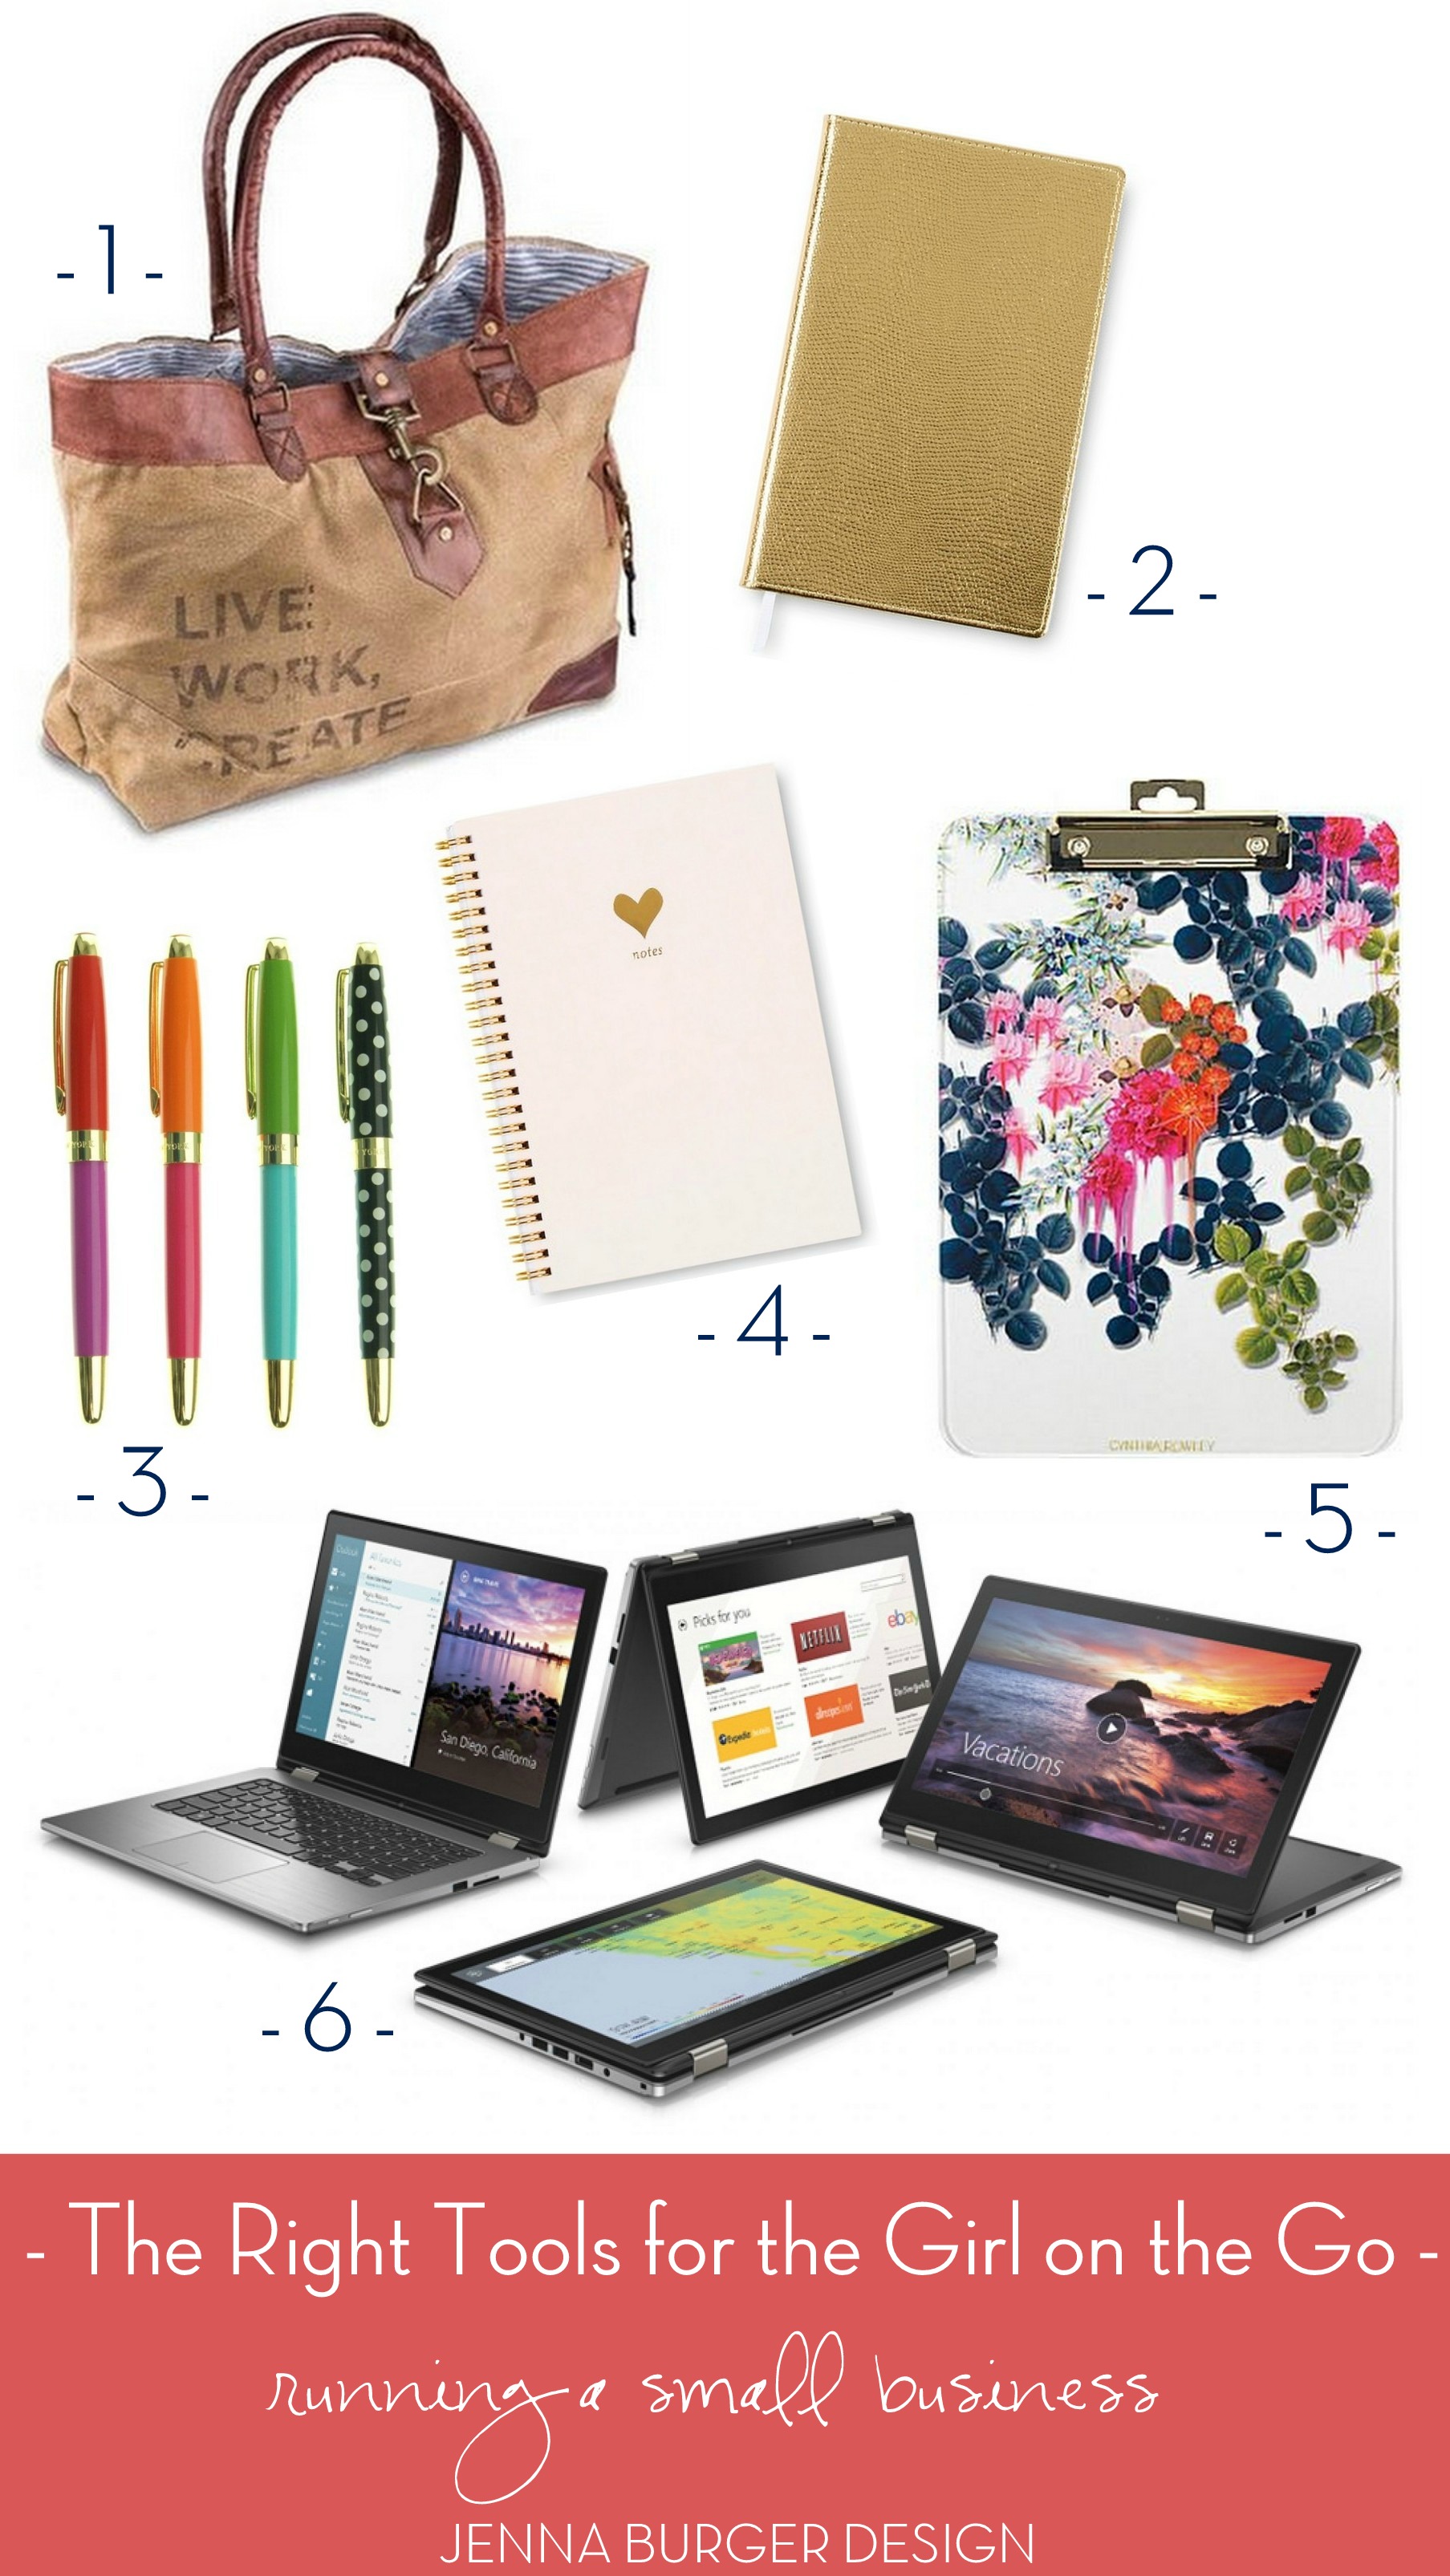 Live Work Create Bag / Planner / Pen / Notebook / Clipboard / Intel 2 in 1
ON THE BOARDS
I have a slew of projects on the boards at the moment.
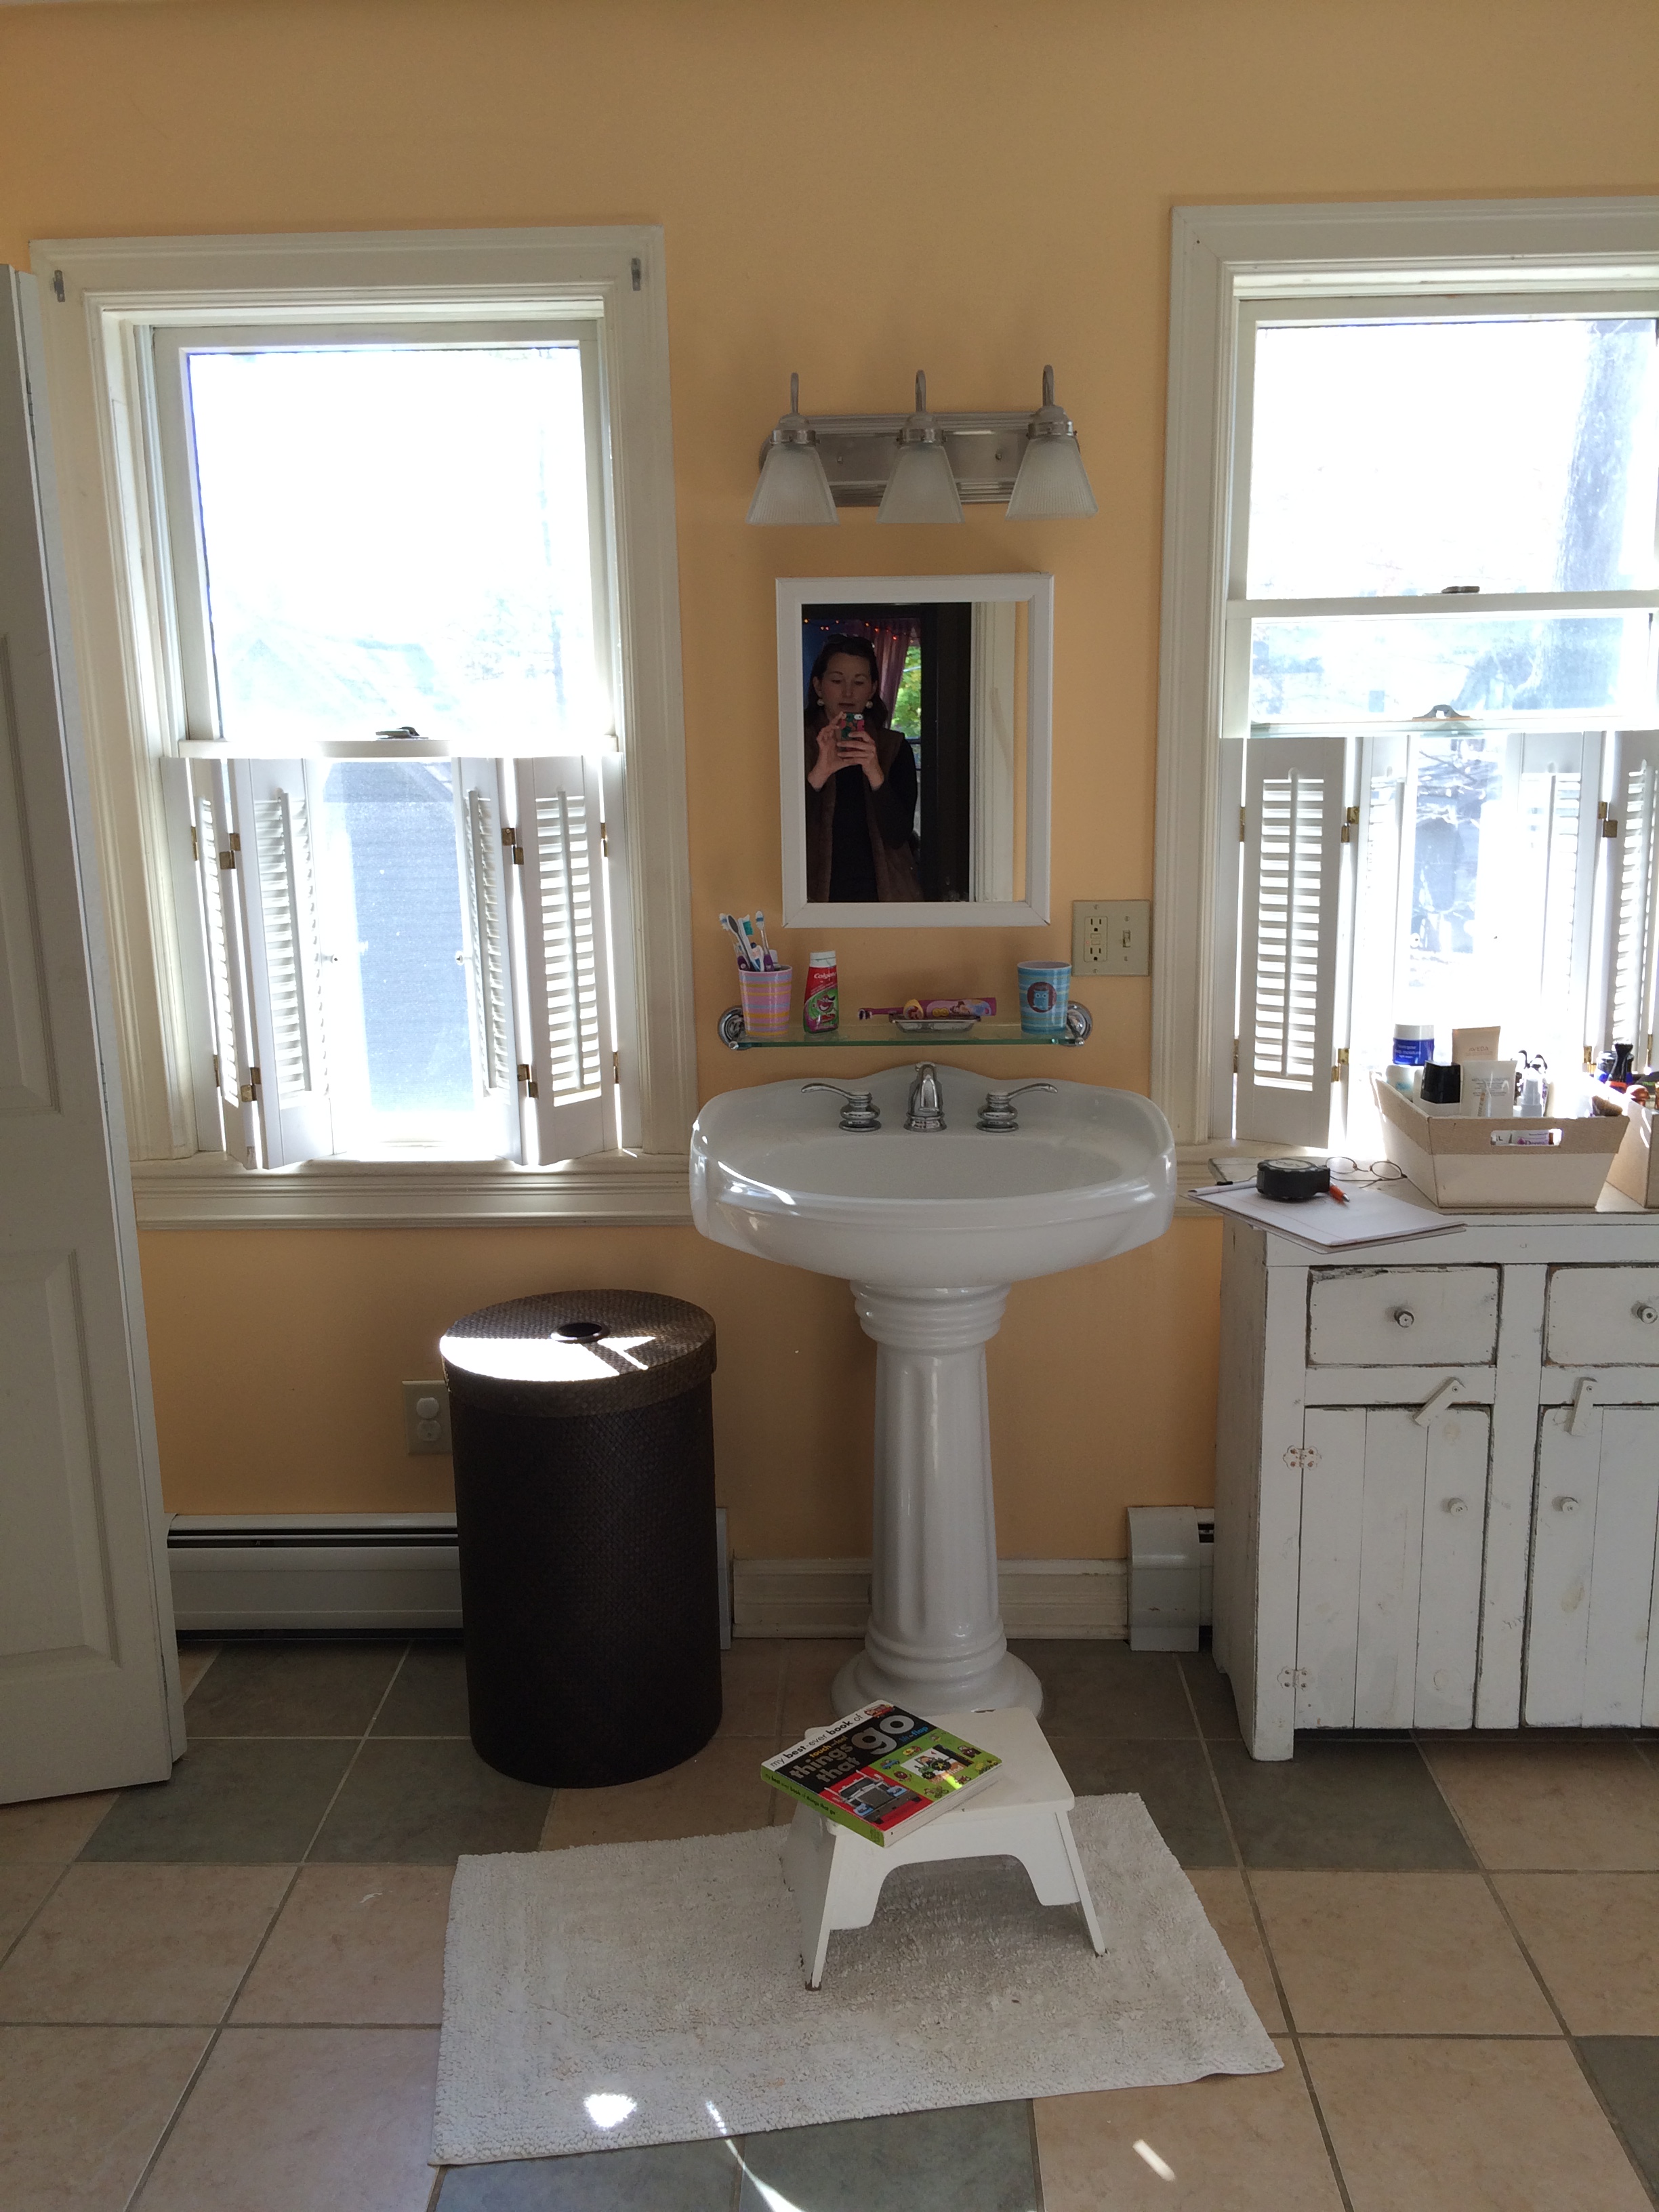
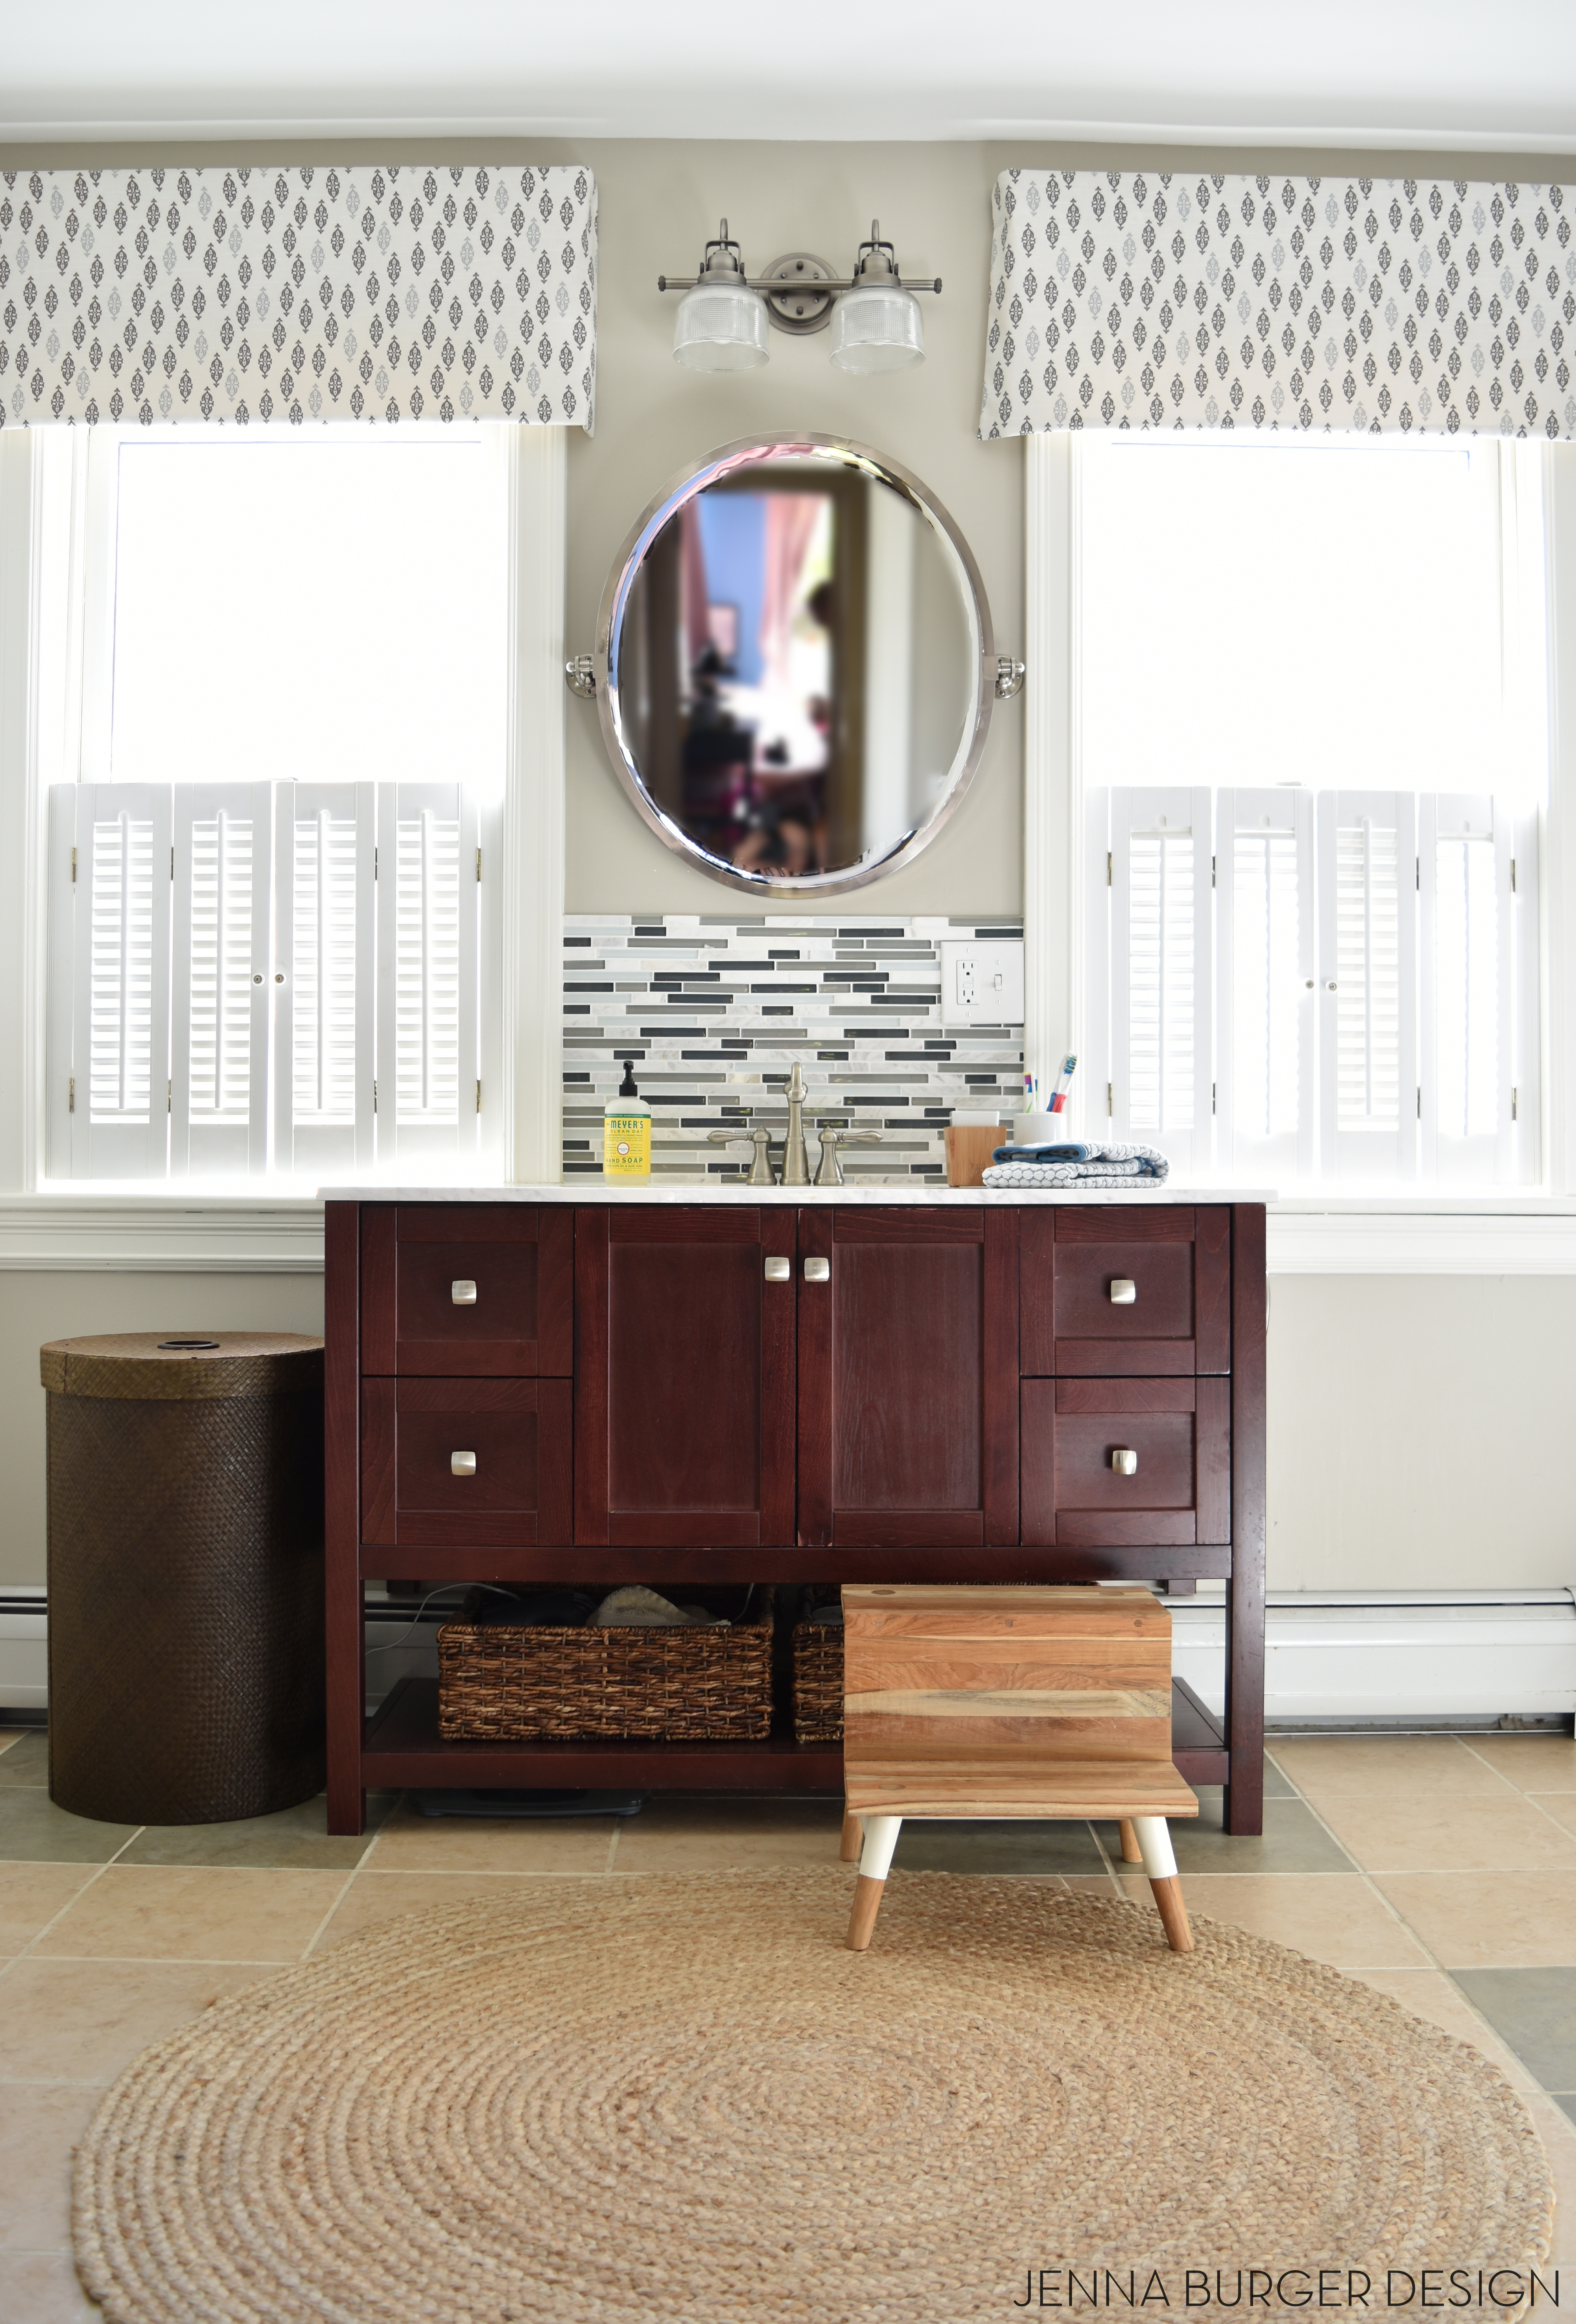
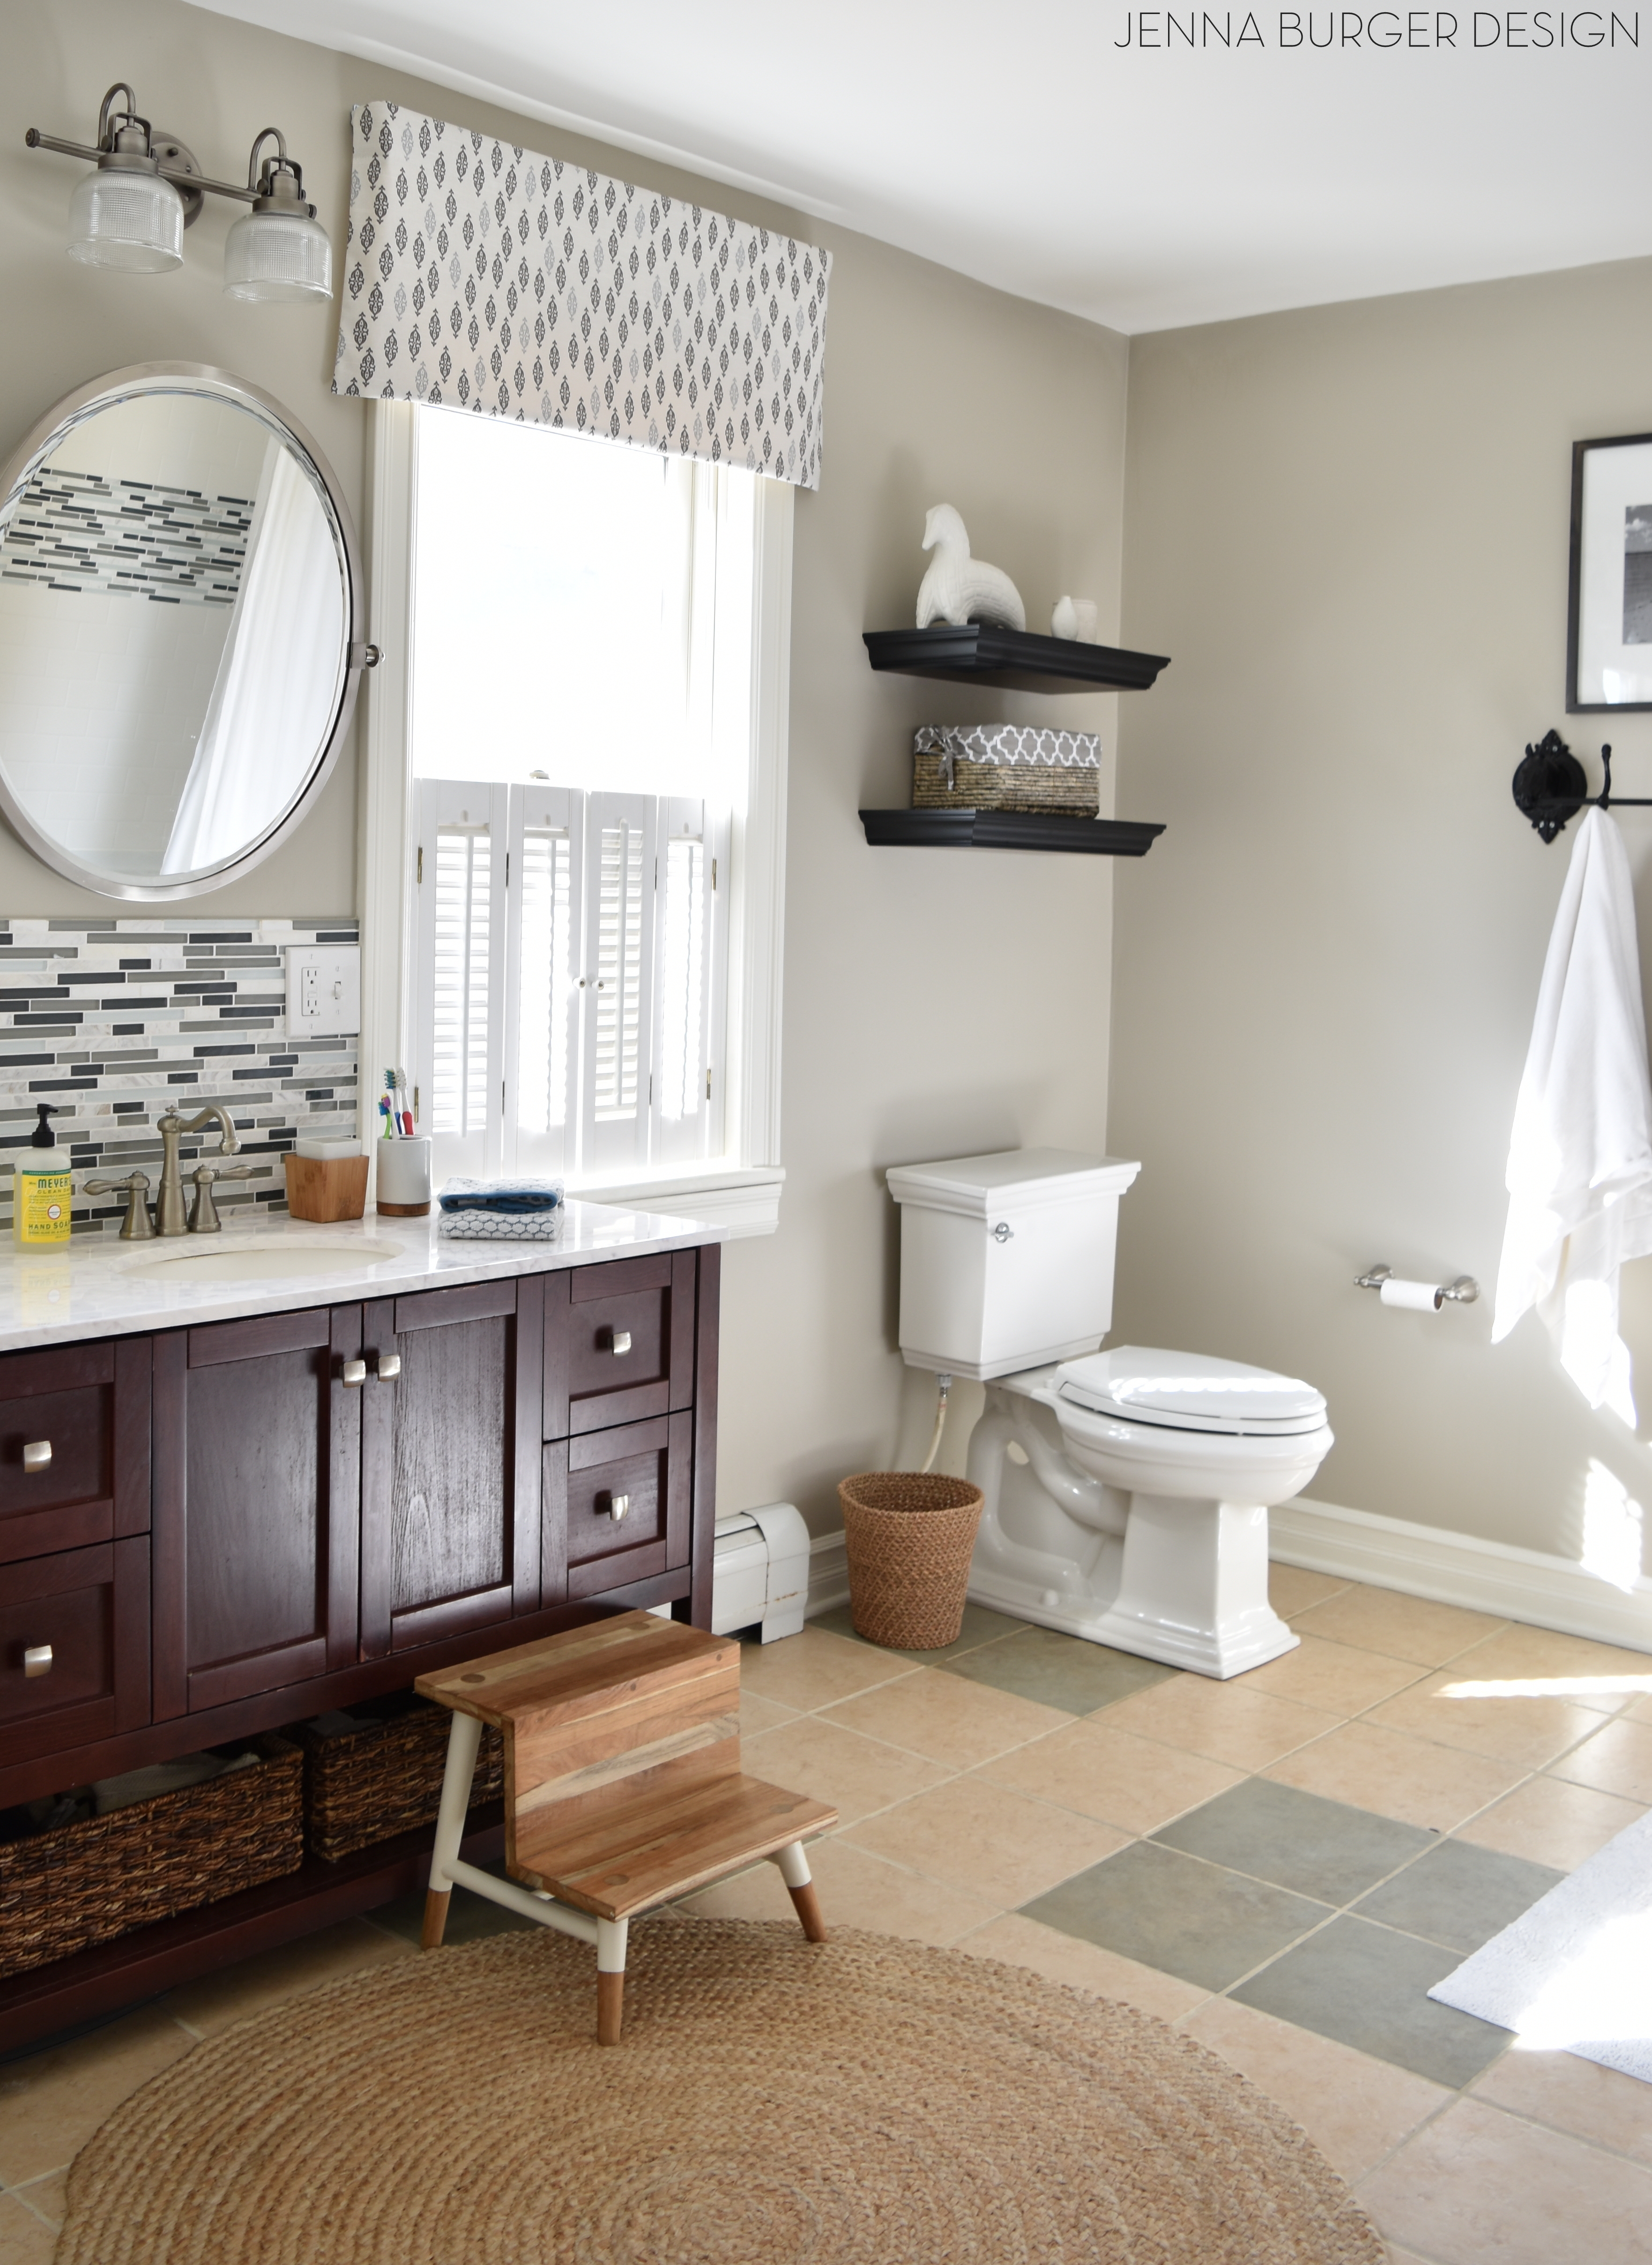
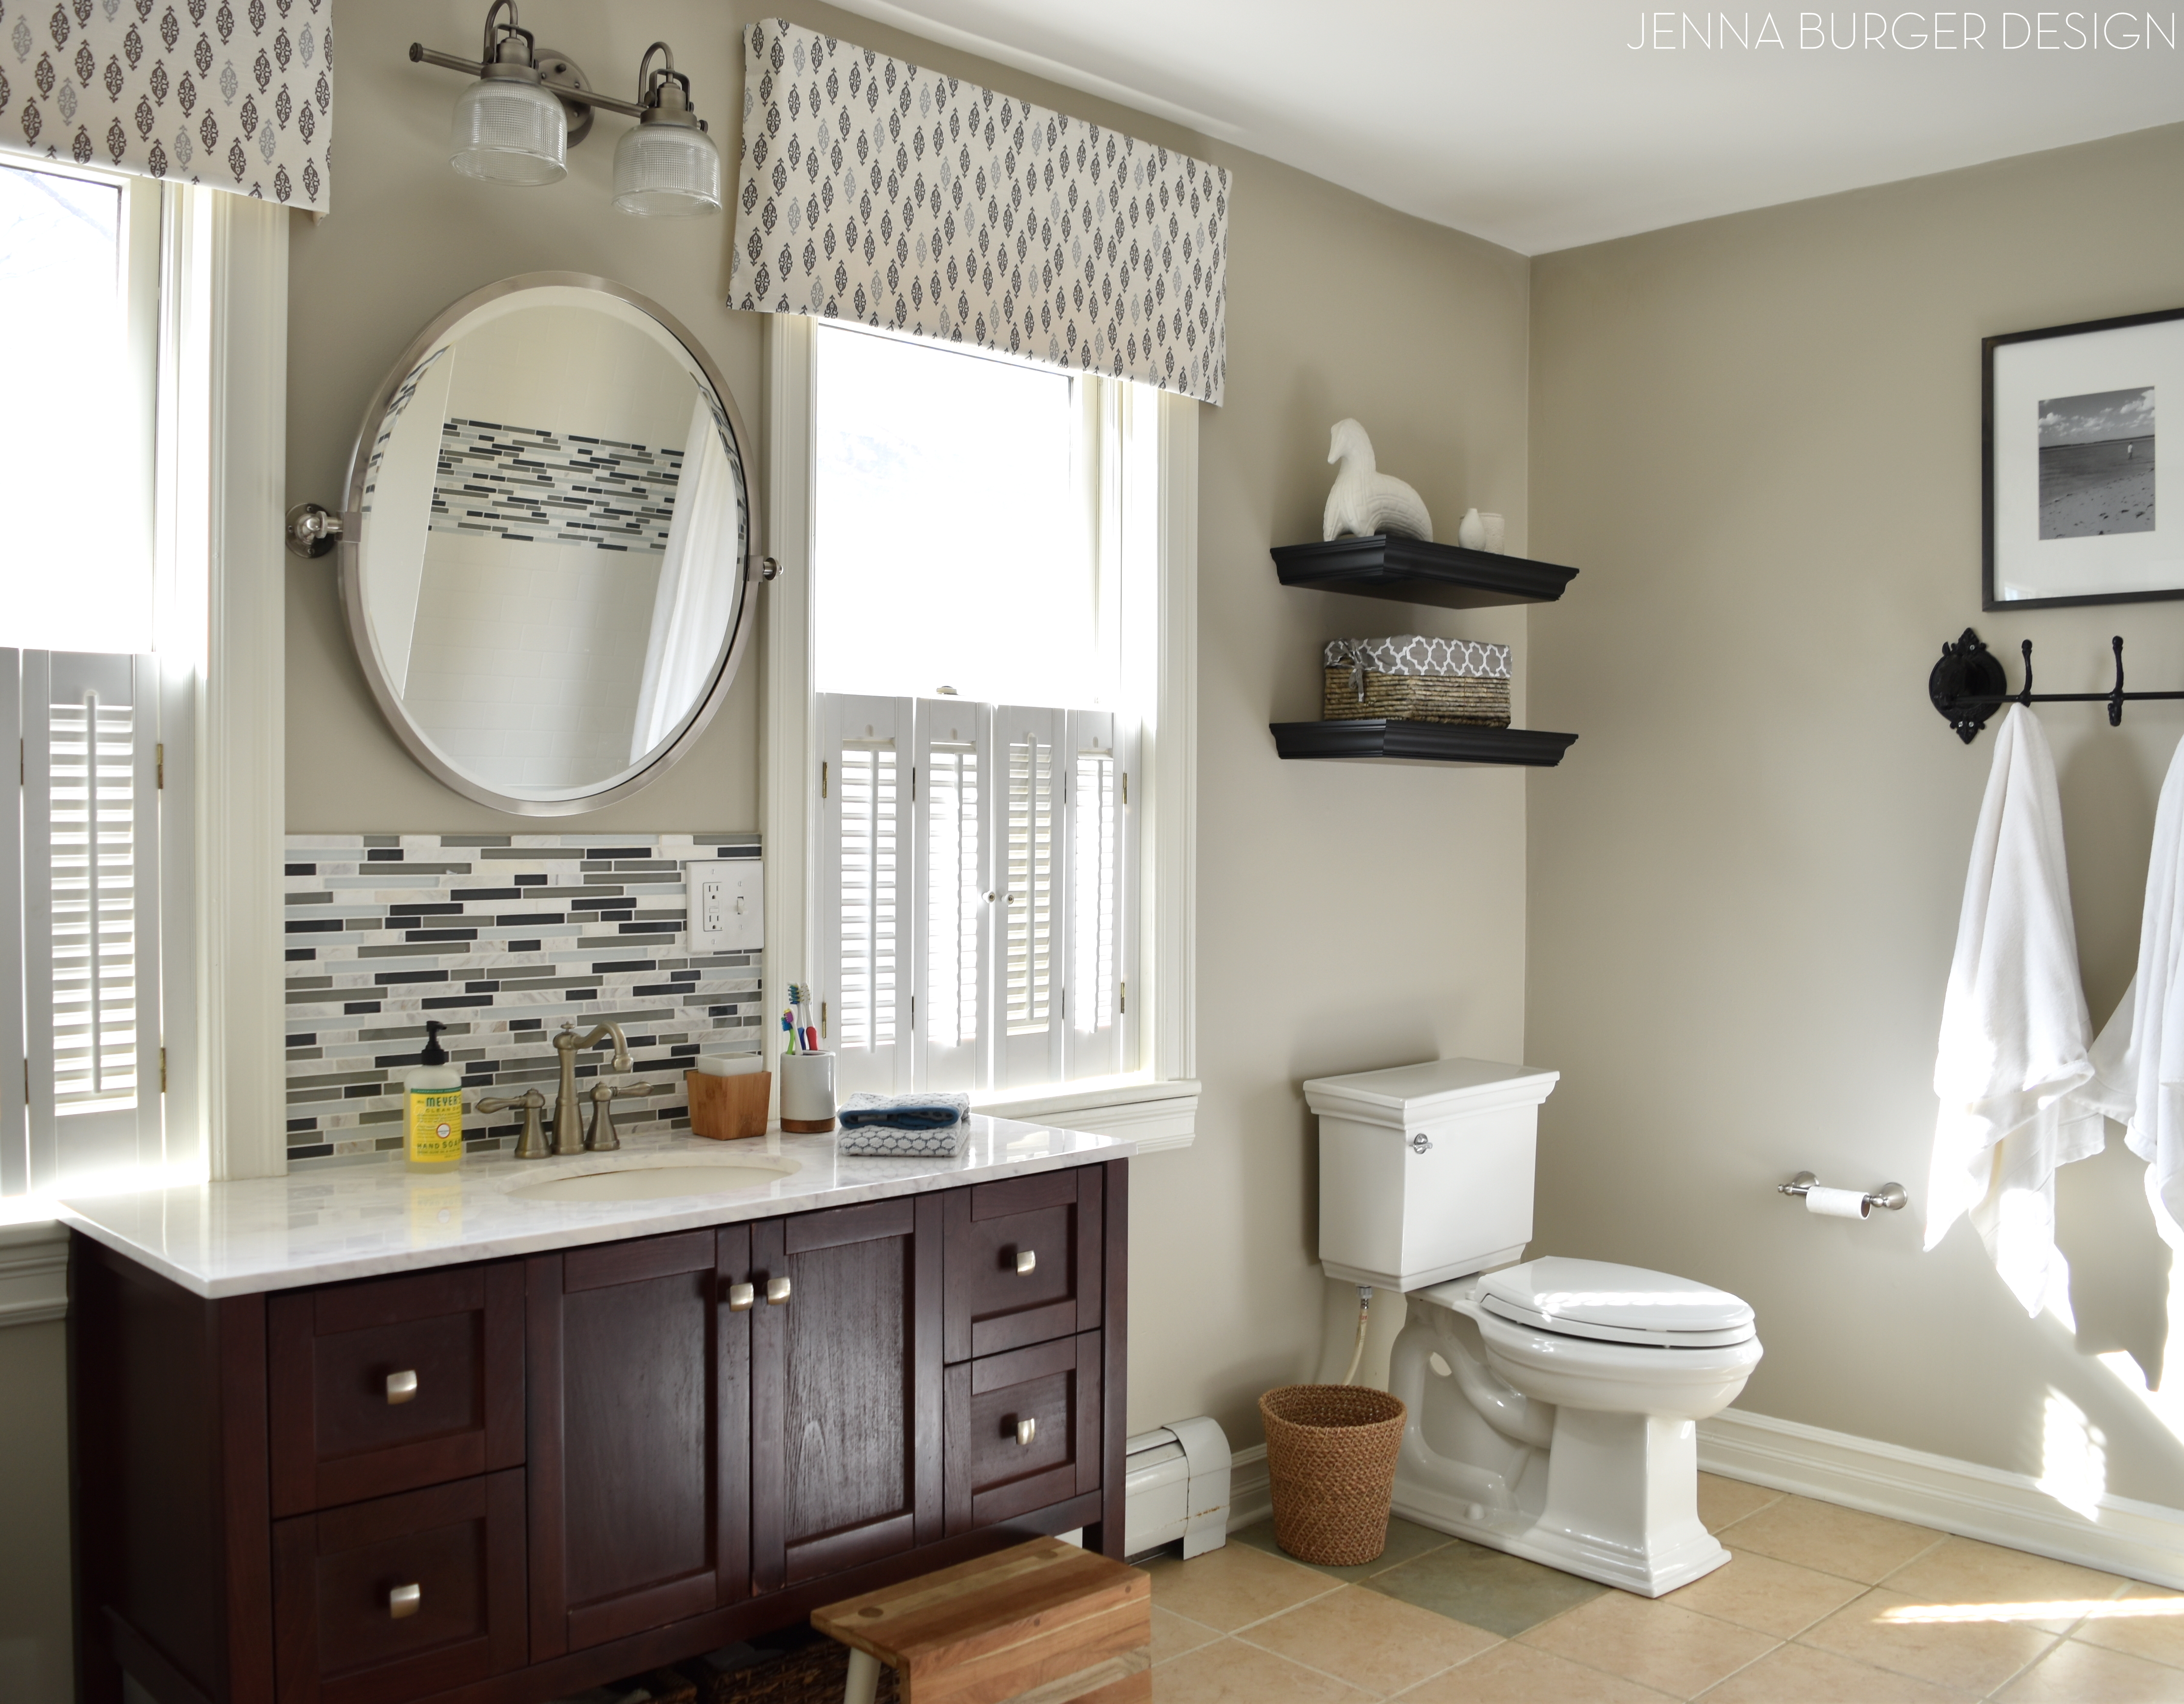
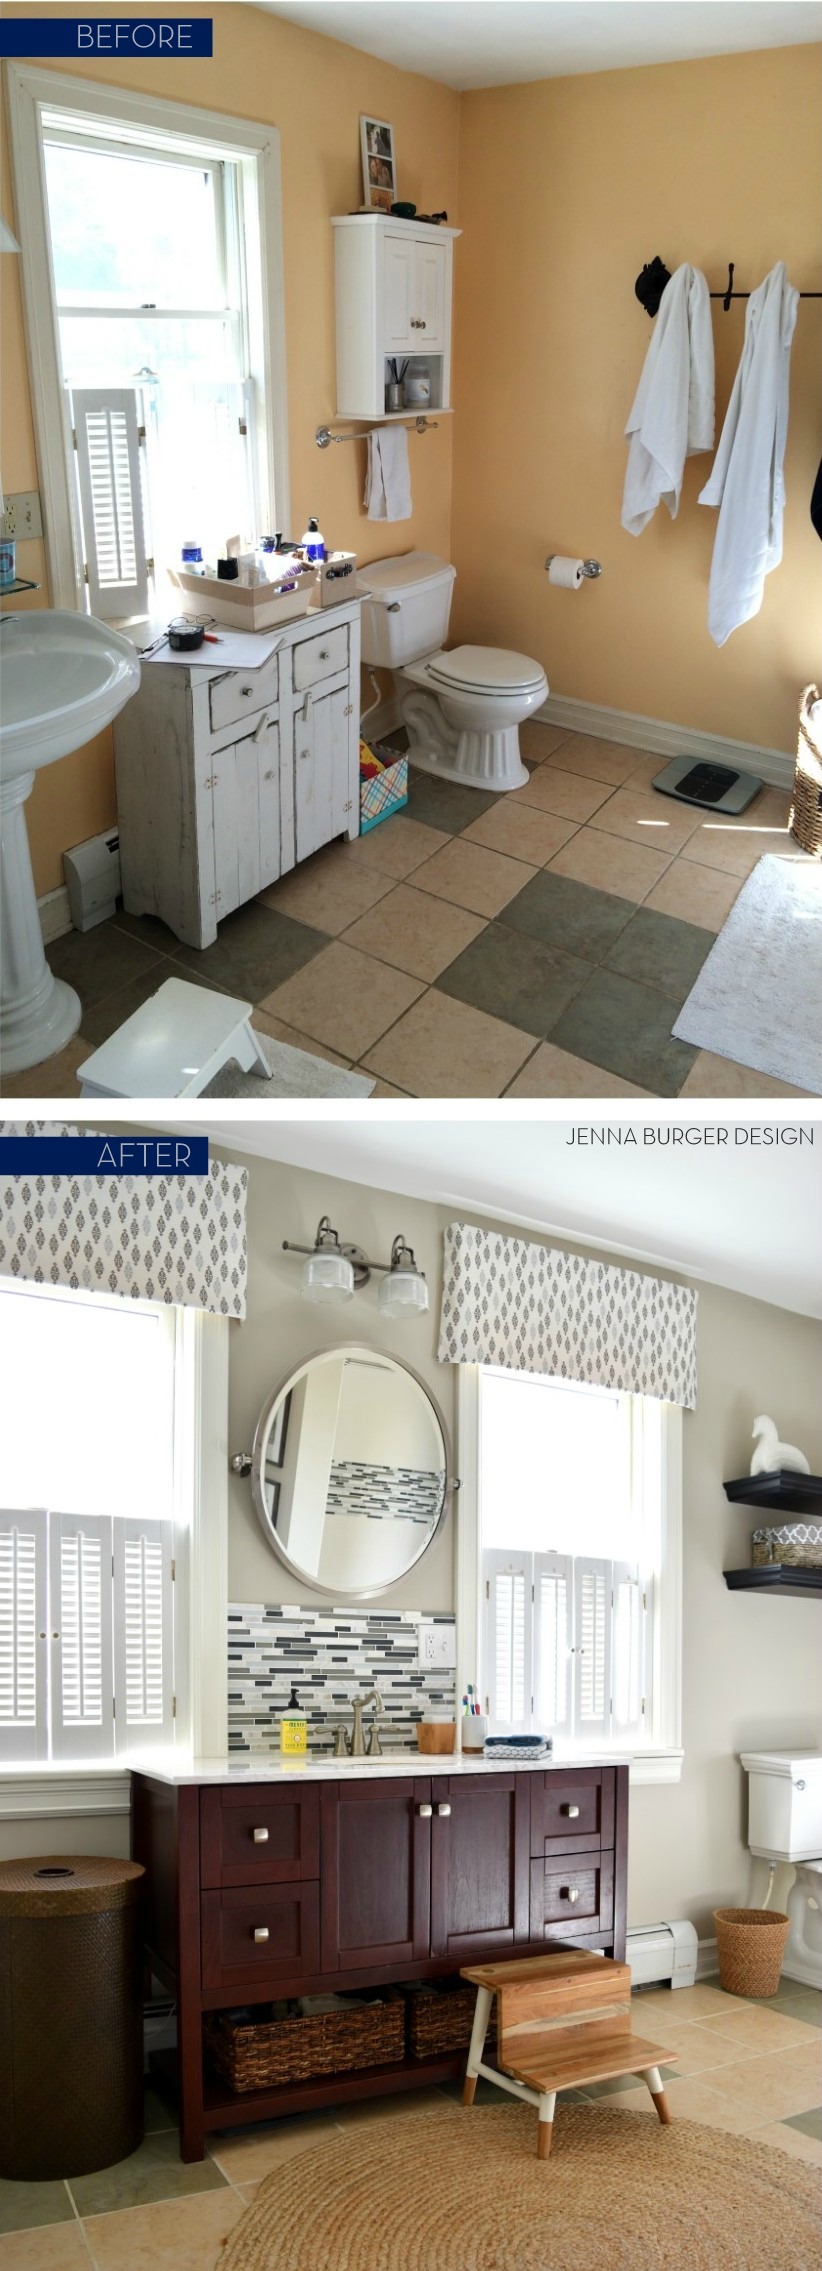
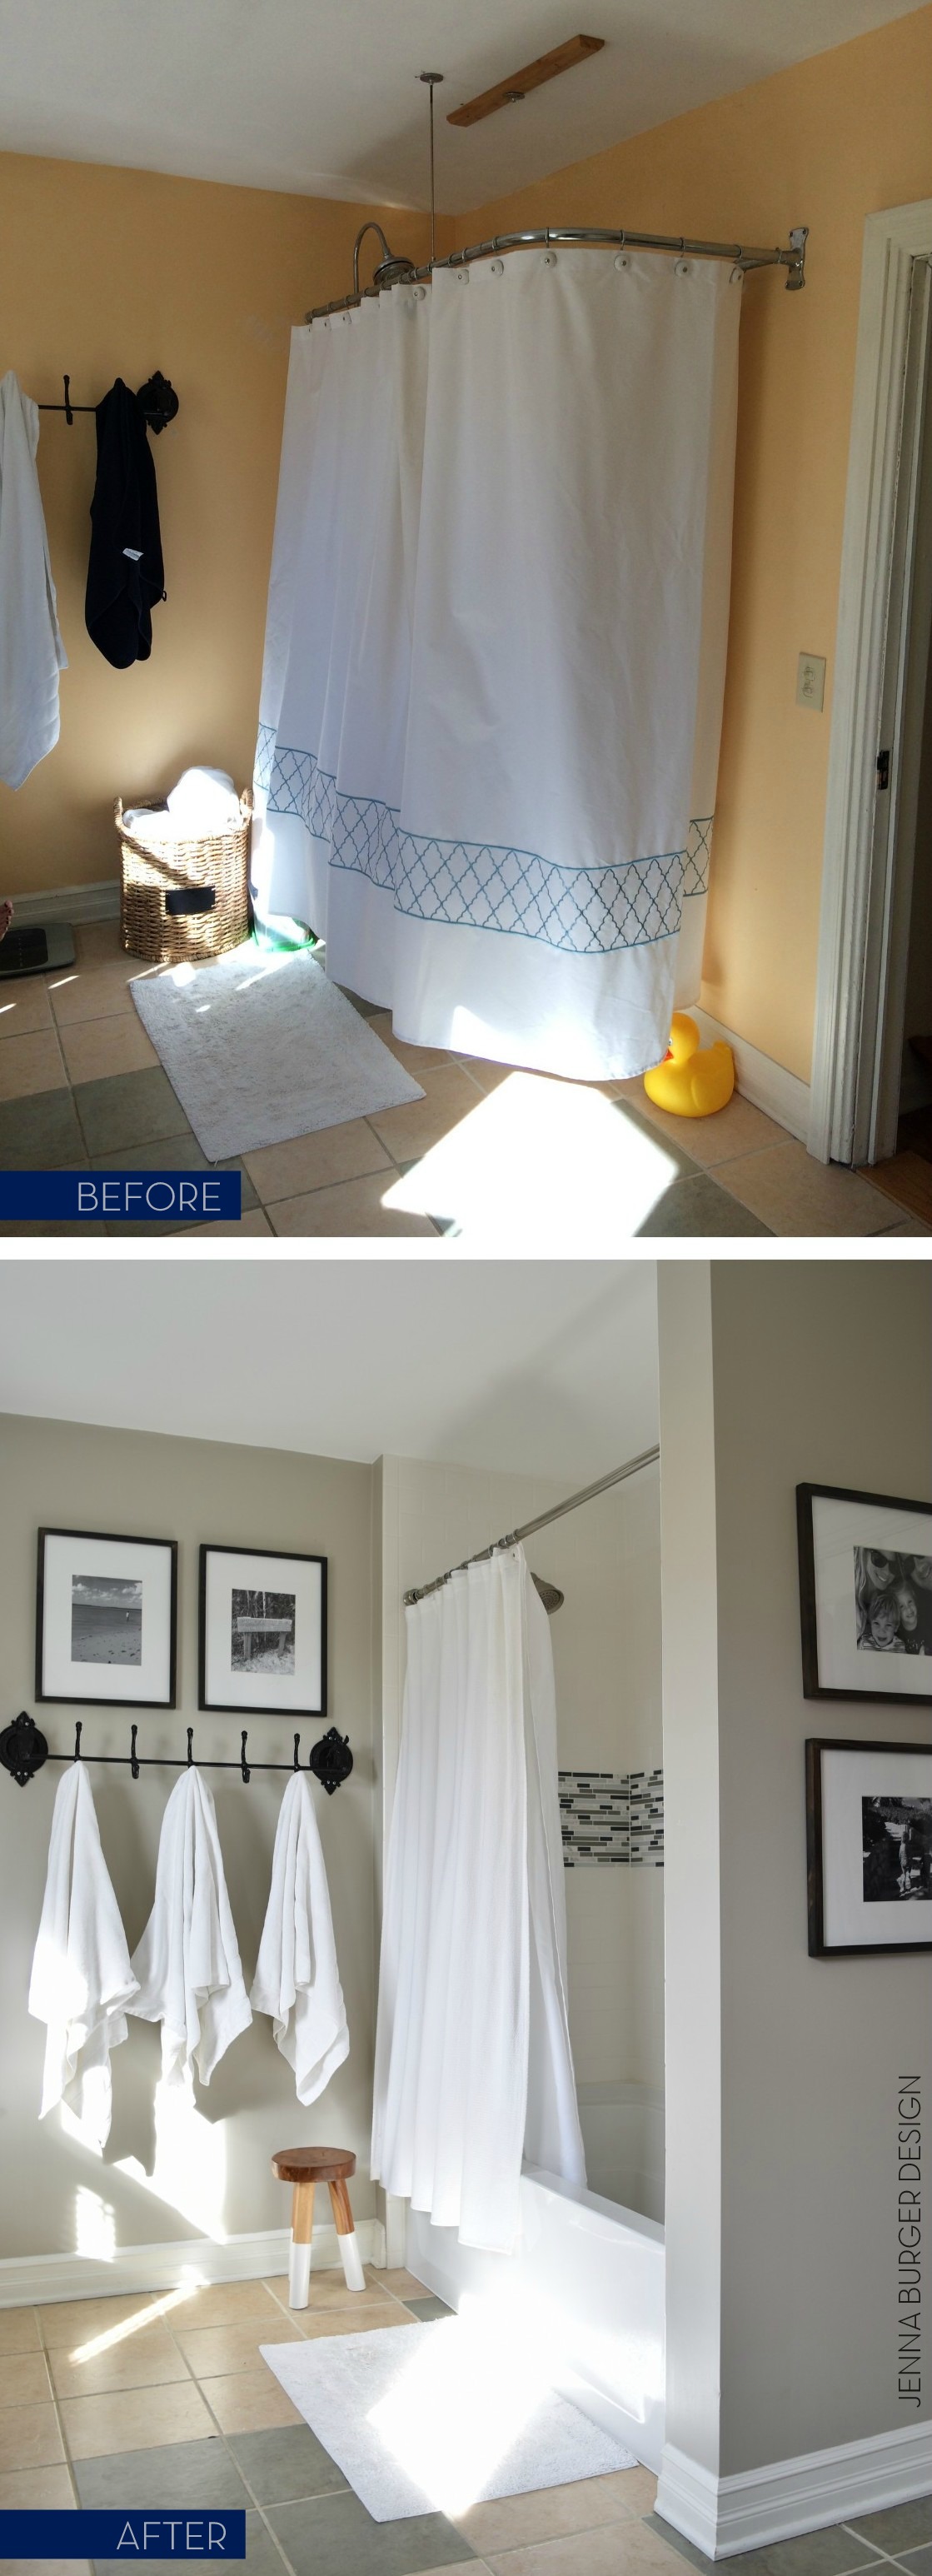
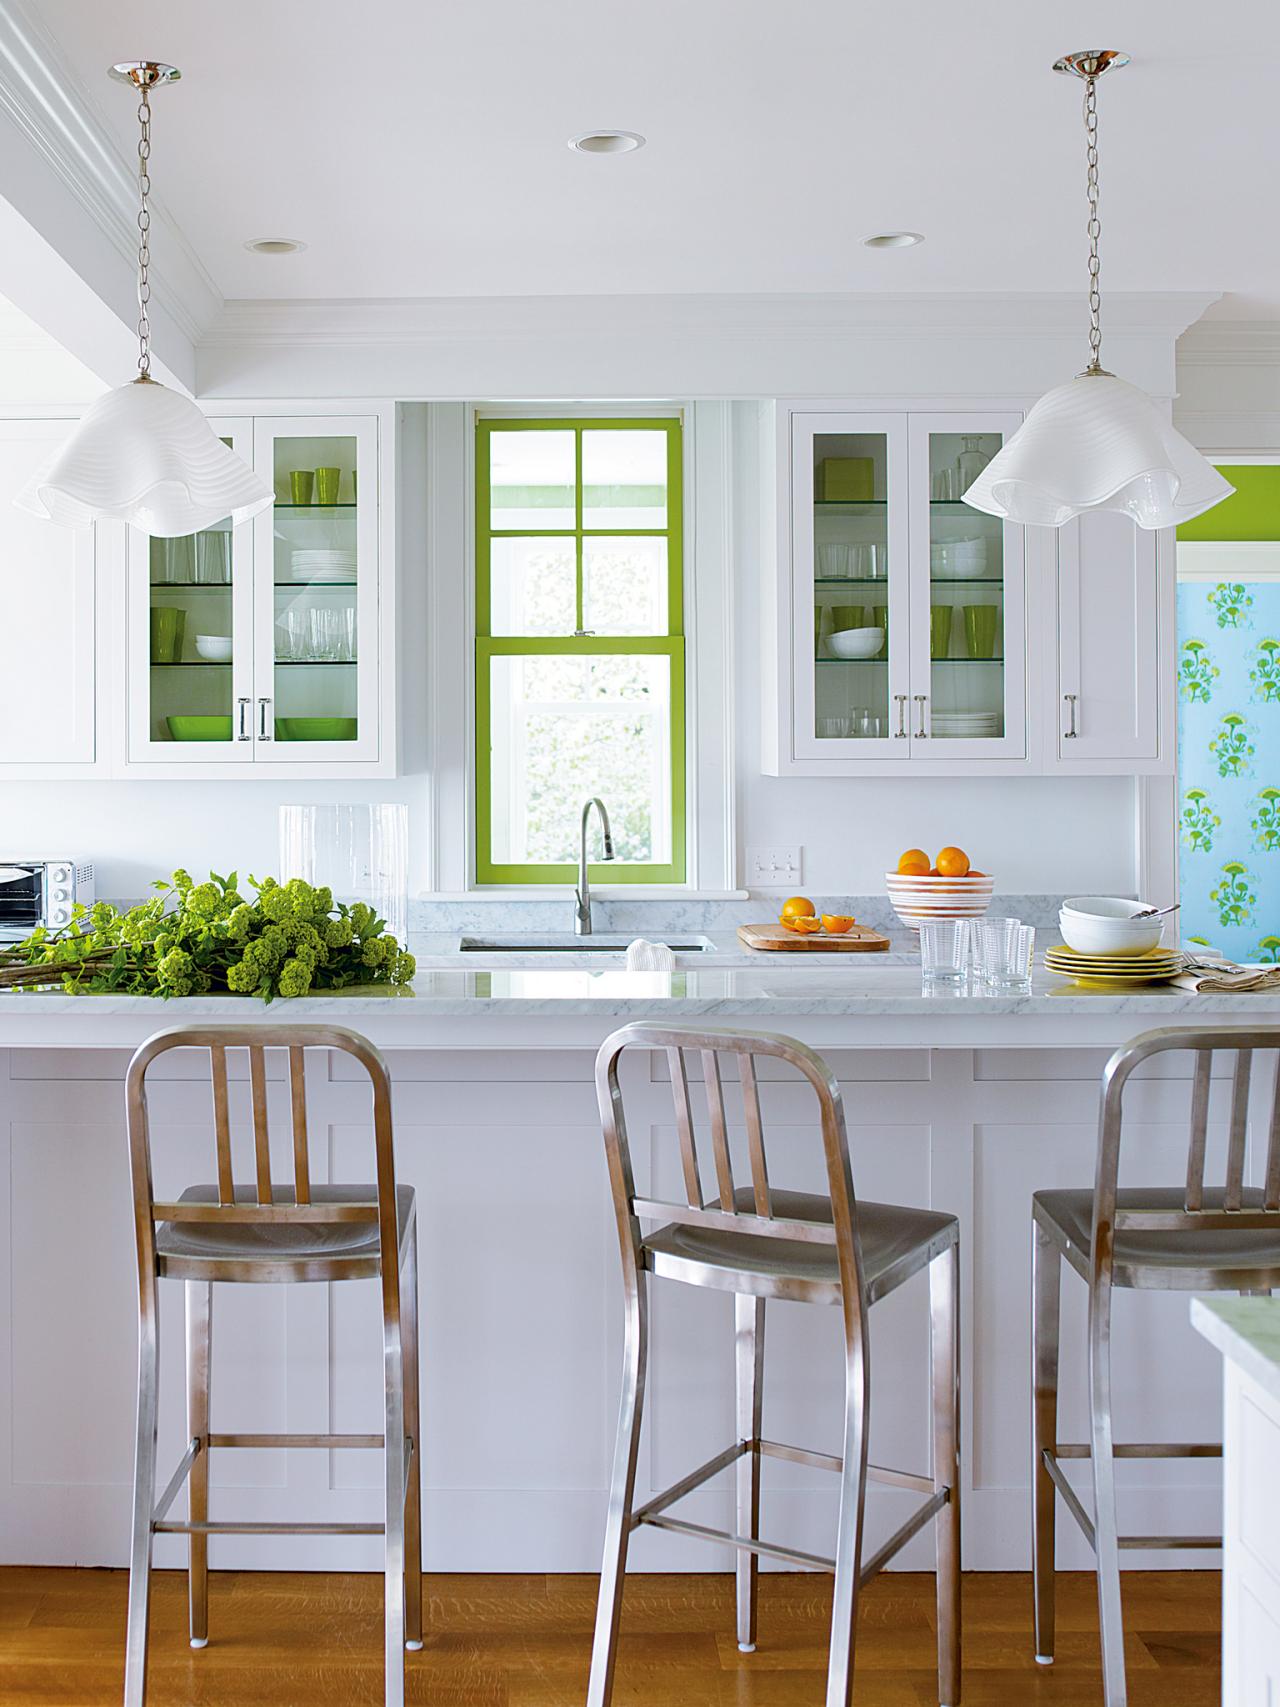
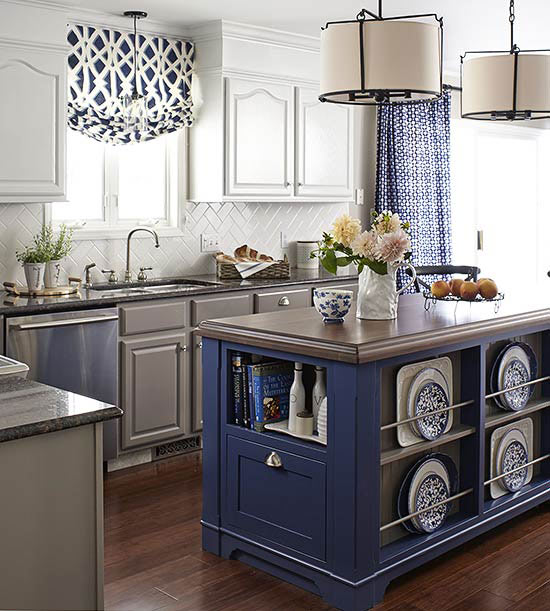
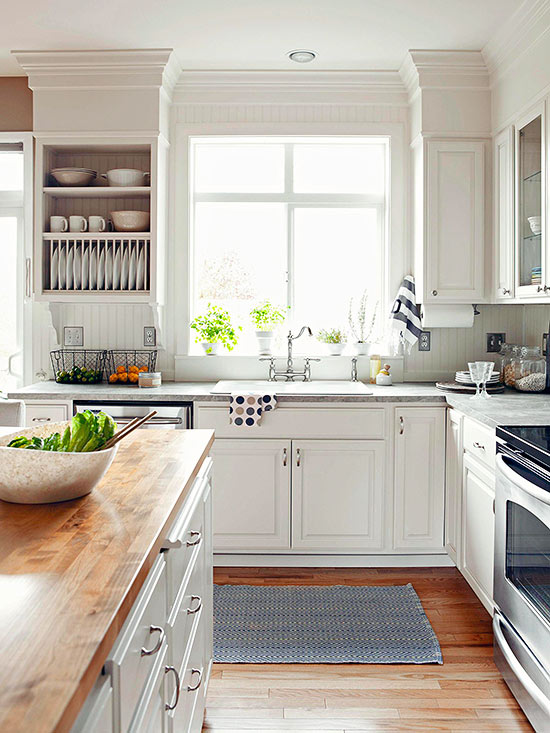
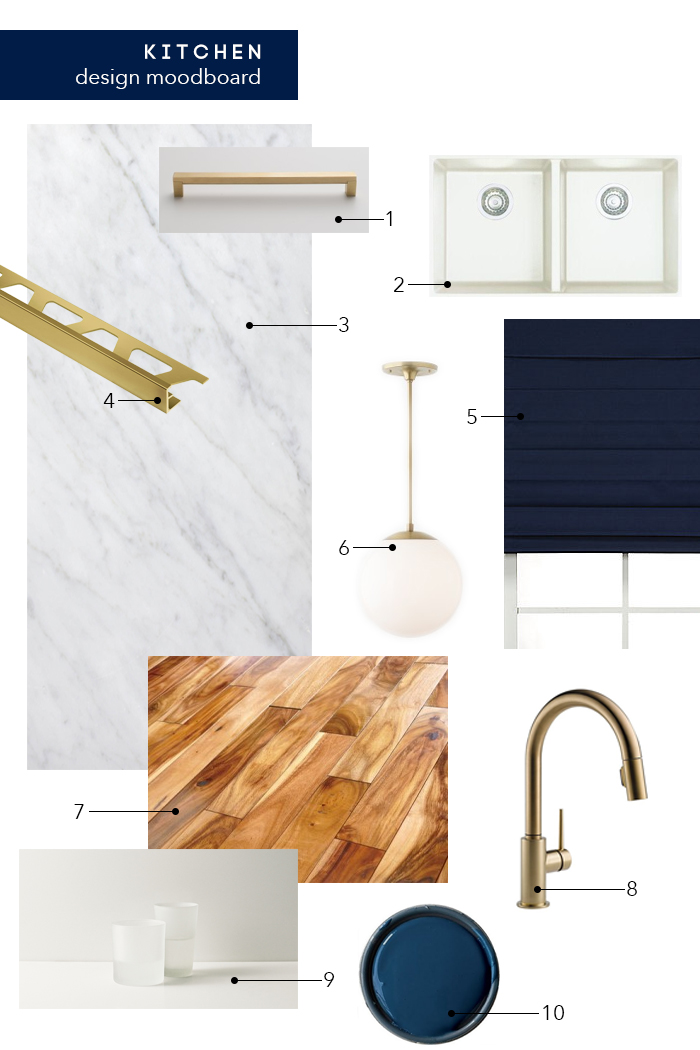
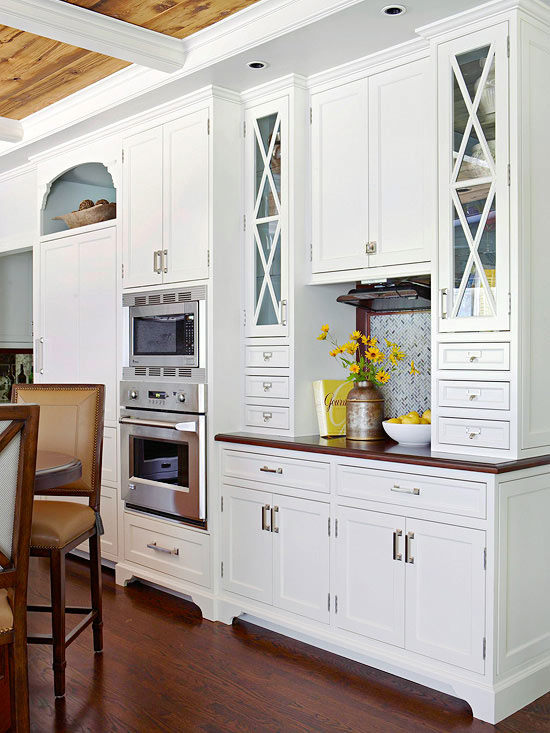
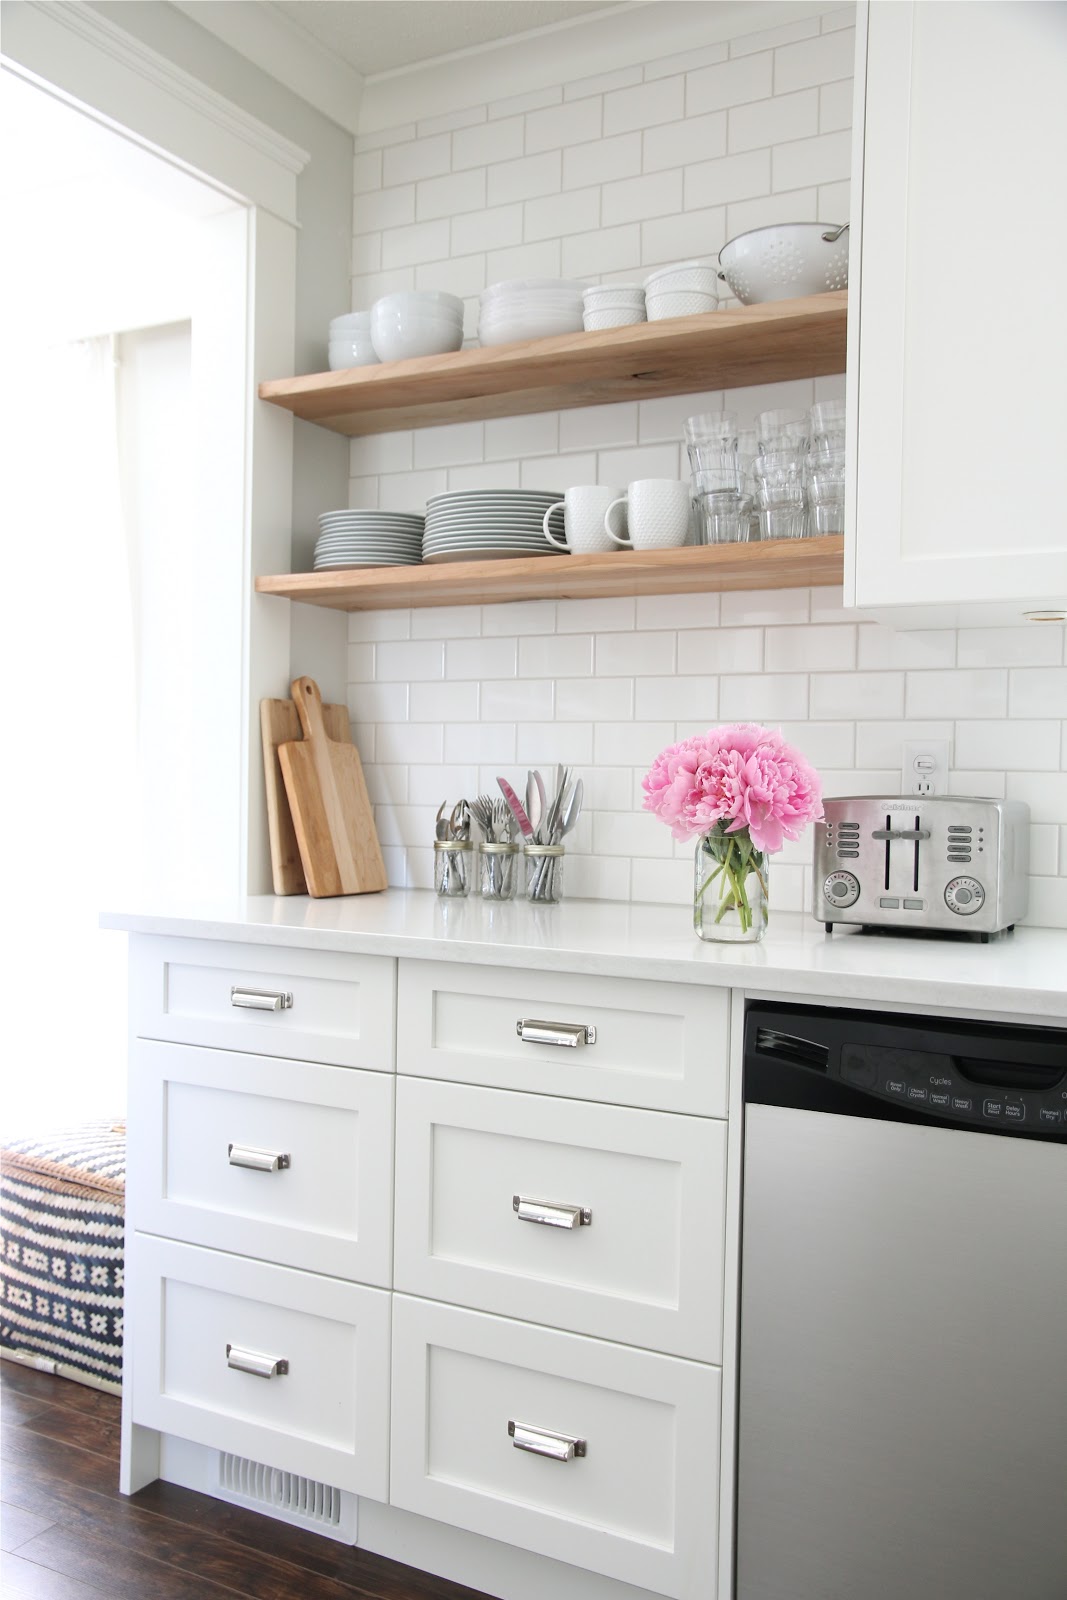
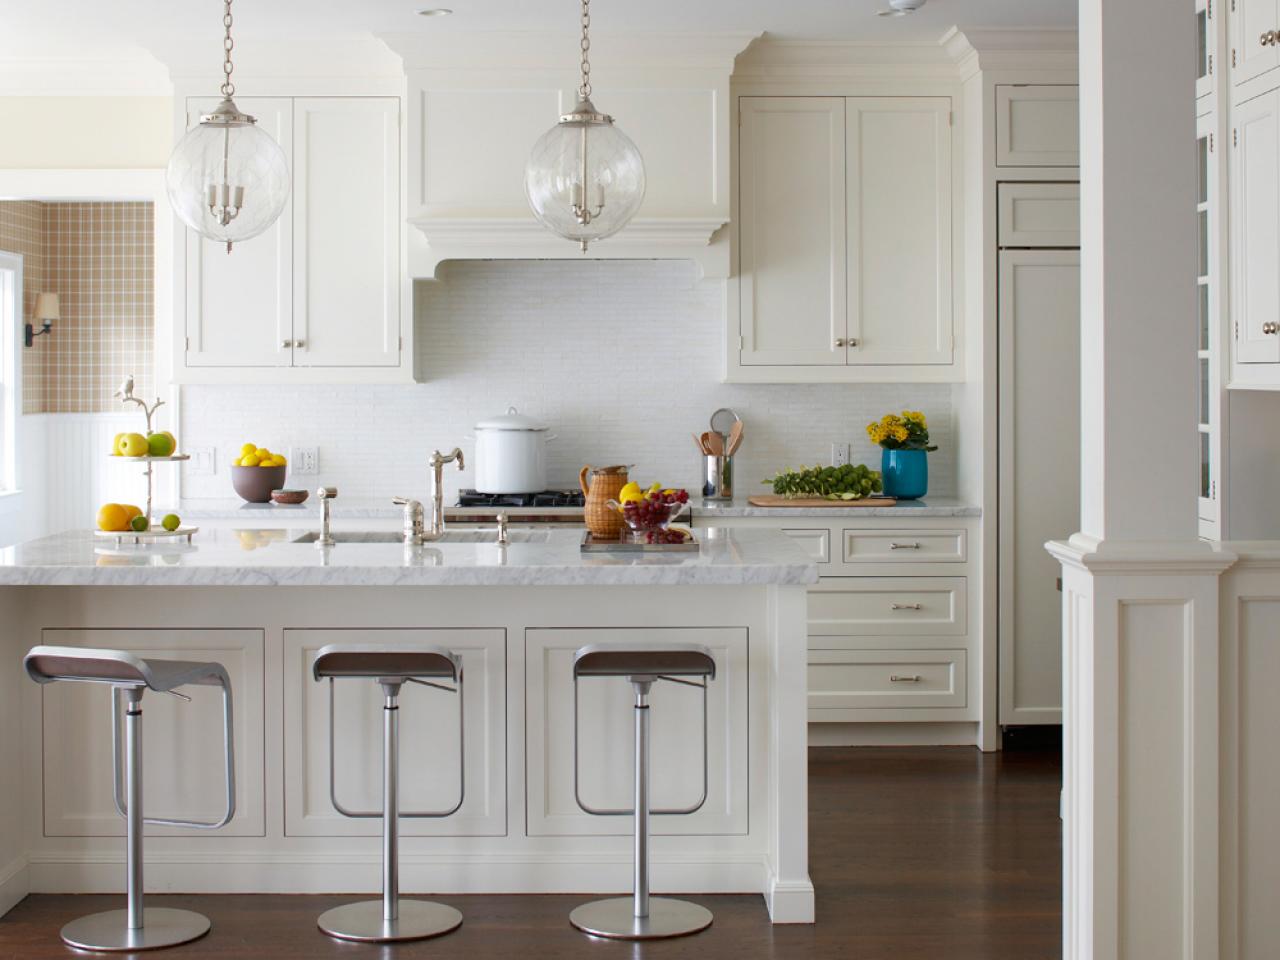
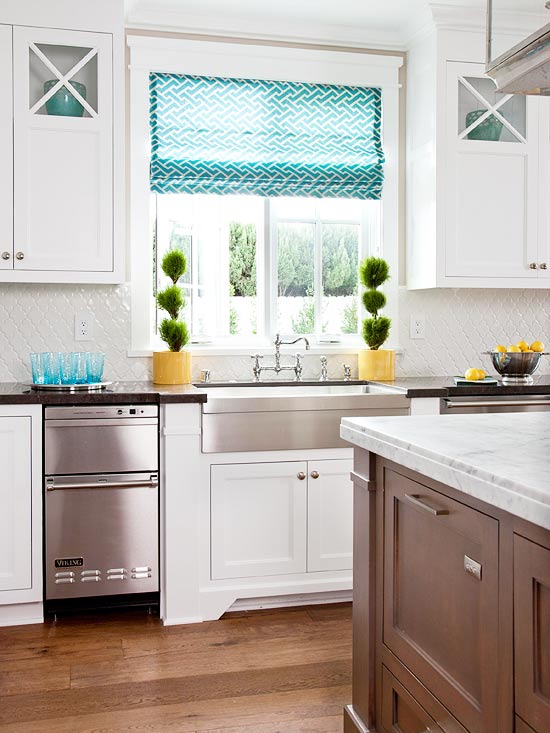
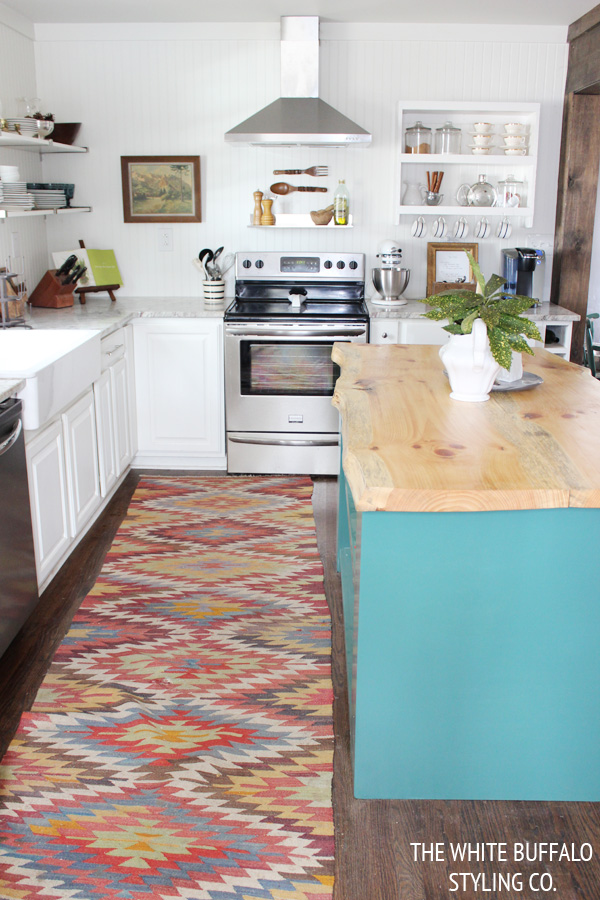
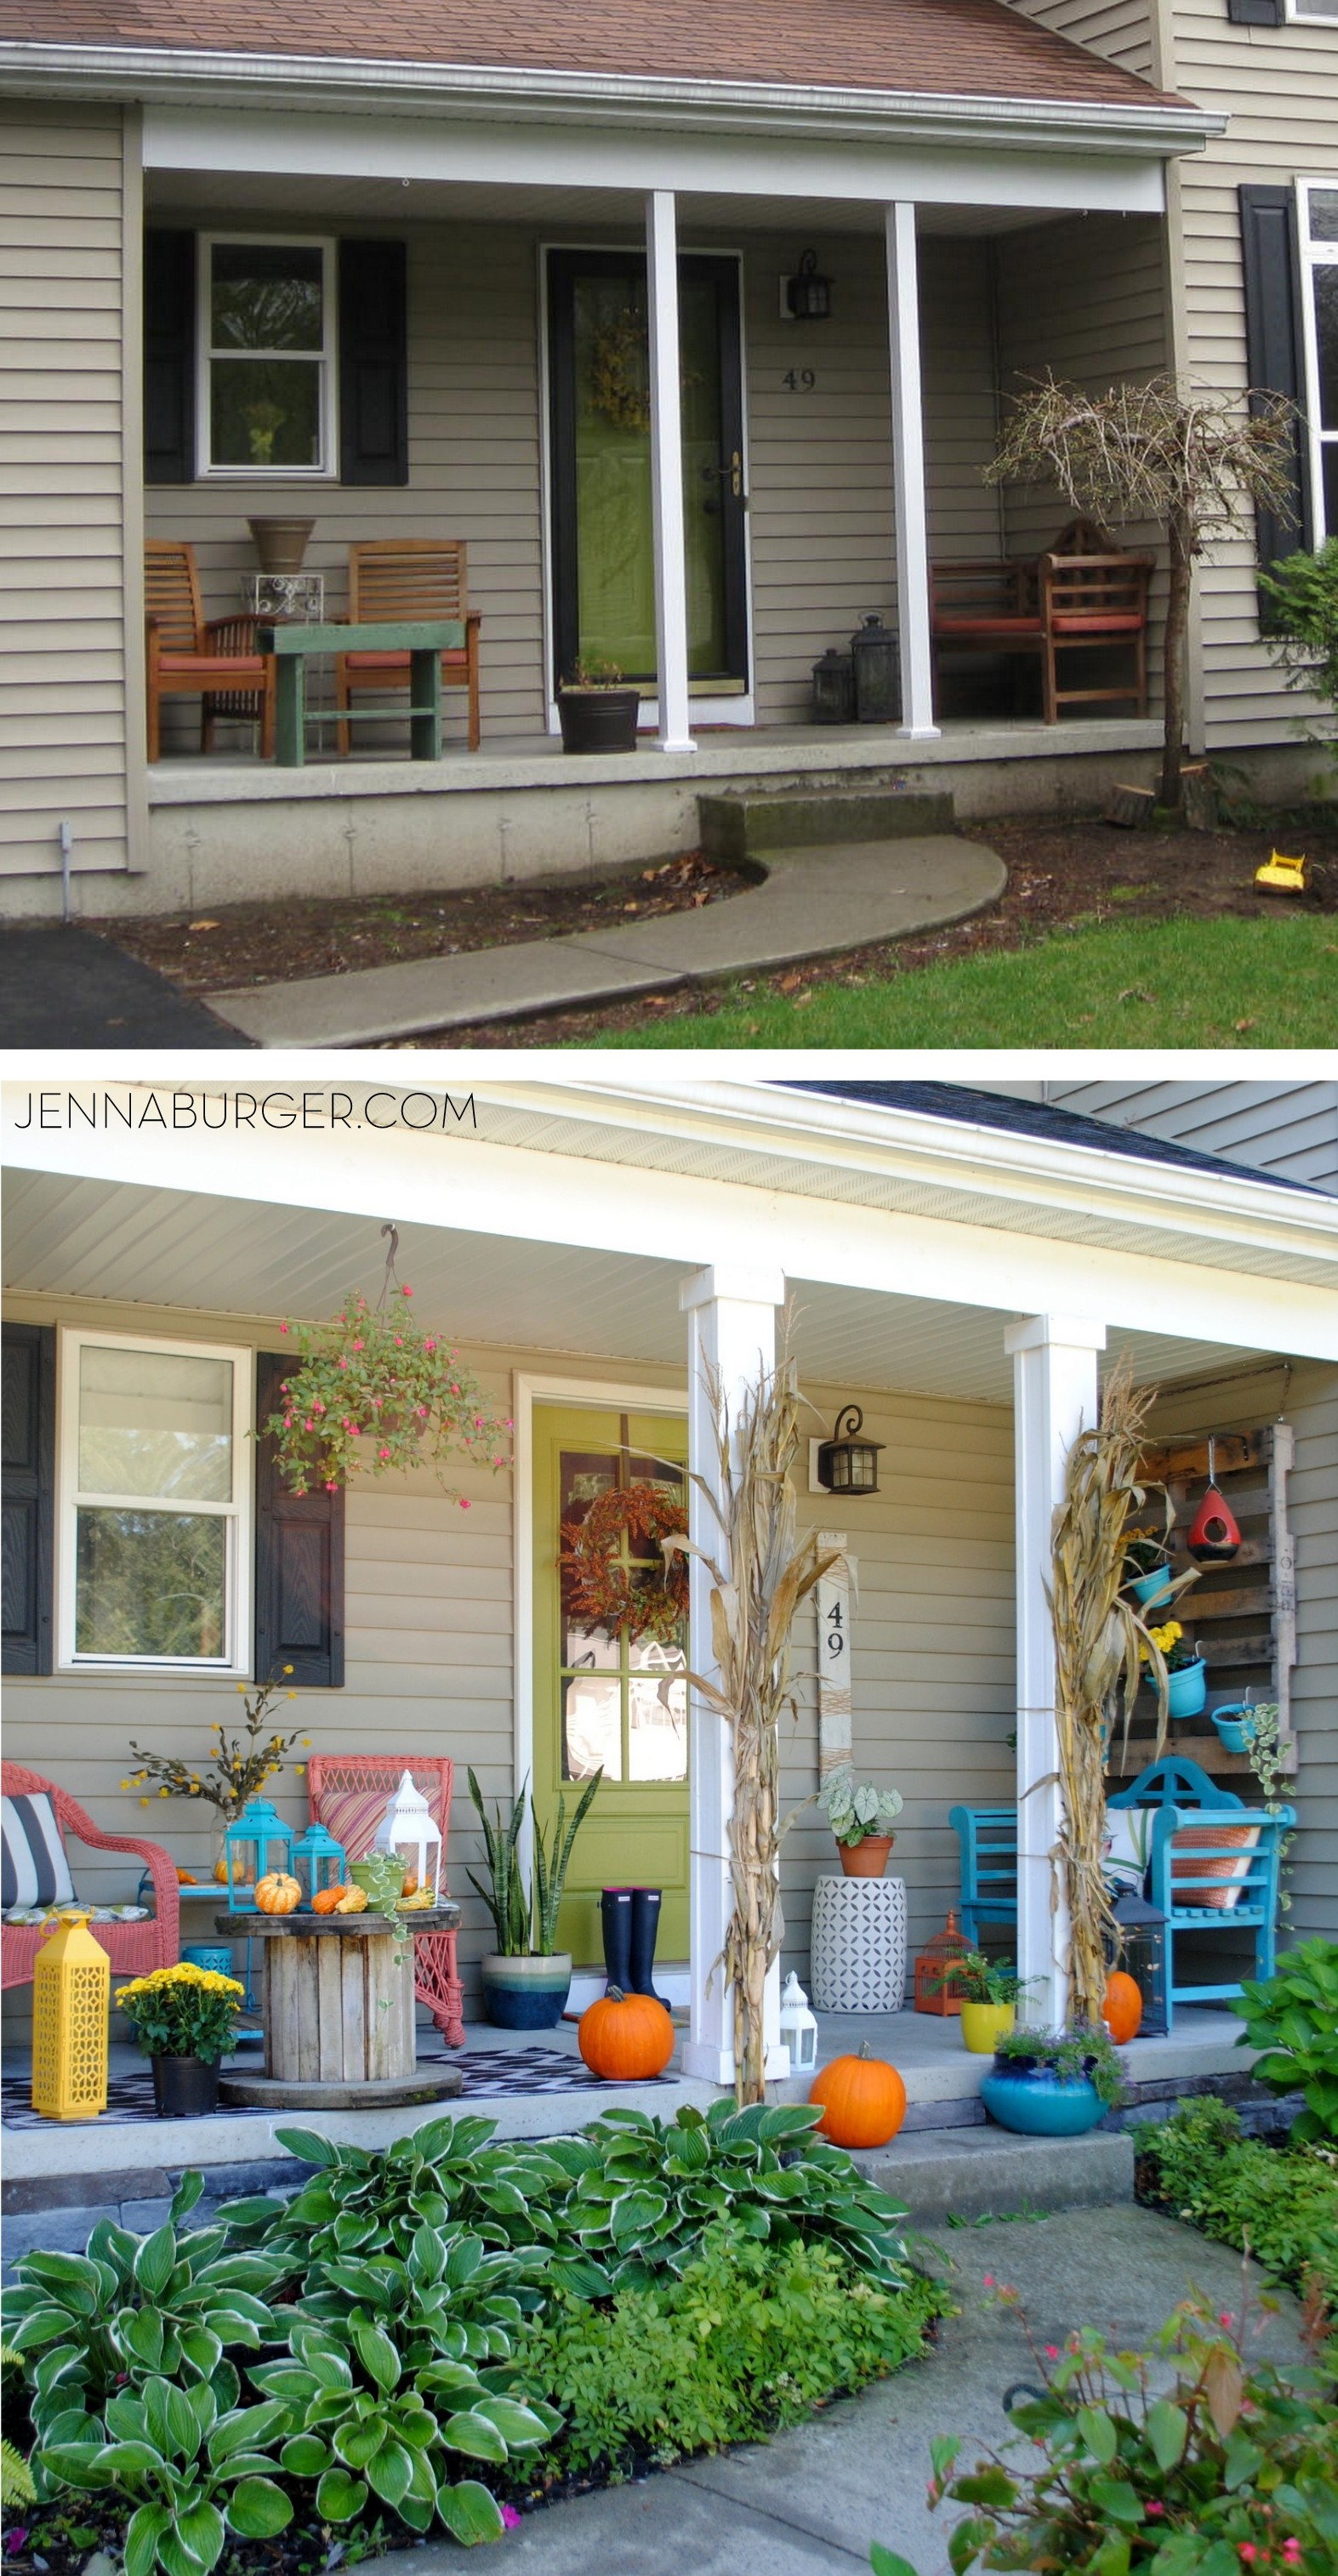
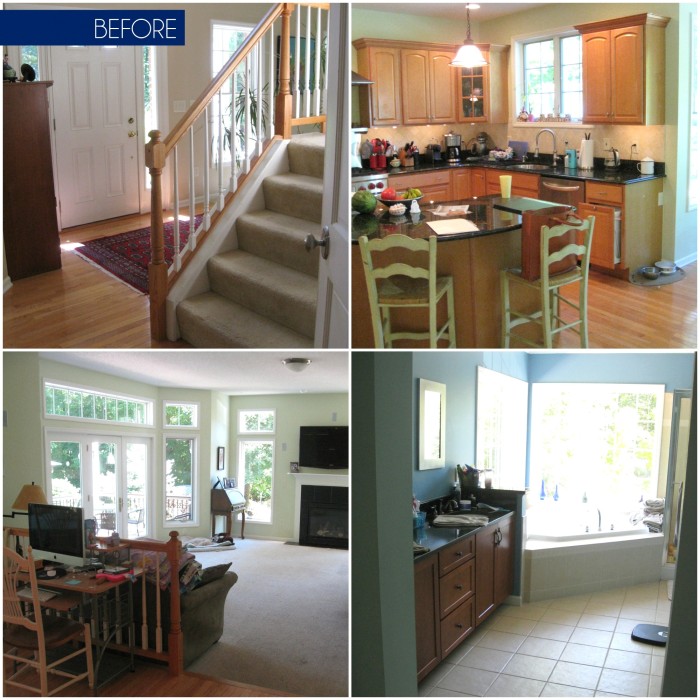
Along with my kitchen renovation (did you see the sneak peek picture I shared on Instagram?), I am working on an entire 3000 s.f. home remodel which will include a new kitchen, master bathroom, and all new interior furnishings.
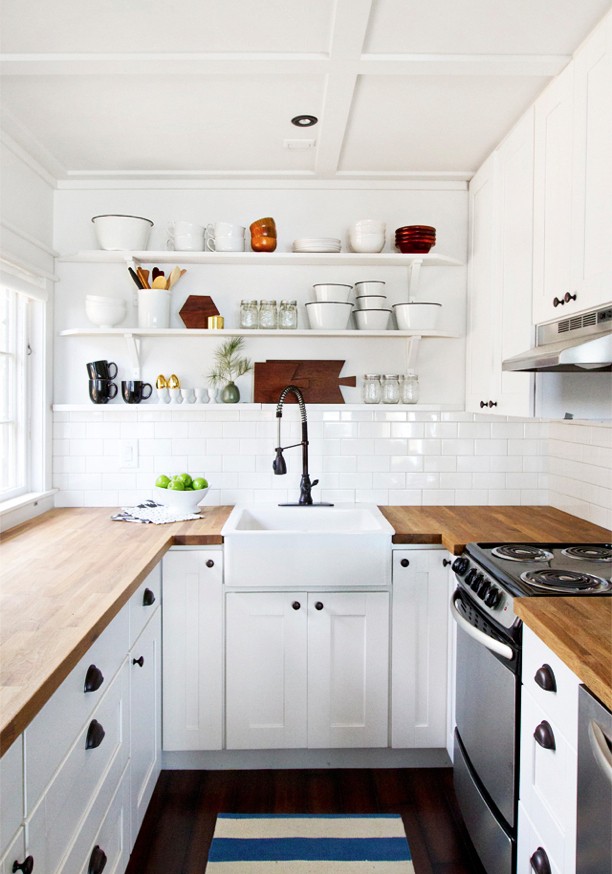
I’m also in the midst of creating a design plan for a row house with a west elm style aesthetic. From the floors to the walls and everything in between, I will be selecting + styling it all.
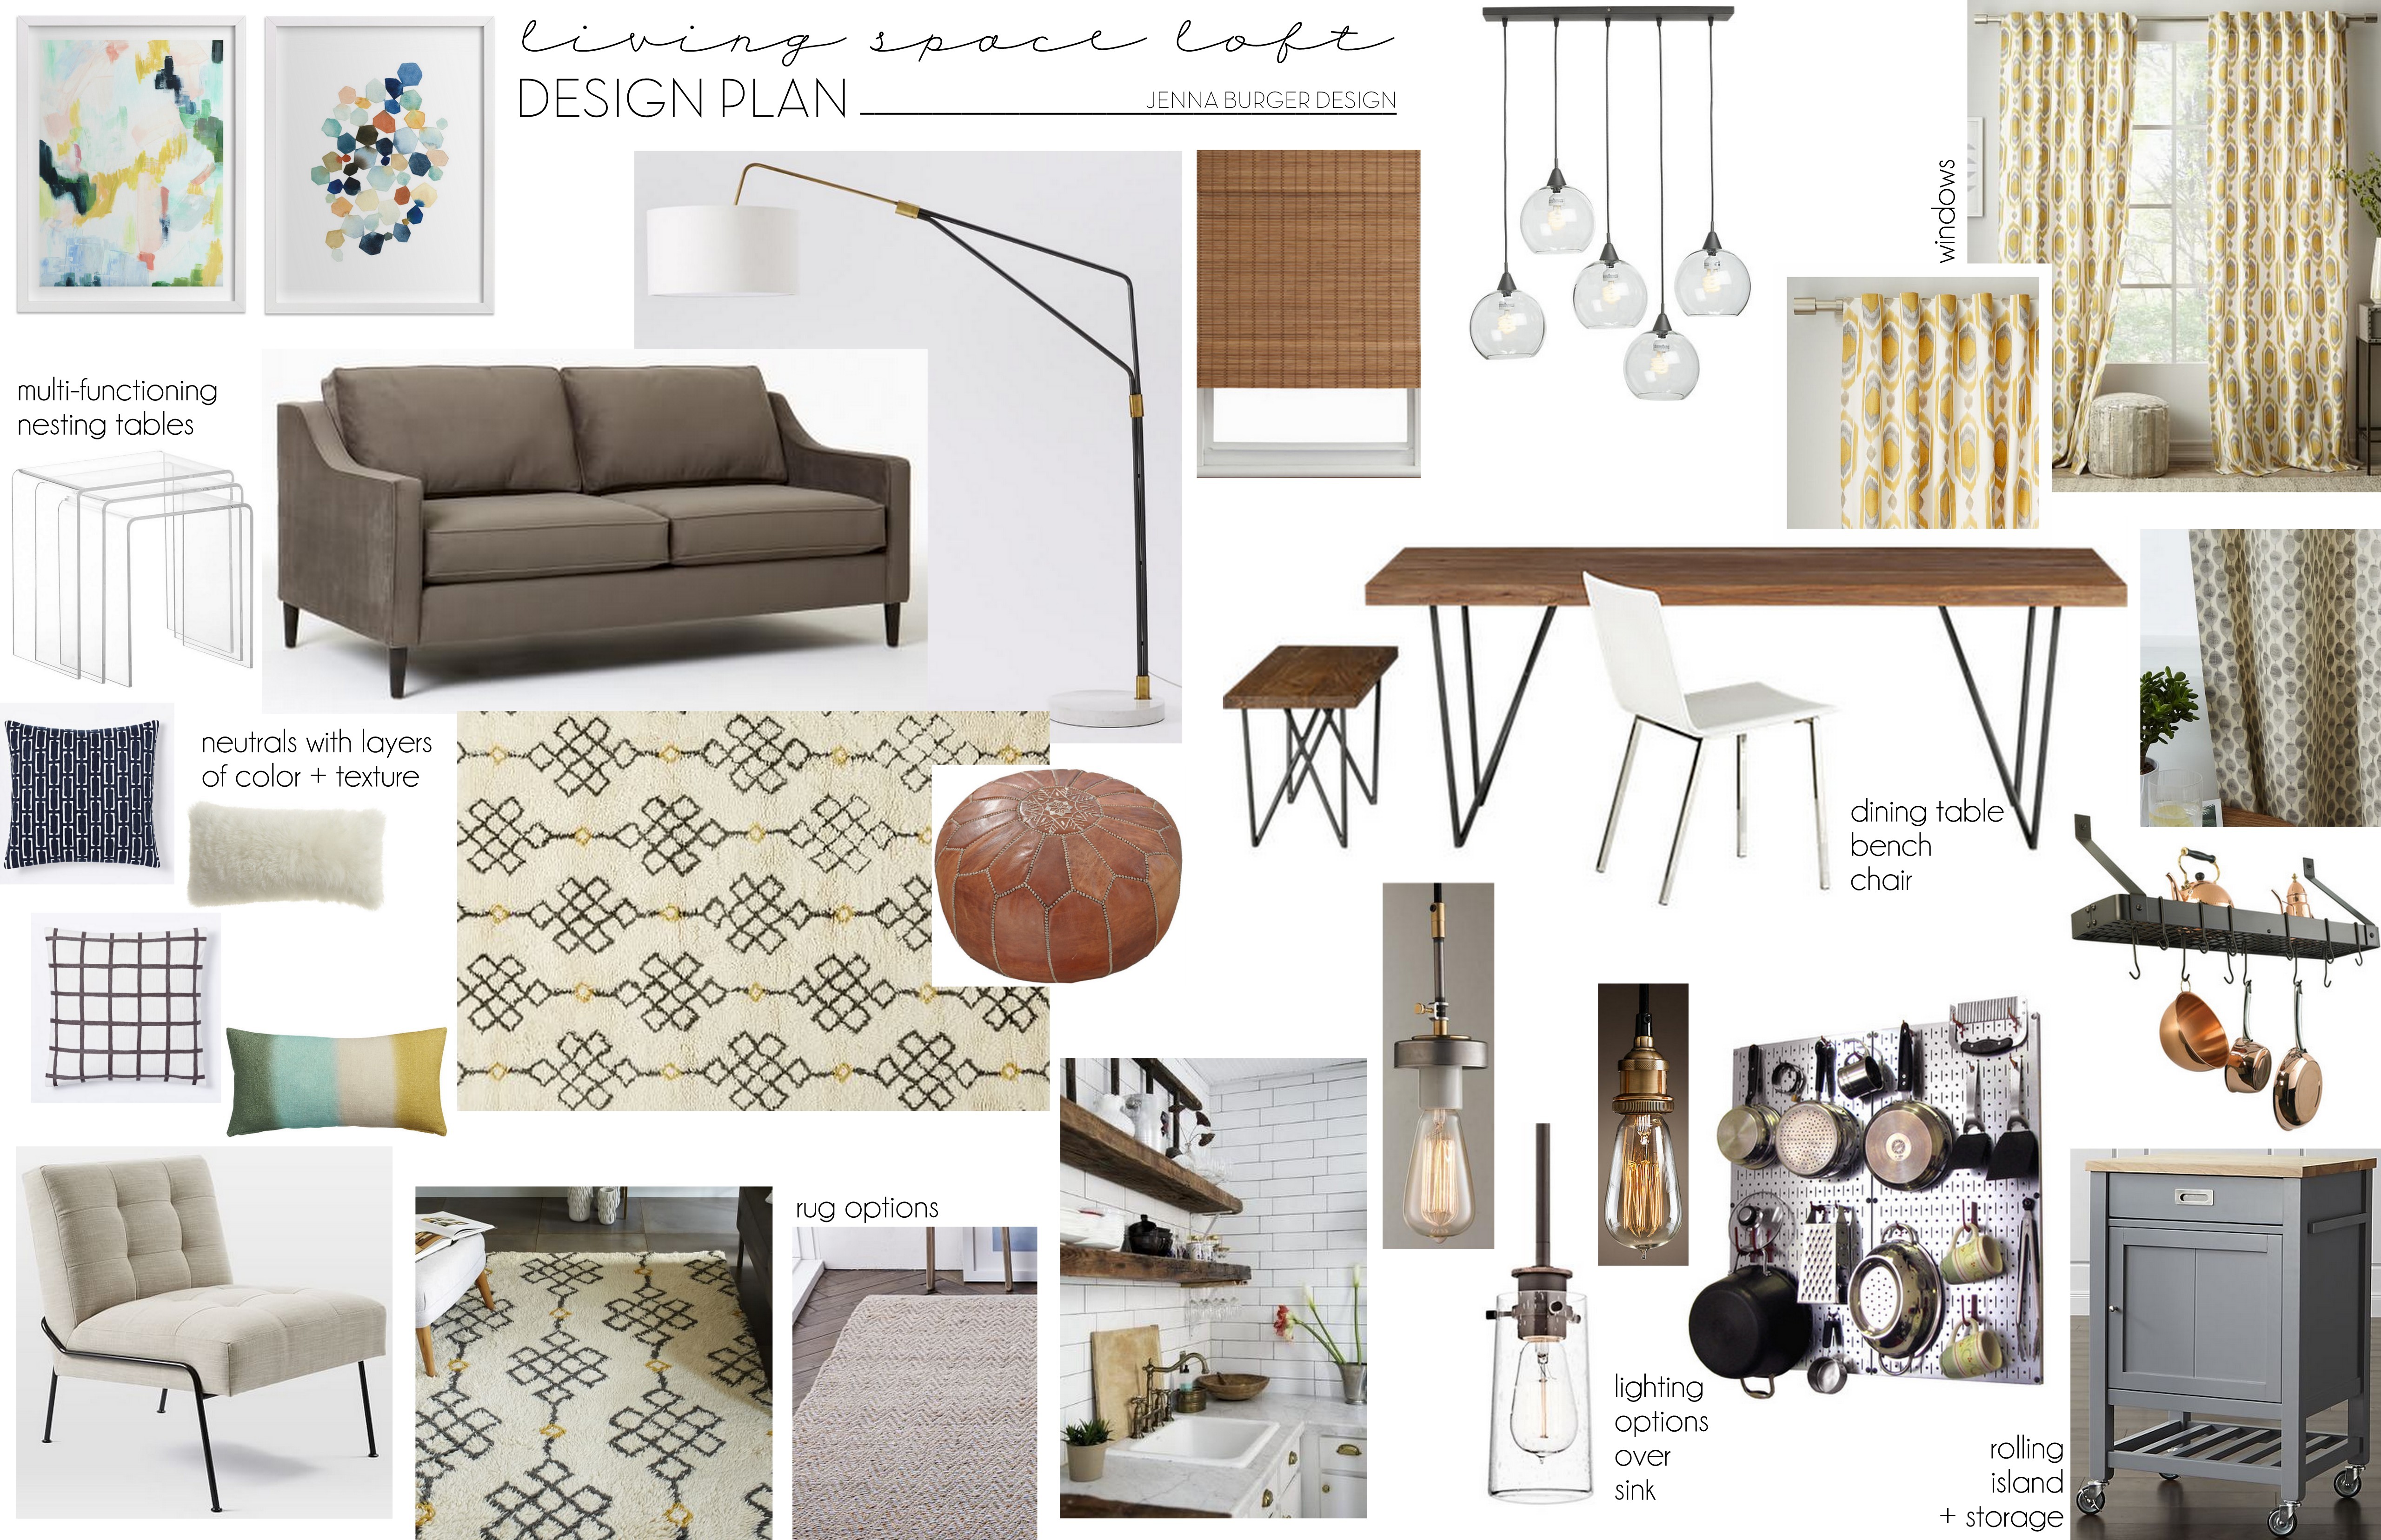
For this project, I am meeting with the client tomorrow to present the design direction. I have a few more details to finish up, so I’m off to the coffee shop to jump on my laptop to get a few more hours of work in before the kiddos come home…
Running a small business isn’t easy. It takes time, energy, and money. But what is most important is passion and drive. If you love what you’re doing, like me, then most moments don’t feel like ‘work’.
As a girl on the go, I try to surround myself with others to handle the nitty-gritty and to power myself with equipment + the right tools to make my life easier and to allow my focus to be on letting my creative juices flow.
DISCLOSURE: THIS POST IS A PARTNERSHIP WITH INTEL TO SHARE MY THOUGHTS + HOW I USE THE INTEL 2 IN 1 LAPTOP FOR MY DESIGN BUSINESS. #spon