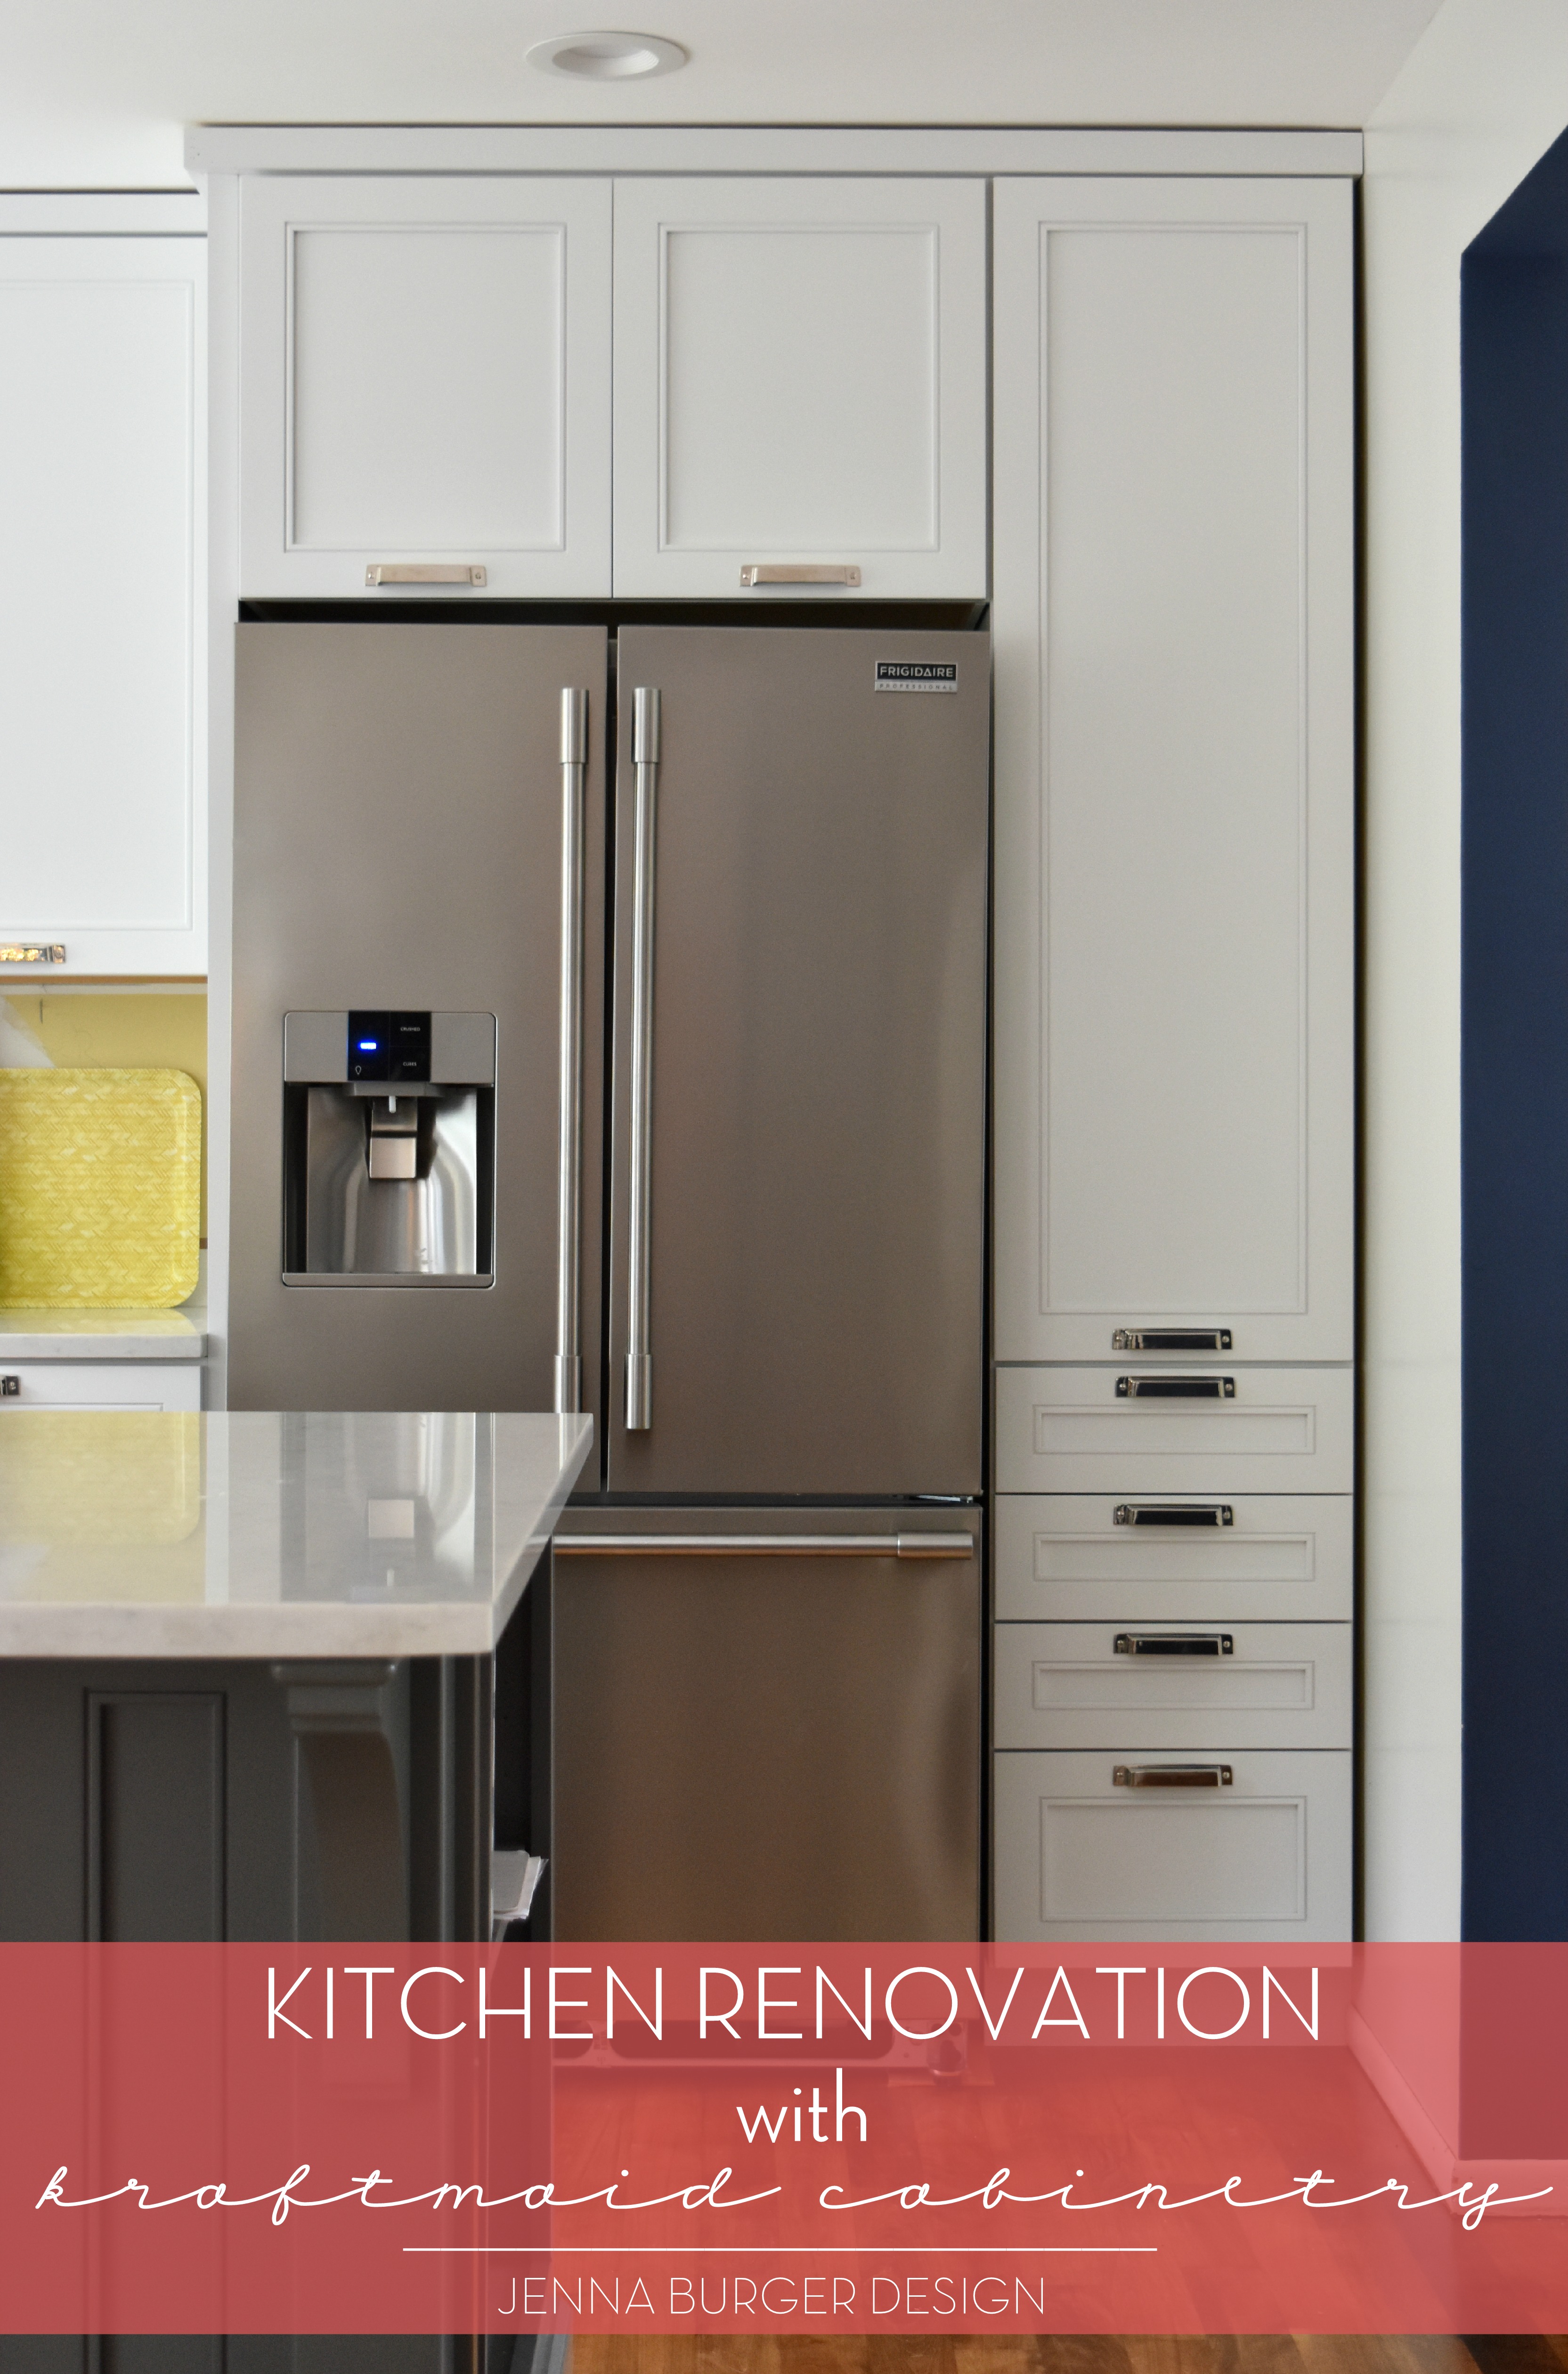
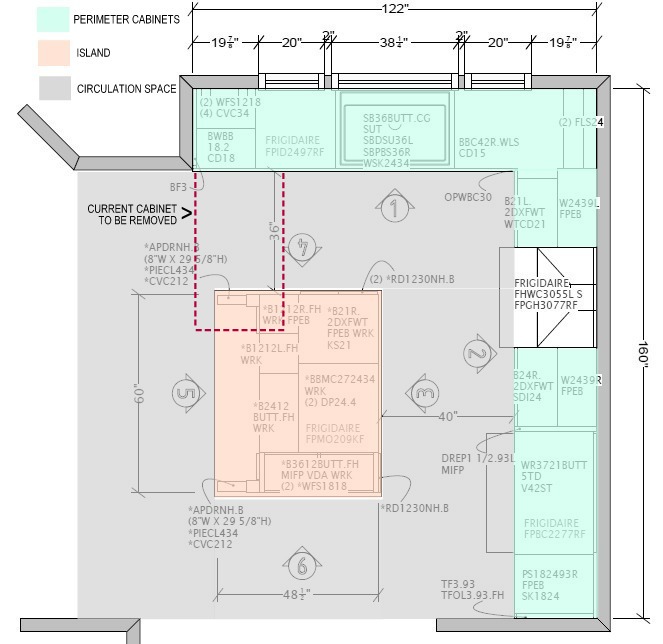
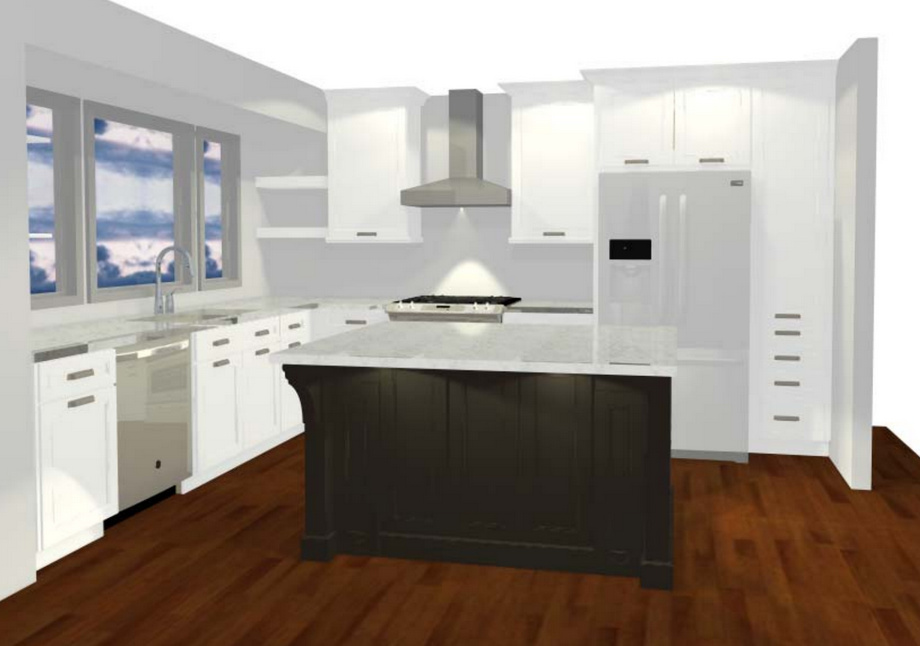
Kitchen Renovation: Paint + Wallpaper
You know if we’re at the point of talking about paint, it has to almost be complete.
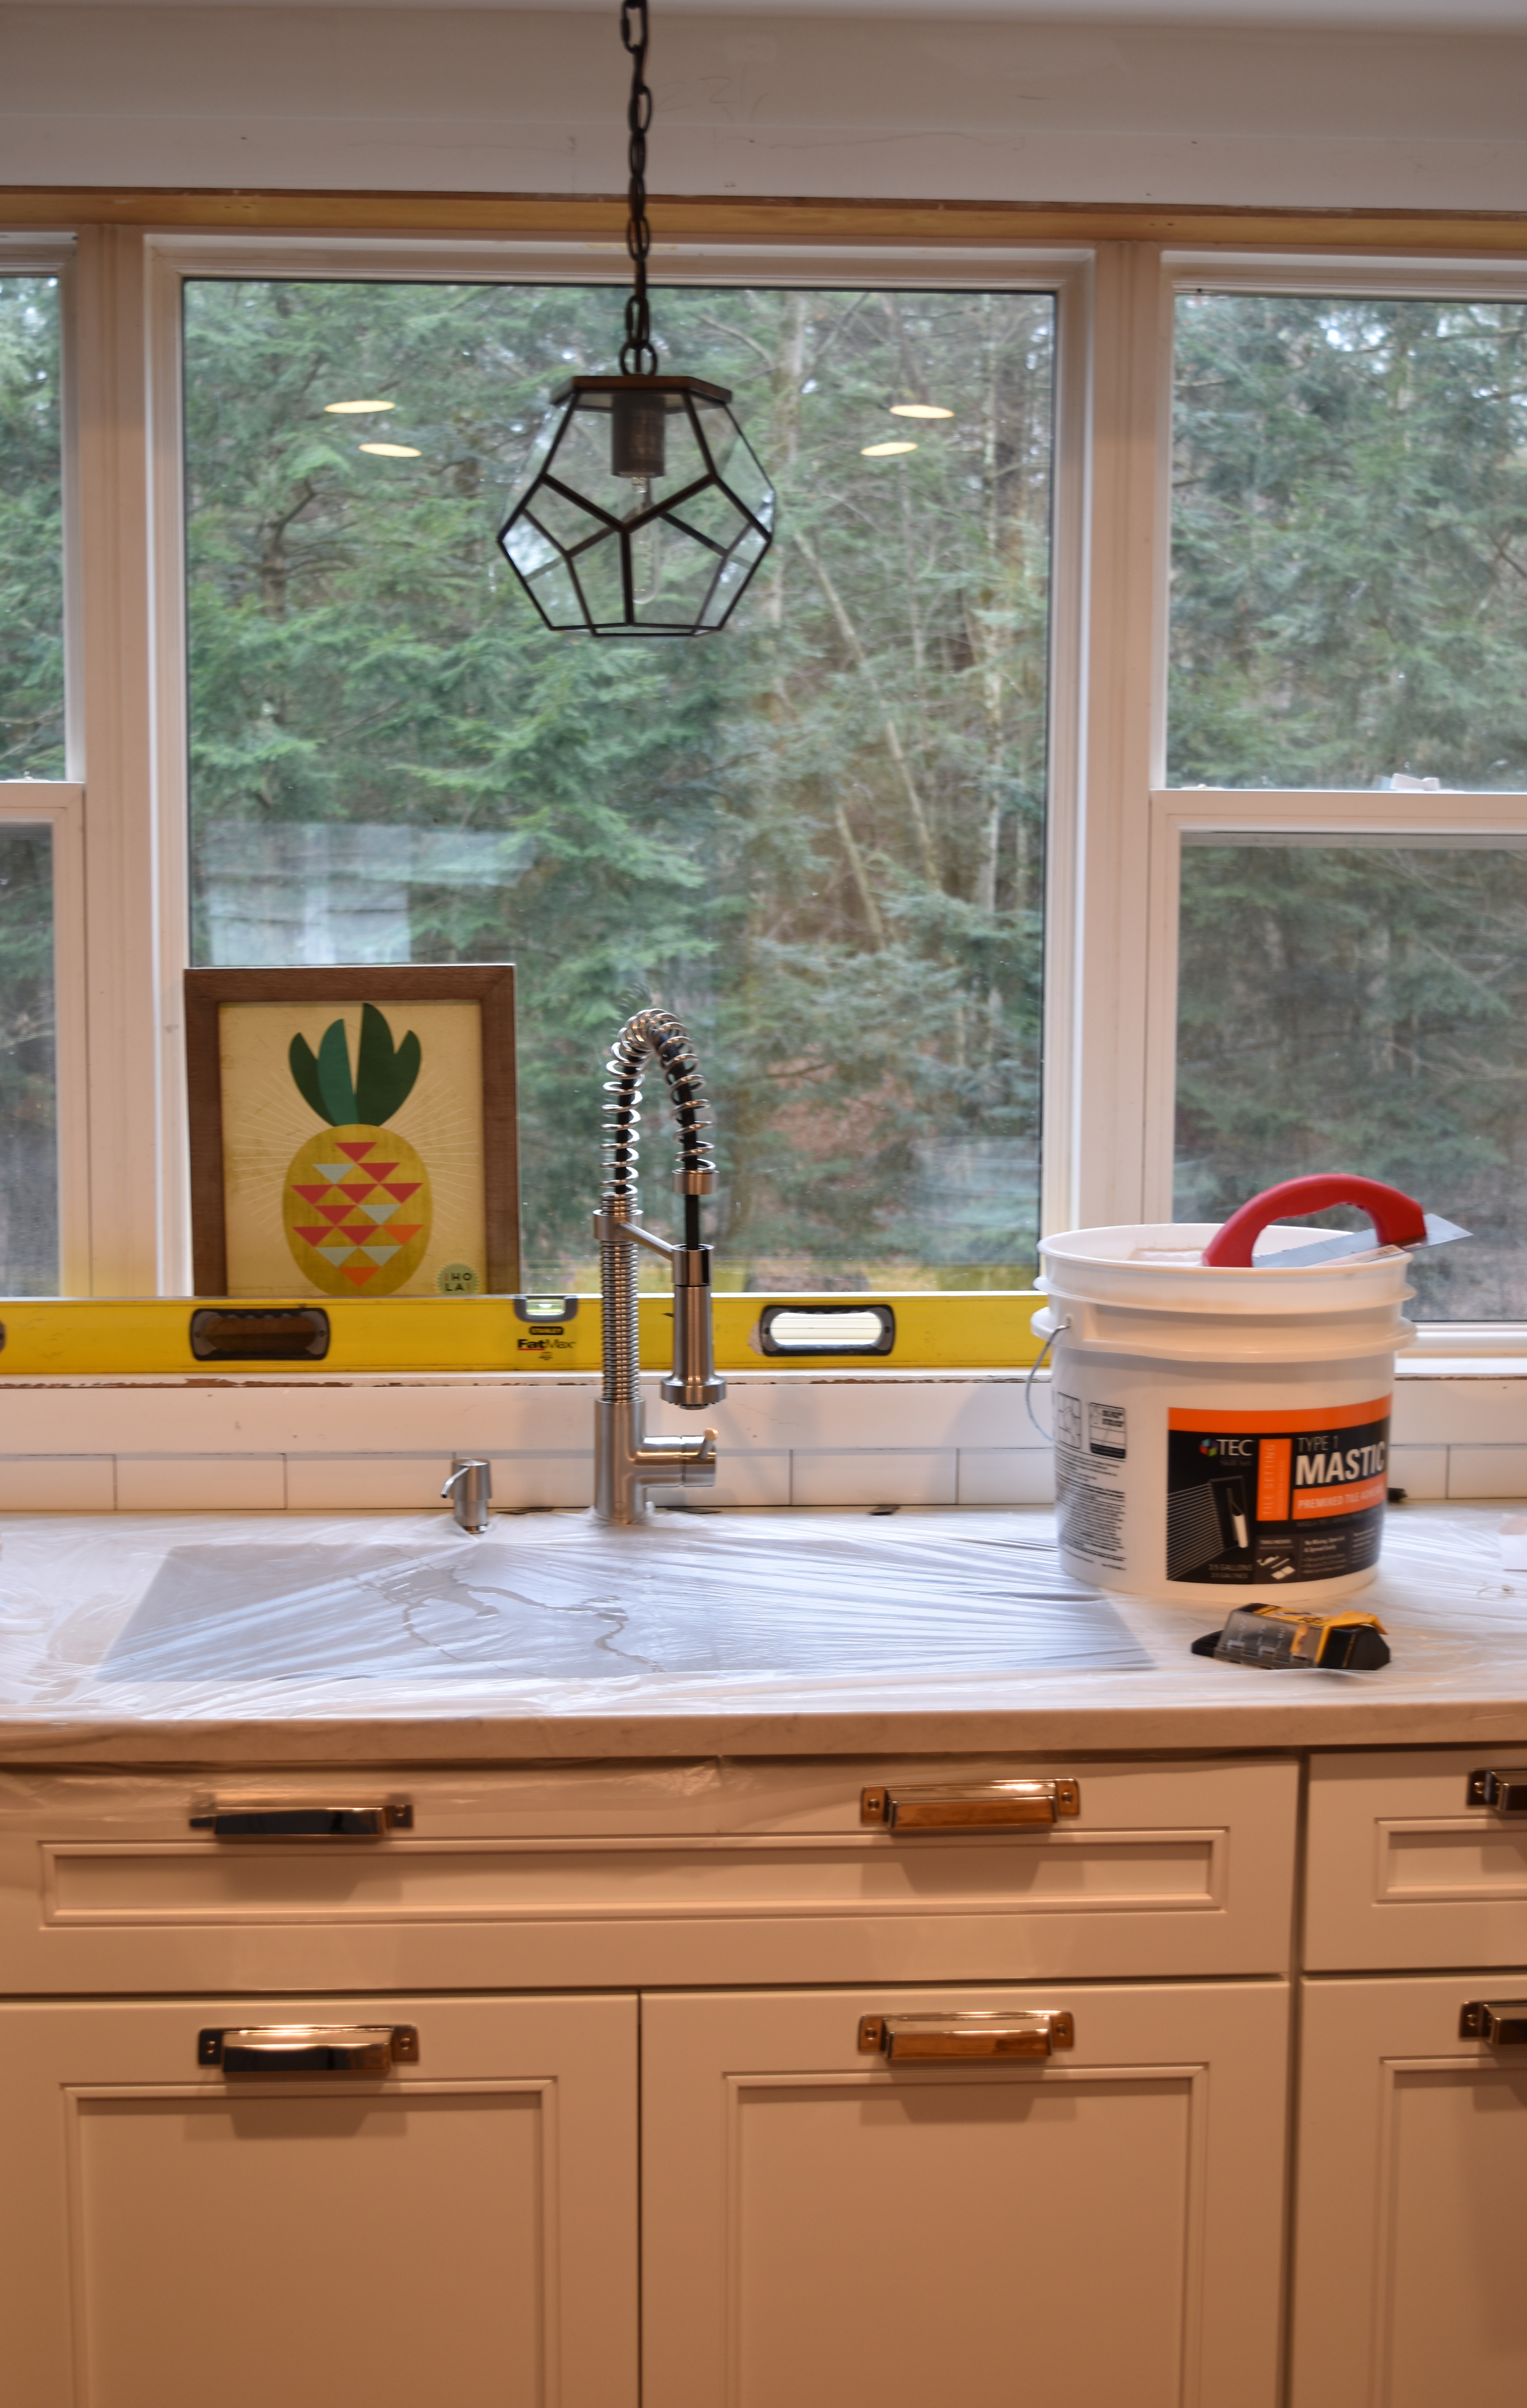
That’s right… we are mere days away from wrapping up the kitchen renovation and I still can’t believe it’s real. When I look over to our kitchen area and my eyes see an entire new space, I want to cry. It’s so good!
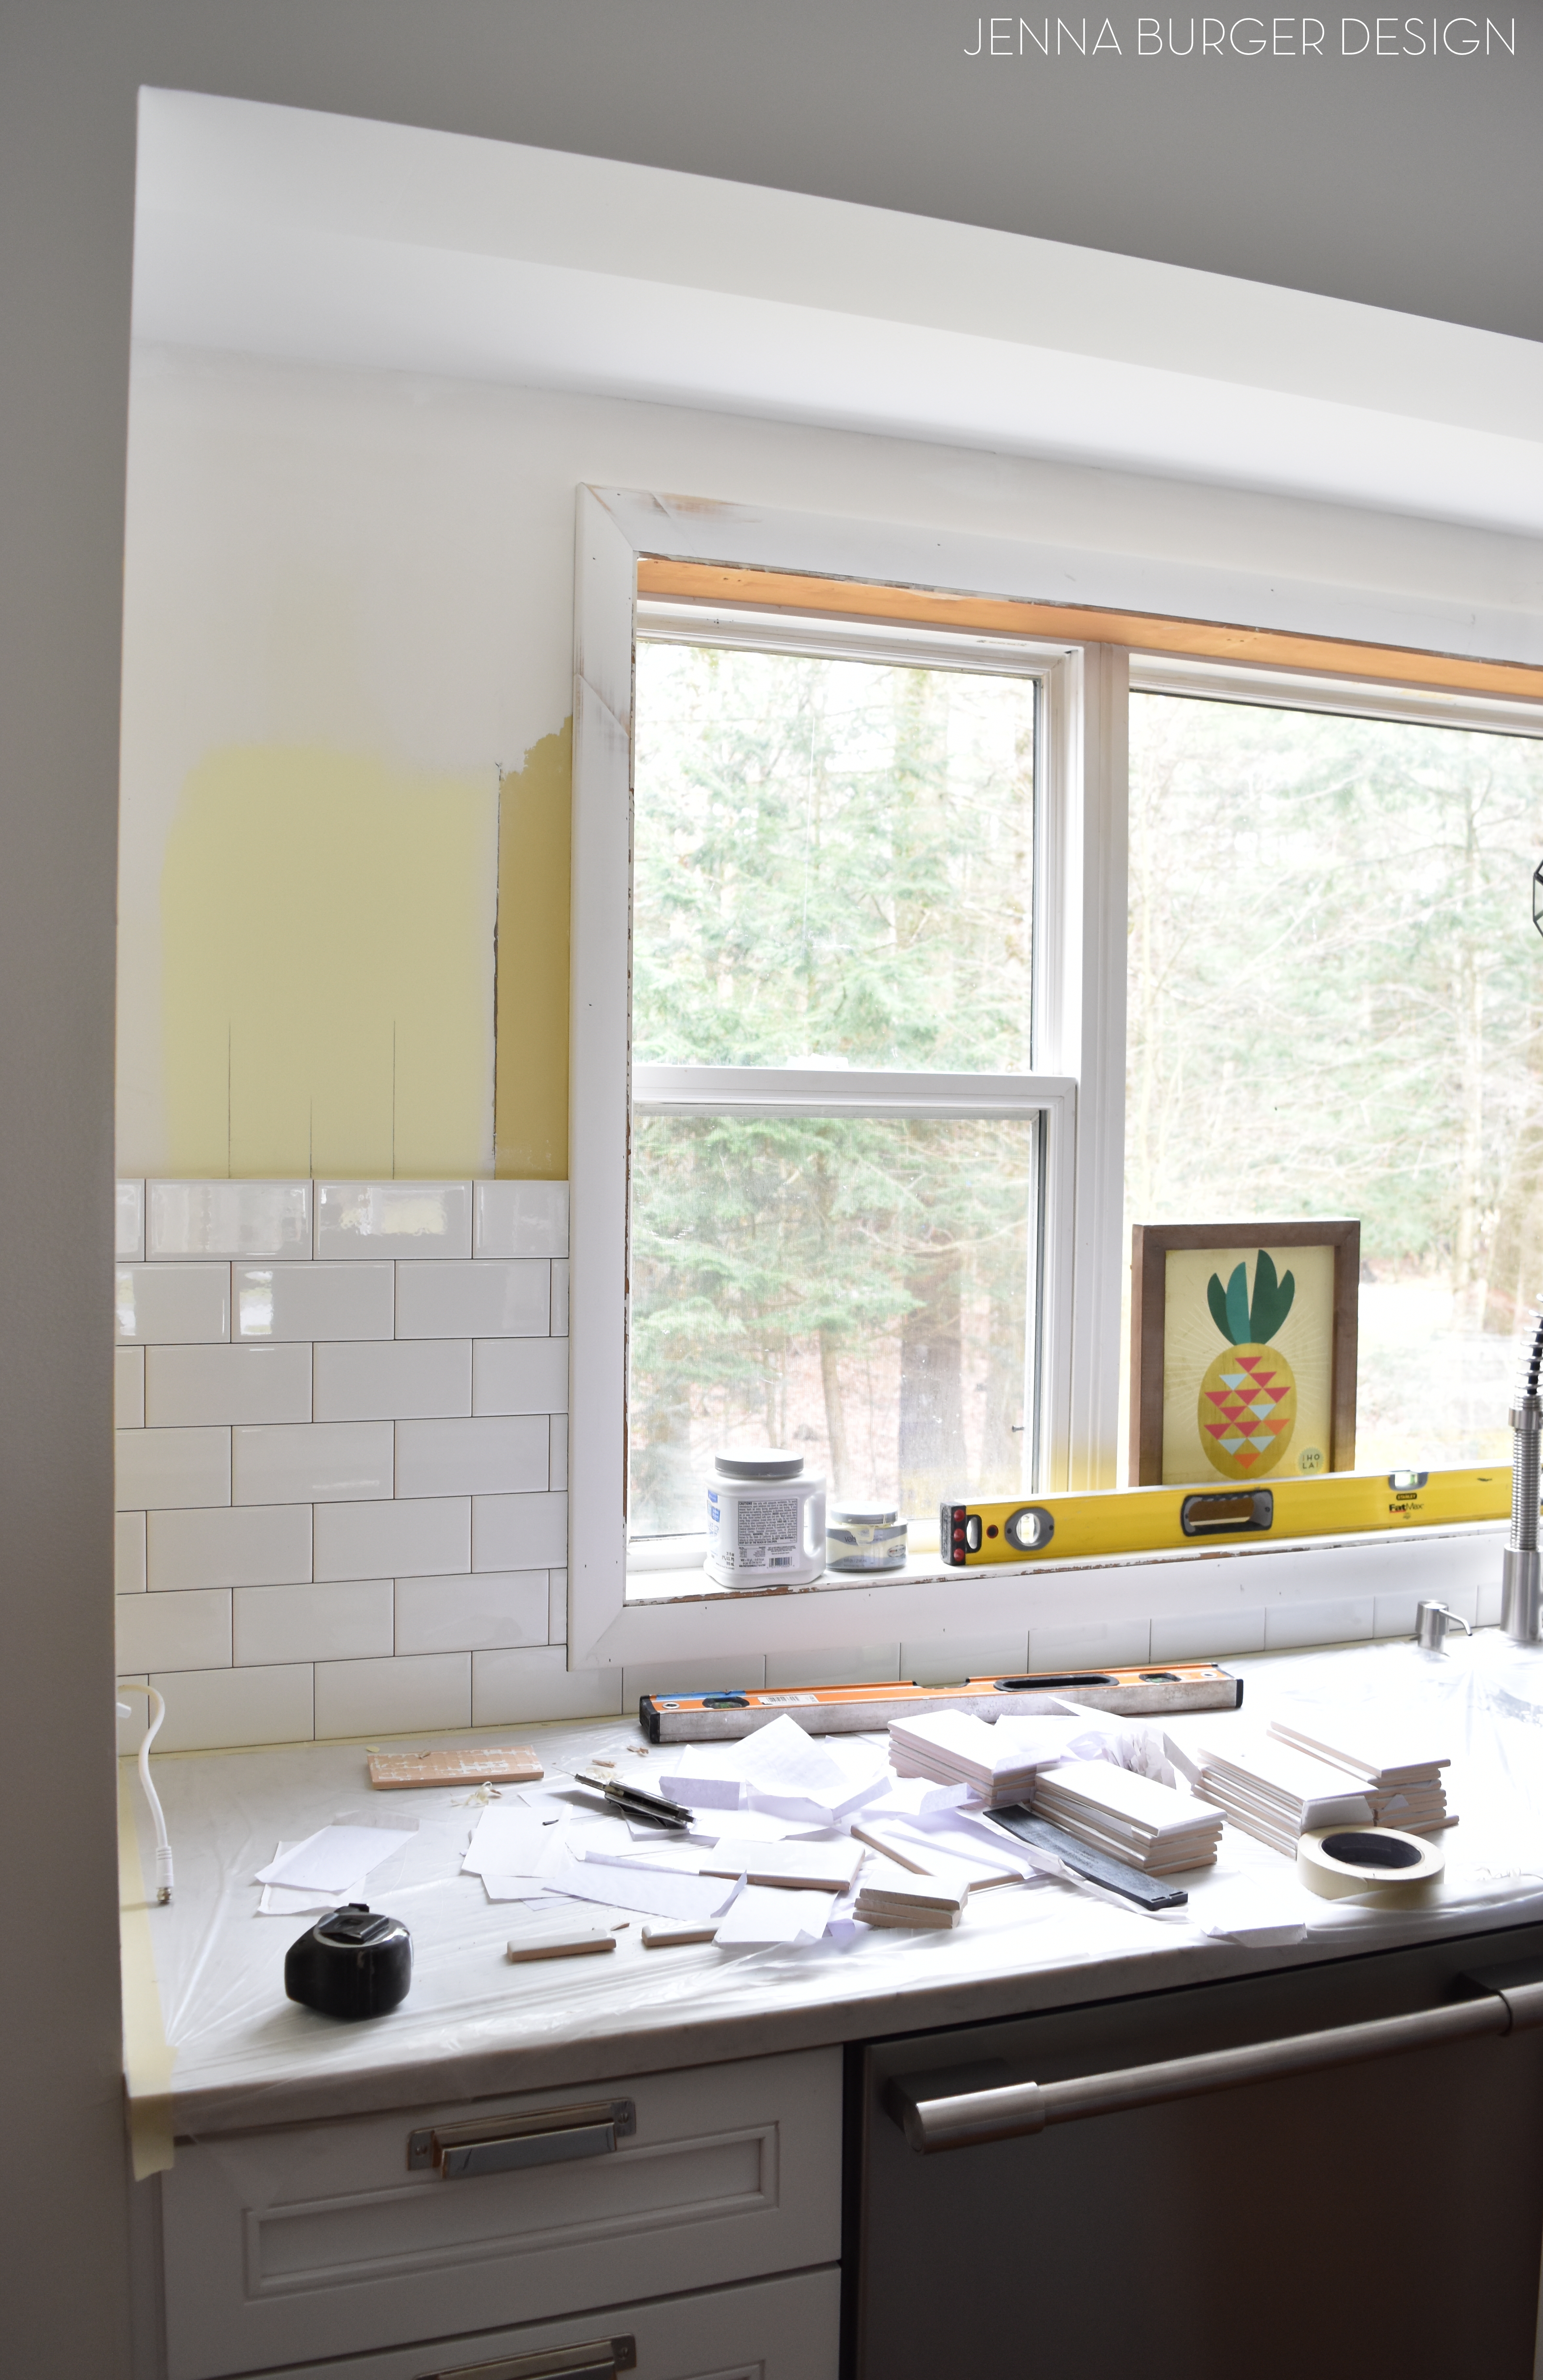
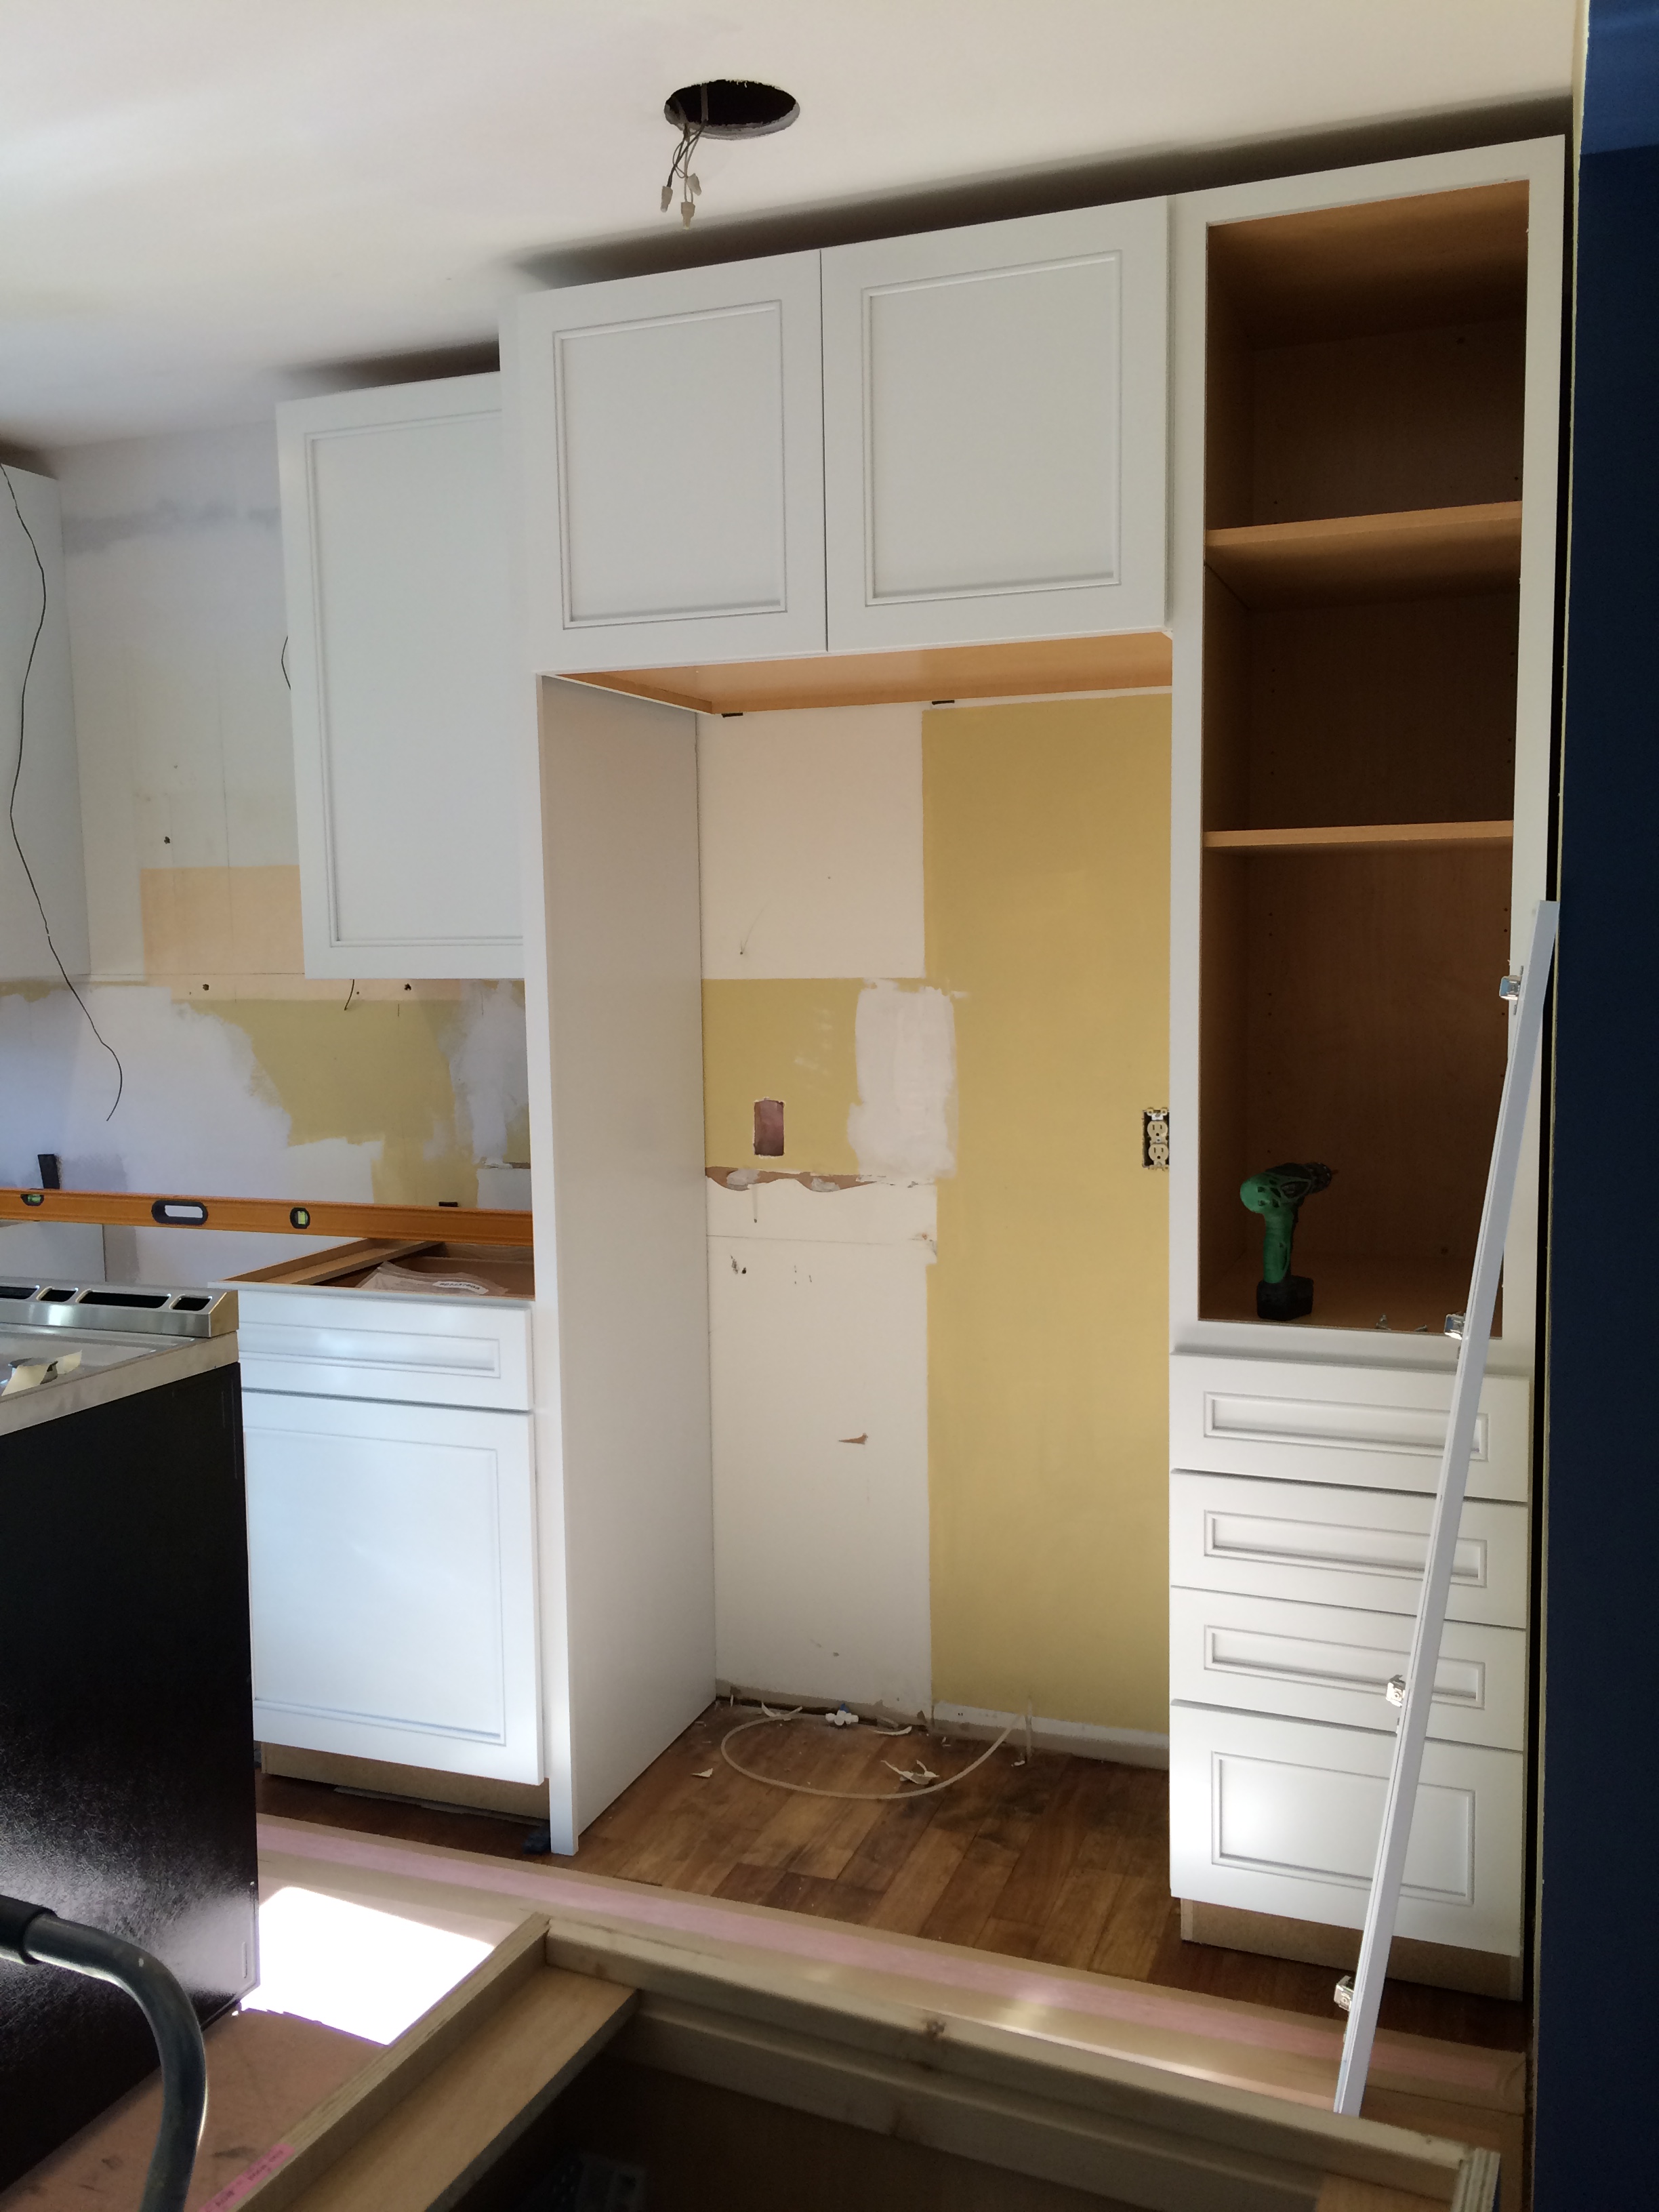
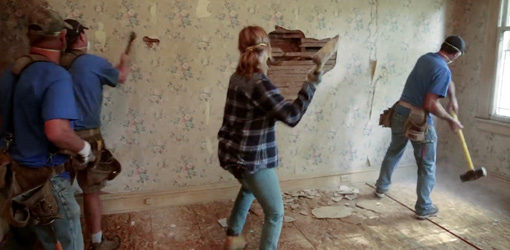
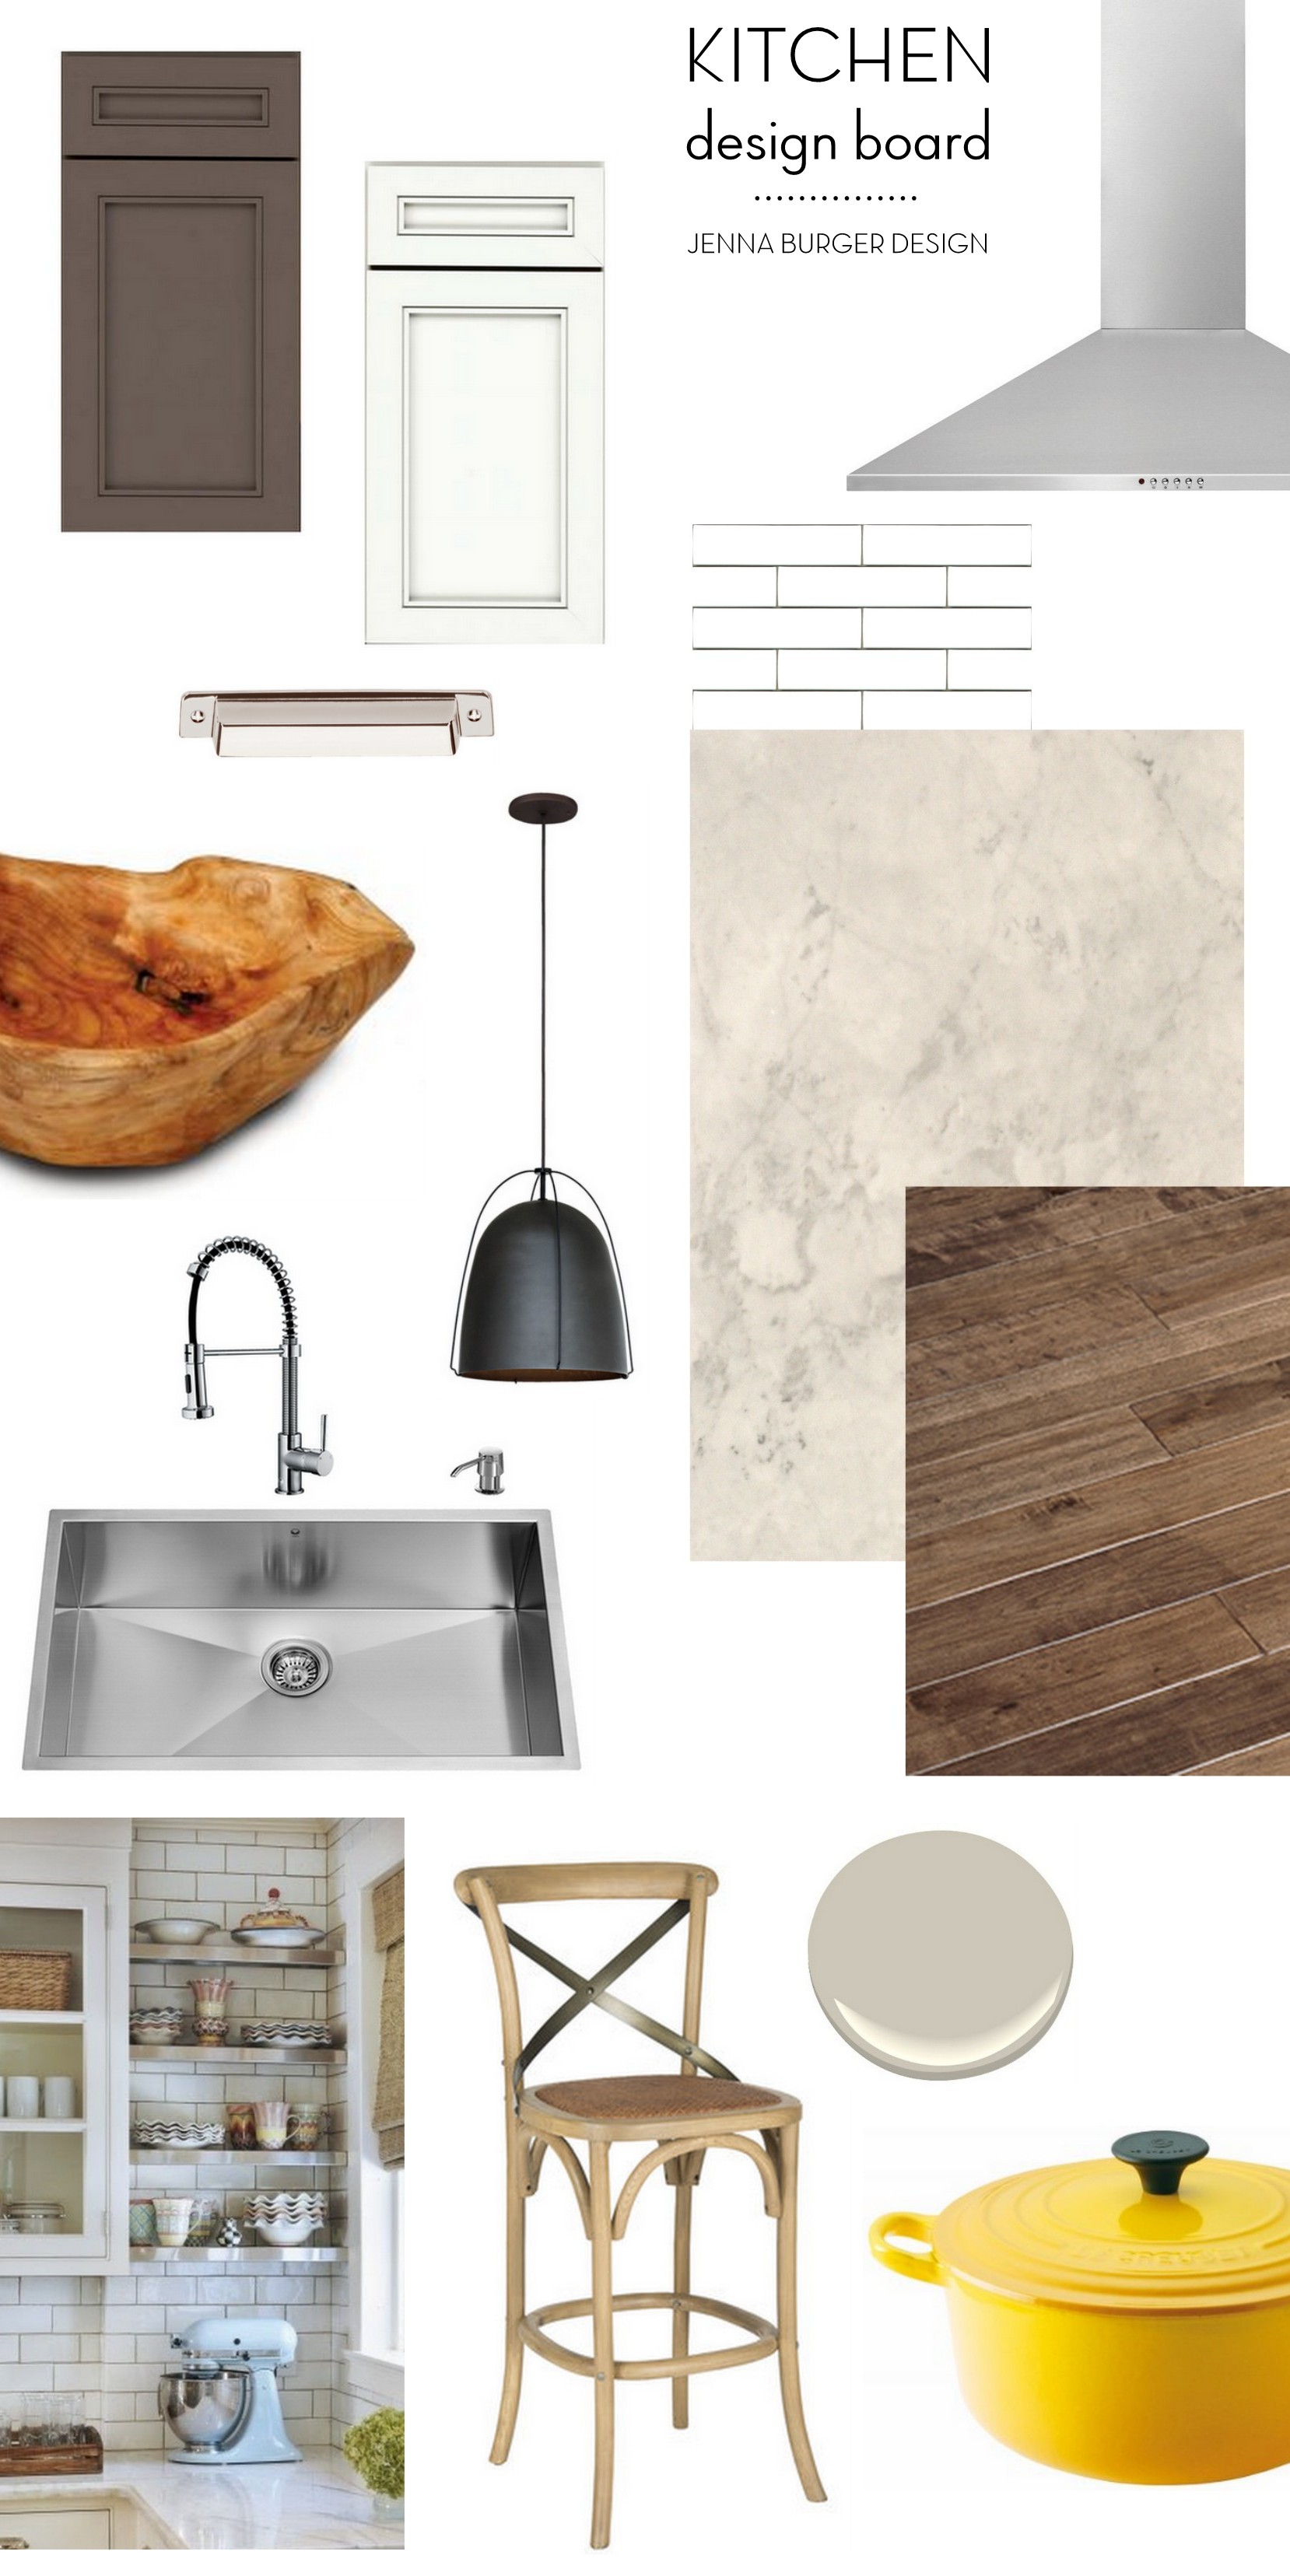
One challenge I had when creating the plan of action for the kitchen was the paint color for the walls. After living with the mustardy-yellow for 5 years, I new light + neutral was the right direction – but then along the way my thoughts changed. keep reading…
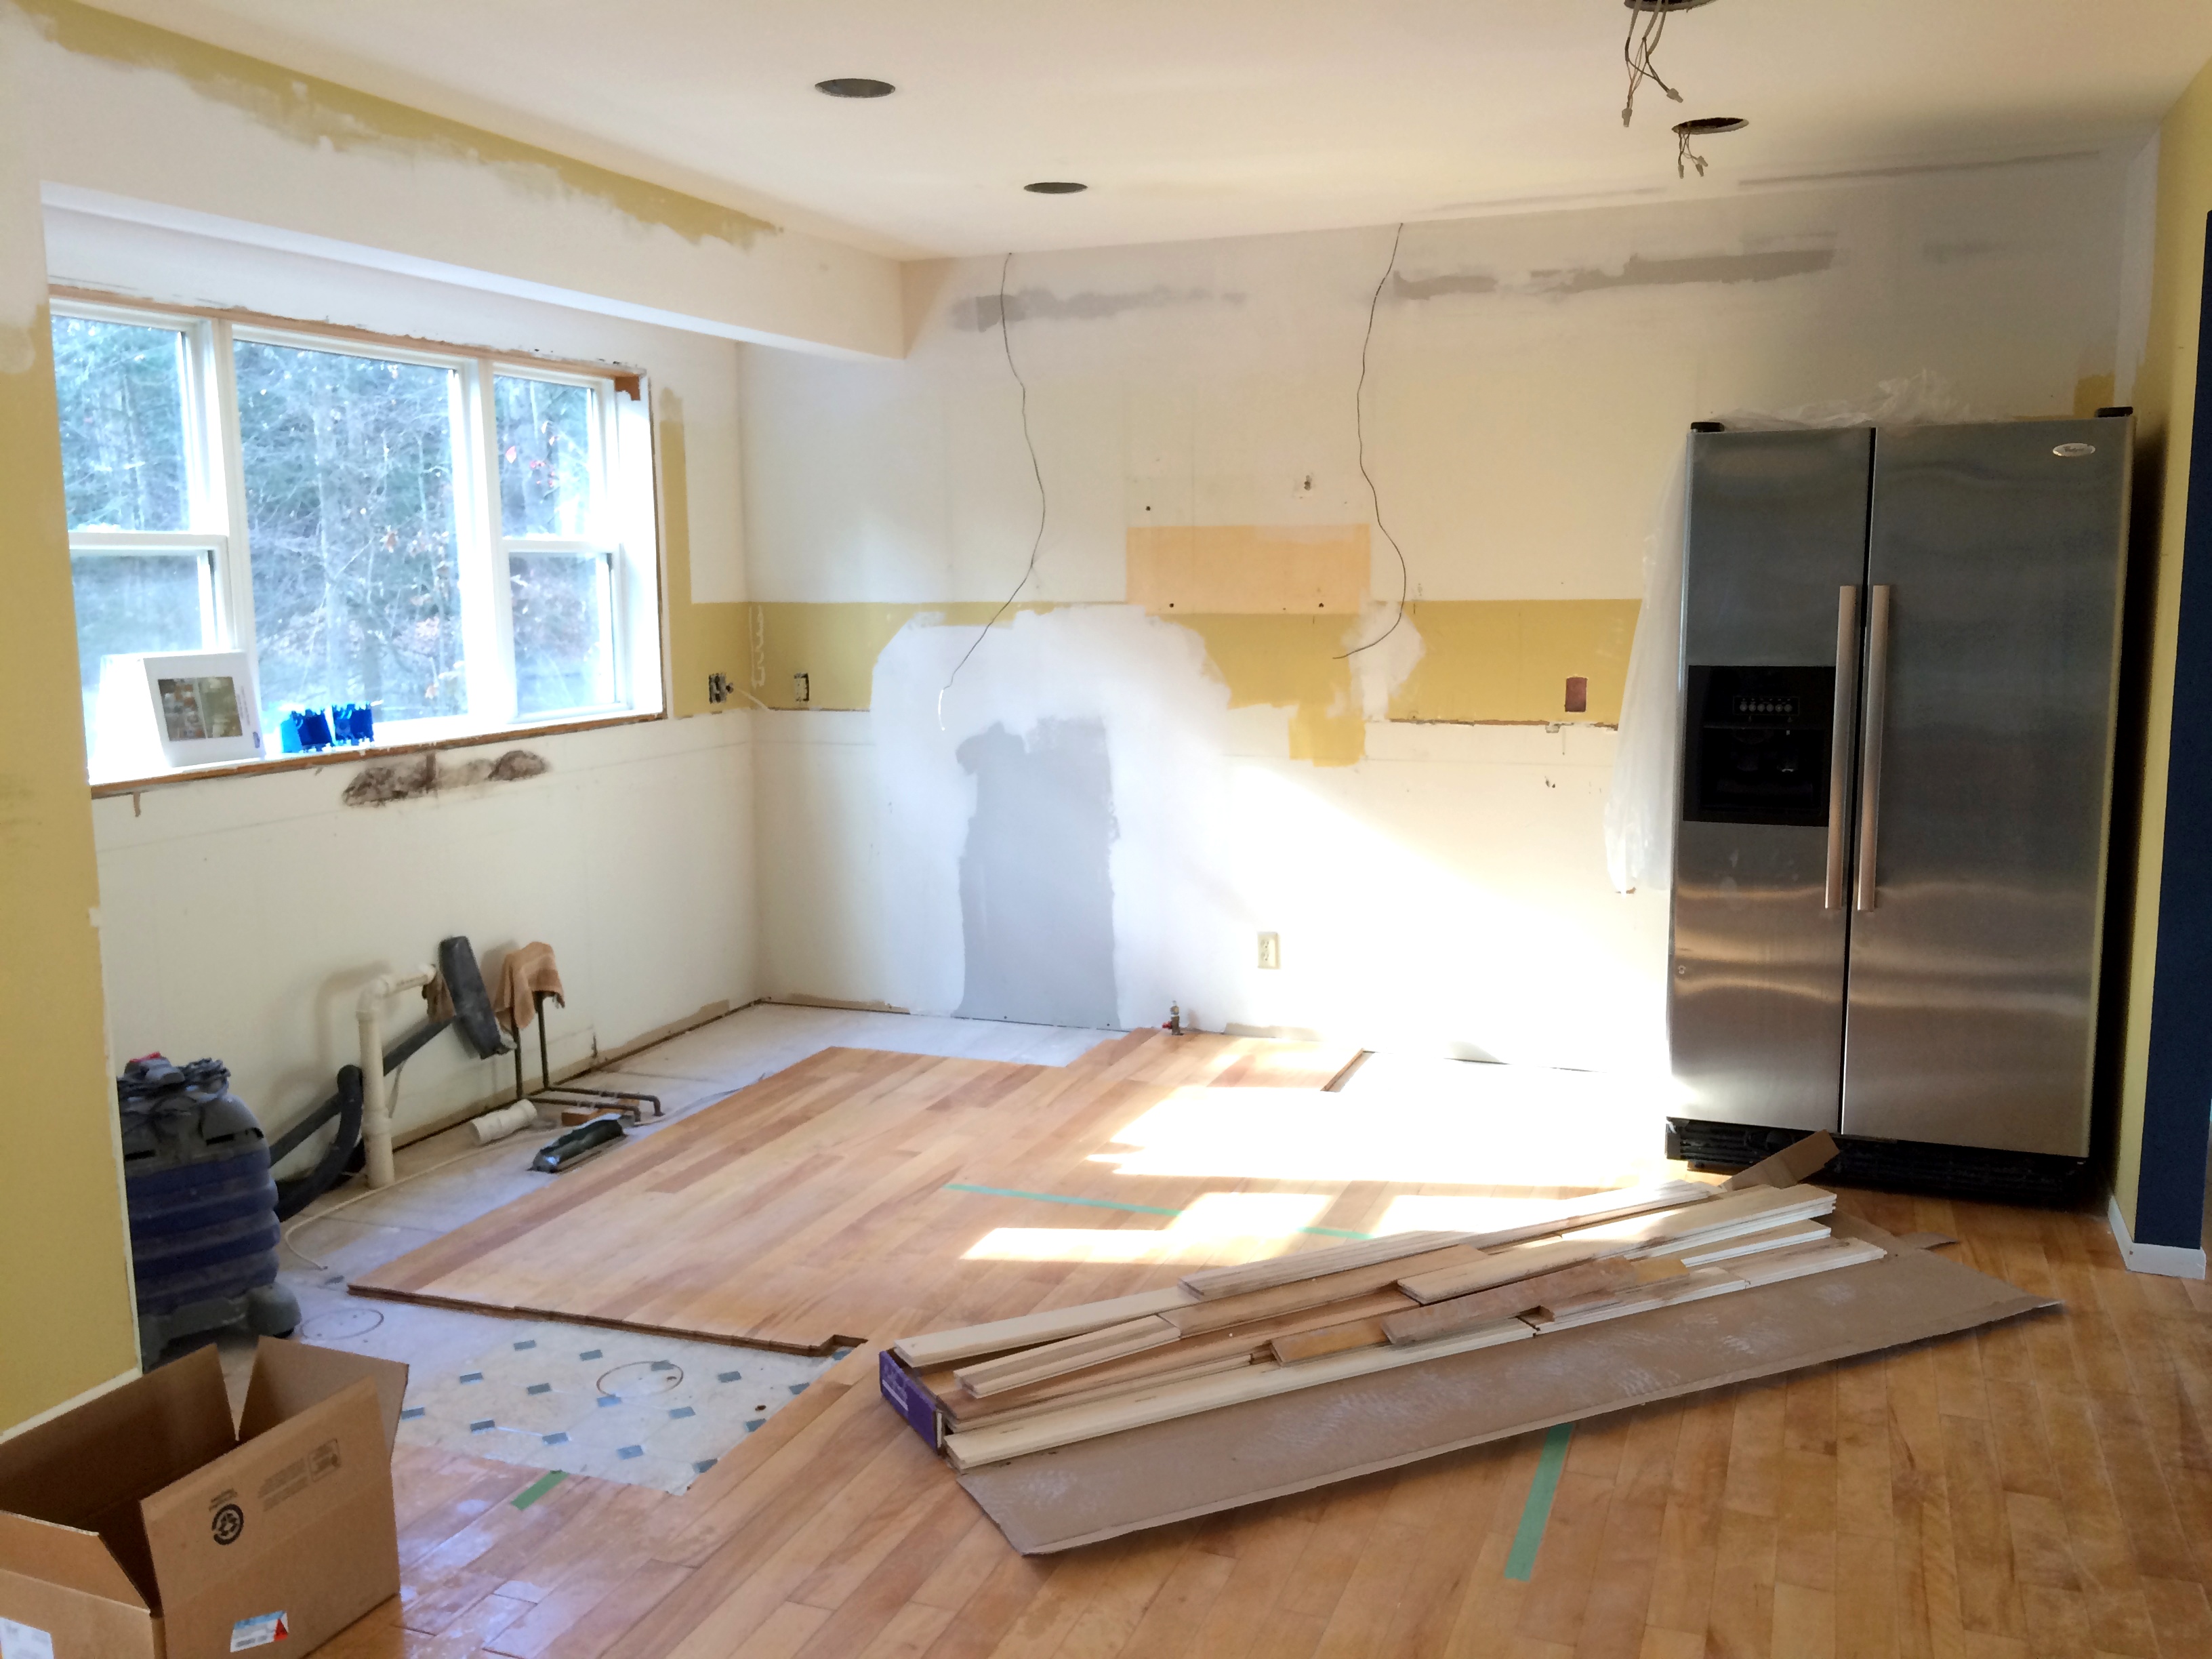
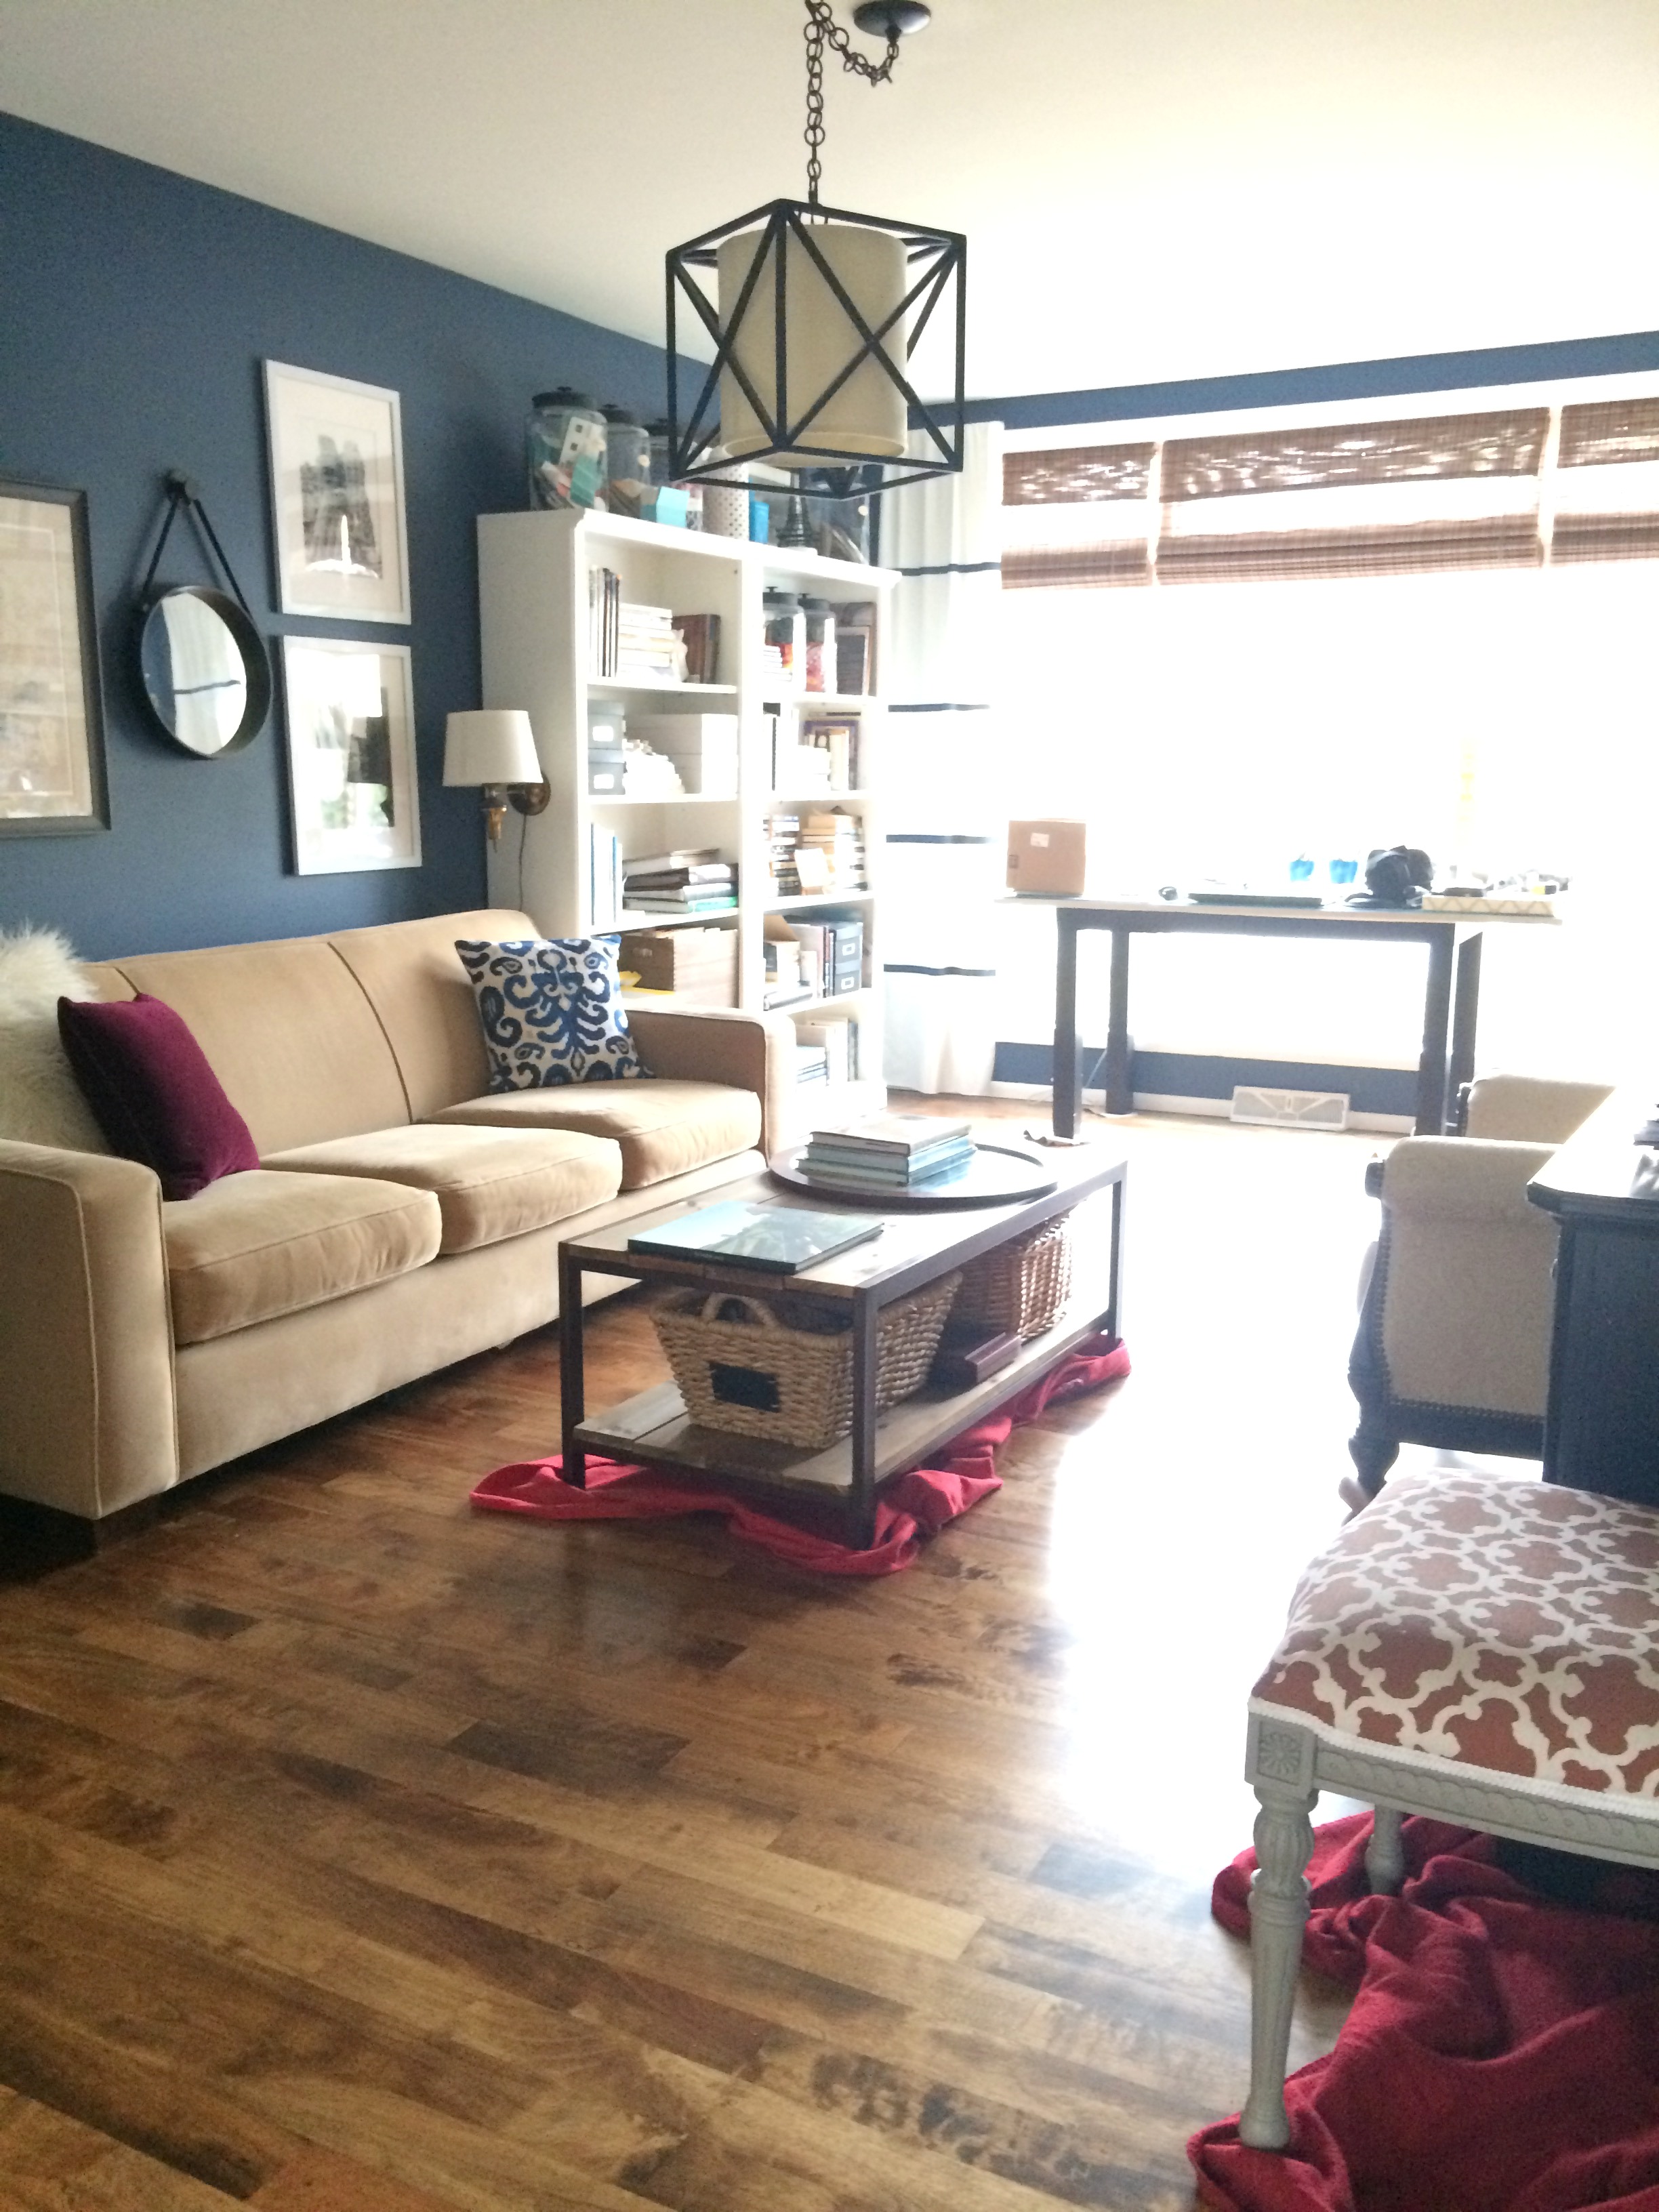
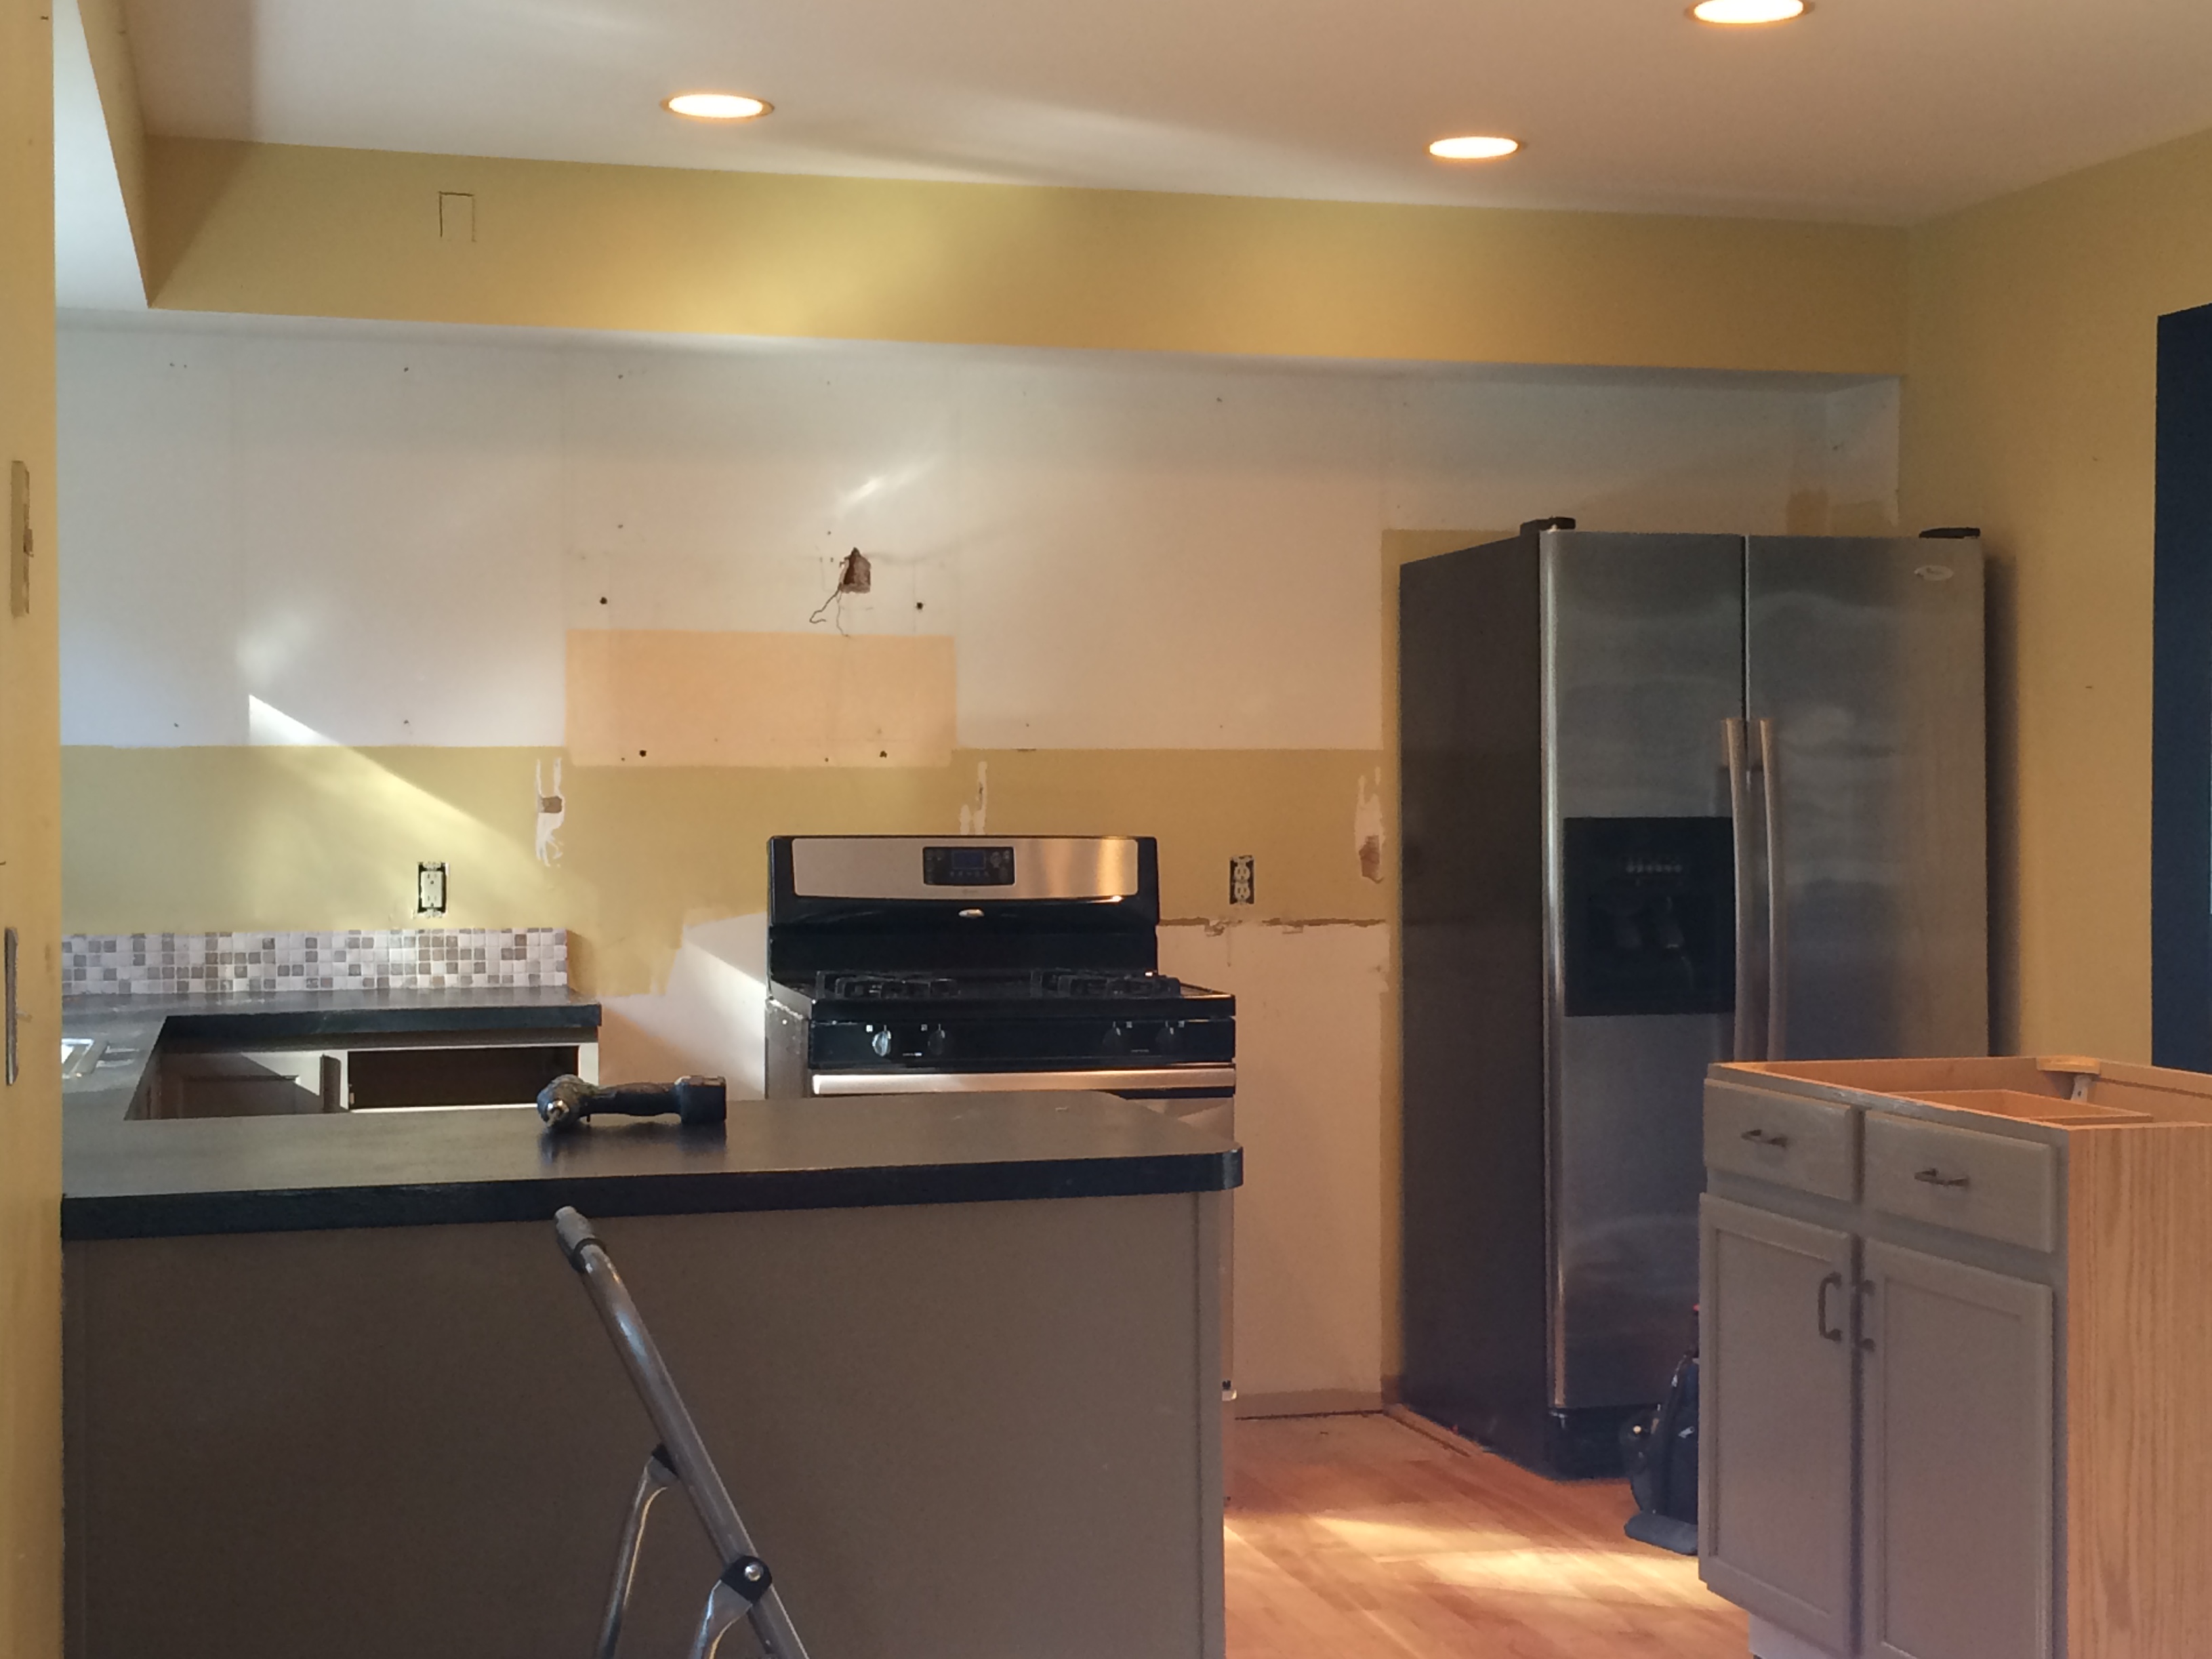
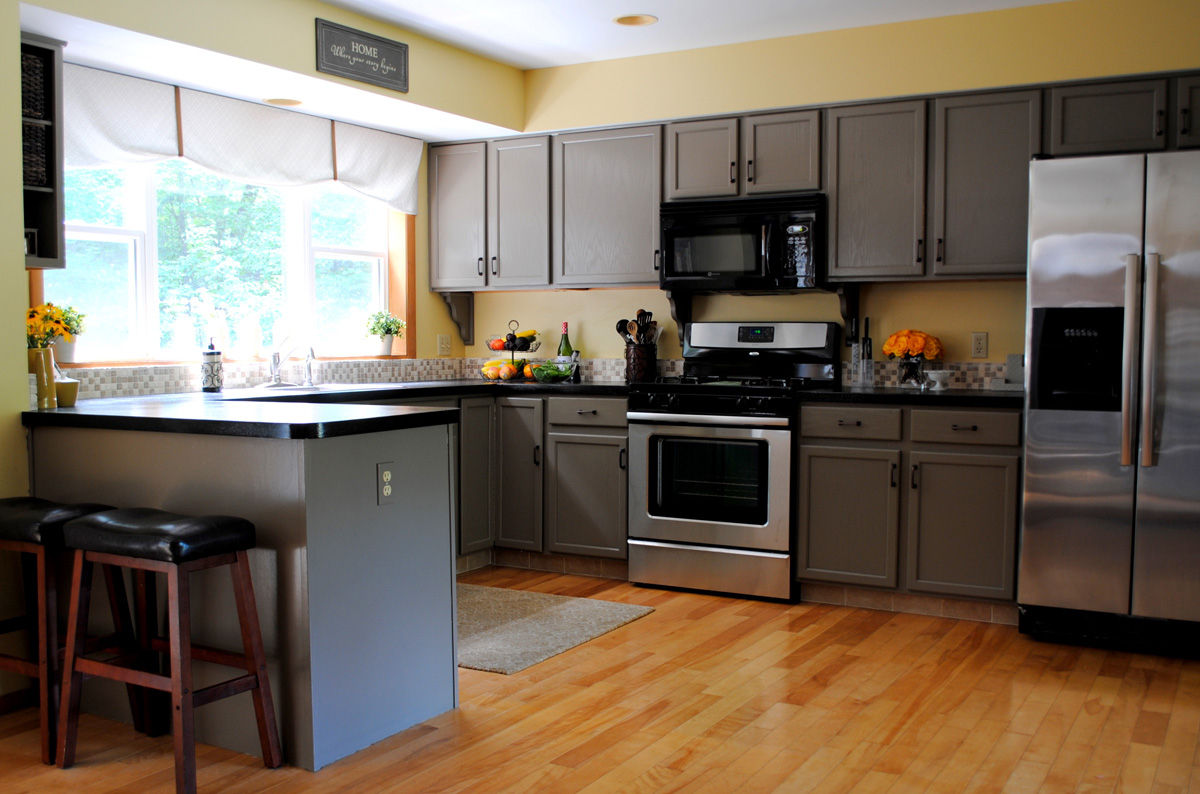
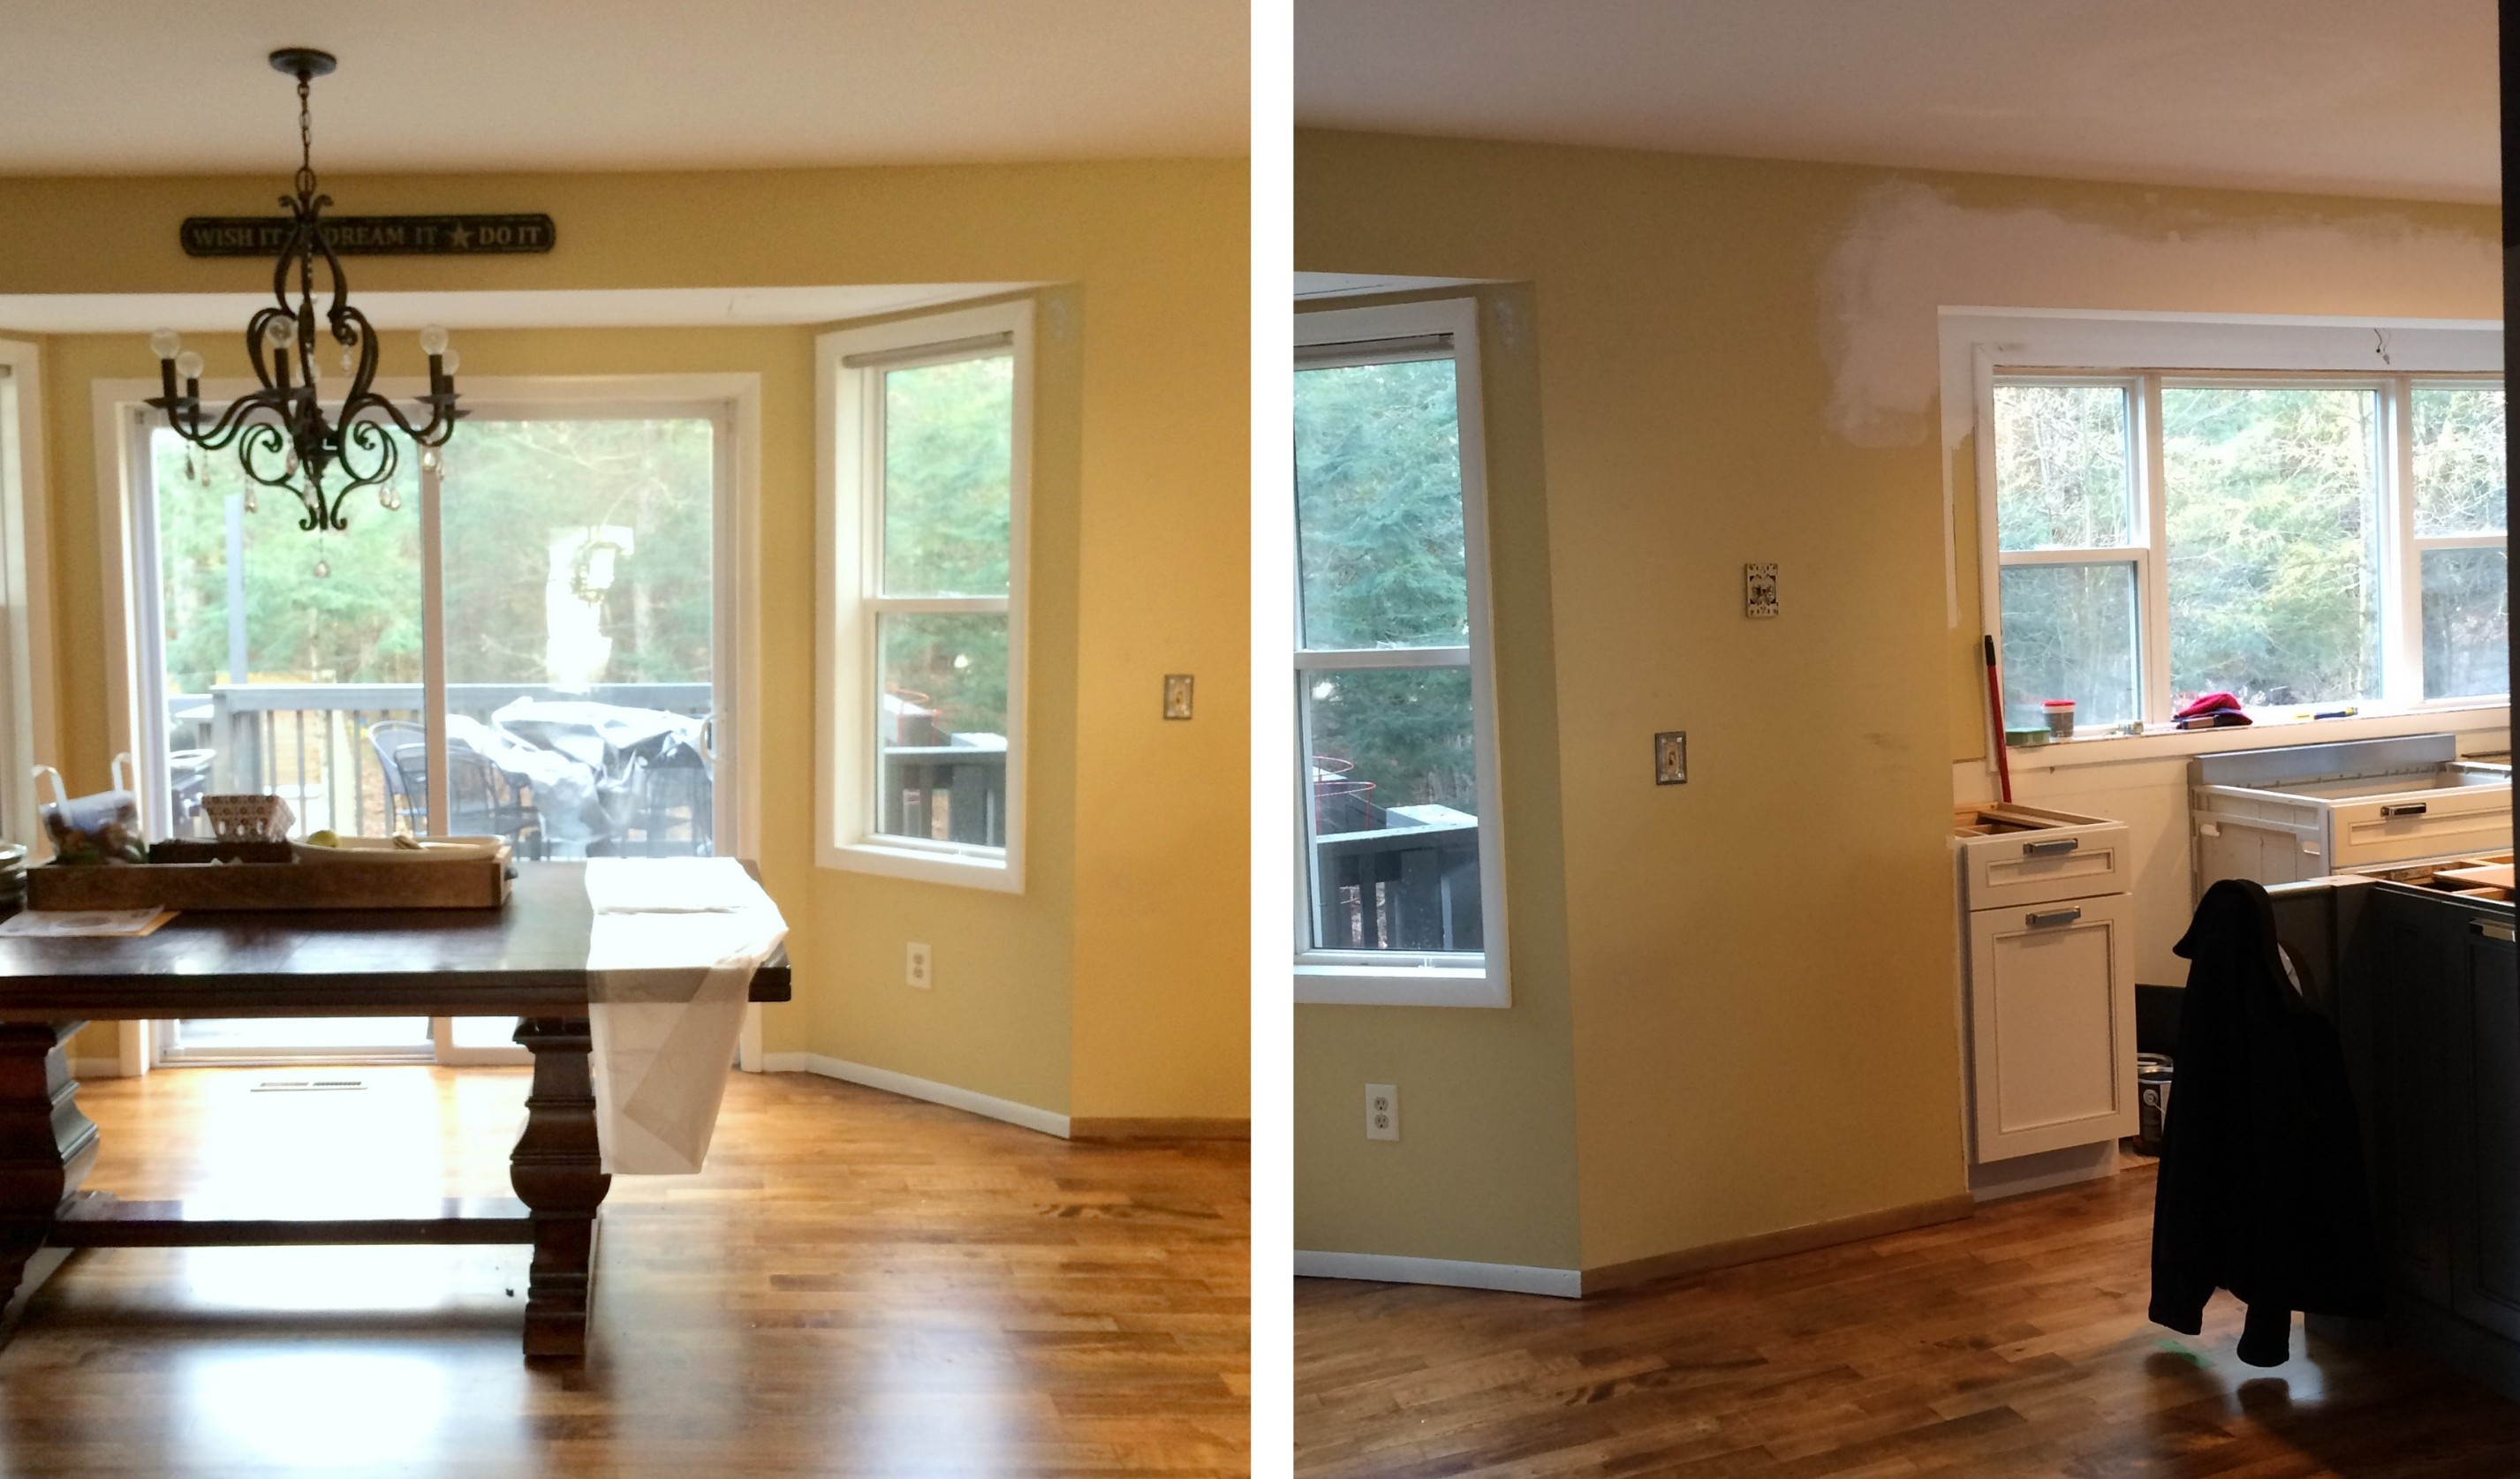
This is the old color.
The first floor of our home is an open concept plan, so basically it’s one room that leads to the next, that leads to the next. There has always been a different paint color in each room, which I feel defines each of the spaces bringing uniqueness and character.
Creating definition, but at the same time a flow with various paint colors can be challenging, but if a color palette is set that works well together, the result can be gorgeous.
Of course, that’s what I was striving for >>> VARIATION + FLOW
THE PAINT STORY
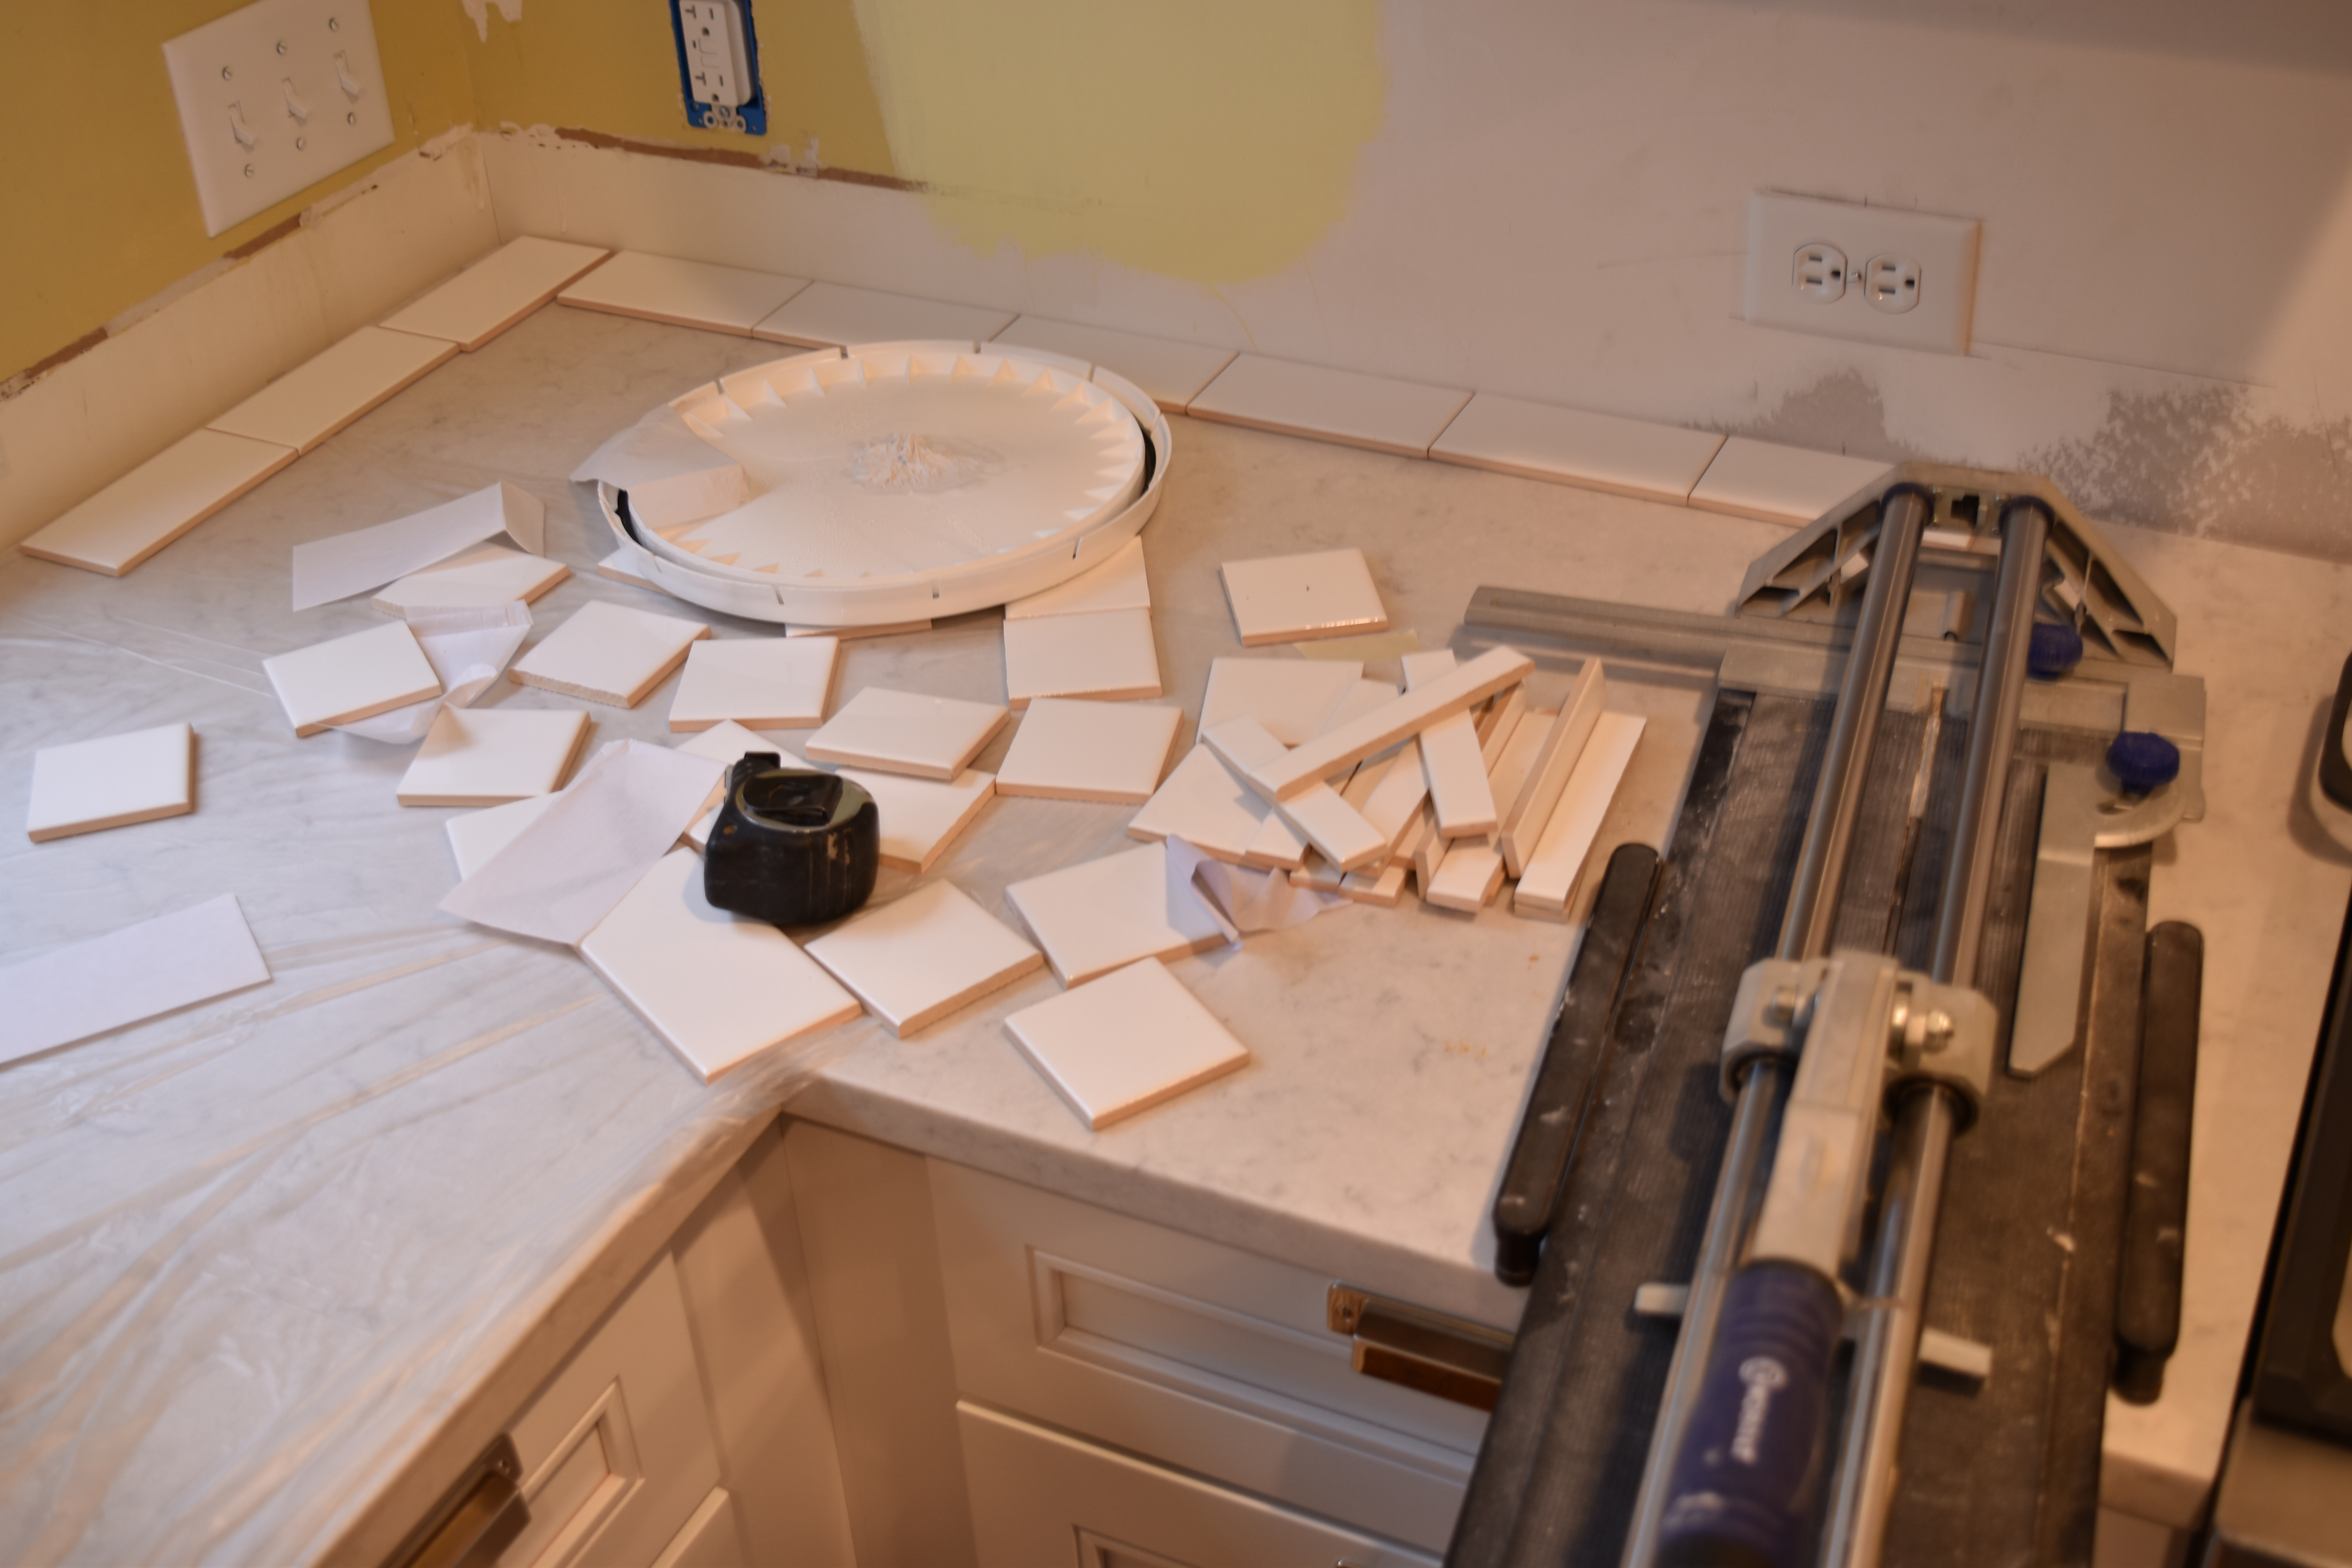
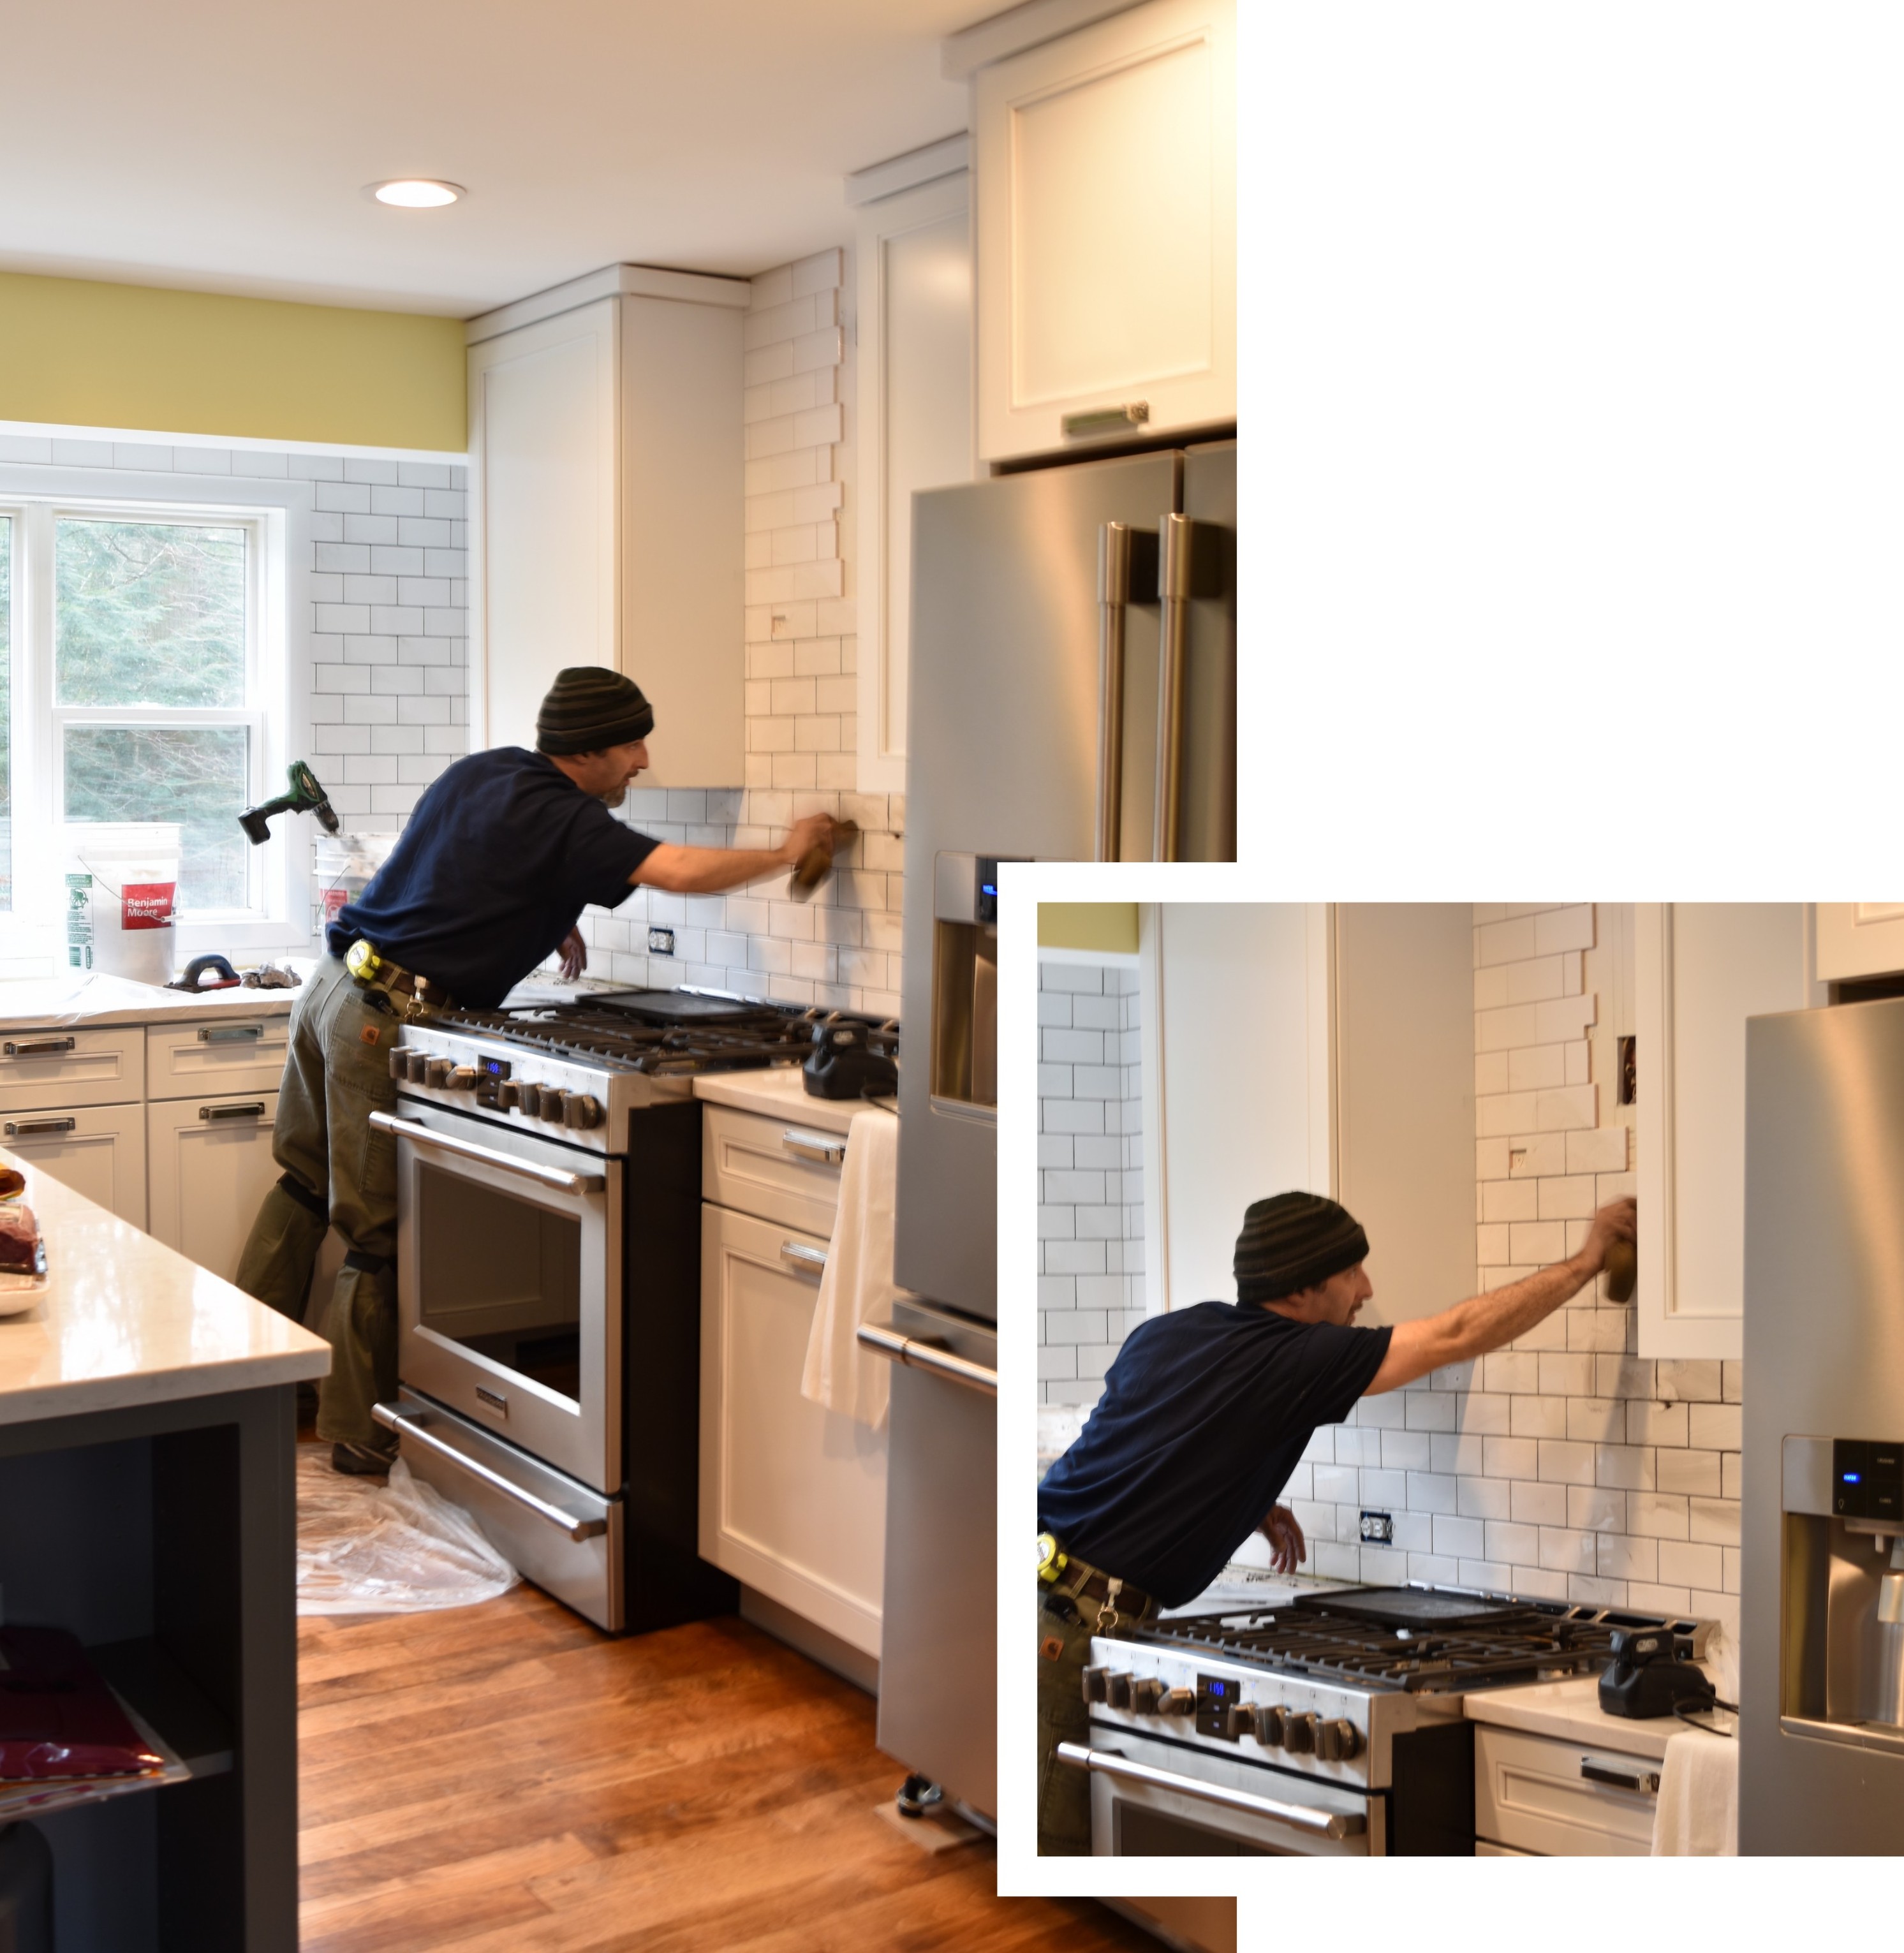
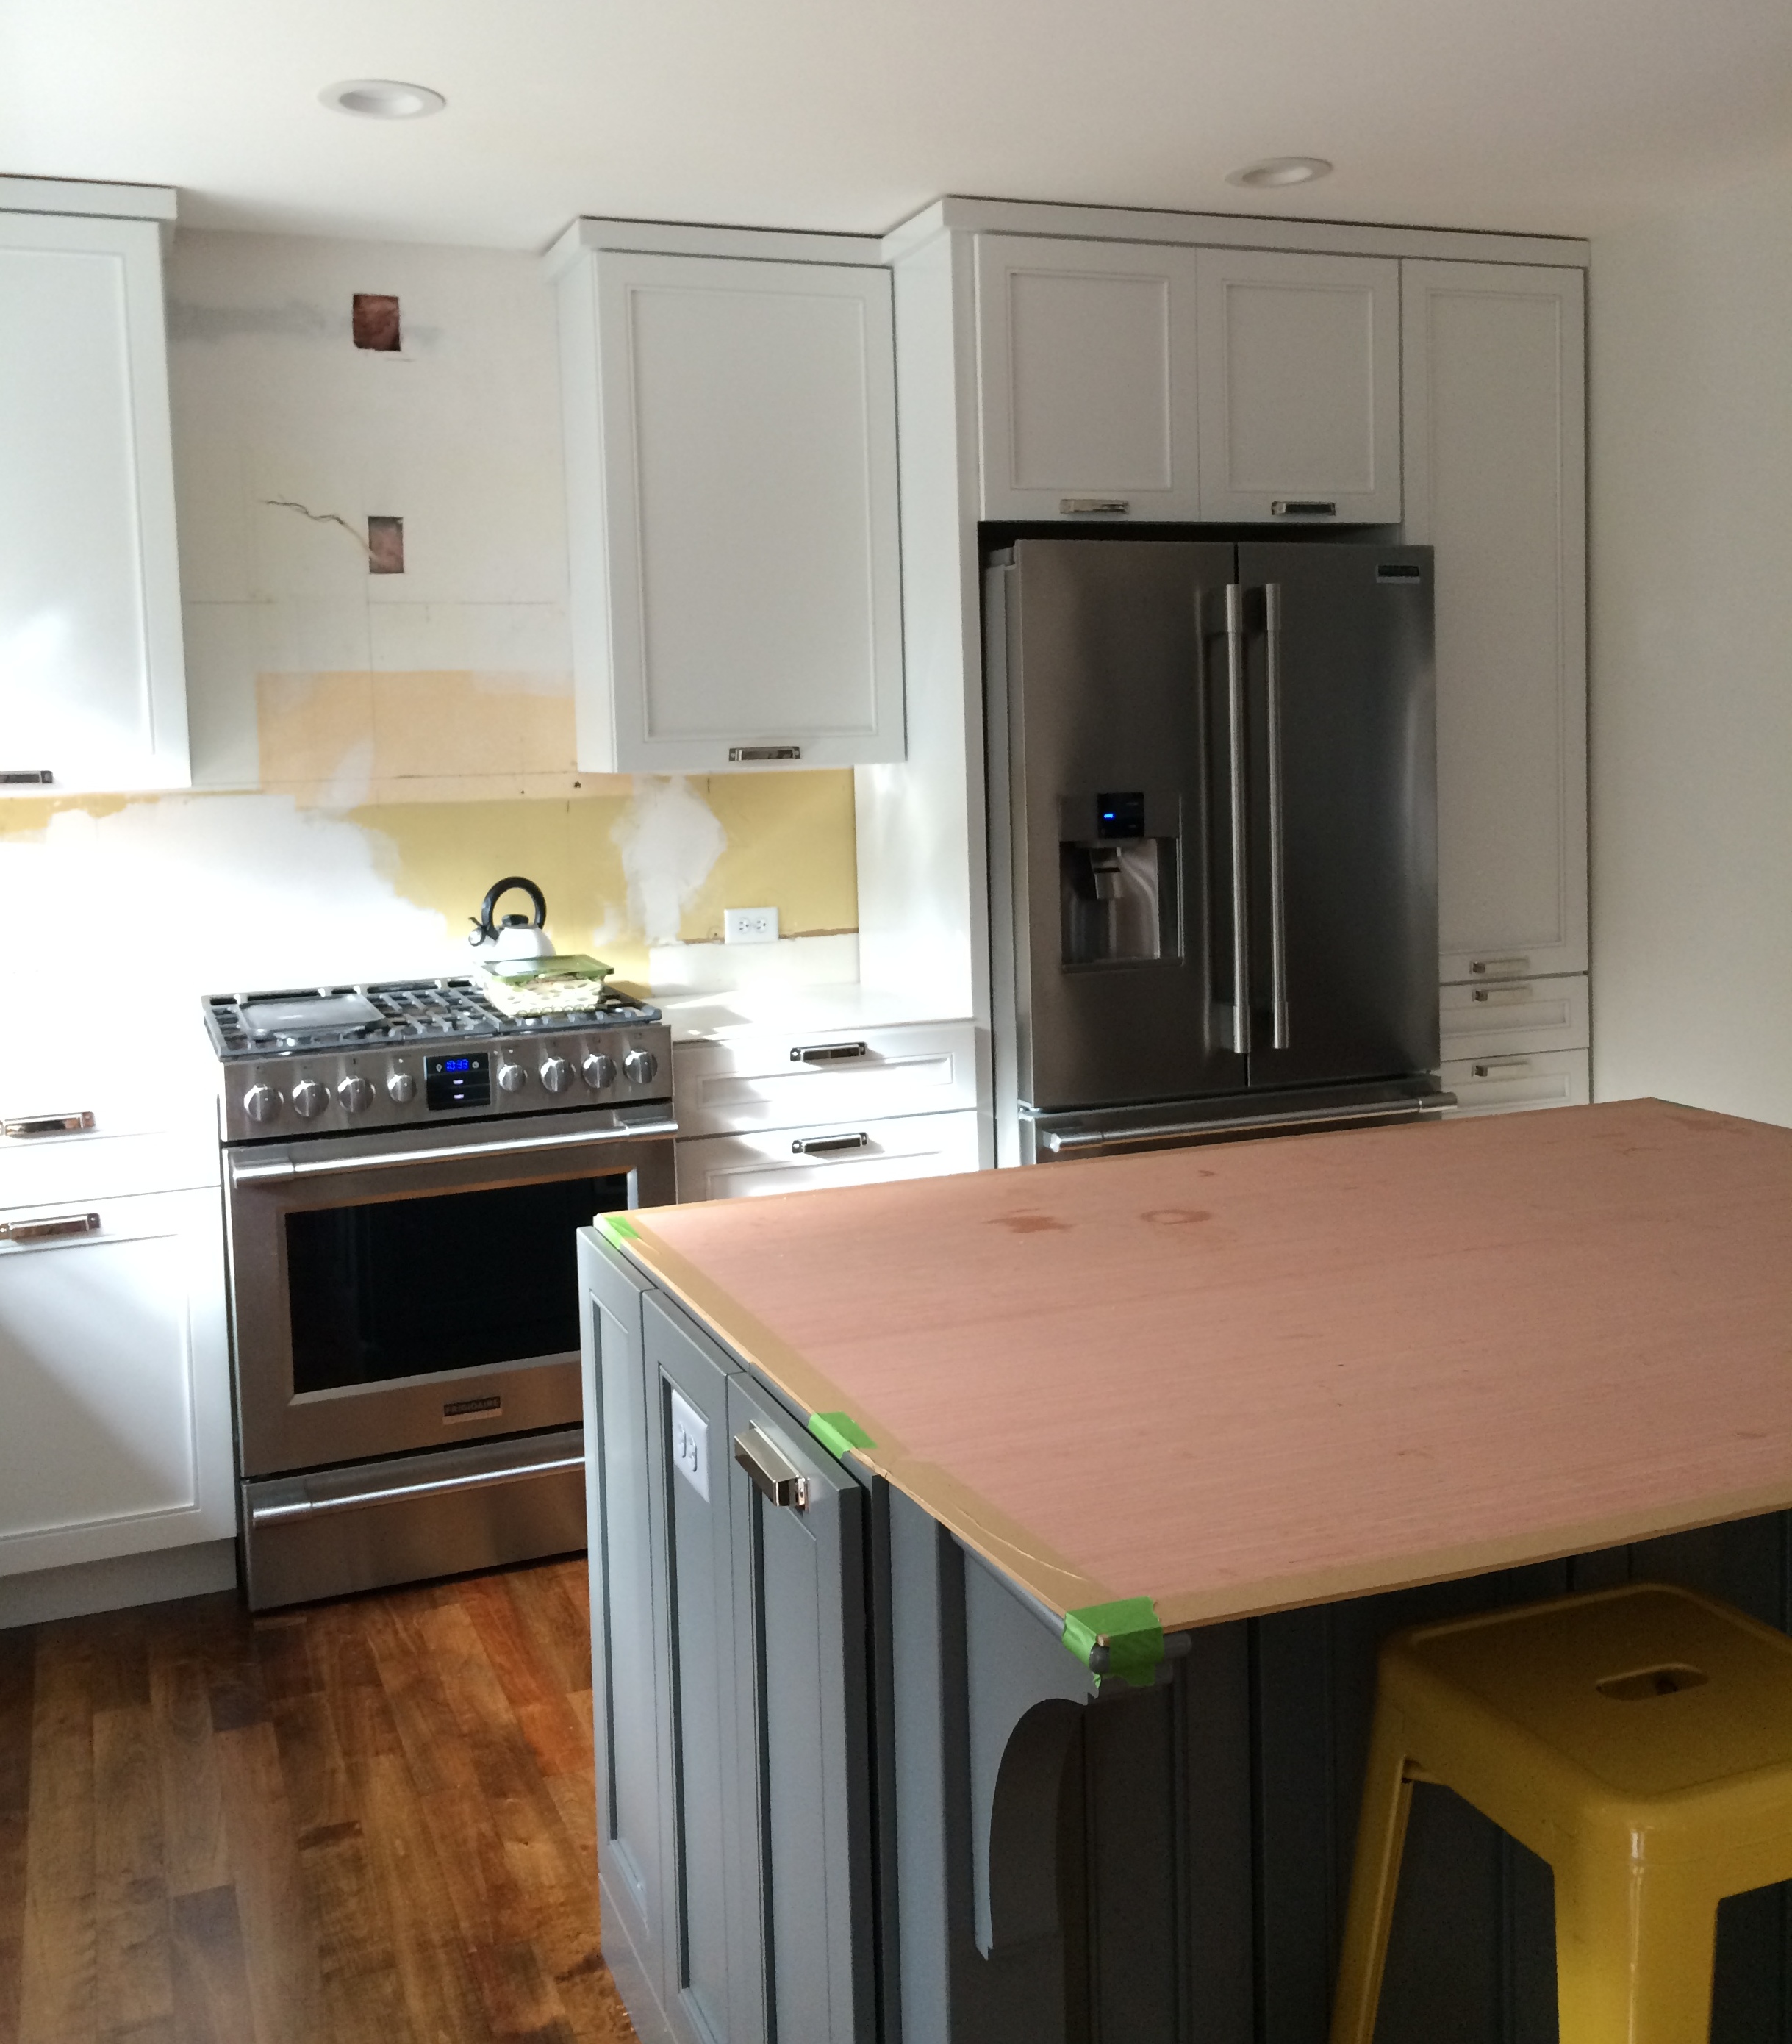
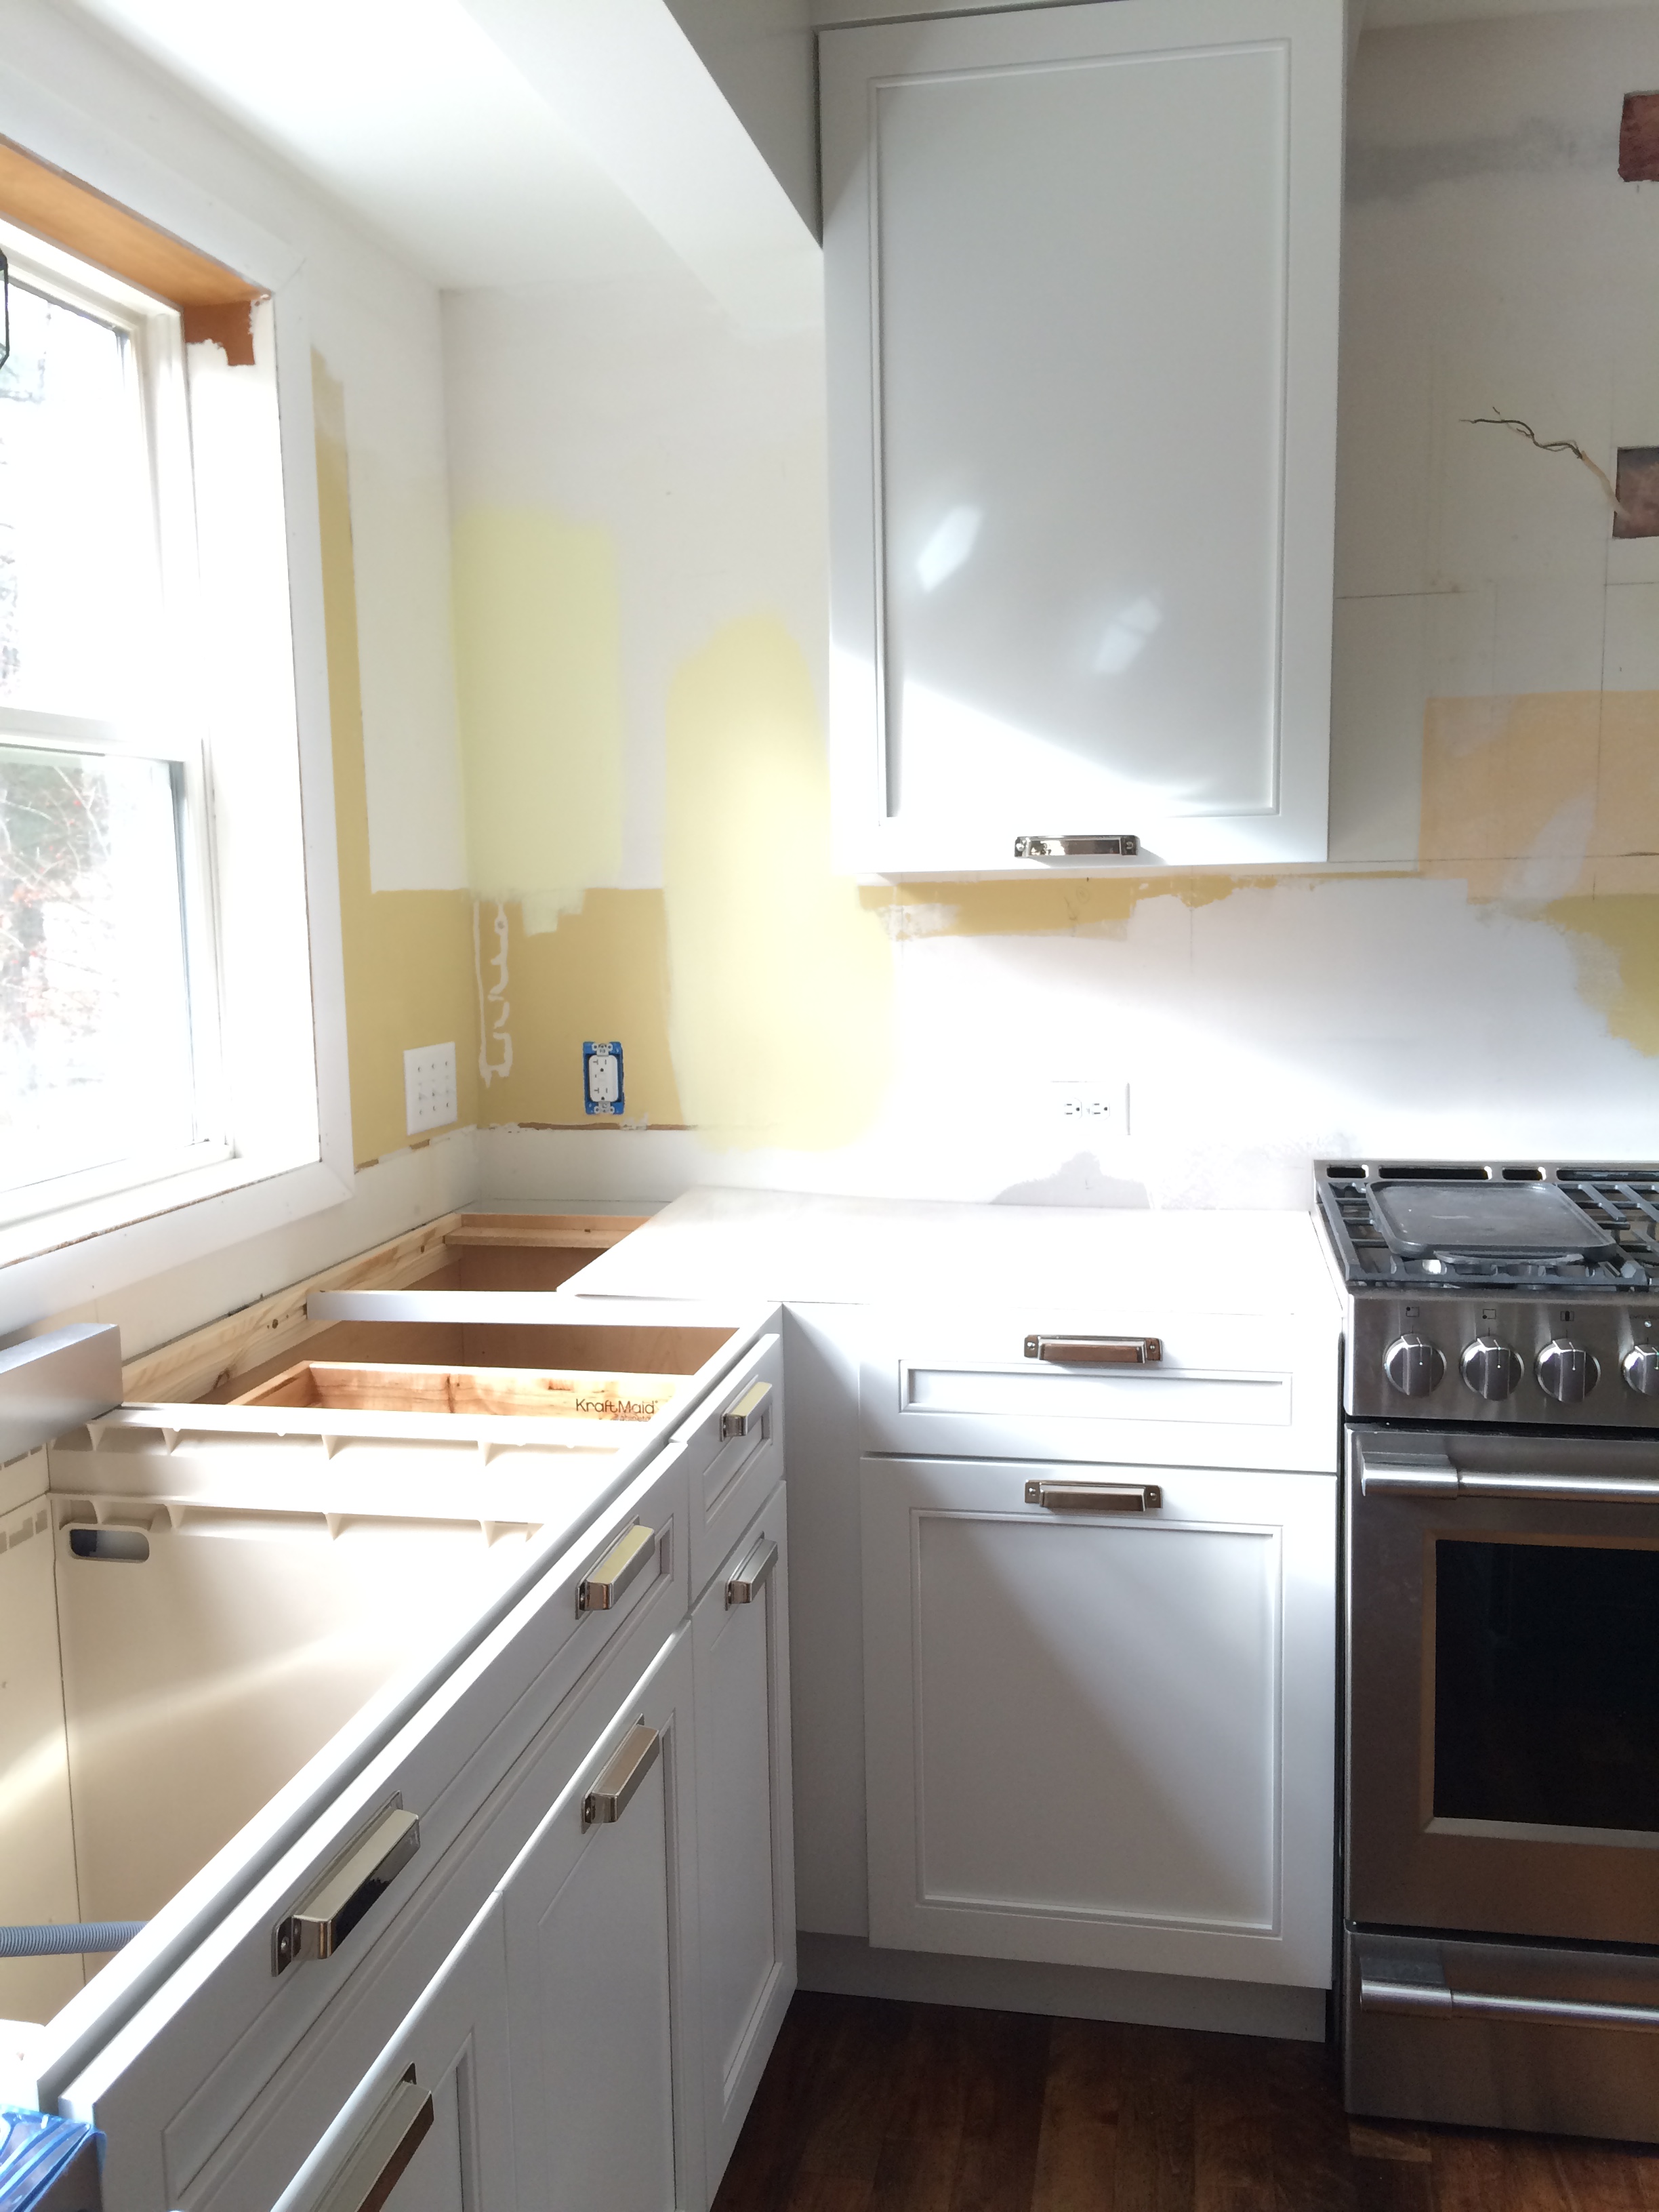
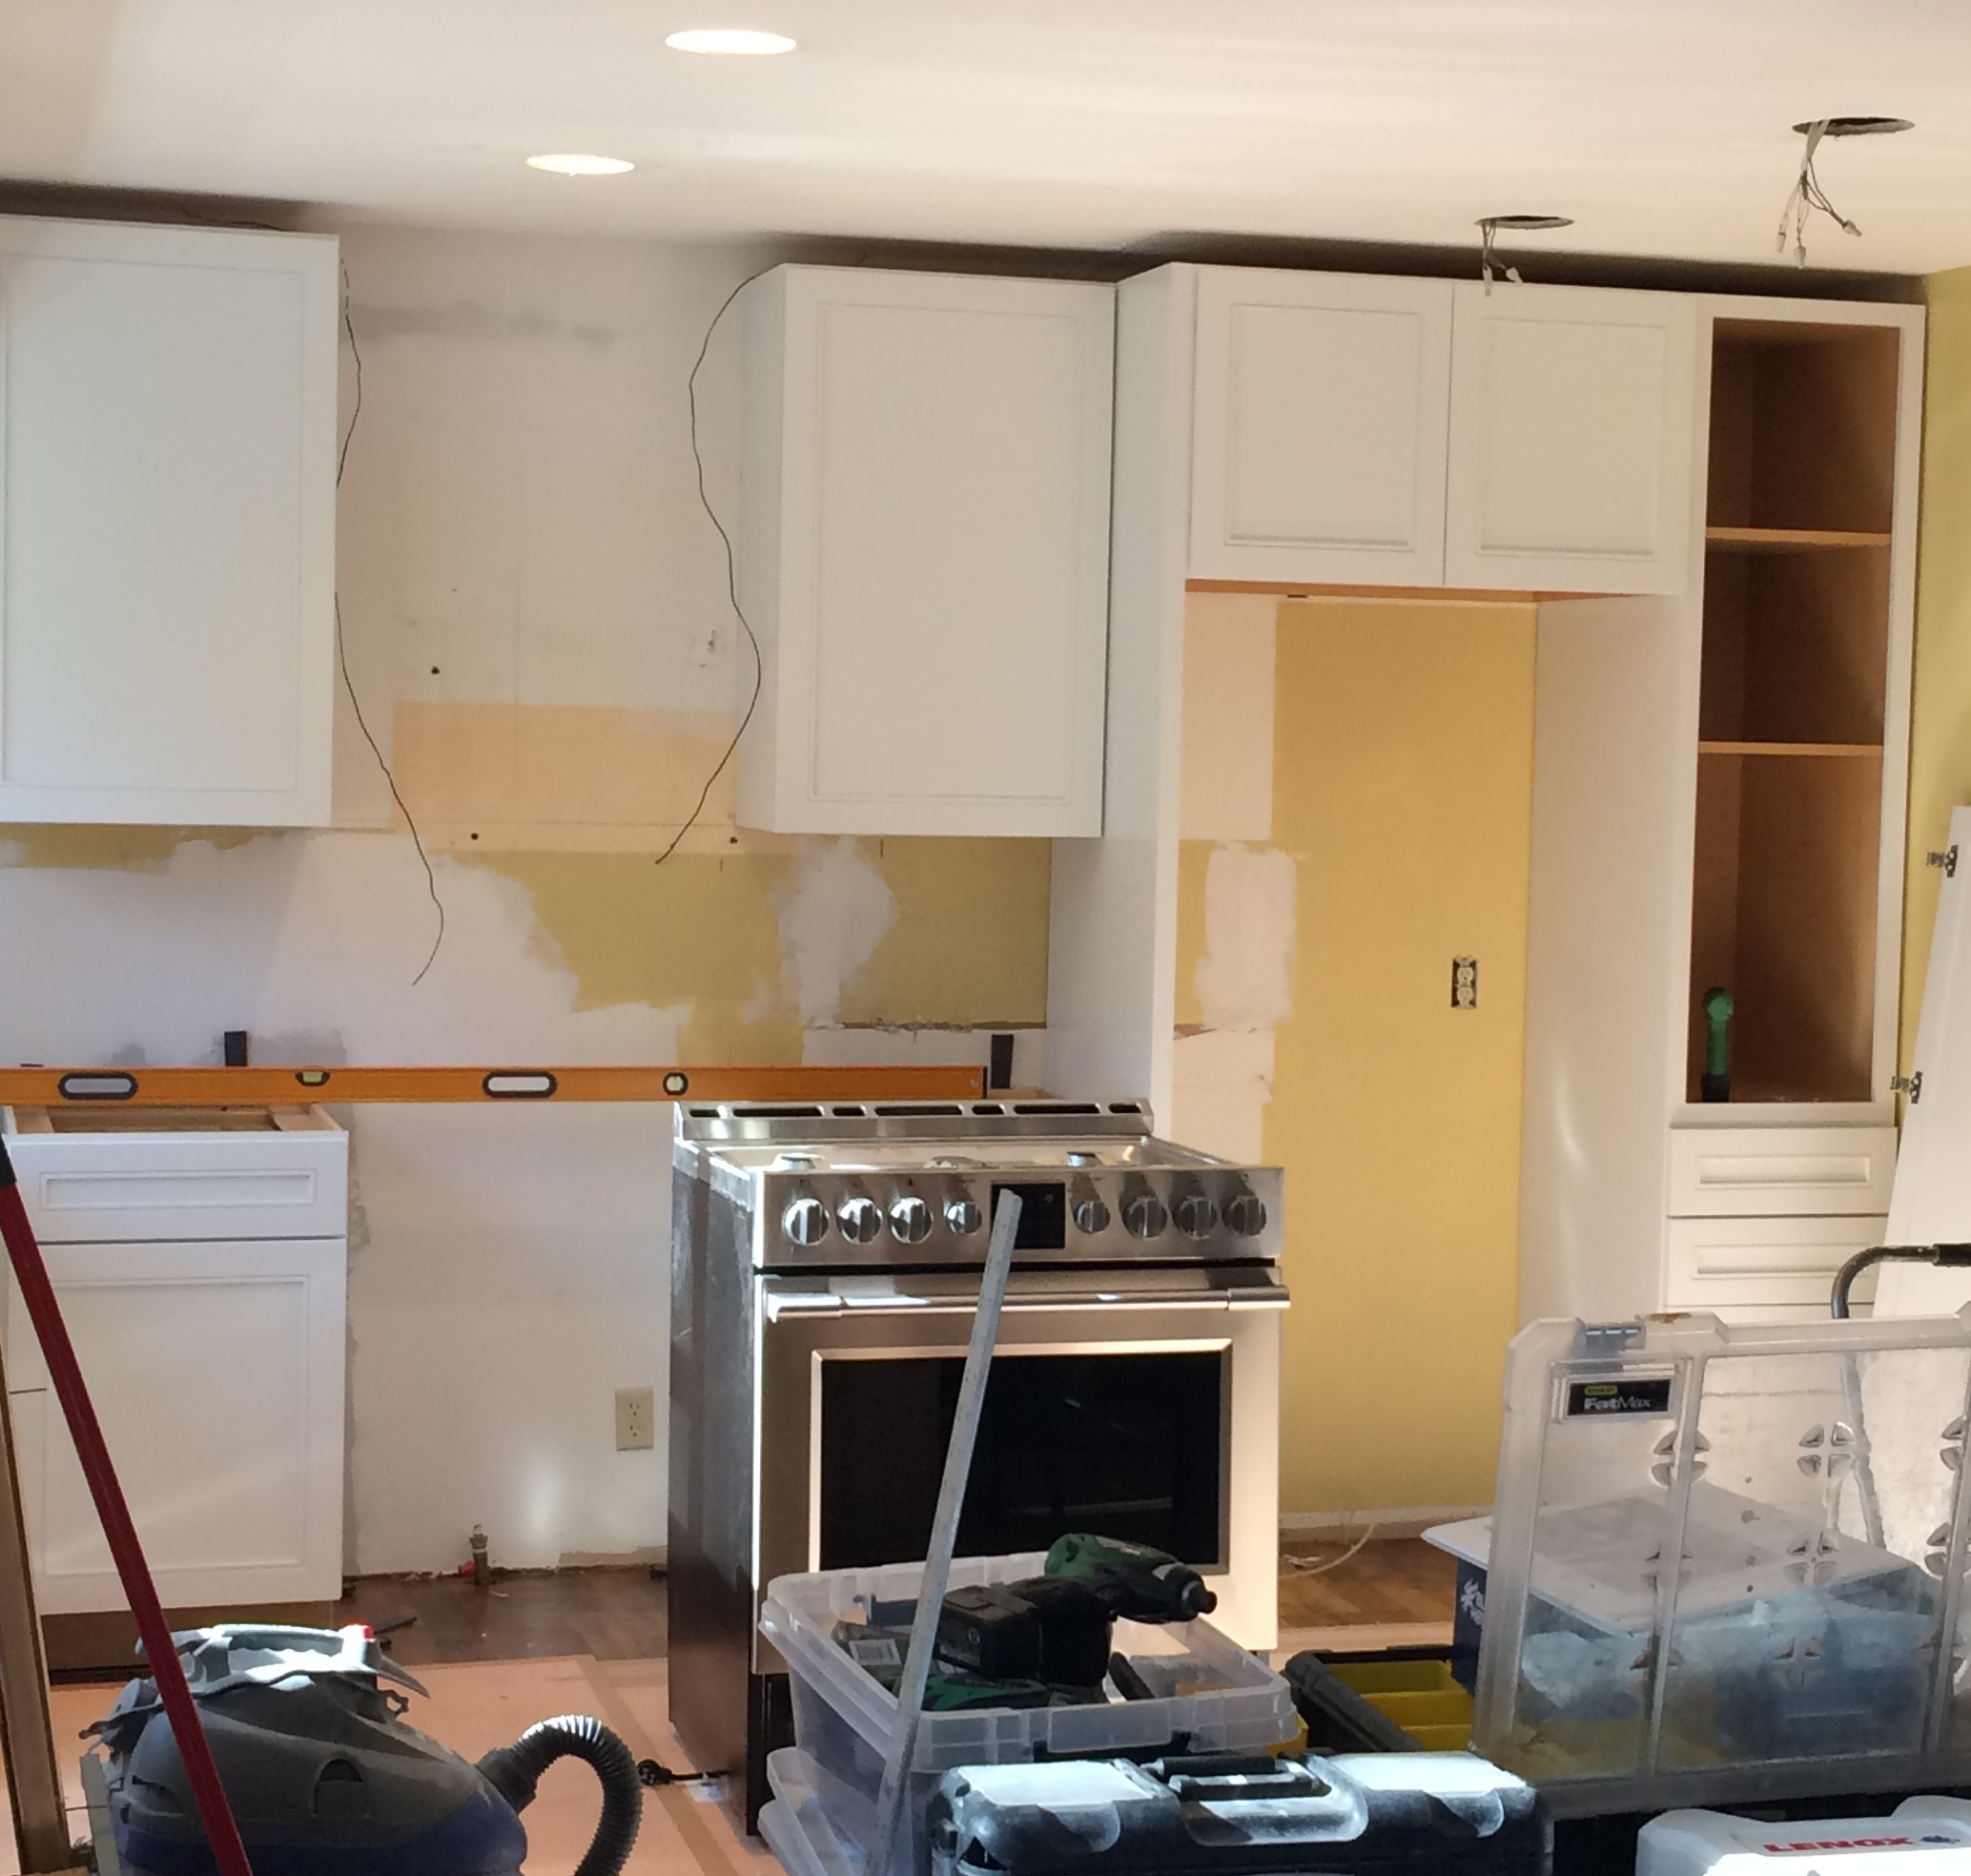
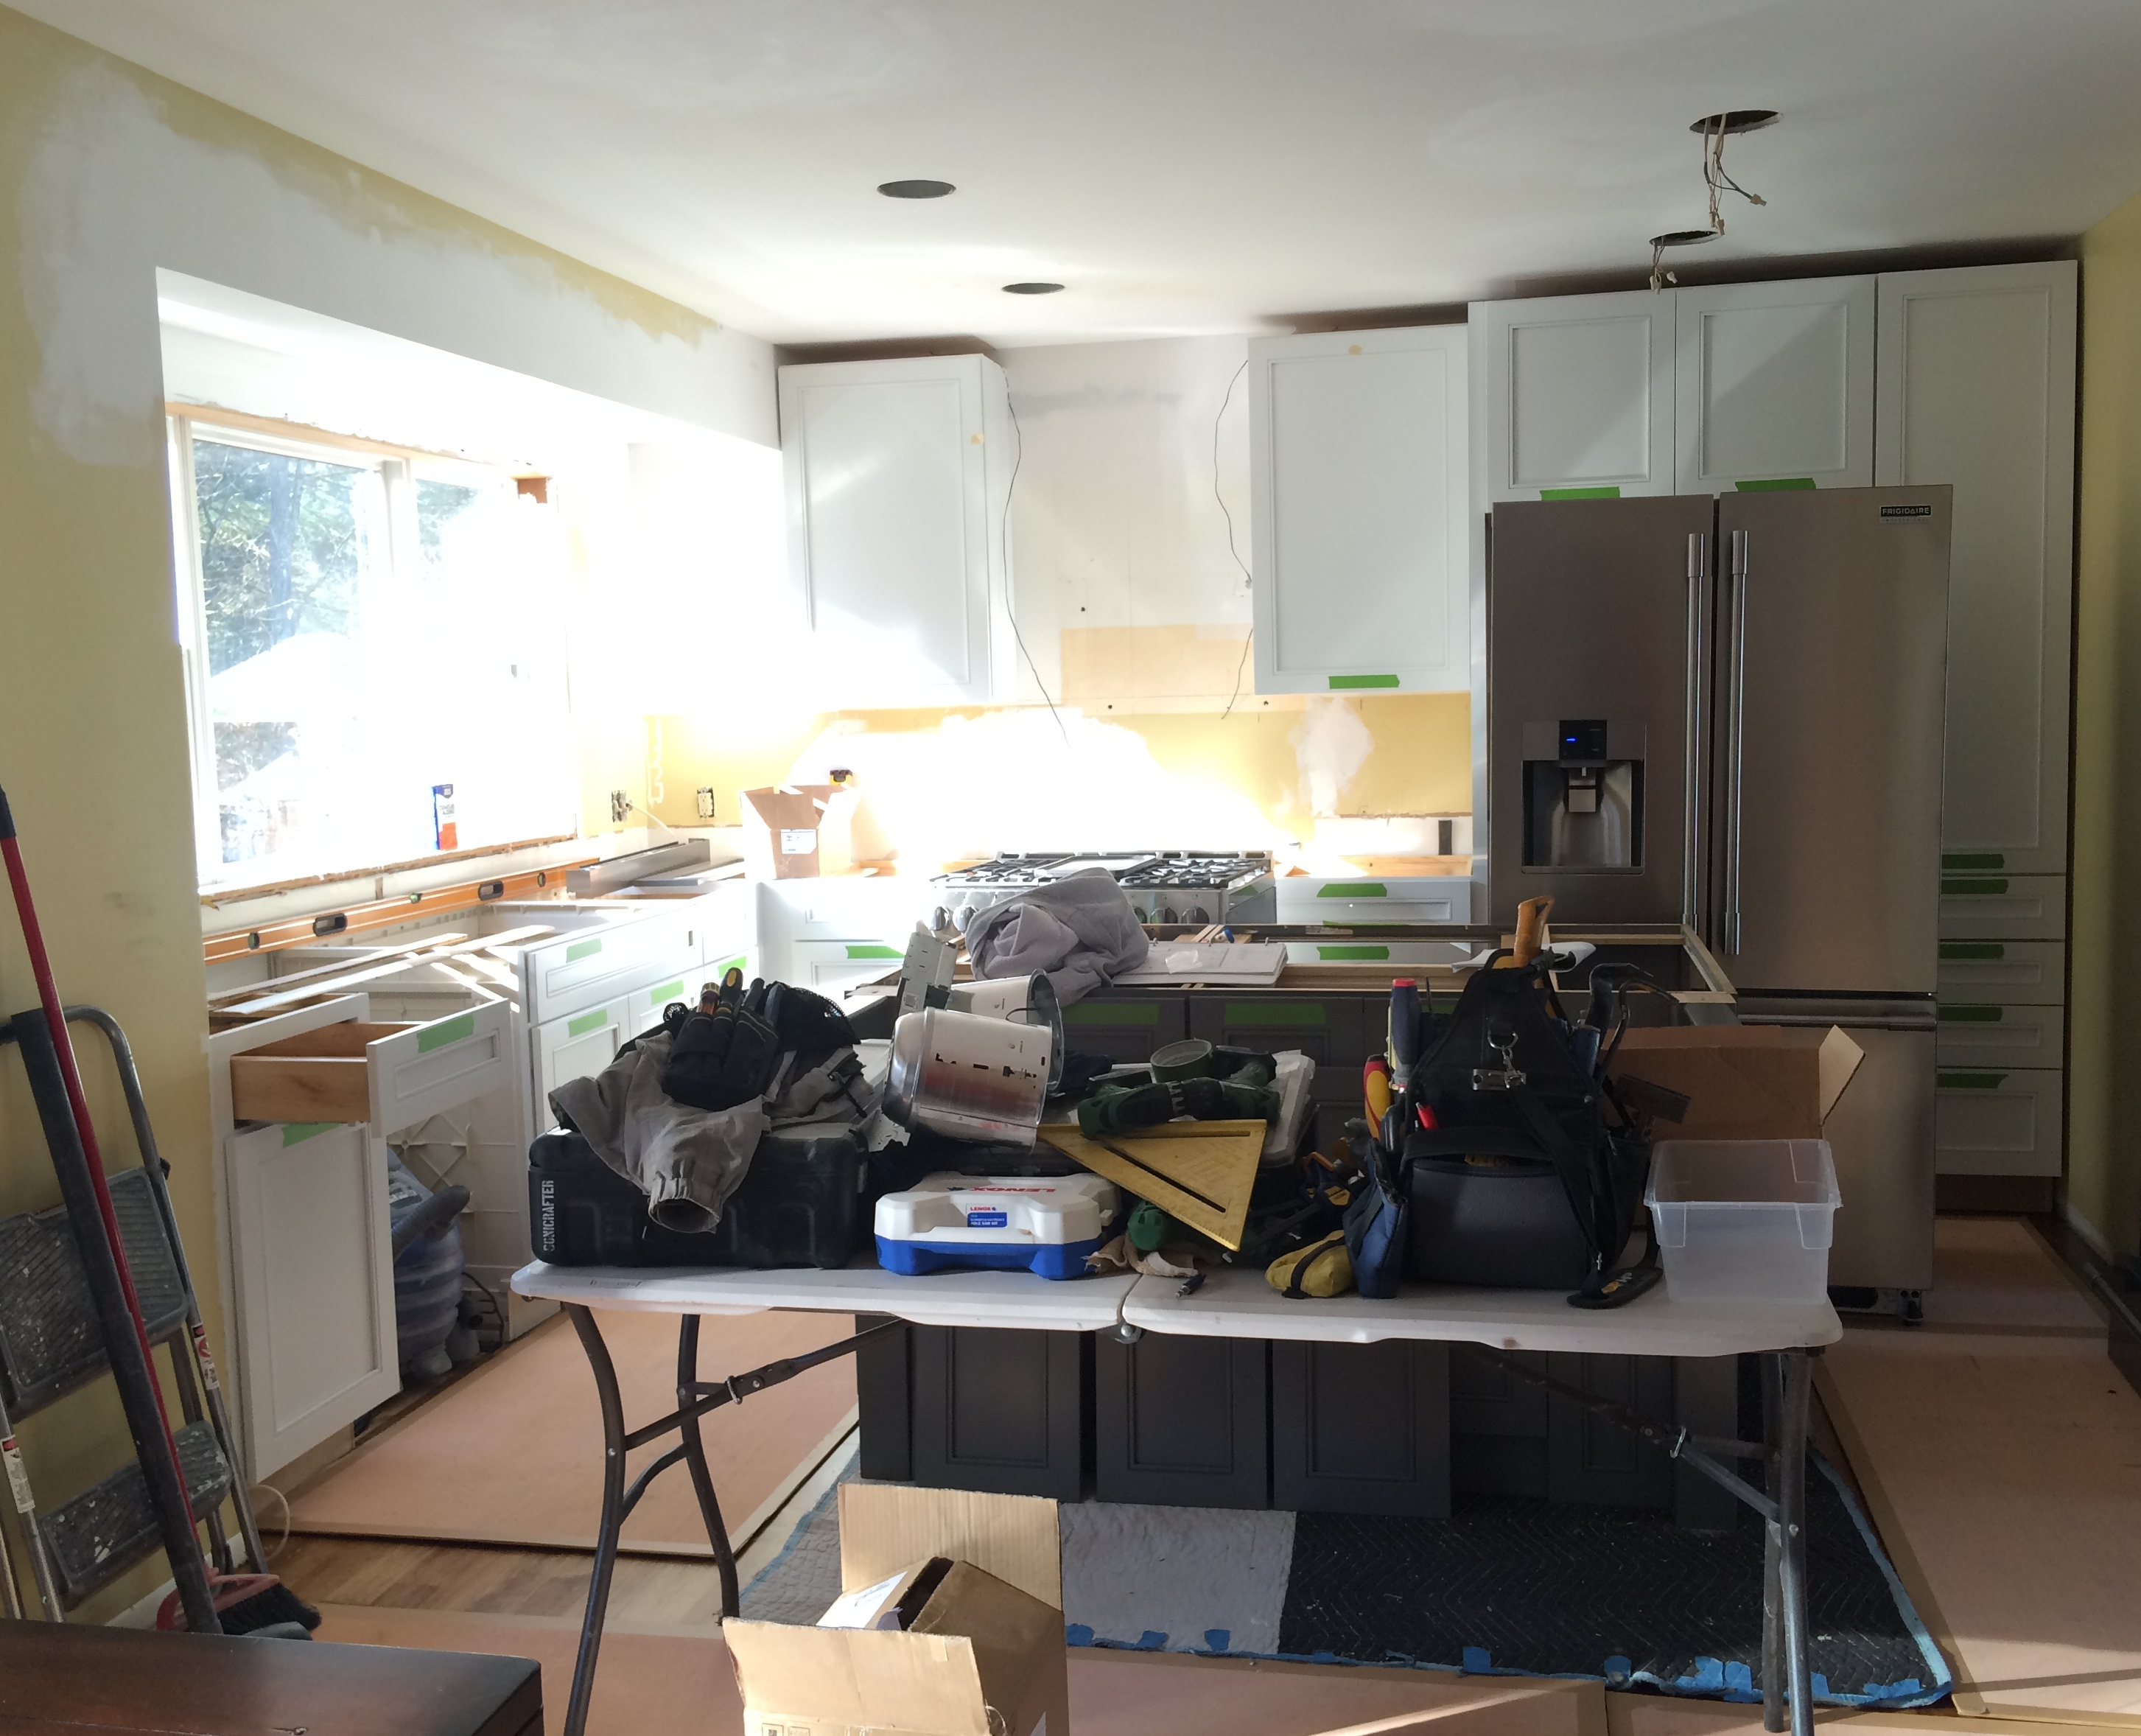
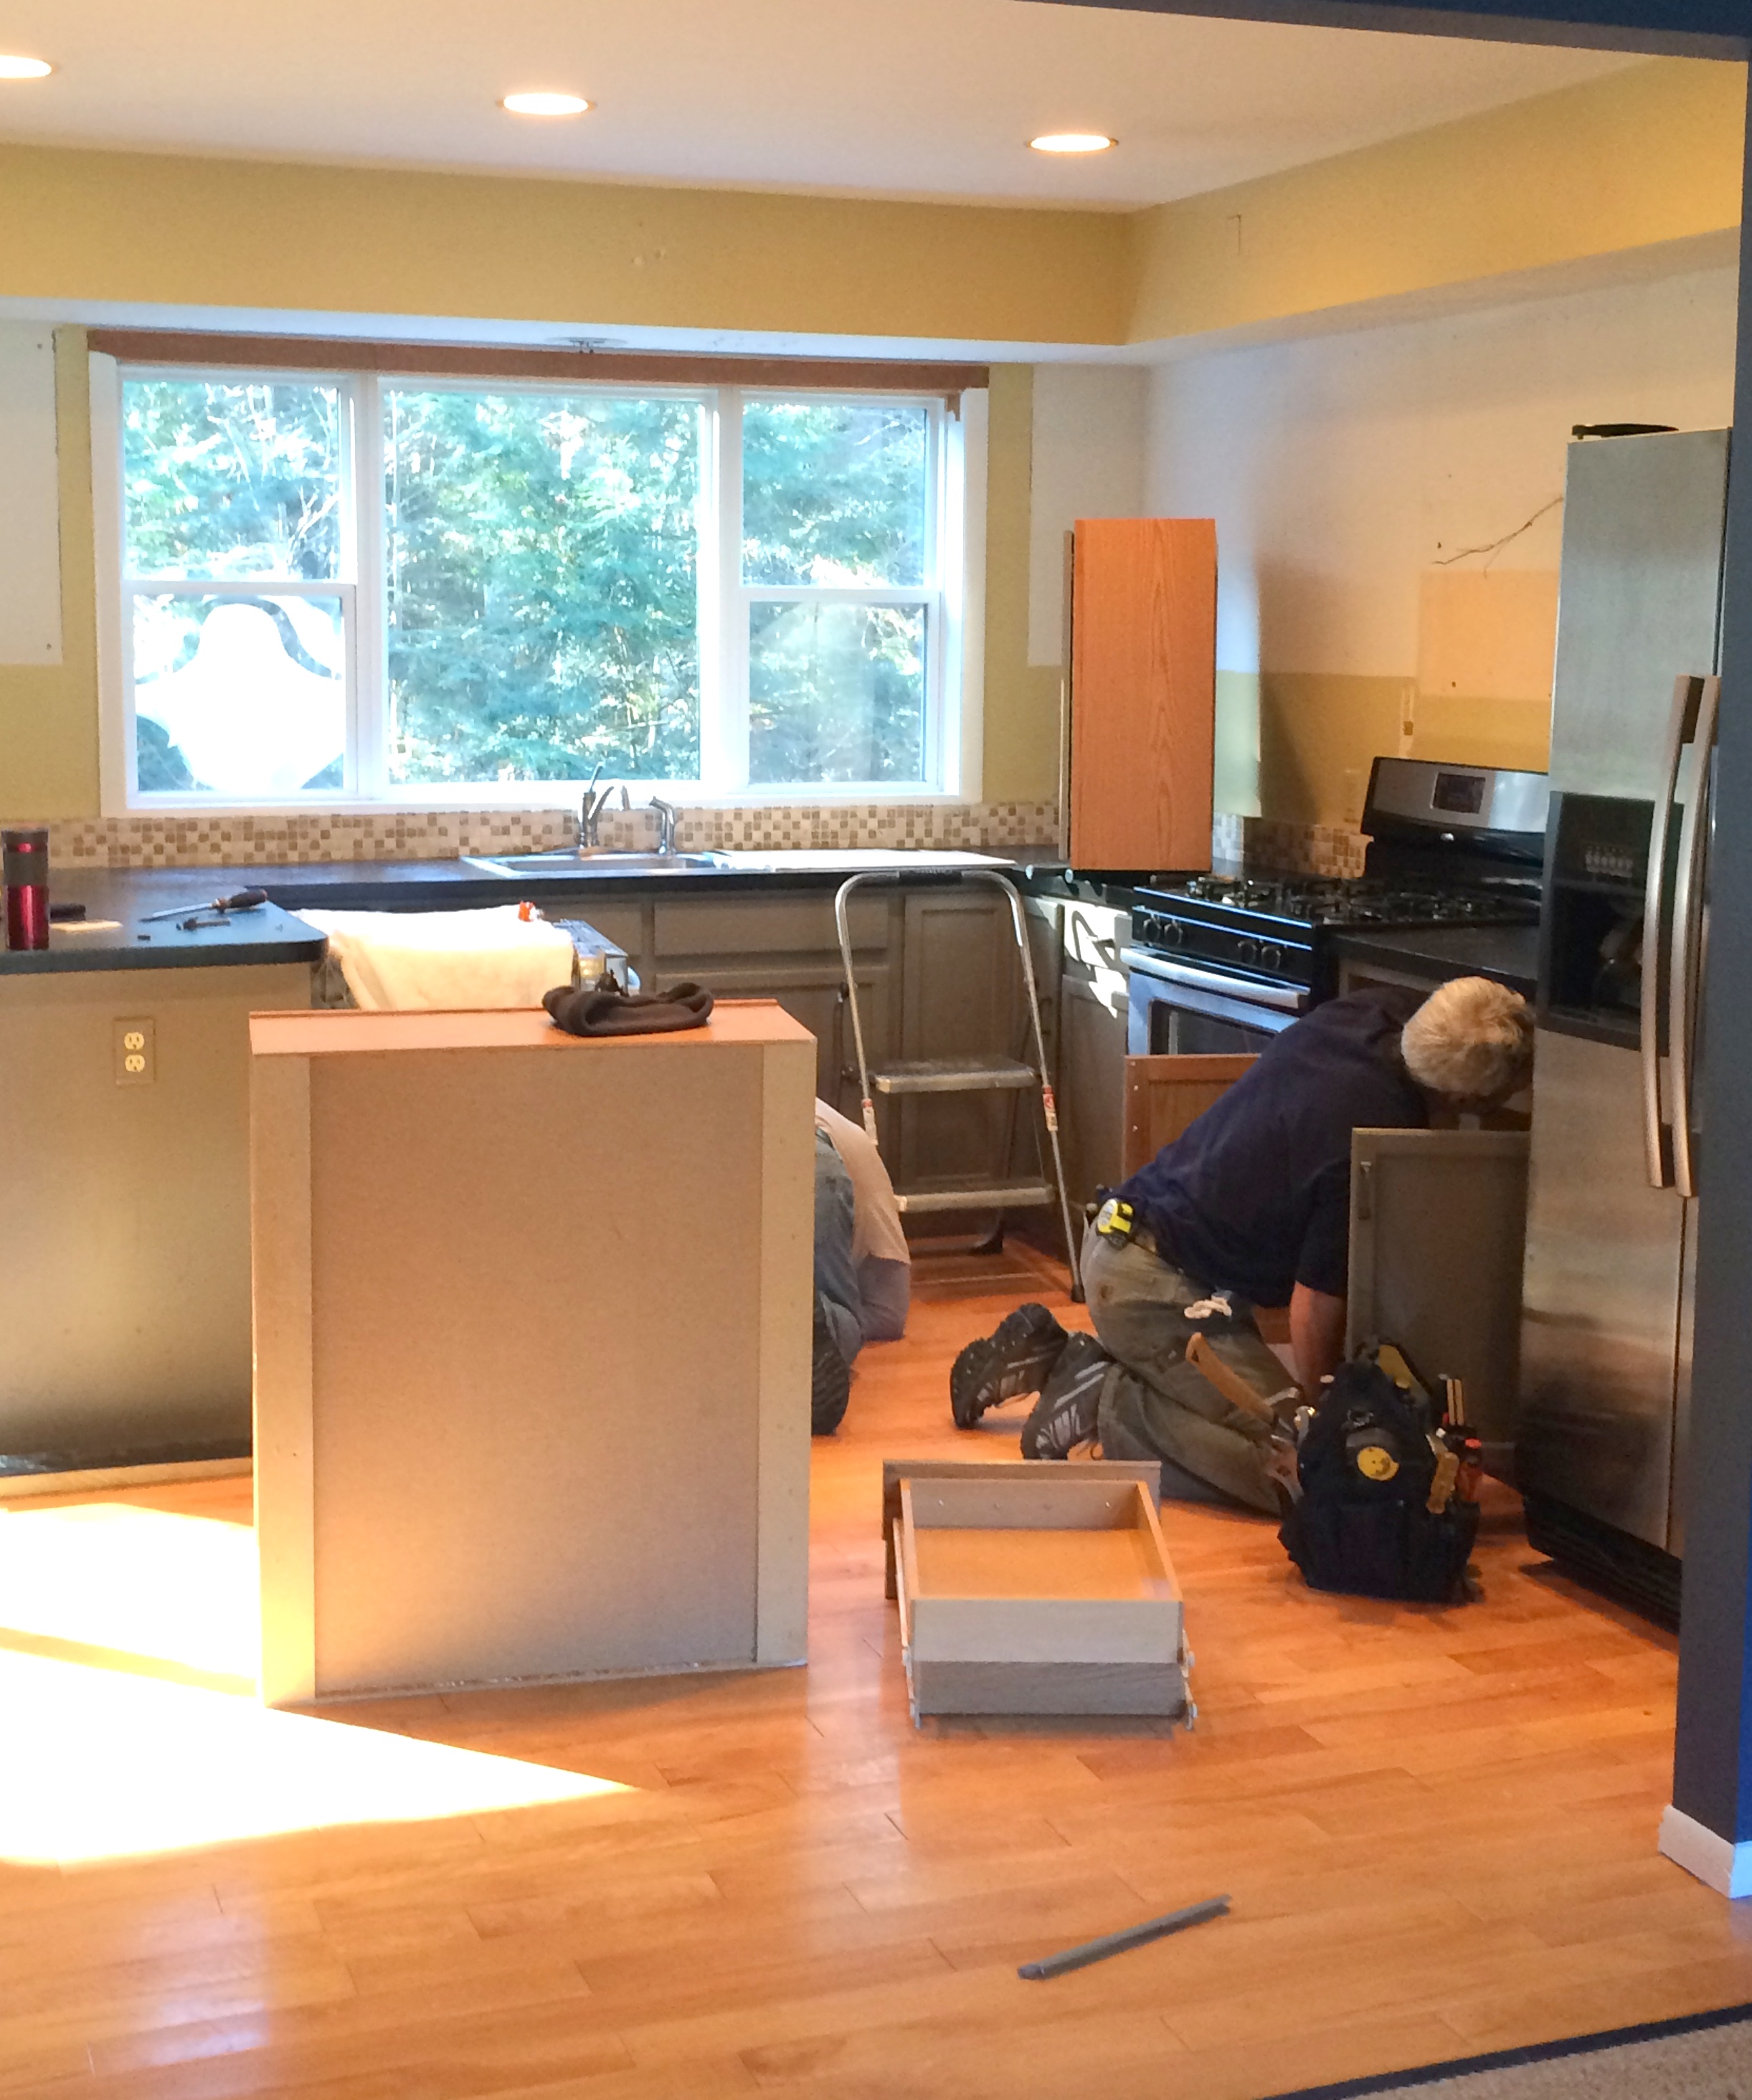
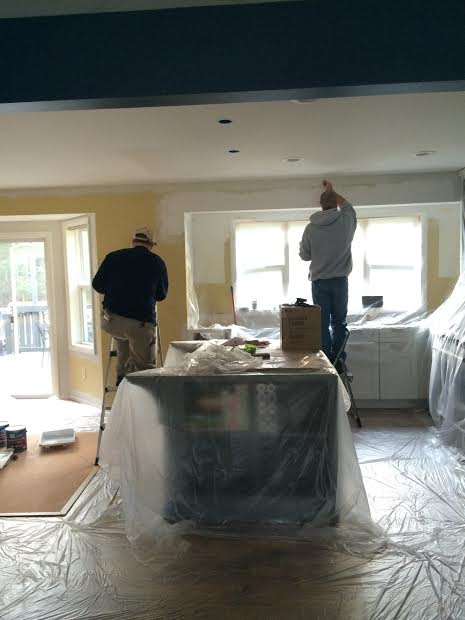
After the kitchen cabinets were installed, the Lowe’s independent contractors got to work on painting the kitchen + dining room walls because it’s one large open space.
I chose a paint color that was a light grey tone. It was a pretty hue, but once all the walls were covered, I knew it wasn’t right. Because the kitchen flows straight to the family room that also has grey-toned walls, the definition that I wanted to achieve was gone.
Big Mistake – eek.
What to do? Leave it + live with it for a while?
I knew leaving it wasn’t the answer. After a few days, of living with it, I chose a new color. It was the first time ever that I got small color sample pods to put on the wall. It was the right decision and seeing the colors at various times throughout the day was key to choosing the best paint hue for the space.
Color Change…
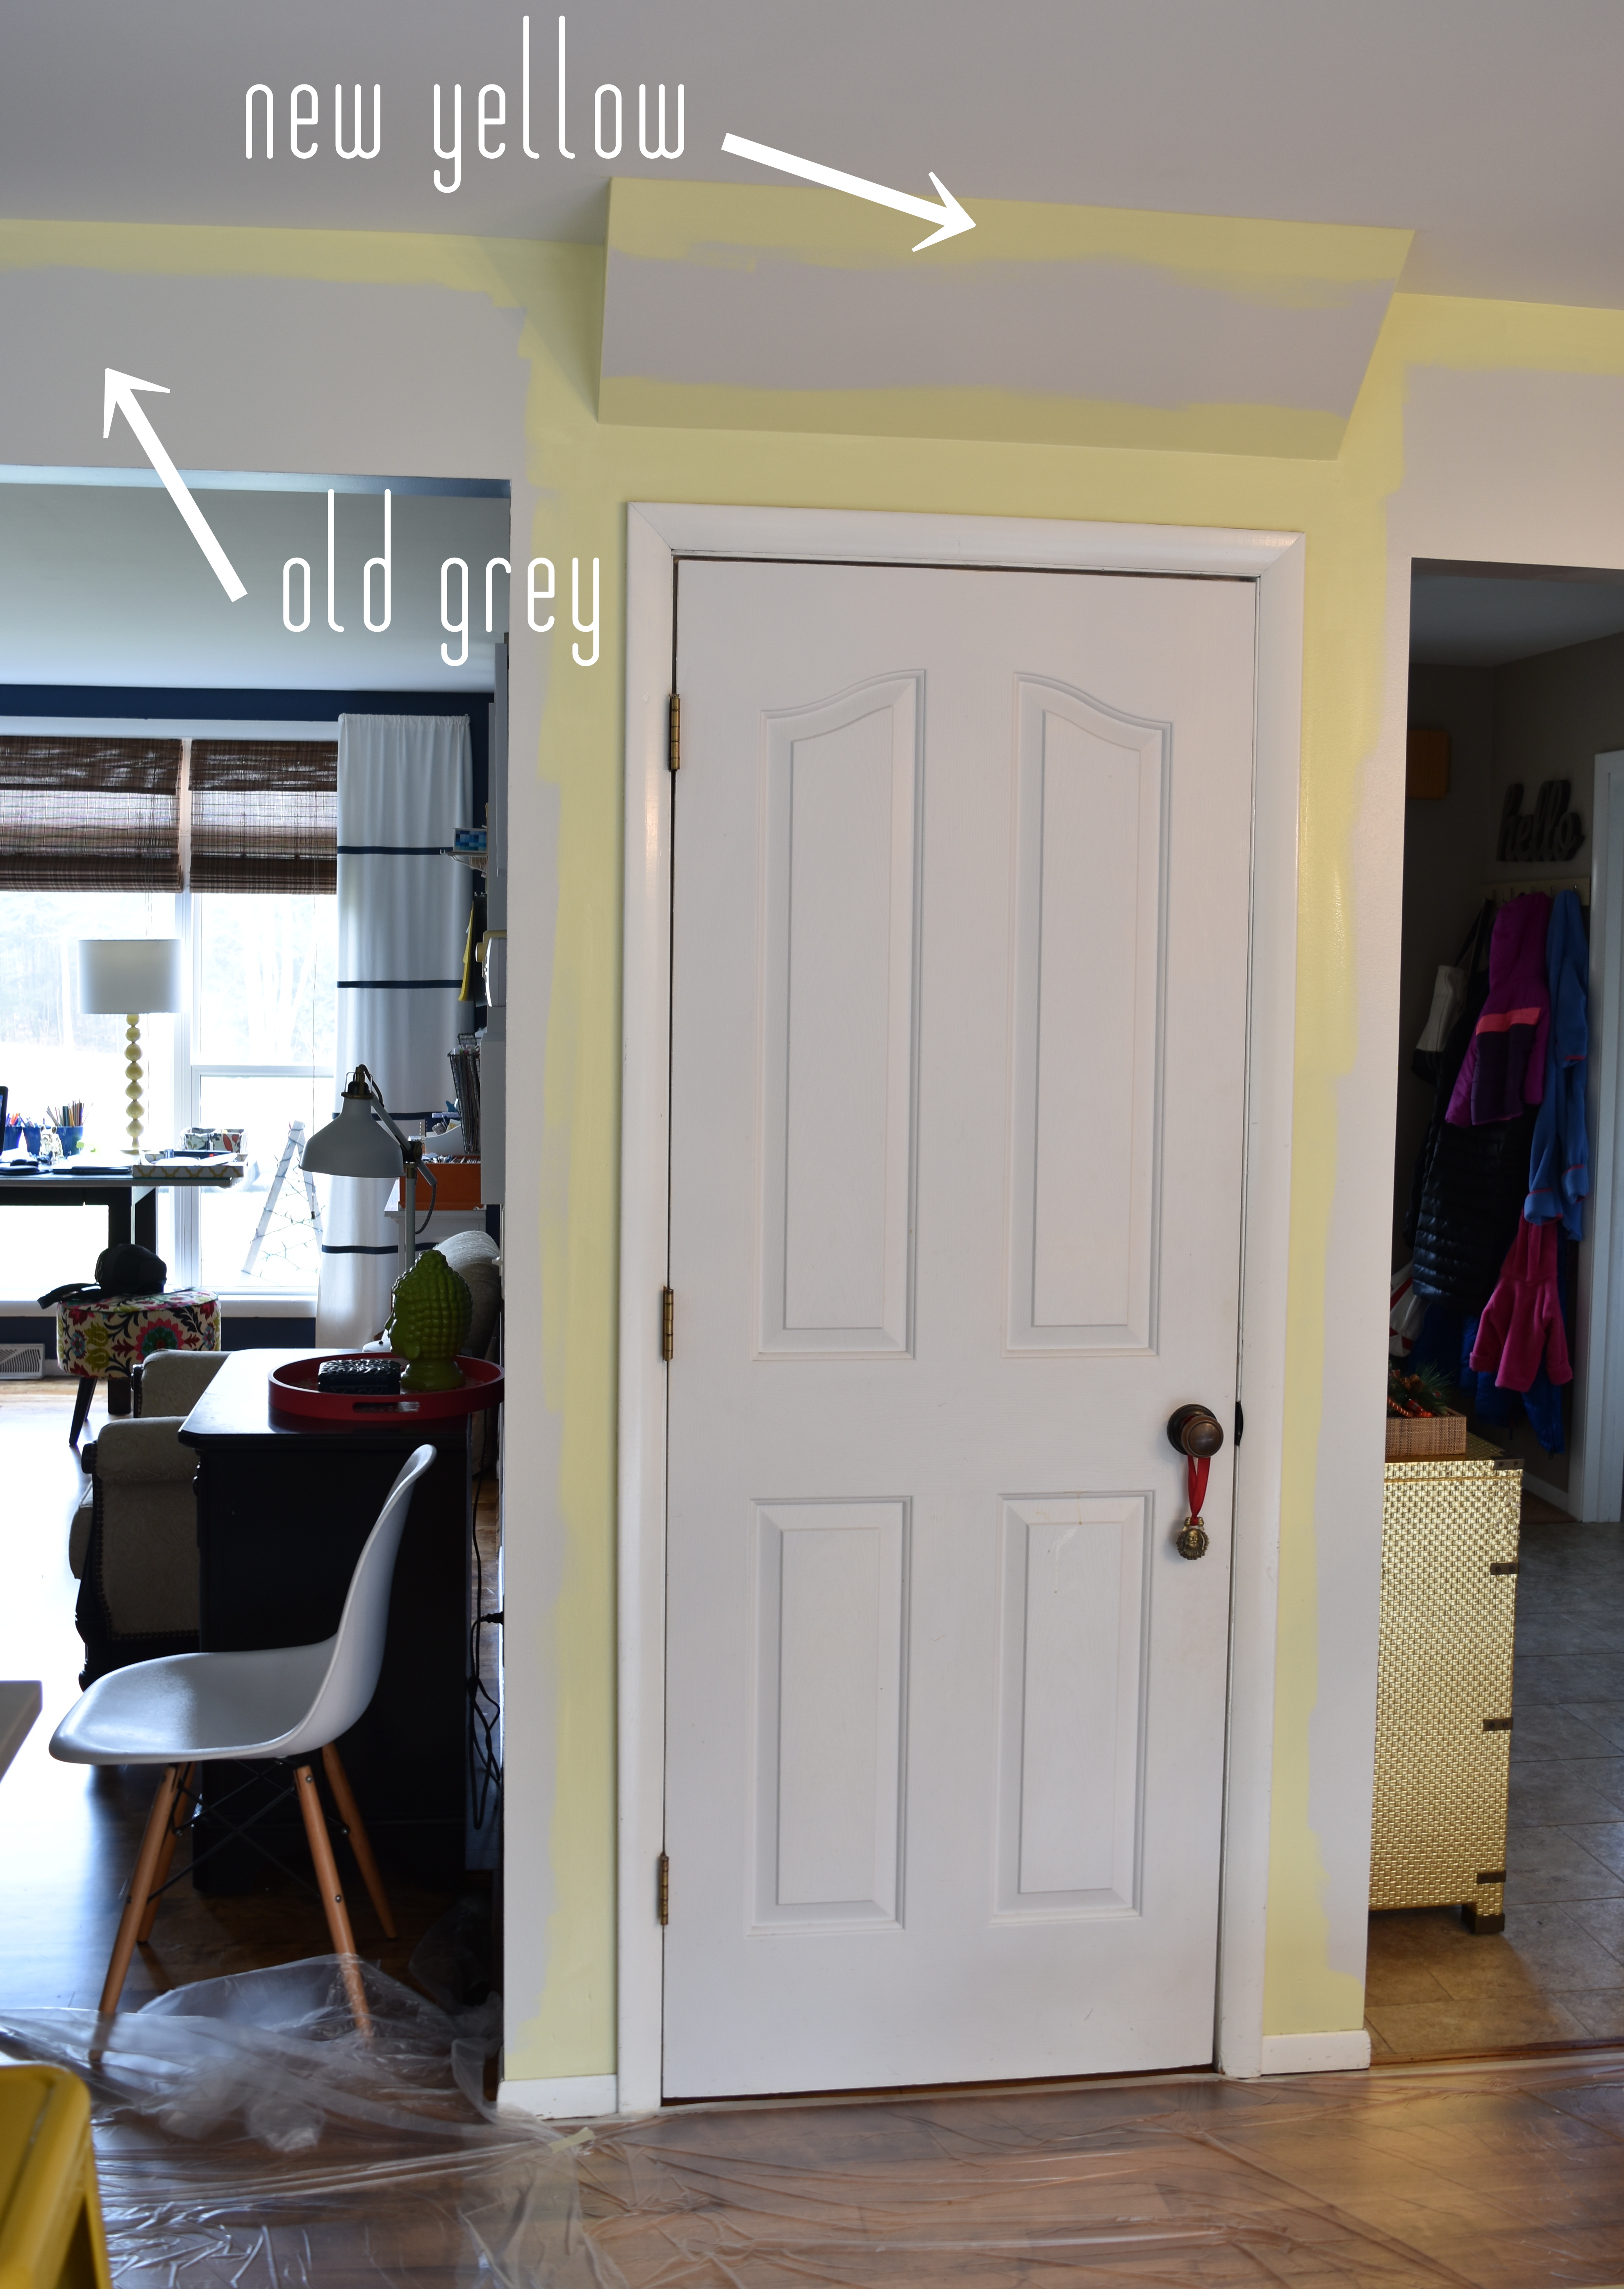
As soon as the ‘new, new’ color went up, I felt at peace. Yes, that’s it. And who knew, back to yellow – but a very different hue of yellow – would be the right color?!
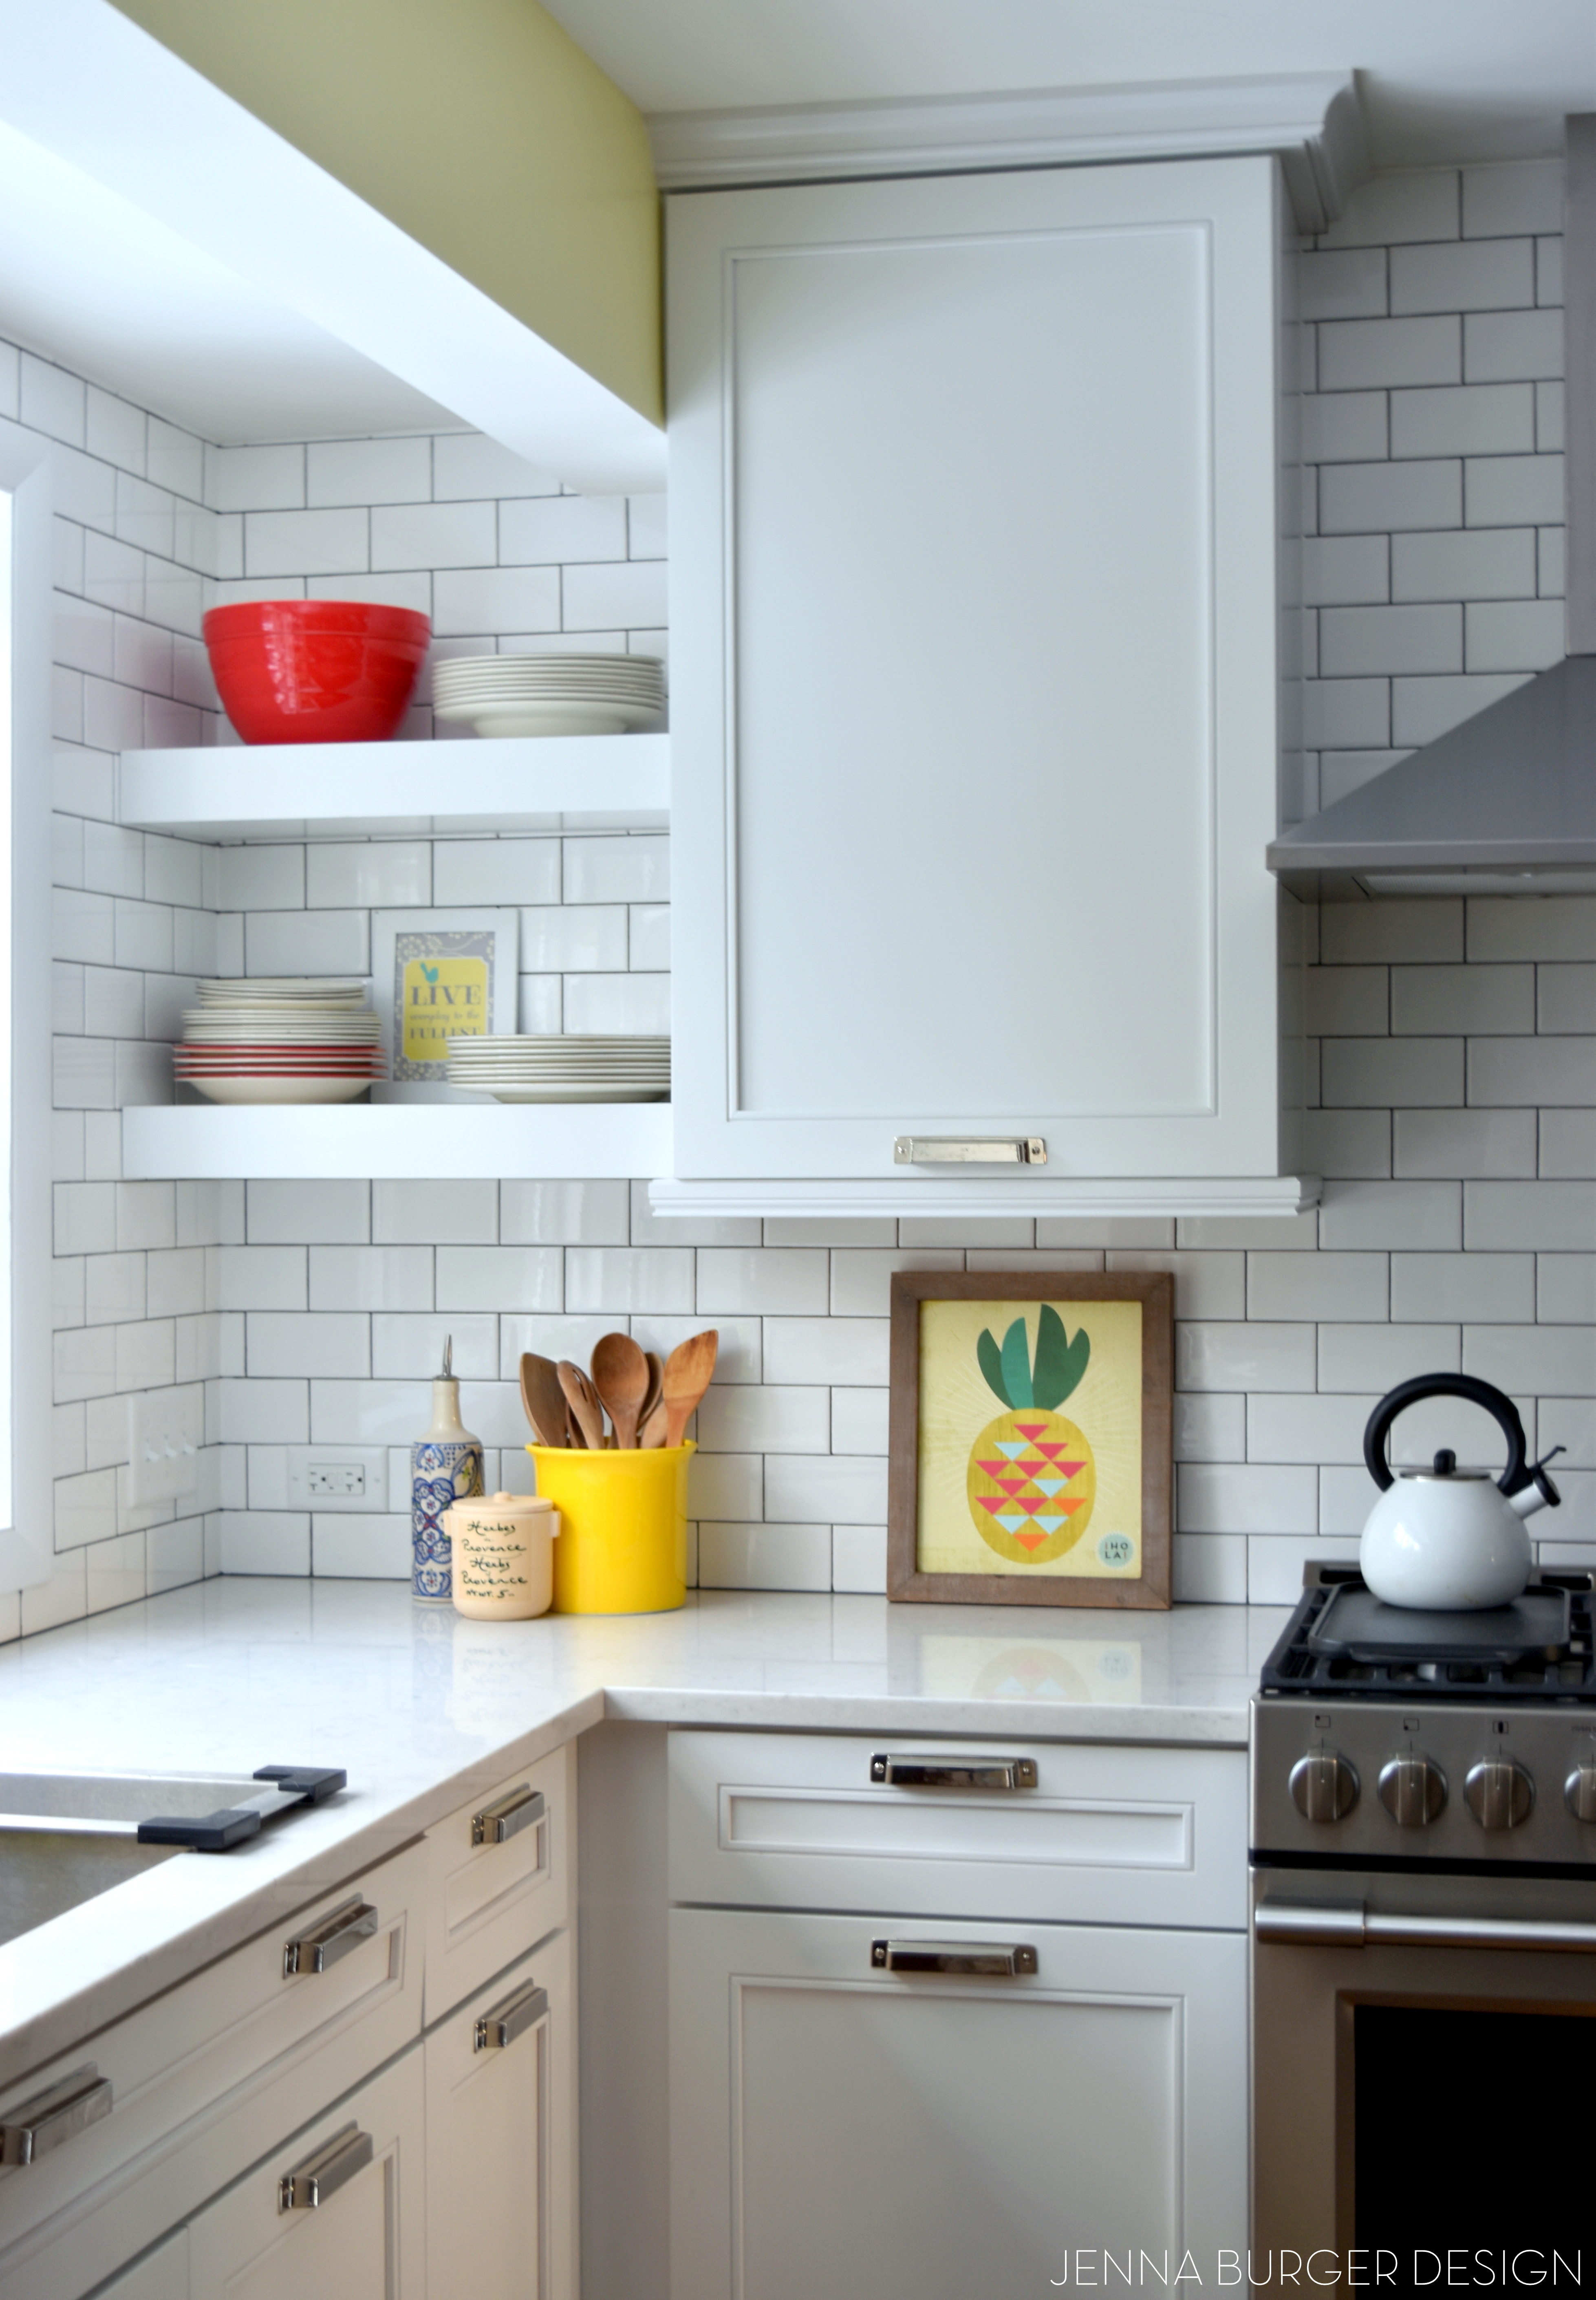
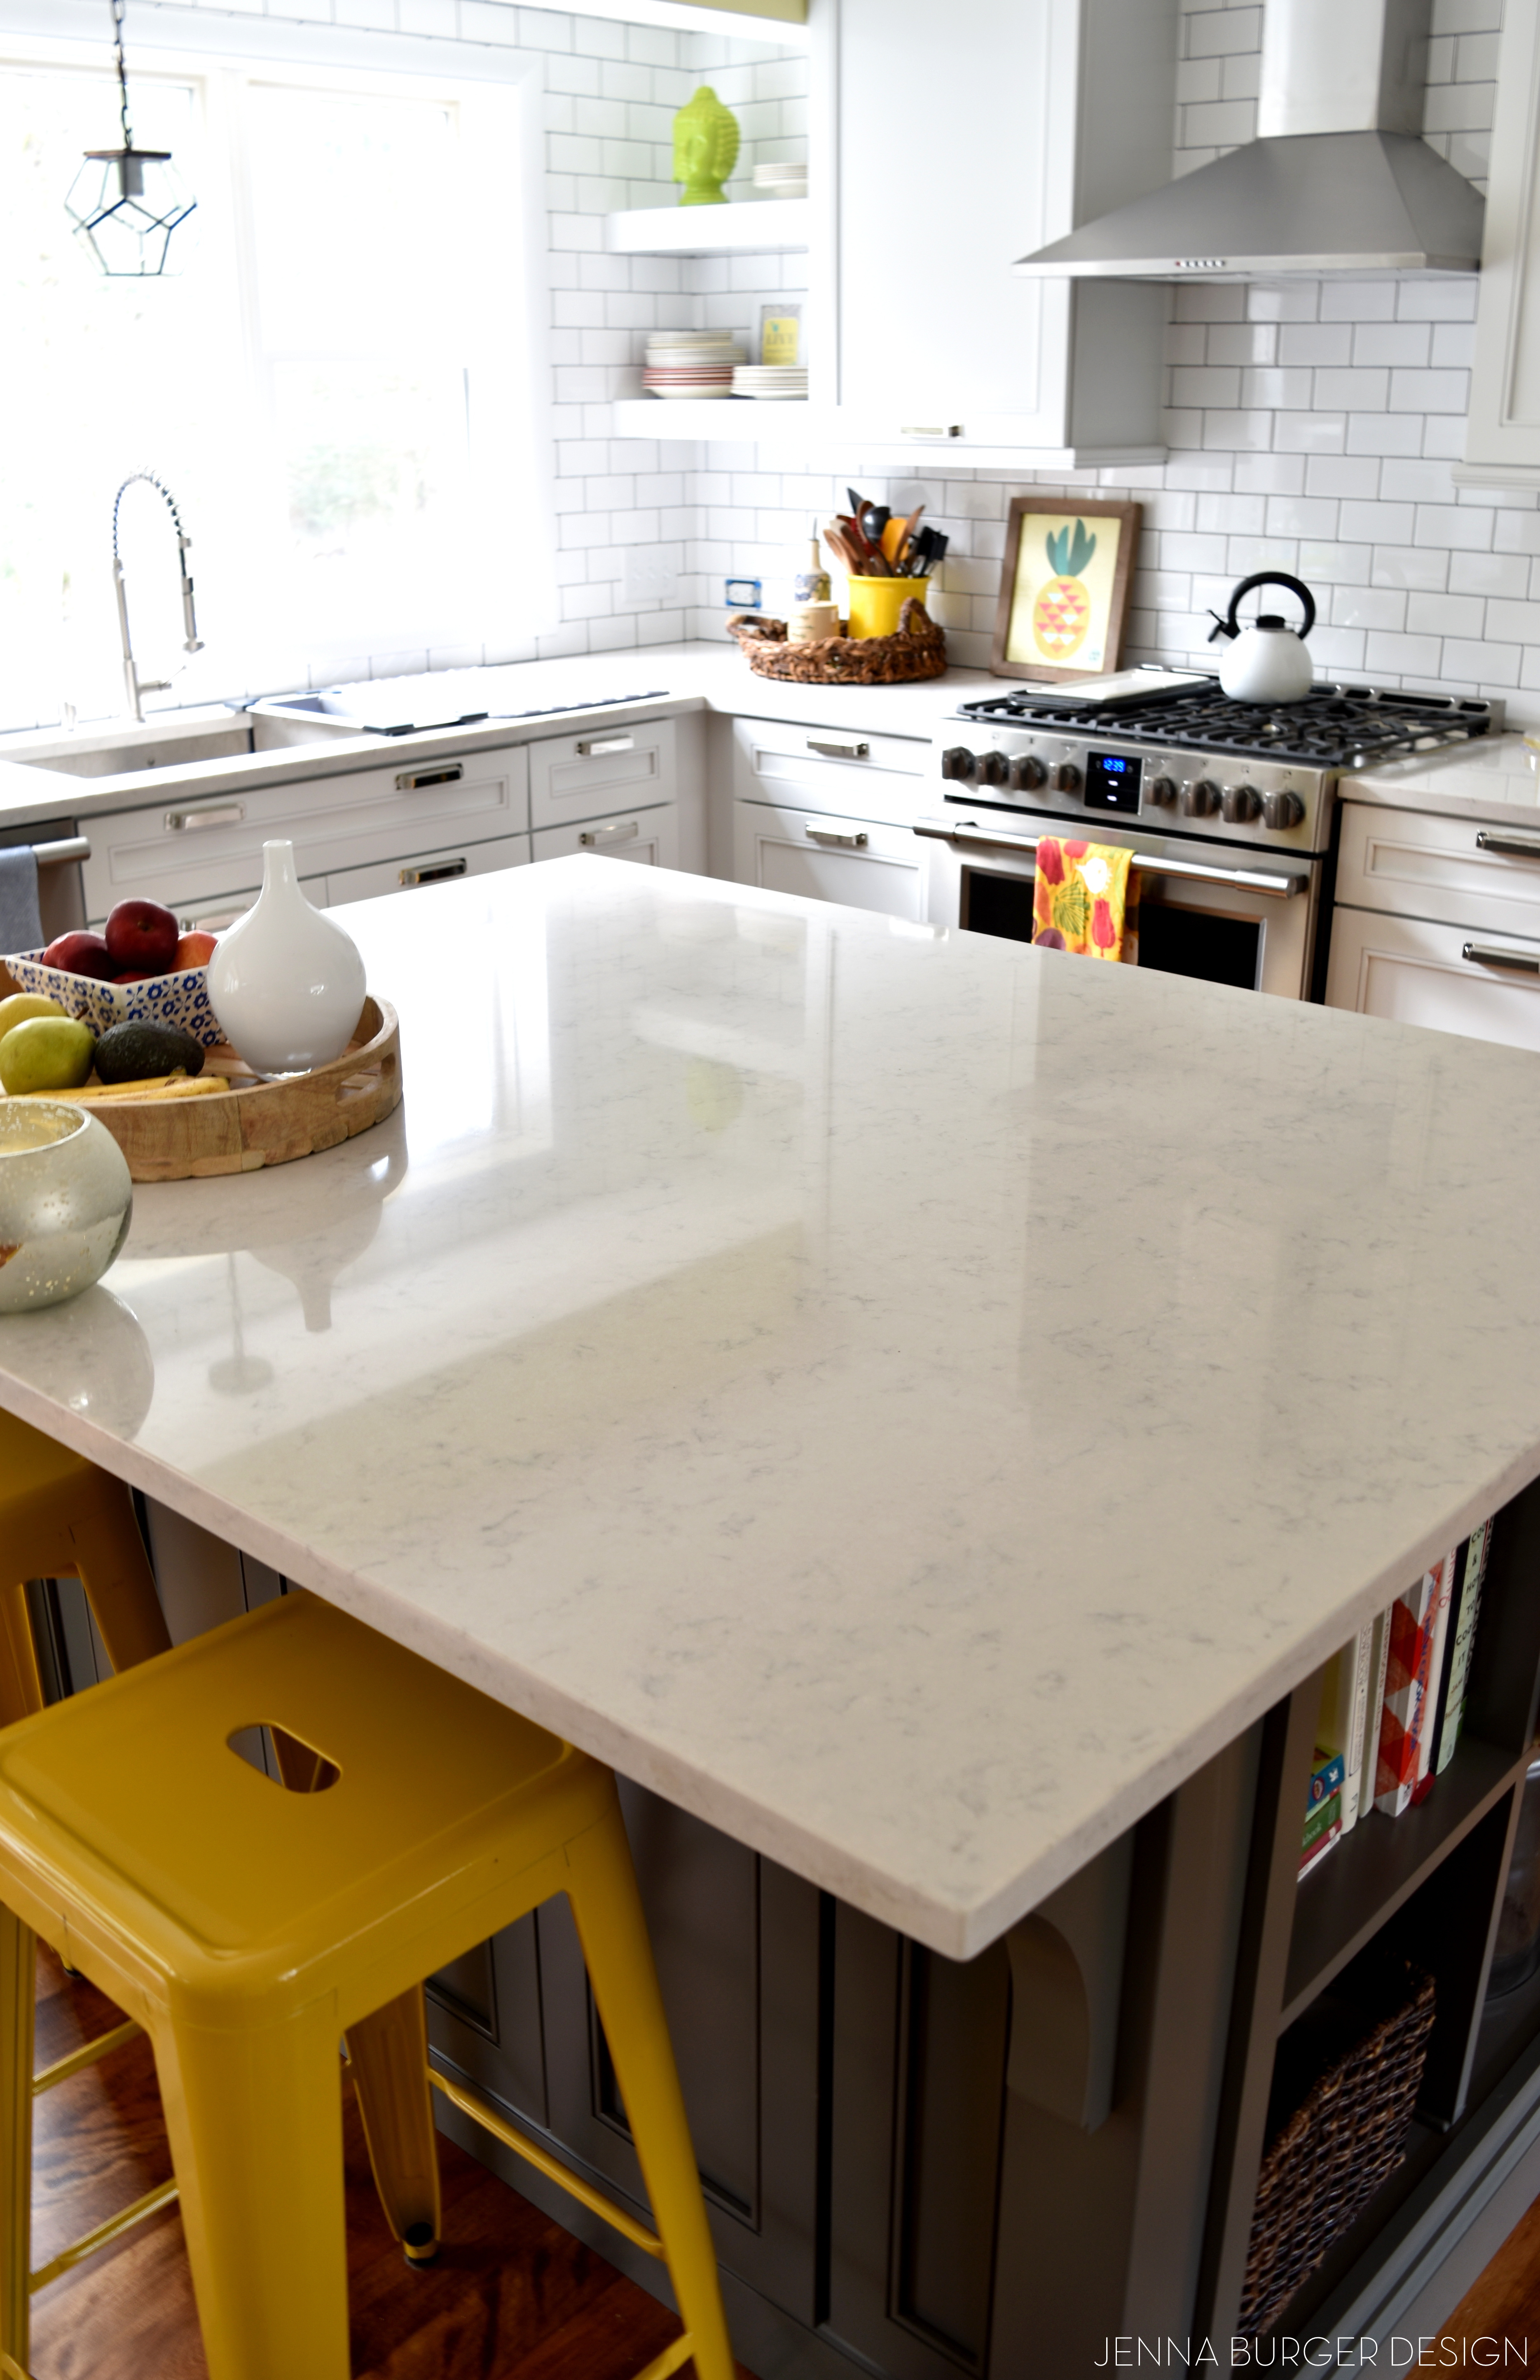
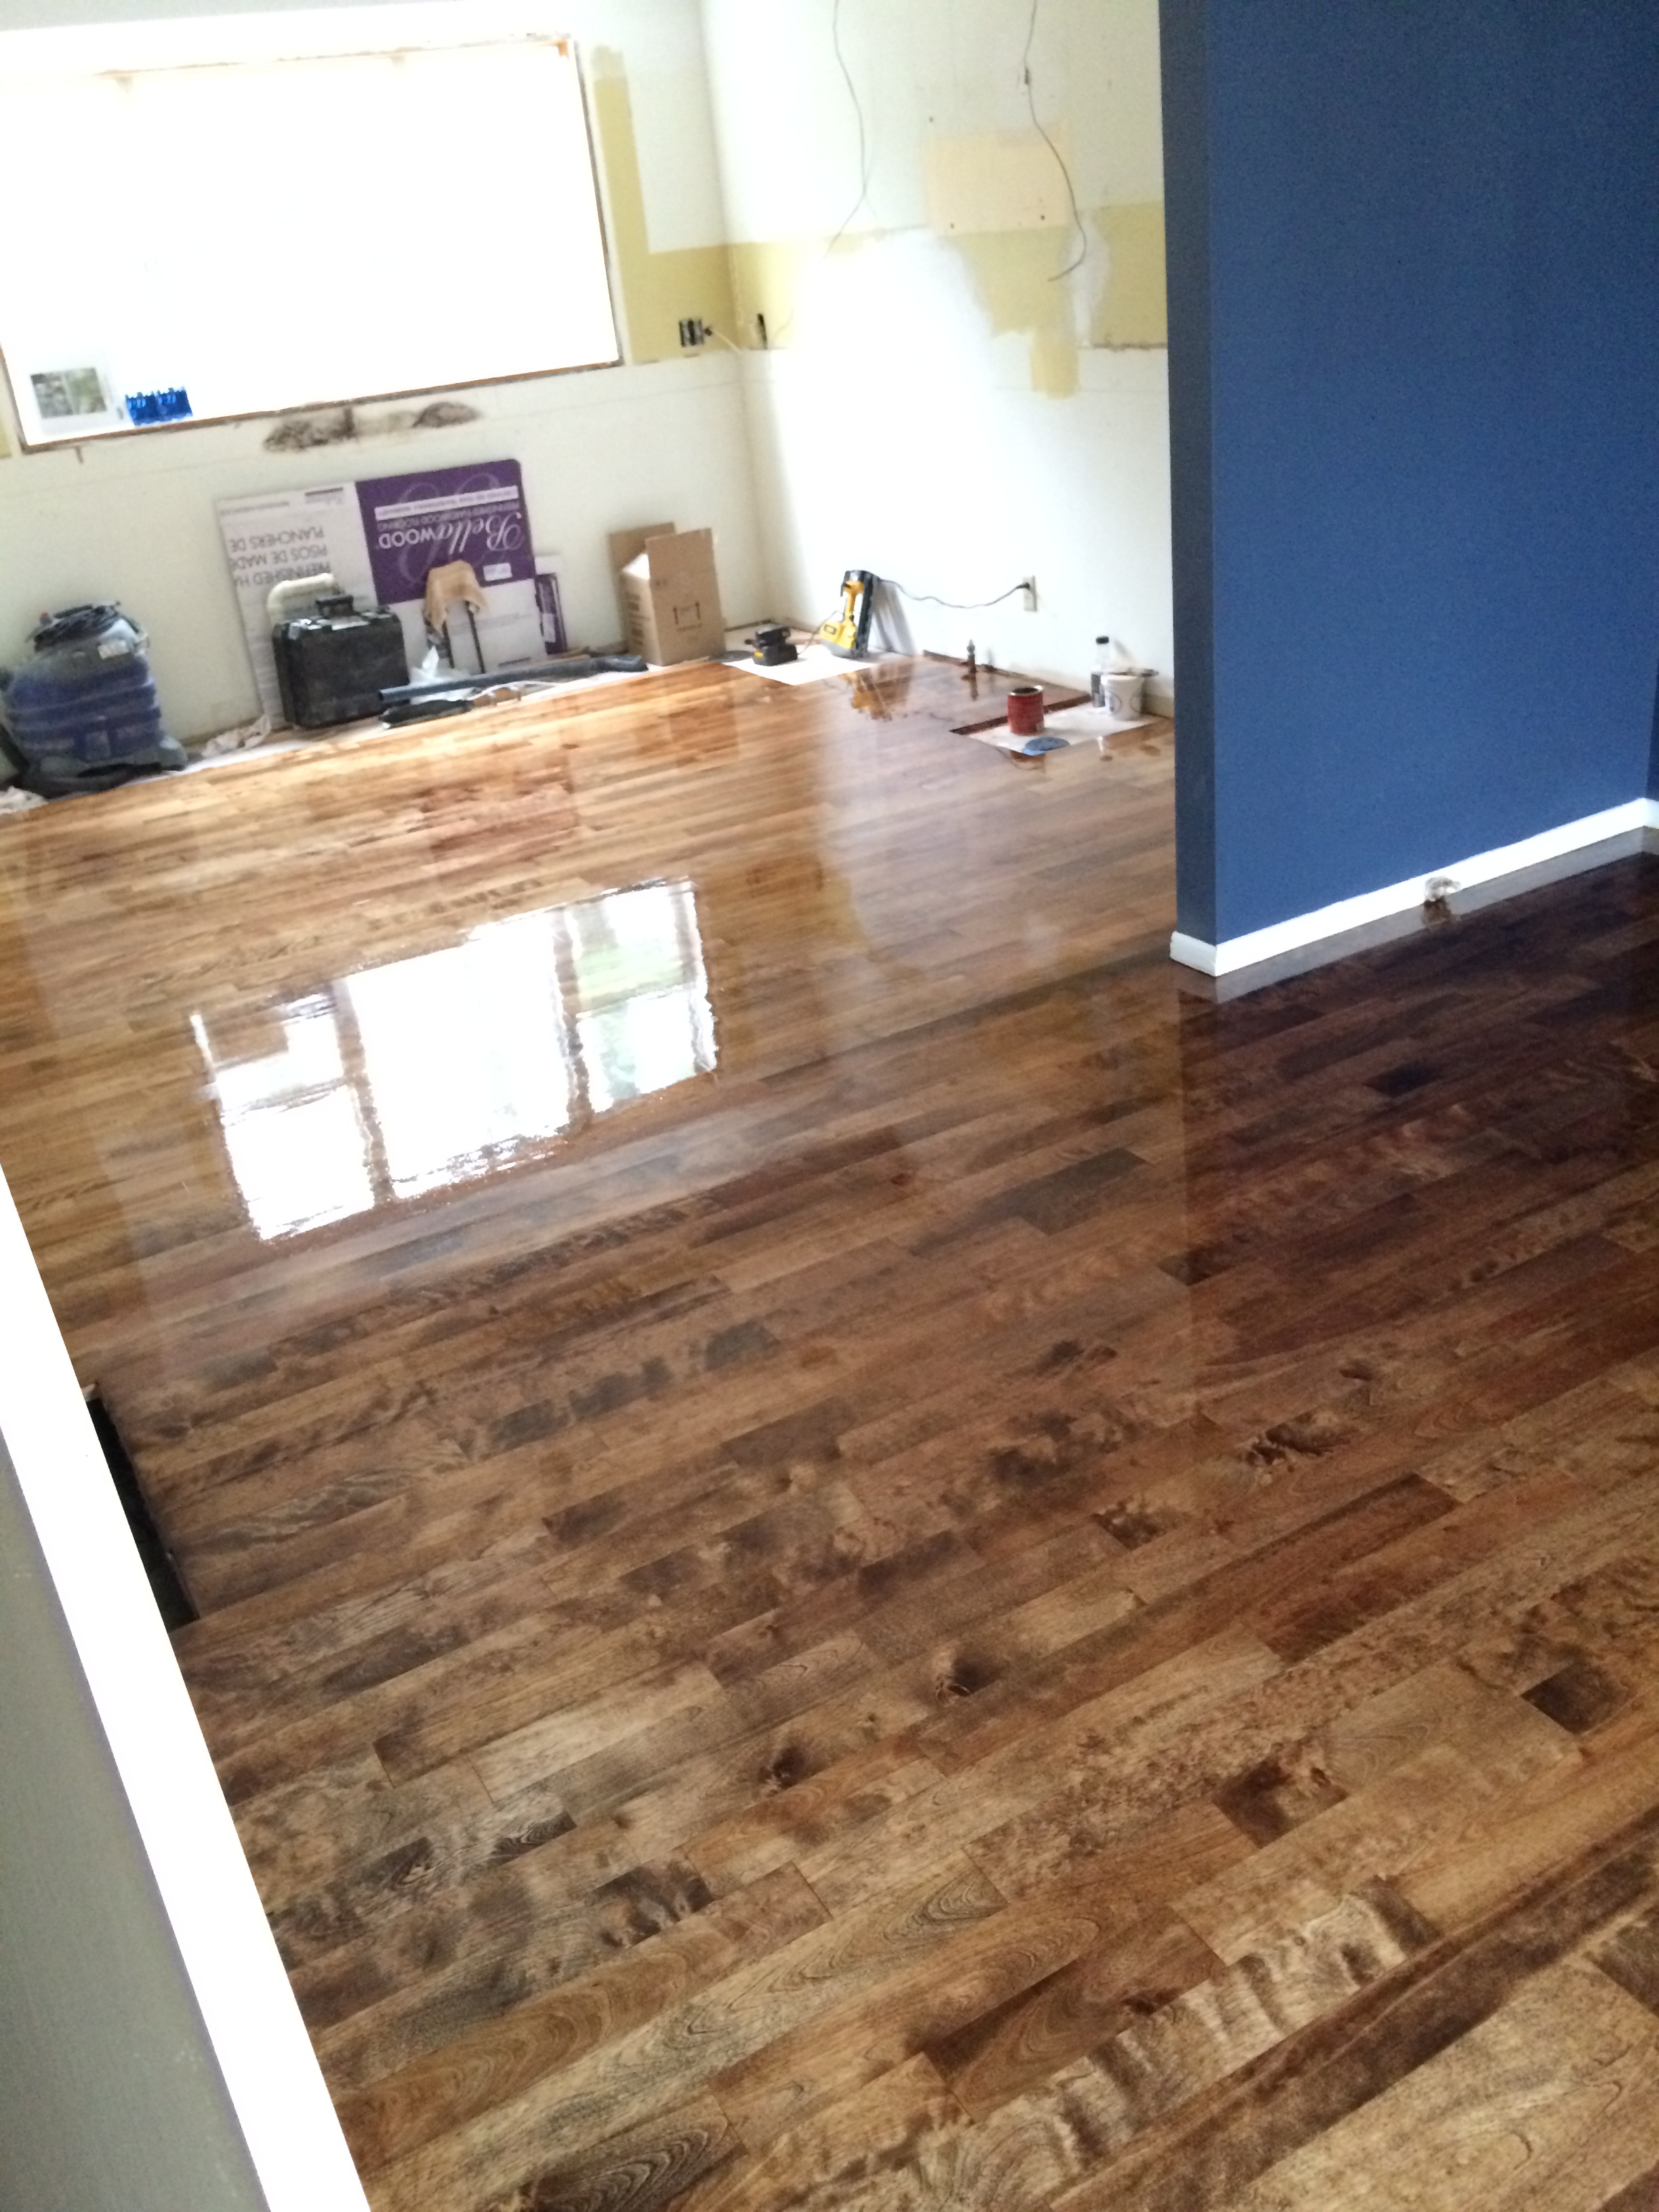
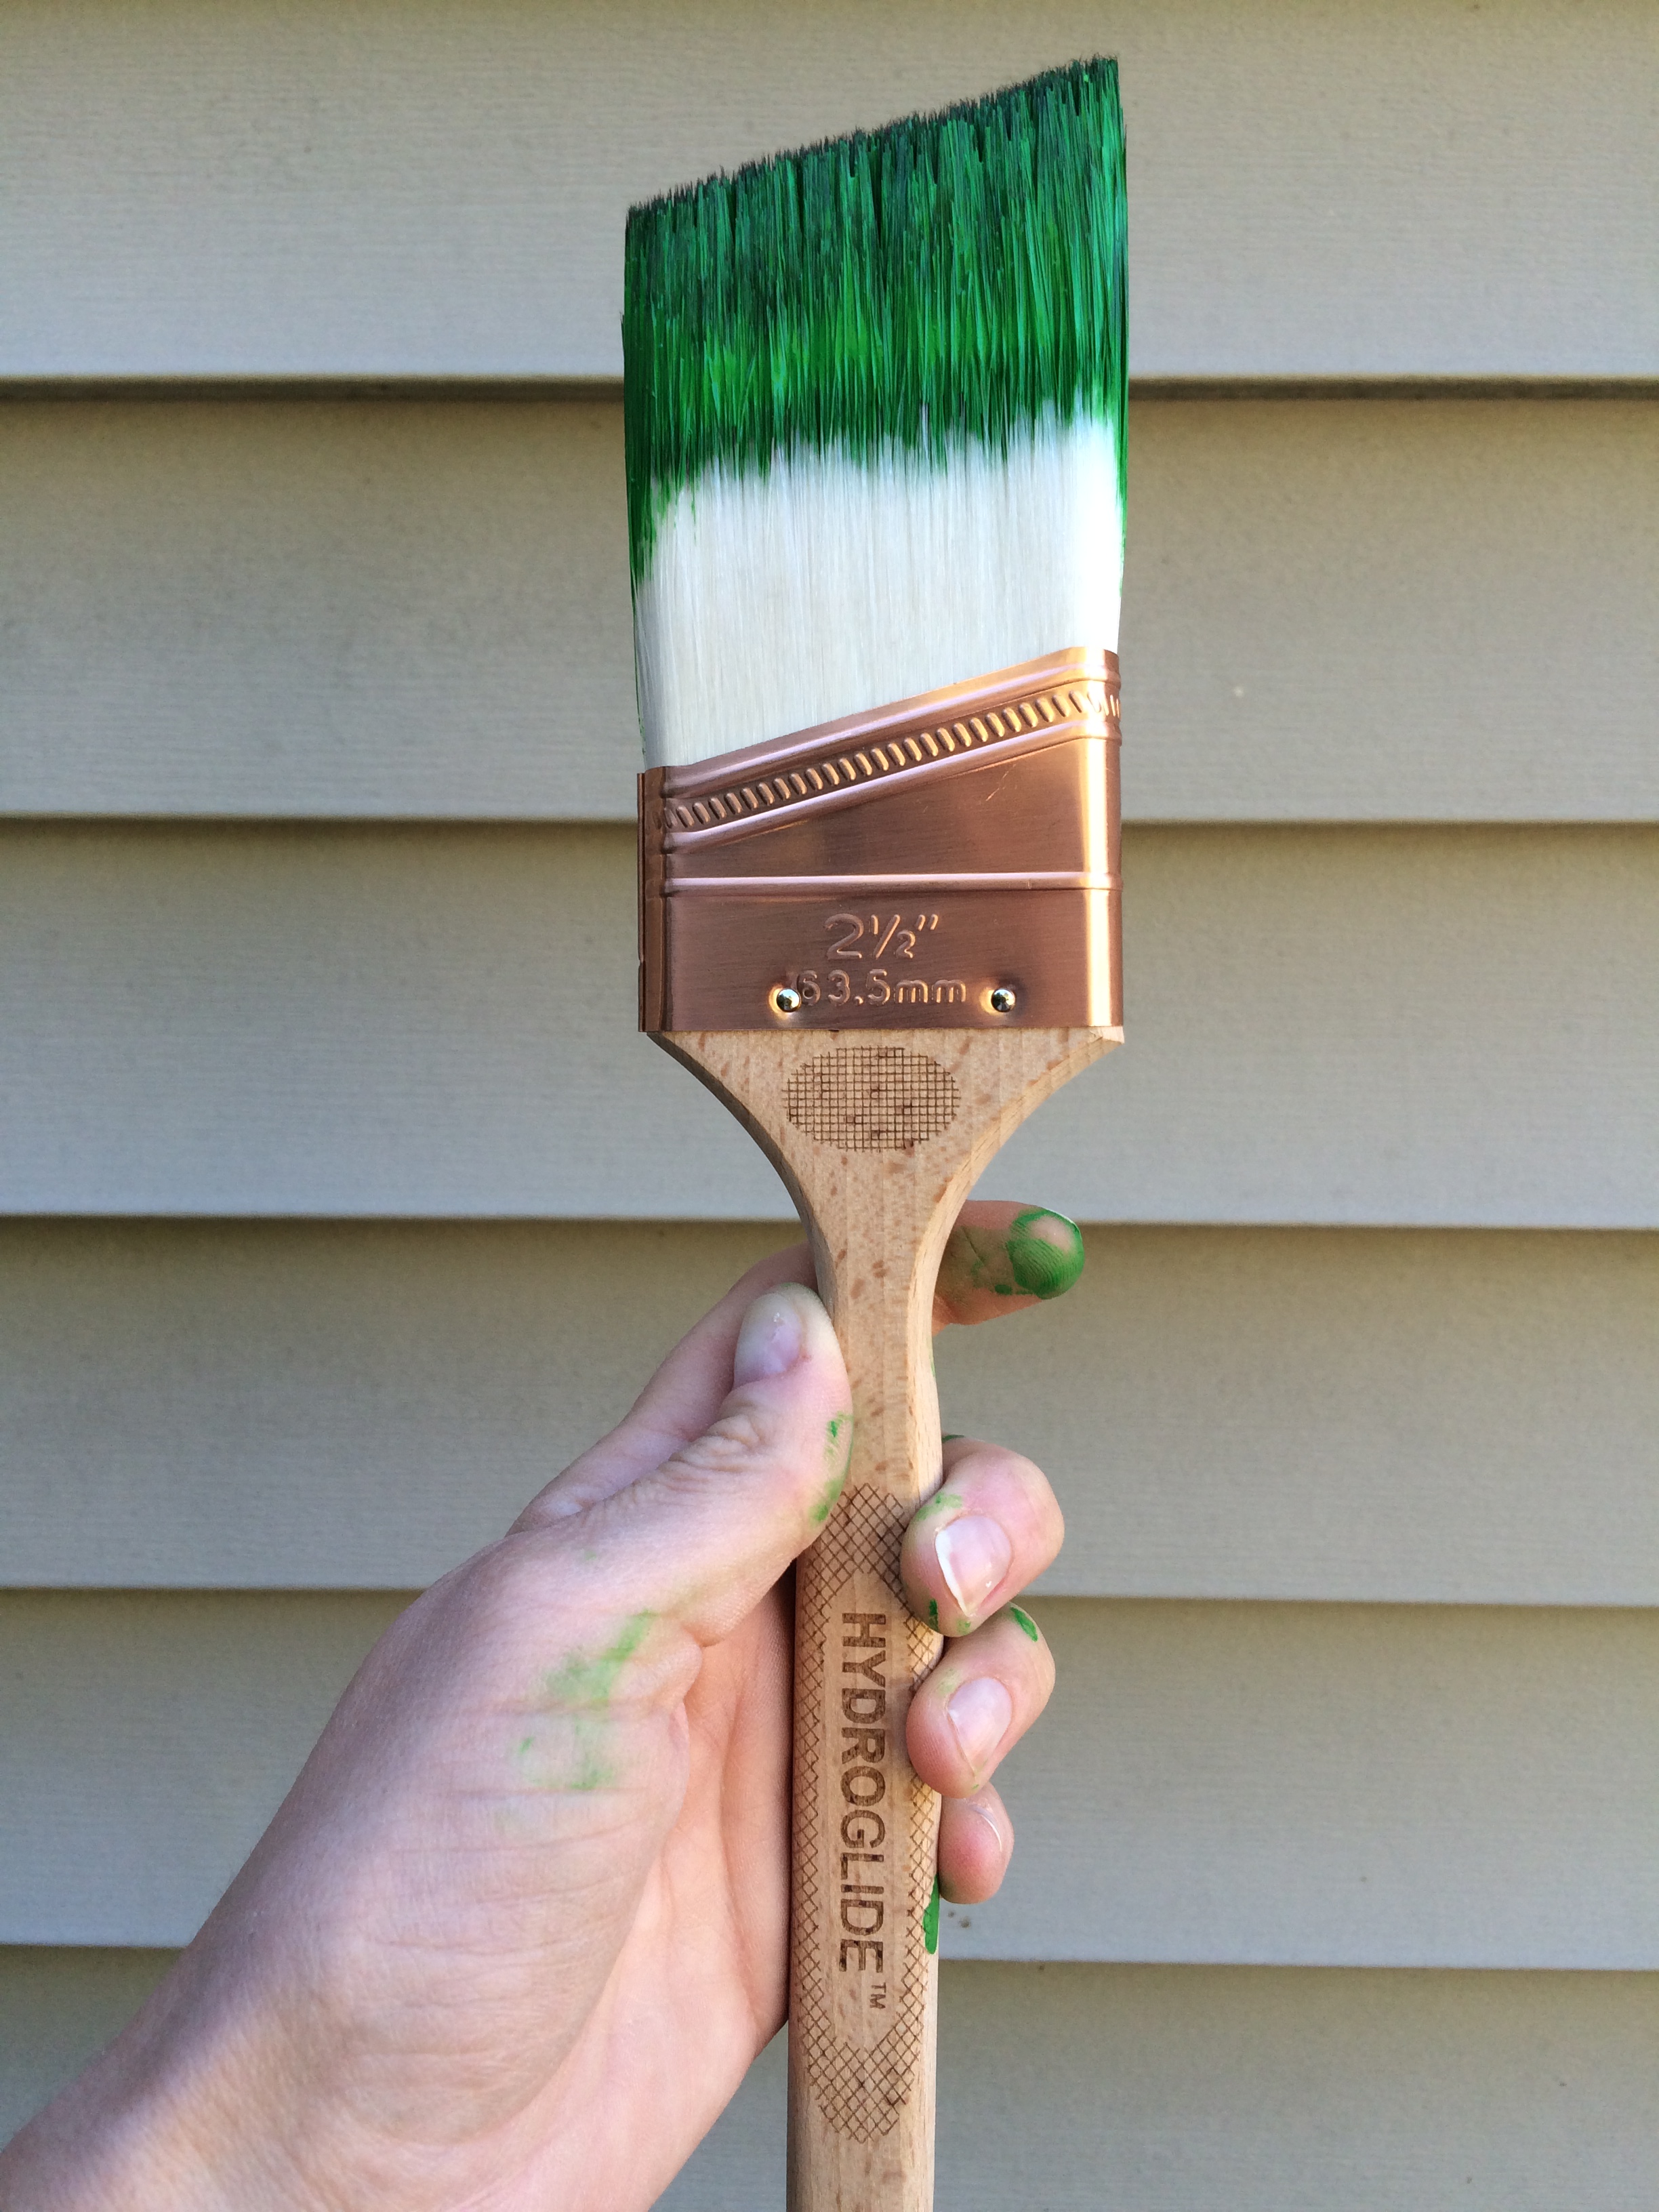
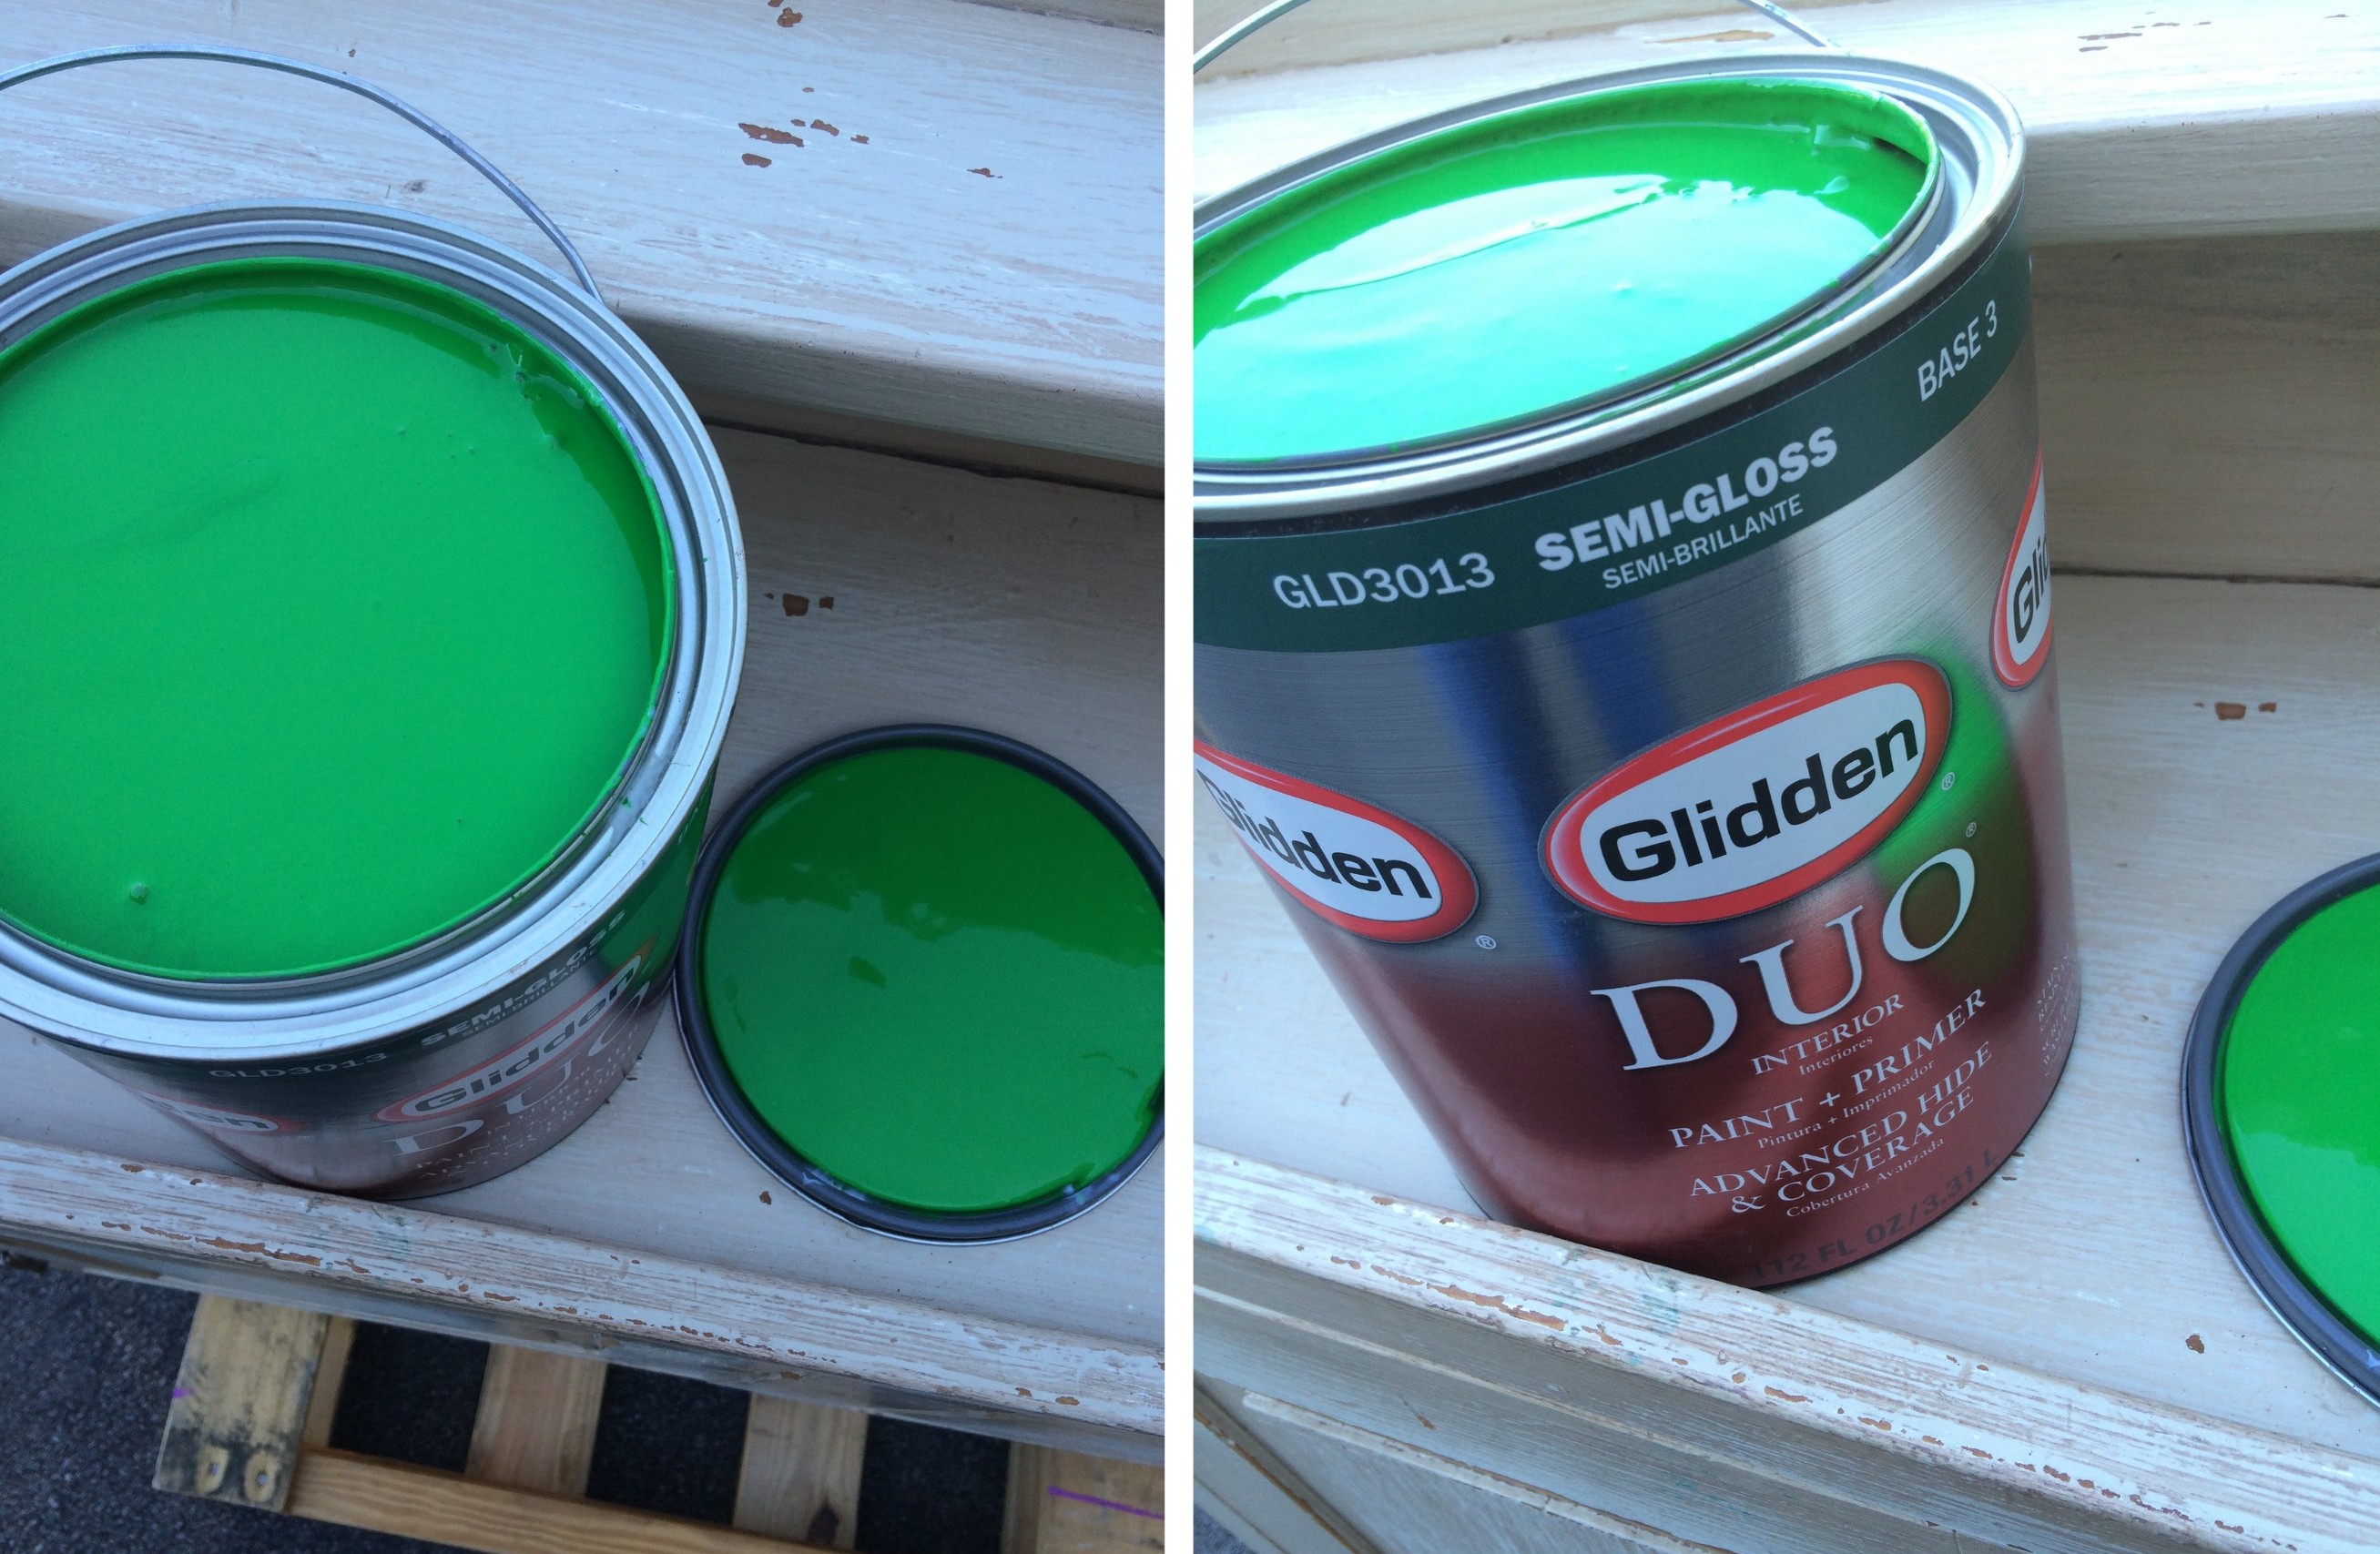
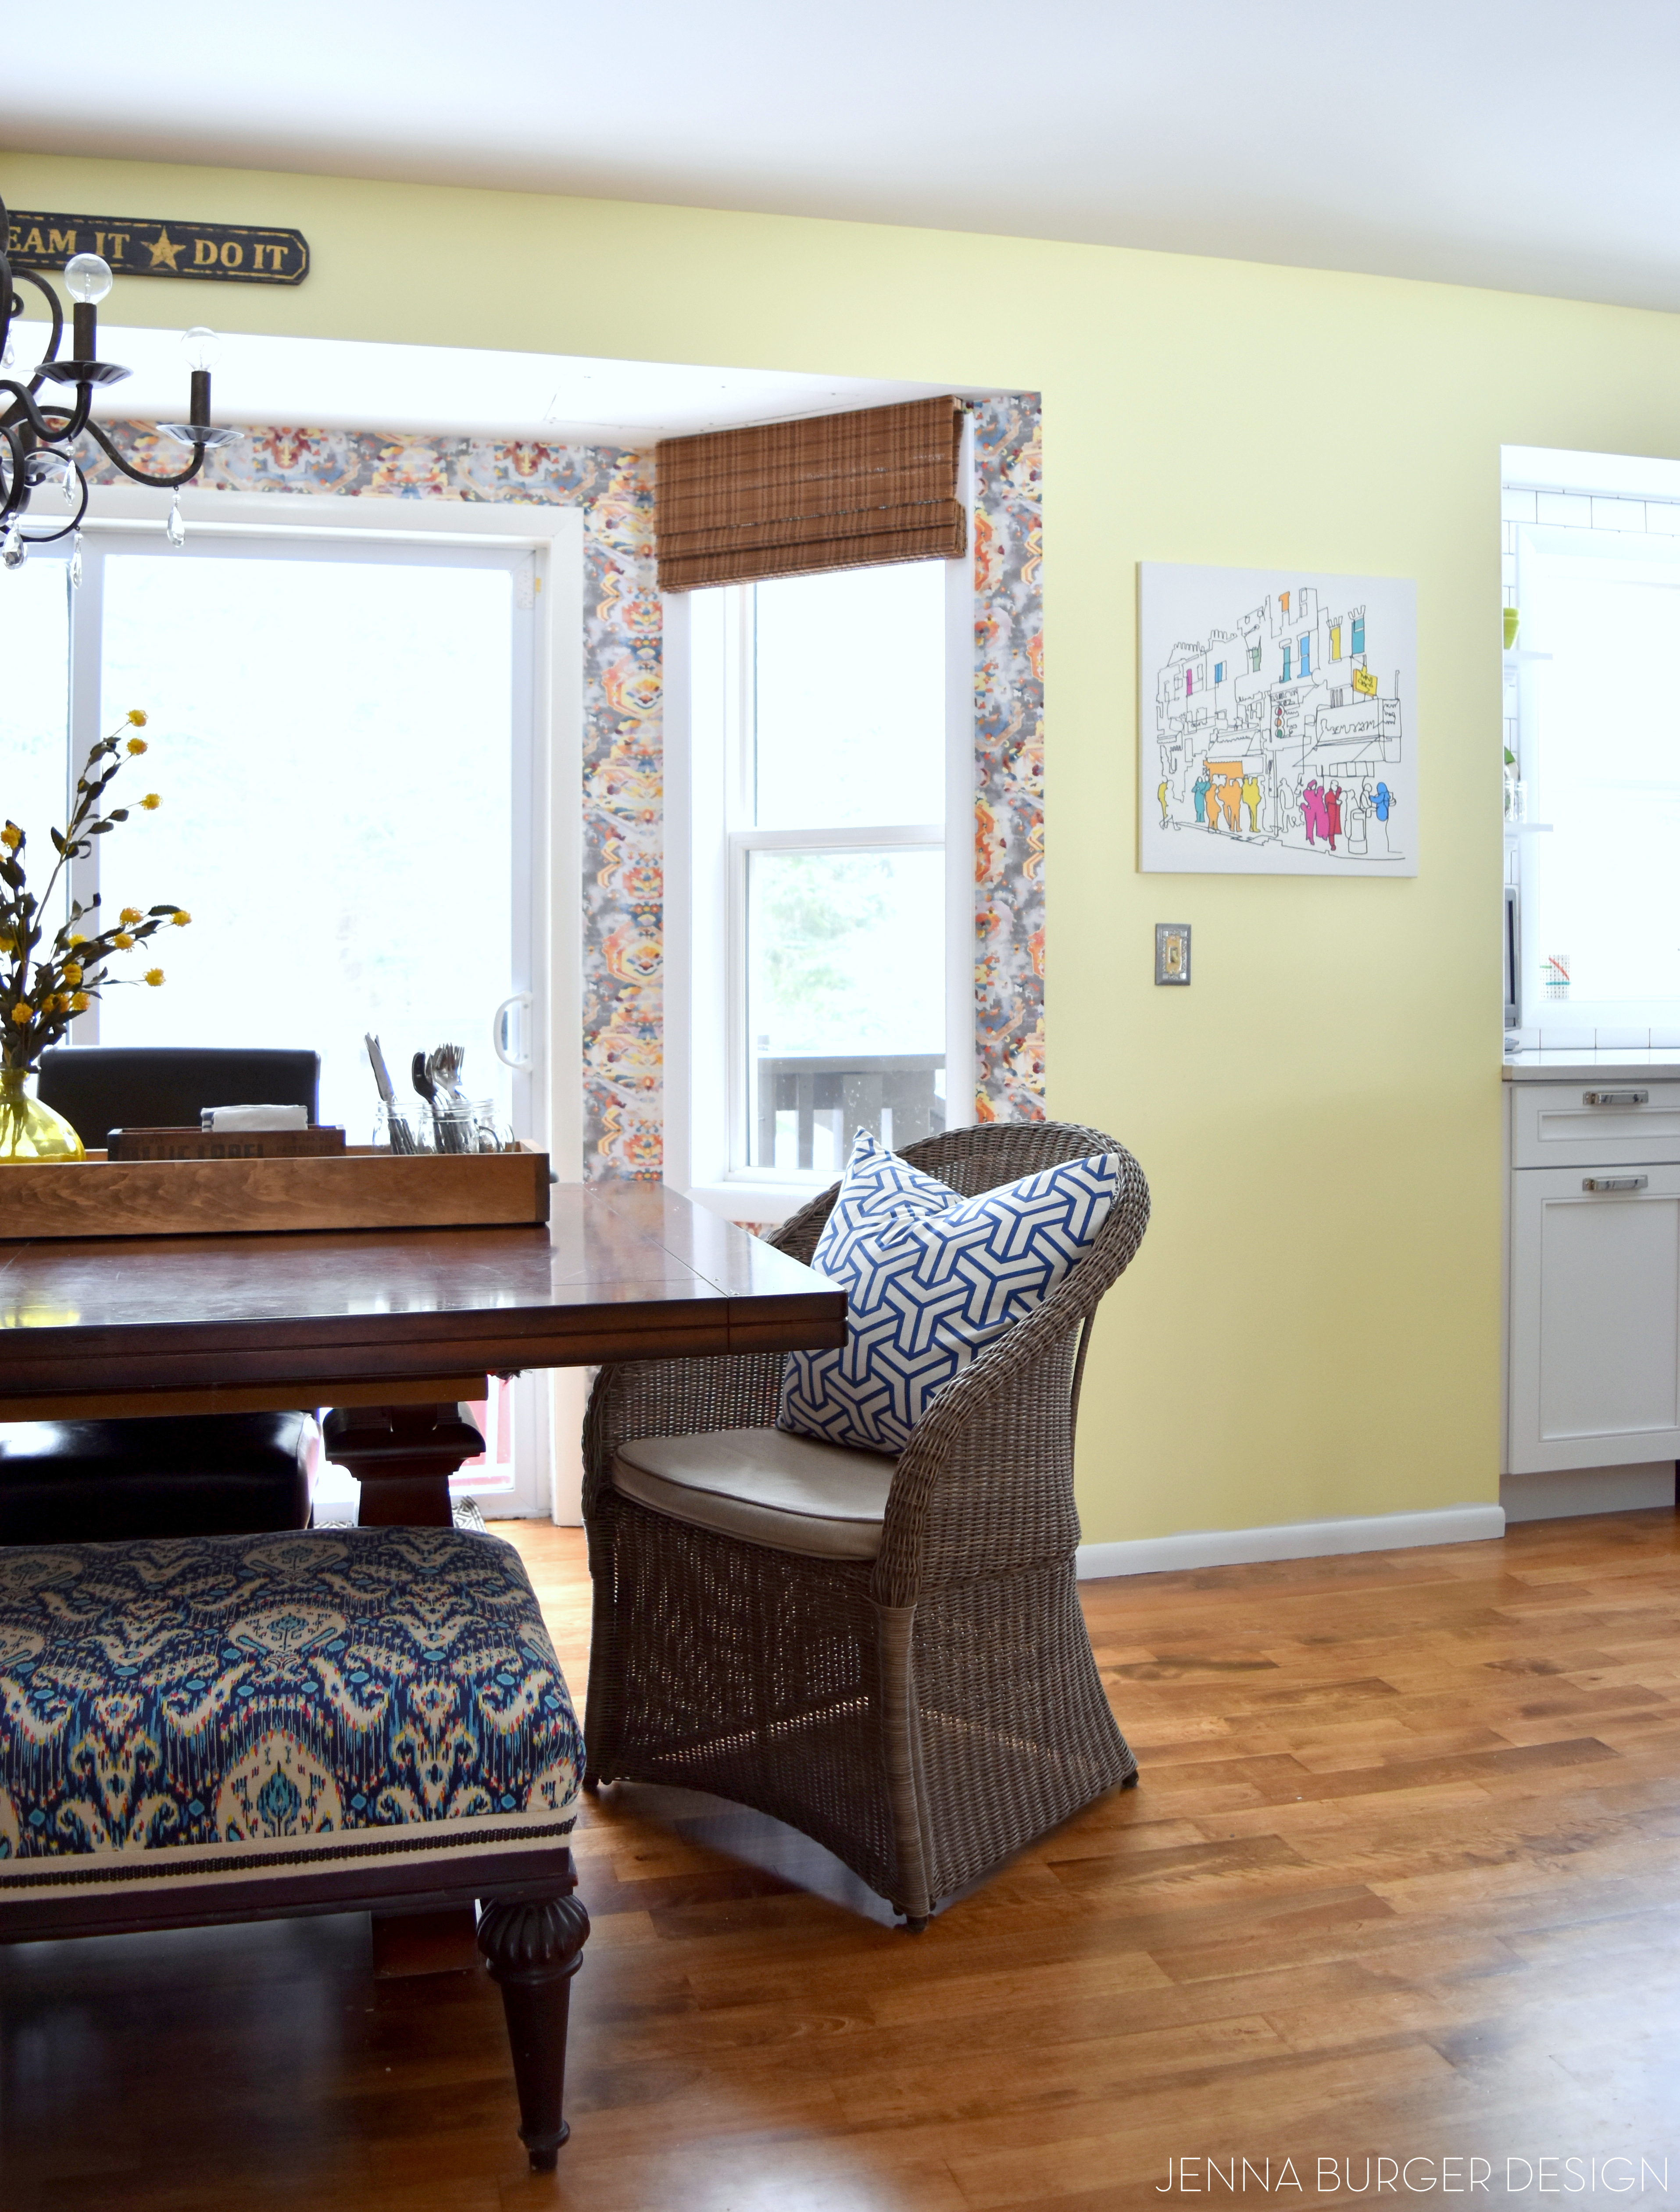
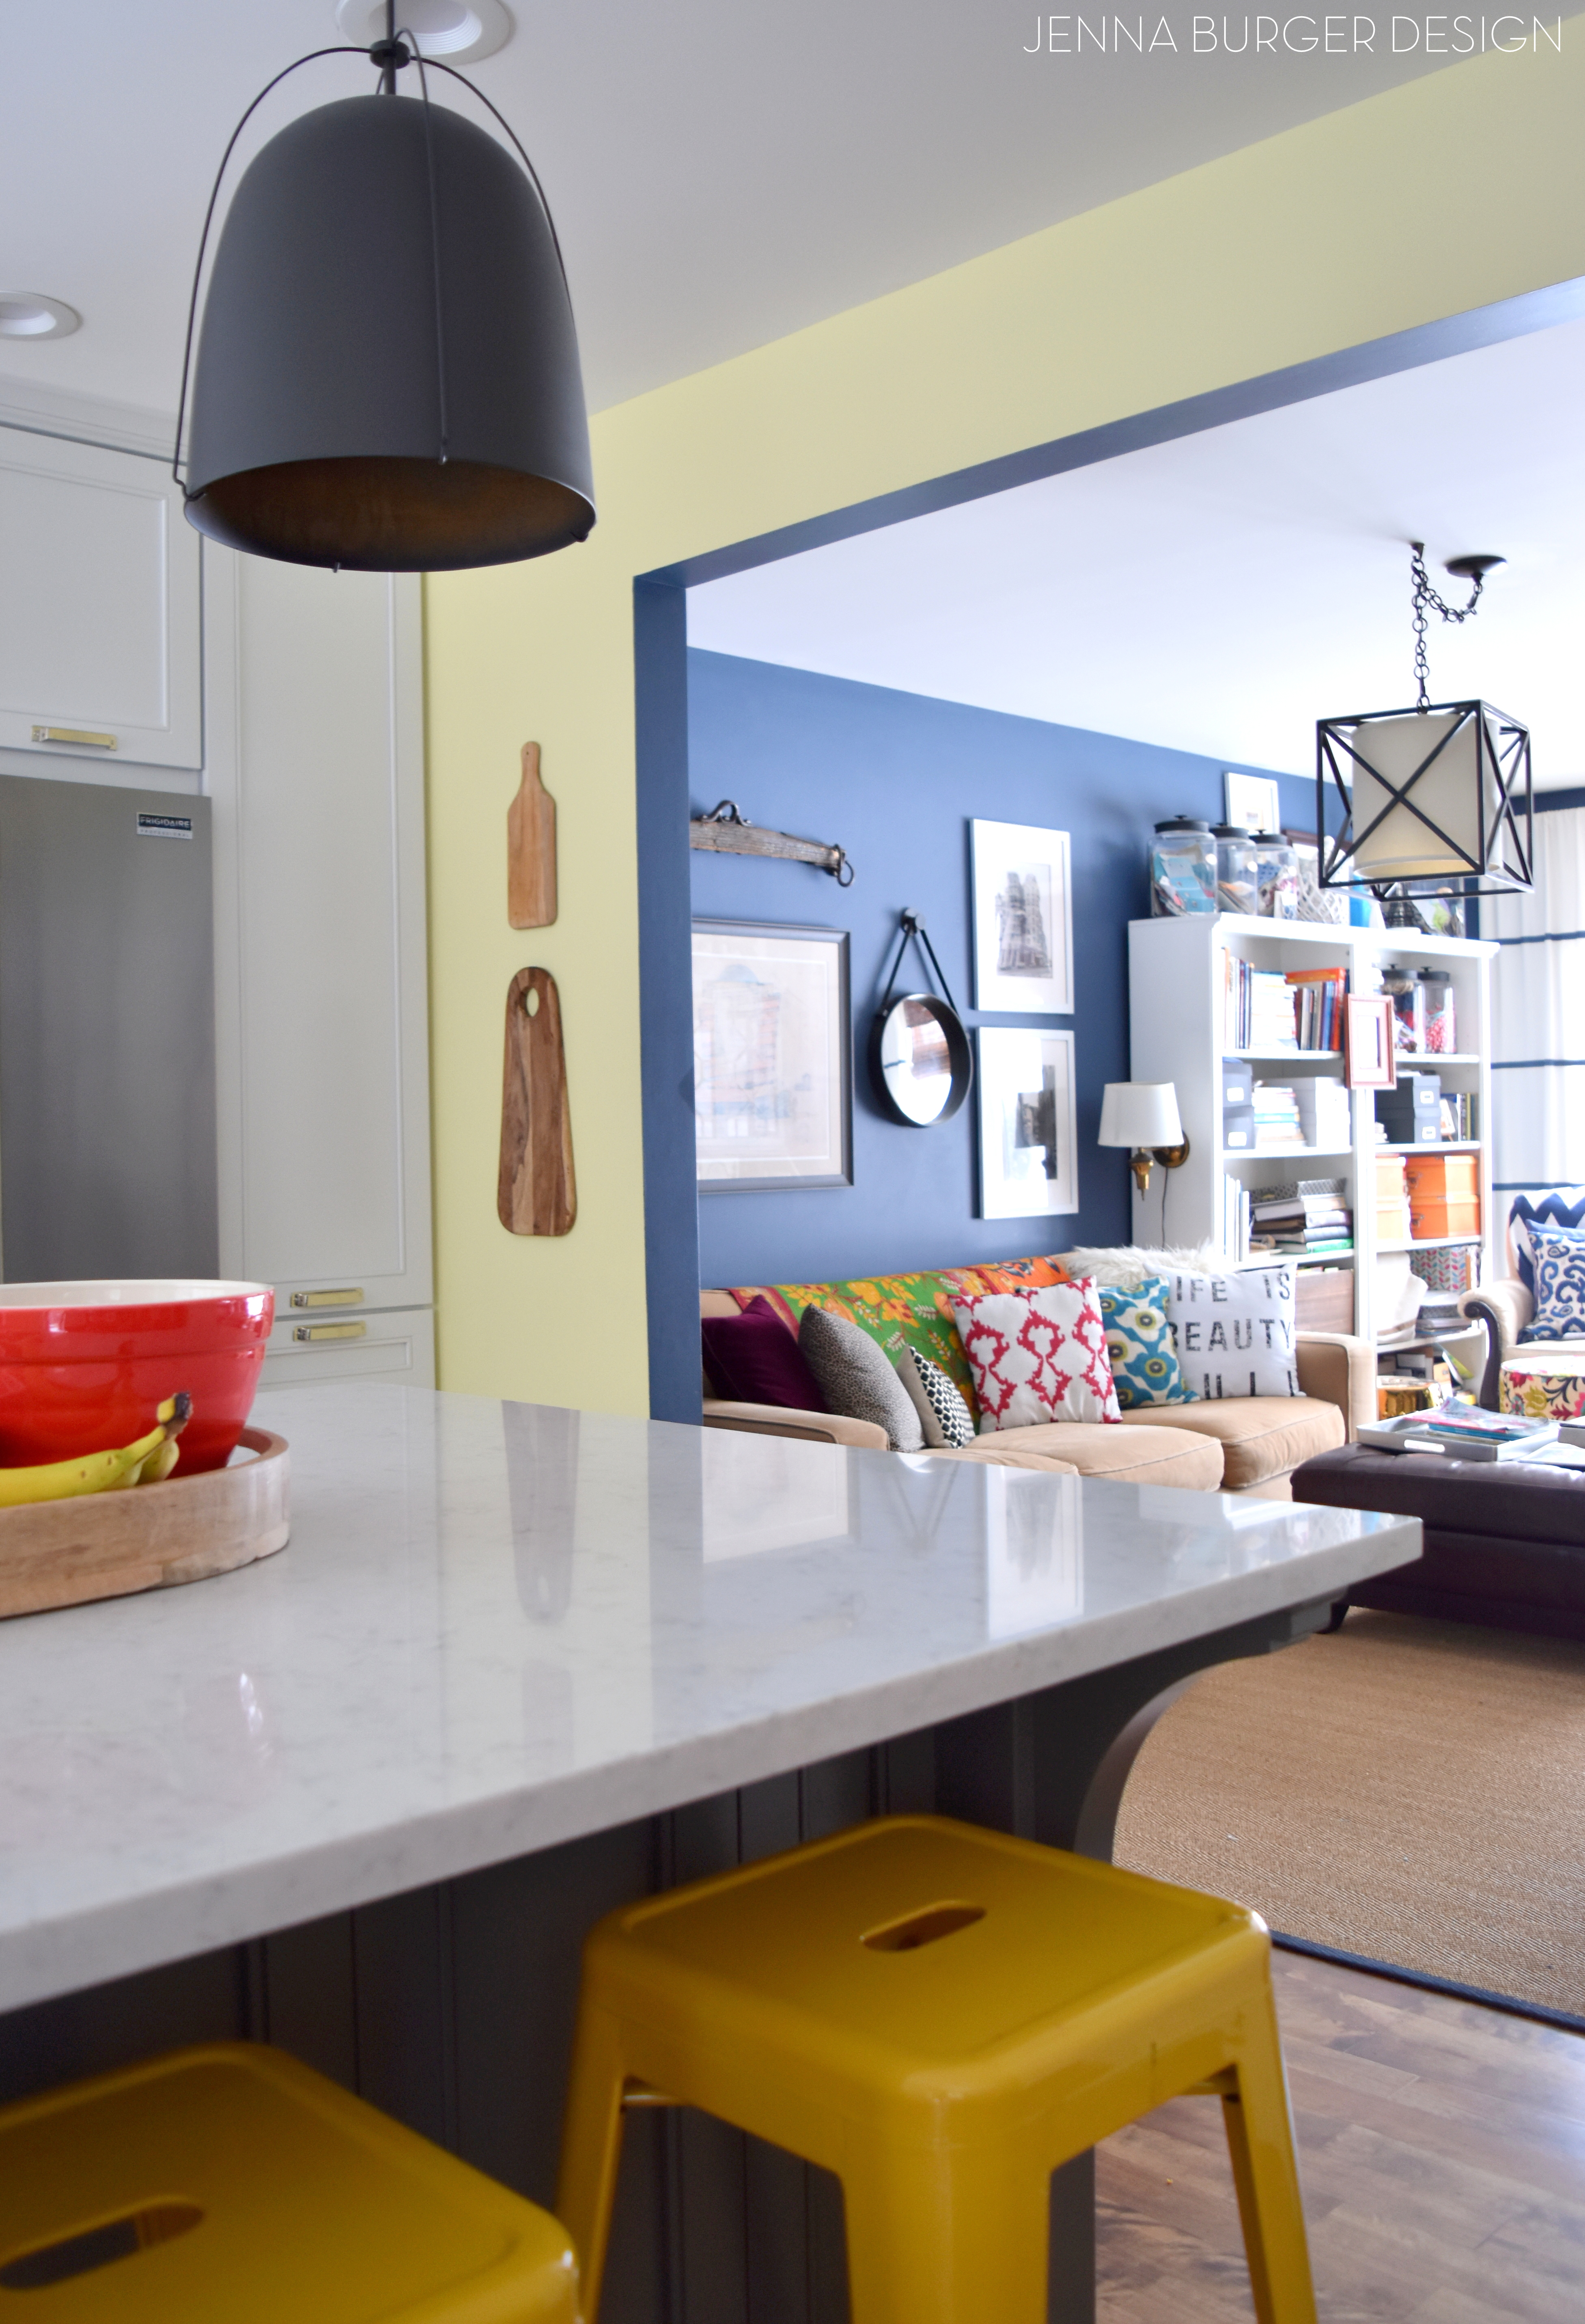
For the walls in the kitchen + dining room, I chose to use the color White Citrus HGSW1237 by HGTV Home by Sherwin Williams, which is available at Lowe’s. The sheen is eggshell (one step up in sheen from flat) and I used their Showcase line of paint.
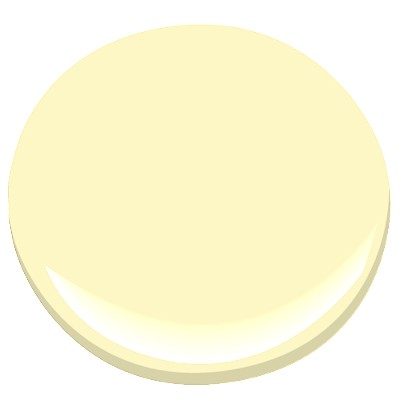
The color on the wall is just gorgeous and brings all the spaces together. It’s not very far off from the last yellow paint color, but at the same time, it feels so new + fresh. To sum it up, this White Citrus paint color is a light buttery + sunny hue with subtle green undertones.
Sherwin Williams has always been a favorite paint of mine to use. The quality is like no other. I’ve used a lot of paint in my day, and have come across a lot I will never use again. When I was introduced to the HGTV Home collection by Sherwin Williams, I was intrigued because it was available at Lowe’s, a place I always shop. So the big question I had… Is the quality the same as the Sherwin Williams brand it’s always been or did they ‘change the formula’ for the big box store?
I had the opportunity to speak with a rep for Sherwin Williams, who has worked with them for over a decade and he assured me the quality is the same and their collaboration with Lowe’s was a ‘next step move’ to continue their growth and brand awareness to a new market. Basically, they want to reach even more people and by being in Lowe’s (versus just their own stand-alone store), they hope to do that!
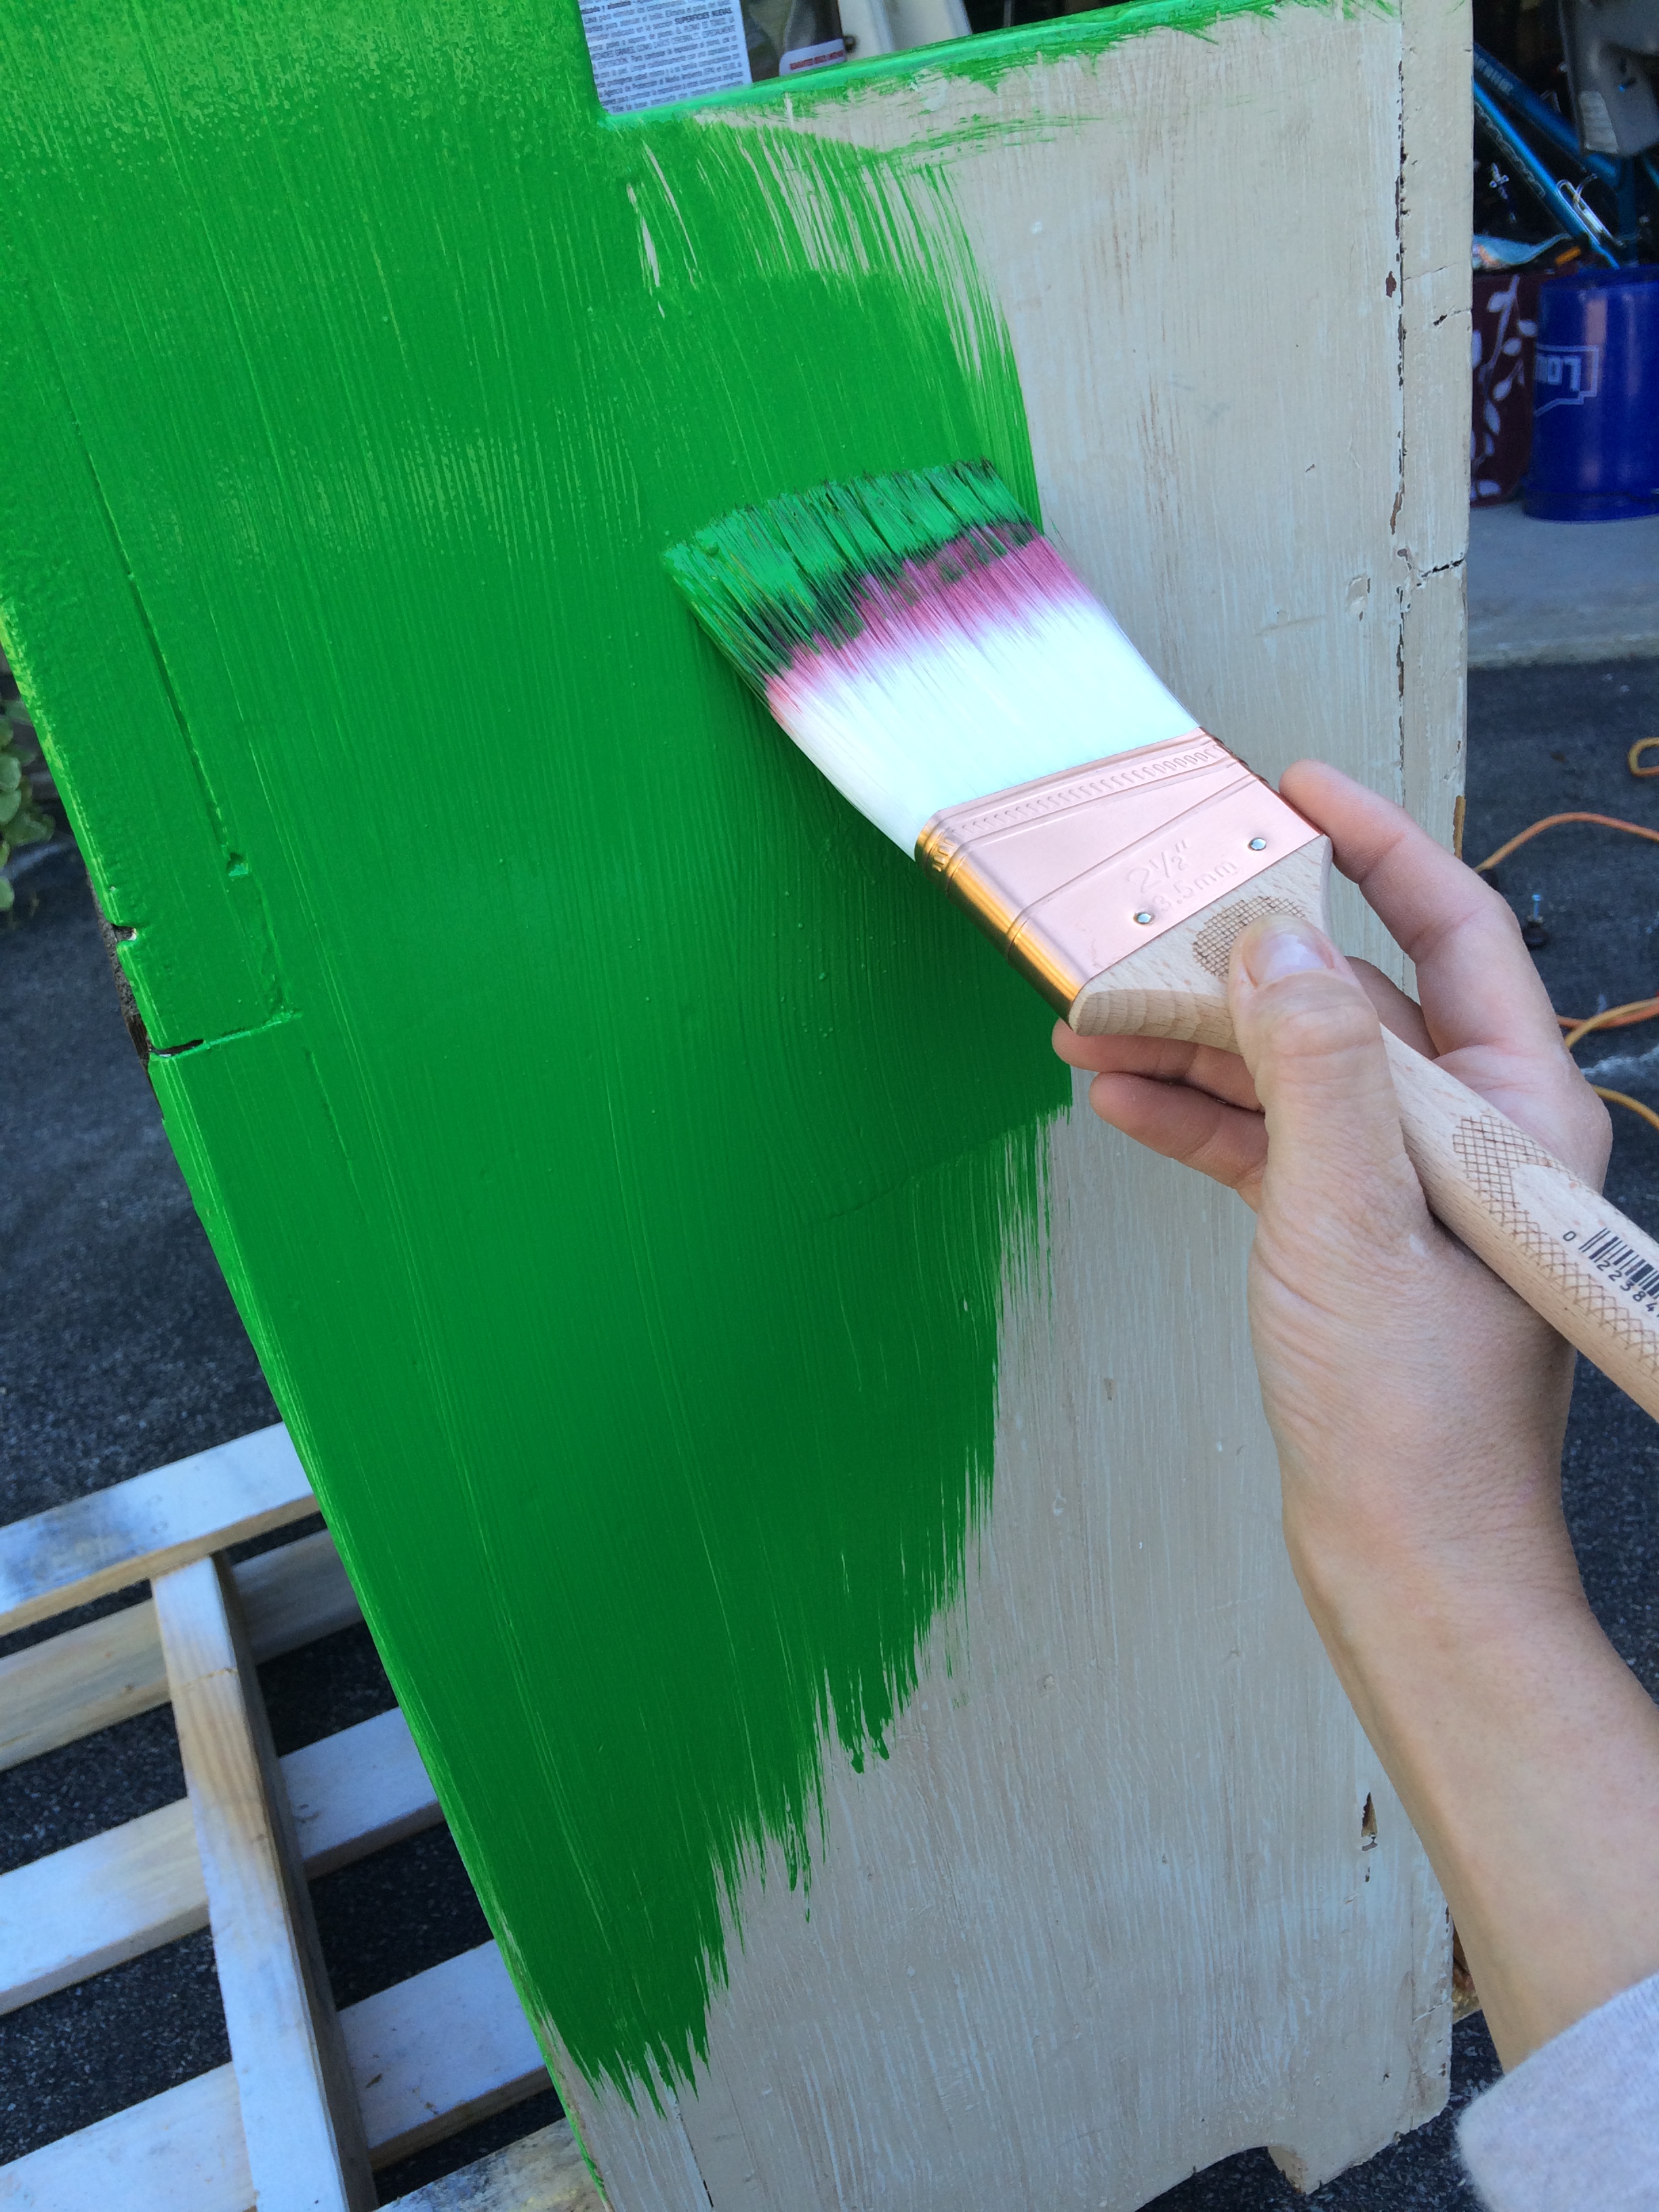
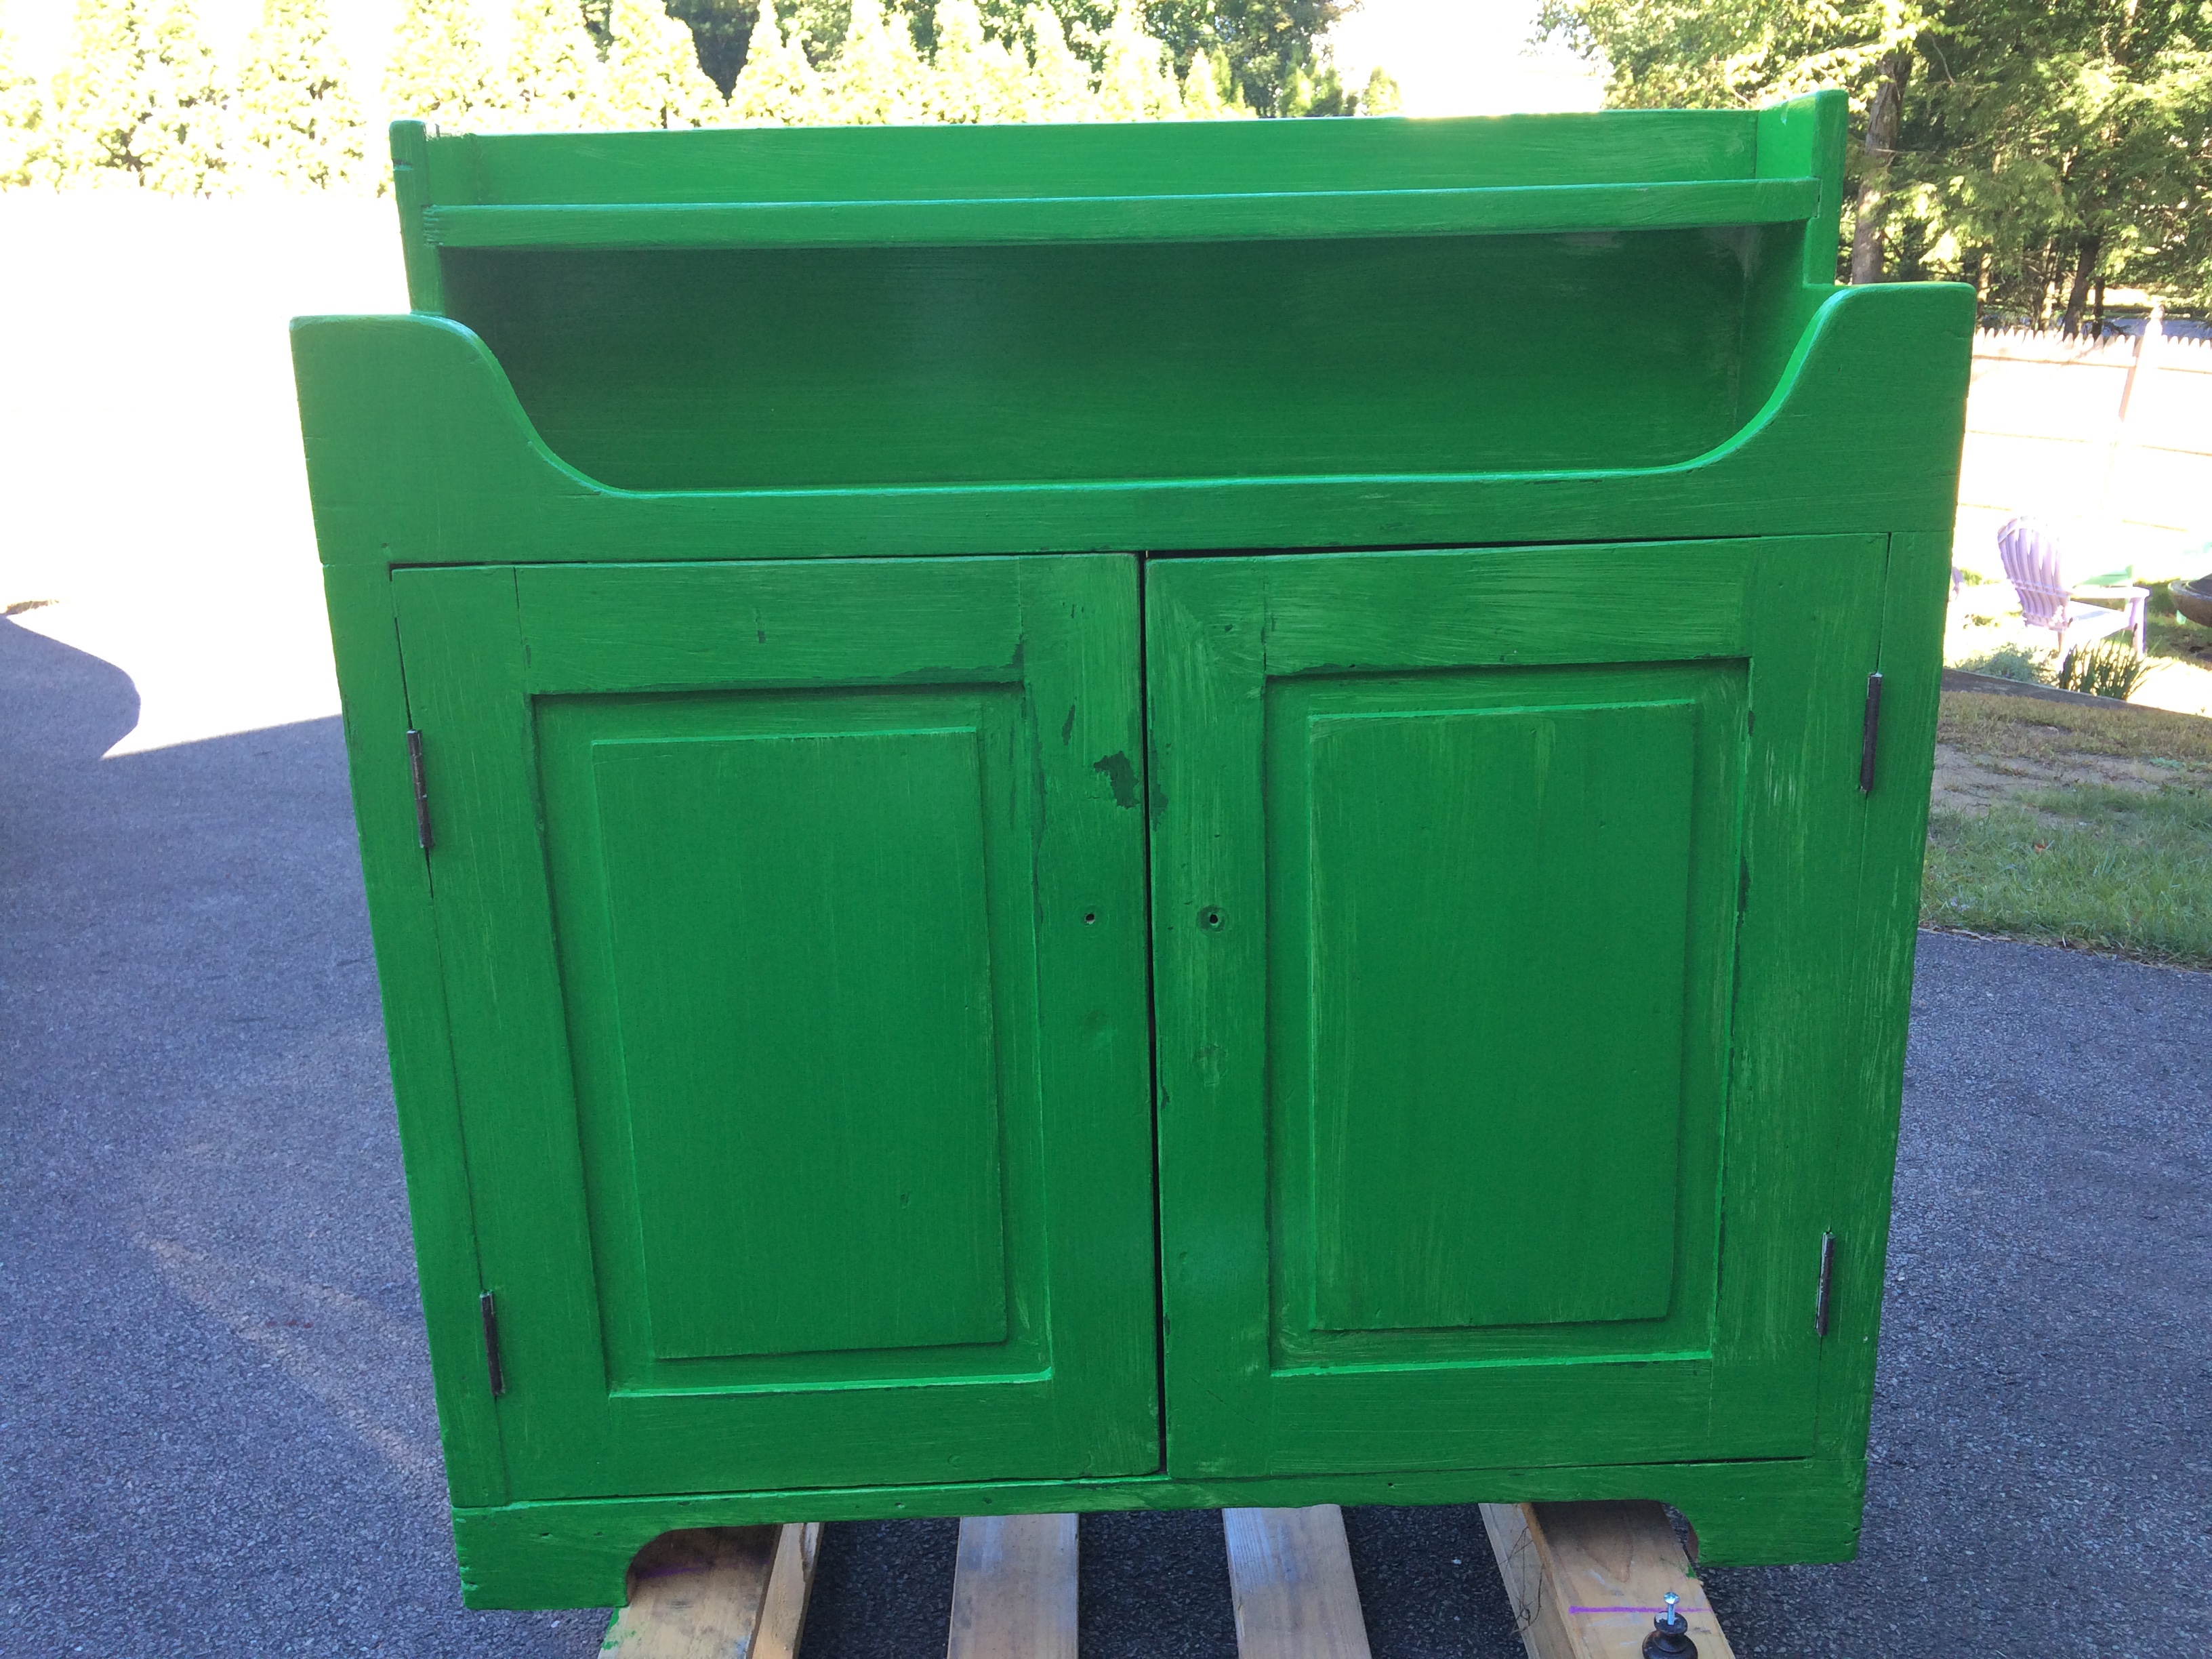
I was skeptical about the quality, but I will say I had a great experience using the Showcase line of HGTV Home paint. It went on smoothly with a roller AND a brush. Most paint takes 2, maybe 3 coats, to get full coverage on the wall, but this paint went on in one coat yet it wasn’t thick and goopy. Of course, I went over it with a 2nd coat, but it really wasn’t needed.
THE PAINT RESULT
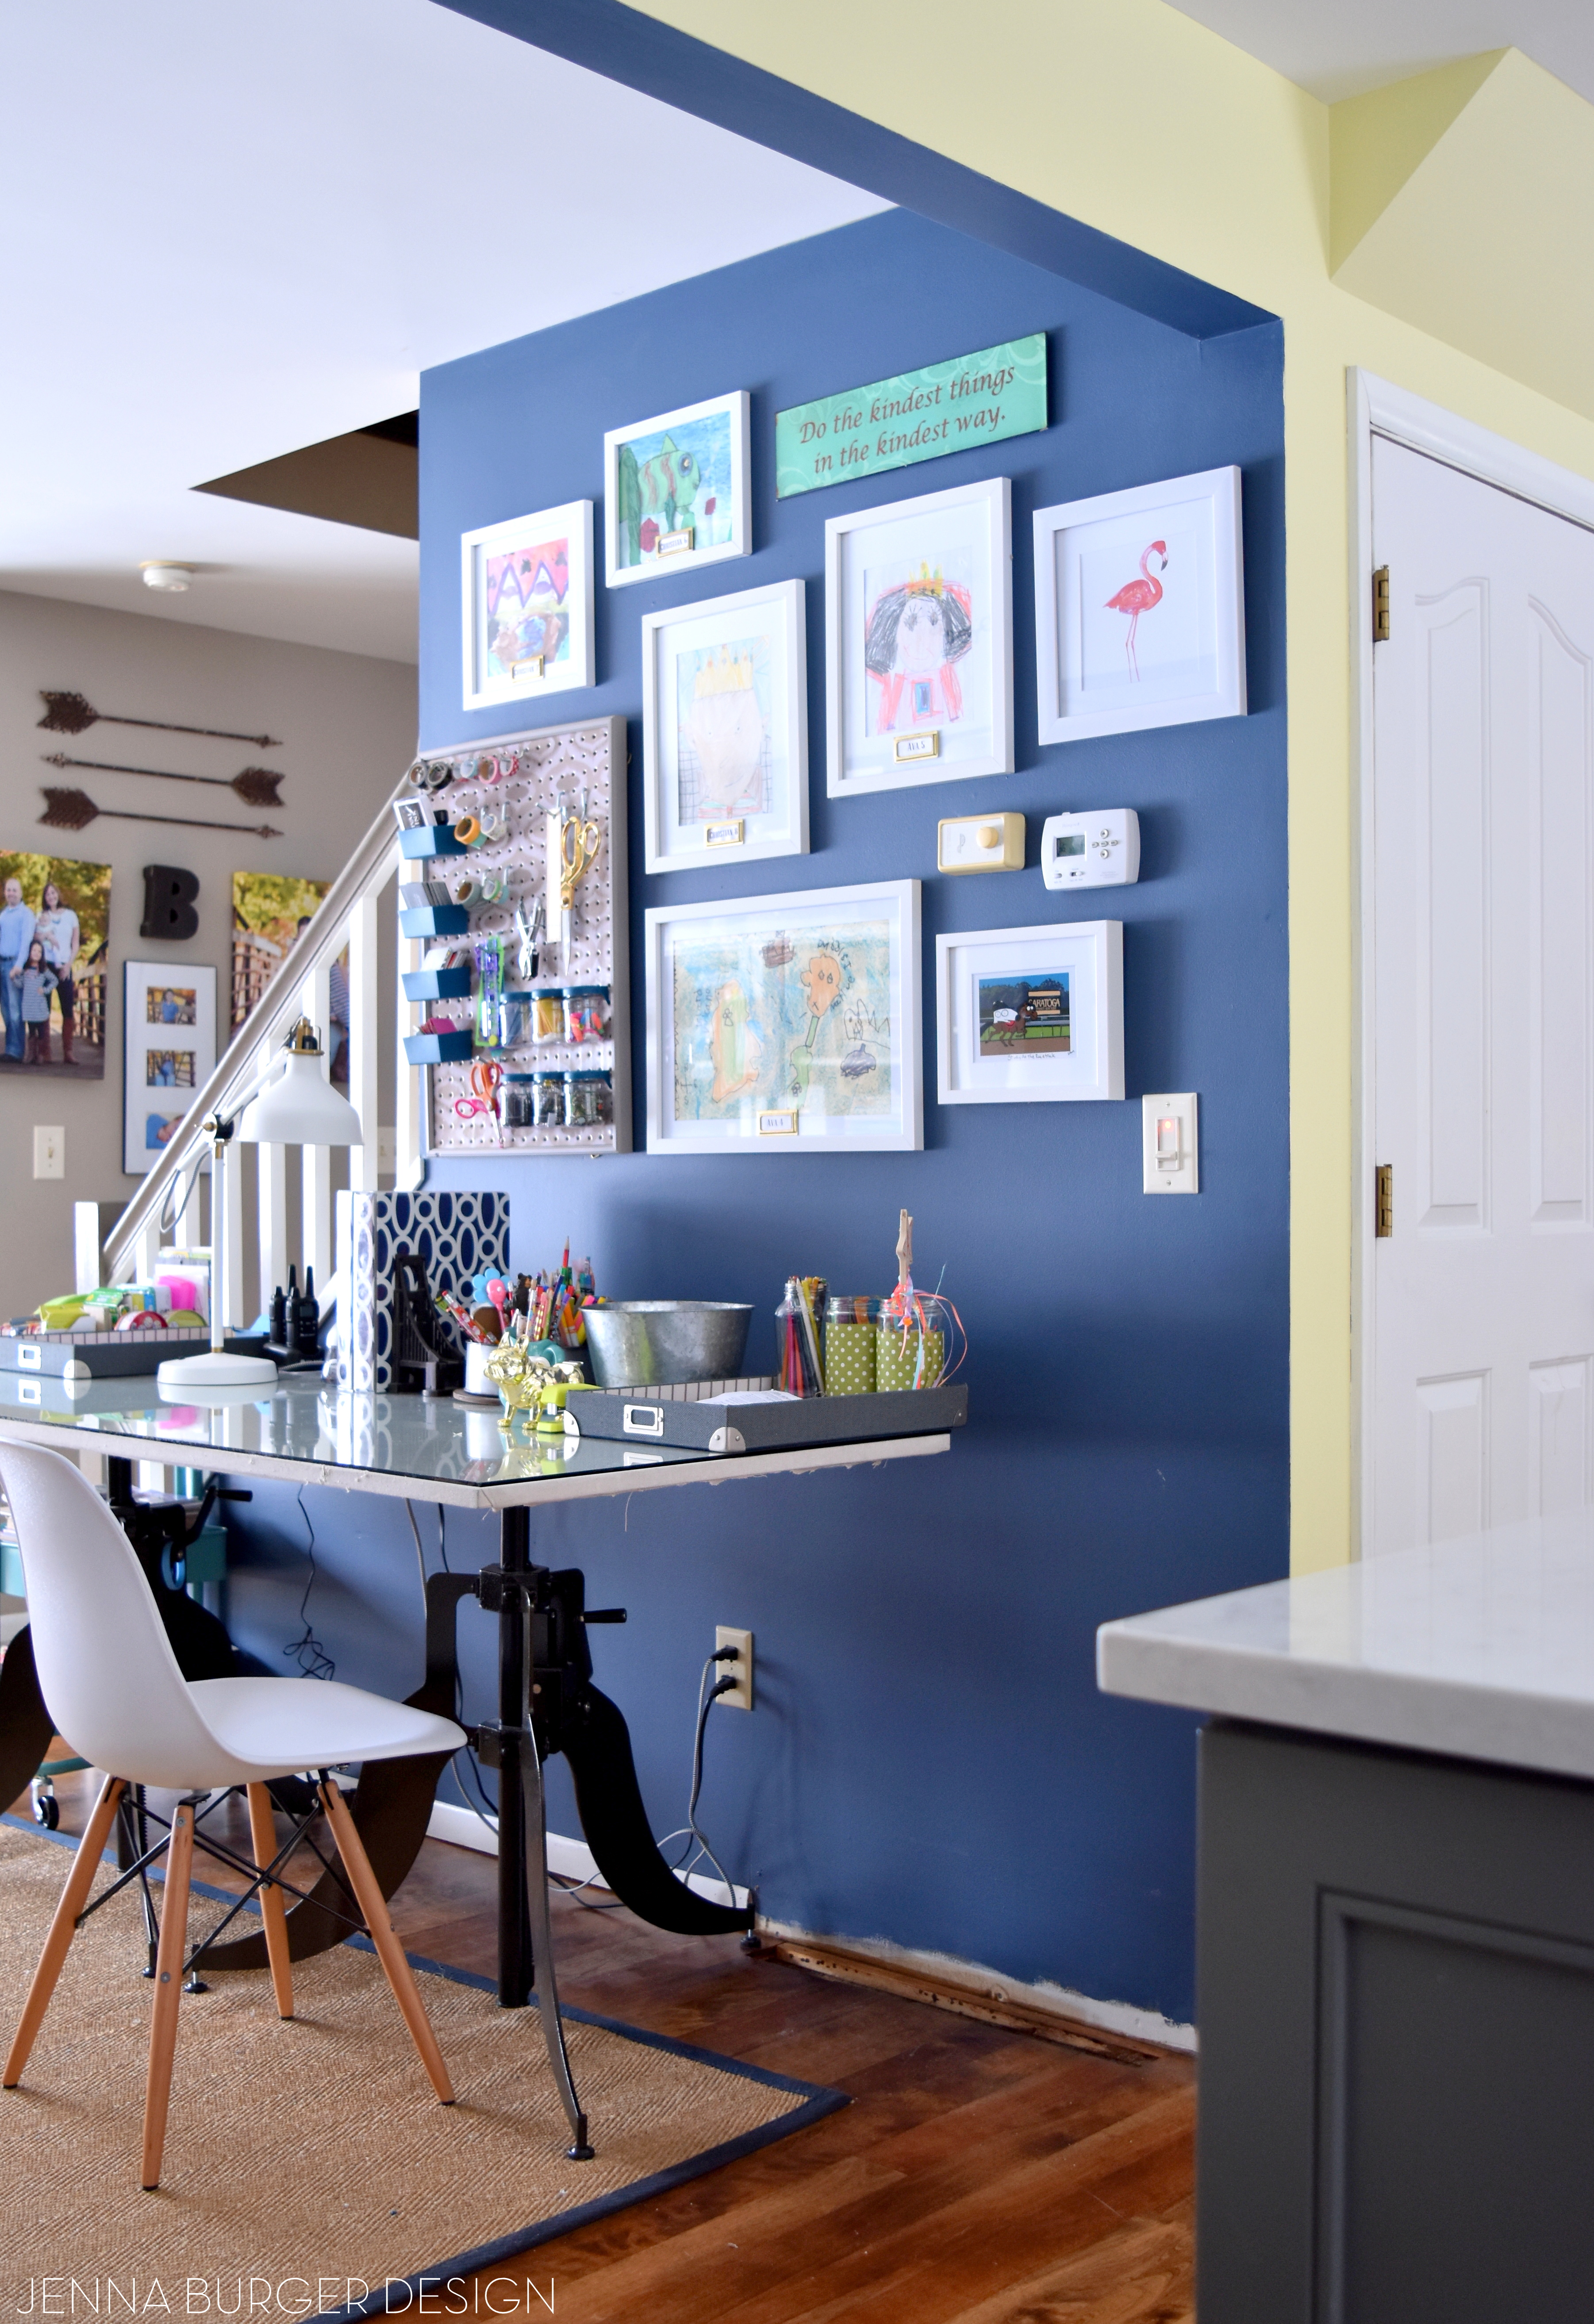
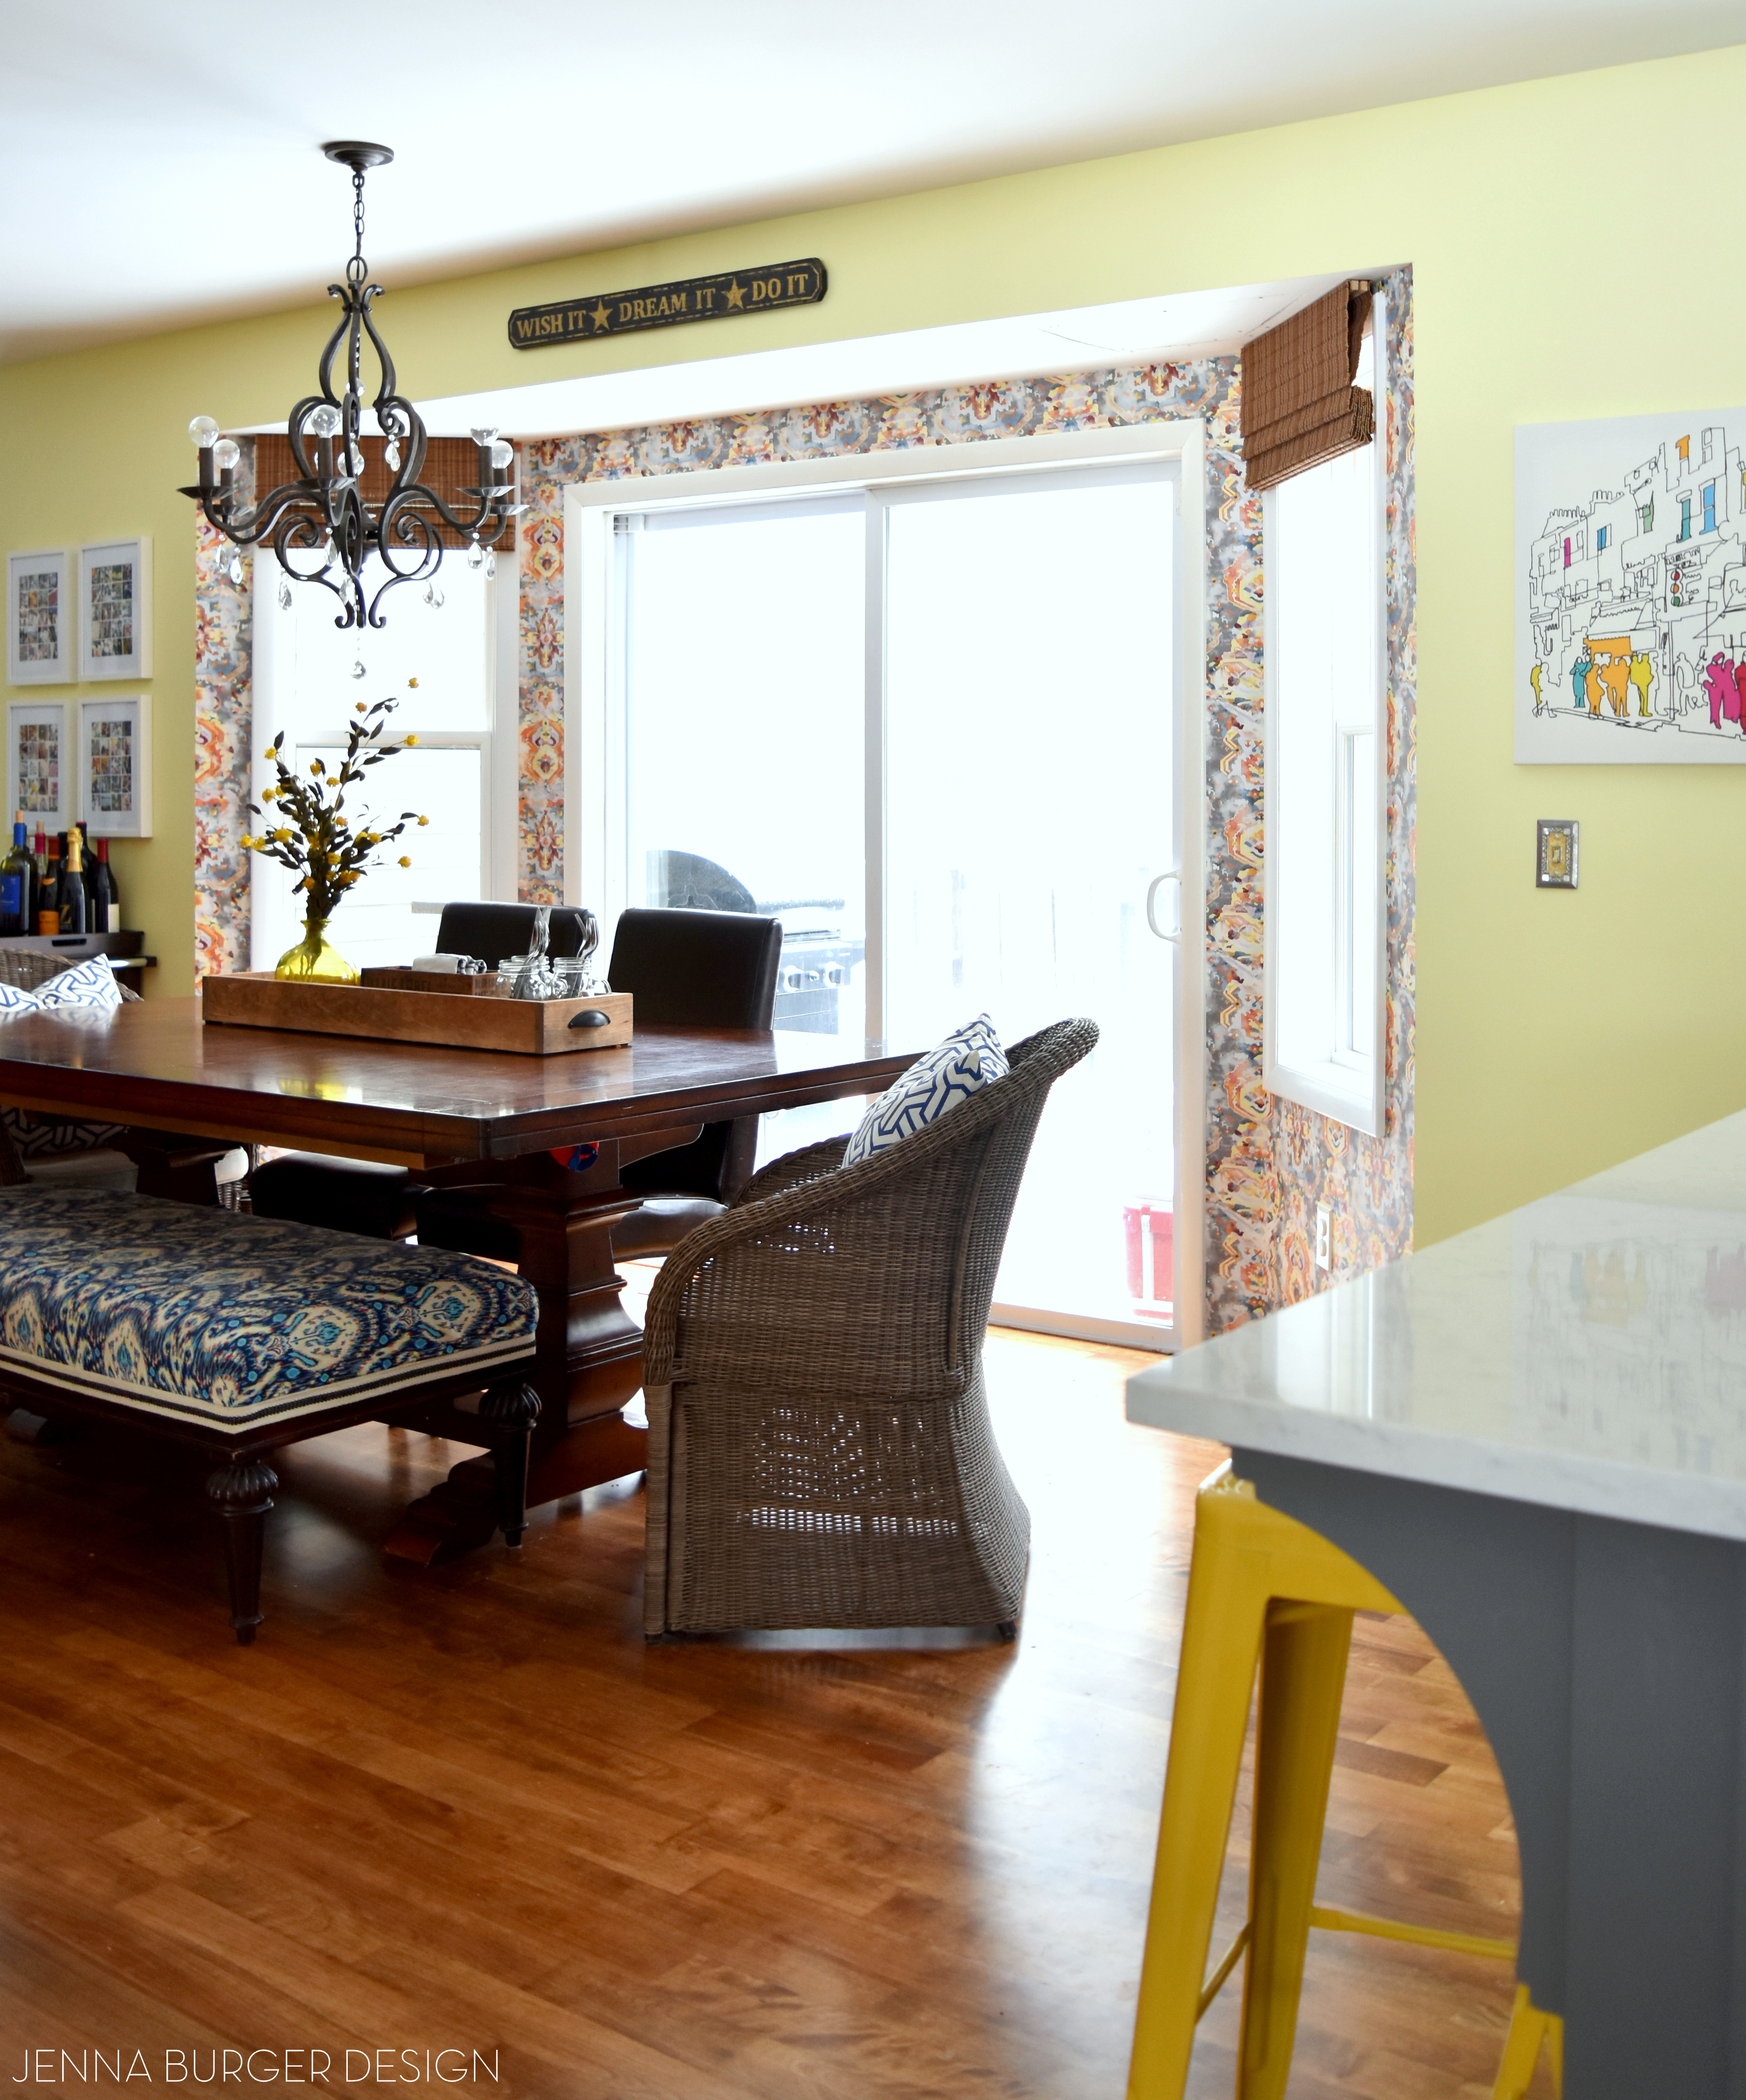
The yellow hue defines the kitchen + dining room space, yet flows with the neutral colors in the family room beyond…

Next to the kitchen is the living room / office which is a deep navy hue, and the yellow works beautifully with that as well…
THE WALLPAPER
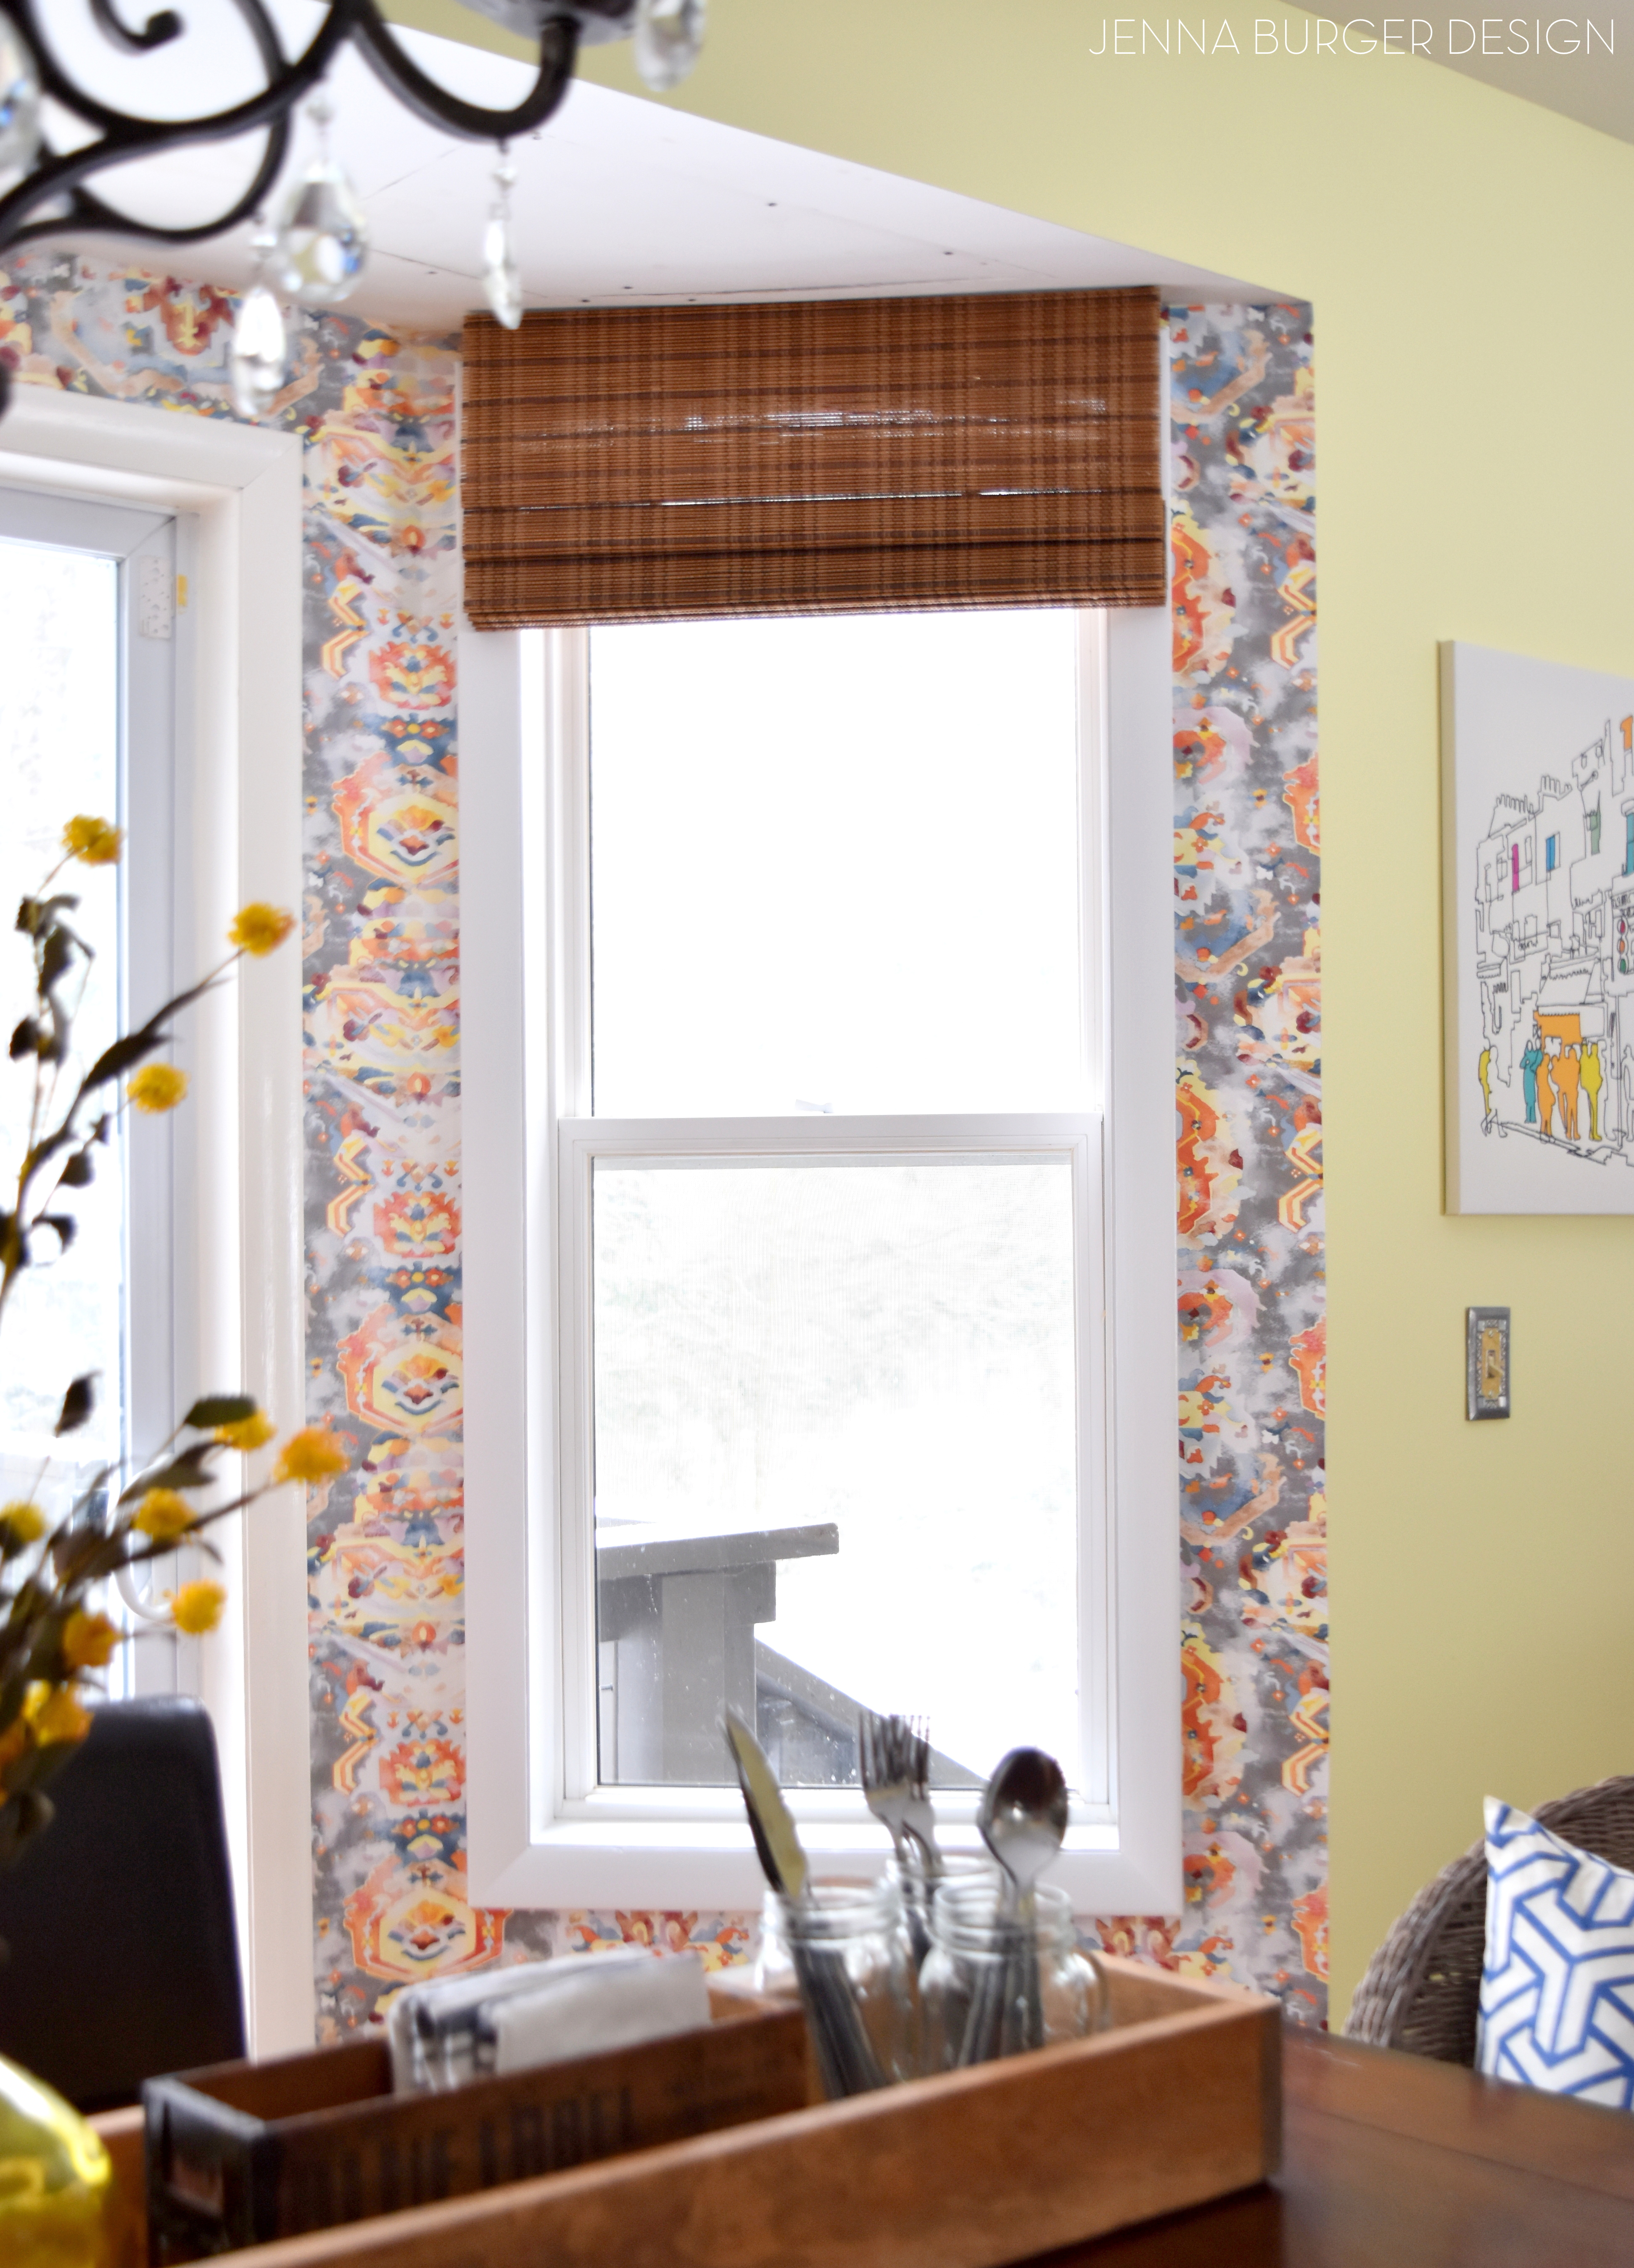
I heart wallpaper and really wanted to use it somewhere in the new kitchen space. At the same time, I always wanted to define the bay area in the dining area with a different paint color.
How about ditching the paint idea and instead add wallpaper in the bay nook? YES, perfect solution.
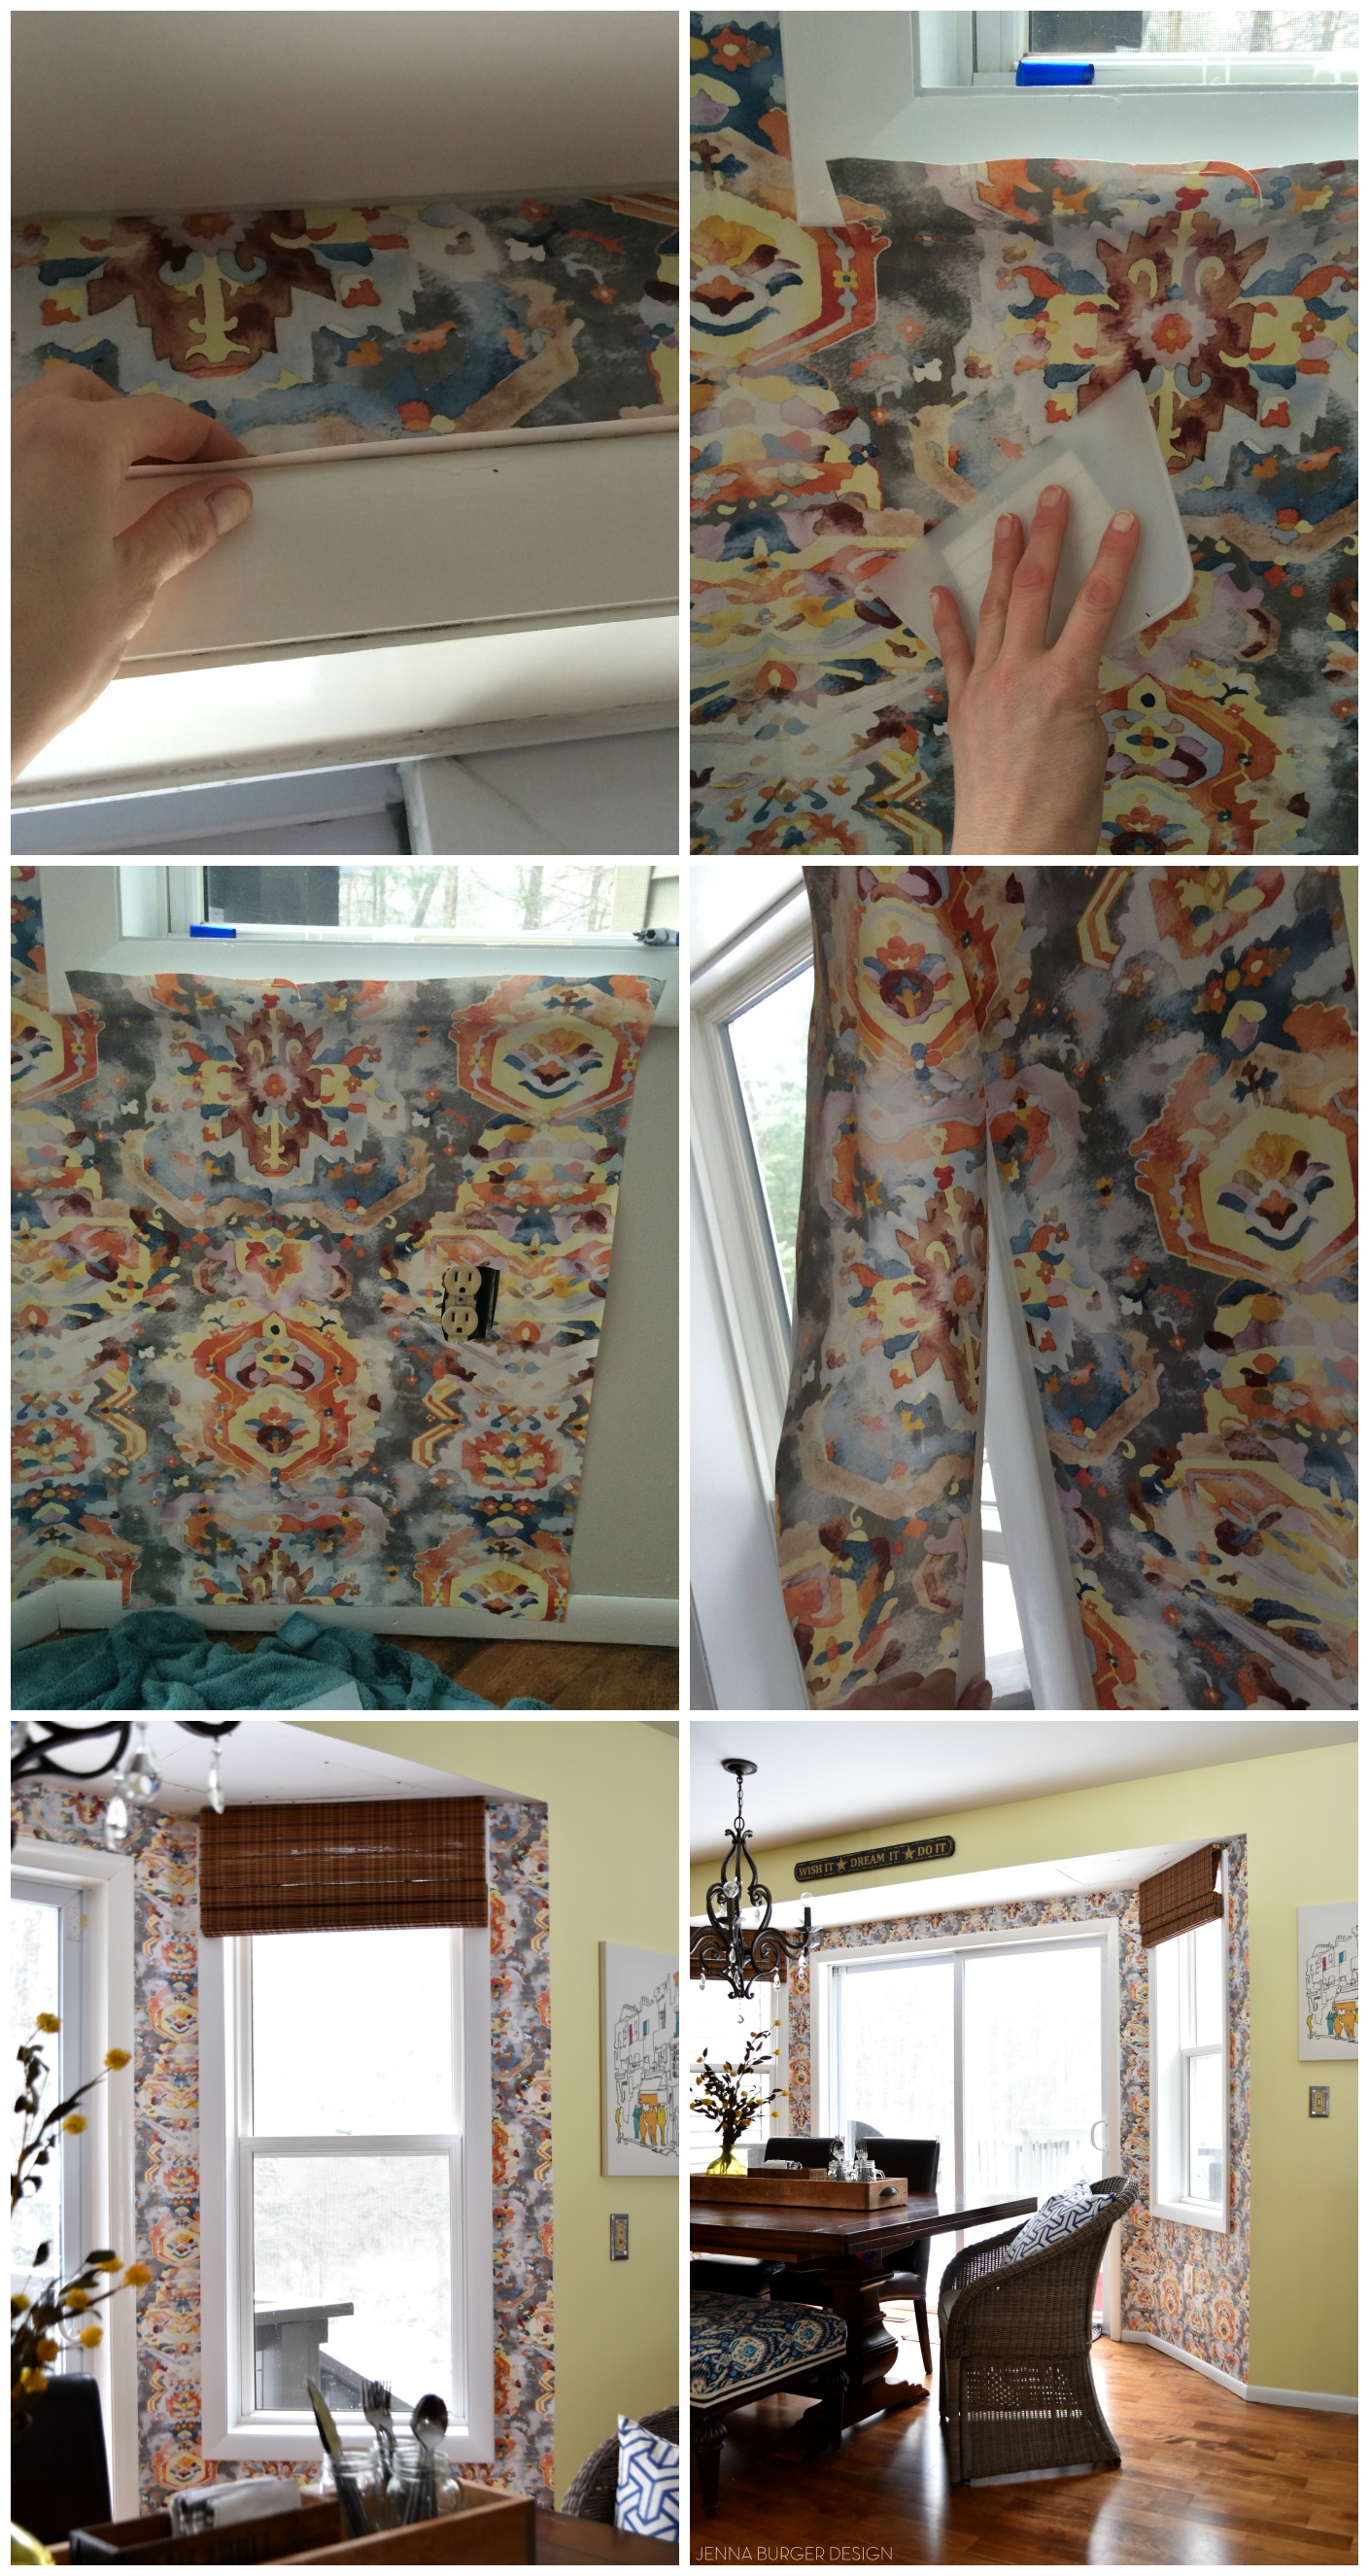
I found this incredible bold + colorful wallpaper from Anthropologie. The rich colors of orange, blue, yellow, gray, raspberry perfectly summed up all the colors in my home… I had to have it!
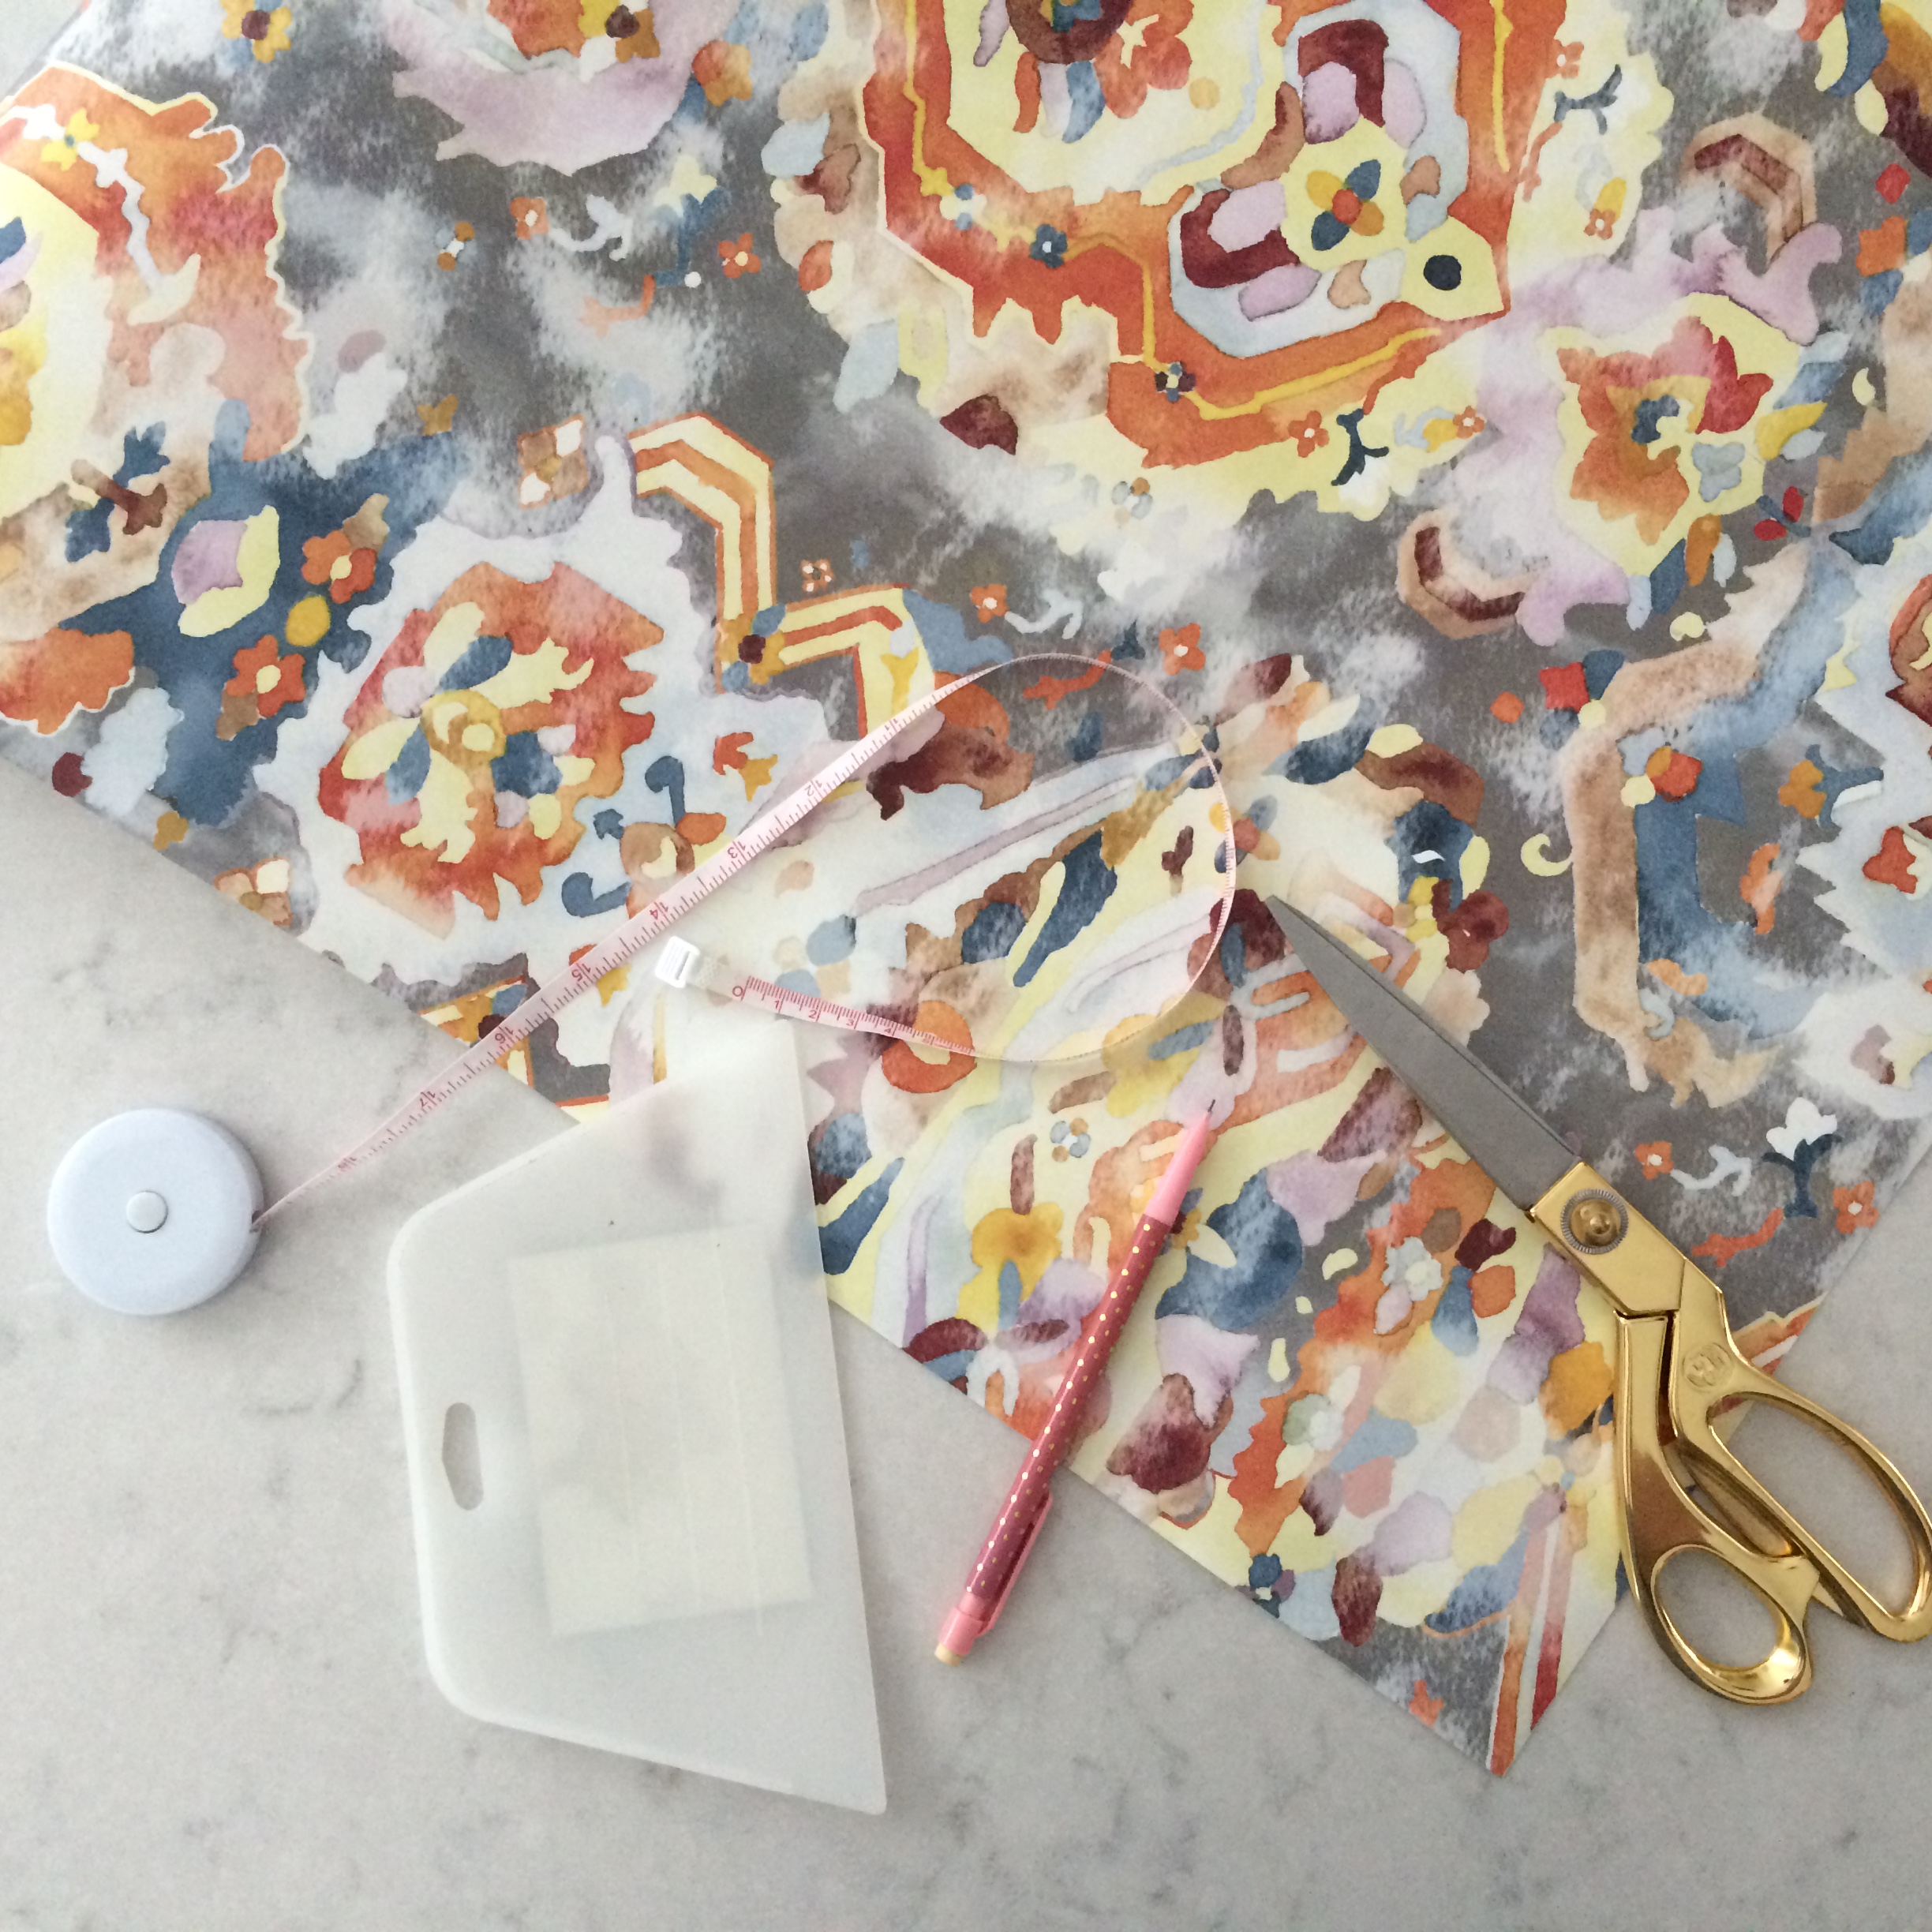
Once it was delivered a few days later, I got to work.
I primed the walls first.
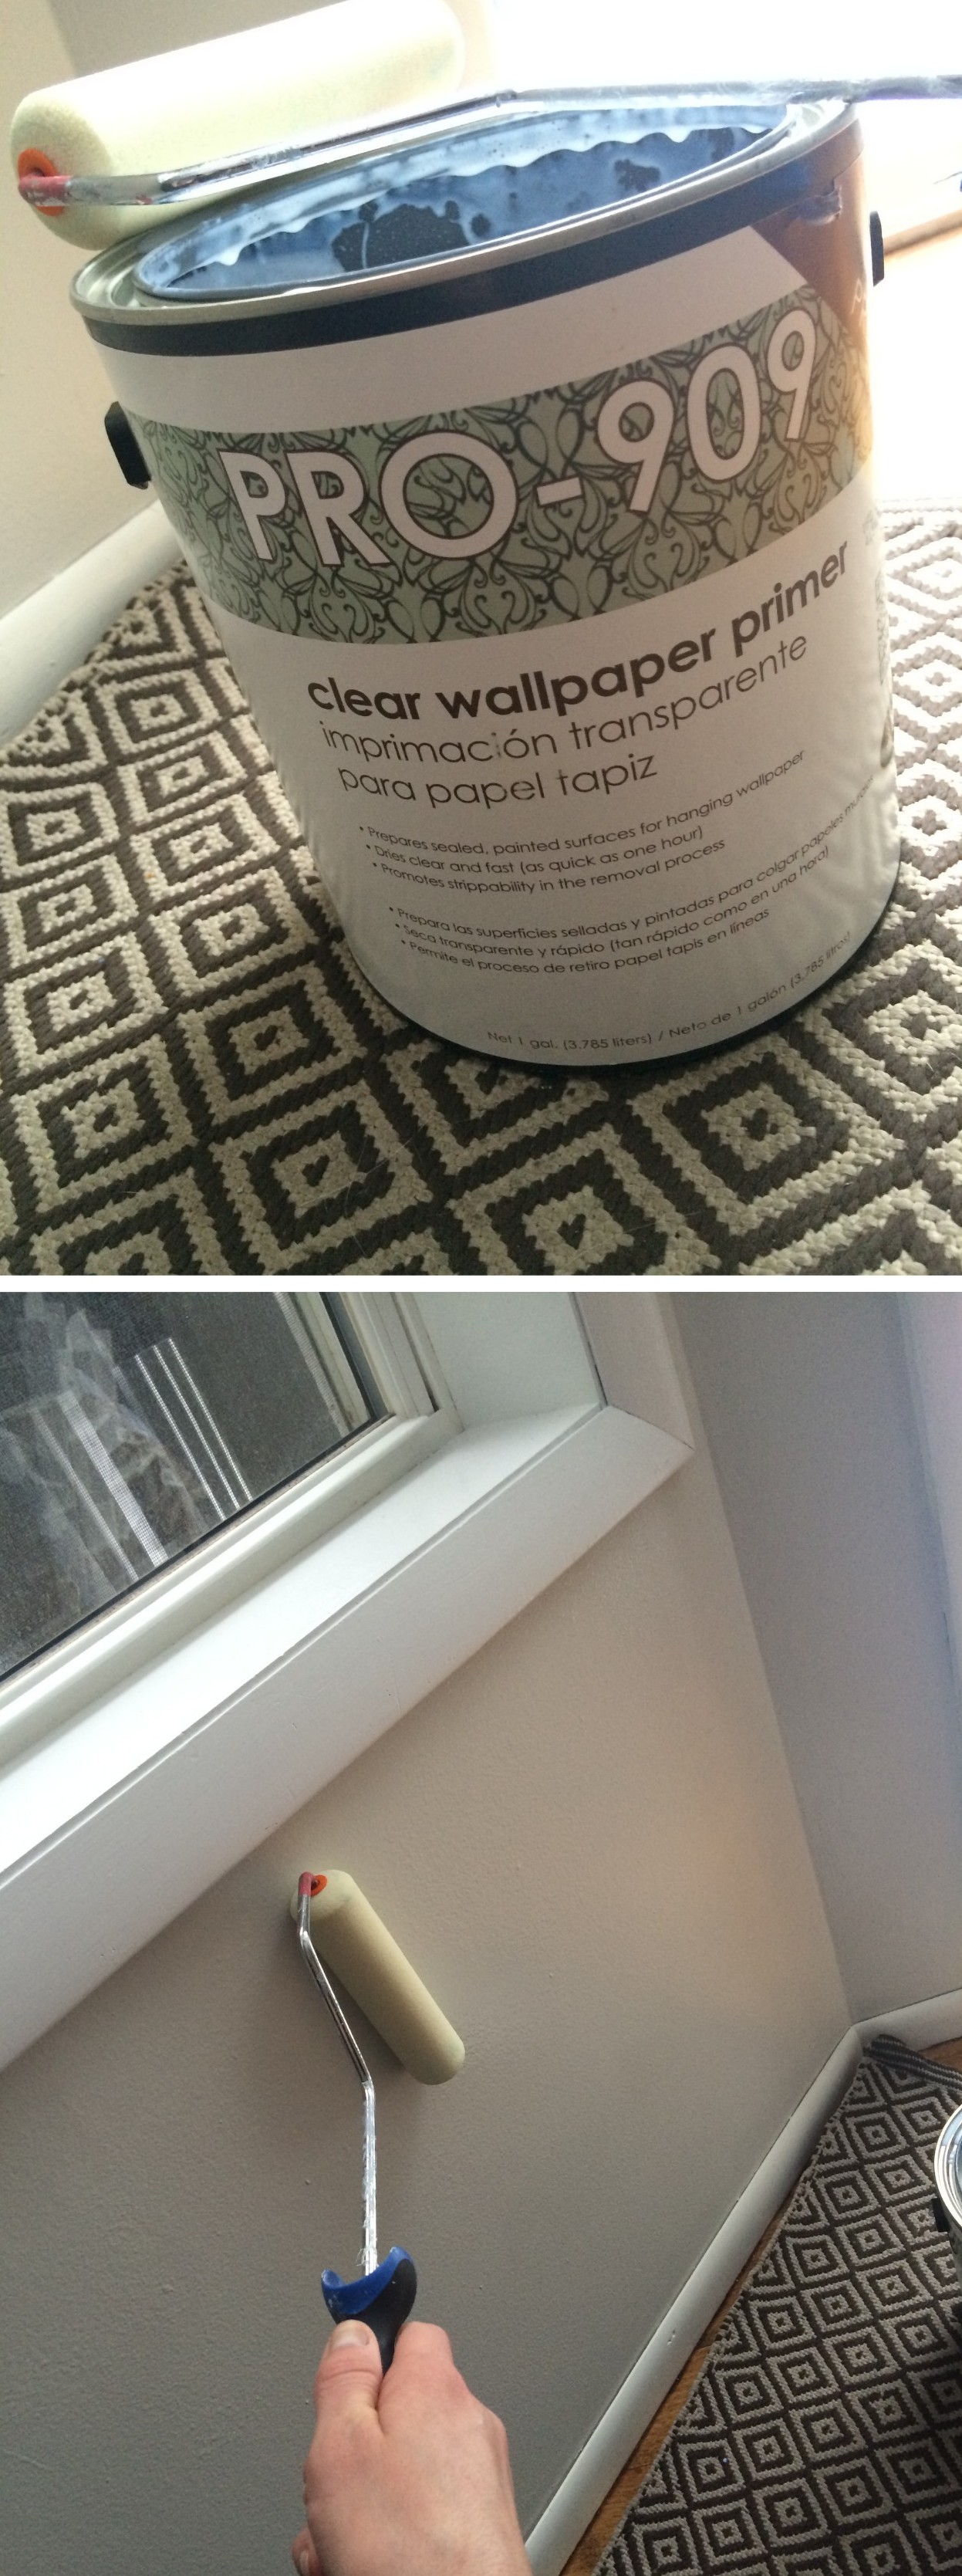
Then installed the wallpaper which took about 3 hours total for this bay area.
Want to know how to hang wallpaper? Check out these WALLPAPER TUTORIALS
Hanging a Bold Wallpaper in the Bathroom
I’ve shared enough wallpaper tutorials, so I’ll spare you the details of the process, but this is the result…
And there you have it. Mistakes were made. Sleepless nights were had (well kinda), but the Paint + Wallpaper ARE DONE!
Another checkmark on the to do list. Next up are the final details and then the reveal…

If you want to see all the posts documenting the kitchen renovation, here they are from start to finish:
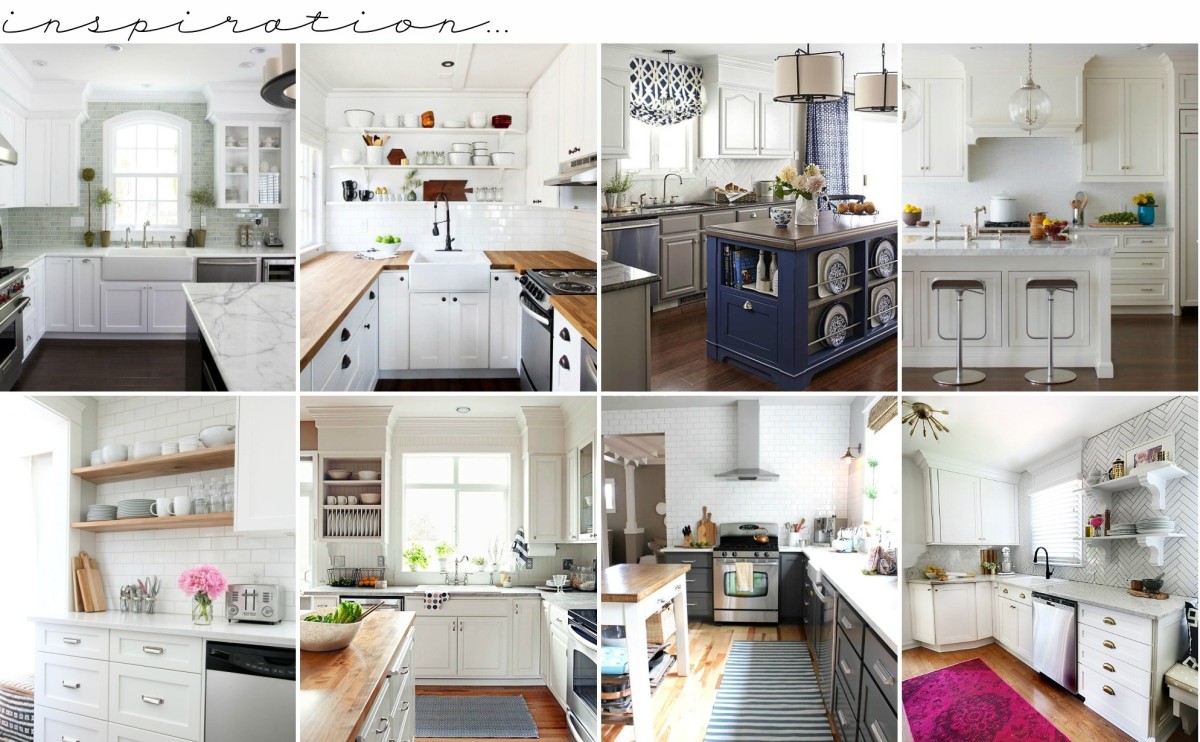
Wonderful White Kitchen Inspiration
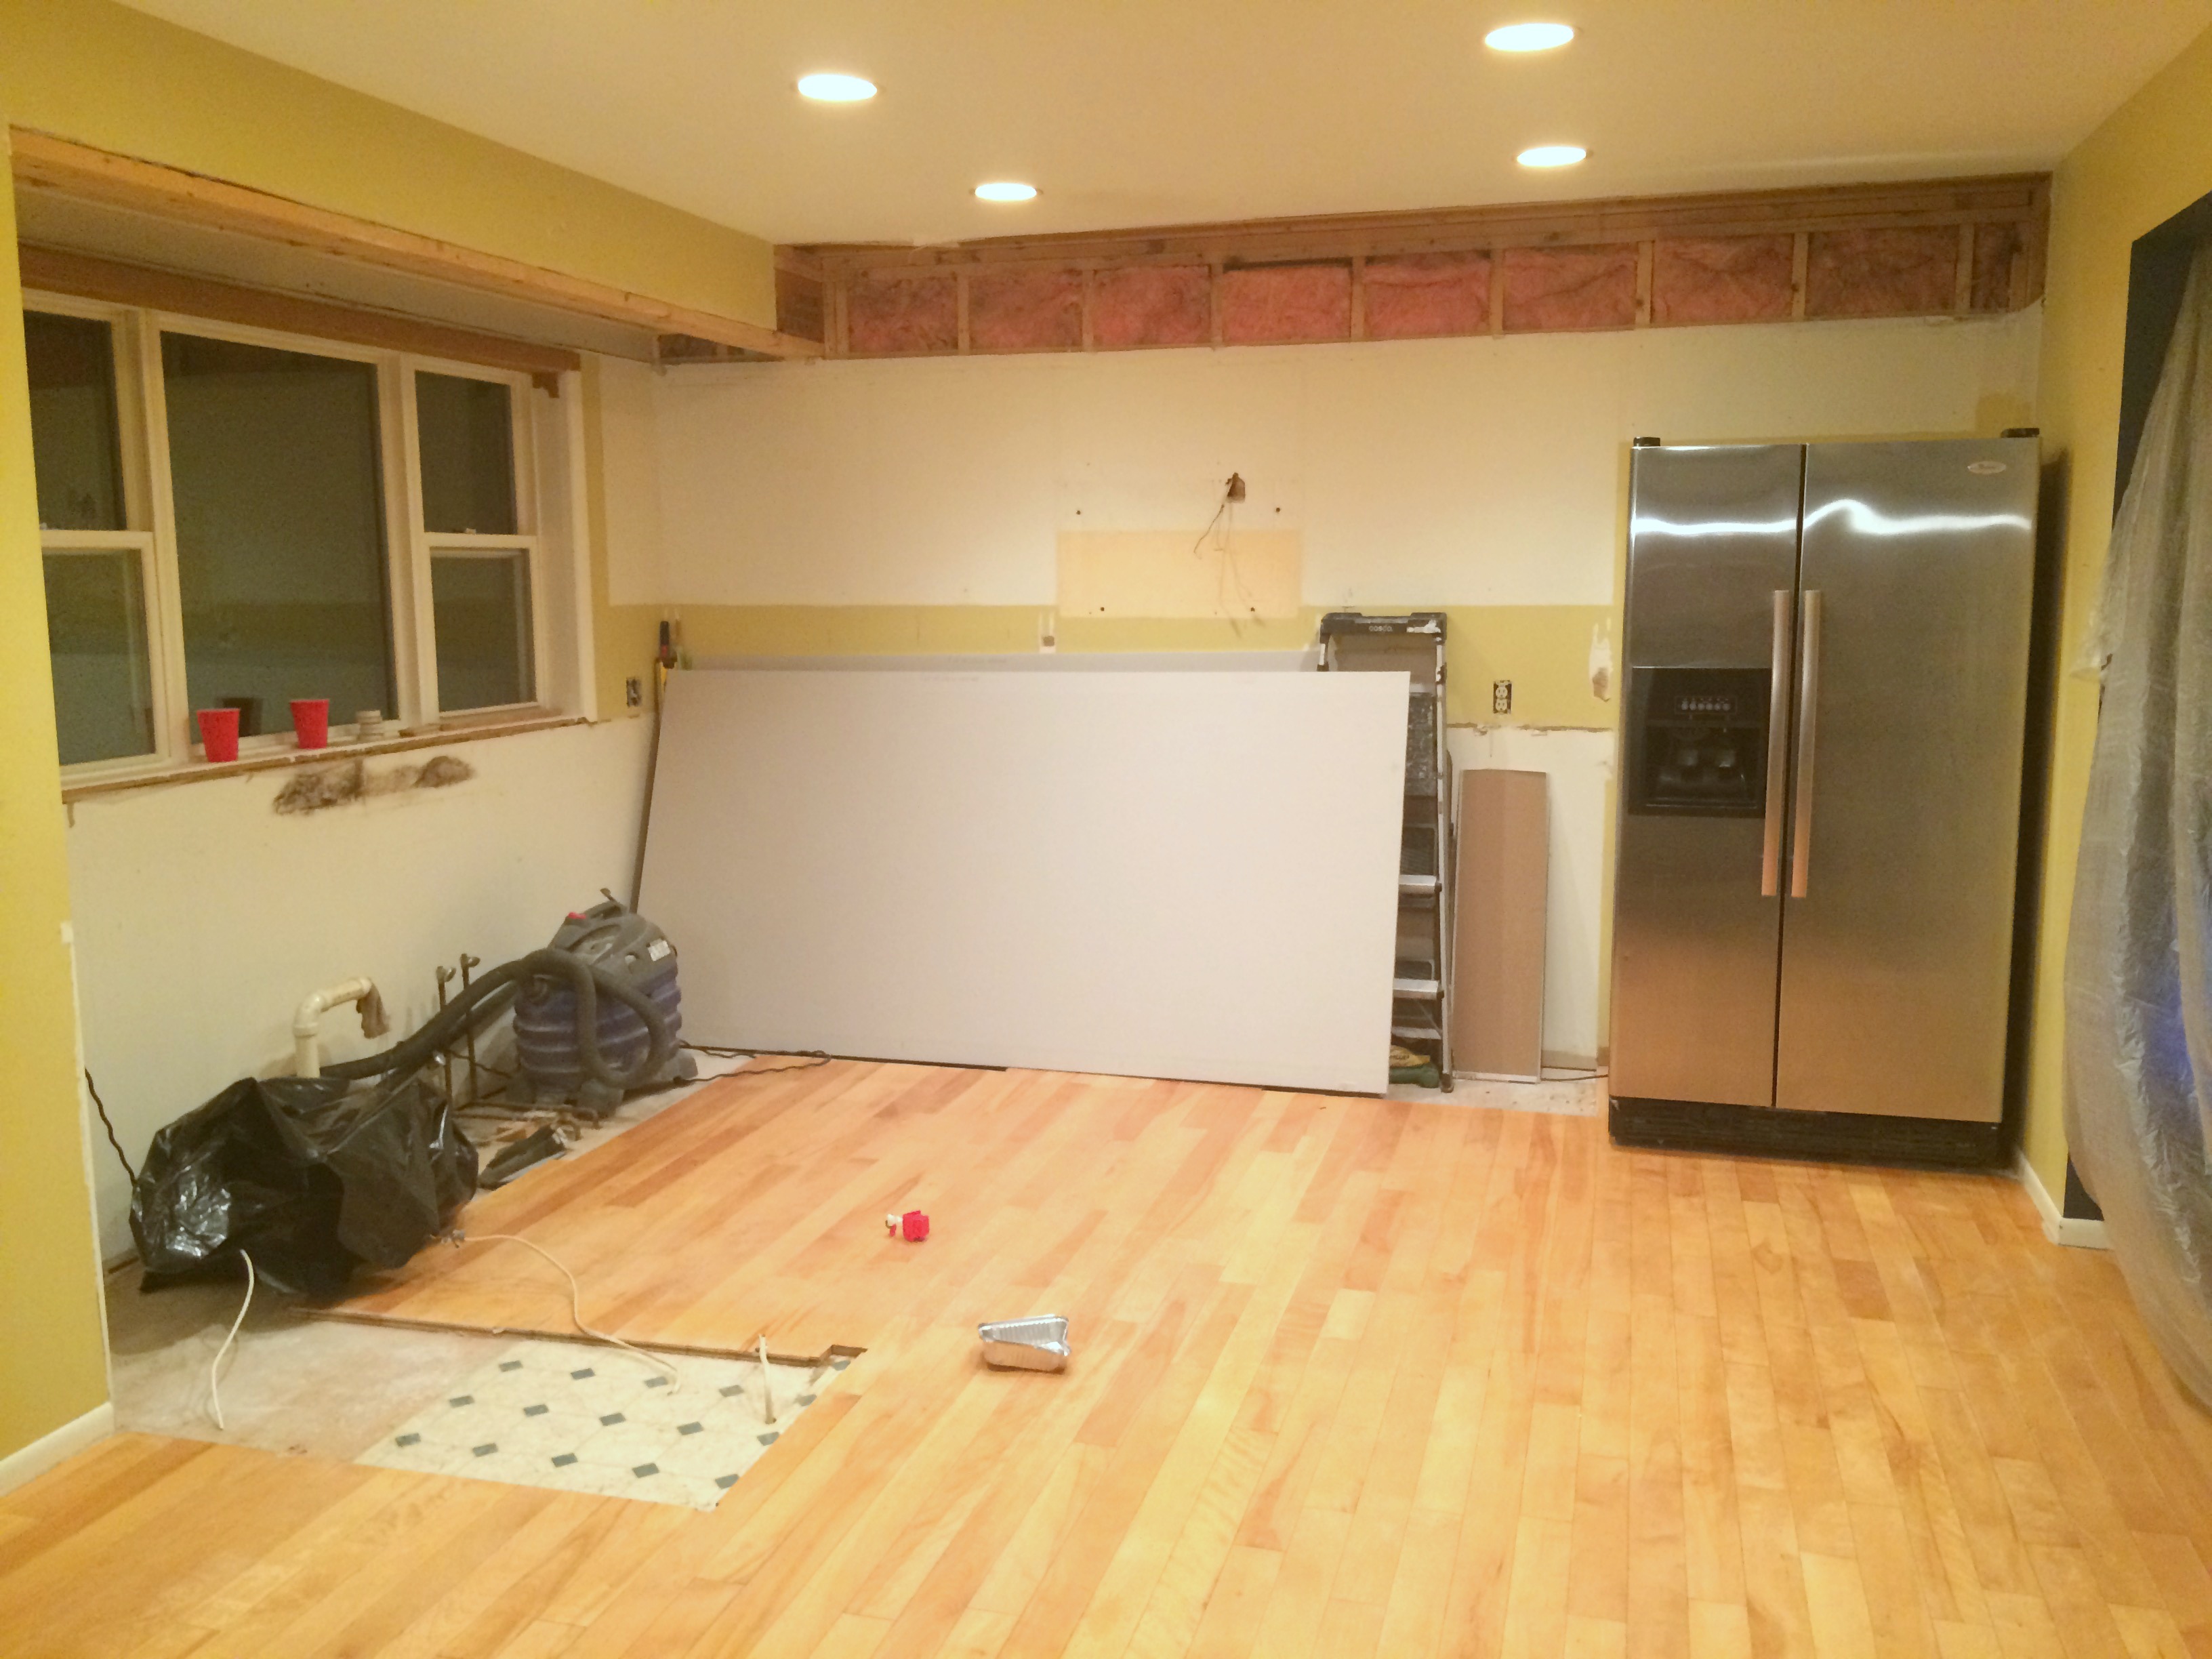
Kitchen Remodel: Before + Plan of Action
Demo Day: Steps for Demolishing the Kitchen
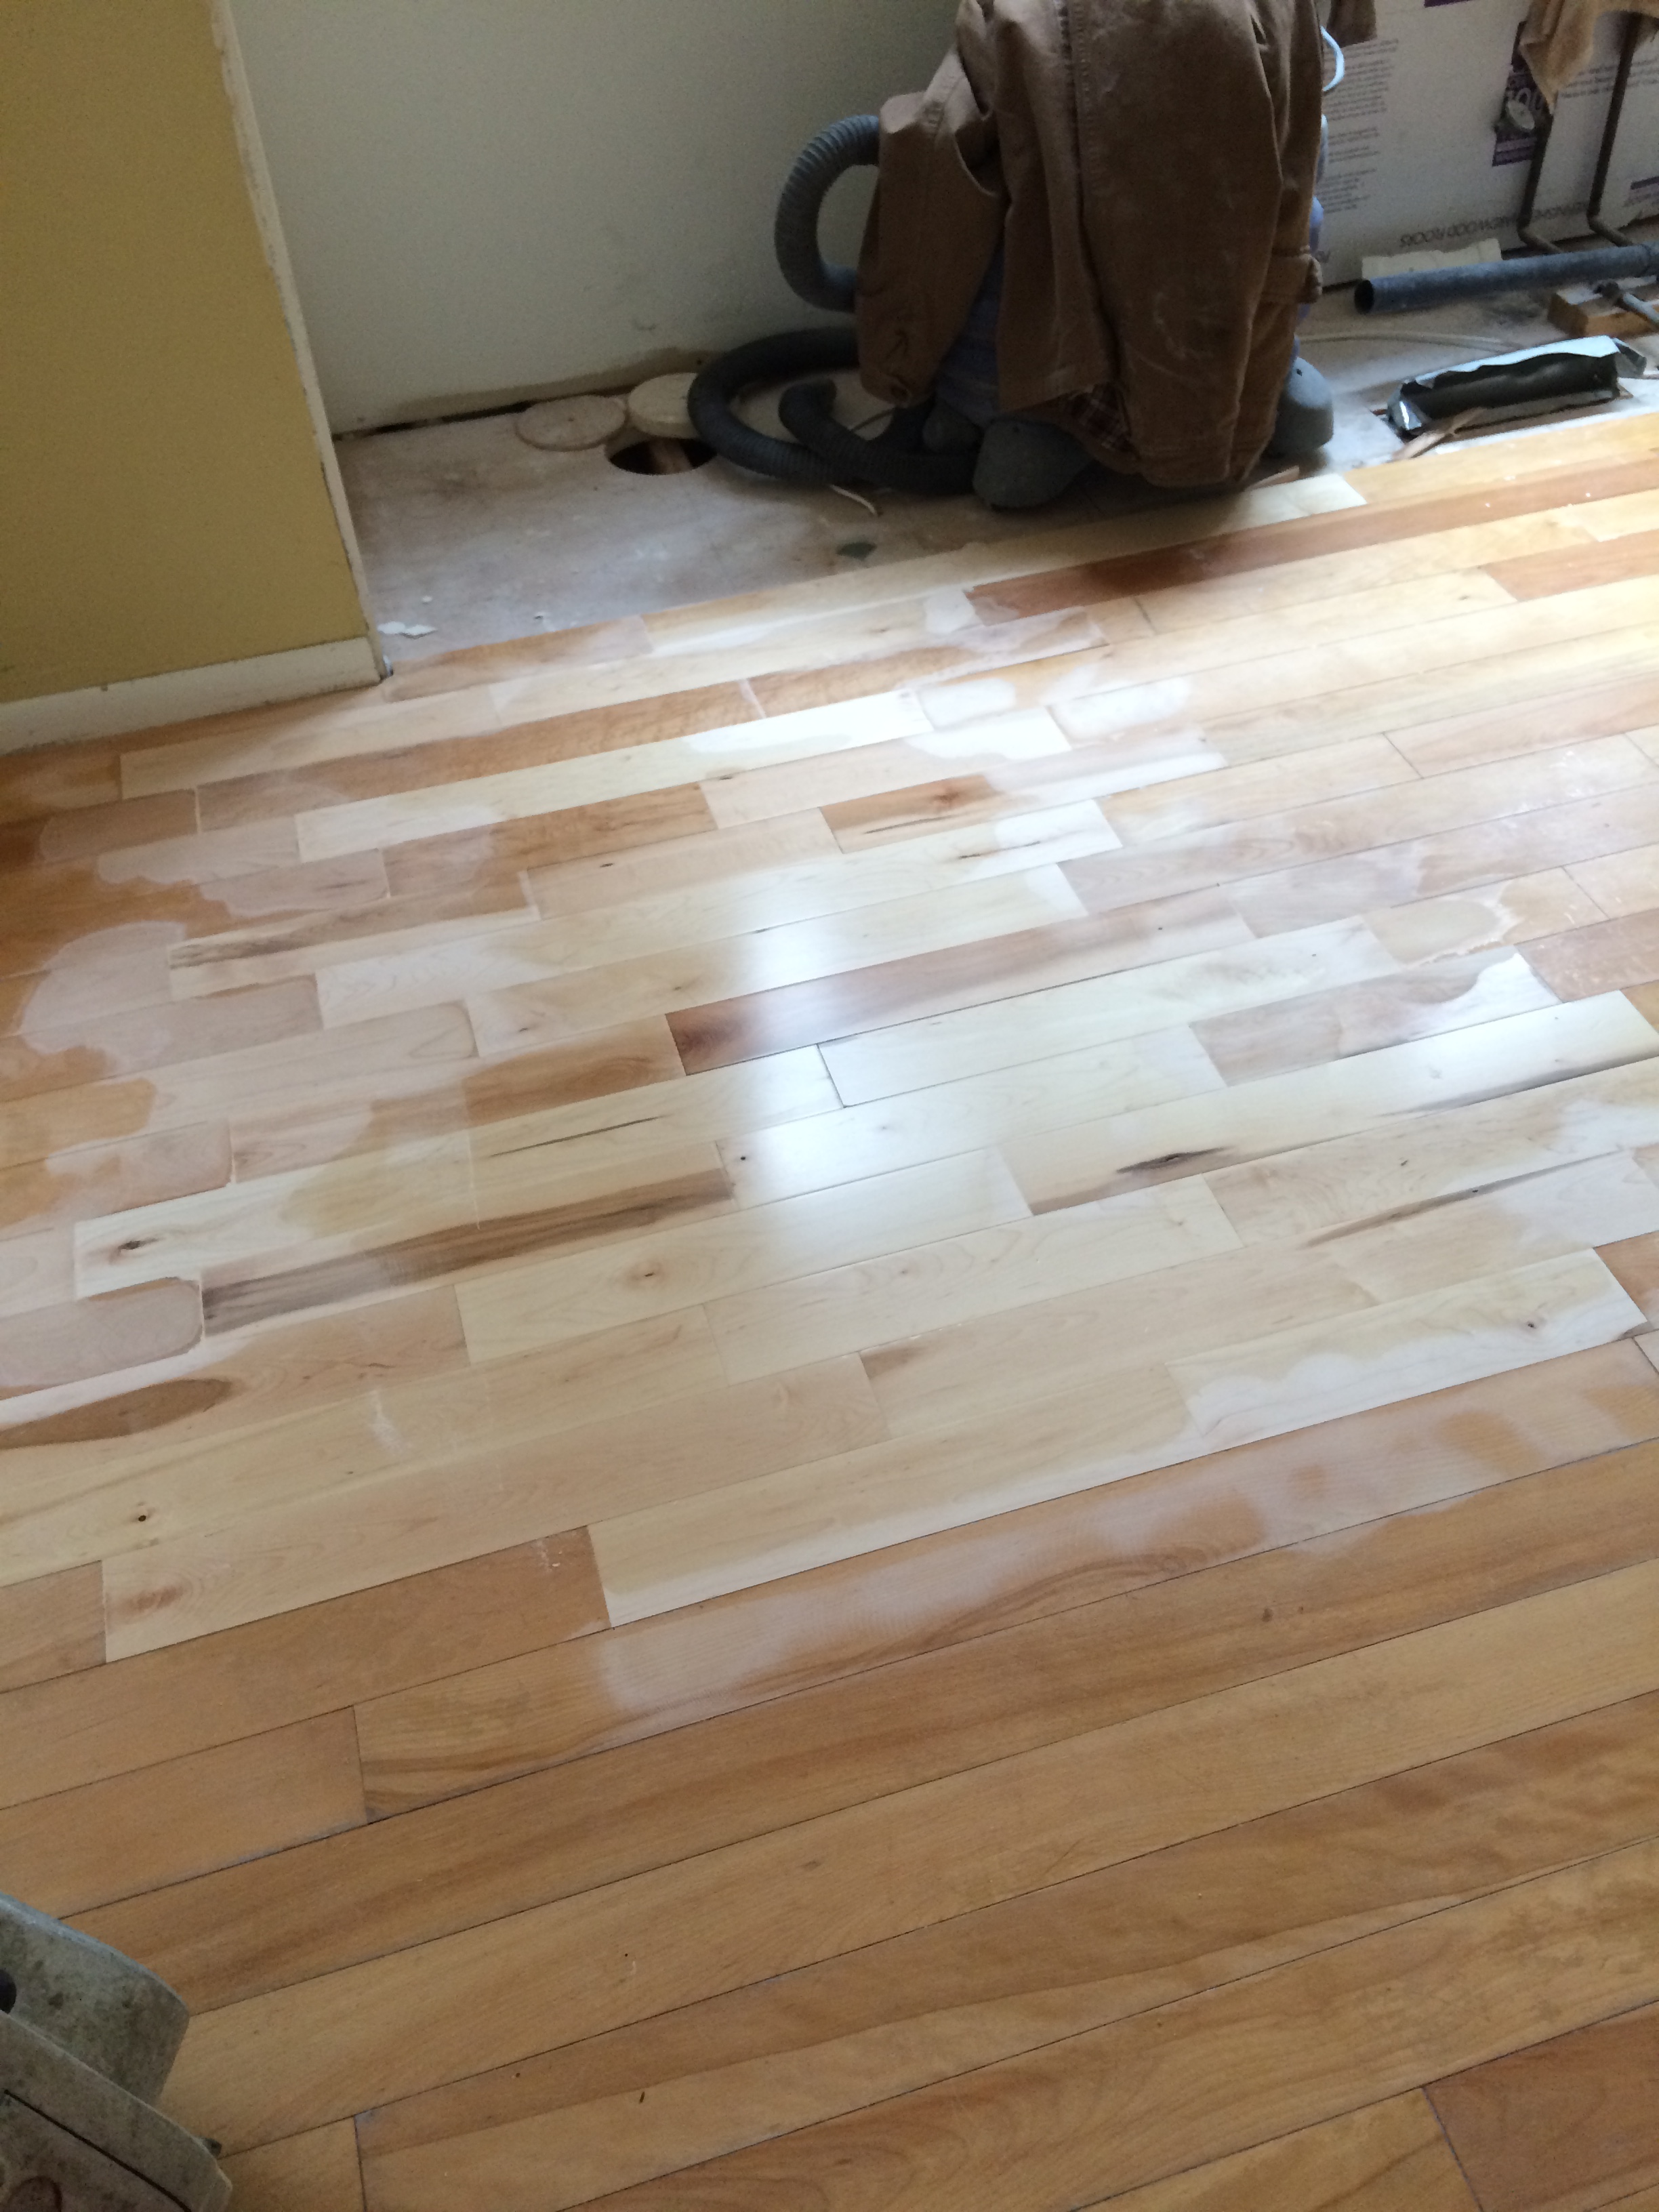
Kitchen Progress: Staining Hardwood Floors
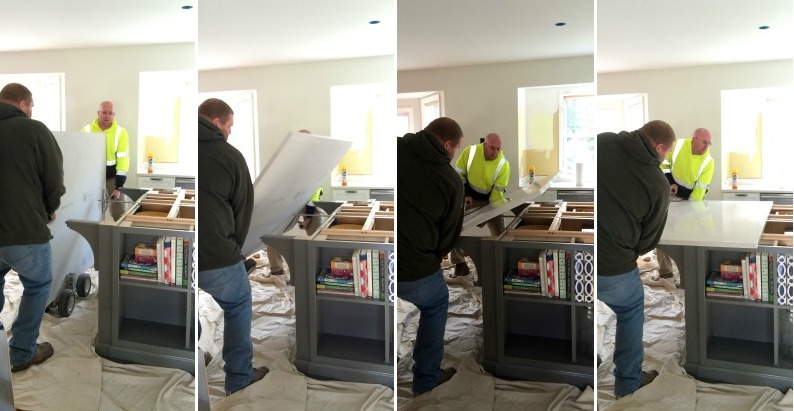
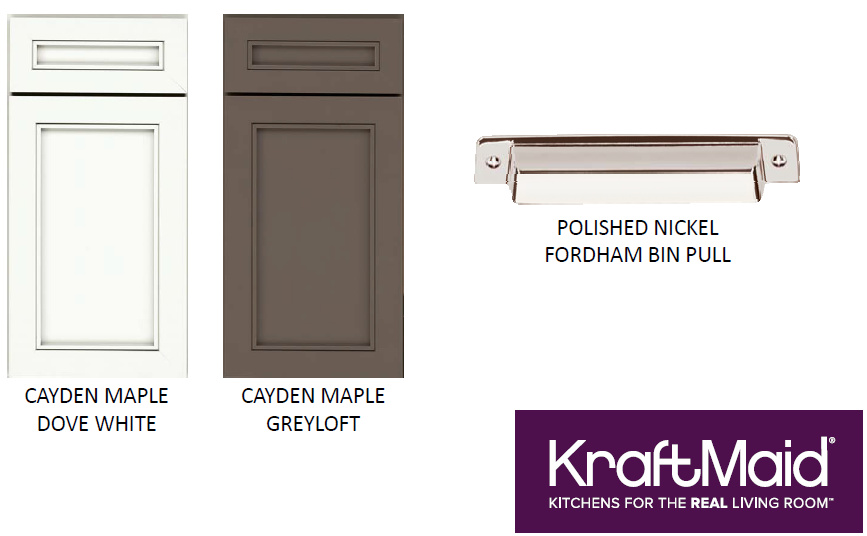
The Cabinets Arrive + Get Installed
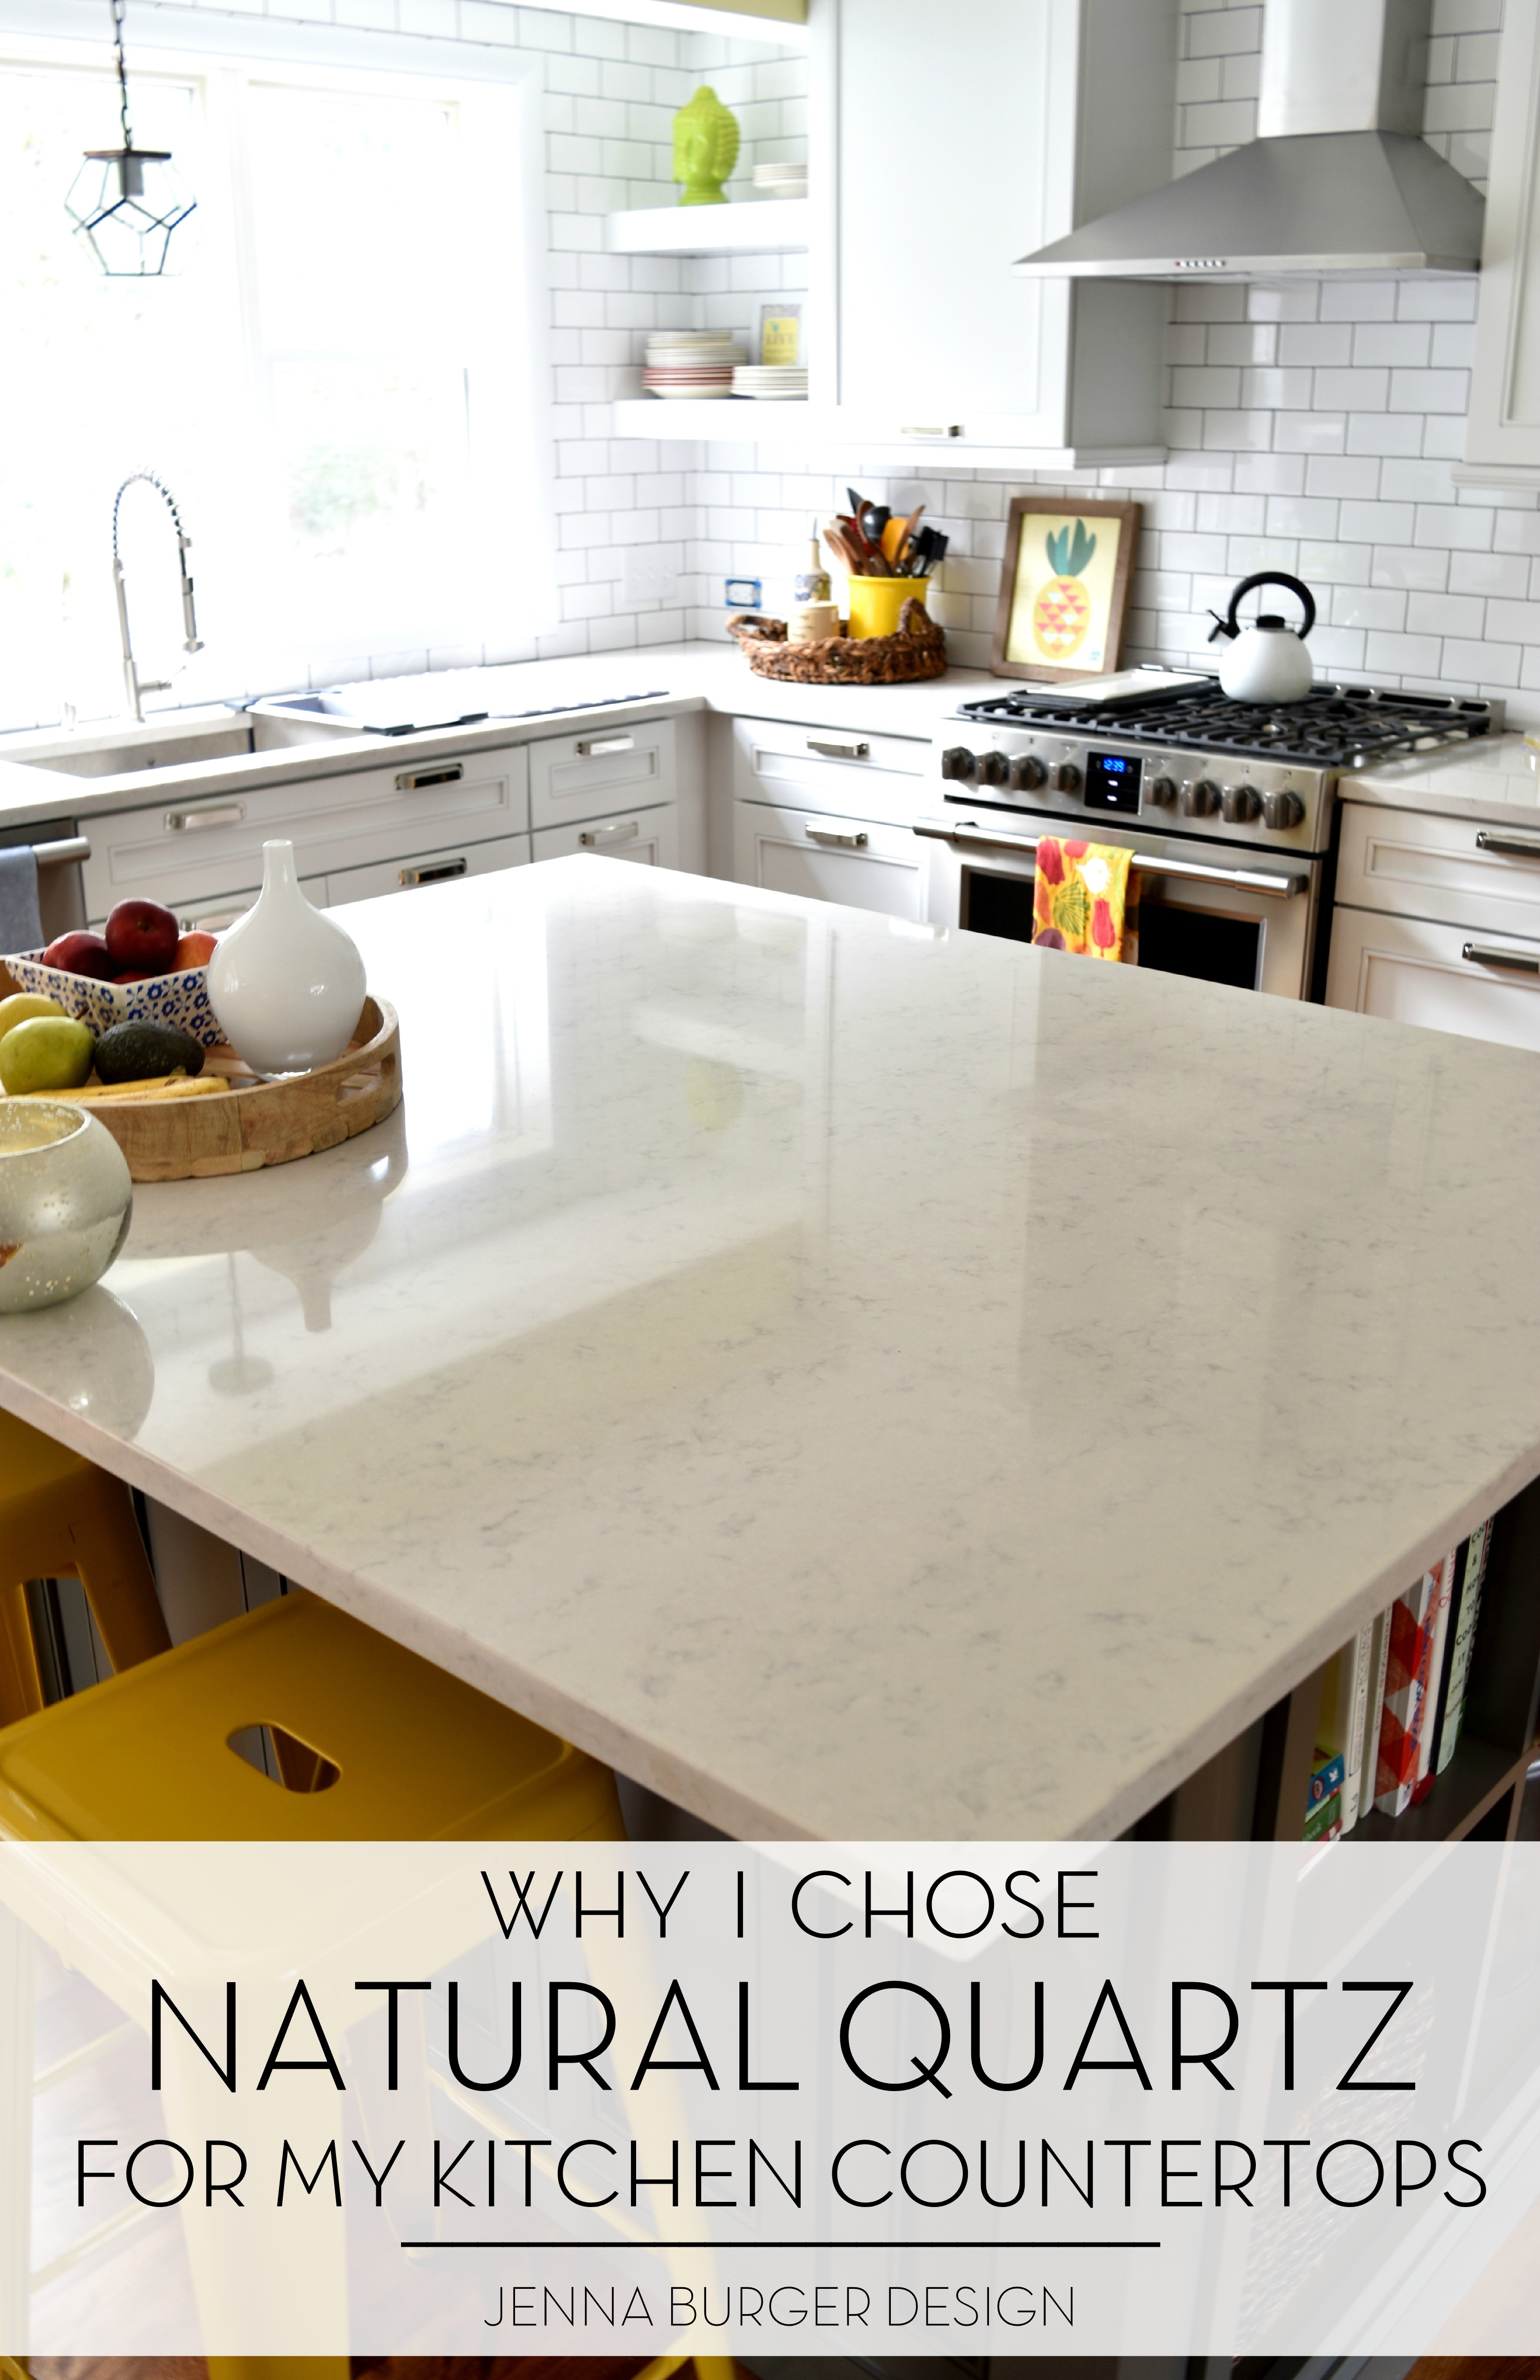
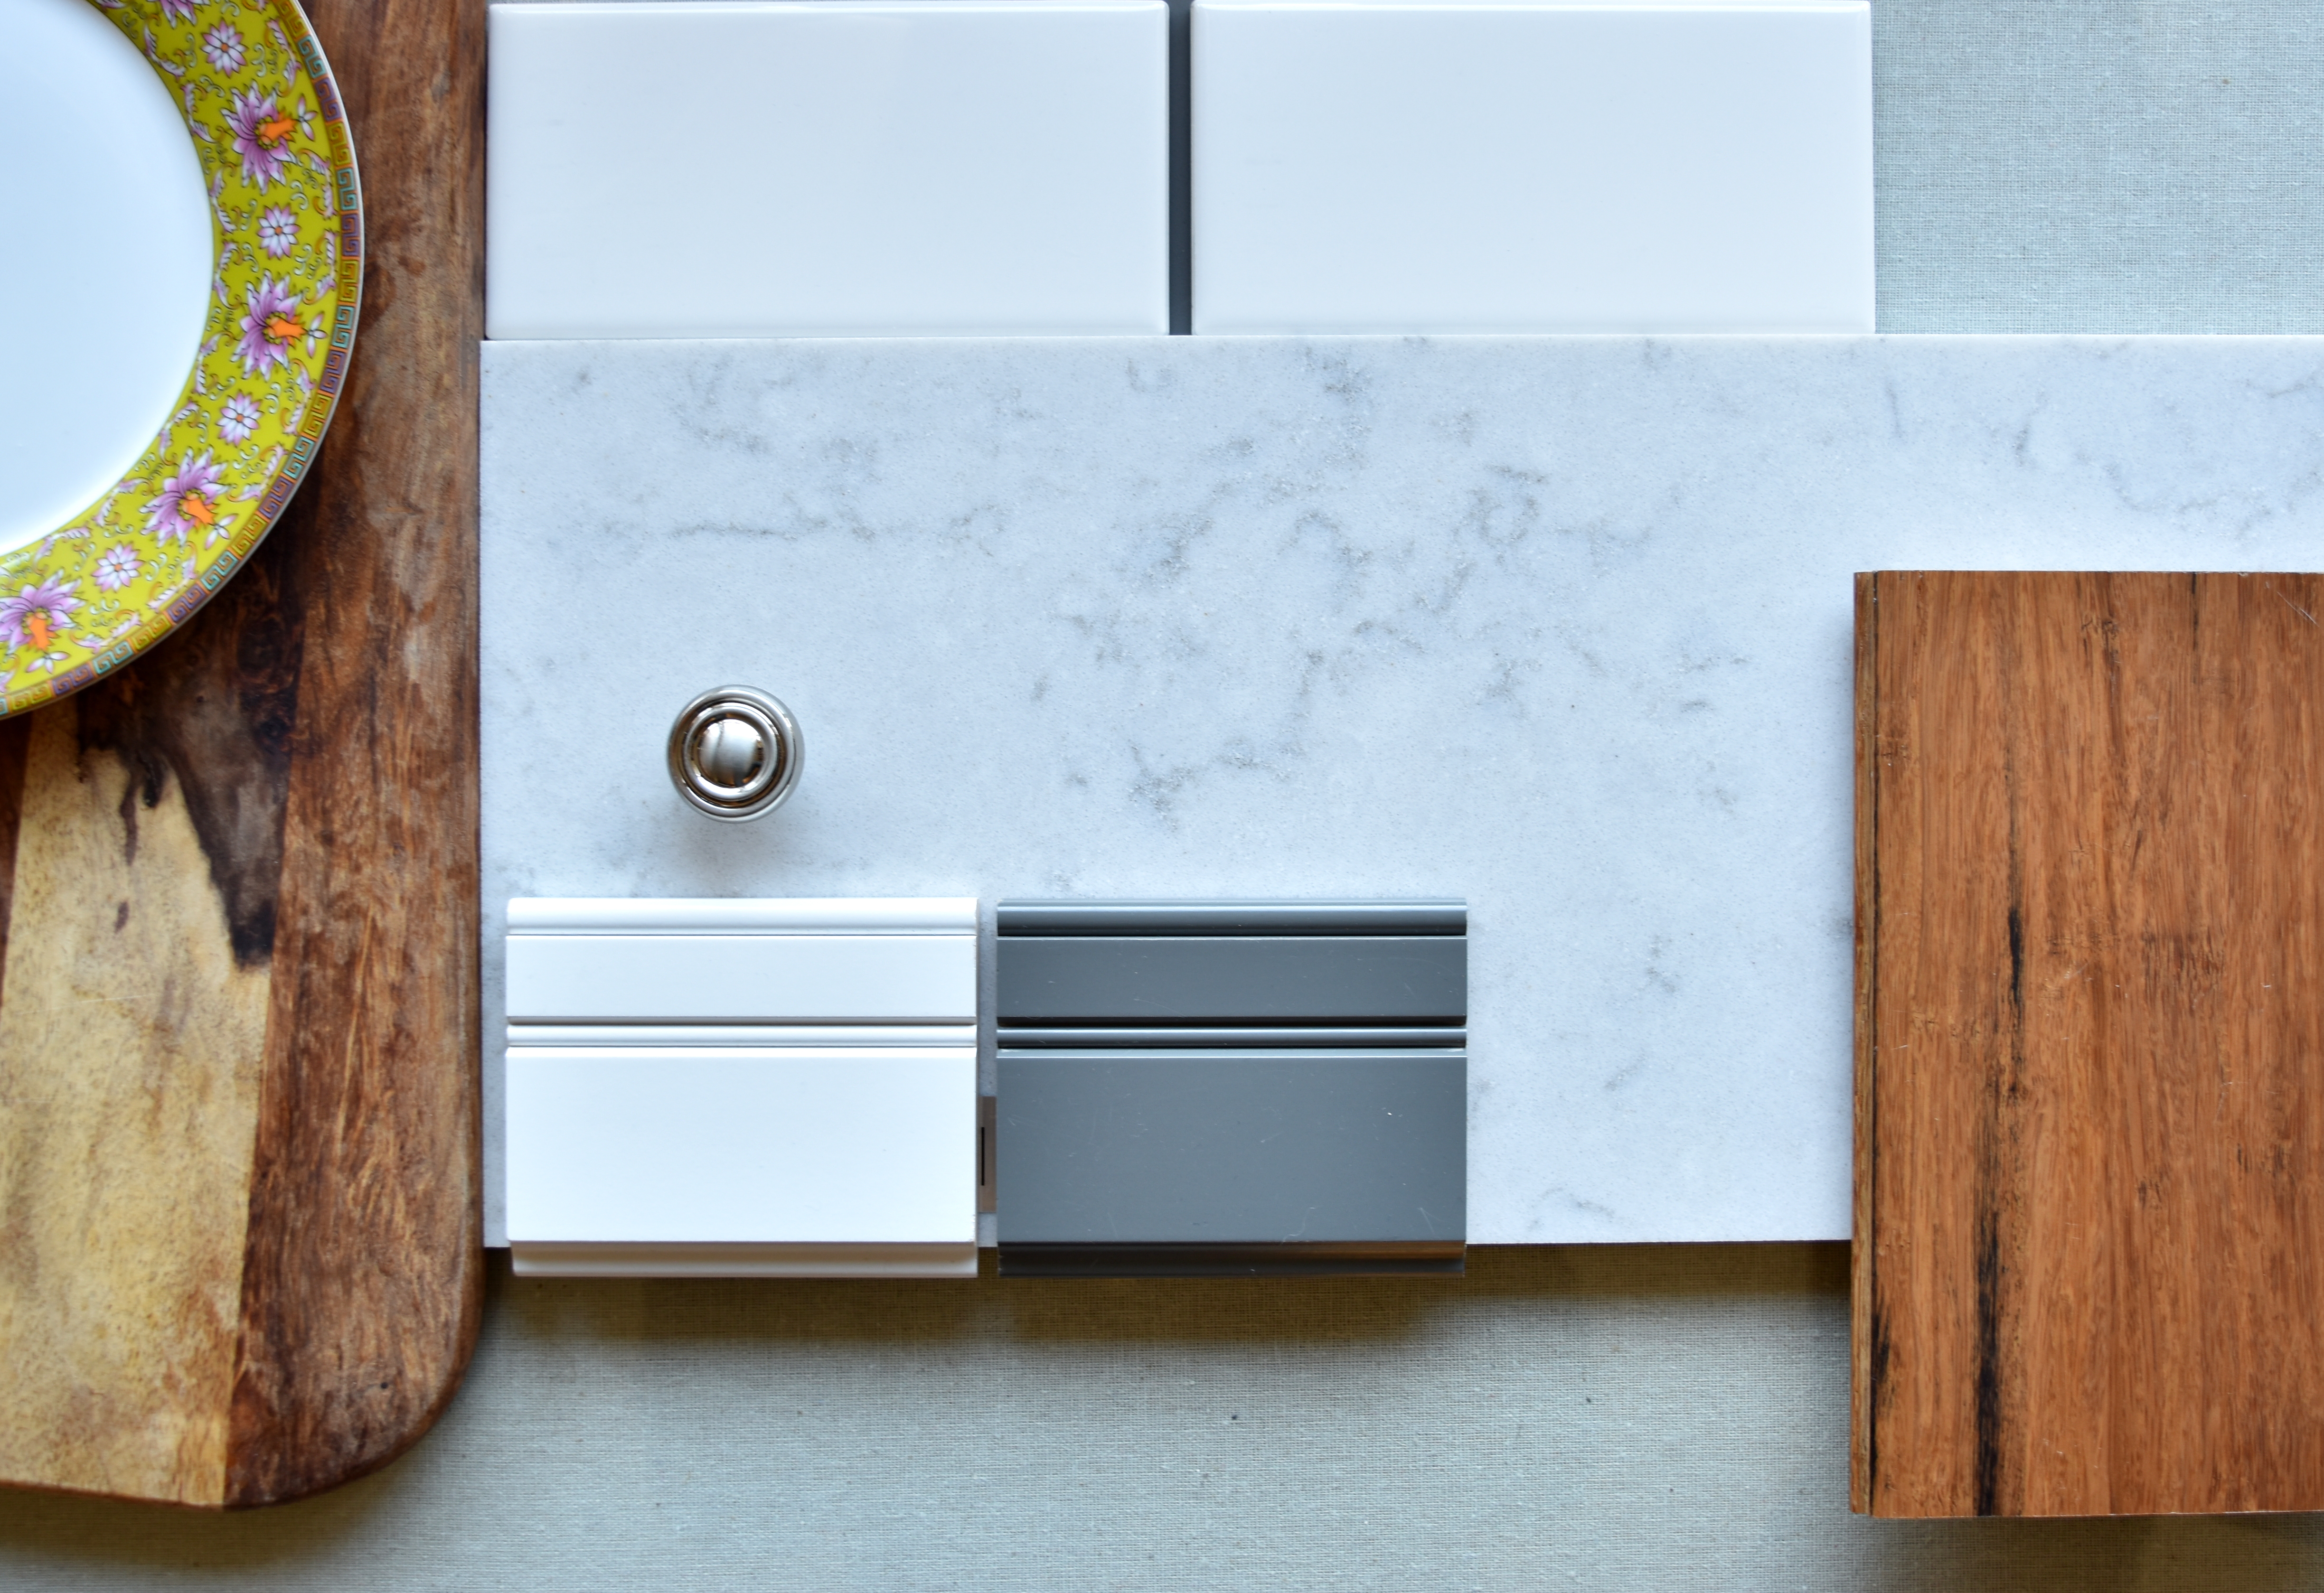
Natural Quartz Countertops in the Kitchen
10 Countertop Materials to Consider for the Kitchen
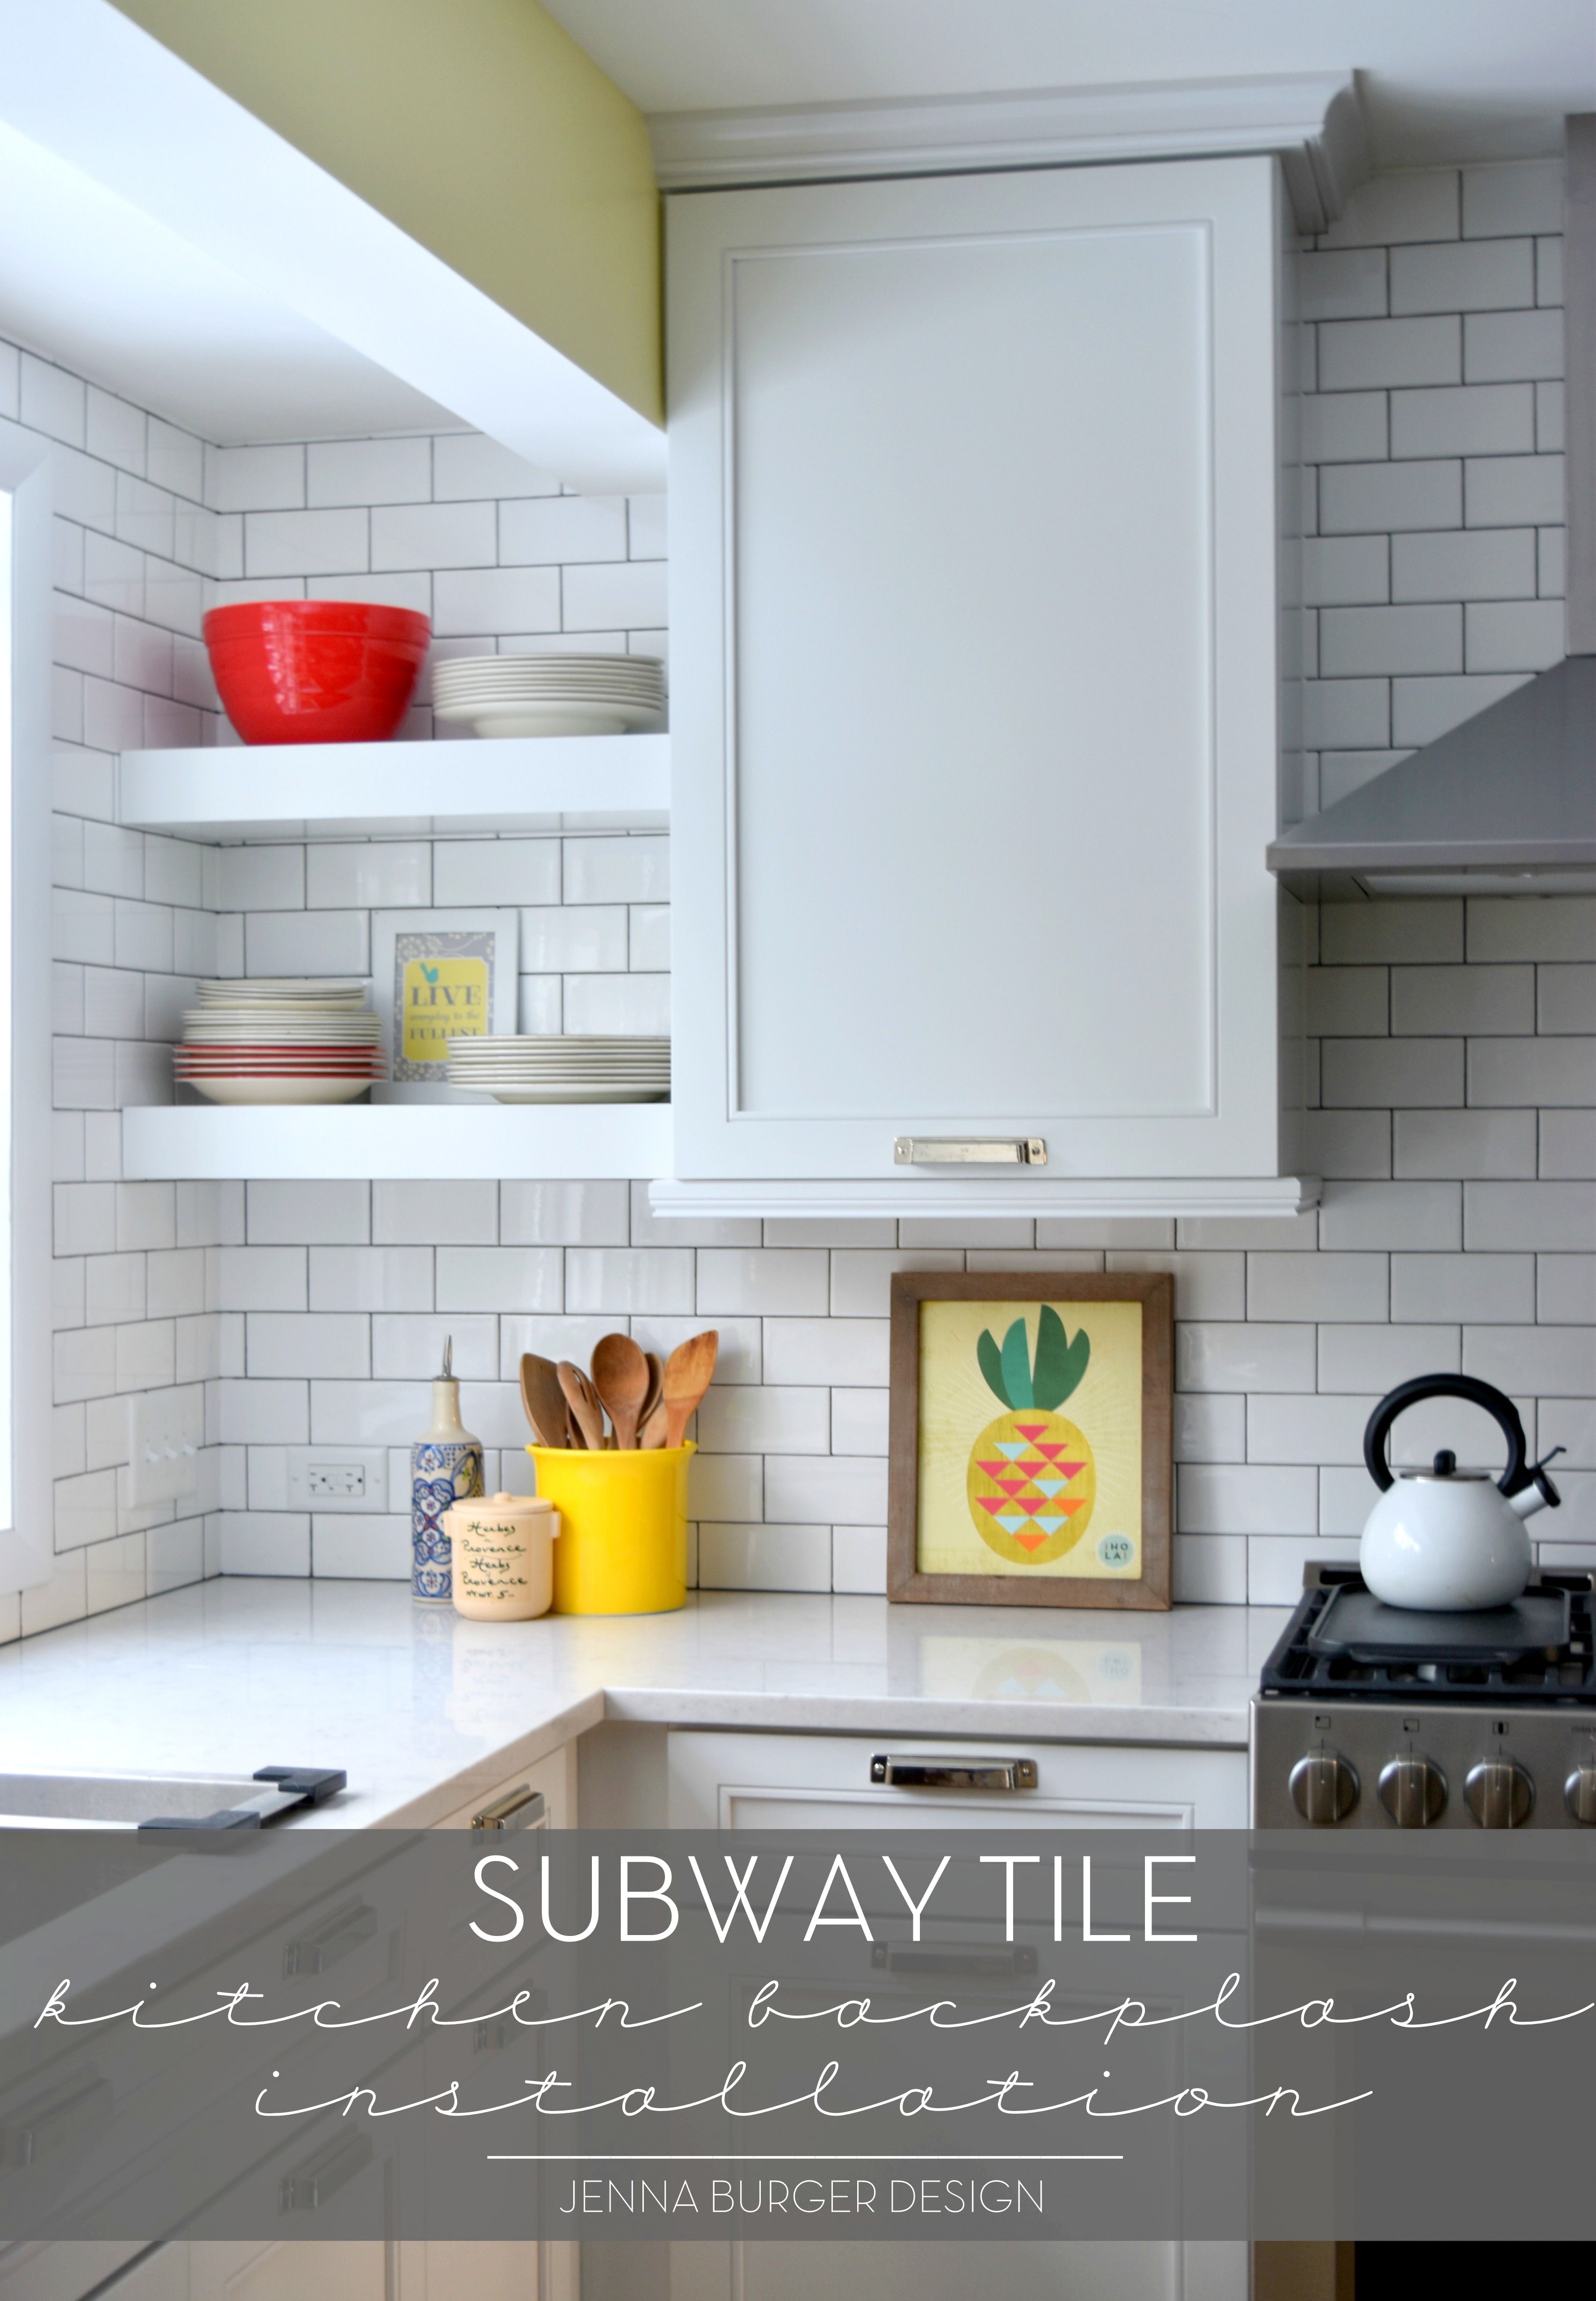
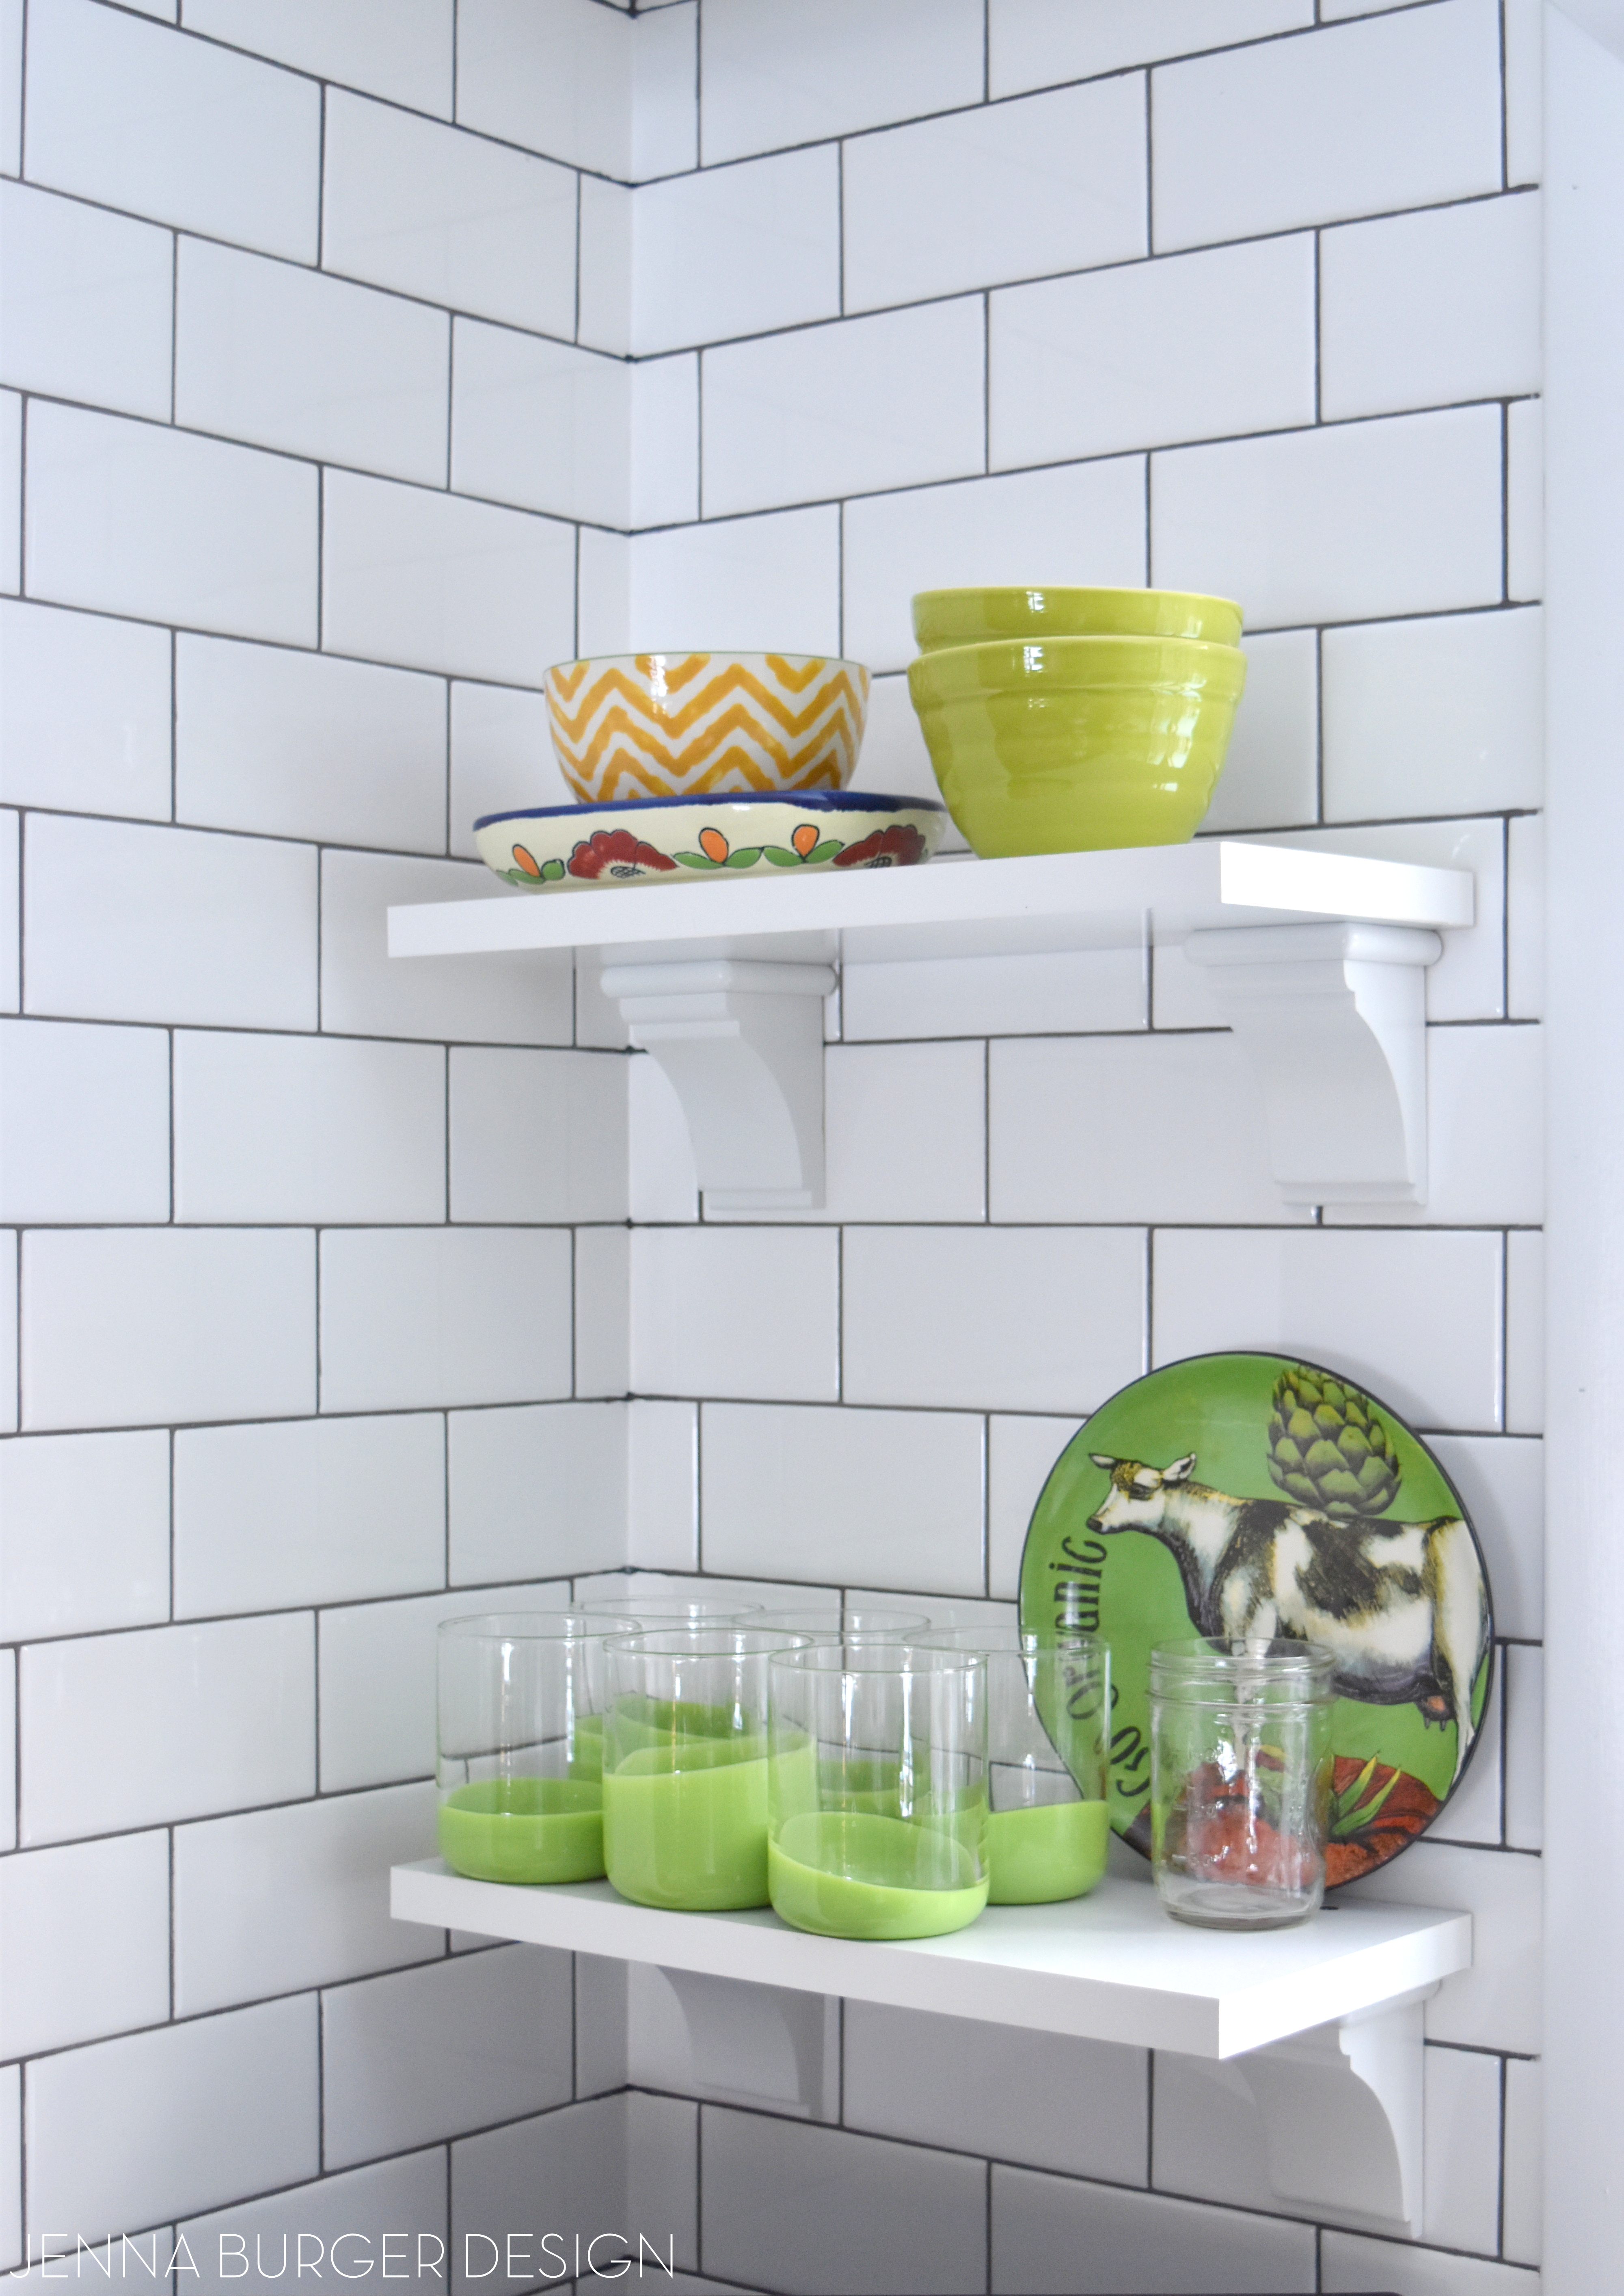
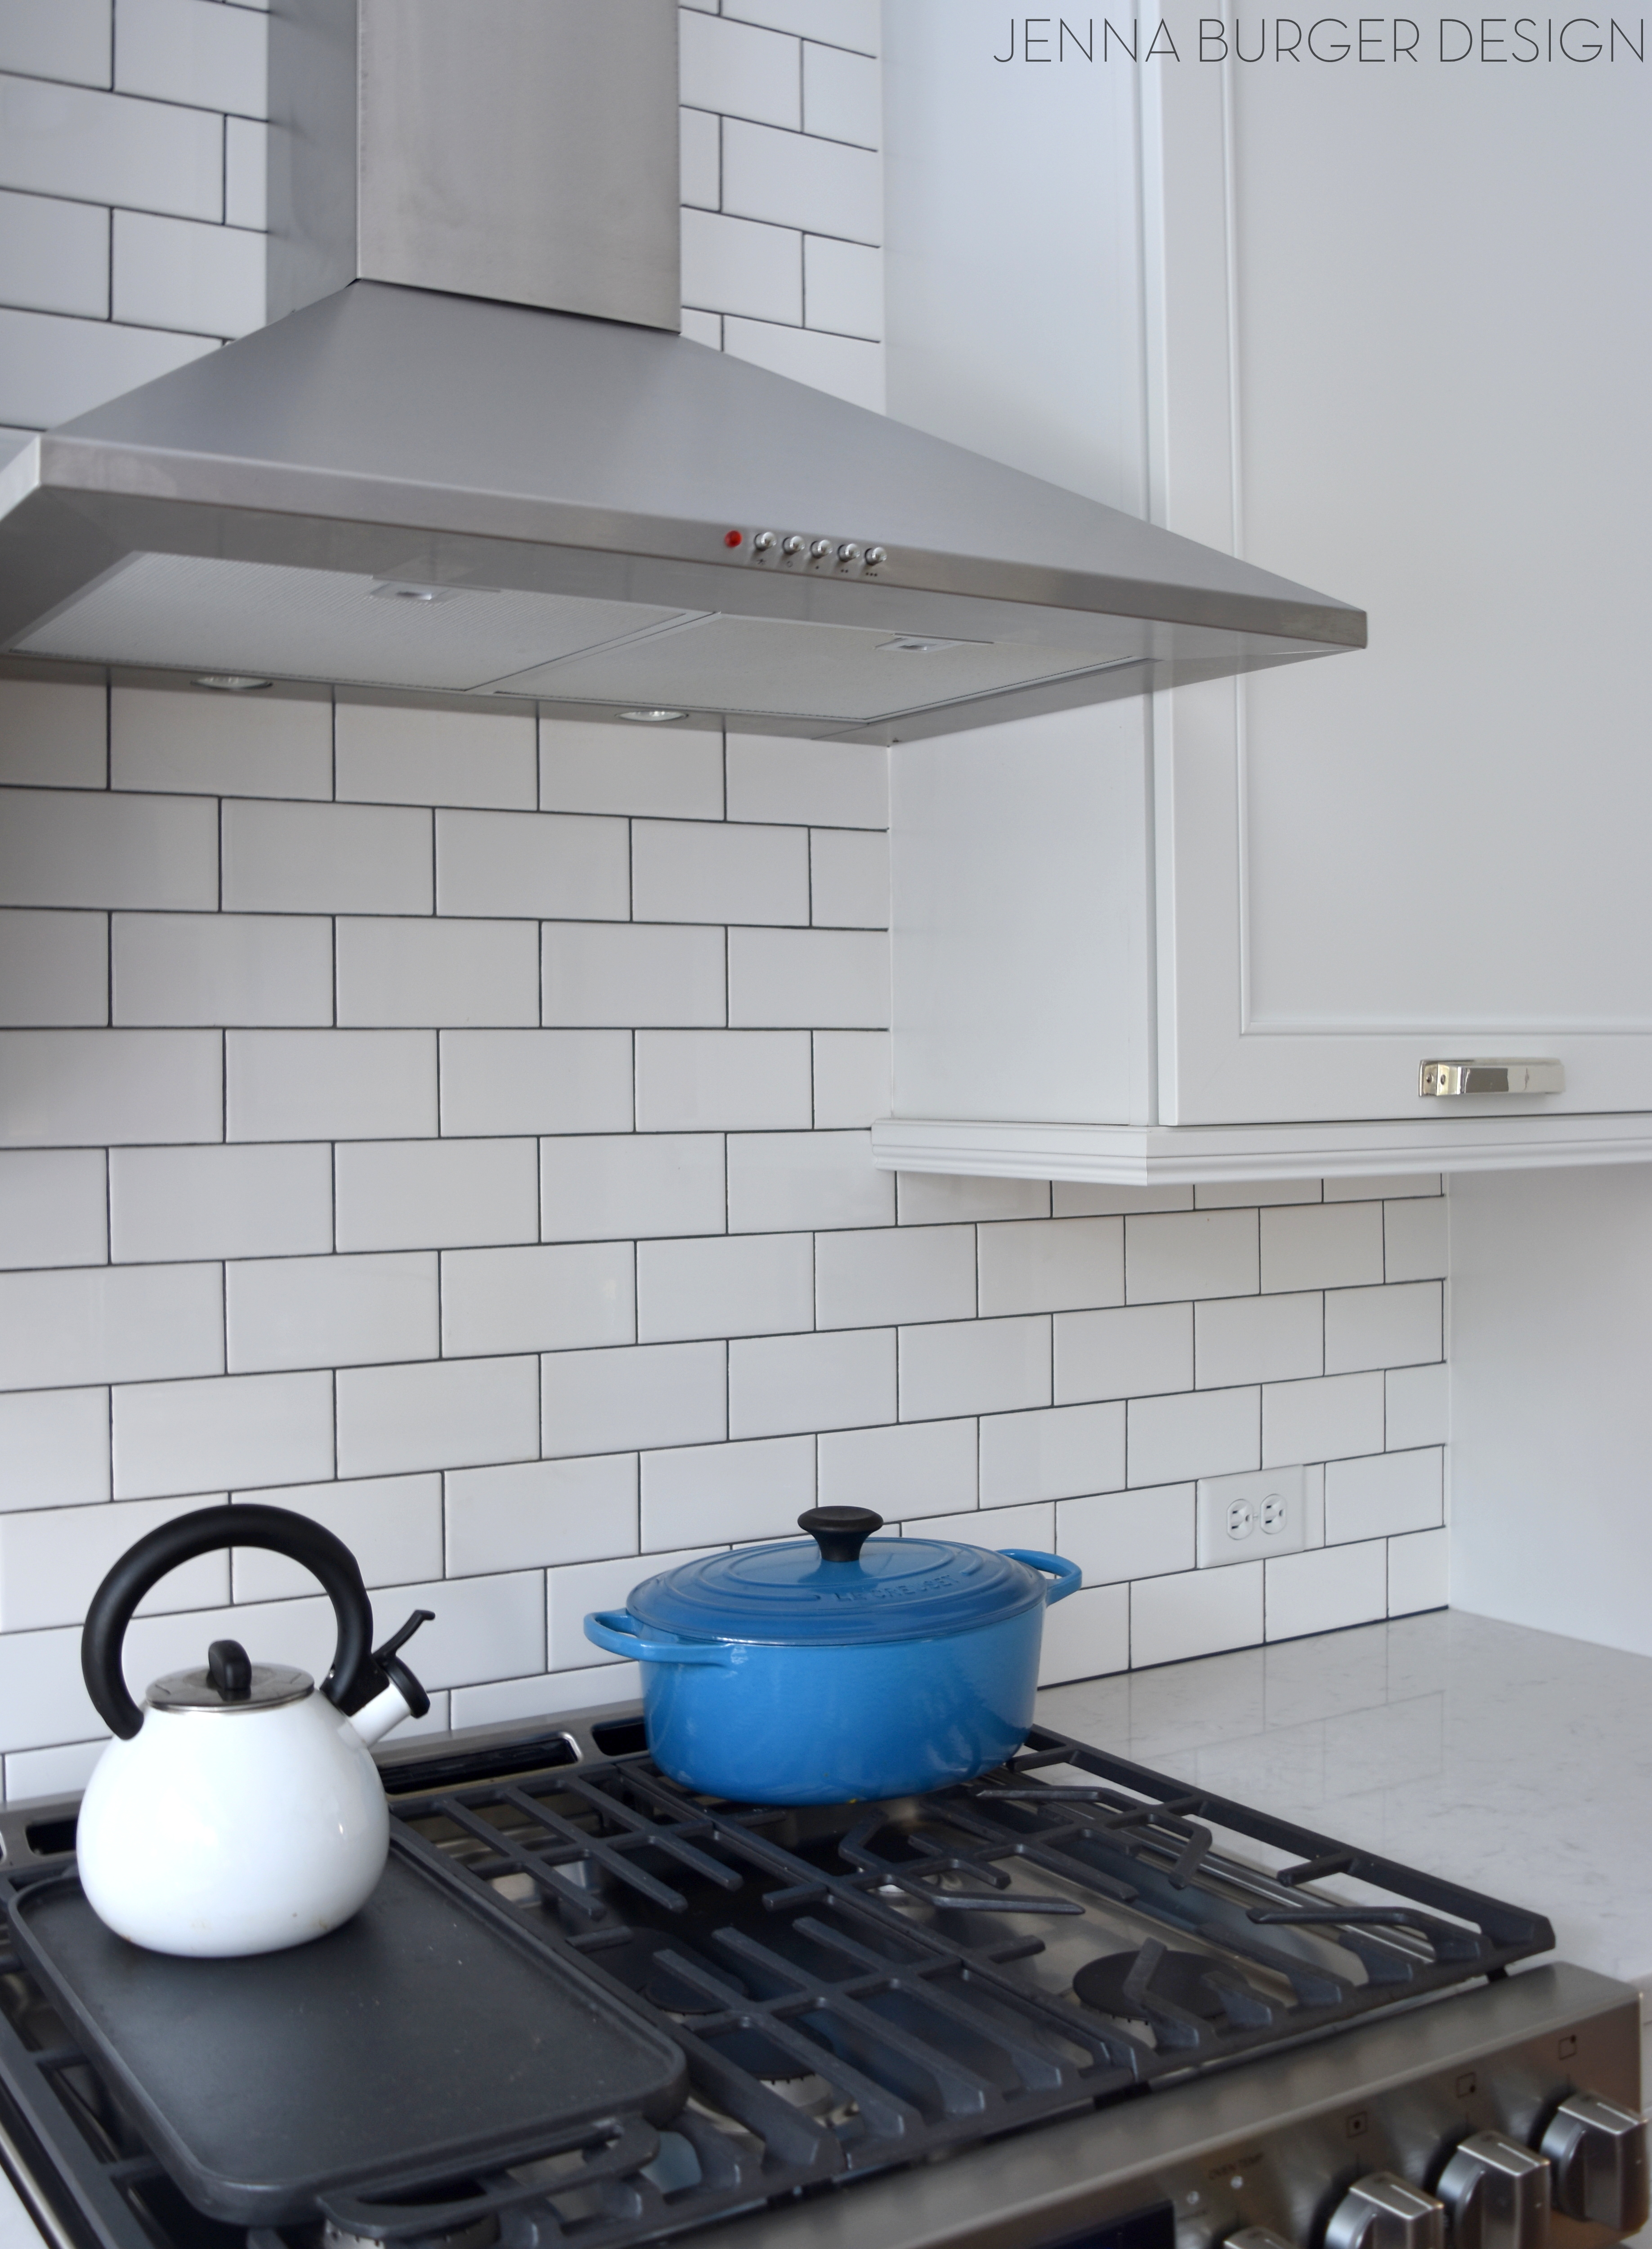
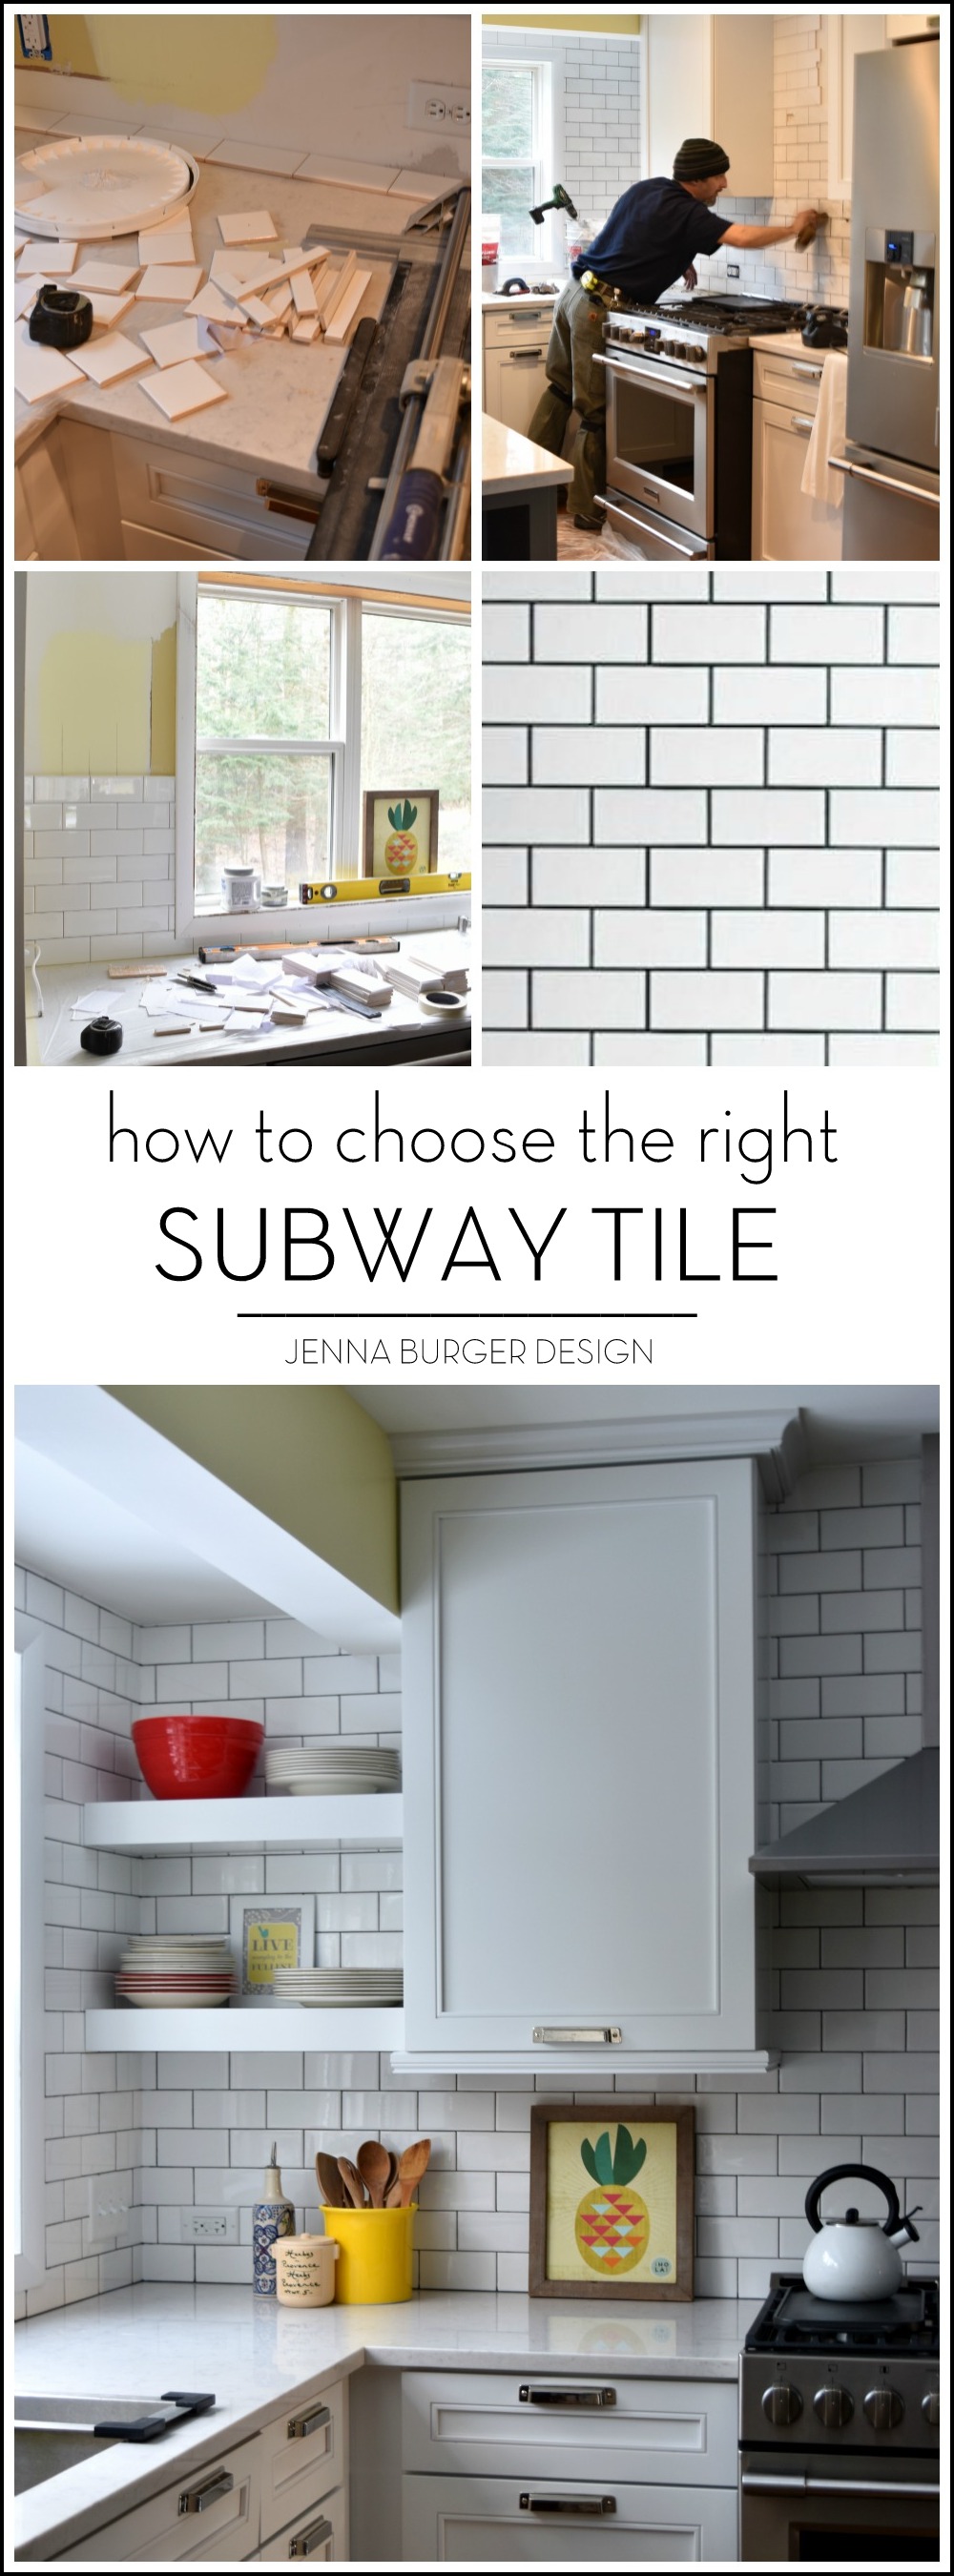
Subway Tile Installation + Choosing the RIGHT Subway
Kitchen Backsplash Tile Options + Inspiration
Choosing a Paint Color + Wallpaper for the Kitchen and Dining Room
Kitchen Renovation: The Appliances
Dissecting the Details
Kitchen Renovation: REVEAL + RESOURCES
DISCLAIMER: THIS KITCHEN RENOVATION IS A COLLABORATION WITH LOWE’S USING HGTV HOME BY SHERWIN WILLIAMS. ALL OPINIONS + SELECTIONS ARE MY OWN WITH THE ASSISTANCE OF THE LOWE’S DESIGN TEAM.