Pop of Color: How-To Paint a Door
I’m still working on my boys room. It’s almost done, but it’s probably been the longest room makeover in history (well maybe not, I think that was the master bedroom which I am happy to say is complete – well 95% complete). Even though I want to call this latest makeover DONE, a room often does AND should take time to create and come together. The transformation of a space is like a 1000 piece puzzle, it takes time and patience to get all the pieces just right and often, it’s the final stretch that takes the longest. And that’s okay.
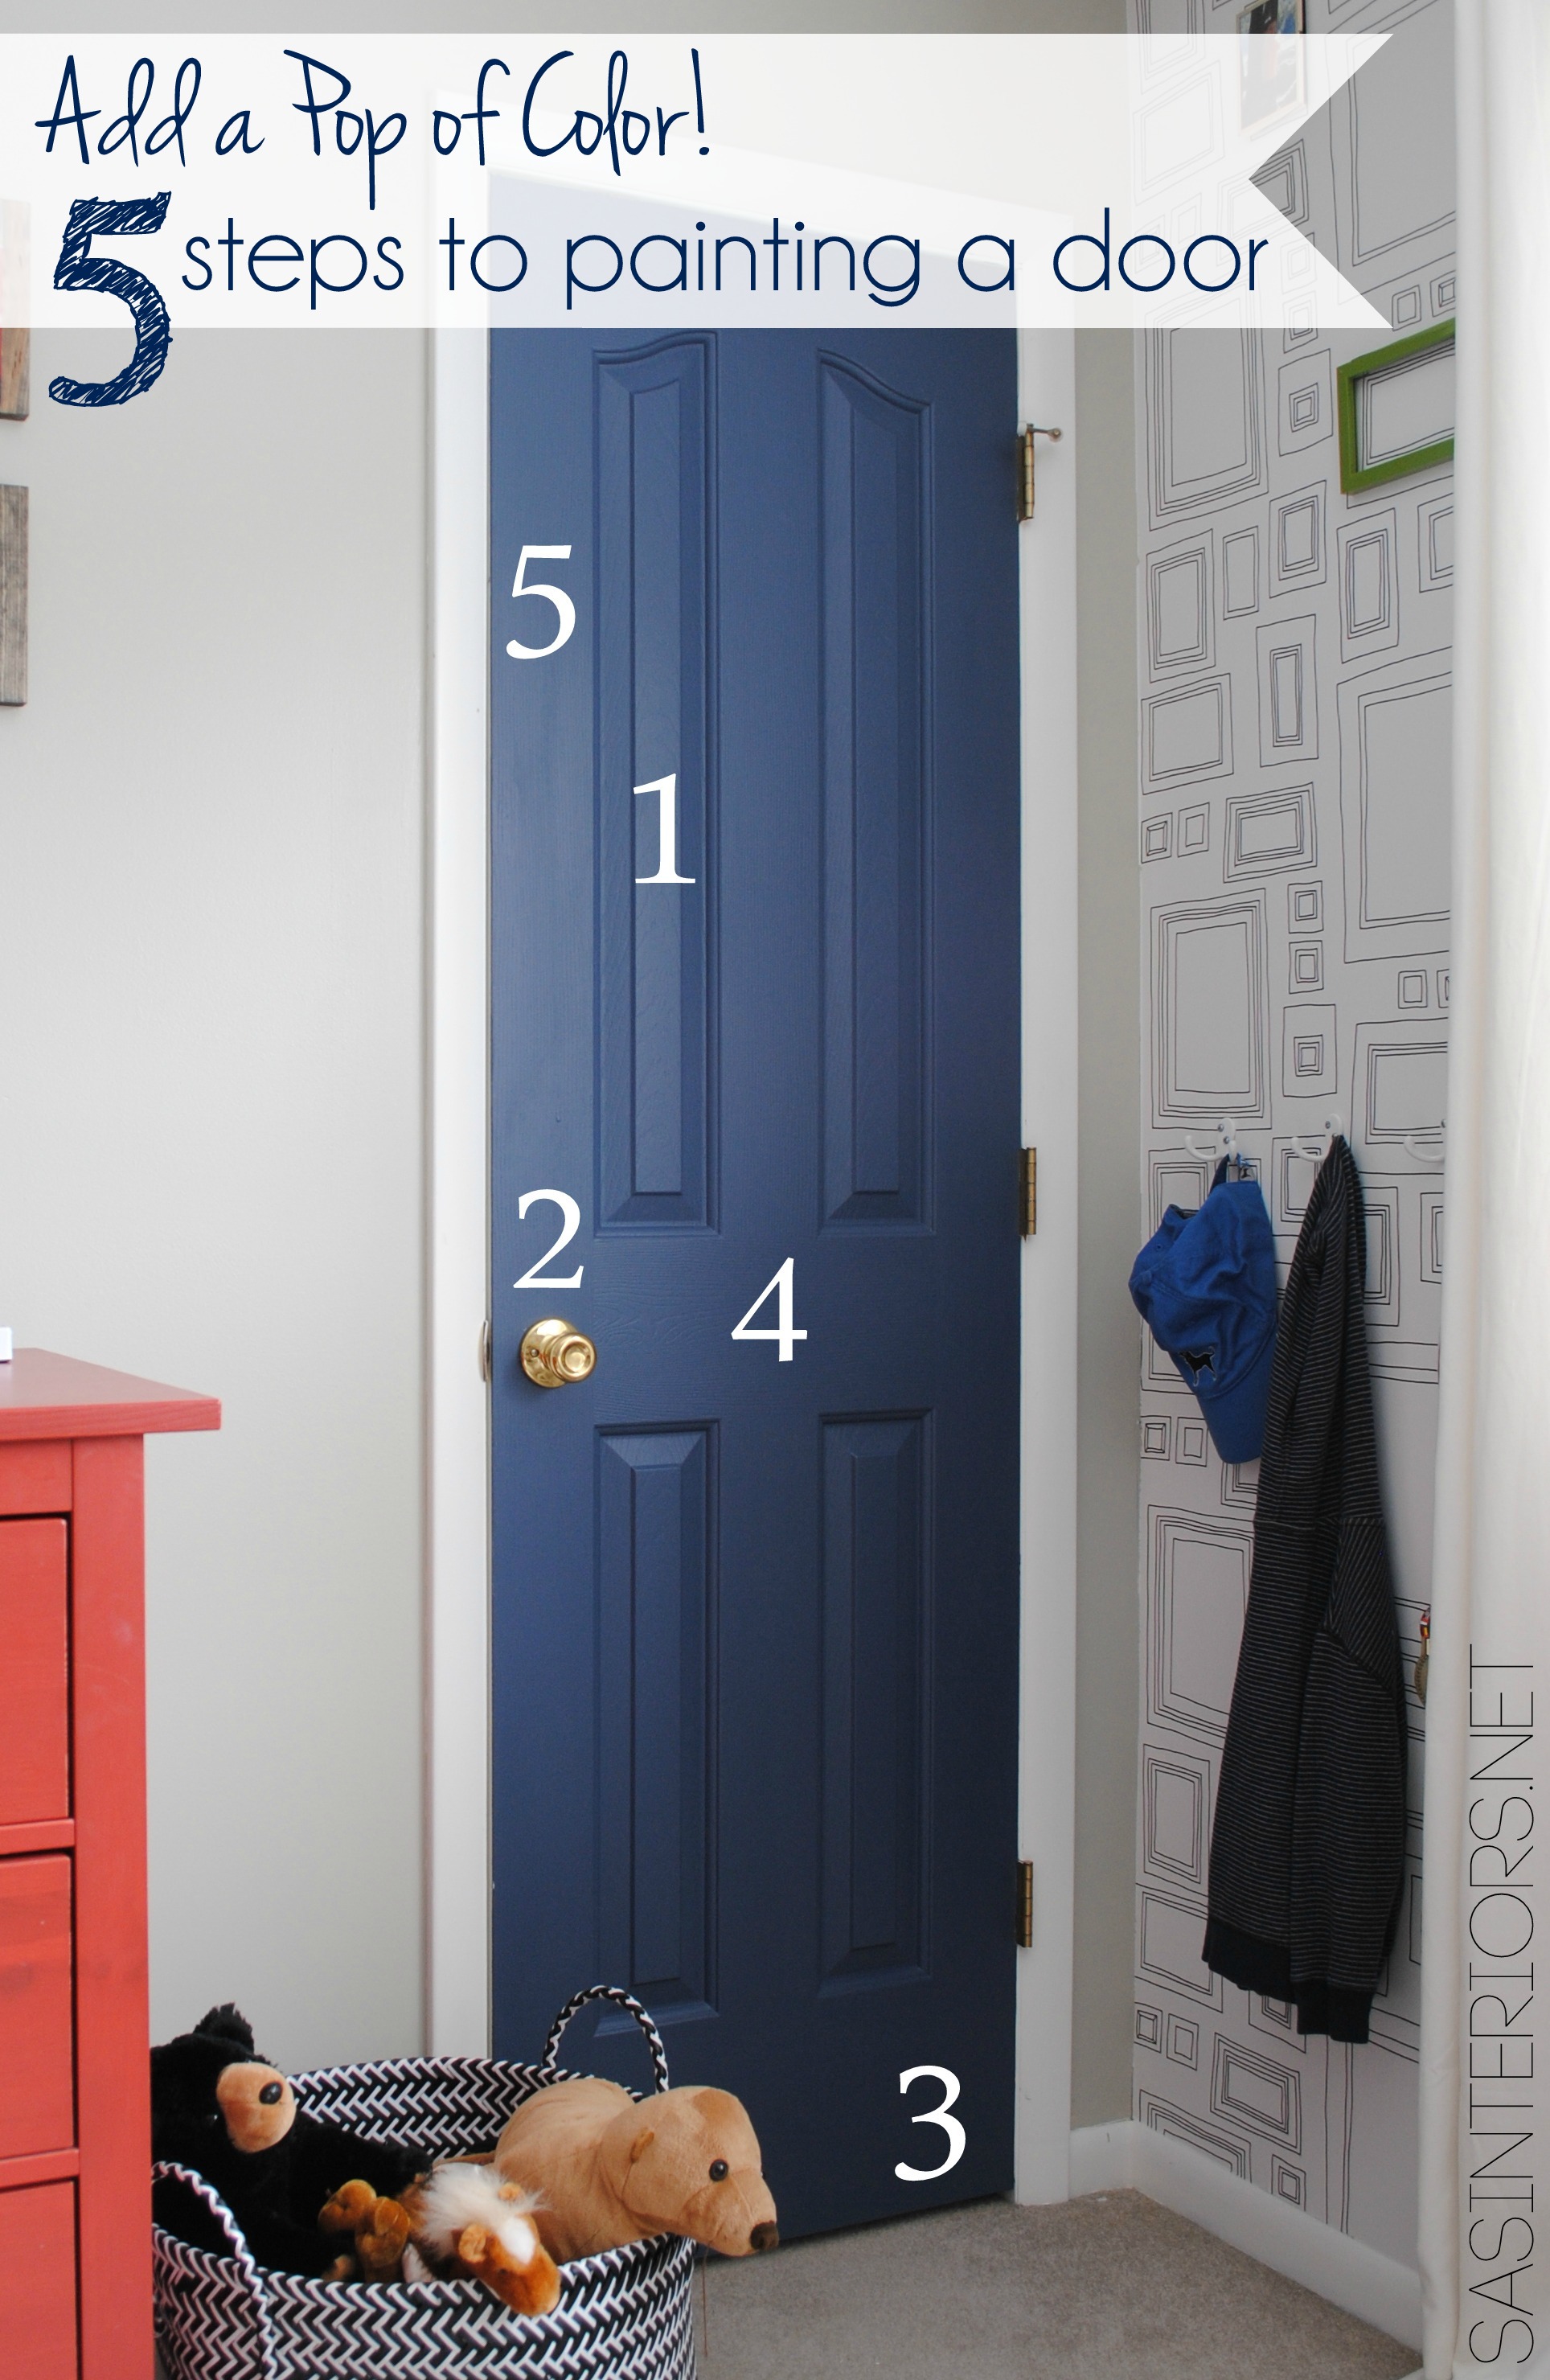
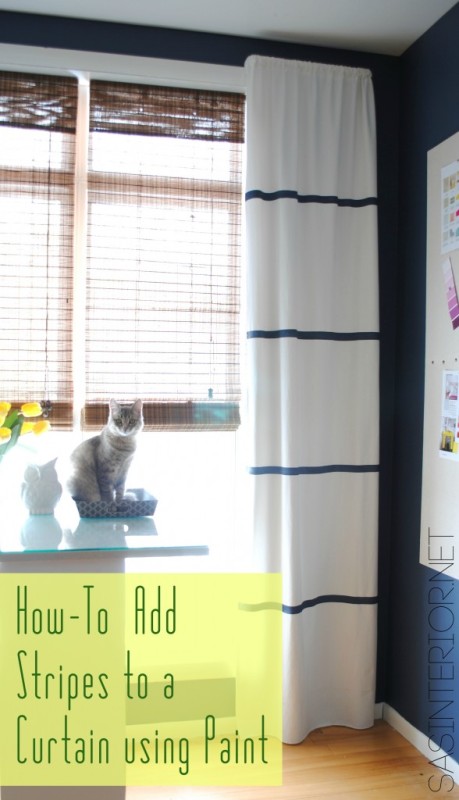
As I am rounding up the room finishing up the final details (the window treatments are the last element which I’m just not feelin’ yet), I wanted to share one element that has really given the space added color + the punch it needed… a newly painted closet door. It’s amazing how the wall (and actually the overall room) came alive with a new hue.
Take a look…
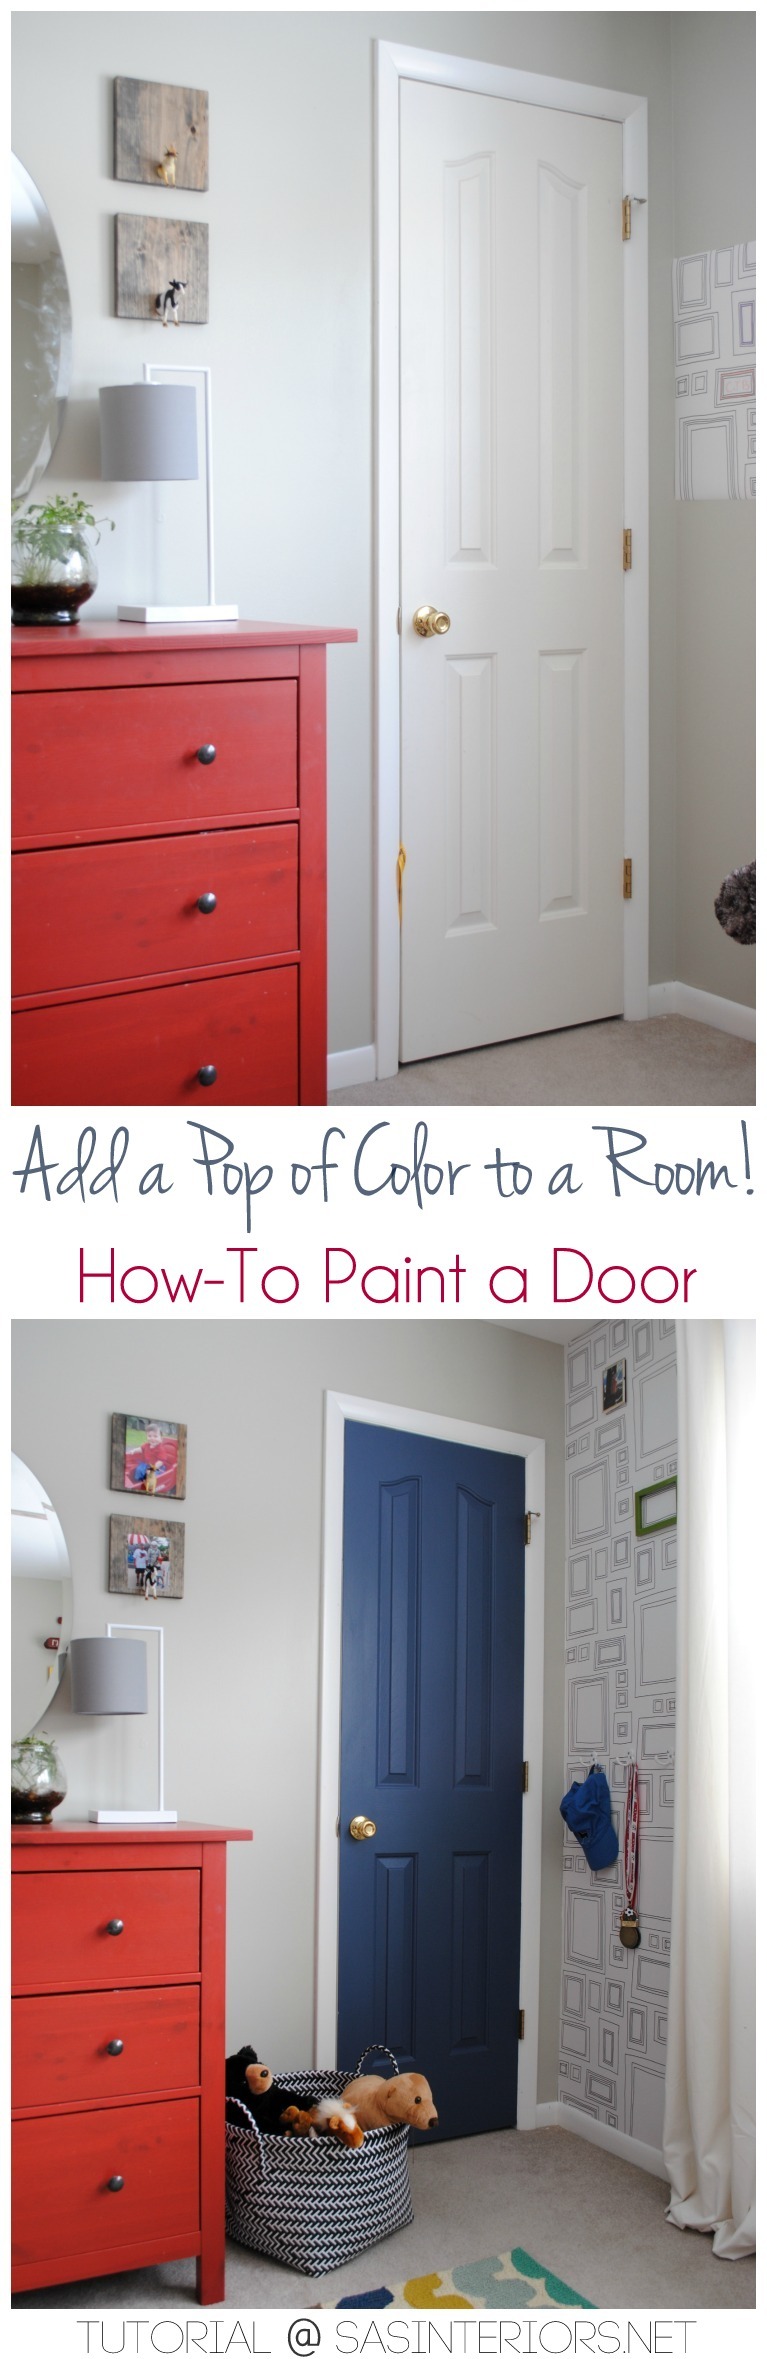
Adding a pop of color was my Lowe’s Challenge for this month and I think I surely succeeded. Huge difference, wouldn’t you say?!
Updating a door (interior or exterior) is super easy and if a space is fairly neutral, painting the door will make a huge impact. If you happen to remember, I initially wasn’t overly fond of this very neutral / light wall color, BUT now I am loving it. WHY? It’s been able to provide a neutral backdrop for lots of color in all the layers like the red dresser to the left + the fun Frames Wallpaper + the honeycomb shelves on the opposite wall.
Choosing the RIGHT COLOR for the door!
When shopping for a color for the door, choose something that picks up on other colors in the room. Also a semi-gloss finish is best (so marks can easily be wiped away), but eggshell or satin will also work.
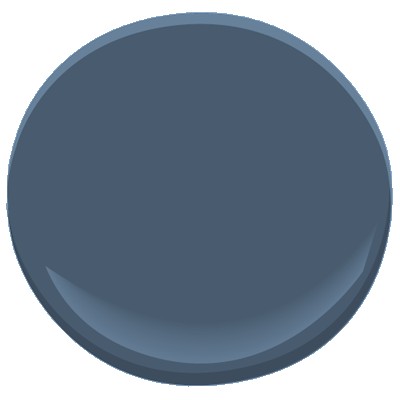
For my boys closet door, I picked up a color from the new rug and chose a deep blue hue (which was leftover paint from my office makeover – Benjamin Moore Van Deusen Blue) in an eggshell finish.

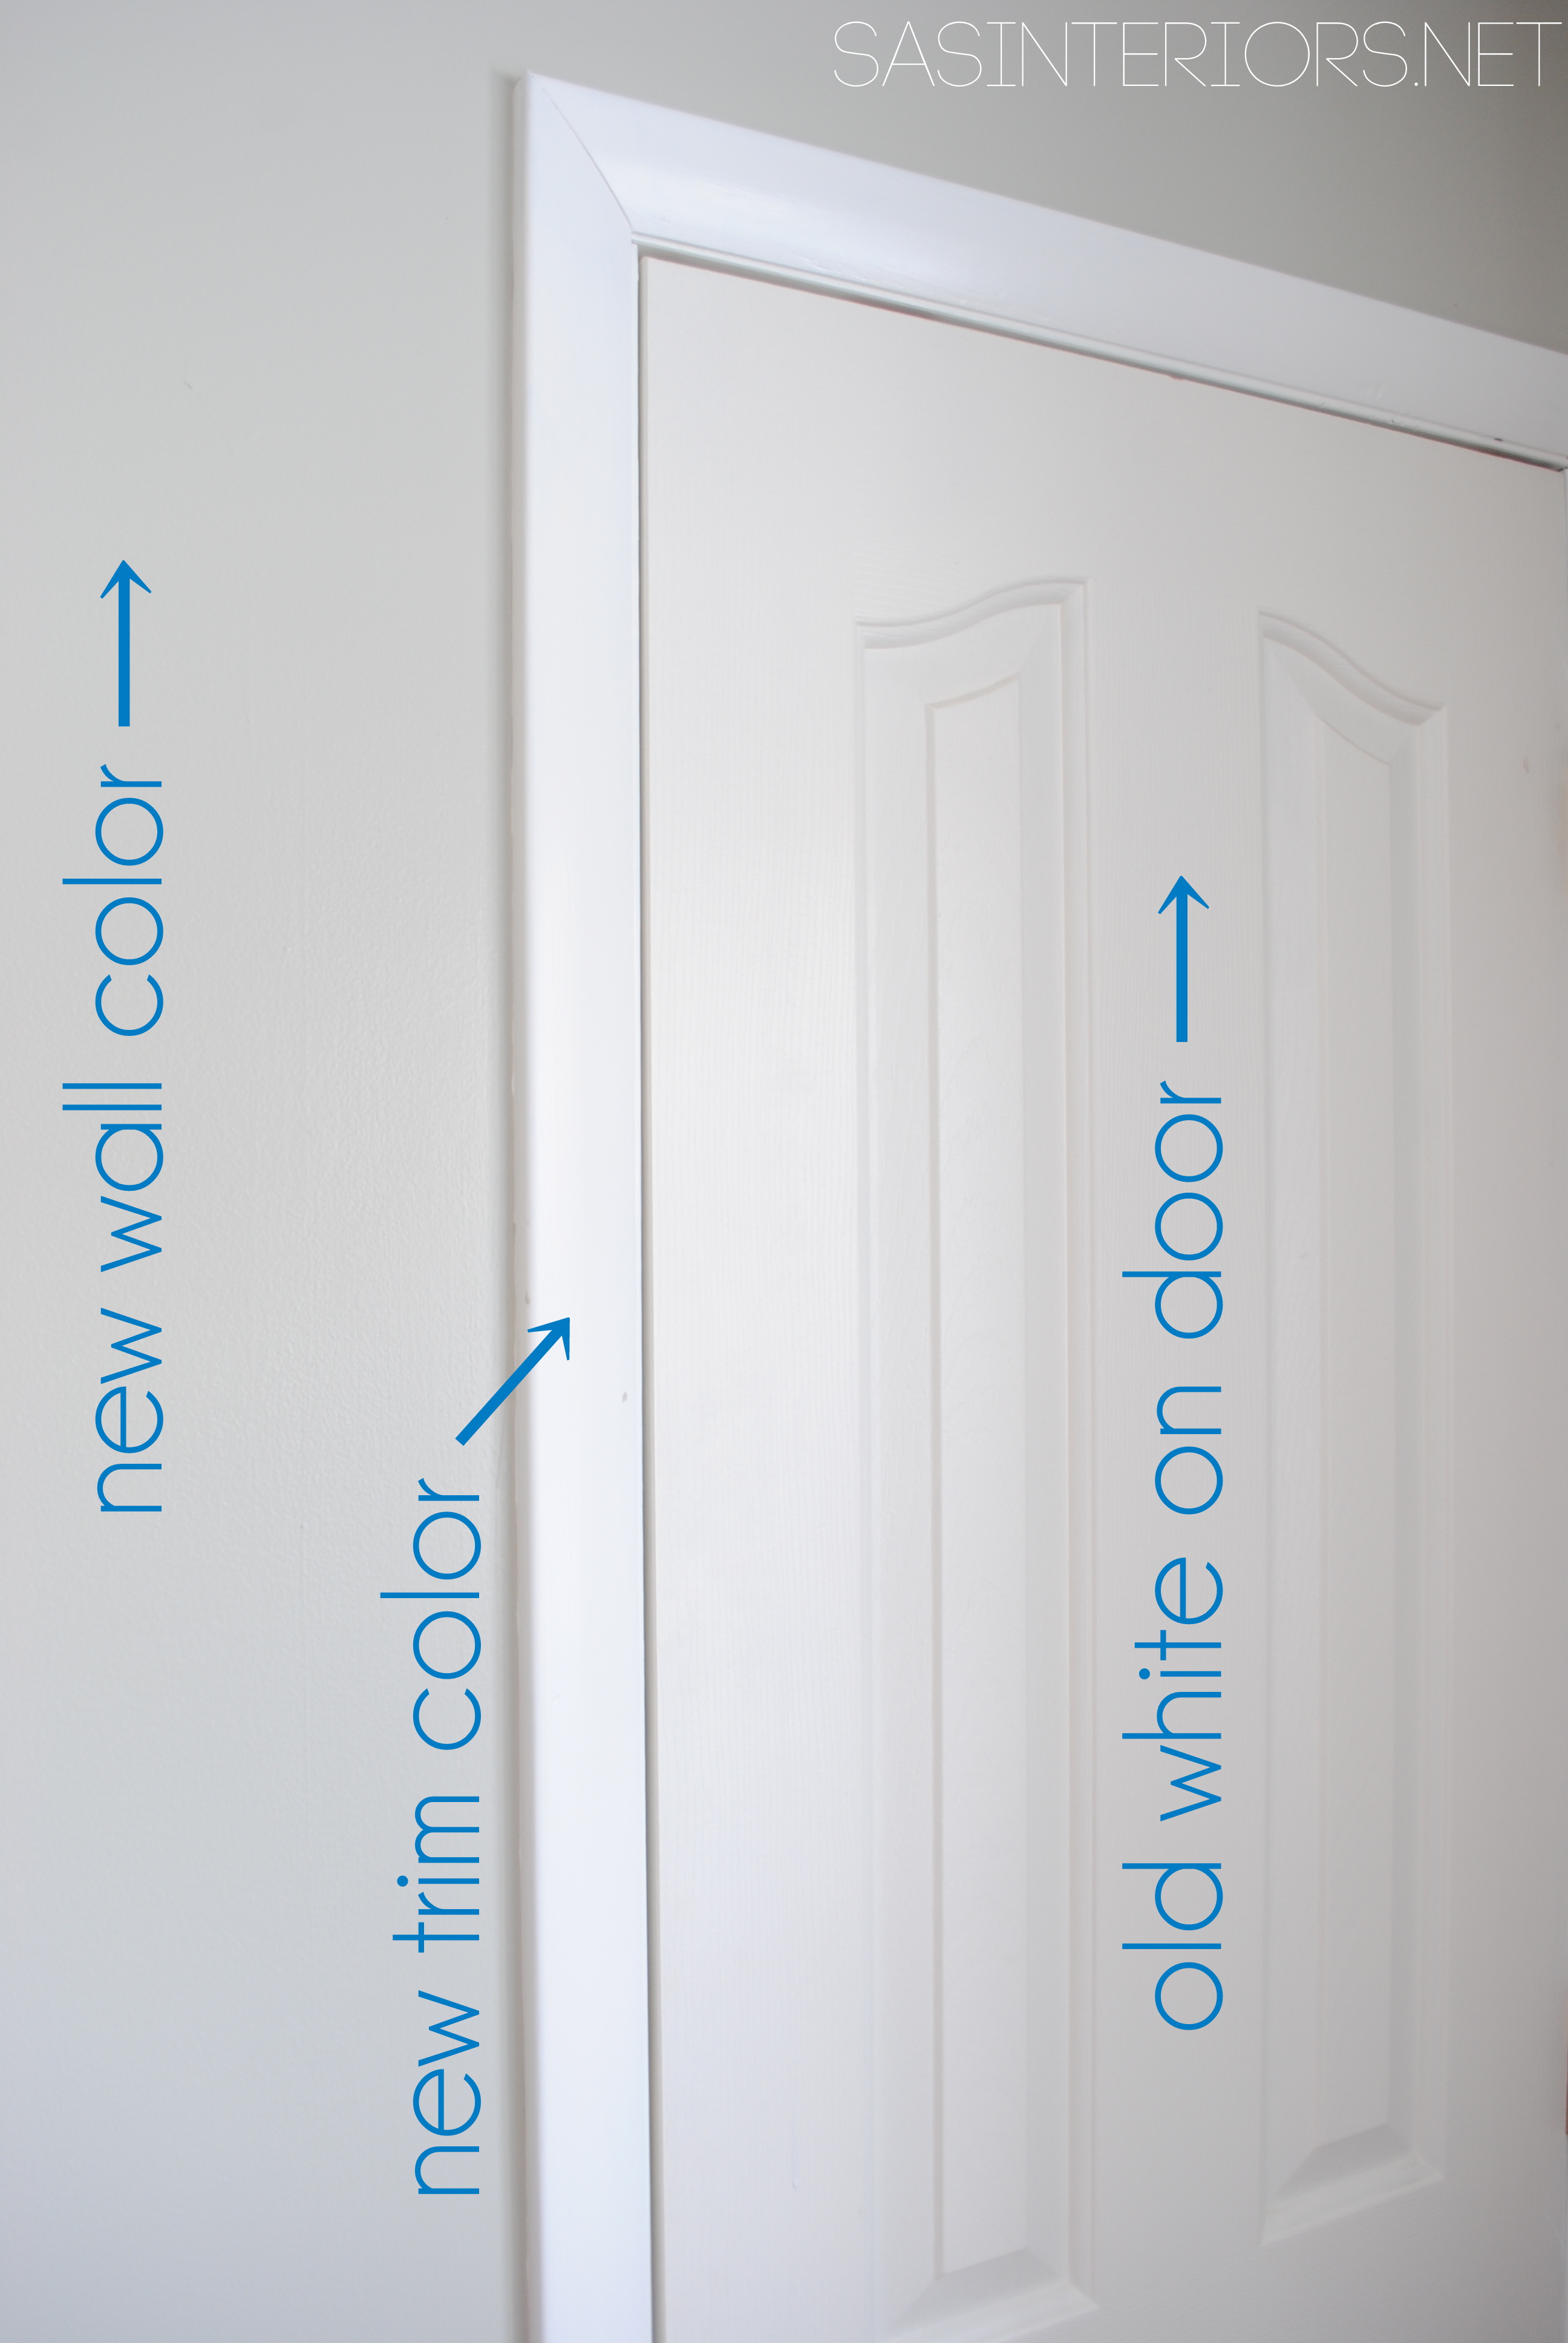
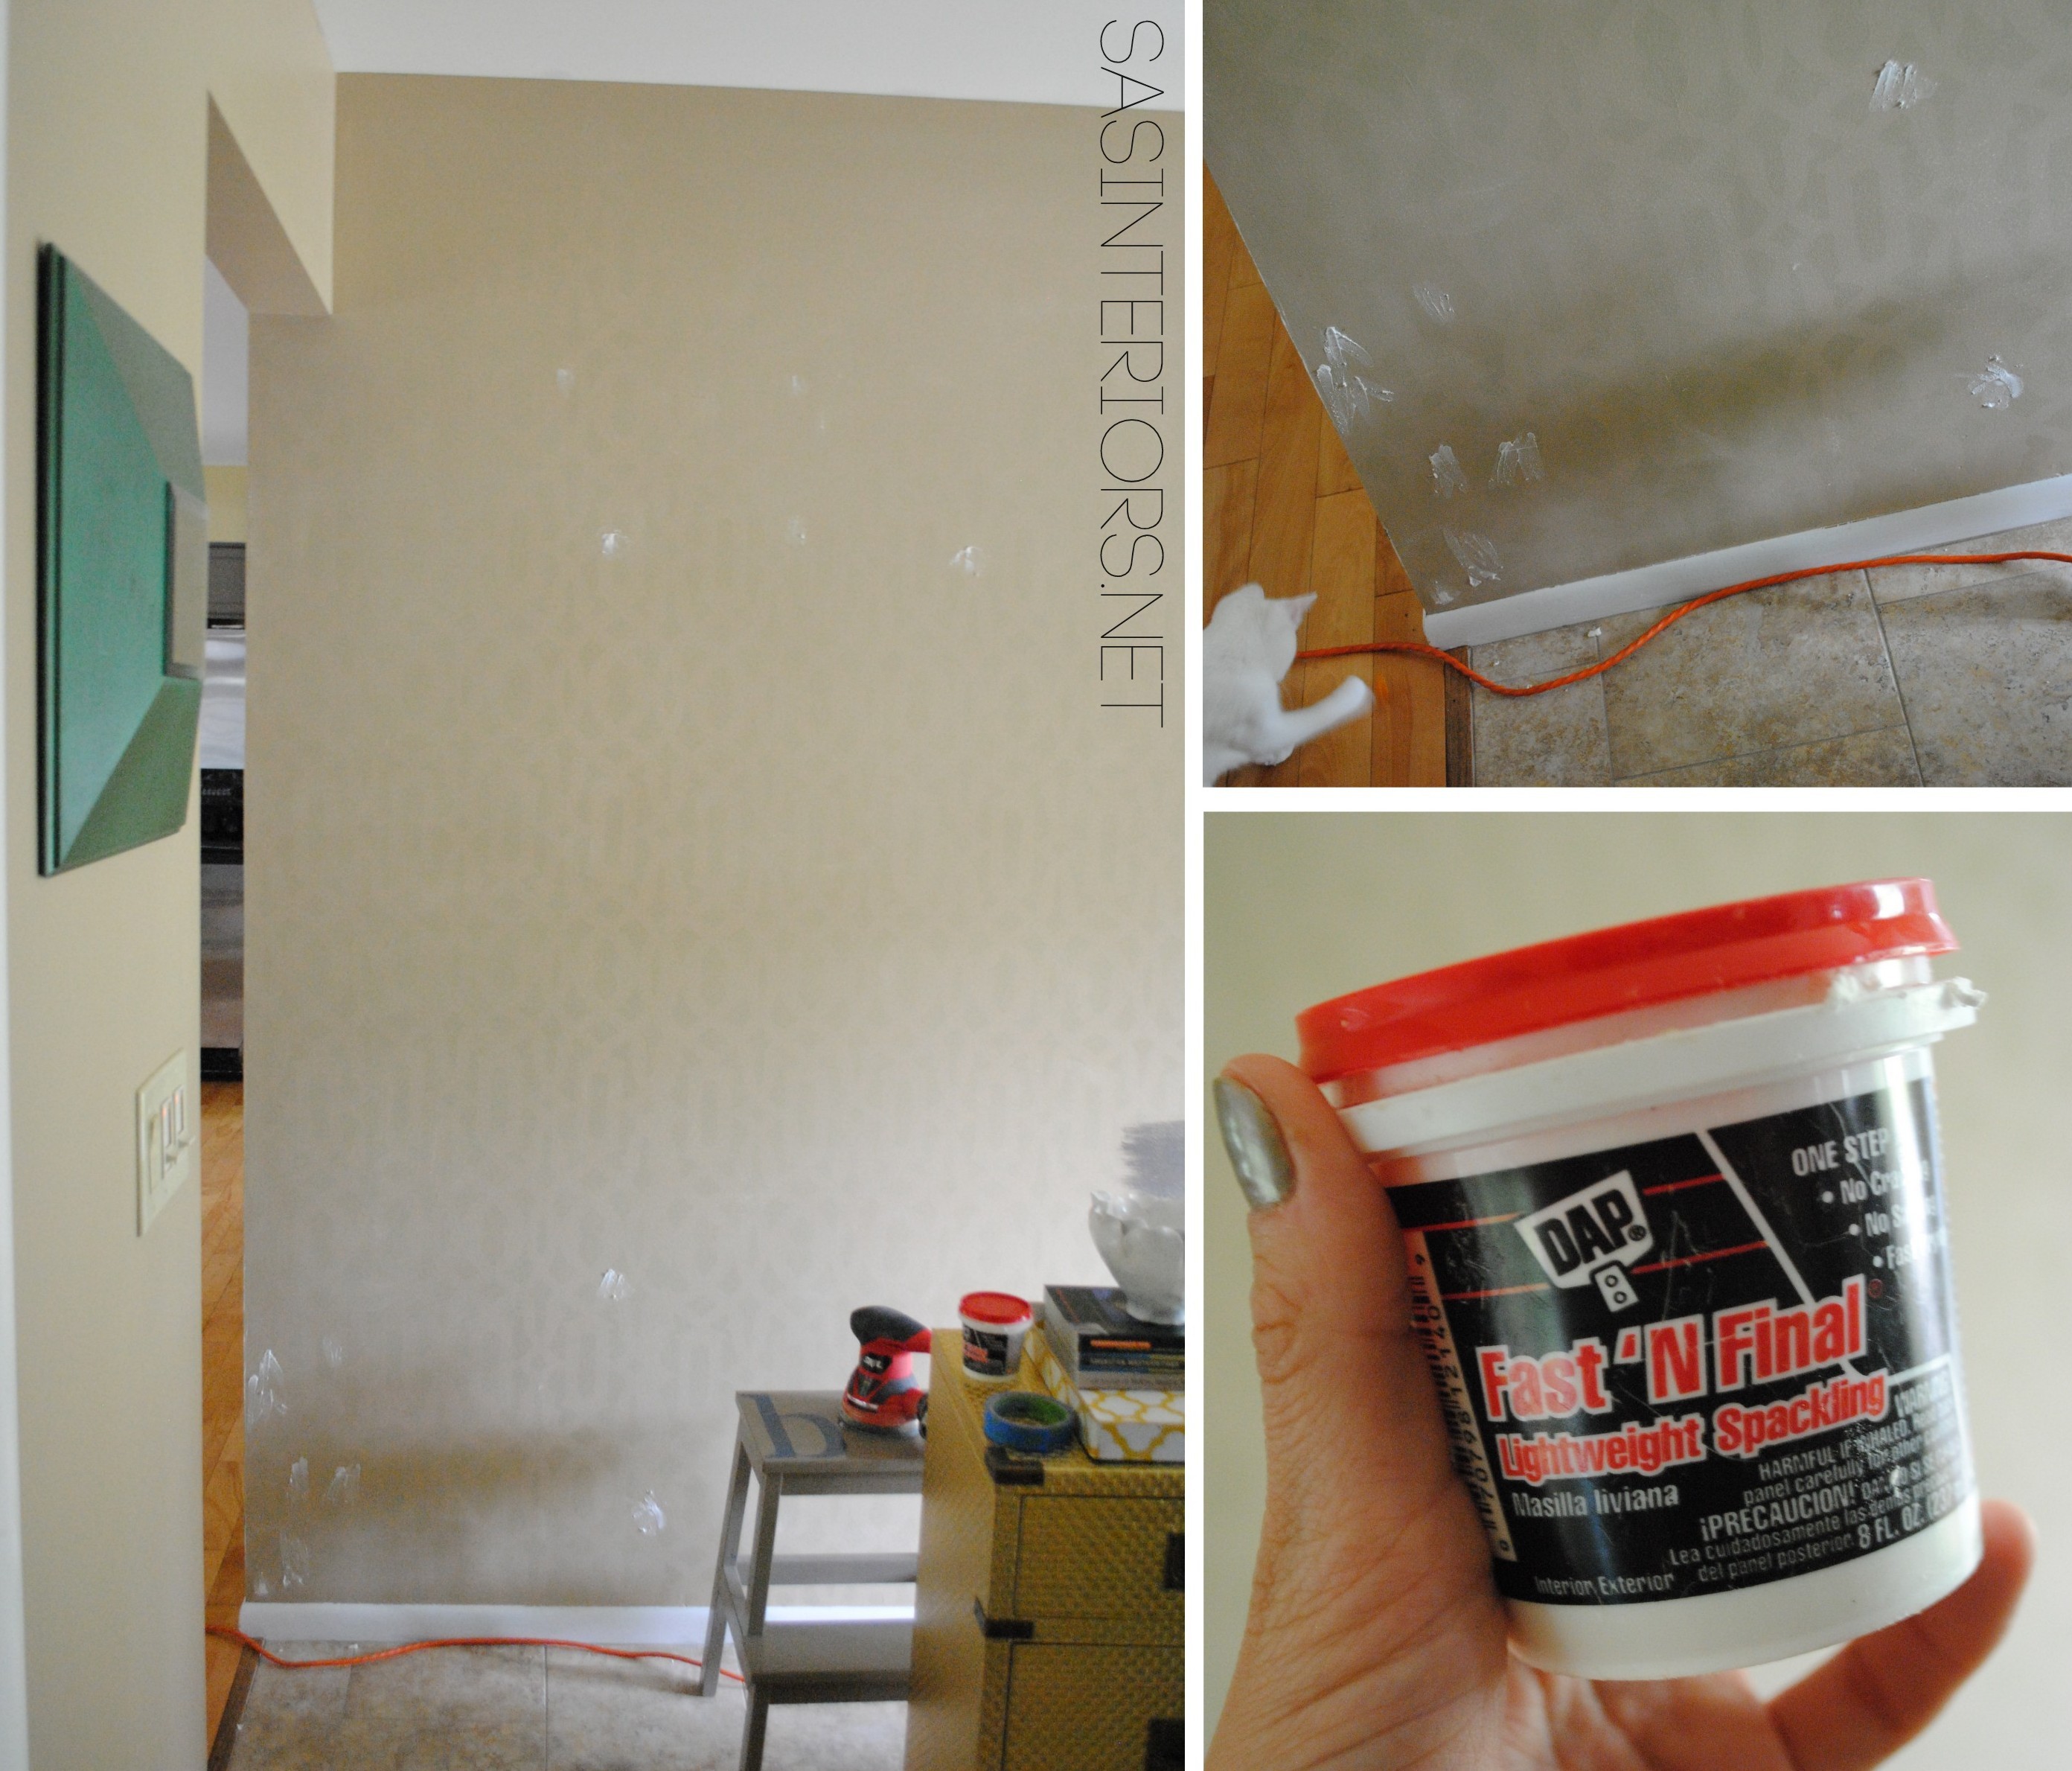
Along with wanting to add a pop of color to the room, the new trim/moulding color and the old door color were 2 very different and competing whites. So it was in good reason that this door needed a makeover!
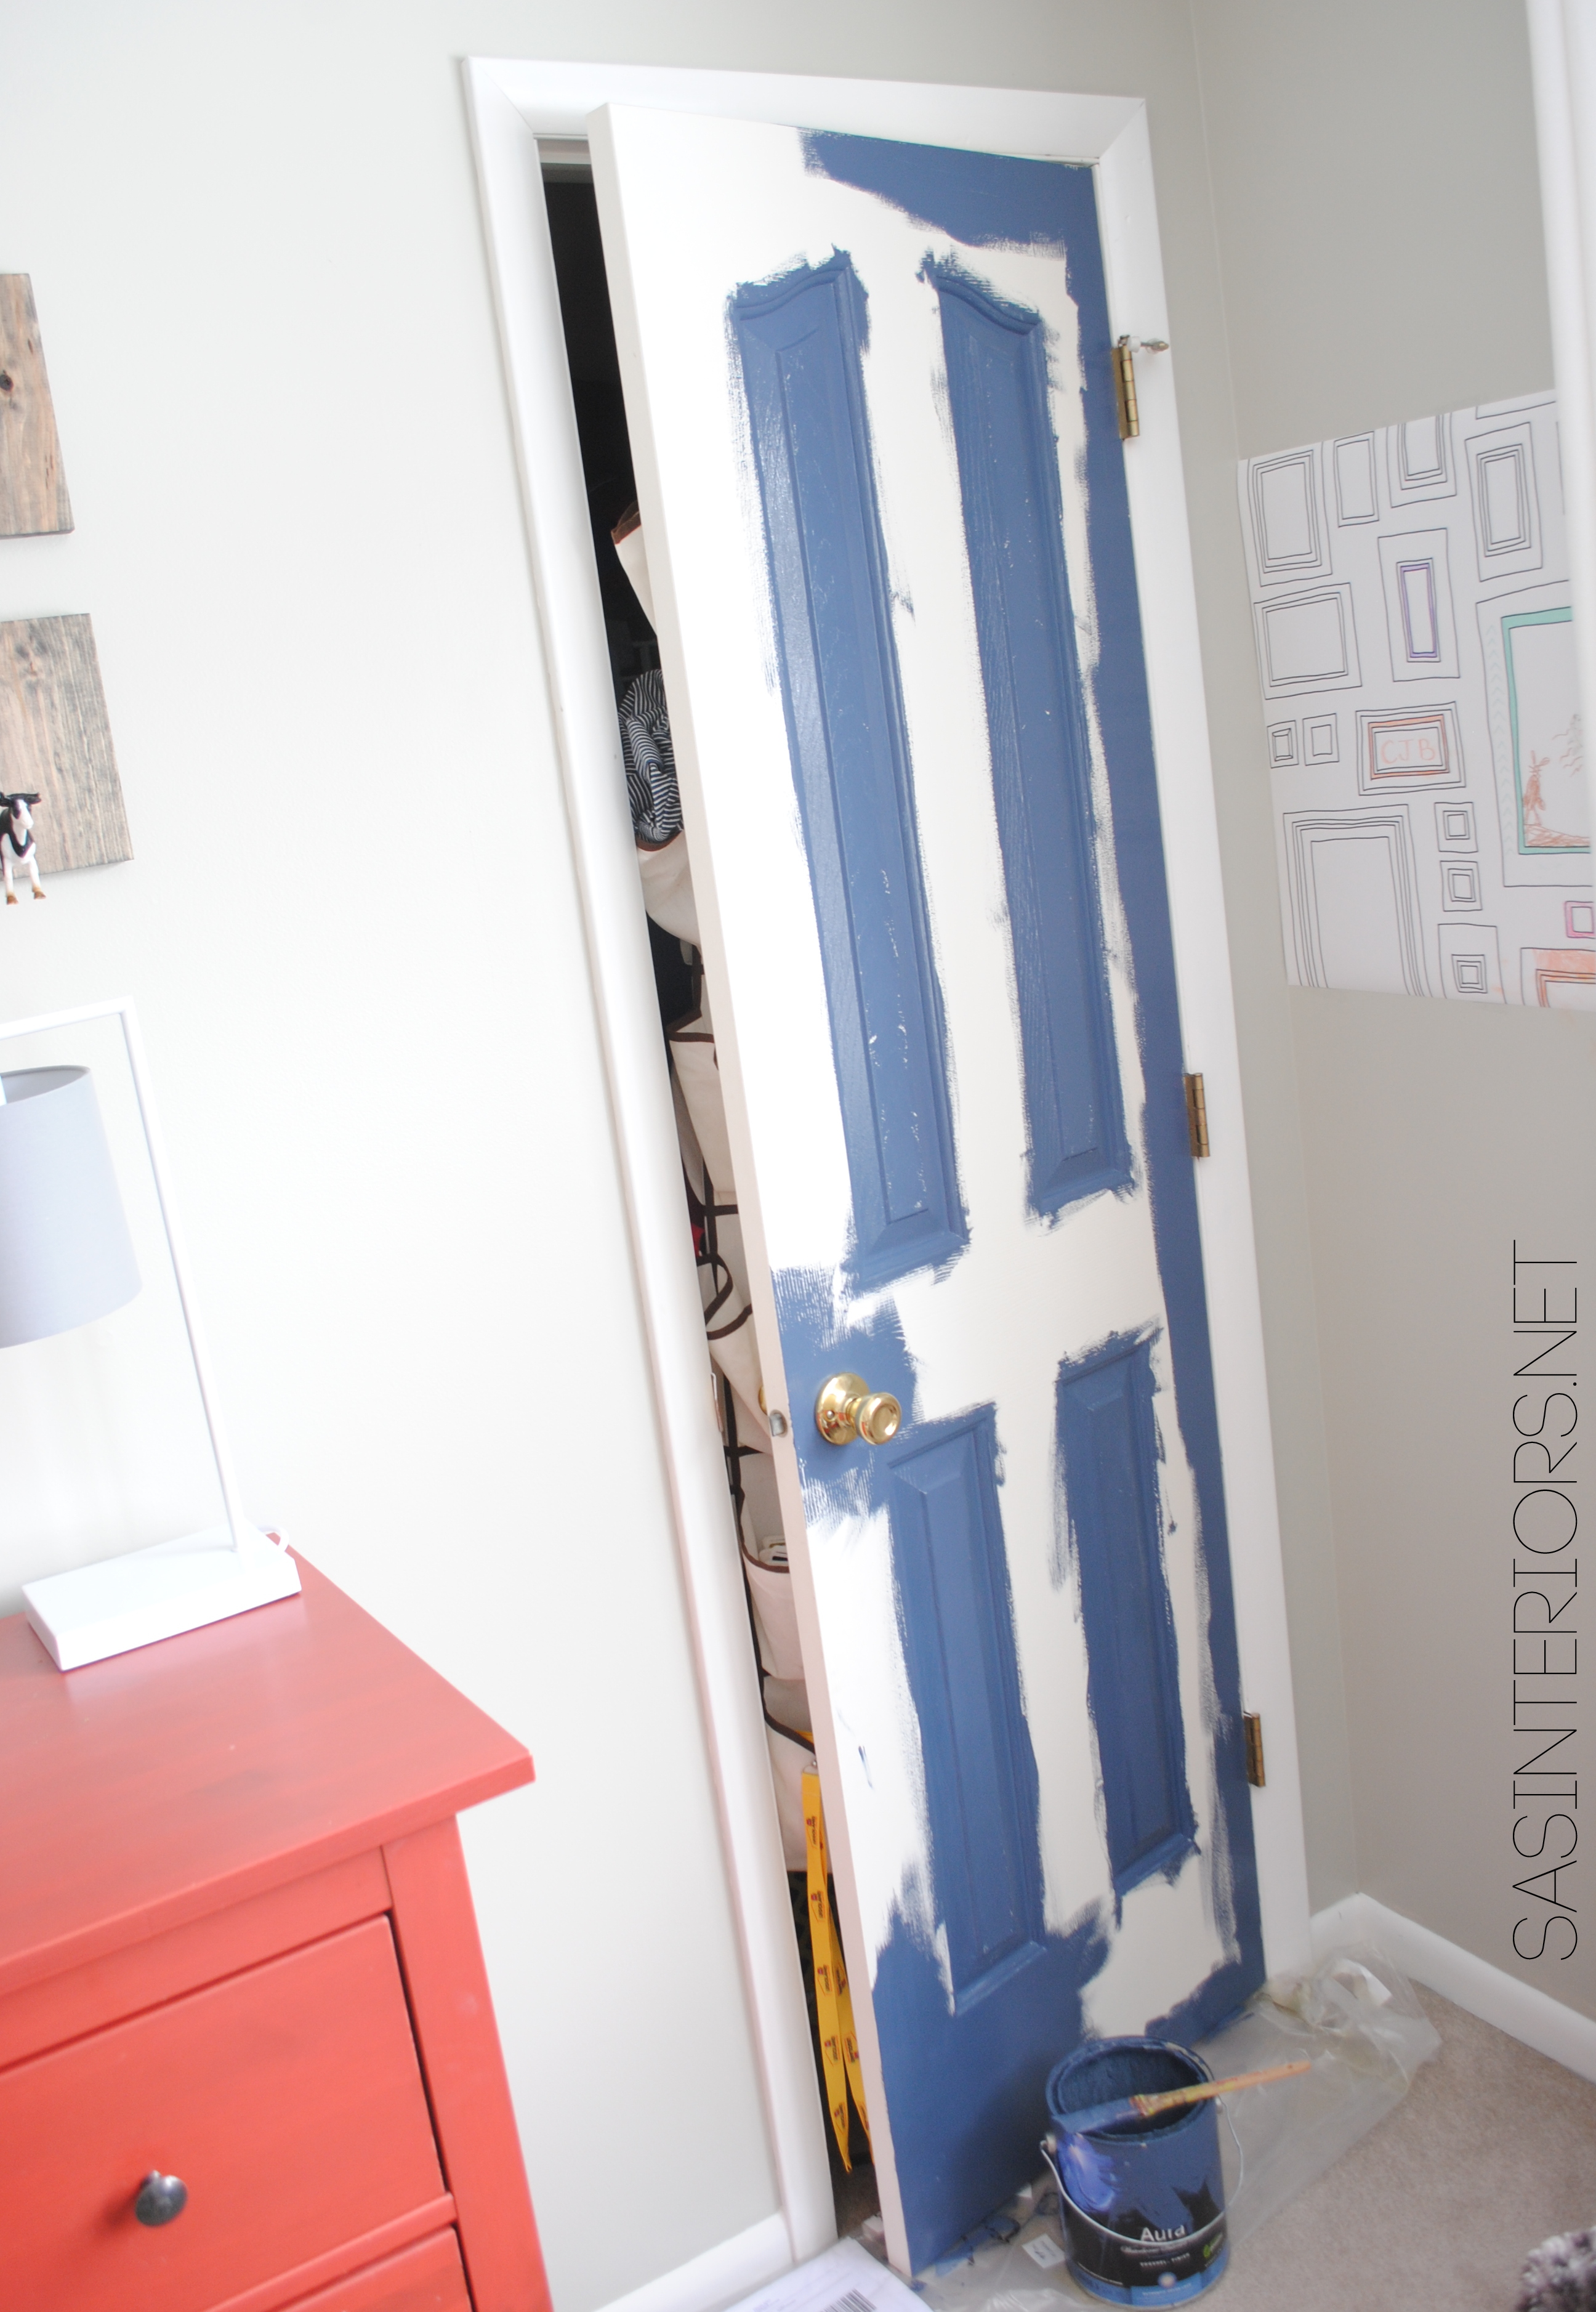
Here’s a closeup:
Here are the easy-peasy steps to adding a pop of color on a door:
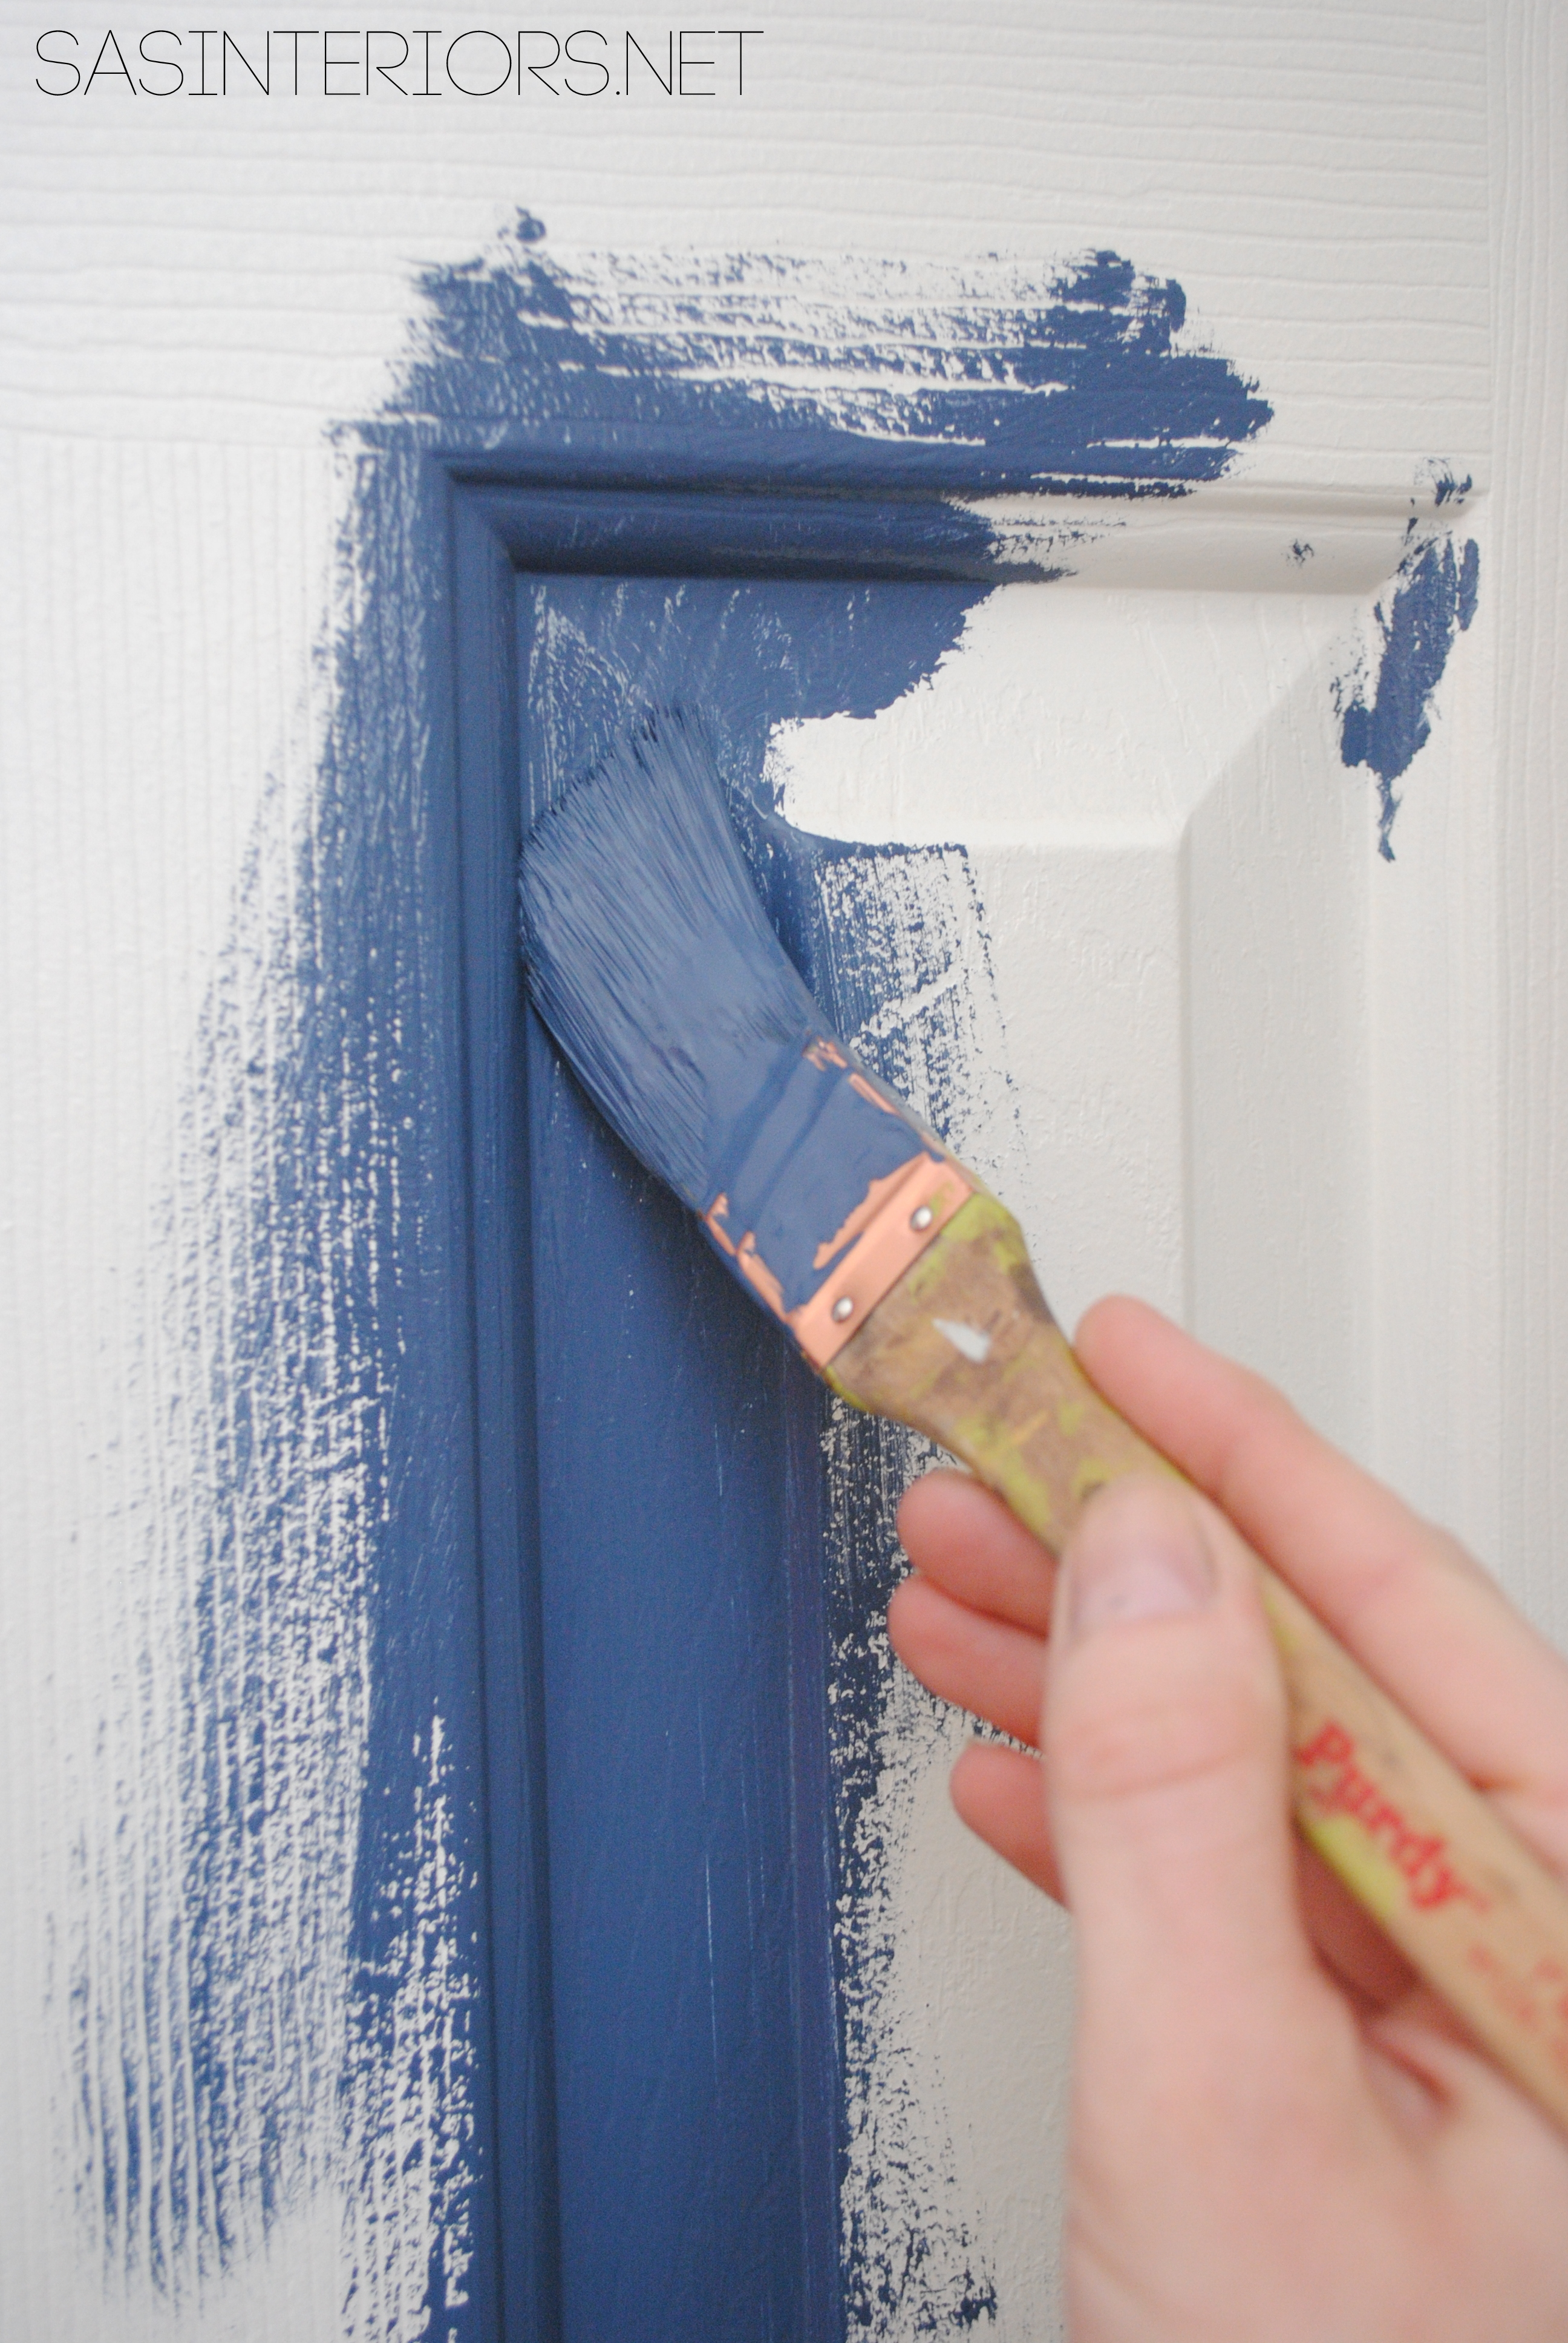
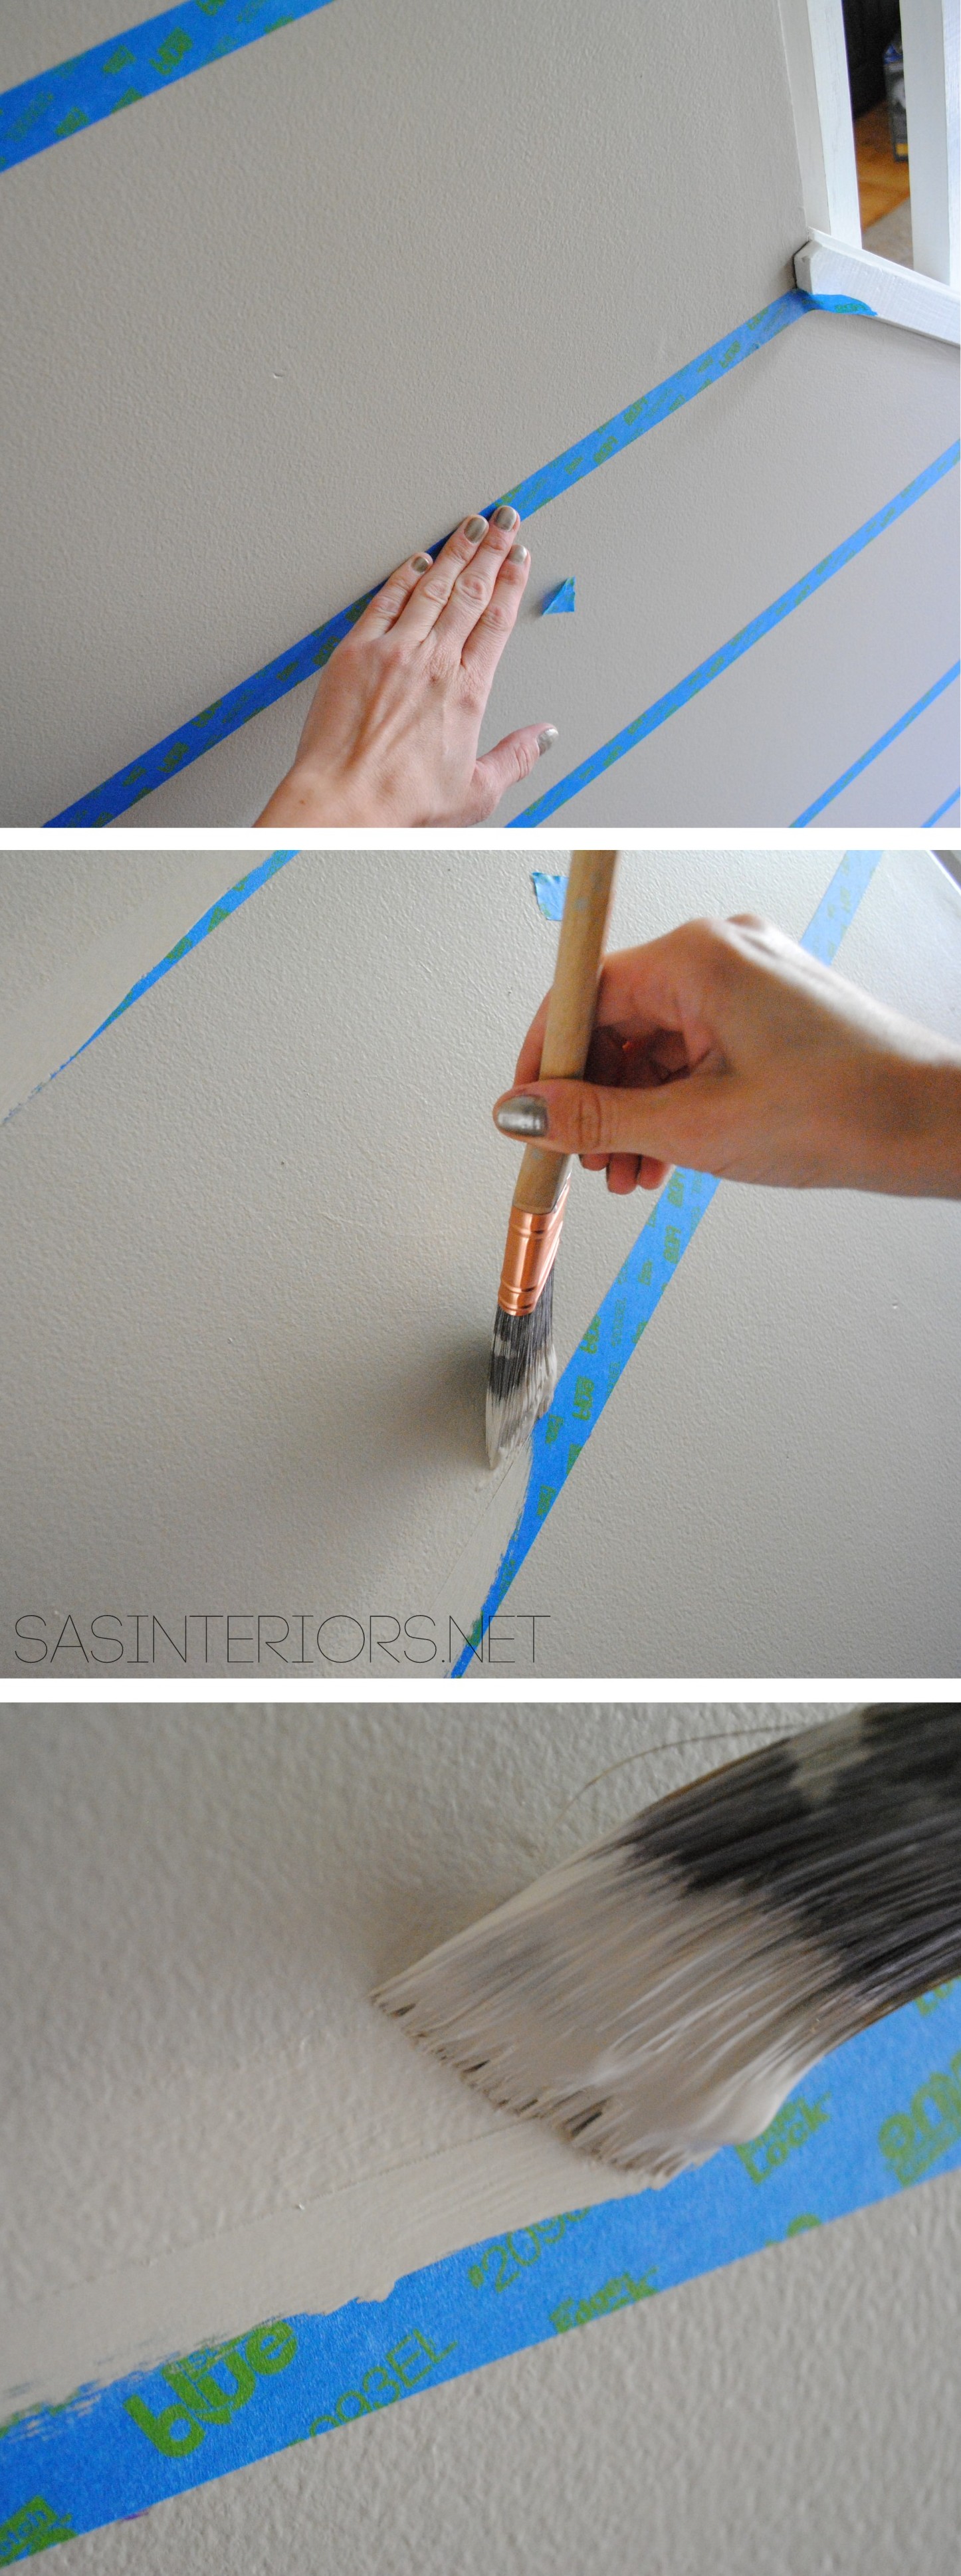
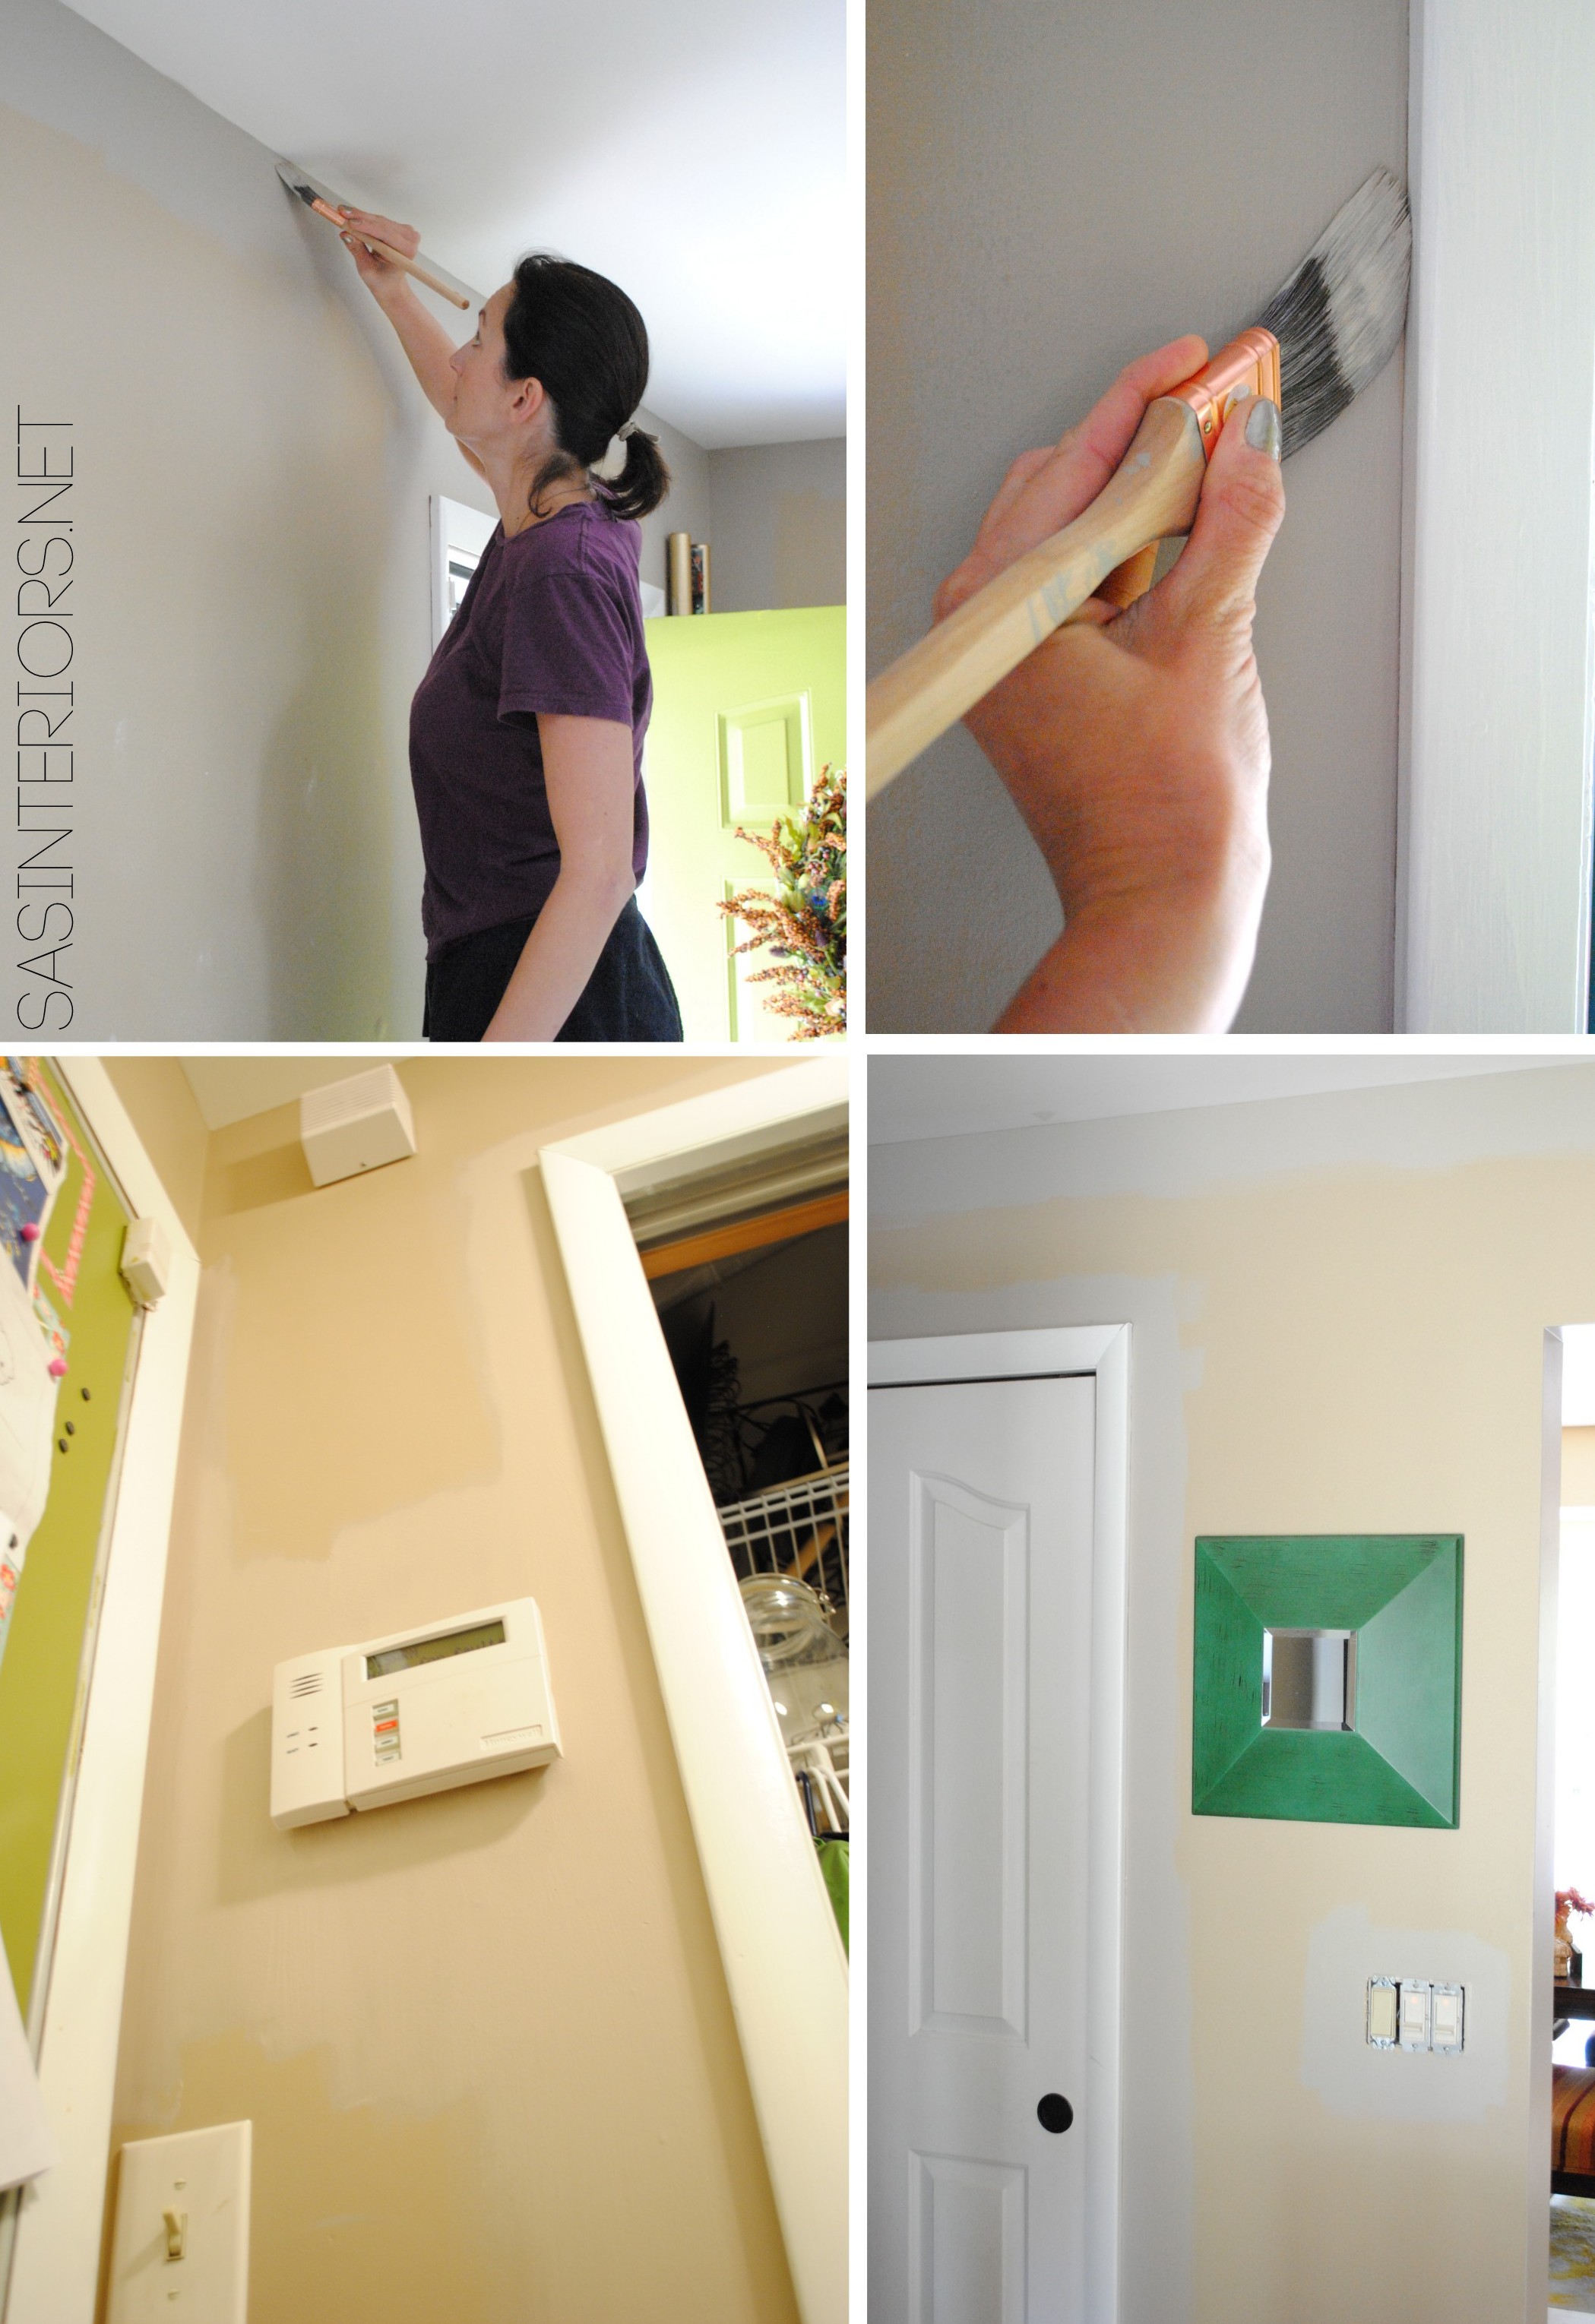
1. PANELS: No matter what style doore, start off with the crevices / nooks-and-crannies. Using a quality brush (a 1″ or 1-1/2″ Purdy angled brush is my favorite) start with the panels of the door.
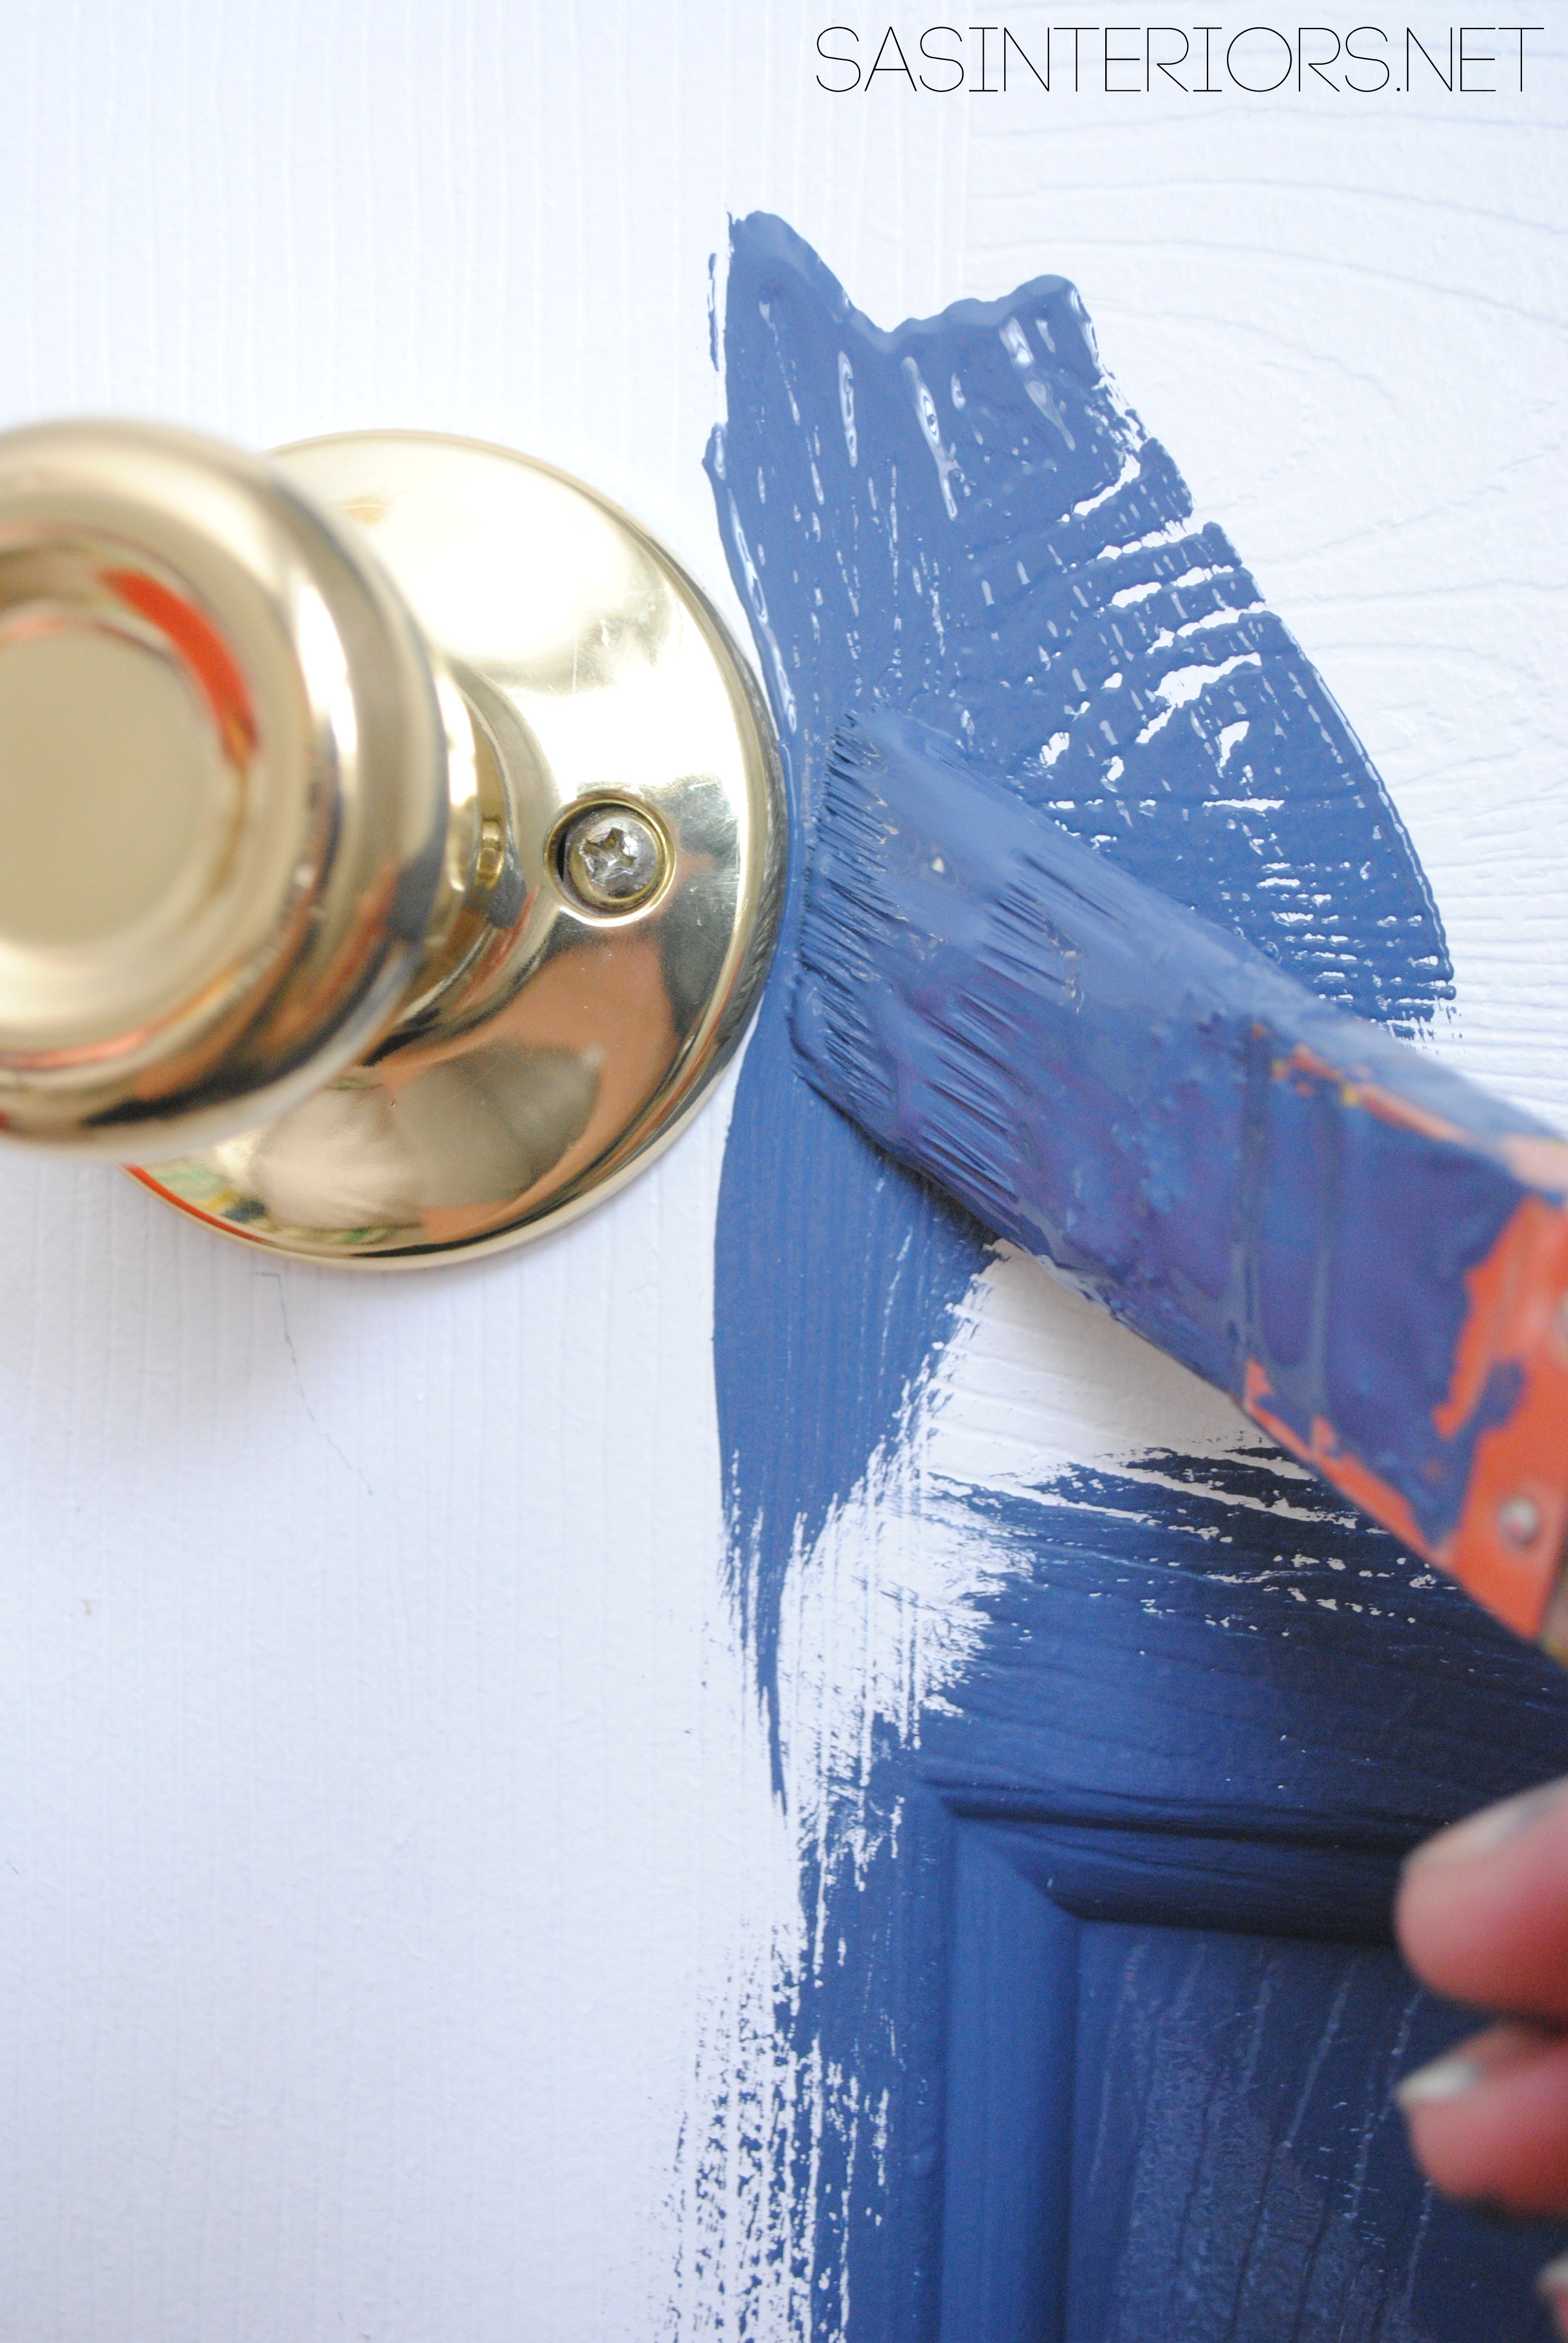
2. HARDWARE: I decided not to remove the hardware before painting (because of pure laziness) and painted around the door knob using my angled brush. The result was great…
3. EDGES: After the panels an the hardware, comes the edges of the door. Be sure to lay a dropcloth or plastic under the door so paint doesn’t get on the floor. Also, it’s best to open the door so no paint gets on the door frame. When painting the side edges, don’t drag the brush, but instead start from the door center and pull away to get a nice clean edge and no paint on the side of the door.
Once all the panels + hardware, and most of the edges were done, here’s how the door looked…
The next + last steps are the rails…
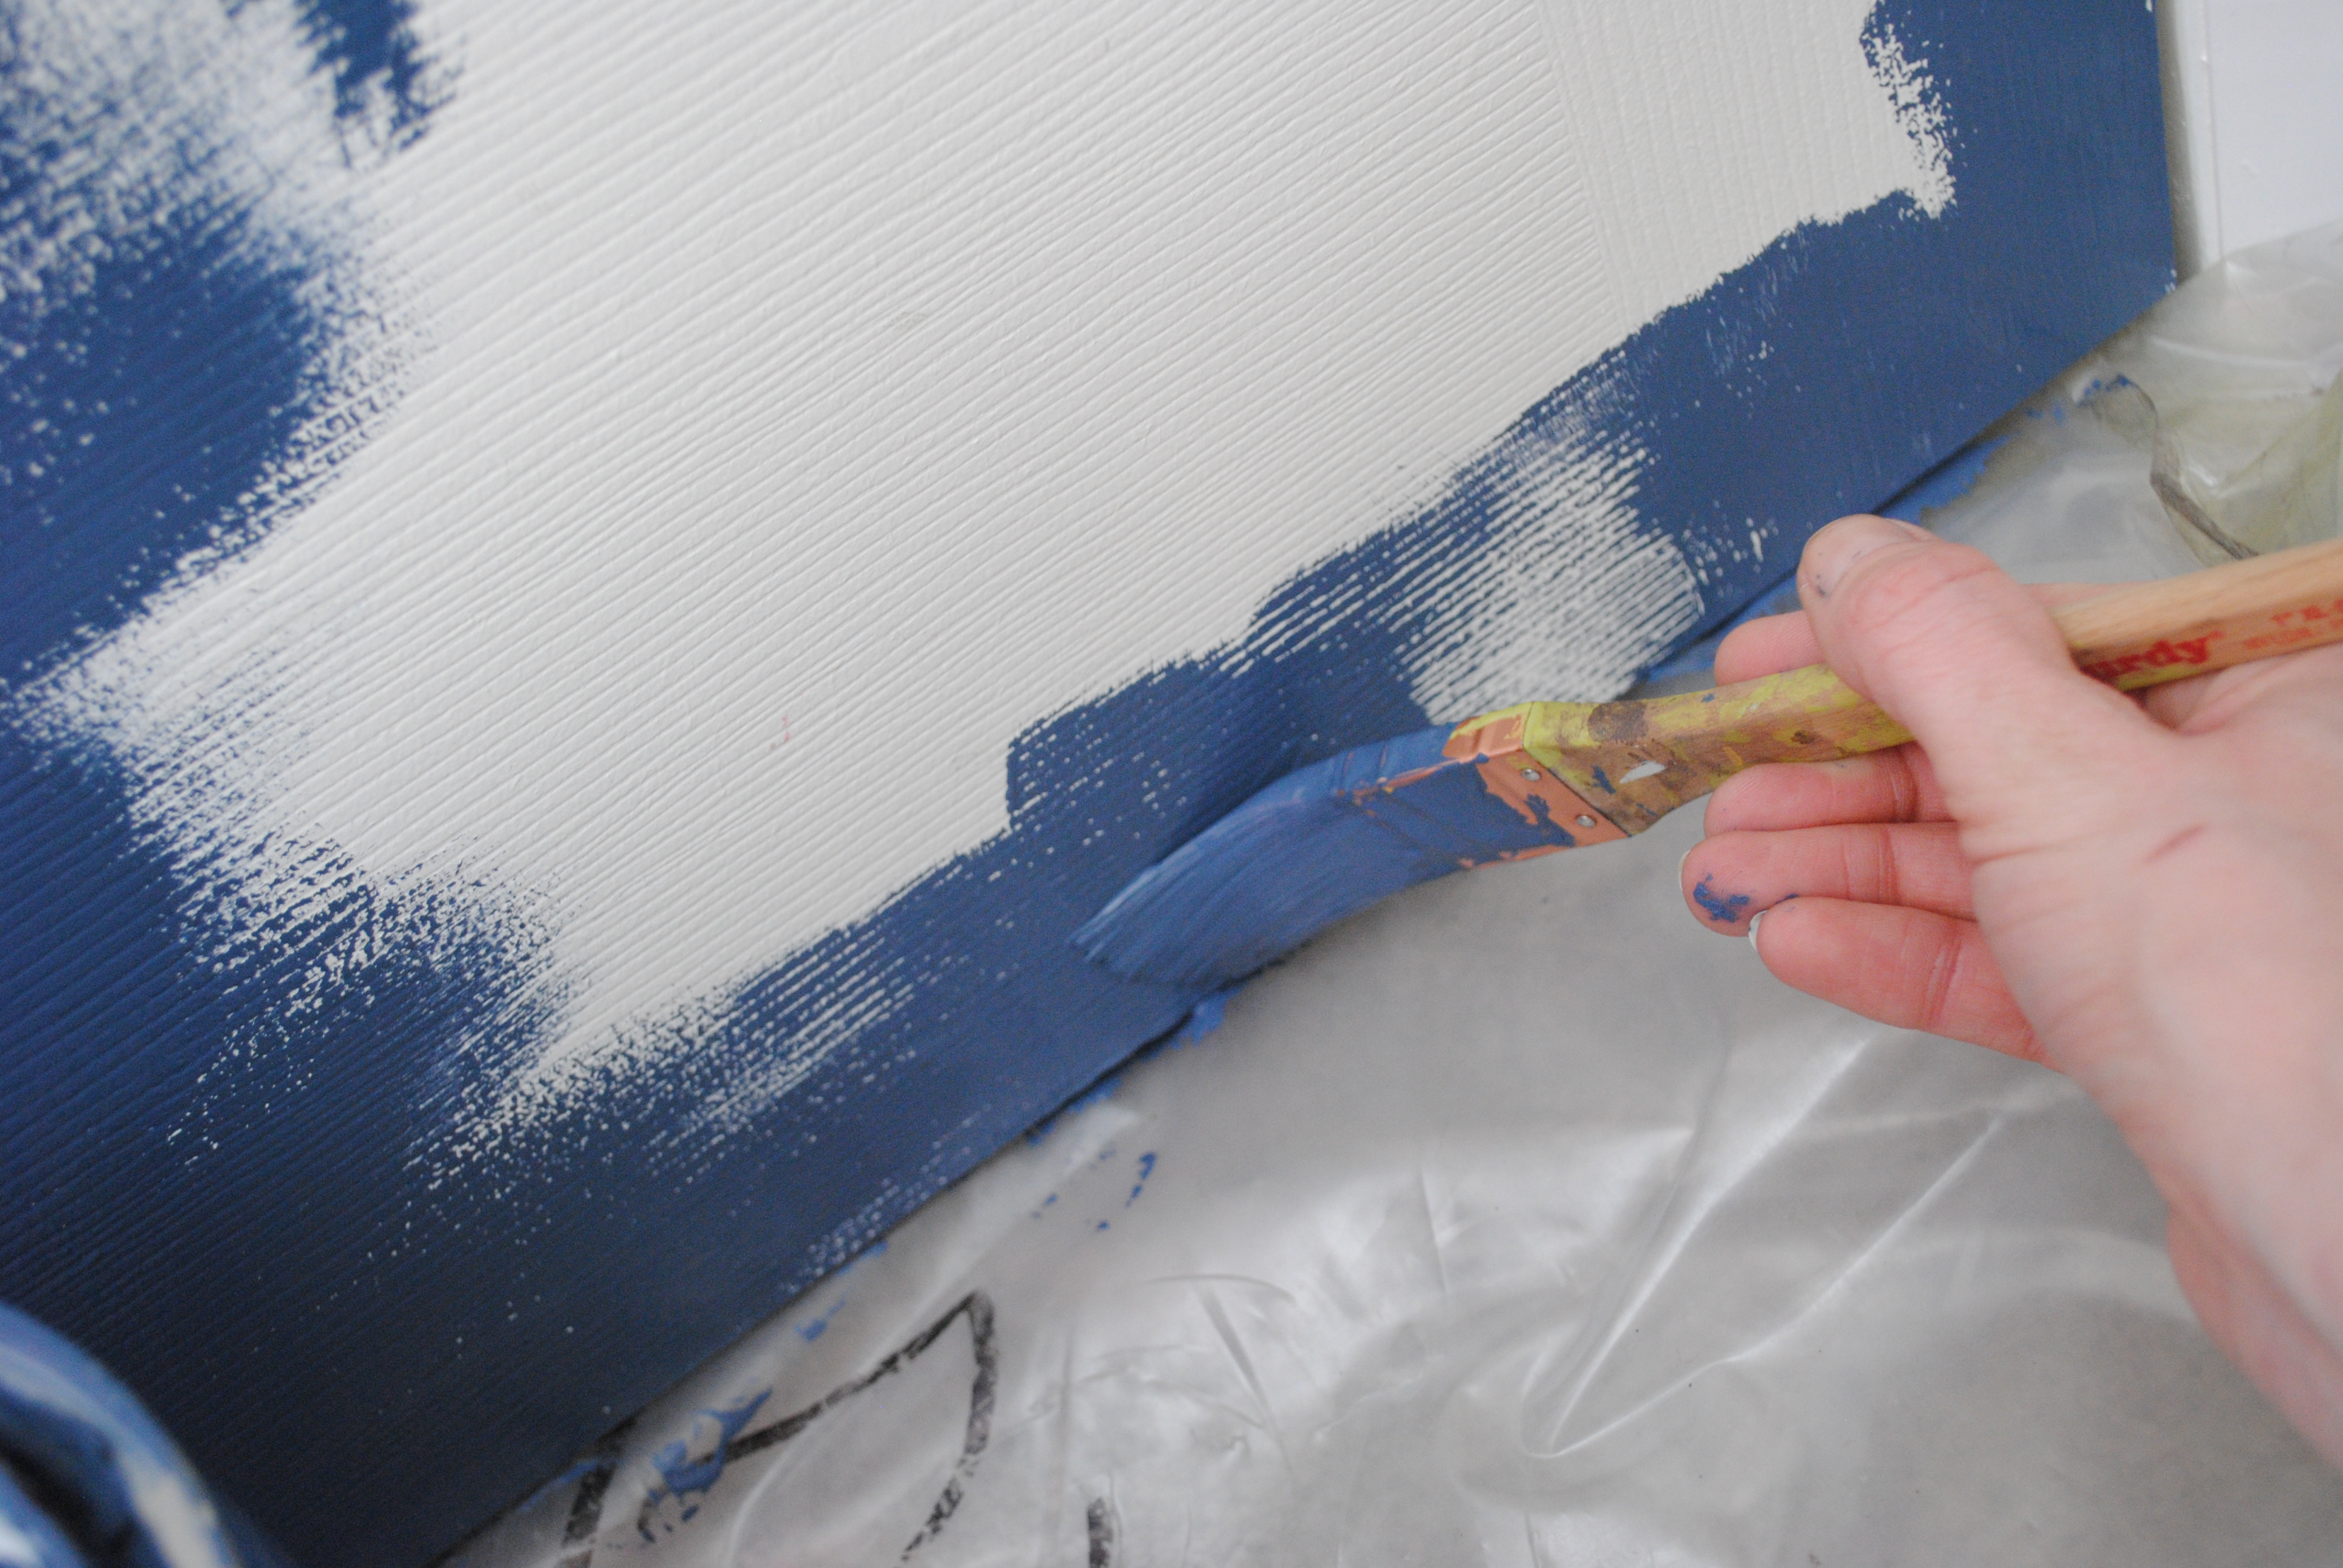
4 & 5. RAILS: Use a brush or roller for the rails. If the door has a slight texture to it (like mine) then a brush will do fine because you won’t see brushstrokes, but if the door is smooth, you’ll want to choose a small roller. You can also use floetrol, an additive that can be mixed with paint to avoid brushstrokes. I didn’t use it for this project, but I did for my kitchen cabinets.
It’s one of my favorite products.

Once the first coat of paint was finished, this is how the door looked.

After another coat of paint using the same steps above, the door was done…

Pretty big change for no money & very little time.
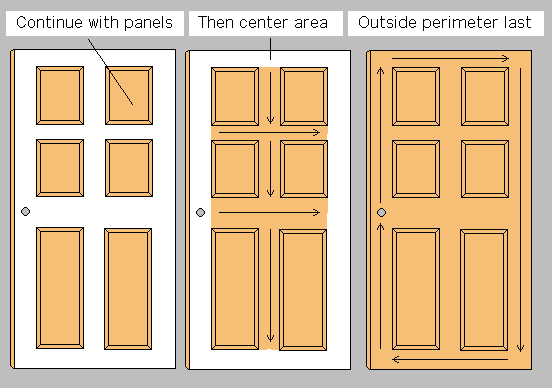
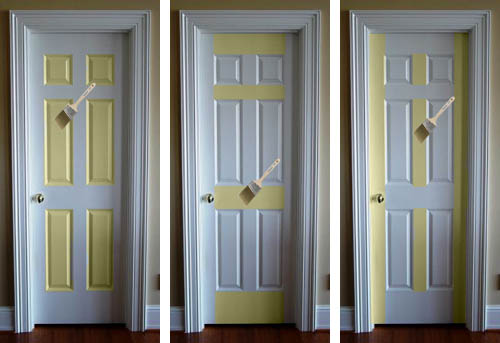
When looking around the net at other homeowner door makeovers, I found 2 helpful tutorials that you might benefit from if you’re looking to add a pop of color to your door(s)…
O, and one more place in my home where I decided to add some color to the doors… the upstairs hallway. Just last week, I shared how I updated the space with a new chalkboard wall, but to also add some color in, I chose to paint the doors my favorite Benjamin Moore Texas Leather.
 Here’s how the hallway evolved…
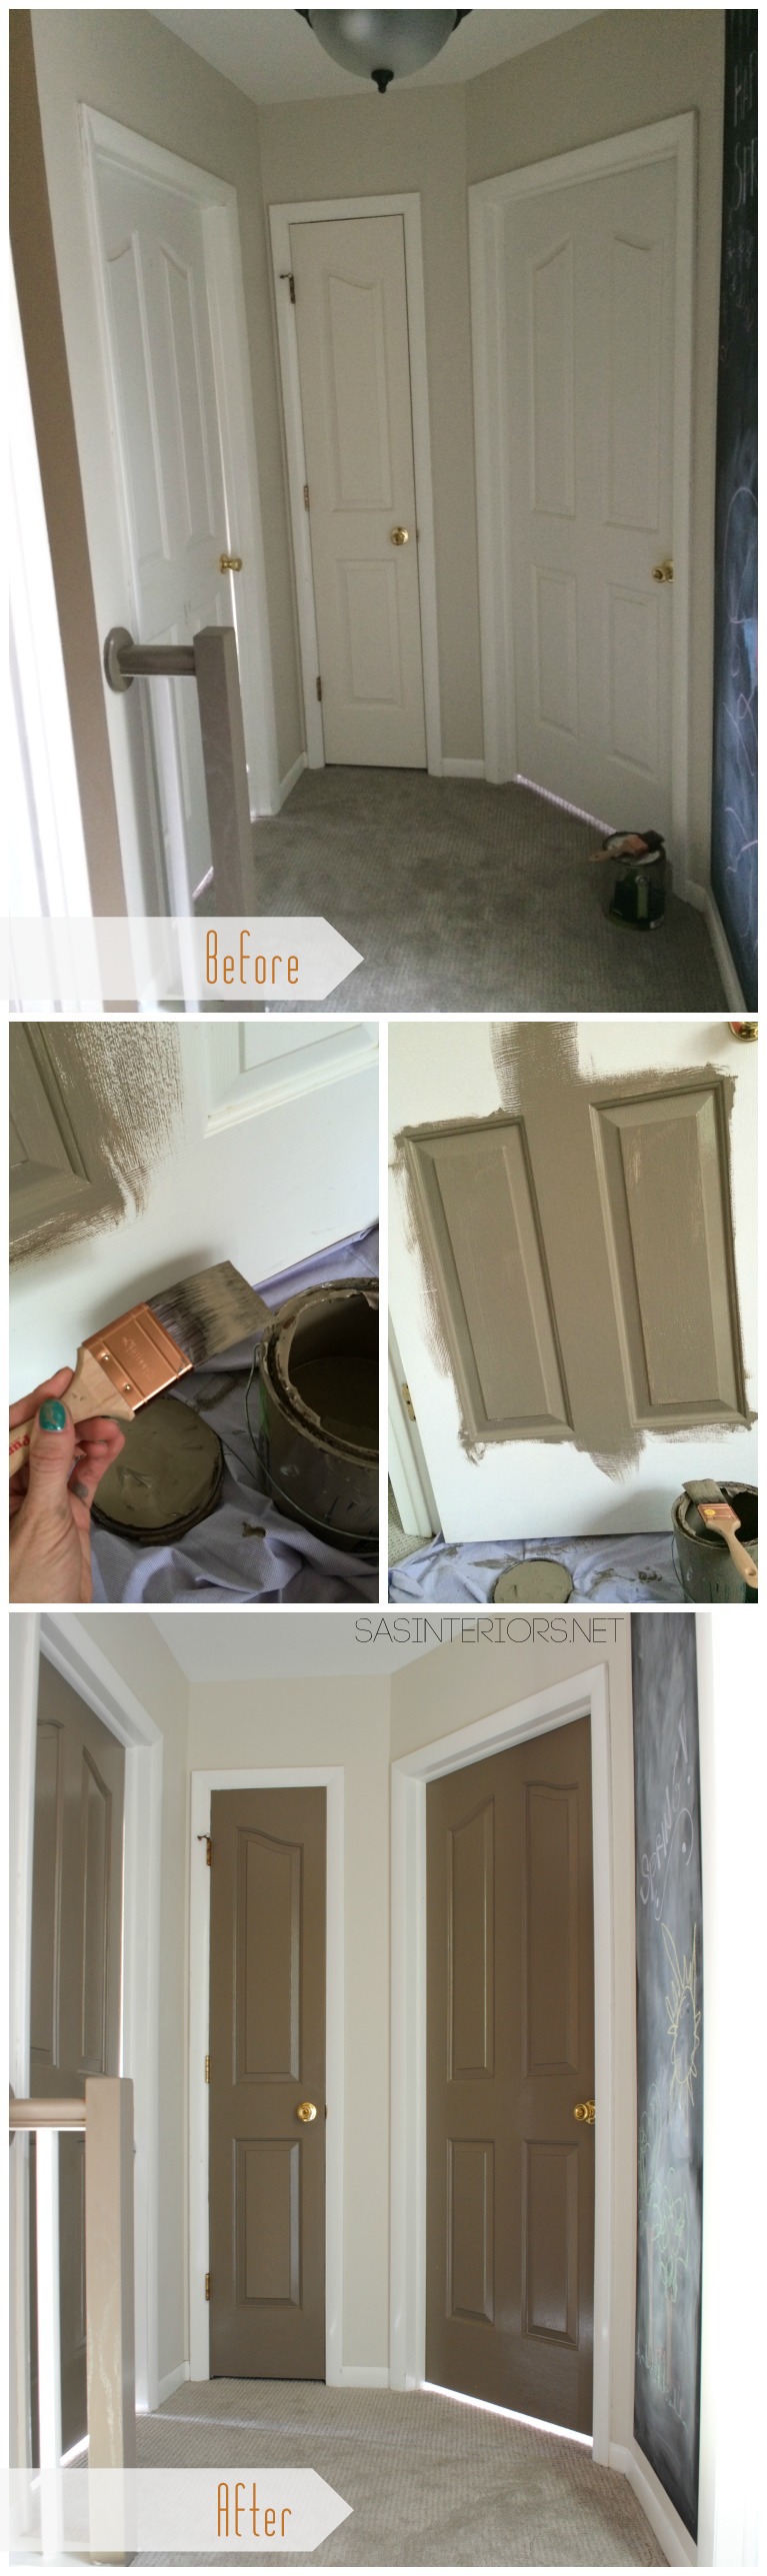

What a huge difference painting a door makes, especially when the walls of a space are neutral. This was a fun project to work on and once again, it shows that with a little effort, a space can surely be transformed in no time and with little or no money.
Have you ever thought on painting your interior or exterior door(s)?

To gather even more unique, fun, and creative ideas for your indoor and outdoor Spring spaces, I would definitely suggest downloading the Lowe’s Creative Ideas app on your iphone and/or ipad. I’m always checking out the FREE app for great seasonal + do-it-yourself inspiration.
Disclosure: I am part of the Lowe’s Creative Team and was provided with a Lowe’s gift card to purchase items for my project. I was also compensated for my time to use the products. No one told me what to create, what to buy, how to use the product, or what to write. All opinions are 100% mine!


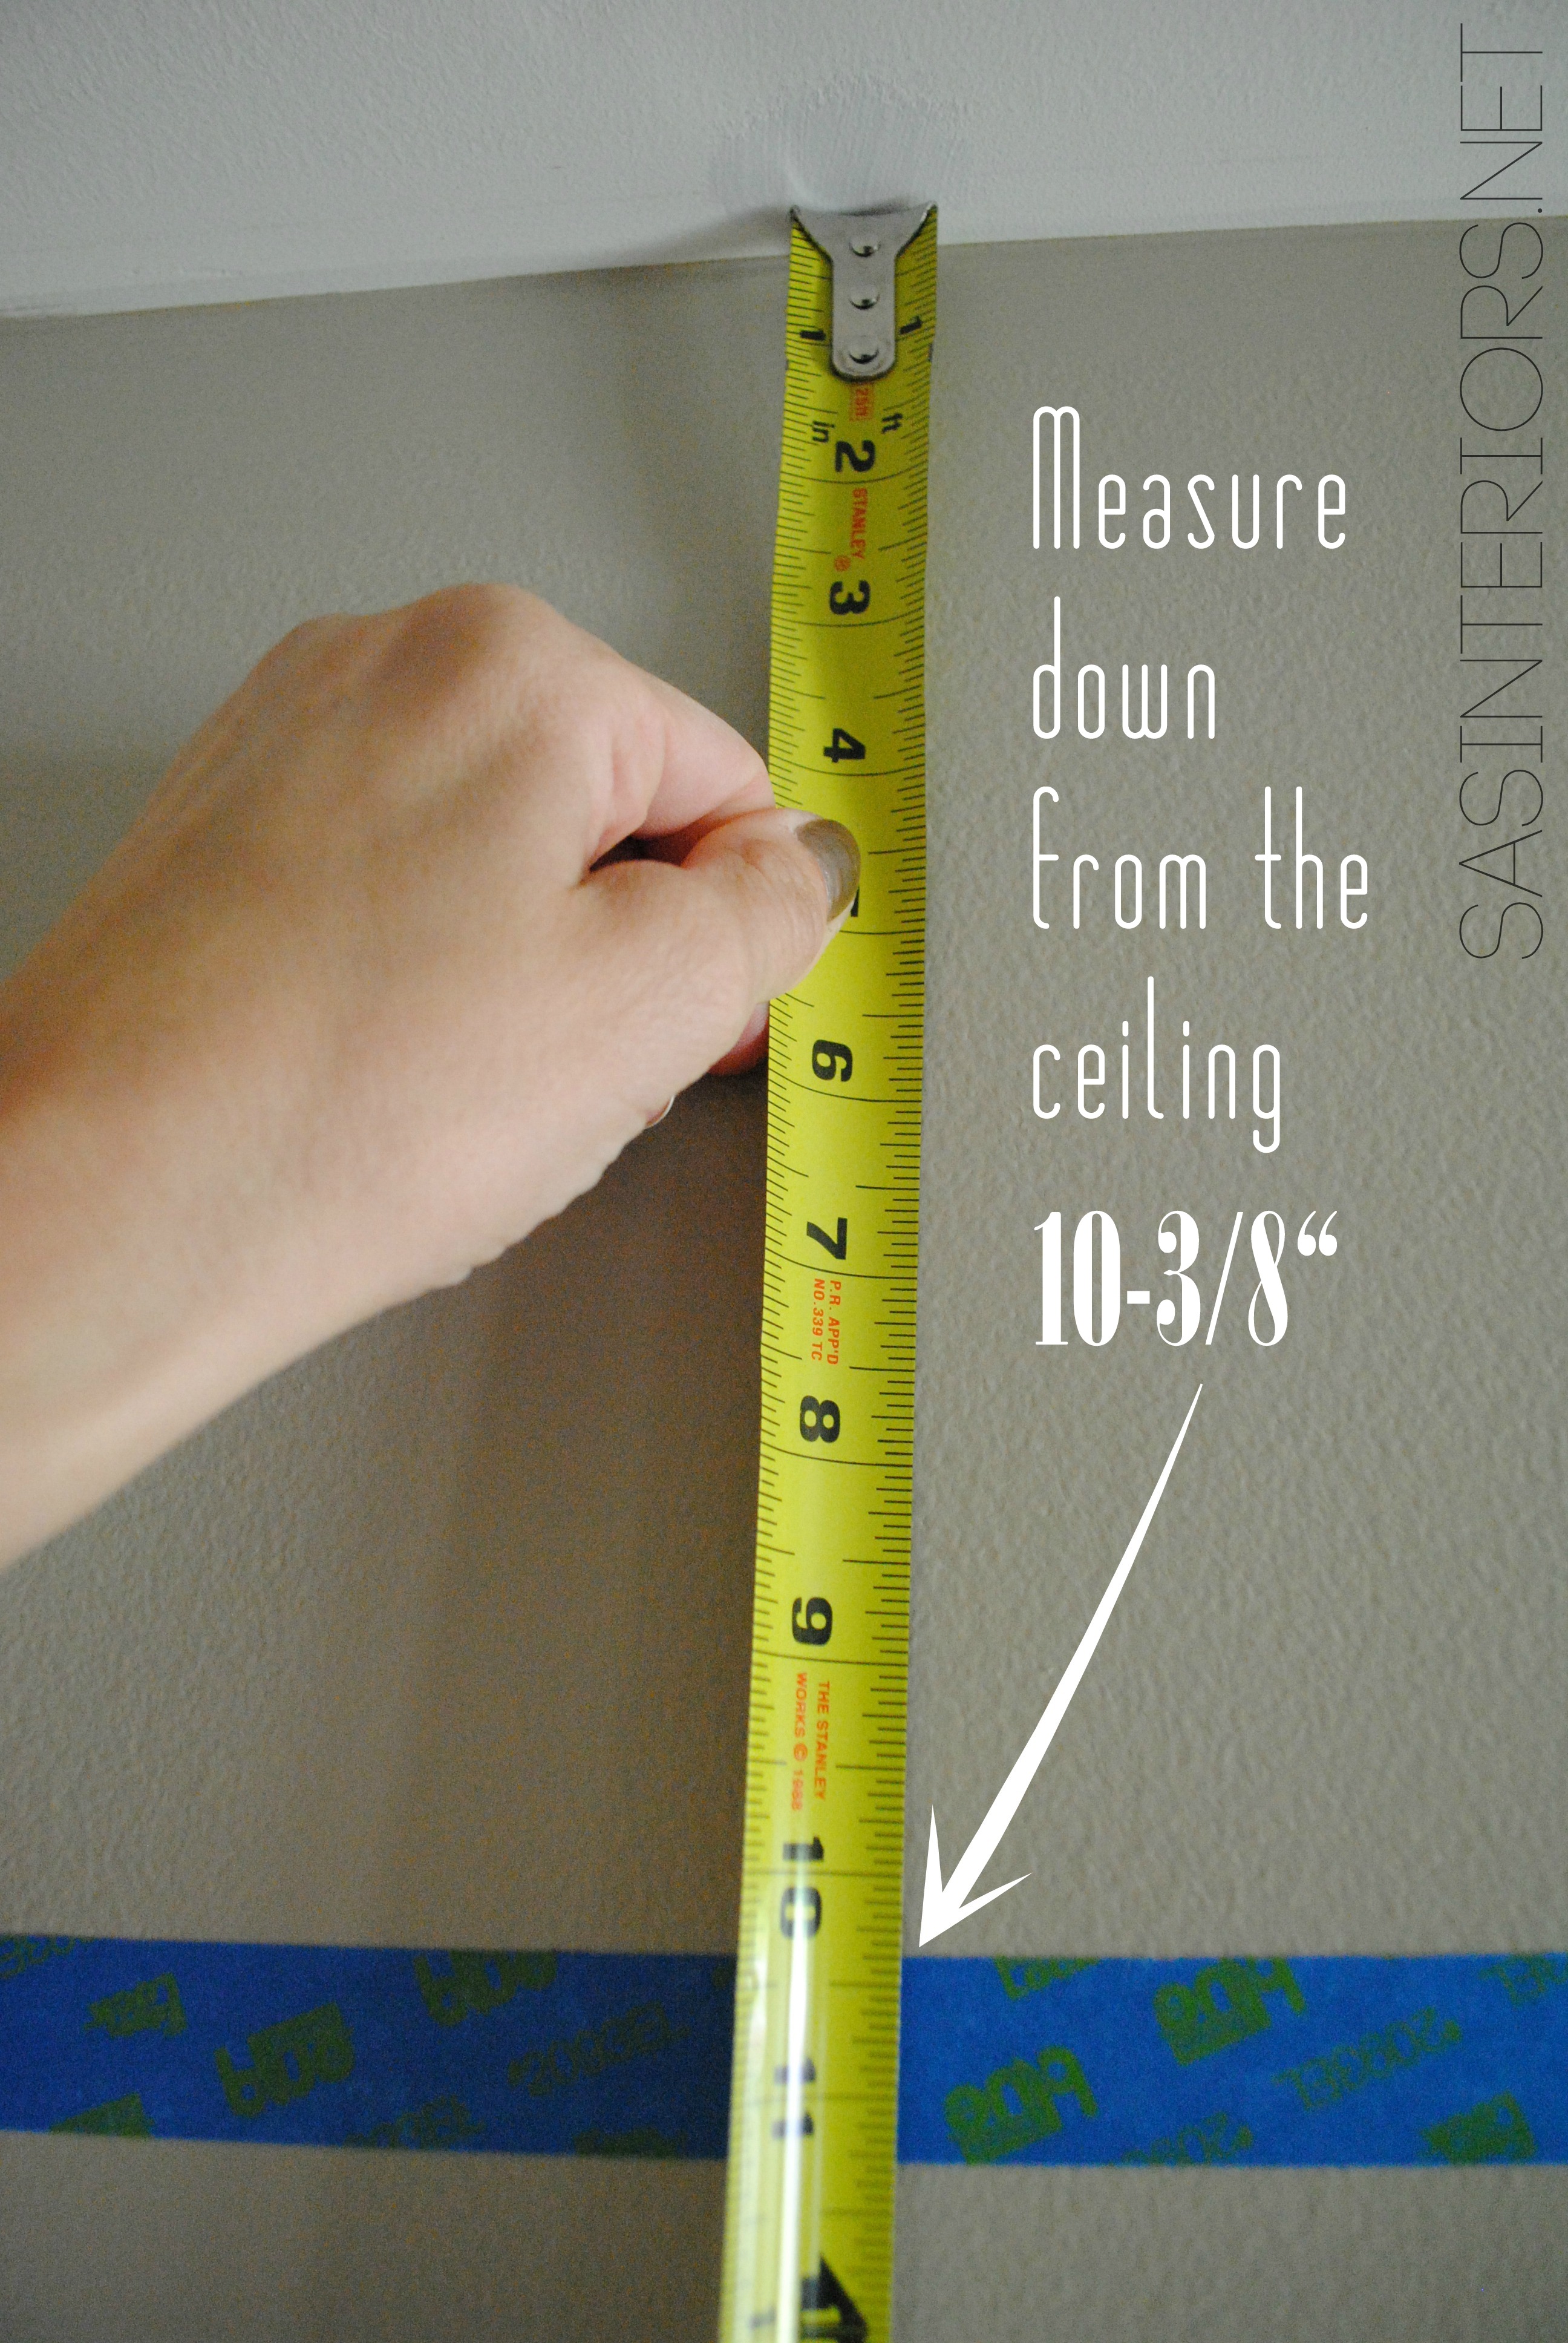


 Sherwin Williams Perfect Greige
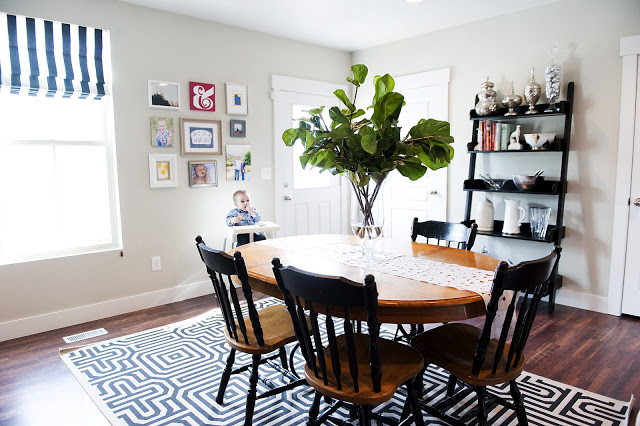 Benjamin Moore Hazy Skies