Fall Wreath with Fabric Flowers
Fall is right around the corner and what better way to celebrate a new season than to don a new wreath on the front door. The front door is often thought of as the “mouth†of a home, the entry point of comfort, happiness, and where great opportunities begin. For me the front door, signifies the “entrance of”, so let’s enter this new season with my new Autumn Wreath.
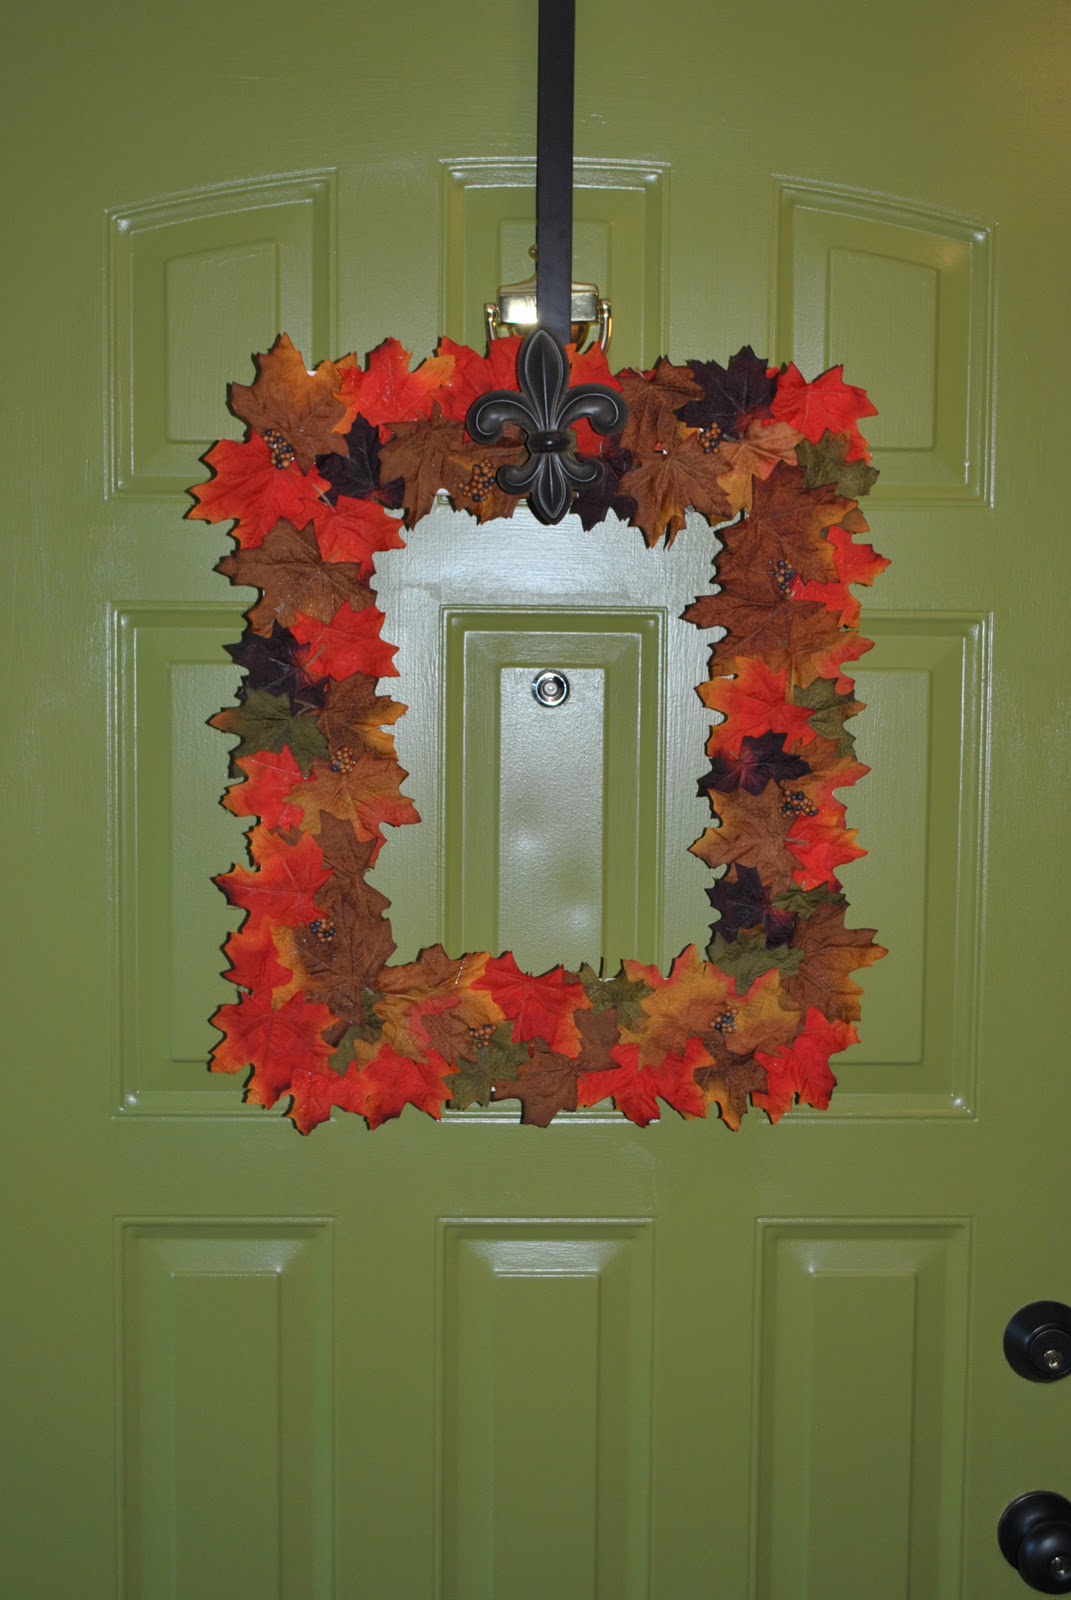
I loved last year’s wreath because it was different and unique, but for a long time, I’ve wanted to jump on the bandwagon and make a burlap round wreath with fabric flowers. I was going to make this style wreath in the Spring, but made another wreath instead. So finally the time came, when that wreath came down and this new colorful one went in it’s place.

1. To start off, I purchased a round straw wreath from AC Moore which cost just under $3. (FYI: I left the plastic cover on)

2. I dismantled my Valentine Burlap Wreath and used the burlap from it, to create this wreath. I was a little tired of that wreath and plan on making something new and different for next V-day. But I still have the felt flowers and plan on using them again somewhere on something!
If you are starting with new burlap, cut 3″ wide strips (the length doesn’t matter). Dab alittle hot glue on the back side of the wreath and wrap the burlap around, creating an overlapping pattern (see picture) . Then again, dab alittle hot glue on the back of the wreath to complete and hold the burlap strip in place.

3. Continue wrapping the burlap around and around and around (don’t get dizzy…), until the entire wreath is covered!
 DONE! Onto creating the fabric flowers…
How-To Make Fabric Flowers
4. Cut 1/2 – 3/4″ strips of fabric. The length of the fabric will depend on how large you want the flower to be. I created varying sized flowers to give an overlap effect – keep on reading to find out what I’m chattin’ about…
 (fuzzy picture sorry 🙂 – I was working on this project kind of late into the evening)
5. Starting from the end of the fabric (which will be the center of your flower), twist and bunch it together, while wrapping it around and around. After about 2 turns, dab alittle hot glue to hold it together.

6. Continue twisting and bunching around and around, and occasionally dab on some hot glue to hold the flower in place.

Continue until you have the perfect sized flower that you want!
7. Once your flower is complete, flip it over and add a backing. You can use any heavy fabric material or felt is good too. I had this heavy twill fabric left over from my Chair Makeover

And you’re done! Make as many fabric flowers as your little heart desires! Use solid colors. Use patterned fabric. Make them different sizes. I’ll warn you, it’s quite addicting! I’ve got a few other thoughts on what I want to make more fabric flowers for (headbands, pins, necklaces, etc. – so many ideas, so little time).

Here’s a little grouping ~ so PUR-TAY!

Onto making the wreath with these pretty little additions!
Ta-Da

Layering the Flowers – I first placed the larger flowers on as a base, and layered the smaller flowers on top. To give a 3-dimensional look, I raised some of the smaller flowers by hot gluing burlap underneath to give them more height.
Here’s a closeup~

And this is how it looks on my apple green colored door~
Any time I show pictures of my front door, I always get the burning question ~ What color is that?
So here’s the info: Valspar Olive Tree WV34010


Welcome, please come and stay awhile. Want to Tour the rest of my home? Visit HERE
 Have you created a beautiful Autumn wreath? Share it with me and I’ll include it in my Wreath Inspiration Roundup!