


Inspiring + Vibrant Craft Room Reveal
It’s been a while since I gave you an update on the mega craft room & office space that I’ve been working on for a local client. The room is 98% complete minus a few wall decor pieces. Aside from that, the space is looking dynamite, so I thought I’d give you a tour.
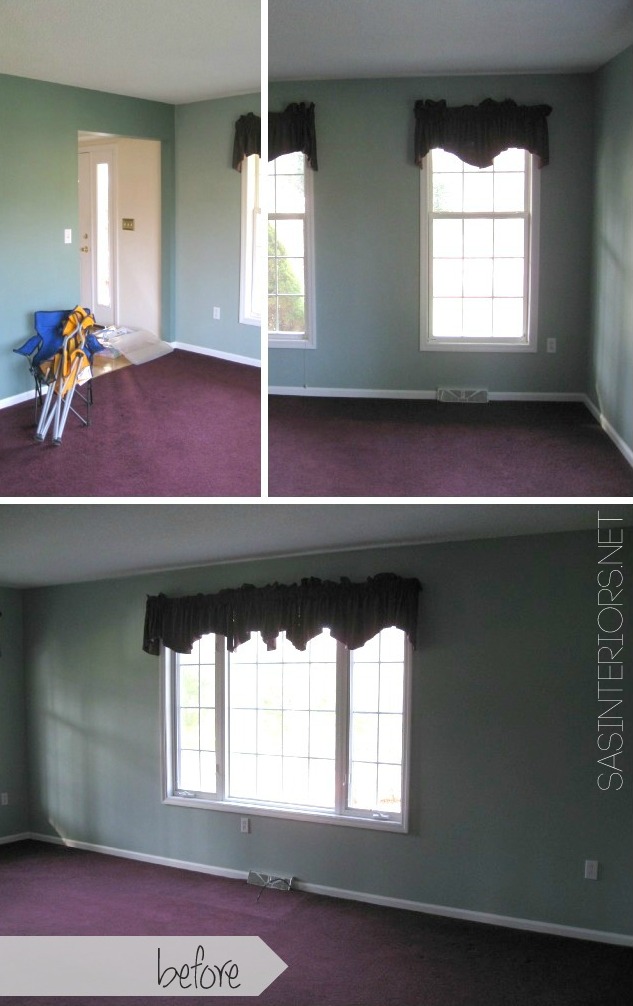
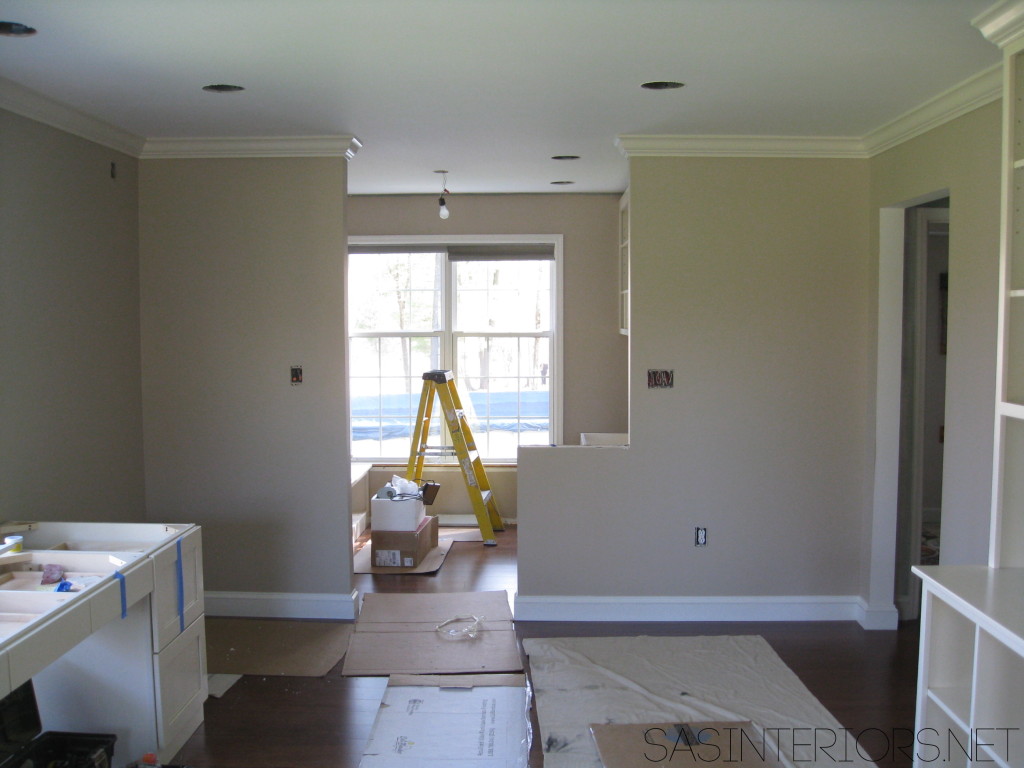
Before
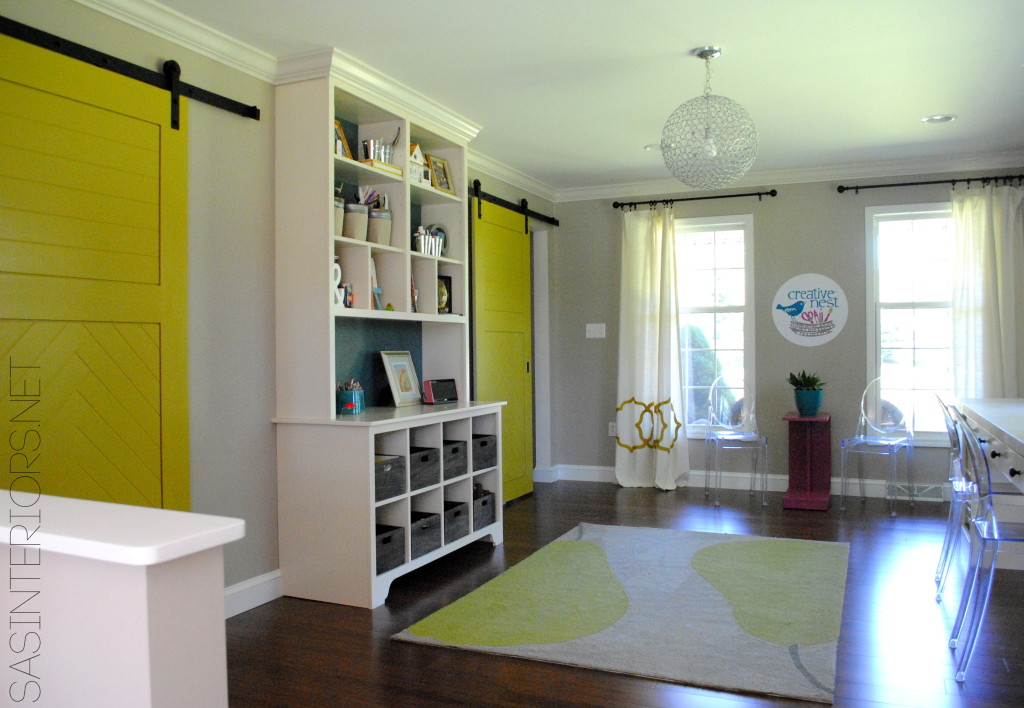
After
The space will be used for the clients new business, Creative Nest, a new informational craft blog that will be launching later this year. I asked my client to share a few thoughts about the space and here is what she shared:
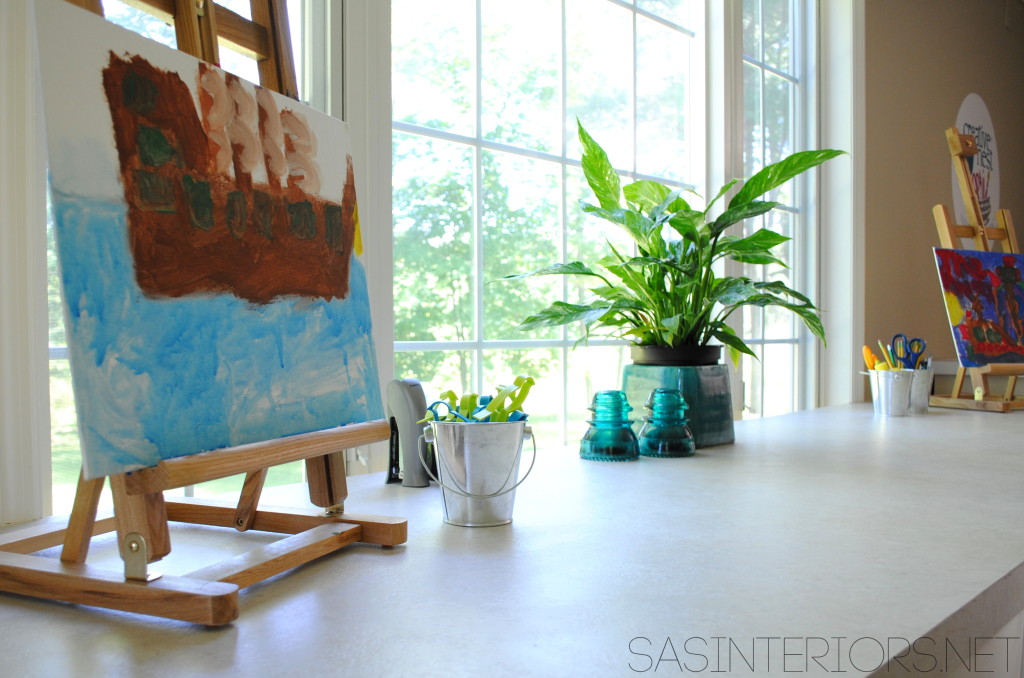
The development of an arts and crafts room in my home has, for years, been one of my goals. I envisioned a very special place where my son could make messy discoveries and be free to make his own place in the world with glitter, glue, and paint.
I had the perfect location: Our living room. In most houses, they’re big, stuffy rooms filled with nice things that kids aren’t allowed to enjoy and not typically a welcoming environment for a child. Instead, I wanted to fill the space with shelves, bins, and drawers, all overflowing with materials. I wanted a room that inspire my son’s imagination, a nurturing environment that would be as attractive to him as TV or video games. And that’s all true in this creative nest we’ve developed.
Fittingly, this art room is also the heart of another Creative Nest, which is the name of an informative craft blog I’m launching later this year. The blog will provide parents with plenty of ideas and craft projects to do with their children, and will feature tips and resources from art teachers and other experts. I hope Creative Nest becomes a resource that makes it easy for parents to share art time with their kids and show them that there’s more to life than precut shapes and step-by-step directions. As all parents know, great art often comes from happy accidents and the full exploration of the imaginative process. Having this wonderful space and this creative nest in which to play and share has been an amazing experience. I am so happy with the results.
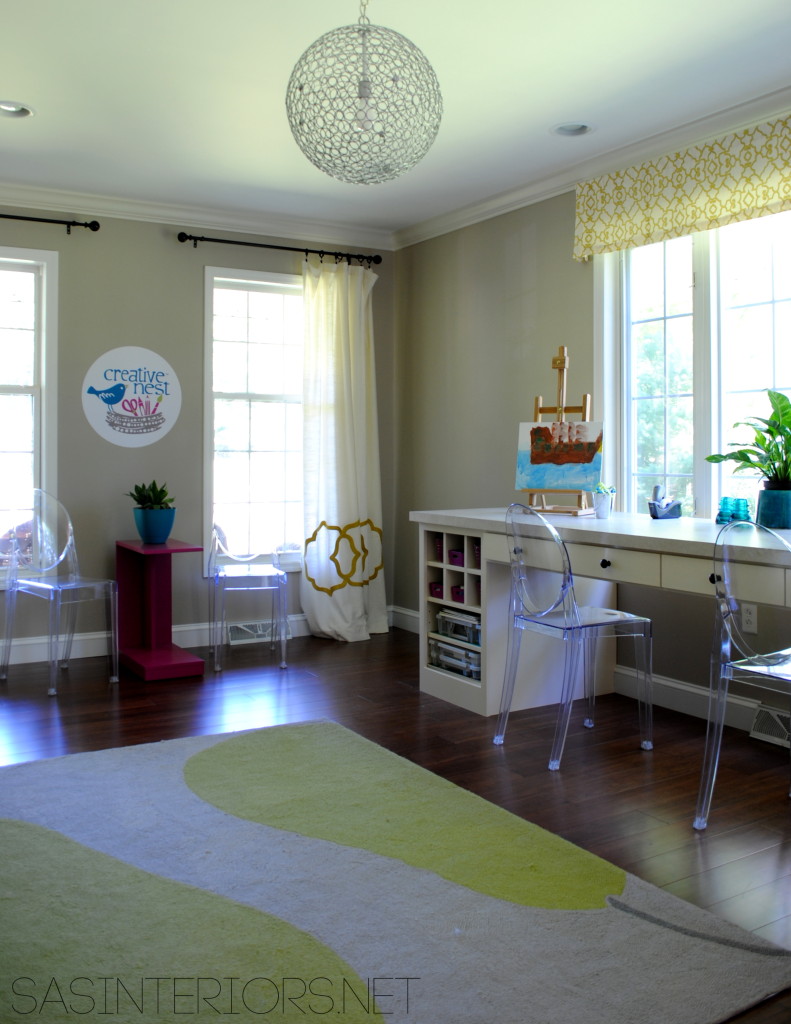
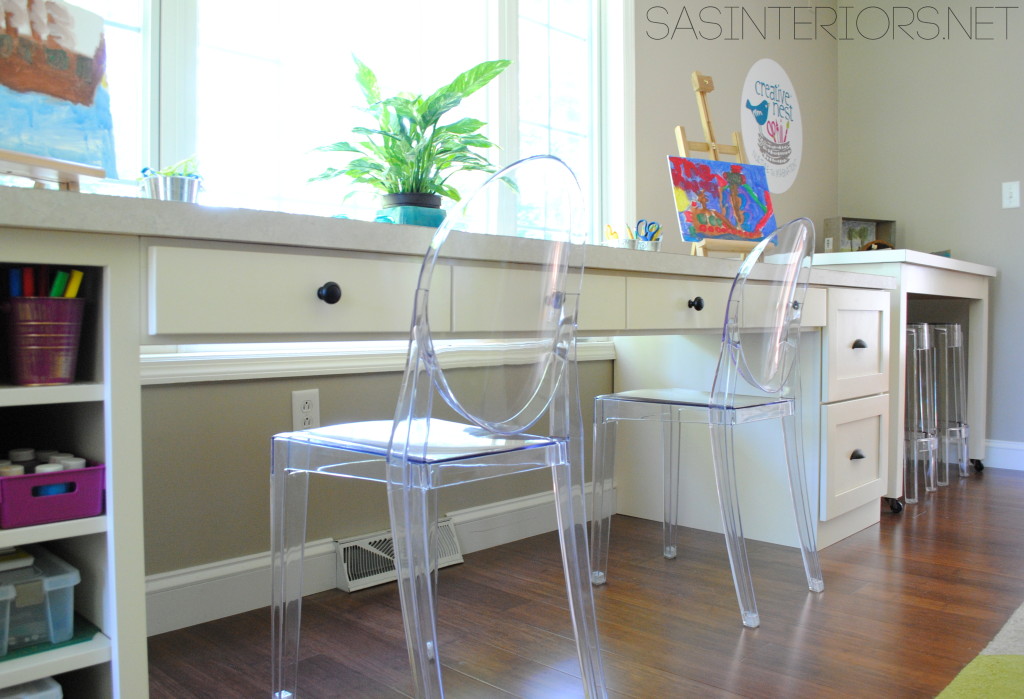
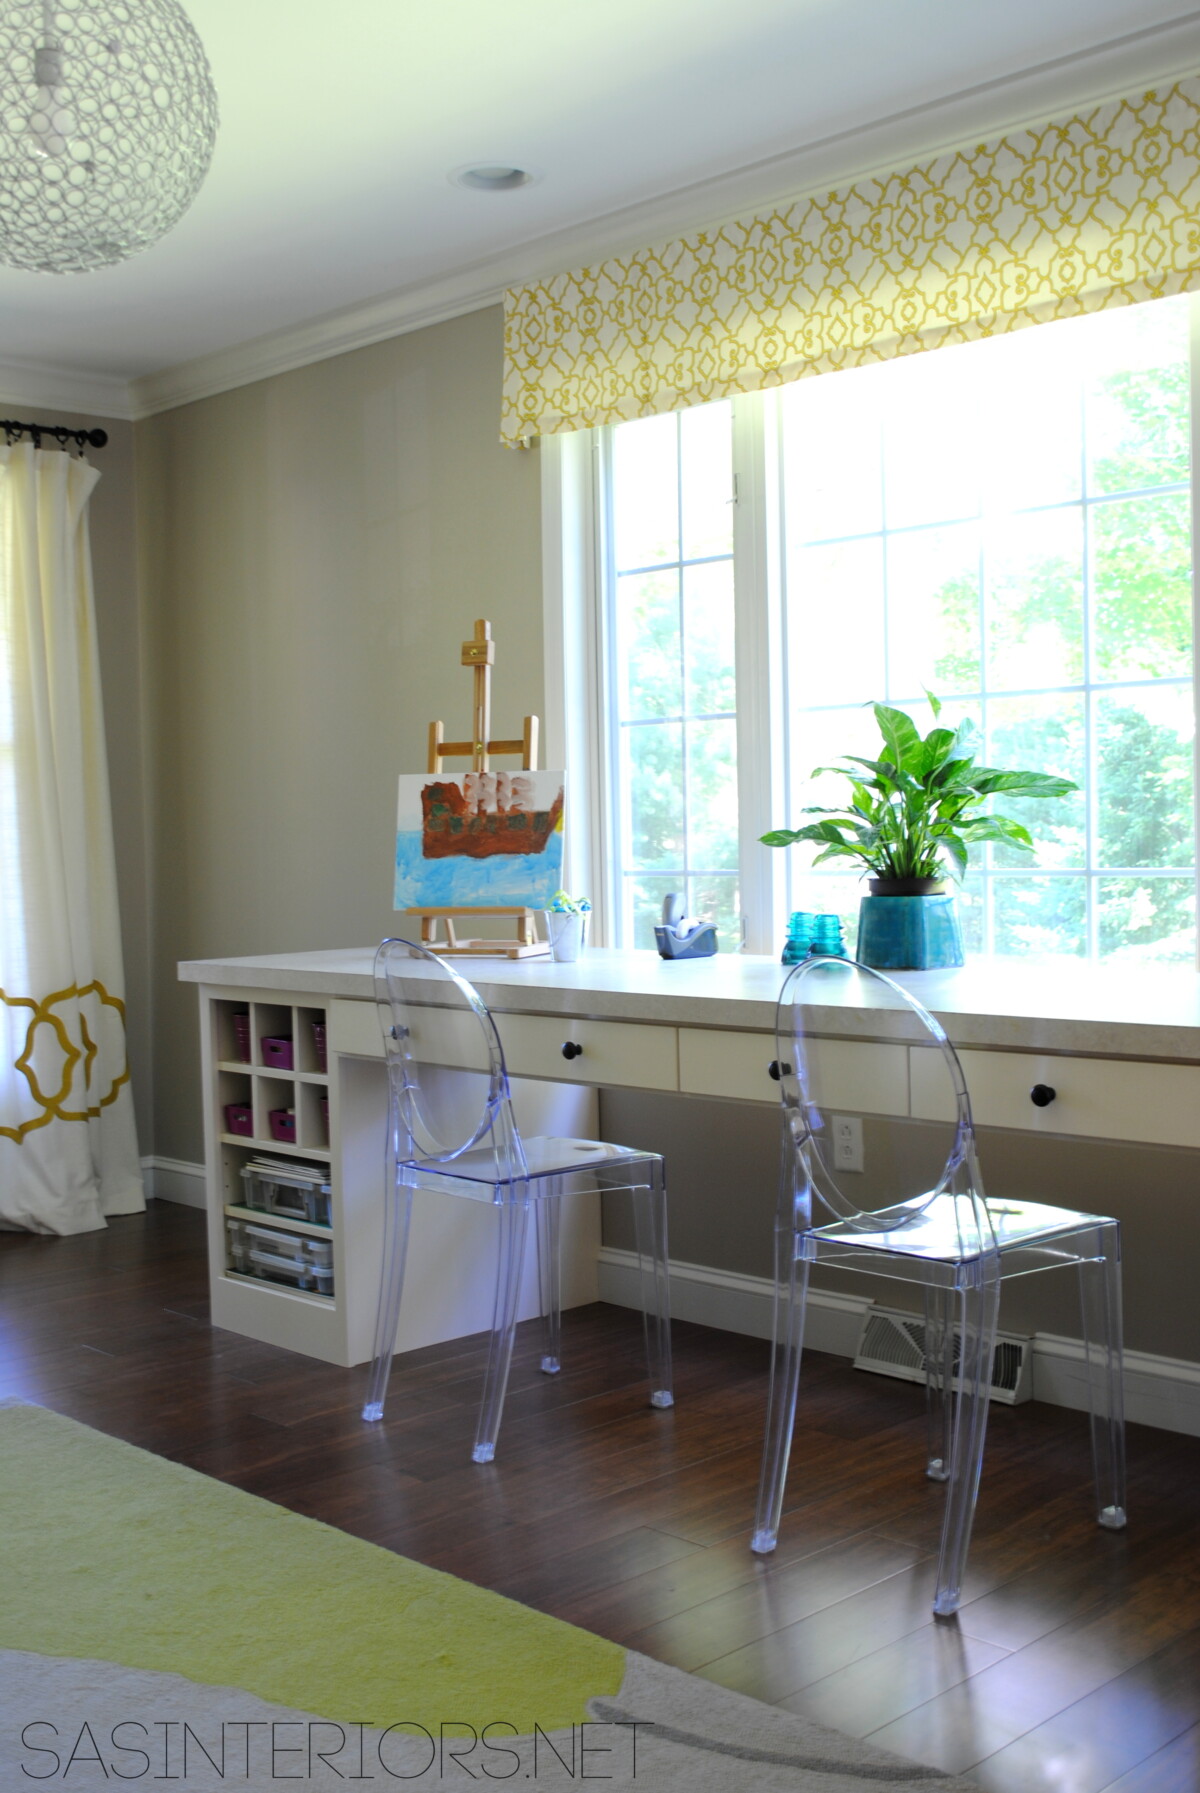
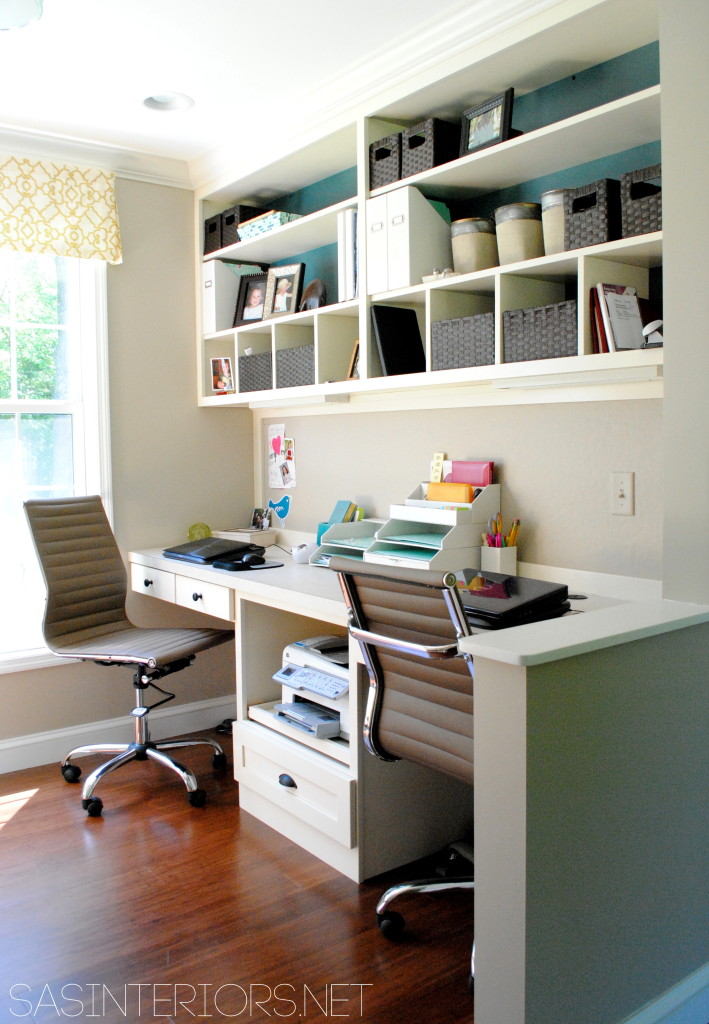
The work large desk gives ample space for creating. At about 5′ long, quite a few artists can work at the same time. The ghost chairs are the perfect seat by allowing the architectural millwork to “speak” and having the ability to easily wipe away mistaken spills.
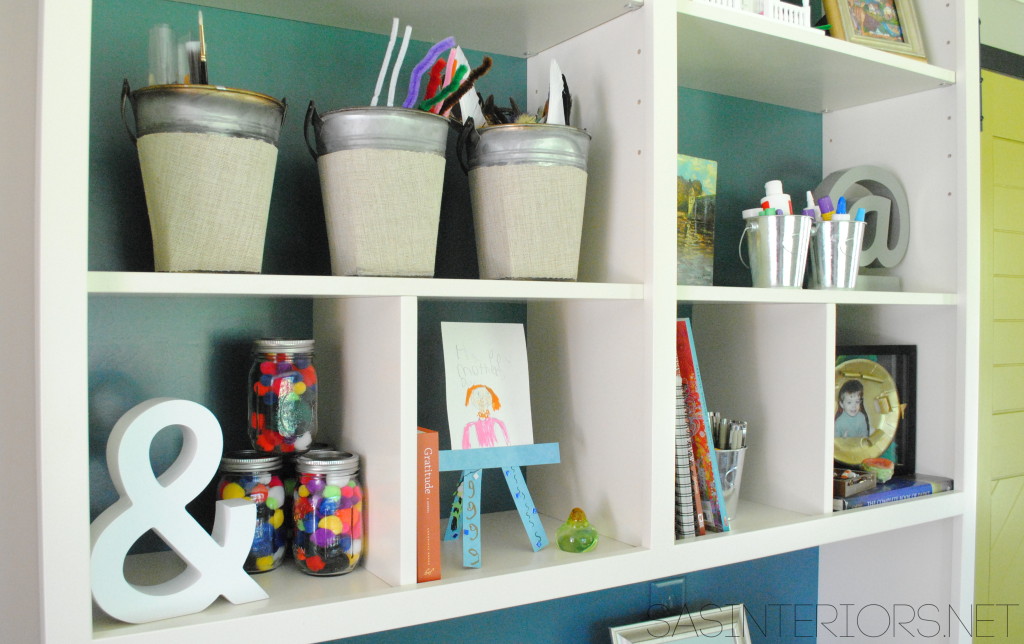
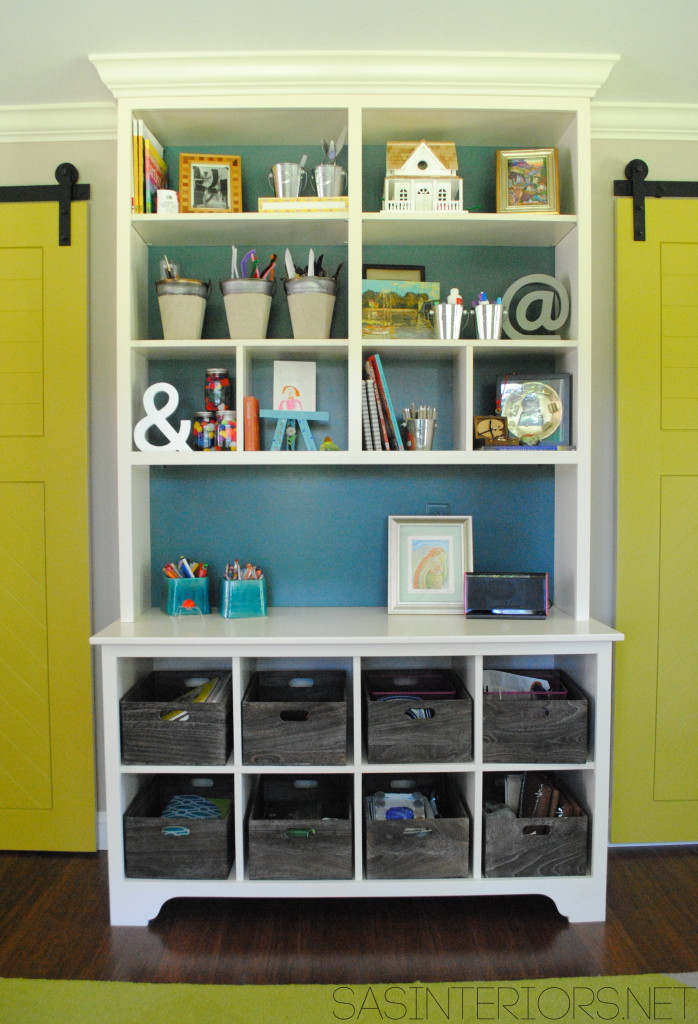
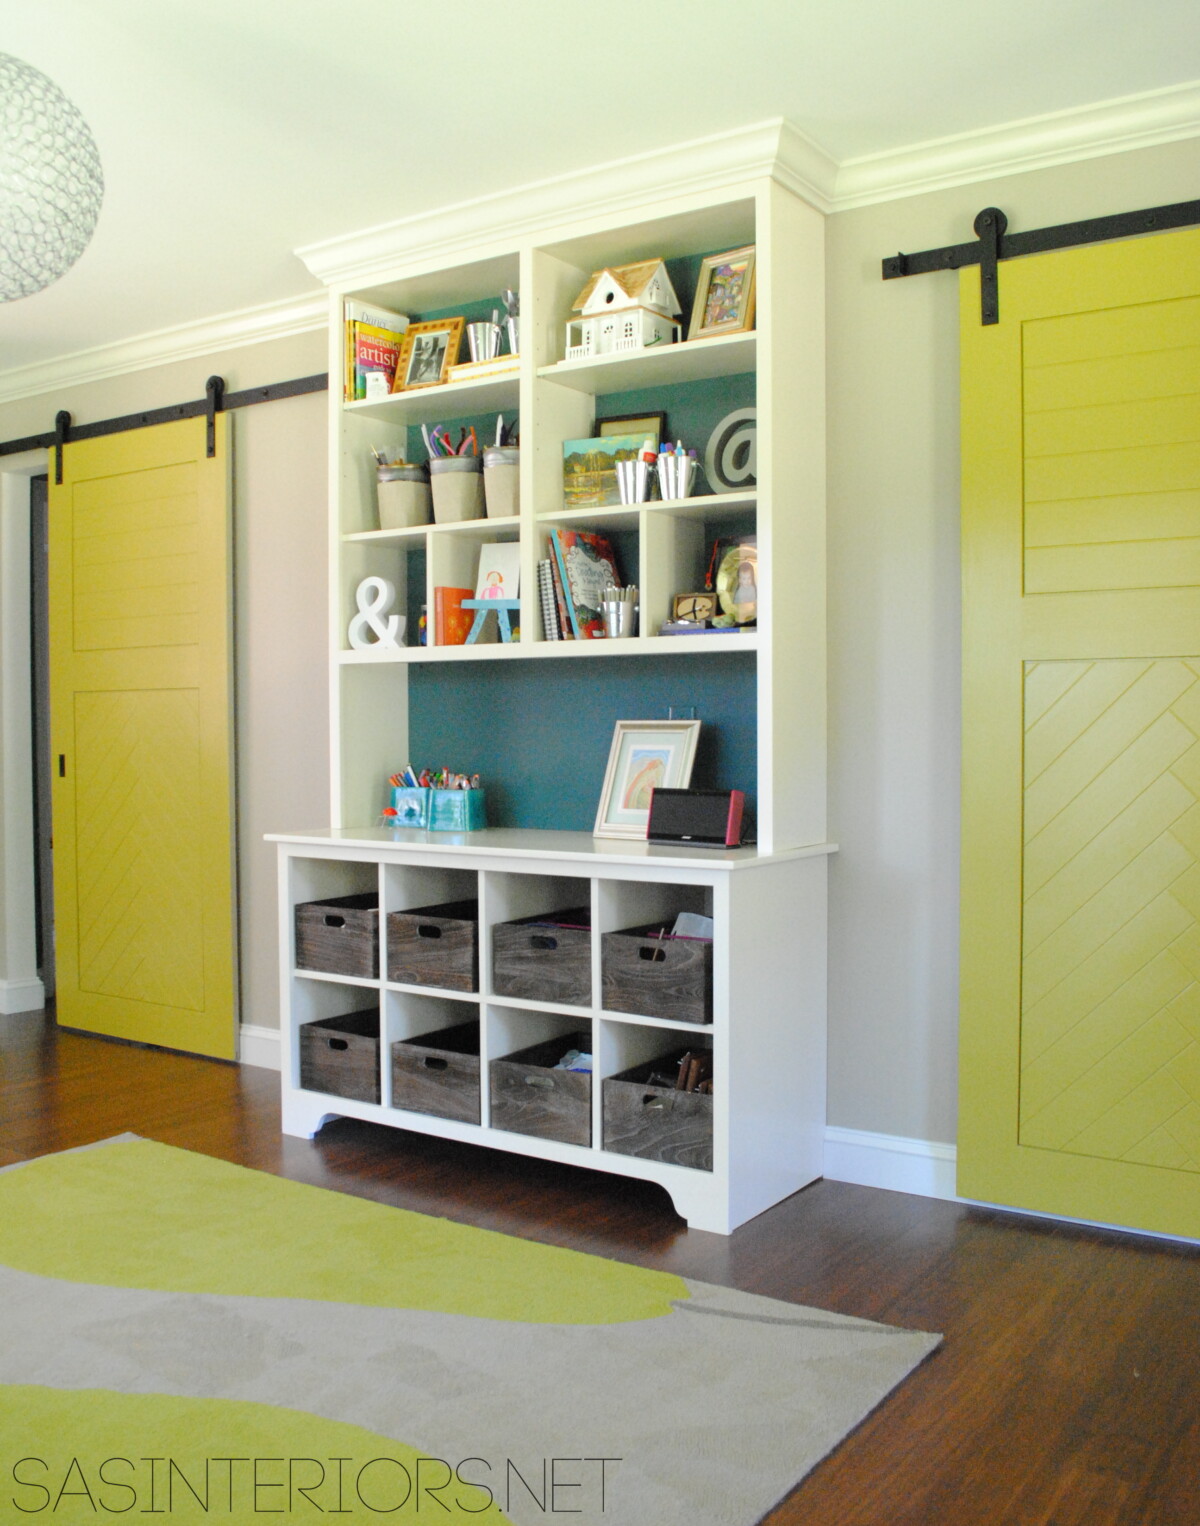
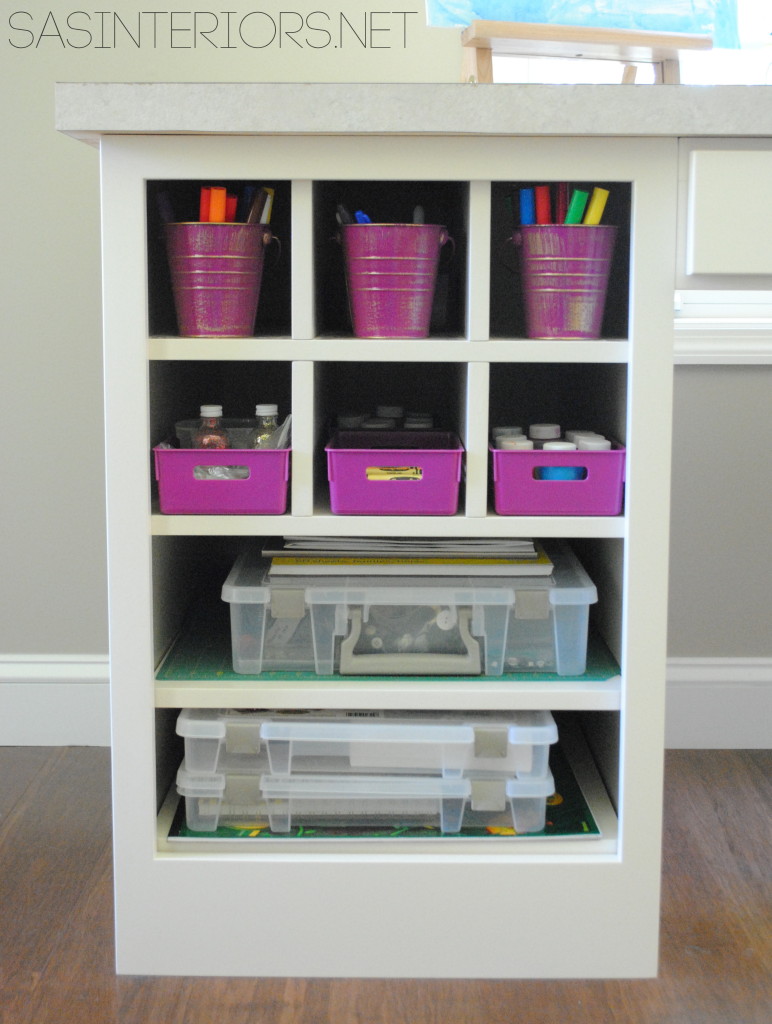
Cubbies are the ideal way to stay organized. There is a place for everything & everything in it’s place. Crayons. Markers. Paints. All put away in their own containers.
The storage zone is the ideal spot all the crafting supplies.
I didn’t take a picture looking from the craft space to the office, but here’s a progress pic during construction…
This is what the desk space looks like now. Beautiful and functional.
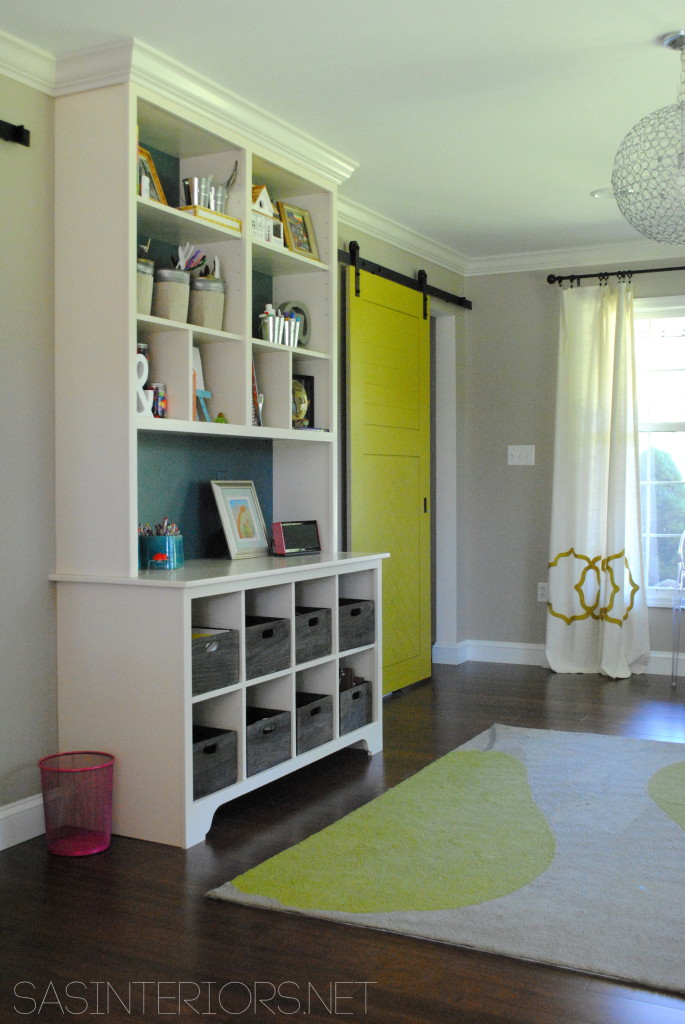
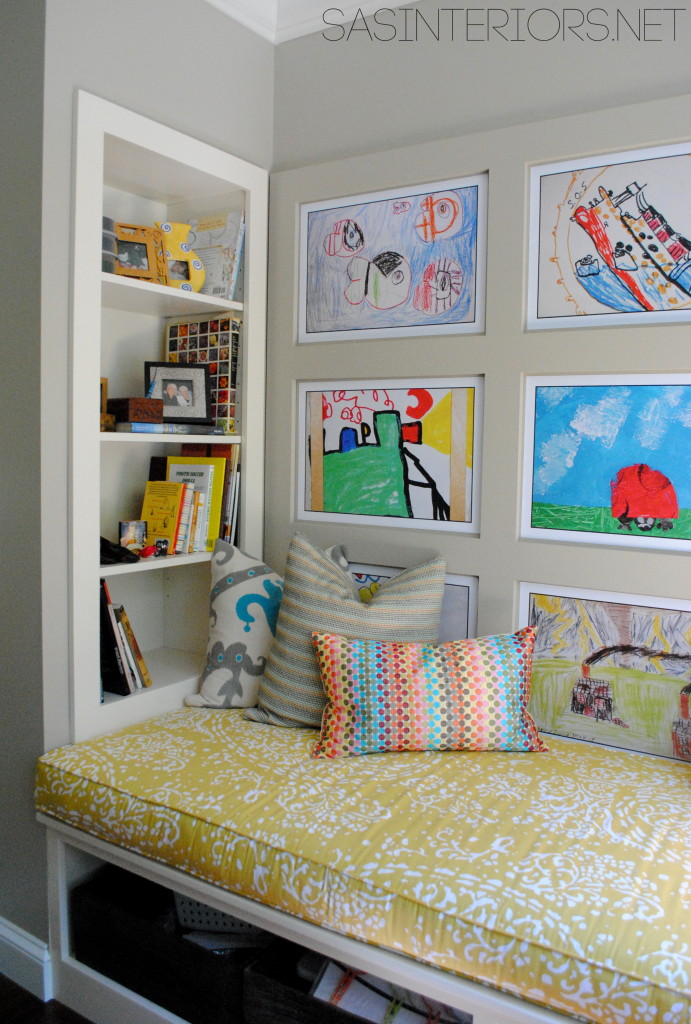
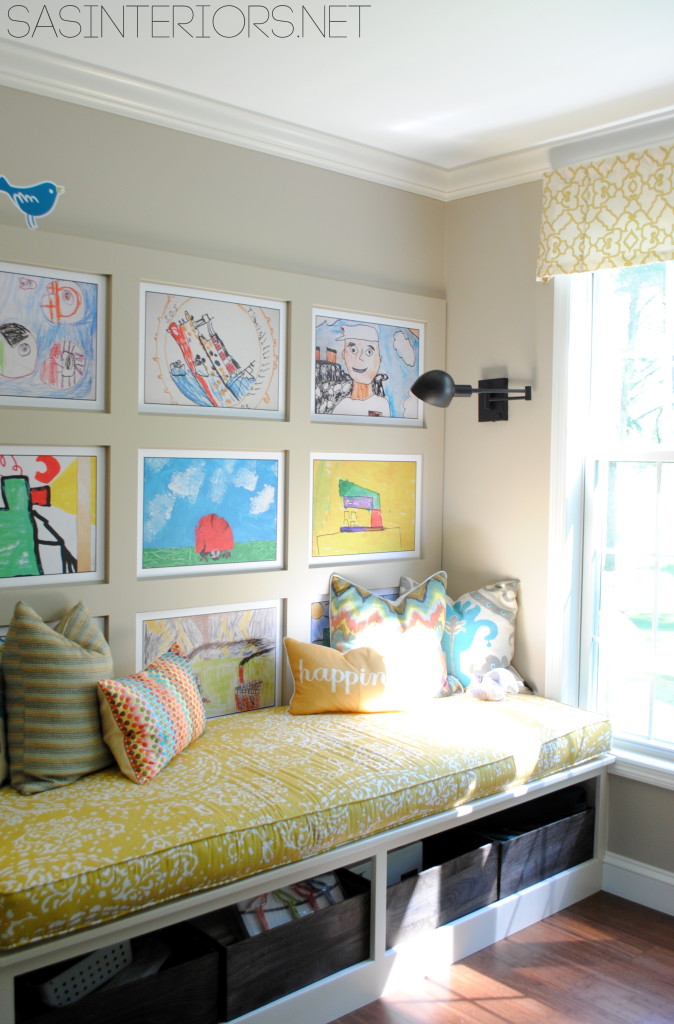
On the other side is a comfy, cozy lounge space with a humungo built-in bench with a lot of storage below and an awesome built-in shelf at the end. The owner’s son is an amazing 6 year old artist and mom loves to display his creations in each of the recessed panels. I’ll tell you, the panels were not created for the pictures, but it just so happened that they were the perfect fit and they bring gorgeous color and meaning to the space.
Refreshing. Energizing. Inspiring. Creative. Fun. All words that, to me, describe this incredible new craft room space.


