Tag: christmas do it yourself

Mod Podge DIY Christmas Ornament

This post is brought to you by Plaid and Blueprint Social. The creation + words shared are 100% my own!

Another Christmas season is upon us…

As the seasonal boxes start to make their way up from the basement, I always like to integrate our festive favorites with new finds + homemade creations.

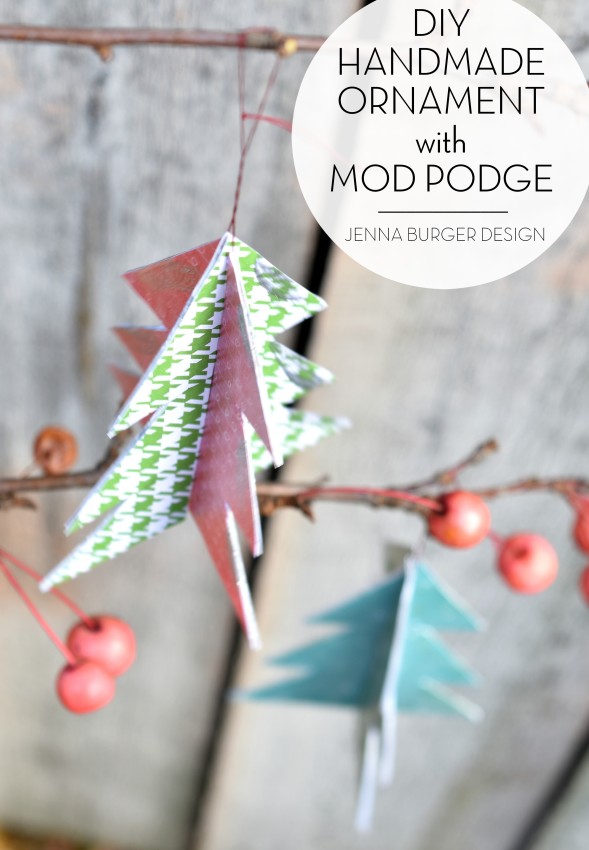
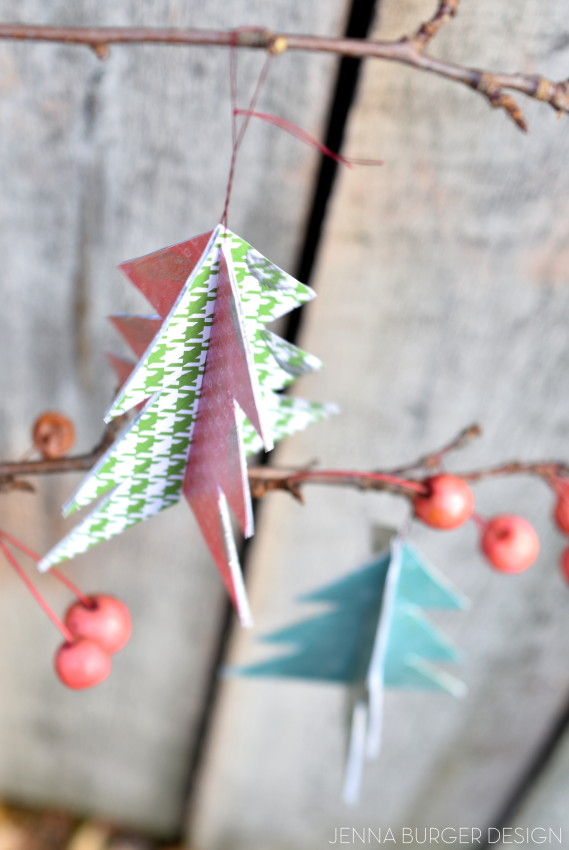
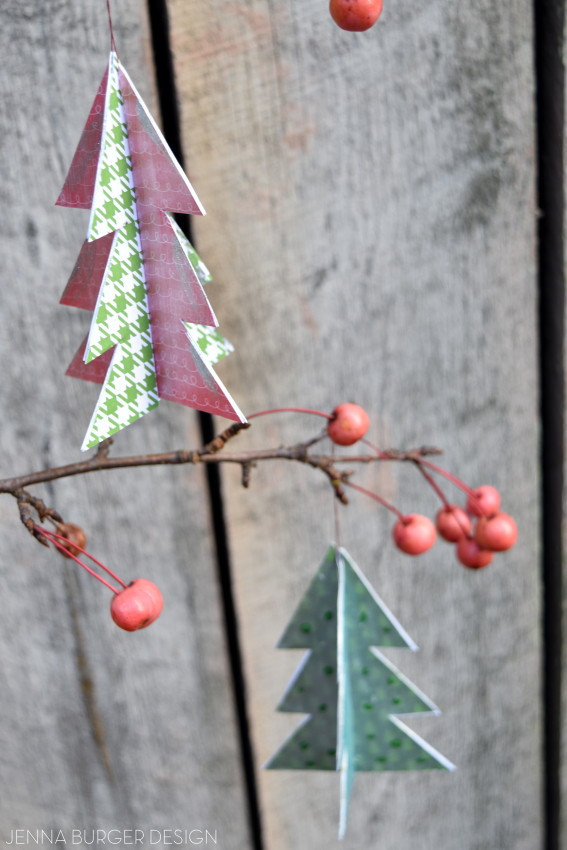
Last week while the kids had a half day of school, we got our craft-on and made these adorable Christmas Tree Ornaments with Mod Podge

DIY: Handmade Tree Ornament using Mod Podge by www.JennaBurger.com

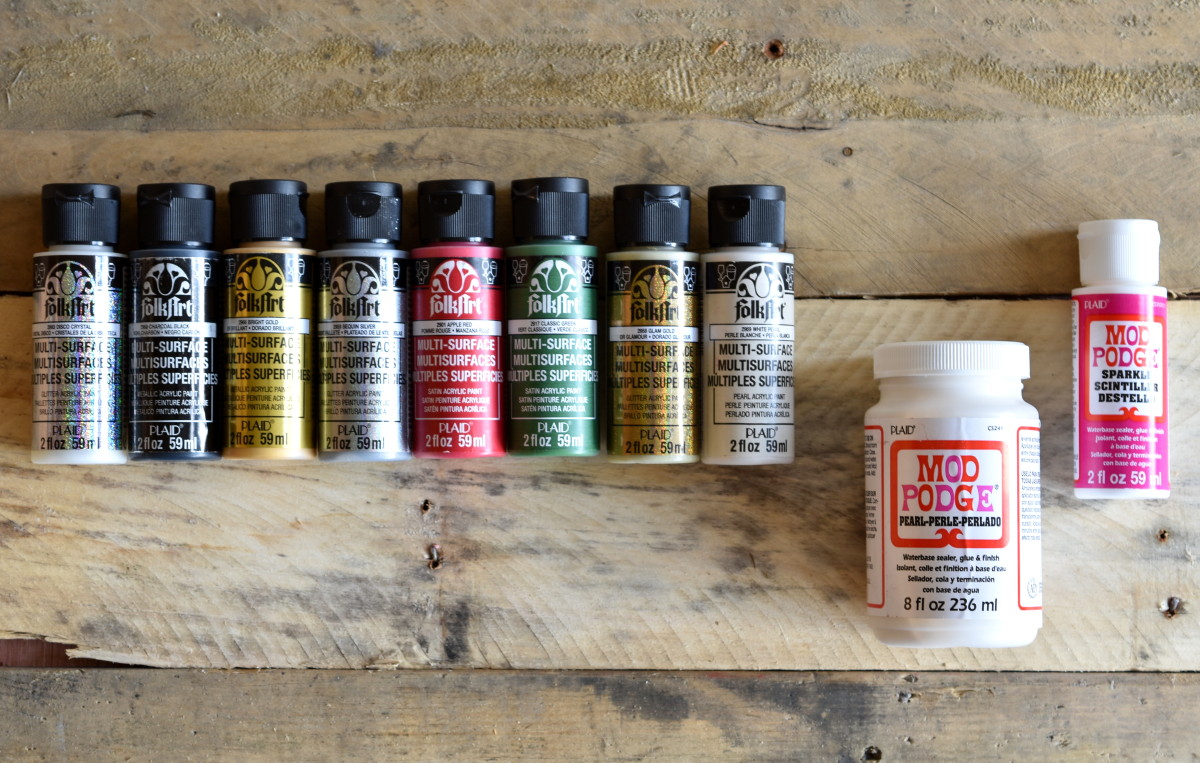
Mod Podge by Plaid has a slew of products for decoupaging, but they just launched a new pearl formula that has an pearlescent sheen and it’s so pretty for creating a ‘mother of pearl’ effect.  When creating my handmade paper trees, the pearl Mod Podge gave the prettiest top coat overlay along with adding some some gold + glitter using FolkArt Multi-Surface paint.

DIY: Handmade Tree Ornament using Mod Podge by www.JennaBurger.com

MATERIALS

> Mod Podge (pearl)
> FolkArt paints
> Cereal box (or thin cardboard)
> Scrap paper – holiday theme
> Scissors
> Needle + Thread

HANDMADE ORNAMENT

This project was real easy + enjoyable to make.  It took about a half hour and I was able to get the kids involved too.

1

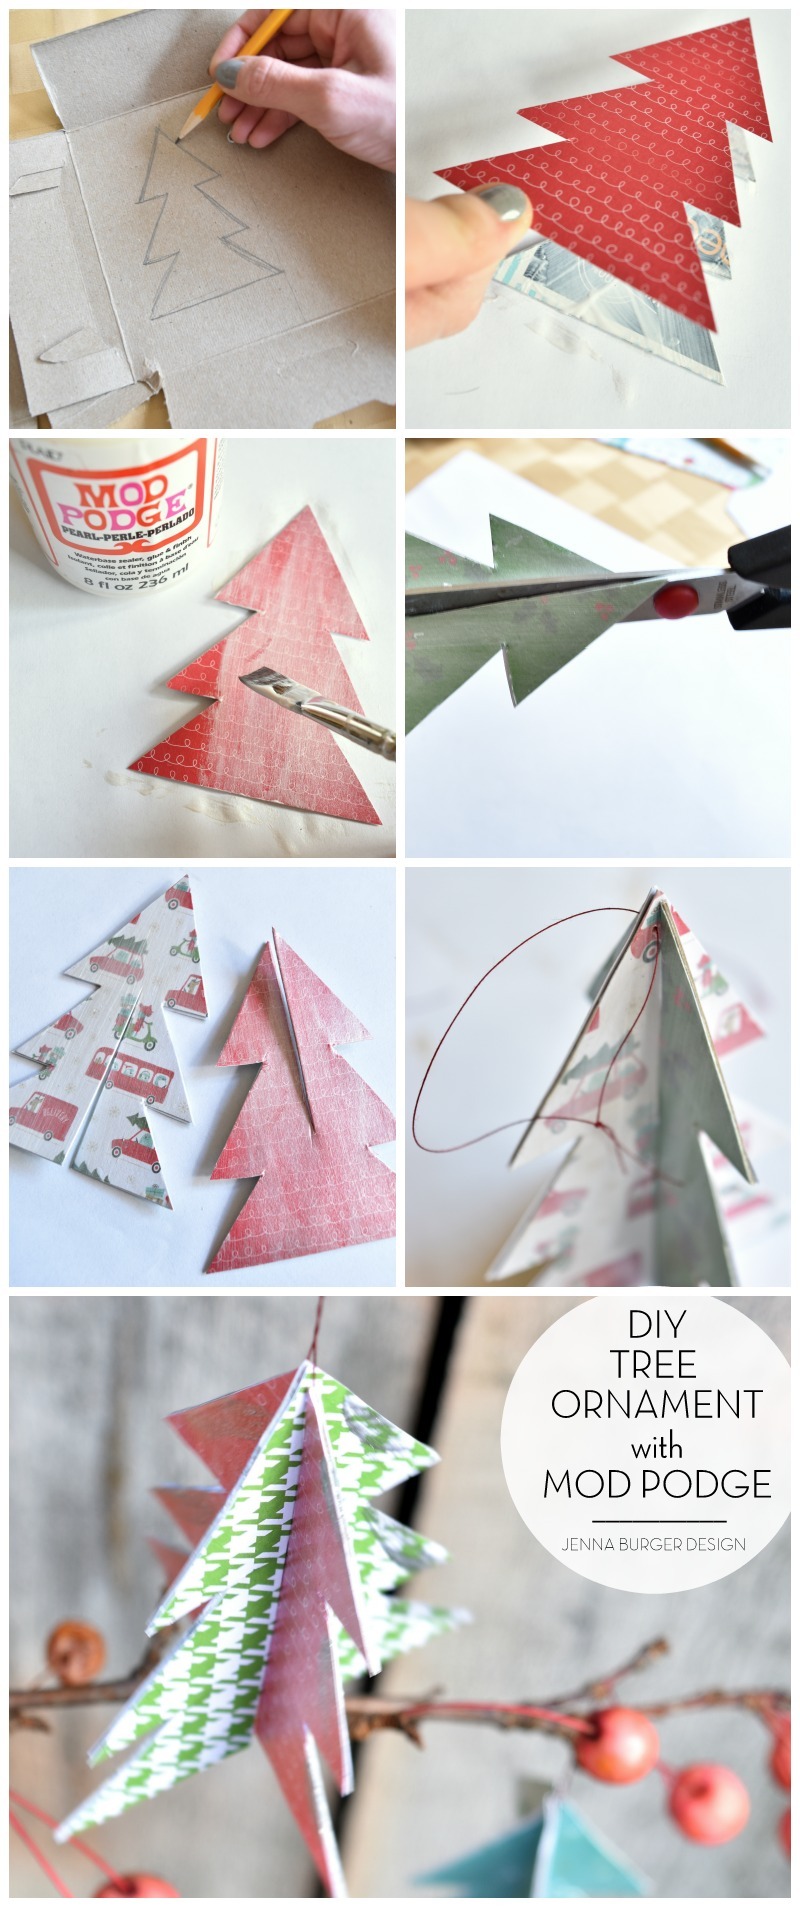
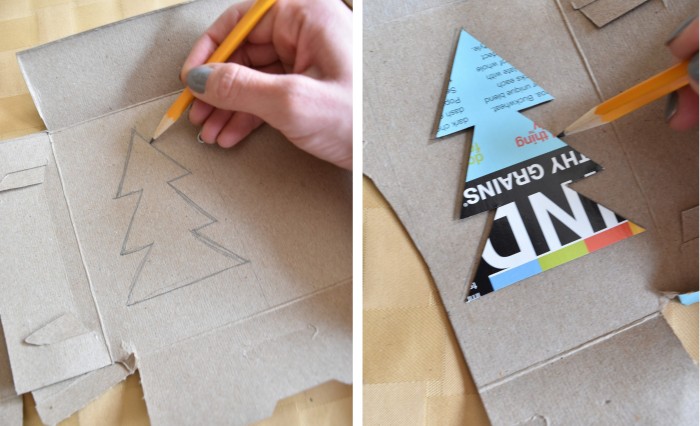
Using the inside of a cereal bar box, I started off this project by free-hand sketching a christmas tree about 3″ tall.

I cut it out and used it as a template for the other trees.

DIY: Handmade Tree Ornament using Mod Podge by www.JennaBurger.com

2

Once all the trees were cut,I I used the template and traced the tree outline of the holiday themes scrapbook paper.

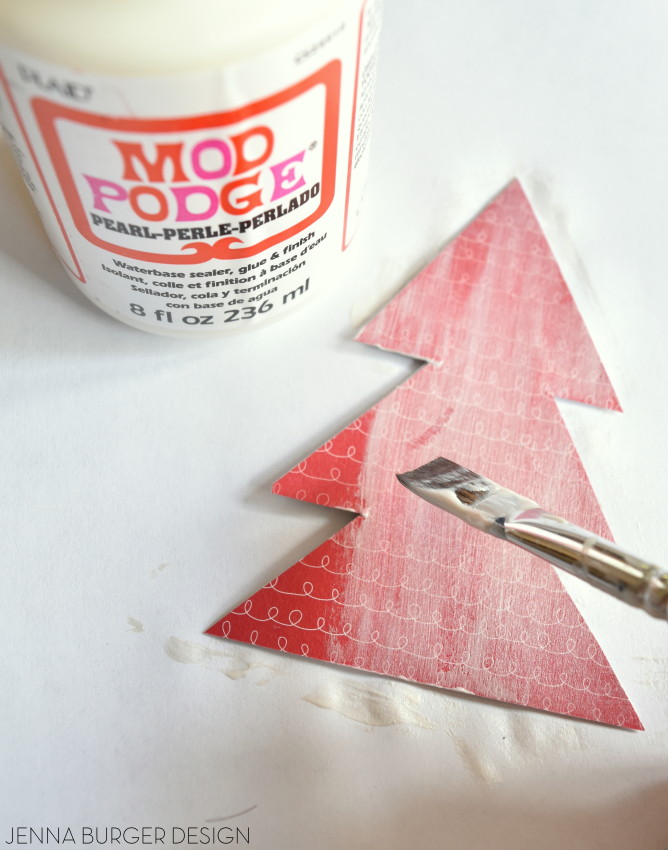
Then it was time to have fun with the Mod Podge…

I applied a thin layer of Mod Podge to the cardboard layer and layed the cut scrapbook paper in place.

DIY: Handmade Tree Ornament using Mod Podge by www.JennaBurger.com

3

Then I applied another thin layer of Mod Podge over the pretty paper.

DIY: Handmade Tree Ornament using Mod Podge by www.JennaBurger.com

4

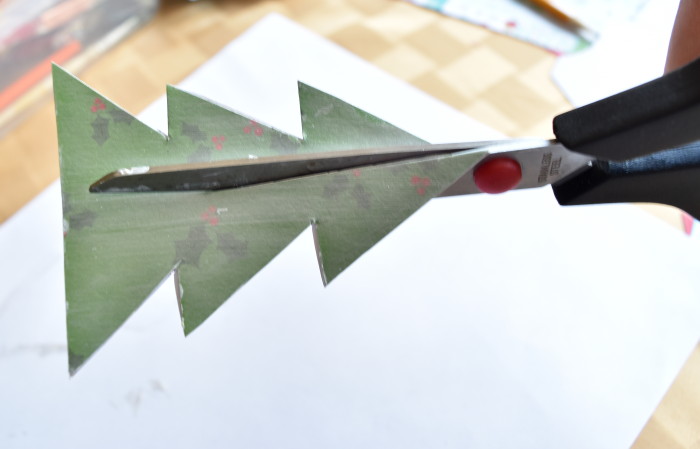
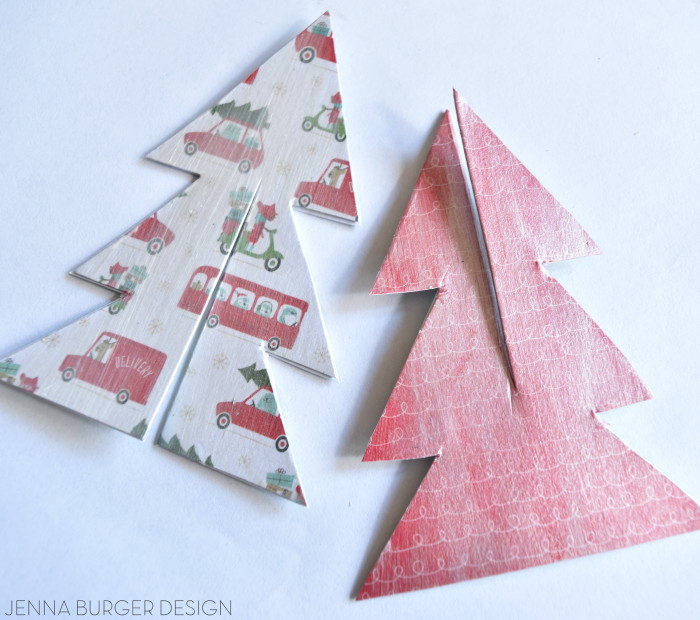
Once all the trees were dry, it was time to assemble them.  To do that, they would need to fit in to each other.

Using scissors, I cut a slit half way down the center of 2 trees – one top down, the other trunk up…

DIY: Handmade Tree Ornament using Mod Podge by www.JennaBurger.com

DIY: Handmade Tree Ornament using Mod Podge by www.JennaBurger.com

5

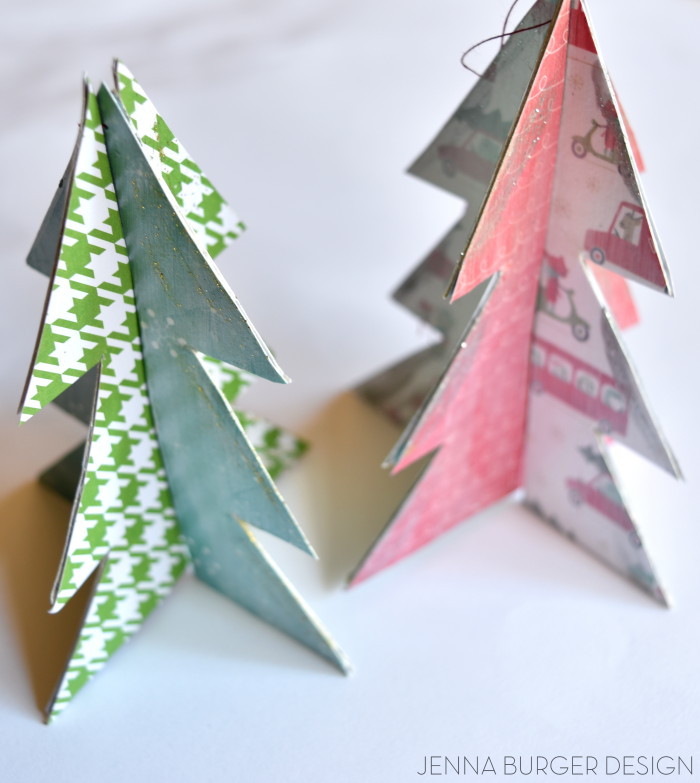
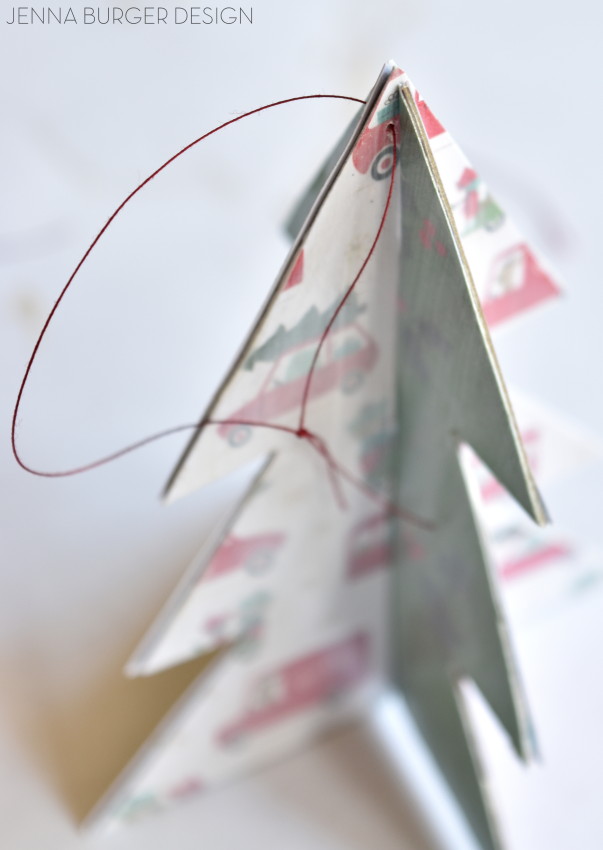
Assembly time… fit them together to make a three-dimensional tree.

This is when I jazzed them up using the FolkArt paints.  I added a little gold + glitter…

DIY: Handmade Tree Ornament using Mod Podge by www.JennaBurger.com

To hang, I used a needle to thread a thin string through the top of the tree.

DIY: Handmade Tree Ornament using Mod Podge by www.JennaBurger.com

The simplest + prettiest handmade ornament for the tree…

DIY: Handmade Tree Ornament using Mod Podge by www.JennaBurger.com

DIY: Handmade Tree Ornament using Mod Podge by www.JennaBurger.comRECAP

or to pin for later…

DIY: Handmade Tree Ornament using Mod Podge by www.JennaBurger.comCheck out more products + DIY creations by Plaid on Pinterest, Facebook, and Instagram!

I wish you a wonderful season of decorating + Happy Holidays!

Everything CHRISTMAS {all posts in one place}

Another Holiday season is upon us!
I didn’t want to bombard you with Christmas posts before celebrating Thanksgiving, but I couldn’t hold off anymore.  Since Thanksgiving is tomorrow, I thought some of you would be starting the holiday decorating over the long weekend and could use some inspiration.

To make it easier and be inspired by all the Christmas creations that I’ve made over the 6+ years that I’ve been blogging, I am putting this post together with EVERYTHING CHRISTMAS.  All the posts I’ve ever shared pertaining to Christmas will be in one spot.  How great + easy?!

We’ll start with the home tours…

Christmas Home Tour - JENNA BURGER DESIGN

Christmas Home Tour 2015

Christmas Home Tour of Jenna Burger, one of the homes featured on the Jennifer Rizzo 2014 Holiday Housewalk

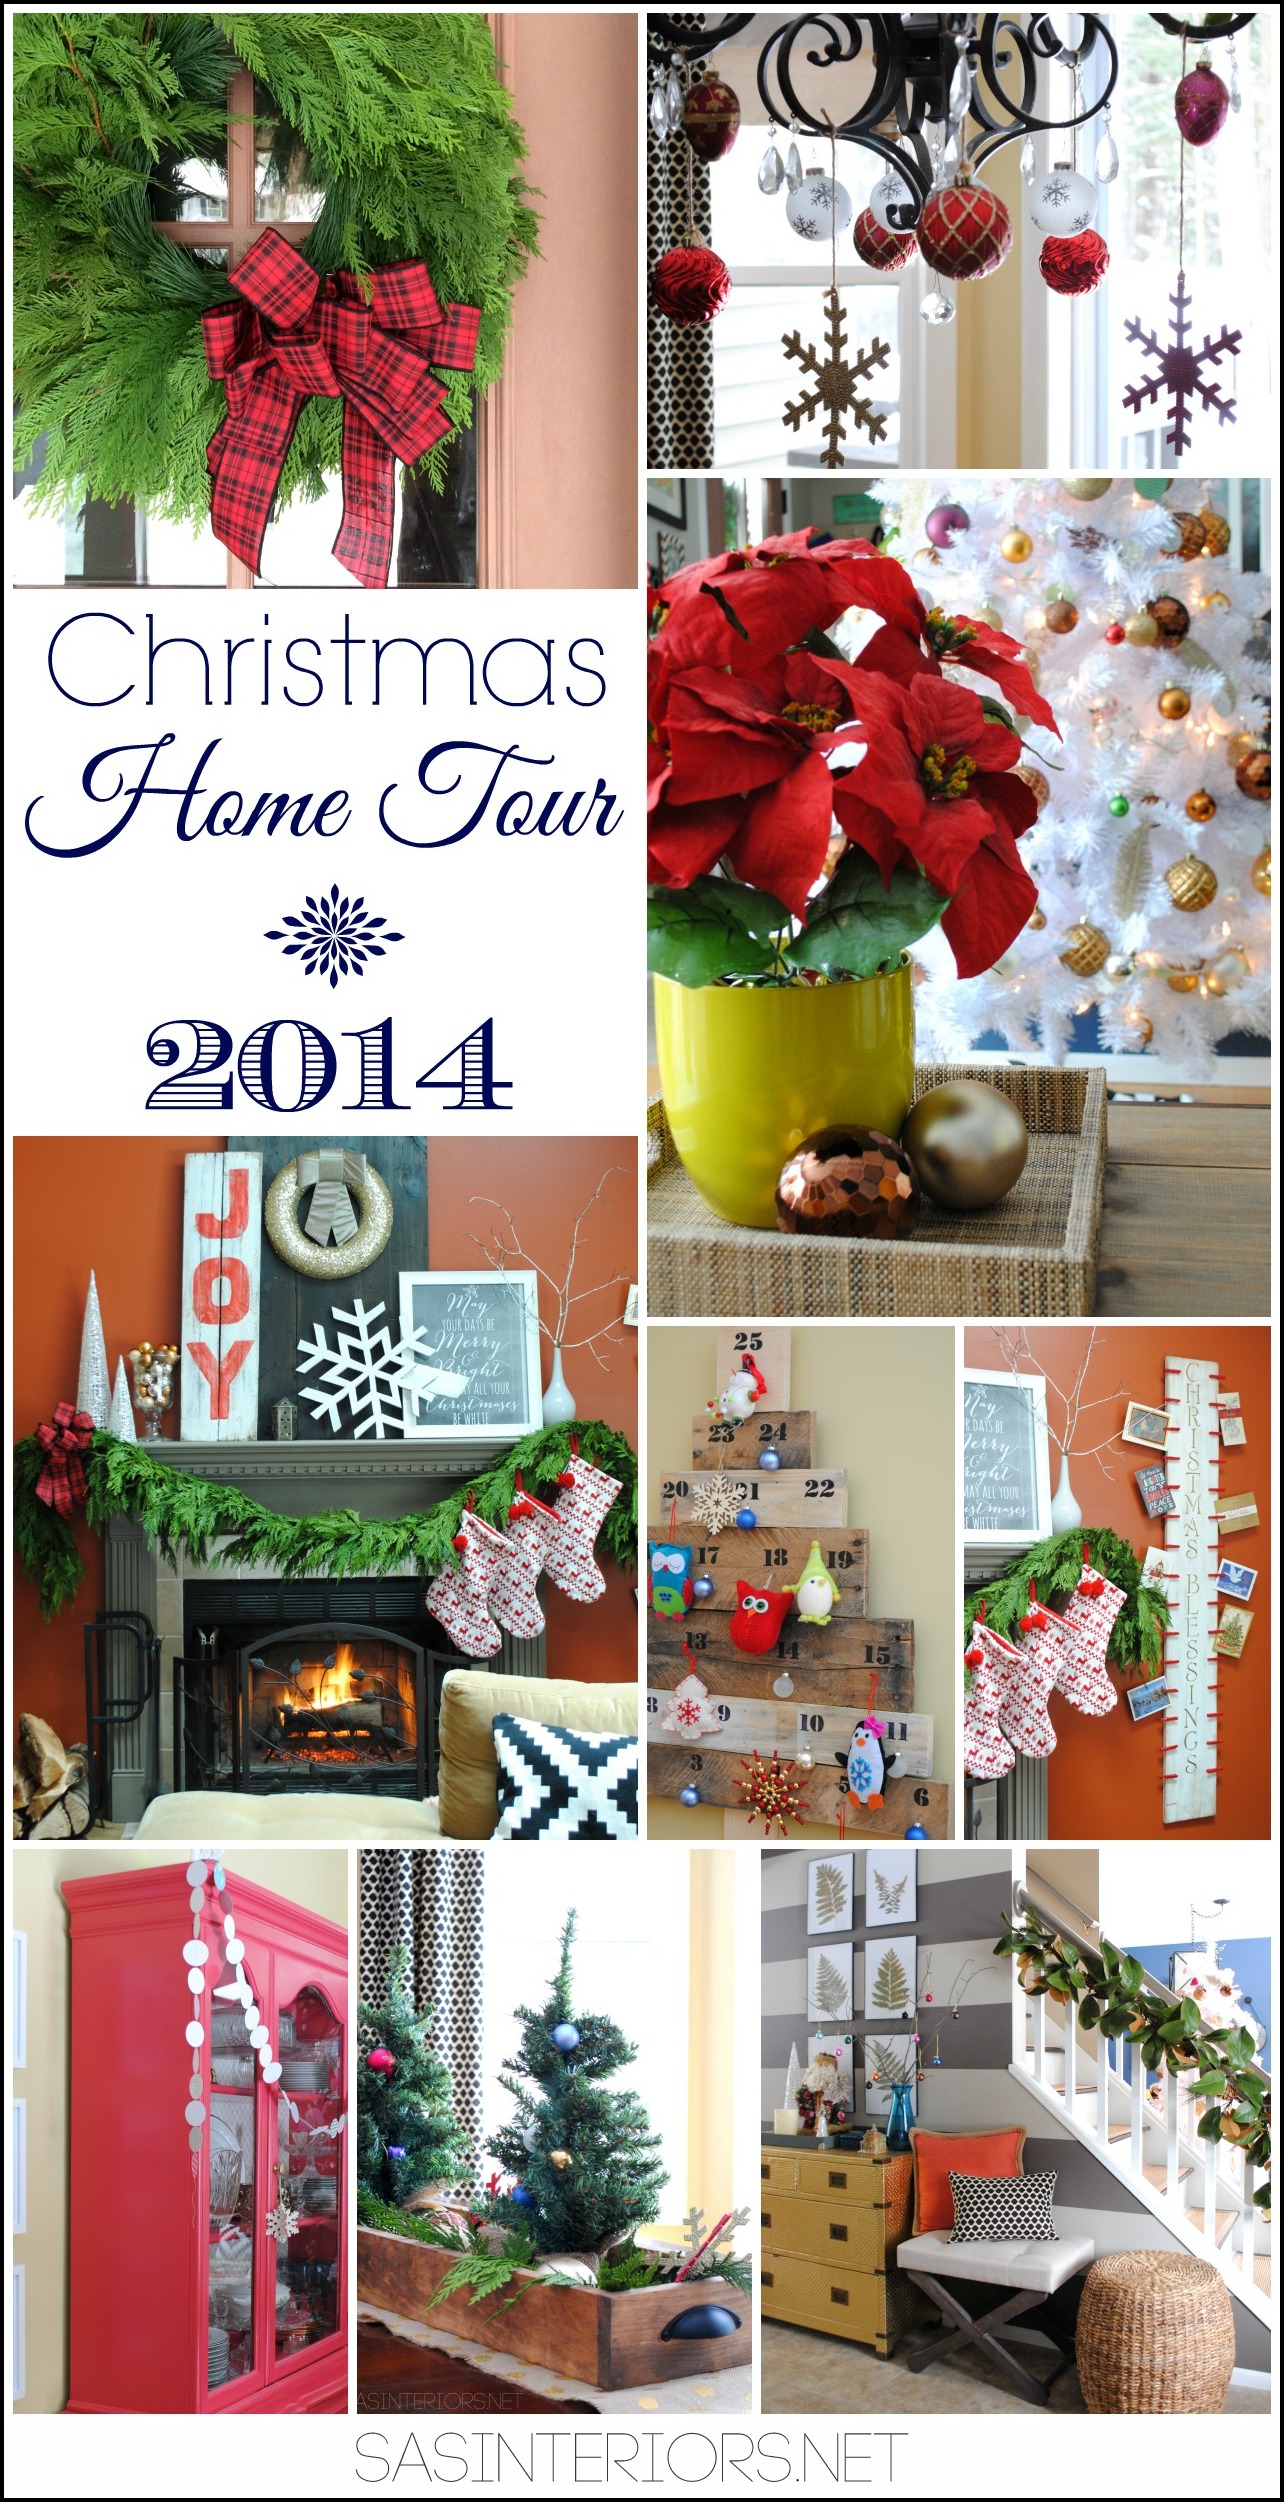
Christmas Home Tour 2014

Christmas Home Tour 2013

DIY: Tutorial on how to make a FAUX STACKED LOG FIREPLACE SCREEN. check out how-to make it at www.JennaBurger.com

Creating a Faux Stacked Log Fireplace Screen (we keep it up all year long)

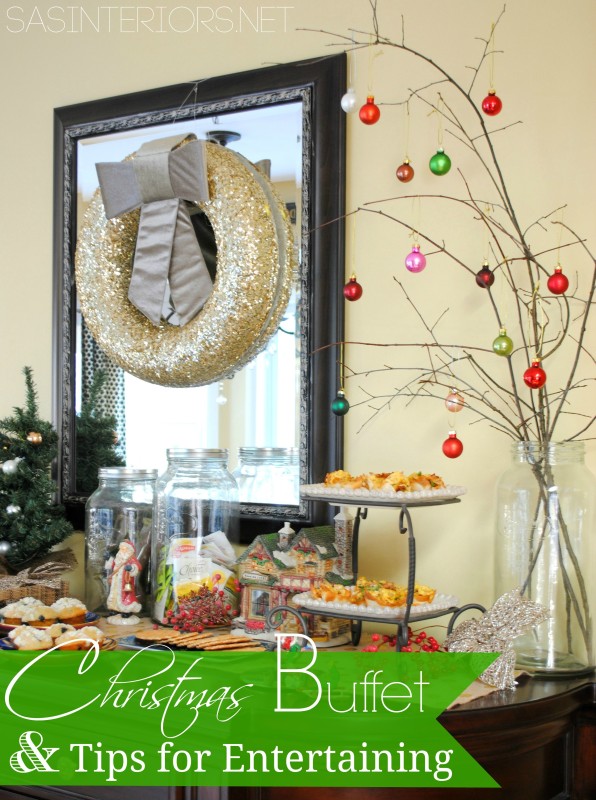
Christmas Buffet & Ideas for Holiday EntertainingChristmas Buffet & Tips for Holiday Entertaining

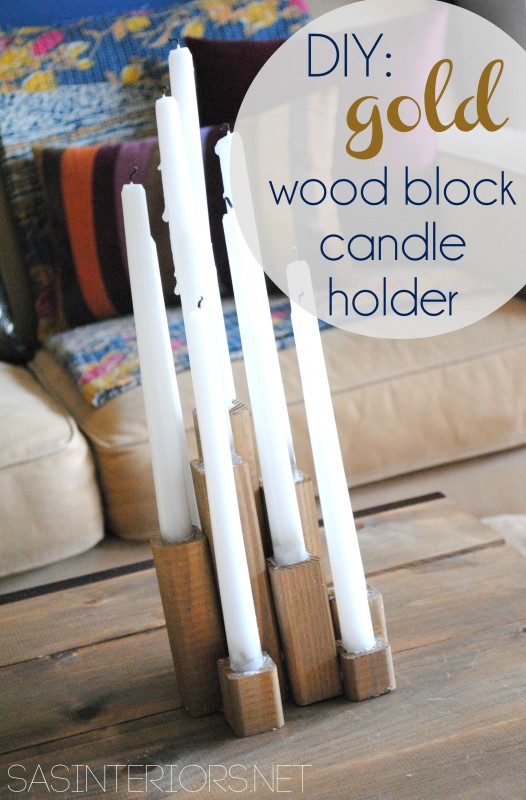
Gold Wood Black Candle Holder {DIY tutorial}Wood Block Candle Holder {DIY tutorial}

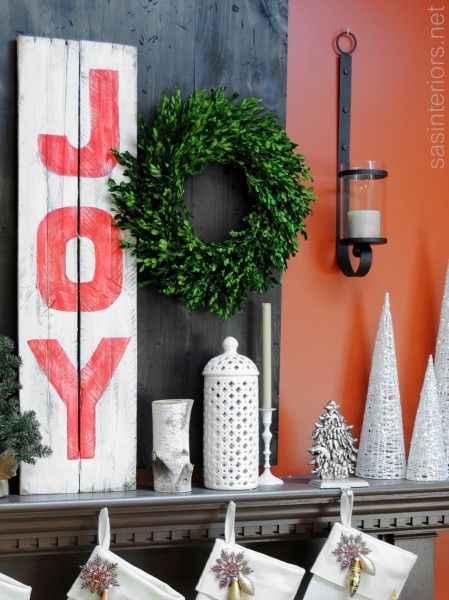
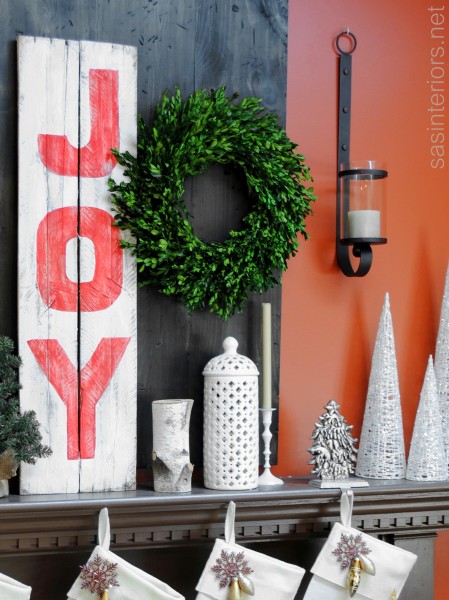
J-O-Y Sign using pallets & paint {DIY tutorial}J-O-Y Sign using Pallets + Paint {DIY tutorial}

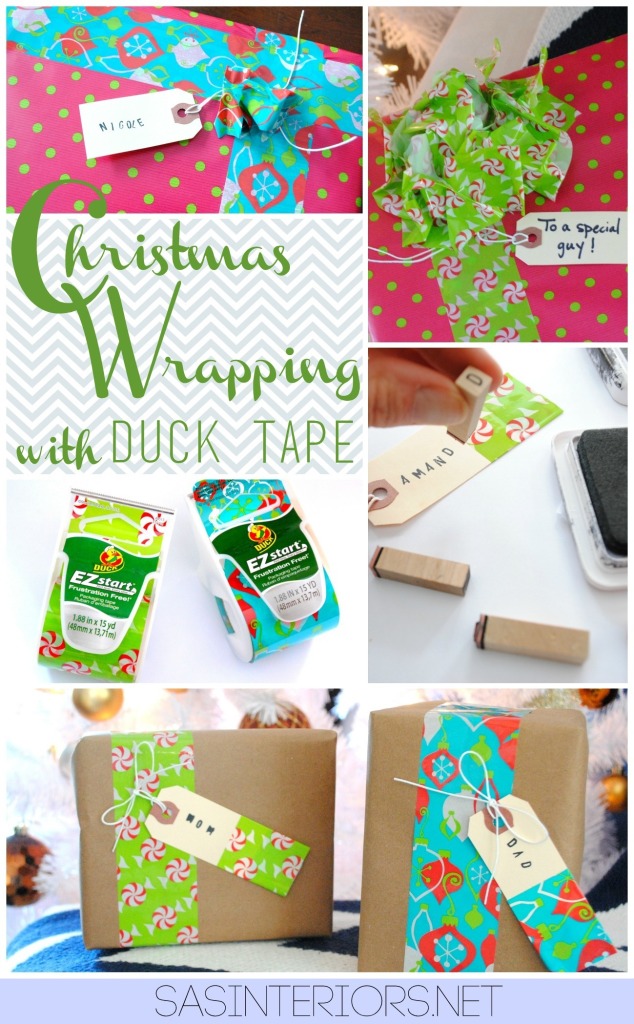
Christmas WrappingChristmas Wrapping with Duct Tape {DIY tutorial}

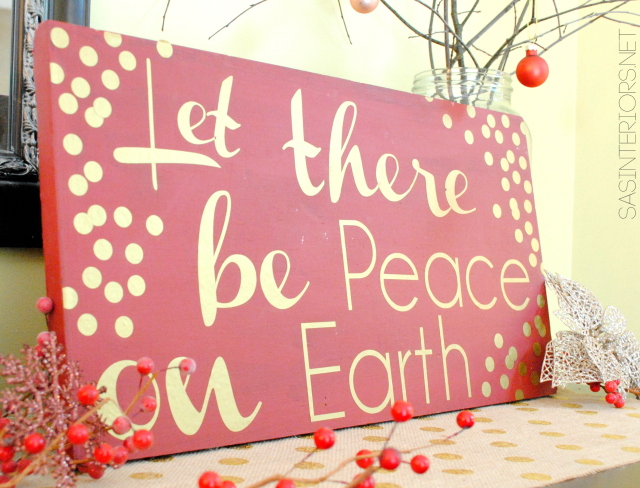
1Let There Be Peace On Earth sign {DIY tutorial}

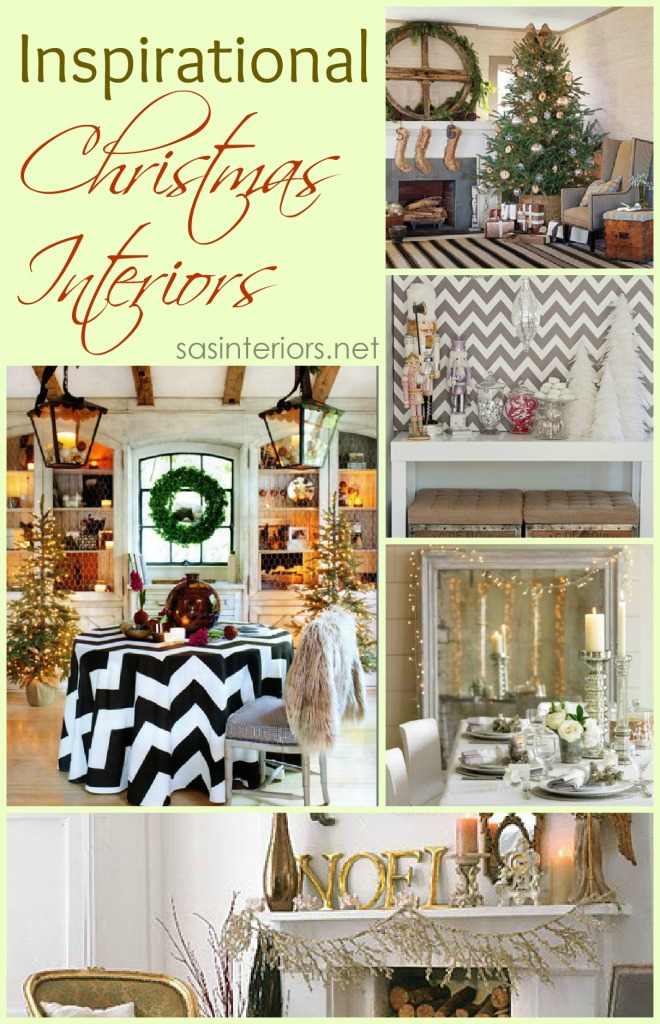
Inspirational Christmas InteriorsInspirational Christmas Interiors {Project Roundup}

Log Centerpiece cradled in branches, pinecones, berries, and ornaments - a simple centerpiece arrangement for the holidaysLog Centerpiece

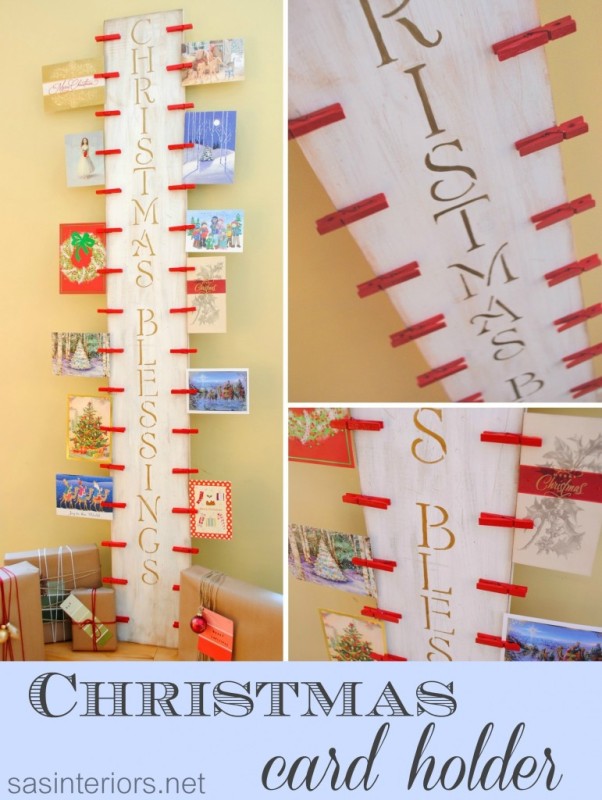
Christmas Card Holder: DIY project using 2 x 10 and clothespinChristmas Card Holder {DIY tutorial}

Pallet Christmas Countdown {DIY tutorial}Pallet Christmas Countdown {DIY tutorial}

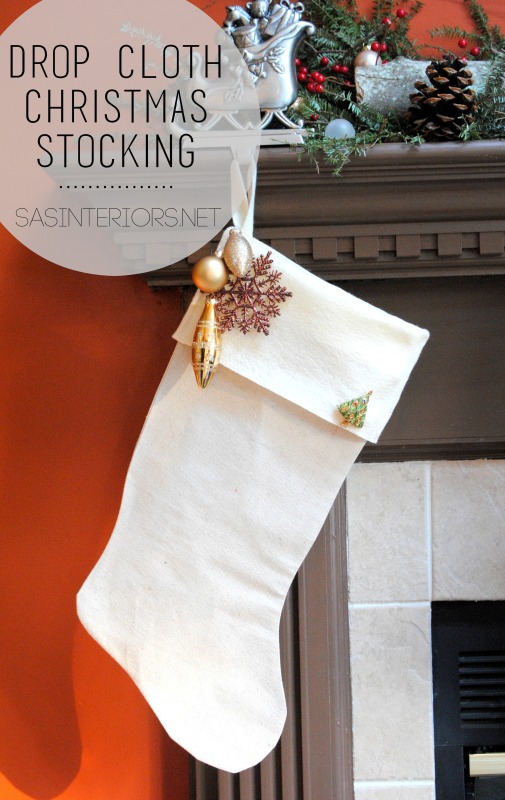
Christmas Stocking using drop cloth {DIY tutorial}Drop Cloth Stockings {DIY tutorial}

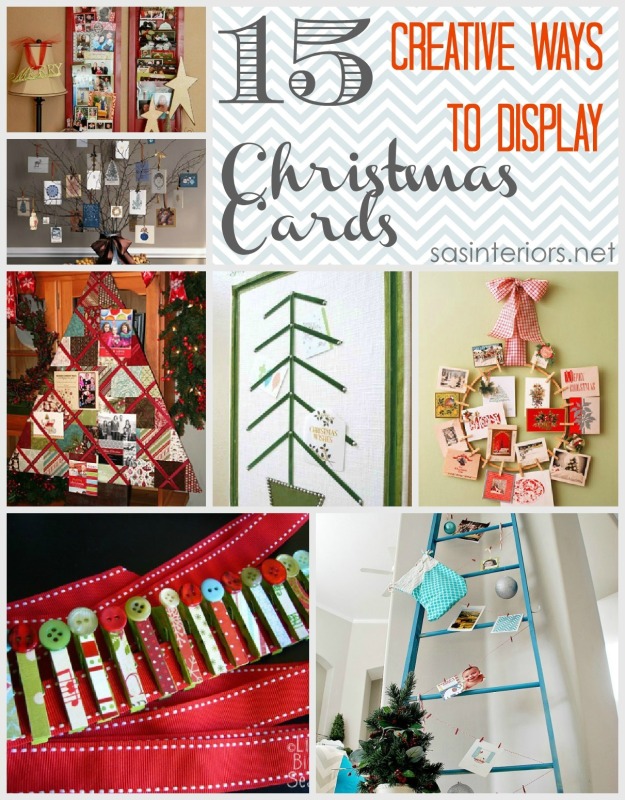
Ideas for Displaying Christmas Cards15 Creative Ways to Display Christmas Cards {Project Roundup}

Nature Inspired Holiday DecorNature Inspired Holiday Decor

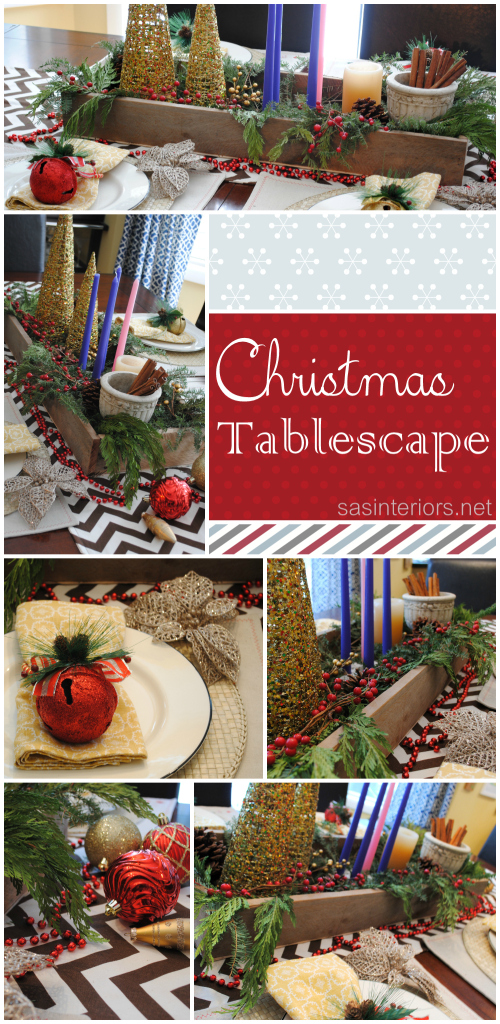
Christmas Holiday TablescapeaChristmas Tablescape

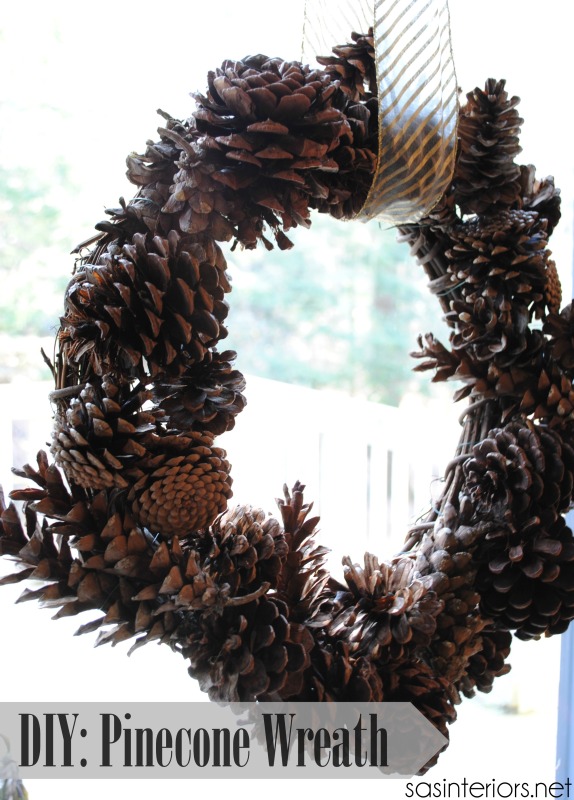
Pinecone Wreath {DIY tutorial}Pinecone Wreath {DIY tutorial}

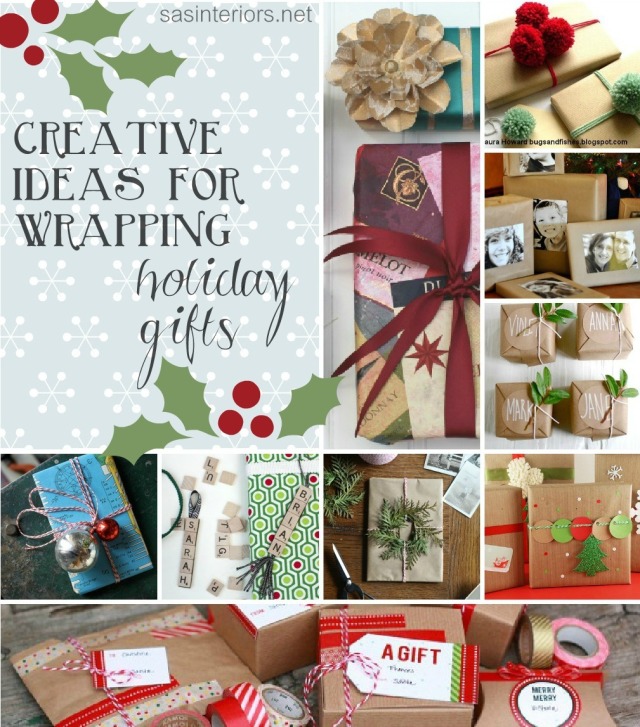
Creative Ideas for Wrapping Holiday Gifts Creative Ideas for Wrapping Holiday Gifts {Project Roundup}

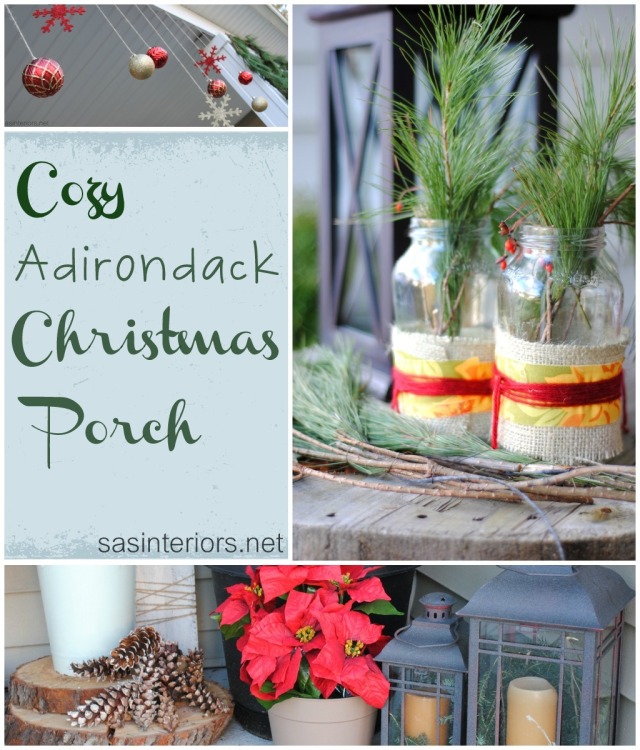
Cozy Adirondak Christmas PorchCozy Adirondack Christmas Porch

Christmas Porchesa, Doors, and Entryways13 Christmas Porches, Doors, and Entryways {Project Roundup}

DIY Christmas Ornament using a SharpieChristmas Ornament using a Gold Sharpie {DIY tutorial}

The Easiest + Fastest + Cheapest Tree Skirt EVER!The Easiest + Fastest + Cheapest Tree Skirt EVER!

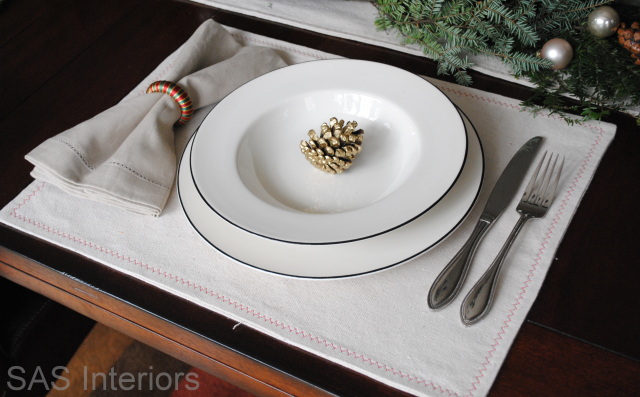
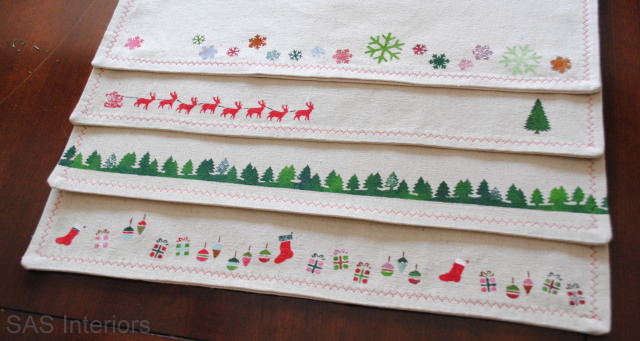
DIY Placement using Drop ClothDrop Cloth Placemat {DIY tutorial}

Christmas Stenciling IdeasStenciling Ideas for Christmas
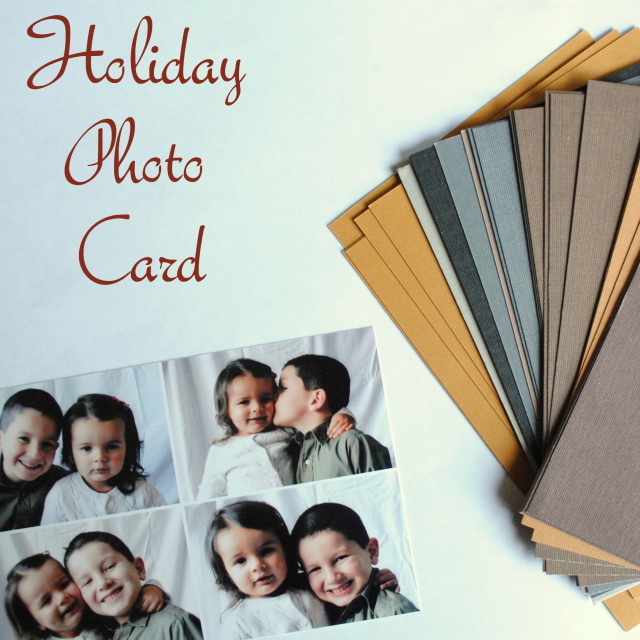
Holiday Photo CardHoliday Photo Card {DIY tutorial}

making a Lego Christmas CardMaking a LEGO Minifigure Christmas Card

Have a wonderful + blessed Holiday Season!

Pallet Christmas Countdown

Christmas is a comin’!

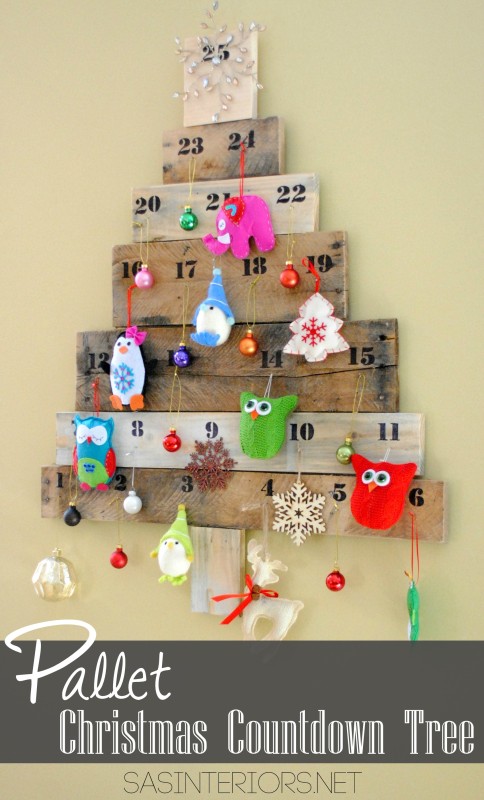
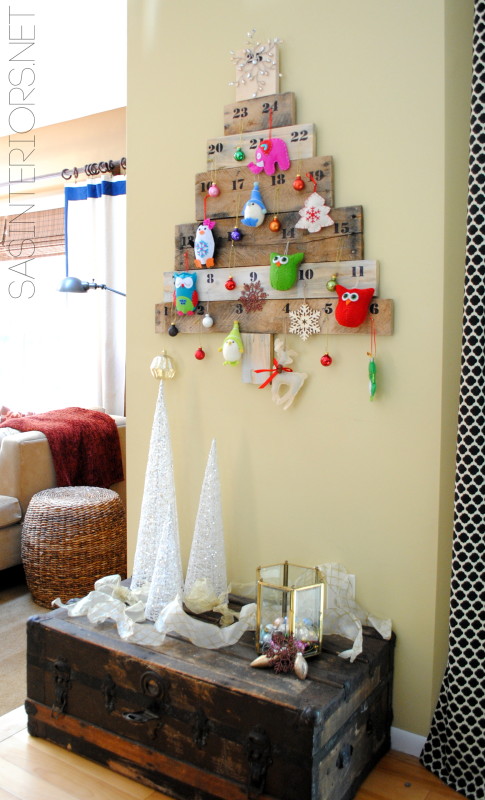
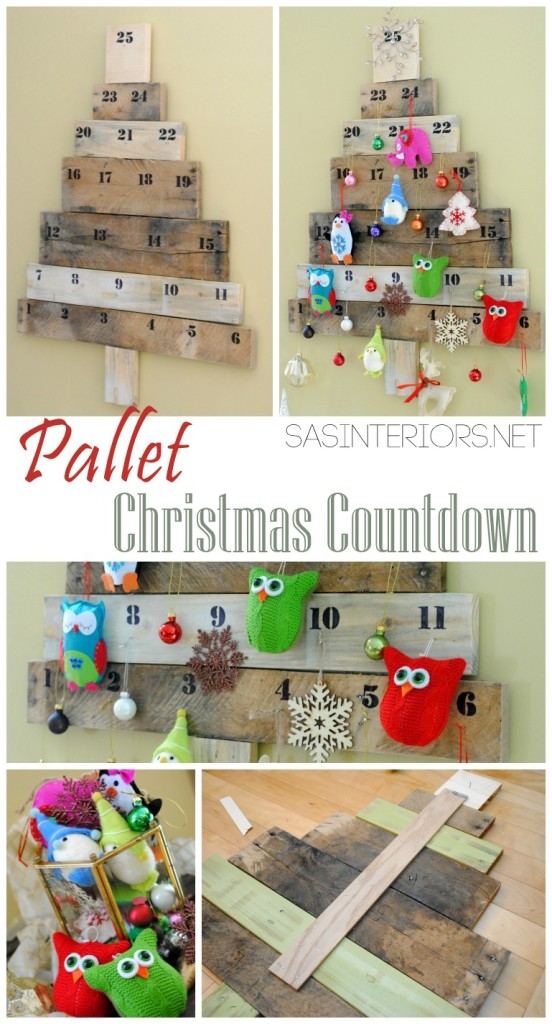
In less than 10 days, we’ll be counting down the 25 days till the arrival of Christmas.  To make the countdown a bit more fun and bearable, since for every child (and maybe a few adults) thinks the 25 days leading to the special day are SO LONG, I created a Countdown Calendar in the shape of a tree using my favorite material, pallets and a few other leftover scraps of wood.  Check it out…

Christmas Countdown Calendar using pallets and scraps of leftover wood.  Created by @Jenna_Burger, www.sasinteriors.net

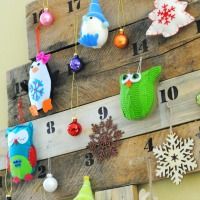
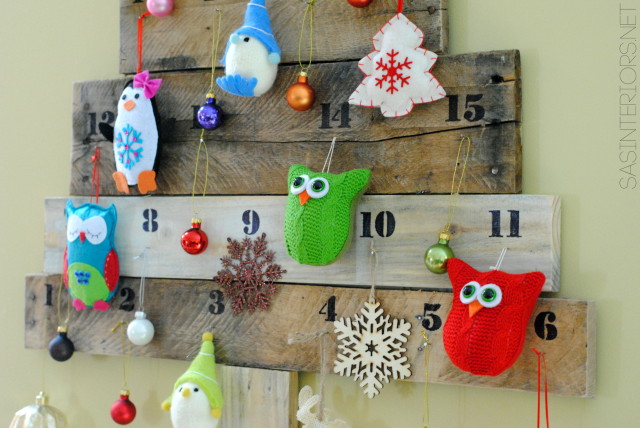
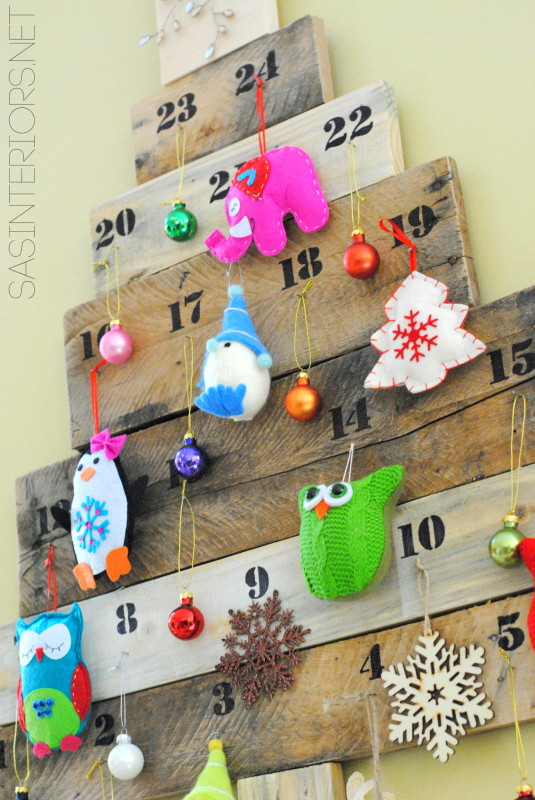
Isn’t it so colorful?  The ornaments truly make it come alive.

When Lowe’s challenged the Creative Team to come up with something for the Holidays, I was so excited to create something unique and perfect to celebrate the coming holiday.  Last year, my December project was a creation for holding cards and this year, I wanted to create something just as dynamic.  When thinking about a project, I realized we didn’t have a countdown calendar, so that’s what this years project would be.

The project started out by taking 10 steps outside to the garage.  Yup, this creation was put together using only materials I already had on hand.  This is what I gathered…

  • Pallet and wood scraps – the more dented and imperfect, the better
  • Nails (3/4″ – 1″ deep)
  • Number stencil
  • Black Sharpie
  • Hammer
  • Circular Saw
  • (25) Colorful ornaments

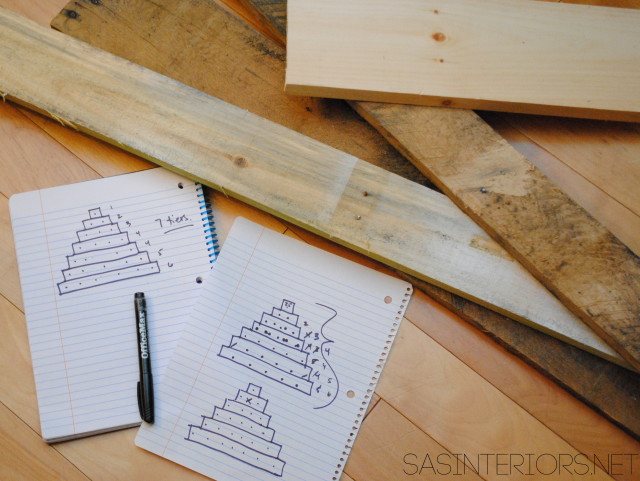
1. I first started out by looking through my wood scrap pile and leftover pallet scraps.  I collected a bunch of pieces all in different colors and sizes.  The more imperfect the better.

Then I took some time and put a drawing together to figure out how many rows of wood would be needed and how the 25 ornaments would sit on the “tree”.  In the end, 7 tiers worked best and 2 of the rows have 4 nails, creating the 25 spots.

A little math is needed, but it wasn’t tough…

Christmas Countdown Calendar using pallets and scraps of leftover wood.  Created by @Jenna_Burger, WWW.JENNABURGER.COM

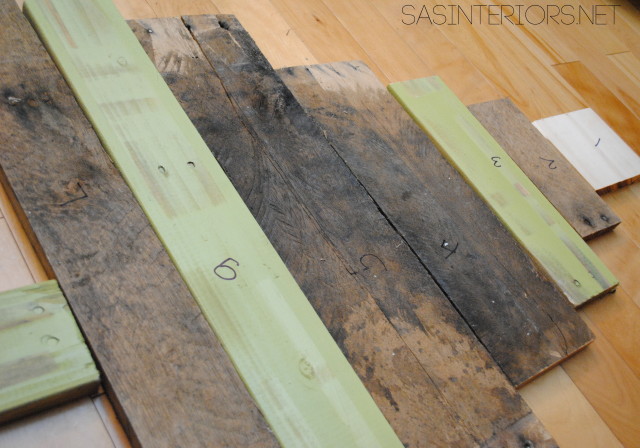
2. Now that the hardest part was over (a little mathematical equations), I laid out the pieces of wood to determine what looked nice next to each other and then the widths of each tier.

On the backs, I then labeled each row.

Christmas Countdown Calendar using pallets and scraps of leftover wood.  Created by @Jenna_Burger, www.sasinteriors.net

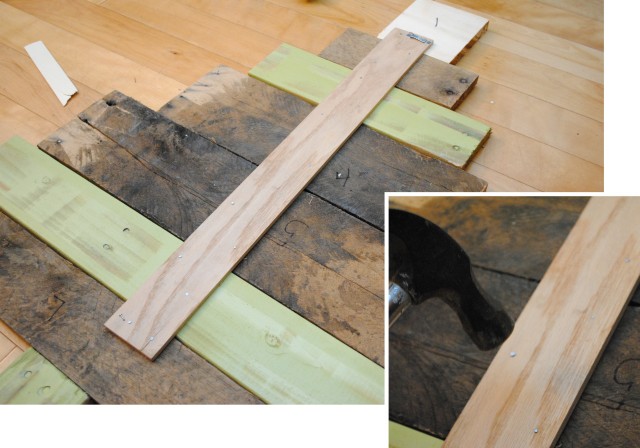
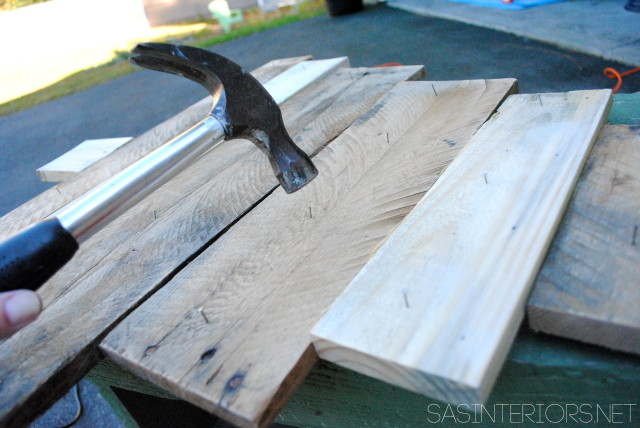
3. Then using a circular saw, I cut each piece to form the “tree” shape. Once that was complete, I added a scrap piece of wood to the backs of the pieces to attach them together.

Hammer, hammer, hammer using 3-4/” – 1″ nails.

Christmas Countdown Calendar using pallets and scraps of leftover wood.  Created by @Jenna_Burger, www.sasinteriors.net

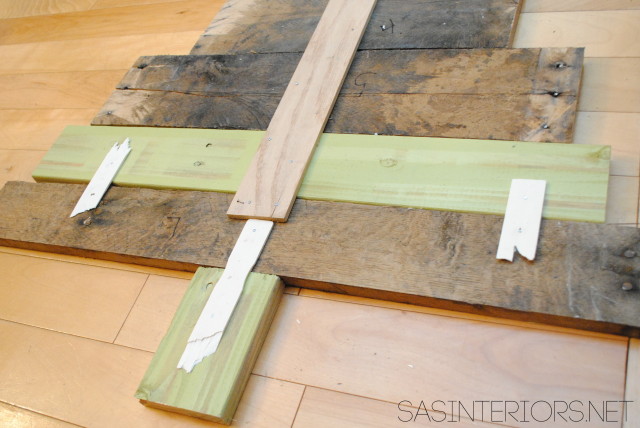
I added a few more pieces of scraps (old paint sticks, to be specific) to the back.  This looks kinda messy, but hey, who’s lookin’ at the back???

Christmas Countdown Calendar using pallets and scraps of leftover wood.  Created by @Jenna_Burger, www.sasinteriors.net

No more looking at the back.  Let’s turn it over to the front where it’s prettier looking.

Now to the nails + the numbers.

4.  By eye (no more math needed), I marked the locations for the 25 ornaments.  Then I added a nail at each location leaving about 1/2″ exposed for the ornament to hang.

Christmas Countdown Calendar using pallets and scraps of leftover wood.  Created by @Jenna_Burger, www.sasinteriors.net

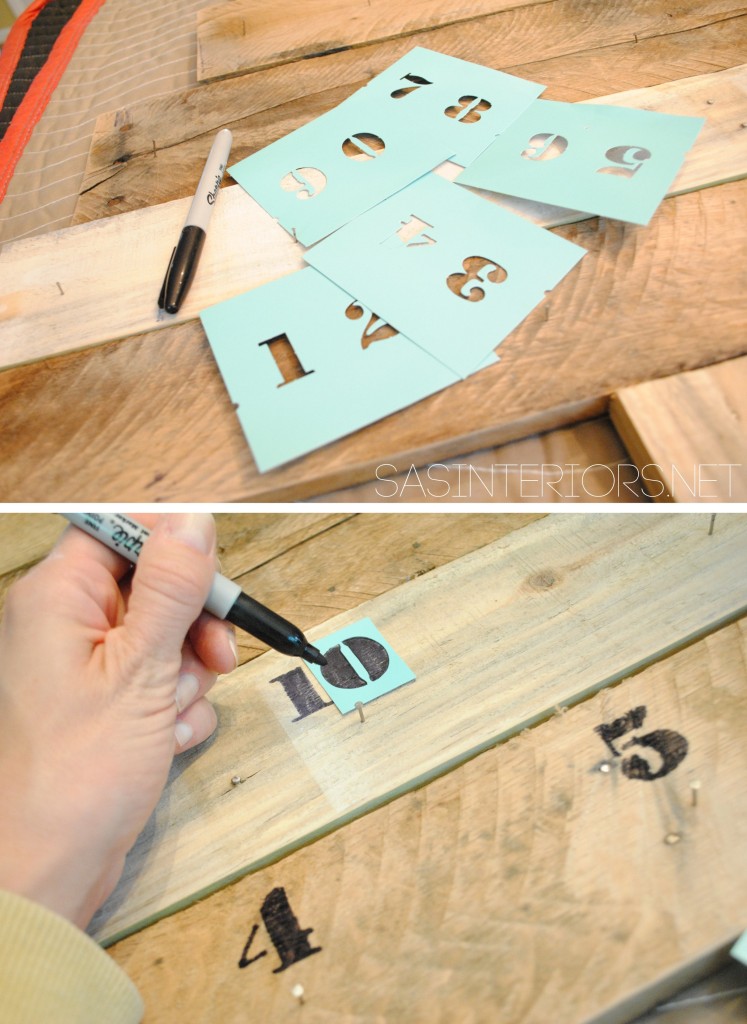
5. Once the nails were in, it was time for the numbers.  Using stencils I had from a previous Martha Stewart project, I outlined the numbers with a black sharpie.  Again, the more imperfect the better.

Christmas Countdown Calendar using pallets and scraps of leftover wood.  Created by @Jenna_Burger, www.sasinteriors.net

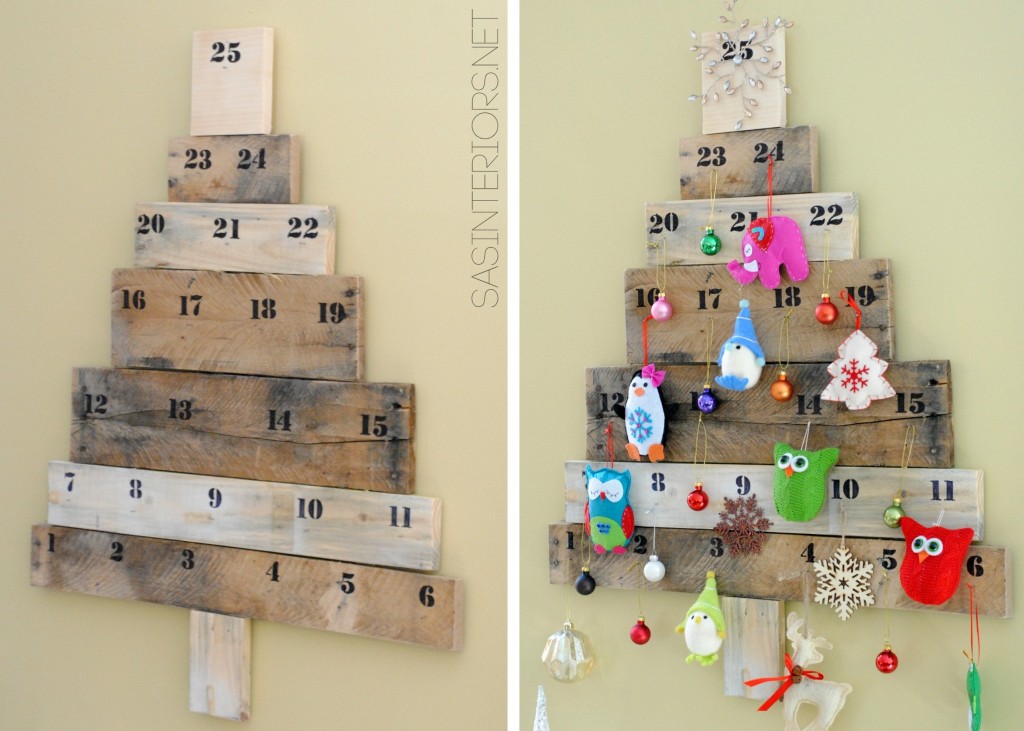
Once the numbers were done, the project was complete.  And here’s the result…

Plain + Decorated.

Christmas Countdown Calendar using pallets and scraps of leftover wood.  Created by @Jenna_Burger, WWW.JENNABURGER.COM

I love how it came out…

Christmas Countdown Calendar using pallets and scraps of leftover wood.  Created by @Jenna_Burger, WWW.JENNABURGER.COM

It’s so colorful and brings such whimsy to our holiday home decor.

Christmas Countdown Calendar using pallets and scraps of leftover wood.  Created by @Jenna_Burger, WWW.JENNABURGER.COM

Christmas Countdown Calendar using pallets and scraps of leftover wood.  Created by @Jenna_Burger, WWW.JENNABURGER.COM

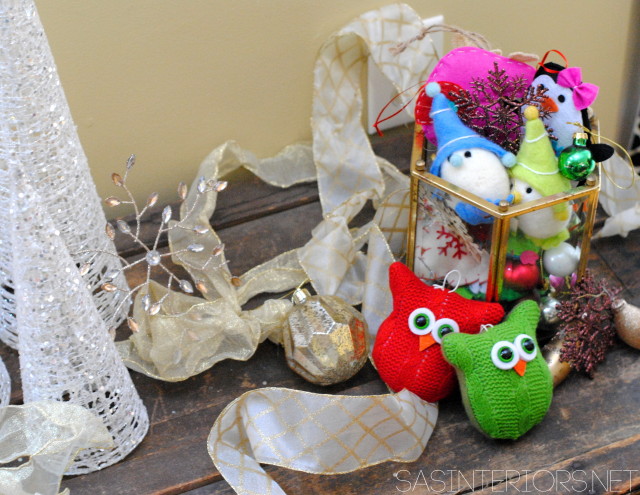
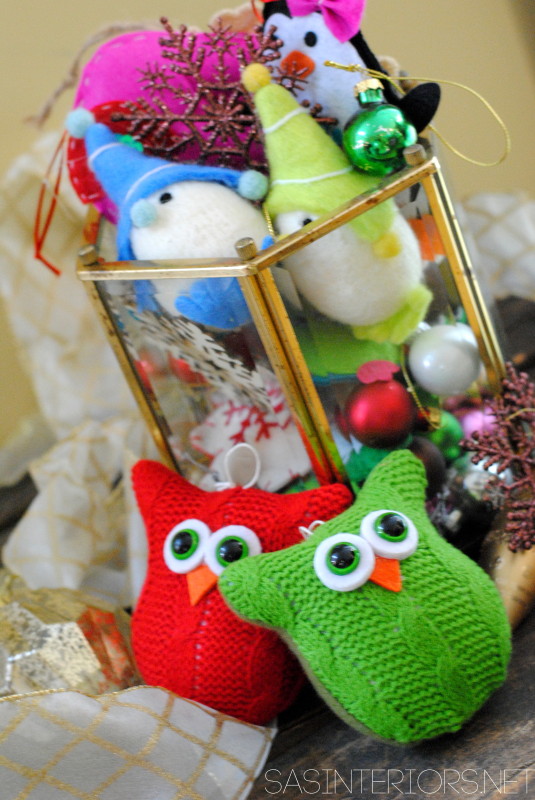
The kids love it too and they can’t wait for the 1st of December to arrive to start adding an ornament each day.  While we wait, the ornaments that all came from this years Lowe’s collection, sit in the brass light turned container.

Christmas Countdown Calendar using pallets and scraps of leftover wood.  Created by @Jenna_Burger, WWW.JENNABURGER.COM

Christmas Countdown Calendar using pallets and scraps of leftover wood.  Created by @Jenna_Burger, WWW.JENNABURGER.COM

I hope you enjoyed my latest creation as much as I.  It was fairly easy to make, and I loved that I was able to create it using materials I already had.  How much better does it get?!  The anticipation and excitement leading to Christmas day can be a bit challenging, but hopefully my countdown calendar makes it a tiny bit more fun.

Christmas Countdown Calendar using pallets and scraps of leftover wood.  Created by @Jenna_Burger, WWW.JENNABURGER.COM

To gather even more unique, fun, and creative ideas for your indoor and outdoor Winter spaces, I would definitely suggest downloading the Lowe’s Creative Ideas app on your iphone and/or ipad.  I’m always checking out the FREE app for great seasonal + do-it-yourself inspiration. And even better, this Pallet Christmas Countdown creation will be featured in the upcoming Winter guide – how cool, right?!

Lowes Creative Team Member

Also consider following Lowe’s on Facebook, Pinterest, and Instagram as well.

 Disclosure: I am part of the Lowe’s Creative Team and was provided with a Lowe’s gift card to purchase items for my project.  I was also compensated for my time to use the products.  No one told me what to create, what to buy, how to use the product, or what to write.  All opinions are 100% mine!