
Tag: get organized

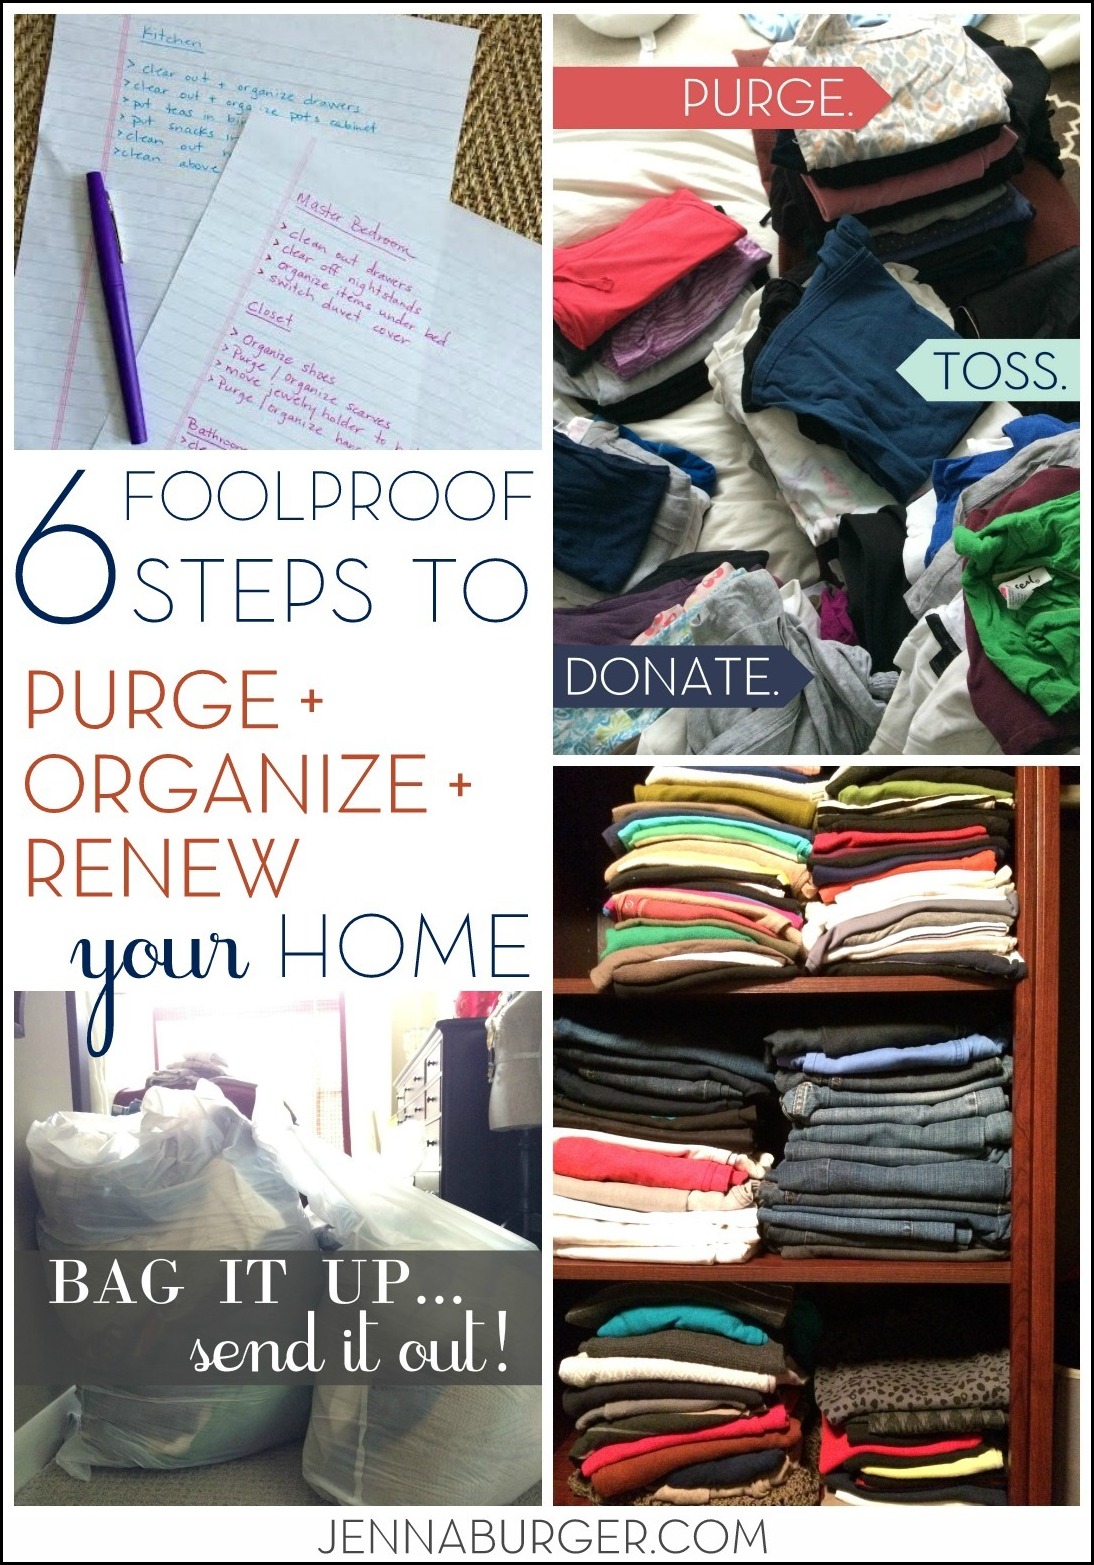
6 Foolproof Steps to Purge + Organize + Renew your Home

With the 859,934 organizational pins on Pinterest, I’m already feeling a bit behind + overwhelmed and it’s only the 5th of January!  Deep breath. Deep breath.  Please tell me I’m not alone… BUT I am strongly pushing away those anxious thoughts and instead putting my efforts on living with intention, my focus for the coming year.

Organizing doesn’t come easy to me.  I am known to be a hoarder collector & have difficulty parting with things – keep or toss, keep or toss???  But over the past few months things around the little ole’ homestead of mine have gotten a wee bit out of hand (I guess anew baby can do that to ya) and I am ready to rise above & take back this joint!

As we wind down from the Christmas craze, January typically is a quiet + cold + drear month in our neck of the woods.  As I start the process of transitioning our home back to the everyday after the holiday mayhem, I always feel the New Year is ideal to clear the mind and begin a fresh start.  Now is the time to clean house and create a more organized home!!

This past weekend, actually news years day to be exact (because over the past week I’ve completely lost track of time), I started the clearing out/organizing process.  4 bags have already gone to goodwill… go me!  Coming from the person who hates to throw things away, this is big.

Here are the 6 steps that I have found really work [my foolproof tips] to purge + organize + renew your home for a fresh step in the right direction for the New Year

6 Foolproof steps to PURGE + ORGANIZE + RENEW your home in the new year! www.jennaburger.com

1. Make a list
I am a list person. I love to write it down, perform the task, and then cross it off.  To me, the “cross off” is the best part.  I feel so accomplished afterwards! So here is what I do…

Go room to room around the home and make a list of what is working and what isn’t.  Look in the closets, peek under the beds, and open the drawers. Create a page for each room and write down a plan of action for what you want to organize and what you need to lose (ie: organize sock drawer, purge papers/magazines, donate unused toys, etc).

6 Foolproof steps to PURGE + ORGANIZE + RENEW your home in the new year! www.jennaburger.com

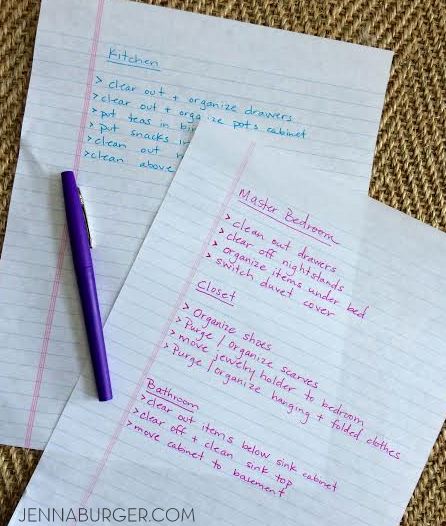
A list will keep you focused + stay on track. When a task is complete, cross it off. Once all the tasks on your list are finished, the best part is reflection; looking back at all your hard work + efforts. It will also keep you motivated to do more!

2. Get Moving

Once your plan of action is in place, it’s time to get moving. Don’t analyze (which I’m known to do) Just start.Choose a room to start with and let your list guide you. Most likely, the whole house won’t be fully organized in a day – it’s simply not possible unless you already live in a spotless pad.

Instead of stressing and overwhelming yourself, set a time limit or a specific goal to work towards. Once it’s reached, be done. Then the next day, do the same. This will help avoid burn-out and will keep you motivated to continue. Organizing and taking control of the stuff in your home can be exhausting, so mentally prepare yourself for the job.

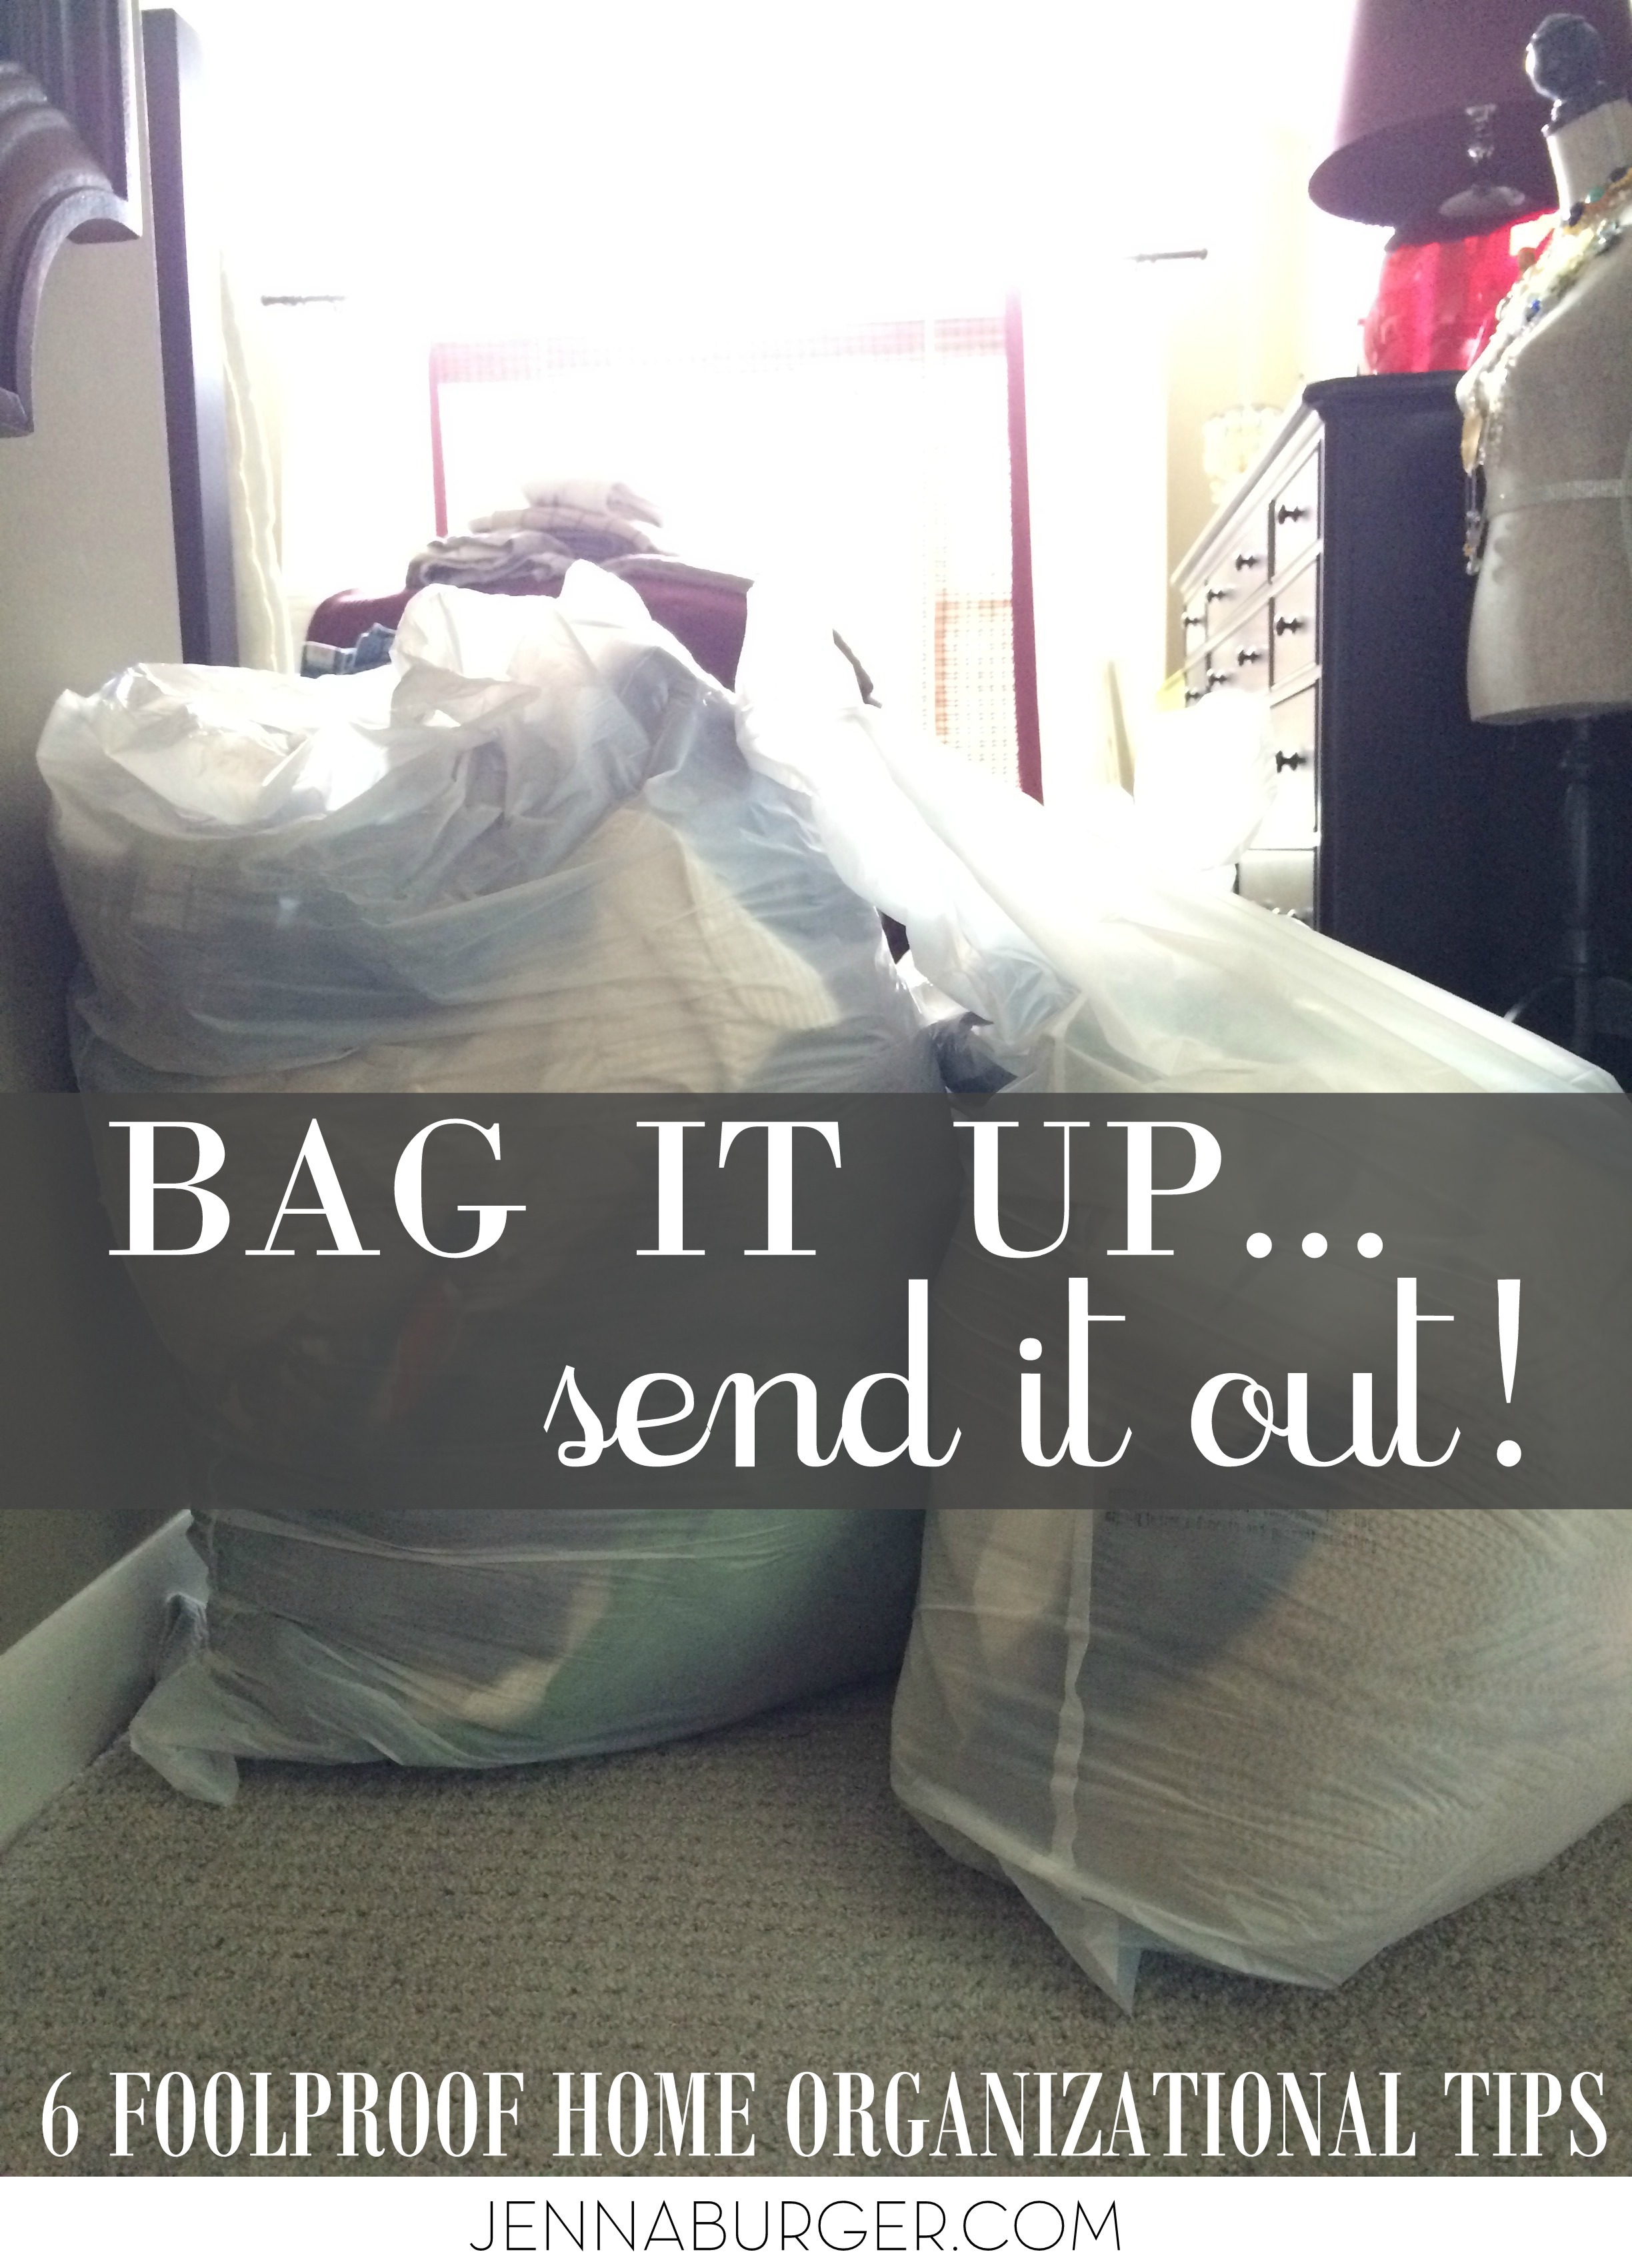
You’ll be amazed at how much better every room in your home looks once you get rid of the useless items.  Like I said 4 bags already packed up & shipped out.  Many more to go!

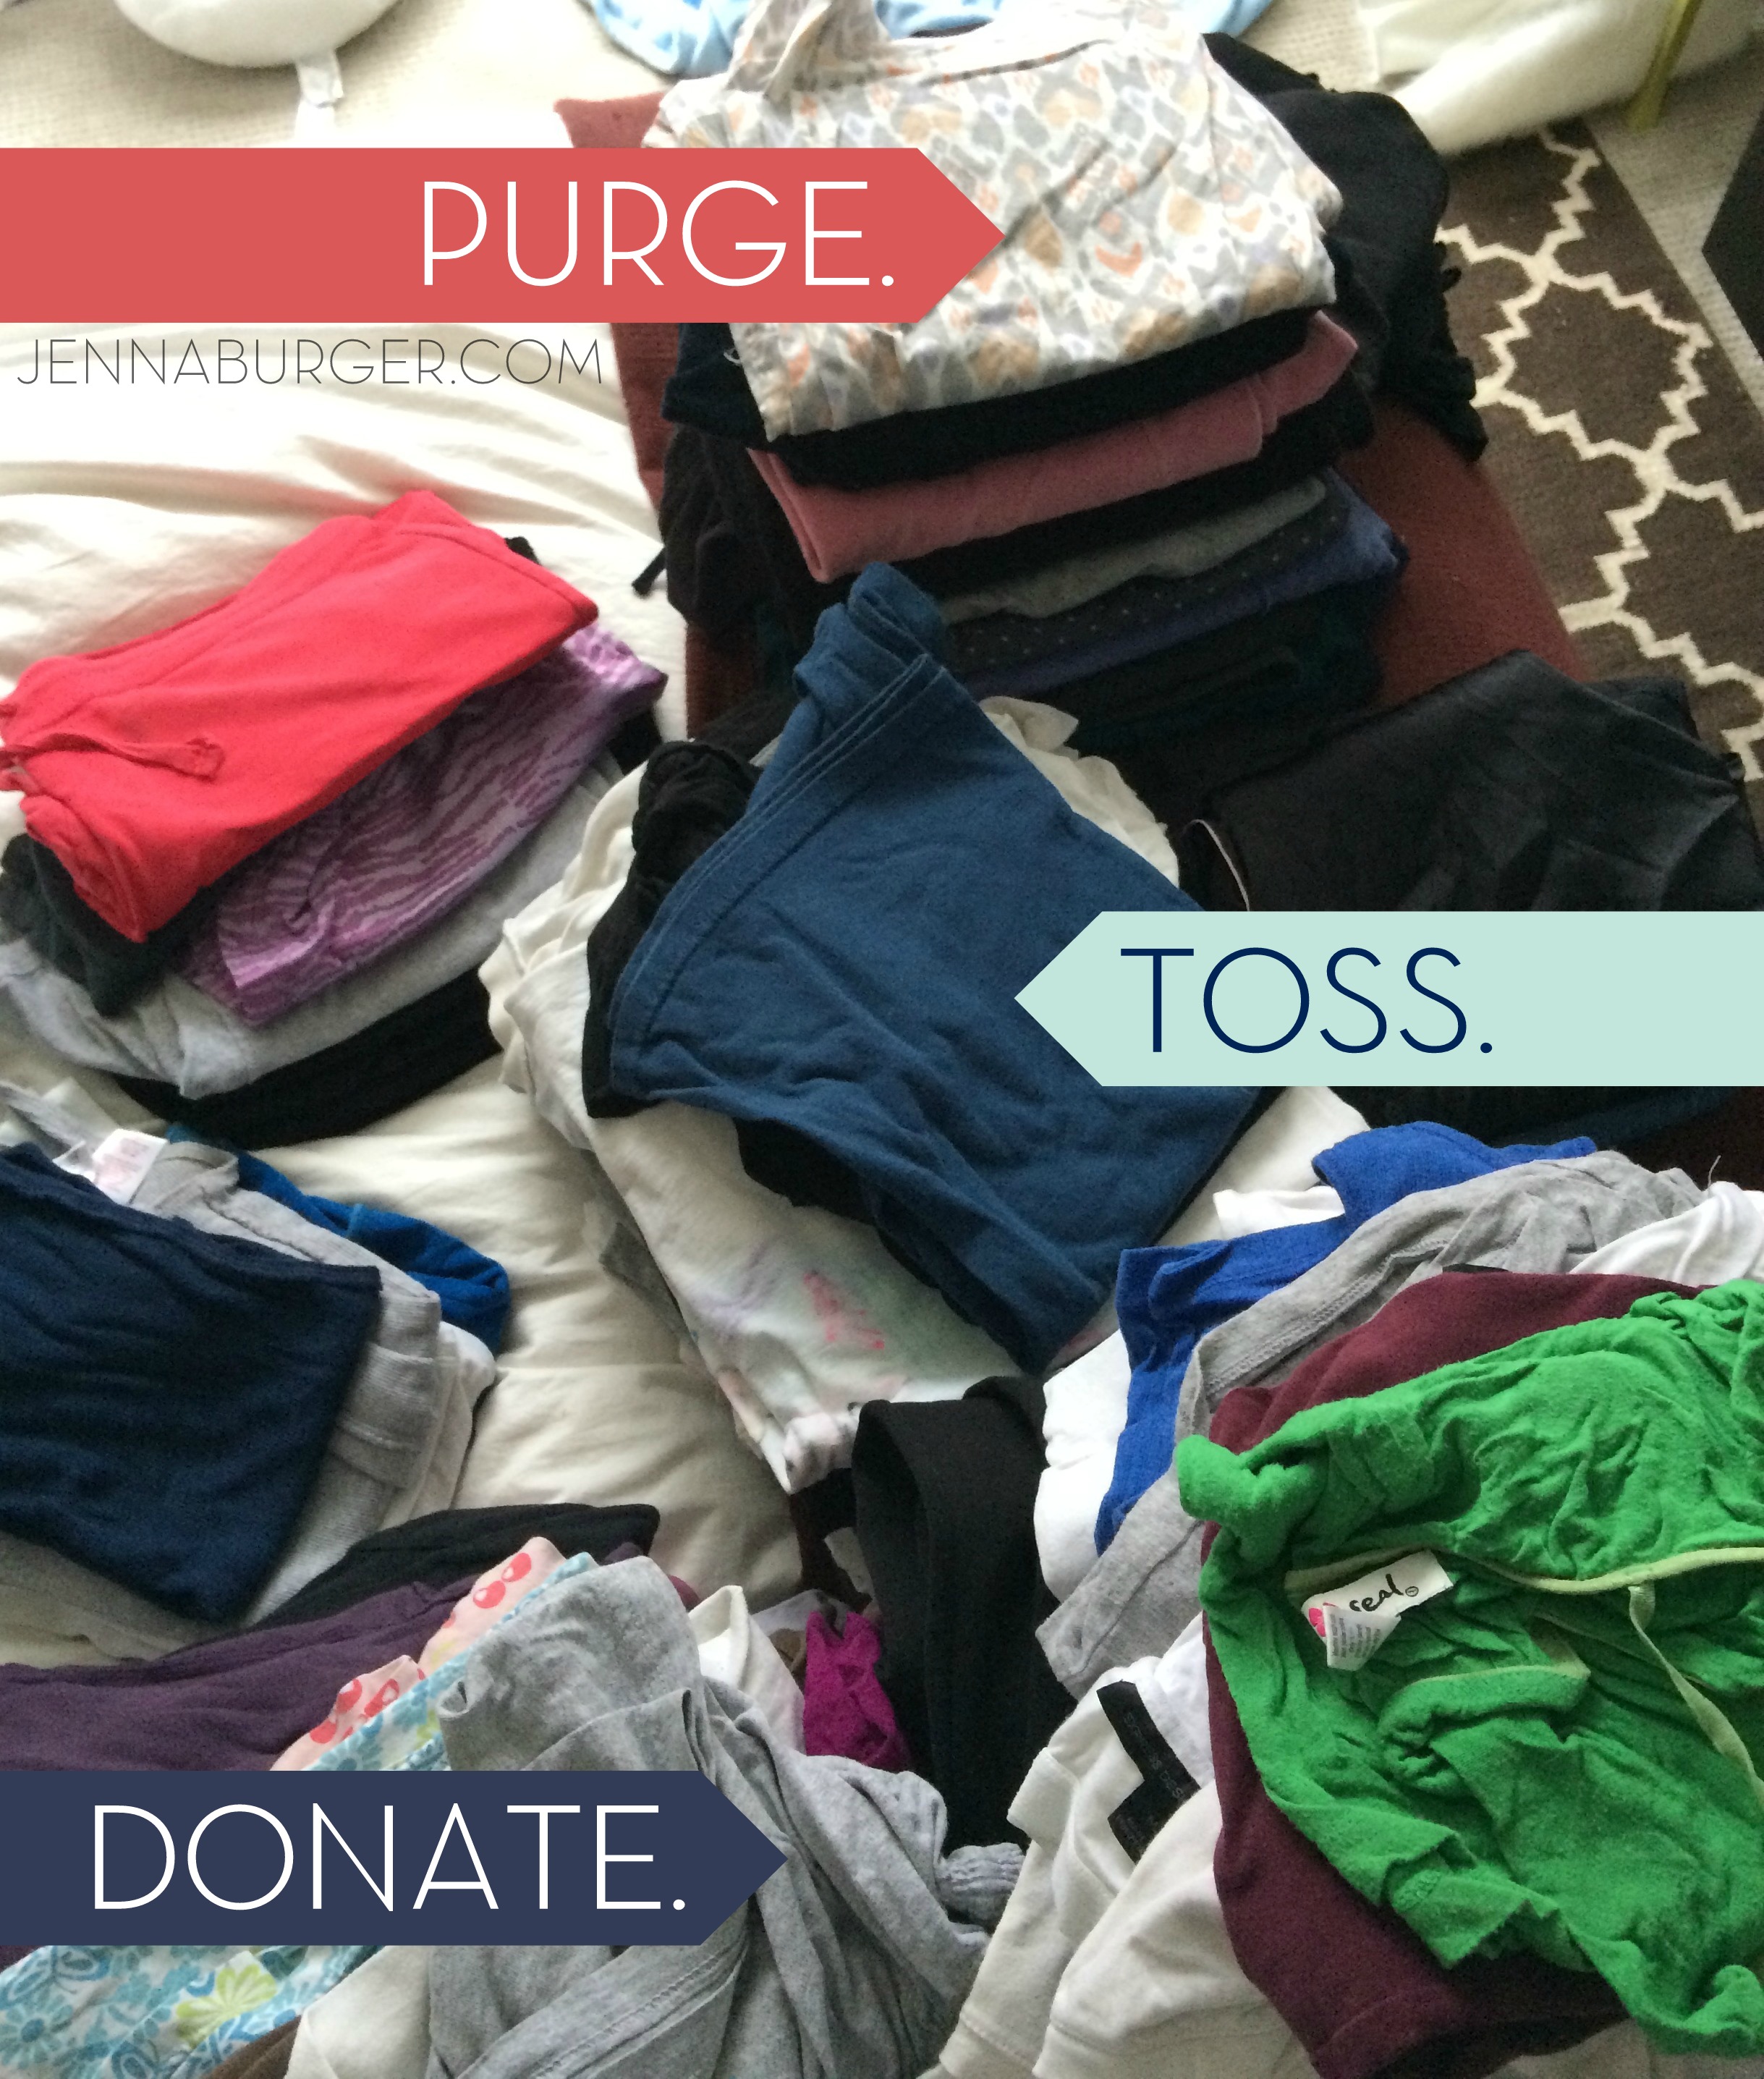
3. Purge. Toss. Donate.

Just keep saying to yourself… purge, toss, donate.  purge, toss, donate.  purge, toss, donate.

When going room by room, start by sorting through the items you no longer need, use, and/or want. Set up 3 boxes or bags (I typically use large heavy-duty garbage bags) to purge, toss, and/or donate. This will make the process faster + more efficient.  Have you ever tried the 3-for-1 rule?  For every new item you bring into the home (think about all those Christmas presents – shirts, books, toys, etc.), say goodbye to three things. Keep in mind, if something hasn’t been touched/used in 6-12 months, you probably don’t need it.

If you don’t use it, lose it.

PURGE. TOSS. DONATE. 6 Foolproof Home Organizational Tips that will get you pointed in the right direction NOW!

Once you have everything bagged up, ship it on out as soon as you can.  That way there can’t be regrets or second guessing!

6 Foolproof steps to PURGE + ORGANIZE + RENEW your home in the new year! www.jennaburger.com

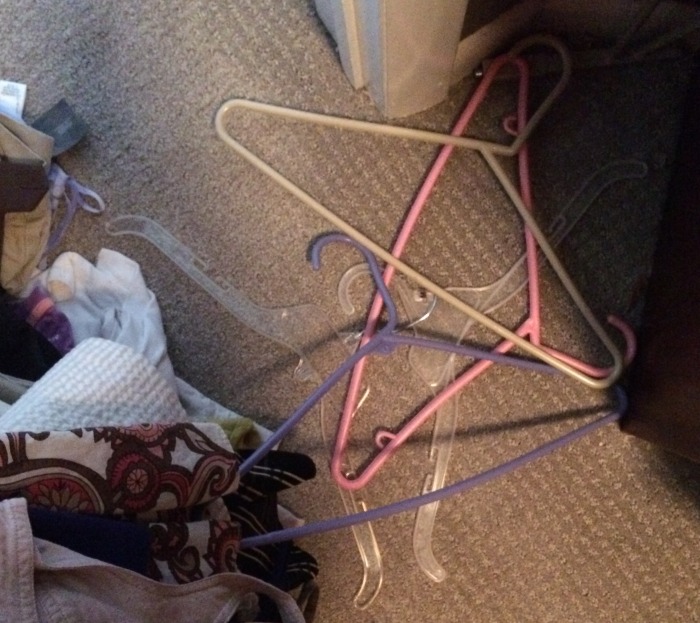
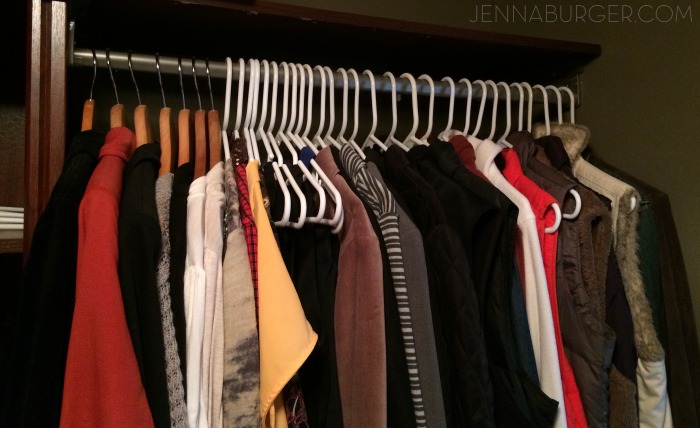
And toss the miss-matched hangers! Go for all one color… IT’S LIBERATING!

PURGE. TOOSS. DONATE. 6 Foolproof Home Organizational Tips that will get you pointed in the right direction NOW!

4. Organize

Organizing is different than cleaning.  Sometimes the 2 can get confused (according to my Mister).  I am a great cleaner (surface cleaning), but when you open a drawer, it often doesn’t look so hot.

Once you’ve removed your unused items, it’s time to organize. I have found baskets, bins, trays, and other storage caddies are a great way to organize items you want to keep. Make a point to have a spot / a place for everything. This is especially key to keep the clutter in check with kids toys, books, games, and art supplies.

Fullscreen capture 152015 100438 AM.bmp
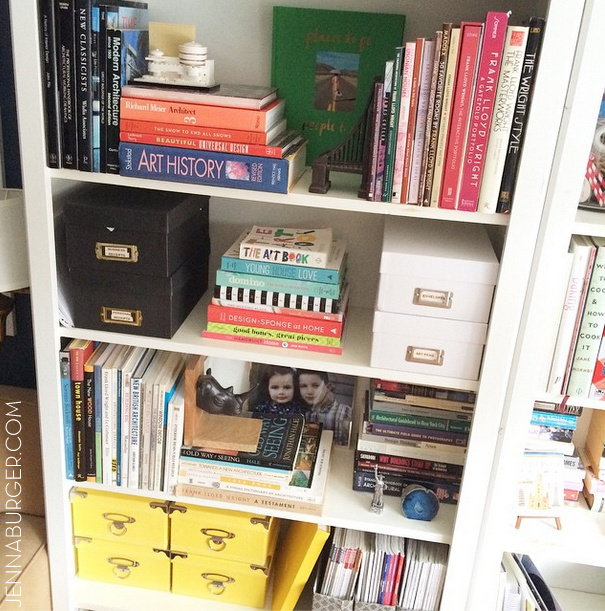
My newly revamped bookcase…  Baskets + Boxes + Bins are my happy place!

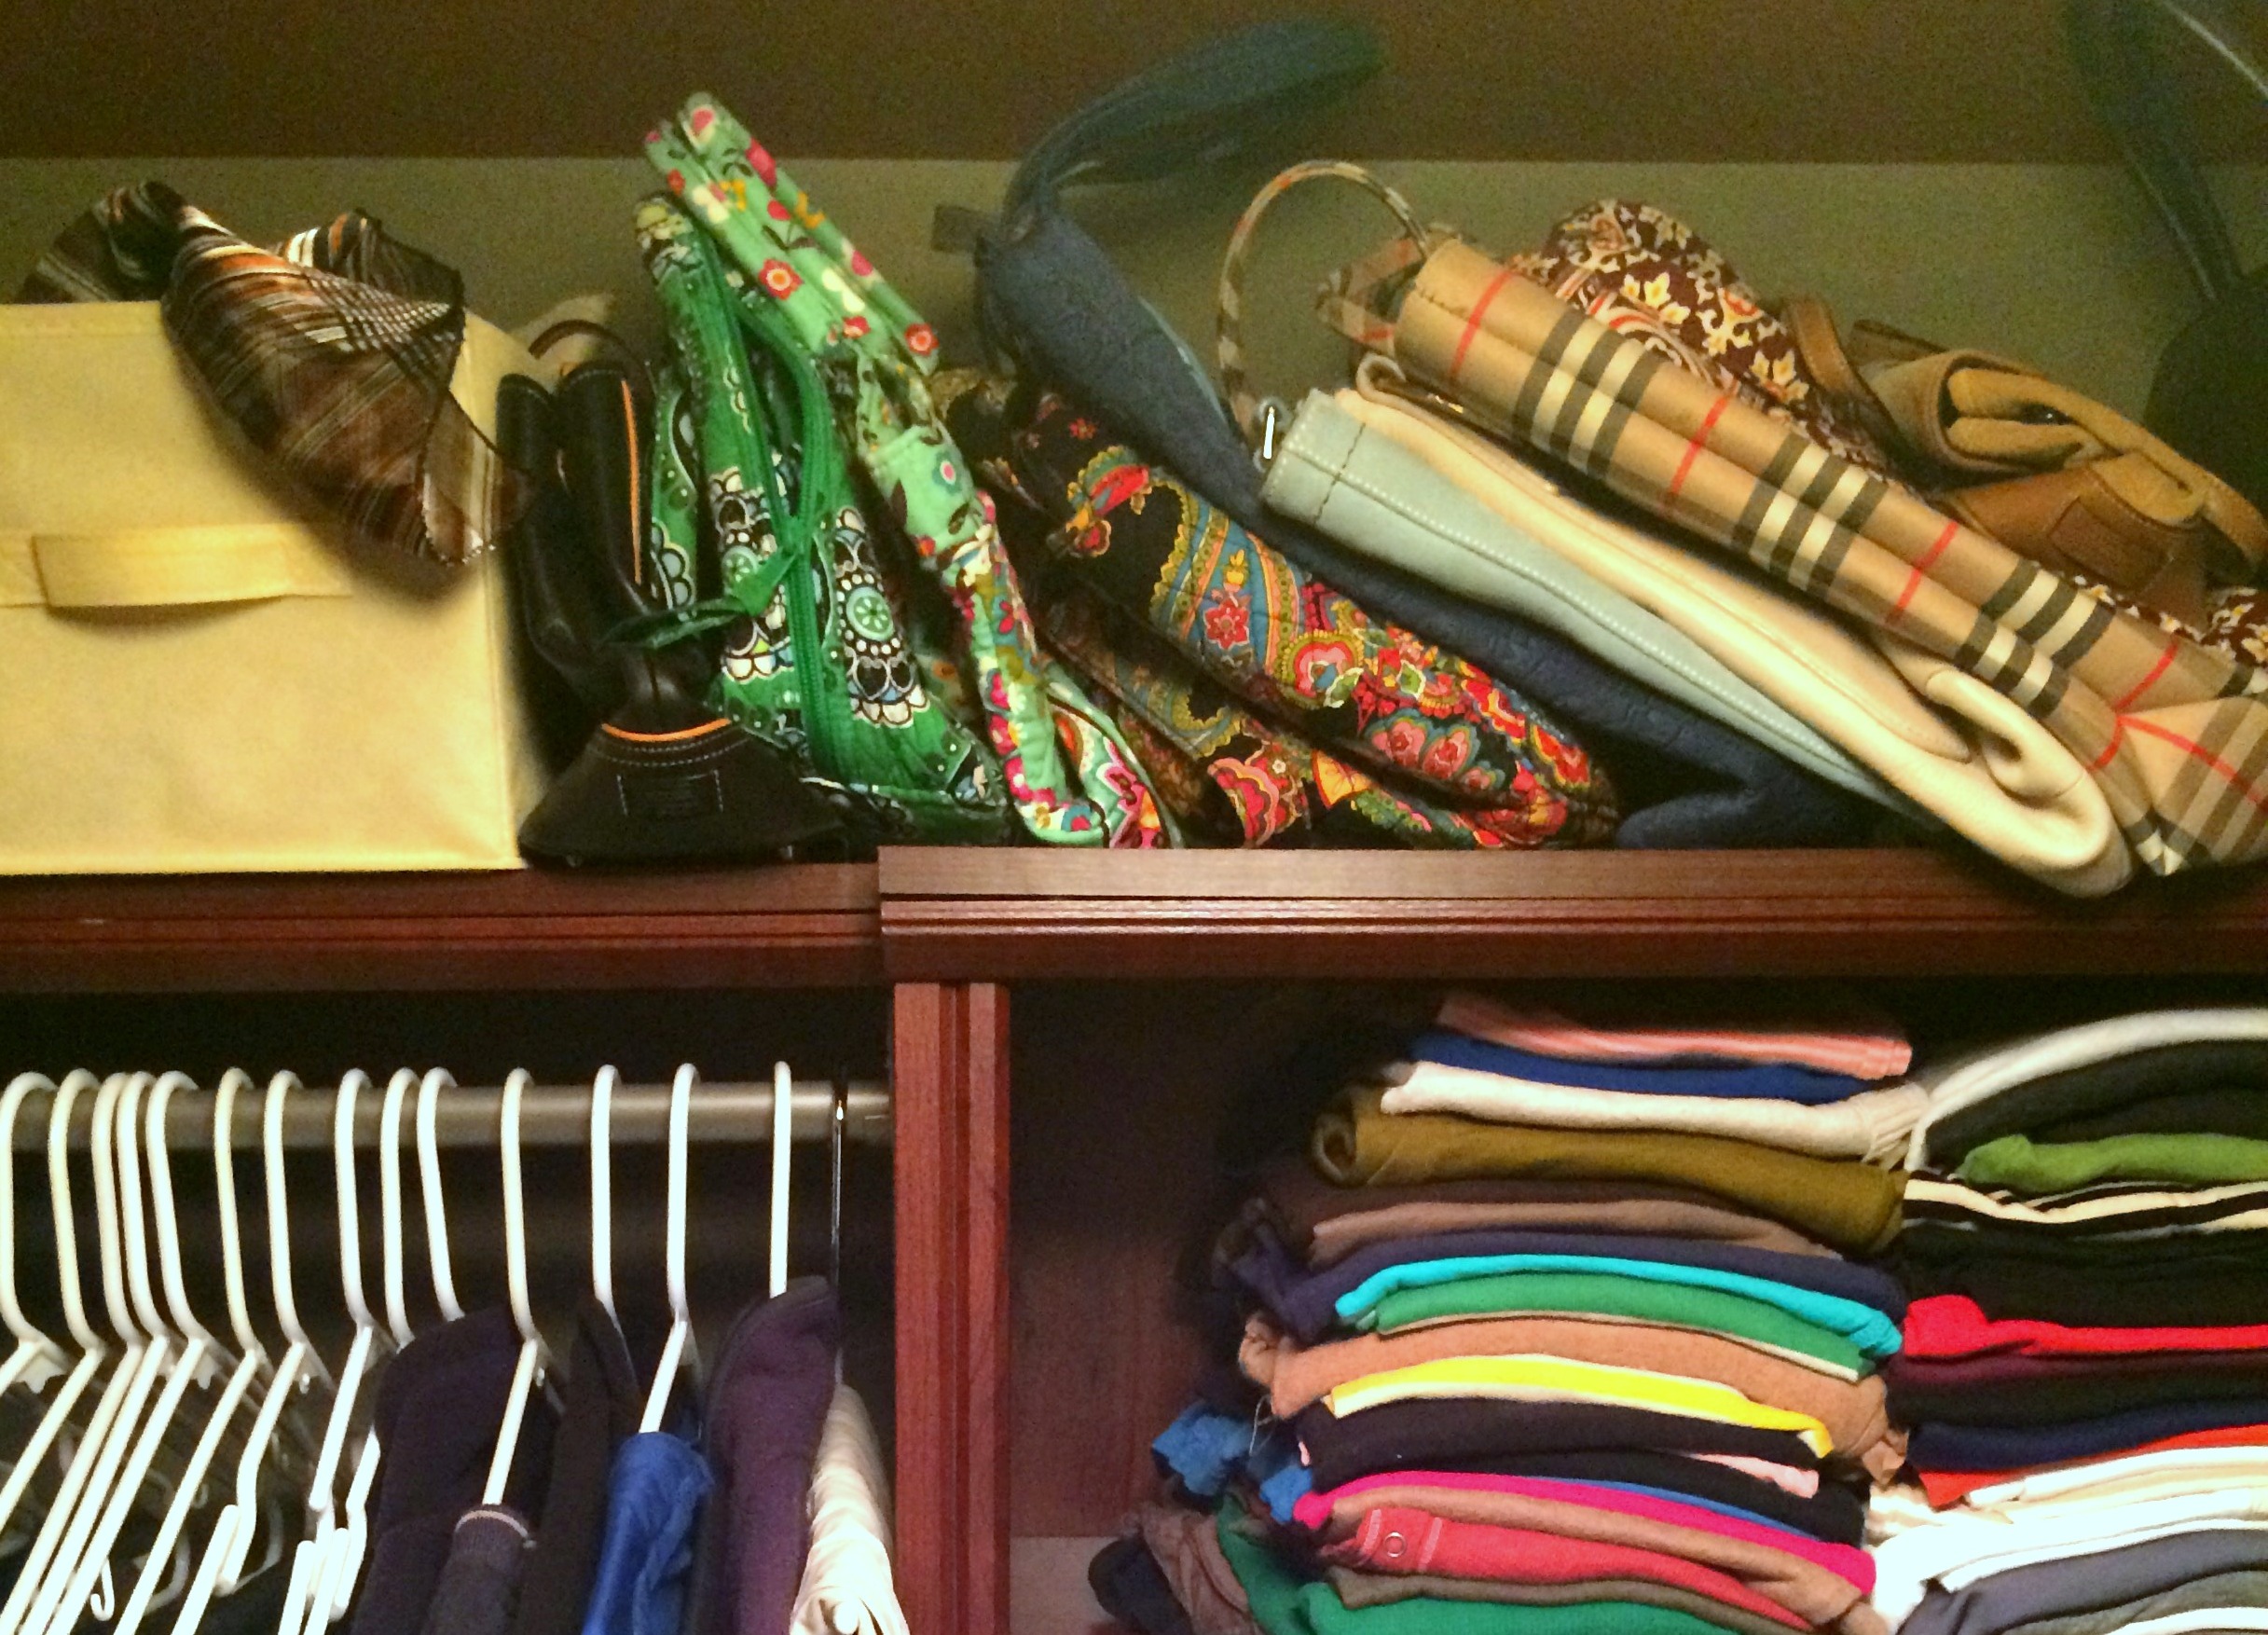
And keep in mind, it doesn’t have to look perfect because the reality is it won’t stay that way for long.  As long as everything you keep is needed and placed/arranged in an orderly way, that is ‘perfect’.  Take a glimpse at my newly organized closet…  To some it may still look a mess, but to me, this is good!  Shirts are together.  Pants are in one section. Scarves are in a bin. Bags are in place.  DONE!

PURGE. TOSS. DONATE. 6 Foolproof Home Organizational Tips that will get you pointed in the right direction NOW!

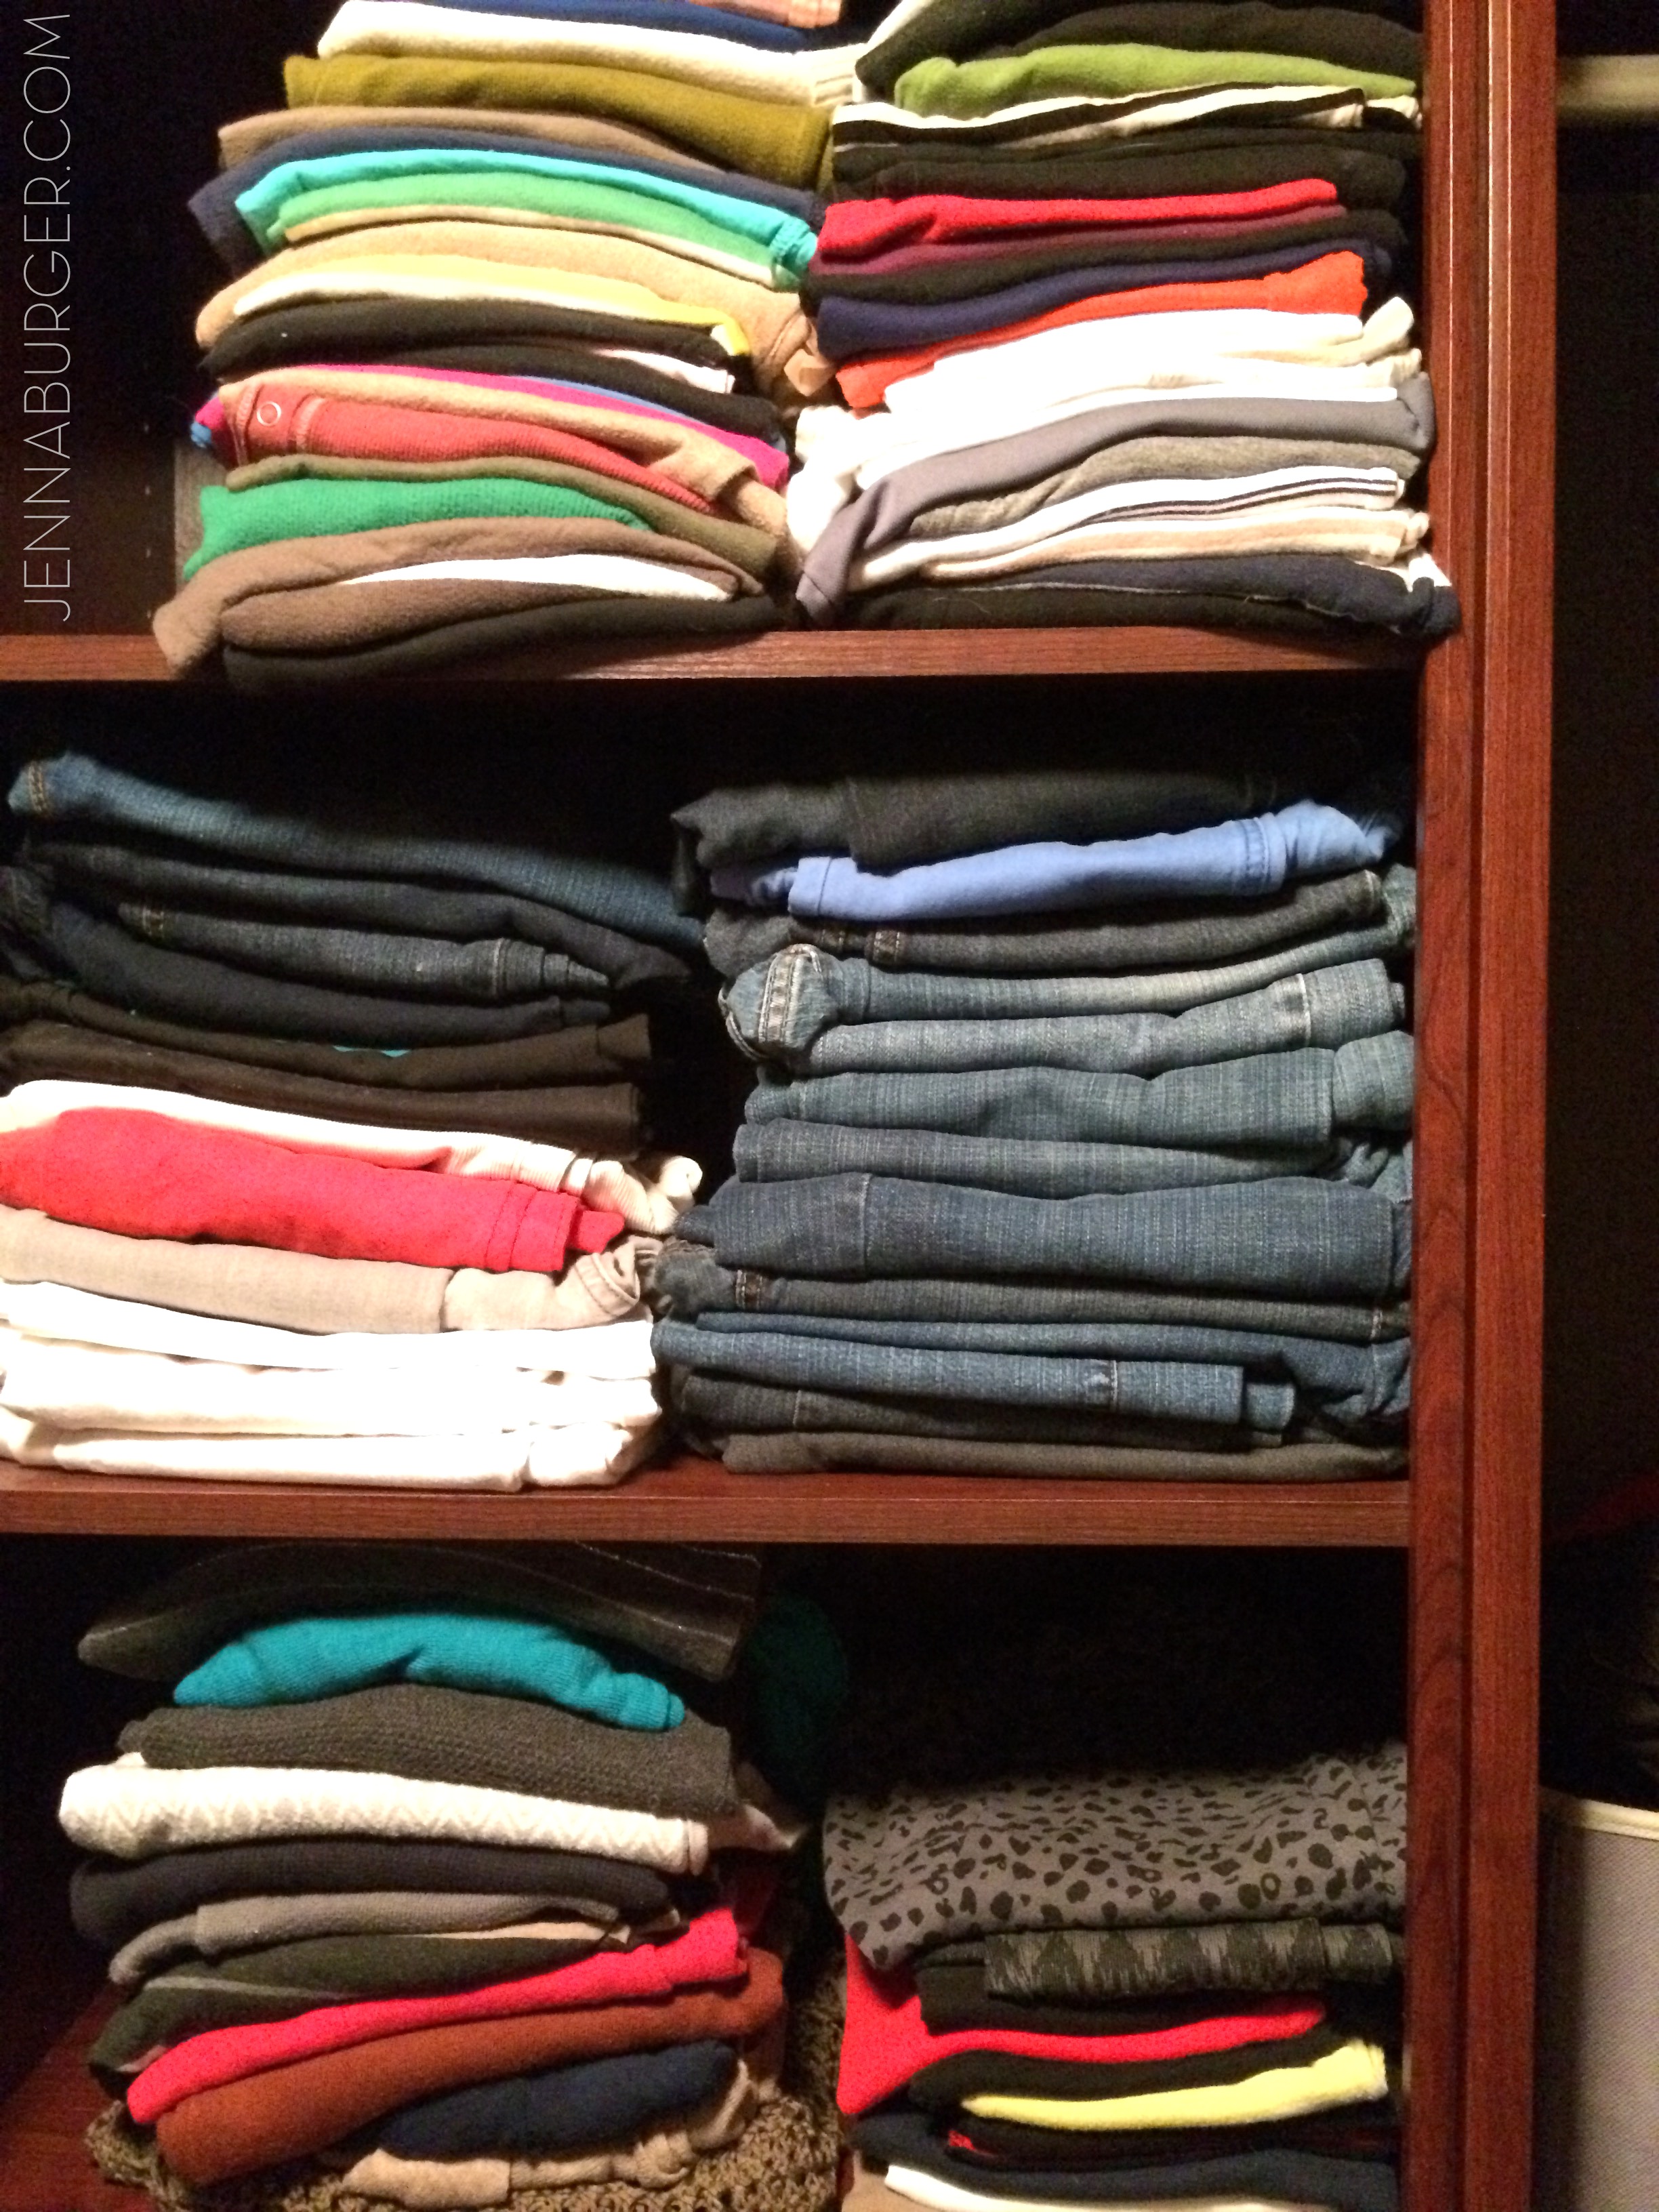
These were snapped with my iphone cam which is why they’re a bit grainy, sorry…

Did I really just share a picture of my closet???

PURGE. TOOSS. DONATE. 6 Foolproof Home Organizational Tips that will get you pointed in the right direction NOW!

5. Go Vertical

Maximize your storage capabilities by using more wall space. Bookshelves are great for going vertical to get things off the ground, thus creating more floor area. In closets, add shelving as high as possible for extra storage of blankets or non-everyday essentials. Add hooks in the entry for additional coat/bookbag storage. Hang additional shelving in the basement and/or garage for more space to put large bins.

Get Organized! For an easy entry upgrade, add built-in coat hooks and wooden crates [easy do it yourself project] www.jennaburger.comour entry coat rack > click for DIY Tutorial

A side tip for you >>> Choose furniture that can serve double duty to save on space!

6. Commit

The most important, but most difficult part of organizing…

Getting organized is one thing, but staying organized is truly a commitment. Once you’re organized, take the extra 10 minutes each day to tidy up and monthly to go through each room to purge any unused items or papers. Each night once the kids are in bed, I make sure all their toys are back in place, the dishes are done, the counters + tables are cleared off.  It’s amazing what 10-15 can do to get the job done rather than piling up day after day!

Decide.  Commit.  Succeed.

Expect that there will be minor setbacks throughout the year (not a biggie), but remaining positive+ focused will help keep you motivated to stay organized.

While the snow is piling up outside, put that overabundance of extra energy and efforts into purging and organizing inside.  The simpler we live, the saner we are! Rid your lives of the clutter and unused things to achieve a more meaningful, organized home.

What ideas / tips / suggestions can you share that keep your home organized + clutter free?

Kitchen Organization: Ideas for the Inside of the Cabinet Doors

Happy Monday!  I was feeling a bit under the weather last week which is why the blog and my other favorite places to share + converse on the ‘net’ – IG, FB, etc – were quiet.  I’m still not feeling 100%, but am excited to share something I’ve been working on lately…  getting my kitchen organized.

For me, organization is a never ending battle.  I never feel like everything completely has a home, but I’ve accepted that and continually try to work towards creating a more efficient, more organized home.

When Lowe’s put to me to the challenge this month to tackle the kitchen, I knew it was a win-win.  To start off, I took a step back to analyze how the space could be more organized and user-friendly for cooking and storage.  I made a few moves of pots and pans, but what I really wanted to put-to-good-use was the insides of the kitchen cabinets. All that vertical space going unused?  The ideas started to flow…

Kitchen Organization: Ideas for storage on the inside of the kitchen cabinets by @Jenna_Burger, WWW.JENNABURGER.COM

My kitchen isn’t small, but it isn’t huge either.  With no pantry or extra storage for food, I’m always thinking about how to best store the food / “pantry items” in the cabinets.  For the most part, we eat real food / very little processed food.  That means no snacks that have to be stored for a long period of time because the food I buy has little “shelf time”.  Good for me, that the food we buy takes up less shelf area.  Bad for me, I go food shopping a lot.

Anyway, there is one large cabinet that all the food is stored in.  It’s a large cabinet at about 30″ wide with (2) doors.  Take a look…

Kitchen Organization: Ideas for storage on the inside of the kitchen cabinets by @Jenna_Burger, WWW.JENNABURGER.COMdon’t you just love peaking into other peoples cabinets??? What are they eating?  What do they buy?  We use a lot of coconut oil – 3 jars right there in front.

Great change, right?!  Nothing from this space had to go, but instead everything was reorganized to be easier to get at in an instant.

Let me show you a bit more of what I did…

On the inside of the left cabinet, I lined the inset panel with stylish geometric patterned contact paper.  Similar to what I did for my TV cabinet back in the Summer.  I purchased the roll of contact paper at TJ Maxx for about $5 – what a great score.

Once I aligned the contact paper on the cabinet and pulled off the backing, I used a straight edge to trim the excess.

Kitchen Organization: Ideas for storage on the inside of the kitchen cabinets by @Jenna_Burger, www.sasinteriors.net

Once the contact paper was adhered, it was time to dress it up.

Before my interior cabinet updo, I never had a great place for spice storage, so that was a major need on my list.  I looked around for pre-made styles, but nothing fit the bill just right, so I made my own.  I’ll show you more on that in an upcoming tutorial, but this is the result…

Kitchen Organization: Ideas for storage on the inside of the kitchen cabinets by @Jenna_Burger,WWW.JENNABURGER.COM

For less than $8, I created 2 fit-to-size wood spice racks.

Kitchen Organization: Ideas for storage on the inside of the kitchen cabinets by @Jenna_Burger, WWW.JENNABURGER.COM

At the top of the interior of the cabinet, I added a half round piece of trim, which I then added metal screw-in hooks to.

Kitchen Organization: Ideas for storage on the inside of the kitchen cabinets by @Jenna_Burger, WWW.JENNABURGER.COM

I attached the half round piece of trim + the newly made wood spice holders using a very very very strong adhesive – Loctite Epoxy Instant Mix.  Basically it’s two formulas that mix together and provide a major adhesive mixture. DO NOT TOUCH IT.  I carefully applied the mixture to the back of the trim and spice holder, then placed it on the interior of the cabinet.  I held it in place for about 3-5 minutes until it was completely adhered to the surface.  I will be honest, the wood started to slide a few times, but I was close by and slid it back into place.  There are other epoxy mixtures that dry even quicker – 1 minute of less.

DIY: Wood Spice Rach Holder for inside the kitchen cabinets; Less than $8 to make, in 15 minutes by @Jenna_Burger, WWW.JENNABURGER.COM

It really is the perfect spot to hang many of the kitchen utensils.  Here’s the result…

Kitchen Organization: Ideas for storage on the inside of the kitchen cabinets by @Jenna_Burger, WWW.JENNABURGER.COM

Kitchen Organization: Ideas for storage on the inside of the kitchen cabinets by @Jenna_Burger, WWW.JENNABURGER.COM

Heading over to the other cabinet, the right side, I added a decorative magnetic metal sheet that I found at Lowe’s and adhered it to the inset panel with 3M 77 Multipurpose Adhesive.  I sprayed the adhesive outside on a towel and then ran brought it indoors and positioned it.  All went to plan and my fingers only stuck together a little, phew…

Kitchen Organization: Ideas for storage on the inside of the kitchen cabinets by @Jenna_Burger, WWW.JENNABURGER.COM

Having the magnetic sheet on the inside of the cabinet door has been GREAT! This large vertical spot is great to keep my grocery list, to do’s with the kids, and of course our random chinese fortunes…

Kitchen Organization: Ideas for storage on the inside of the kitchen cabinets by @Jenna_Burger, WWW.JENNABURGER.COM

For the interior of the cabinets, I took everything out and simply organized it all.  Well, it wasn’t simple, but it sure was worth it!  For things that could be grouped – like snacks, baking supplies, medicines, teas, etc. – I added bins and labeled them with washi tape.  So easy.  The bins are from ClosetMaid available at Target and they are leftovers from when I reorganized the kids rooms.  They are the ideal size for a typical kitchen cabinet.

For the rest of the food items, I grouped them and organized them as I saw best for how / when I would use them.  Really no rhyme or reason…

Kitchen Organization: Ideas for storage on the inside of the kitchen cabinets by @Jenna_Burger, WWW.JENNABURGER.COM

On to the other large cabinet, the space that holds ALL the dishes.  Another material that I thought would be extra helpful in staying organized in the kitchen was cork.  I purchased a roll of cork and double layered it, then added it to the inside panel of the cabinet interior, again using the 3M Multipurpose Adhesive.

Kitchen Organization: Ideas for storage on the inside of the kitchen cabinets by @Jenna_Burger, WWW.JENNABURGER.COM

This is such a great spot for the school calendar, plus random coupons, and reminders.  I also use the cork board when following a recipe.  I pin it on the board and it’s right in front ready to follow as I’m prepping.

Also on this inside cabinet, I added another half round trim piece for added storage.  Right now all I have is a pin with a pen hanging, but it can be used for so many other things.  Maybe more kitchen utensils???

Here is the result of my kitchen organization, with all the doors open…

Kitchen Organization: Ideas for storage on the inside of the kitchen cabinets by @Jenna_Burger, WWW.JENNABURGER.COM

Inside and out, I’m loving this space.

If you haven’t been following along with my blog from the beginning, you might not know that I redid the entire kitchen by hand (total down-and-dirty do it yourself) a little over 2 years ago.  It included painting cabinets, painting the countertop, adding backsplash tile, adding decorative brackets,and more.  See the before and after by clicking here.

I’m still on a path for more organization, but I feel one step closer to a more efficient space.  On to the next room…

I truly love using every square inch of a space.  Vertical surfaces often are forgotten as the ideal spot for storage.  If you use all the interiors of your kitchen cabinets, how much more could you store??  Ask yourself.

To gather even more unique, fun, and creative ideas for your indoor and outdoor Fall and Winter spaces, I would definitely suggest downloading the Lowe’s Creative Ideas app on the iphone and ipad.  I’m always checking out the FREE app for great seasonal + do-it-yourself inspiration.

Lowes Creative Idea Network Creator & Influencer

Also consider following Lowe’s on Facebook, Pinterest, and Instagram as well.

 Disclosure: I am part of the Lowe’s Creative Team and was provided with a Lowe’s gift card to purchase items for my project.  I was also compensated for my time to use the products.  No one told me what to create, what to buy, how to use the product, or what to write.  All opinions are 100% mine! Fall Blogger Badge 1

  • 1
  • 2