Tag: Holiday Mantel

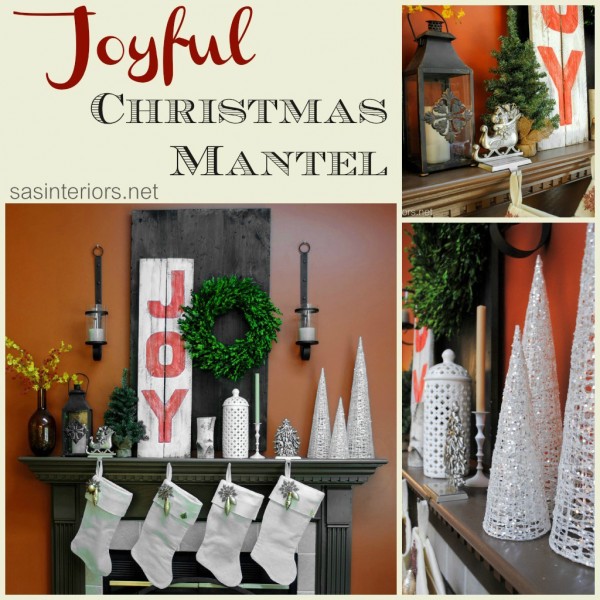
JOYful Christmas Mantel

The hustle and bustle of the Holidays are in full swing, but I was able to step back from the craziness of it all this past weekend to revamp my mantel and deck it out for Christmas.

As a Blogger, I feel so lucky to have a platform to share my new creations.  When the time comes to create a new mantel composition, I push myself to always try something new and different, and raise the bar from the previous year.  Thus the result of my new JOYful Christmas Mantel…

Like with every mantel, I cleared off all the decor from my Fall mantel so I could see the space free and clear!  This always helps start the ball-rolling for my latest montage.  I’ll tell you, I don’t usually go into decorating my mantels (or many areas of my home) with a plan.  Once I see a blank slate, somehow it all starts coming together.

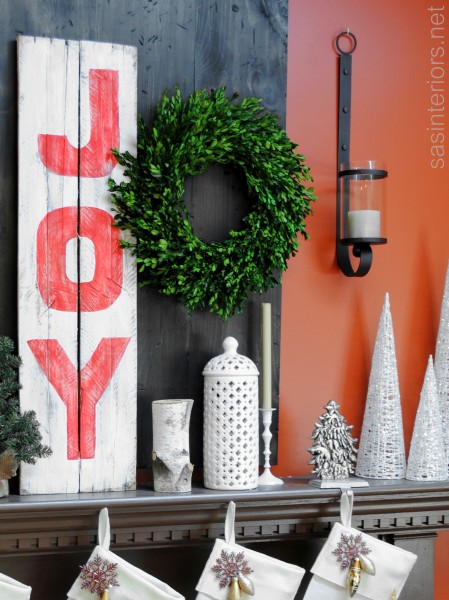
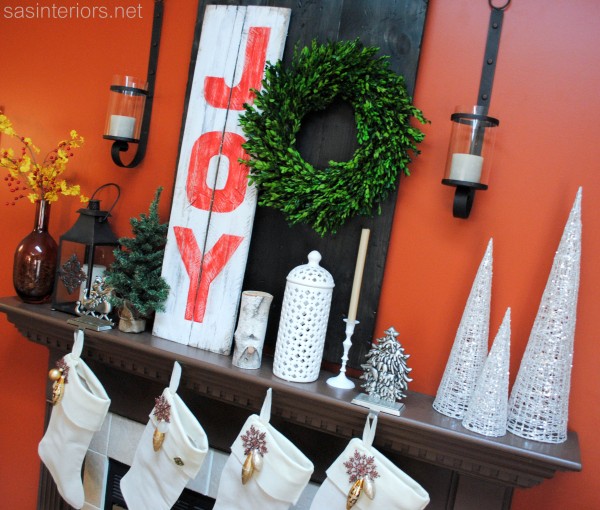
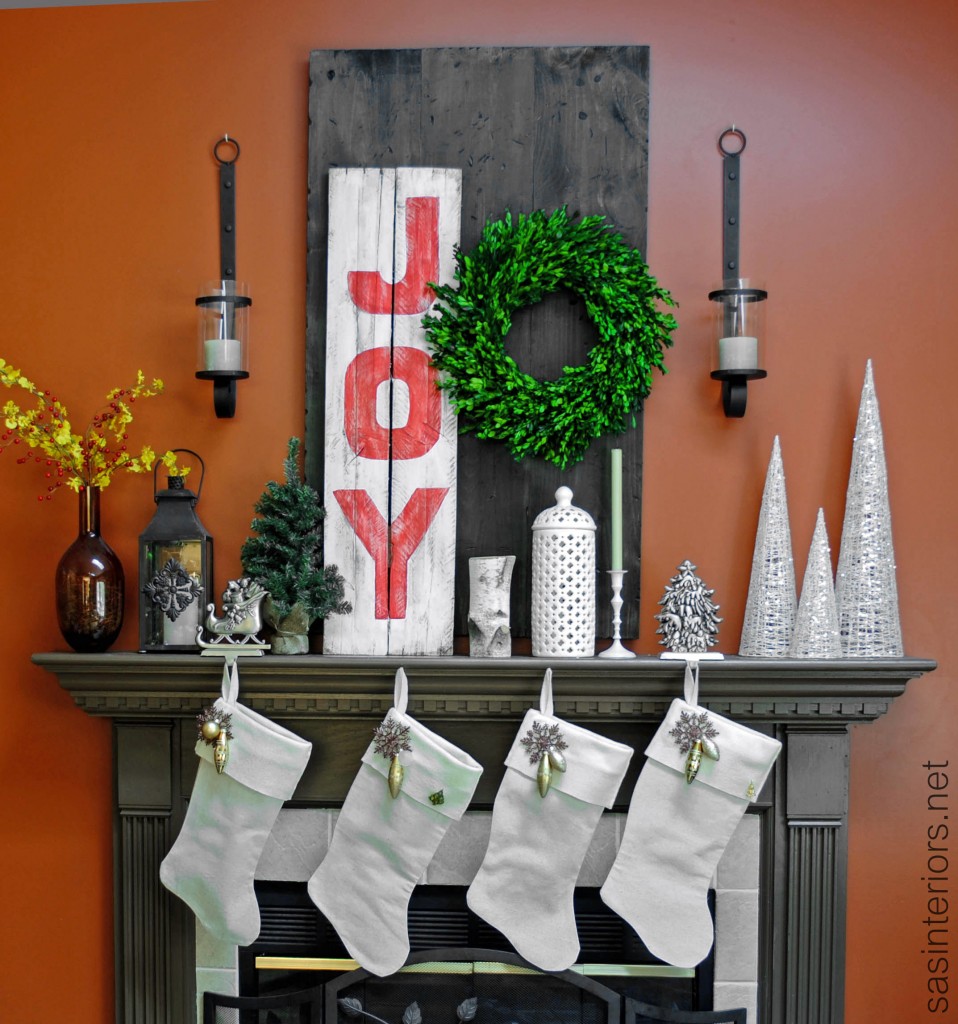
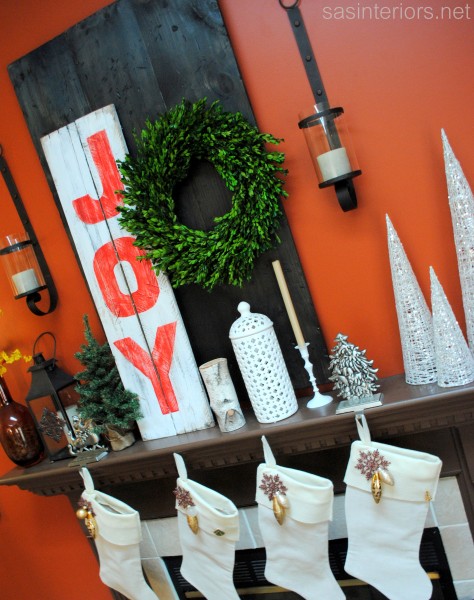
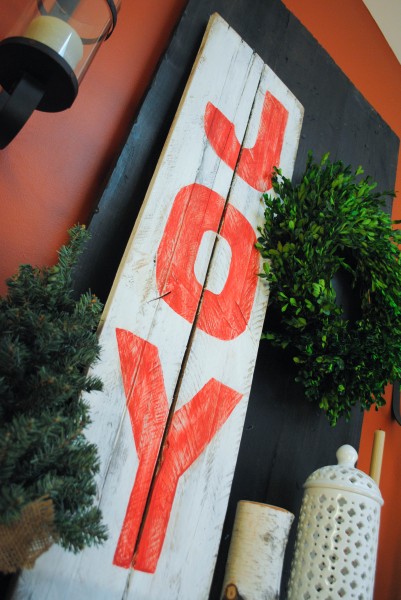
I will say though, I’ve had the idea to create this JOY sign for a while.  I thought it would look beautiful leaning against the new ebony stained wood board backdrop. Thankfully all came together and I’m so pleased with the result – I’ll be sharing a quick and easy tutorial on how I created the sign very soon.

Going for an asymmetrical look,  I added a gorgeous boxwood wreath next to the JOYful sign.  I scored this totally faux, but looks totally real, wreath at Lowe’s – I’m in love, I’m in love, I’m in love.  I love decorating with boxwood and cedar branches, and when I saw this, I grabbed it.  Well actually I thought about making it at first, but after figuring out the cost, this was a better deal.

In creating the mantel, I mixed in a few Christmas elements with a few non-Holiday pieces.  I couldn’t dare put away my fabulous white ginger jar that I enjoy looking at everyday, so of course there it is… (along with my easy-peasy presto-chango-with-spray-paint candle stick).  And I think they look great amongst everything else.

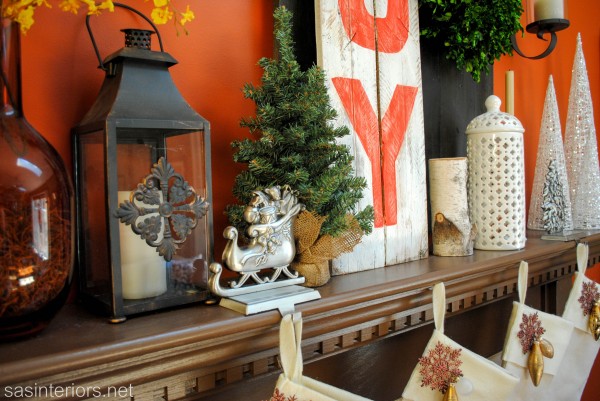
Some of the fun, festive decor that I added around it are the:  three sparkly mod Christmas trees, two brushed nickel Christmas stocking holders (which I got forever ago from Target), and one piece of birch log.

My burnt orange wall is a show-stopper in itself, but I always like to add a burst of color in another way.  With this mantel, I brought in a pop of yellow with a few sprigs of forsythia (totally wrong flower for the season, but I love the yellow with the red in the JOY sign).  In the same vase, I added some faux red berries.  Yellow + Red = Perfect Compliment!

The mantel is simple, elegant, and festive.  O, I truly wish you could see it in person!

The drop cloth and felt stockings are still a favorite of mine.  I made them last year and added metallic gold ornaments to give a little accent.

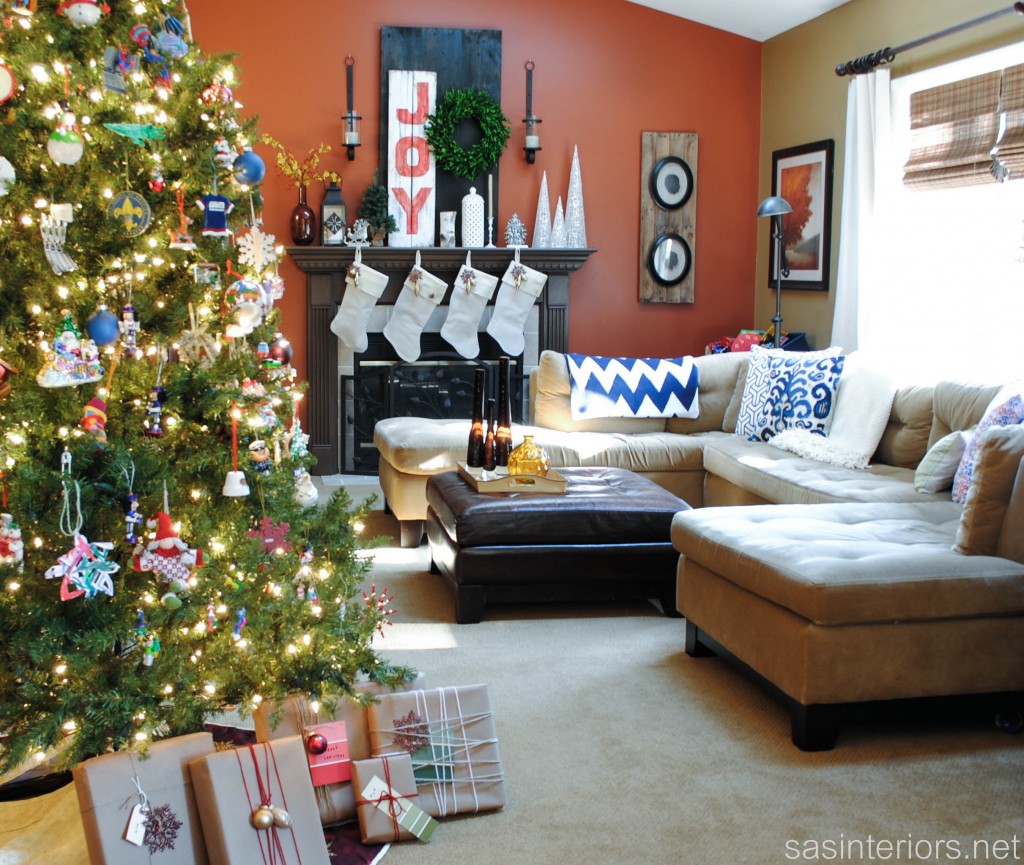
And here’s the overall space…

O, how I love thee!

Thanks for taking a tour of my Christmas Mantel 2012.  Similar to my recent tablescape creation, I mixed in items from around my home with dollar store deals and DIY projects.

Have you decorated your mantel for Christmas yet?  If so, please share the link below so I can visit. 

Looking for tips on how to decorate a mantel? {click here}

I link my projects to some of these parties: Skip to My Lou, Dittle Dattle, Between Naps on the Porch, Today’s Creative Blog, Stories of A to Z, All Things Heart & Home, House of Hepworths, Finding Fabulous, The Shabby Nest, Serenity Now, Tatertots and Jello, Thrifty Decor Chick, Tip Junkie
Holiday Mantel and Table Centerpiece

I know I said a couple of weeks ago that I wasn’t in the Christmas Spirit, but now I finally am!   Last weekend, after our bellies were stuffed with Turkey, we started transforming the house from the Fall / Thanksgiving decor over to Christmas.  I’m not sure why I was so reluctant at first and unprepared for the changing season, but o well, it’s past me and I’m excited for some Holiday Cheer!

The center and focal point of our home is the fireplace (yes, the one on the burnt orange wall), and again it has been decked for the Holidays!  I was quite anxious to get started on the mantel because I knew exactly what I wanted to use and how I envisioned it to look.  I was thrilled with the result of my Fall centerpiece creation and wanted to use the log as the focal point for this year’s Christmas mantel.

Here is a simple run-down of how I created the log.

  1. Find a log of any length that you desire (My log is about 4′ long)
  2. Using a 1.5″ drill bit, drill holes into the log every 5-6″
  3. Insert tea lights or battery-operated candles into the holes.
  4. It’s ready to decorate for any season!

Back to the mantel…

Once I placed the log on the mantel, I simply started layering.  I used faux greenery for the base, then added some natural cut greenery from trees in my backyard throughout.

Then, I took faux berries (purchased at the craft store) and incorporated them throughout the greenery.  Because they are bendable, they are easy to work with.  After that came the final touches…  Ornaments, pinecones, and some other branches and twigs from the outdoors.

It was complete in no time!  This Holiday log decor on the fireplace mantel makes for a beautiful focal point.

Once it was complete, I had to add stockings, of course!  As a family of 4, we’ve never had matching stocks and they’ve always been on my to-do list to make.  I whipped out my sewing machine and a few hours later, added beautiful new stockings to the decor!  I’ll share a tutorial on that later in the week.

We really enjoy how the stockings are hung by the chimney with care

These stockings look kind of plain, but I jazzed them up yesterday…stay tuned and I’ll share more this week!

Part 2 of this post

I had to share this with you too…

Before deciding to decorate the mantel using the log, I was actually planning to display it on the dining room table similar to the fall centerpiece.  Since we use our dining table everyday, it was BEAUTIFUL, but not practical because the natural greenery sheds alot (forewarning).  On the fireplace it works because it’s not moved everyday.

Using the same technique as decorating the mantel, I layered greenery, branches, berries, and pinecones, then finished the centerpiece with decorative ornaments.  If you want to see more on this creation, I shared this project on my TV debut on Fox 23.

Complete with the handmade stenciled drop cloth placemats I made a few weeks ago, the table is set for Christmas!

The Holiday decorating continues…I’ve got many more projects and ideas to come during this countdown to Christmas!   If you’re looking for ideas on some do-it-yourself creations, head over to the Holiday section of Daily Do It Yourself.

I link my projects to some of these parties: Skip to My Lou, Dittle Dattle, Between Naps on the Porch, Today’s Creative Blog, Stories of A to Z, All Things Heart & Home, Savvy Southern Style, House of Hepworths, Finding Fabulous, Creation Corner, The Shabby Nest, Tatertots and Jello, Thrifty Decor Chick, Under the Table & Dreaming