Laundry Room “Closet” {Reveal}
If you didn’t see yesterday’s post, you have to read that first. This is one of those makeovers where… you have to see the ‘before’ to truly appreciate the ‘after’.
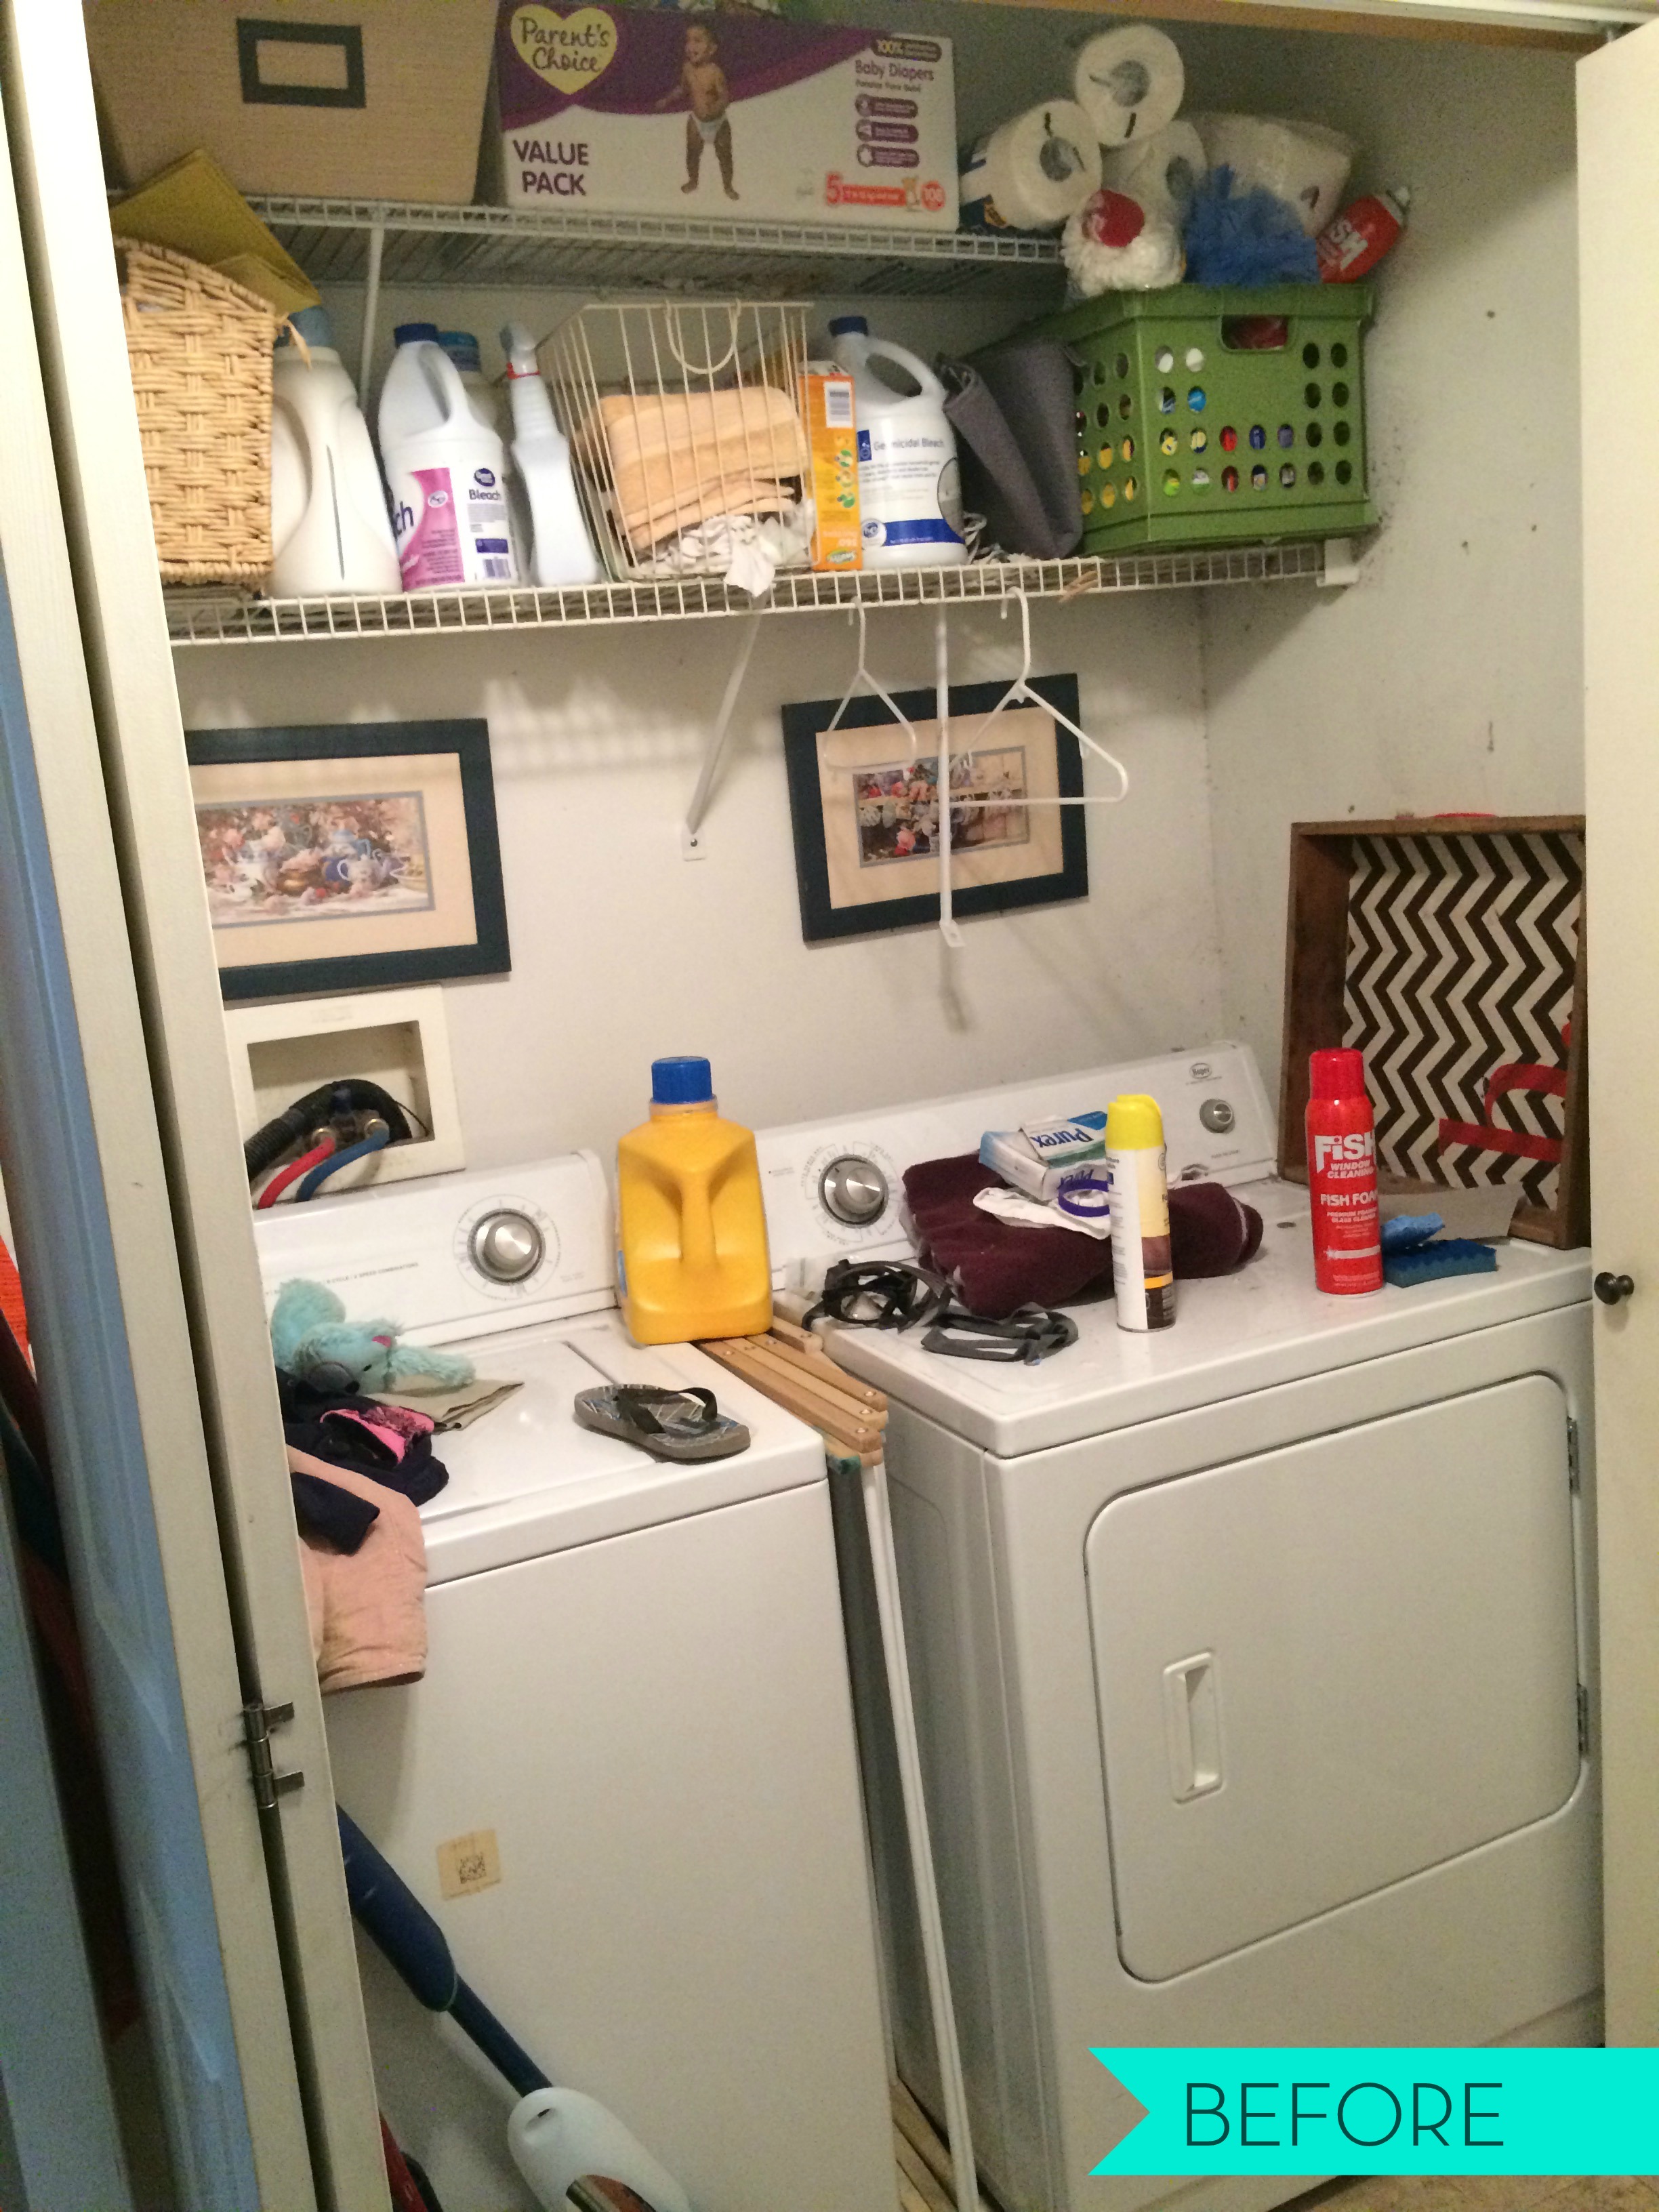
As I mentioned in yesterday’s post, last weekend was a busy one around the ole’ homestead. In between activities for the kids + prepping the outdoor gardens for new flowers, we also tackled a revamp to the laundry room (aka the laundry closet because it is just that… a 4′-6″ wide x 2′ deep space).
Our home isn’t huge and the laundry isn’t lavish, but it’s a space that is used A LOT & needs to be as functional as possible. Sadly over the weeks, months (and probably even years), it’s become a dropping zone for everything from clothes (obviously), tools, paper goods, cleaning supplies, etc. You name it and it was probably piled high on top of the dryer or on one of the above shelves. Honestly Embarrassing how messy it was! The space was REALLY in need of love + attention.
No more chit-chat, here is the result of our weekend DIY Laundry Revamp…
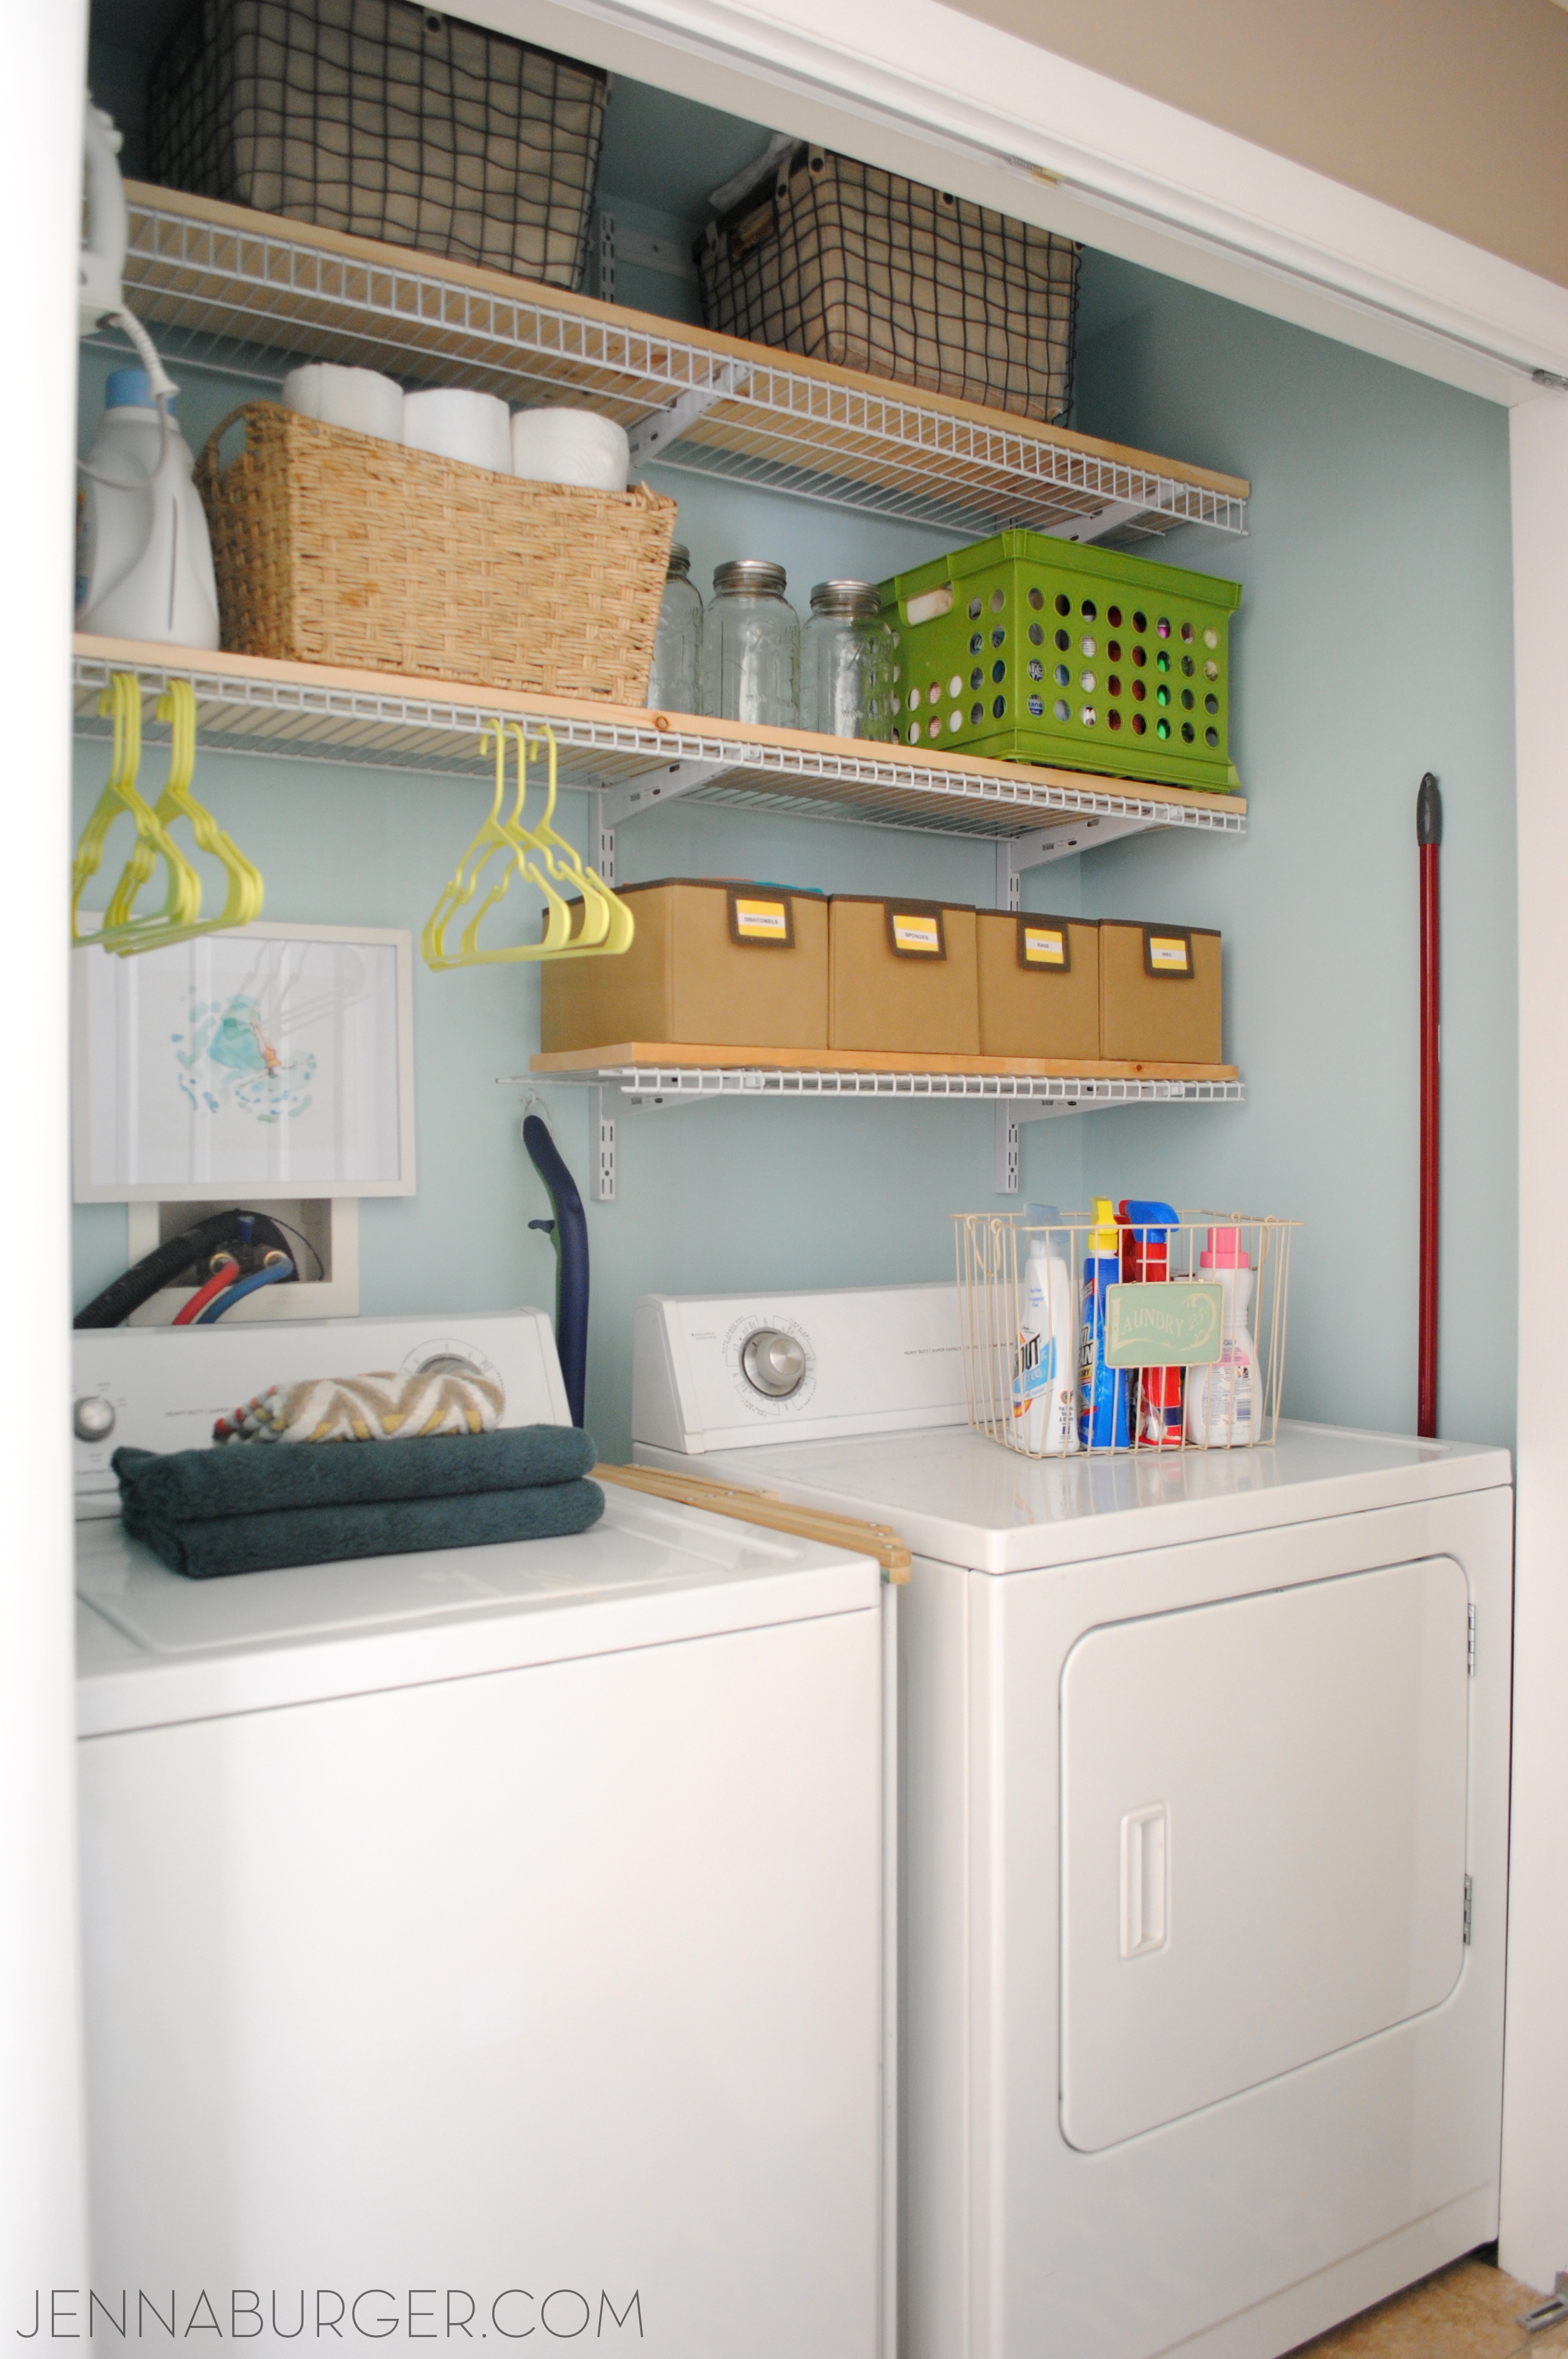
What a change!
Light. Airy. Functional. Pretty. Organized.
Our laundry area gets a lot of use and with it being right off the foyer, it’s a space that holds more than a typical laundry area. Not only do we wash + dry + hang clothes in this “closet”, but it’s also a storage spot for dishtowels, cleaning supplies, rags, napkins + paper towels, tablecloths, paper goods (paper plates, cups, plastic ware), and more.
A view from the foyer…
 [tutorial for how I created a Kids Art Display on our garage entry door]
When revamping this space, I started off by making a list of what was working and what wasn’t (guess which list was longer…).
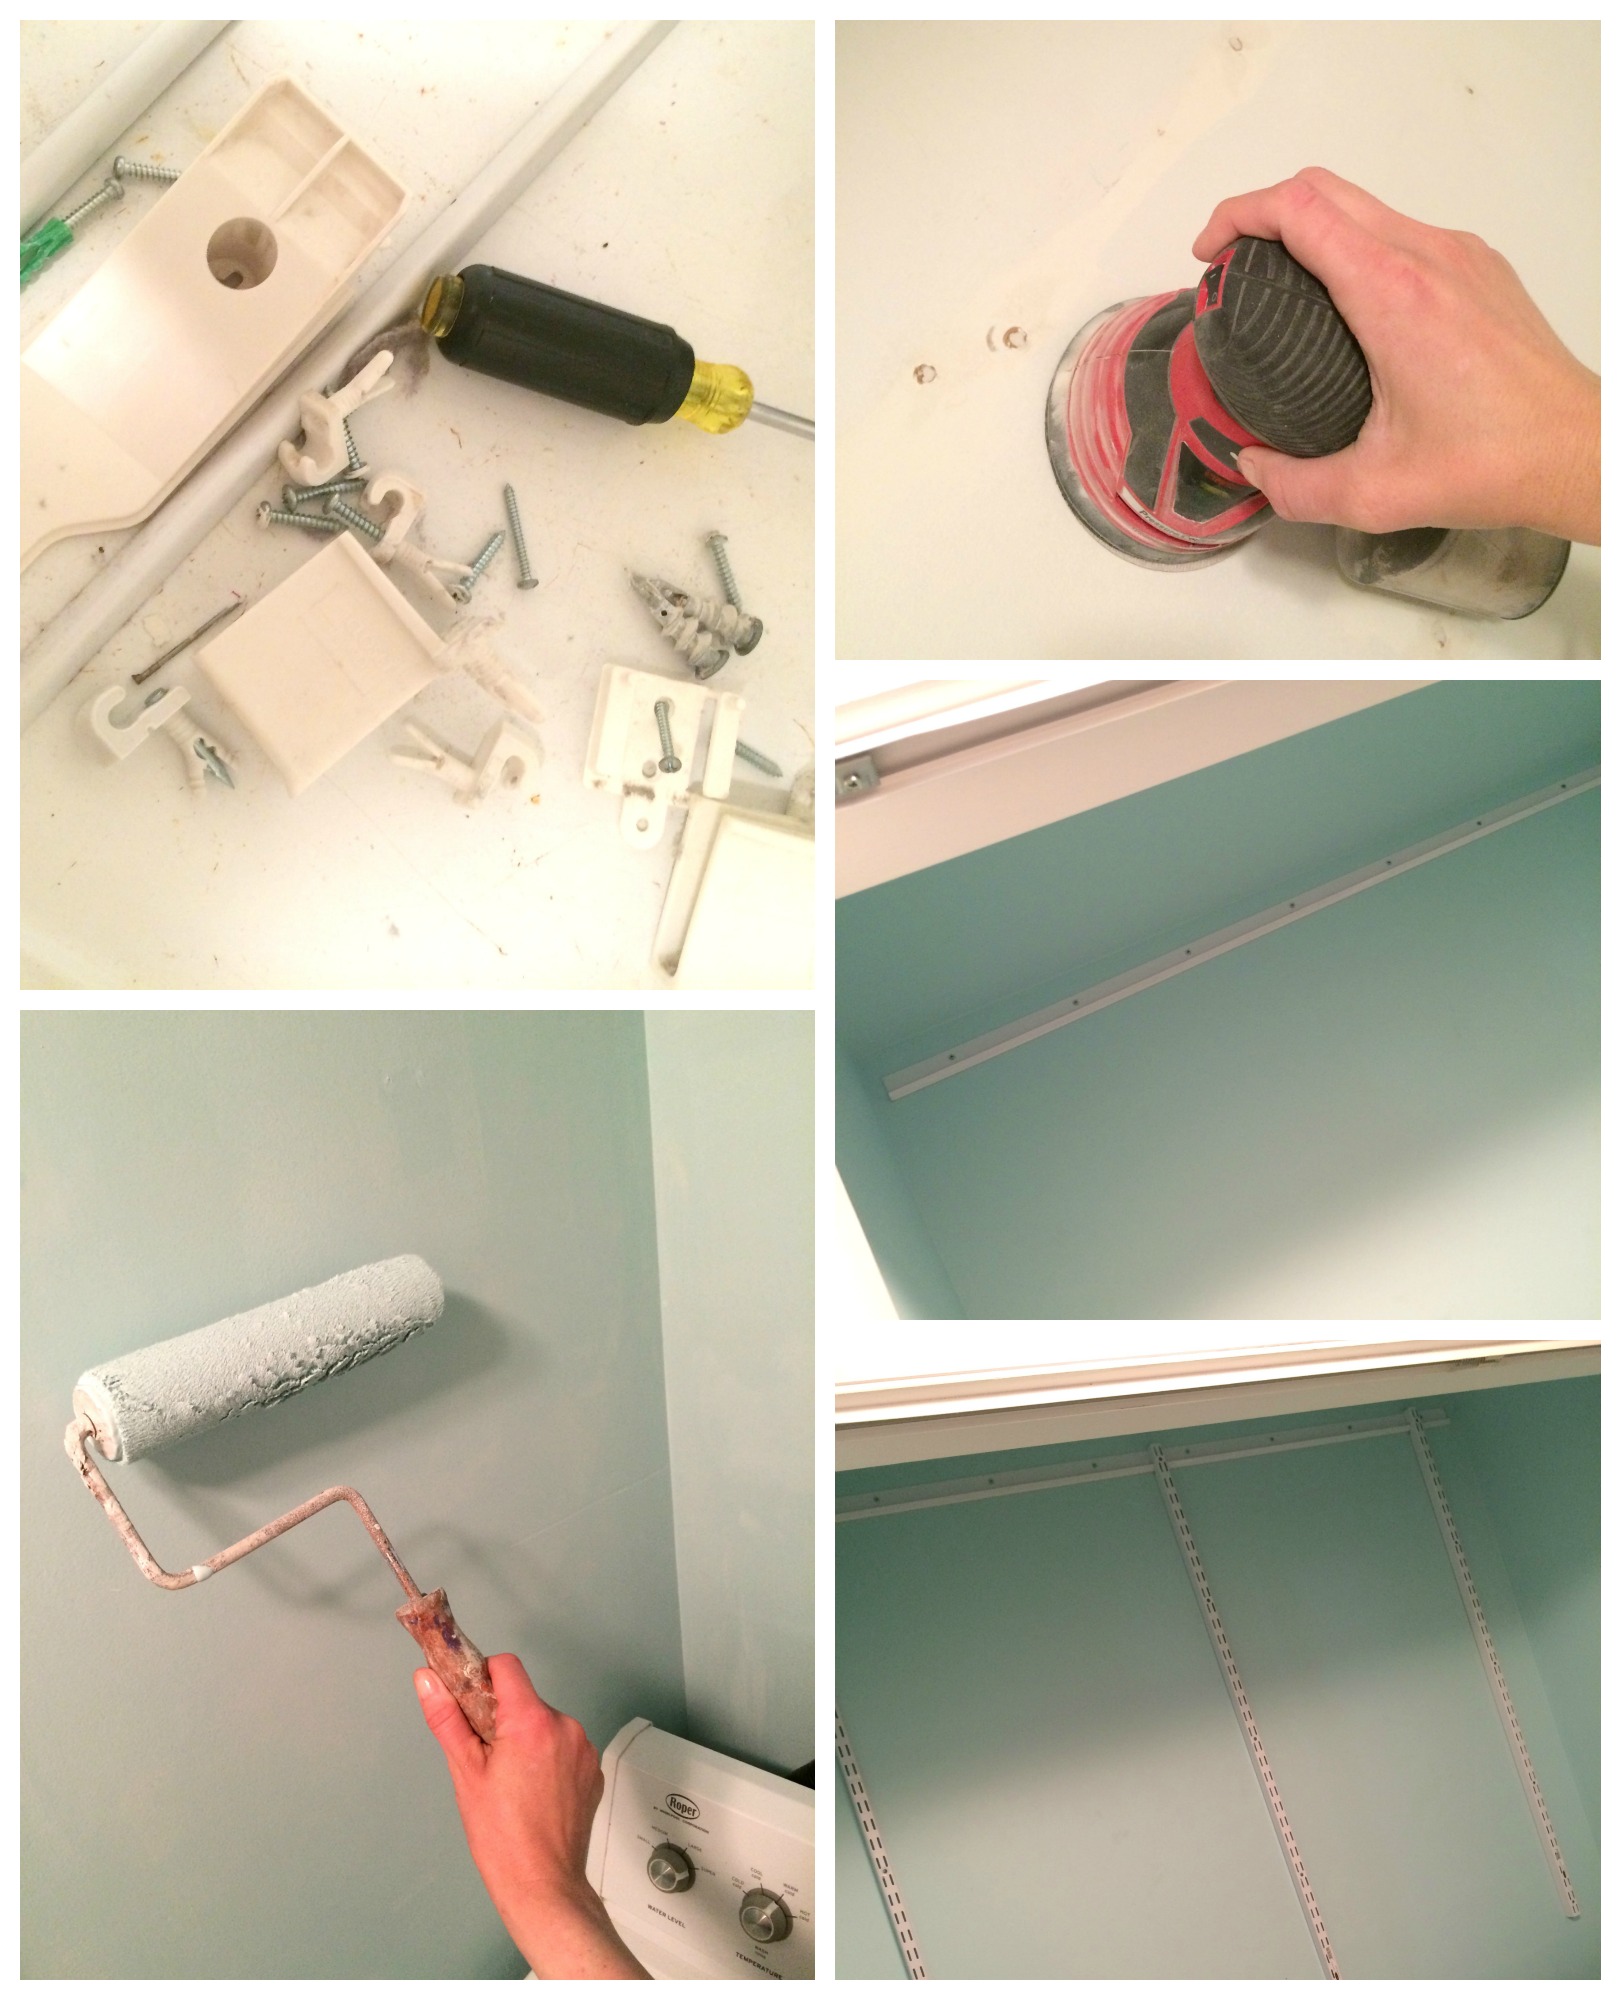
Then I removed all the existing shelving.
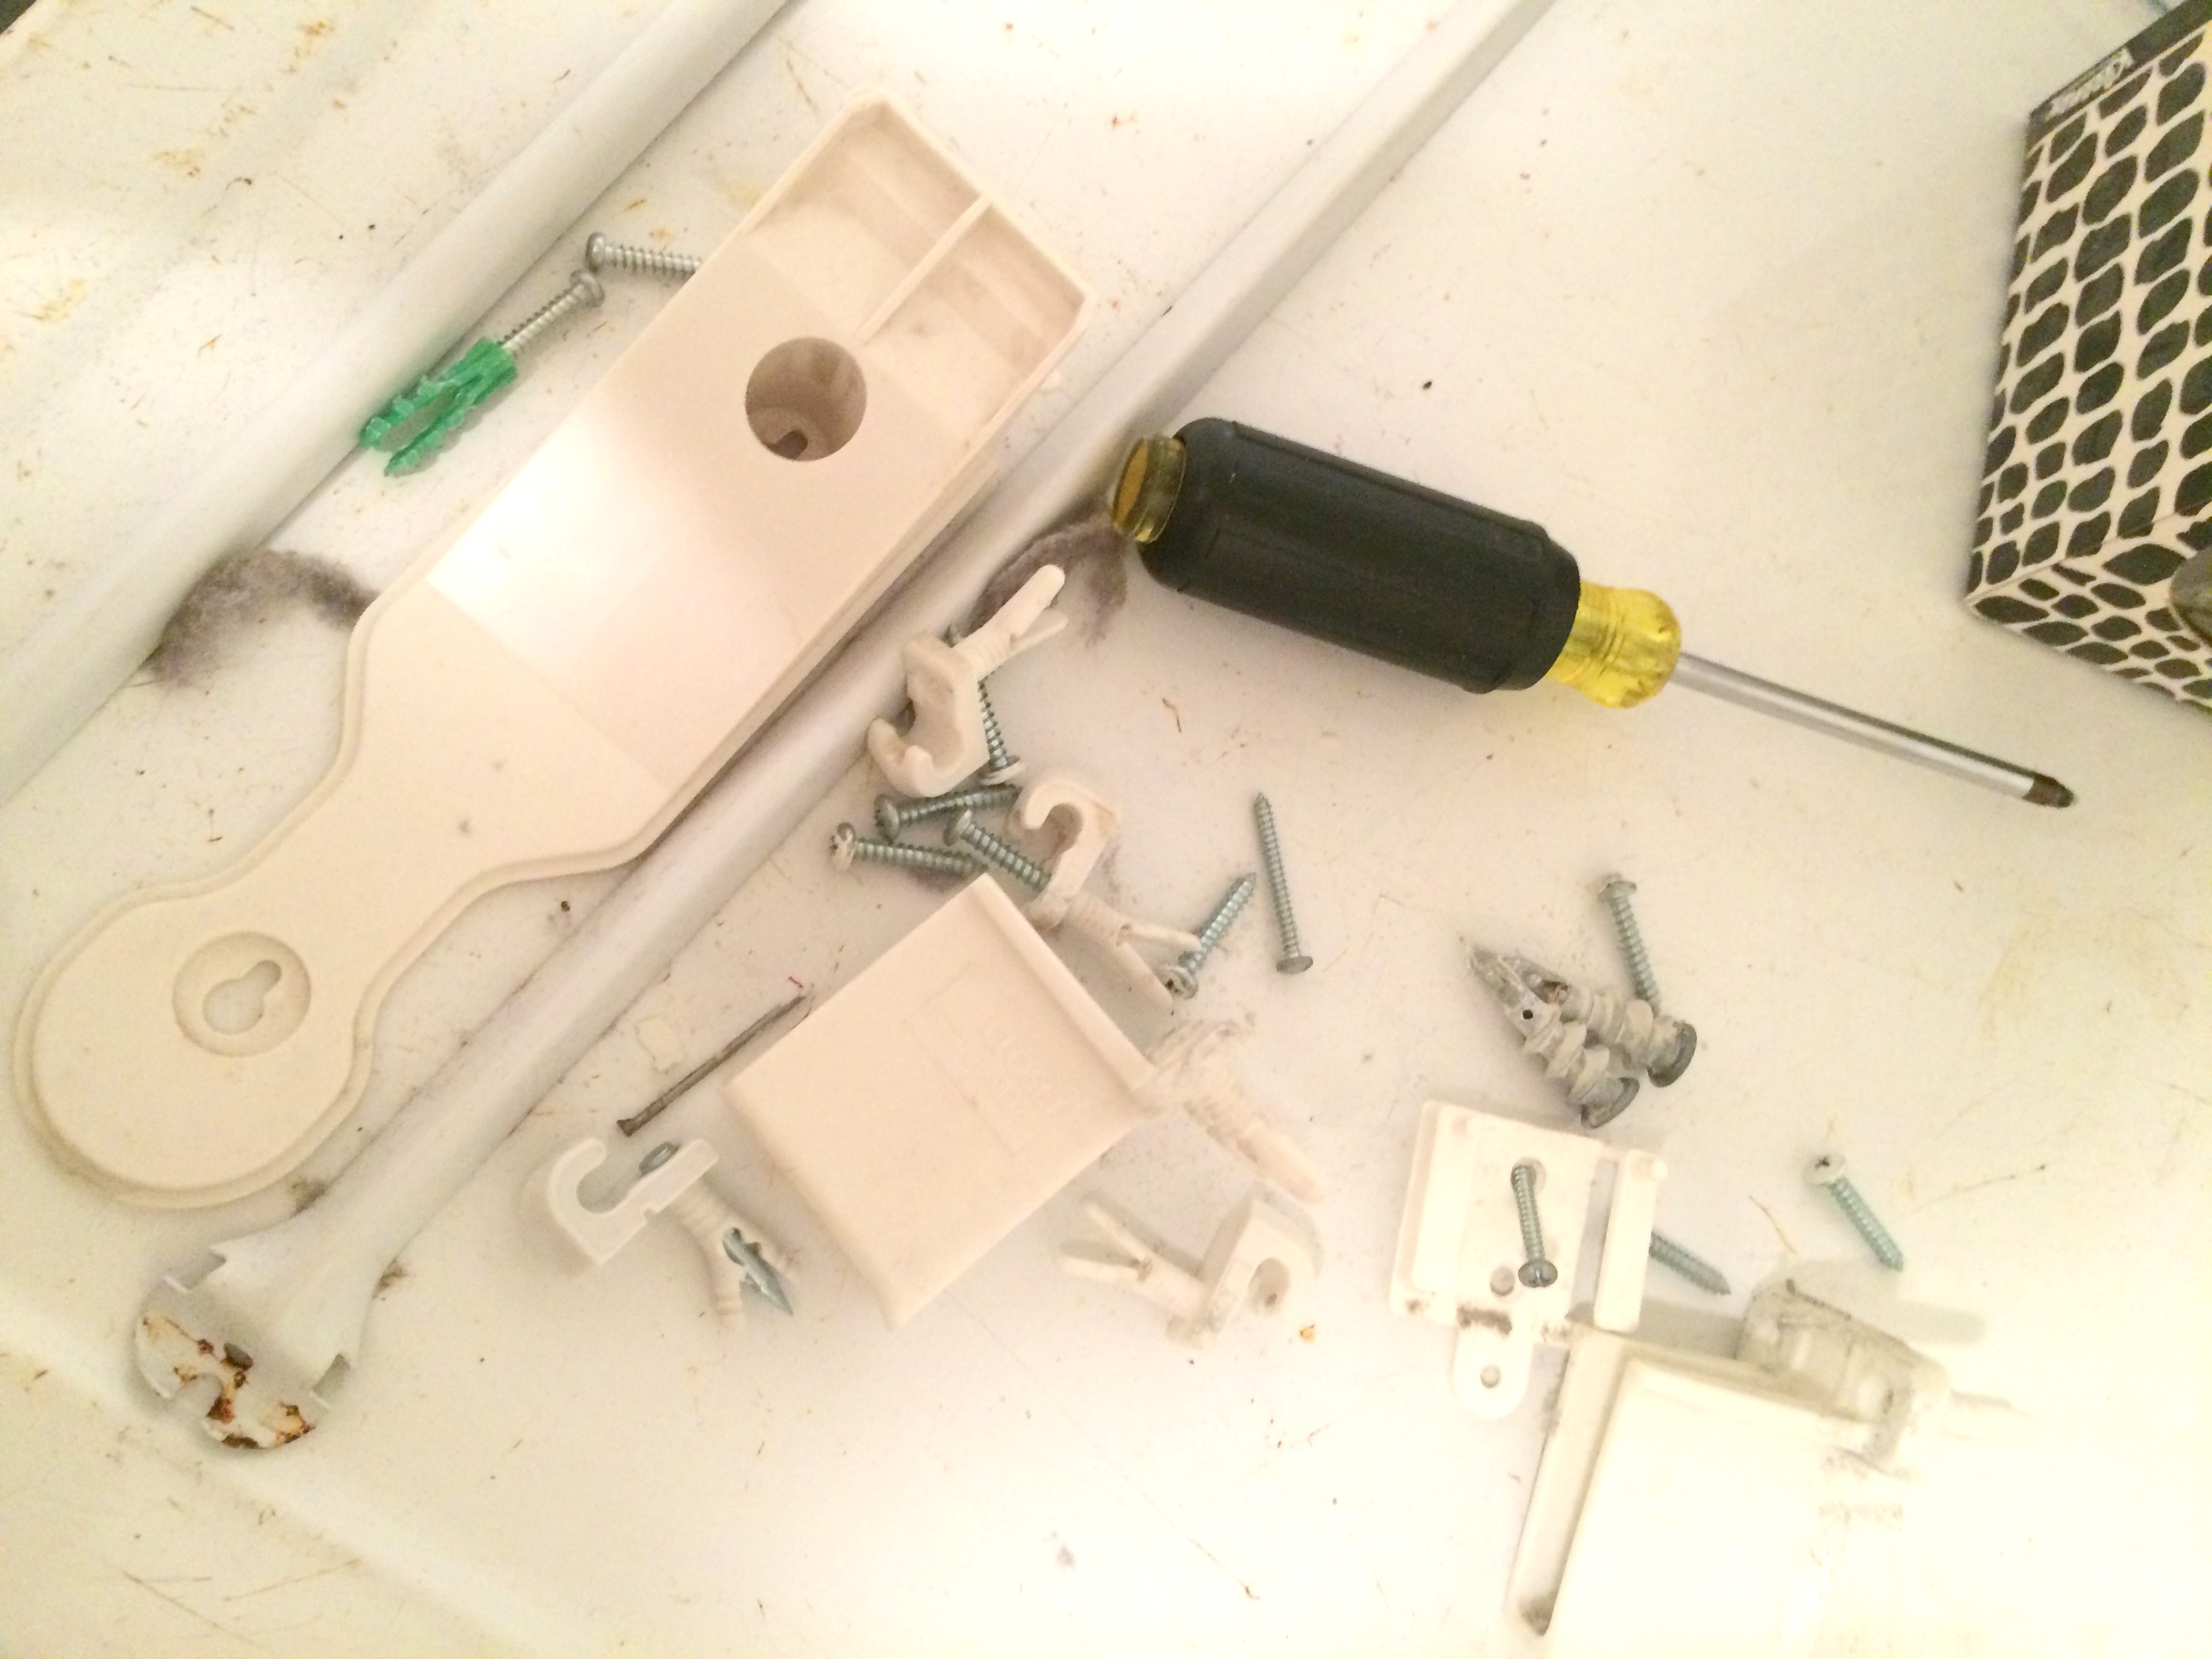
Followed by cleaning the walls (we had a dryer issue a few months ago that left our walls full of lint – it’s since been fixed), spackling the holes, and sanding them.
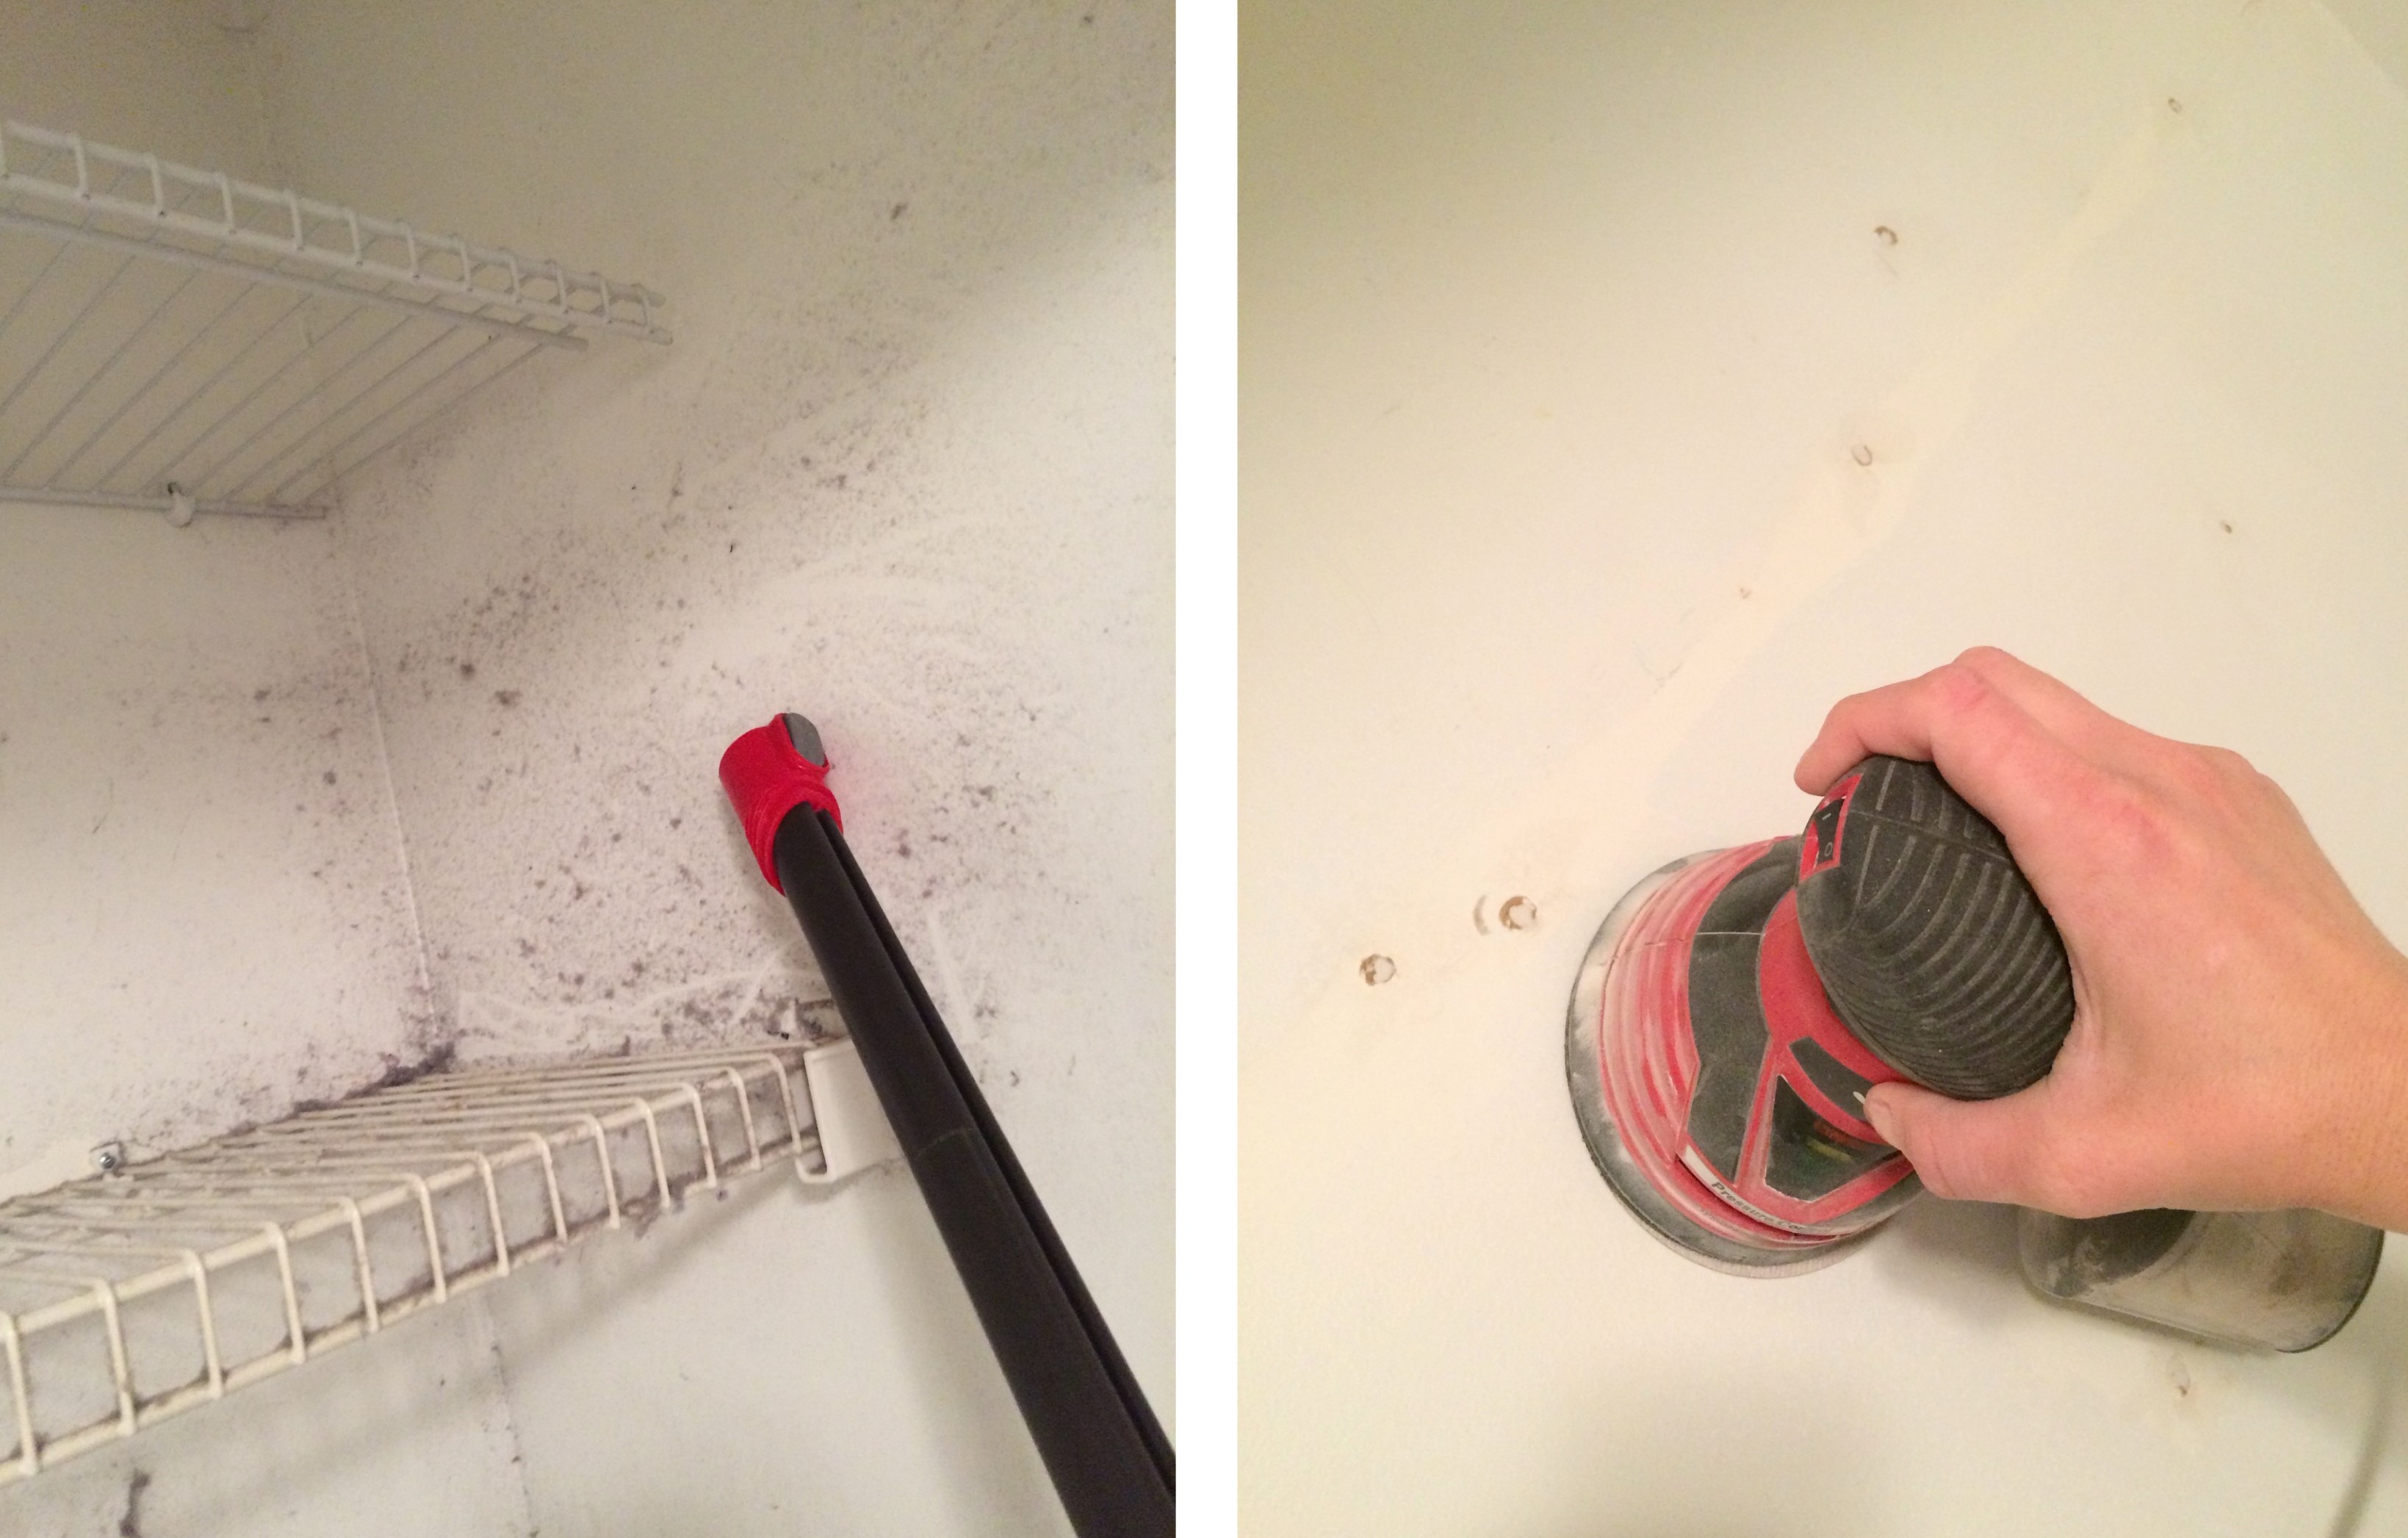
Once the walls were clean, I was ready to paint (the Mister helped too – gotta give him props for helping me out 😉

After the two coats of paint were applied to the walls, I installed the top rail of the closet system that I got at Lowe’s. I love these types of closet systems because the installation takes little time (the top rail took about 15 minutes total to install). Once the top rail was in, I hung the uprights off of it (no install needed) and then attached the shelves.

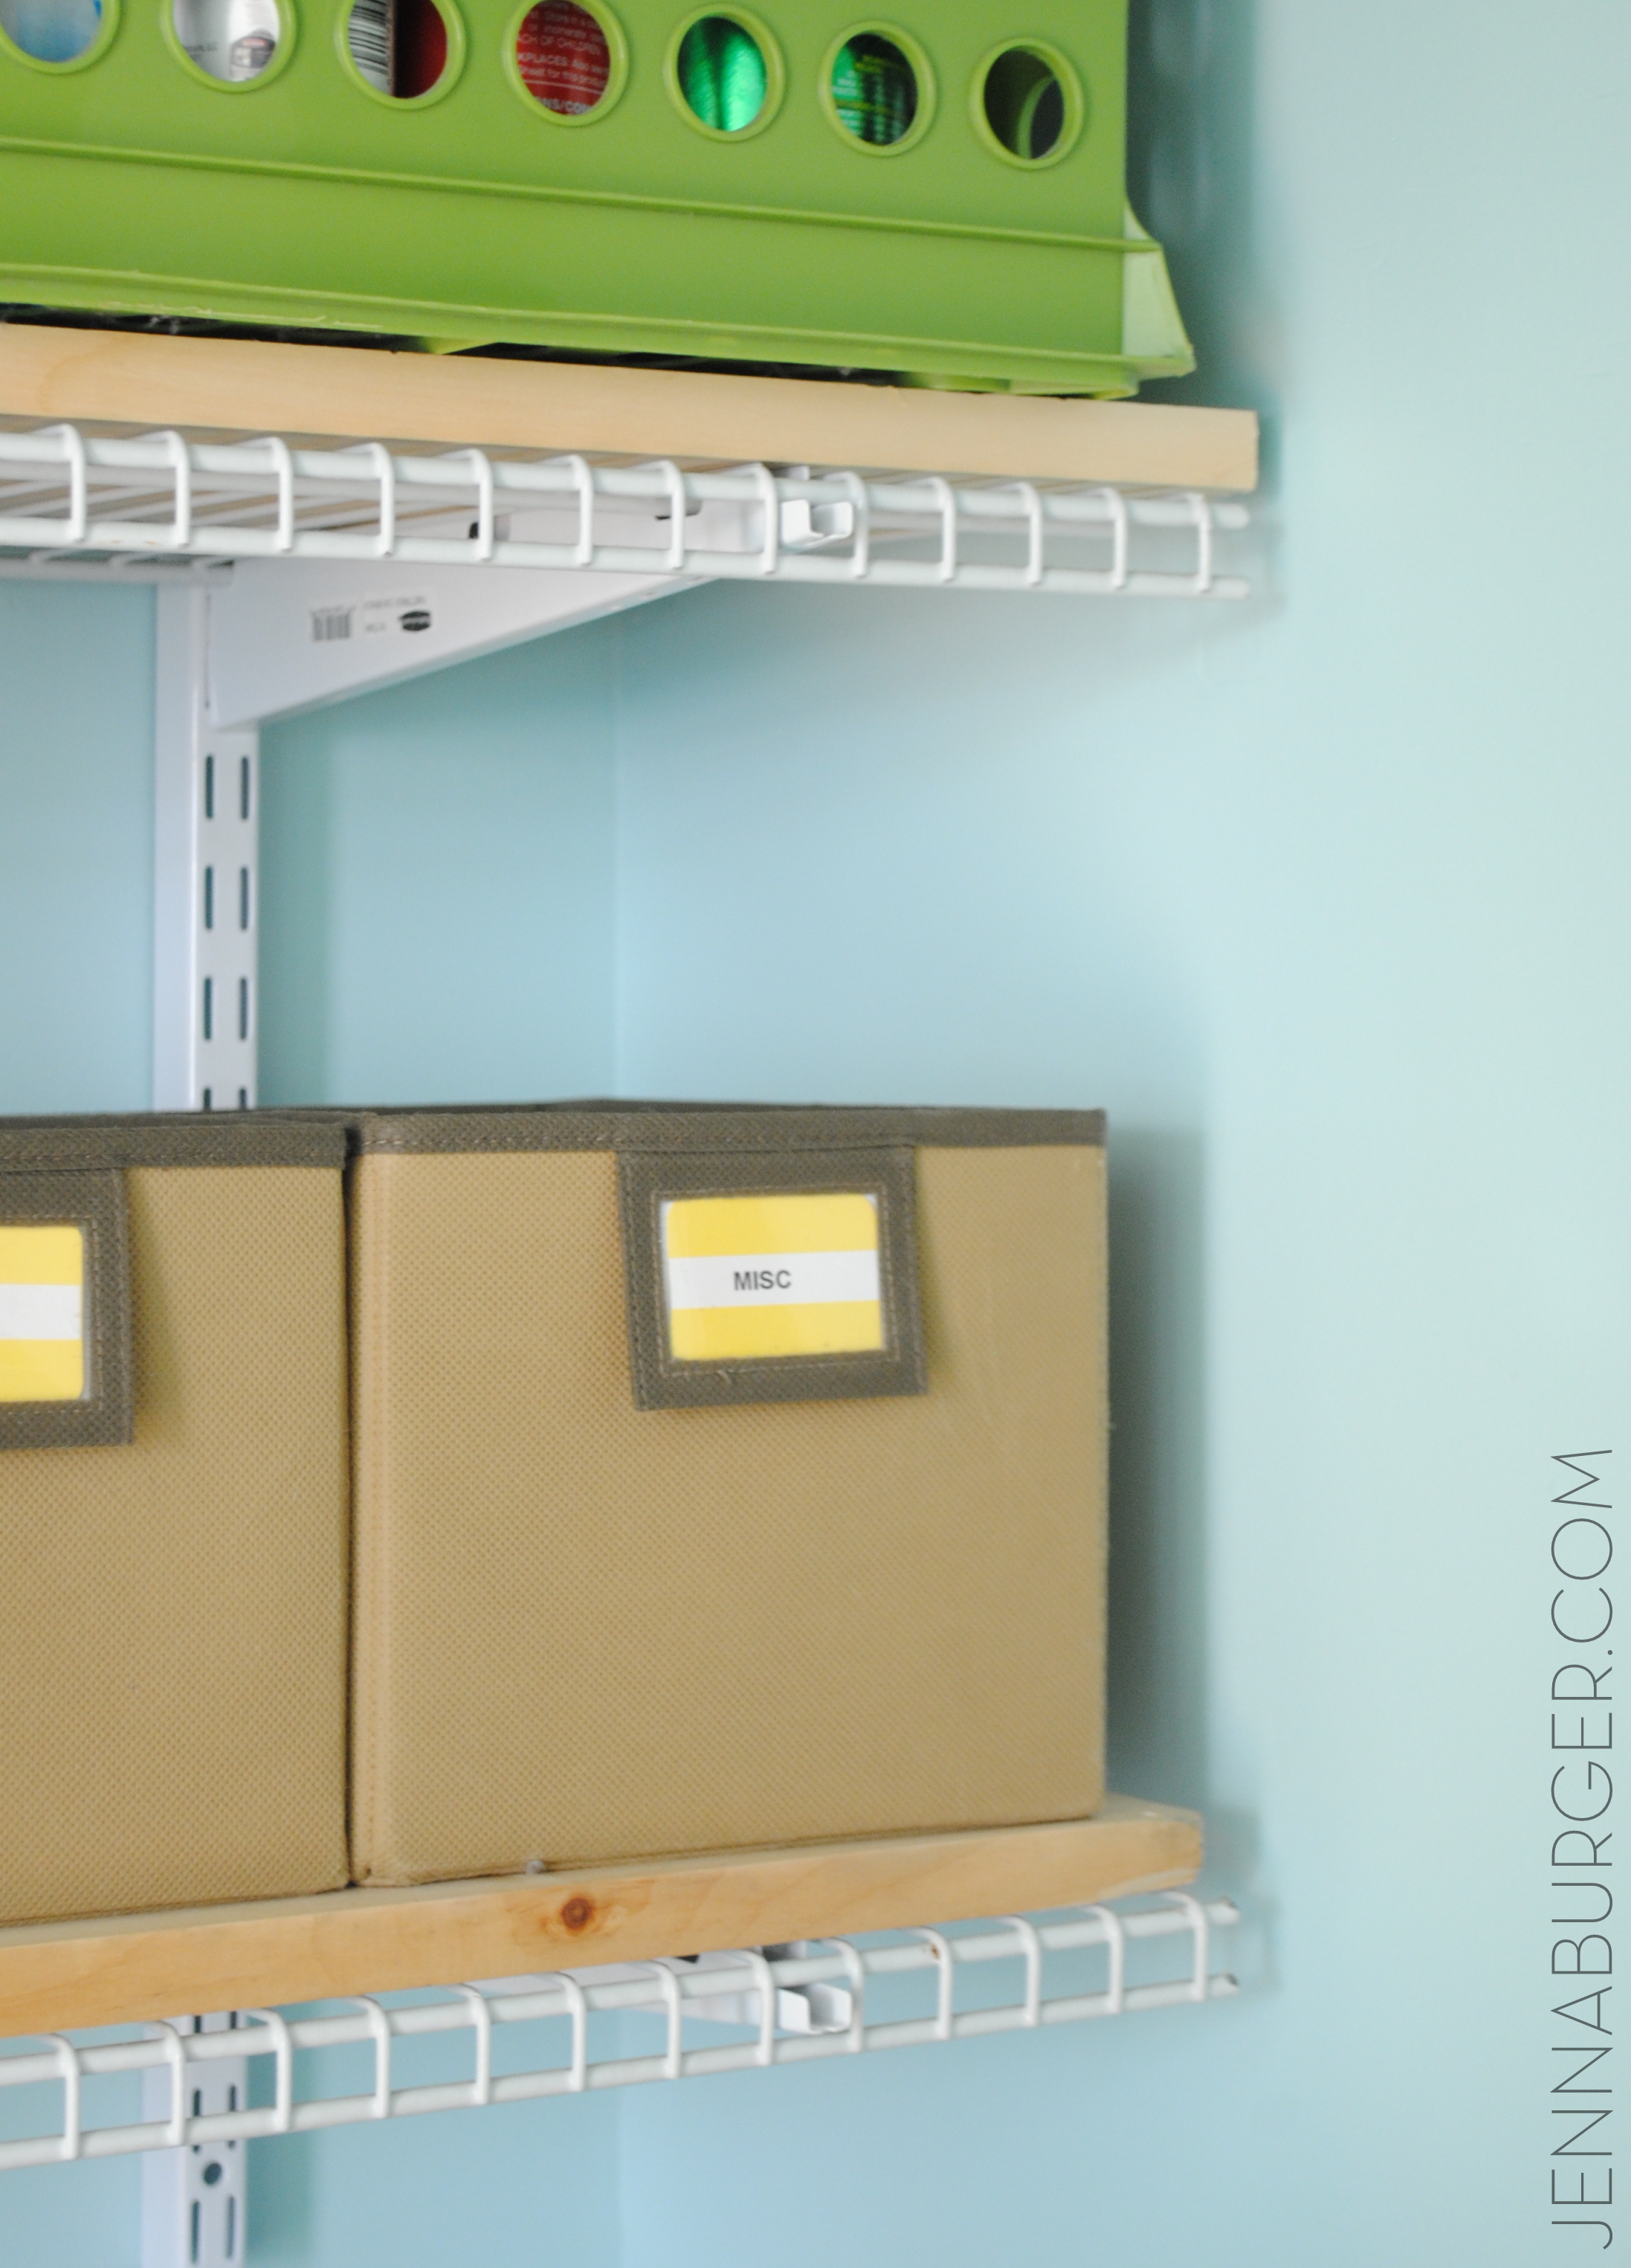
Once the shelves were on, I added a piece of wood on top that runs the same length as the wire shelf. With wire shelving there is a gap / small space that sometimes smaller things fall through or don’t stand right straight. This always frustrated me with this closet, so the wood provides a solid surface for anything I want to store.
Yes wood shelves could have been installed instead of the wire shelving, but a lot more labor + time would have been needed & there would be no way the shelves could be adjusted in the future (the flexibility to move the wire shelves is another huge bonus).
Once the shelves were in, I filled them right away. The boxes, bins, and baskets are a mix of new & old.
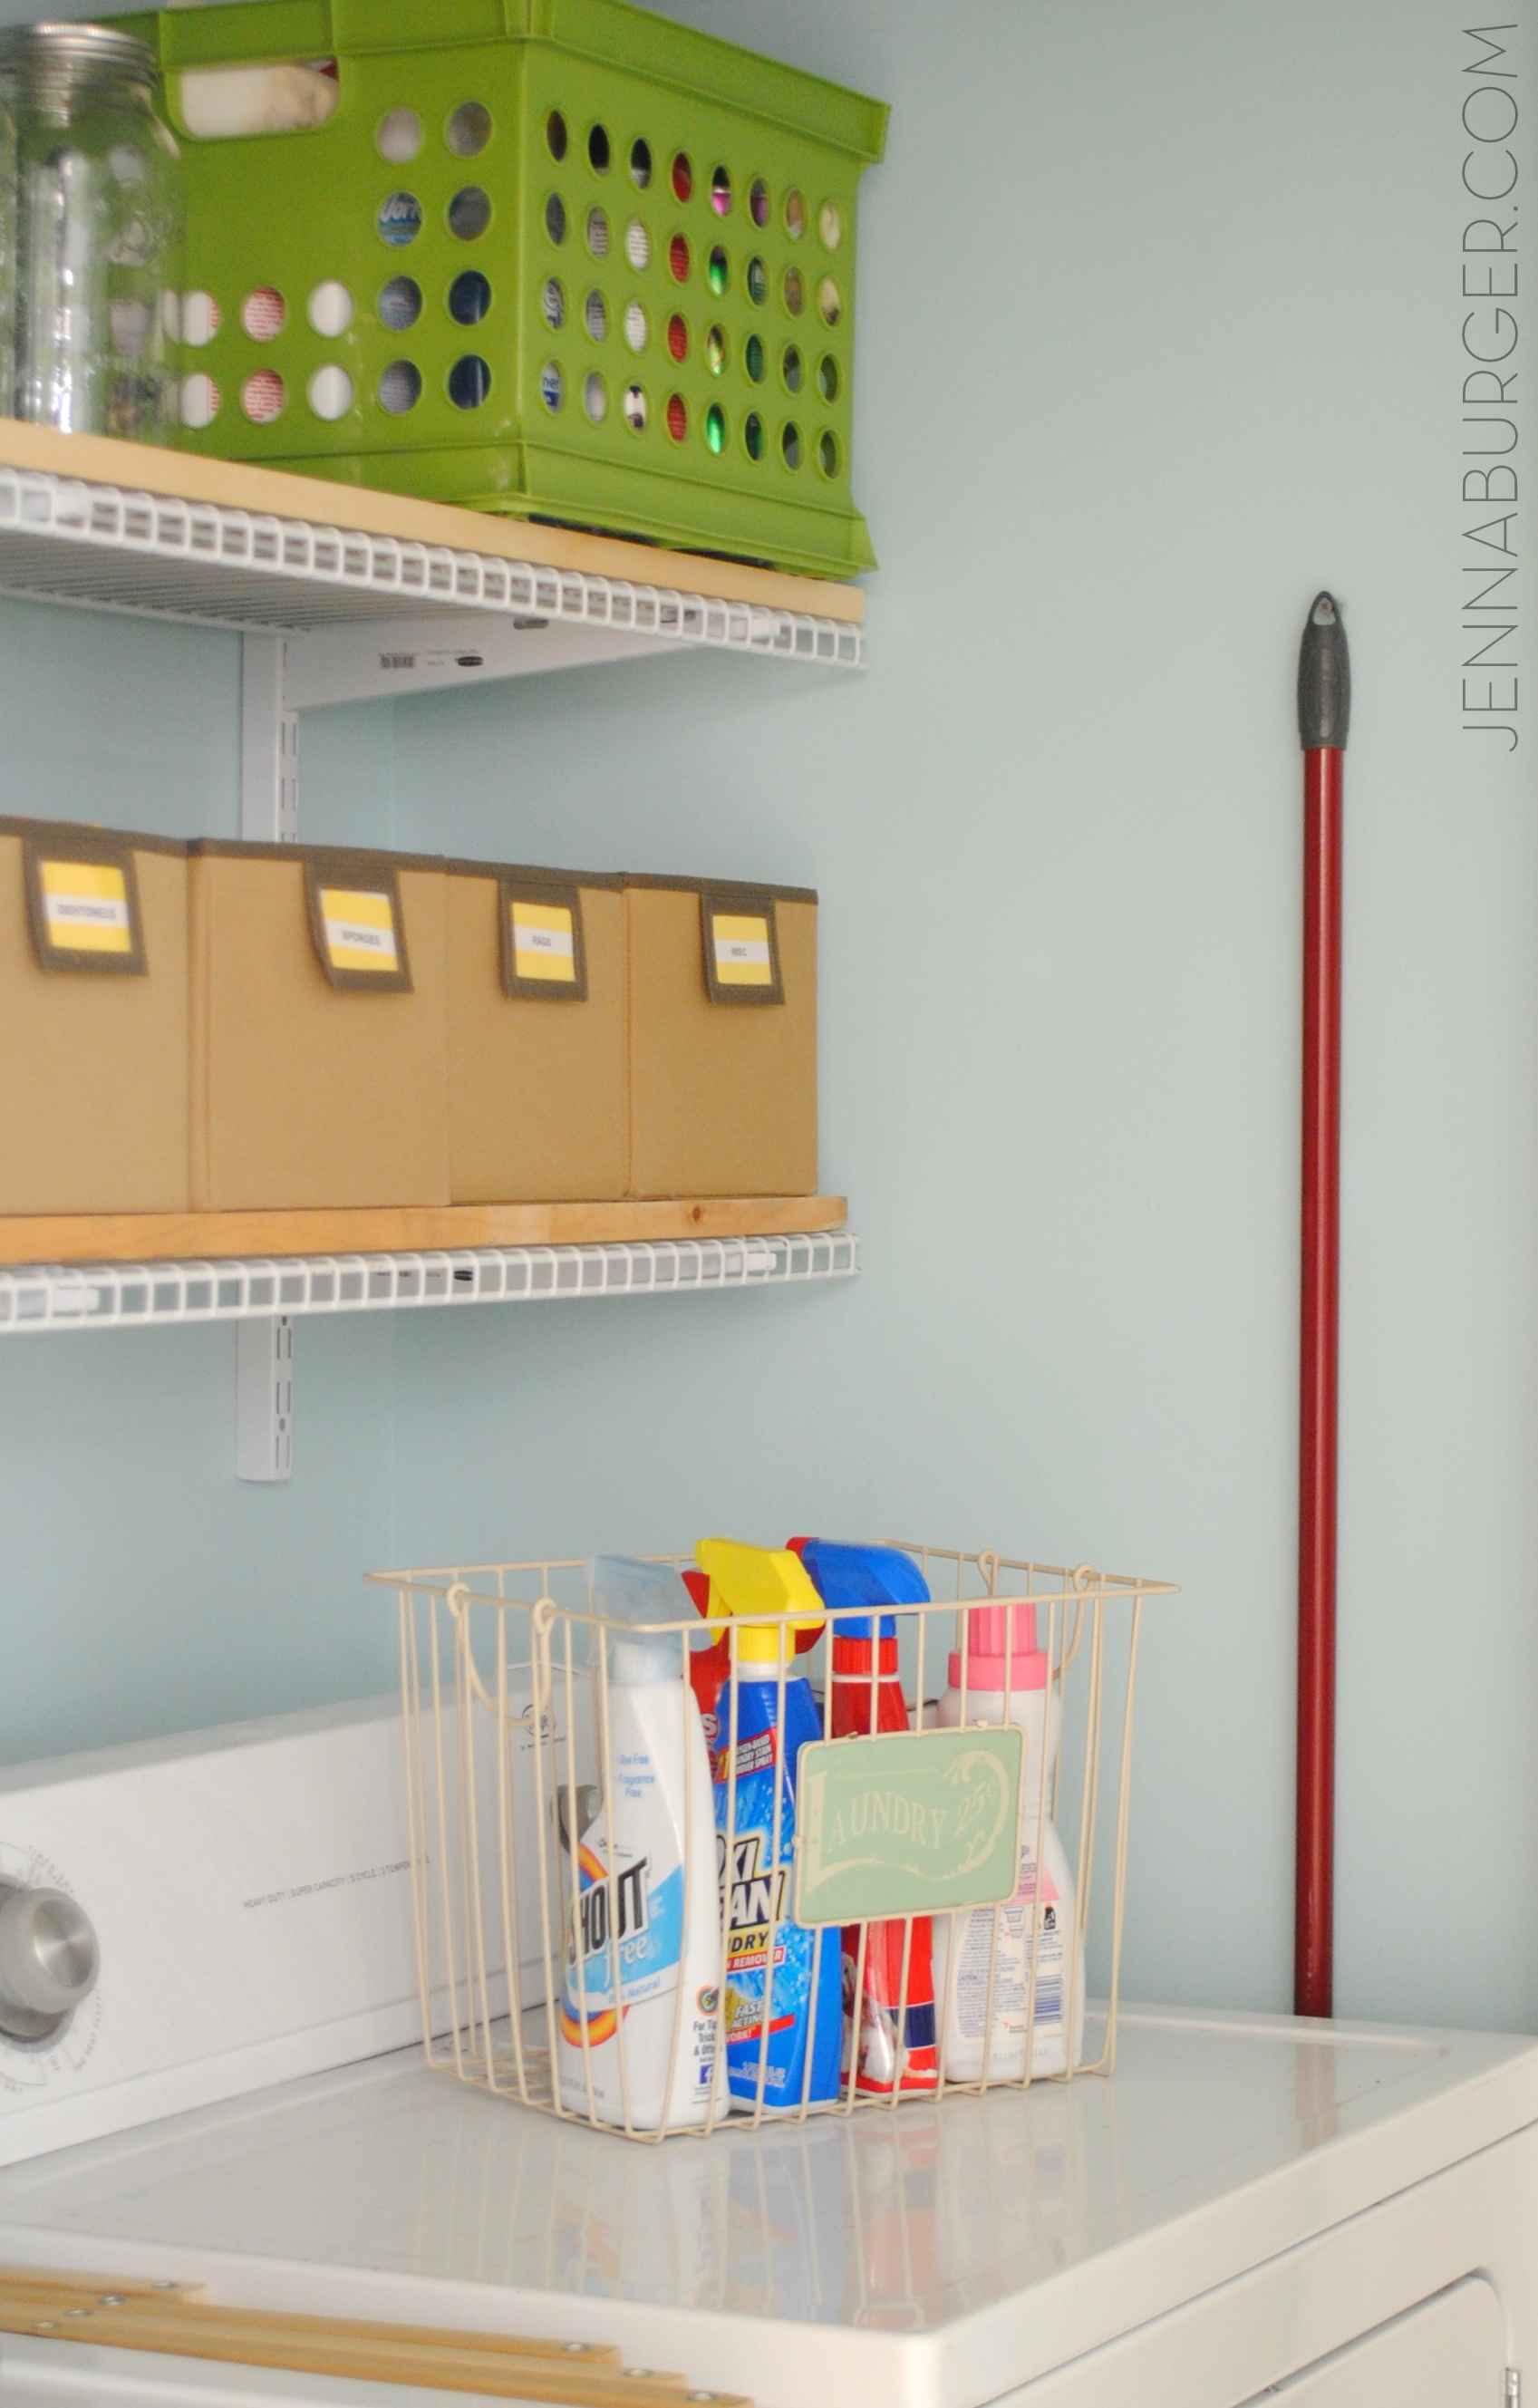
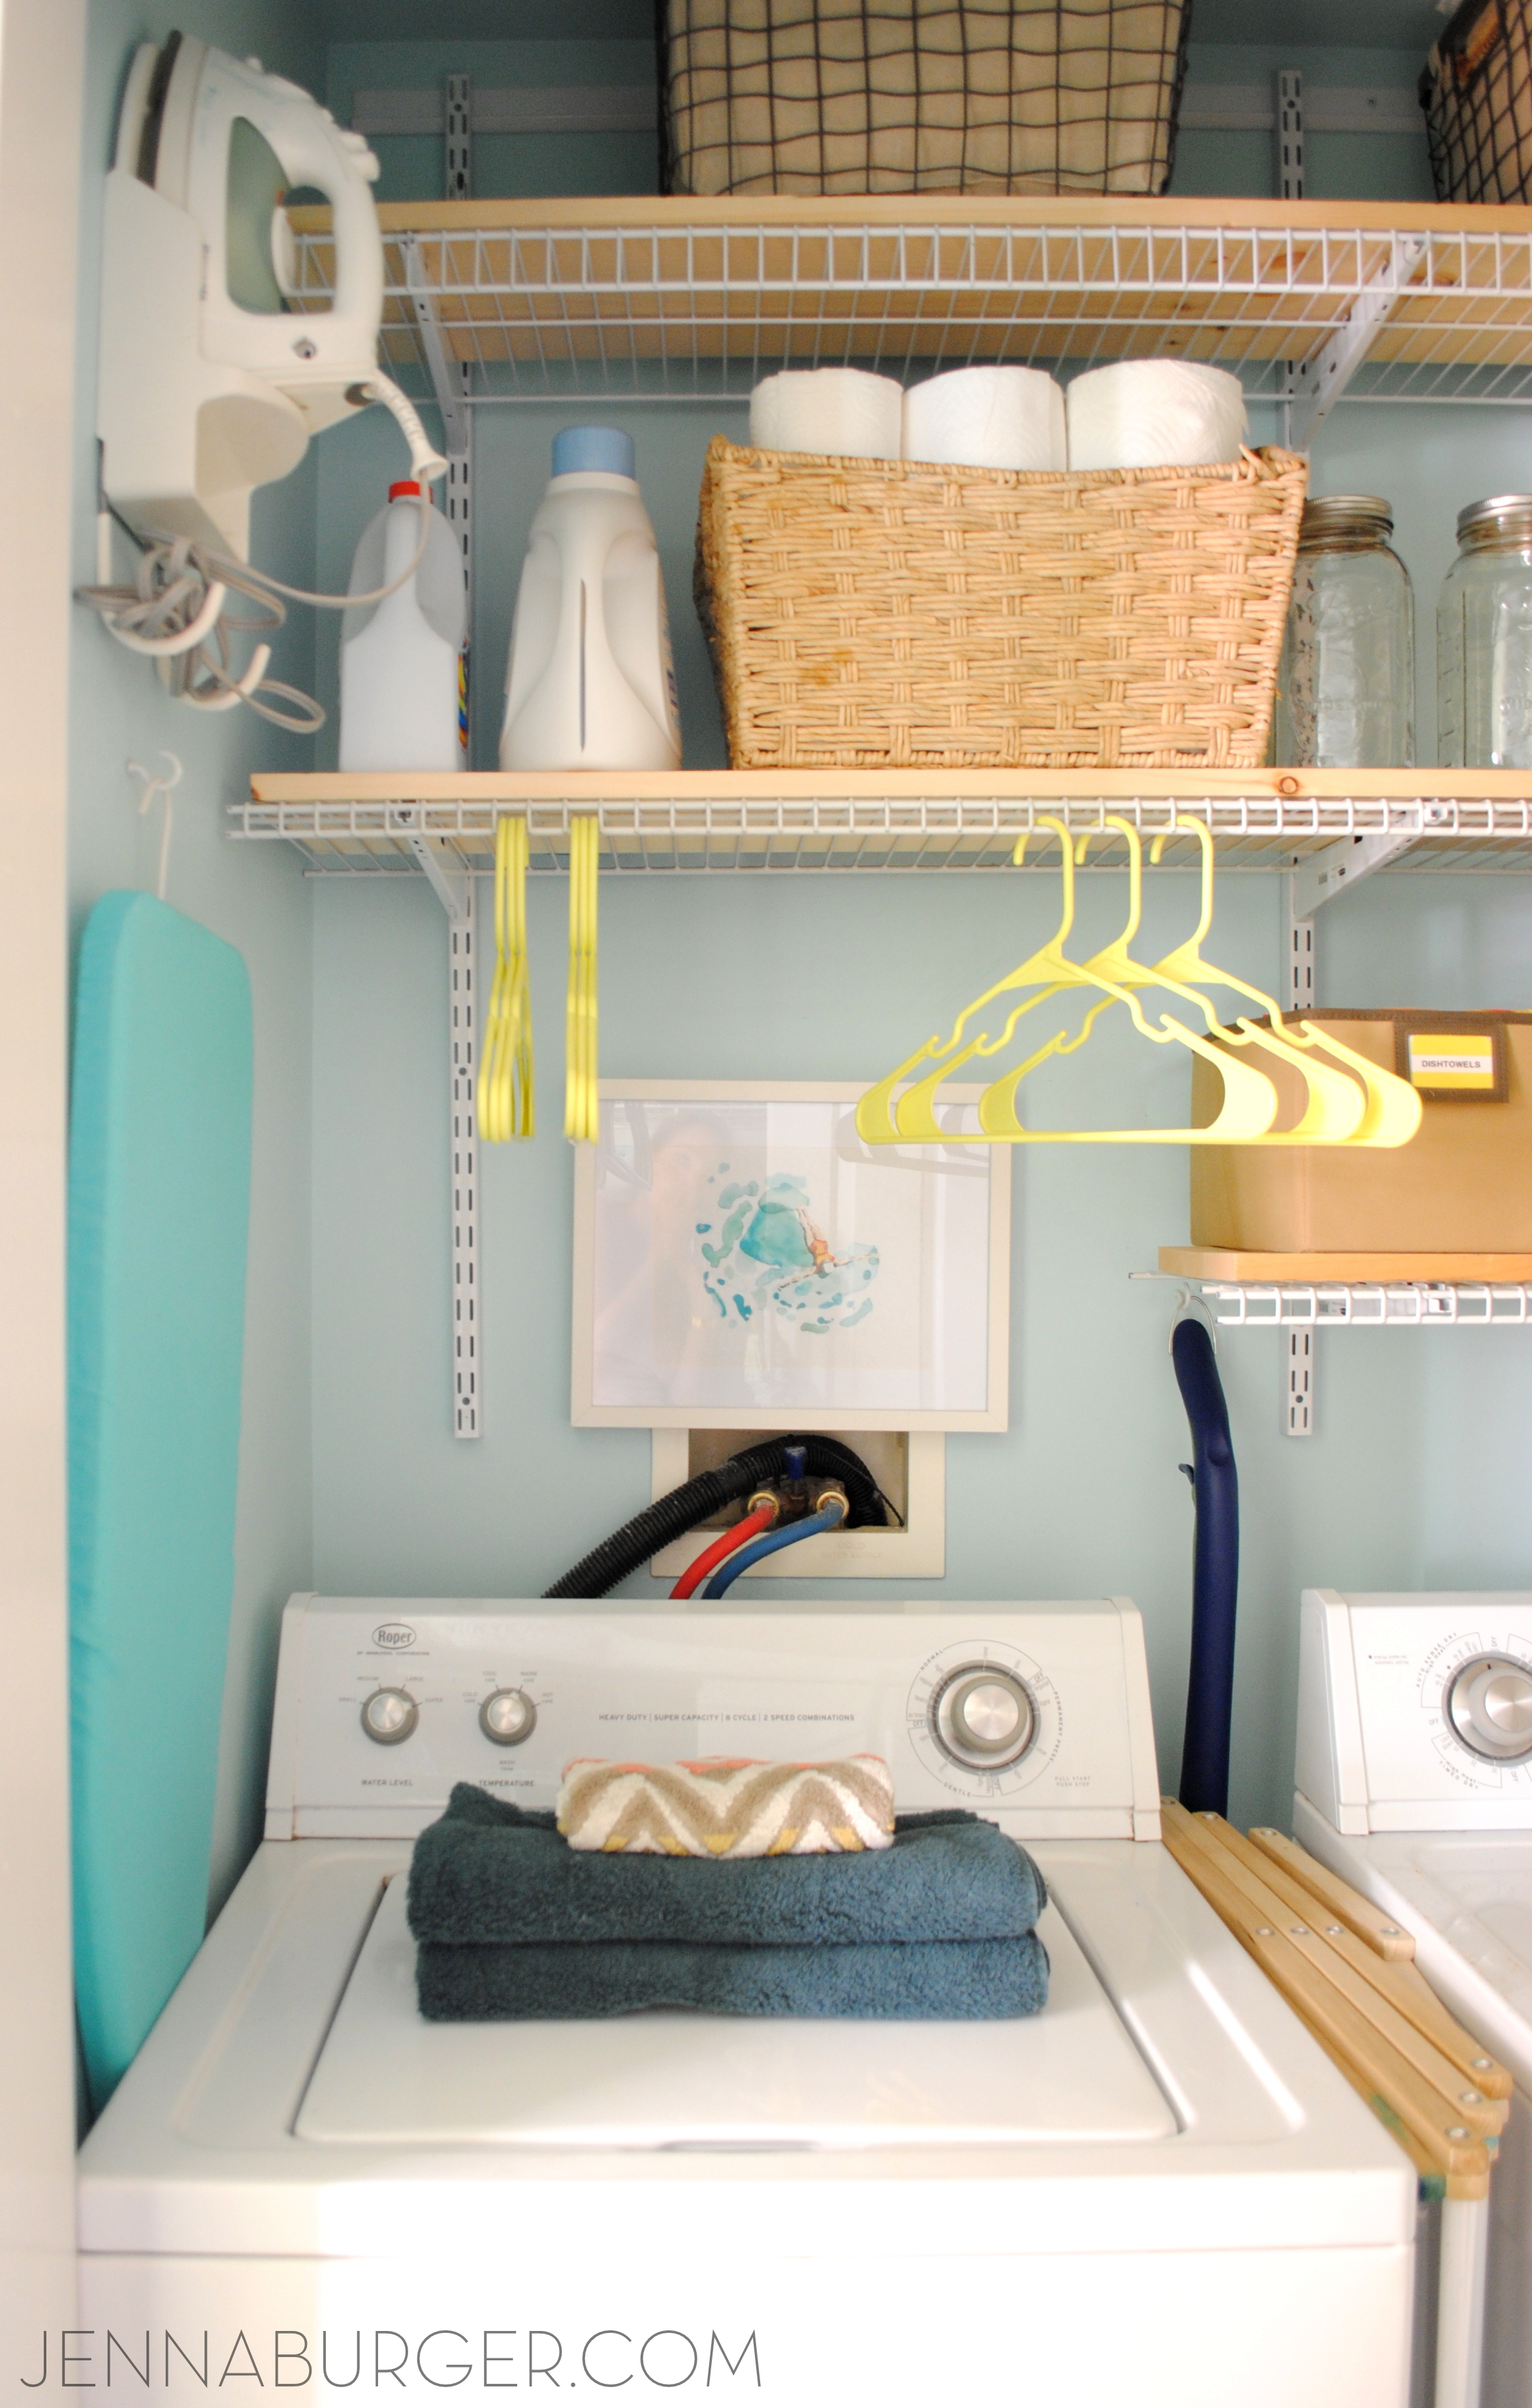
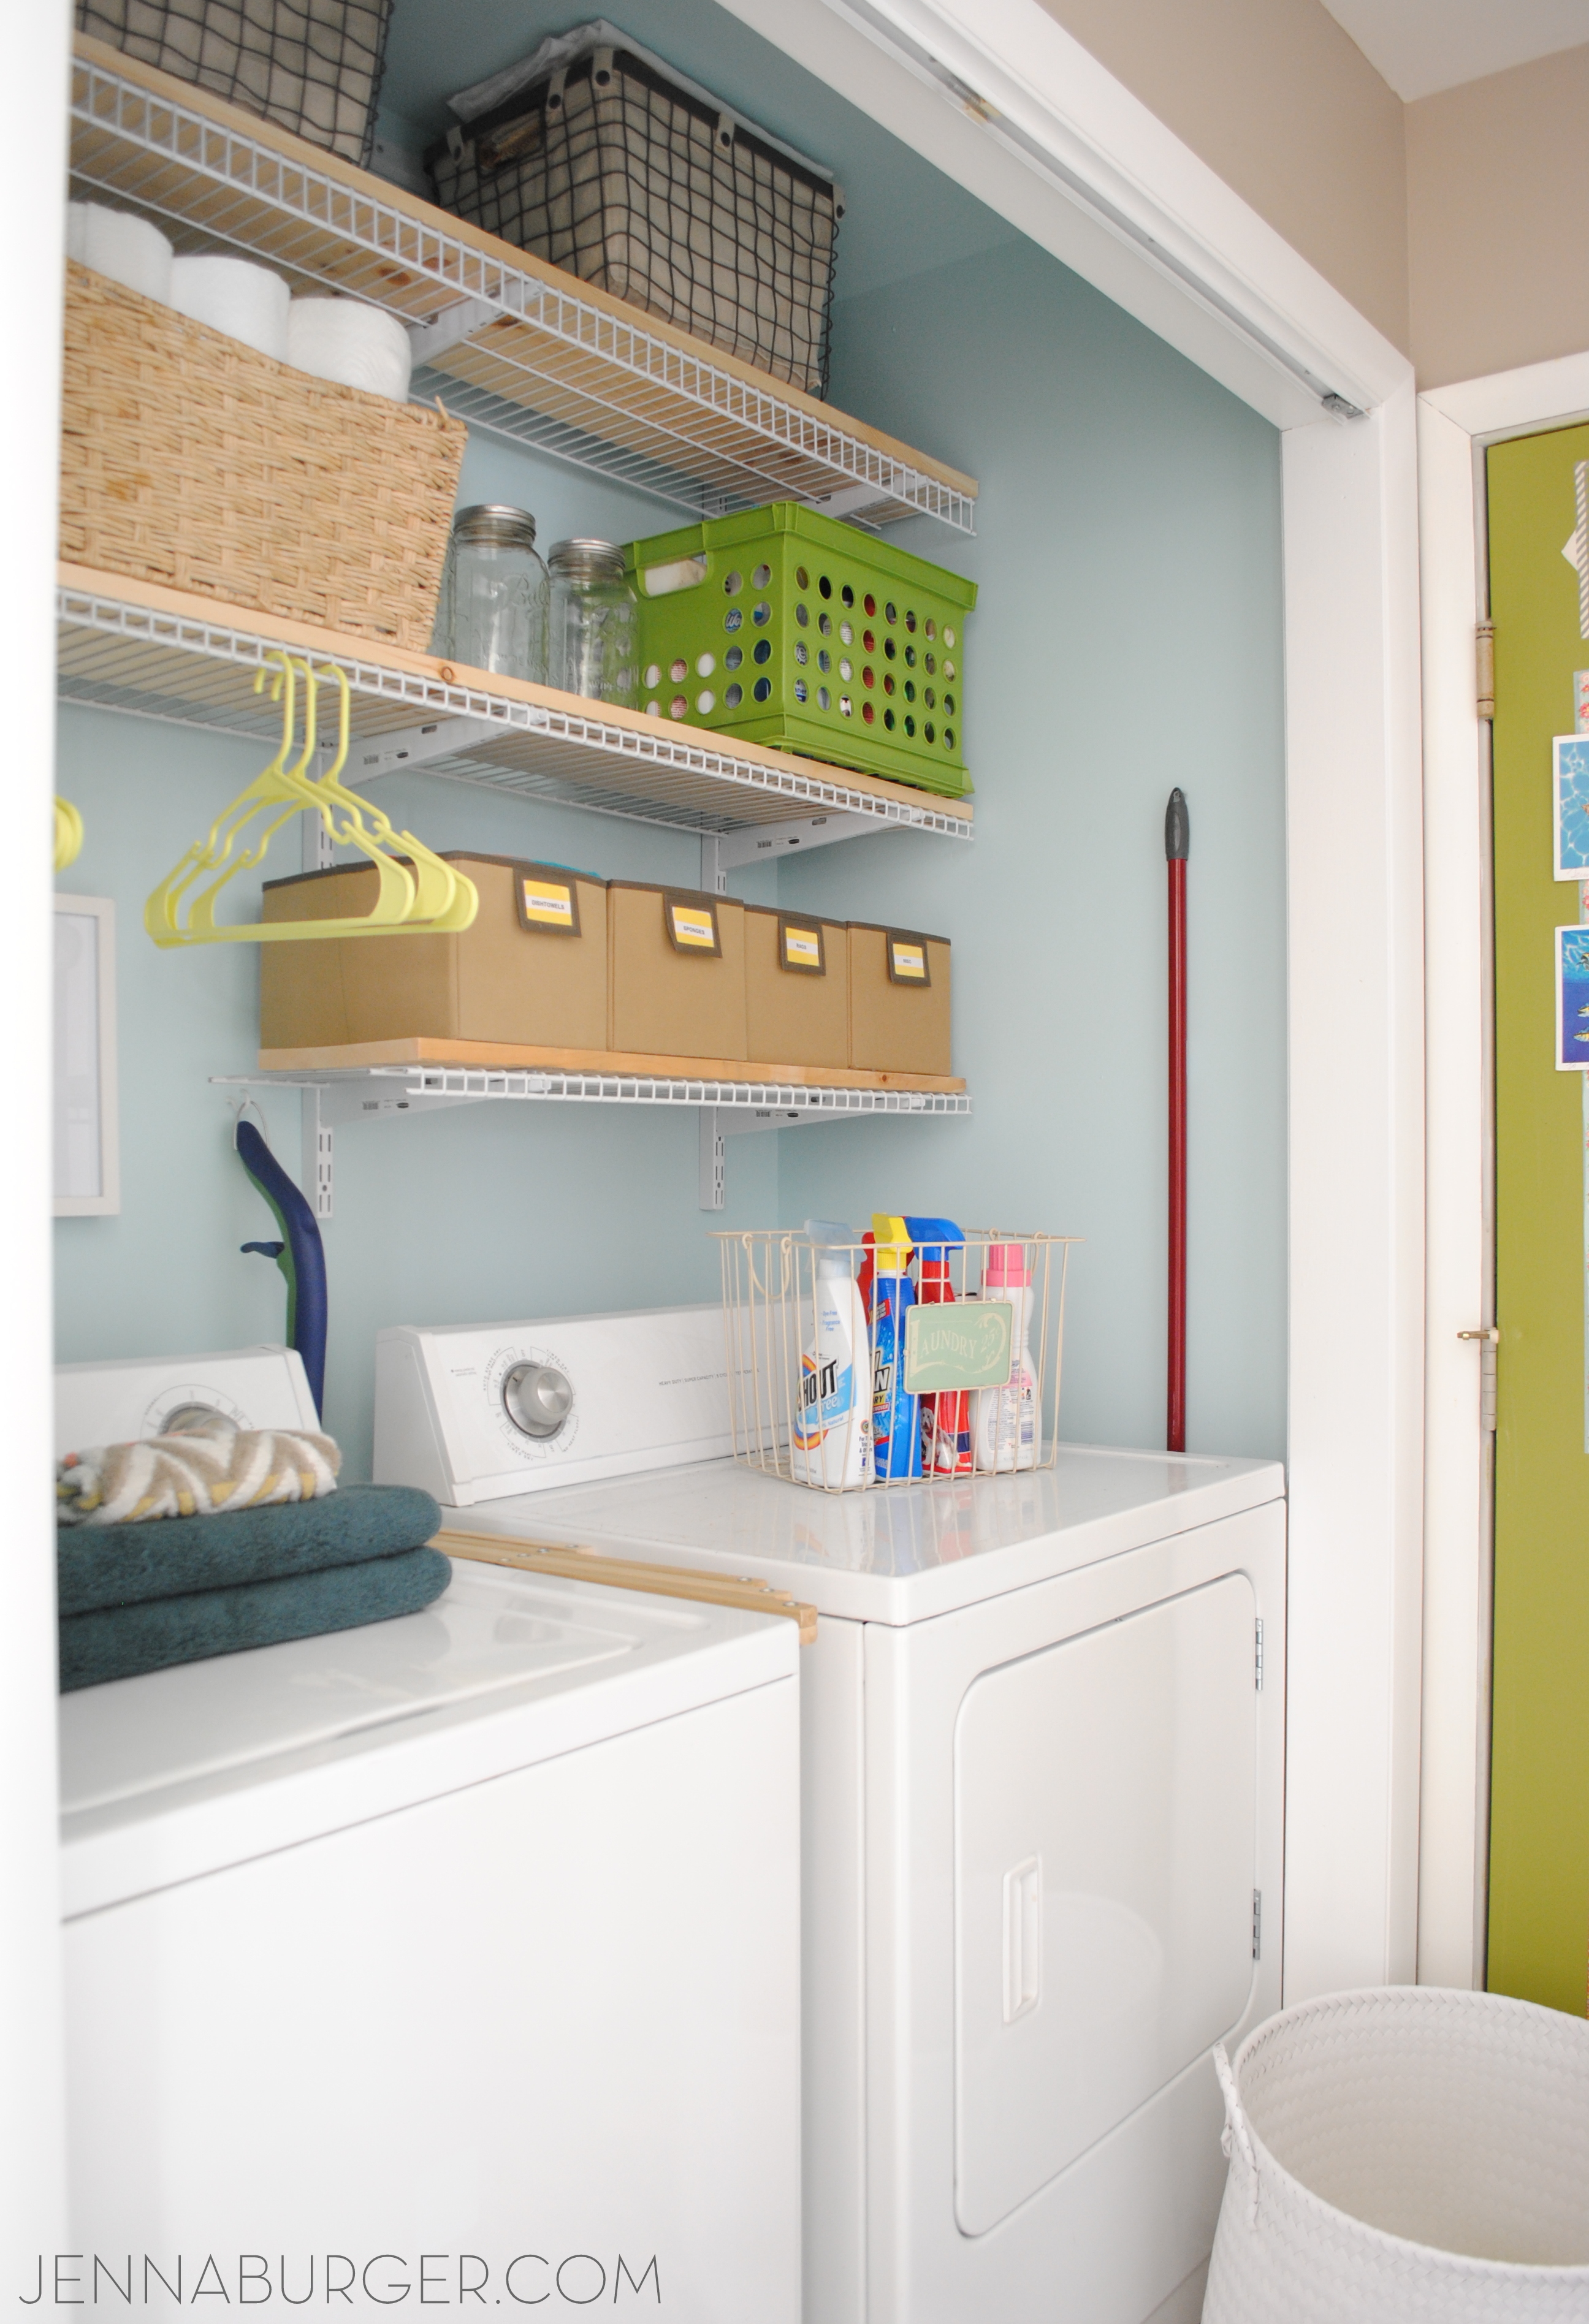
Items like dishtowels, light bulbs, batteries, sponges, etc. are now stored in the smaller fabric bins on the bottom shelf. They are easy to grab at any time and I love that everything has a place! This shelf only goes half way across (above the dryer) so there is space for hanging clothes below the middle shelf, above the washer.
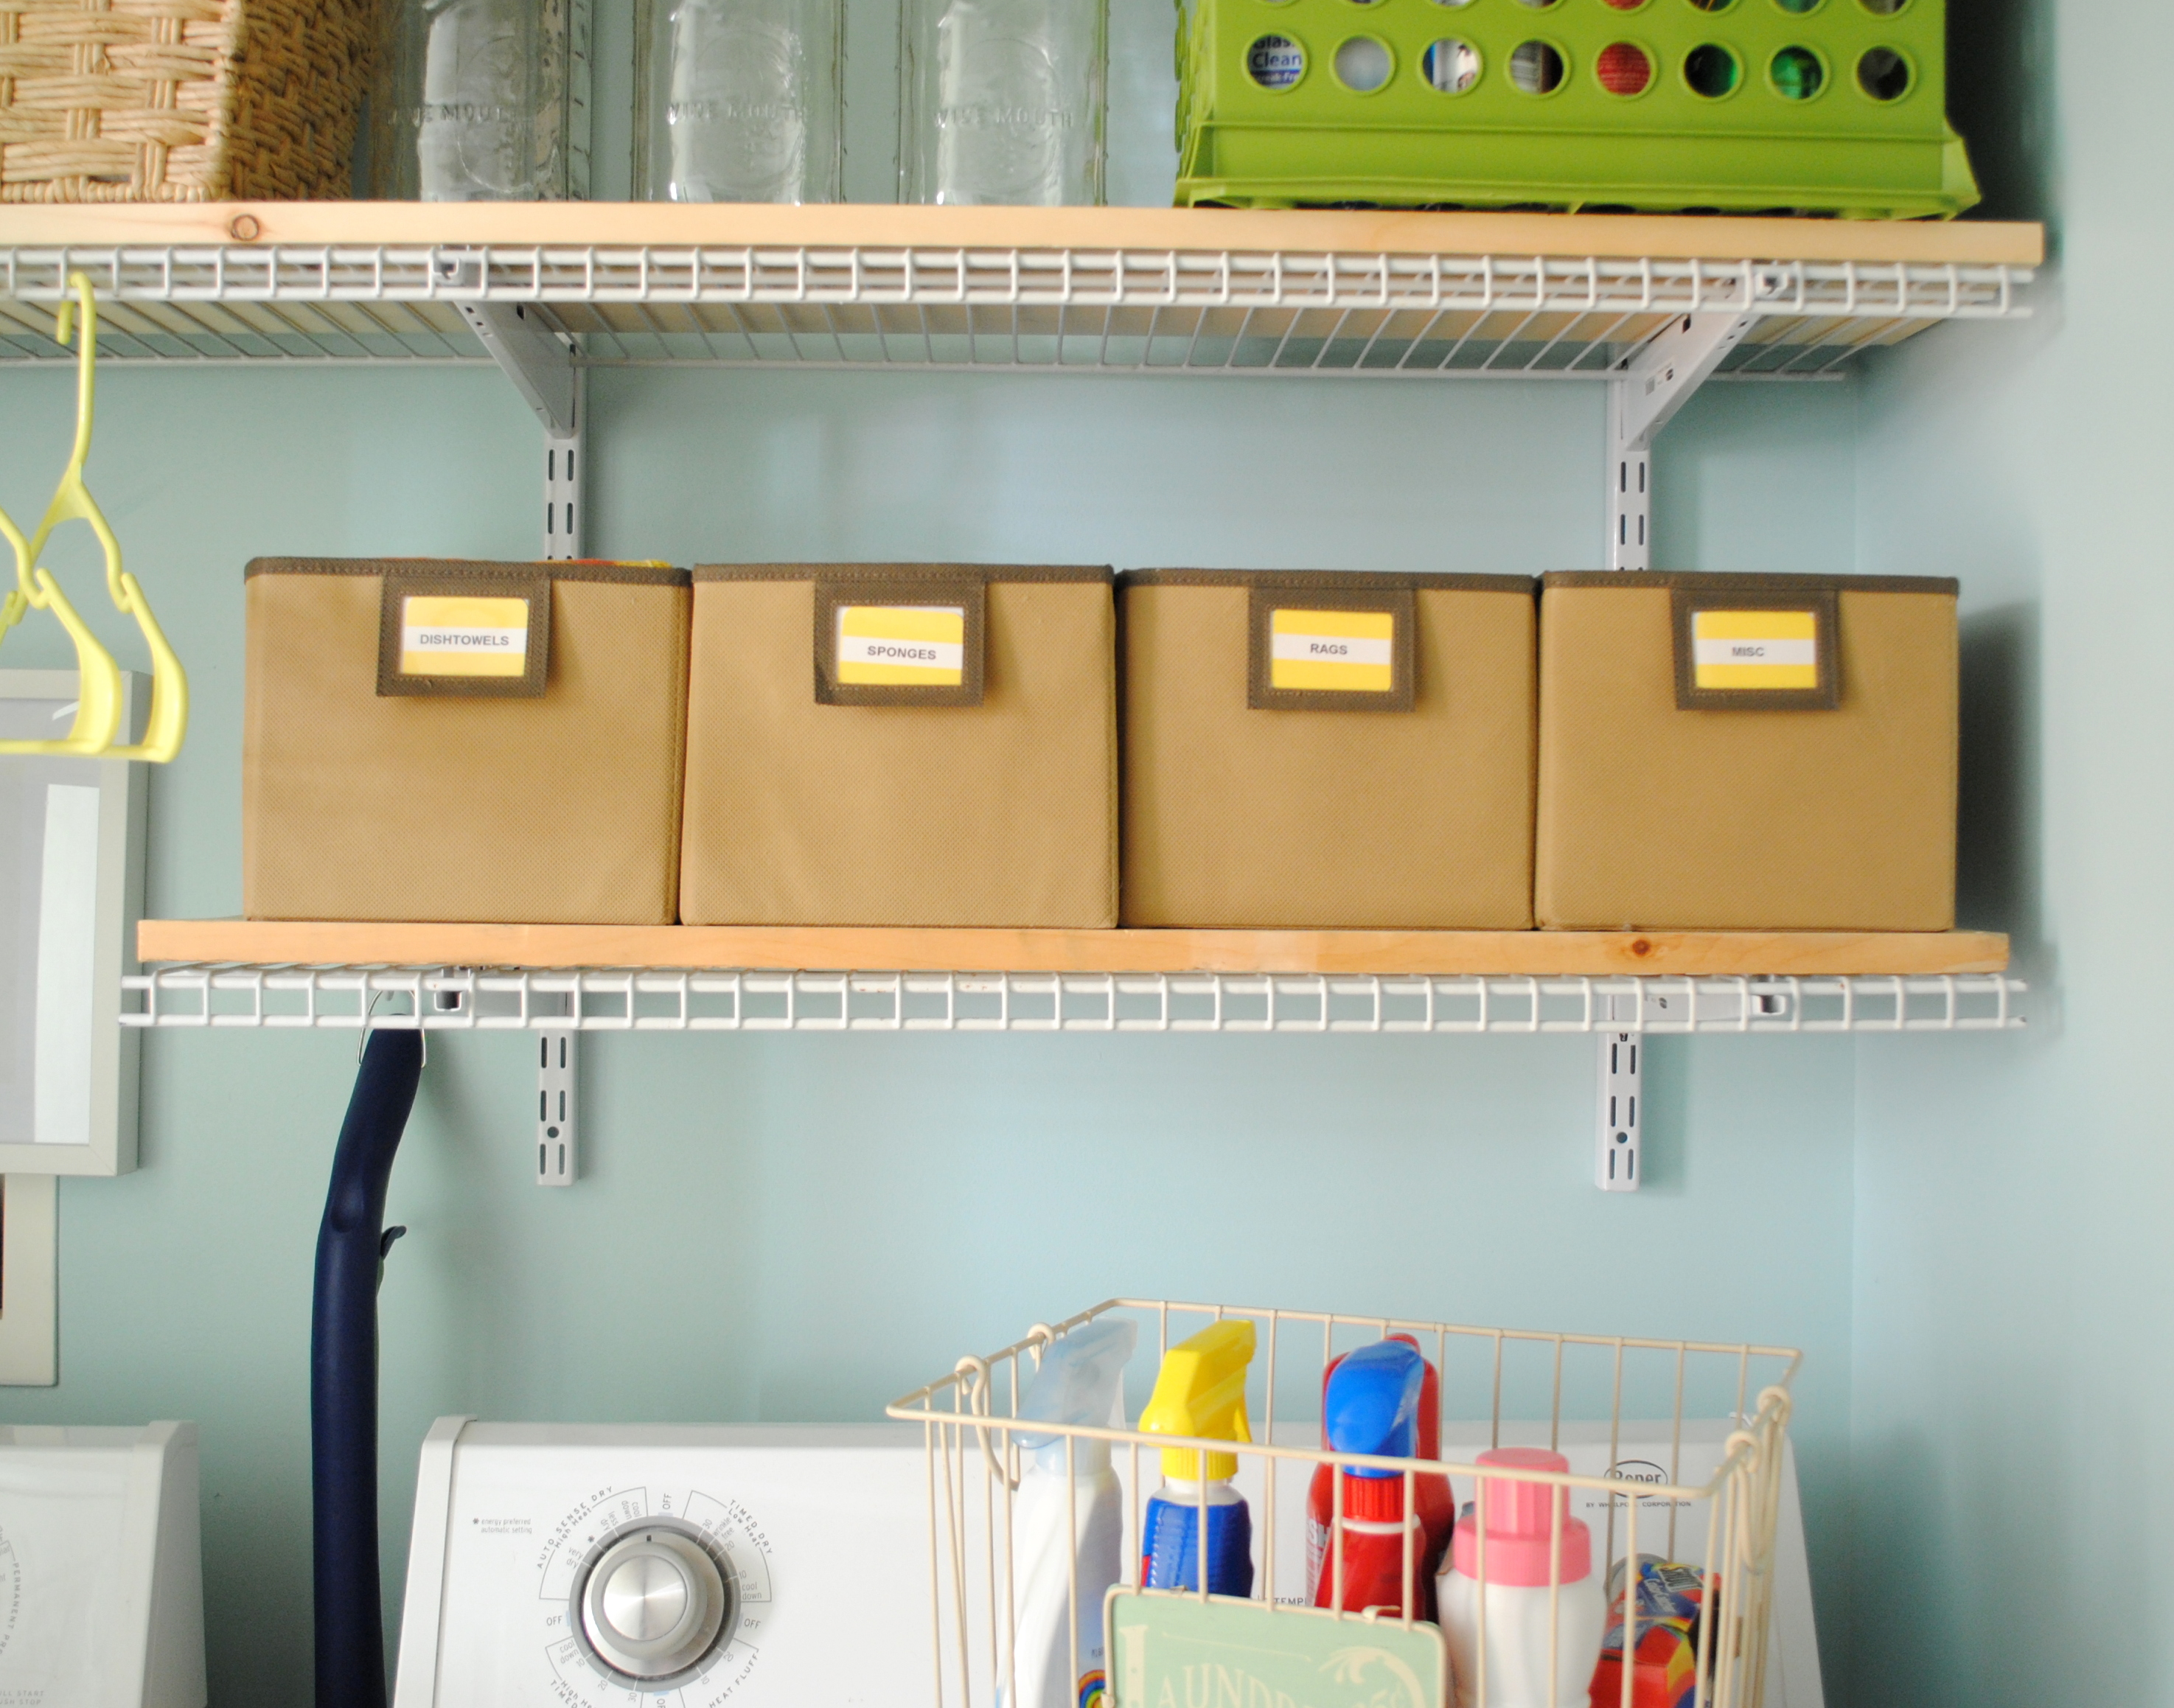
Adding labels to the bins has taken the guess work out of wondering, what goes where…

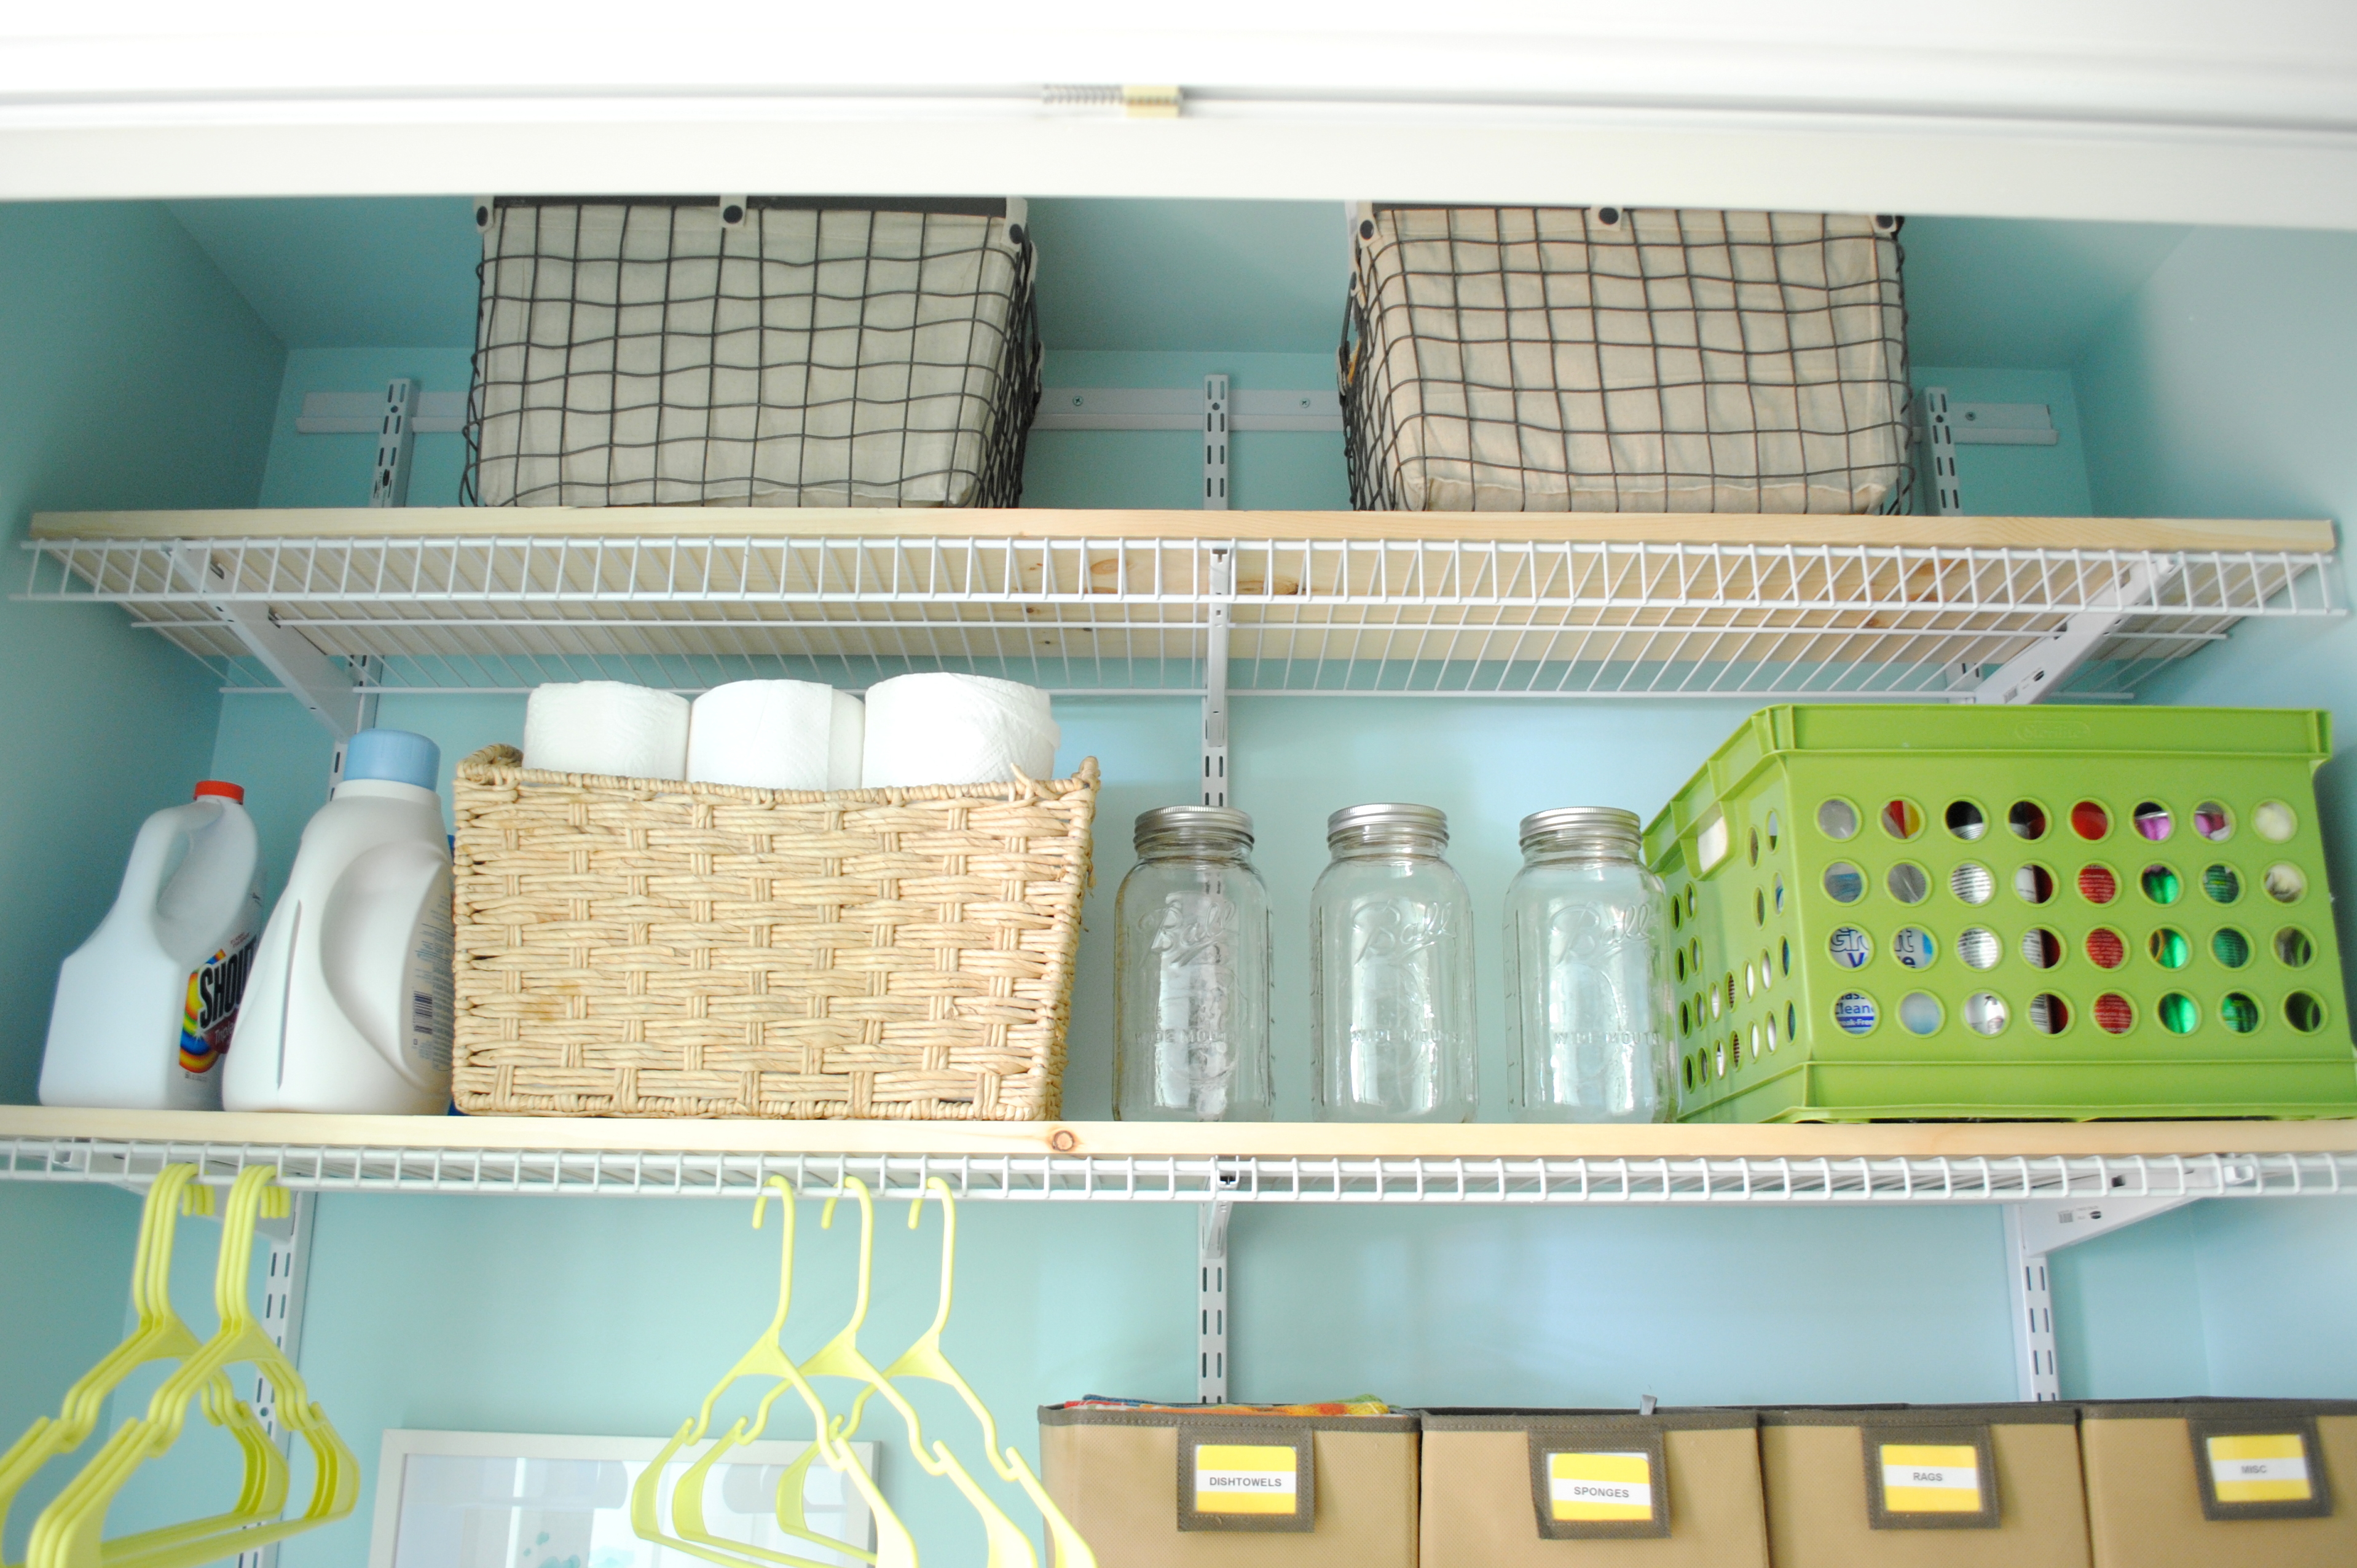
On the middle shelf are the cleaning supplies, a basket filled with extra paper towels & napkins, and the laundry detergents.
On the highest shelf (items I don’t need to access every day) are new wire bins from Lowe’s that are filled with extra paper goods (plates, cups, napkins, etc) & tablecloths / linens.
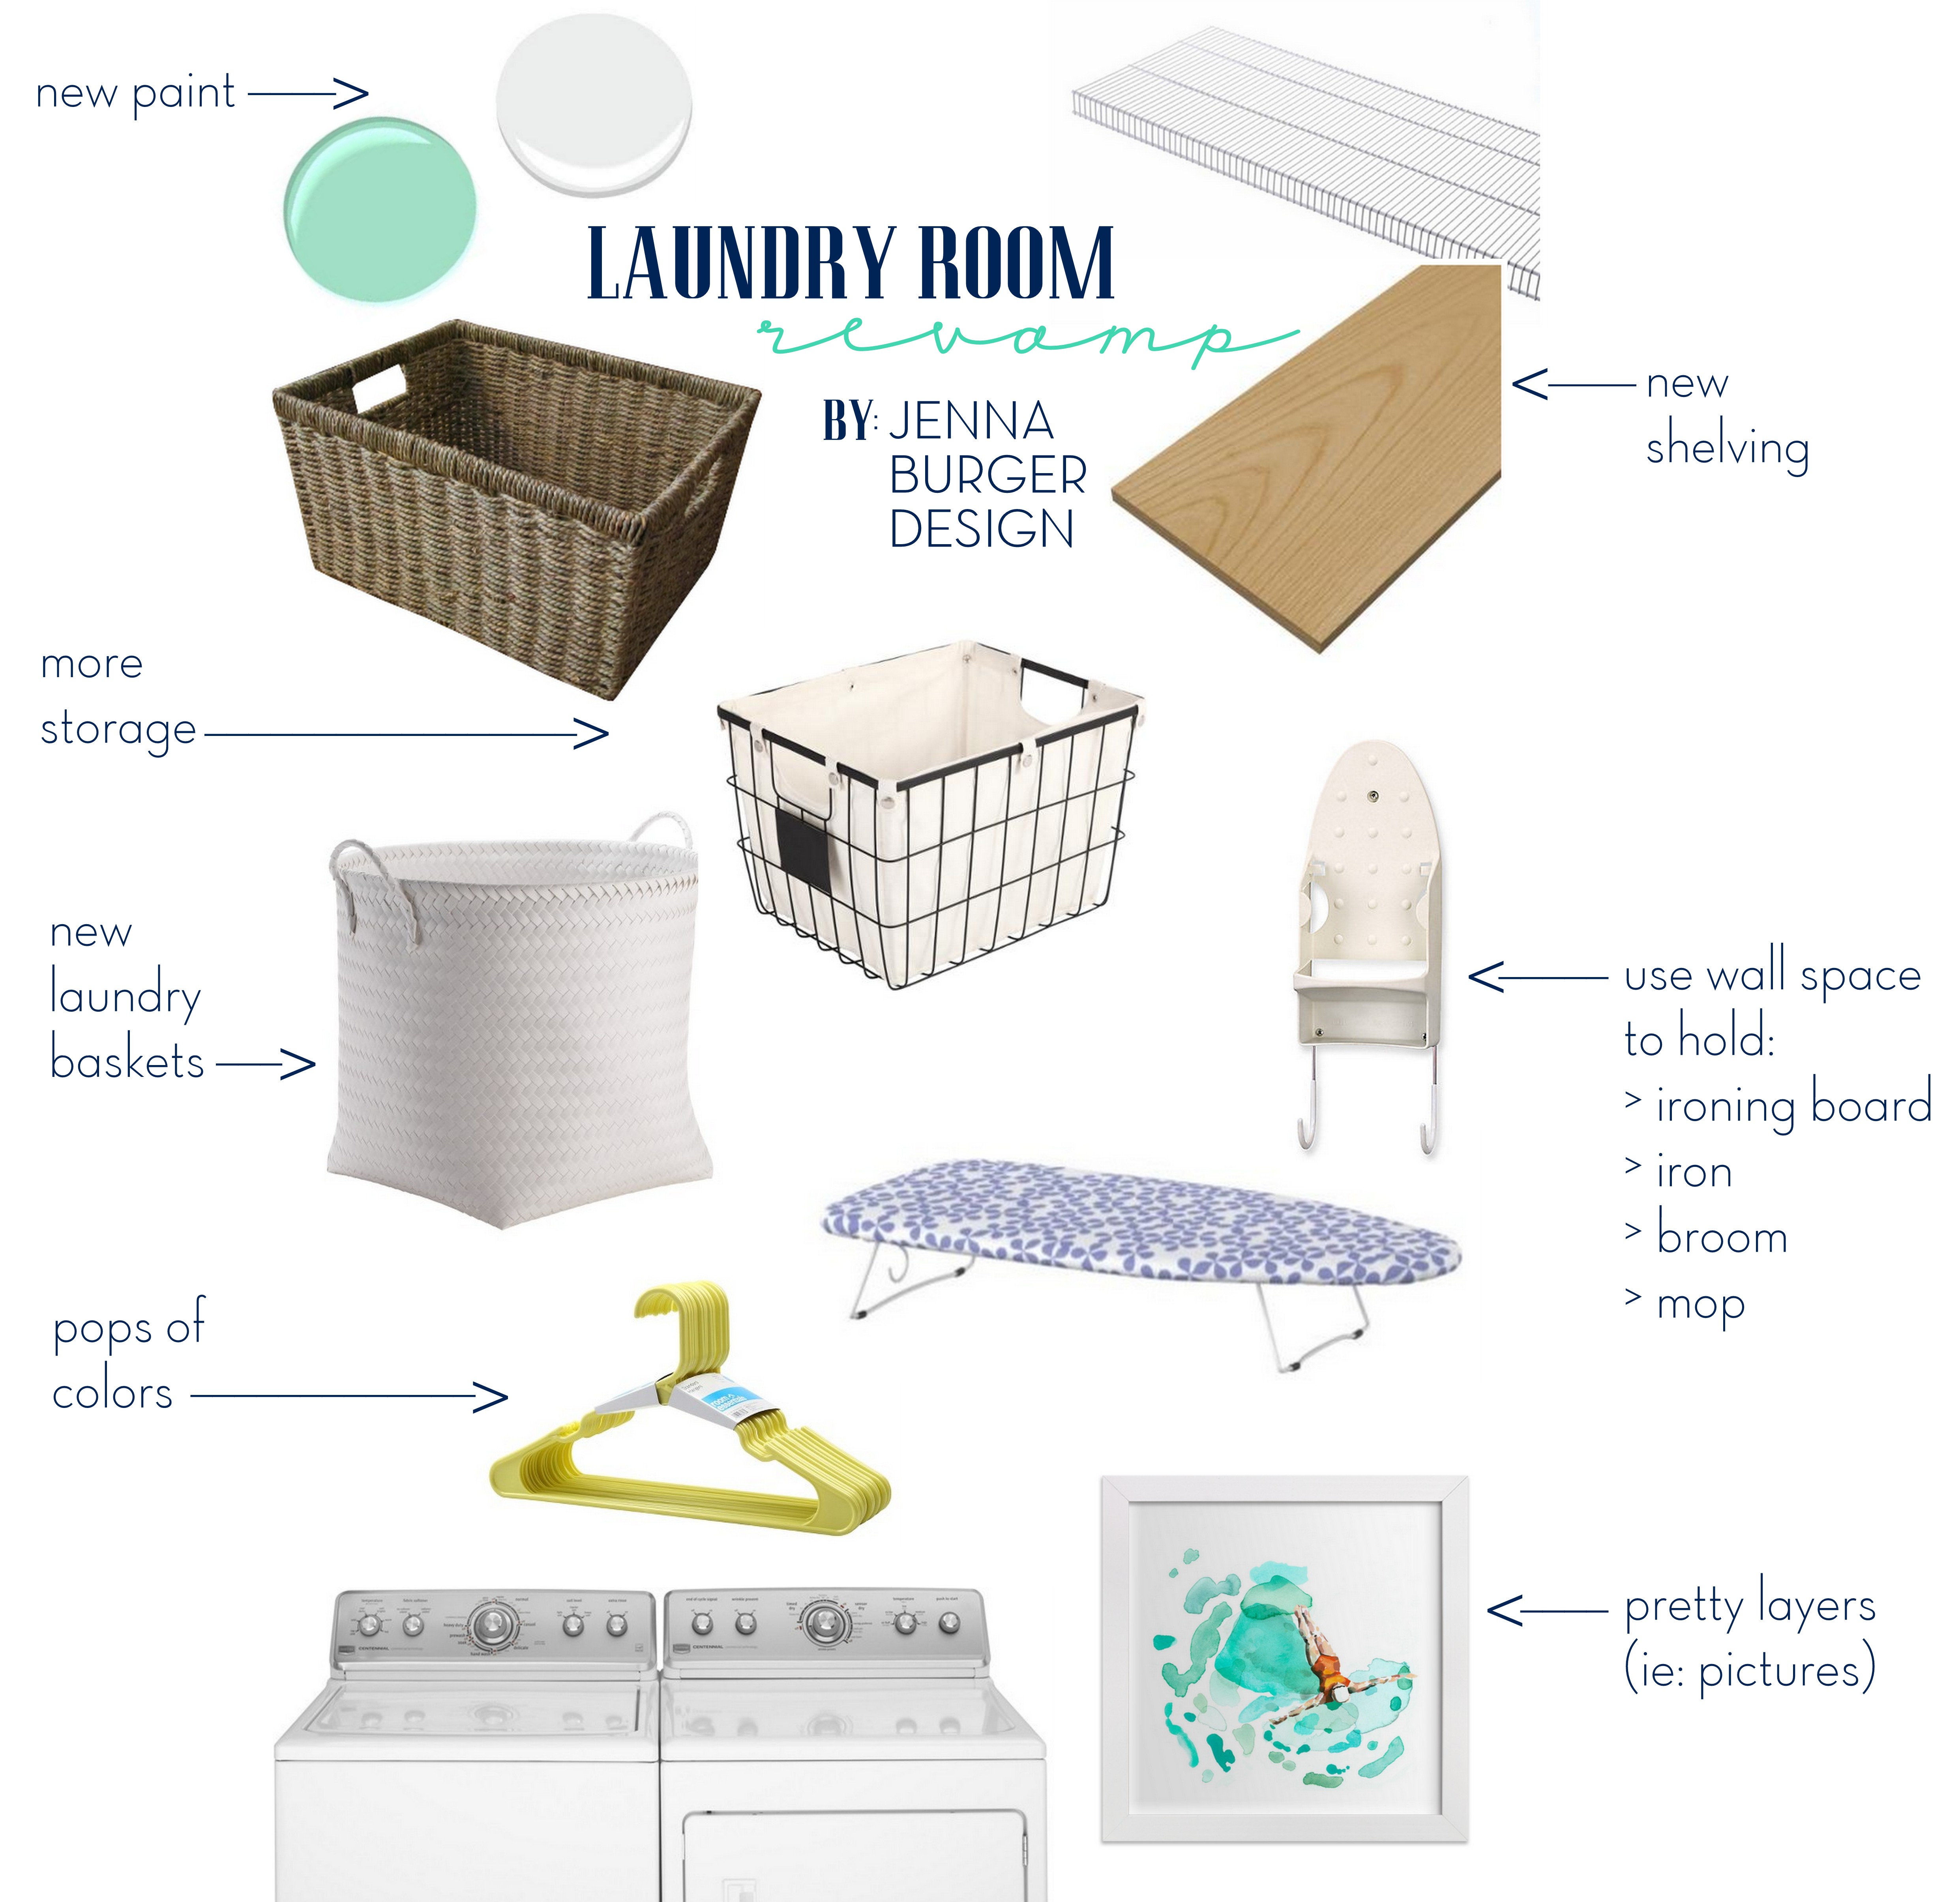
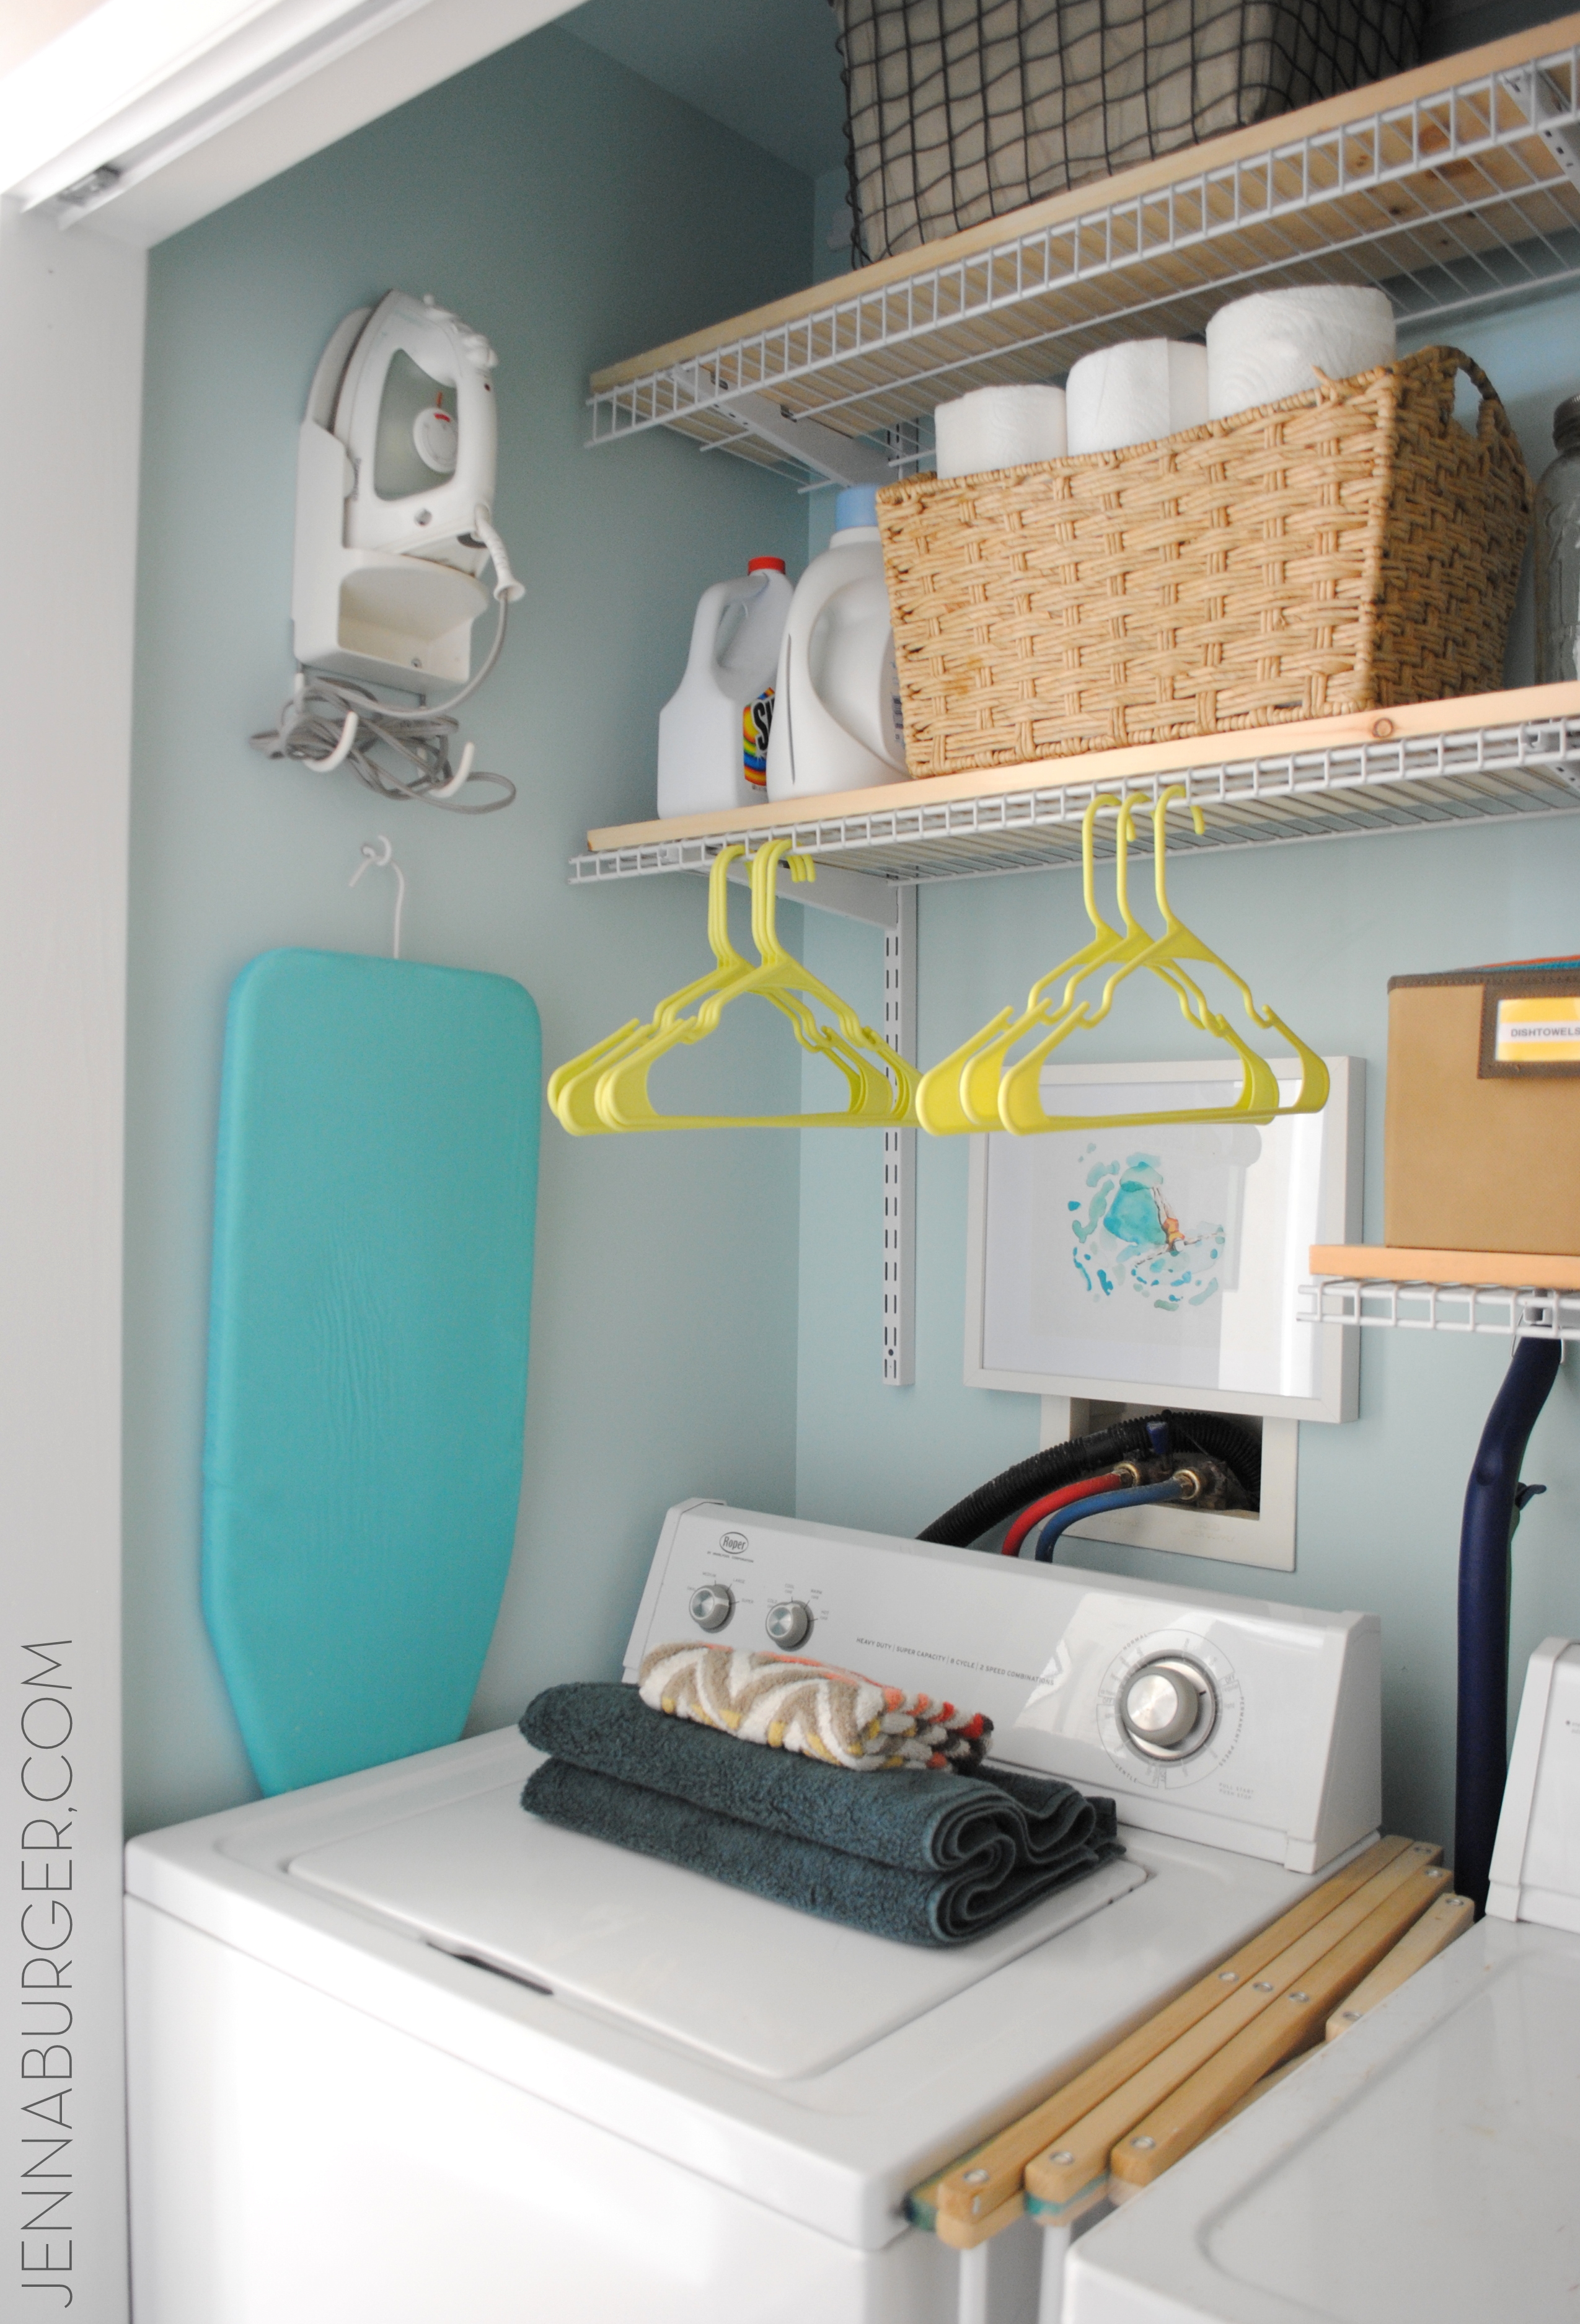
Using every inch of this closet was important, so no wall was left untouched. On the right wall, I have a new folding ironing board hanging from a hook and above I have the iron in a holder. This is SO MUCH MORE CONVENIENT than where it was before (both were in the basement – don’t ask me why).
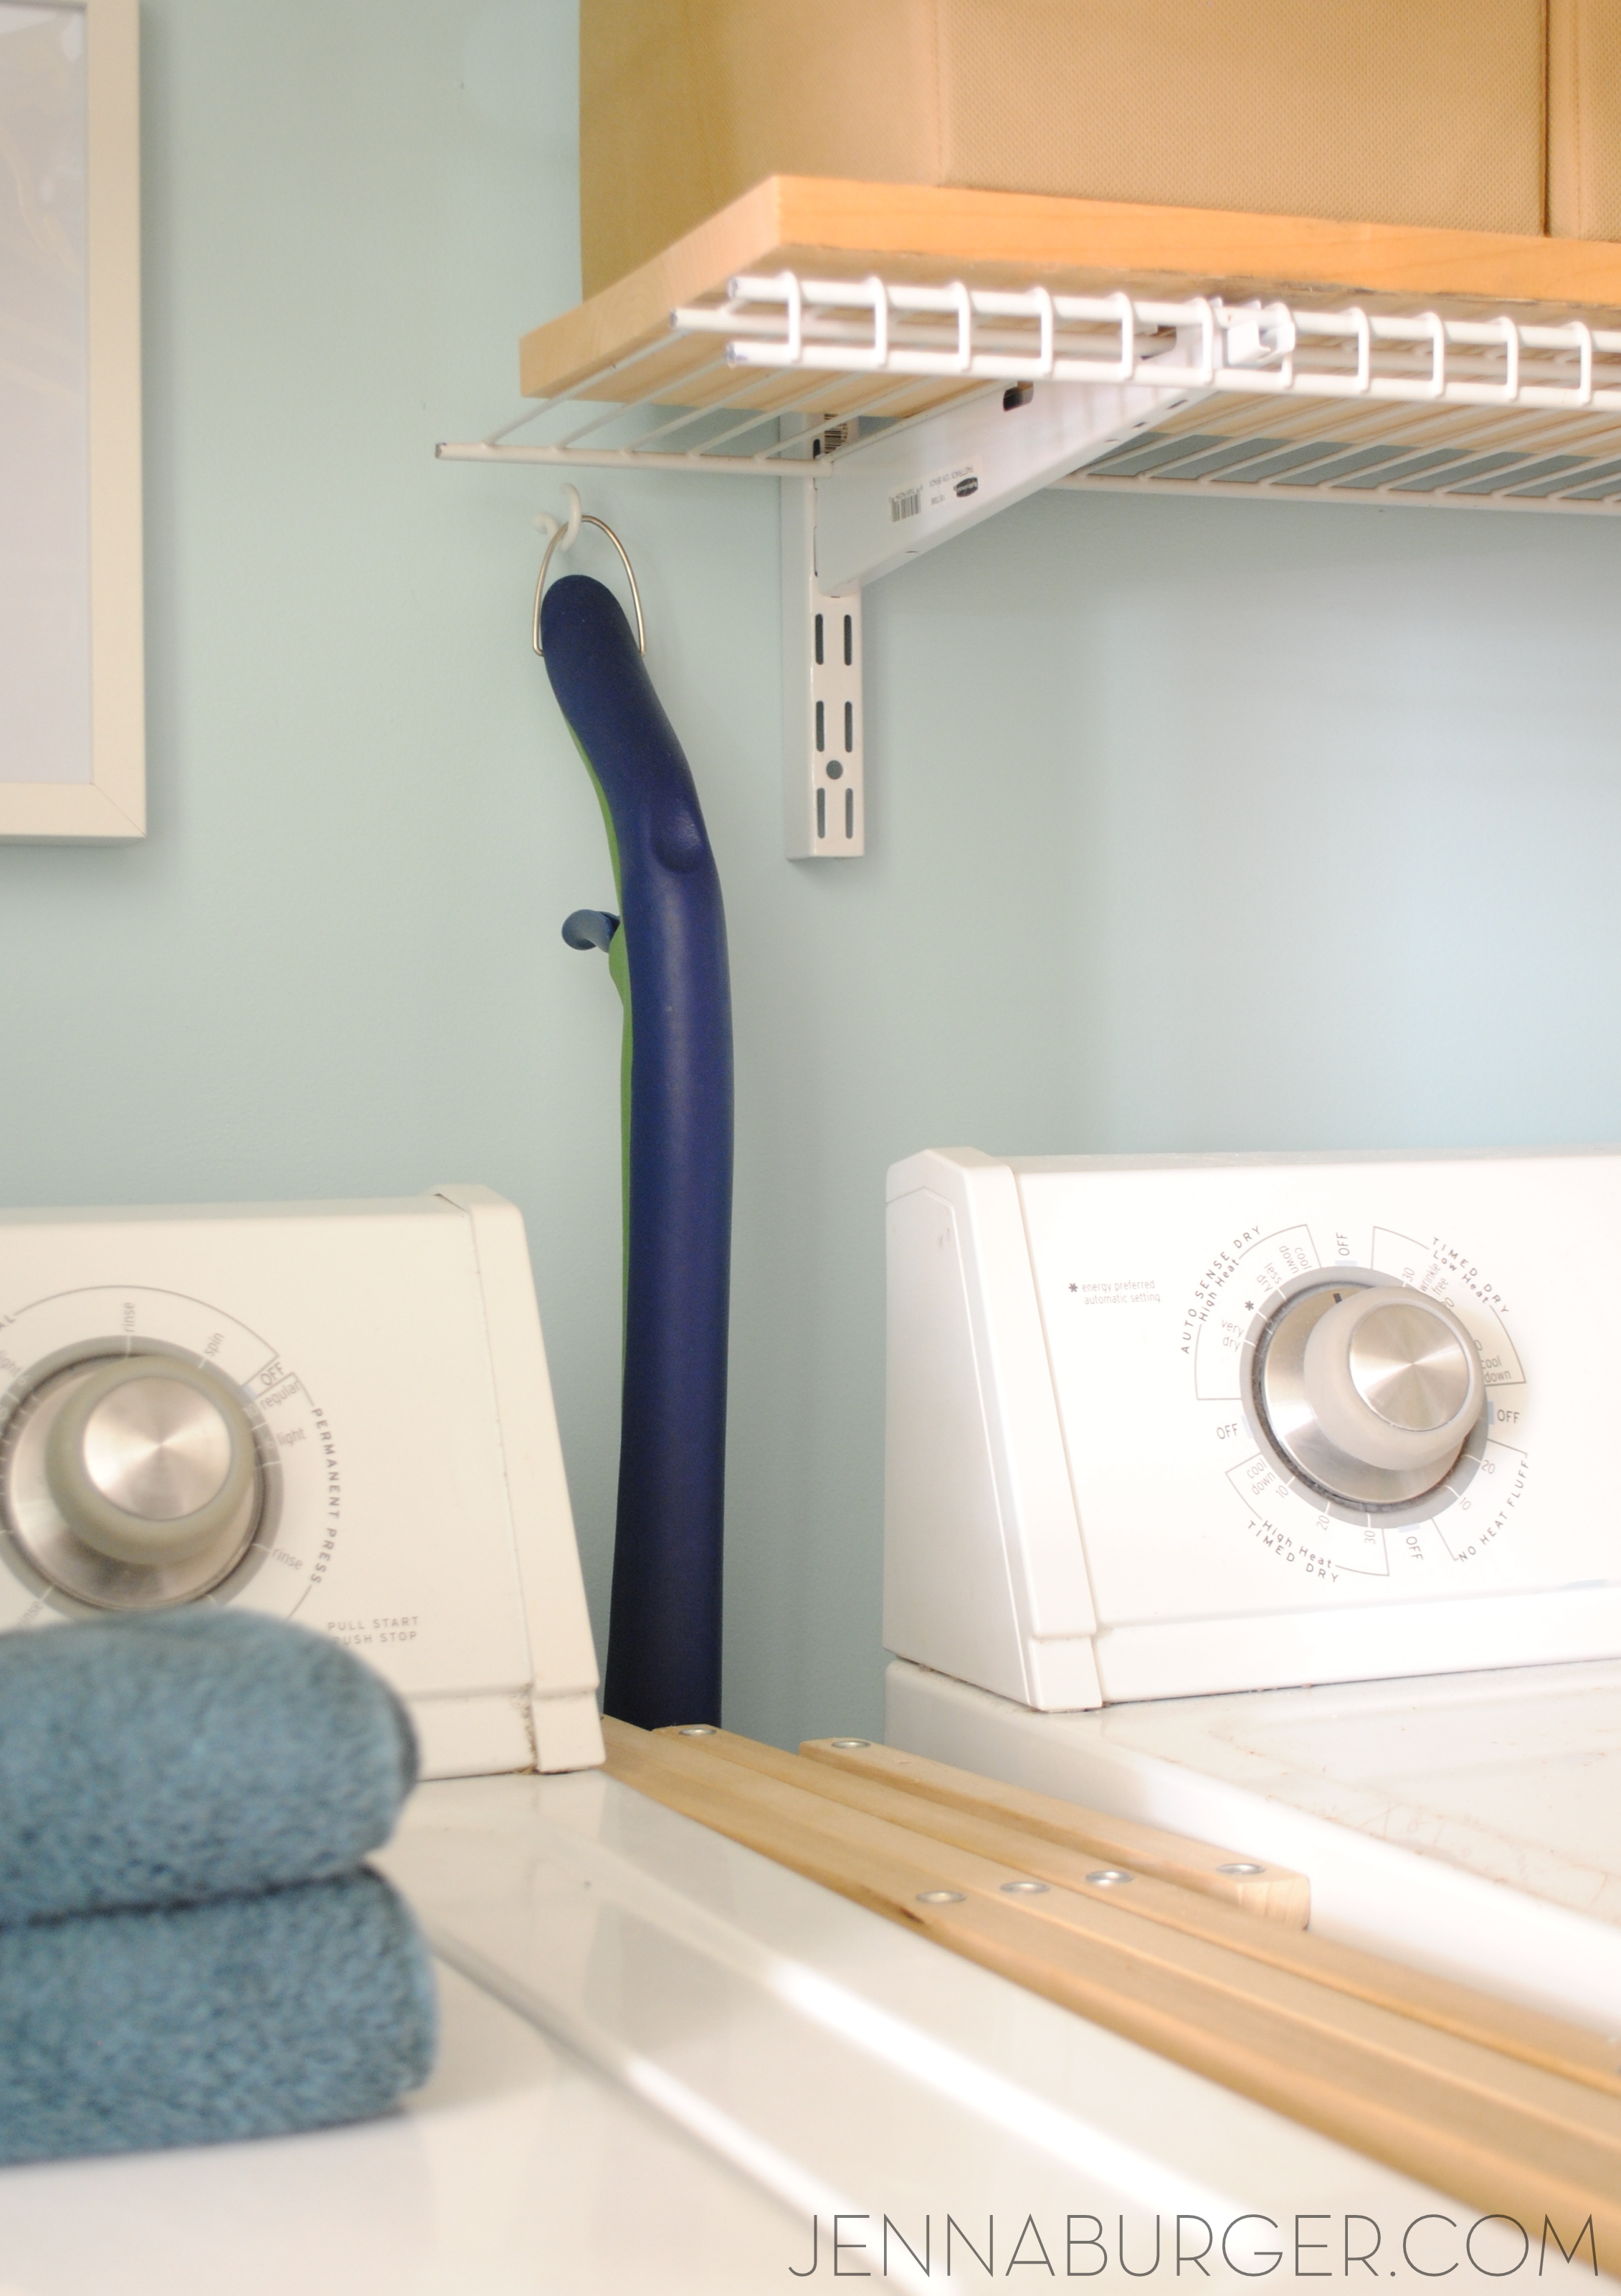
On the back wall, I added another hook for the Bona mop (1 of 6 ways I make my home feel instantly clean!) and the space between the washer and dryer, sits the clothing rack. Lastly, on the right wall is another hook for the broom. (there is still space above that I am sure will be filled soon).
The “pretty” for this space was added in the Float art print (love the colors & the whimsy of the woman floating in the water) that I added to the back wall which kind of hides the ugly plumbing cords, as well as the colorful hangers I snagged from Target. I love how the citrine color looks with the mint hues.
In all, this Laundry Room / Closet revamp was about $200 total. $30 for the paint (I used a quart) / $80 for the closet components / $20 for the wood / $25 for the wire storage bins / $10 ironing board / $8 iron holder / $5 for the hooks (broom & mop I had).
One bit of information that I forgot to add is that since this space looks so good, I decided to take the doors off. Honestly, they were open almost all day, every day and ALWAYS getting in the way. I took the doors off when I painted the trim and the hallway felt so much larger. Now that the laundry closet is so much more organized, I actually enjoy looking at it (where before, no way!). Plus keeping the space open for all to see will keep me more accountable to keep the space looking snazzy clean + organized! FYI, the hardware is still in place if we ever want to put the doors back.
It’s really amazing that this space went from this, to this, in just a few hours…

DETAILS.
> PAINT: HGTV Sherwin Williams Mint To Be (Lowe’s)
> SHELVING: Rubbermaid closet system – hanging rail, uprights, brackets, 12″ white wire shelves / Wood – 1″ x 12″ x 4′ length
> WIRE BIN (top shelf): Antique Grey Iron Basket (Lowe’s)
> FABRIC BIN WITH LABEL: Closetmaid Fabric Bin (Target)
> IRONING BOARD: Countertop Ironing Board (Target)
> IRON HOLDER: Plastic Iron & Board Holder (Amazon)
> ART: Float art print (Minted)
> HANGERS: Room Essentials 18 pack hangers, yellow (Target)
And there you have it. It’s amazing what a bit of paint + a little TLC can do. Small changes + Little Money can really make a BIG IMPACT!
I’m off to do some more laundry…
THIS IS A SPONSORED POST BY LOWE’S. I REACHED OUT TO THEM ABOUT THIS PROJECT AND THEY CHOSE TO WORK WITH ME ON THIS LAUNDRY REVAMP. I HAVE BEEN PROVIDED WITH PRODUCT FOR THIS PROJECT, BUT AS ALWAYS I WAS NOT TOLD WHAT TO BUY OR WHAT TO WRITE.