
Tag: reupholstered chair

Easy Project, Big Impact: Reupholstered Chair Seat

Easy Project, BIG IMPACT RESULT: Reupholstered Chair Seat. Completely NO EXPERIENCE NEEDED! All you need is a scrap piece of fabric (about 1/4 yard) + a staple gun. 2 minutes later, you're done. Change any chair NOW!

Most posts I have planned out a few days, or at least a day, before going live.  But not today’s.  I have been trying to check things off my to-do list and this project, start to finish, literally was done just a few minutes ago.  I posted a pic on Instagram (I’d love for you to follow along if you’re not already) and I thought I’d share a blog post about it.

Ready for a super easy, yet BIG IMPACT project?  Check out how I brought this old chair alive again with a simple change of fabric.  It’s so simple and I swear that ANYONE can do this.  Even if you’ve never DIYed anything in your life, you can do this.

Ready?  Here goes…

(By the way, these aren’t the best pics because they were taken with my iphone.  That’s how quick this project + post was pulled together)

Easy Project, BIG IMPACT RESULT: Reupholstered Chair Seat. Completely NO EXPERIENCE NEEDED! All you need is a scrap piece of fabric (about 1/4 yard) + a staple gun. 2 minutes later, you're done. Change any chair NOW!

I’m sure you can pretty much “get it” from the picture, but basically you’ll need about 1/4 yard of fabric (this 1″ black & white striped fabric I snagged from the Online Fabric Store while at Haven Conference last year).

1. Lay the fabric right side down on a hard surface, then set the seat face down.  Rearrange the fabric as needed so it’s positioned as you’d like.  I wanted to make sure my stripes were even, so I adjusted the seat positioning accordingly.

2. Then, using a staple gun, start with one fabric edge, pull taught and staple.  Then work your way around the entire seat.

And voila, 2 minutes later or less, you’re done!

Super easy and look how much of an impact a simple seat cover makes!

A few years ago the seat started out like this after finding it at a thrift store…

BEFORE: Side Chair

After a little paint + a new seat cover, it looks totally fabulous & updated…

Easy Project, BIG IMPACT RESULT: Reupholstered Chair Seat. Completely NO EXPERIENCE NEEDED! All you need is a scrap piece of fabric (about 1/4 yard) + a staple gun. 2 minutes later, you're done. Change any chair NOW!

Easy Project, BIG IMPACT RESULT: Reupholstered Chair Seat. Completely NO EXPERIENCE NEEDED! All you need is a scrap piece of fabric (about 1/4 yard) + a staple gun. 2 minutes later, you're done. Change any chair NOW!

Now the chair sits beautifully in my master bedroom

Easy Project, BIG IMPACT RESULT: Reupholstered Chair Seat. Completely NO EXPERIENCE NEEDED! All you need is a scrap piece of fabric (about 1/4 yard) + a staple gun. 2 minutes later, you're done. Change any chair NOW!

Projects don’t always have to be difficult and timely.  Sometimes the projects with the best +biggest results are the easiest!  Cheers to a fabulous Memorial Day weekend!

What has been your simplest and/or easiest DIY project, craft, or upcycle?

My First Annie Sloan Experience

Yes, using Annie Sloan Chalk Paint is an experience!

If you have no idea what I’m talking about and/or have no idea who Annie Sloan is, no worries, just keep on reading.  If you do know about ASCP, stick around and see if you’ve had a similar experience (I’d love to hear your thoughts).

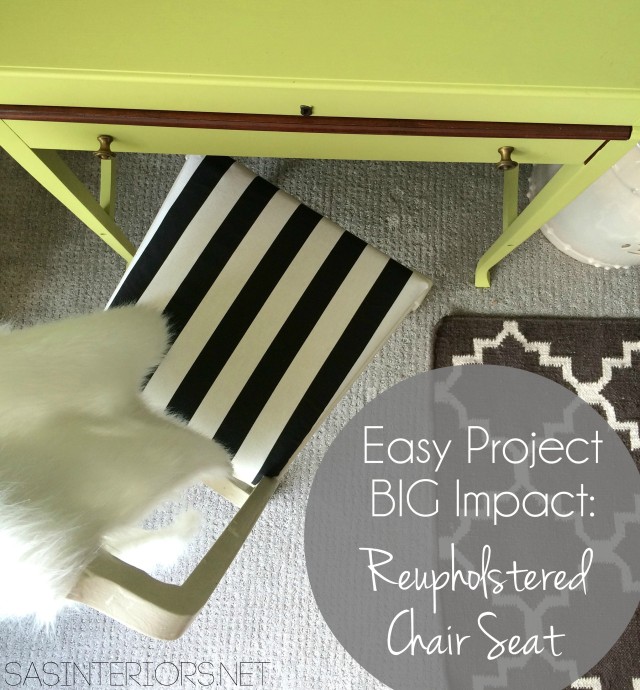
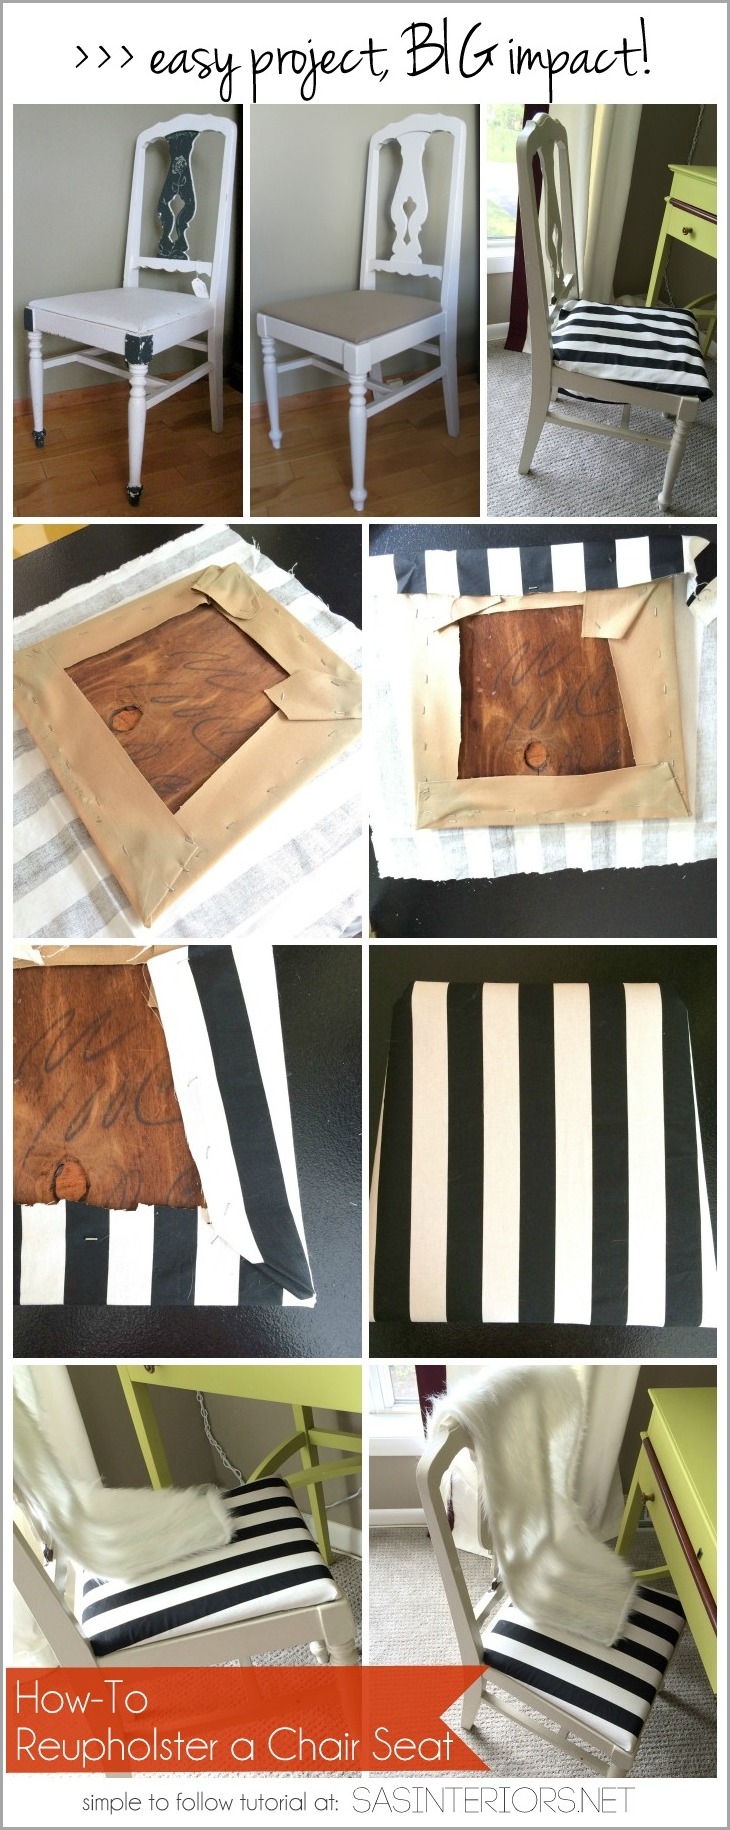
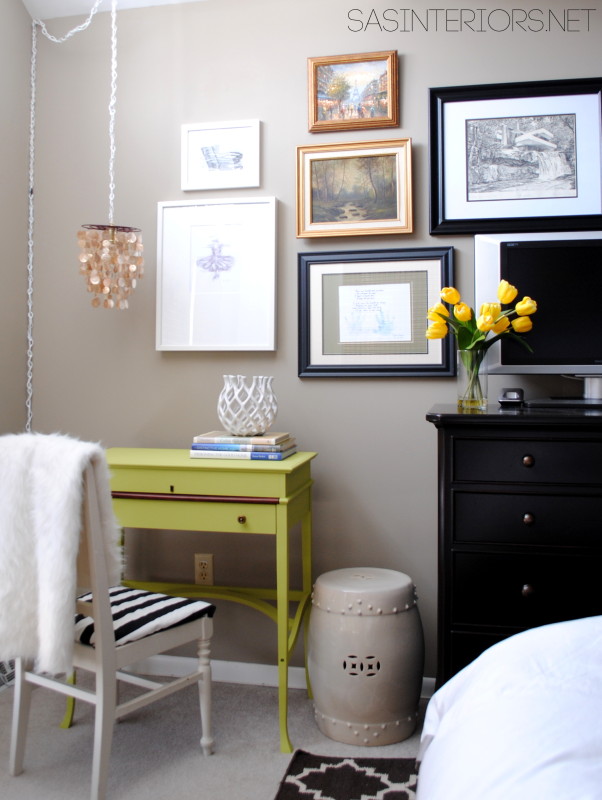
I shared the result of my first Annie Sloan paint project yesterday and the response was unbelievable.  Thank you ALL for your kind comments – I was blown away by your kindness!  If you missed the reveal, I revamped and reupholstered a side chair for my desk.  Before the reupholstery could begin though, I painted the chair frame with my newly purchased Annie Sloan Chalk Paint.  I had never used this paint before and it was quite an experience.  I shared a little about it yesterday, but wanted to go more in-depth with a dedicated post.  So here we go…

I’ll start off by saying, I had some issues and jumped a few hurdles, but got through it. (but keep reading please…)

Many of my blogger friends have used the Annie Sloan Chalk Paint and the results are amazing. One that really sticks out in my mind is Erin’s table and it’s probably because of the vibrant orange color with the antique dark wax.  This piece turned out amazing and after reading her post and seeing her pictures, I was sold and had to place my order.

In the meantime, I also (virtually) met Trish of The Purple Painted Lady and saw this piece which blew me away. Trish and I corresponded back and forth a few times.  She gave me amazing tips and techniques on using the paint and wax, so I thought I was on my way.

I ordered a quart of the French Linen color, which seemed similar to the taupe hue that can be seen throughout my home, and a can of the clear wax.  My shipment arrived a few days later and an anxiety came over me.  After ALL the many DIY projects that I’ve taken on, I was actually nervous to paint.  Yes, paint.  How could I be nervous??  I think I hyped up the idea of this magical formula so much that my gung-ho attitude went out the door.  And for me, when I’m nervous, things go wrong.  Does that happen to you?

I started off as I was instructed to (by Trish) and turn the can upside down for at least 60 seconds.  Basically, all the good stuff settles to the bottom and needs to be well mixed around. Of course, shake and stir as well.

Then I started painting.  Yup, I started painting WITHOUT stripping, sanding, or priming the existing wood.  That’s the beauty of chalk paint.  It’s designed to adhere to most any surface including wood, concrete, vinyl, and even bathtubs (I learned that from Trish too).  Plus it provides 50% more coverage compared to latex, so the 1 quart can goes a LONG WAY – for this chair, I hardly used any paint.

So coat 1 went on just like usual. Using my favorite Purdy brush, I applied a light coat of this gorgeous color.

Then coat 2.

Two coats was just enough for most areas, but a few spots need three.

Done.  Trish stressed that it wasn’t good to paint in the heat, but I was just fine since I was indoors, in the A/C – ideal conditions!

I wasn’t sure what the result of the chalk paint would be.  I was guessing it would be chalky (obviously), but it’s not.  Honestly, if I didn’t know it was chalk paint, I would think the paint was simply a latex… Until it dries.  The finish on the dried chalk paint is very flat and dull.  You can tell it is in need of something for a top coat.  What is that something?  Well, wax.

Why Use Wax?

Chalk Paint™ is very porous and the wax will penetrate the paint and literally fuse with it making it very strong. Waxing the paint provides protection. Chalk Paint™ in nature- is a very flat chalky finish and over time could be effected by oils from your skin, stains from beverages, dirty fingertips. They can permanently stain the paint. The wax finish is what seals and protects your piece. – The Purple Painted Lady

A day later, I jumped in and started the wax process.  I’ve painted before, but have never applied wax.  Not even car wax, so I was definitely entering unchartered territories.  Again, I was nervous, but sucked it up and followed the steps (once again stated by Trish).

The wax is smooth, kind of like Crisco, and should be applied in “very thin, uniform coats”.

Remember this – VERY THIN, UNIFORM COATS

This is the basic process –

  1. Start by taking a spoonful of wax.
  2. Put it on a paper plate.
  3. Dip the end bristles of your brush* into the wax.
  4. Apply the wax in the same direction as the painted brush strokes

* The brush you choose is important.  It CAN’T be a new brush and really should be a specific wax brush.  I used a well-worn brush that was leftover from my fence project.  I really should have used a true wax brush, but being the frugal gal that I am, decided not to get it with my purchase (probably a mistake). As I always preach suggest, the right tools make the job much easier.  I guess I haven’t learned my own lesson yet…

FYI – These instructions are for applying clear wax only, not the dark wax.  That has a whole set of different directions that I haven’t even looked at yet.

Trish at The Purple Painted Lady has an AMAZING Q + A on her website and every issue / problem that you may run into is on there.  She gives a very thorough step-by-step of how to apply the wax, so it’s a MUST READ!

But of course, I ran into an issue.  Here goes.  I applied the wax, waited a few hours, but it still was tacky.  I waited another 24 hours, but it was STILL tacky.  What did I do wrong?  I immediately sent an email to Trish and this was the subject line: Need HELP with wax! (that should get her attention, right?)

Like always, I heard back from her right away with a thorough explanation and she directed me right to her Q+A page.  I scrolled down and found my answer.

Thankfully “my issue” is one of the most common… too much wax!  I went over the wax with a cloth and a few days later, it was all dry and smooth to the touch.

Boy, what an experience, but I’m glad I stuck with it and learned from my mistakes. Trying something new always has it’s hurdles, but once you get over them, it’s often smooth sailing.  I’m thrilled with the result of my newly reupholstered chair and every time I look at it, I have a chuckle about the days when I wanted to pull my hair out figuring out what I did wrong.

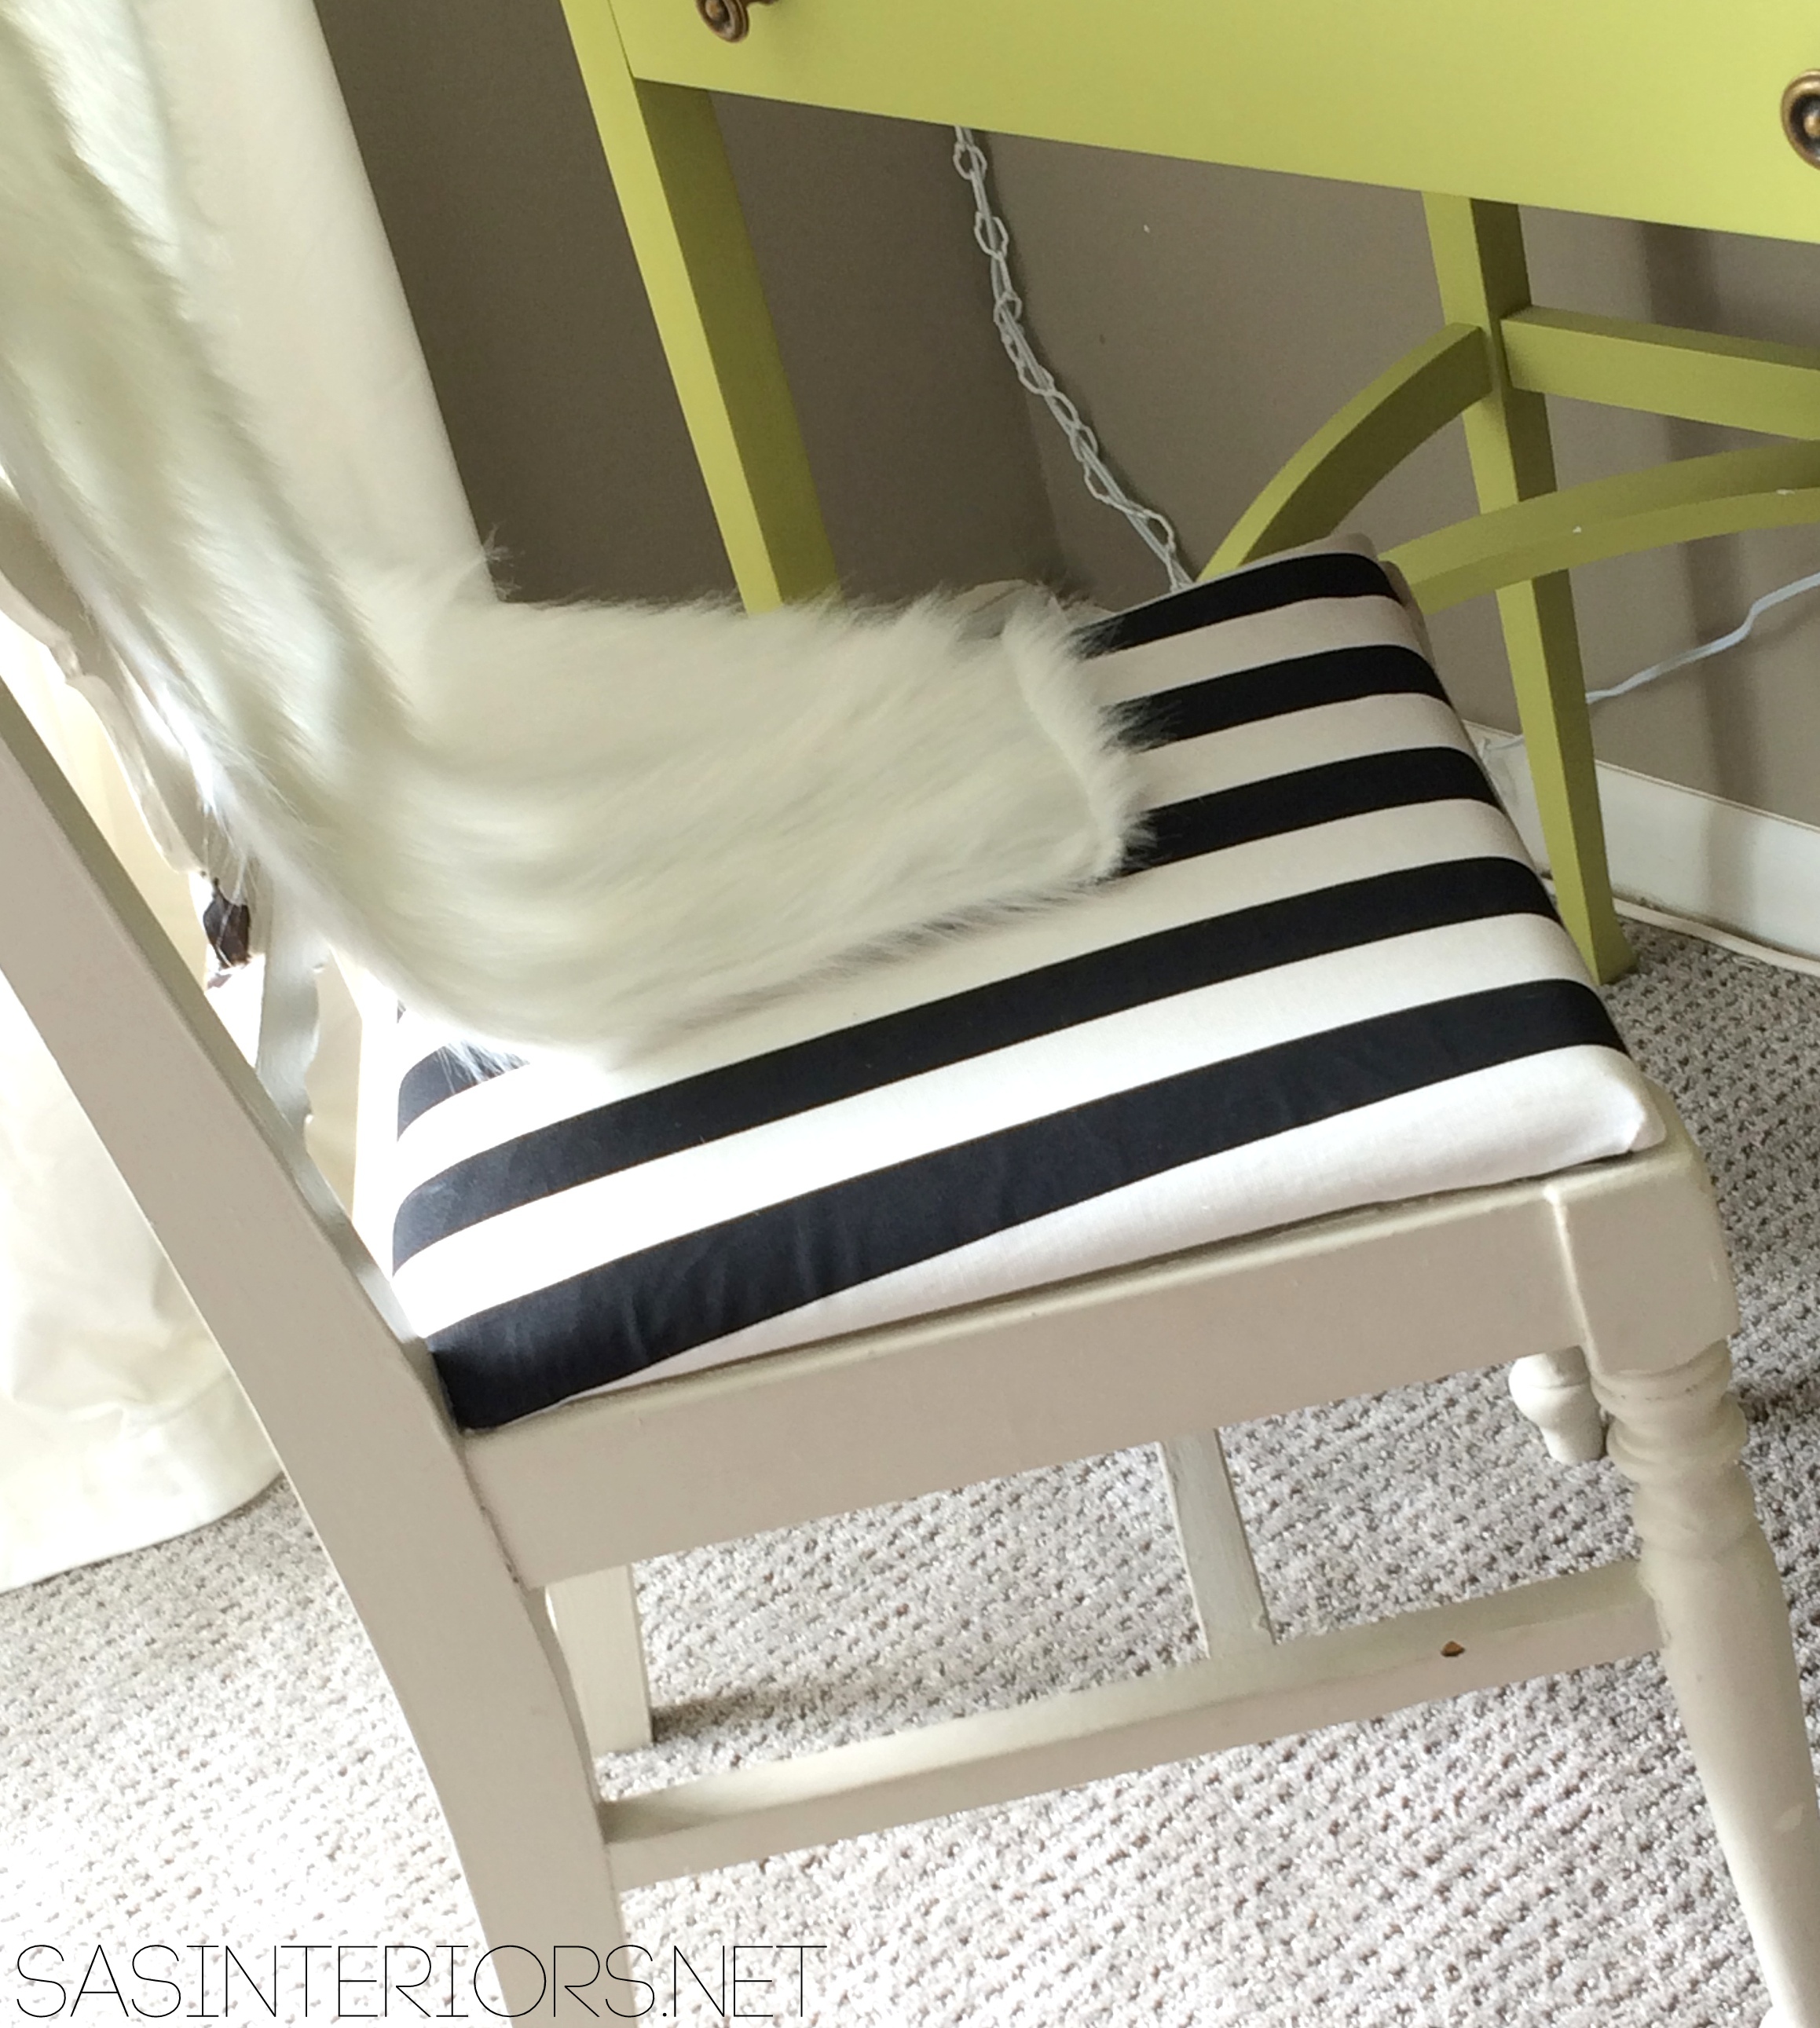
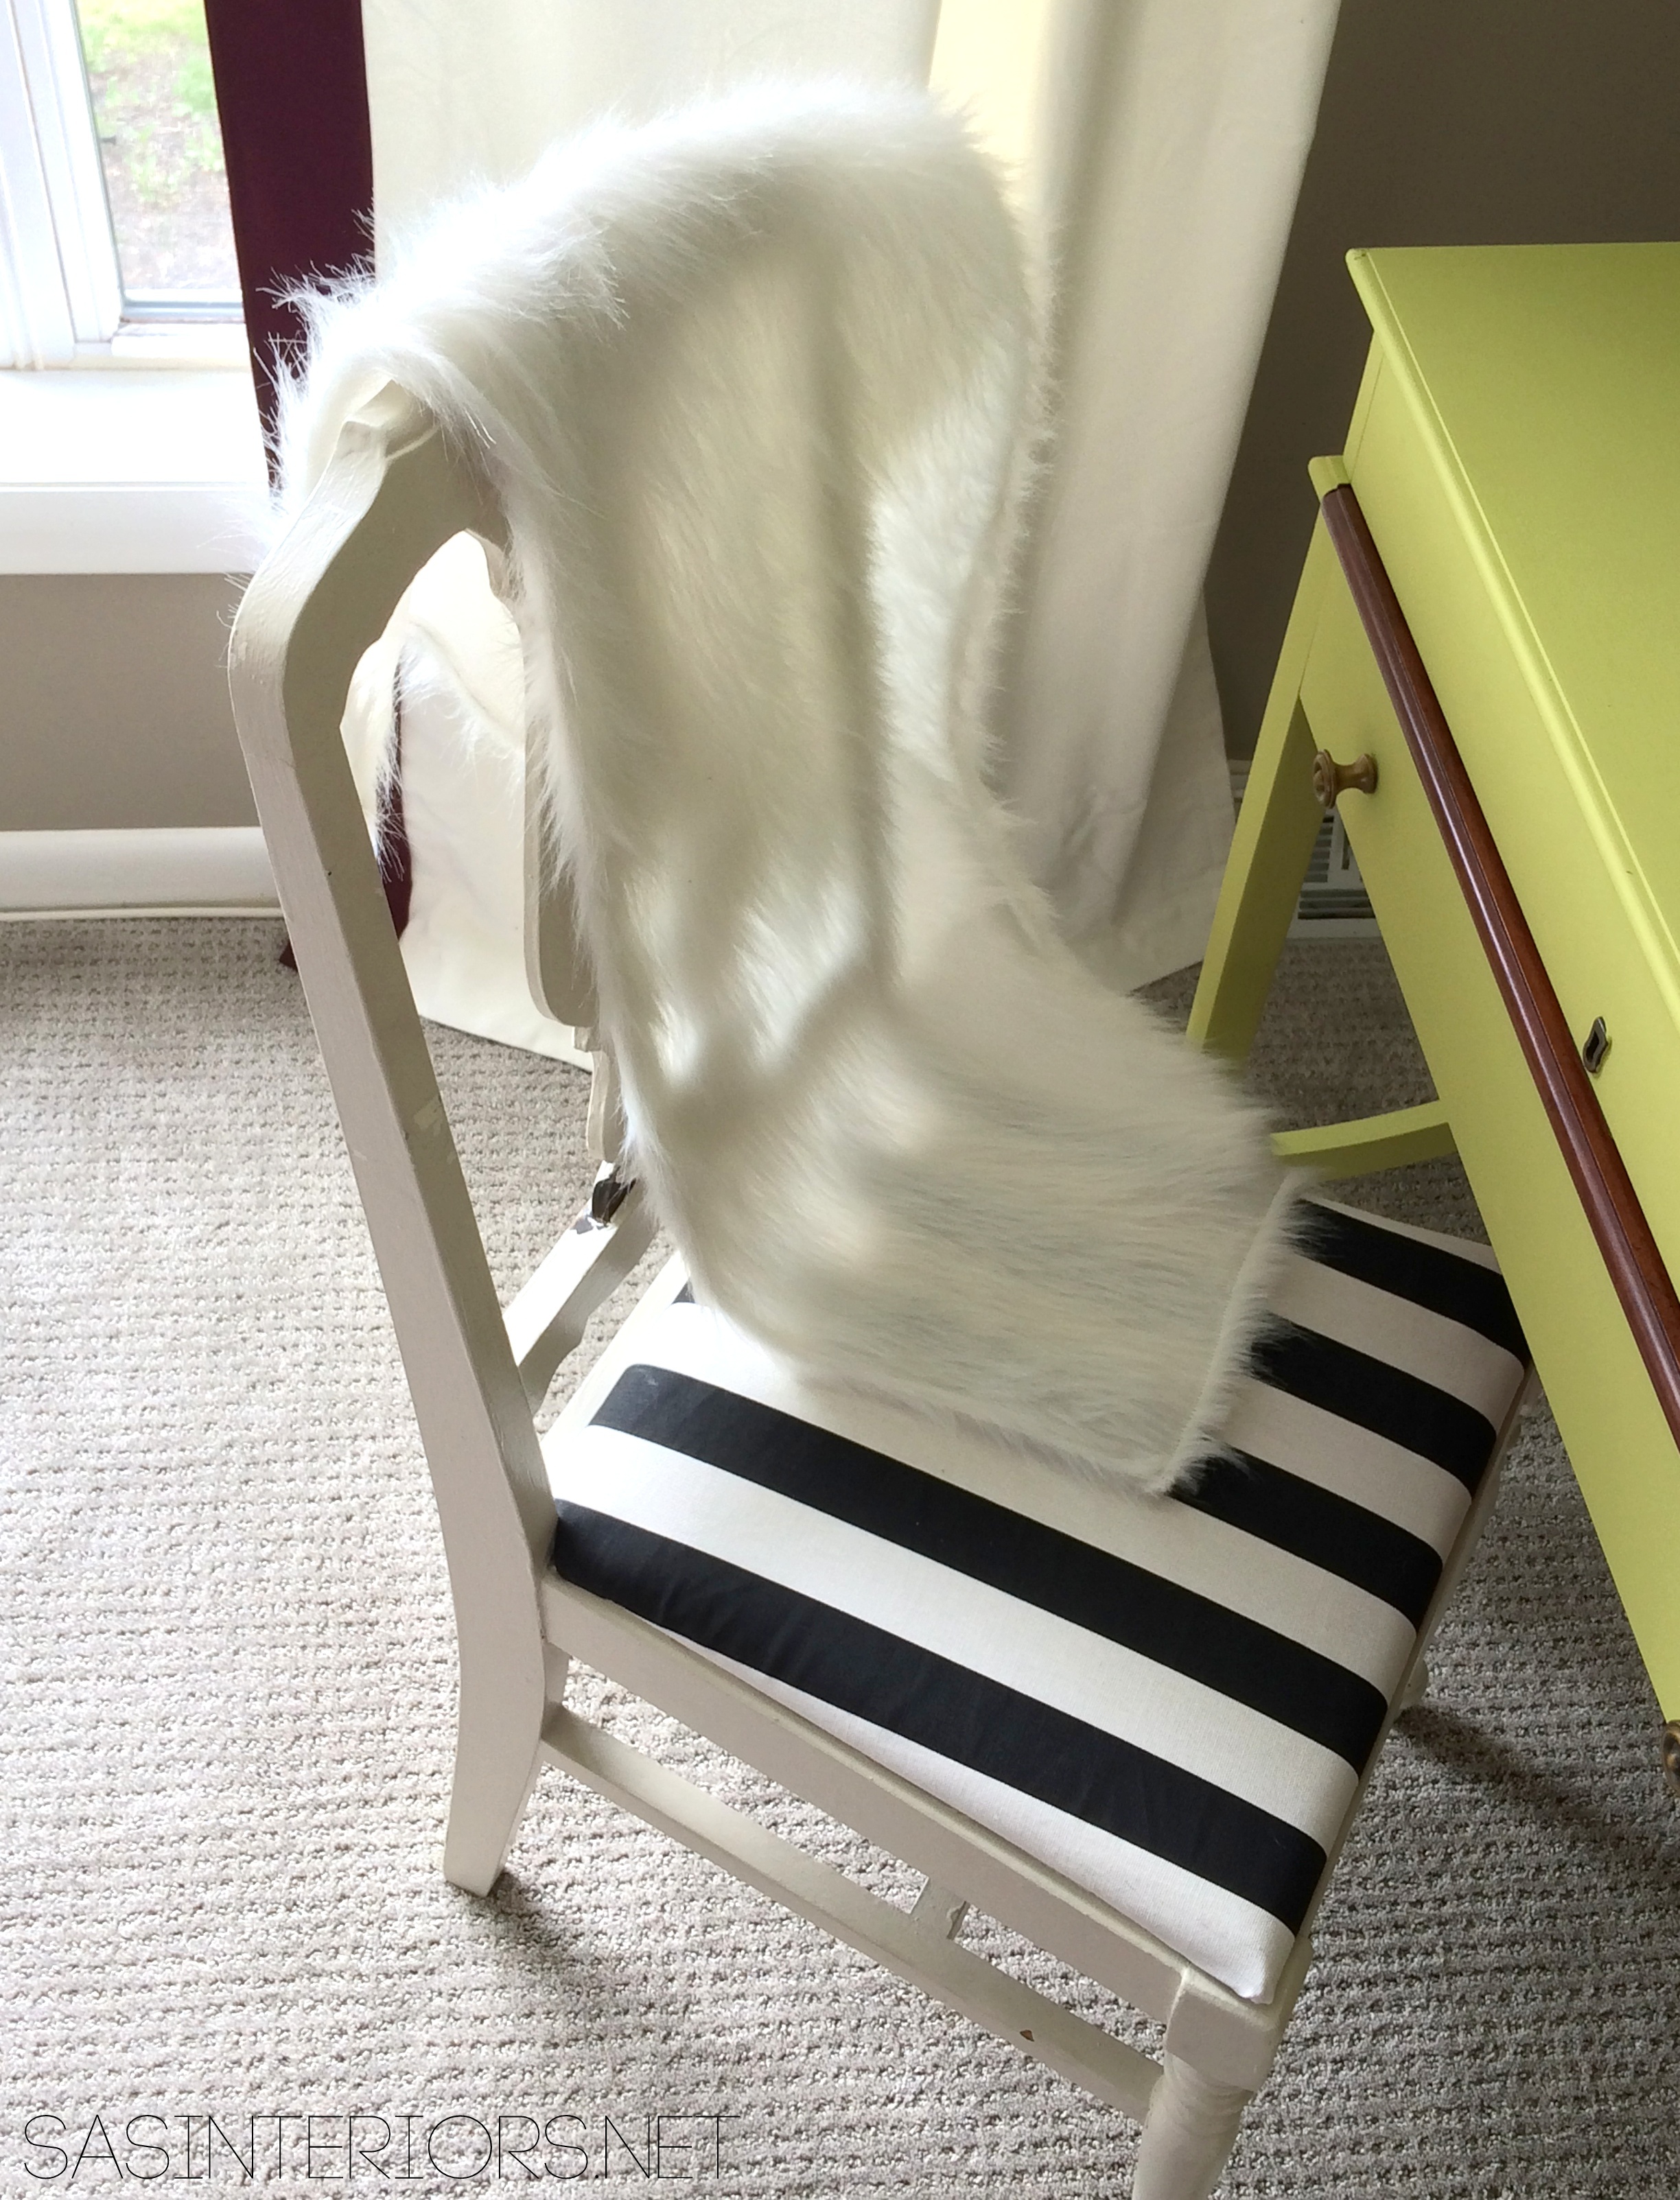
And here’s the finished result.

I’ve received quite a few questions on, “Is the Annie Sloan Chalk Paint worth the cost?”.  It’s difficult to say depending on the look and style piece you want to achieve. With the bonus of no stripping, sanding, or priming, plus how much this paint covers compared to latex paint, it’s worth to give it a try!  You may just fall in love…

Since I’m still a novice ASCP user,  I’d LOVE to hear about your experiences with this magical formula. What issues have you had if any and how have you overcome them?  Do you love the paint or don’t think it’s worth the cost?  Please Share!

If you want to check out my reupholstery tutorial, click here.  And if you’re interested in learning alot more about how to apply the chalk paint and wax, click here to visit Trish’s website.

DIY: Reupholstered Side Chair

I’ve always had the desire to attempt the process of reupholstering a chair.  Quite a few of my blogger friends did and the results were amazing, but I was still reluctant – Could I really do it? 

After reading this post, for some reason, “it” clicked and I was on-board.  My mission of finding a chair had started.  I needed something new anyway for my desk since I’ve been using this chair which has no seat padding and gets uncomfortable after a while. It took some time, but one day when on a thrifting adventure with my mom, I spotted it and bells started to ring.

Let me start off by saying, I have no upholstery skills, so this is something that absolutely ANYONE can do.  If I can do it, so can you!  Don’t get me wrong, there were quite a few times that I wanted to give up, but I kept chug, chug, chugging along and I’m thrilled with the results of a comfortable, stylish, and inexpensive desk chair.

It all started off here…

I began by removing the fabric from the back of the chair.  The old fabric was secured with ALOT of staples (which brought back memories of the carpet on the stairs), so using plyers I (and the mister) removed each and every one.  It took a while and part of the surrounding wood on the chair got slightly damaged, but it ended up being fine since the new fabric and trim covered it later.

The seat upholstery I left since it was in fine condition and the new fabric would cover right over.

Once the fabric was stripped down, it was time to give this chair a paint makeover.  Up until this point, I had never before tried the Annie Sloan Chalk Paint and thought this would be the perfect piece.  Because of the ASCP formula, there is no need to sand before painting and I was ALL FOR THAT! Holla…

I had some hurdles to overcome with the paint and wax, but all in all, I was happy with the result.  My experience with the paint is a story in itself, which you’ll have to wait for later this week. (Click HERE to read about My First Annie Sloan Experience)

Anyway, here is me painting the chair…

Two coats later, I then added the clear wax as top coat.

Once that was done and dry (remember, I’ll chat more about my ASCP experience later this week), the reupholstery work began.  I was psyched to start this part of the project.  I chose a brown and white chevron pattern for the back panel, along with a burnt orange and white patterned fabric for the seat and back. The chevron fabric I had leftover from a pillow and table runner, while the orange fabric is a panel that I purchased from Target to use for this project and some new pillows (that I have yet to make – story of my life).

I started with the chevron fabric first and stapled it to the inside of the wood trim surround in place of where the previous fabric was. (this is a few from the front of the chair)

Once the fabric was stapled all around, this is how it looked from the back…

Then it was time to work on the seat and back reupholstery.  I started with the back.  I added back the original foam insert that was previously used, stapled all the way around, and finished by trimming the leftover fabric with scissors.

Then I used the same steps for the seat.

Once I exhausted out my staple gun, this was the result…

Eek! Those edges don’t look good.  BUT WAIT… here’s how I fixed it.

Trim!

Trim is the key to novice upholstery perfection!  Using a good ole’ hot glue gun, I added the trim surround to cover all the ragged edges of where I used the scissor to trim the fabric.

And minutes later, this was the result.

Beauty, right?

I am thrilled with the final upholstery project and glad that through some tough parts (mostly the removal of the old staples and fabric), I stuck with it.  This chair really gives such a fun flair to my office area. The chair is temporarily in this spot while my front room / office space is under remodel.

And here’s me working away (thanks to my 6 yr. old for snapping this shot) …

Have you ever reupholstered a piece of furniture?  Did you find the first time easier or more difficult than you thought? What DIY projects have you been working on lately?