Before and After: Kitchen Makeover
I hope your week is going well and you’ve had some time to shop!
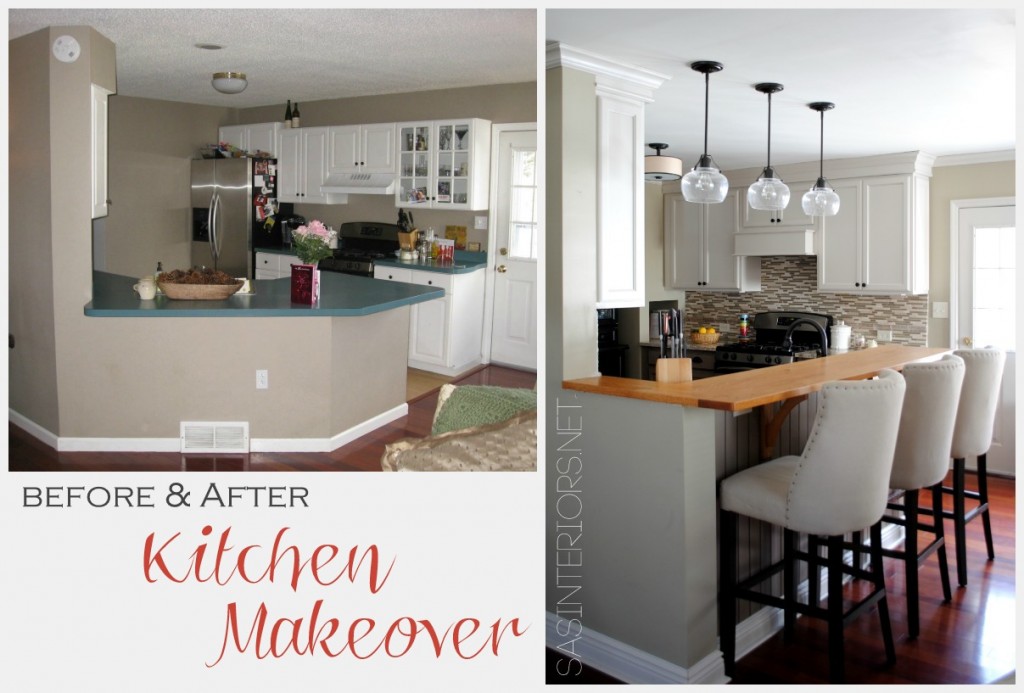
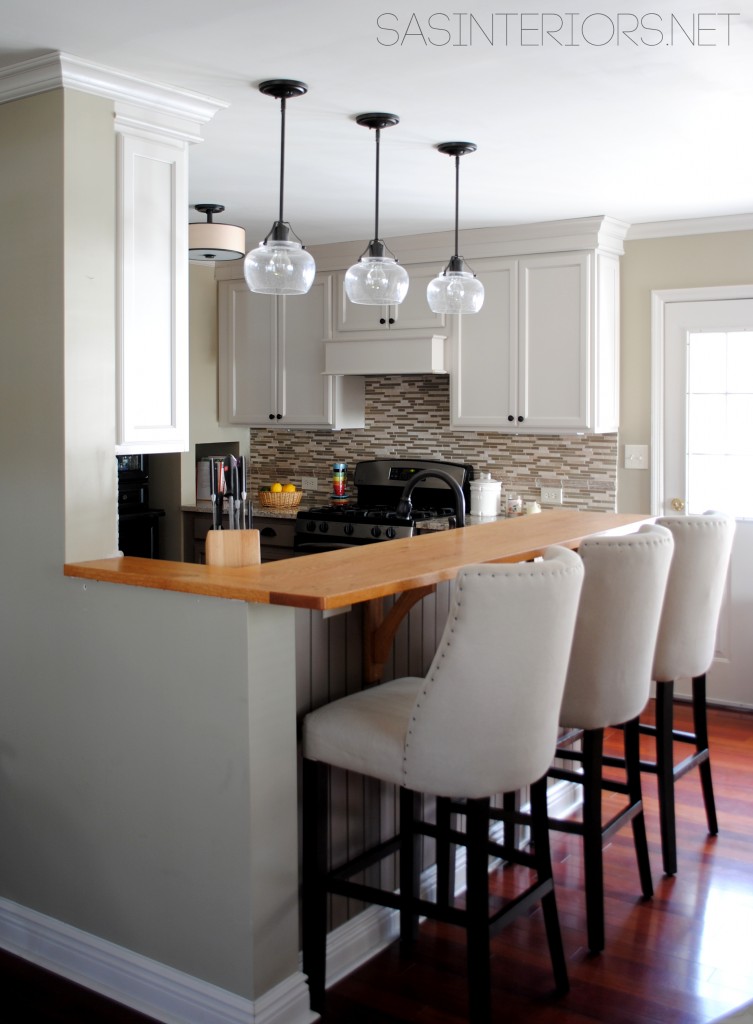
A few weeks ago, I shared a teaser about a kitchen that I just finished up for a local Client. The transformation is pretty spectacular and the space not only looks amazing and is now completely updated, the way it functions is SO much better.
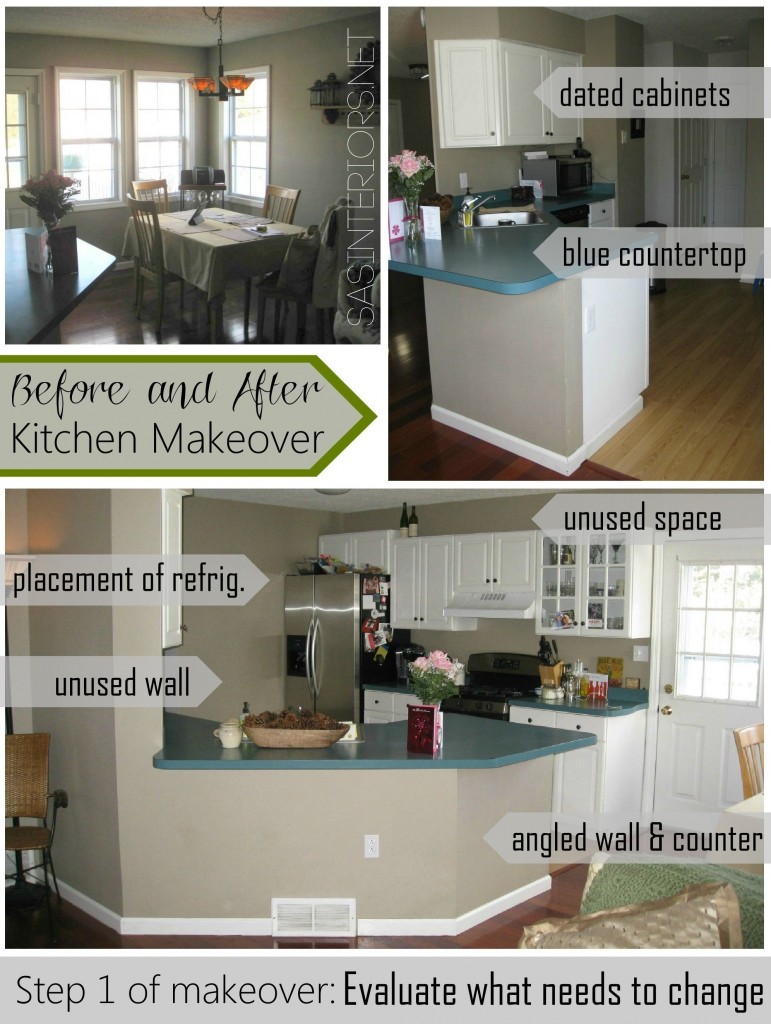
Here is the breakdown of what needed to change with the old kitchen…
To start off, the Client and I evaluated what was wrong with the kitchen and how it was not functioning the best way possible. We discussed widening the space by adding an addition to the outside wall, but the cost would have been way too much. We discussed moving the sink location to the outside wall, but decided the current placement was better. In the end, the only large appliance to be relocated was the refrigerator, since ‘before’, it dominated the main focal wall. Other details that had to be addressed were:
1. The unused space above the upper cabinets
- There was about 12″ of unused space, so we brought the new cabinets to the ceiling plane which allowed for additional storage, plus the taller cabinets heightened the entire room.
2. We removed the angled wall & countertops
- The wall that separates the living room and kitchen was extended to define each space more. The layout is still an open concept, put eliminating the angled wall allowed for more definition and cabinet space.
3. The cabinets were dated
- Enough said about that! The client wasn’t sad to say bye-bye to the old white cabinets.
4. Same with the countertop – dated!
- The turquoise blue countertop wasn’t a color that they wanted to keep, so that also had to go!
5. The placement of the large refrigerator was dominating the main focal wall
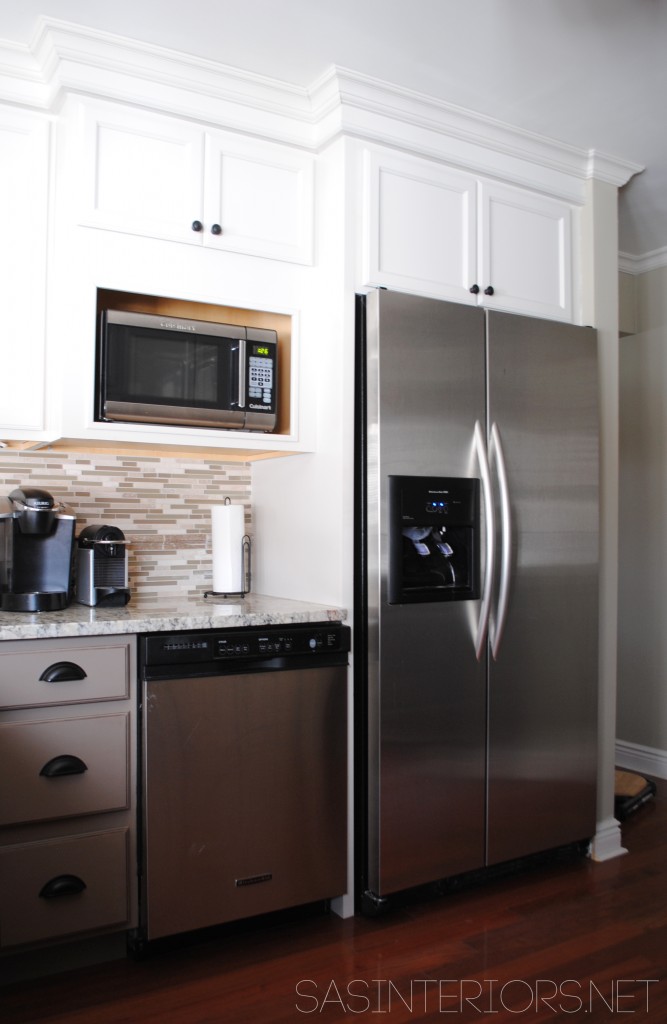
- Figuring out a new location was tricky! In the end, there was a pipe chase on the other side of the room that was boxed out around 1 pipe. It was crazy that this crucial floor area was going unused. After calling in a plumber and electrician to move the pipe location, the new-found floor area resulted in the new home of the refrigerator.
6. With the refrigerator location moved, wall space was freed up for more cabinetry = more storage!
- The unused wall space next to the ‘before’ refrigerator allowed us to create a beautiful “china-style” cabinet.
7. Last, but certainly not least was the removal of the “popcorn” ceiling.
- “Popcorn” ceilings create shadows resulting in the space feeling not as high as it actually is. It’s a pain to take down, but well worth it. For this Kitchen Makeover, the clients tackled it themselves (using Brittany’s tutorial) and they did a damn good job!
So that’s it in a nutshell.
The transformation is incredible.
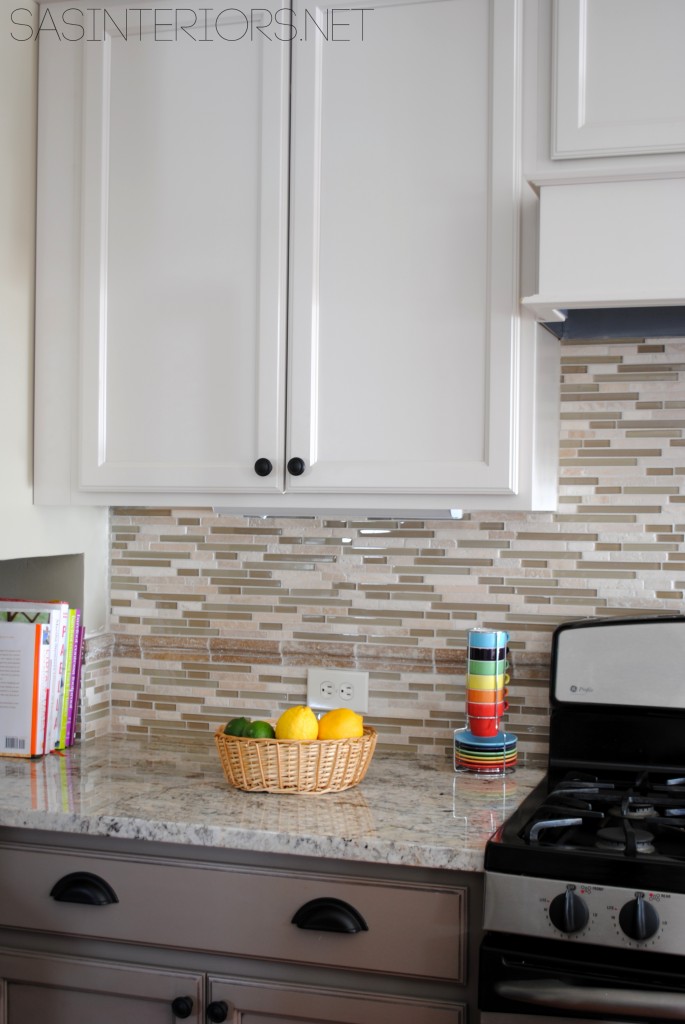
The cabinets are all from Lowe’s and the team there was very helpful. I worked with the Client every step of the way in choosing the three-toned cabinet colors and all of the other selections. The Lowe’s team was great at helping us with all the nitty-gritty cabinet sizes and options.
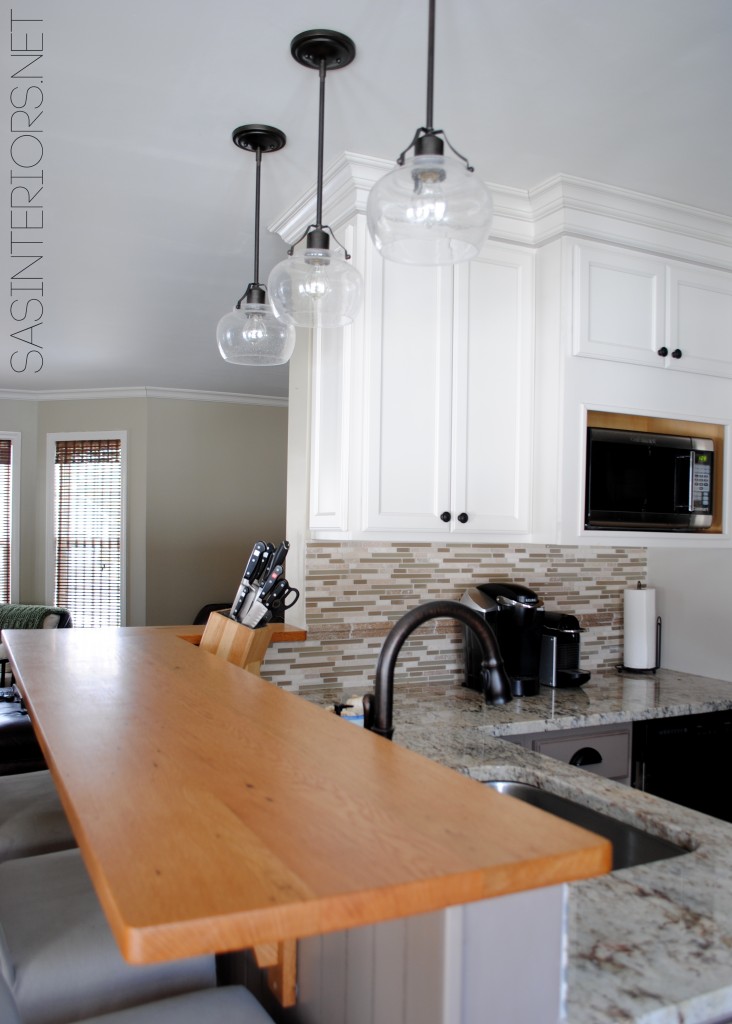
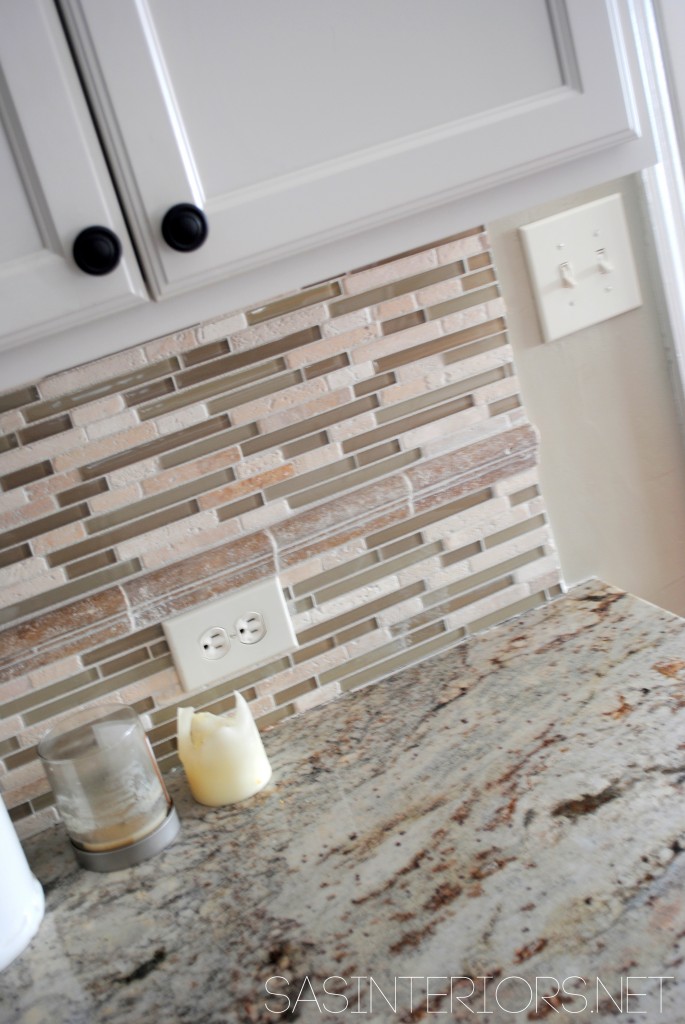
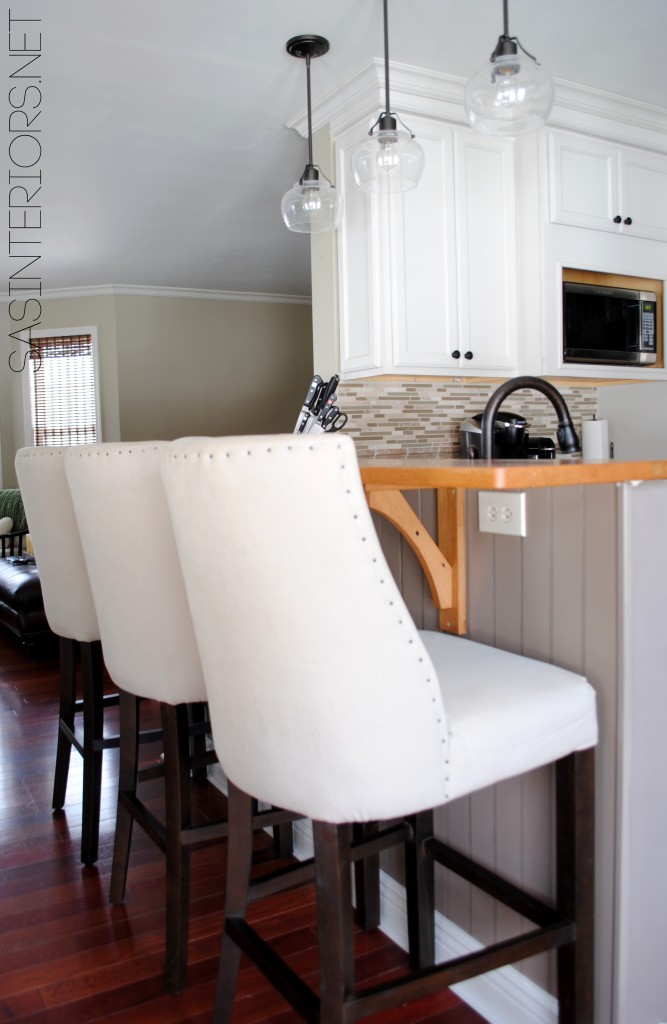
AFTER
Tackling a kitchen makeover is quite an endeavour, but if planned out correctly from the start, the process doesn’t have to be overly grueling. My best advice is to plan ahead and choose / purchase all the new selections before anything in the space is touched.
