Tag: the right way to hang window drapery panels

How-To Add Decorative Trim to Curtains {for cheap}

It’s been fun to share a few of the many DIY updates that I made for my daughters new Big Girl bedroom, and today I’ve got another.

When planning out the room, I knew I wanted to keep the long window panels, but add some embellishments to dress em’ up a bit.

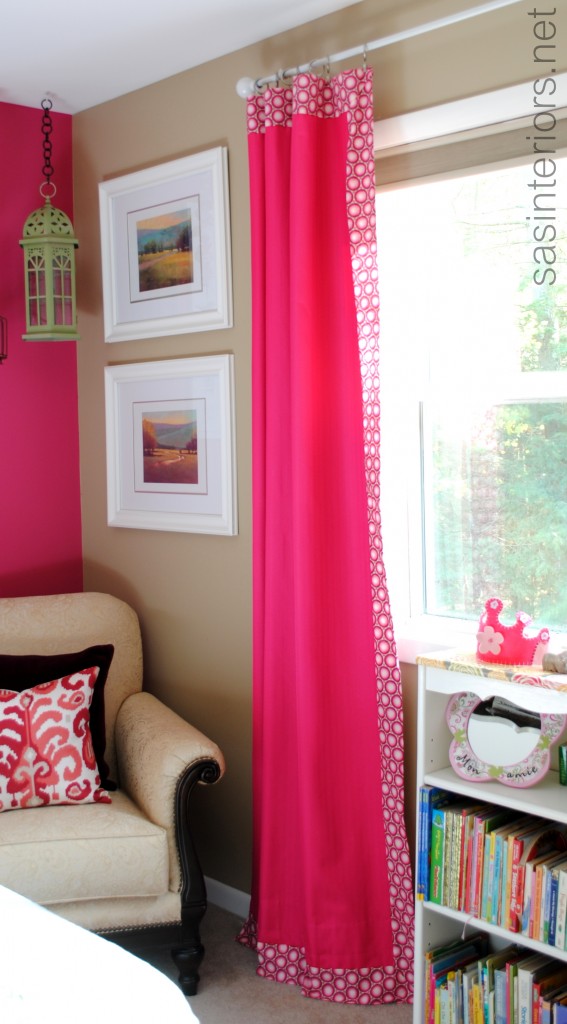
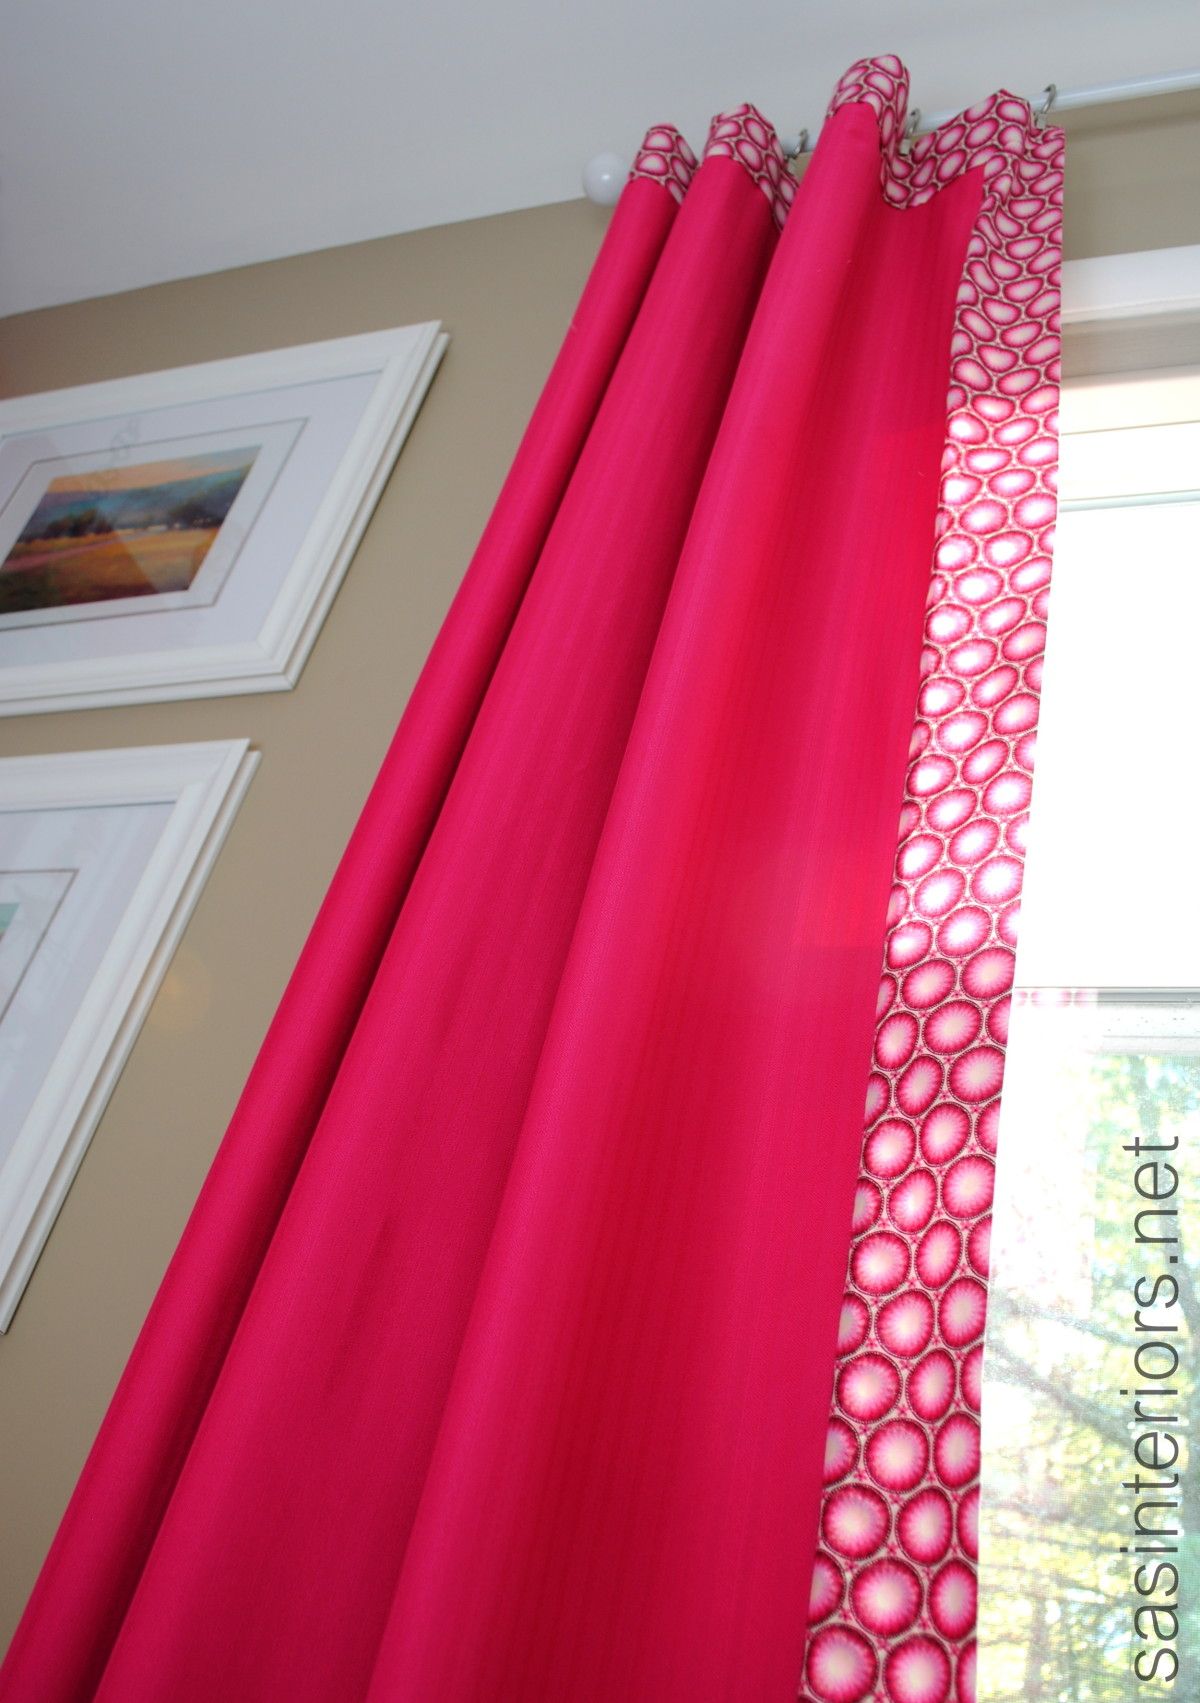
They are typical 86″ long panels that I purchased 2+ years ago from Bed, Bath, and Beyond and are a deep fuschia color with a small herringbone pattern. I always liked them but thought they were a wee-bit boring… until now.

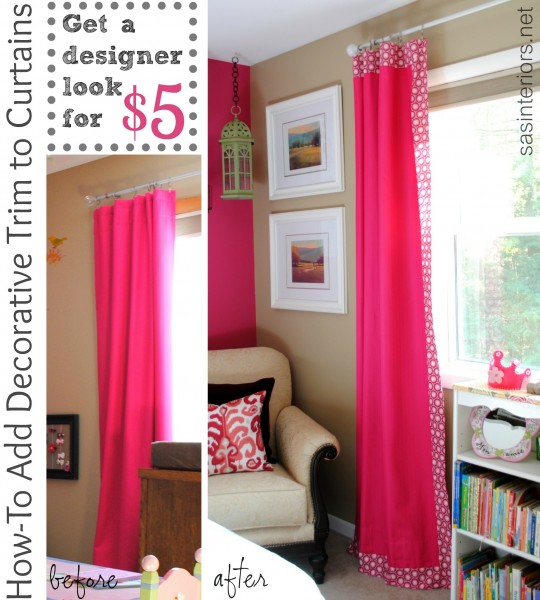
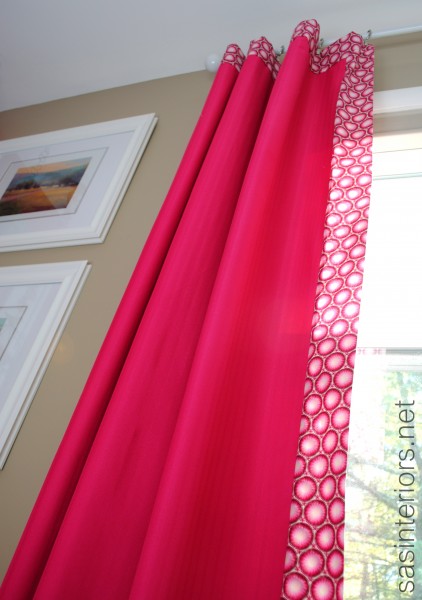
Adding trim, a leading edge, or edge band, is a simple and inexpensive way to give an updated look and a bit of flair to any window treatment. Plus now my revamped drapes are unique and one-of-a-kind, and so can yours.

To get the look is pretty easy and costs only a few dollars.

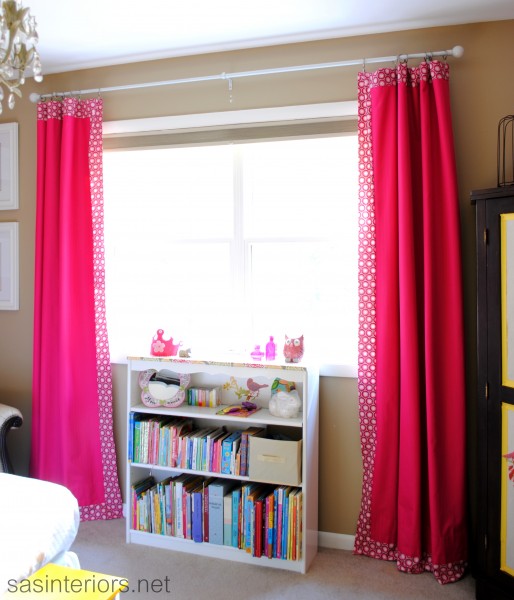
The before panels were okay, but the after is “bam”!

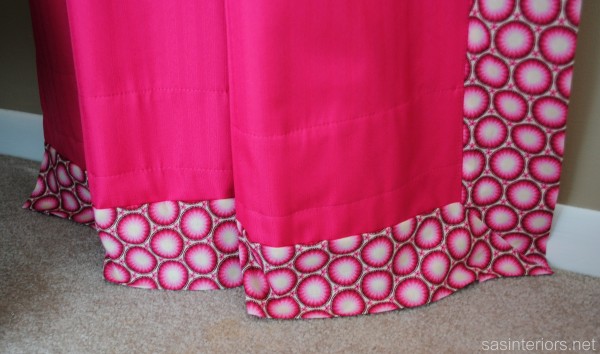
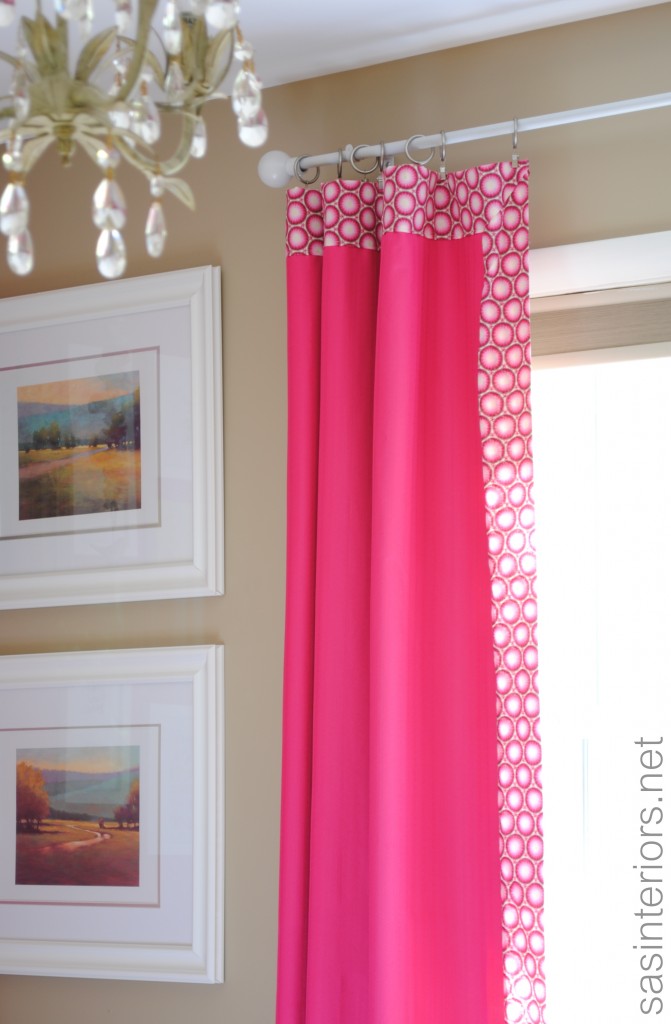
To start off, the panels definitely needed to be raised alittle higher towards the ceiling (the higher the better), and adding a decorative trim band at the top, bottom, and inner side was the answer to give them a designer look.

I found this fun fabric for $3.97/yard, and one yard was just enough for the project.

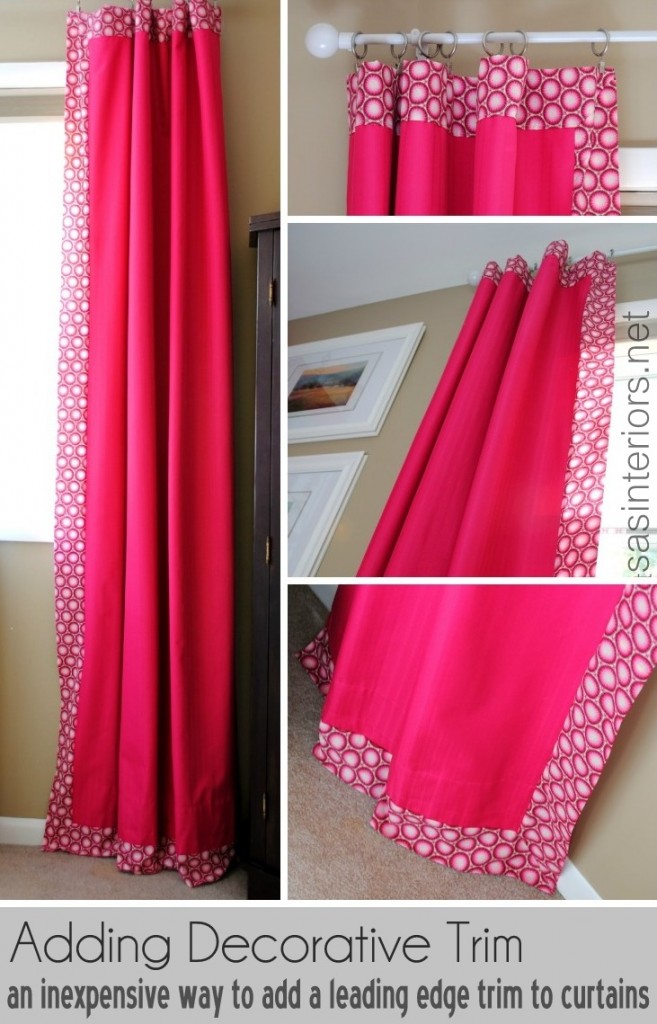
To start off, I determined that I wanted a 3″ +/- leading edge band on the 3 sides.

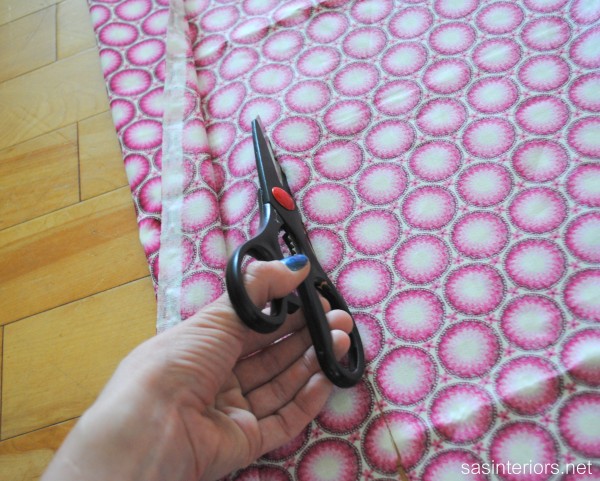
I cut 6-1/2″ strips of fabric.

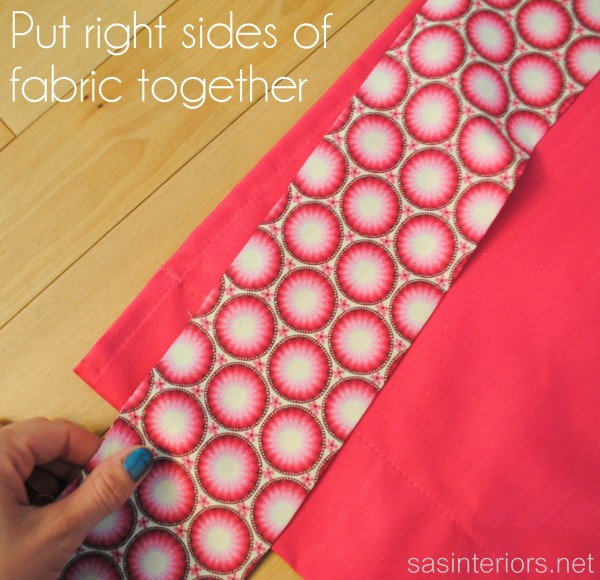
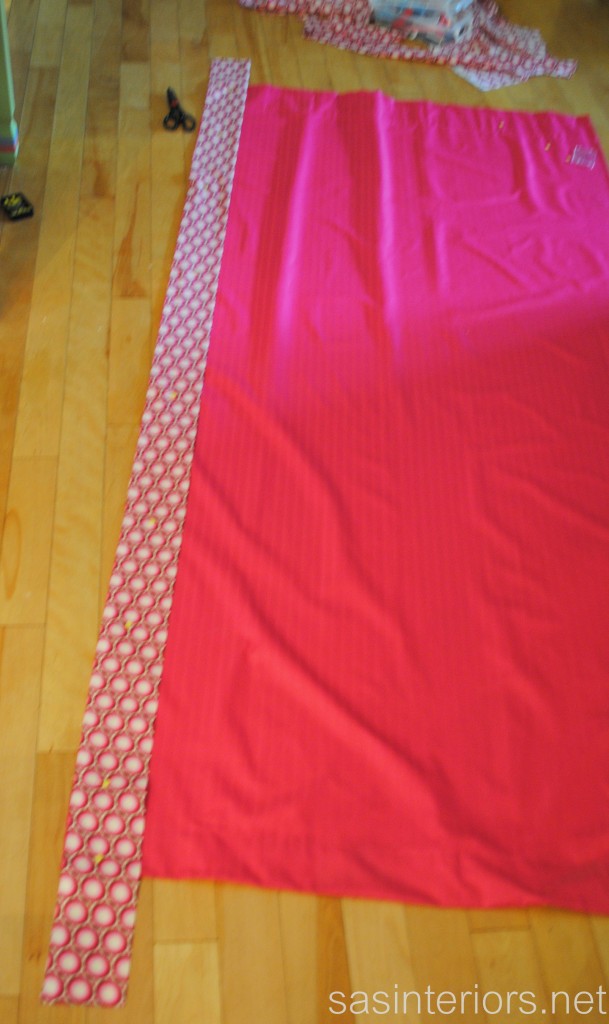
The fabric strips were not long enough for the length of the curtain panel, so I simply took the fabric ends, put right sides together, sewed, and ironed flat to create 1 long strip.

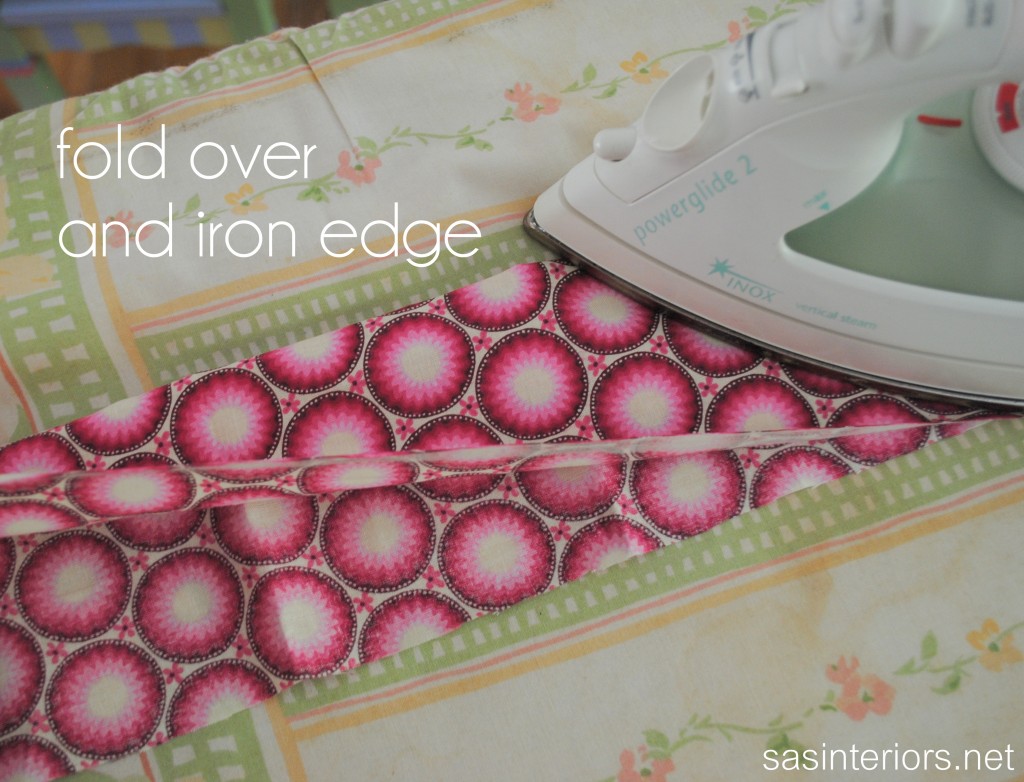
Once the long strip was created for the length and I cut two strips for the top and bottom (x2 for the other panel), I folded the strips in half (wrong sides together) and ironed.

I then aligned the unfinished edge of the trim fabric with the right side of the panel edge…

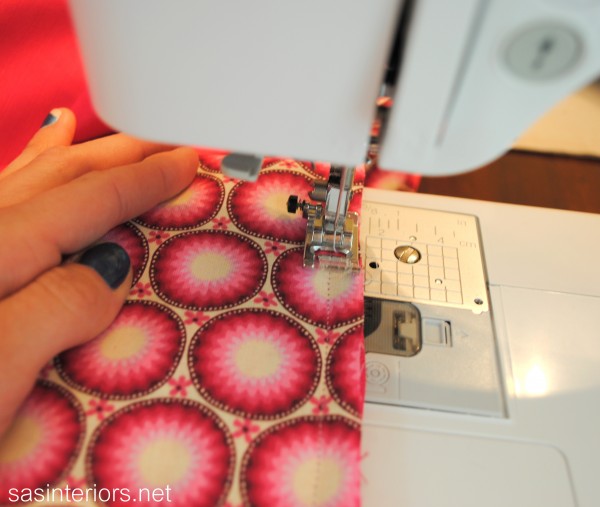
Sewed using a 1/2″ inseam….

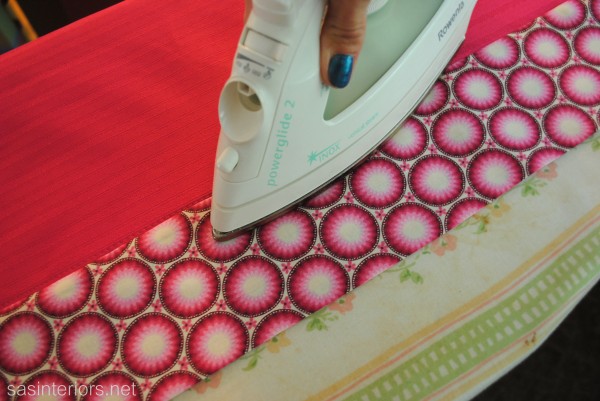
And finished by ironing the seam flat.

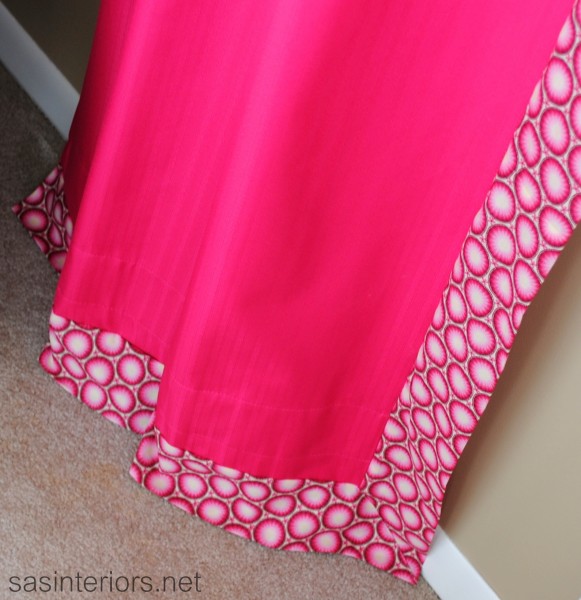
After adding the leading edge band to the inner side, the bottom, and the top, it was time to focus on the corners.

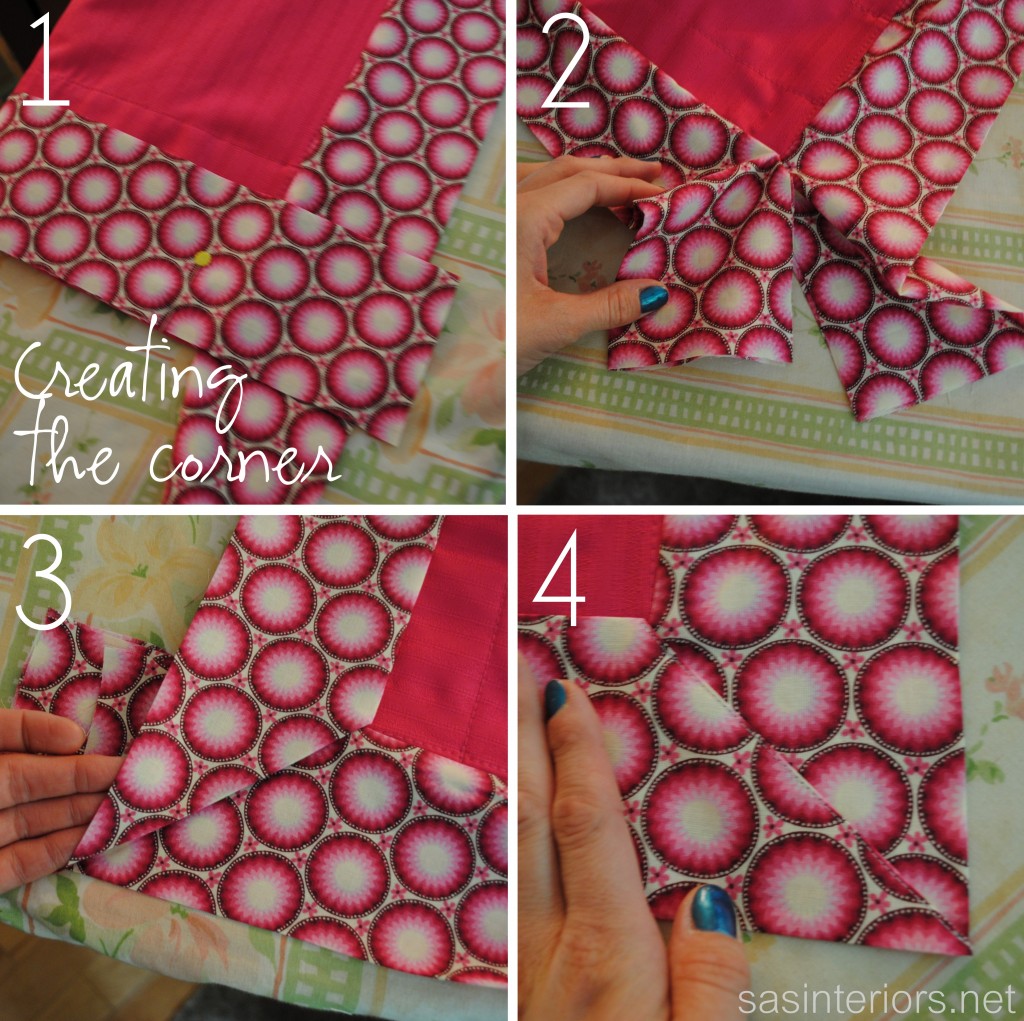
Where the corners meet, I left extra fabric and rolled one side under the other to create a 90 degree angle. Then sewed the edge.

Pictures might explain it better. Take a look…

And here’s the result of my $5 Designer Update

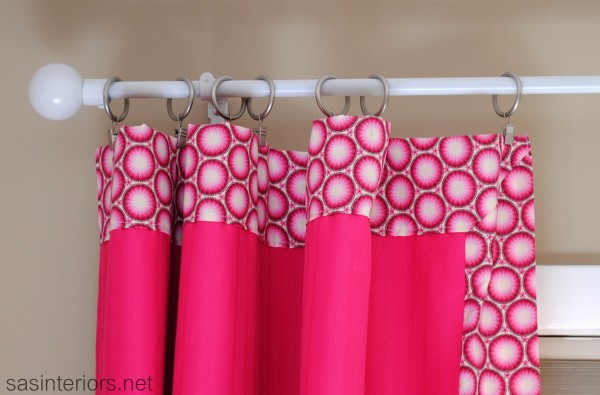
O, I forgot to mention that I also updated the drapery rod too.  The before rod was purchased from Ikea years ago.  No reason to get a new one when a little spray paint does a world-of-wonder!

Hello to Gloss White.

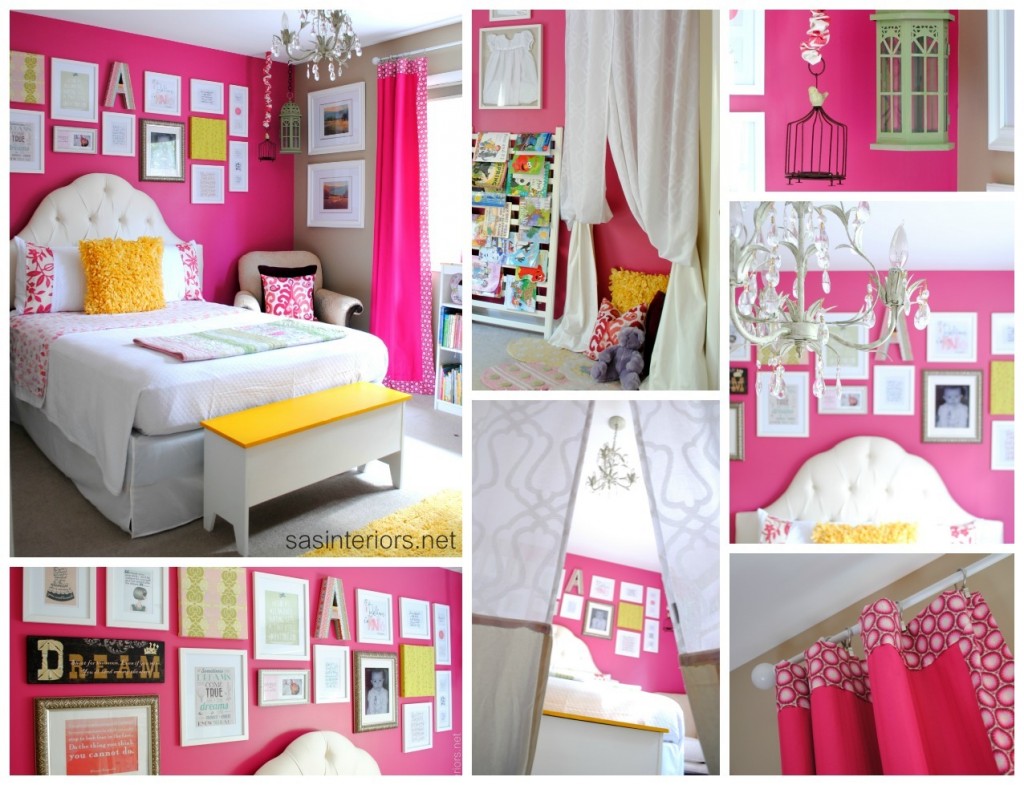
If you happened to miss the whole space, it’s a true treasure.

It’s amazing with a little fabric and/or trim, how a typical store-bought drape can be jazzed up to look designer-made!

I’m pretty passionate about window treatments (call me crazy), and if you want to read/see more, I recommend you check out these posts:
Create a Layered Window Treatment
The Right (and Wrong) Way to Hang Window Drapery Panels
DIY: How To Make Simple Lined Window Drapery Panels
The Right (and Wrong) Way to Hang Window Drapery Panels
I had planned on sharing another part of my bedroom makeover, but I got tied up in other directions, and didn’t have a chance to complete my next reveal.  But stayed tuned, I hope to wrap it up very soon (see how I said hope – it doesn’t mean it’ll actually happen, but it’s wishful thinking)!

Instead, I have a great post for you that will be informative and eye opening.

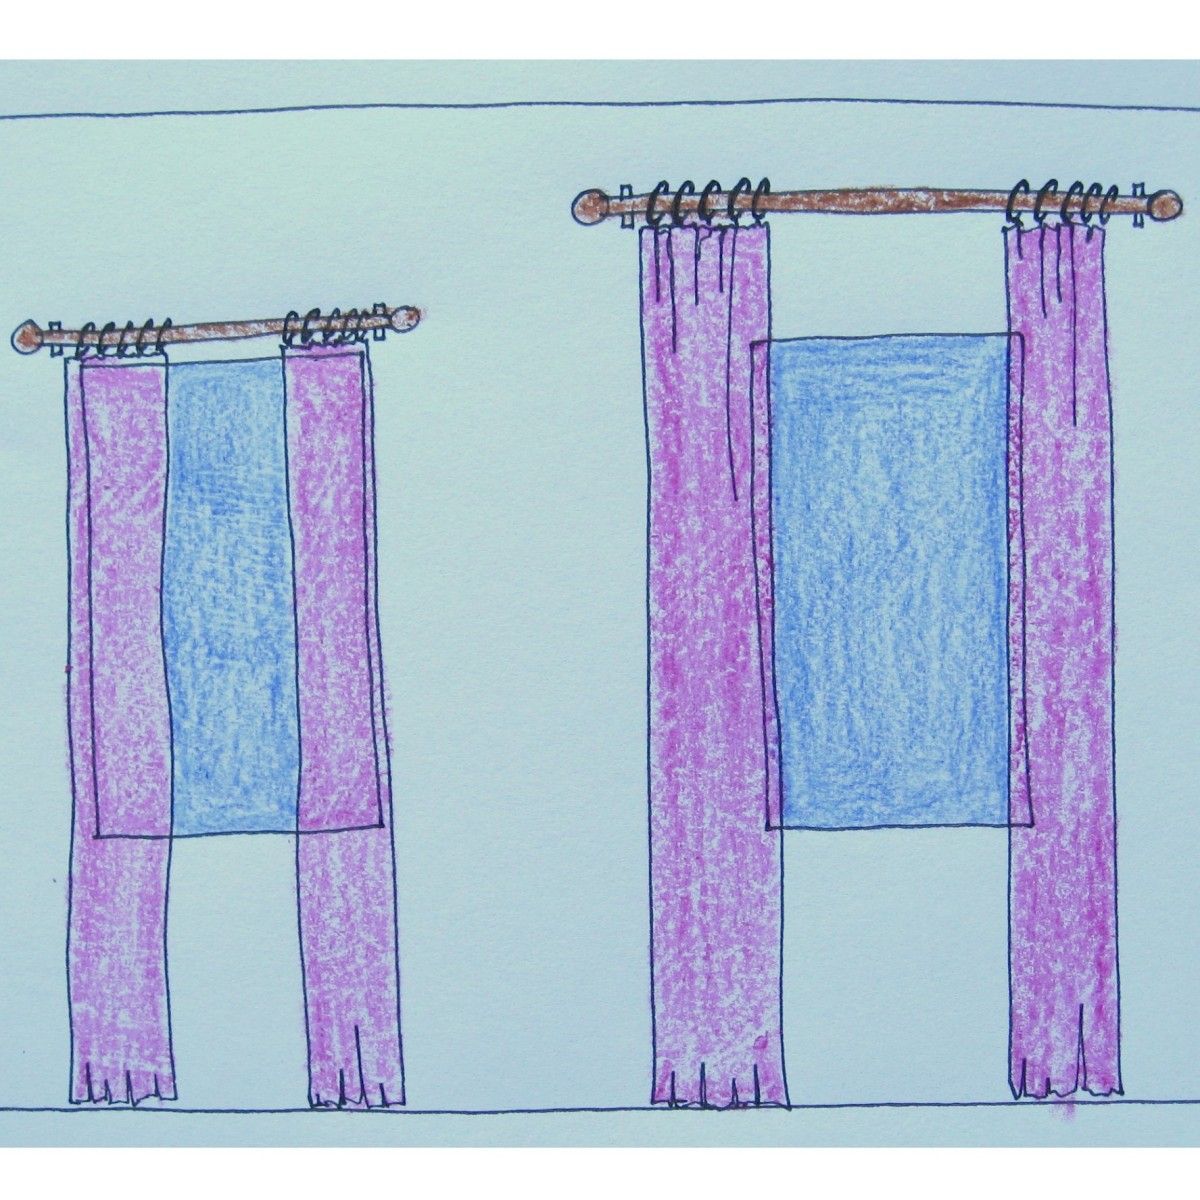
Earlier in the week when I shared my newly made lined window panels, I started to ponder how others think window treatments should be hung.  I sometimes take for granted that homeowners know the tricks that are innate in my brain.  I saw this picture via pinterest, but created my own illustration to visually show the best way to hang window treatments to allow as much natural light to shine through and visually enlarge the space.

Do you see a difference between these two window examples?
(I hope you do)

Which would you choose to be the best way to hang a window drapery panel?  And why is one better than the other?

Well let me share my answer and why!

My illustration starts with two of the same sized windows.

Then we’ll add some window treatments.

On the left side are window drapery panels that mostly cover the window and are hung on a rod that is placed directly above the window trim.

On the right side are window drapery panels that extend out to mostly cover the wall, leaving only about 1-2″ covering the window.  They are placed on a rod that is half way between the window trim and the ceiling

Well if you haven’t realized yet, the right side is the right way to hang window drapery panels.

And this is why~

There is a HUGE amount of additional light that shines through when window drapery panels extend out and are mostly placed on the wall surface.  Here’s an illustration showing the amount of light entering the space (seen in blue) for each window example.

This illustration shows how much of the window drapery fabric is covering the window (seen in red).  Only a sliver of fabric covers the window on the right side, but a huge amount of fabric is covering the left side.

And here is an overall illustration of how the draperies look side-by-side.

Positioning window treatments more on the wall than over the window, not only allows for more natural light, but it also heightens the room and visually widens the window.

Take a look at some real-life examples.

Let’s first start with the WRONG way of hanging window panels.

The window hardware is smartly placed to bring the eye up, but the window panels cover the window WAY TOO MUCH – unless you don’t want to see your neighbors this is NOT the way to hang drapes. (via Southern Living)

In this example the drapery hardware is placed on the window frame, so the panels appear to be hovering over the door allowing only a small amount of light to shine through. (via ChicColes)

Now let’s check out the RIGHT way to hang drapery panels.

* Allow in a HUGE amount of natural light
* The higher placed hardware heightens the room and allows the eye to be drawn up
* The window feels wider

How are the window treatments hung in your home?