
Tag: Turquoise

Turquoise Table with Wood Top

Howdy there friends!  Happy Monday!!

I was brought many smiles last week from all the praises I received on my Fall front porch.  It’s fun to know that so many of you love color too.

Today’s post is going to be short, but good!

As I mentioned during the Fall front porch tour, I introduced a few new elements including the recently painted coral wicker chairs + the turquoise table, both of which were garage sale finds.

It’s amazing what paint can do.

For the wicker chairs, I used my new Homeright hand spray painter but for the table that I turned turquoise, I used good ole’ spray paint in a can.

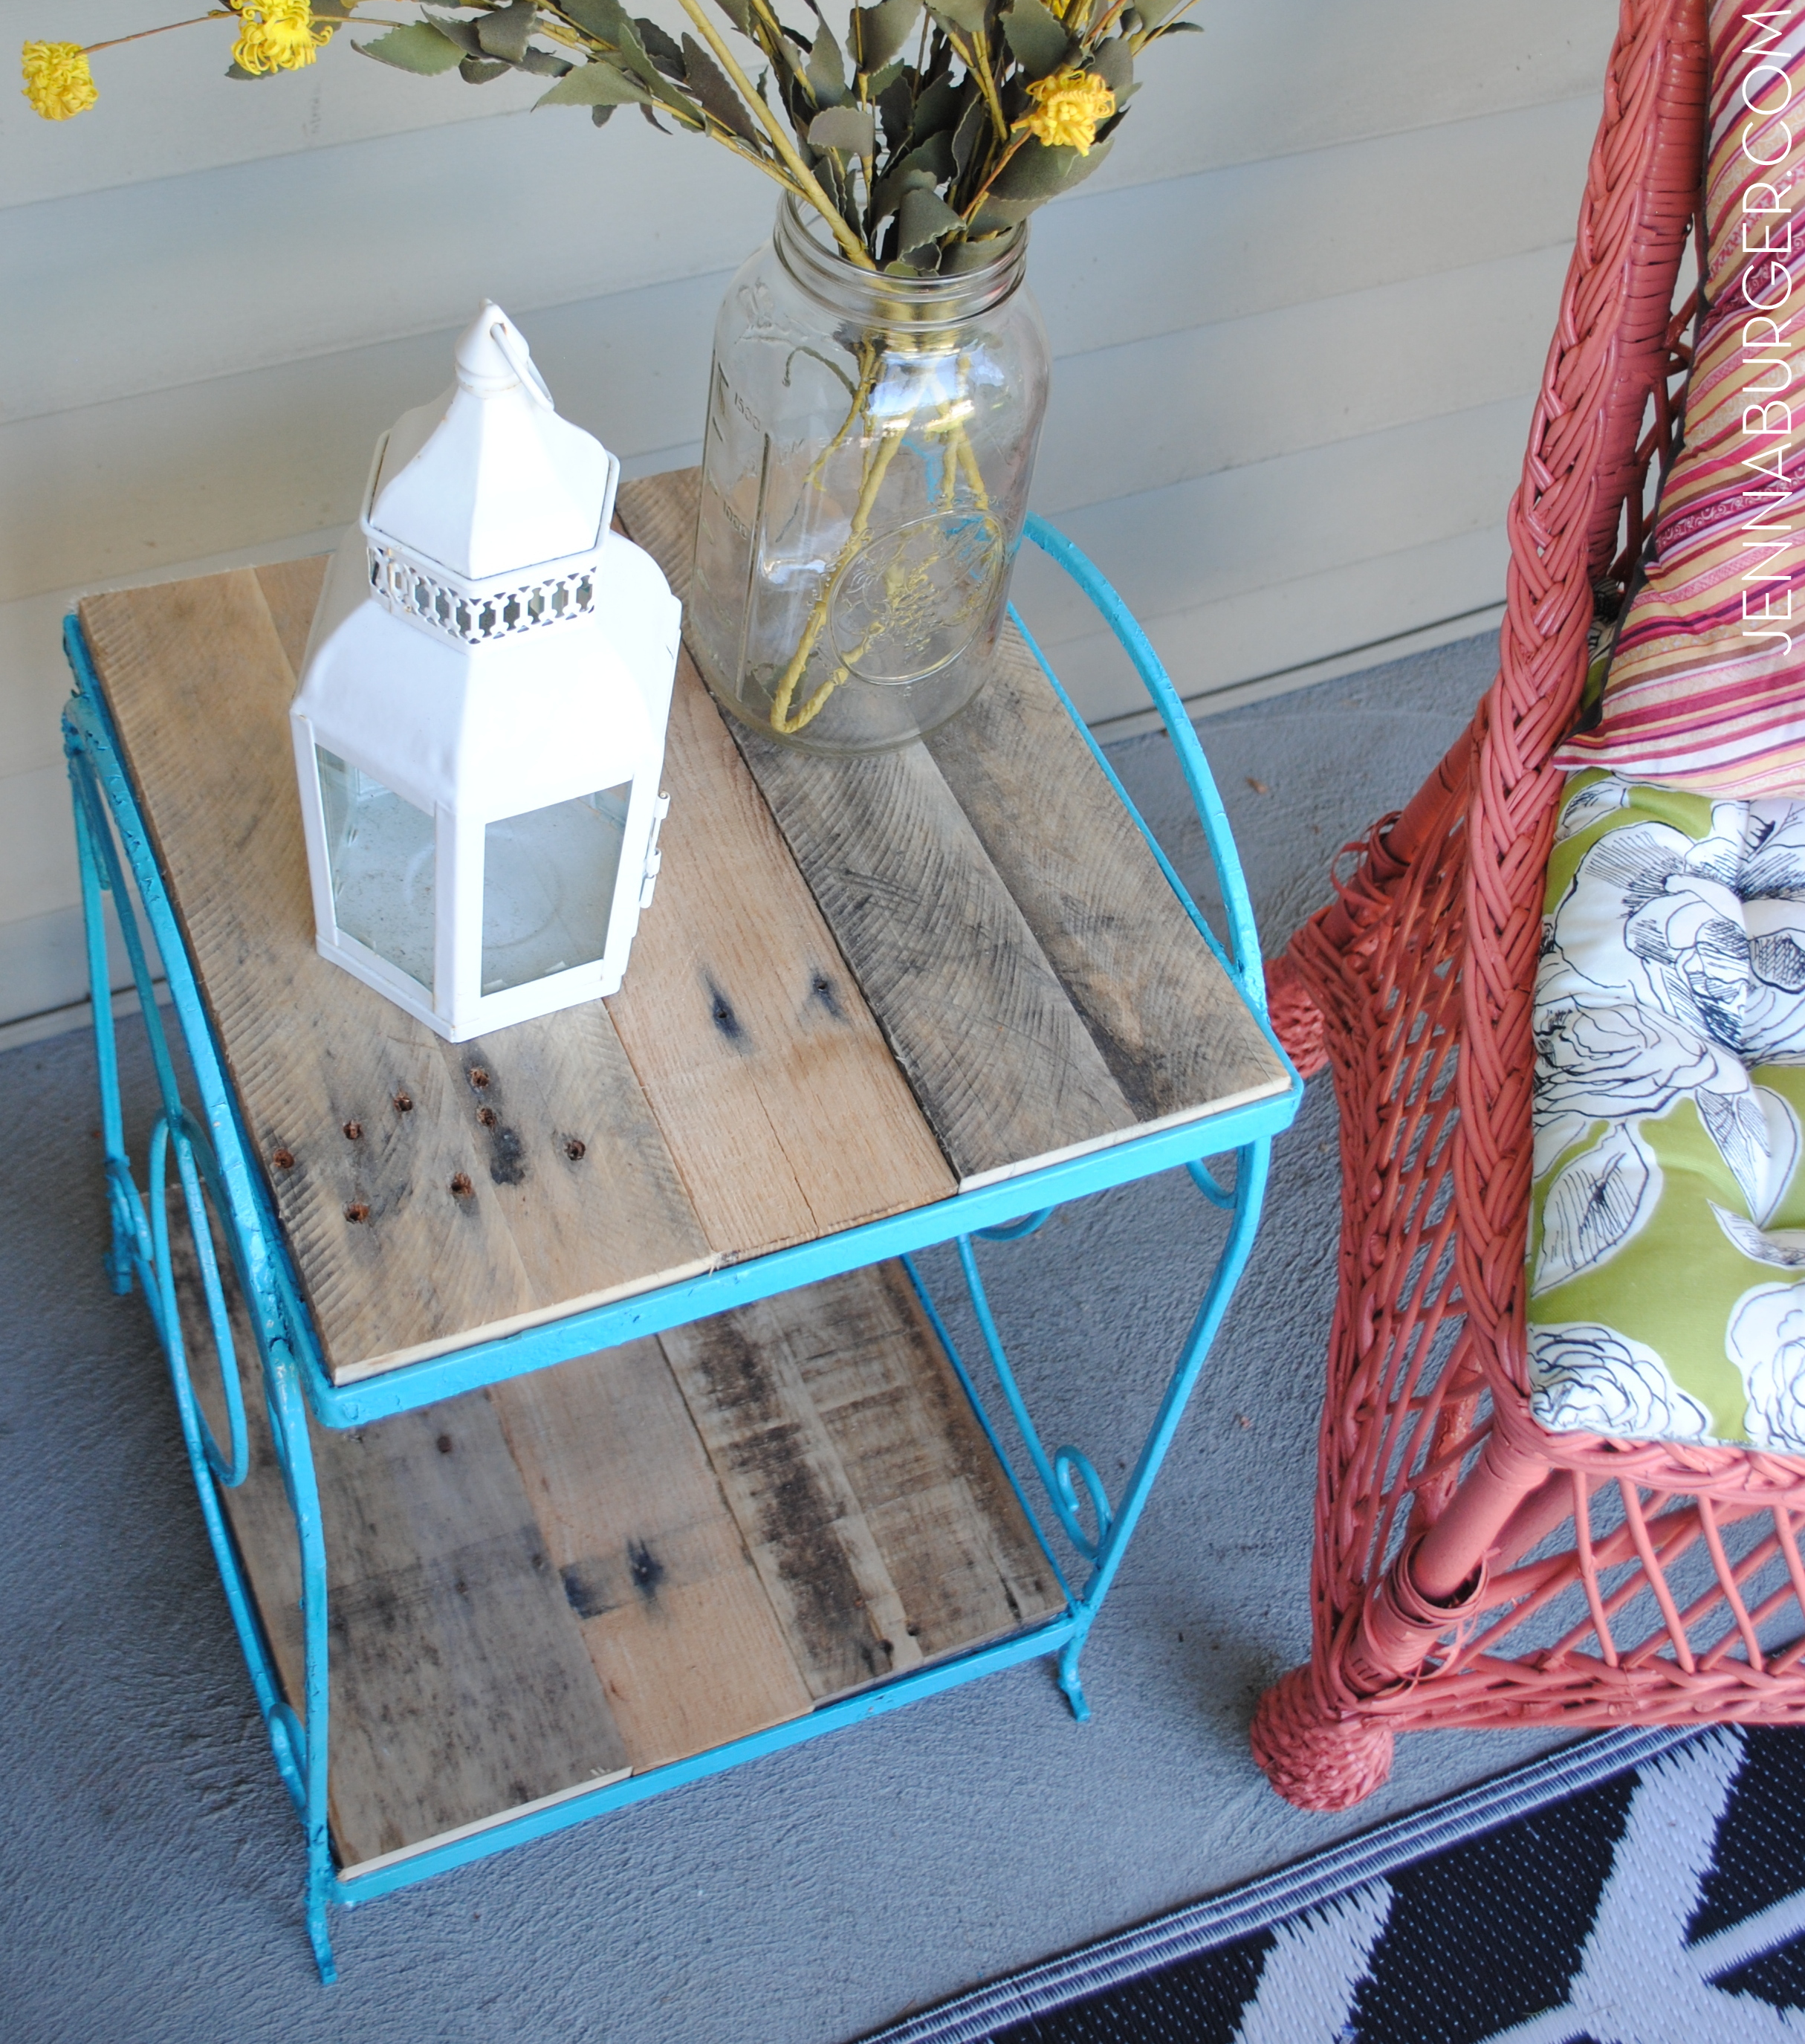
Here it is on the Fall front porch…

Turquoise Table Before & After: table that was falling apart with no top got a makeover using turquoise spray paint & pallets.

It didn’t always look like that.

This is a quick pic I snapped and shared on Instagram of my finds a few weeks back…

Garage sale finds

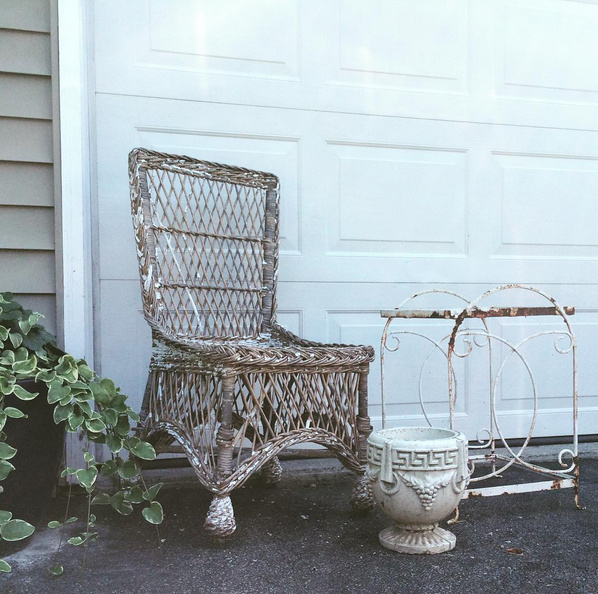
3 items that were desperate for attention.

The table was rusted.

It’s paint was peeling + chipping off.

And it didn’t even have a top.

THE TRANSFORMATION.

I started off by scraping off the chipping paint and sanding some of the edges.  To be honest, I didn’t go crazy with that.  I knew it would never be perfectly smooth and I was okay with that.  After I cleaned it up a bit, I whipped out a new can of turquoise spray paint.

Turquoise Table Before & After: table that was falling apart with no top got a makeover using turquoise spray paint & pallets.

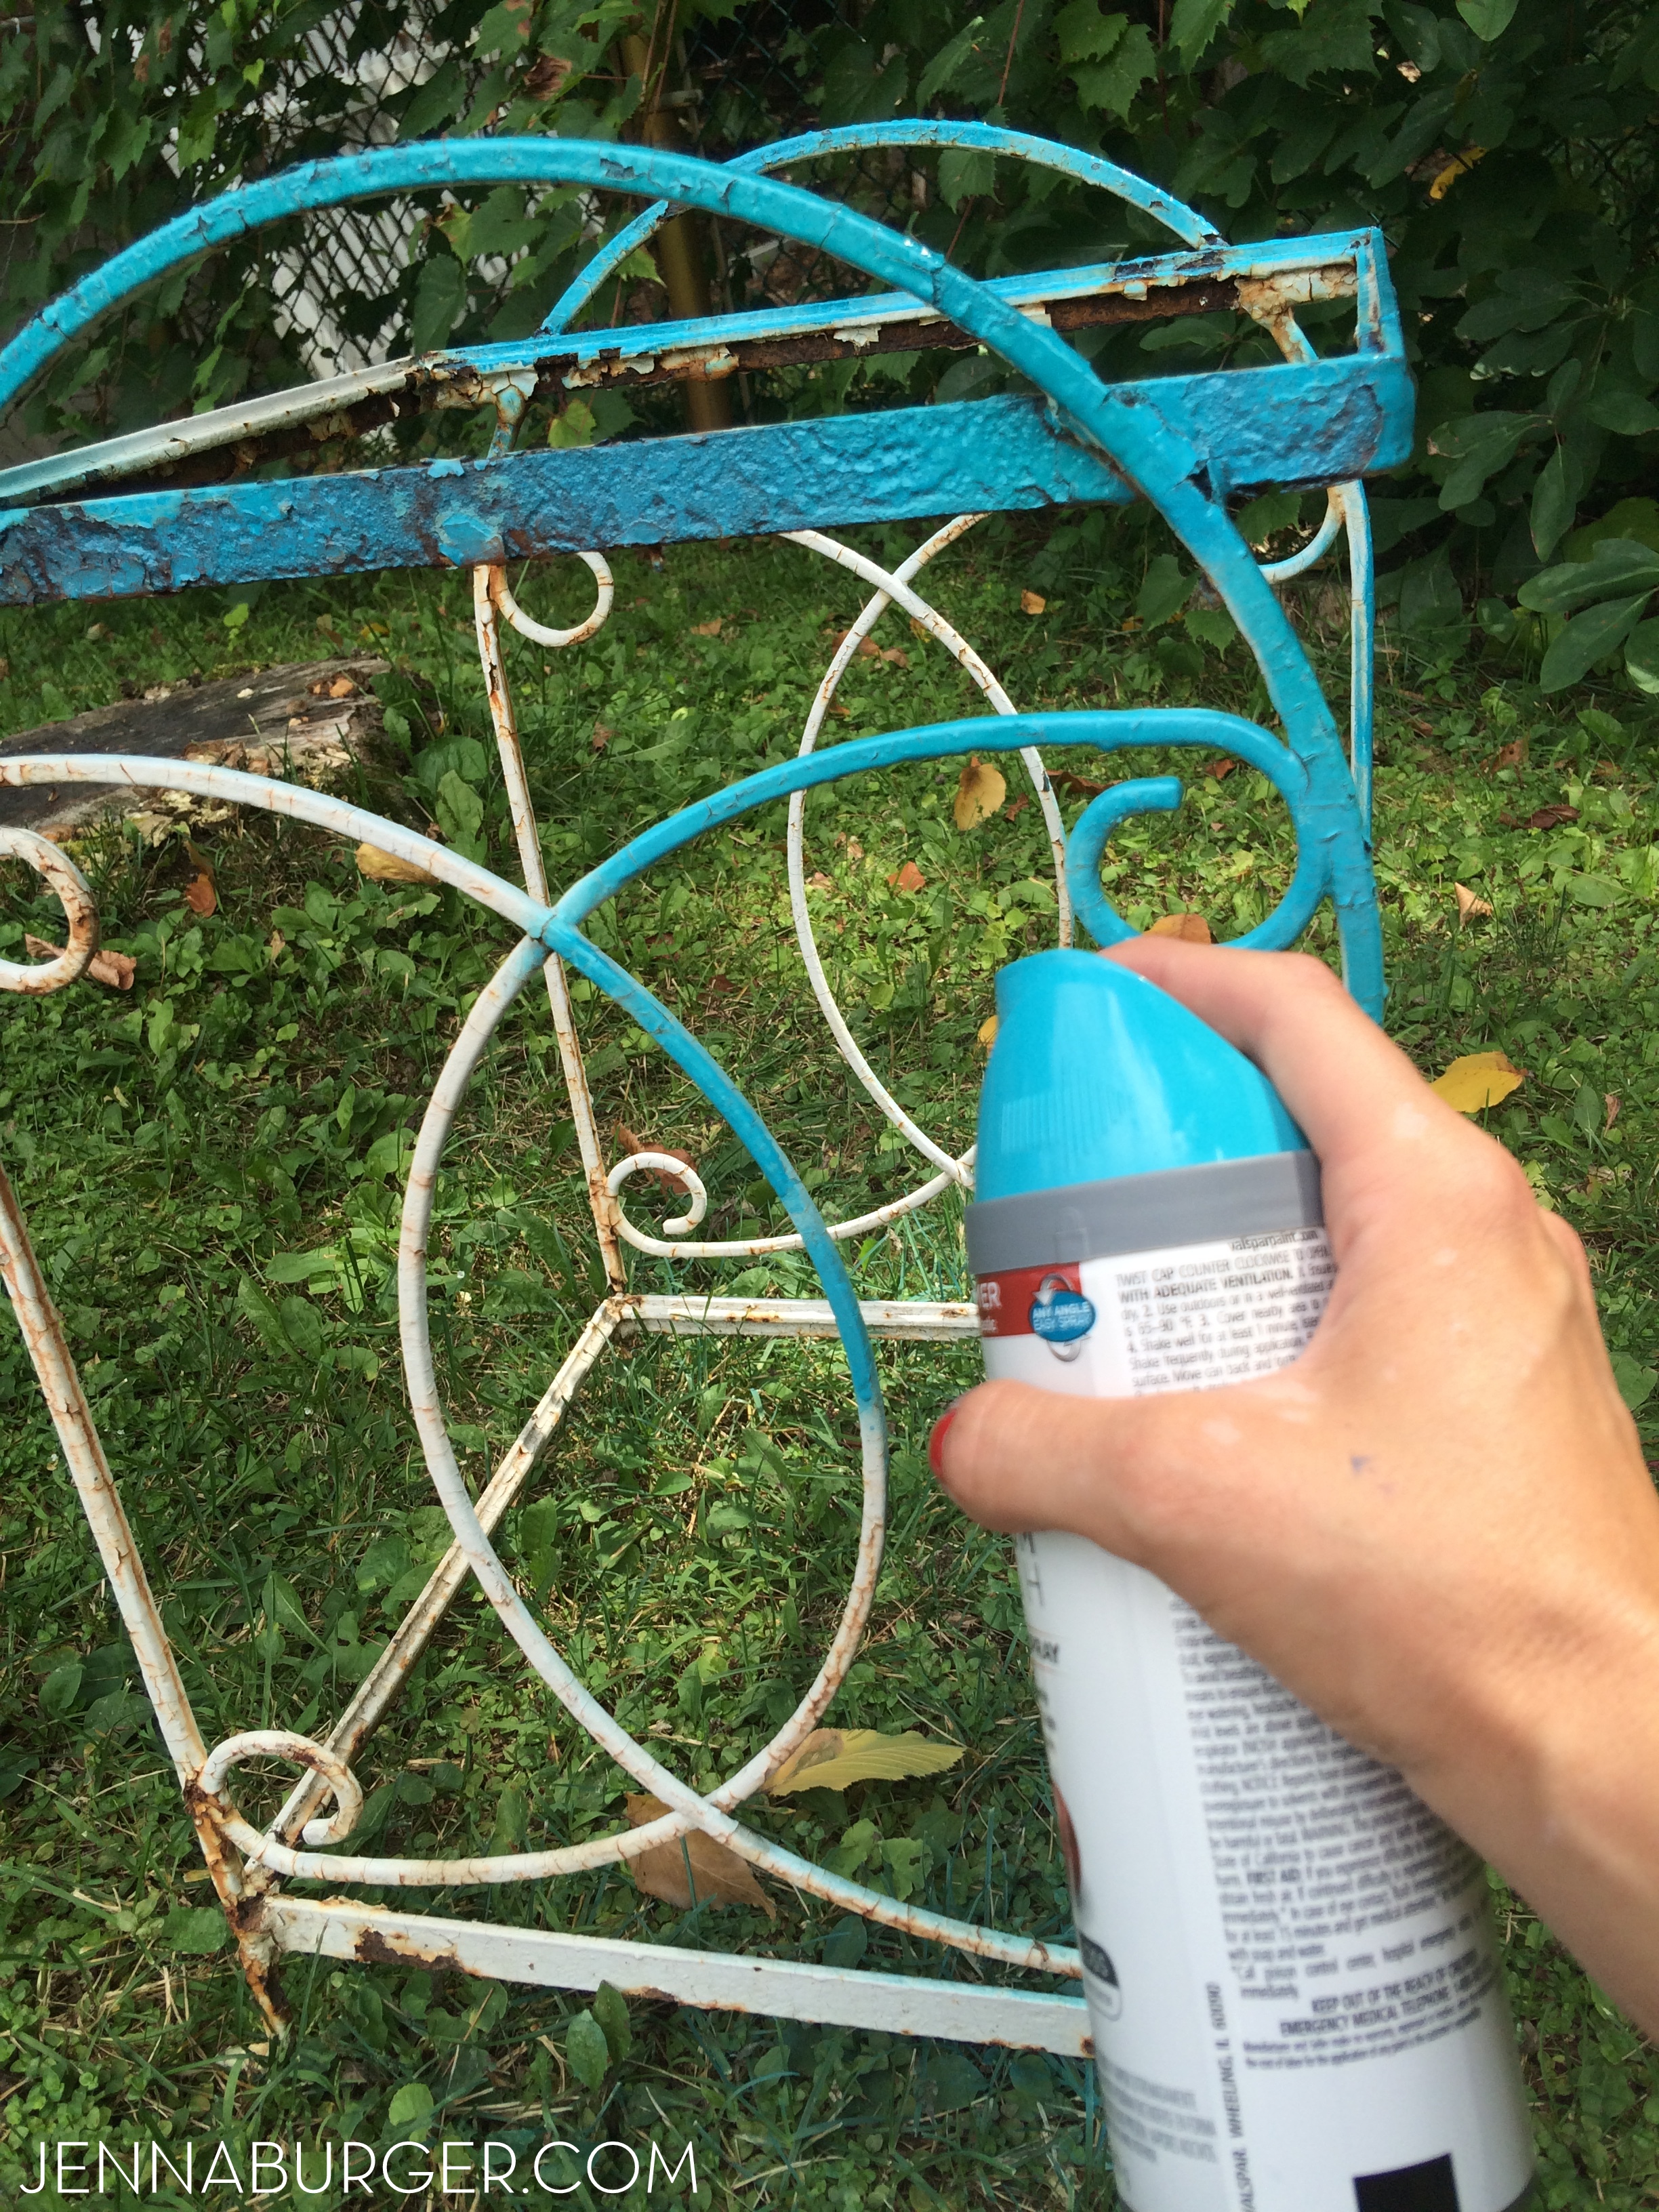
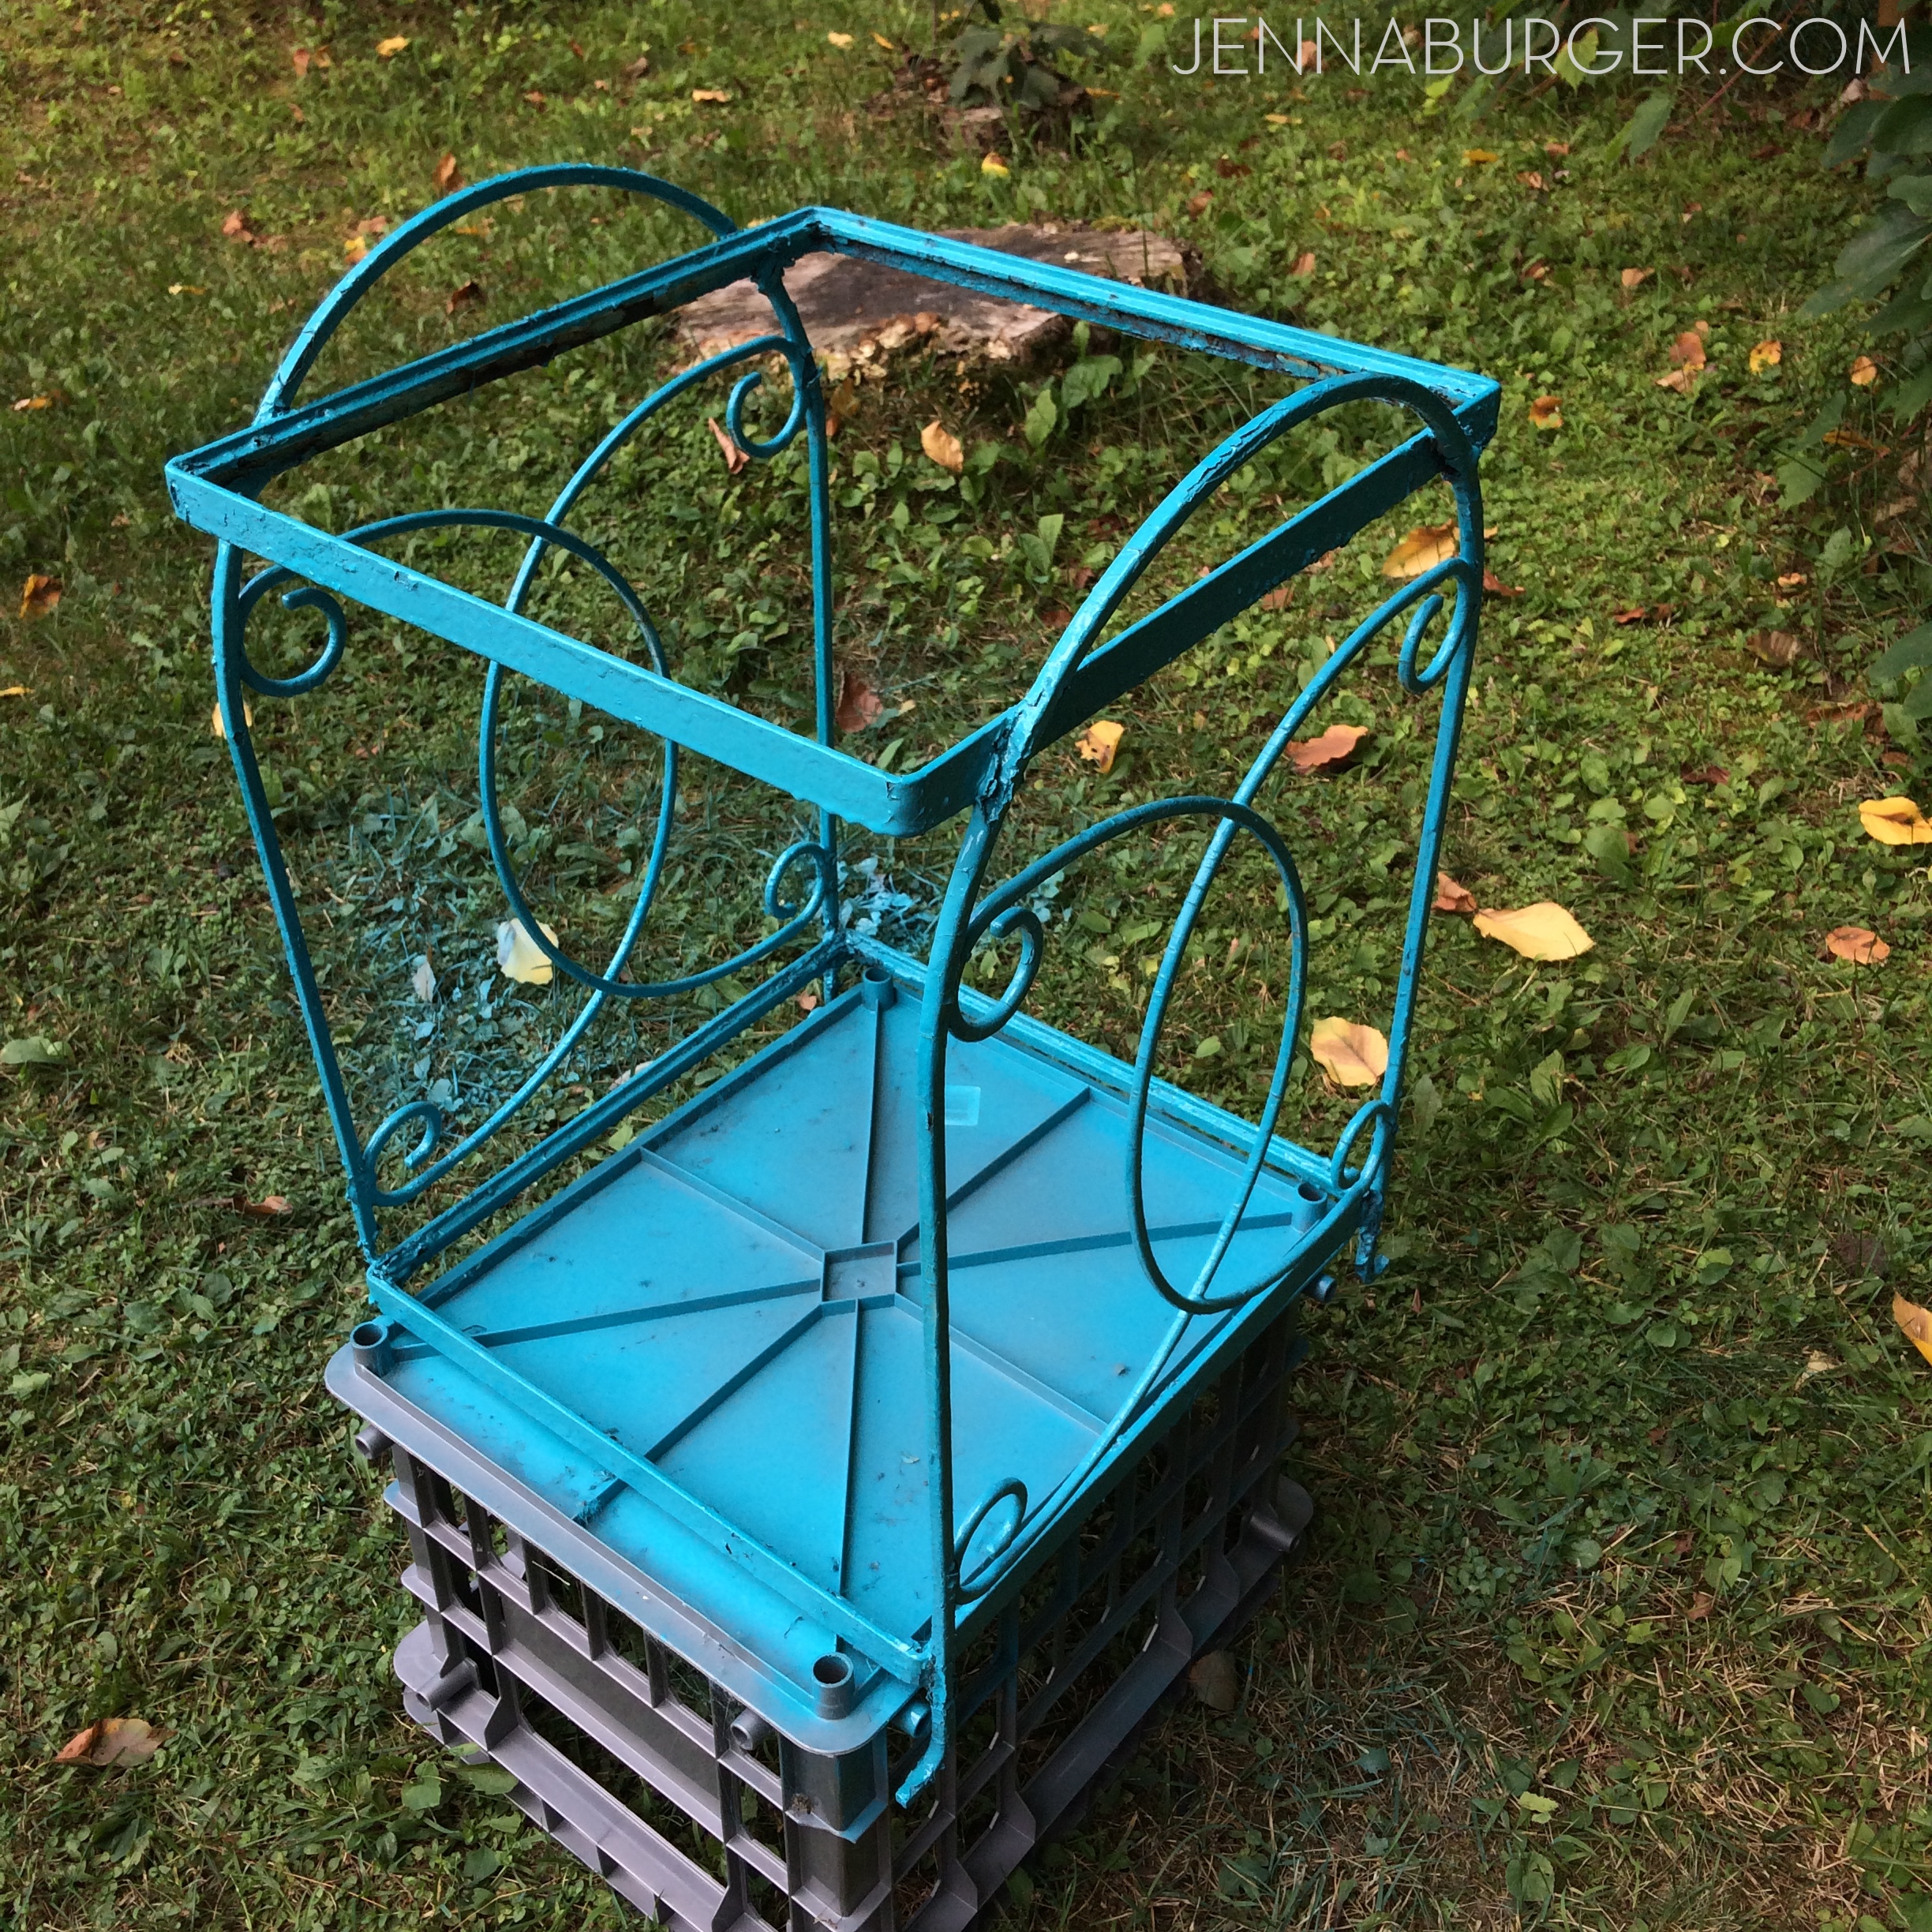
A few coats later, it was complete.
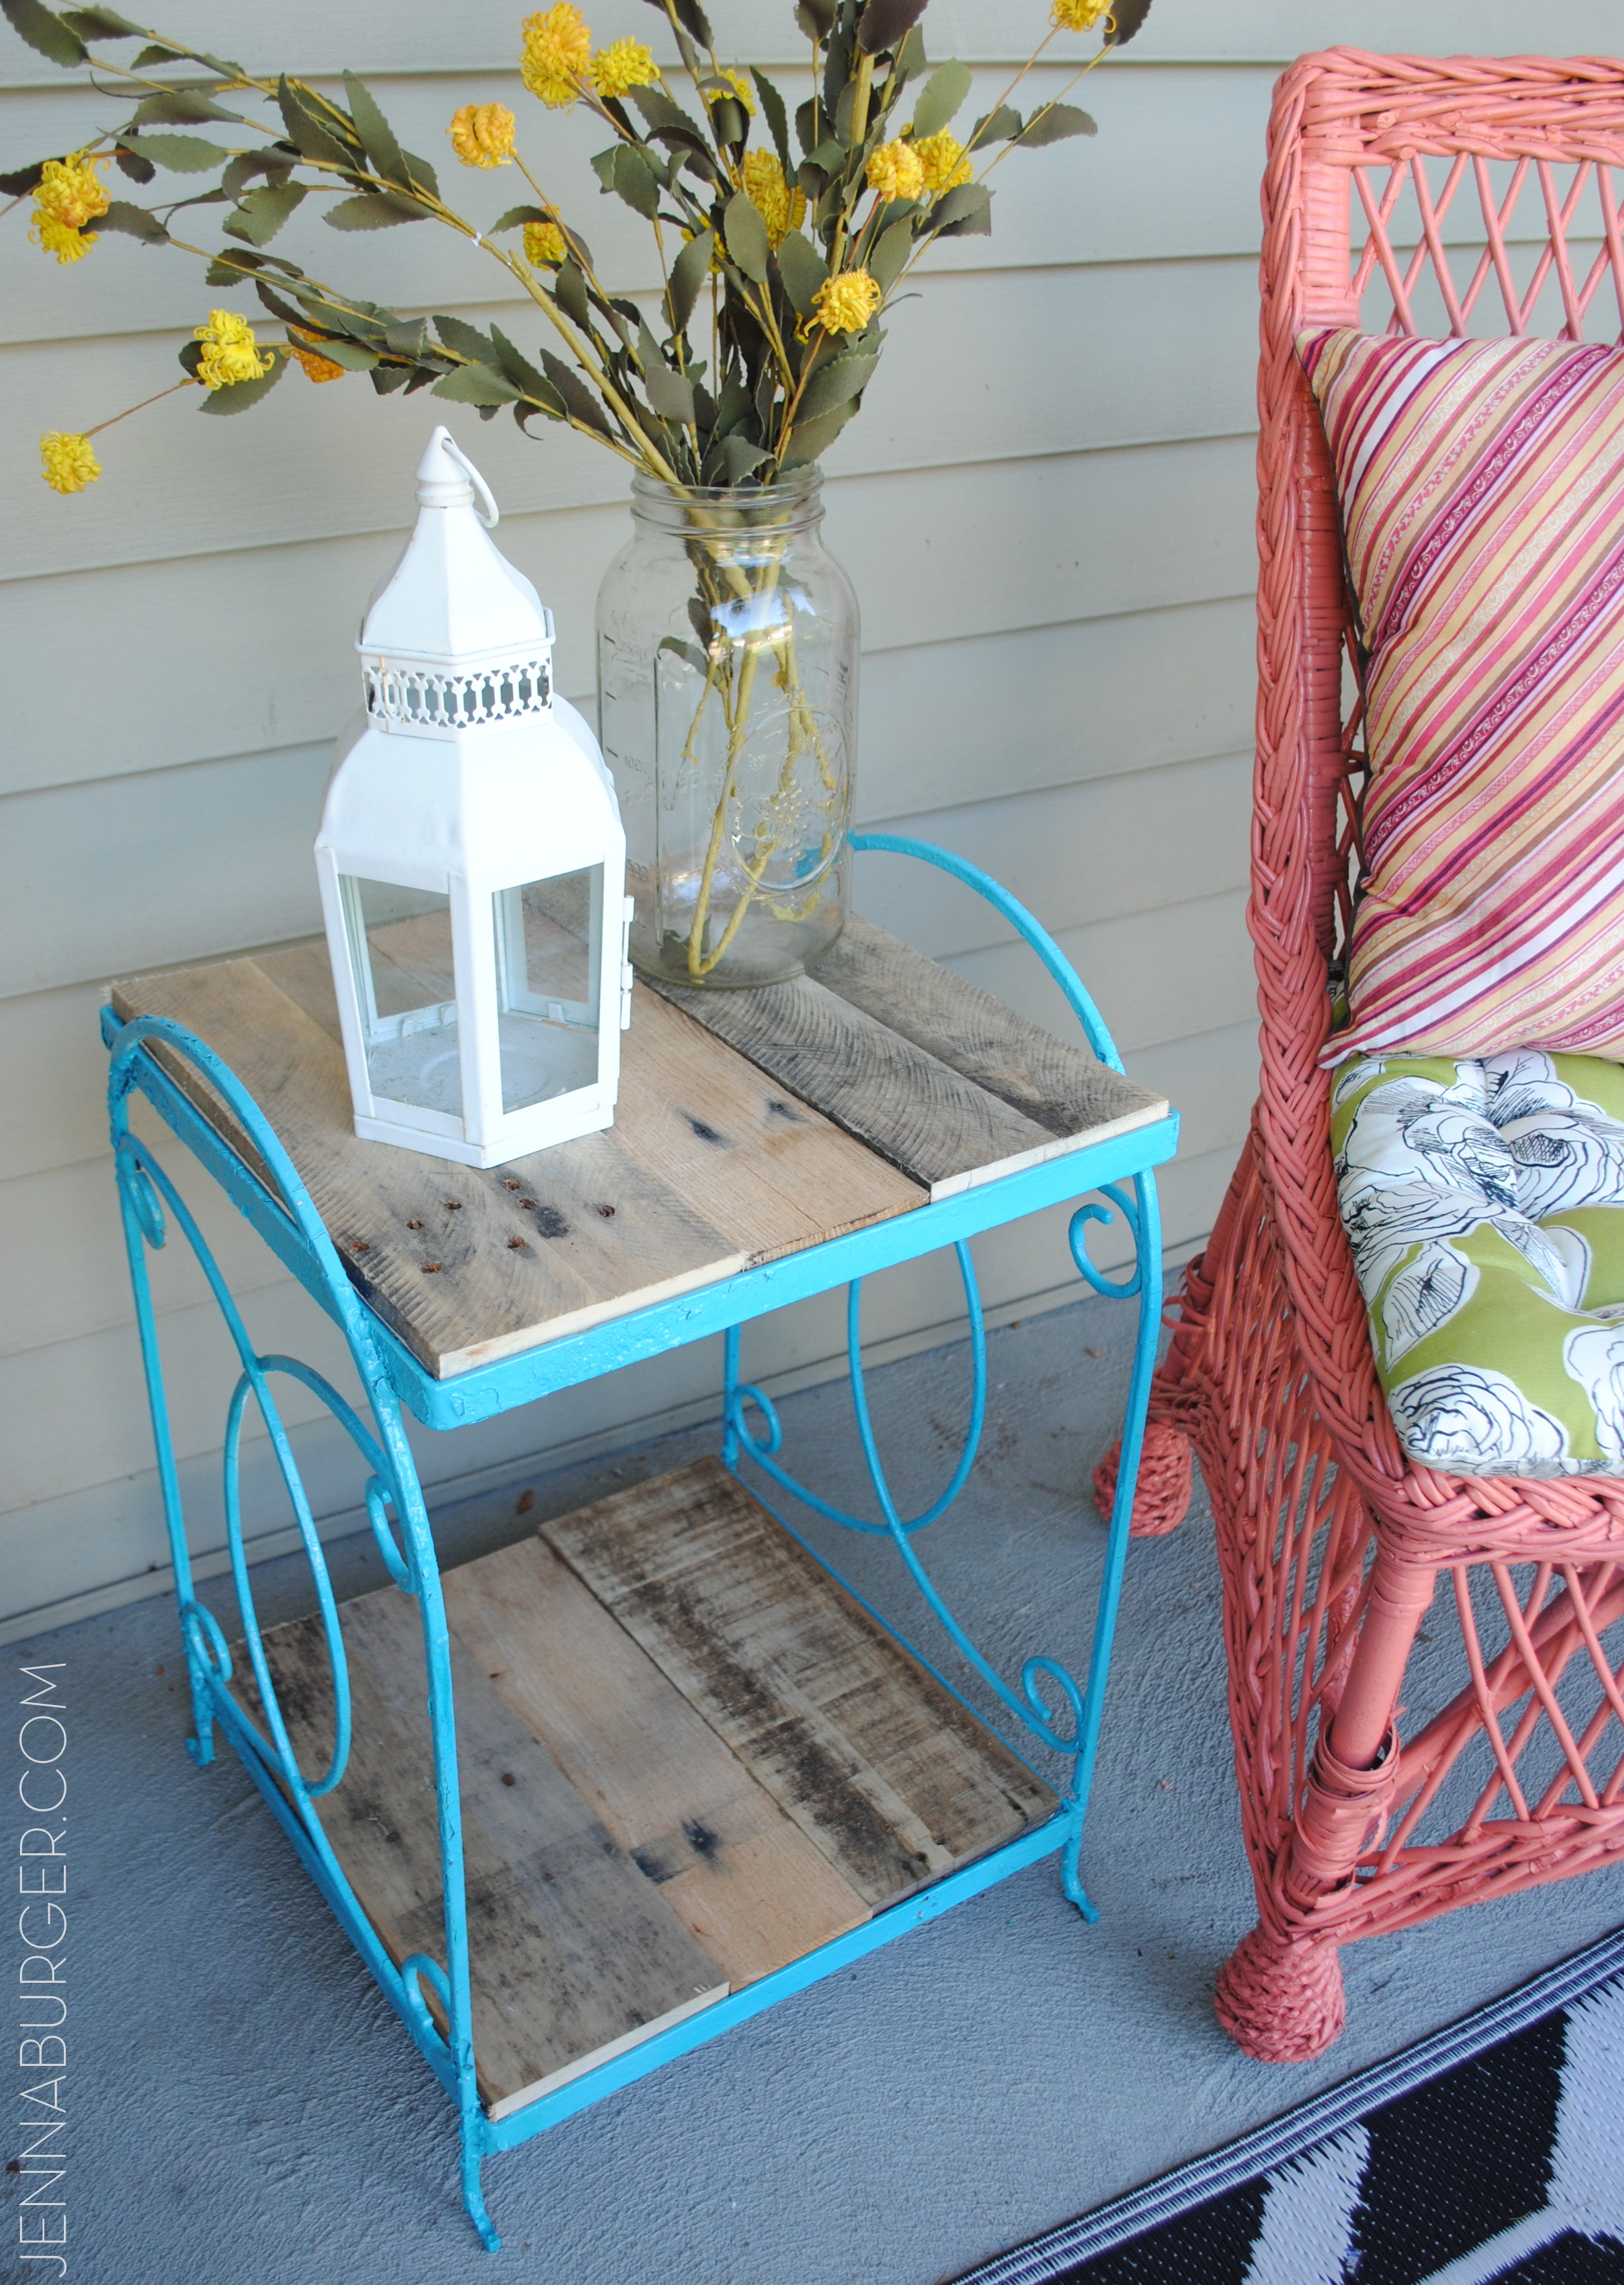
Turquoise Table Before & After: table that was falling apart with no top got a makeover using turquoise spray paint & pallets.

THE WOOD TOP.

A few days later when the paint was completely dry, it was time to add a top.

My neighbor had recently finished a pallet project (per my recommendation – wink, wink) and had a bunch of pallet boards left over.  They were already disassembled, cleaned, AND sanded, so all I had to do was cut them to size.

I measured the length of the table and using the powered miter saw (see my recommendation + favorite tools), I cut them to the correct length so the boards would set in to the existing lip around the edge of the table top.

Turquoise Table Before & After: table that was falling apart with no top got a makeover using turquoise spray paint & pallets.

Once cut, I set them into place.

Turquoise Table Before & After: table that was falling apart with no top got a makeover using turquoise spray paint & pallets.

Turquoise Table Before & After: table that was falling apart with no top got a makeover using turquoise spray paint & pallets.

The boards took no time at all to cut and place in the lip – maybe 10 minutes.

And transformed table that was once garbage-bound now sits beautifully on my front porch.

Turquoise Table Before & After: table that was falling apart with no top got a makeover using turquoise spray paint & pallets.

Turquoise Table Before & After: table that was falling apart with no top got a makeover using turquoise spray paint & pallets.

Turquoise Table Before & After: table that was falling apart with no top got a makeover using turquoise spray paint & pallets.

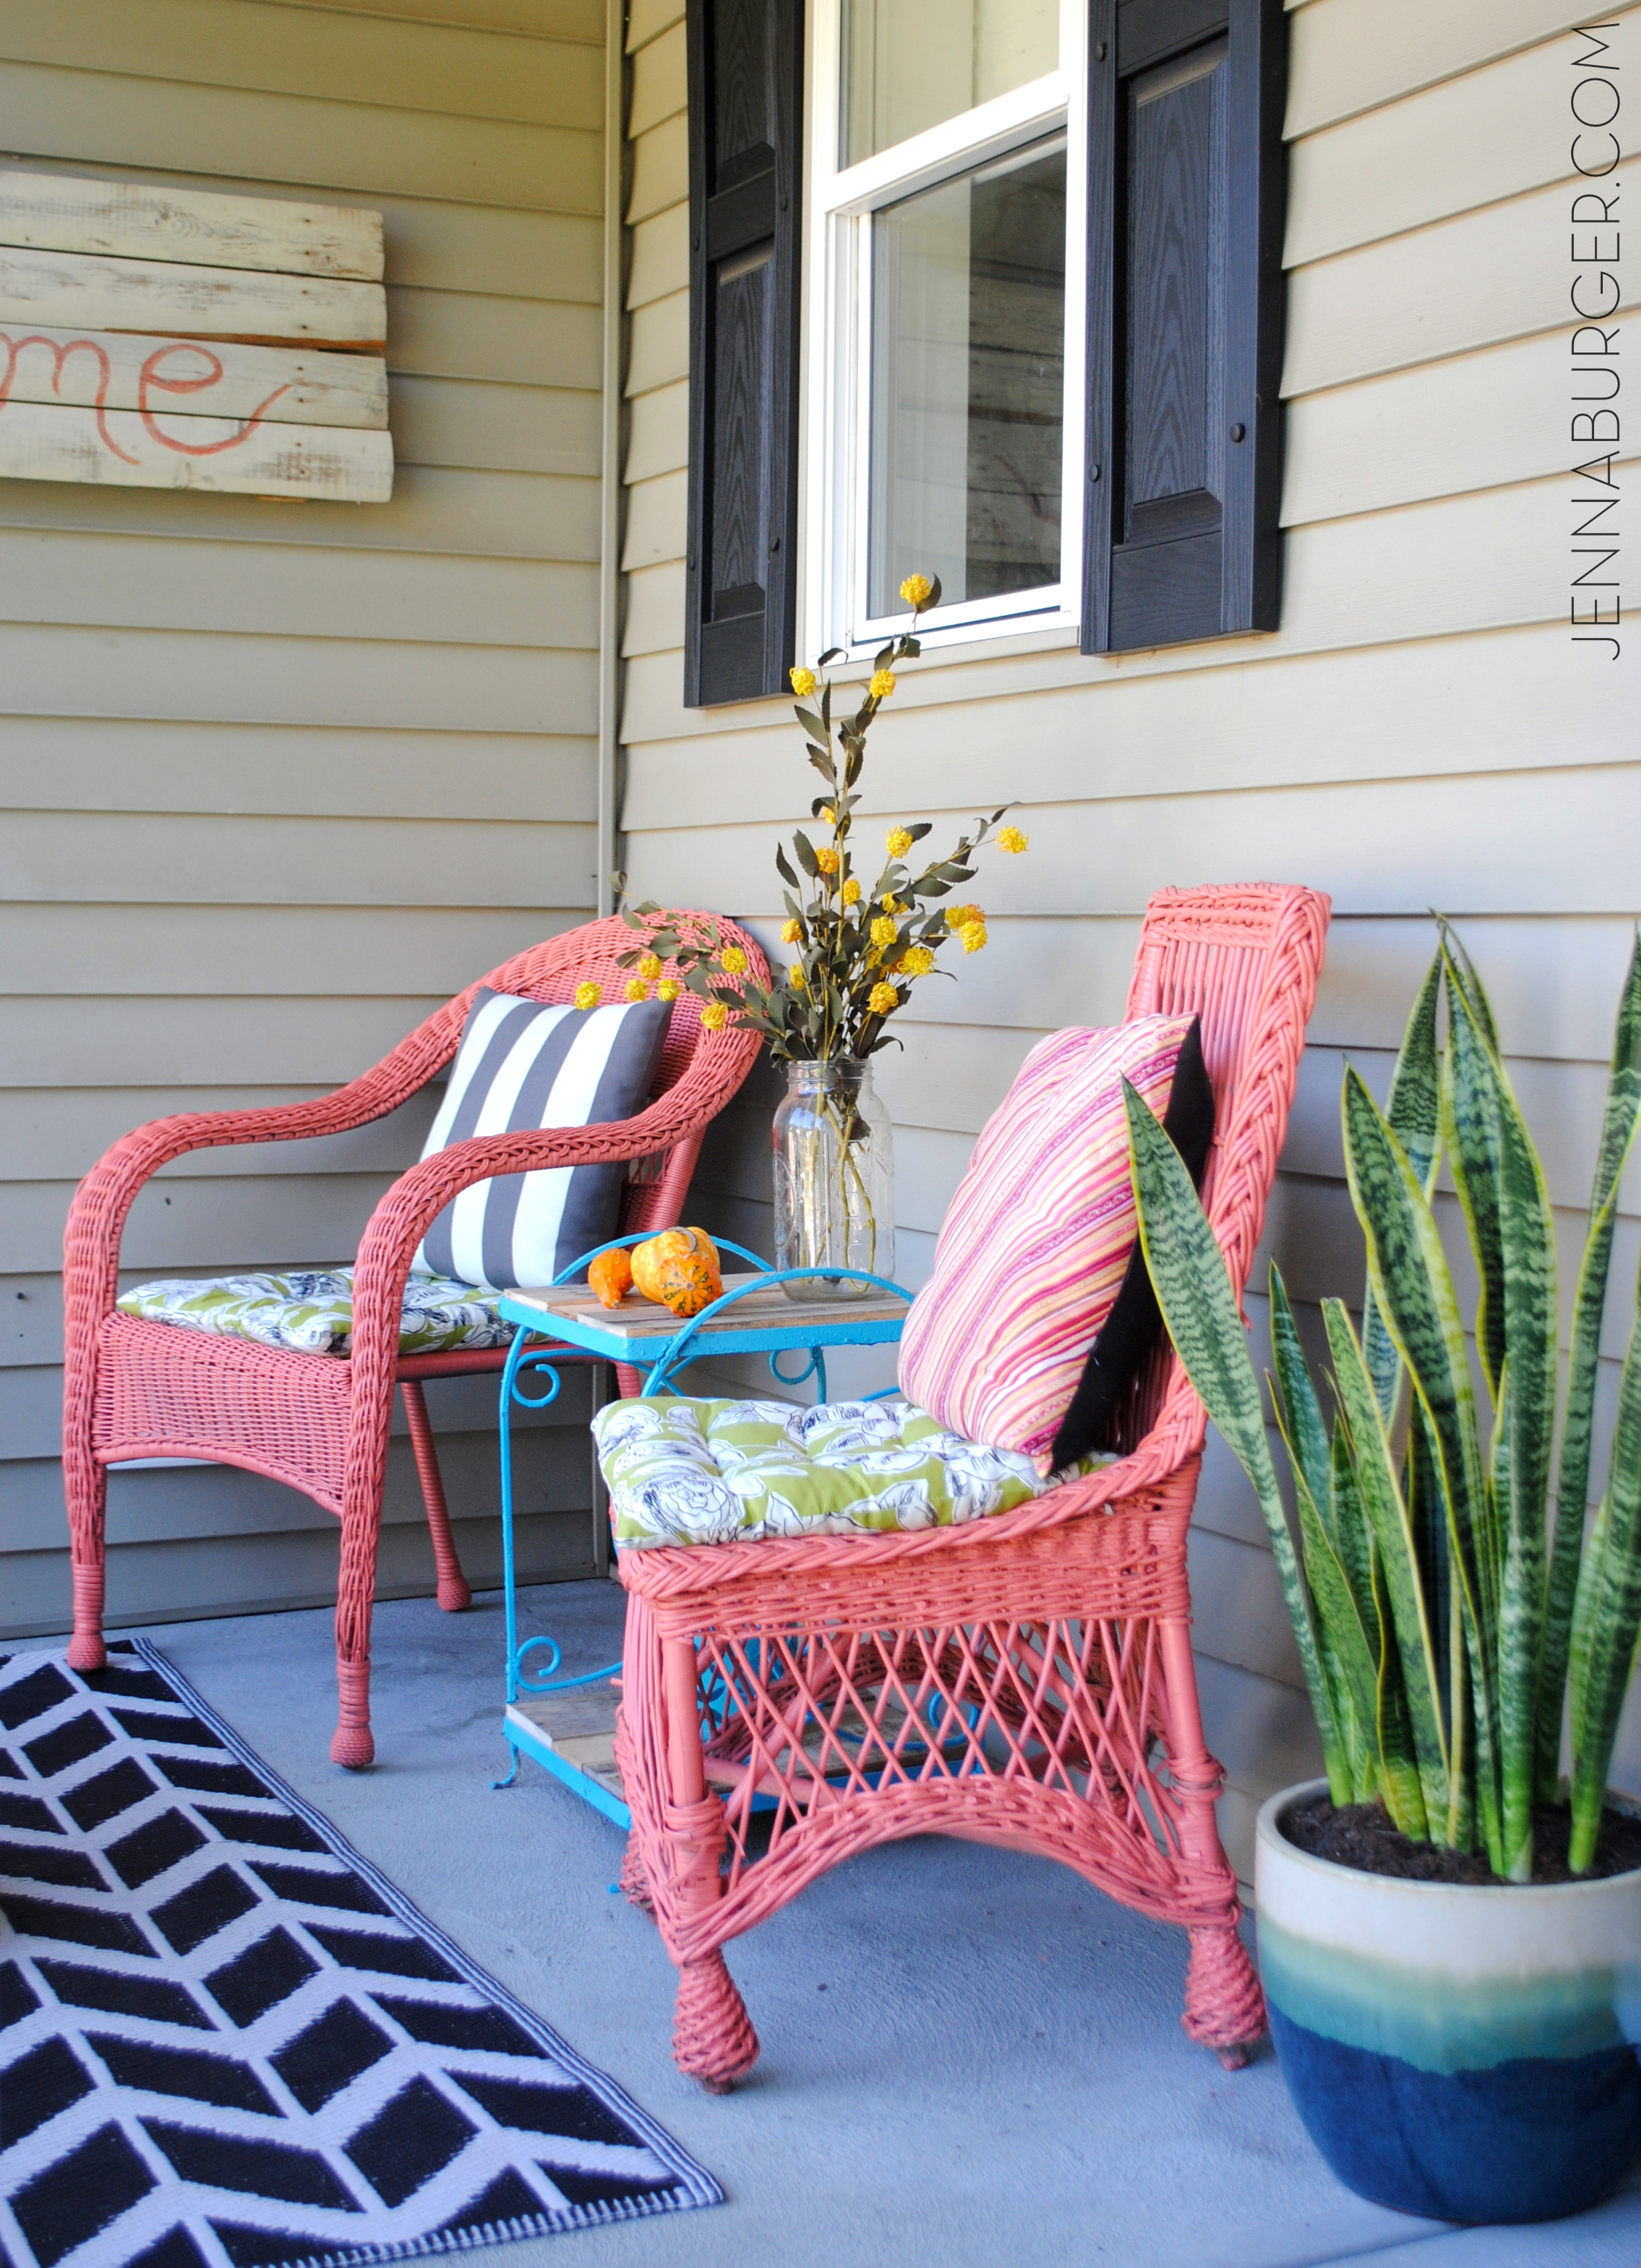
The turquoise hue gives the front porch such a vibrant pop of color, especially along with the coral chairs + the green door.

It’s amazing what spray paint + a bit of TLC can do!

>>> If you haven’t seen it, don’t miss out on taking a tour of this years Fall Front Porch


Spring Mantel with Shades of Turquoise

Last week here in Upstate NY, the weather was amazing and I soaked up every bit of sun I could get. Now it’s a little chillier, but Spring and Summer will be here before ya know it! In the midst of the gorgeous weather, I took some time to put together my new Spring Mantel.

Over the past few months, I have been introducing more cooler colors than the warmer colors that I’ve lived with for many years. So my latest mantel creation has a whole lotta turquoise, which is a beautiful and dynamic compliment to the burnt orange focal wall.

Here it is… What do you think?

Turquoise is absolutely one of my favorite colors and from my past post, Totally Turquoise, many of you love it just as much!  It was kind of risky to have the mantel be dominant in one color and when planning it out in my head, I wasn’t sure if it was going to work.  I think by including a variety of different turquoise shades, the overall composition has alot of depth and intrigue, especially with the backdrop of the burnt orange wall.  Other textures and muted colors of browns were also added within to break up the monotony.

Here’s an in depth look …

Many of the pieces that make up my new Spring Mantel have been repurposed from around my home or picked up at local stores for very little.  The turquoise glass vase on the left is something new I bought a few weeks ago at TJ Maxx.  I had already had this turquoise-mantel-idea in my head and thought this would make a perfect addition – it was taller and I knew it’d make a great ‘anchor’ piece!  The glass mason jars which I found at an estate sale last year have been showcased on my mantel before and are filled with lentils and a votive candle. To the right is a tall glass jar filled with rocks from last years vacation to the beach.  I love displaying memories and these rocks are a beautiful and quiet shade of blue…  a perfect compliment to the other bold and vibrant colors.

One of my favorite upcycling things-to-do is paint old, used glass jars – tomato sauce jars, apple sauce jars, jelly jars, any jar will do! It’s so easy and unexpected.  In the Blue Label wood box stand two sauce jars that I added a little color to (it’s actually the leftover paint from my kids bathroom cabinet).  My mantels are always about layering, so in front of the wood box is a cute little turquoise pitcher and to the right is a lantern, both of which I purchased at Homegoods.

Of course, I had to add a touch of Easter decor within my Spring mantel.  I love this egg shaped Happy Easter sign that I’ve had for years (forget where I got it), but in a few weeks once the Holiday is over, it’ll be swapped out with a new Spring sign (not sure yet what it’ll be).

Continuing to the other side of the mantel, I added a sweet distressed turquoise ceramic bird feeder.  Originally intended for my daughter’s room, its so cute and fit perfectly amongst the like colors. To “anchor” the other end, I finished the mantel with two different sized bold turquoise lanterns that I purchased from Target.  They have some awesome colors this season like lime green, hot pink, and of course turquoise.

I also whipped up some fun new pillows with accents of turquoise.

Isn’t that owl fabric so cute?!  Love it with the brown and white chevron.

And this is how the entire room looks all pulled together for Spring.  It’s so different from last year’s quieter, frappe colors.

I think this is my favorite mantel design yet!  What do you think?

Do you love turquoise just as much as I do? 

Roadside Restoration: Distressed Turquoise Chair

I’ve got a few design clients that I am working on projects for right now, and one happens to be a good friend of mine.  Her style is traditional-eclectic and it has been enjoyable to introduce some unique elements into her space.  The latest part of her home that we’ve been transforming is her master bedroom.  Upon choosing a sunshine yellow for the walls and a floral patterned rug with bursts of color, I made the suggestion of introducing elements of turquoise!  A chair was a must for the space, and with my radar-alert always turned on, I actually found one on the side of the road.  Remember when I shared this picture on my facebook page?  Yes, that’s the chair on top of all of my groceries – I couldn’t leave it behind.

Once I got the go-ahead, I started to transform the chair.  I knew exactly what I wanted to do… Distress Turquoise. {beauty}!

The chair was obviously headed for the junkyard, so it was in desperate need for a makeover once I got my hands on it!  Here’s how it looked before .

I started off by removing the seat…

Sanded all the surfaces with my orbital sander…

And was ready to start spray painting.  For this chair makeover, I decided on Valspar Tropical Oasis.  I’ve been wanting to use this color for SO LONG and was thrilled to finally get the opportunity.

Spray painting can sometimes be tricky!  If you need some tips, check out {this post}.

Once the spray paint was completely dried (about one day later), I was able to begin the distressing.   I used the same steps as I did to create my foyer cabinet, but here’s a recap:

  1. I diluted brown paint with 1 part water, 1 part paint.  Using my Purdy brush, I lightly brushed on the water-paint mixture.
  2. Brush on the water-paint mixture in sections – I started with the chair legs, then moved onto the seat back.  Don’t get too far ahead of yourself.
  3. Using a clean, lint-free rag, wipe away the paint.  Depending on how much distressing you want, you can vary your degrees of wiping pressure.  (wipe alot for less distressing and wipe alittle for more distressing)
  4. And you’re done.  Now move on to the next section, until the entire piece of furniture is completely distressed.

I call the distressed overlay “glaze”, but it’s not really glaze, but instead this water-paint mixture that I created. This is a step by step of me applying the water-paint mixture to the chair back and then “wiping” it off with the rag.  The “glaze” is fairly forgiving.  Again, the more you wipe, the less distressed the result.

To add a bit more distress to this chair, I also lightly sanded some of the edges with medium grit sandpaper.  This just added to the “aged” aesthetic.

Once the edges were slightly sanded and the “glaze” was dried, which didn’t take a long time, I applied 2 coats of polyurethane to seal the chair.  (don’t forget this step – it’s important)

It wasn’t complete yet, since there was nothing to sit on and I wouldn’t dare put that old yellow crushed-velvet-like fabric back on.  I searched and searched and found this fabric that I thought would be perfect for the buttercup yellow room!

I removed the old seat fabric (there was actually three layers of old fabric) and was left with this…

And then it was time to add my newly chosen pretty fabric!  I flipped over the seat…

Using a staple gun, I attached the fabric to the underside of the seat.

Recovering a seat is really easy and can make a huge difference in updating the look.  The corners though can sometimes be tricky, so here’s an easy step-by-step pictorial of how I created them.

The completed seat…

And the finished chair…

I was so happy with the outcome of this chair and the color is exactly what I had envisioned.  I just wish…

… it could be mine!  Doesn’t it look so pretty in this spot?!  Unfortunately though, I delivered it to my friend and it now sits perfectly in her bedroom 🙂

Don’t you just love turquoise?  It really is one of my favorite colors.  When I ordered the fabric for this chair, I also ordered a few other fabrics to make new pillows for my living room and guess what color they have in them??  Yes…you guess – turquoise!  I’ll share more soon!!

I link my projects to some of these parties: Skip to My Lou, Dittle Dattle, Between Naps on the Porch, Today’s Creative Blog, Stories of A to Z, All Things Heart & Home, Savvy Southern Style, House of Hepworths, Finding Fabulous, Creation Corner, The Shabby Nest, Tatertots and Jello, Thrifty Decor Chick, Under the Table & Dreaming