The Simplest Pinecone Wreath!

I love the look of wreaths filled with pinecones, and was about 5 seconds from buying two over the weekend, until I looked at the price tag. I was not paying $25 for pinecones, when my own backyard is filled with these lovely organic treasures. But before putting the pinecone wreaths (that I loved) back on the shelf, I looked to see how they were made, and couldn’t believe how easy it appeared. So off to the craft store I went…

Play by Play…Pinecone-Style


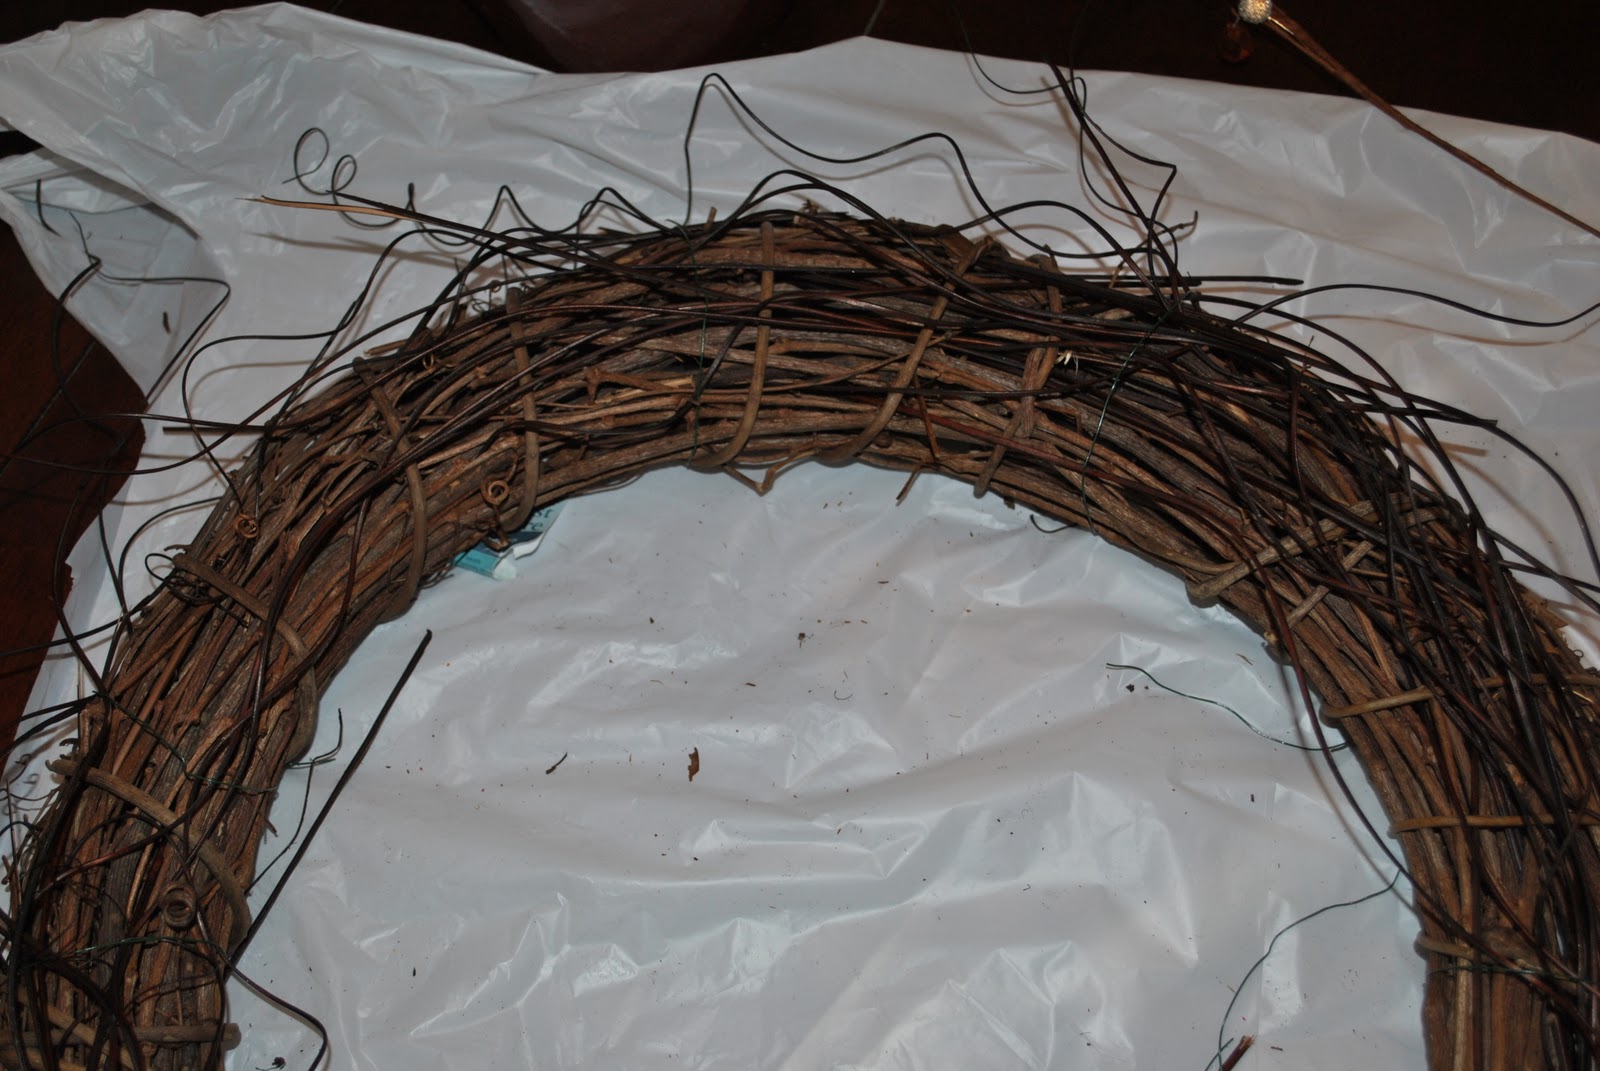
I bought an 18″ round wreath for $1.99 and collected a bucketful of pinecones from the backyard. Now I have to confess, that I also used some store-bought pinecones because they were rounder and fuller, opposed to my skinny, sap-filled, backyard pinecones.
Using brown or green (green is all I had) wire, wrap it through the pinecone and twist, so it’s secure on the back side.

After adding the pinecones, the back of the wreath will look like a wire craze…that’s OKAY! You won’t see the back. If you want, trim the pieces about 1/4″ above the twist for a cleaner look.

Continue attaching the pinecones around the wreath and overlap them to add interest.

Voila – The simplest pinecone wreath is complete.


And I actually made 2. These beautiful pinecone wreaths hang in my dining area on the sliding glass door, but you can hang them anywhere….on your front door, interior door(s), the wall, etc…
This year, my color palette is chocolate gold. I love how gold looks with brownish tones. Also in this space, is the new Organic Centerpiece I created! It’s complete and ready to enjoy.