
Month: November 2011

Holiday Card Holder

Tis’ the season for cards!  Of course, you might get sent a random card here or there throughout the year for a birthday, anniversary, or special occasion, but there is no time like Christmas when you receive such a flurry of cards all at once.  And aren’t they such a delight to get?!  The anticipation of opening the mailbox each day around Christmas is so exciting!

Yesterday, I shared 15 creative ways to hang those plethora of cards, and today I am sharing my creation.  As I mentioned yesterday, I was in need of some inspiration this year as to how to display my newly received Christmas cards.  After doing a little hunting around the web, I was quickly inspired and created a unique card holder to call my own!

This Holiday card holder was actually very easy to make and only took a few minutes. If you’re interested in making something like this to hold your cards, I used:

  • 18 x 24 cork board (you could also use a picture frame or a flat piece of MDF or wood)
  • Burlap (or other neutral toned fabric)
  • Ribbon (one color ribbon or a few different styles)
  • Staple Gun

1. To start off, I ironed the burlap so it was free of any wrinkles and folded it over, so it was double thick.  (If using a tighter weave fabric, you may not need to make it double thick.  Because burlap has a loose weave, I didn’t want to see through it.)

2. I layed the corkboard on the fabric and secured it on the back with staples.

(I know it’s mess from the back, but you won’t see it)

3. Time to add the ribbon.  I used the same ribbon for the entire project because it’s what I had on hand.  You could also use different style and sized ribbon for a fun look! Before stapling, lay out the ribbon so the layout / design is exactly how you want it.  Then secure on the back with a staple.

4.  You can either hang it or lean it on a table.  I decided to hang the Holiday Card Holder, and made a loop on the back with some extra ribbon.  A few staples later…

…and it was complete!   Now I’ve got the perfect place to hang all the cards that will be delivered throughout the Holiday season!

I added the words: cheer & blessings to show how I truly feel to be sent these beautiful thoughts from people I love.  Using a black Sharpie marker, I added these two words that I am thankful to feel each day!

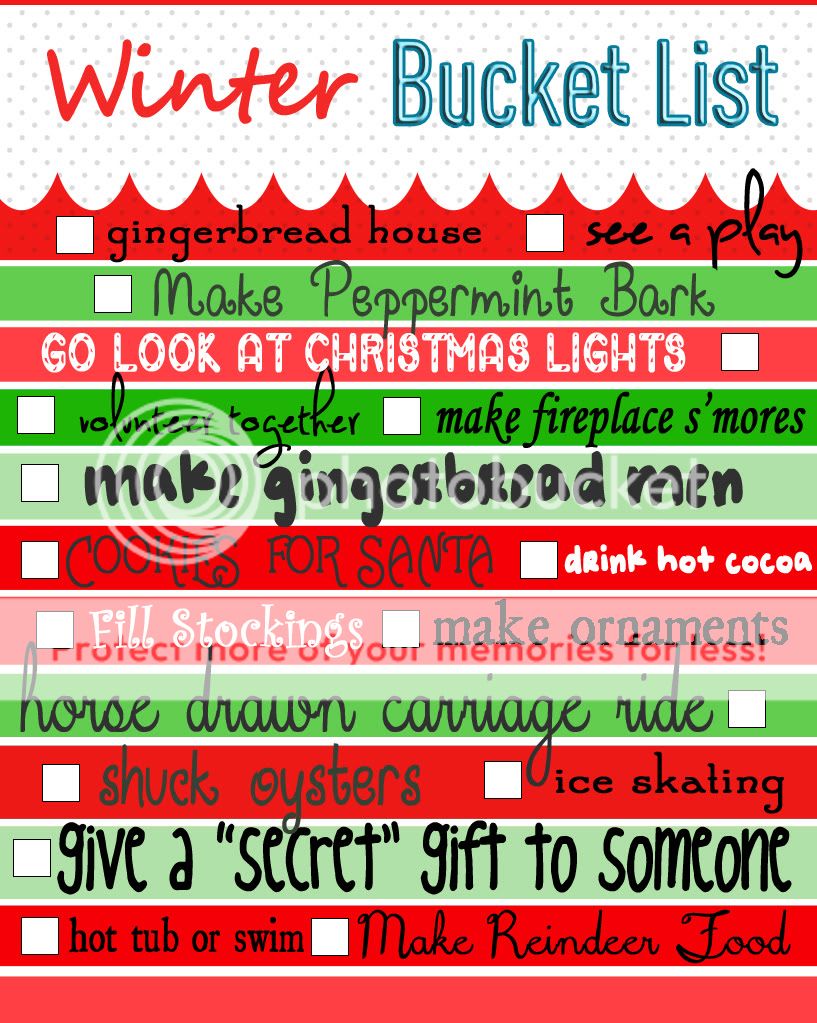
And don’t you just love that darling Winter Bucket List printable?  You can print it out for yourself to check off all the winter activities you do with your family!

Have you started decorating for Christmas yet?  I’ll have to be honest, I was not ready and excited this year as I usually am, but now that I’ve started transforming the house, I am getting psyched for some Christmas Cheer!

I link my projects to some of these parties: Skip to My Lou, Dittle Dattle, Between Naps on the Porch, Today’s Creative Blog, Stories of A to Z, All Things Heart & Home, Savvy Southern Style, House of Hepworths, Finding Fabulous, Creation Corner, The Shabby Nest, Tatertots and Jello, Thrifty Decor Chick, Under the Table & Dreaming


DIY: Drop Cloth Placements with Decorative Top Stitch

The Holidays are right around the corner and as I’ve been finalizing the table decor for Thanksgiving and getting ready for Christmas, I realized that I didn’t have any placemats that were festive or unstained (from past Holiday gatherings).  I was just about to head to the store, when I remembered I had purchased a new package of drop clothes the week before.  Why waste the time of spending money and venturing through the crowded stores, when I could just make what I was envisioning?!

If you’ve been a follower of mine for a while, YOU KNOW that I love drop cloth material!  Have you ever asked yourself, “Why does she always use drop cloth?”  I have.  My answer is because it’s cheap, durable, heavy, and looks very similar to linen (but without the wrinkles).  Have you ever made something using drop cloth material?  If not, you’re missing out – trust me!

To start off making these drop cloth placemats, determine the size you’re desiring.  I made the overall finished size 14″ x 19″, but cut my fabric to be 15″ x 19″ to allow for a 1/2″ seam all around. The beauty of making your own is that YOU can make any size you want / need – smaller, larger, square, triangle, oval…  And you can also use any fabric – It’s not a must to use drop cloth (even though I love it).

I made (4) placemats, so I cut (8) 15″ x 19″ pieces.  Iron.

Pin the right sides of the material together.  With drop cloth, there isn’t a “right” or “wrong” side, but again, this placemat tutorial can be used for ANY material.

Sew around the entire perimeter, leaving a 6″+/-  opening at one side, so you can pull the “right” side through.

Once the soon-to-be placemat is on the “right” side, iron the seams flat.

Looks pretty good and it’s almost done!

At this point, you have a lot of options which will depend on the fabric and/or the decorative embellishments you want to add (or not add).   For my drop cloth placements, I decided to add a decorative top stitch around the entire perimeter, which is inset about 3/4″ from the edge.

The stitch I used is #16 on my machine, which is a scalloped, zig-zag design, and in keeping with the Holiday theme, I decided on a burgundy colored thread.

This is a close-up of the stitch.  It’s very simple, yet more detailed and interesting instead of a typical straight stitch. 

Here’s a tip: When you are sewing around a corner, don’t pick up your needle, but instead pick up the “sewing foot”, turn your material around the corner, put down the “sewing foot”, and continue sewing.

1 down…  3 more to go! 

And they were all done!

Tomorrow, I have something even more exciting for you.  I’m going to embellish these placemats – still keeping them simple and stylish!

I link my projects to some of these parties: Skip to My Lou, Dittle Dattle, Between Naps on the Porch, Today’s Creative BlogHome Stories A to Z, All Things Heart & Home, Savvy Southern Style, House of Hepworths, Finding Fabulous, Creation Corner, The Shabby Nest, Tatertots and Jello, Funky Junk, Under the Table & Dreaming

The Right (and Wrong) Way to Hang Window Drapery Panels

I had planned on sharing another part of my bedroom makeover, but I got tied up in other directions, and didn’t have a chance to complete my next reveal.  But stayed tuned, I hope to wrap it up very soon (see how I said hope – it doesn’t mean it’ll actually happen, but it’s wishful thinking)!

Instead, I have a great post for you that will be informative and eye opening.

Earlier in the week when I shared my newly made lined window panels, I started to ponder how others think window treatments should be hung.  I sometimes take for granted that homeowners know the tricks that are innate in my brain.  I saw this picture via pinterest, but created my own illustration to visually show the best way to hang window treatments to allow as much natural light to shine through and visually enlarge the space.

Do you see a difference between these two window examples?
(I hope you do)

Which would you choose to be the best way to hang a window drapery panel?  And why is one better than the other?

Well let me share my answer and why!

My illustration starts with two of the same sized windows.

Then we’ll add some window treatments.

On the left side are window drapery panels that mostly cover the window and are hung on a rod that is placed directly above the window trim.

On the right side are window drapery panels that extend out to mostly cover the wall, leaving only about 1-2″ covering the window.  They are placed on a rod that is half way between the window trim and the ceiling

Well if you haven’t realized yet, the right side is the right way to hang window drapery panels.

And this is why~

There is a HUGE amount of additional light that shines through when window drapery panels extend out and are mostly placed on the wall surface.  Here’s an illustration showing the amount of light entering the space (seen in blue) for each window example.

This illustration shows how much of the window drapery fabric is covering the window (seen in red).  Only a sliver of fabric covers the window on the right side, but a huge amount of fabric is covering the left side.

And here is an overall illustration of how the draperies look side-by-side.

Positioning window treatments more on the wall than over the window, not only allows for more natural light, but it also heightens the room and visually widens the window.

Take a look at some real-life examples.

Let’s first start with the WRONG way of hanging window panels.

The window hardware is smartly placed to bring the eye up, but the window panels cover the window WAY TOO MUCH – unless you don’t want to see your neighbors this is NOT the way to hang drapes. (via Southern Living)

In this example the drapery hardware is placed on the window frame, so the panels appear to be hovering over the door allowing only a small amount of light to shine through. (via ChicColes)

Now let’s check out the RIGHT way to hang drapery panels.

* Allow in a HUGE amount of natural light
* The higher placed hardware heightens the room and allows the eye to be drawn up
* The window feels wider

How are the window treatments hung in your home?


DIY: How to Make Simple Lined Window Drapery Panels

For the past few months, I’ve been thinking about doing some updates to my bedroom.  There’s nothing “wrong” with it, but some of the elements – window treatments, pillows, pictures – have been around for a while and you know me, I always need something to change or update!

First thing on the list?  Window Treatments.

The ‘before’ window panels were from our previous home and the length has always been an issue since I repurposed them in this space.  They are beautifully lined panels from Pottery Barn (with matching pillow covers), but I was just ready for a change!

This is how they looked before~

Well actually the window treatments were the second on the list, first came the fabrics.

After having a concept in my head, I was on the search for new fabrics.  I was stuck on the color of dusty-gray-blue.  Because my interiors are mostly on the warm side, I wanted to bring in some cooler tones.   I combed the net, searched in fabric stores, and found nothing that appealed to me.  Then I made a random trip to Joanne Fabrics one day, and found this fabric which was very inspiring, but totally not the dusty-blue that I had desired.

O well, I loved it and a few fabrics later, I was out the door and ready to start my transformation.

Before I begin the step-by-step tutorial,  I wanted to mention that I decided to line the window treatments, but it isn’t a must for drapery panels.  Even though they were not going to be functional, meaning I wasn’t planning on moving them each day/night to block the light, I still wanted them to have a more substantial feel and heavier weight.  I decided to use drop cloth material because it was the least expensive and I knew from my other projects that drop cloth would really give the panels more substance and hang better.

Making Lined Drapery Panels

1. I started off by measuring the height from the floor to my existing drapery rod.  Once the height was determined, I added about 12″ of additional fabric which gave me some “play” for alterations in later steps.  I layed out the fabric and using my cutting board, clear ruler, and fabric cutter, to measure the length of fabric needed for three panels.

FYI: At this point, measuring does not need to be perfect, because it will be altered later.  That’s the beauty of these panels!

The measurement from my floor to the drapery rod was: 78″, but to allow for enough fabric I made each panel 90″

2. Once the main fabric is cut, lay the right side of your main fabric onto the right side of the lining fabric (in my case, I used drop cloth material because it was the least expensive.  For $16, I got one piece of drop cloth that was 9′ x 12′).

Before cutting, make sure ALL YOUR FABRICS ARE IRONED!  Once ironed, use your main fabric as a template and cut the lining fabric to the same size.

3. Once both fabrics are IRONED and CUT, pin around the edge of the entire panel.

4. Similar to making a pillow, sew around the 4 sides, except leave a 6-8″ opening at one of the shorter ends, so you can pull the right sided fabric through.

After sewing around, pull the fabric through to the right side.

5.  Once pulled through to the right side,  iron all the edges and seams so the panel is nice and crisp! Now that the main part of the lined drapery panel is complete, they are ready to be hung and altered.  There are numerous ways to hang window panels, but I decided to use a basic rod and hang the panels using clip rings.

6. To determine the height for the window panel, measure from the floor to the top of the clip (not to the top of the ring).  Take the unfinished side of your panel and clip the rings to it.  Then adjust the height of the panel up or down, so the panel either just hits / skims the floor OR leaves a slight puddle on the floor (I decided to have them just hit the floor).

The one side of the panel is still unfinished (that’s okay), and here’s how it will look from the back.

Now let’s finish this up…

7. It’s time to trim and finish the top.  Measure down about 4-5″ from the crease where the rings are clipped to.  Trim the rest.

8. (a) With the rings left on, remove the panel from your rod and head back to the ironing board. (b) First, iron in between the rings to get a crisp line.  Then remove the rings and iron the entire crease.  (c) Open the crease and fold over the top edge twice creating a finished edge. (d) Close the crease, iron and pin edge so it can be sewn.

8. Then sew along the bottom edge of the “flap”.

Reinstall the drapery rings and the lined window panels are complete and ready to hang.

The wall of windows and the entire view of the three lined window panels…

One more time…here is the before and after~

And if you didn’t notice, I got rid of the sheers and replaced them with functional wood roman shades – such a better look!

I’m still in the midst of this master bedroom makeover and I’ll be sharing more soon, so stay tuned!

I link my projects to some of these parties: Skip to My Lou, Dittle Dattle, Between Naps on the Porch, Today’s Creative Blog, Stories of A to Z, All Things Heart & Home, Savvy Southern Style, House of Hepworths, Finding Fabulous, Creation Corner, The Shabby Nest, Tatertots and Jello, Funky Junk, Under the Table & Dreaming