Month: June 2013

DIY: Outdoor Pallet Sofa

Despite the drear weather lately, the deck decor is coming together!

We power washed, we prepped, we stained, we built…

…an outdoor pallet sofa!

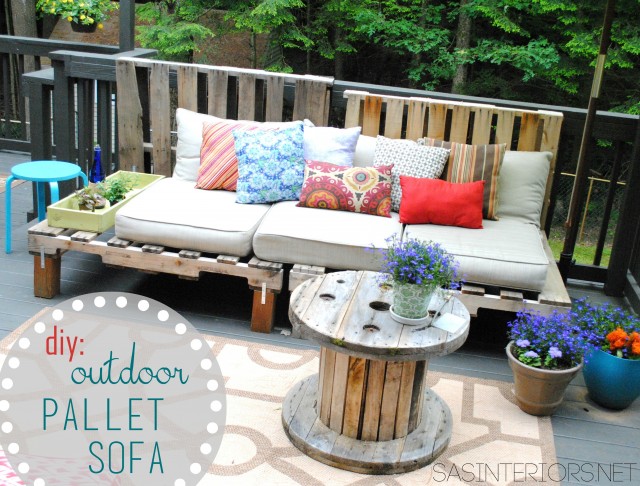
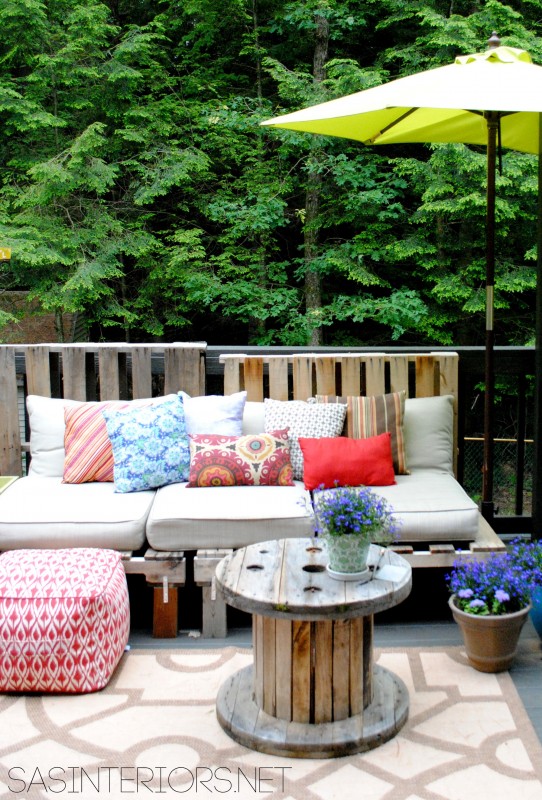
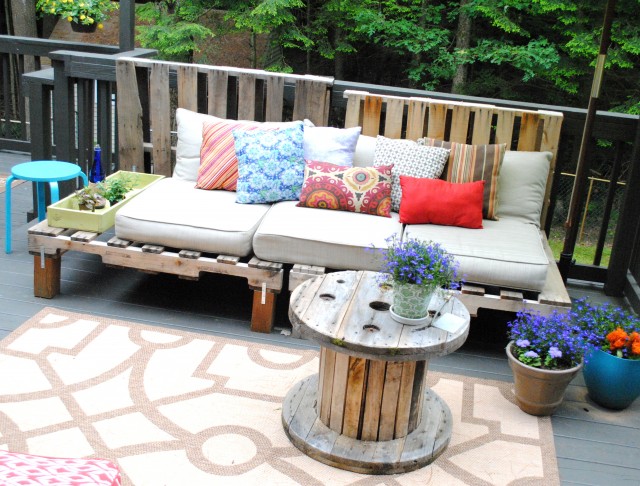
It is heaven.  Take a look (or just come on over to enjoy…)

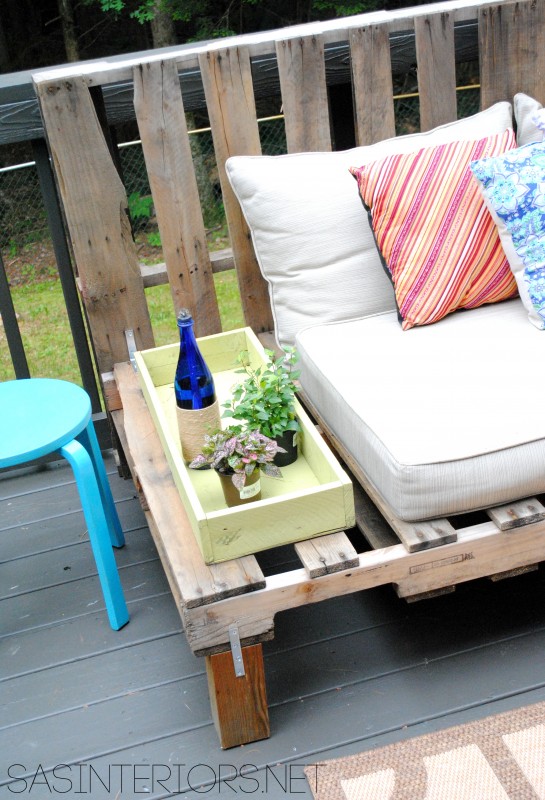
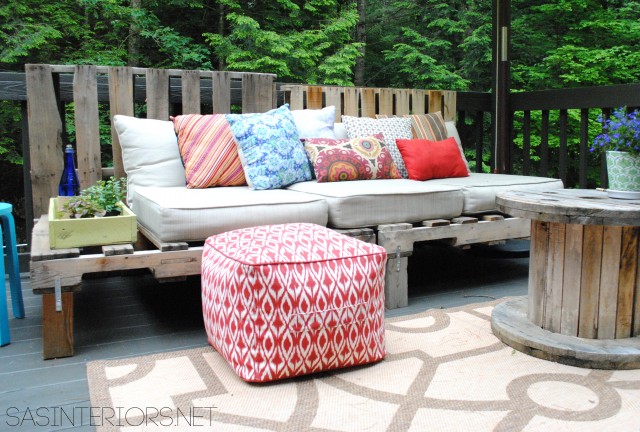
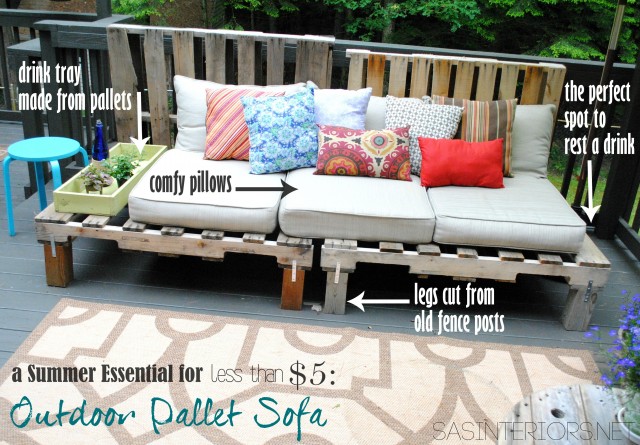
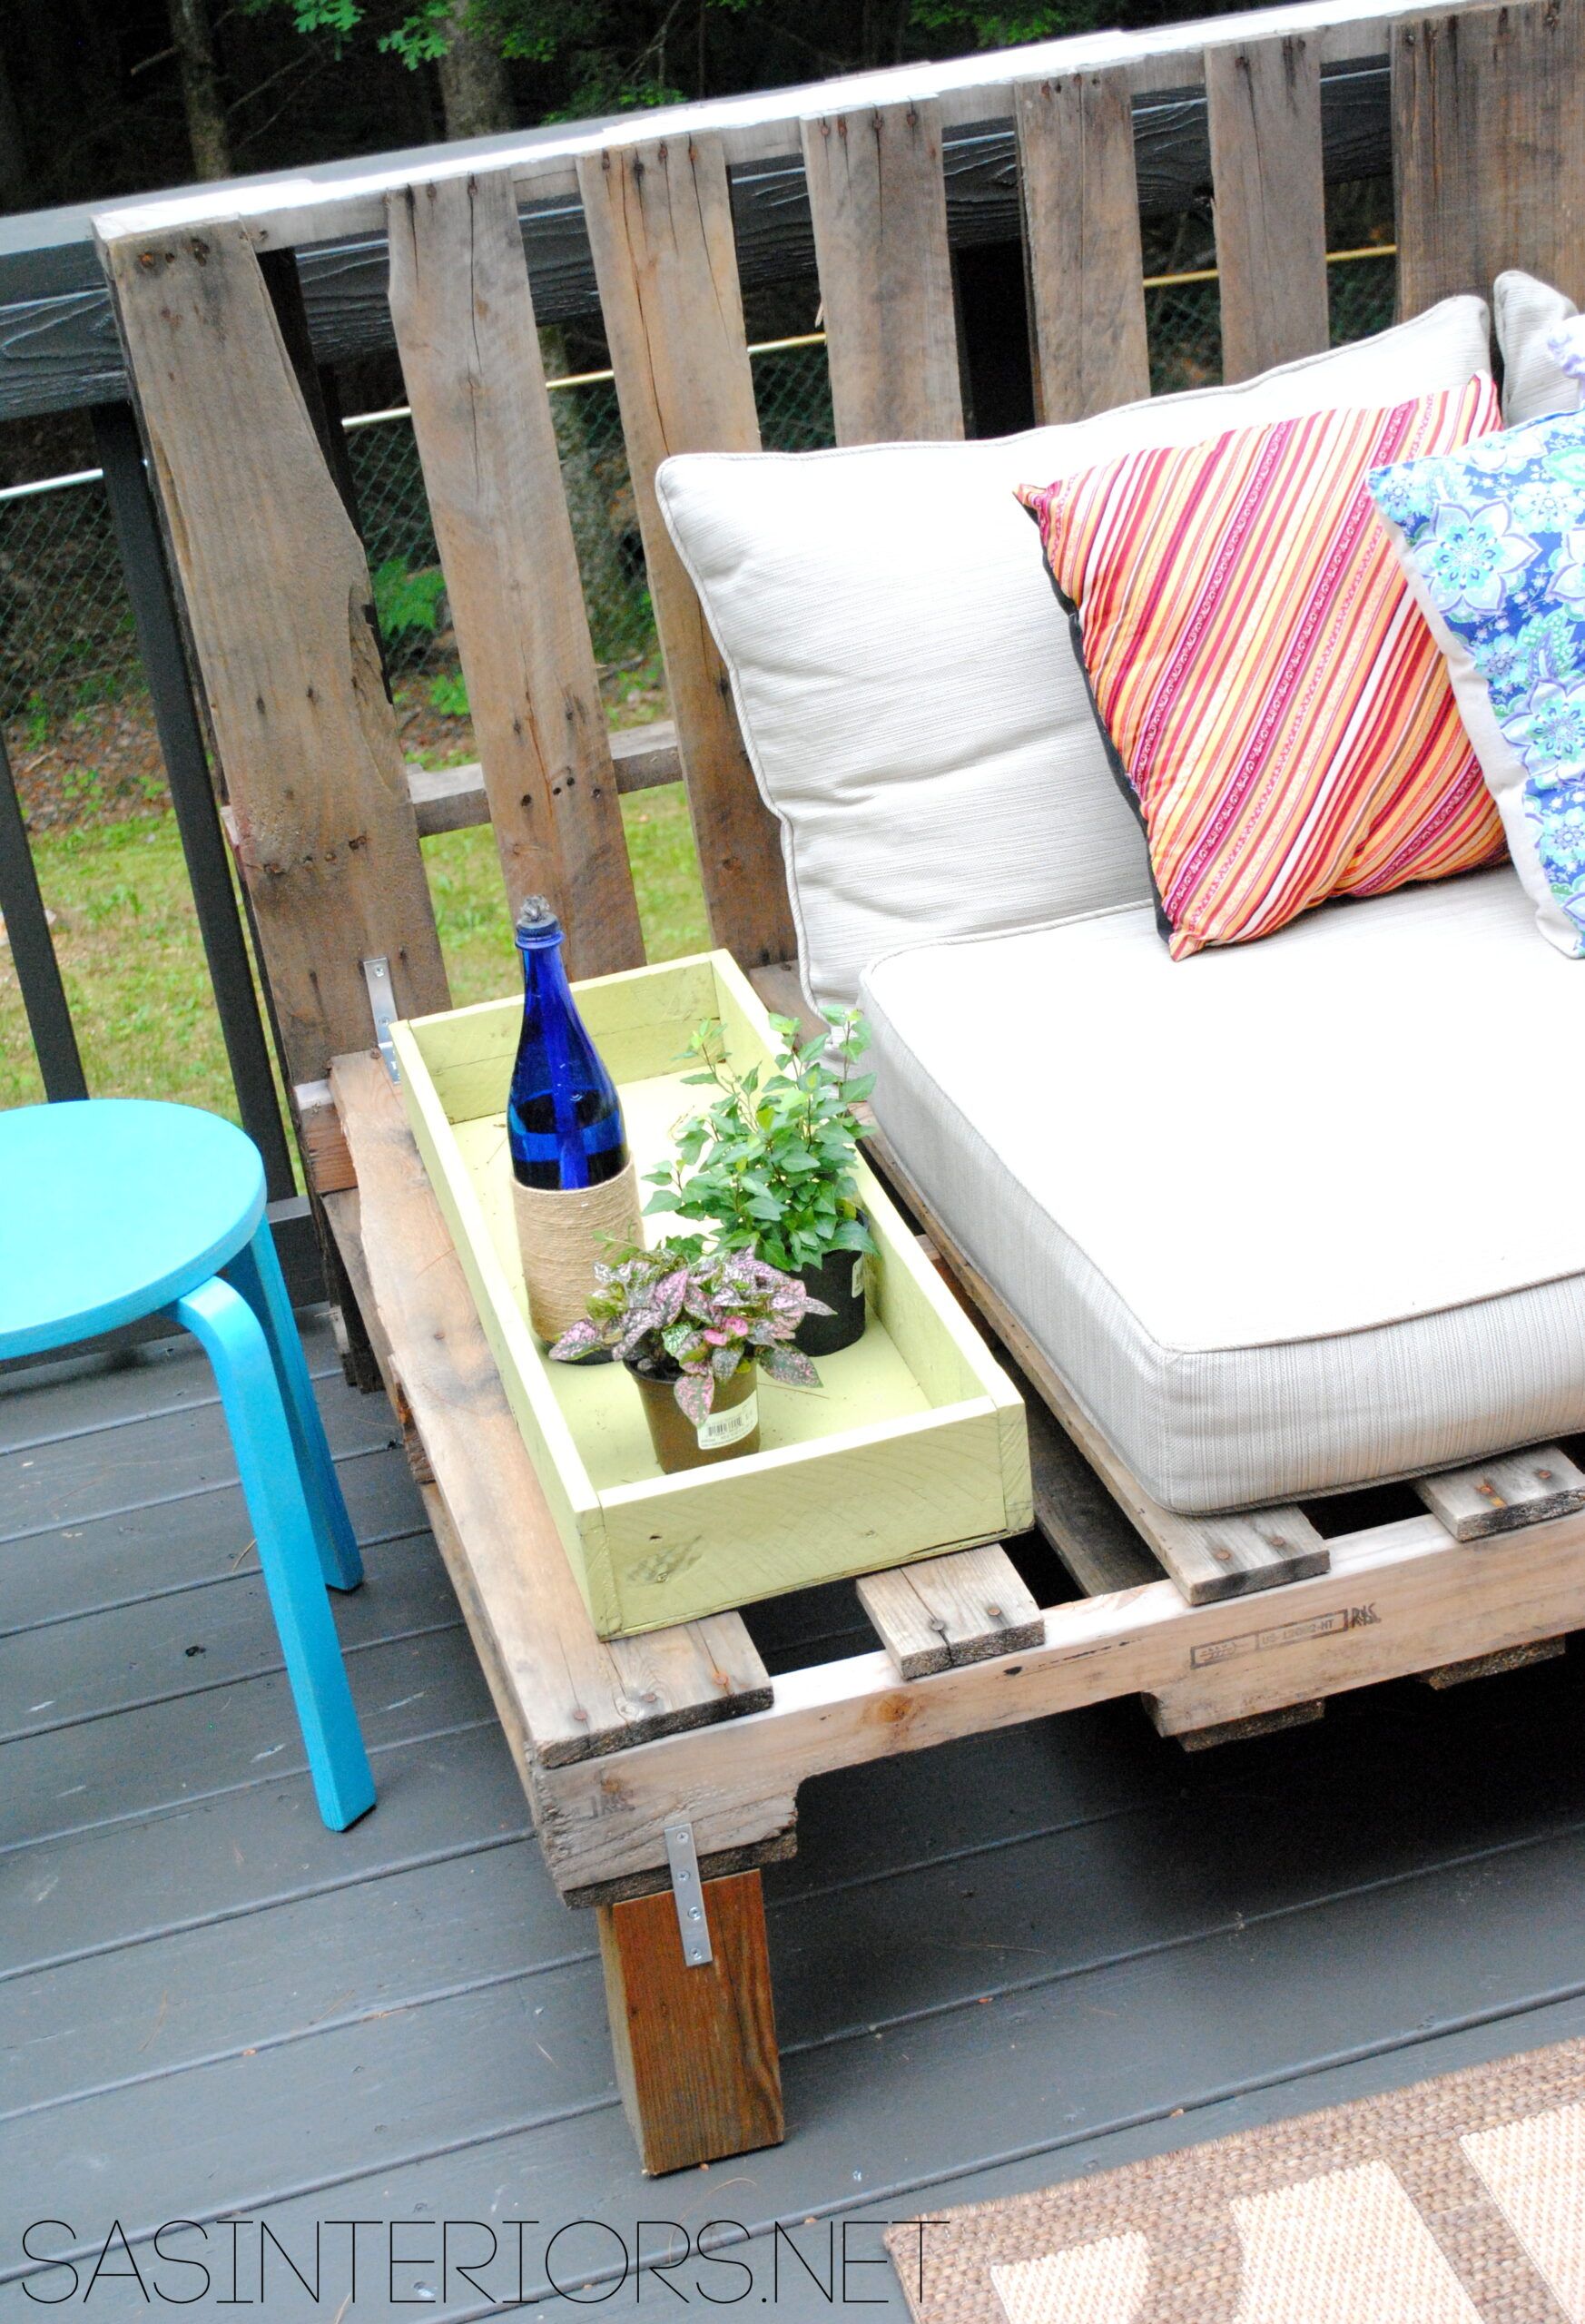
A Summer Essential for the patio or deck: an Outdoor Pallet Sofa - Easy to make and costs less than 5 dollars!

And guess what’s the best part?  It cost less than $5.

Thankfully pallets are readily available in our neck of the woods (for free).  I usually snag mine from the back of my local Lowe’s – thanks Lowe’s, you’re the best!

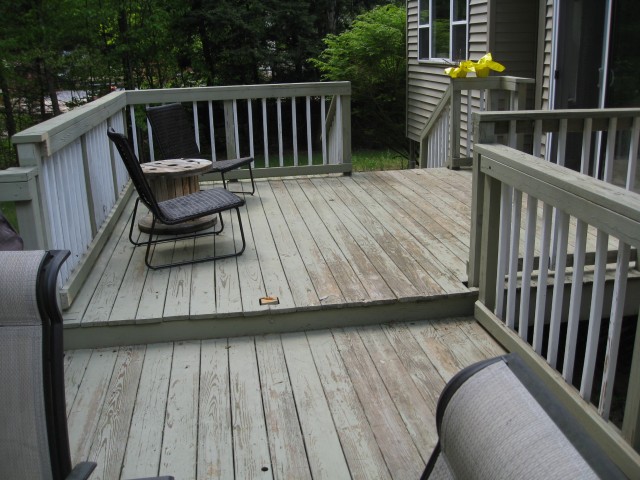
After staining the deck, I knew I wanted something nice and comfy to fill the space right outside of our dining room slider.  It used to look like this before…

Deck before the super awesome makeover

But went to this with a little TLC…

A Summer Essential for the patio or deck: an Outdoor Pallet Sofa - Easy to make and costs less than 5 dollars!

Here’s how:

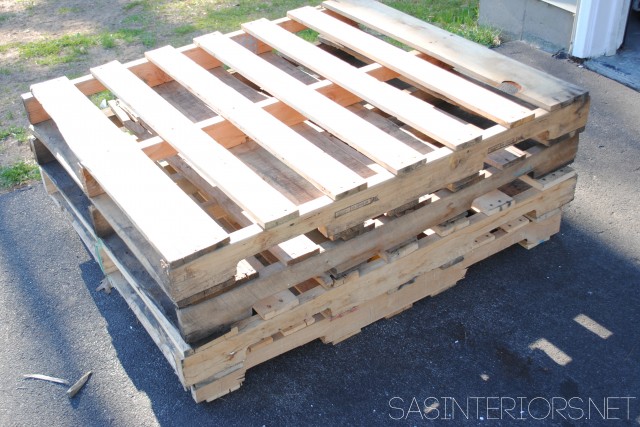
I got 4 pallets that were all about the same size (40″ x 30″) and made 2 “sofas”.  If you’re wanting to make something similar, then you can make yours as small or large as you desire.  If you’ve got a big patio or deck to fill, think about making a humungo sectional. How cool would that be?!

A Summer Essential for the patio or deck: an Outdoor Pallet Sofa - Easy to make and costs less than 5 dollars!

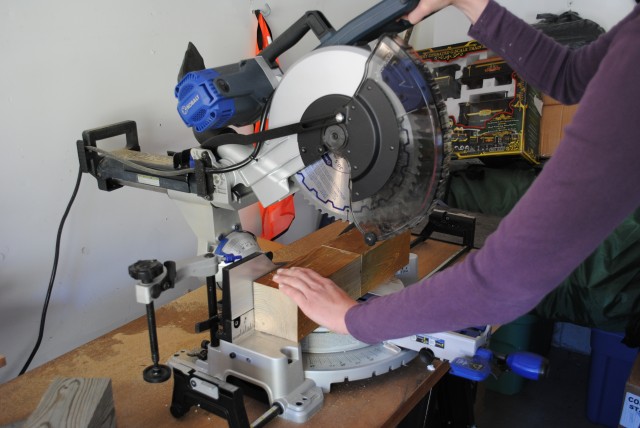
Using 4″x4″ posts from the fence we took out last year, we cut the legs using a compound miter saw (this is a favorite of mine <= affiliate link).

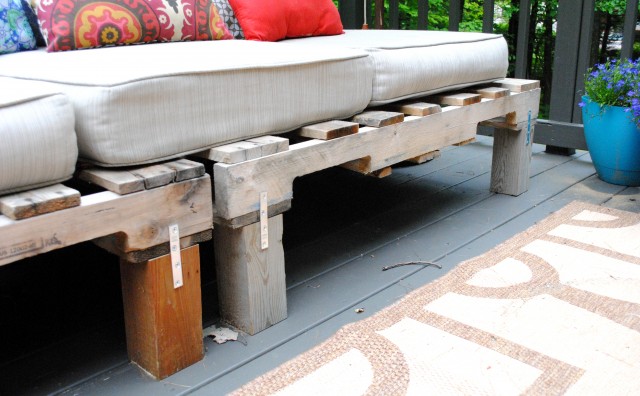
Determine the height of the legs:  A typical seat height is 18-20″, so we measured the height of the cushion we bought (4″ high) + the pallet thickness (5″ high), so the legs needed to be 10″.

Cutting the legs for the Pallet Sofa

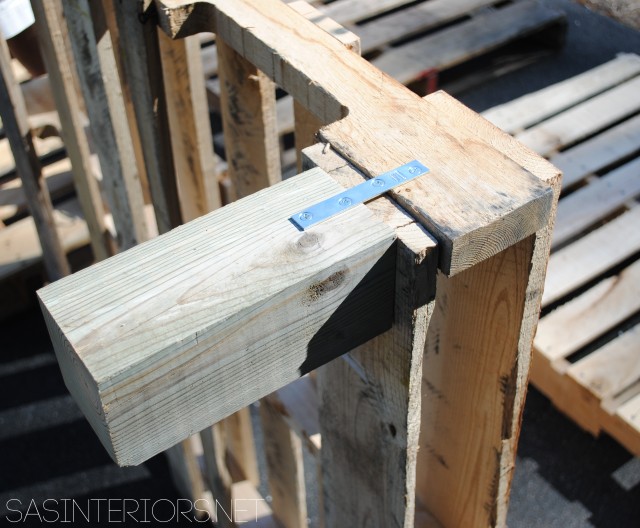
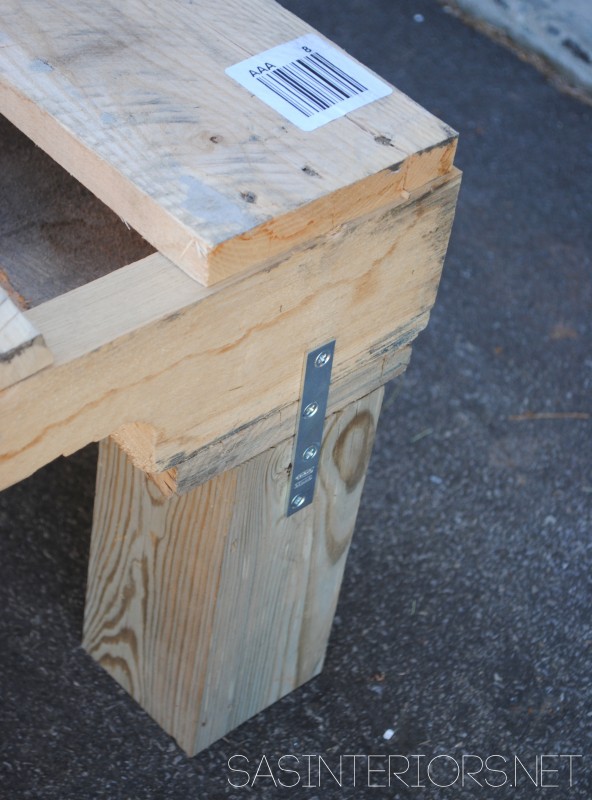
To attach the legs, we used flat brackets (mending plate <= affiliate link) and braced them from the leg to the pallet edge.

Attaching the legs to the pallet sofa

Outdoor pallet sofa legs

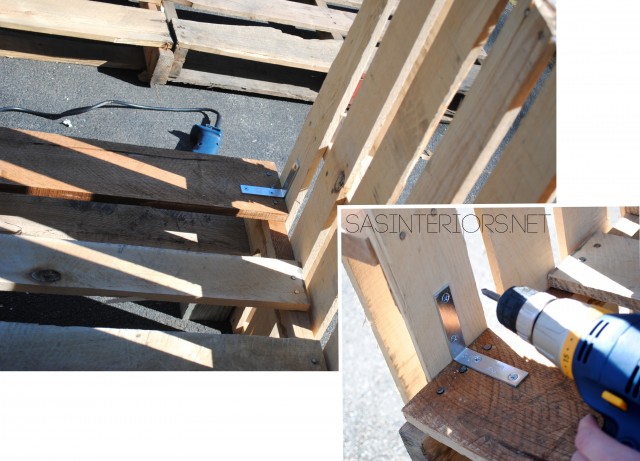
To attach the back pallet, we used (3) 90 degree L-brackets (corner brace <= affiliate link)  for each “sofa”, so 6 in all.

Attaching the back of the pallet sofa

Then it was complete.  That’s how easy these bad-boys are to make,  But I will warn you…  THEY ARE HEAVY.  So you will definitely need some muscles & braun to lift and move the pallet sofas.

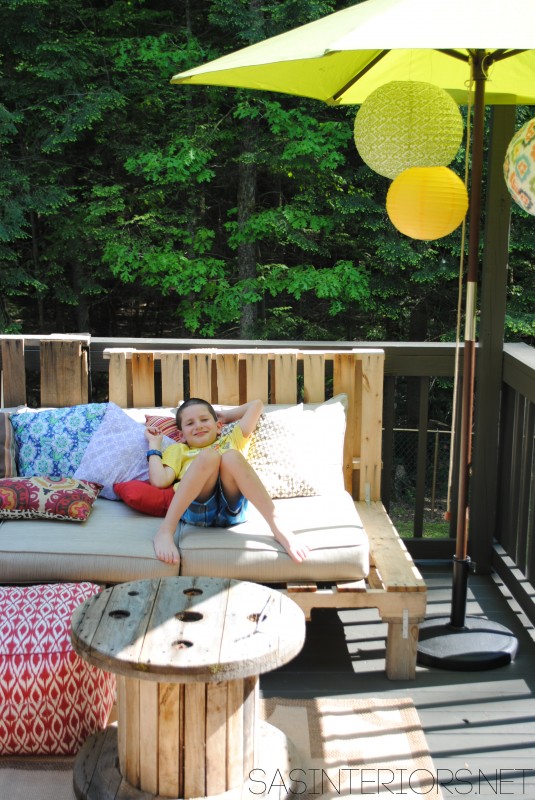
Once they were in place, we were in love!

Check out my little guy chilaxin’…

A Summer Essential for the patio or deck: an Outdoor Pallet Sofa - Easy to make and costs less than 5 dollars!

Heaven.

A Summer Essential for the patio or deck: an Outdoor Pallet Sofa - Easy to make and costs less than 5 dollars!

A Summer Essential for the patio or deck: an Outdoor Pallet Sofa - Easy to make and costs less than 5 dollars!

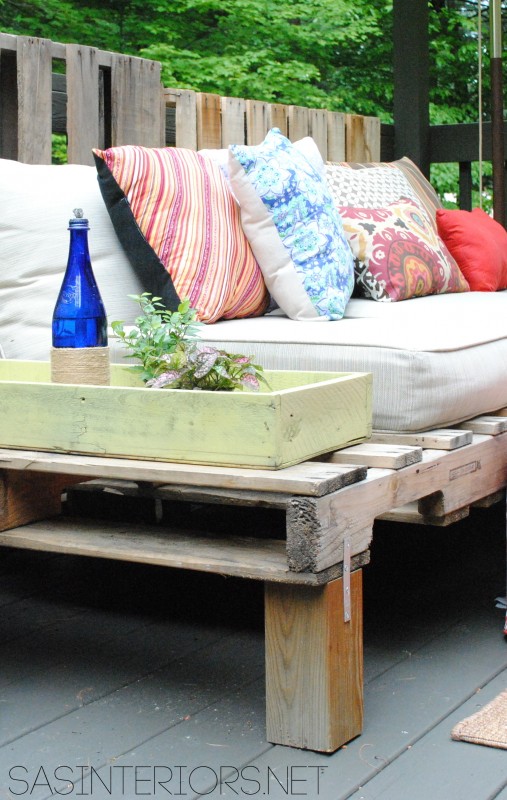
One more step we could have taken, but haven’t (yet or maybe never) is to paint or stain the pallets.  They certainly don’t need to be left the raw wood, it just depends on the look you desire.

A Summer Essential for the patio or deck: an Outdoor Pallet Sofa - Easy to make and costs less than 5 dollars!

A Summer Essential for the patio or deck: an Outdoor Pallet Sofa - Easy to make and costs less than 5 dollars!

I’m sure you’re wondering about the cushions. Right?  Boy, they were difficult to find.  I found lots of cushions, but they were all too $$$.  The tricky part was the seat depth of the pallet sofa which is 30″.  It’s the perfect spot for lounging and napping (you’ll never want to get up), but finding a cushion to fit was rough.  In the end, I ended up finding these oversized seat-with-back-cushions at Lowes.  They were a bit pricey at $55/each, but they are mega thick and durable.  They’ve been left in the rain a few times and survived, thankfully.  With the cushy back, they fit just right for the 30″ depth.

A Summer Essential for the patio or deck: an Outdoor Pallet Sofa - Easy to make and costs less than 5 dollars!

With 3 cushions across, they were just the right size to allow for some extra room on the ends of the pallets to rest a drink & drink tray.

A Summer Essential for the patio or deck: an Outdoor Pallet Sofa - Easy to make and costs less than 5 dollars!

Even though it’s been practically raining every day, I have been totally loving our new deck space.  Many a days ahead will be spent snoozing lounging!  A more thorough deck tour to come – I promise!  Until then, you’ve gotta make this pallet sofa!
DIY: Mason Jar Terrarium

#DIY: Mason Jar Terrarium tutorial by @Jenna_Burger, www.jennaburger.com

How fun are terrariums…

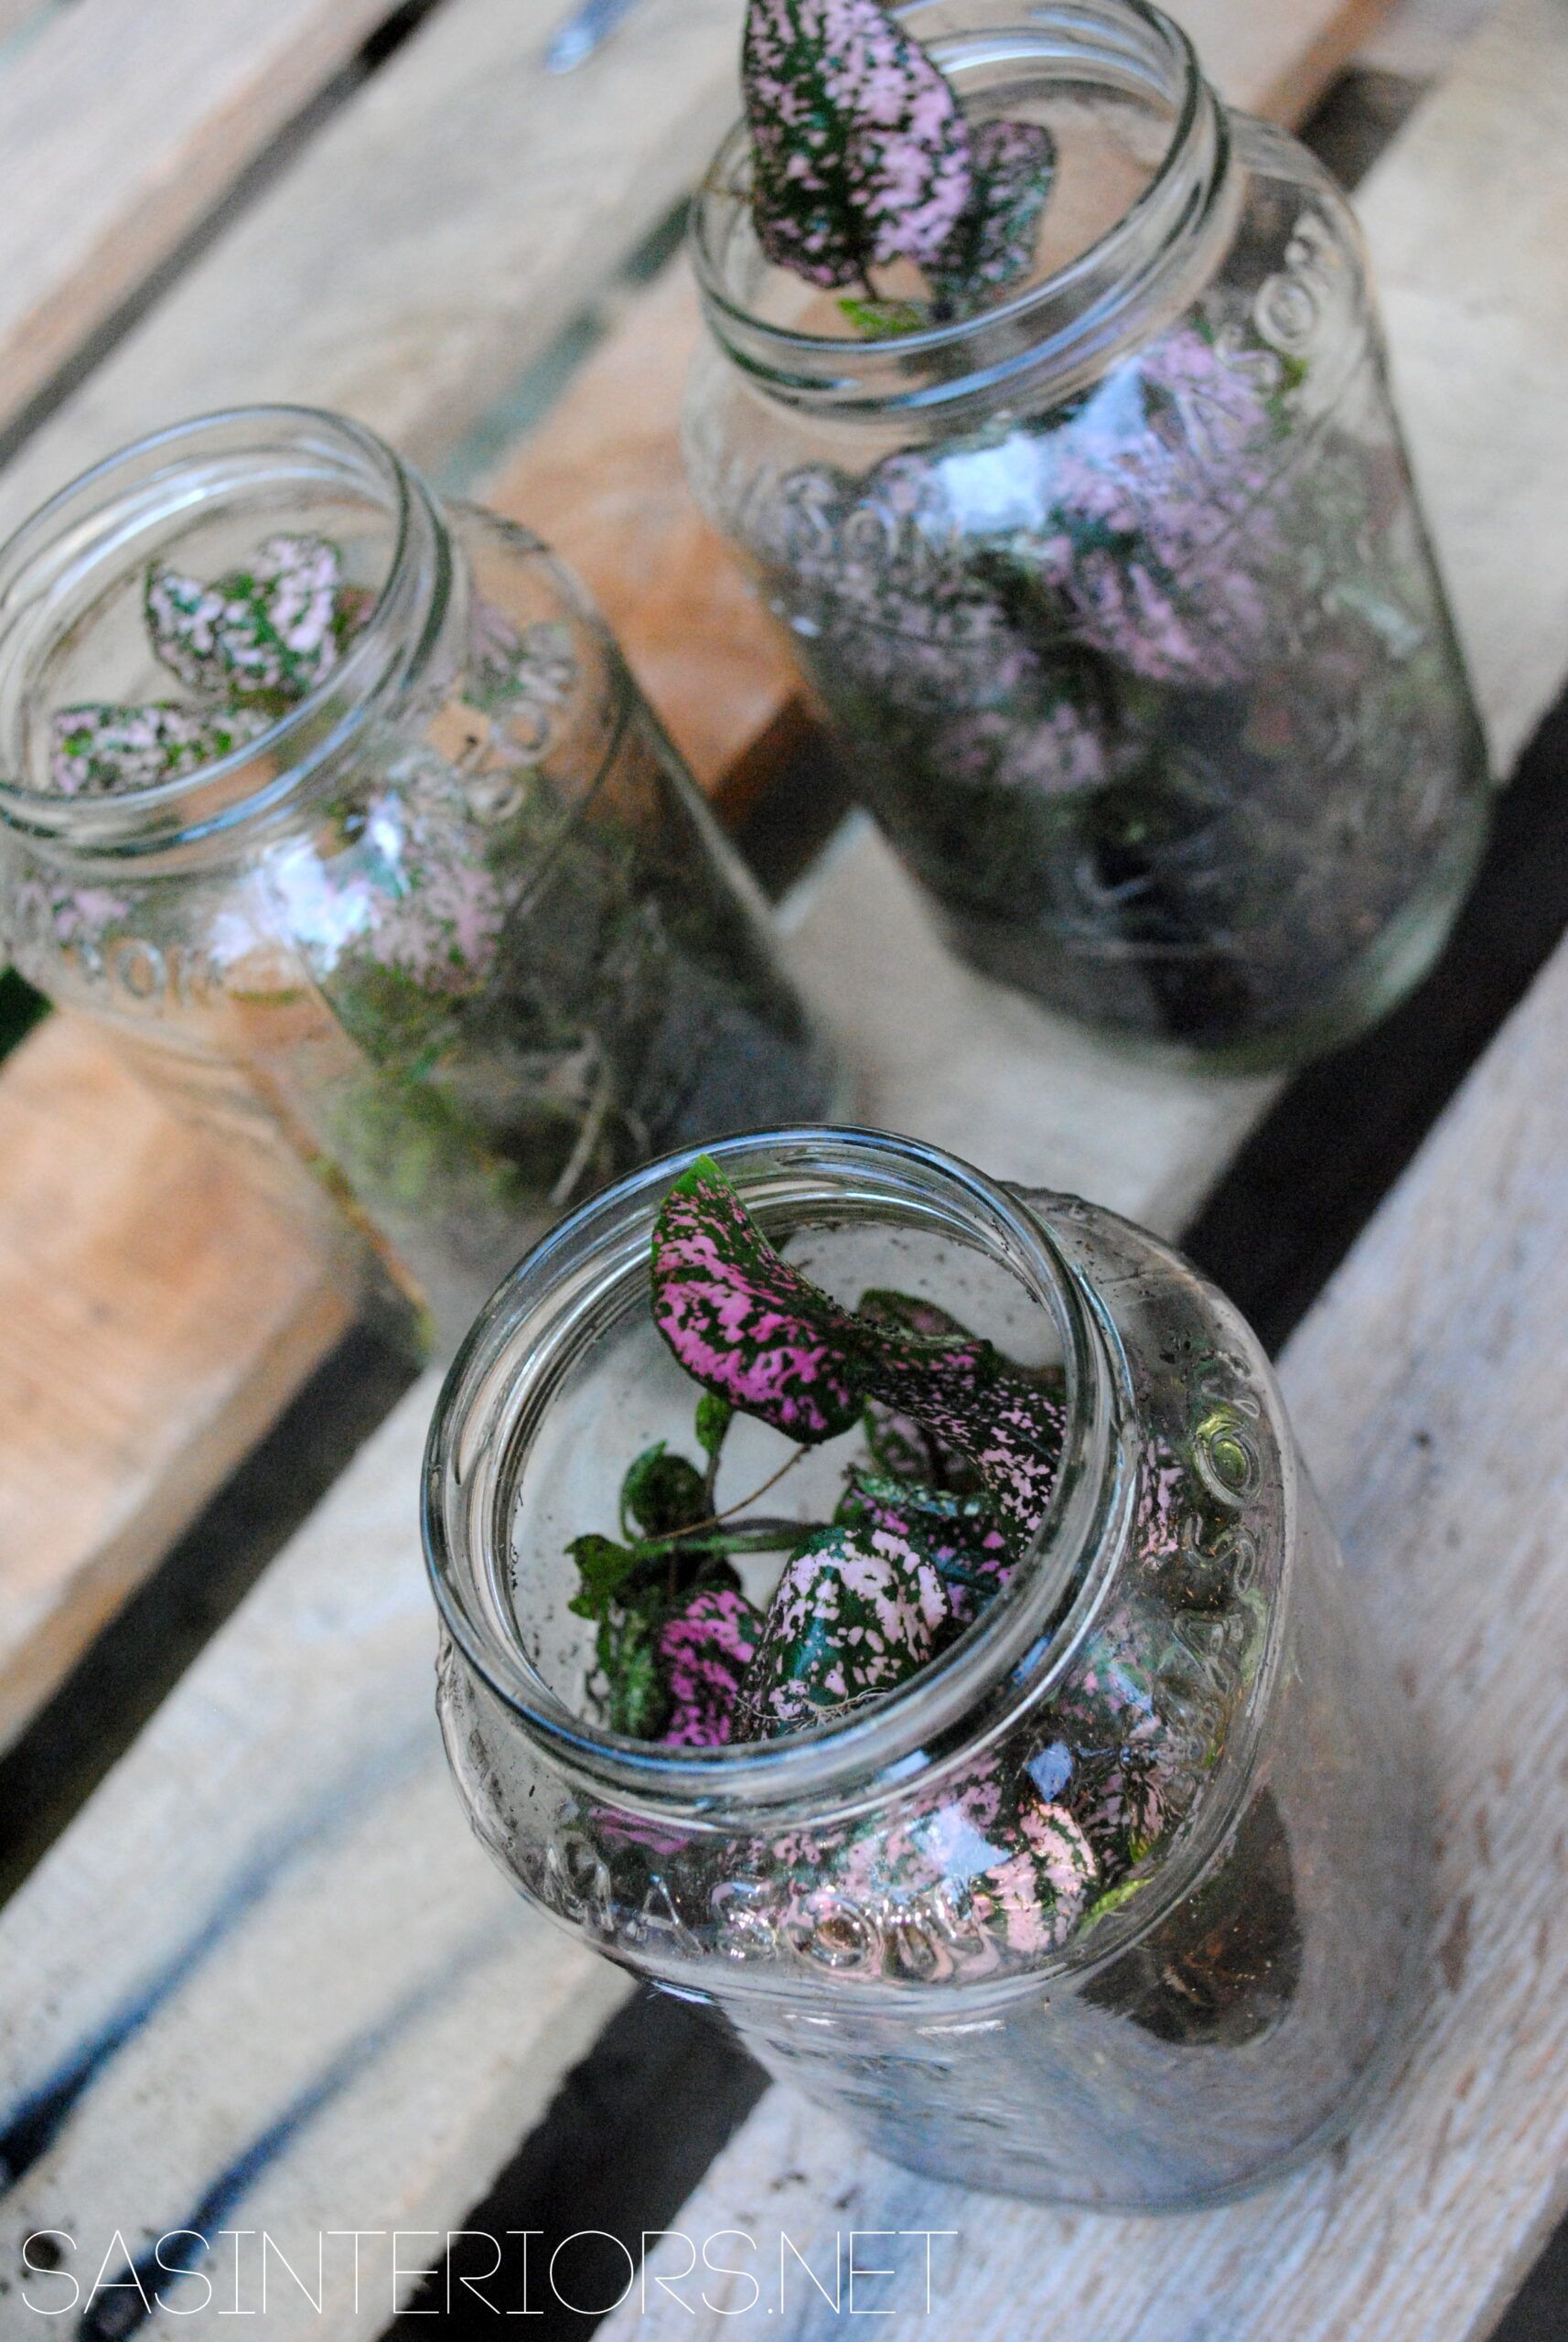
A collection of potted plants in a cute glass jar.  Yes, I’ll take it!
My guy + I got our hands dirty the other day making these small terrariums using mason jars.  Come have a look…

#DIY: Mason Jar Terrarium tutorial by @Jenna_Burger, www.jennaburger.com

Mason Jar Terrarium

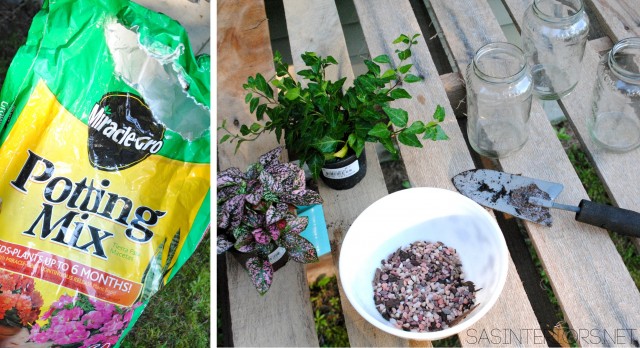
Supplies Needed:

  • Glass Mason Jars
  • Small rocks
  • Terrarium style plants
  • Miracle-Gro Potting Mix
  • Moss
  • Rocks
  • Gardening tools

#DIY: Mason Jar Terrarium tutorial by @Jenna_Burger, www.jennaburger.com

I’m love hoarding collecting used glass jars.  Whether from apple sauce, tomato sauce, jelly, etc., glass jars never get thrown out in our house.

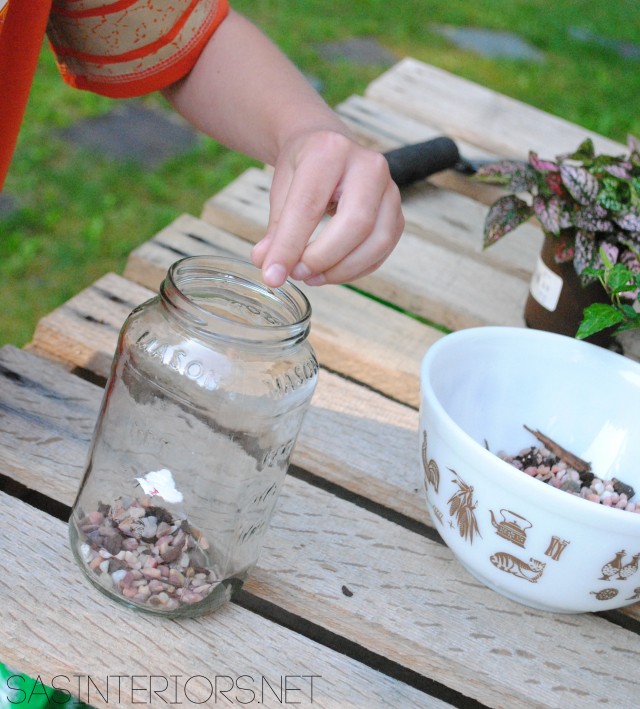
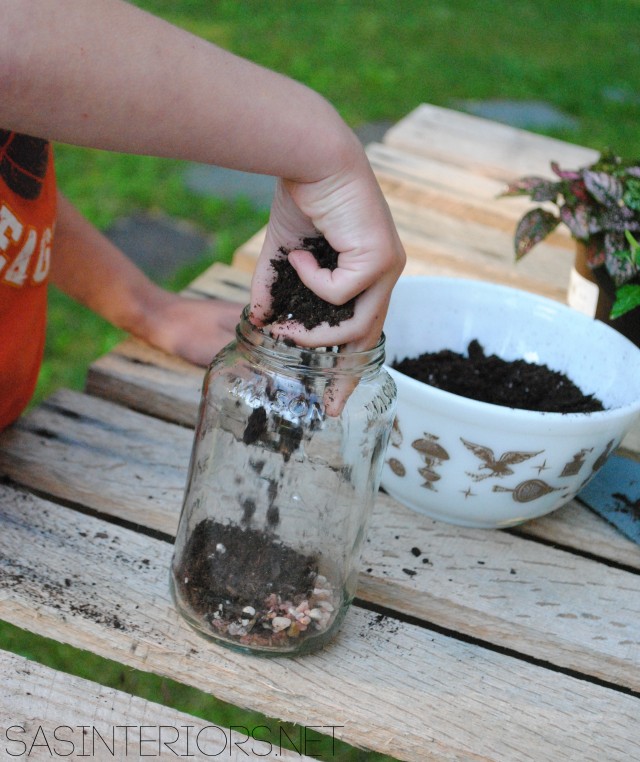
1. To start off, I took a bunch of glass mason jars and put about a 1/2″ layer of small rocks on the bottom.

#DIY: Mason Jar Terrarium tutorial by @Jenna_Burger, www.jennaburger.com

2. We then added a 1″ layer of Miracle Gro potting soil on top of the layer of rocks.

#DIY: Mason Jar Terrarium tutorial by @Jenna_Burger, www.jennaburger.com

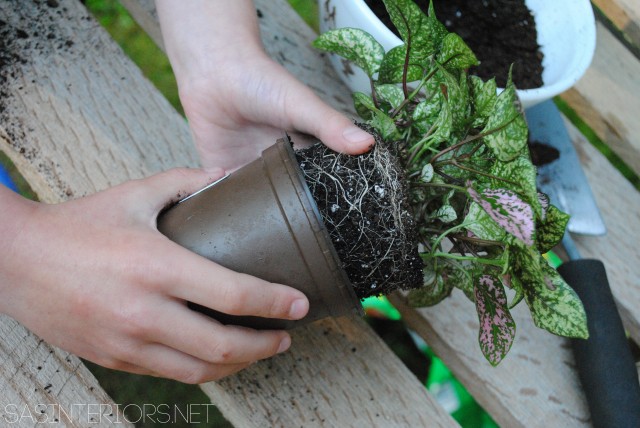
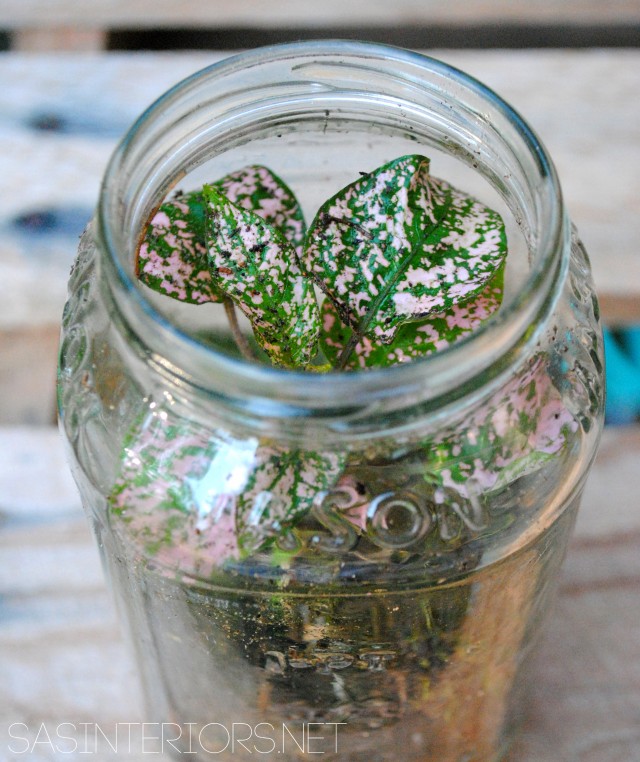
3. We then took our plant, gently broke up the roots, and used a small section of the plant for our glass mason jar.

#DIY: Mason Jar Terrarium tutorial by @Jenna_Burger, www.jennaburger.com

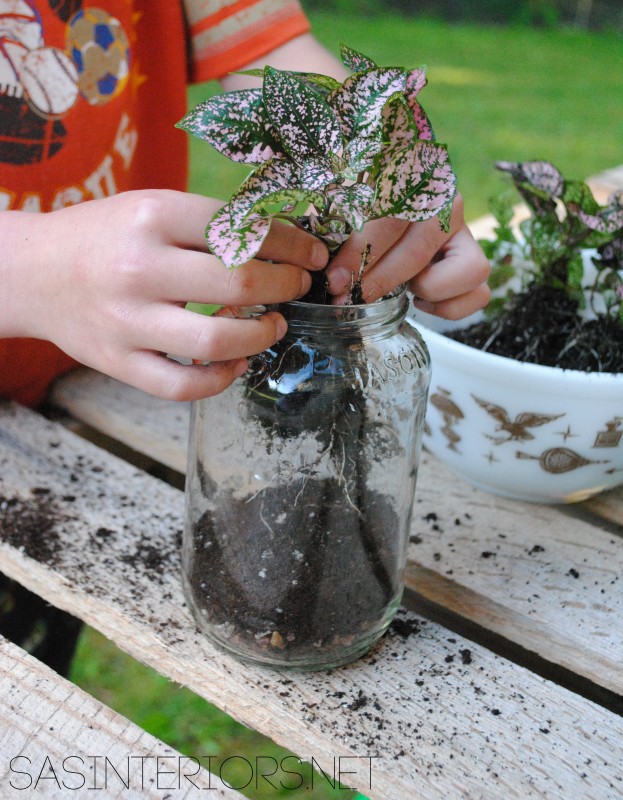
This is where little hands come in handy.

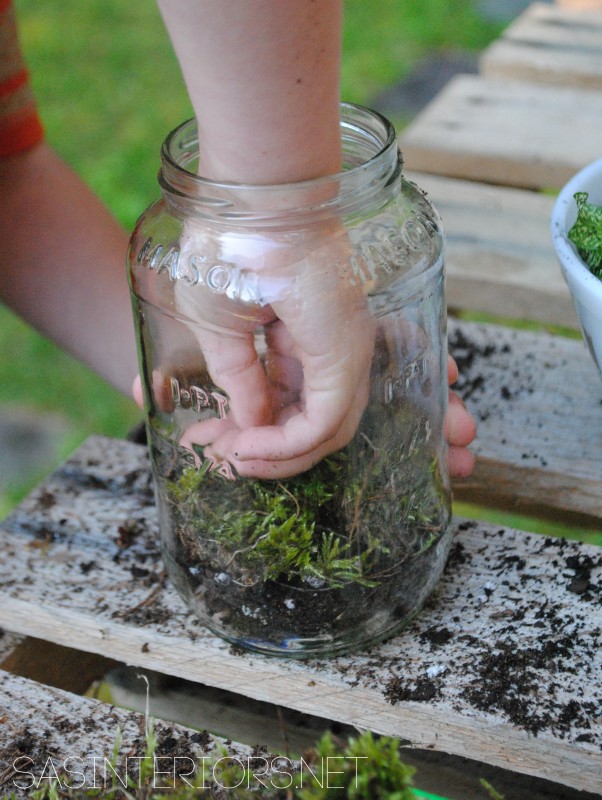
4. My little guy snuggled the roots into the soil.

#DIY: Mason Jar Terrarium tutorial by @Jenna_Burger, www.jennaburger.com

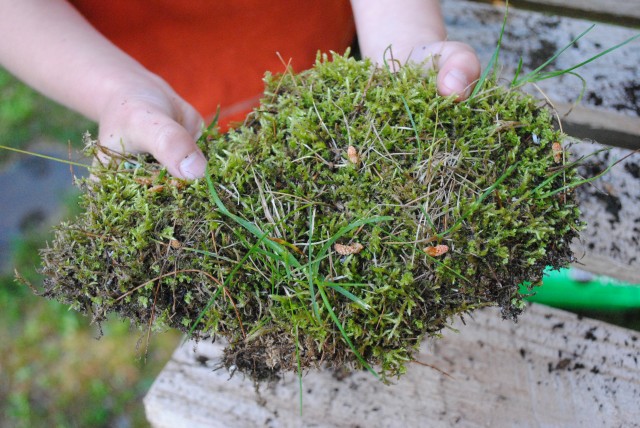
5. Add a layer of moss (which we got from our backyard)

#DIY: Mason Jar Terrarium tutorial by @Jenna_Burger, www.jennaburger.com

#DIY: Mason Jar Terrarium tutorial by @Jenna_Burger, www.jennaburger.com

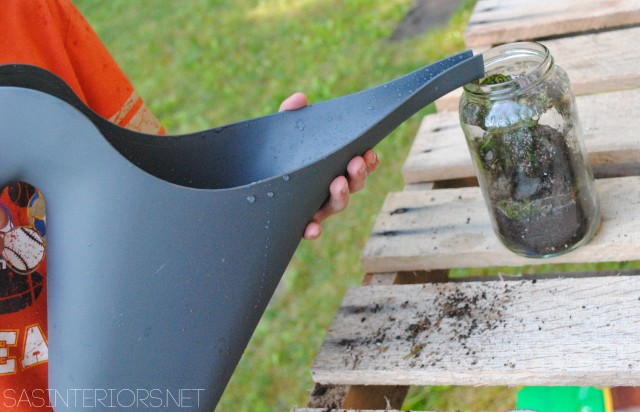
6. And finished it off with some water.

#DIY: Mason Jar Terrarium tutorial by @Jenna_Burger, www.jennaburger.com

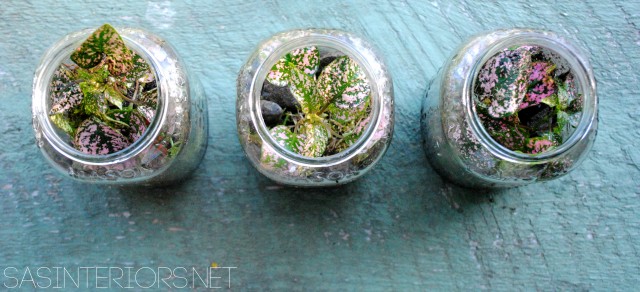
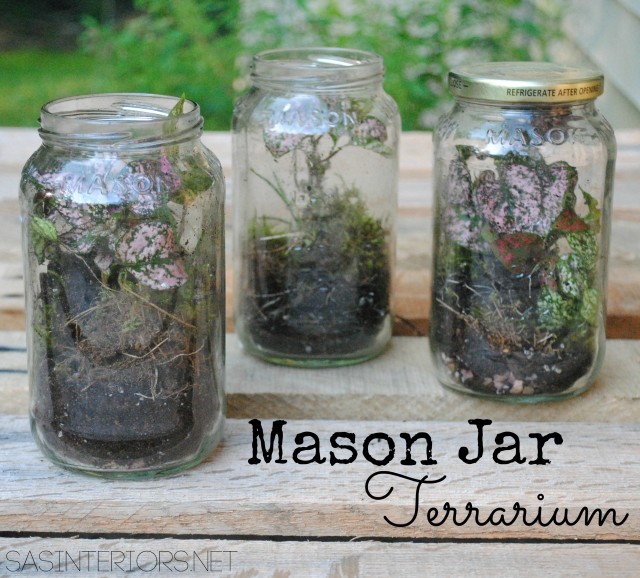
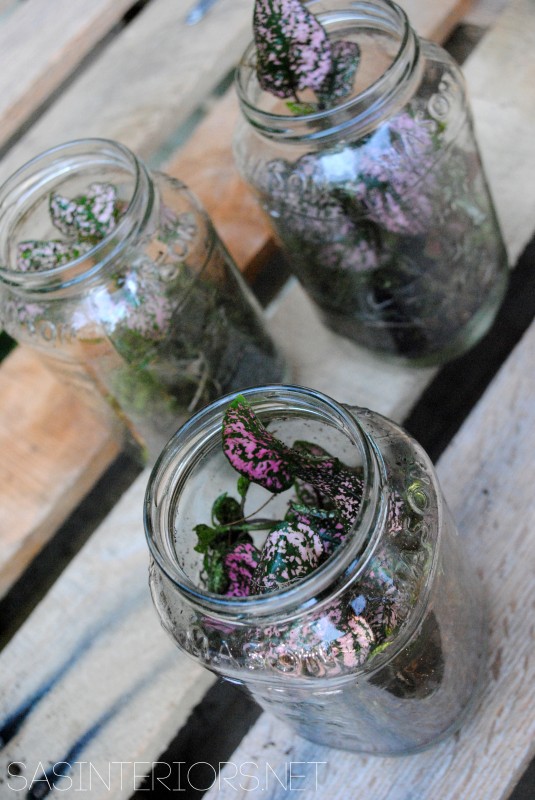
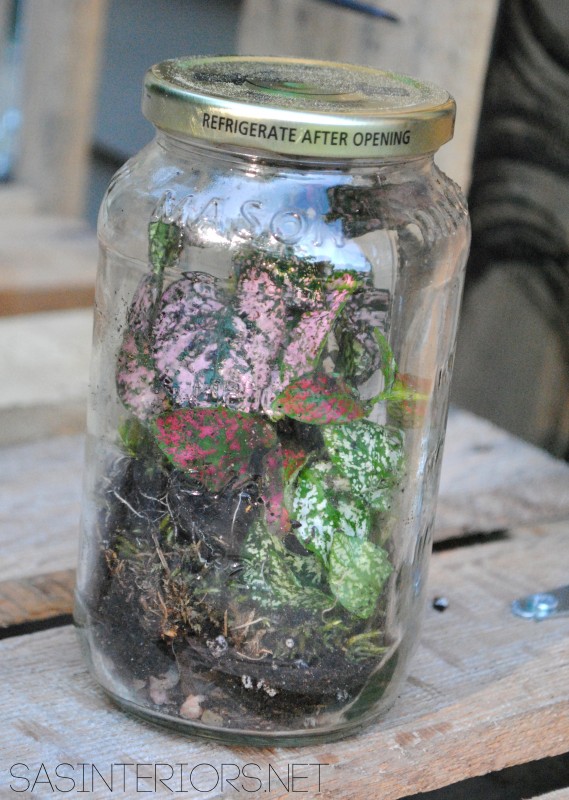
The result?  A beautiful and easy-to-make, easy-to-maintain plant project to enjoy in the Summer or all year round.

#DIY: Mason Jar Terrarium tutorial by @Jenna_Burger, www.jennaburger.com

#DIY: Mason Jar Terrarium tutorial by @Jenna_Burger, www.jennaburger.com

#DIY: Mason Jar Terrarium tutorial by @Jenna_Burger, www.jennaburger.com

If you want to keep the Mason Jar Terrarium contained (less water will be needed), then use the cap from the glass jar.  This is from a used tomato sauce jar…

#DIY: Mason Jar Terrarium tutorial by @Jenna_Burger, www.jennaburger.com

So fun, right?! With the kids out of school and the chaos of Summer, the time I have to devote to the garden is very little.  Thankfully with Miracle-Gro’s new venture, The Gro Project, there is no more worry or need for gardening to be difficult.  The Gro-Project showcases fun garden projects, similar to what I created, that are easy, manageable, and that even a gal like me can tackle!

Happy Summer with a plethora of fun AND easy outdoor gardening projects!


An Easy Upgrade for a Small Space

Large mudrooms with a plethora of storage and plenty of seating are desired by most, but not a reality for many (myself included).  When I was in need of more storage in my small entryway, I decided to take advantage of the 30″ wide wall behind the front door to create more space for coats and our everyday wares.

When we first moved into our home, I had made the front closet a dual pantry / coat closet, which provided more shelf storage but cut the coat space (especially during the winter months) in half.  And even with the addition of my updated “vintage” cabinet, which holds most of the kids shoes, it just wasn’t enough.

As a growing family, we needed more space for coats, backpacks, and the every day “stuff”, so using the wall behind the entry door was the ideal spot for adding built-in coat hooks and wooden crates.

Easy Entry Upgrade with DIY built-in coat hooks and wooden crates via @Jenna_Burger, www.jennaburger.com

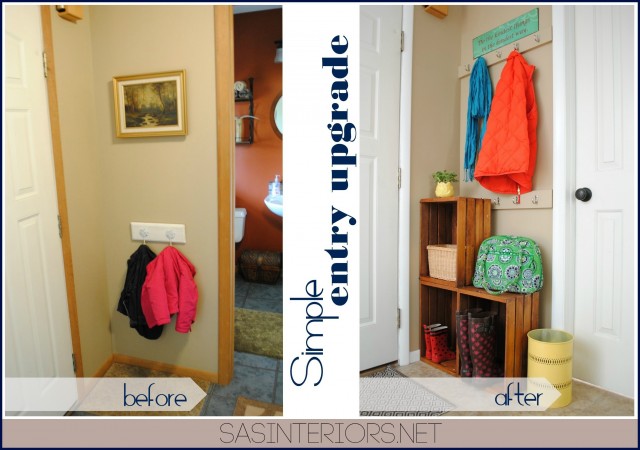
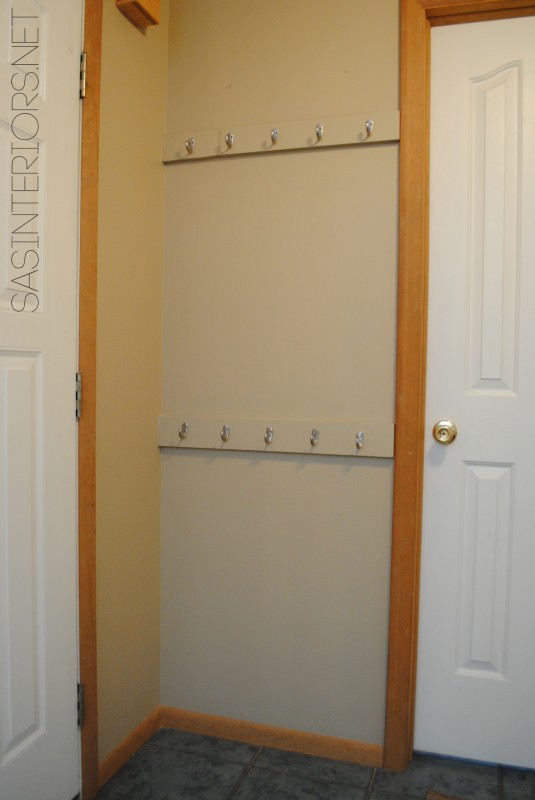
Before adding the built-in coat hooks, I had hung a decorative coat hanger for the kids coats. With only two hooks, it just wasn’t enough.  There was so much potential for this 30″ wide wall…

This is the wall before (and another peak at the ‘after’)…

Easy Entry Upgrade with DIY built-in coat hooks and wooden crates via @Jenna_Burger, www.jennaburger.com

The supplies I used for this project were:

  • MDF (medium density fiberboard) Board(s) cut to fit the alloted space
  • Drillable Anchors (if you can’t find a stud)
  • 1-1/2″ Wood Screws
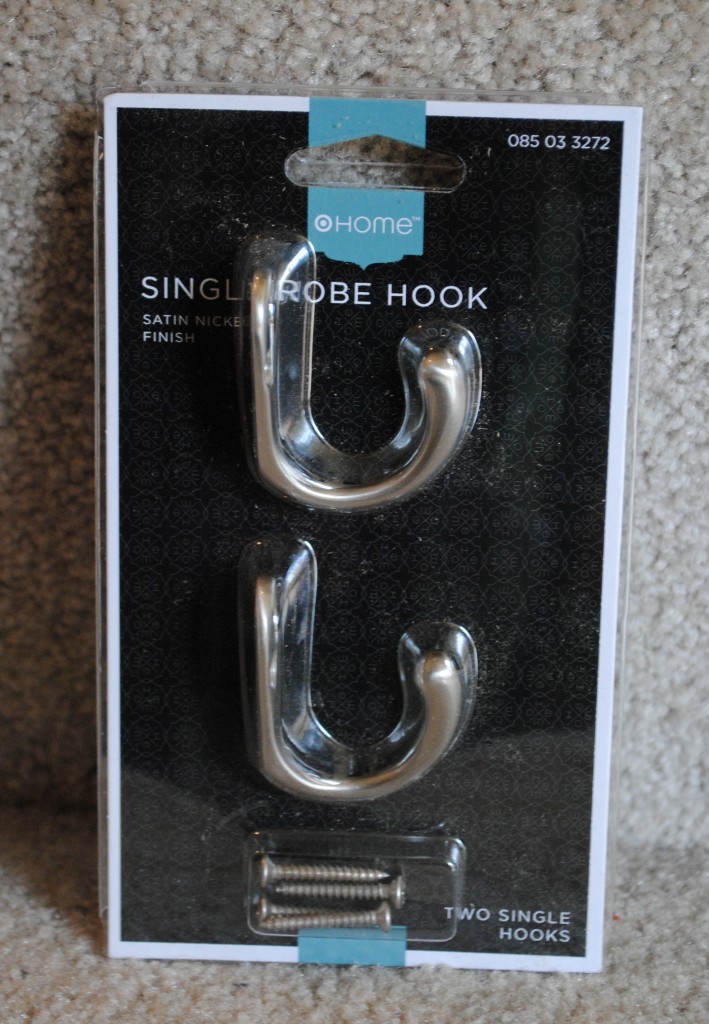
  • Decorative Coat Hooks
  • Liquid Nails or Wood Glue
  • Drill and/or Screwdriver
  • Wood Putty / Filler

Duration of Project: 4 hours (1-2 days because of drying time for paint)
Project Difficulty: Easy to Medium
How Many People Needed: 1

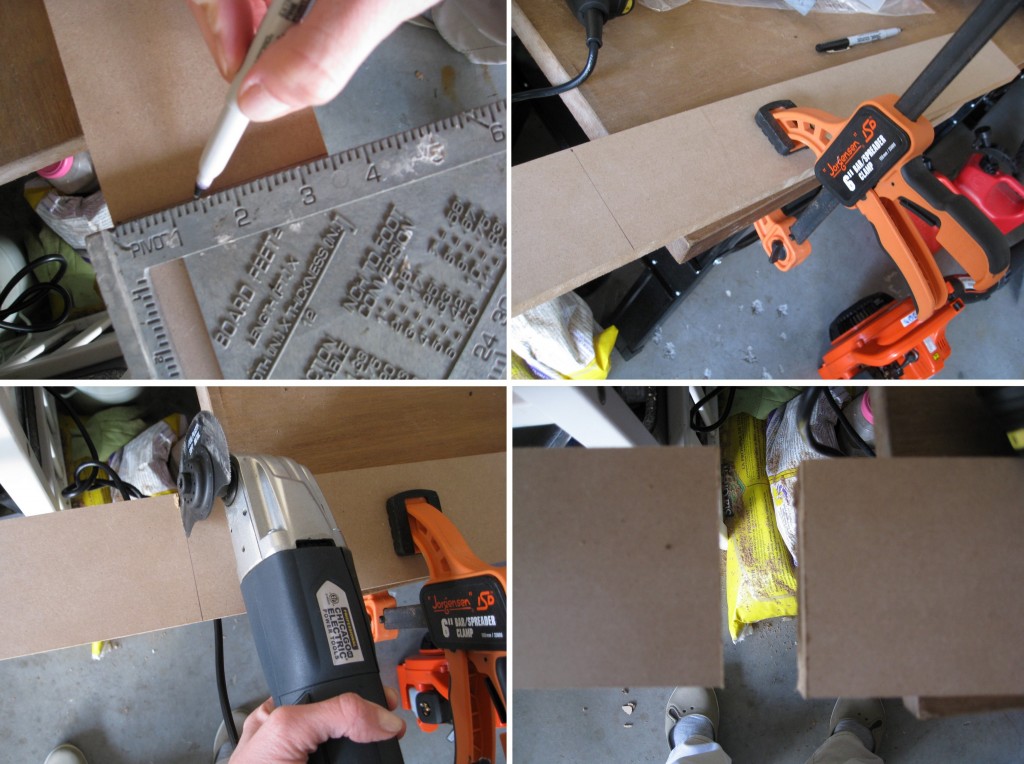
To get started, I cut (2) MDF boards to size to fit the wall.  I had a few pieces leftover from a previous project, which I trimmed to fit snug on the wall from the wall edge to the door moulding.  If you’re starting the project from scratch and purchasing the boards from a home improvement store, then bring the measurements of your wall to the store and they will custom cut your pieces – this will definitely save you time and a few headaches!

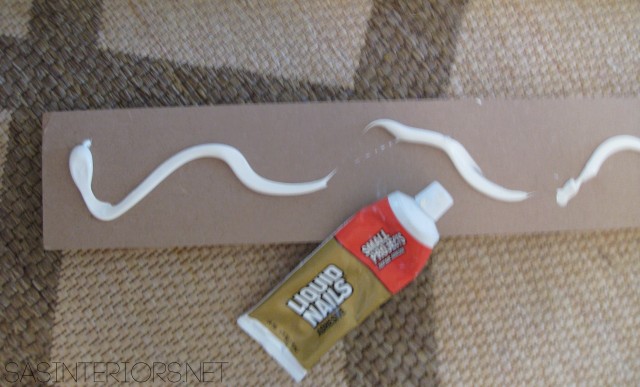
Once I had the MDF boards cut, it was time to attach them to the wall.  My plan of action??  Determine the placement of the boards.  Add liquid nails to the back of each board to hold it in place, then…

Easy Entry Upgrade with DIY built-in coat hooks and wooden crates via @Jenna_Burger, www.jennaburger.comfuzzy pic – not so pretty, sorry.  You get the picture though

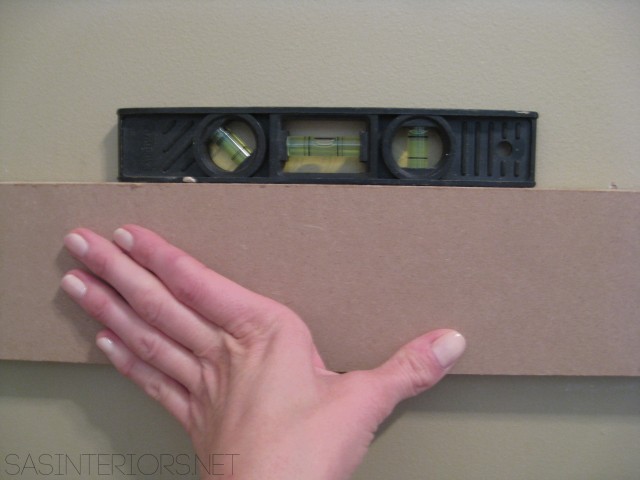
…making sure they were level and plumb, I was ready to…

Easy Entry Upgrade with DIY built-in coat hooks and wooden crates via @Jenna_Burger, www.jennaburger.com

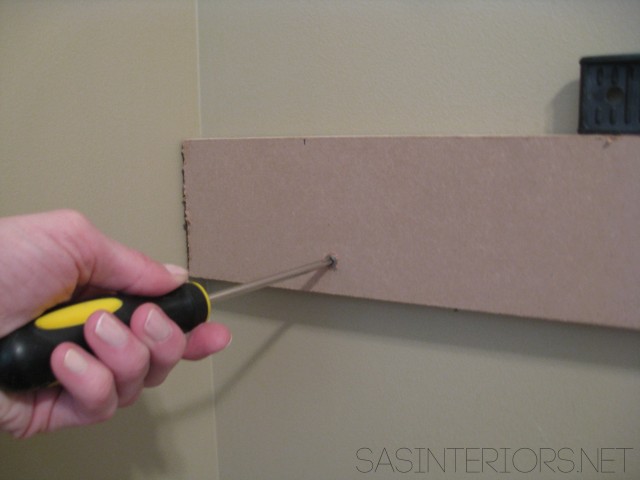
…DRILL!  Once the placement of the boards was determined, I found the locations of the studs and drilled 4 holes through the board into the wall.  If you can’t find a stud, then use anchors so the boards are securely attached.

Easy Entry Upgrade with DIY built-in coat hooks and wooden crates via @Jenna_Burger, www.jennaburger.comI didn’t mention this earlier, but I installed 2 boards at different heights – One board was set lower for the kids coats and one board was set higher for the adult coats.

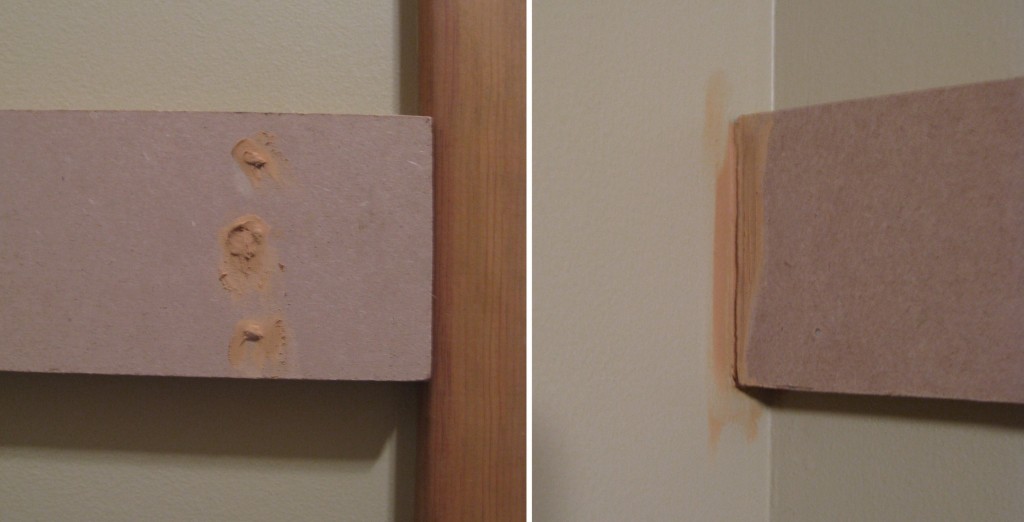
Once both boards were in place, I wanted to achieve a seamless look at the edges where the board meets the wall, so I used wood filled to fill in the gaps and holes.

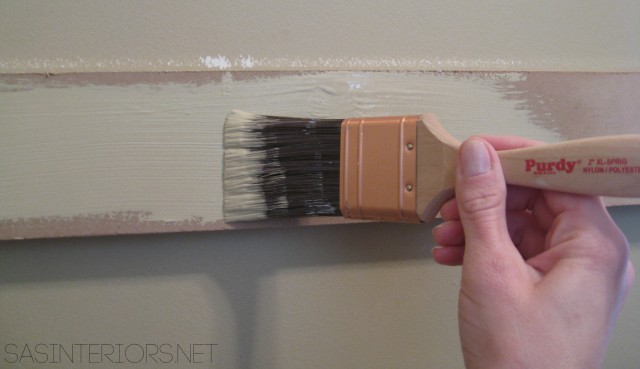
Then it was time to paint the boards.  This step was probably the hardest because as much as I wanted to make this a fun and funky spot, I also didn’t want to draw any more attention than needed.  After much thought, I decided to simply paint the boards the same color as the existing wall, so it would  blend in, but also provide the function that our family needed.

Easy Entry Upgrade with DIY built-in coat hooks and wooden crates via @Jenna_Burger, www.jennaburger.com

To add the finishing and most important touches, I completed my built-in coat rack with hooks.

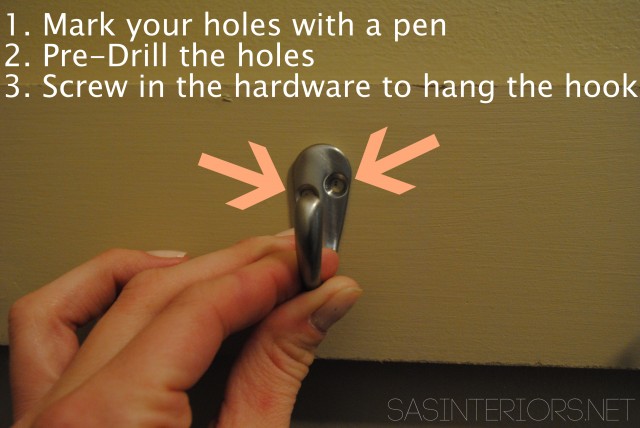
Installing the hooks was real easy!

Easy Entry Upgrade with DIY built-in coat hooks and wooden crates via @Jenna_Burger, www.jennaburger.com

Easy Entry Upgrade with DIY built-in coat hooks and wooden crates via @Jenna_Burger, www.jennaburger.com

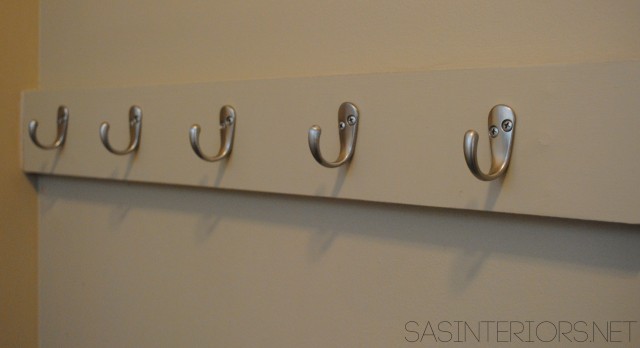
And my newly created coat hooks were complete!

Easy Entry Upgrade with DIY built-in coat hooks and wooden crates via @Jenna_Burger, www.jennaburger.com

Since this project was completed, the remainder of the space got a makeover too, including a new floor and freshly painted mouldings.

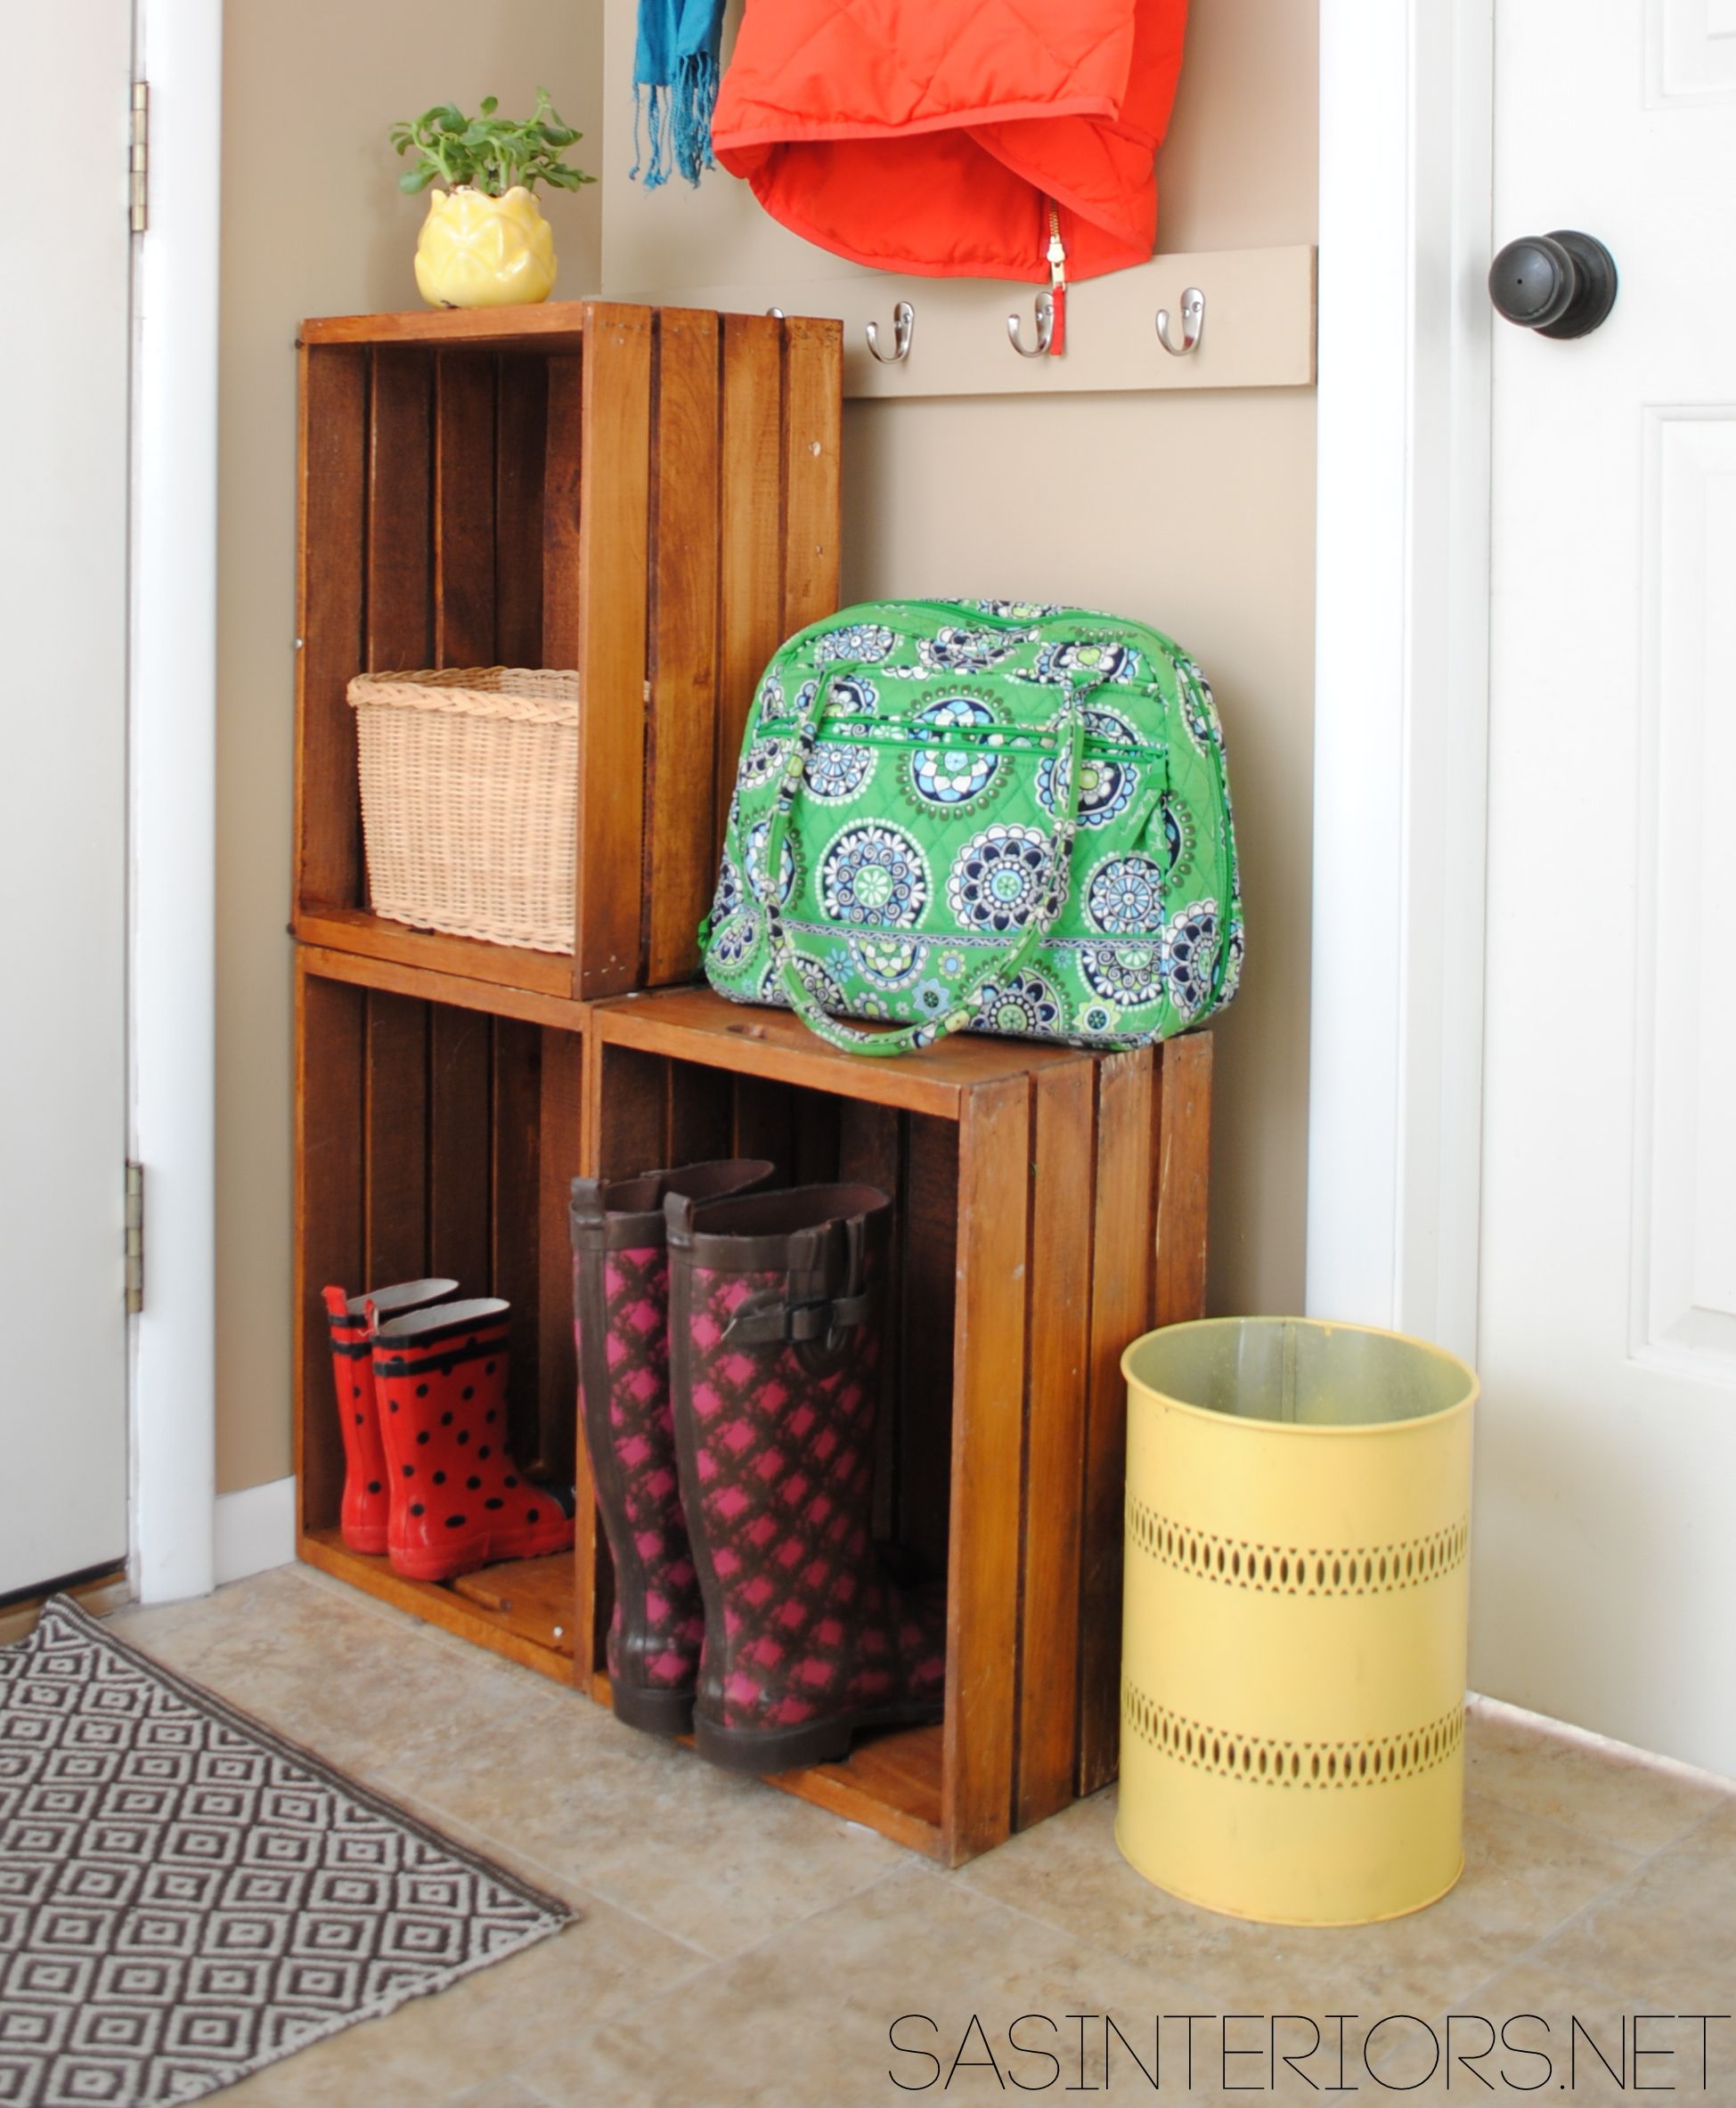
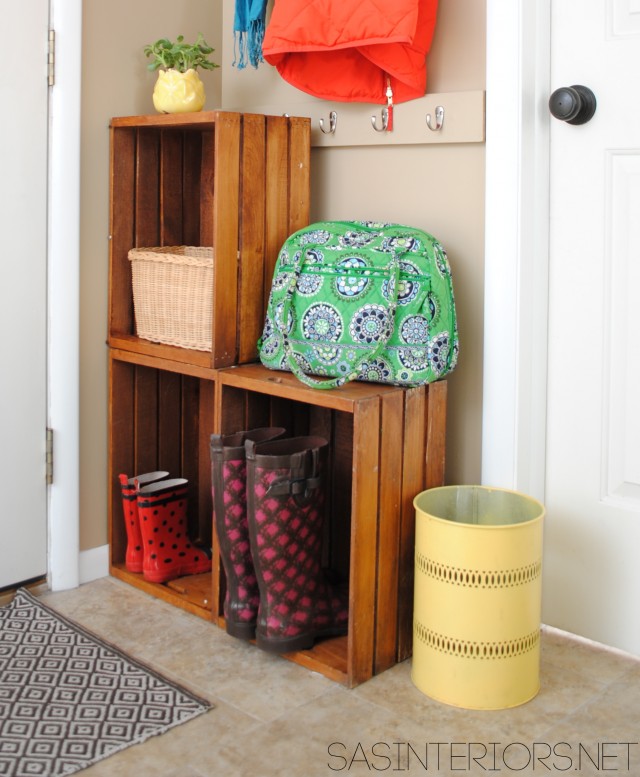
Once those DIY projects were complete, I wanted to make the space even more functional so I added wooden crates.  I purchased the already stained wood crates from a local thrift store, but I’ve seen similar unfinished styles at AC Moore and Micheals.

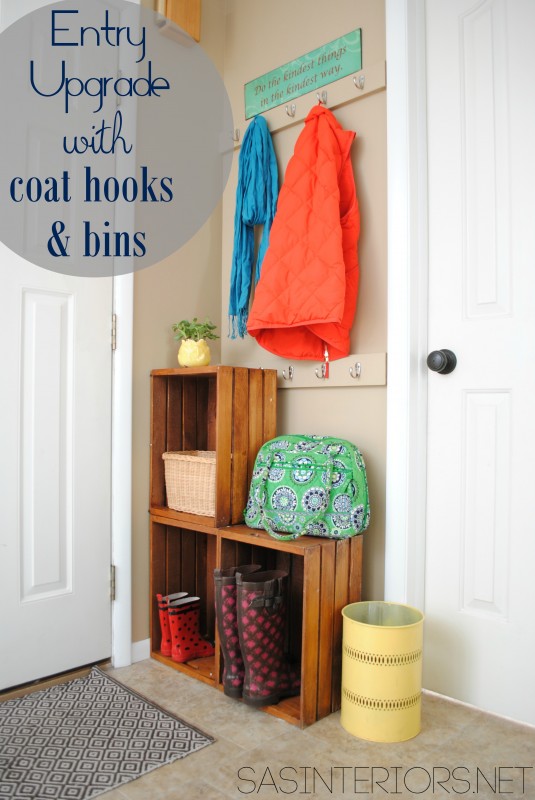
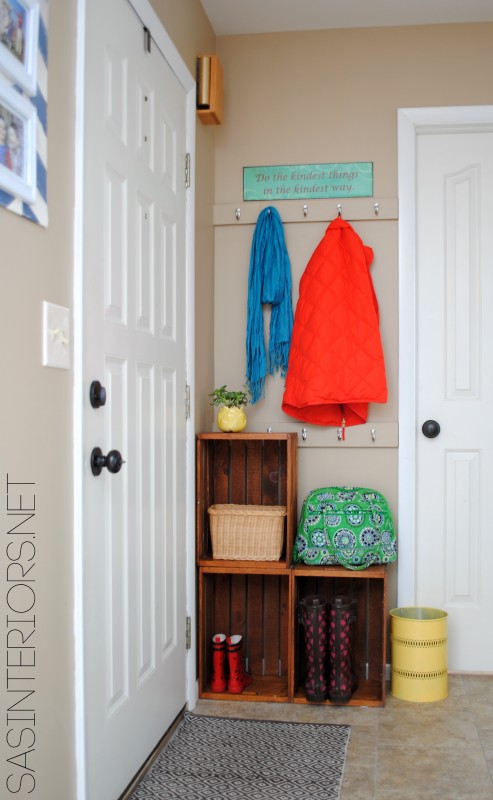
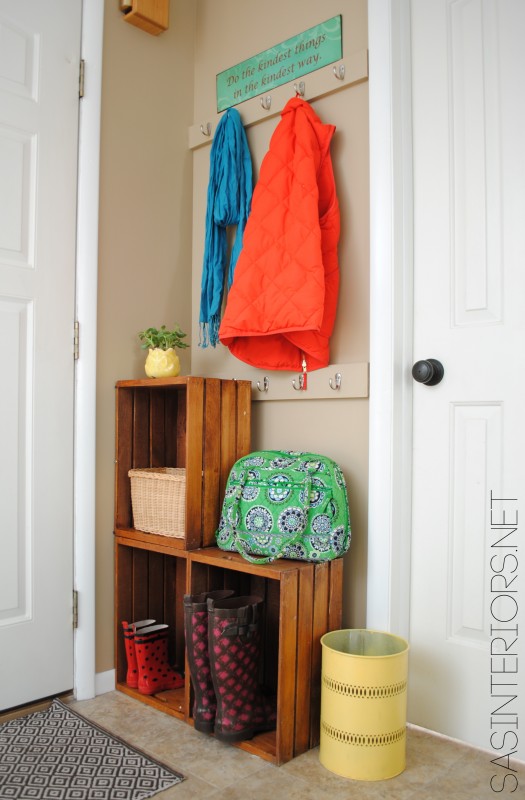
I stacked 2 wood crates in the corner and one to the right to create a stepped effect.  The crates are ideal for holding / storing bins, baskets, boots, bookbags, and last minute run-out-the-door essentials.

Easy Entry Upgrade with DIY built-in coat hooks and wooden crates via @Jenna_Burger, www.sasinteriors.net

What I love about the wooden crates is that they can be moved, rearranged, or simply taken away in no time.  But right now, they are the perfect addition for our newly well-functioning entry!

Easy Entry Upgrade with DIY built-in coat hooks and wooden crates via @Jenna_Burger, www.jennaburger.com

Even though it’s essentially a small space at 30″ wide, it’s SO USEFUL!

I also added this cute sign that I found at Hobby Lobby and thought it had such a darling saying, “Do the kindest things in the kindest ways”…  something we strive for everyday!

Easy Entry Upgrade with DIY built-in coat hooks and wooden crates via @Jenna_Burger, www.jennaburger.com

This spot has really been a great addition to our front entry.

Do you have a large mudroom?  If not, how have you maximized your front entry space?  Do you have any built-ins or do you have built-in coat hangers?