Fall Mantel with Feathers
My Fall mantel is complete and yes, it has feathers.
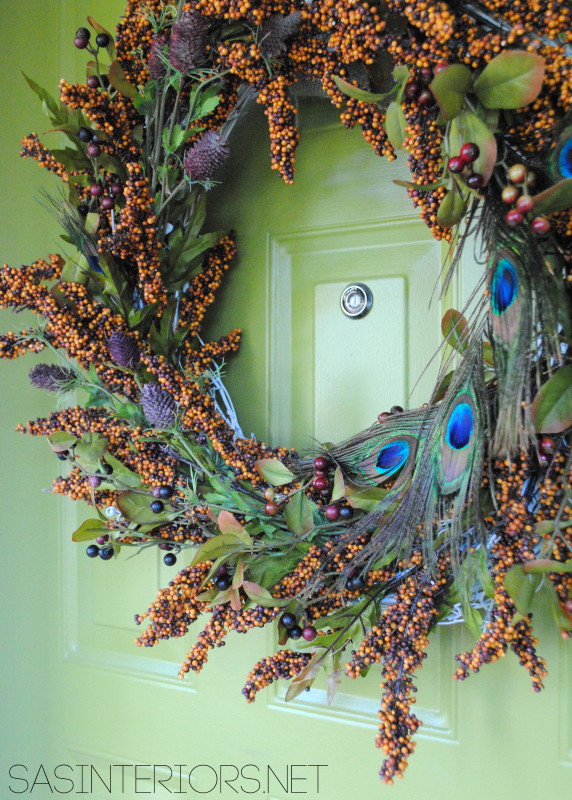
I’m into feathers this Fall.
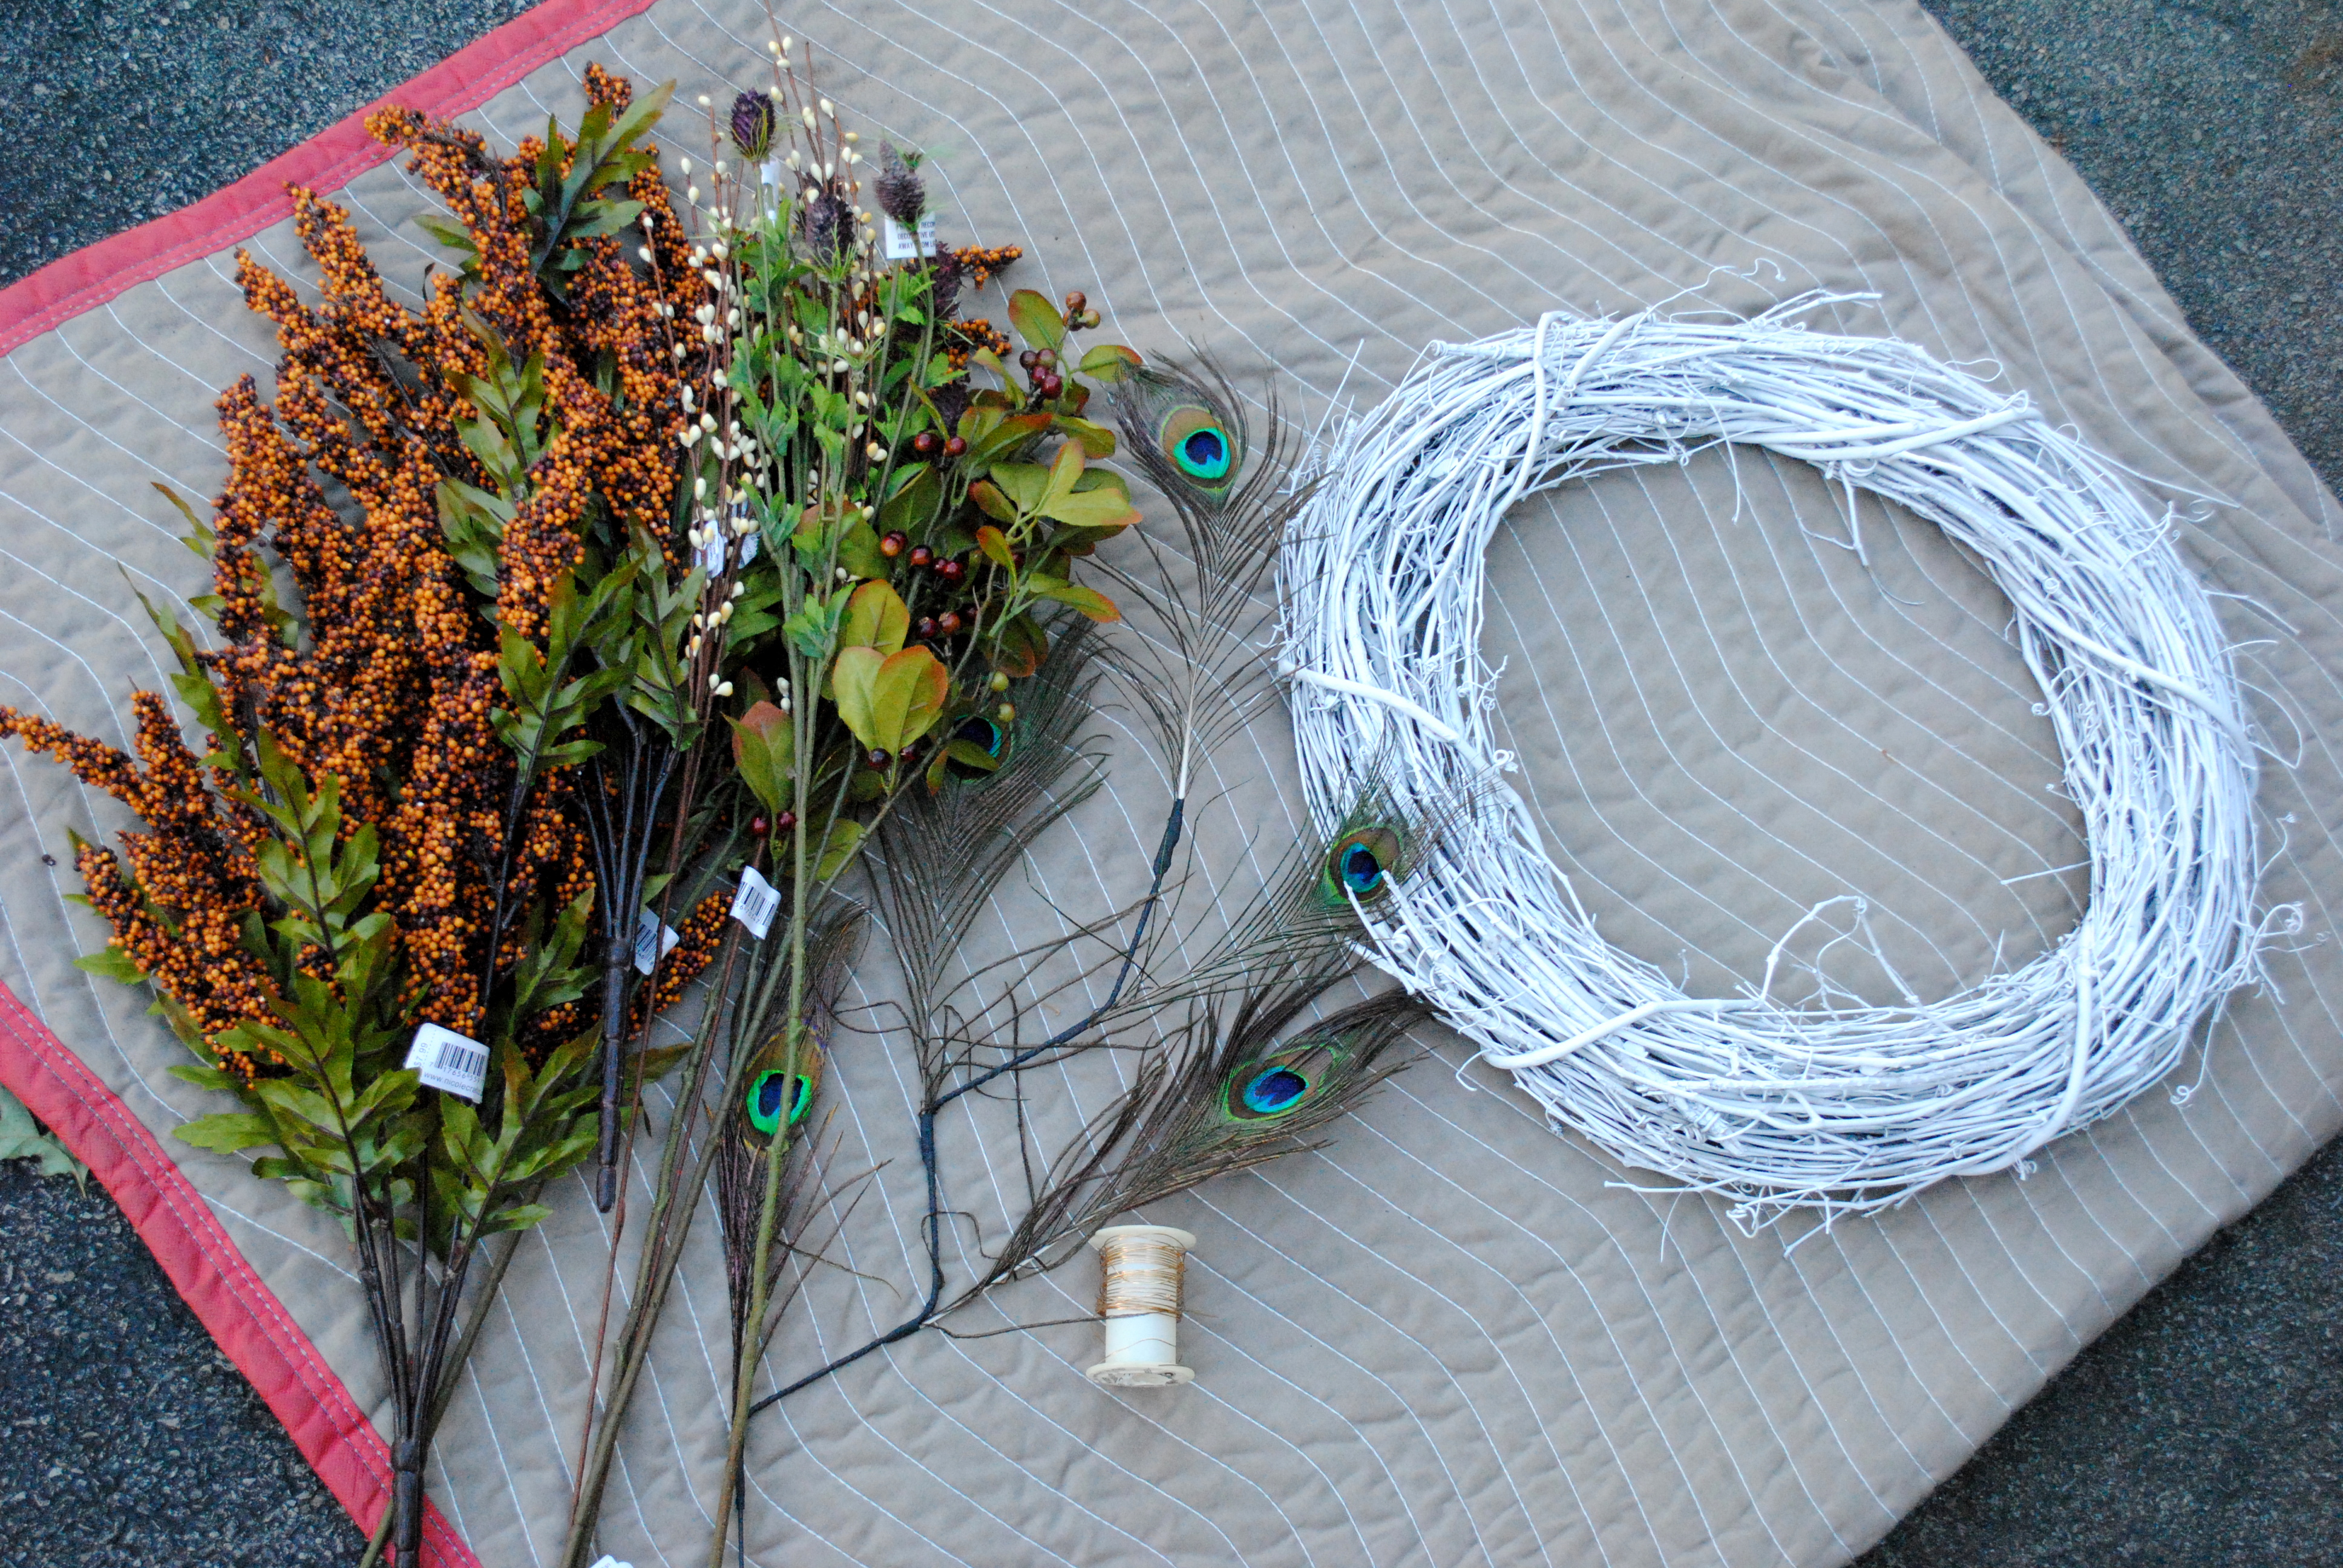
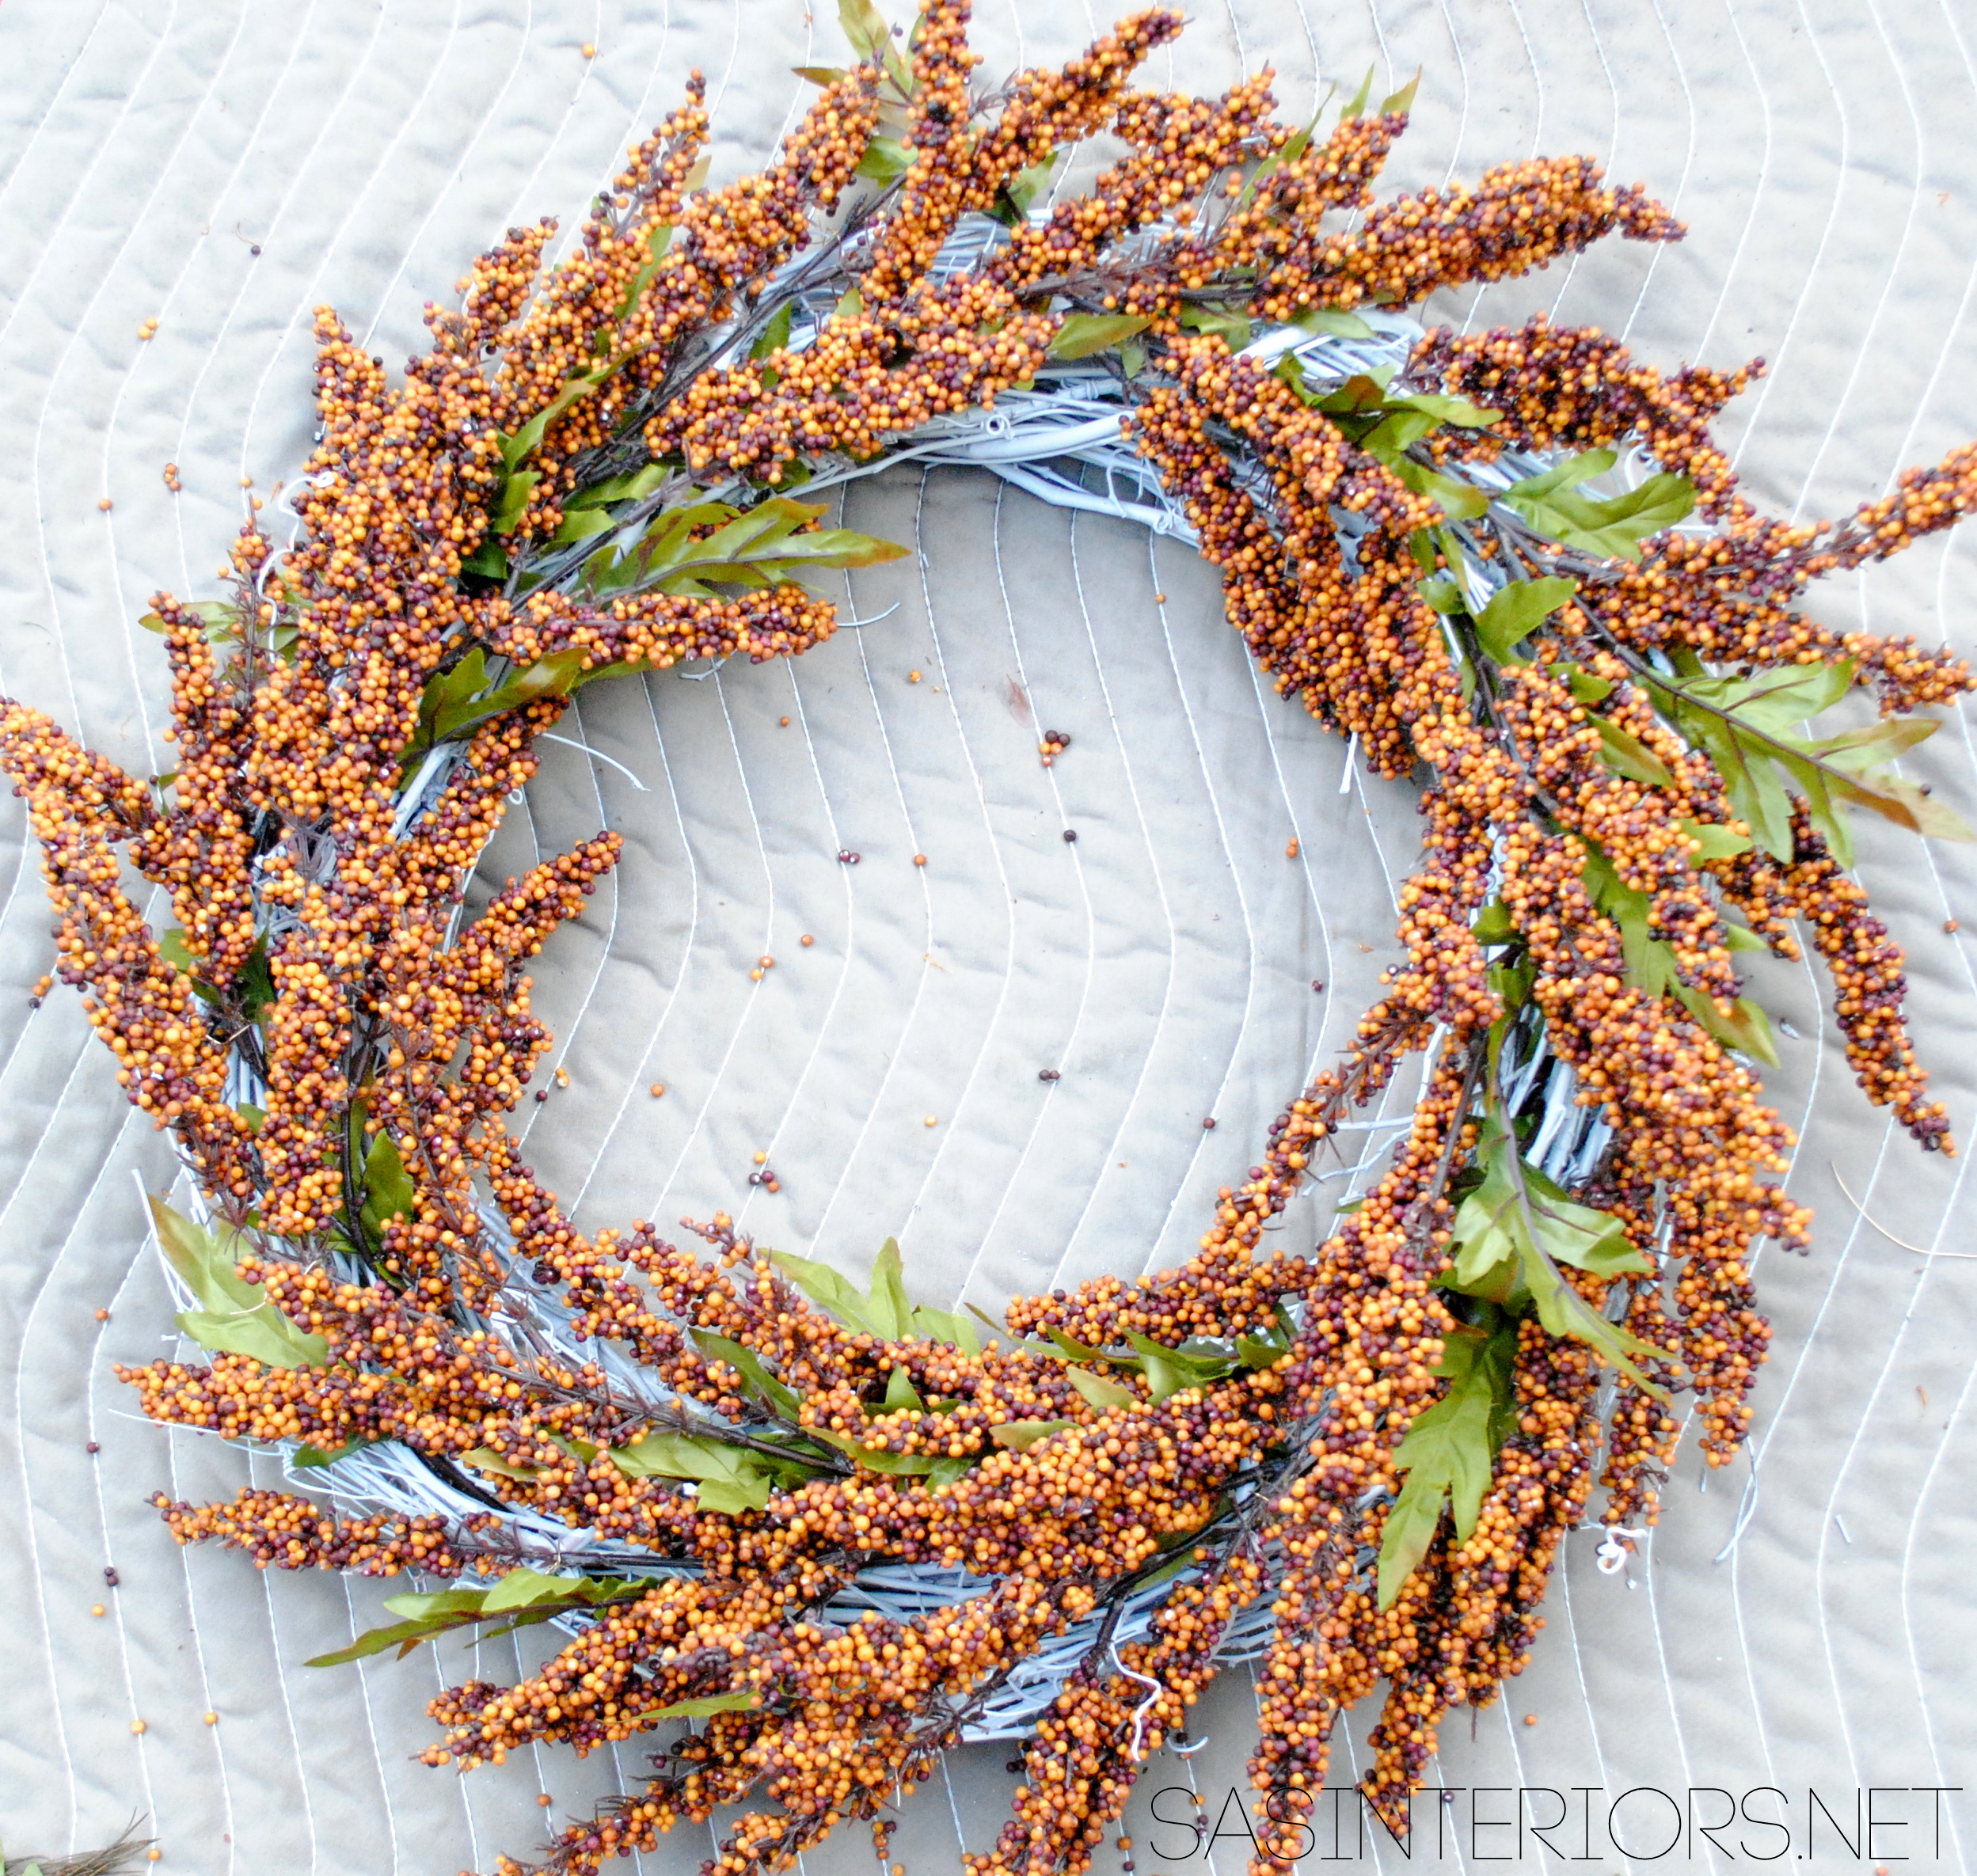
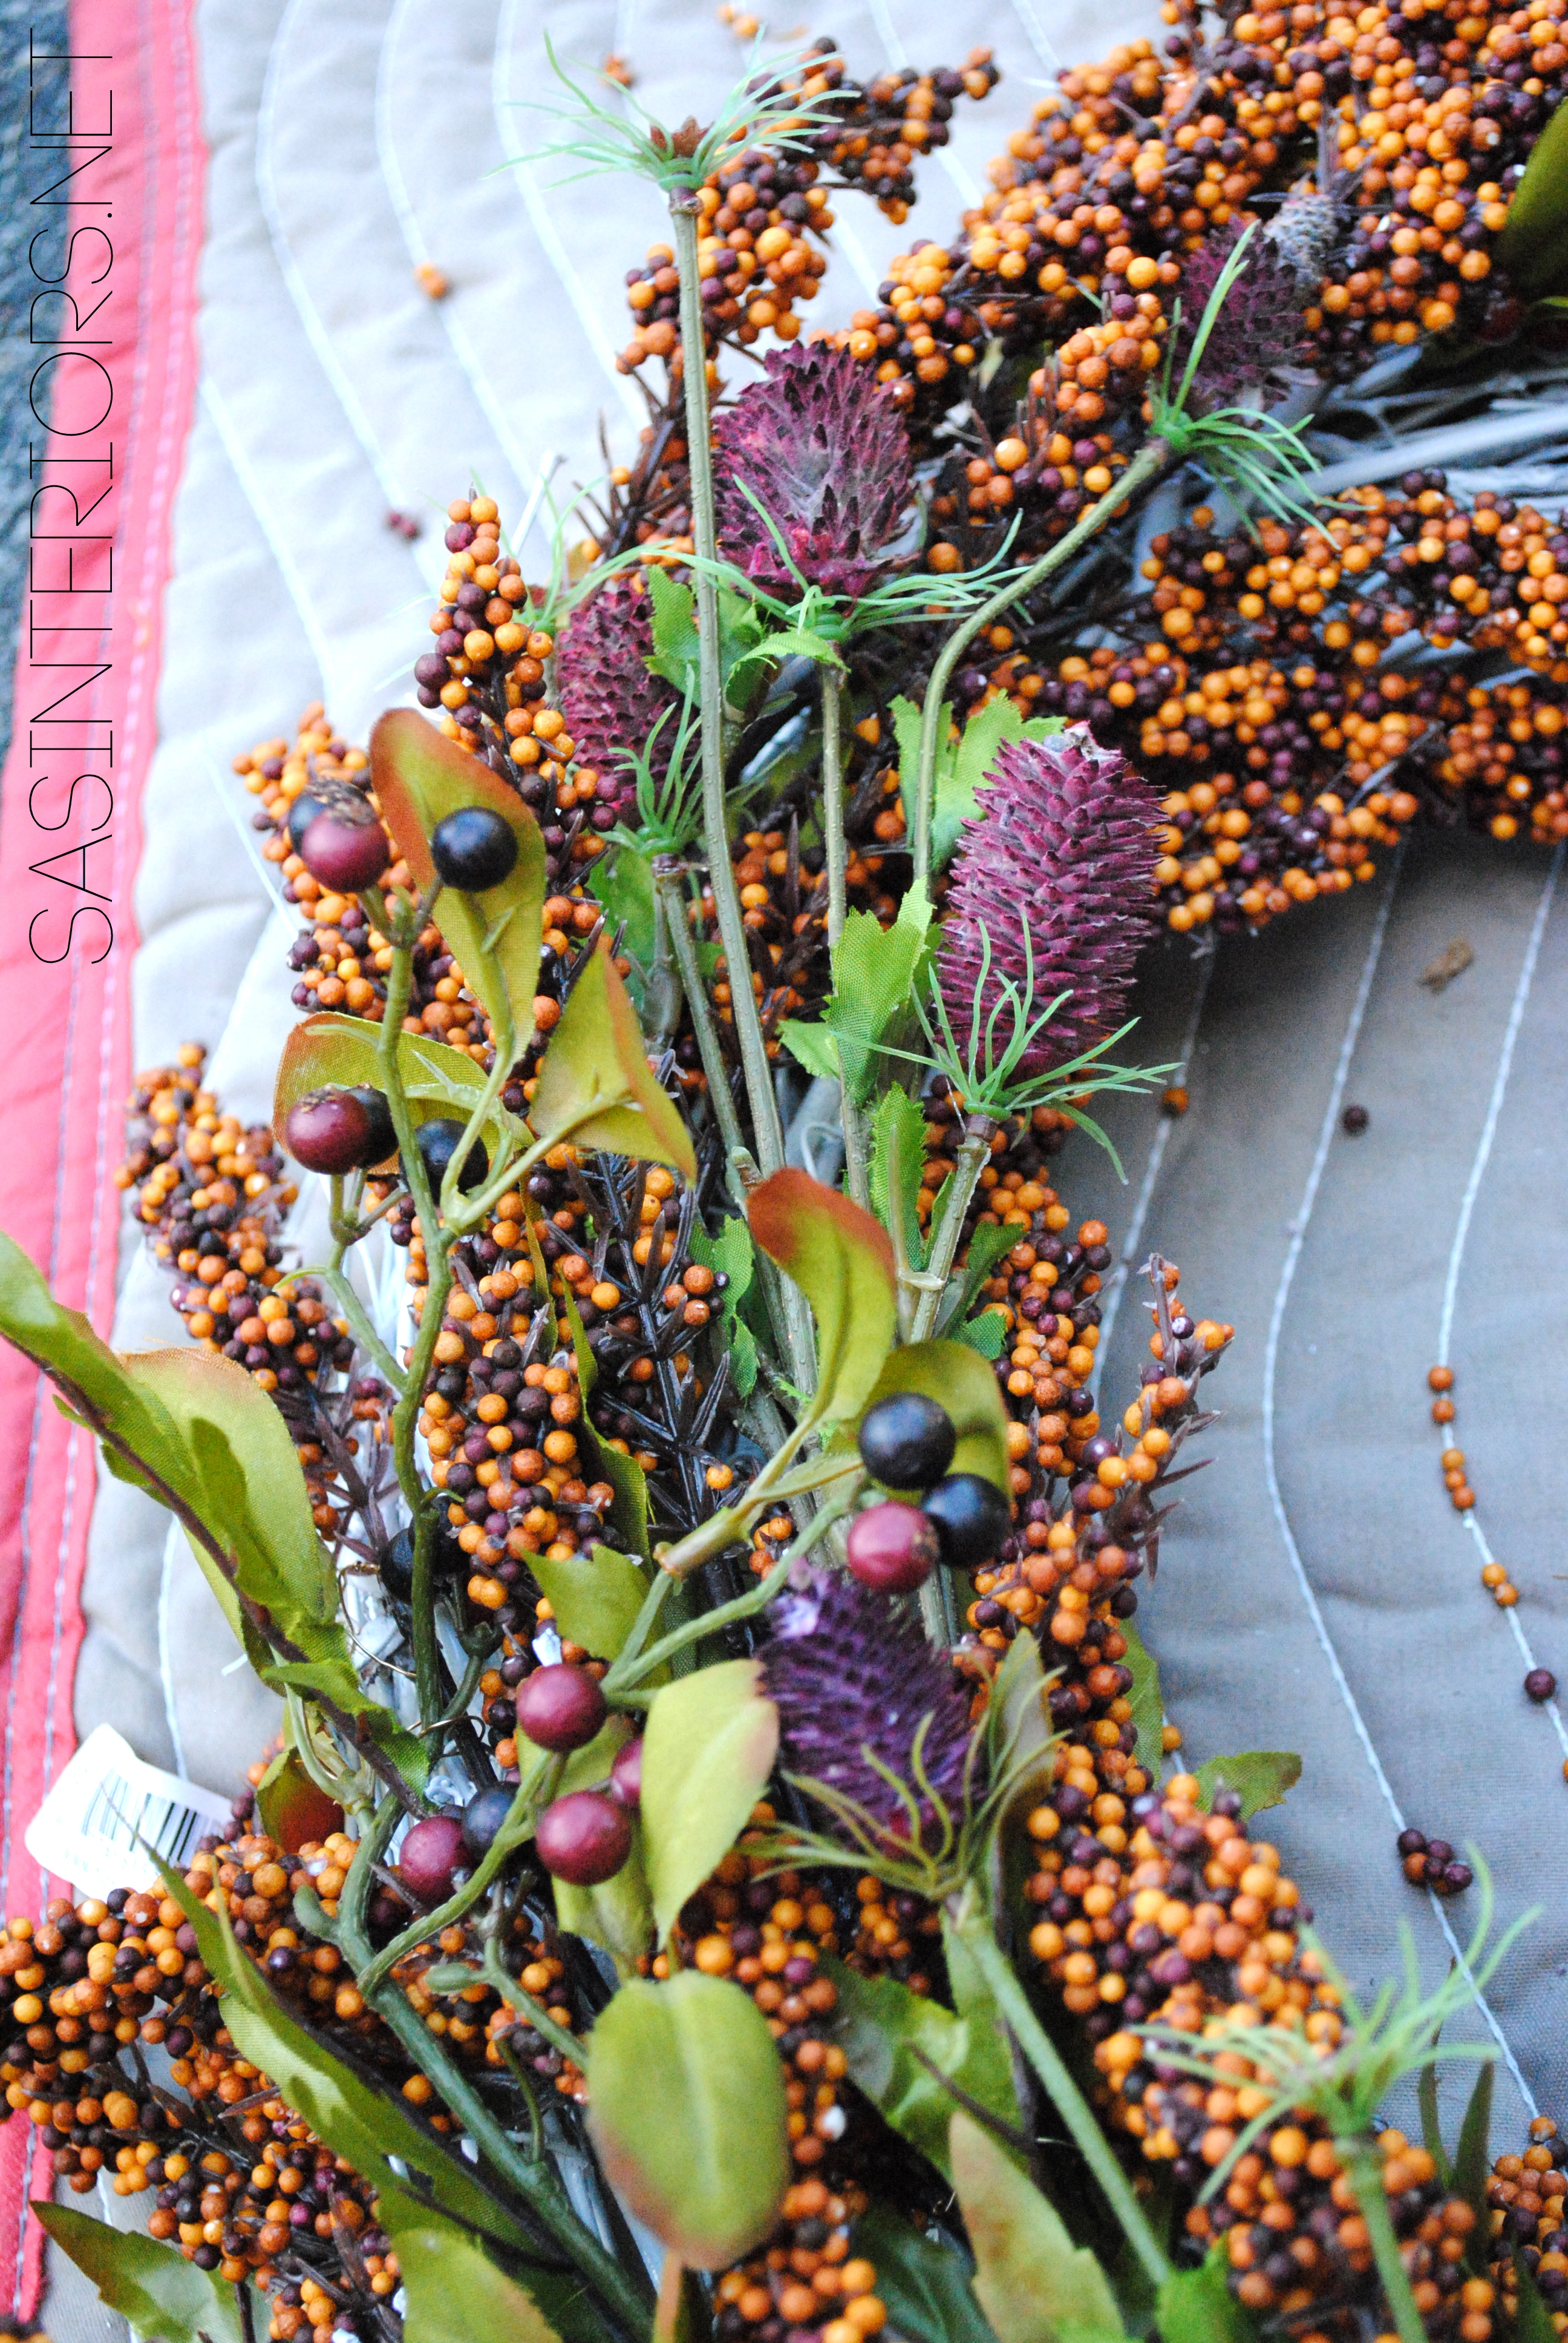
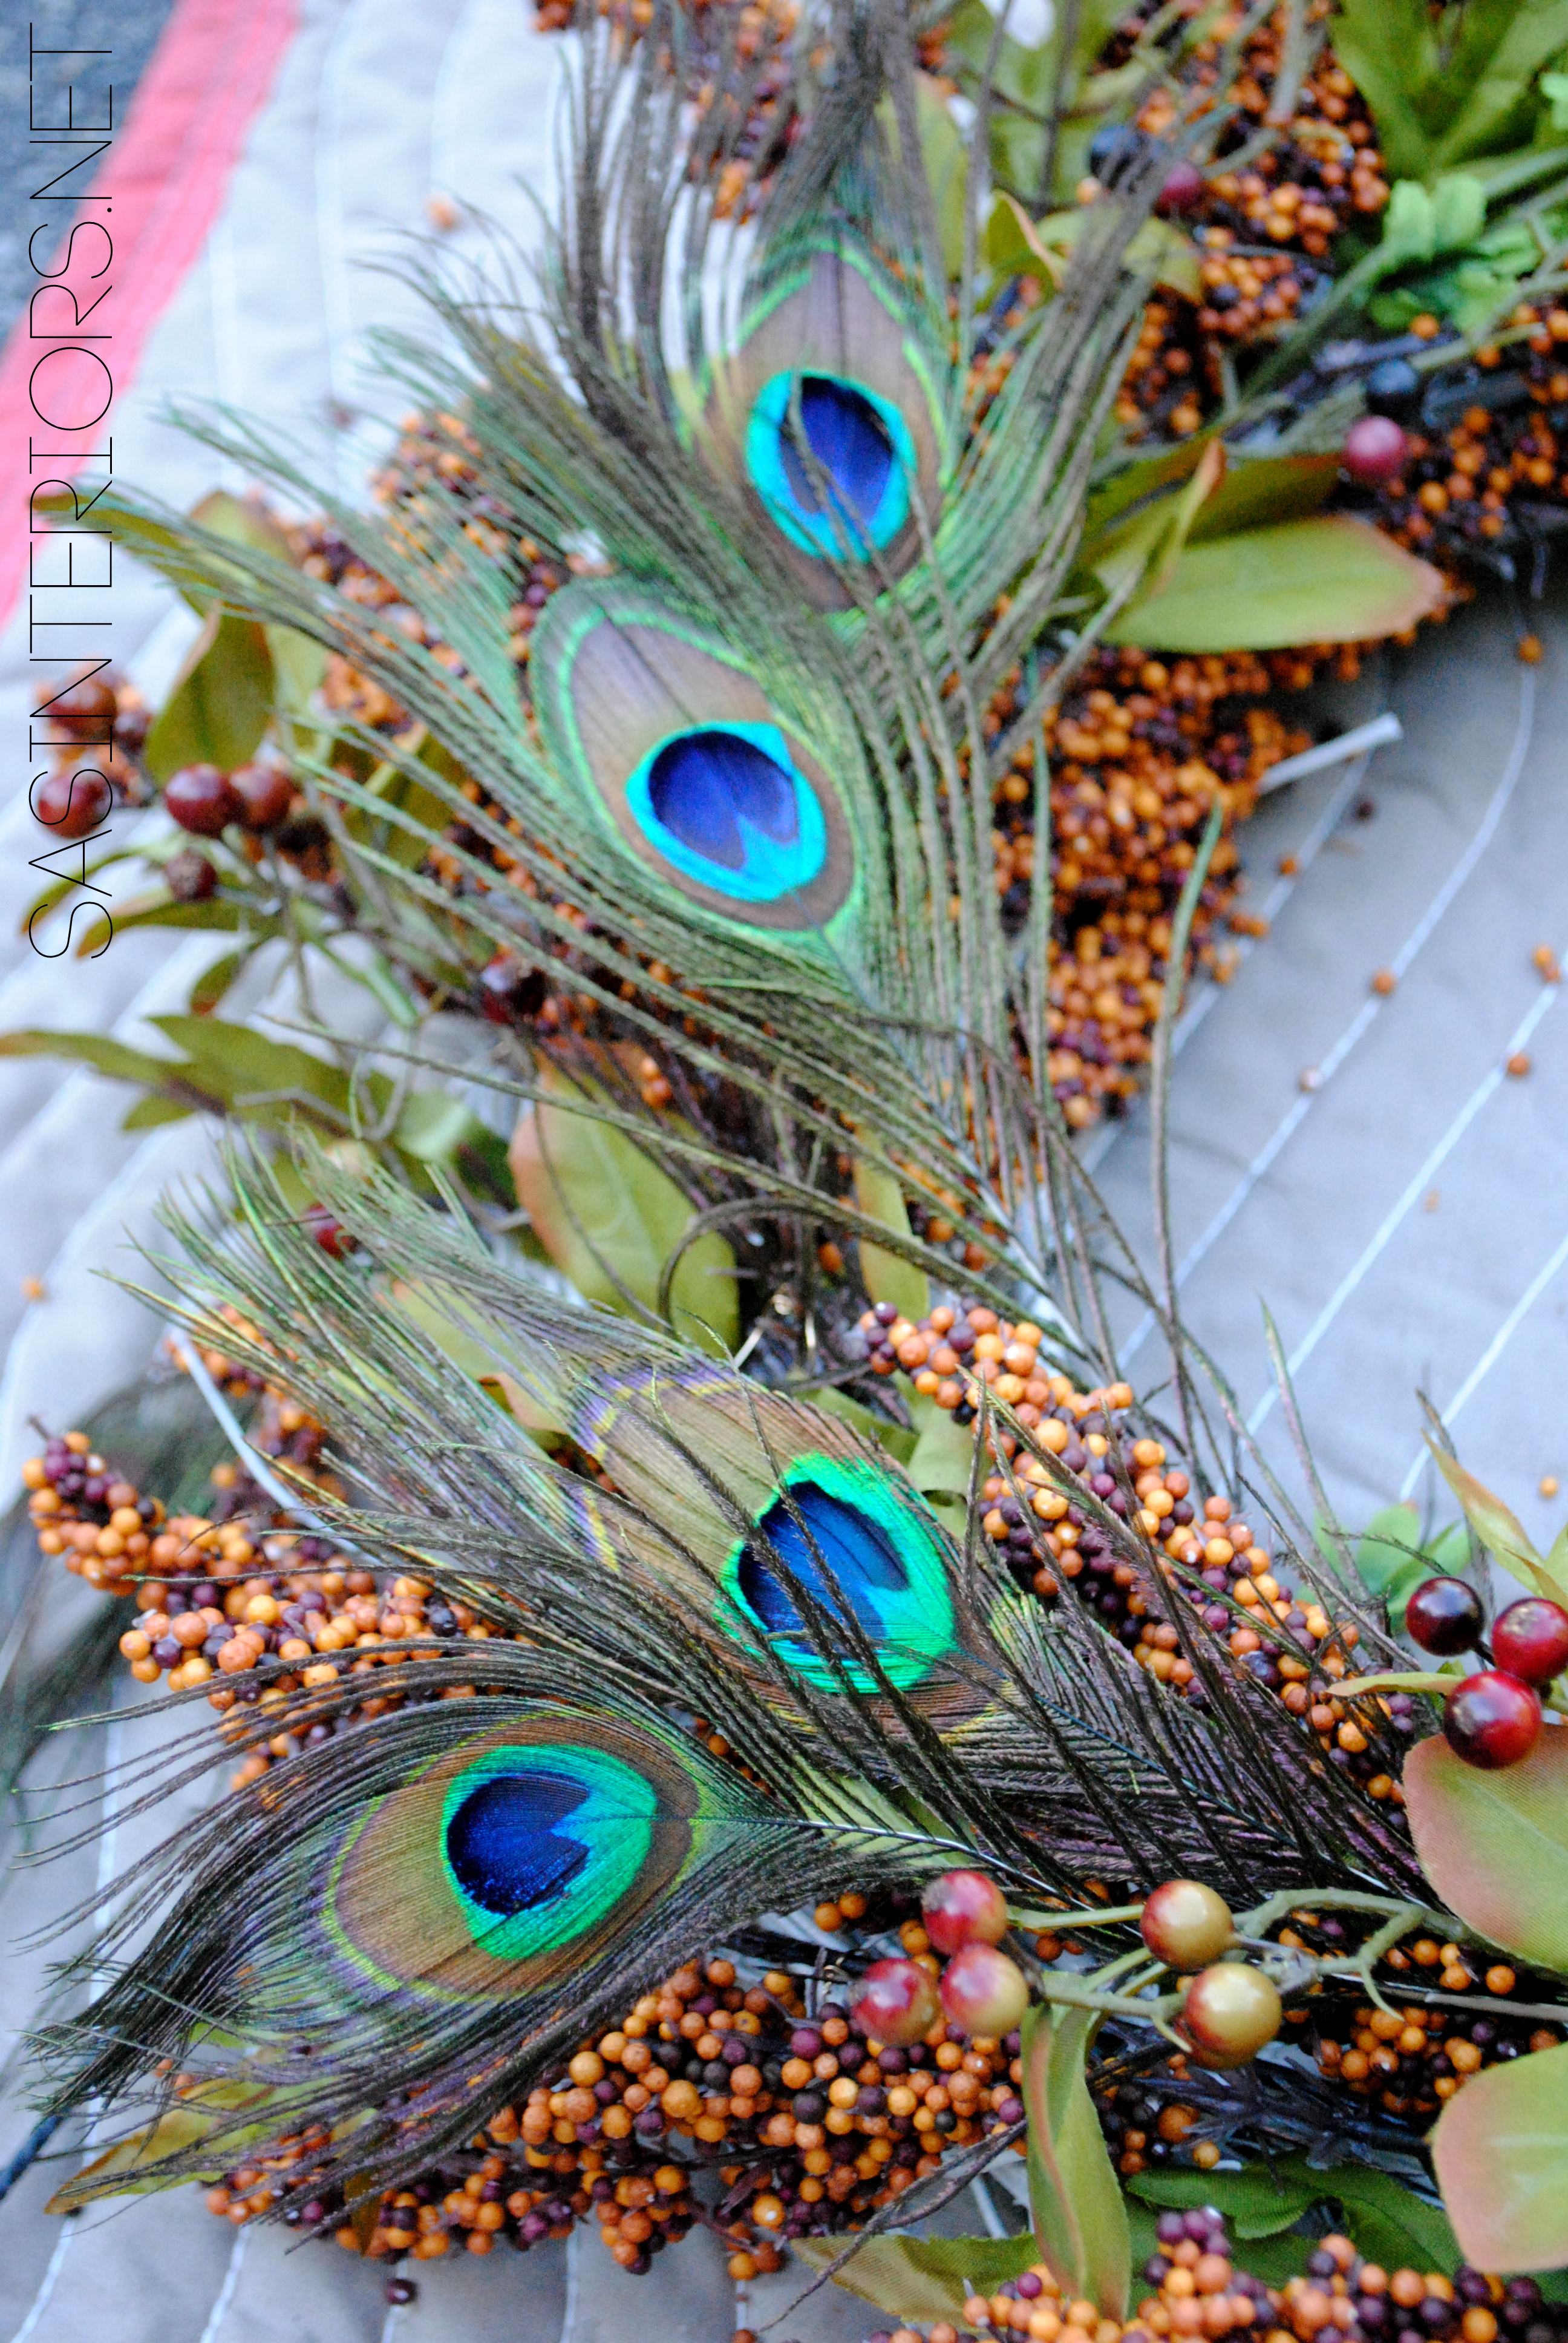
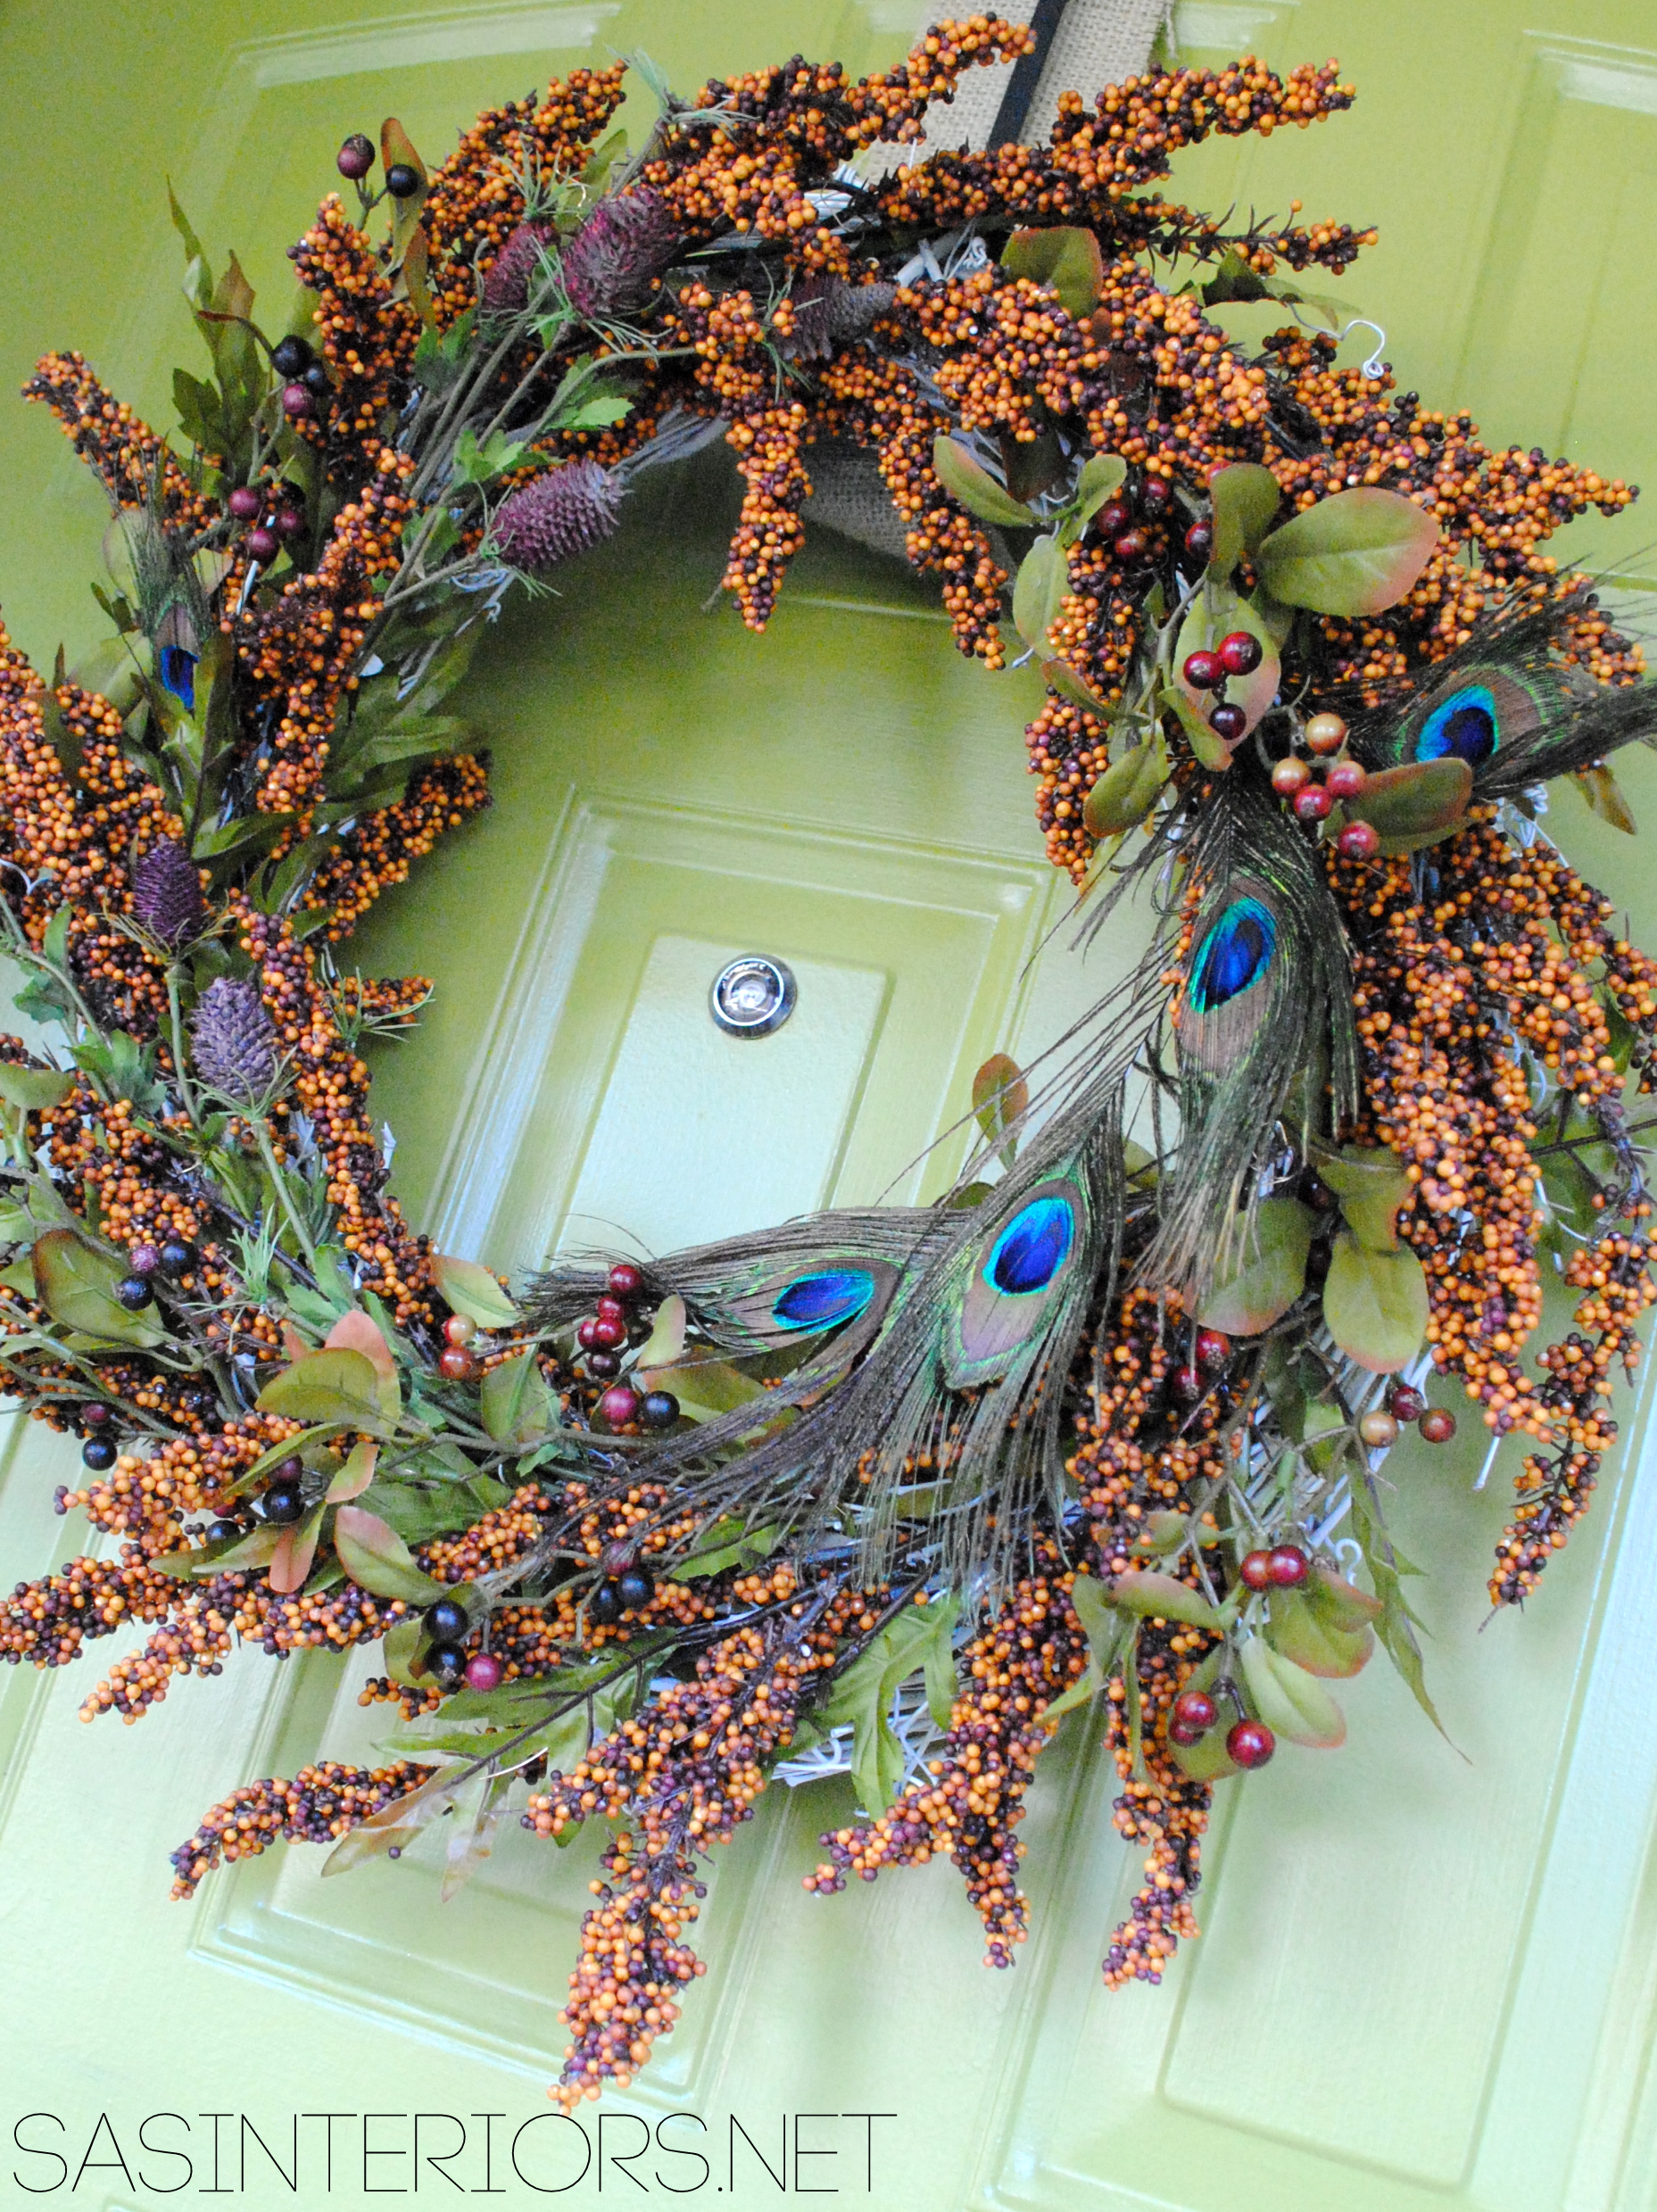
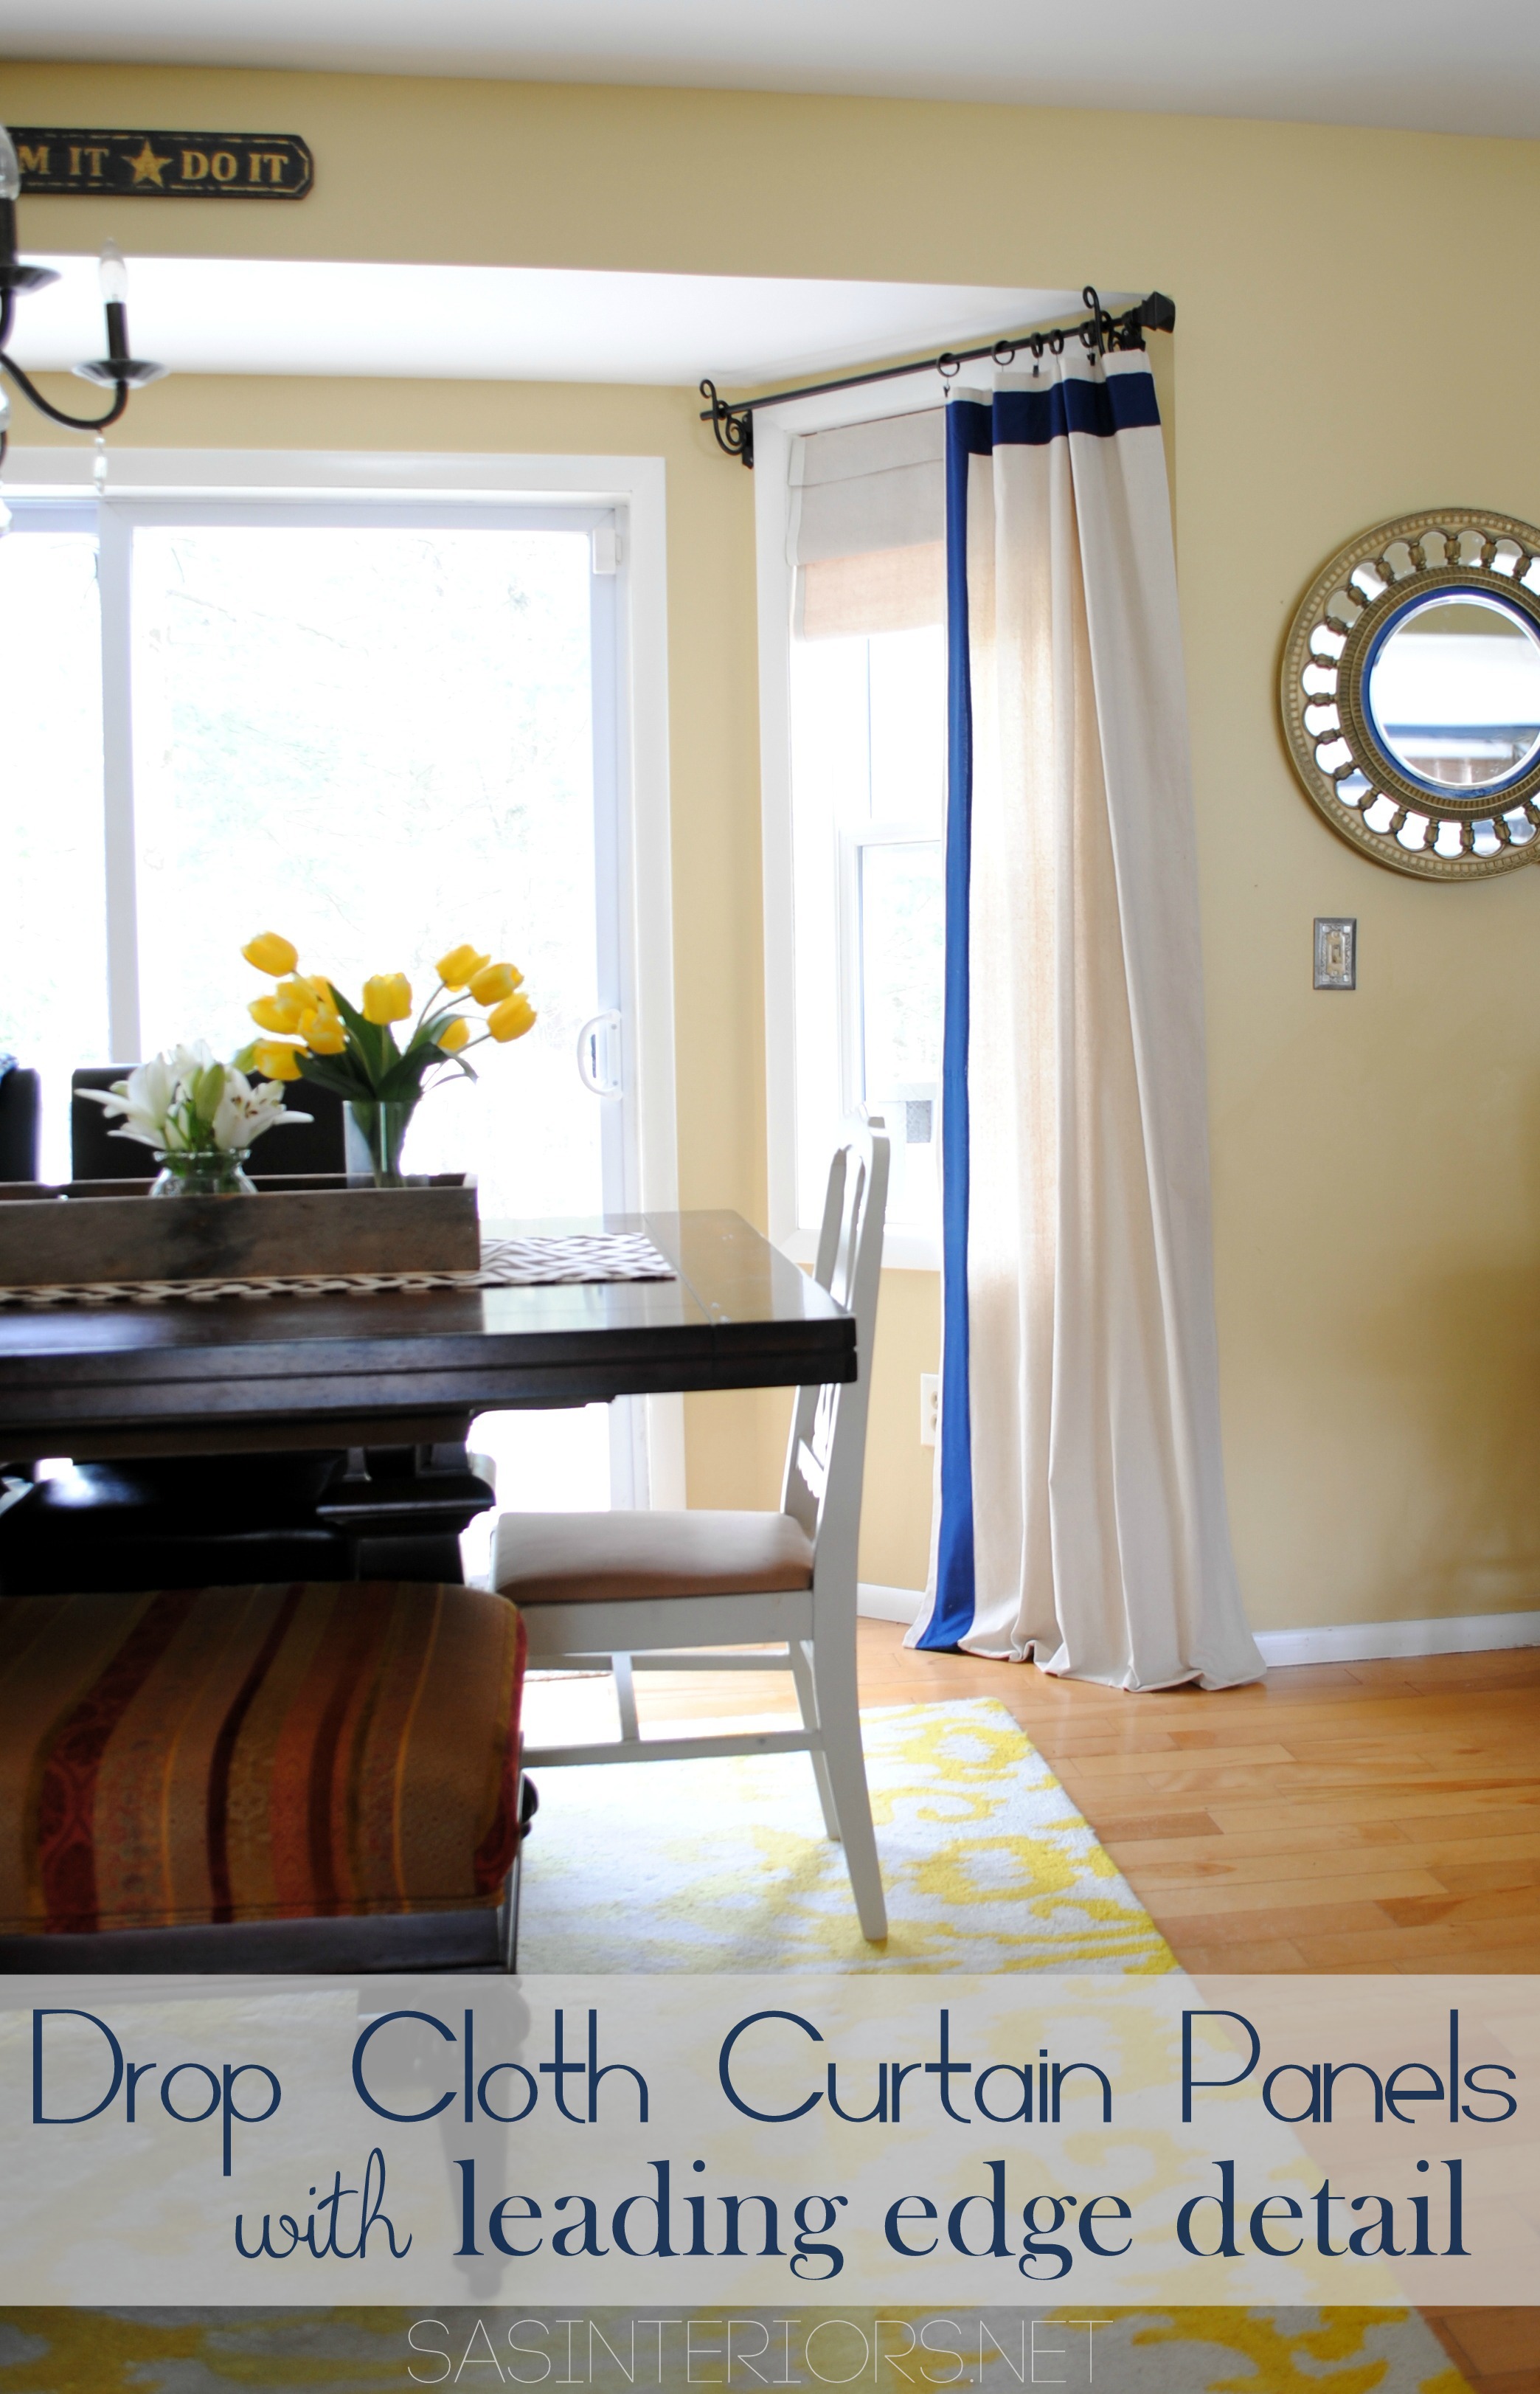
Peacock feathers adorn my latest wreath creation for the season, and now tall feathers (not sure specifically what kind) grace my latest seasonal mantel.

For my Lowe’s October Challenge, one of the projects that the Creative Team could tackle was giving the fireplace mantel a makeover. I was surely excited and awaiting the opportunity to give my mantel a revamp. I sent the seashells apackin’ and dug out the pumpkins, ghords, and festive favorites.
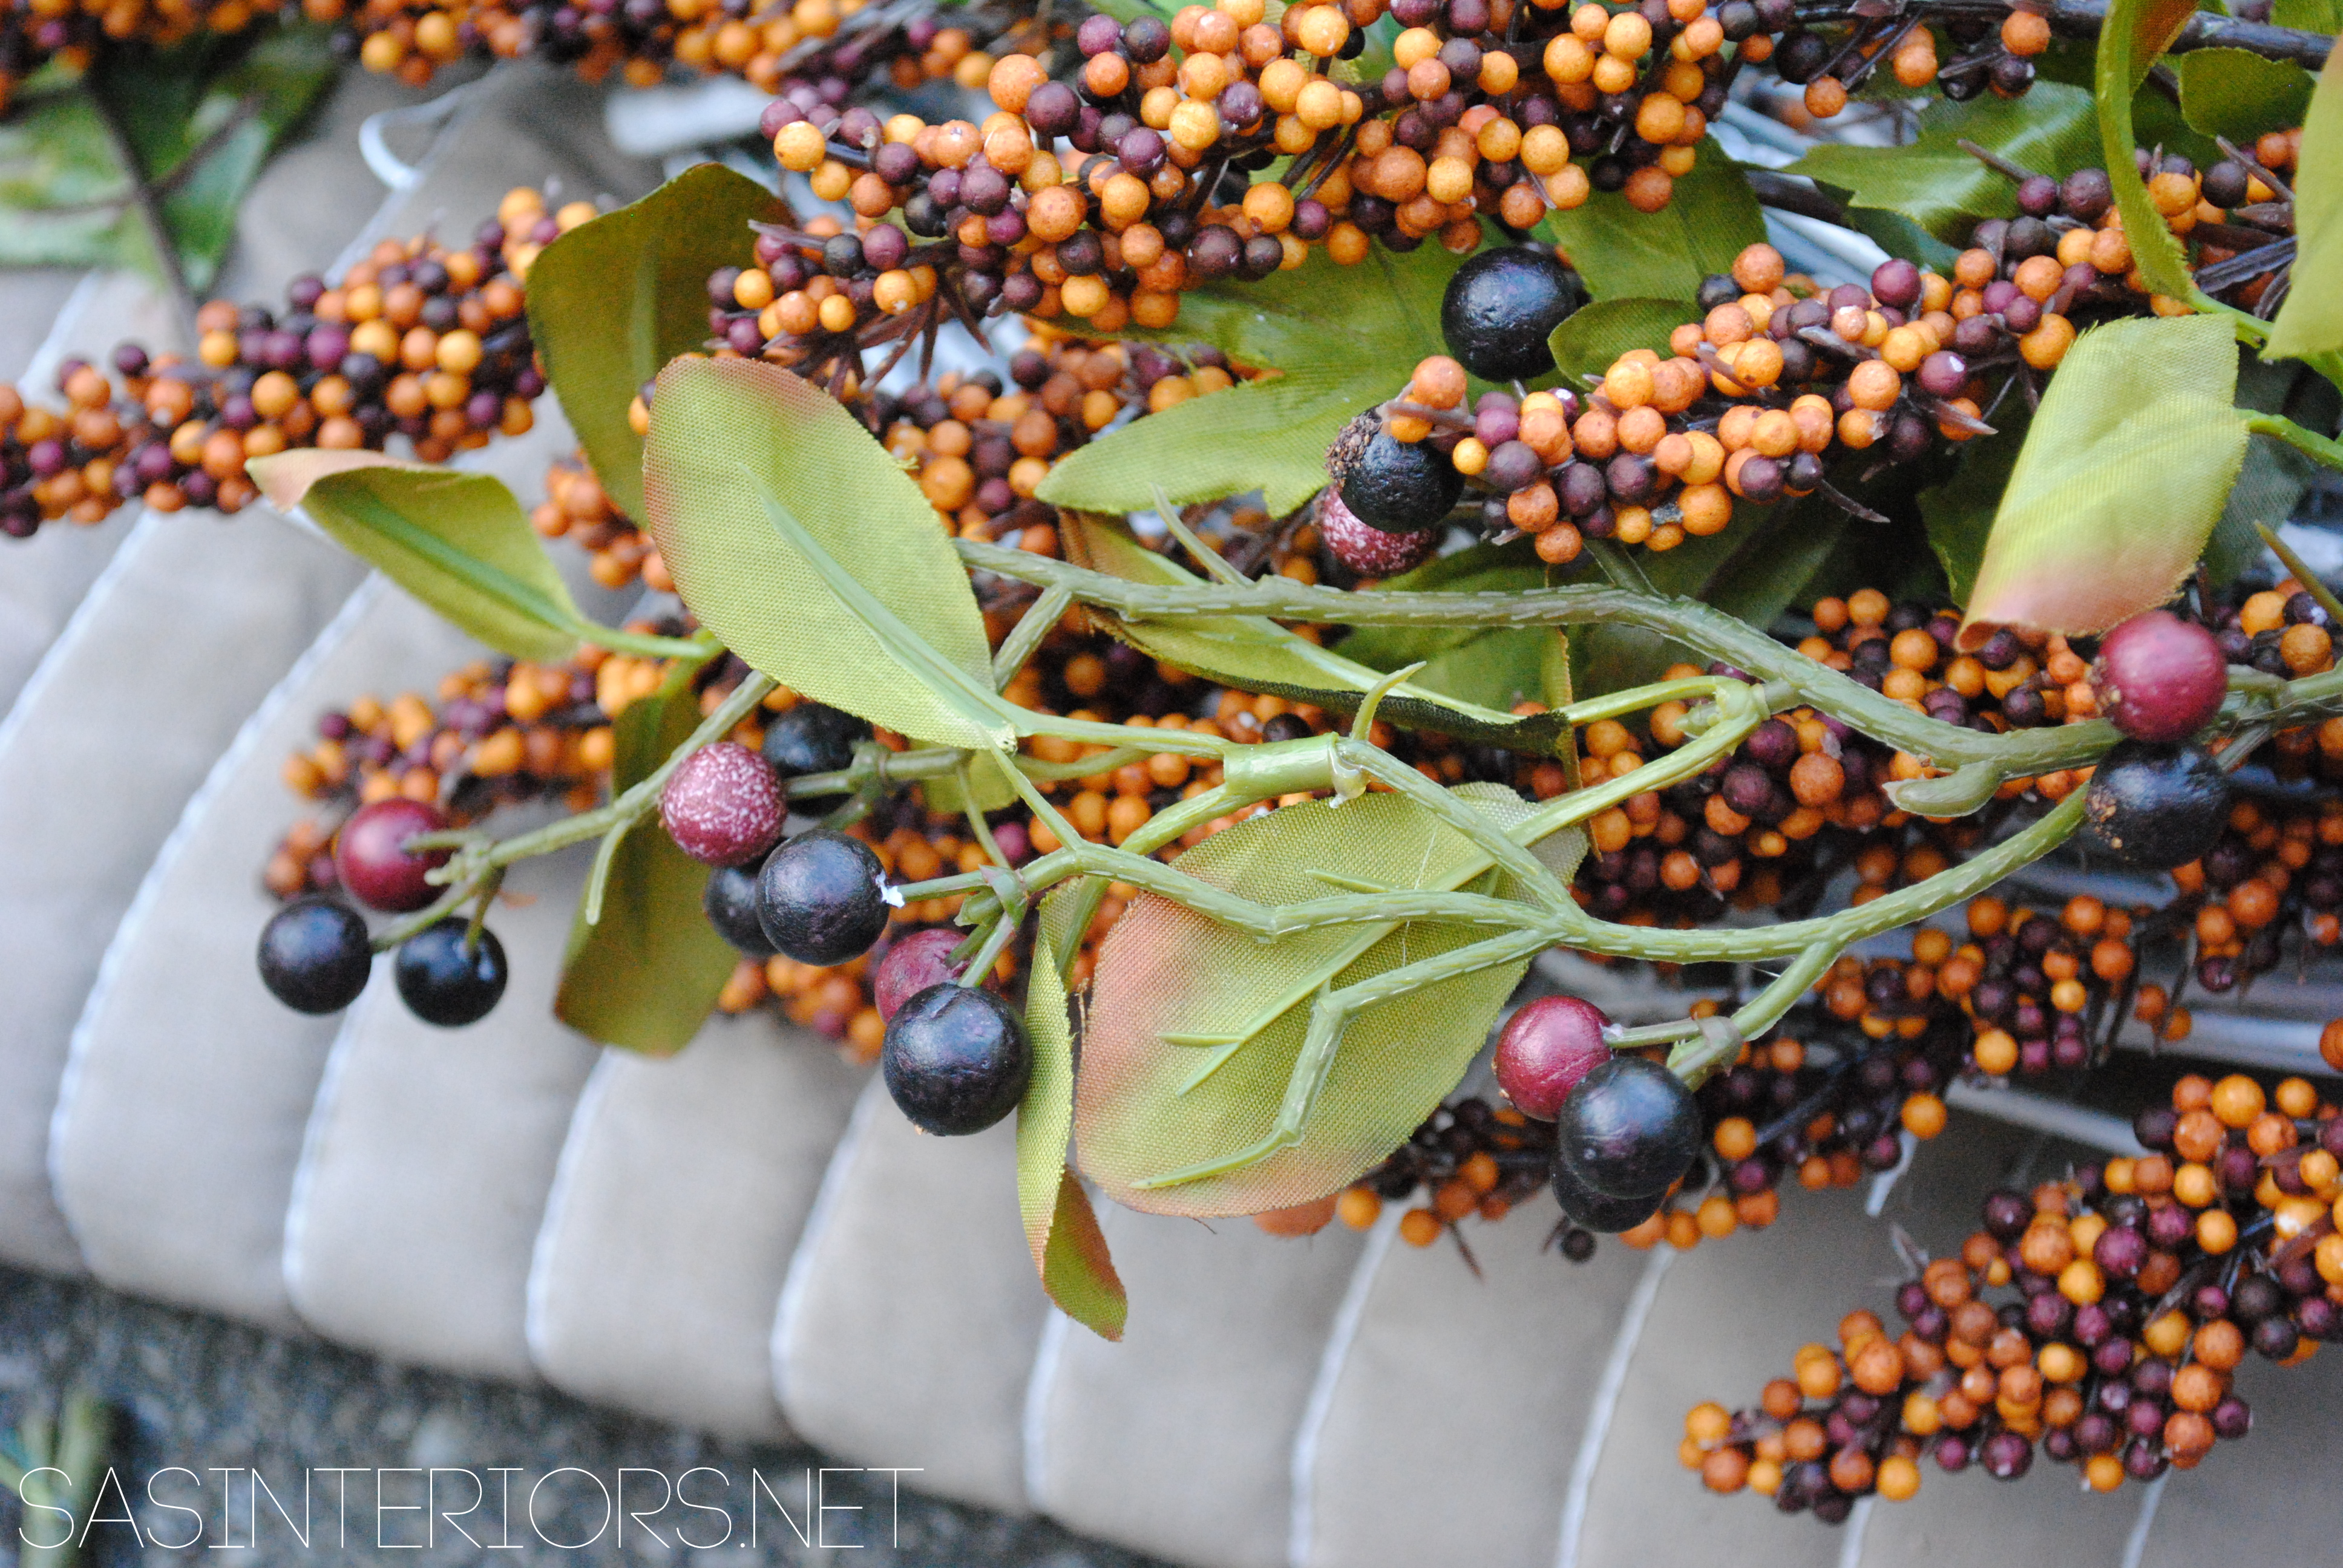
For my latest mantel, I wanted something new & fresh, but started like I usually do by shopping my home before even stepping foot into a store. It’s always such a great way to create a fresh, new look without spending a lot of $$$. Most of the elements for my Fall mantel I already had on hand, but a few elements are new like the ghords (obviously since they’re seasonal) + the feathers, which I picked up at AC Moore for $2/each. They add such a unique, spicy element to the space.

In my travels over the past months, I also picked up this super interesting black sphere, which adds an interesting three-dimensional quality to the new mantel. To add in some height, I covered 3 books with plain white paper, and topped it with a pretty candle in a geometric holder + a glass filled with gold rocks.
Yes, fabulous gold rocks.

The rocks were a quick and fun DIY project that I tackled with the kids before school started a few weeks ago. We had gone for a hike at a local lake and they collected a bunch of rocks. My nifty brain got me thinking… let’s jazz em’ up with a little spray paint! It’s ah-mazing what a little flashy gold can do…
bling bling!

Another new element in the space is the mirror. It’s not new to me, but something that I purchased 2 years ago, but has been sitting in the garage ever since. It was wood, but I wanted it white, so once again, spray paint to the rescue!
Prime. Paint. And something new + magical is born.

And the result…
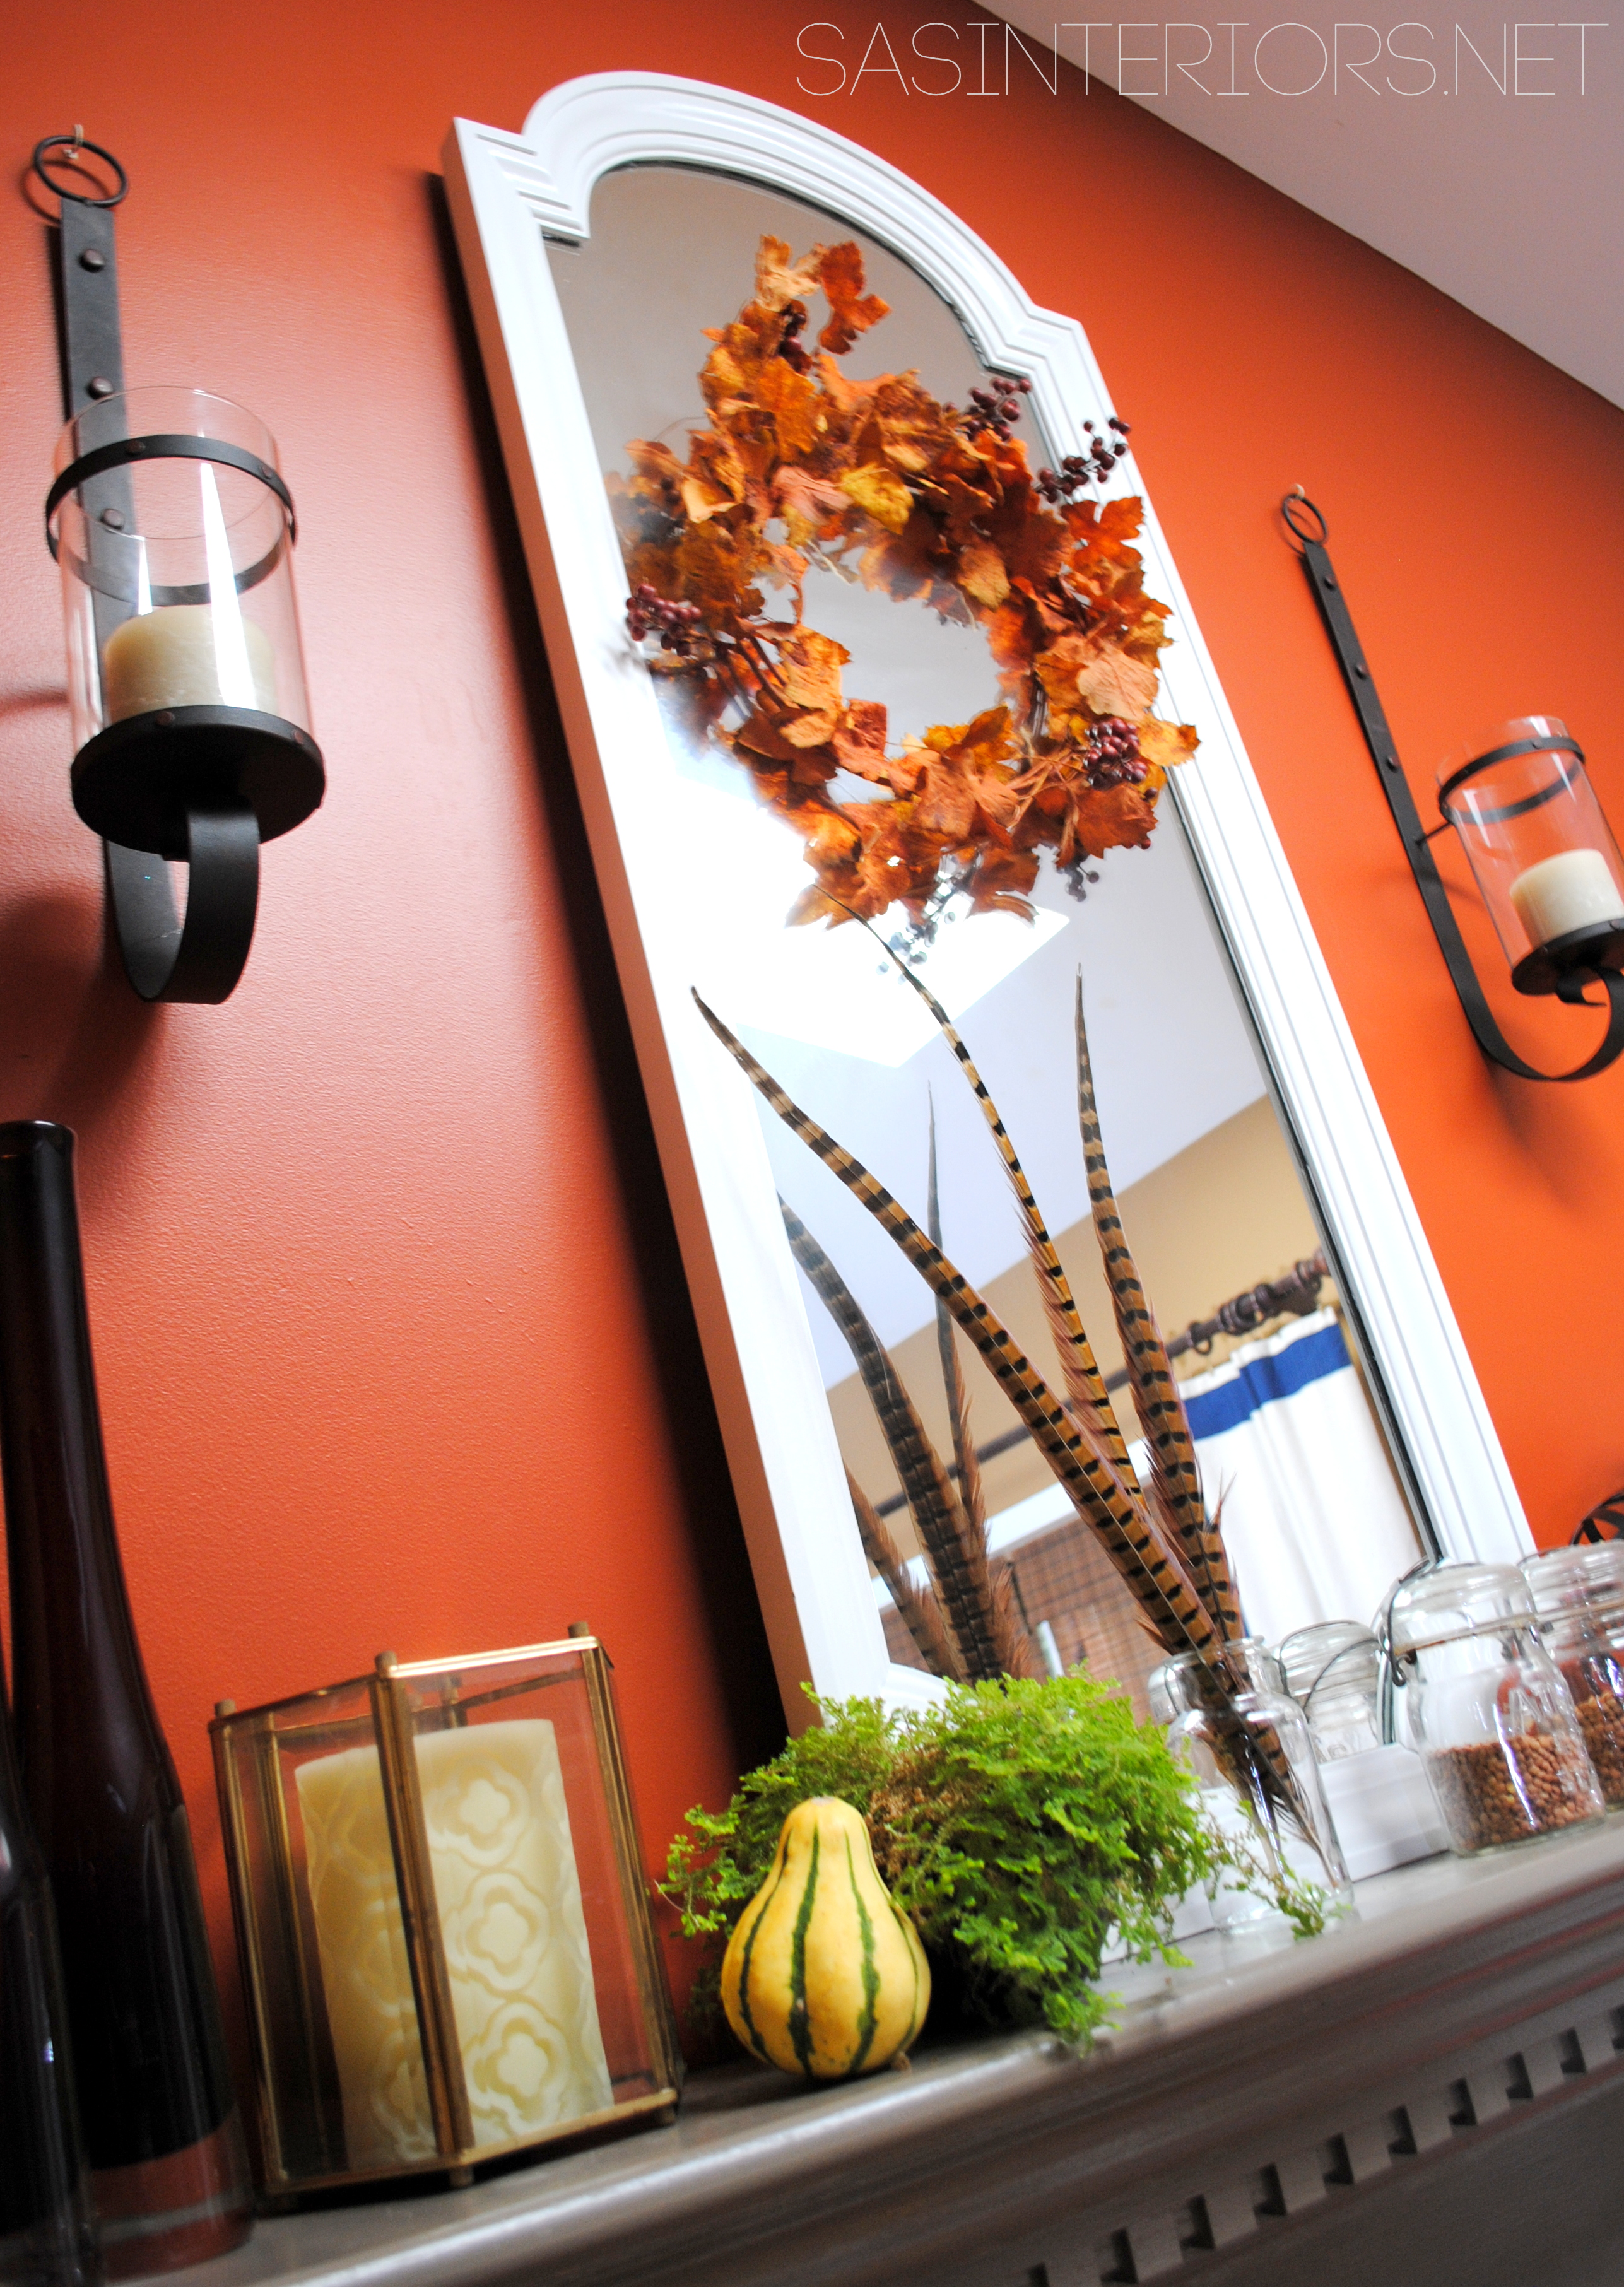
For now, it leans on the wall instead of being hung. I change things so much (probably too much) that it wasn’t worth another hole in the wall.
The overall space is definitely happy + festive + perfectly set for Fall.

Some more details…
My upcycled light turned vase (now a candle holder) made this years Fall mantel. Still one of my favorite upcycle projects to date…
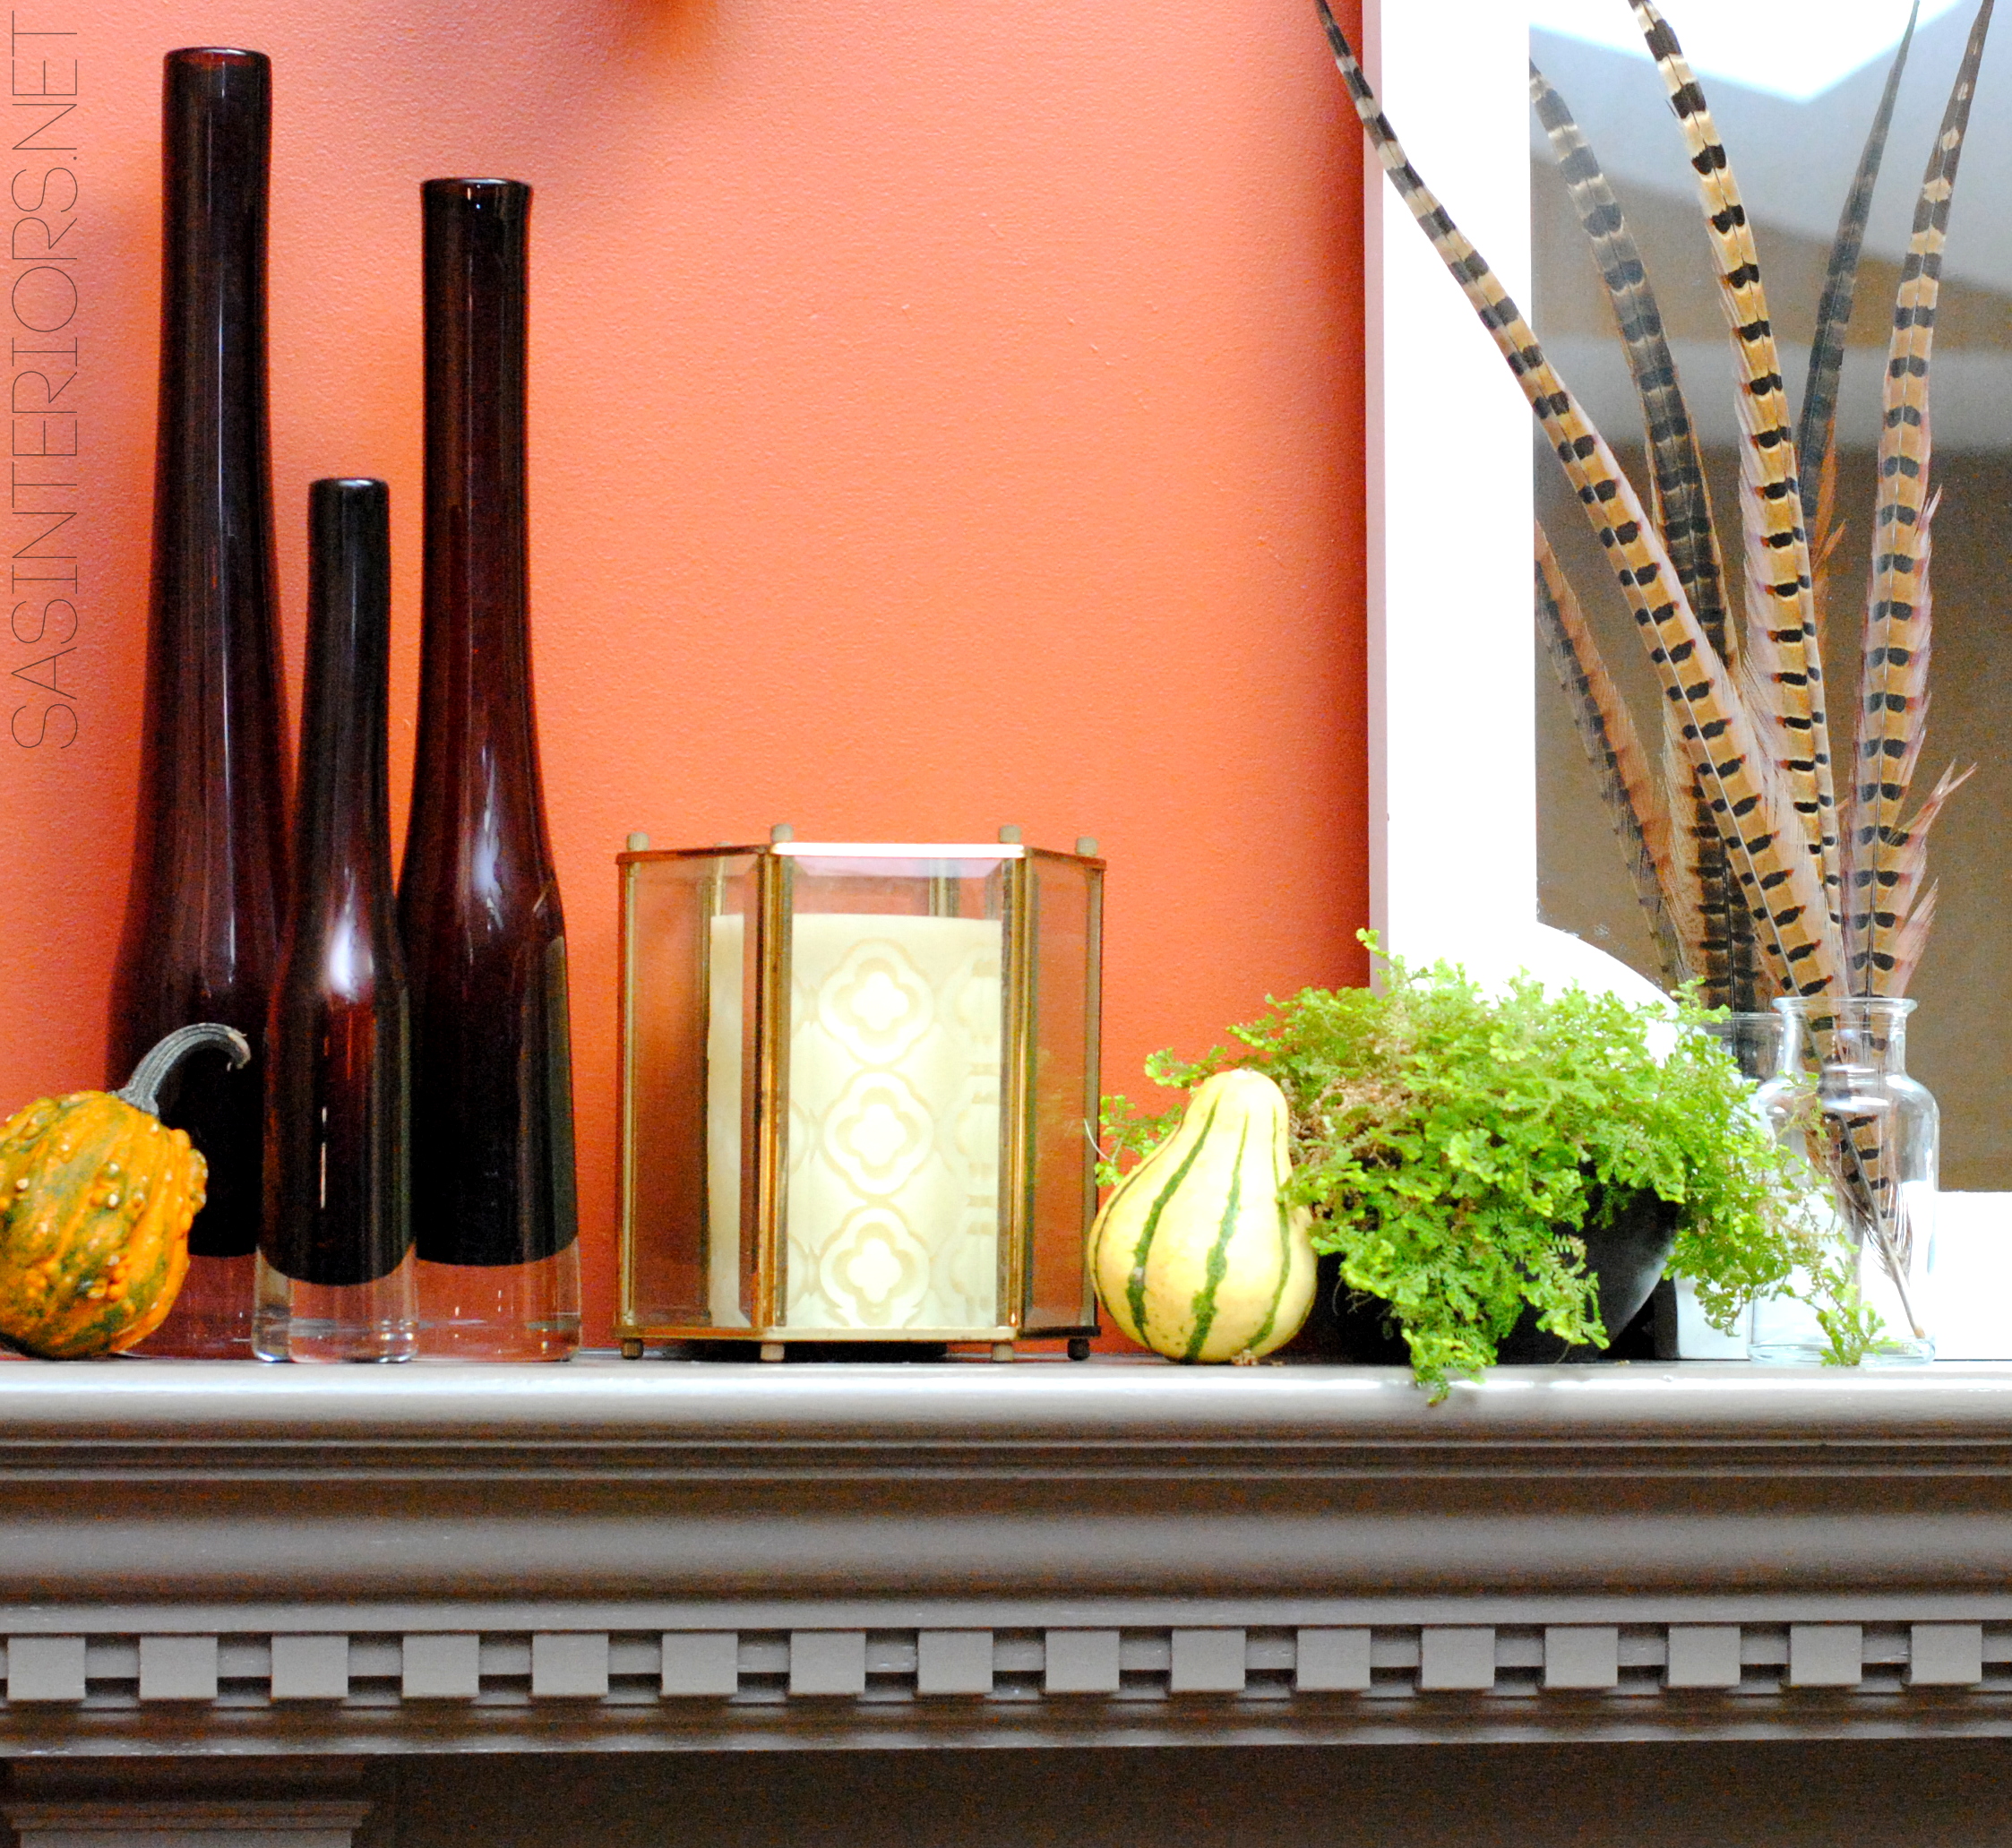


To add to the whole composition, I added in a few more festive elements that sit at the foot of the fireplace. I brought in my thrift-store old chest (which holds the kids wooden trains) and topped with a large pumpkin and a few wonky ghords. And instead of my tall vibrant yellow lantern sitting on the mantel this time, I brought it to the floor.


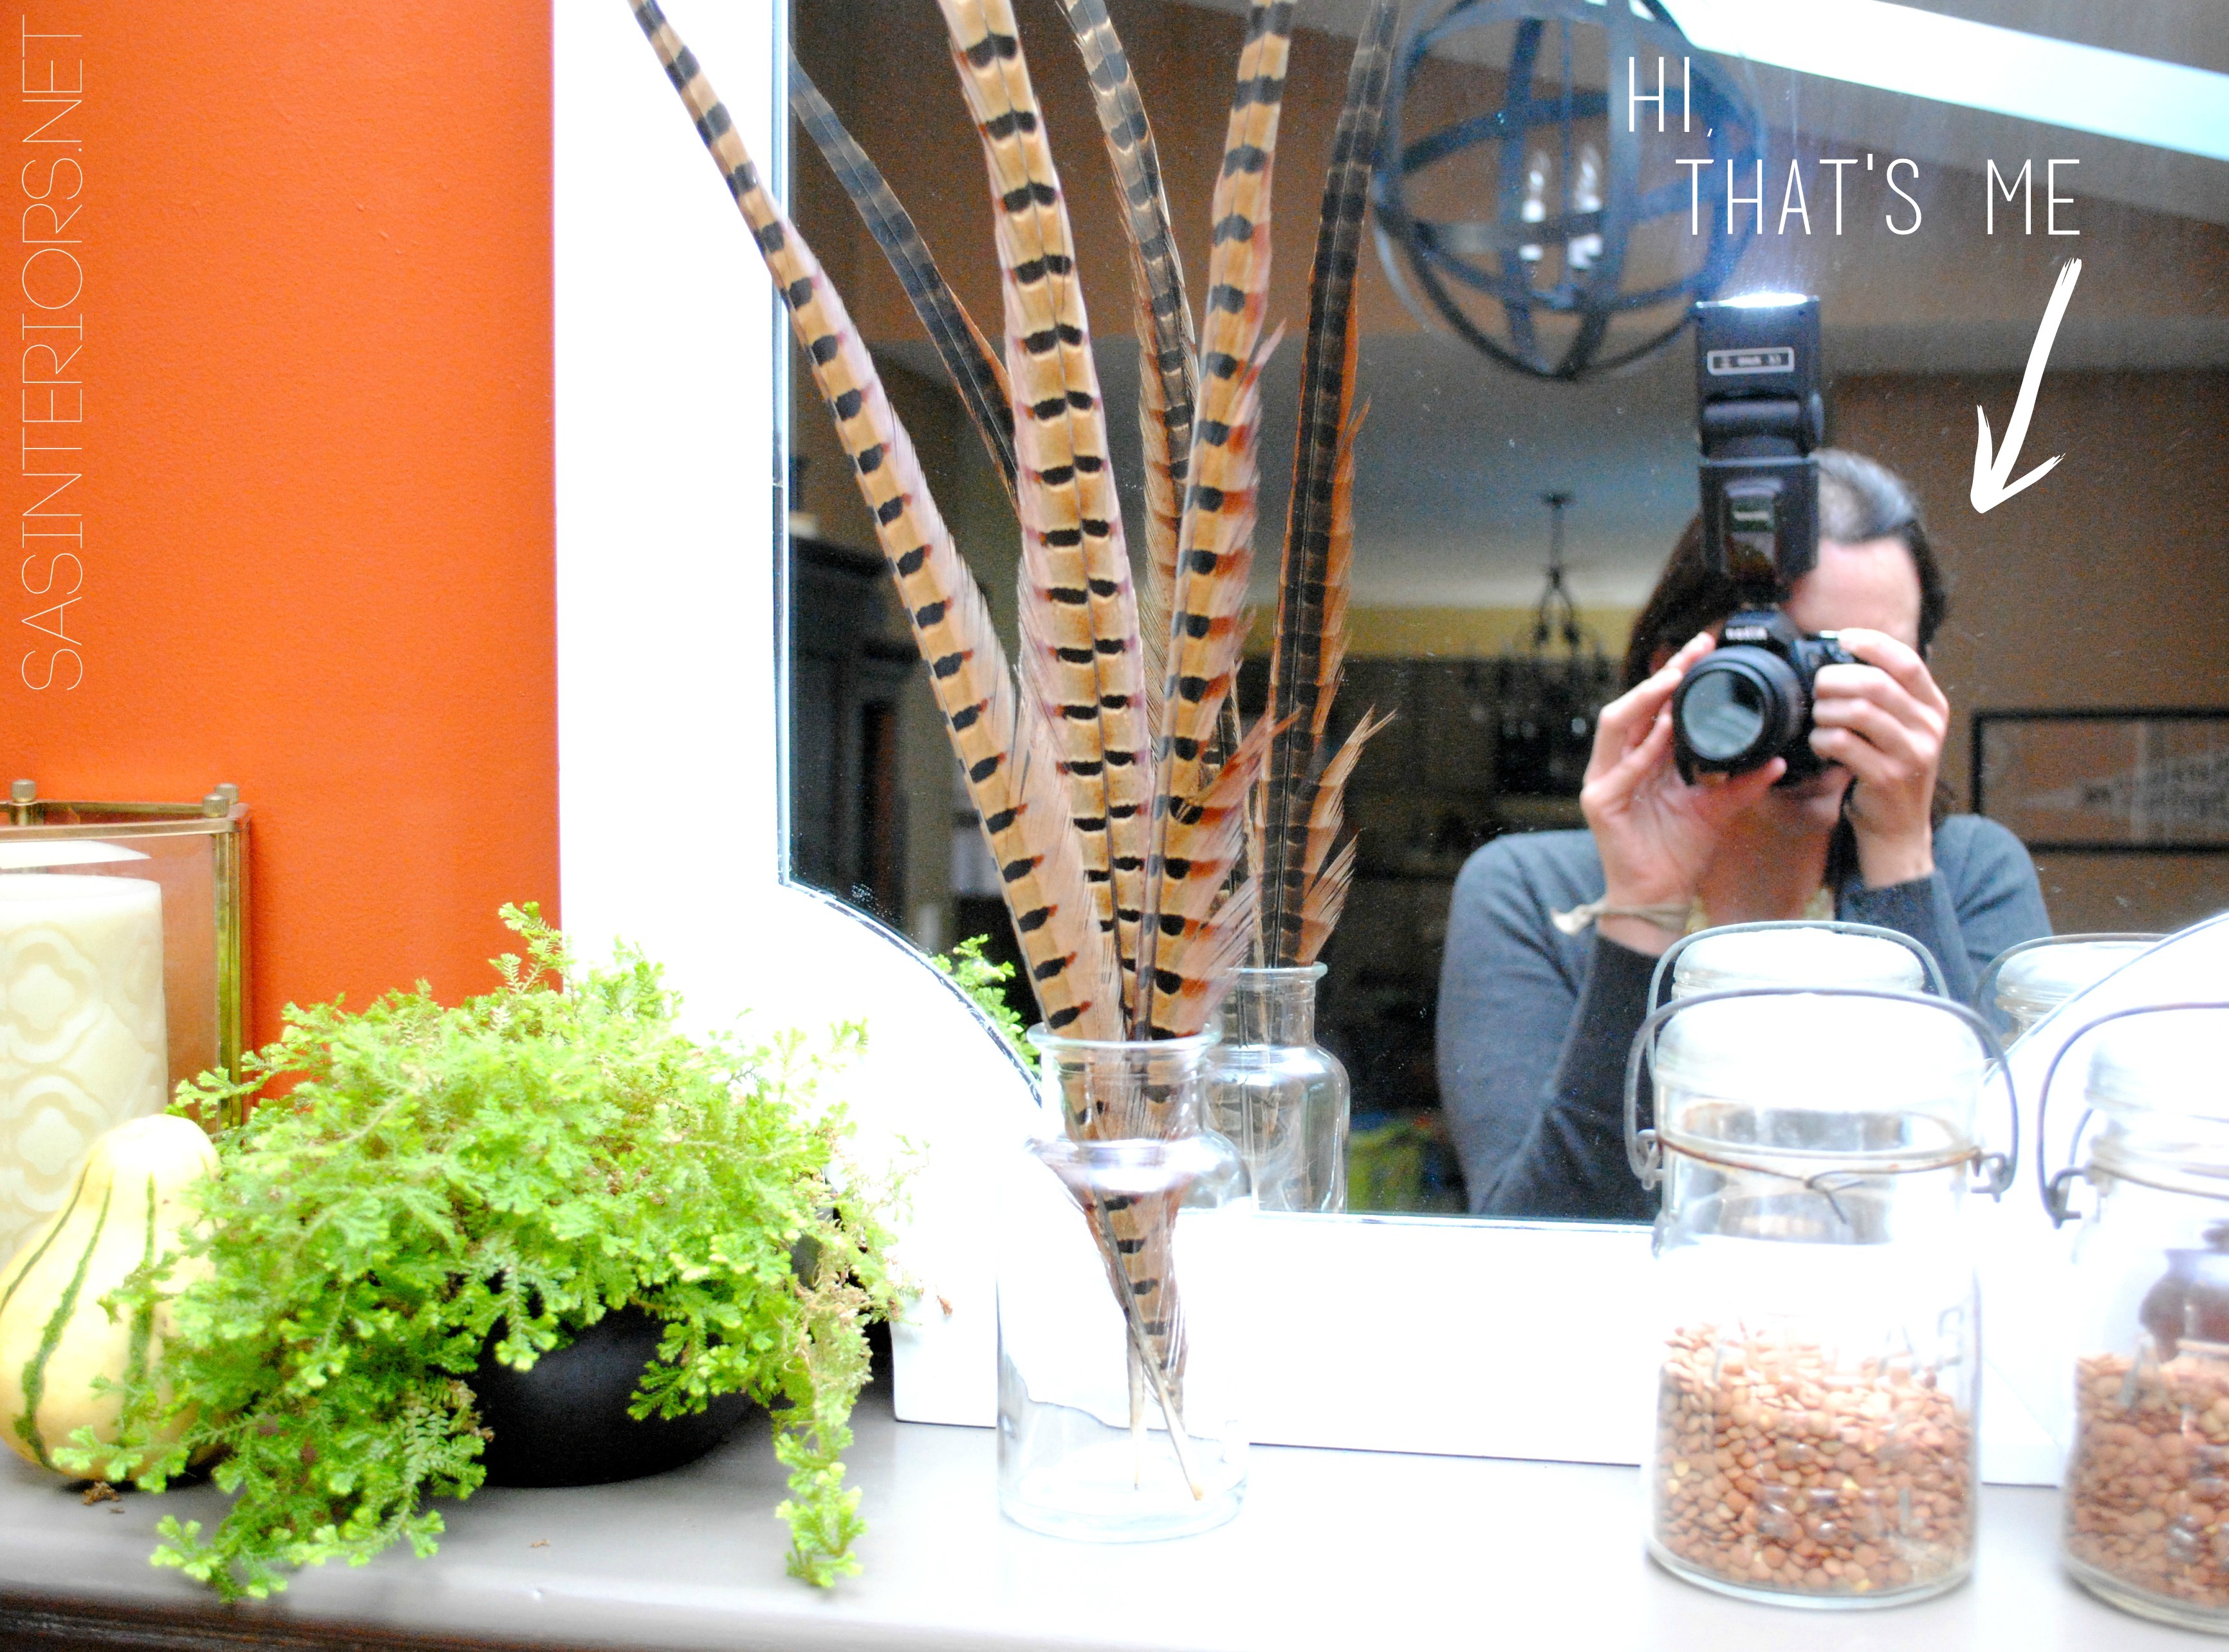
O, and there’s me, photographing the most difficult space in the world. Seriously I take 100s of shots and am never satisfied. Well I tried and I hope you enjoyed.
Hi!
And lastly, in striving to always keep it real, this is how the space around me looked at the time of photographing…
All looks perfect in the shot, but there was a bunch of craziness around it.
Moved furniture.
Laundry.
Birthday supplies.
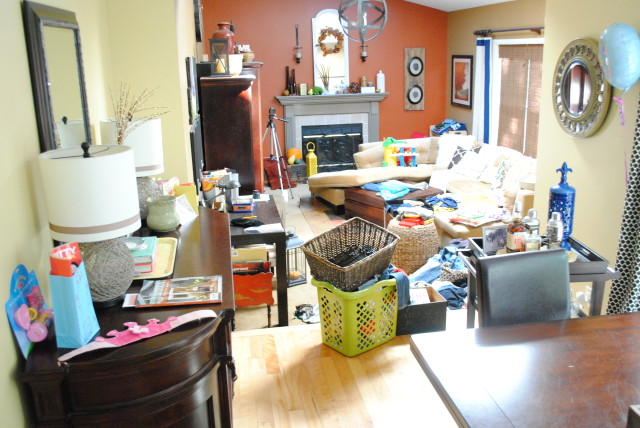
Just keepin’ it real…
I hope you enjoyed my Fall Mantel with feathers. What adorns your mantel for Fall?

To gather even more unique, fun, and creative ideas for your indoor and outdoor Fall spaces, I would definitely suggest downloading the Lowe’s Creative Ideas app on the iphone and ipad. I’m always checking out the FREE app for great seasonal + do-it-yourself inspiration.

Also consider following Lowe’s on Facebook, Pinterest, and Instagram as well.
Disclosure: I am part of the Lowe’s Creative Team and was provided with a Lowe’s gift card to purchase items for my project. I was also compensated for my time to use the products. No one told me what to create, what to buy, how to use the product, or what to write. All opinions are 100% mine! ![]()

 tomorrow which will include the proposed floor plan + vision board to use for the meeting.
WWW.JENNABURGER.COM/wp-content/uploads/2013/09/Cover1.jpg)


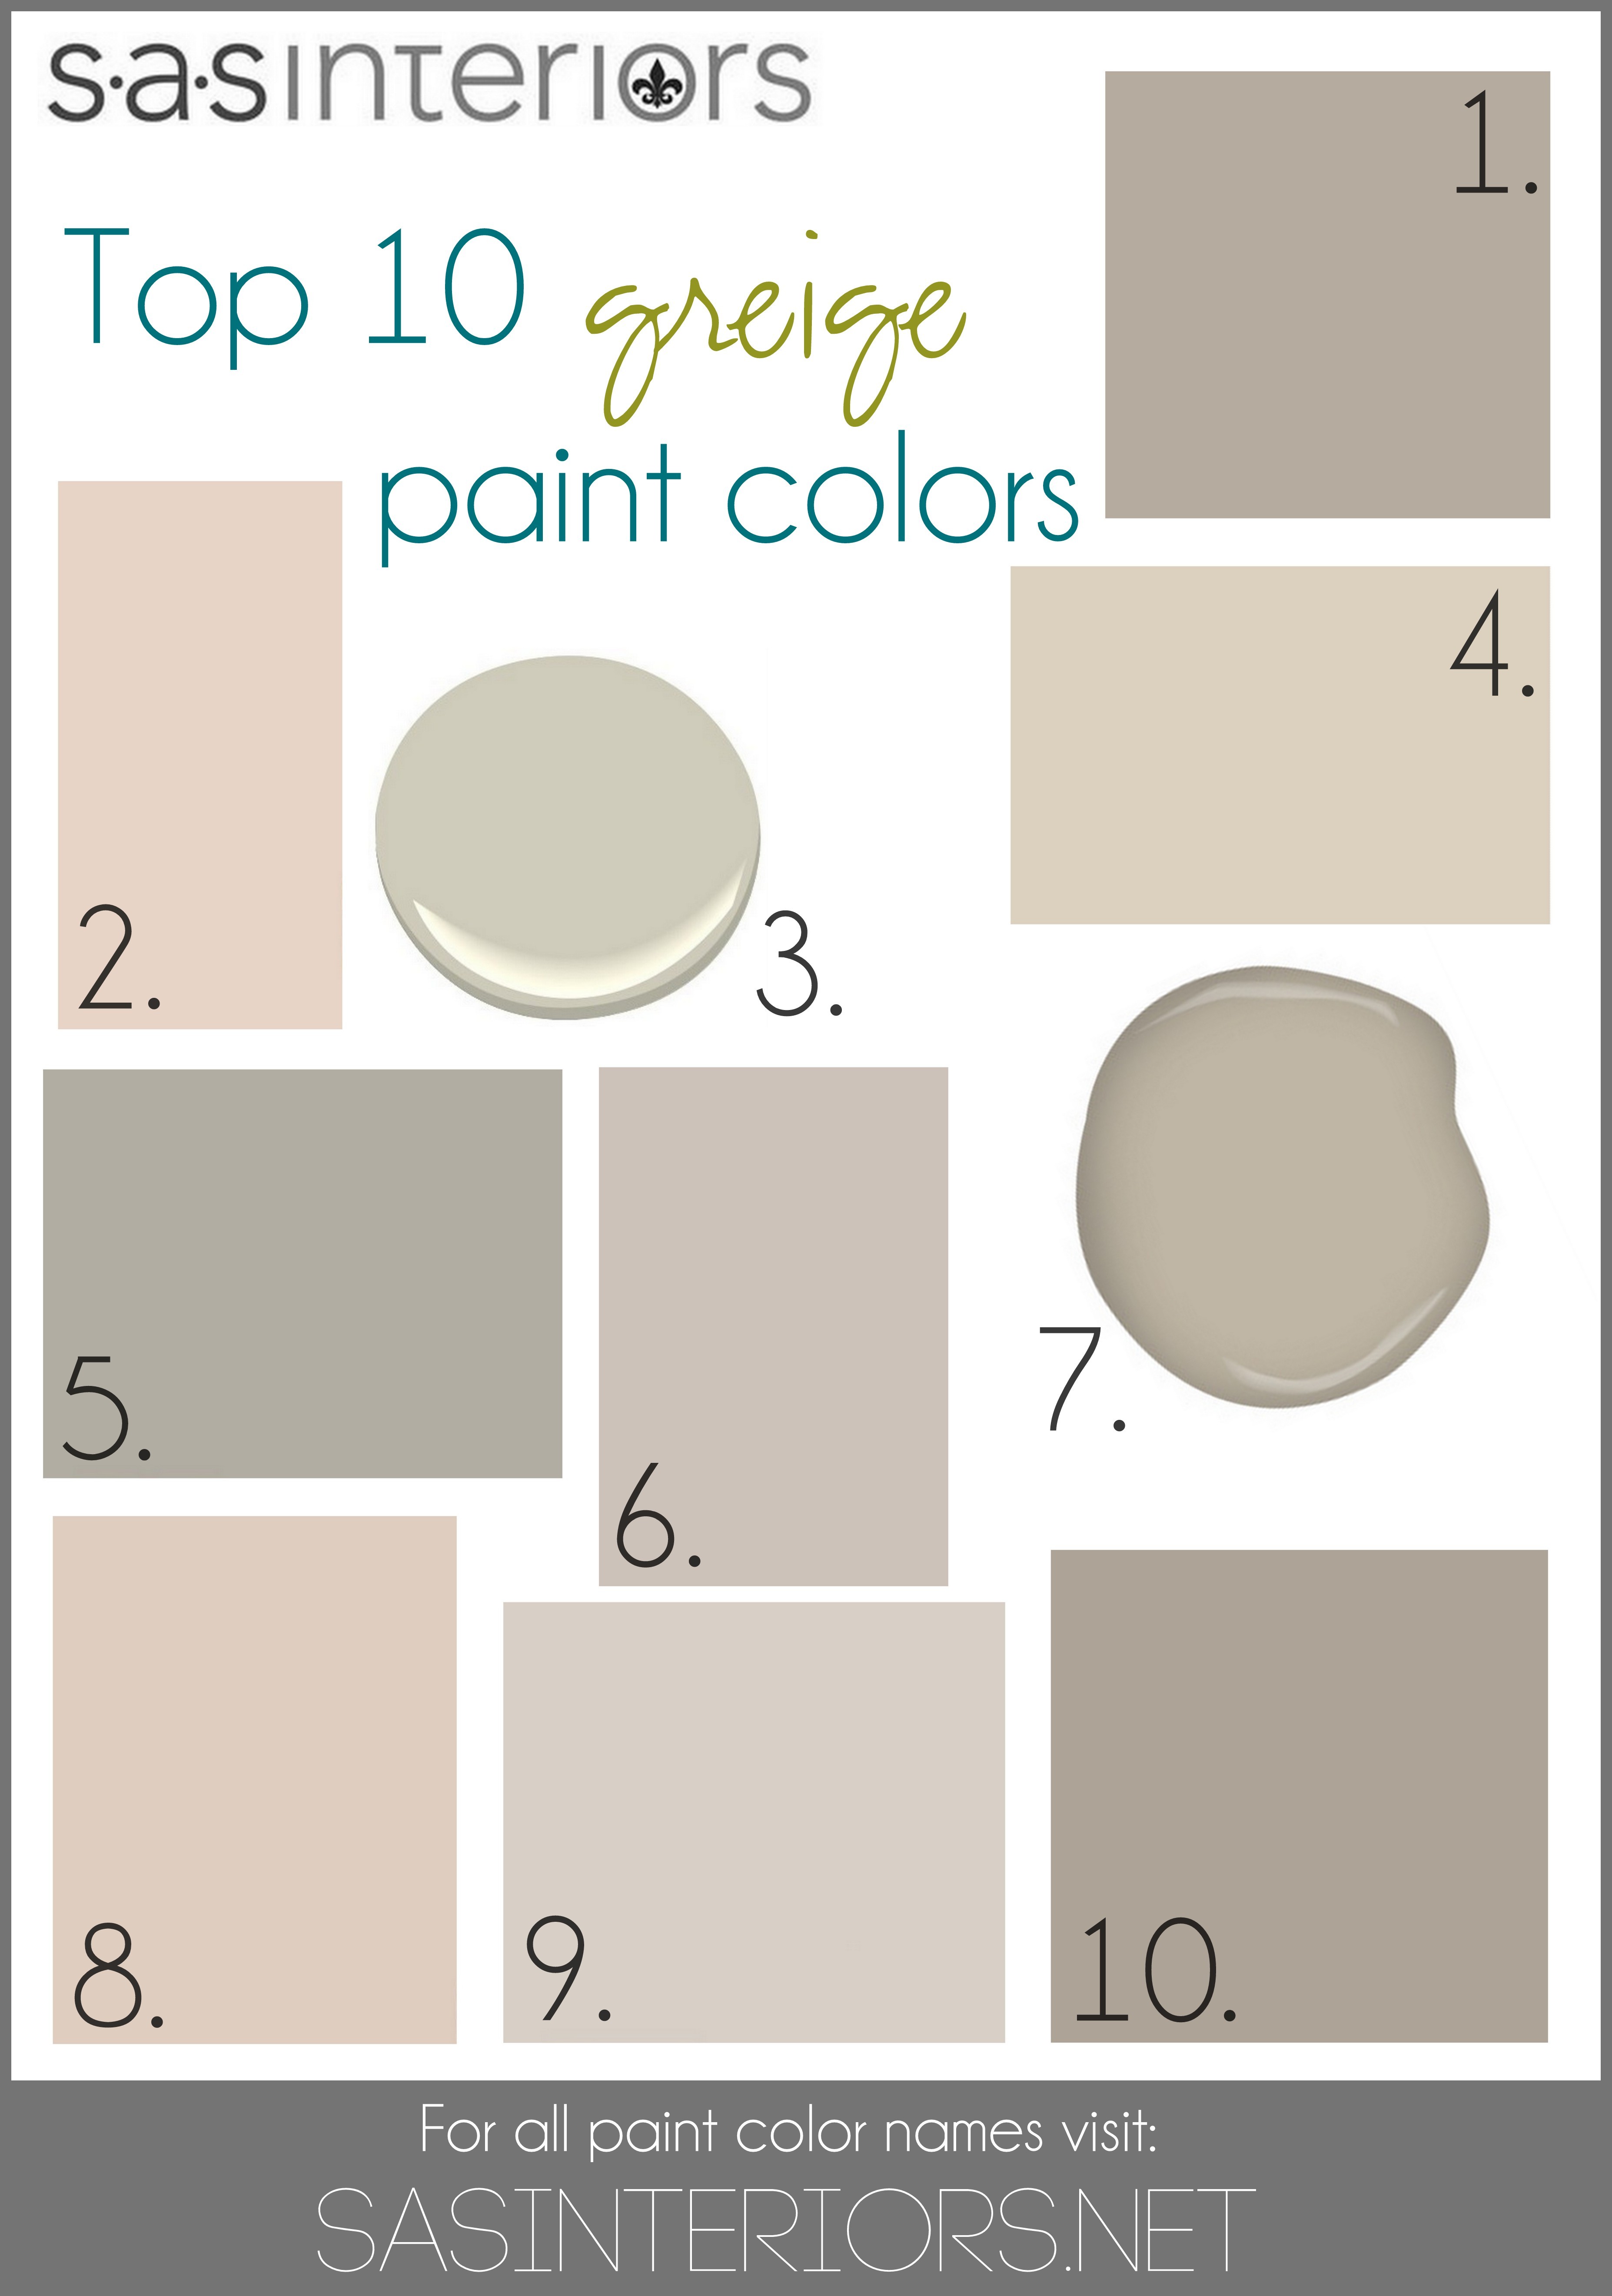

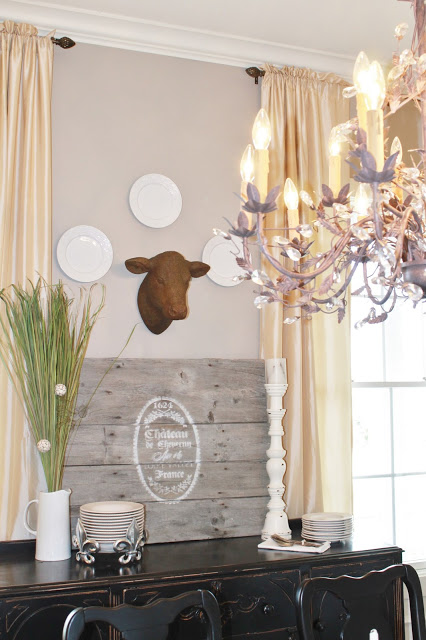 Sherwin Williams Perfect Greige
 Benjamin Moore Hazy Skies