
Month: October 2013

Bring the Outdoors In: How To Create Fern Art

This post brought to you by Apartments.com. All opinions are 100% mine.

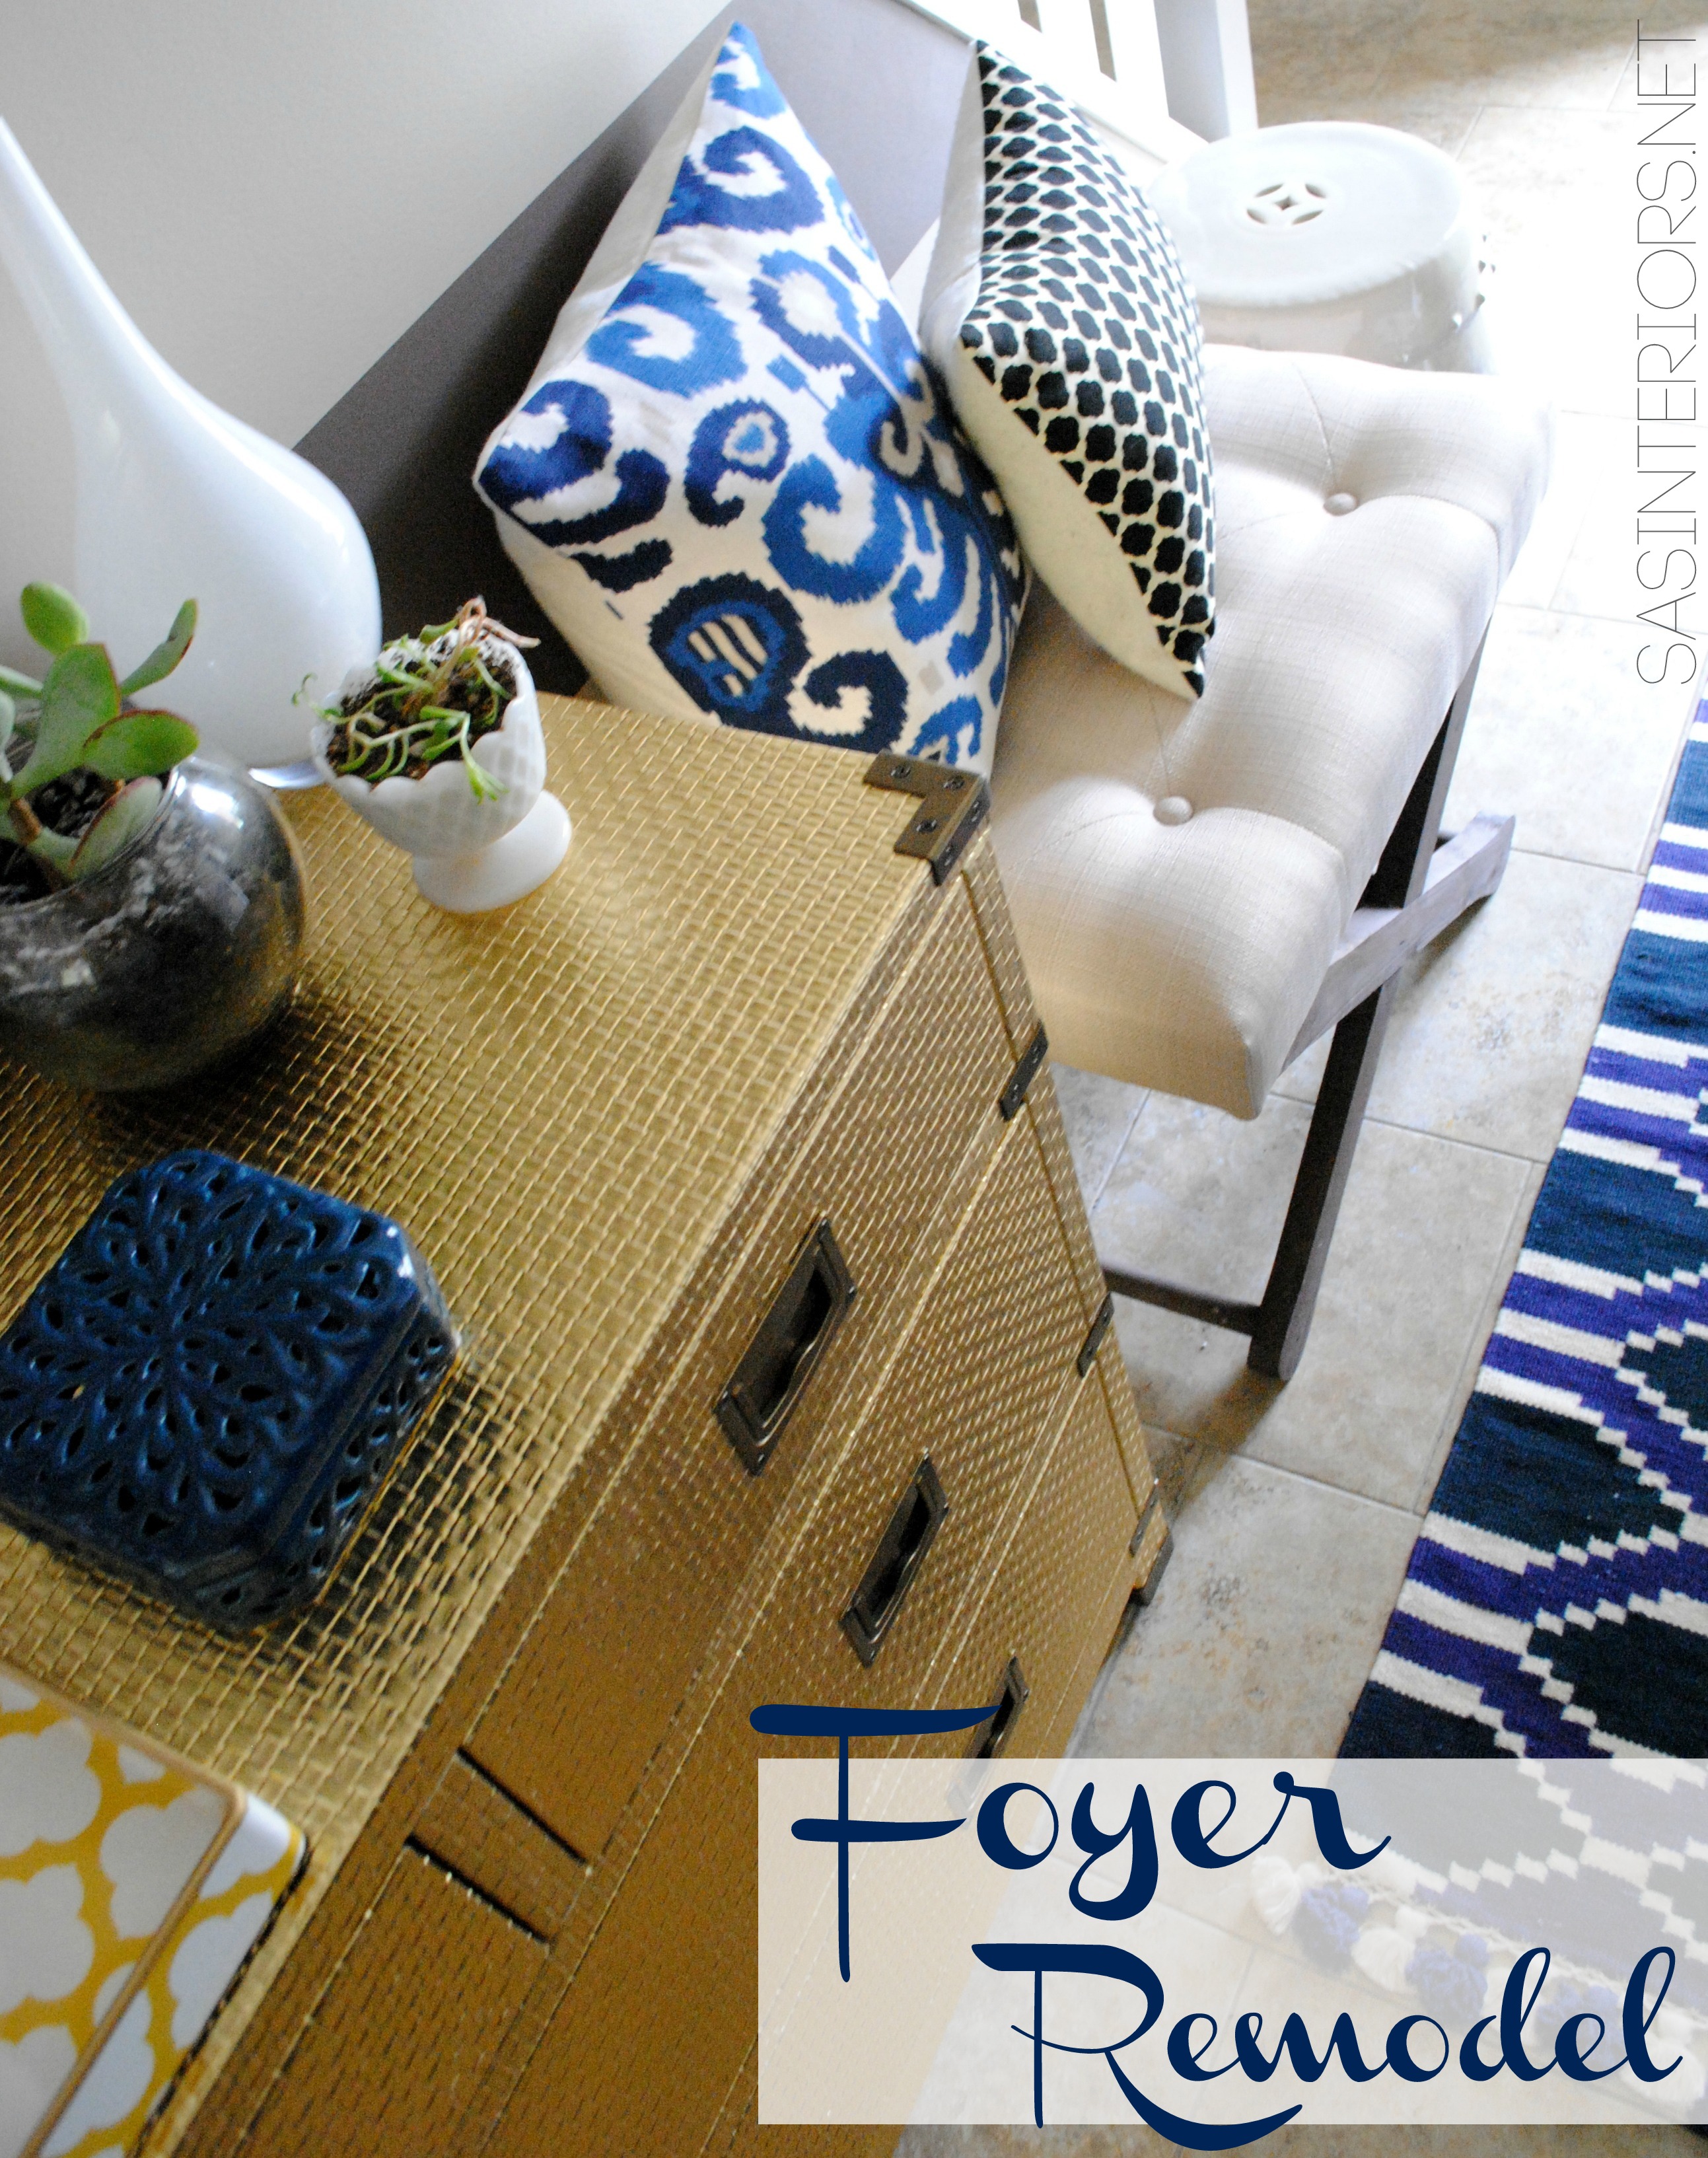
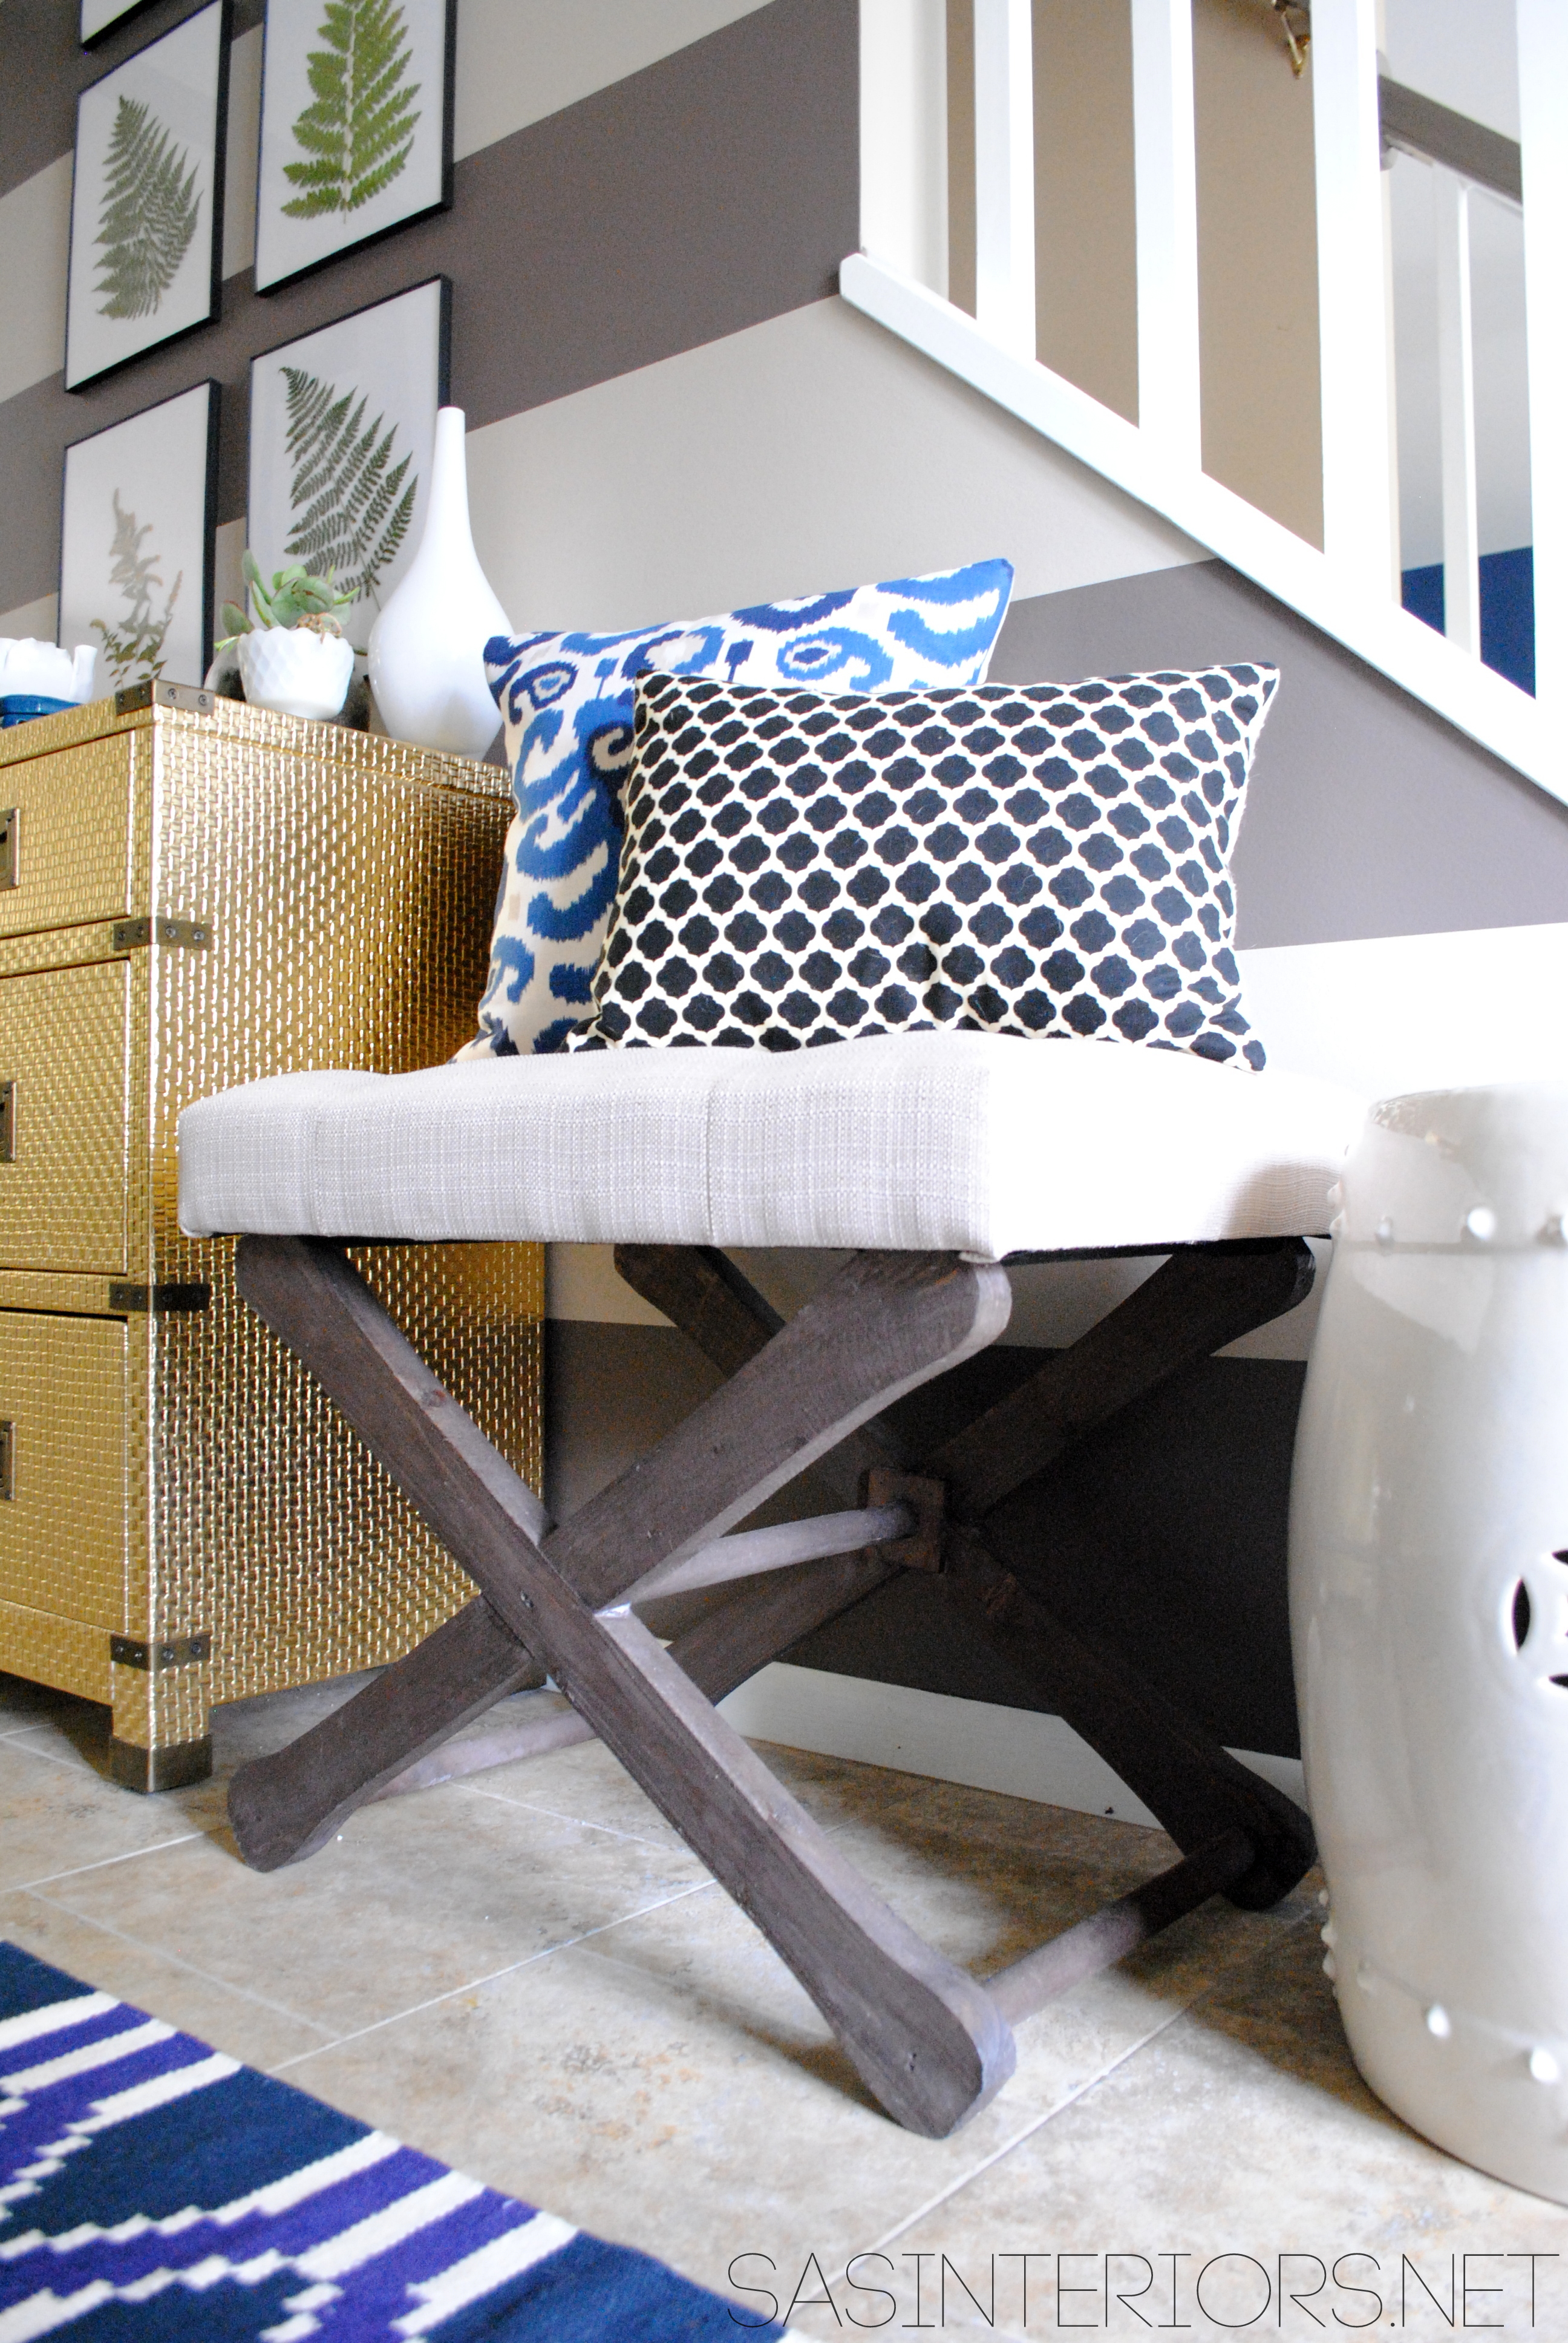
While tackling my foyer revamp, I gave a lot of thought as to what type of artwork / wall decor to put above the new gold dresser gorgeousness, as I like to call “her”.  The focal wall that got “dressed up” with new wide horizontal stripes is only about 5′ wide, but whatever was chosen to display needed to make an impact.  I didn’t want it to be personal pictures since we have so many around our house already, but I wanted it to be meaningful and reflect us.  I even reached out to you, my followers, on Facebook asking for suggestions on your favorite Etsy shops.  Even though I didn’t go that route, I now have a few go-to places for the future.

In the end, after much thought, my artwork was right under my nose in my backyard – literally.  After cutting a few wild flowers and ferns for a bouquet I was putting together for our outdoor dining table a few weeks ago, I thought using the ferns as art would be the perfect solution.

Bring the Outdoors in by using ferns and creating art by @Jenna_Burger, www.sasinteriors.net

Our backyard is filled with ferns and wild flowers, so I cut + collected a few different kinds choosing those that appeared to have all their leaves in tact.  No matter if you live in a house, like me, or in an apartment, bringing the outdoors in allows your home to feel more organic and to be ONE WITH NATURE.  A little corny sounding, but true.

No wild flowers in your back yard?  Check out the wooded / more dense areas of a nearby park.  With Fall in full peak, it’s a great time of year for a walk or hike.

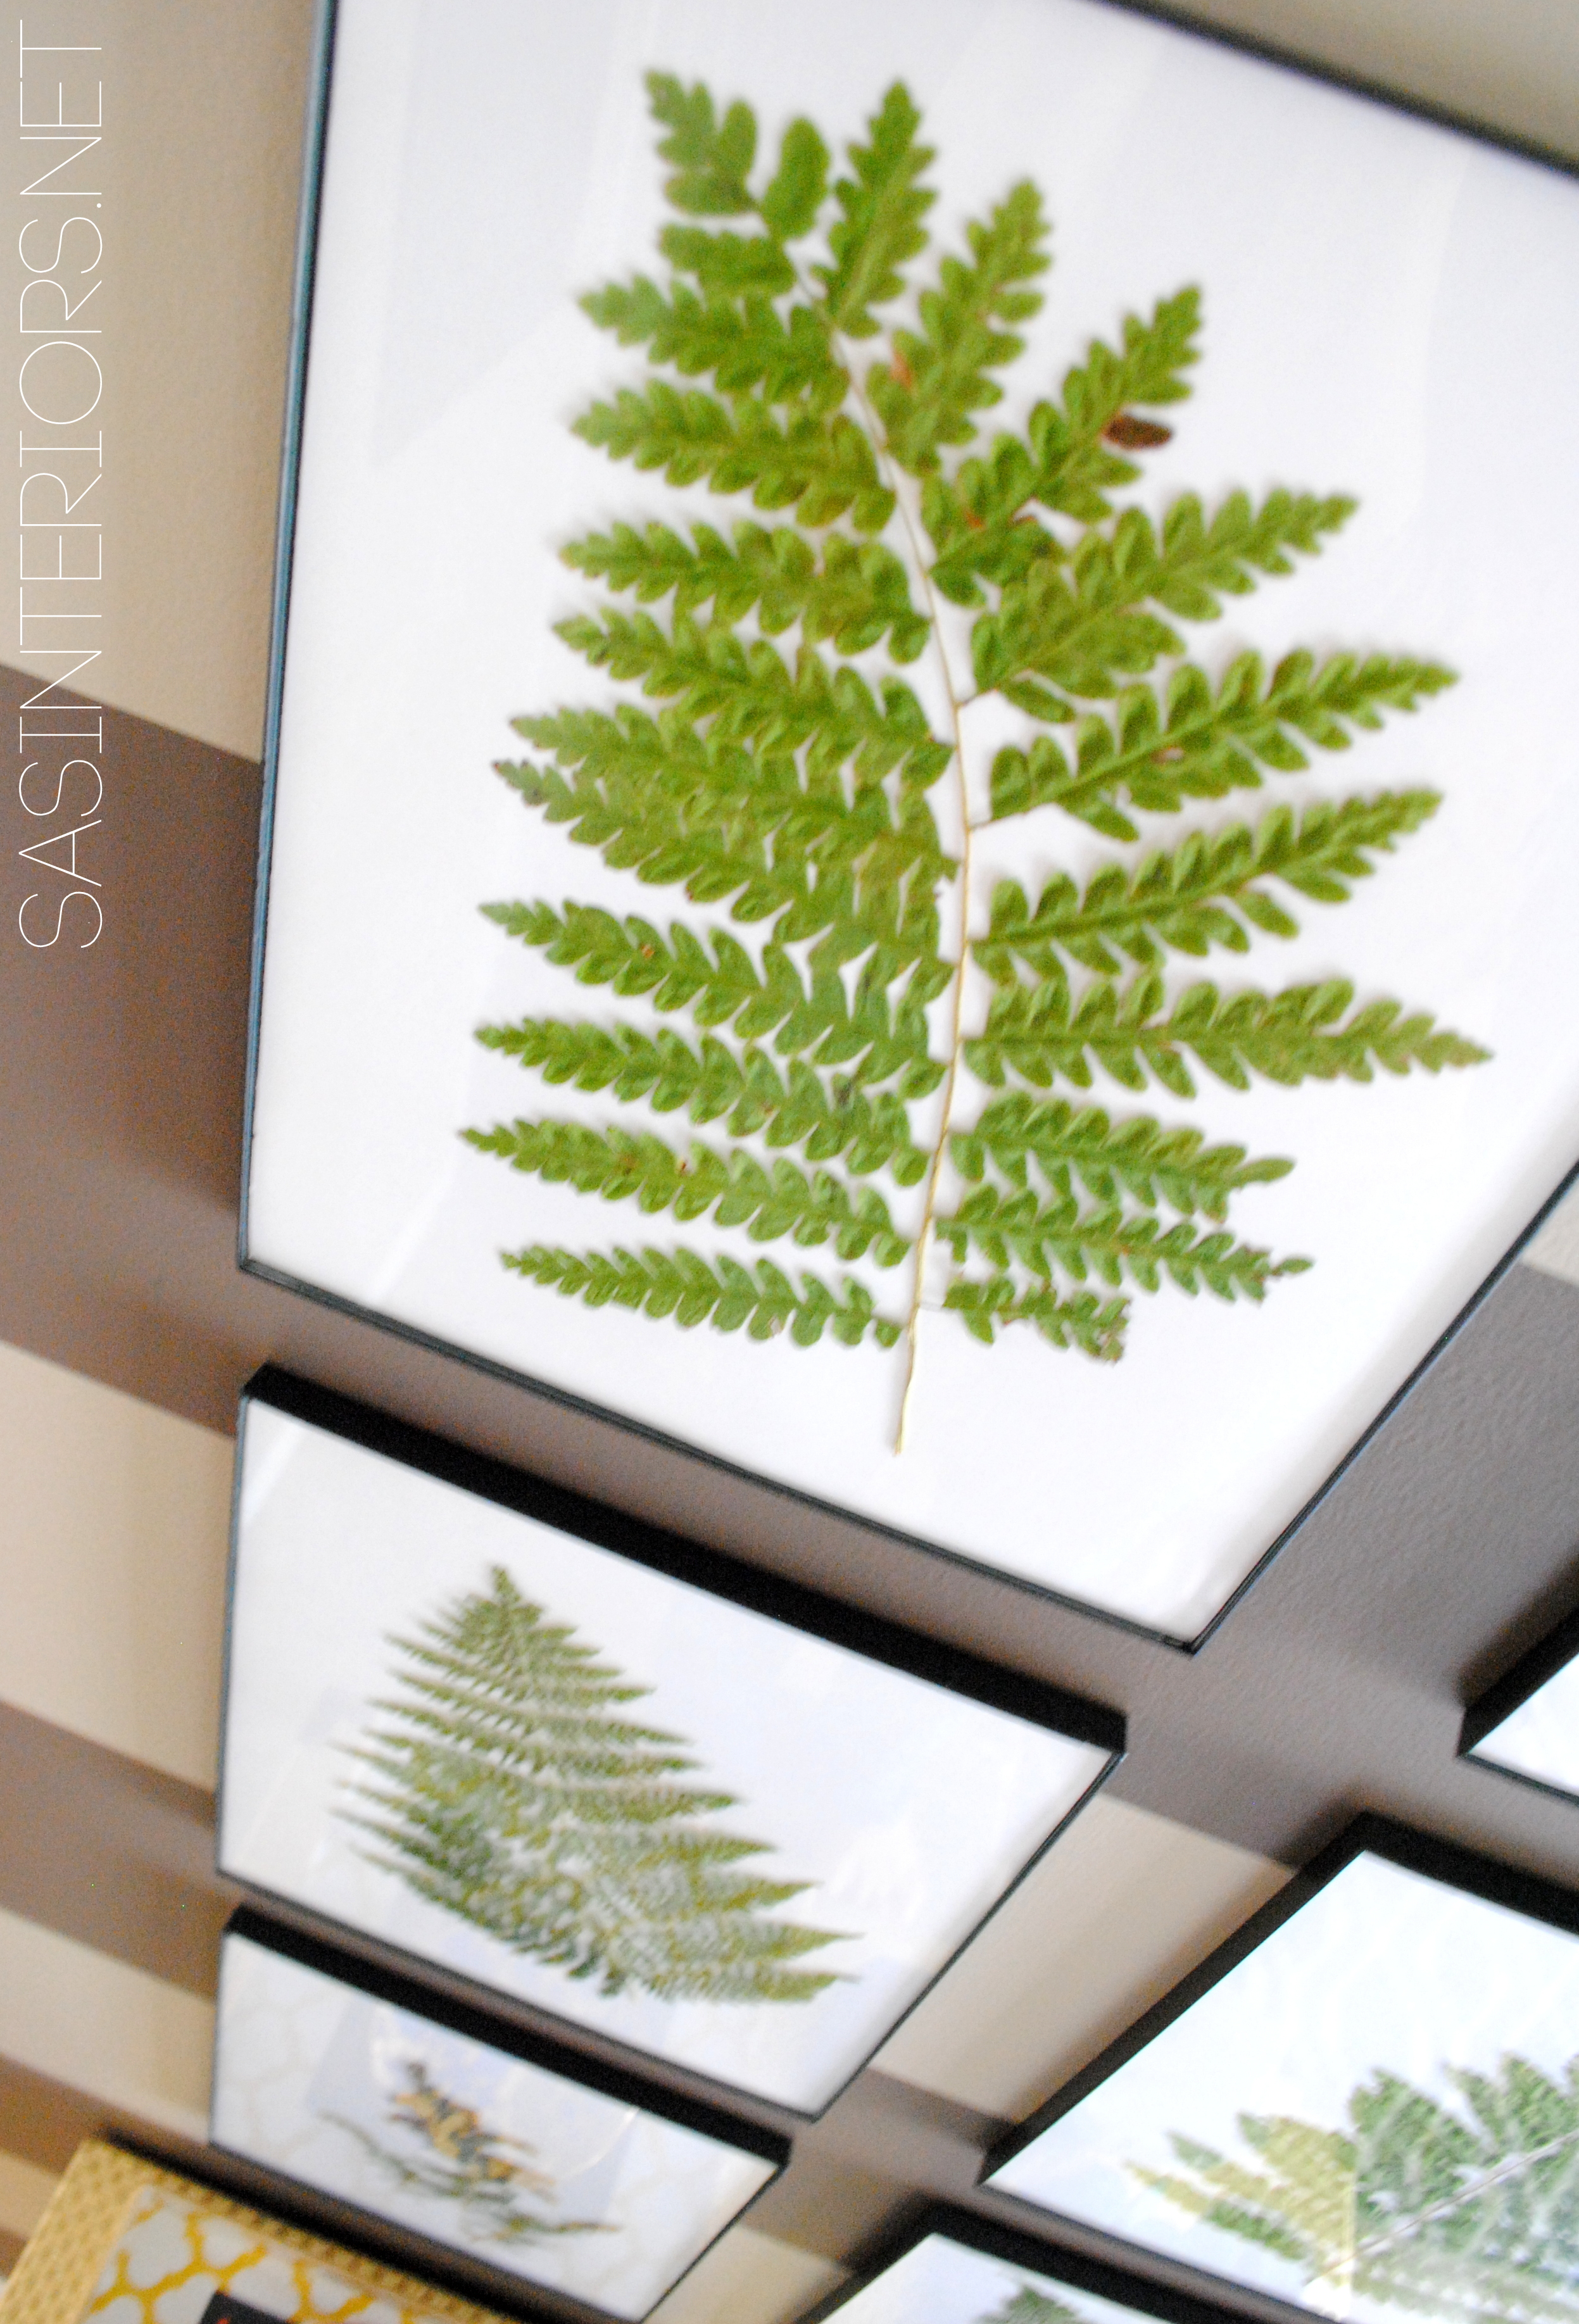
Once I had the ferns collected – about 10 good ones – I individually laid each out on a white piece of paper (wax paper is an alternative option).

Bring the Outdoors in by using ferns and creating art by @Jenna_Burger, www.sasinteriors.net

Once all were laid out, I took the stack of ferns + paper and pressed them between 3-4 hardcover, heavy books.  Be sure the entire fern is covered on the paper and be sure that it all gets pressed between the book.  If it doesn’t, the part of the fern / flower sticking out will wilt.

About 3 days later, I took the dried out ferns and started creating the “art”.  I snagged these simple picture frames from AC Moore for about $2 and thought the minimal frame was perfect to let the ferns “speak”.

Bring the Outdoors in by using ferns and creating art by @Jenna_Burger, www.sasinteriors.net

At first, I simply used the white paper to mount the ferns, but after a few days, the paper started to wilt because the ferns were still exuding moisture.  I decided to use a heavier paper and cut out pieces of poster board that fit to size. This did the trick!

Bring the Outdoors in by using ferns and creating art by @Jenna_Burger, www.sasinteriors.net

And then they were ready to hang…

Bring the Outdoors in by using ferns and creating art by @Jenna_Burger, www.sasinteriors.net

Bring the Outdoors in by using ferns and creating art by @Jenna_Burger, www.sasinteriors.net

Bring the Outdoors in by using ferns and creating art by @Jenna_Burger, www.sasinteriors.net

Along with the ferns, I also pressed a few wild flowers.  I love the yellow coloring.  They add a bit of color to the art collection.

Bring the Outdoors in by using ferns and creating art by @Jenna_Burger, www.sasinteriors.net

Bring the Outdoors in by using ferns and creating art by @Jenna_Burger, www.sasinteriors.net

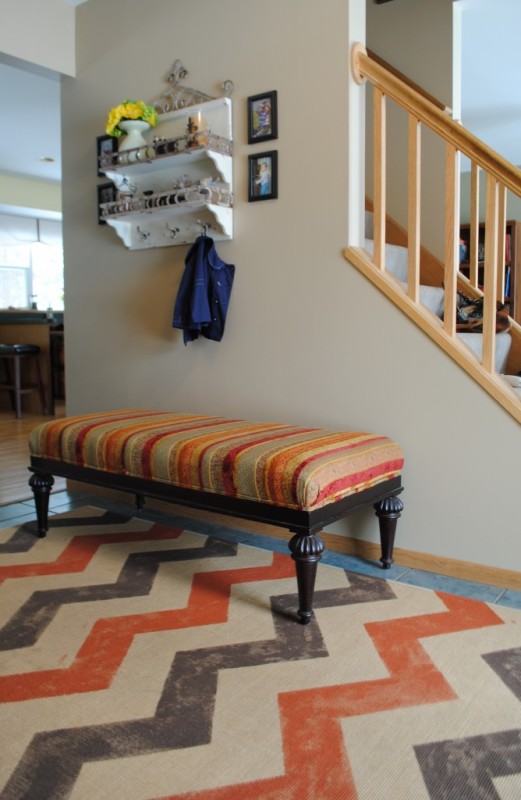
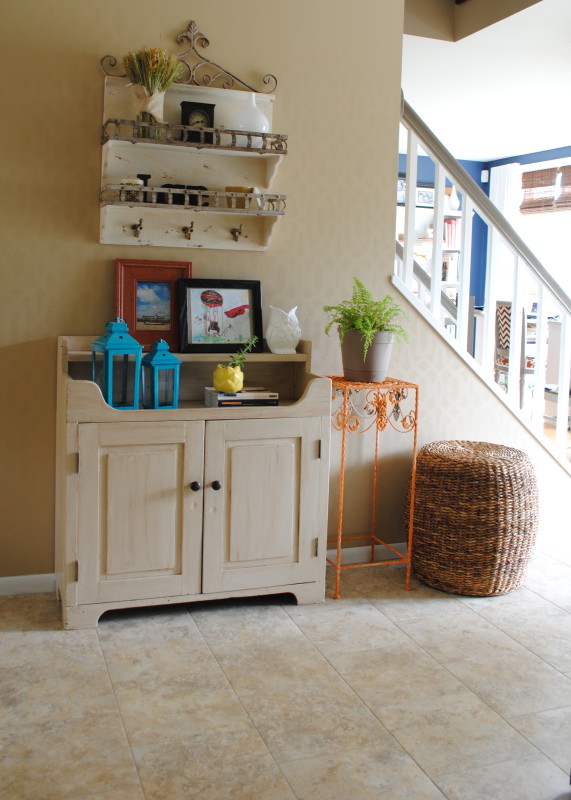
And this is the overall new Foyer space…

Foyer Remodel with newly striped walls, fern art, and layers of colors + texture.  Spaced designed by @Jenna_Burger, WWW.JENNABURGER.COM

It’s so wonderful how the outdoors can be brought in, to enjoy throughout the entire year.  The simplicity and ease of using ferns as art is a pretty + no-cost way to create a beautiful focal point.

Bring the Outdoors in by using ferns and creating art by @Jenna_Burger, WWW.JENNABURGER.COM

As an Apartments.com Brand Influencer, I strive to share ideas + do it yourself projects not only for those who live in homes, but also easy & affordable ideas + creations for apartment dwellers.  Next time you’re looking for something unique + meaningful + free for your walls, turn to the outdoors.

For more great ideas on creating a meaningful home, especially for those who rent, turn to the Renter Resources section on Apartments.com.  It is filled with interesting + useful information to make your dwelling reflect you.

Visit Sponsor's Site

Foyer Reveal

You guys have been troopers holding out this long for the final reveal of the foyer.  I was waiting on a few pieces that I had ordered, and over the weekend they finally arrived.  I hurriedly styled and took pictures of the space, and this is the result…

Foyer Remodel with newly striped walls, fern art, and layers of colors + texture.  Spaced designed by @Jenna_Burger, WWW.JENNABURGER.COM

It is so fresh + updated.  I’m thrilled with the result and it wasn’t a lot of work.

A new greige paint color + wide horizontal stripes + a gold dresser + a few added accents = A revamped foyer that makes a statement

Past Posts you may be interested in
gorgeous gold dresser + new foyer paint colors —> Click here
10 top greige colors —> Click here
tips + tricks for painting stripes —> Click here

Let me take a step back and show the evolution of the space over that past few years.  When we moved in a little less than 4 years ago, the space was dark and the complete opposite of inviting.  The mouldings were wood, the floor was a dark teal ceramic, and the space looked dated.  Actually this picture (from 2011) shows it better than when we moved in with the walls painted and the chevron sisal rug.

'Before' Foyer Revamp

Within that year, I stenciled the wall, tackled the staircase (no more carpet), changed the wood mouldings to white, and installed a new luxury vinyl tile floor. The result (from 2012)…

'Before' Foyer Revamp

A lot of tone-on-tone cream hues.  Not really my style. Hence the 2013 revamp!

Let’s take a tour of the new space…

This is the main “feature” wall of the foyer.  It’s a fairly small space, with a lot going on.  The foyer, office, and dining room/kitchen are all off of the foyer space, as well as the entry to the garage, the coat closet / pantry, and the laundry.  A lot.  As much as the space needs to be pretty, it also had to be super functional and not cluttered.  It’s a high traffic area with our family coming and going throughout the day.

Foyer Remodel with newly striped walls, fern art, and layers of colors + texture.  Spaced designed by @Jenna_Burger, www.sasinteriors.net

On the main wall is where I decided to add wide horizontal stripes in contrasting colors – a light greige with a dark charcoal (all the details can be found in this post).  The wide stripes visually create a taller space and fools the eye to think the space is long.  The stripes pull you in.

Foyer Remodel with newly striped walls, fern art, and layers of colors + texture.  Spaced designed by @Jenna_Burger, WWW.JENNABURGER.COM

Even though the foyer is not a huge space, it does allow room for a piece of furniture.  I found this gold “gorgeousness” dresser that is super amazing.  It had me at first sight!  As much as it’s beautiful, it also is wonderfully functional.  The 4 drawers allow plenty of storage for the kids shoes and other misc items that never seem to have a home.

Next to the dresser, I added a beautiful upholstered ottoman – perfect for sitting and putting on shoes – as well as my favorite garden stool.  A few added pillows (from other rooms in the house) + some fun accessories for the dresser, complete the space!

Foyer Remodel with newly striped walls, fern art, and layers of colors + texture.  Spaced designed by @Jenna_Burger, WWW.JENNABURGER.COM

The rug is a recent purchase from One Kings Lane and was handmade in India.  I love the pattern, as well as the two blue hues.  Since I have multiple blue paint colors throughout my home, it really ties it all together.

Here’s a view coming down the stair…

Foyer Remodel with newly striped walls, fern art, and layers of colors + texture.  Spaced designed by @Jenna_Burger, WWW.JENNABURGER.COM

For the walls above the dresser, I decided to bring the outdoors in by framing nature.  The new “art” above my dresser are dried ferns and wild flowers —> for tutorial Click Here.  They were super easy to create and are so meaningful to our home since they came right from the backyard.

Foyer Remodel with newly striped walls, fern art, and layers of colors + texture.  Spaced designed by @Jenna_Burger, WWW.JENNABURGER.COM

Look who hopped in the photo session…  My little kitten Samson.  He’s never an arms length away.

Foyer Remodel with newly striped walls, fern art, and layers of colors + texture.  Spaced designed by @Jenna_Burger, WWW.JENNABURGER.COM

Welcome, as you come through the front door, this is the view.  The light greige color was continued around the room, but the darker charcoal stripe was only added to the main wall.

Foyer Remodel with newly striped walls, fern art, and layers of colors + texture.  Spaced designed by @Jenna_Burger, WWW.JENNABURGER.COM

To continue the deep charcoal color in the space, I also used it on the back of the front door.  Now the space completely flows since the color is used in multiple places.  And just to point out, the stair railing is also a taupe / gray color, so it’s all cohesive.

Foyer Remodel with newly striped walls, fern art, and layers of colors + texture.  Spaced designed by @Jenna_Burger, WWW.JENNABURGER.COM

Foyer Remodel with newly striped walls, fern art, and layers of colors + texture.  Spaced designed by @Jenna_Burger, WWW.JENNABURGER.COM

Foyer Remodel with newly striped walls, fern art, and layers of colors + texture.  Spaced designed by @Jenna_Burger, WWW.JENNABURGER.COM

It’s a great space to come home to now.  It’s absolutely an inviting, welcoming spot to enter.  Something that it wasn’t before…

Foyer Remodel with newly striped walls, fern art, and layers of colors + texture.  Spaced designed by @Jenna_Burger, WWW.JENNABURGER.COM

Thanks for taking a tour of my recently finished foyer revamp!  This space has had quite the transformation over the years.  I hope you enjoyed!  If you want to see more spaces in my home, click on over to my House Tour.

Pallets. Pallets. Pallets.

Pallet projects + creations have been on the ‘Hot List’ for quite a while.  Crafters and DIYers love creating upcycled projects using pallets because of the unique and aged look of the wood, plus you can get them at a very low cost or even for free.

Just this morning I received an email from a follower who created this fun, interesting, and informational infograph (i heart infographs – do you?) on the Ultimate Guide to Upcycling with Pallets.  Since I am always asked by readers where do I find pallets or how do I dismantle them to create something new, I thought I would pass this along…

Ultimate Guide to Upcycling with Pallets - Infograph featured on WWW.JENNABURGER.COMvia

Interesting, right?

I have made my fair share of pallet creations and love each of them.  Take a look…

[dopwgg id=”11″]

At the same time that pallets are loved by so many and creations from beds to headboards to sofas have been made, there has also been controversy on the safety of pallets being used in the home.  I recently read this article and it kind of got me thinking about the wood and where it came from and what it’s been exposed to.  If you are someone who loves using pallets, it’s definitely an important read!

Funky Junk Donna wrote an entire post on everything you need to know about pallets – what to look for, how to dismantle them, and the signs of a bad pallet.

Something to think about and consider when making your next Pallet creation…

Please share…  What pallet creations have you made?