
How-to Prep + Season a New Chalkboard Wall
It’s August – WOW! Where has the Summer gone?! Obviously for me with a newborn (+ 2 older kids), it’s been a busy few weeks, but I just can’t believe the days are passing by so quickly. For some of you back to school is only a few short days away. For us, school doesn’t start till after Labor Day so we get to enjoy few more weeks of late mornings, lazy days, and soaking up the sun!
Since I have 3 kids now, lately I’ve been trying to be overly organized and prepared. Thinking + prepping ahead of time is my M.O. With back to school around the corner, Lowe’s put the Creative Team to the challenge to create something that would be appropriate for the jump back to the classroom. Since I’ll now have 2 in elementary school – yikes – I started thinking about what my kids will need to do to get up & moving in the mornings! Outside of the bedrooms + hall bath is a small space that I thought would be perfect for something. After some thought, I decided on creating a chalkboard wall {which makes 3 in the house… you can never have enough wall to write on – the other 2 chalkboard walls are in the basement and at our family central command center}. It was the perfect idea since they’re fun & easy to update.
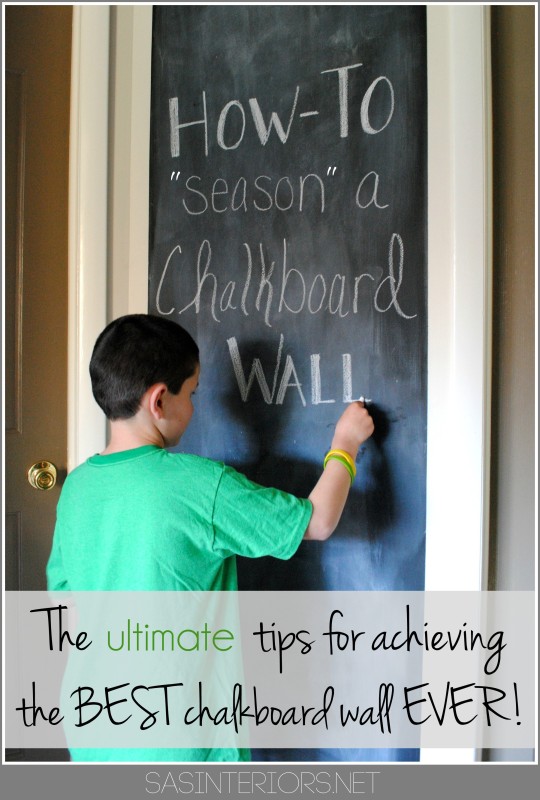
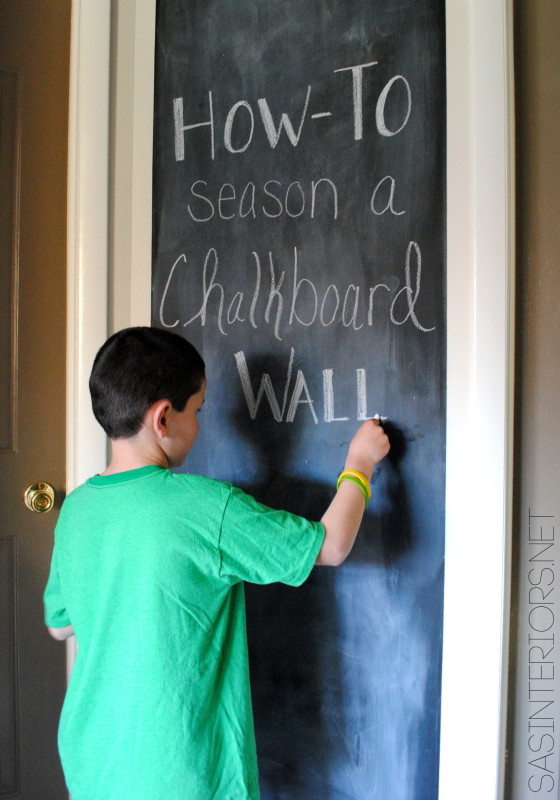
Since this is our 3rd writable wall for chalk, I though I would share a few tips + tricks that I’ve learned along the way. Here is the ultimate + best way to PREP & SEASON a new chalkboard wall.
The Prep
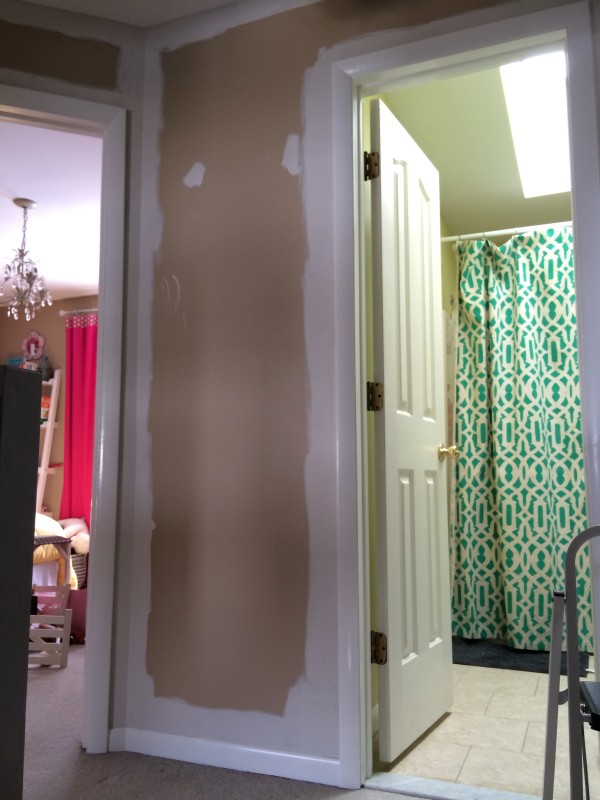
To start off, I chose to give the upstairs hallway a fresh new coat of paint. The color ‘before’ was the same as the foyer before it got striped. It was way too beige for my current taste, so I chose a lighter + brighter feel.
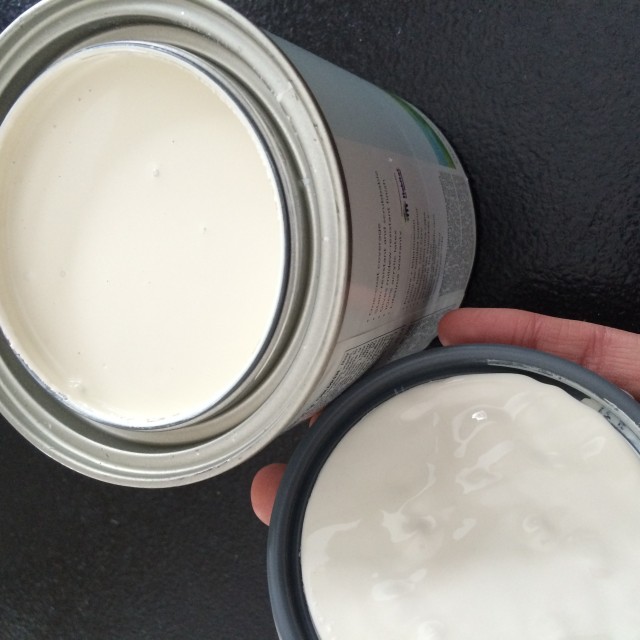 The new hallway color: Benjamin Moore Plaster of Paris (I used Valspar paint, which Lowe’s color matched for me)
Once the walls were done, which took no time at all since the space is small, the area for my new chalkboard wall was ready to start. I didn’t bother painting the space where the chalkboard wall was going because that would have just been a waste of time + paint, so I left that the old color.
> Tip #1: Sand to Create the Best Chalkboard Wall Surface
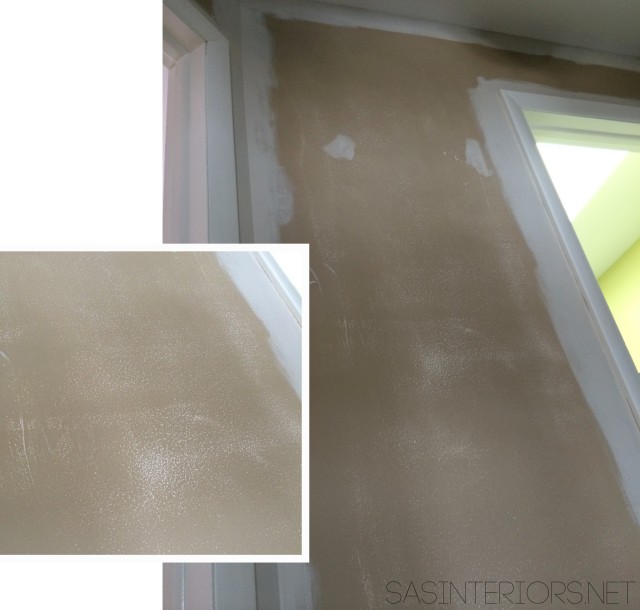
You Must Sand the wall! Typical chalkboard is super smooth – no bumps, no lumps. So the wall needs to be as smooth as possible so the chalk will adhere well & so it will erase well.
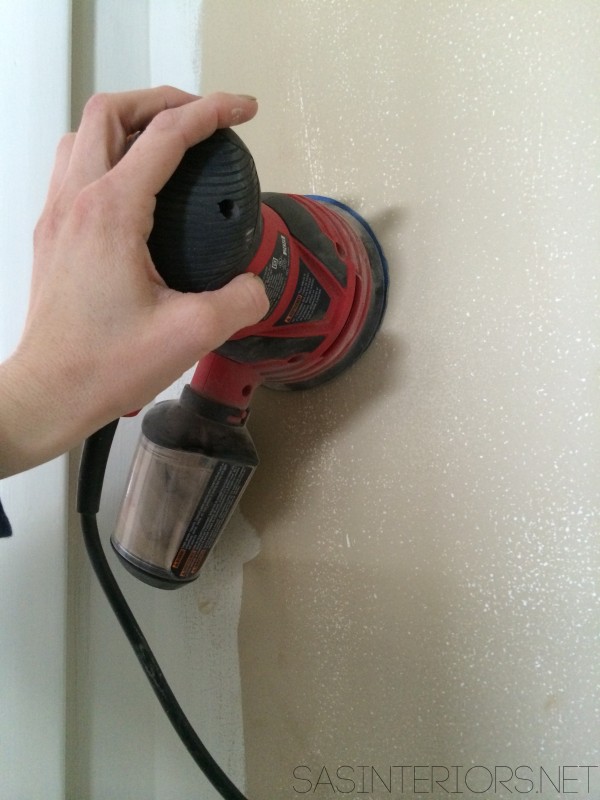
Using my favorite go-to tool, my orbital sander, I gave the entire wall a really good sanding. This wall is a typical sheetrock wall with NO extra textural details, but it was amazing how “bumpy” it was. You can see from the picture below after only a few minutes of sanding, how many “bumps” were smoothed out using the sander. Once the surface was fairly smooth, it was done. It wasn’t 100% bump-free, but it was much better than before.
Overall, this step took about 8-10 minutes and I do recommend a hand sander versus sanding by hand. Your arm will ache if you go that route.
Once the sanding was complete, it was time to paint. Before that though, I chose to add a border edge around my new chalkboard surface, similar to what I did for our Central Command Center. I felt adding this edge would give the wall a cleaner, more finished/polished look.
Using 1″ wide painters tape, I added a 2″ border on all 4 sides…
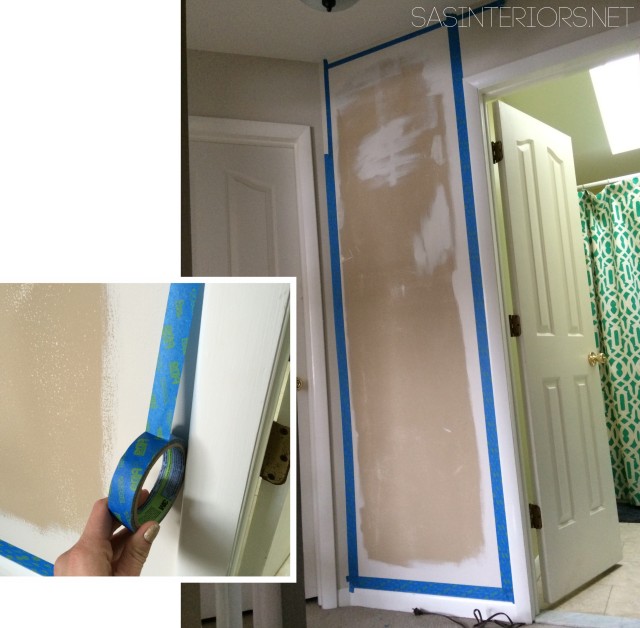 For a more thorough tutorial on creating a border, check out my post on How-To Create a Framed Chalkboard Wall
Once the border was done, it was time to get my paint-on!
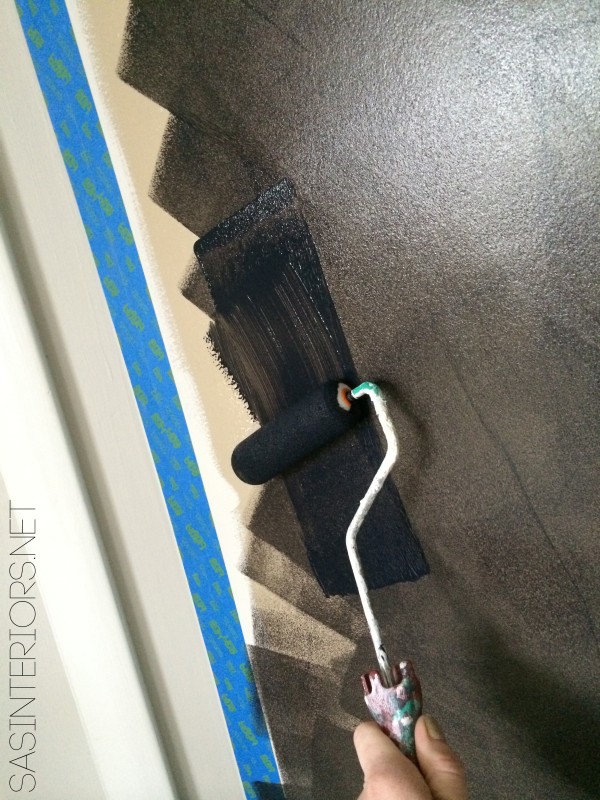
> Tip #2: Use a Roller for a Smooth Finish
Using a roller instead of a brush will get a much smoother finish. It’s also key to apply multiple light coats of chalk paint instead of 1-2 thicker coats.
Roll on the paint and smooth it out as much as possible by painting in all different directions. You want to be sure to avoid any streaks or lumps on the wall.
Overall, unlike typical wall paint which takes 2 coats, I did 4-5 light coats. It dries quickly, so there wasn’t too much downtime between coats.
This is what I used…
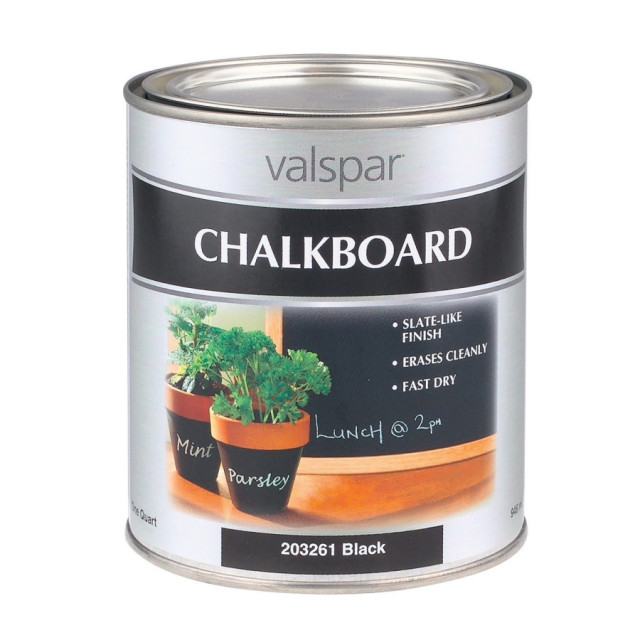 When the last coat was applied, I immediately removed the painters tape. By removing it when the paint is still wet will allow it to peel off the wall easier rather than when it’s dry.
Time to ‘Season’
The chalk paint is typically dry a few days after your last coat, but be sure to read the product instructions on the exact drying time before moving forward. Once you’re good to go, it’s time to ‘season’ the newly created chalkboard wall. I had previously never done this step and it really makes a BIG DIFFERENCE for how the chalkboard wall wears & erases.
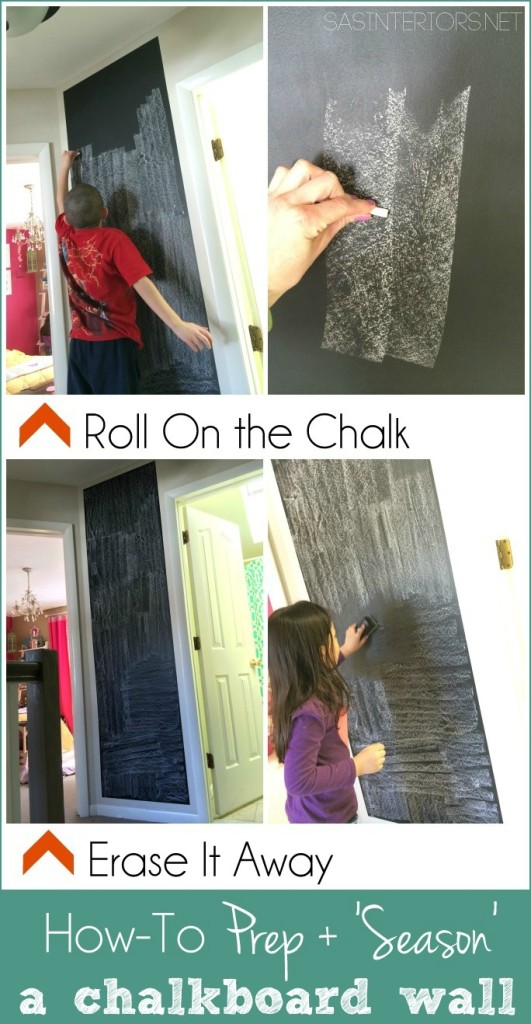
Basically there is one easy + fast step…
1. Using the side of a piece of chalk, roll it on the entire surface of the chalkboard wall.
2. Then erase it away.
So simple, but So important!
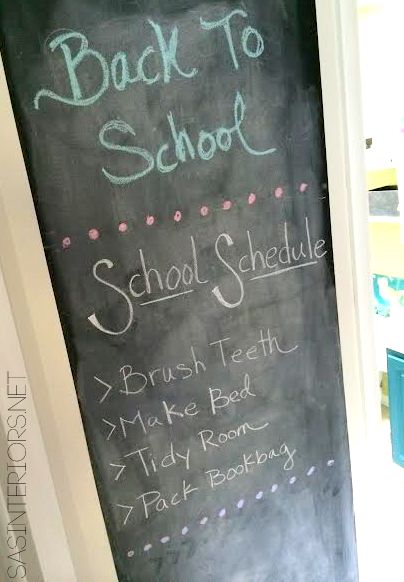
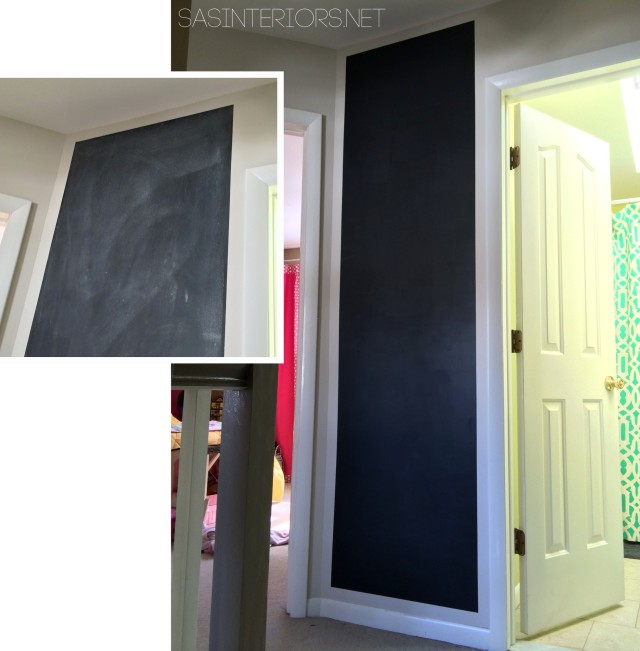
And here is the result…
A perfectly prepped + seasoned chalkboard board wall!
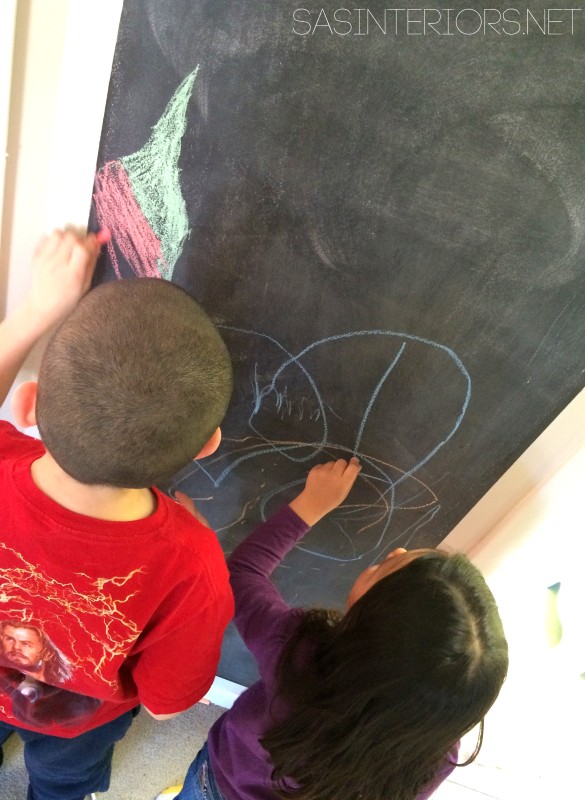
It’s ready to use…
You + Your Kids will love it!
Now we have the ultimate spot to keep the kids on schedule each morning – I hope. I’ll probably still have to give about 20 reminders as well.
This new hallway, even though small, feels so much fresher & 100% usable. I love using every square inch of our pad, don’t you?!
Have you ever created a chalkboard wall? Whether for fun or organization, chalkboard walls are perfect for any space in the house!
Disclosure: I am part of the Lowe’s Creative Team and was provided with a Lowe’s gift card to purchase items for my project. I was also compensated for my time to use the products. No one told me what to create, what to buy, how to use the product, or what to write. All opinions are 100% mine!
Comments are closed.