

DIY: How-To Reupholster a Bench

Projects in my corner of the world have been taking forever lately (for good reason, of course… aka, summer + a new baby), BUT that doesn’t mean my mind hasn’t been working at full speed conjuring up new & great DIYs + decorating updates…
Over the past months, I have thought of so much I want to tackle around the house. One spot in particular is the dining room. It really needs a pick me up! I have it all planned in my head, but putting thoughts to work (like pen to paper) isn’t always the easiest thing…
Before baby #3 came along, I had all hopes to start the task of changing the space. Not much got accomplished, but I was able to make a few updates while waiting for her arrival.
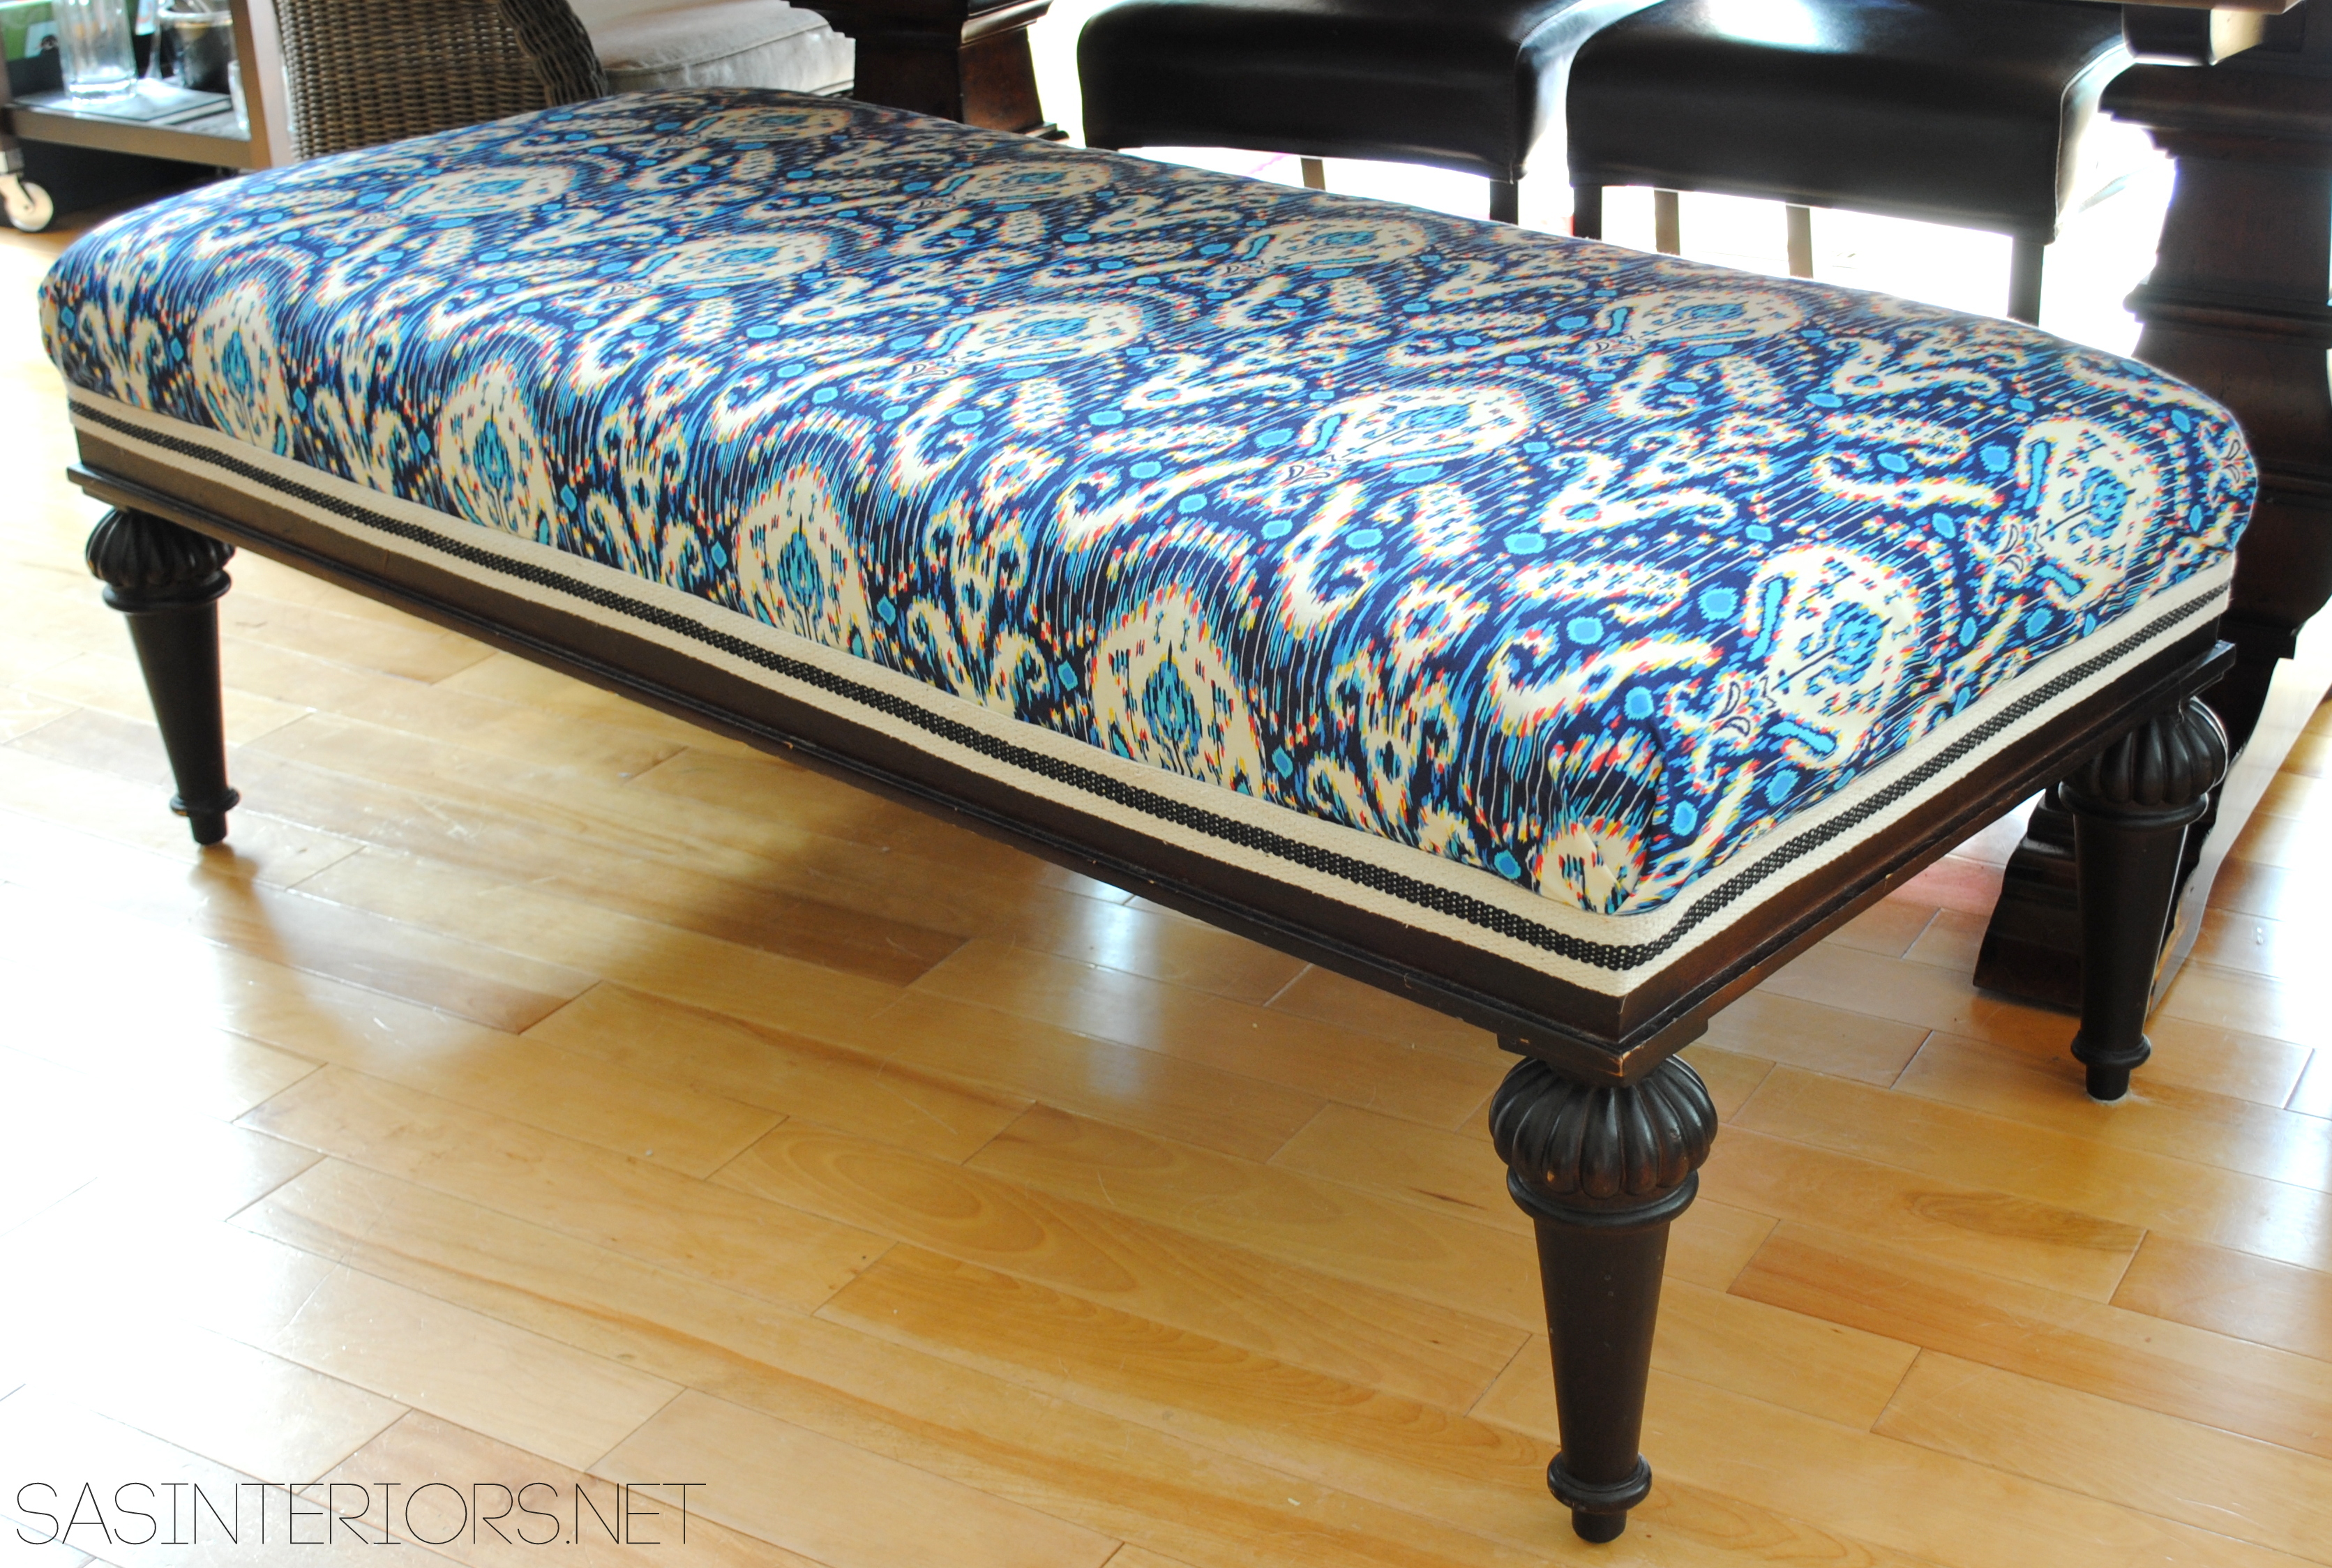
And it all started with the fabric… Back in the beginning of the year (remember I shared a sneak peek on IG?), I got this gorgeous fabric from fabric.com that was an Ikat pattern with varying shades of blues + layers of orange & yellow.
It was the perfect pattern to bring all the colors of my home together!
So there is a back story on the bench… The Mister often has a difficult time changing things (that includes selling or giving stuff away). It’s kind of difficult in a DIY home not to change things, but when we were first married we bought this bench (as well as many of our other furniture pieces) and he’s attached to it. What can I say, he’s a sentimental guy. It’s often a challenge to come to an agreement to let things go or make changes. And if he’s not too attached to it, I often start the changing process when he’s at work (hehe, I’m a sneaky gal – NOT). I do respect his wishes on certain pieces and if he doesn’t budge, I leave it alone. If he’s so-so about something, I try to be persuasive and he will usually be in agreeance. And ALWAYS in the end (not what time has it failed) he has a smile on his face and says, “you were right Jenna, it does look better” or “that was a good change”. Yes honey, I do say so myself that I was right (again).
Anyway, long story short, this bench was ONE of the pieces that took some convincing to change. And guess what in the end, I didn’t “ruin” it at all. I was strategically able to change the bench with new fabric WITHOUT damaging any of the existing (just in case he wants to have it back to what it used to look like). SCORE.
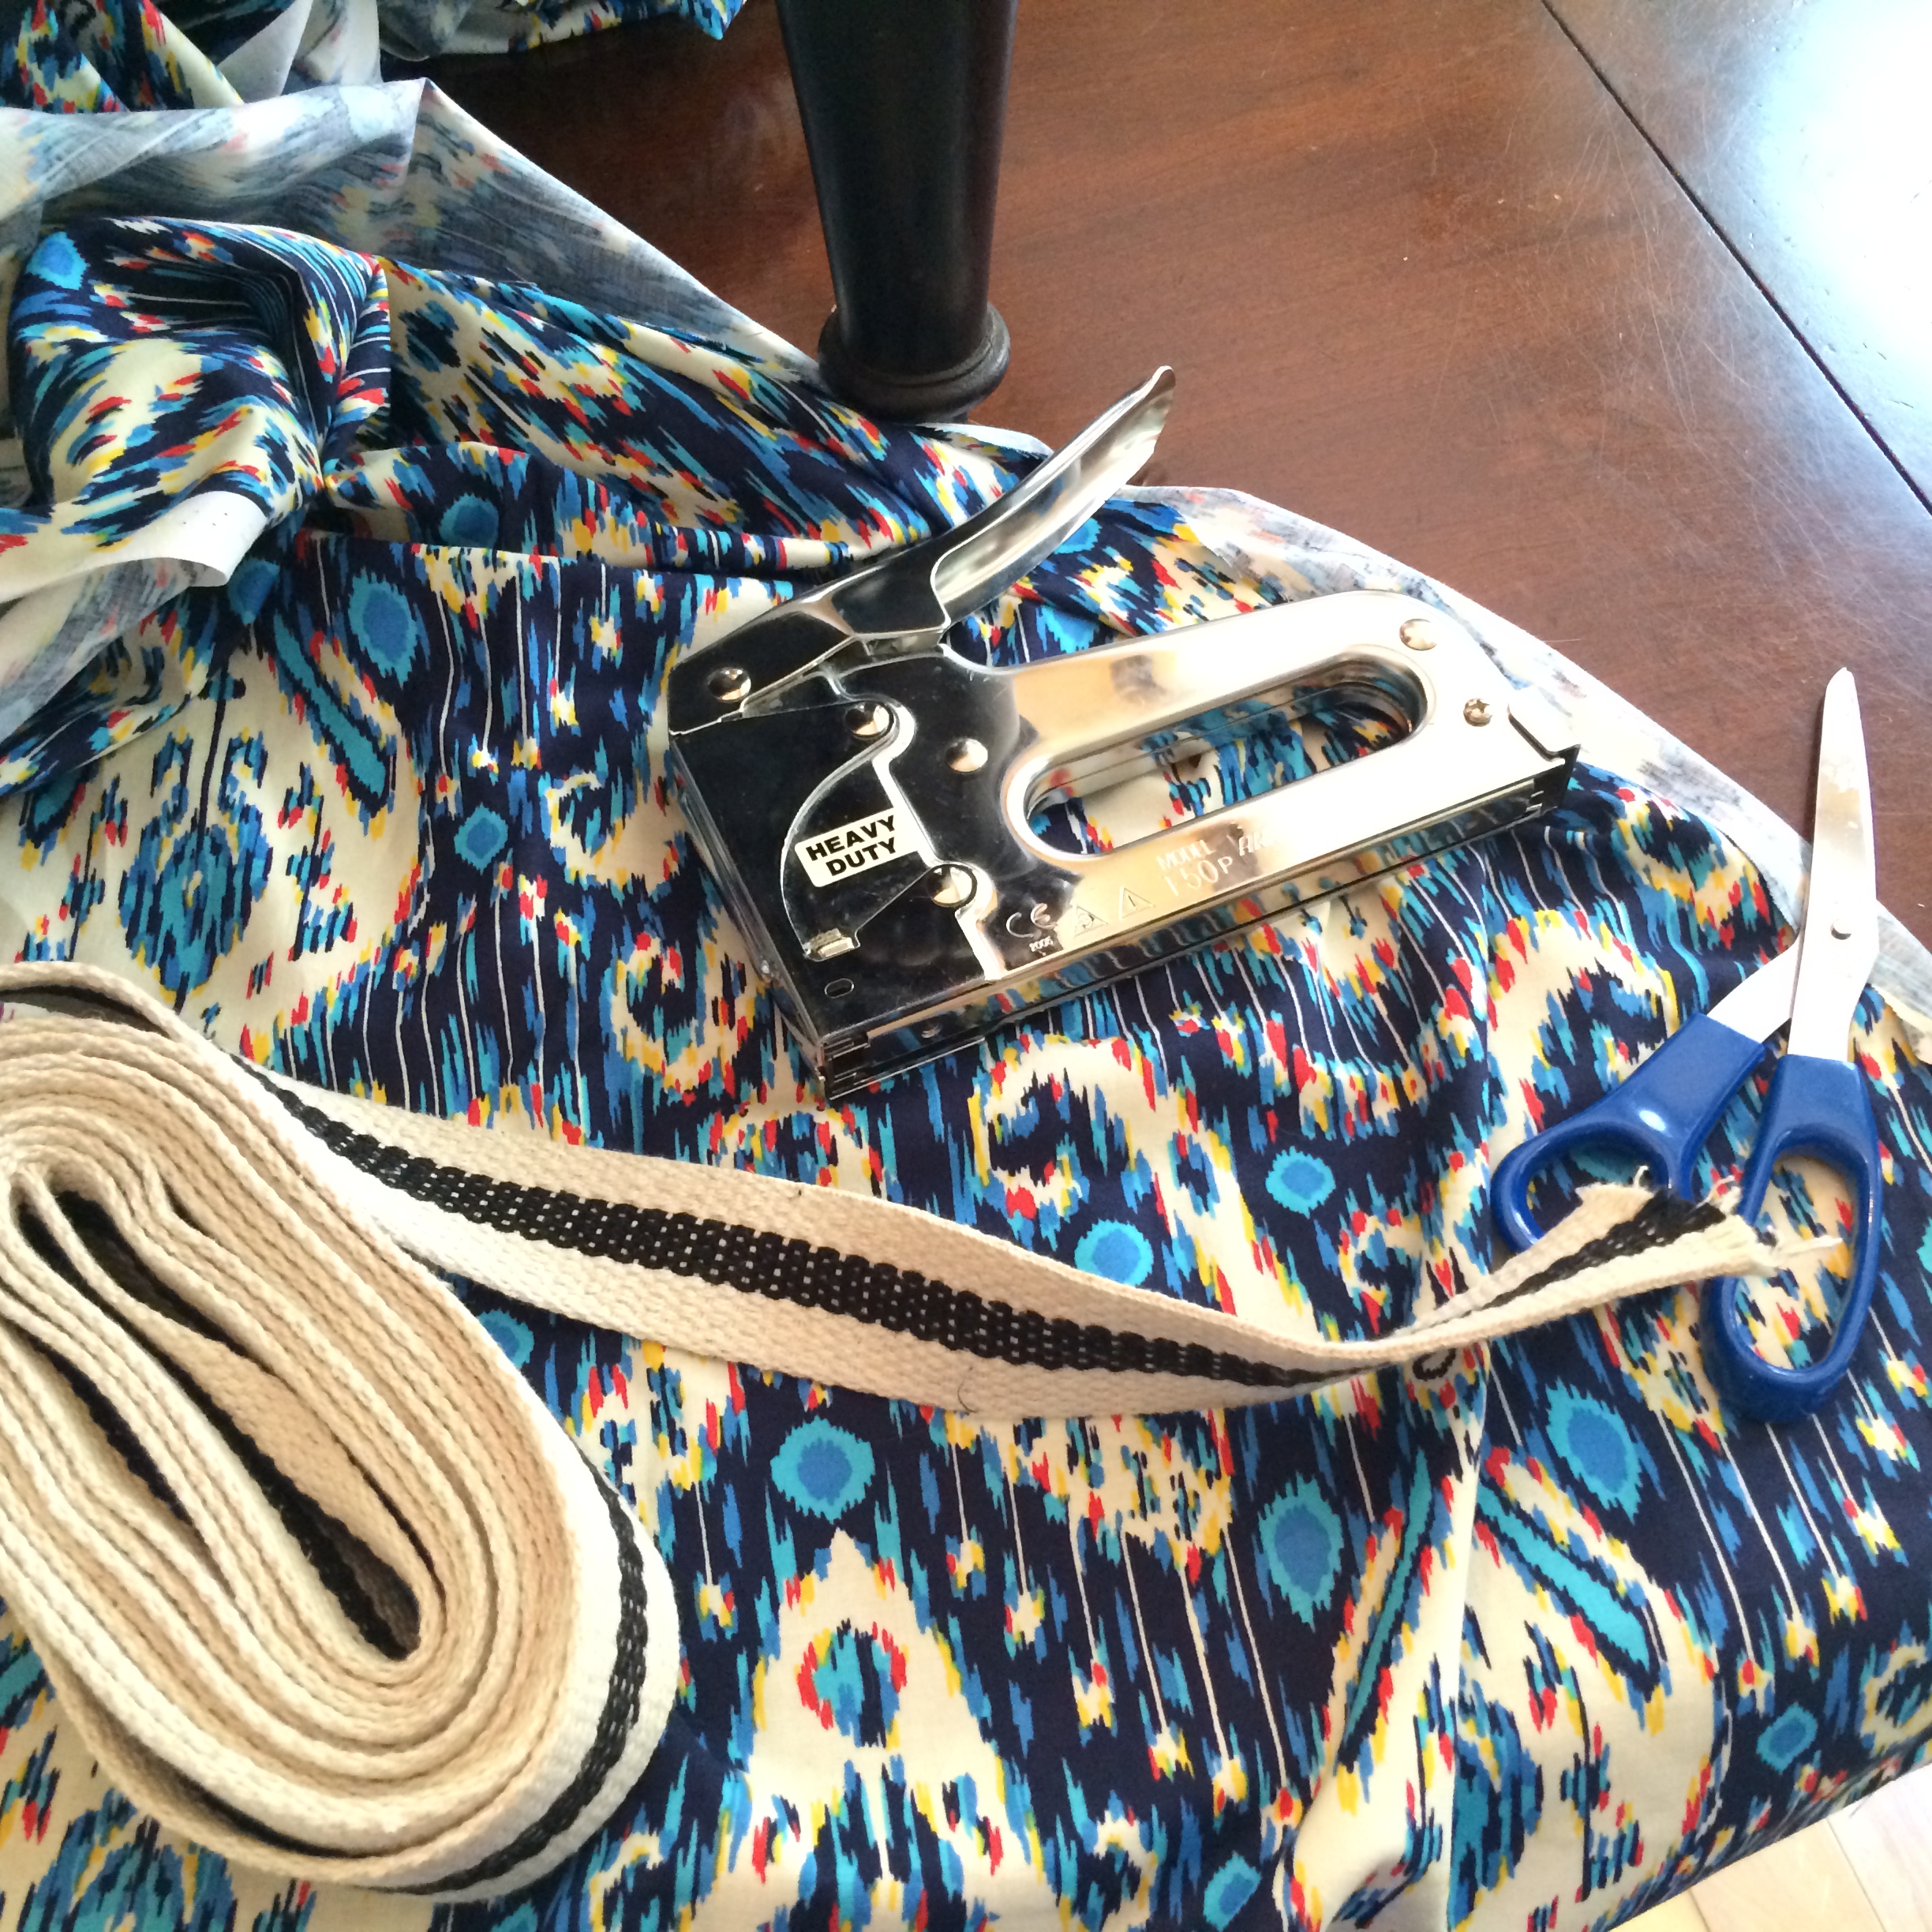
Here’s how the process went…
1. I first laid out the fabric to figure out the positioning for how it would look best.
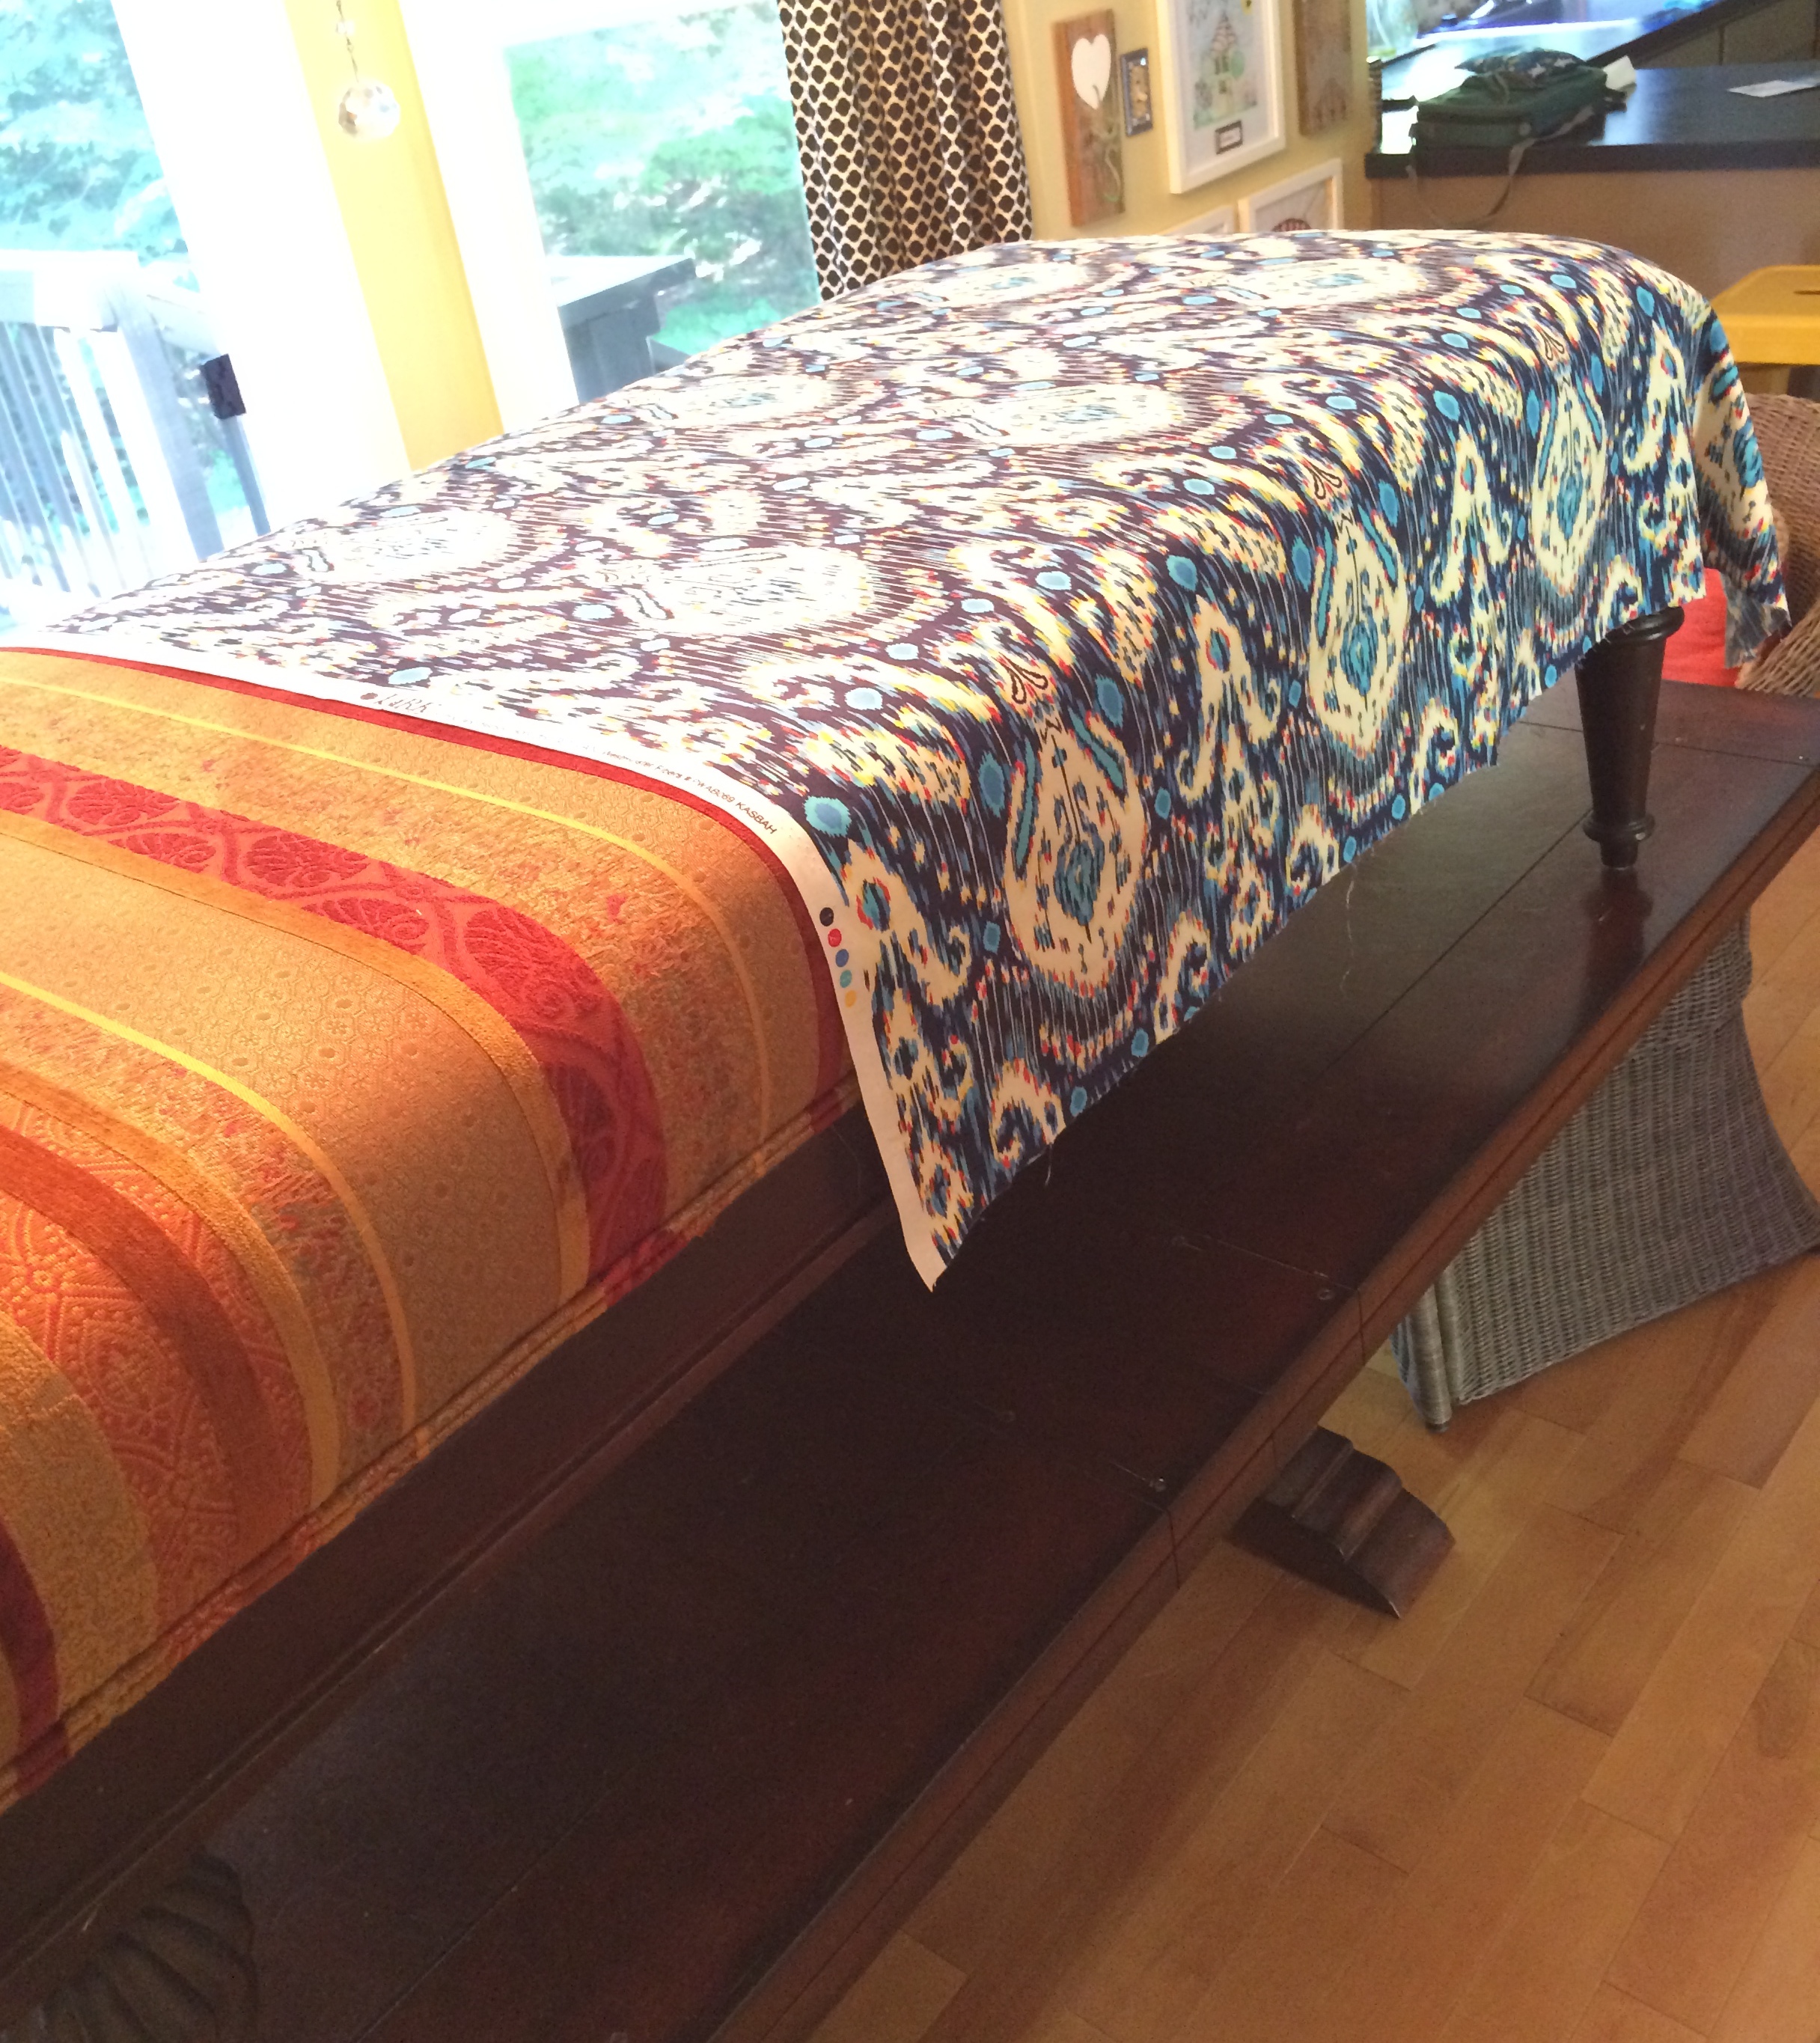
Typical fabric is 54″ wide, as was this fabric. I could have railroaded the fabric (see diagram below) which would have been easier, but I wanted the pattern the other way (regular), so I had to seam two pieces together.
 via
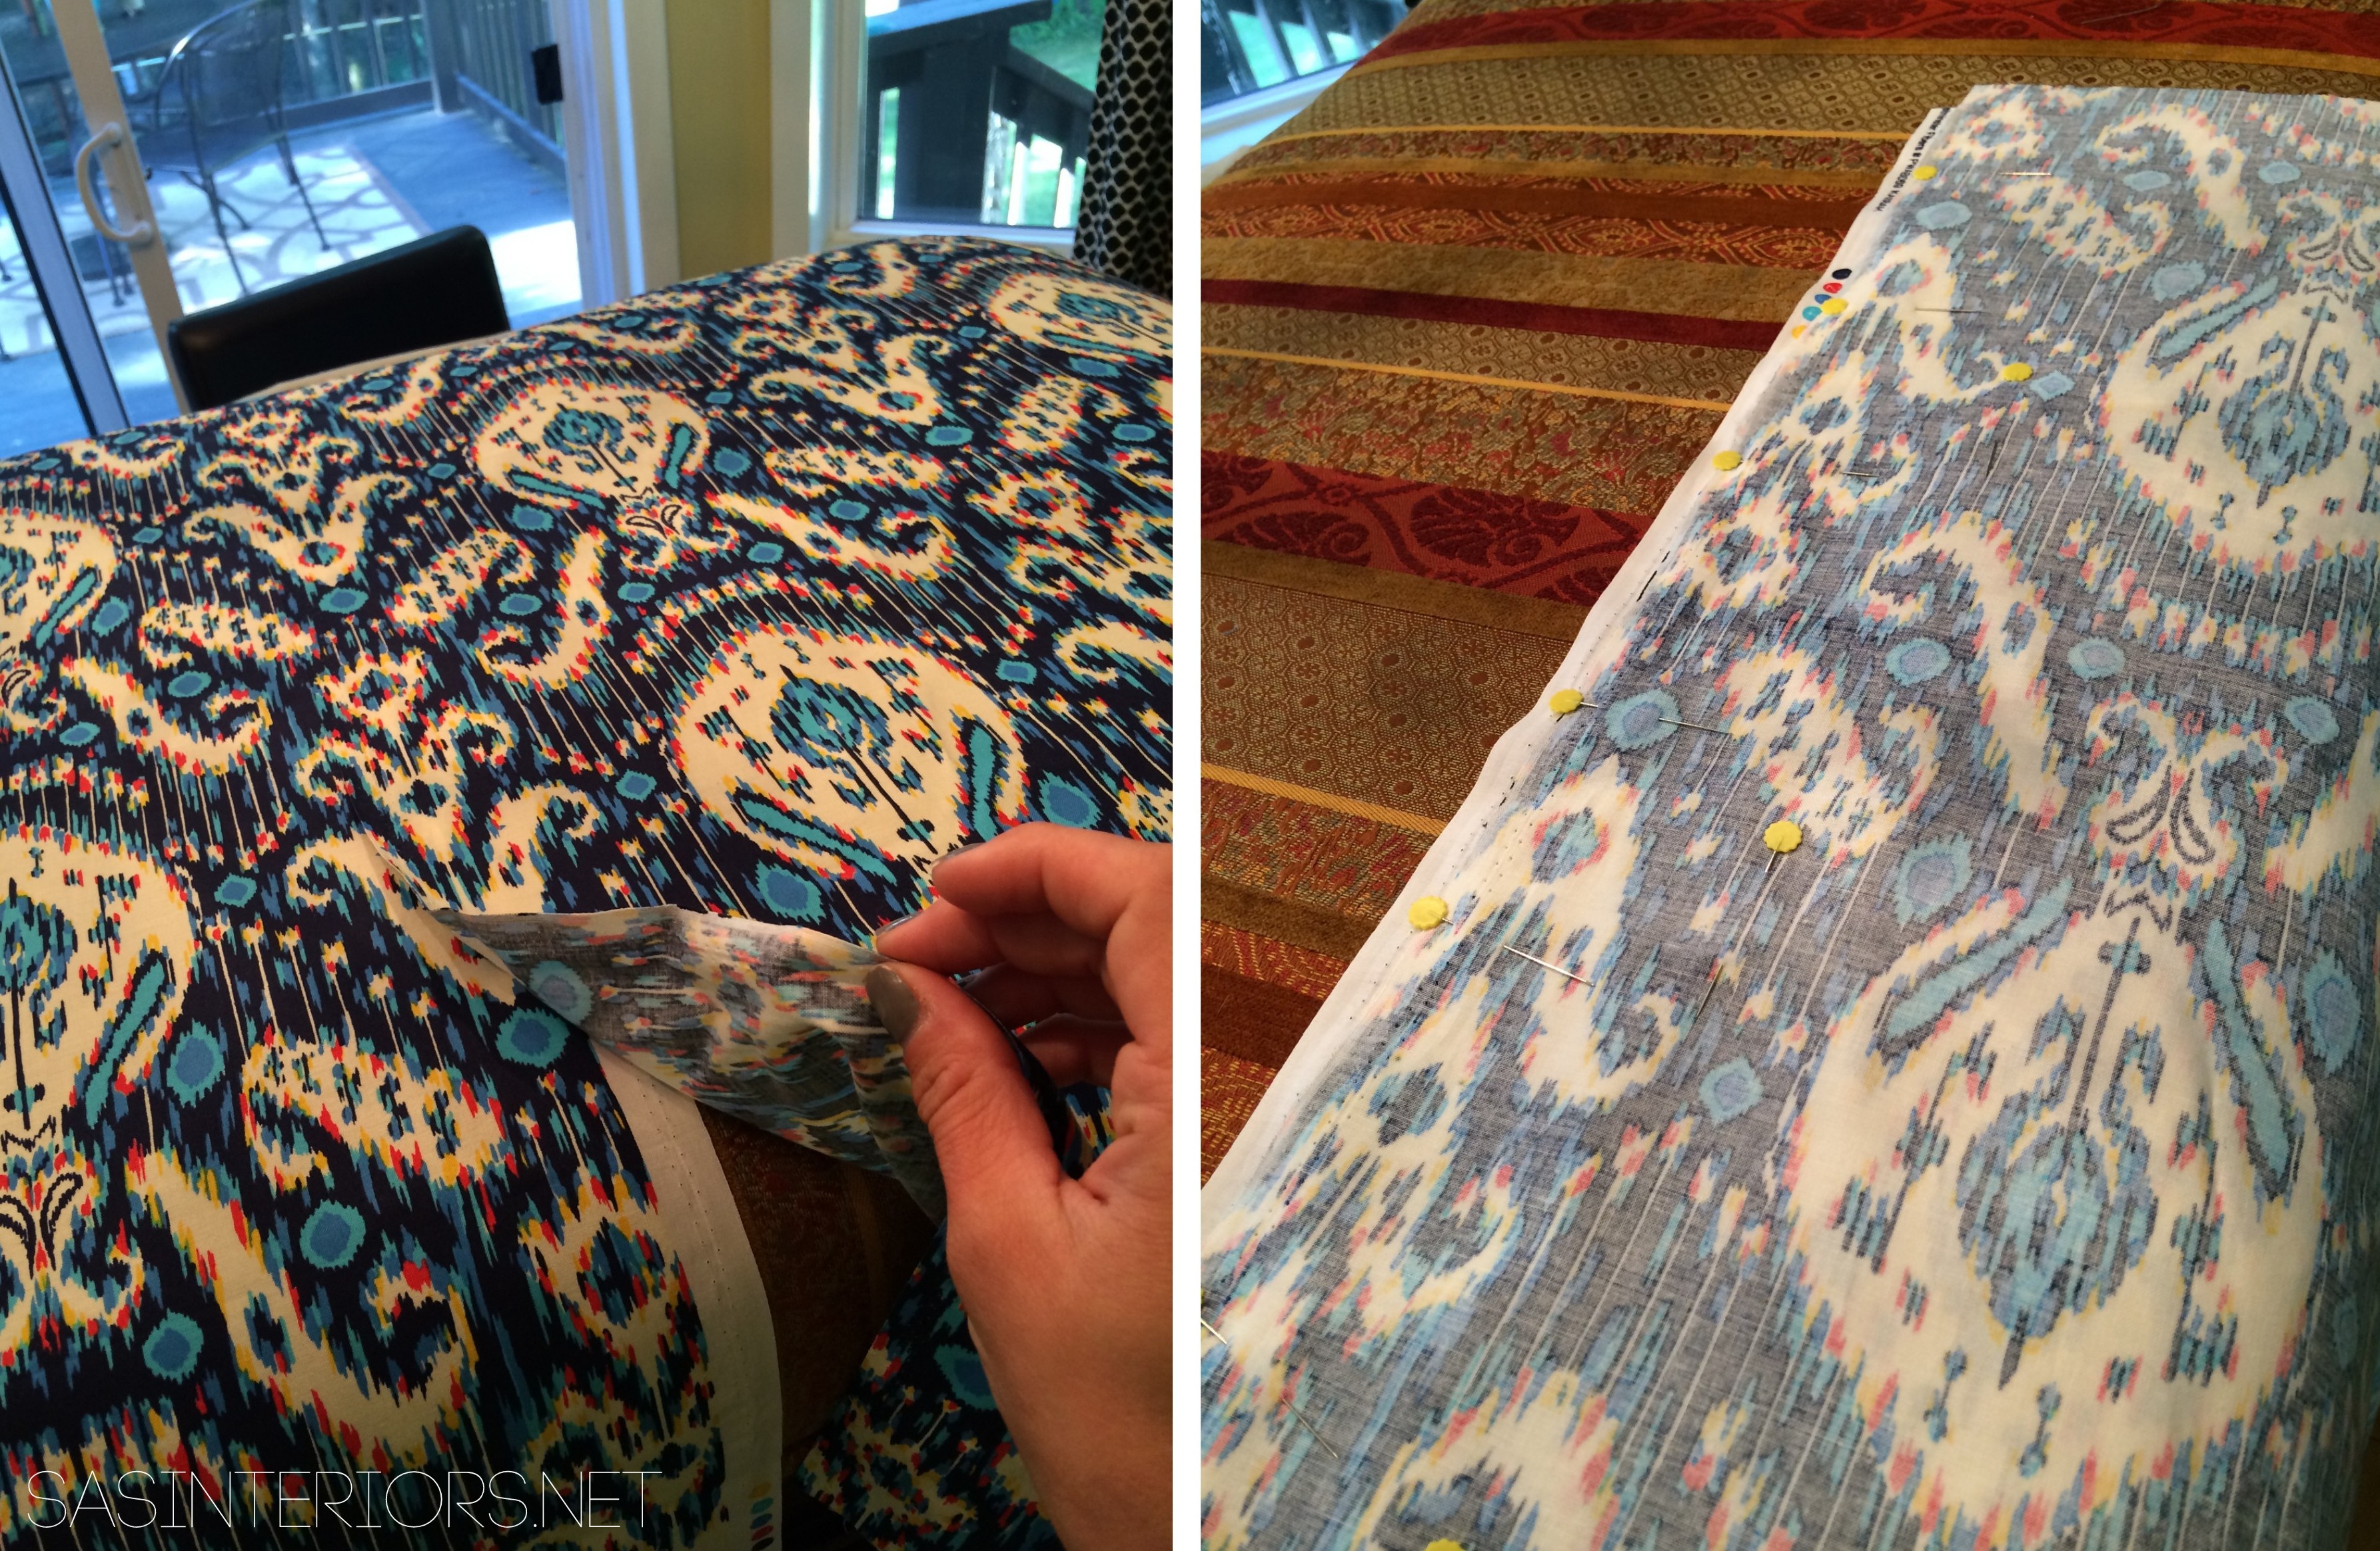
viaIt was a bit tricky and took some time, but after a few mishaps, the result was great and you would have no idea there is a seam.
2. I positioned one piece of fabric on the bench, then matched up the pattern with the second piece of fabric. Then I turned one piece over the other so the two right sides were facing each other. I pinned the fabrics together and sewed.
3. Once the fabrics were sewn together, I positioned it over the entire existing bench. Before cutting the fabric, I made sure there was plenty of it hanging over the edges so I would have enough ‘play’ for adjusting.
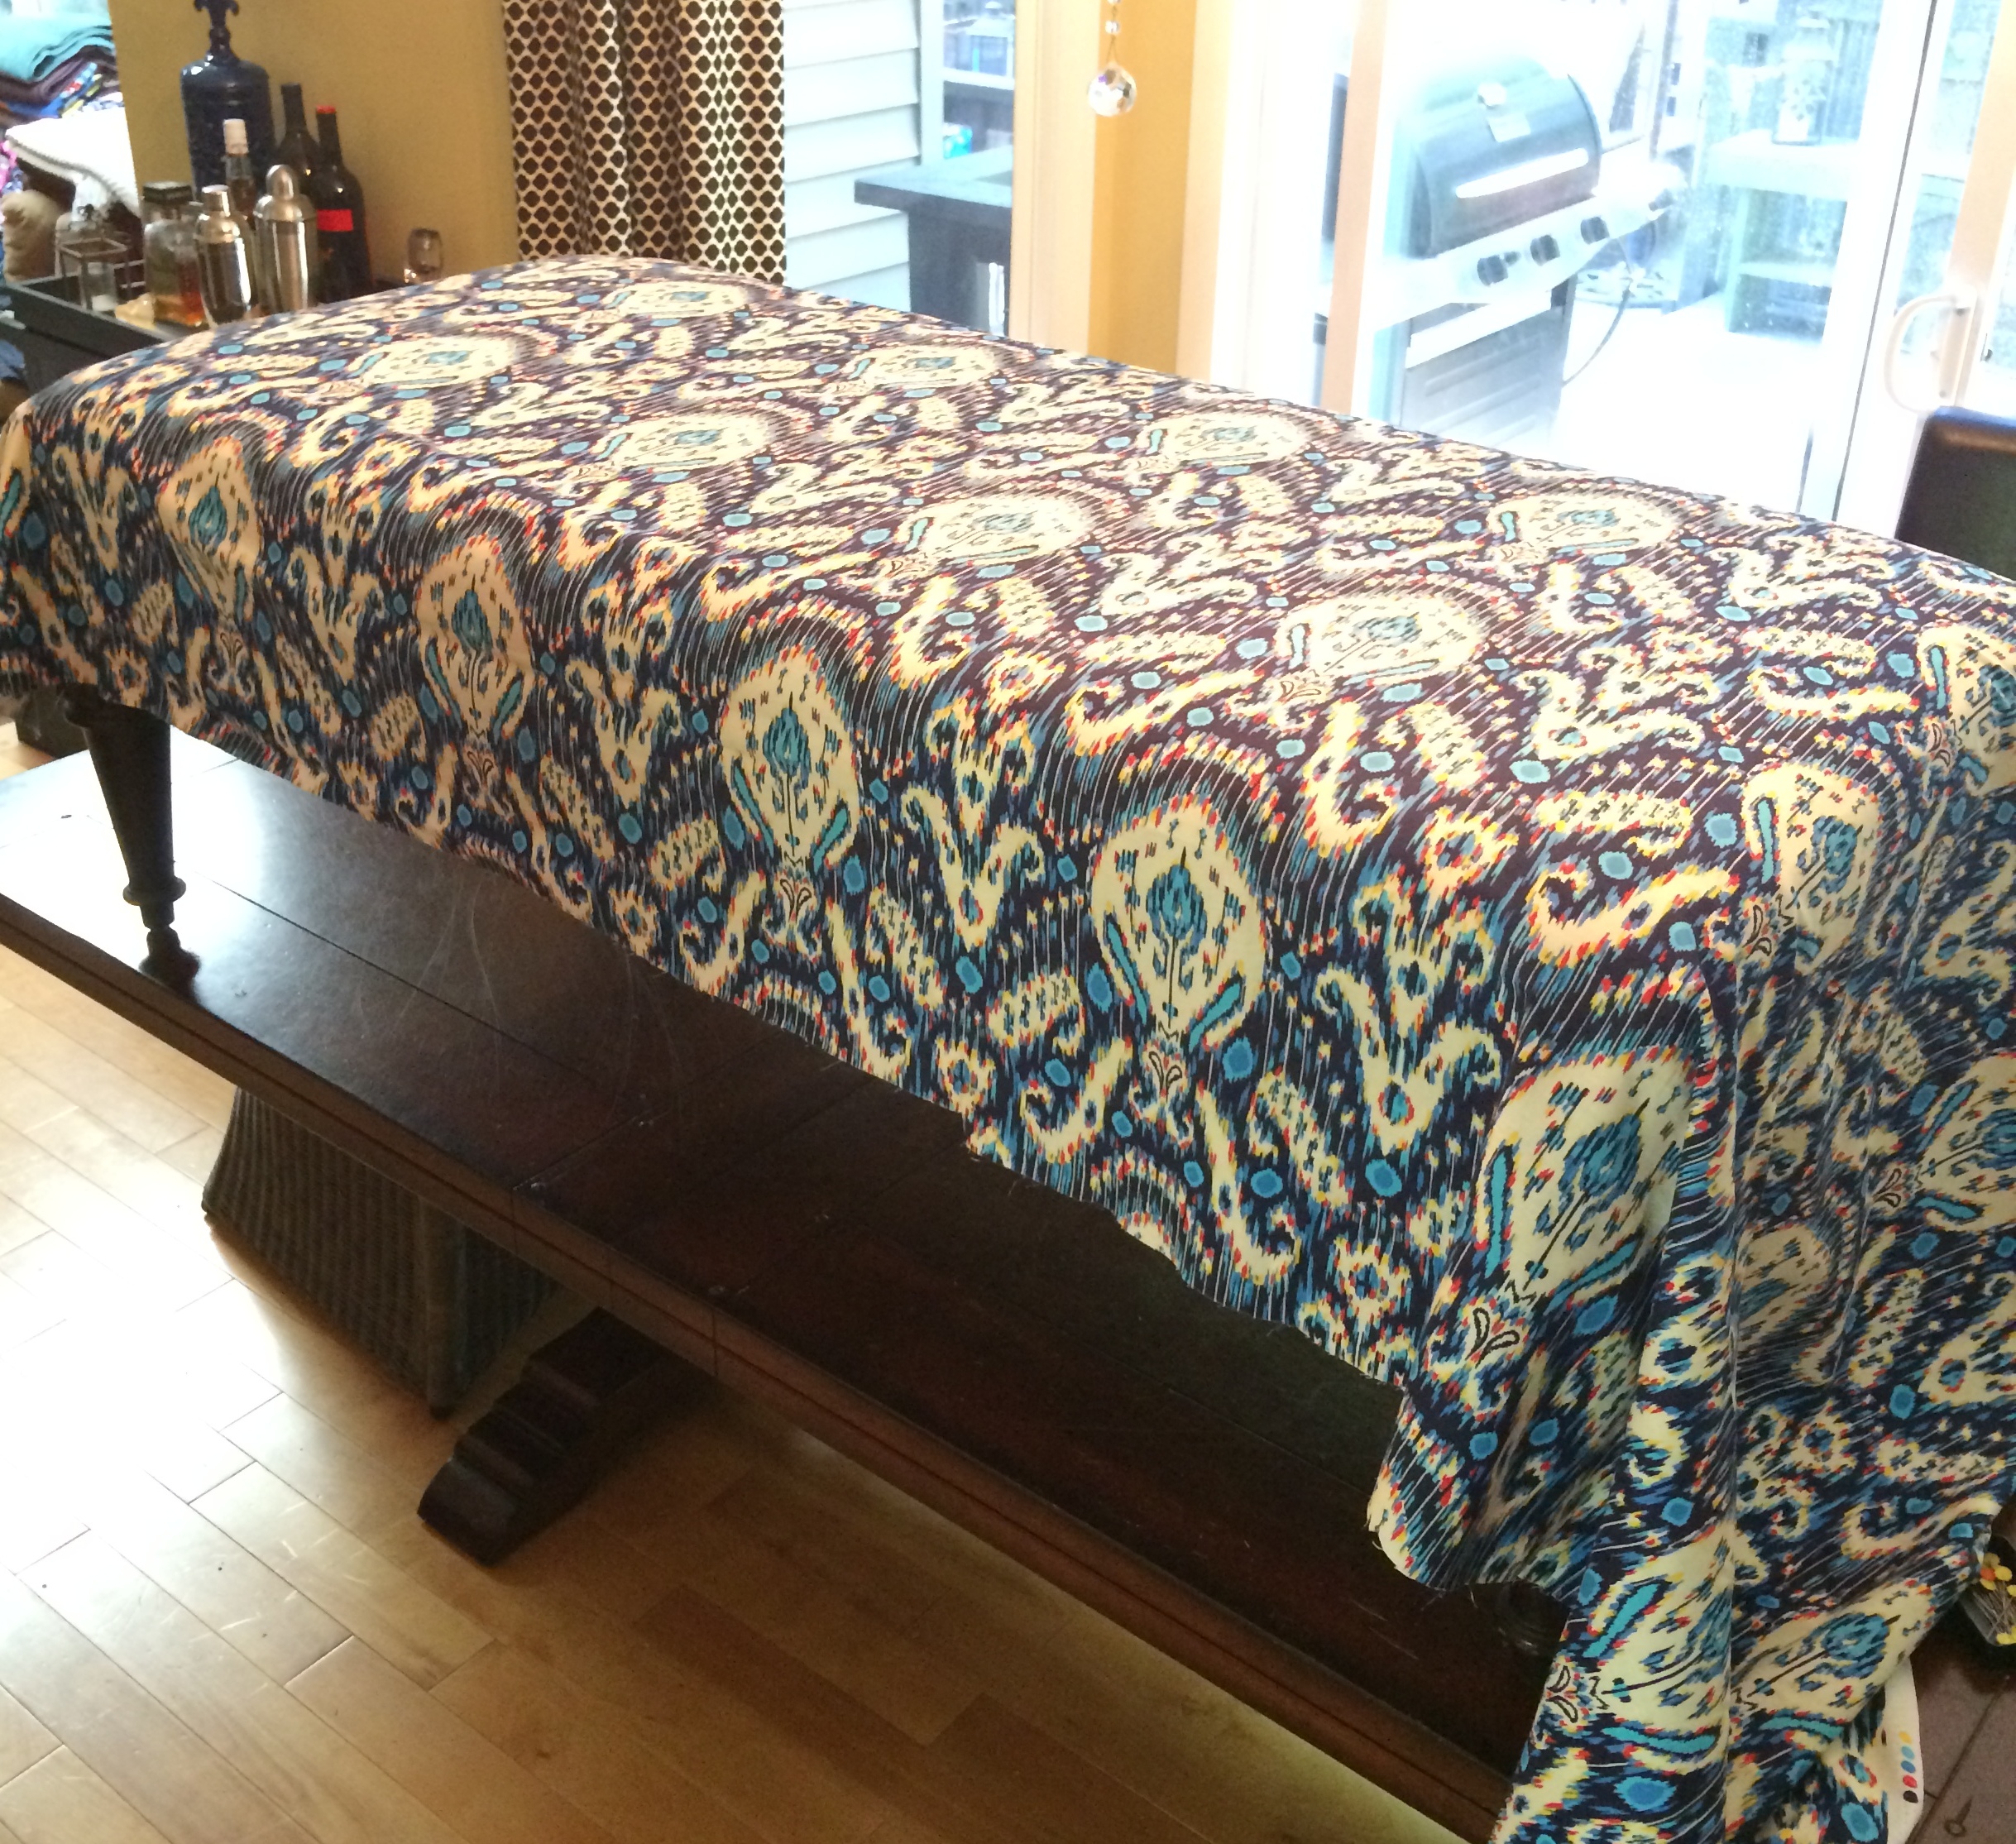
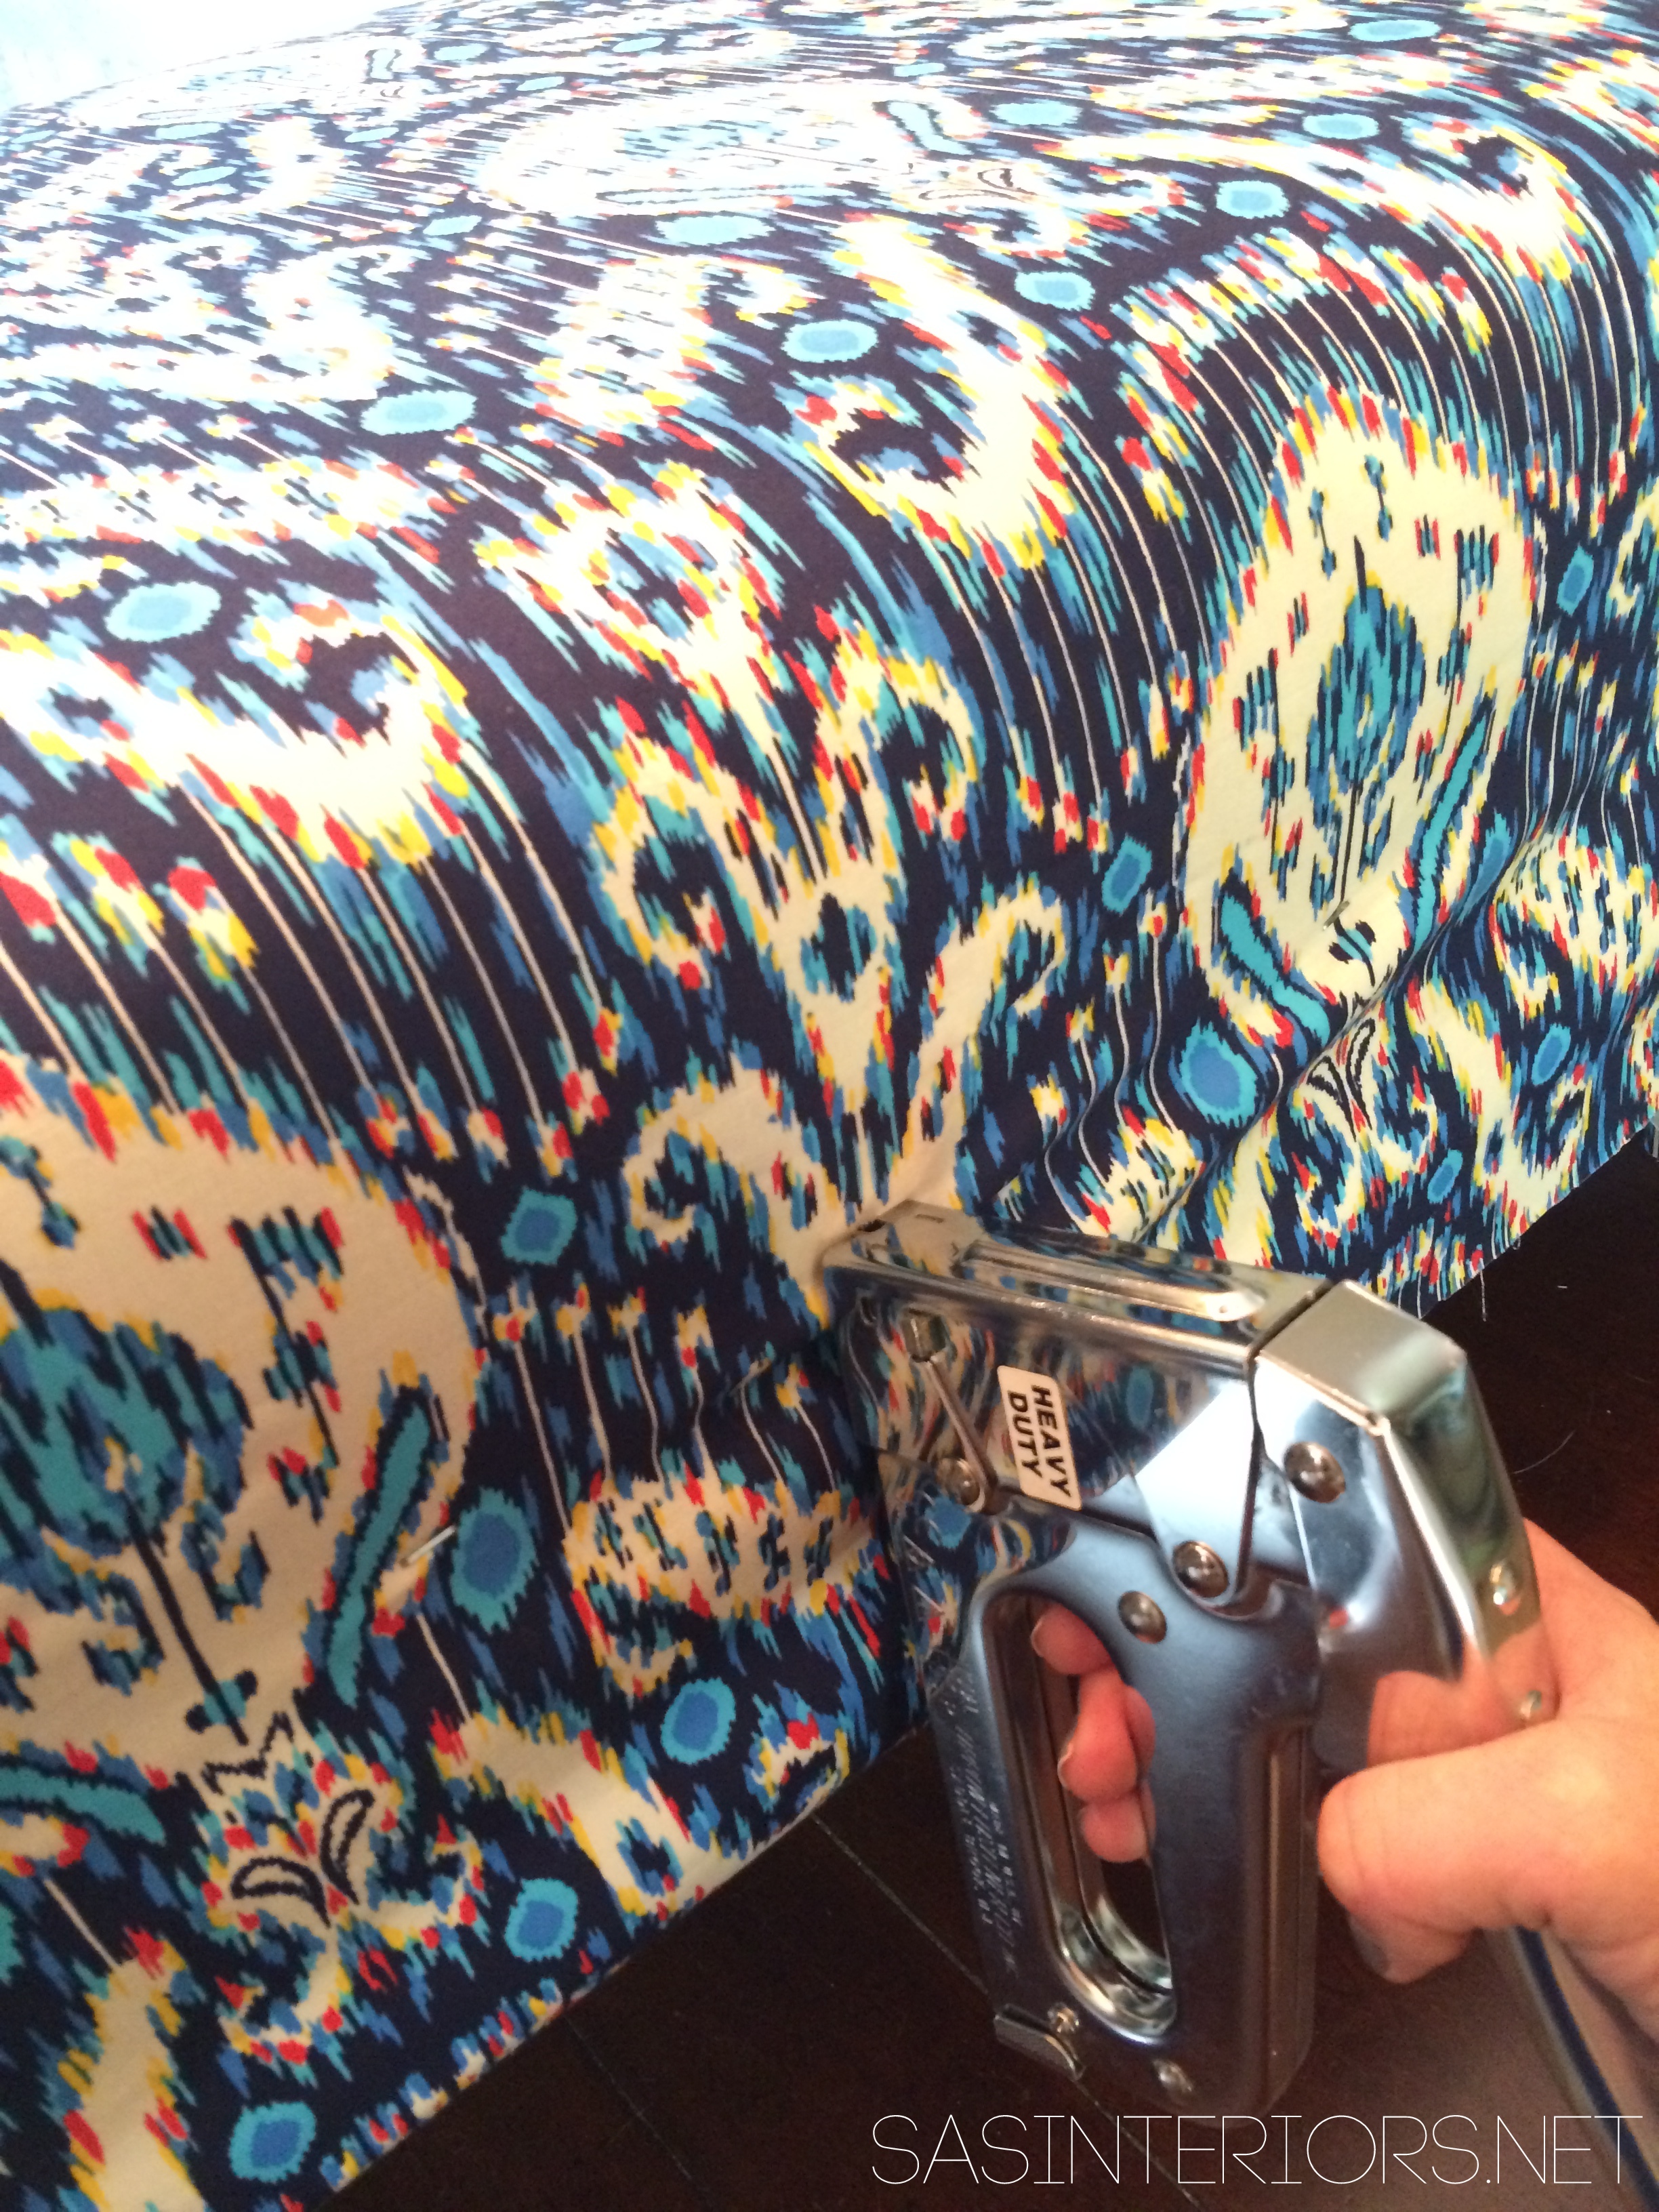
4. Once the fabric was just right, I took my staplegun and stapled the fabric to the bench. To make sure not to ‘ruin’ the bench, I stapled the fabric to the existing fabric, which if needed at some point in the future, could easily be removed.
I started in the middle of one of the long ends, then worked my way out. Once the side was complete, I pulled the fabric taught and stapled the fabric to the bench on the other side. Then I used the same steps for the shorter ends.
Next up, the corner…
5. Once the sides were done, it was time to work on the corners. I tried a few ways and this was what seemed to work + look best. I flattened out and folded over one side, then the other, and secured with a few staples.

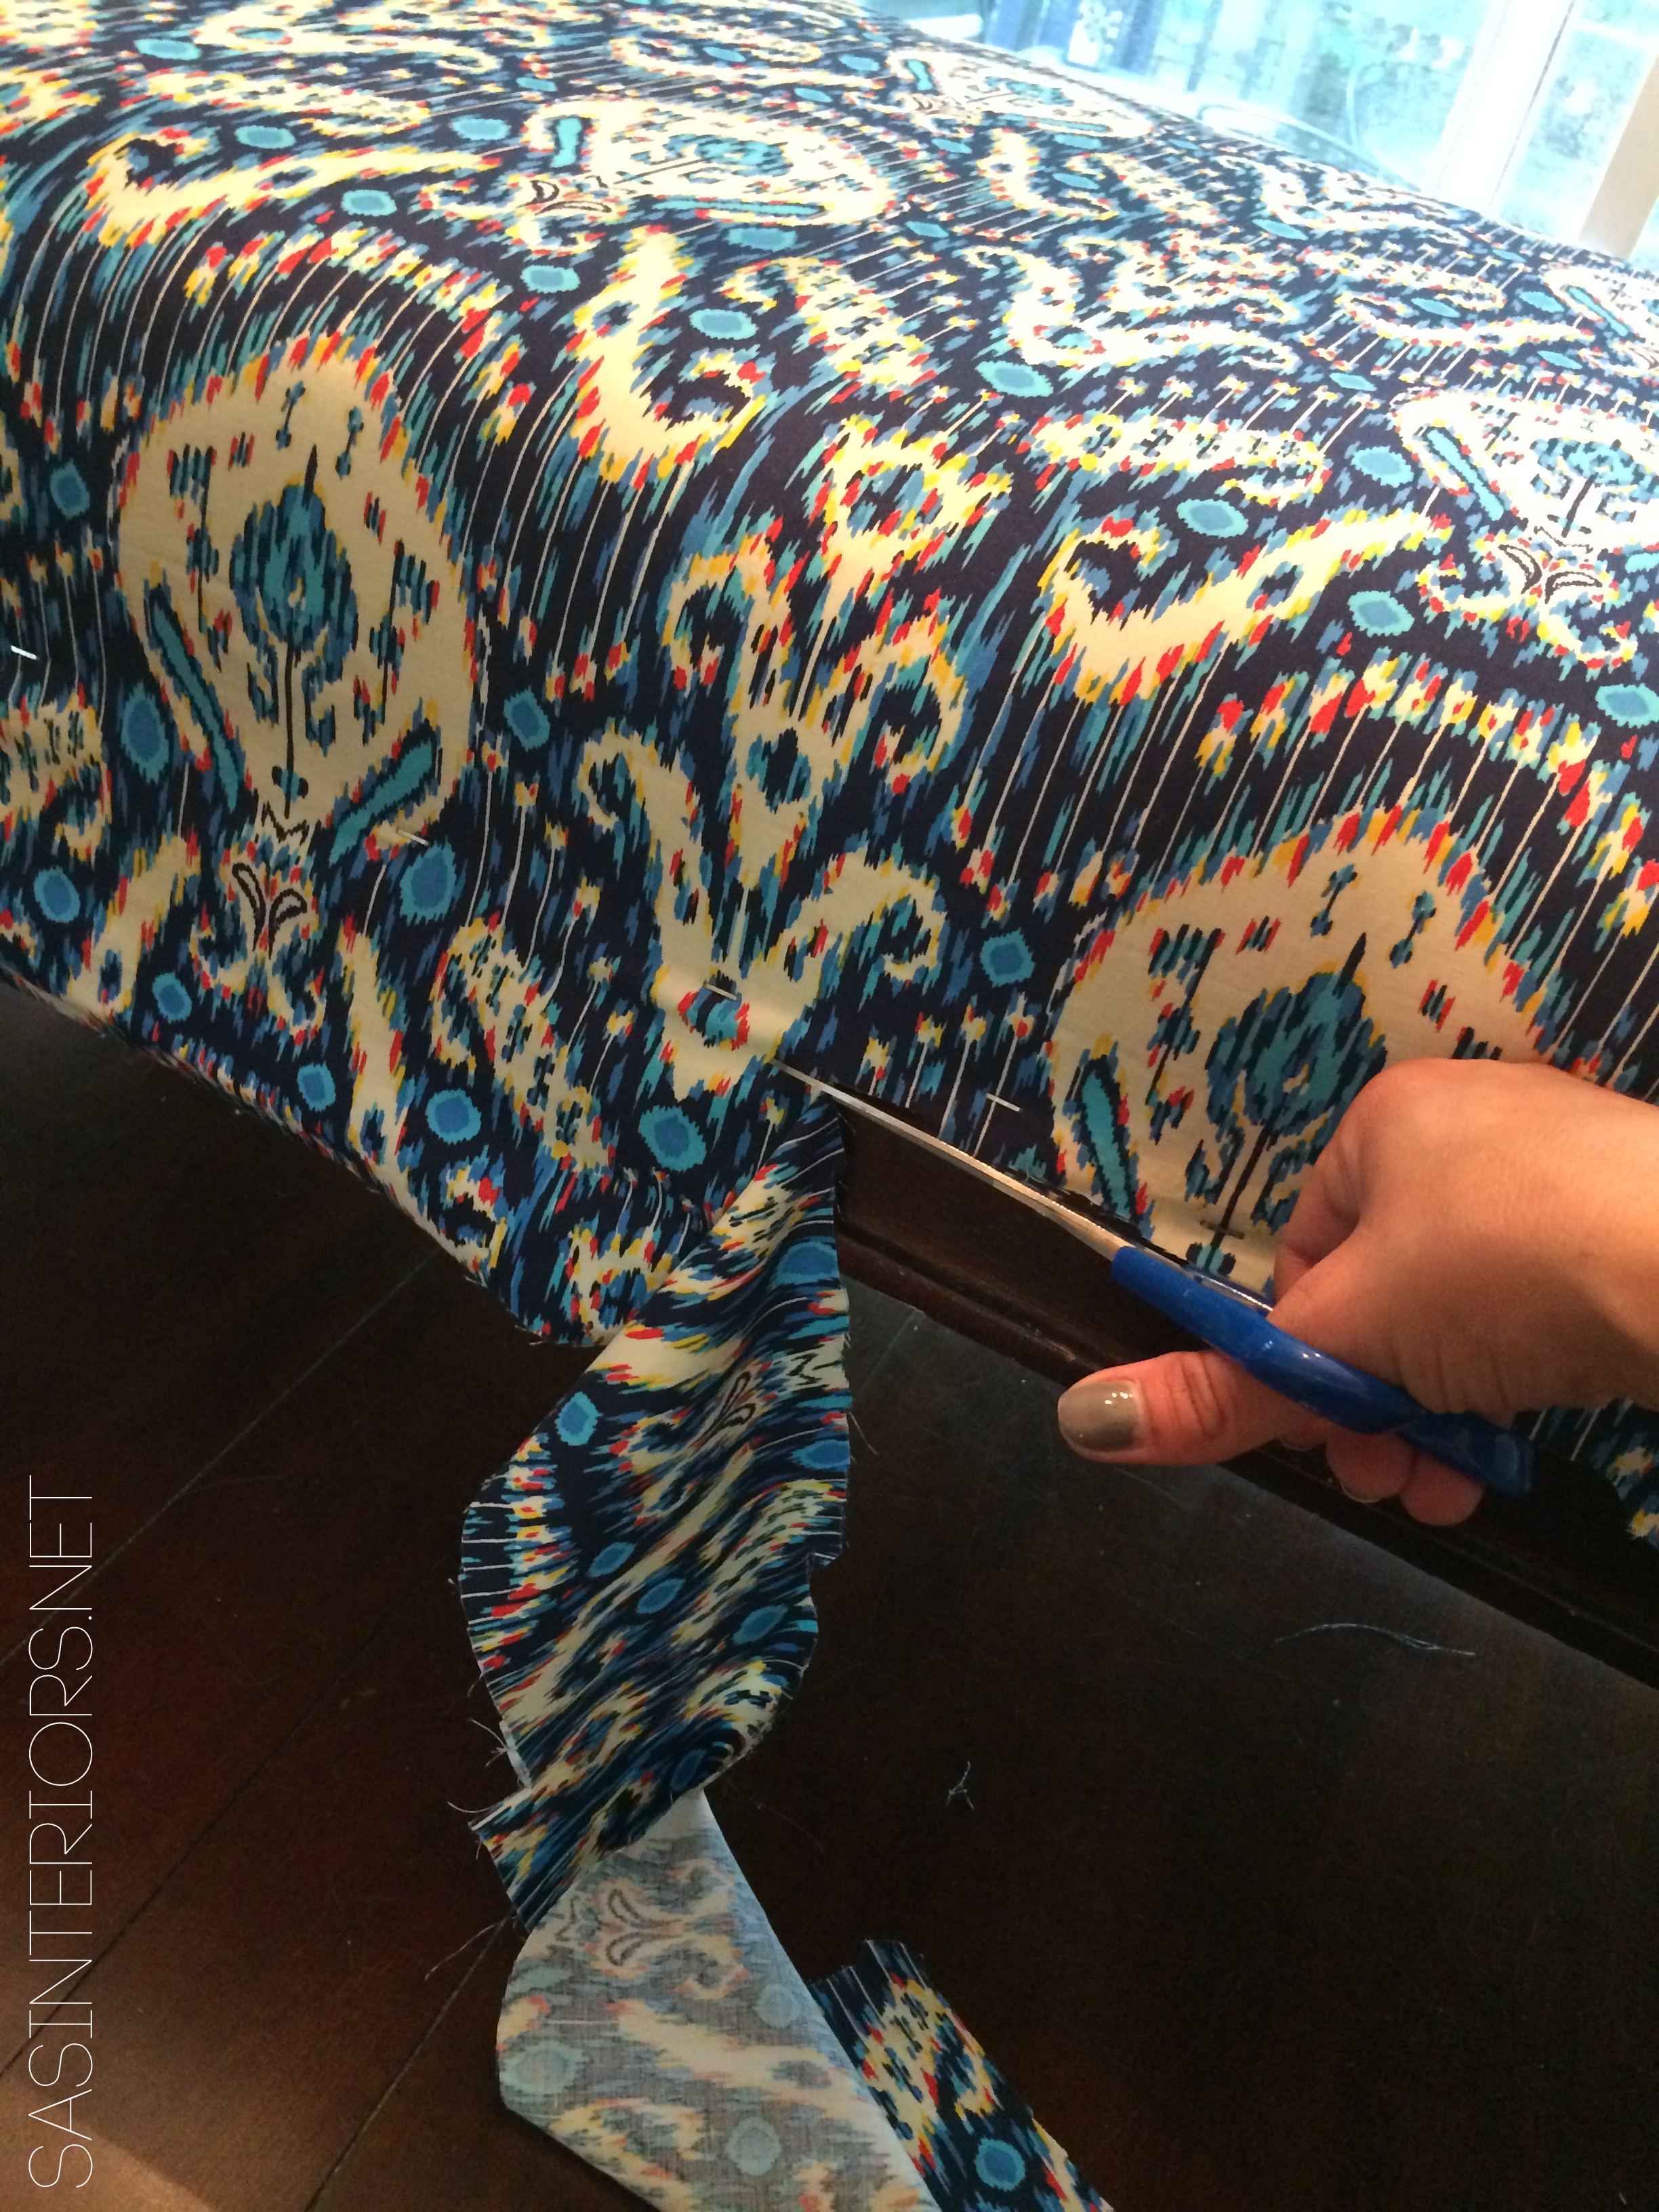
6. After the entire perimeter of the bench was secured, I trimmed the excess fabric. I cut about 1/2″ from the staples.
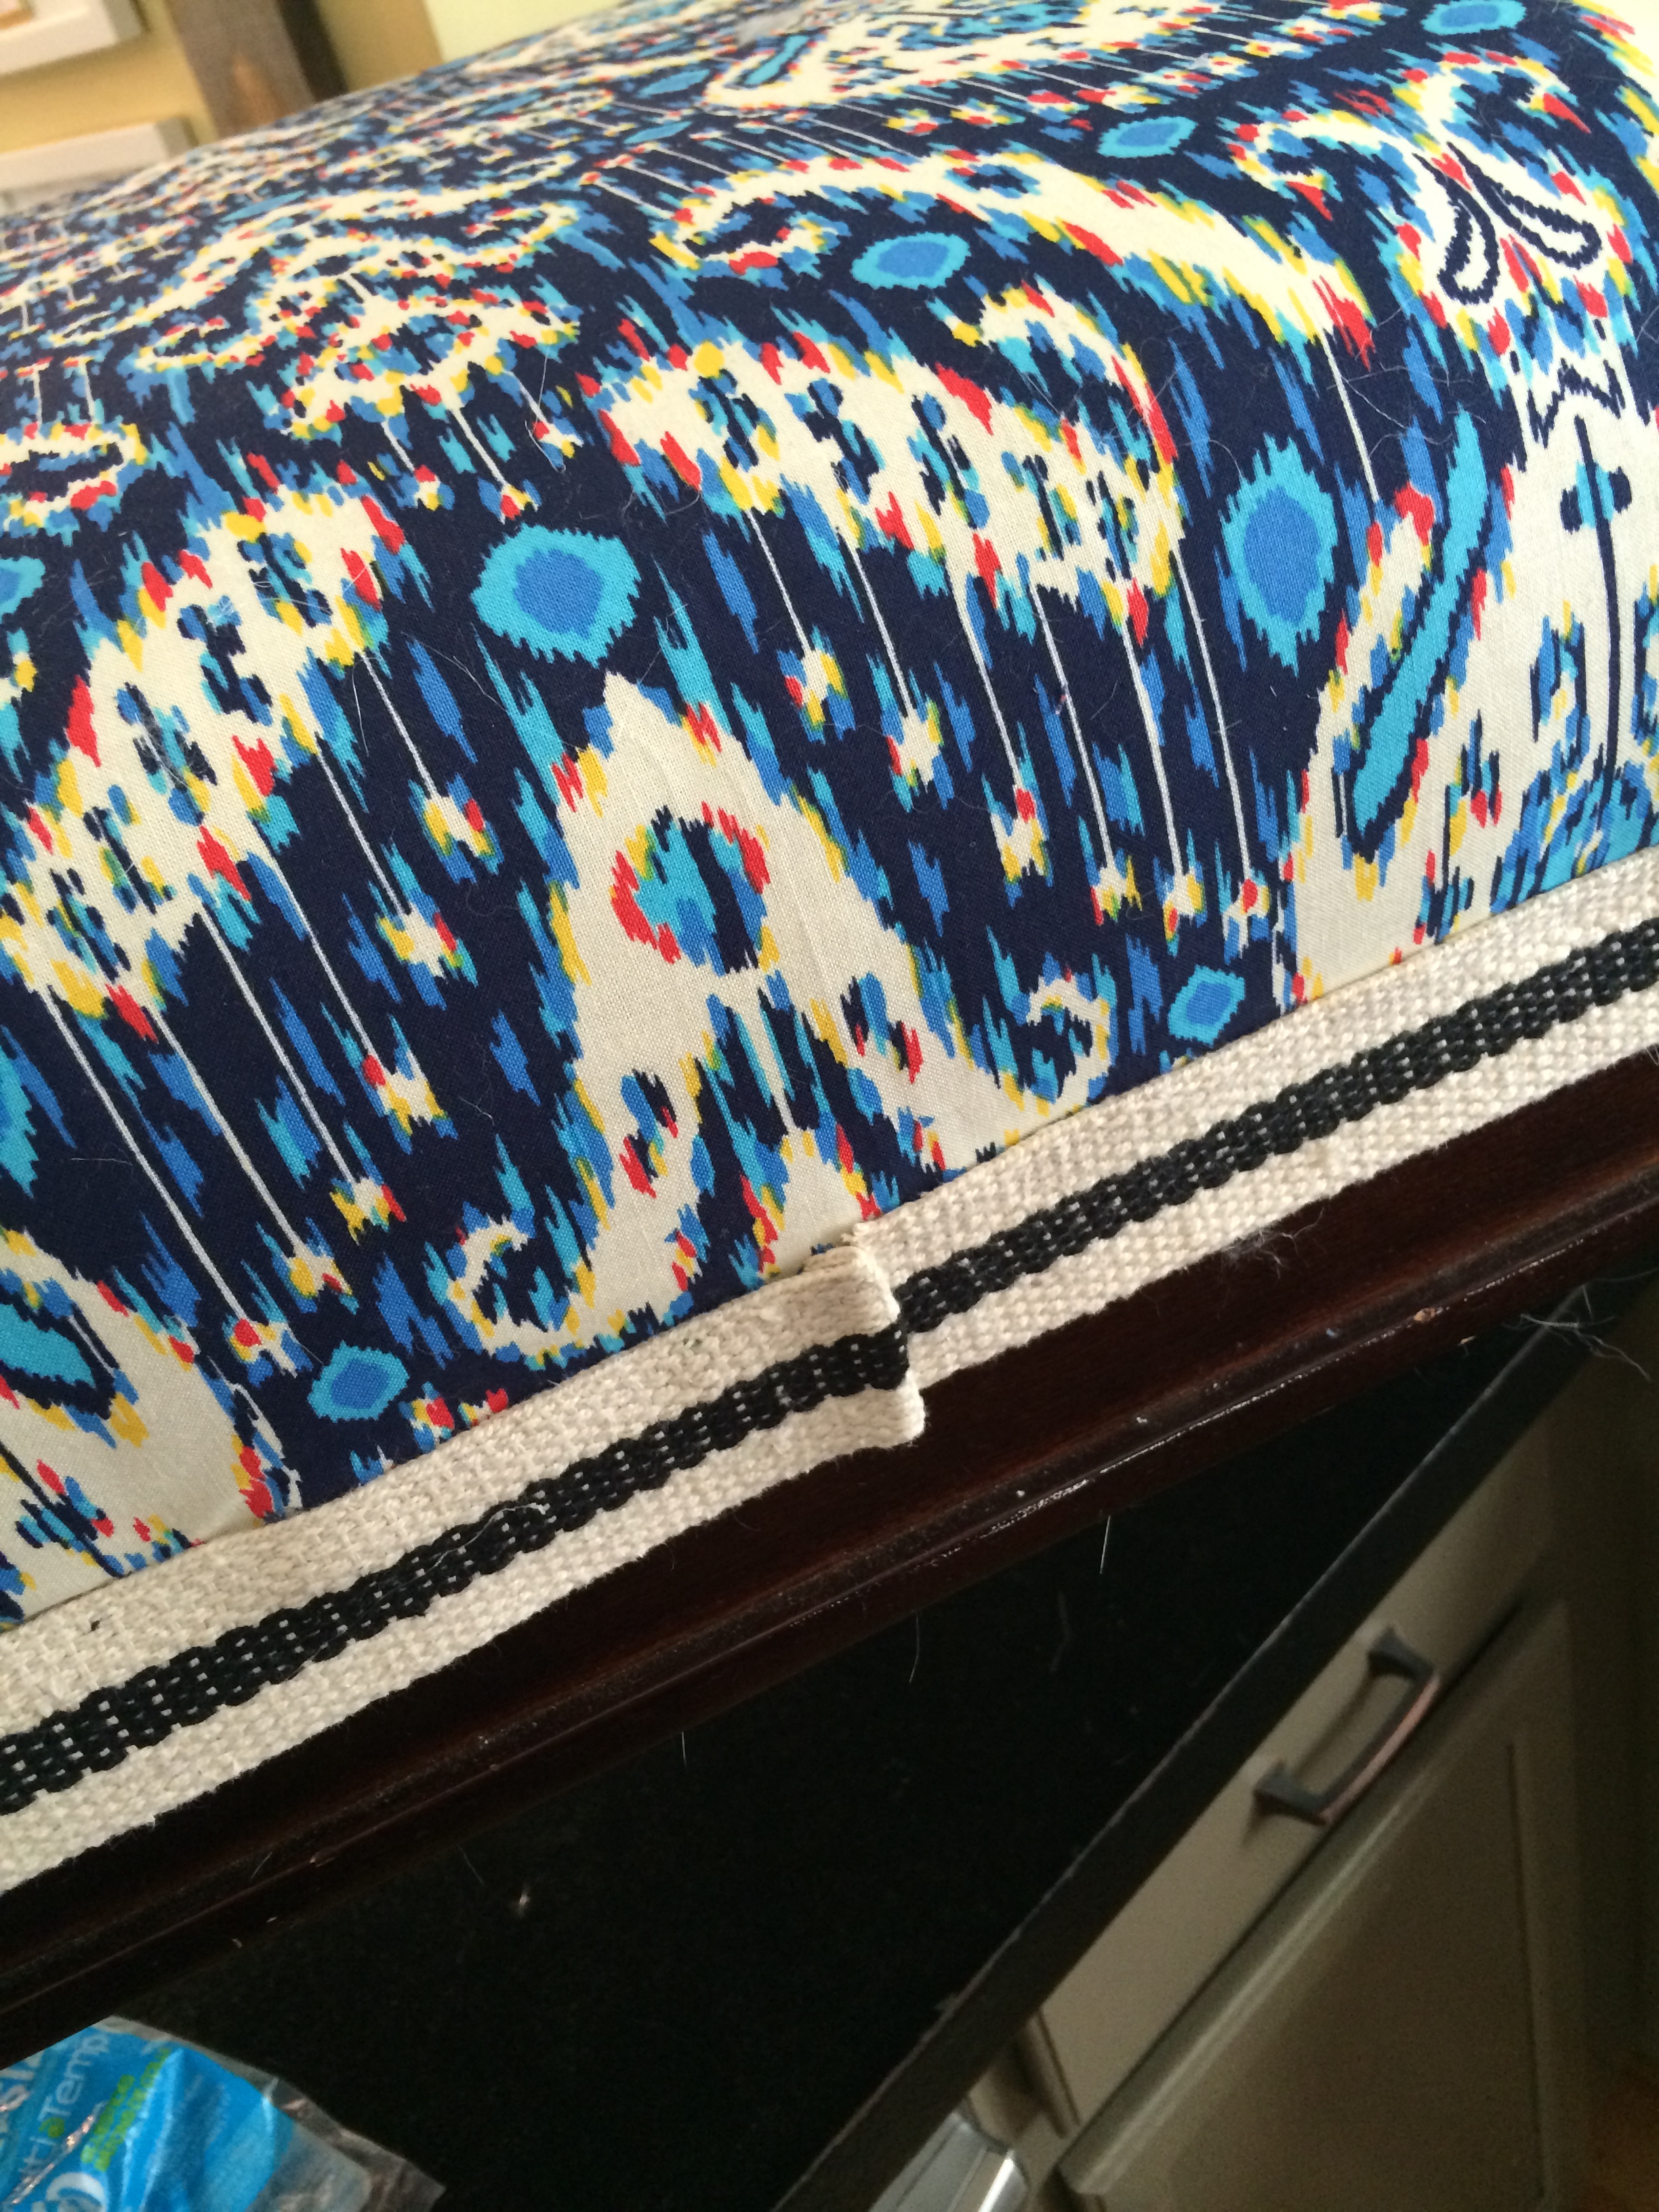
7. To cover the staples and to give a finished tailored look, I added 1.5″ thick woven trim for the banding (I got this trim from Hobby Lobby).
I started in the middle of one side of the long ends and hot glued the trim to the new fabric (again not ruining the original bench fabric or wood).

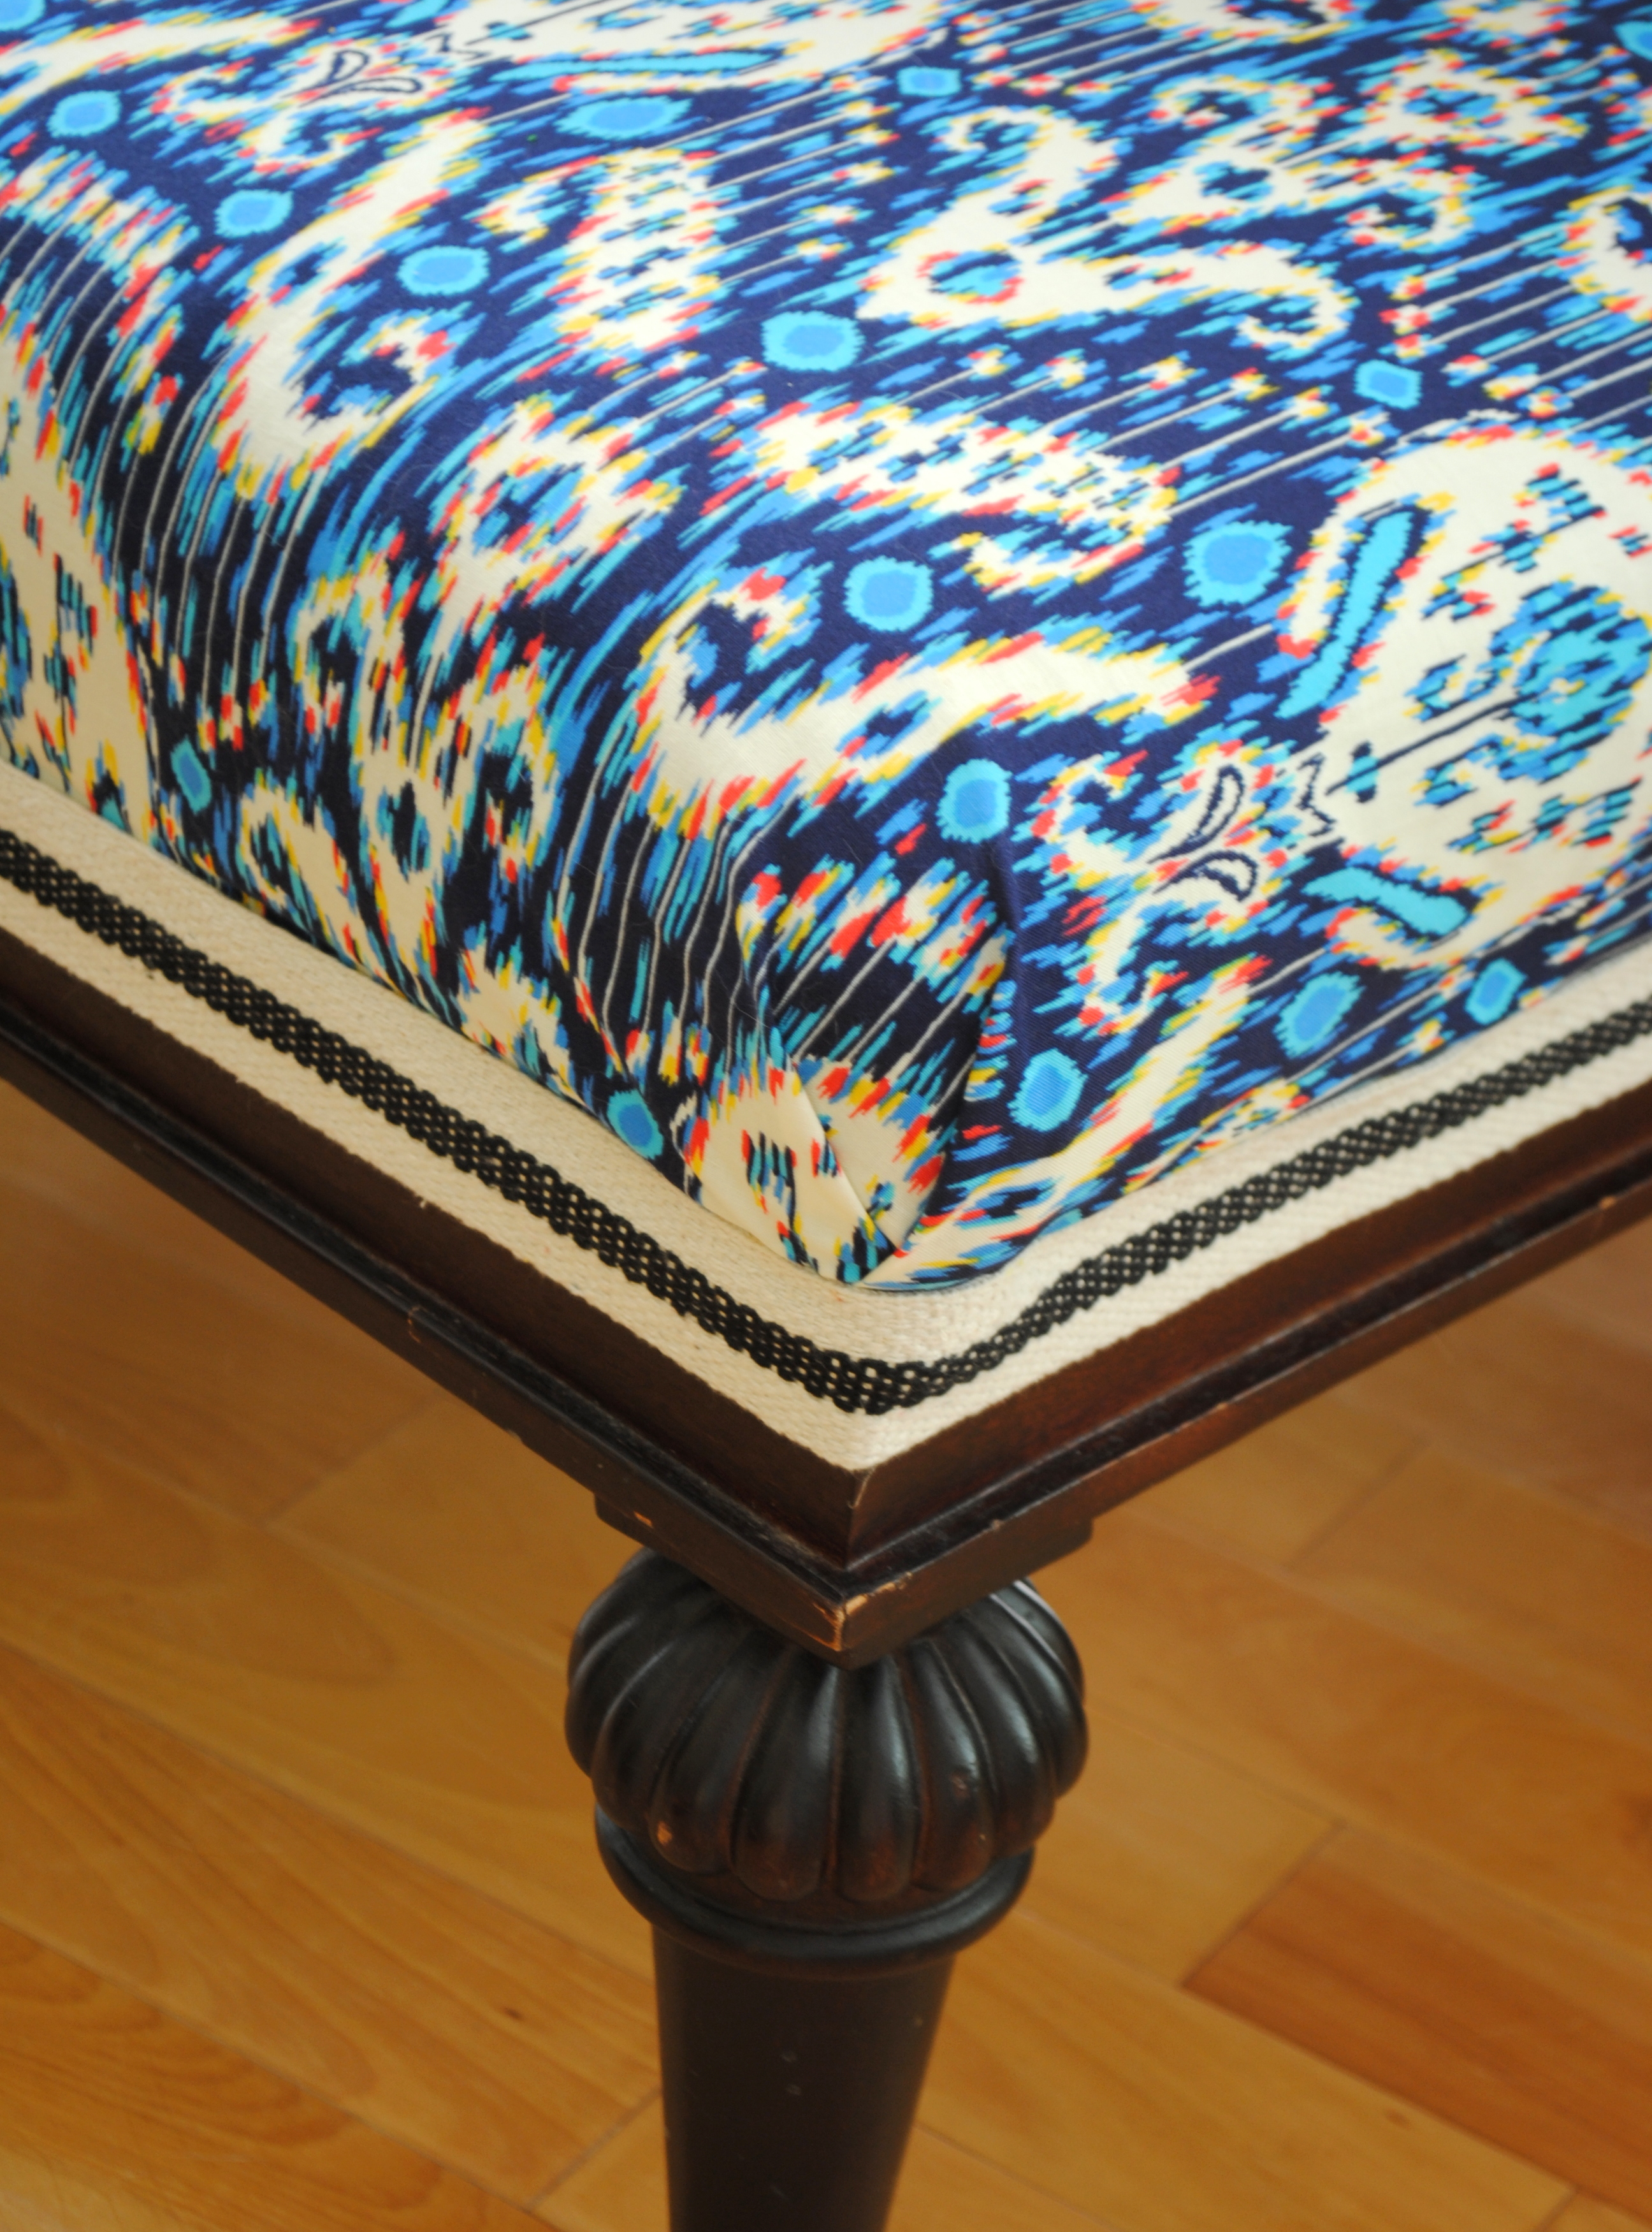
I continued around the entire perimeter of the bench and then once I came to the end, I cut the trim and tucked the end under to give a finished look.
And that was it. Finito.

Along with the bench, I freshened up the dining room with some new end chairs. These are actually outdoor wicker chairs (from Target),which I thought would be perfect because they can easily be wiped down since spills and dropped food is inevitable. Right?!
I also had to say ba-bye to my beautiful yellow ombre Ikat rug. Somehow it got ruined way too fast and didn’t wear well. I was super sad, so for now nothing is under the table – except crumbs from last nights dinner…
Our kids art gallery wall also got a few updates. My kiddos are always making new artwork, which I love to display.
More is to come in this space, but for now the small changes make me very happy.
O, and if you’re wondering what the Mister thought of the bench. After it took him a few days to notice (haha), he loved the change. just like I thought…
If you’re interesting in doing a similar upholstery project (now or later) and want to save this tutorial, pin it!

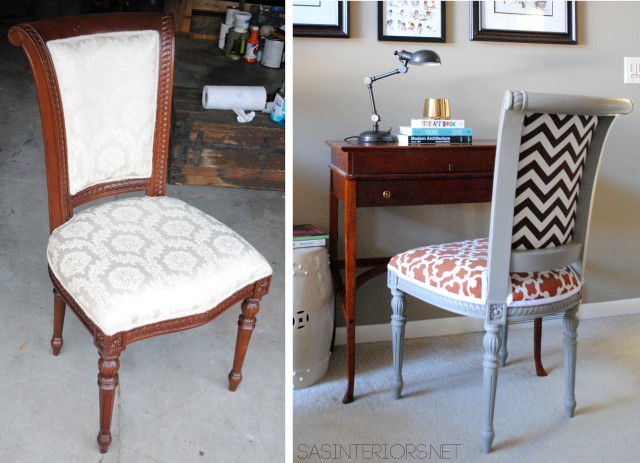
This was my second reupholstery project, so believe me, I am no expert! It really wasn’t difficult, but took time + patience. Overall, the project took about an hour. My first reupholstery project was the side chair that sits in my office. The before and after is pretty dynamic…
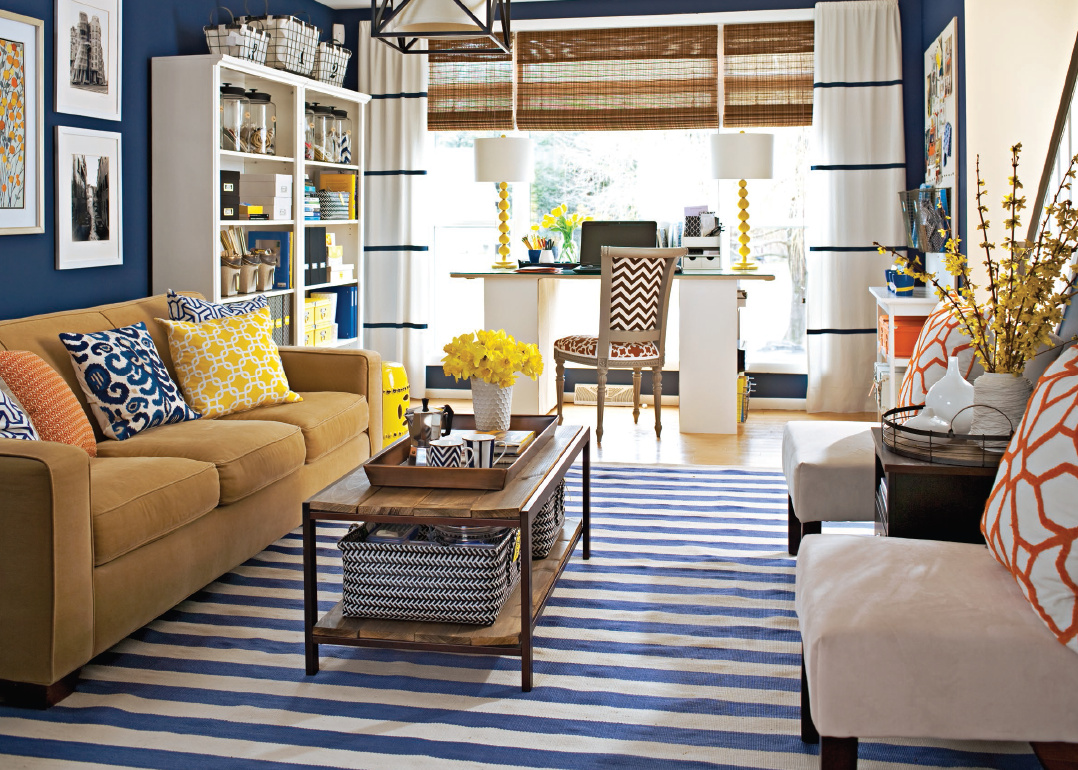
You can take a peak at the entire space because it’s featured in the current issue of Better Homes and Gardens Storage Magazine {squeal}
So tell me, have you ever reupholstered something?
Disclosure: I am part of the Lowe’s Creative Team and was provided with a Lowe’s gift card to purchase items for my project. I was also compensated for my time to use the products. No one told me what to create, what to buy, how to use the product, or what to write. All opinions are 100% mine!
Comments are closed.