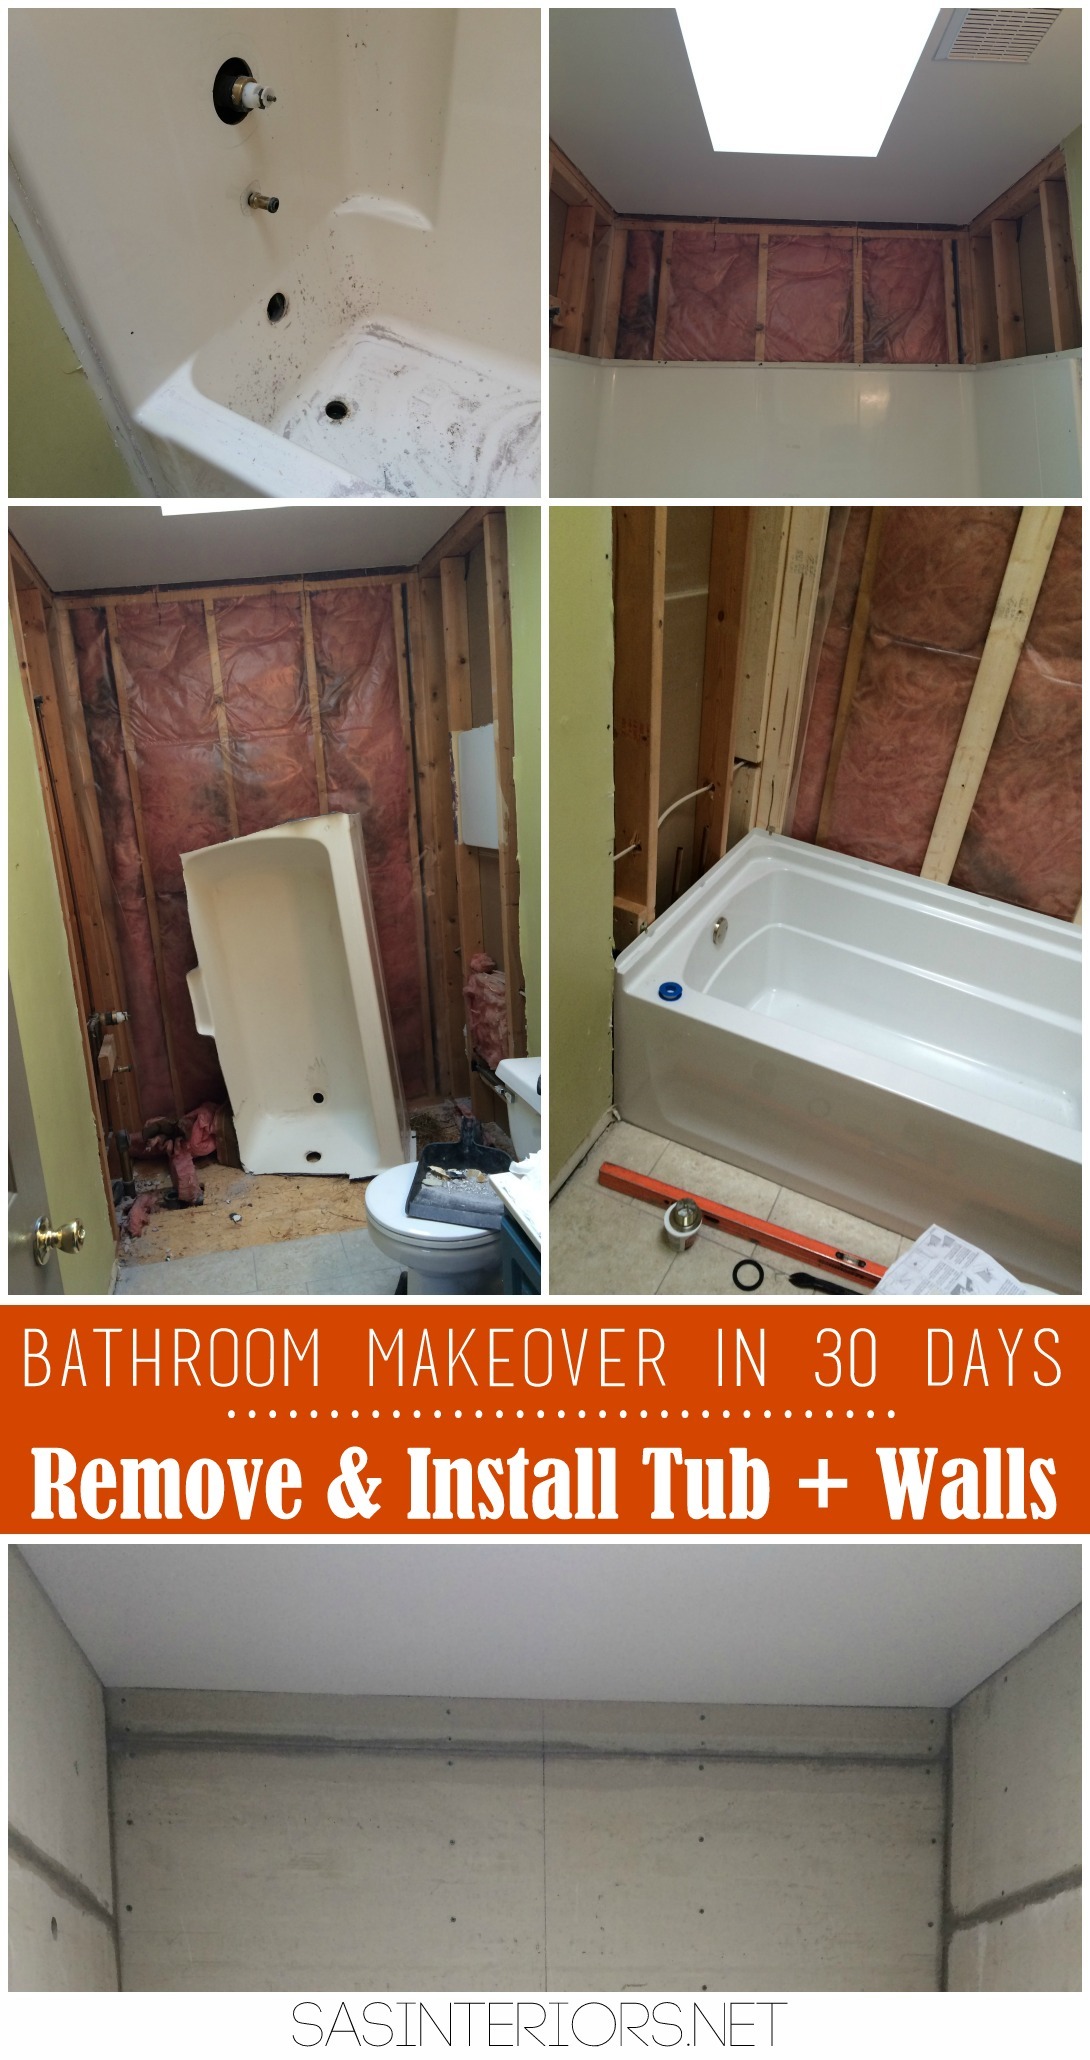
It’s Day 5-16 for the next phase of this Bathroom Makeover in 30 Days Challenge.
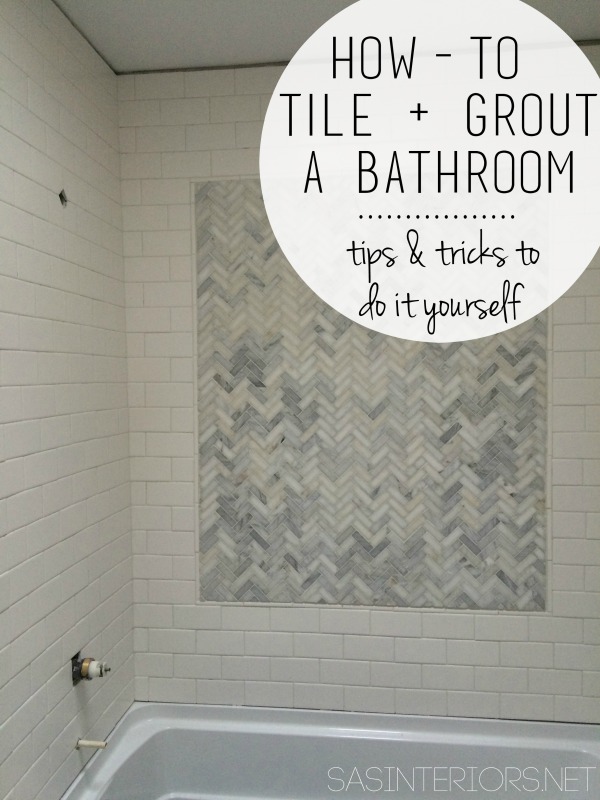
The tile is done. I could not be more happy. It wasn’t difficult, but it took a long time. Rightfully so since this 5′ x 8′ space is almost completely covered in tile.
Before this I had only tiled small areas – a fireplace surround, a kitchen backsplash, and a bathroom backsplash (and a few floors but that was using luxury vinyl tile). But this was a mega job. I was nervous and I got overwhelmed at times. BUT it’s complete and it feels so good. And looks good too. I’m still no expert, but I surely have some tips to share. Take a look at the bathroom now…
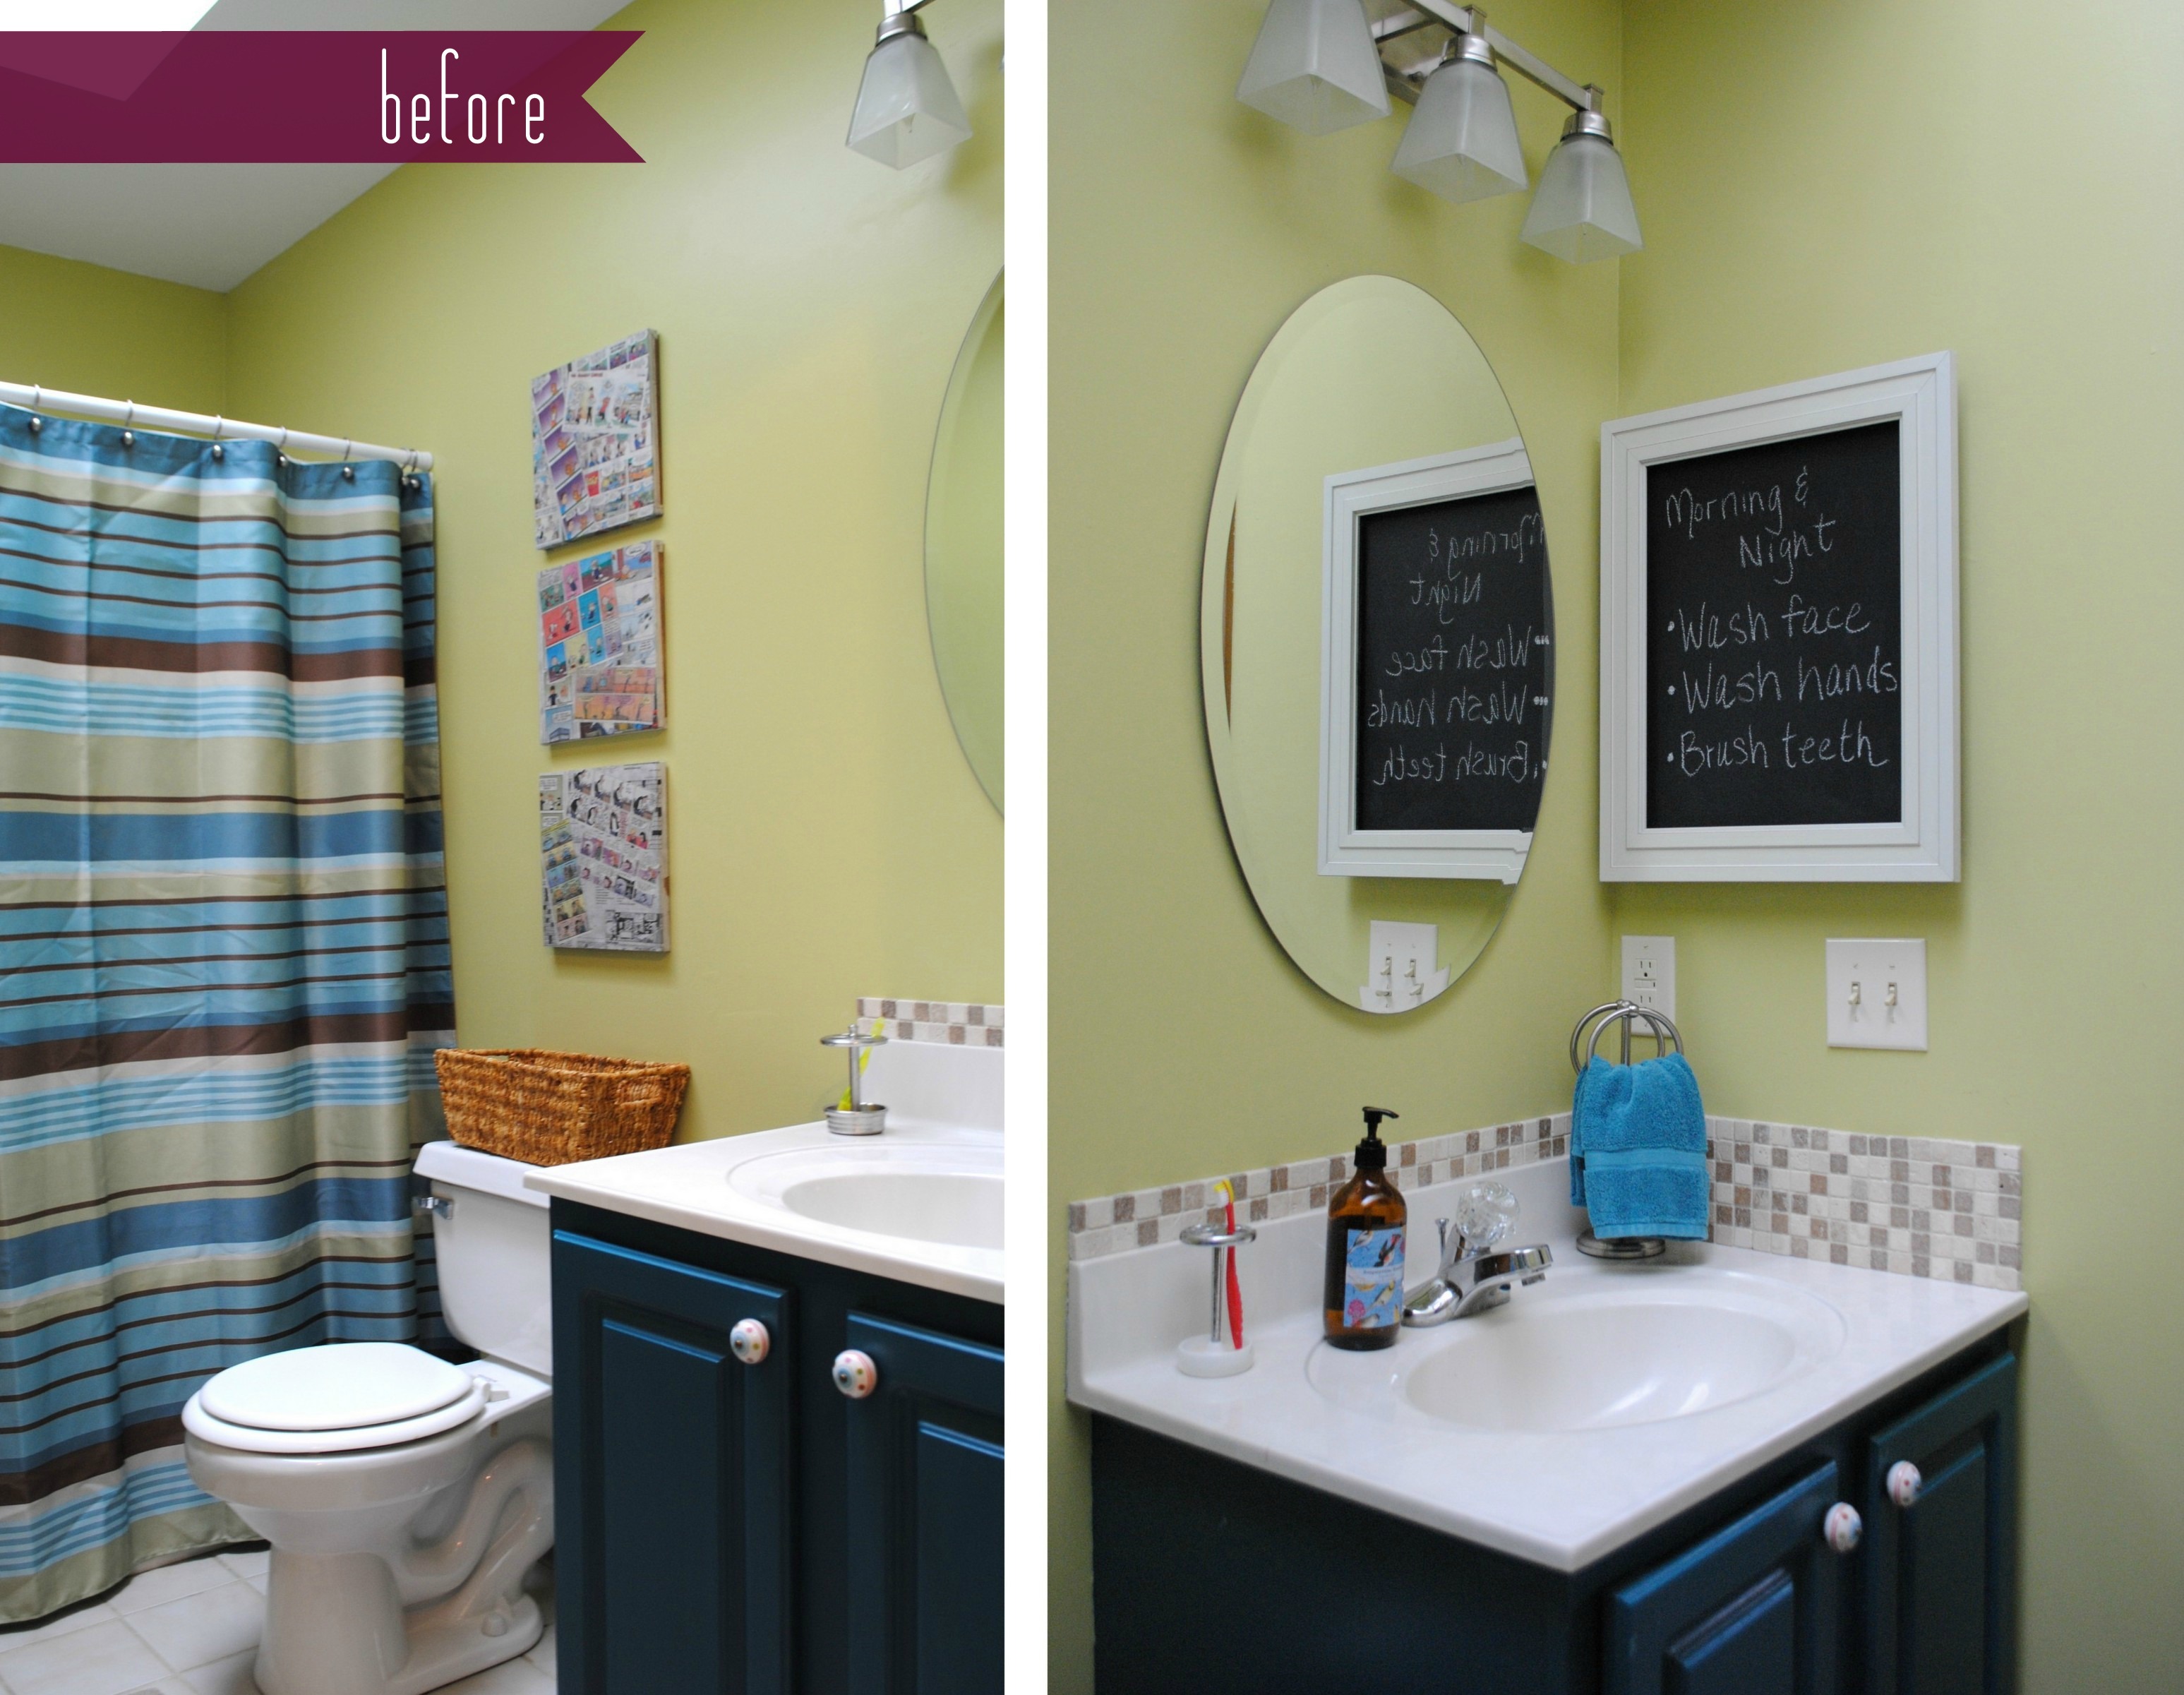
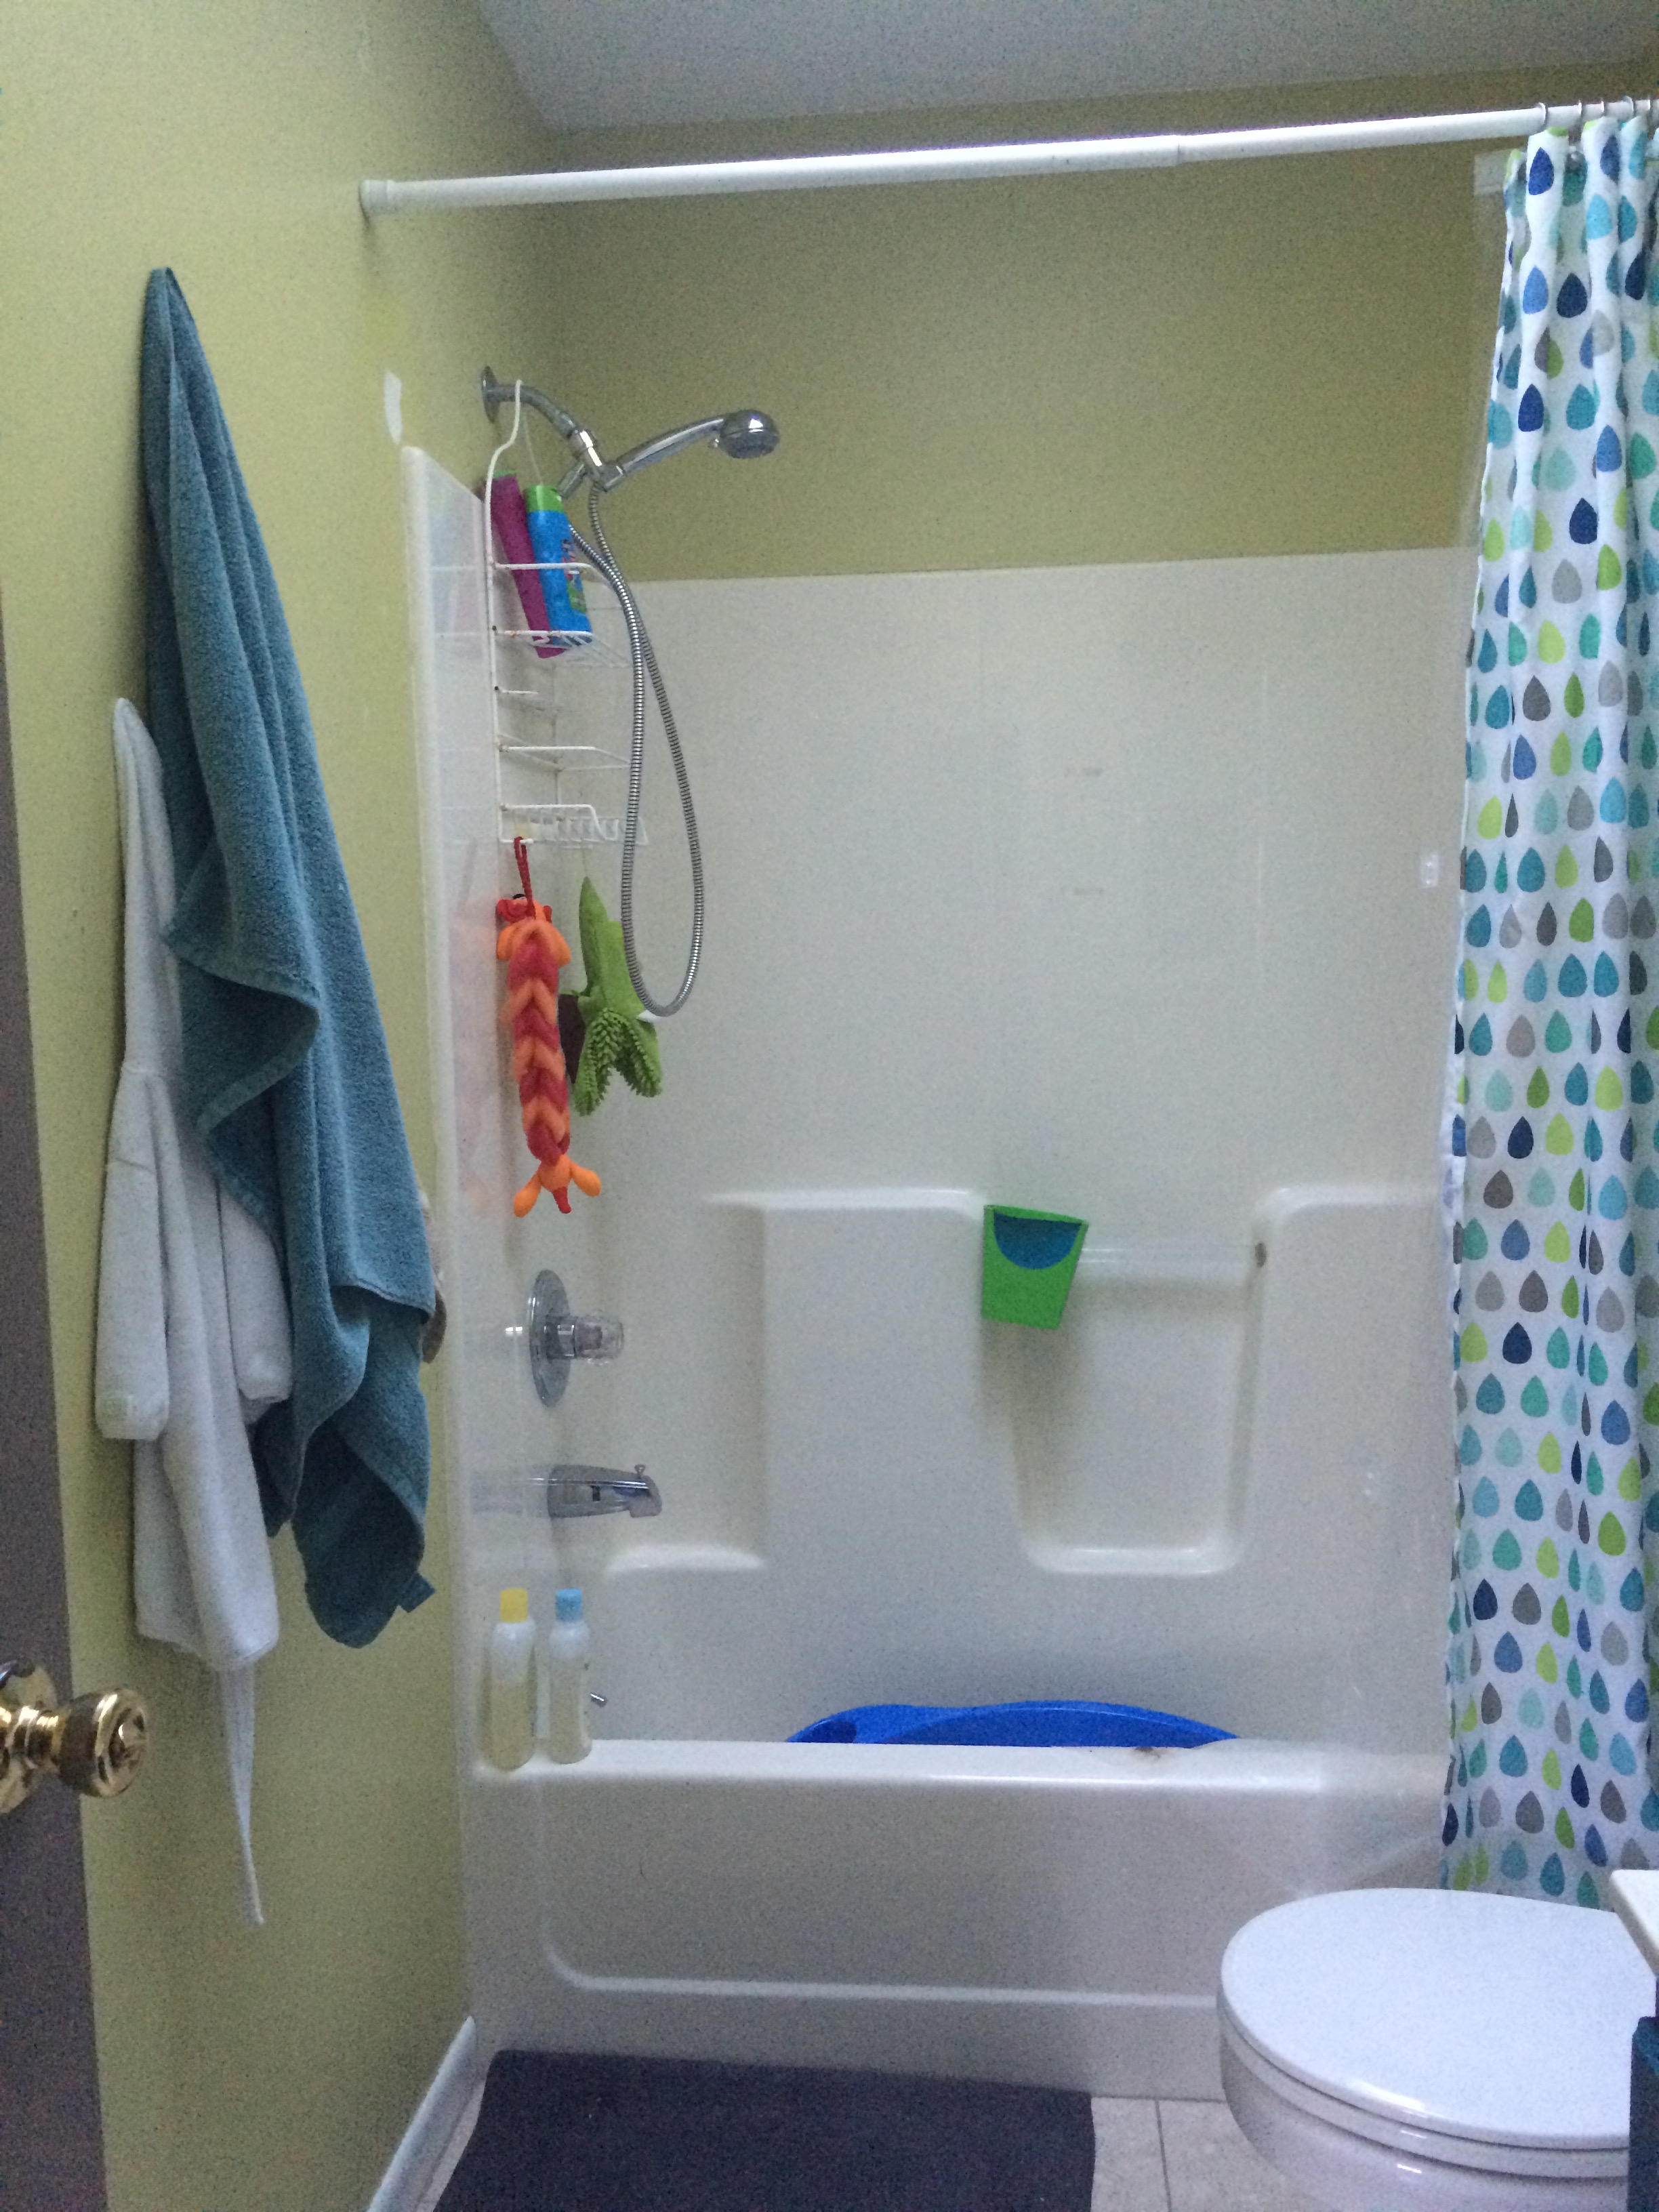
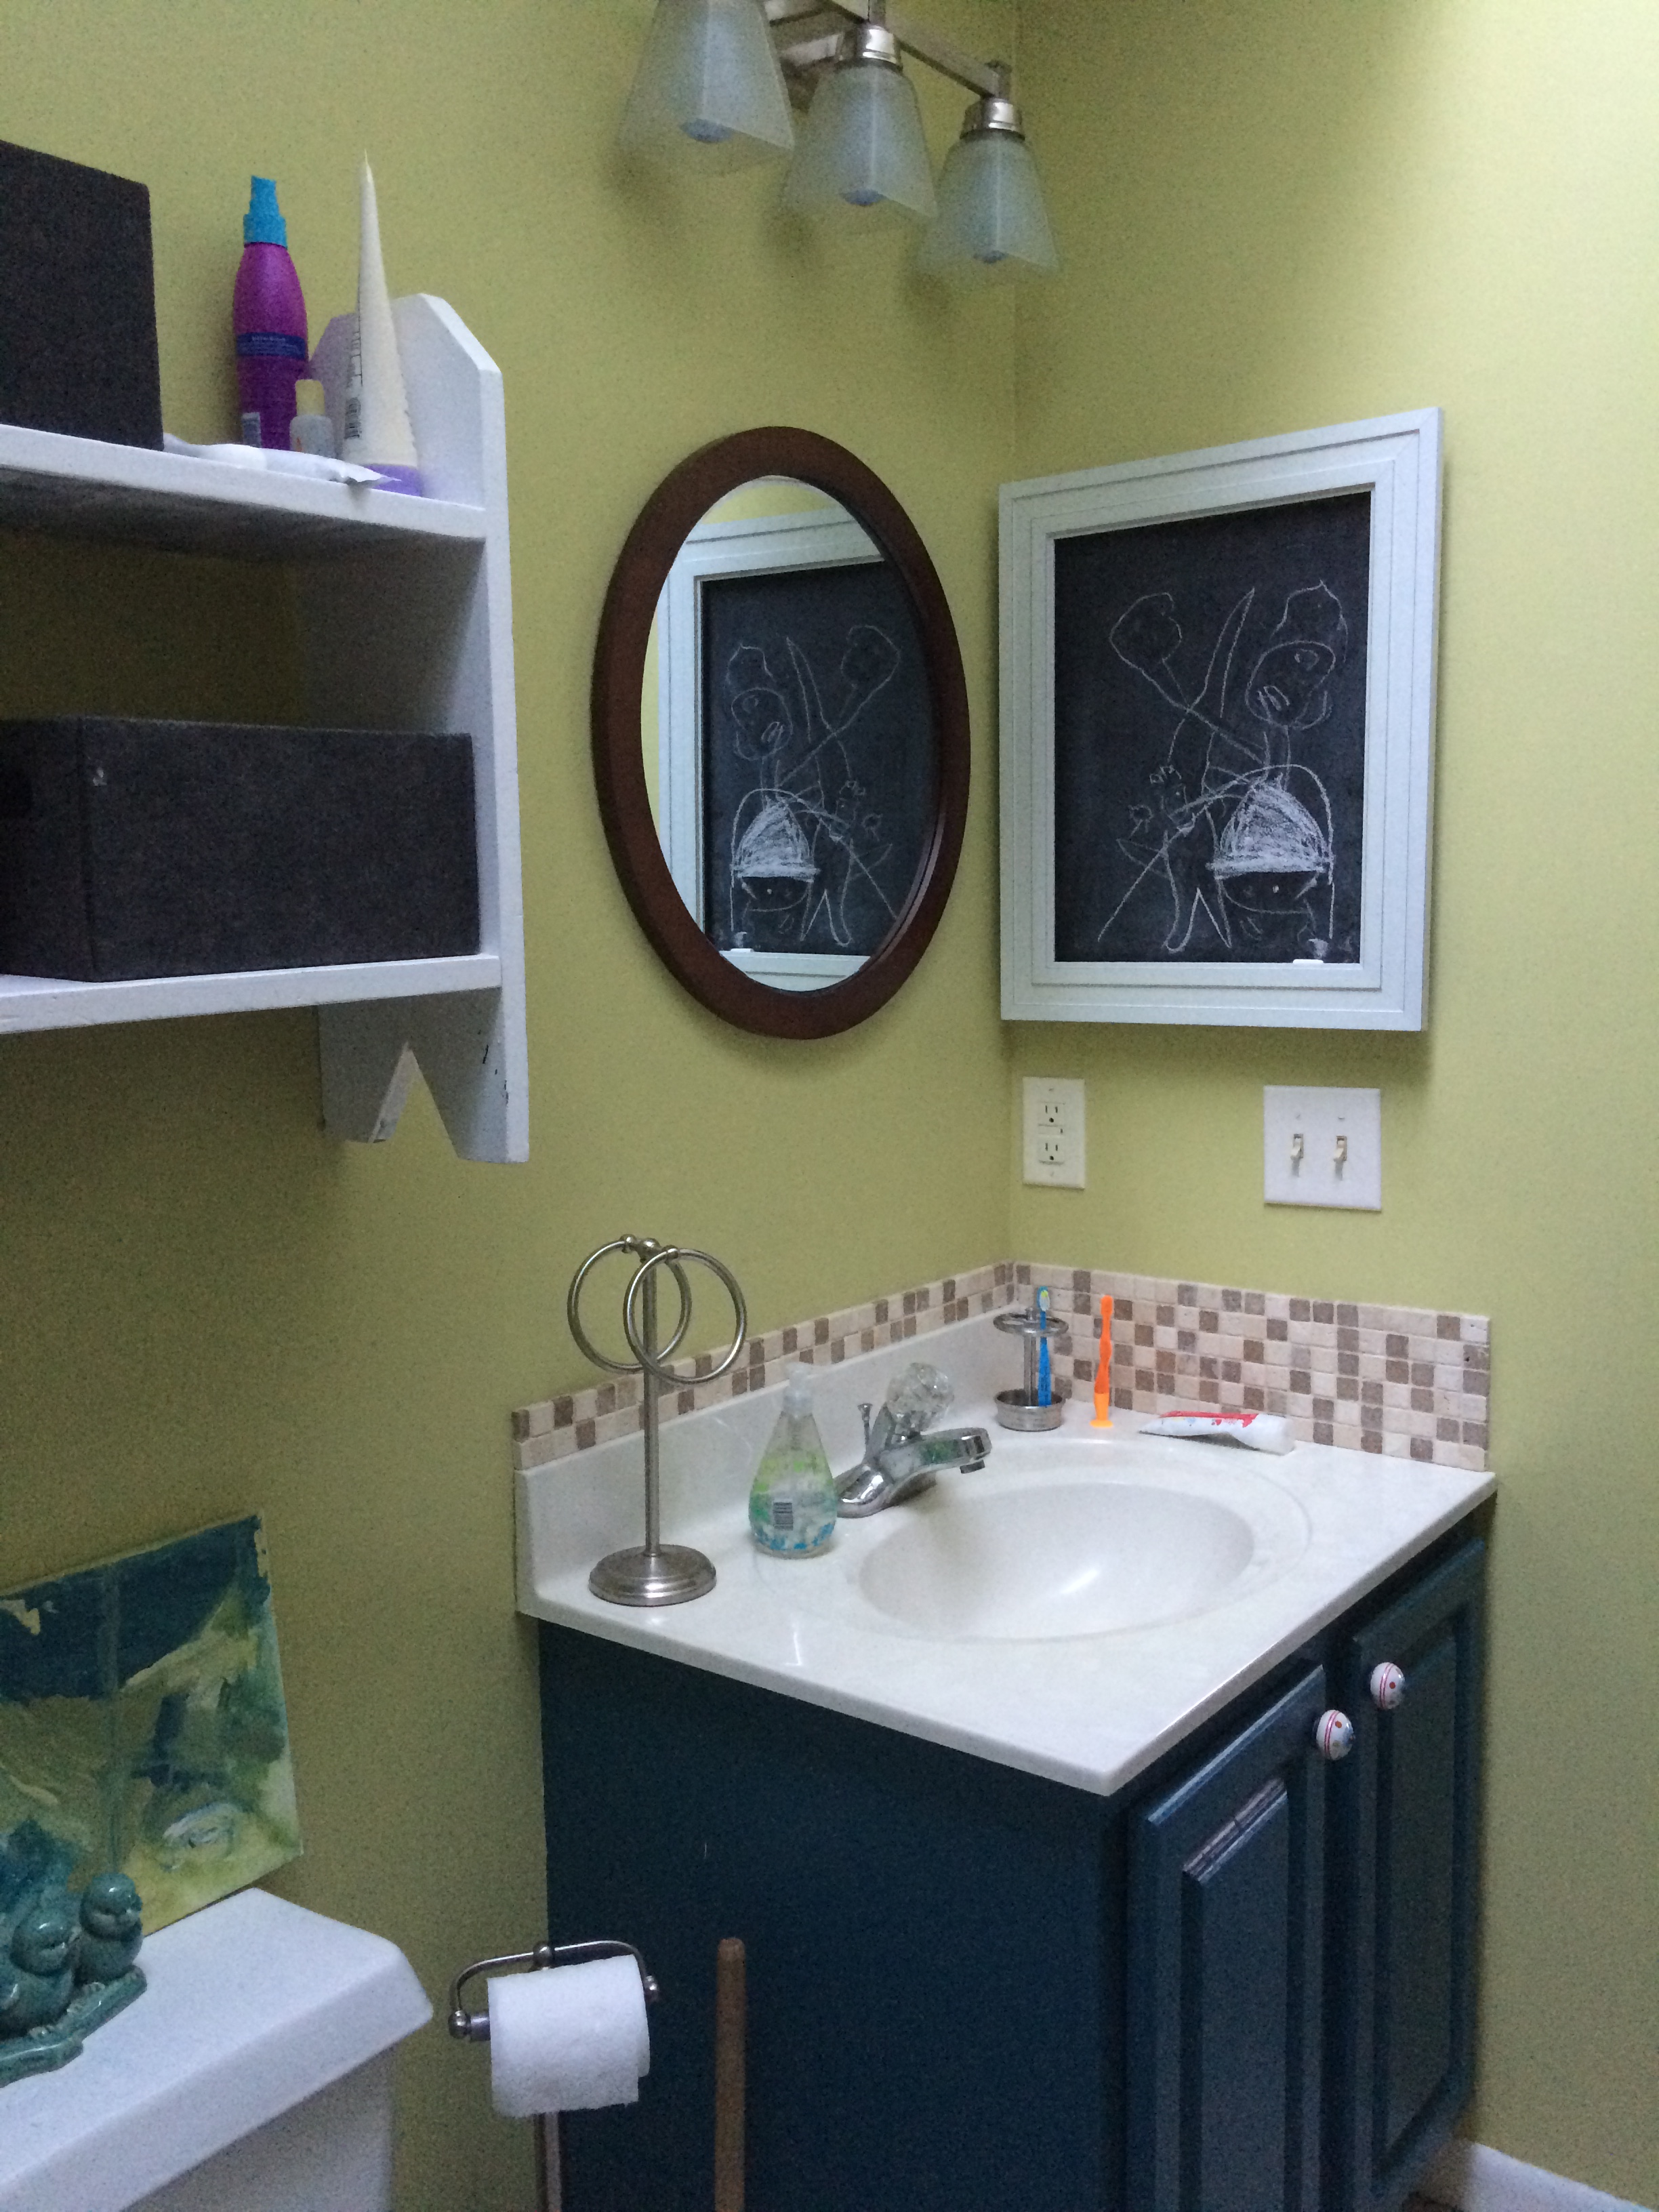
And just to give you a reminder of what it looked like before…

Before I got started, I put together a Plan of Action and that has kept me on track when picking and choosing the new elements + items for the bathroom.
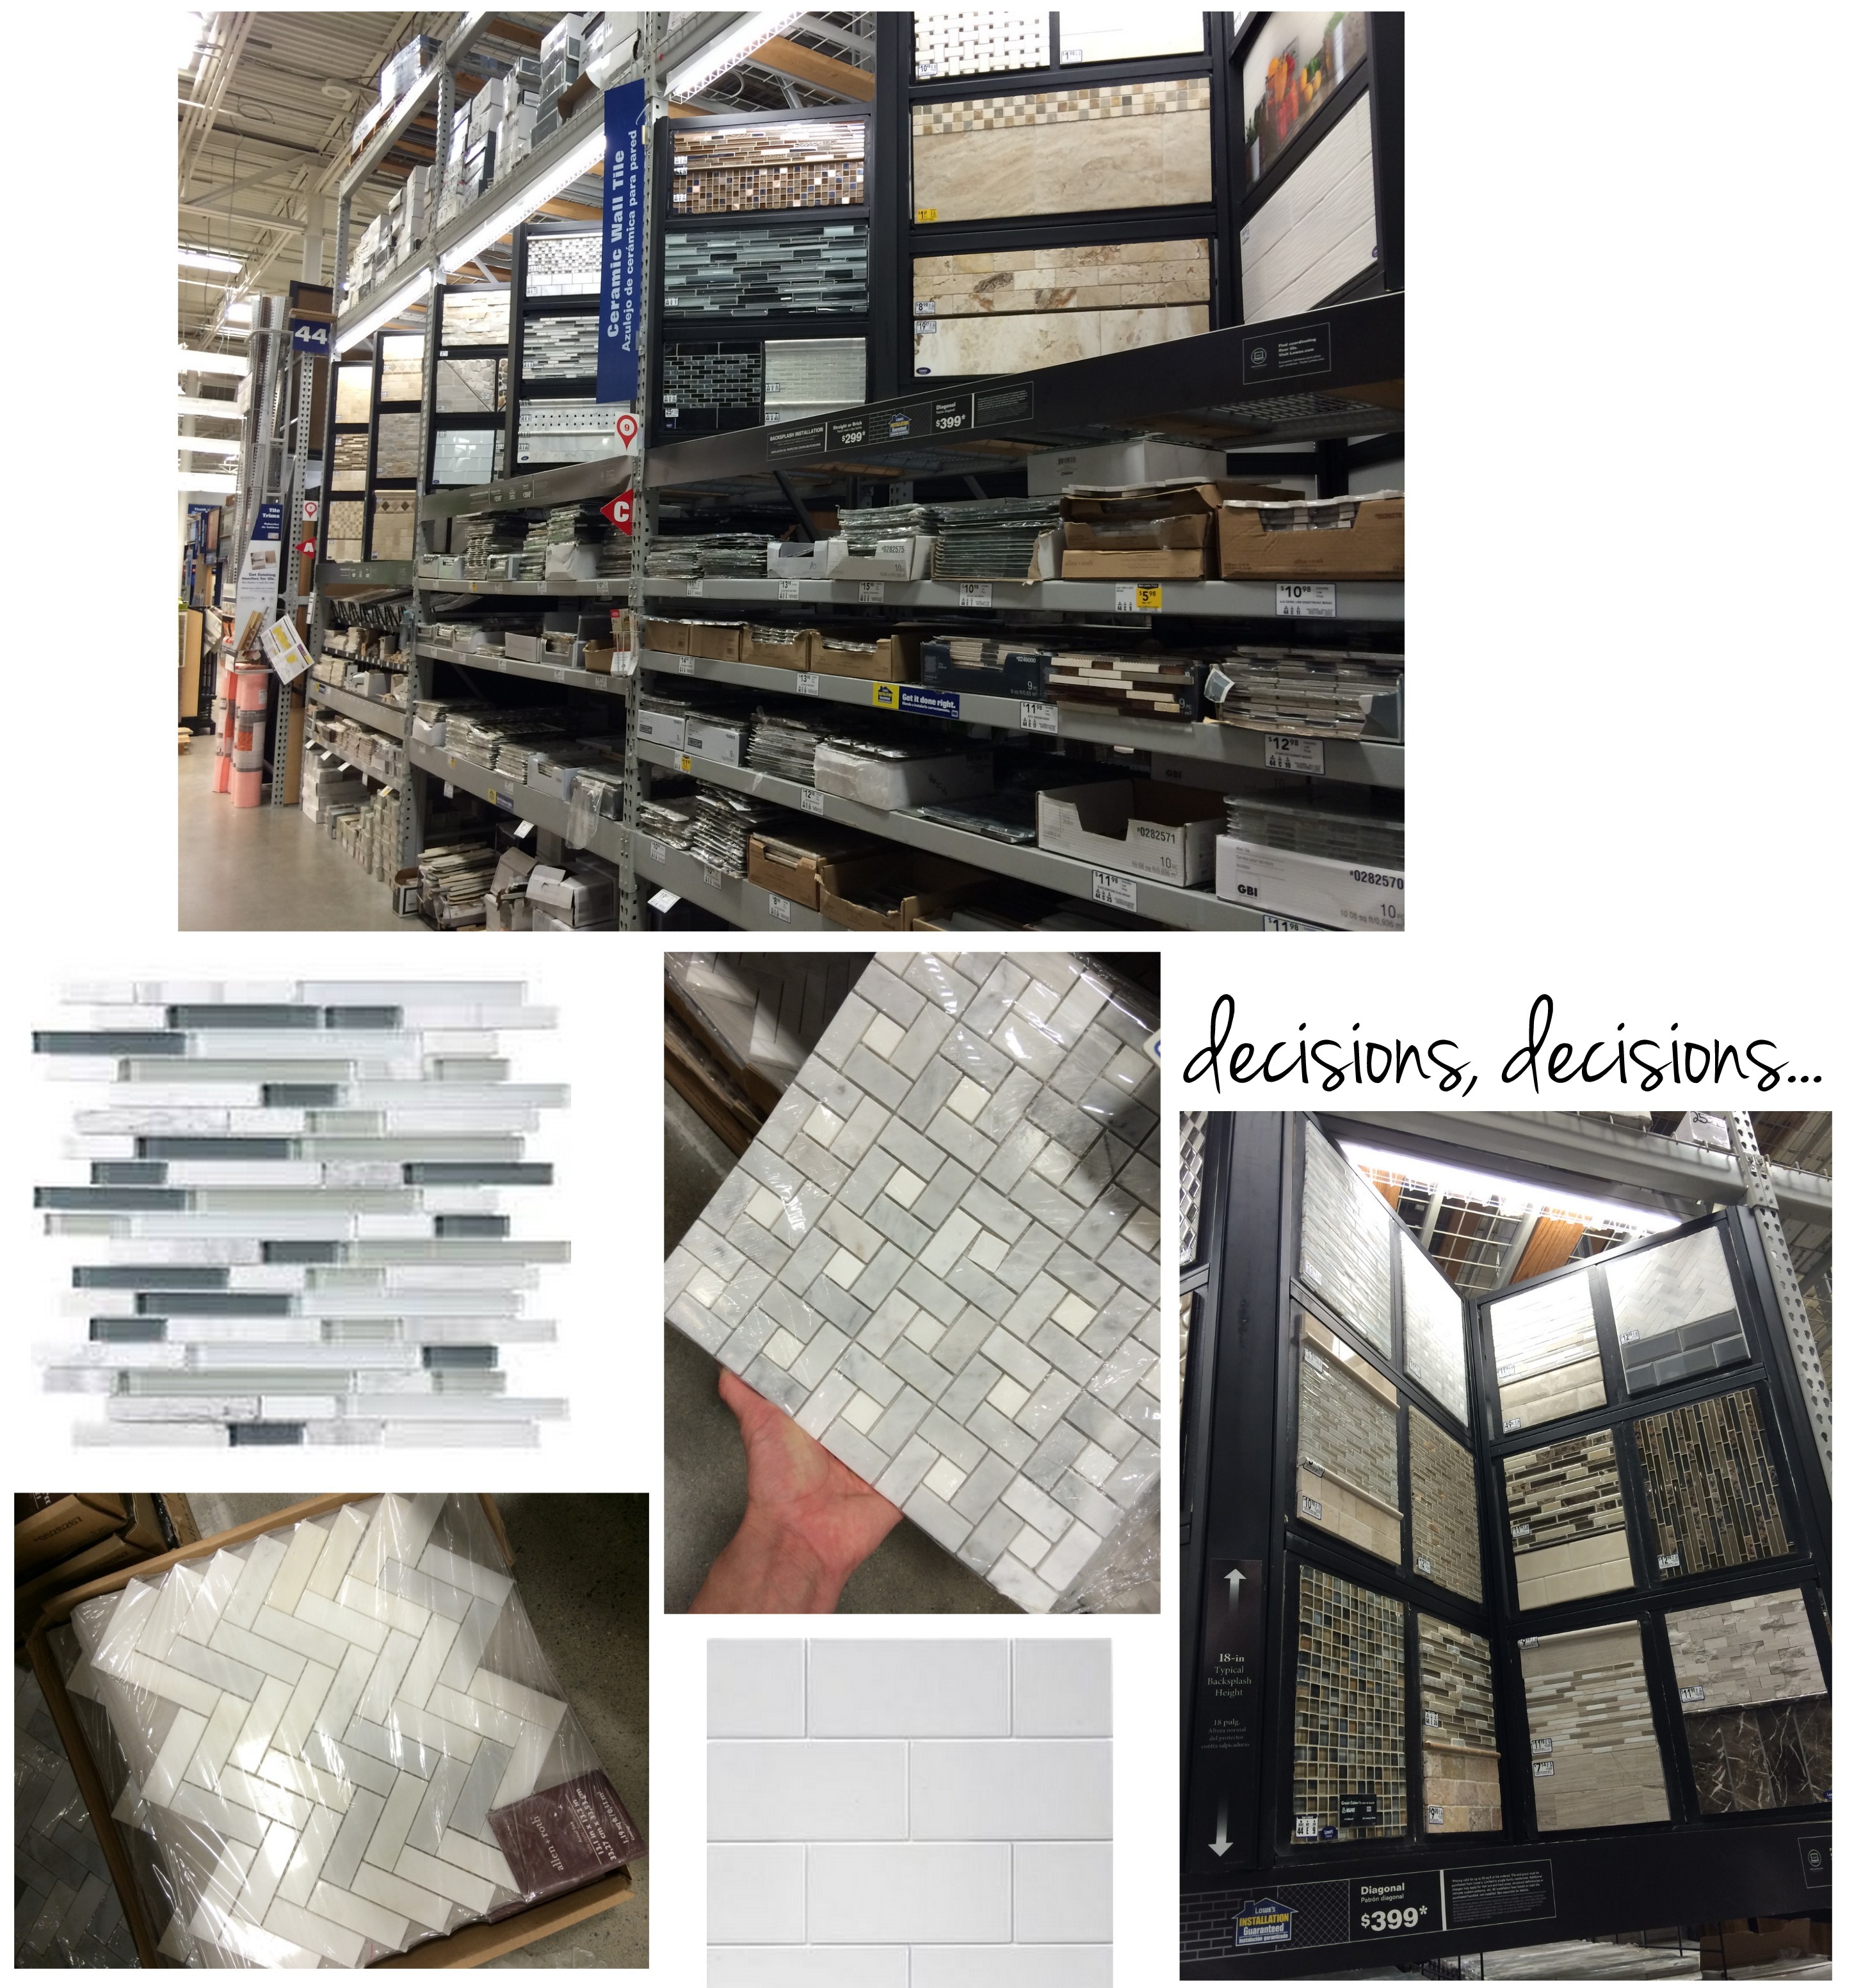
I’ll admit though, even though it is a small space finalizing a design direction was tricky. My #1 objective was to make it functional (since it’s the hall / kids bath) and classic (subway tile), but I also wanted to bring the unexpected (wallpaper). I searched the tile aisle of Lowe’s many times before finding a tile that I loved…
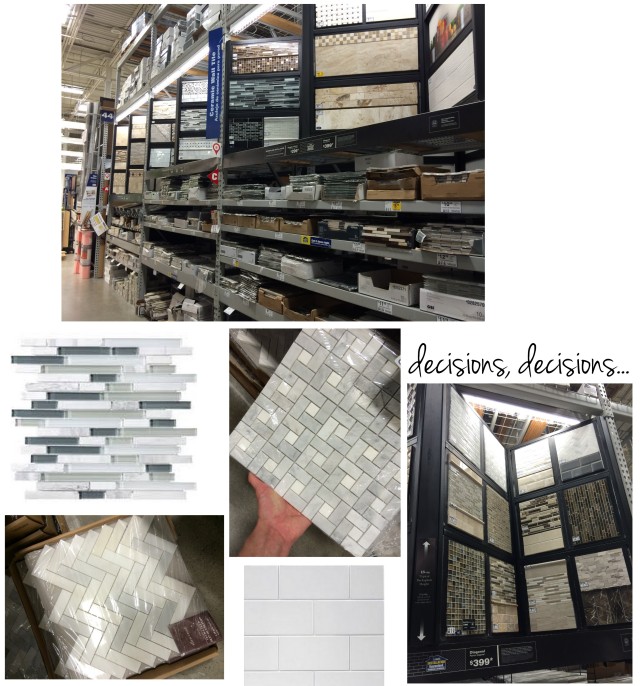
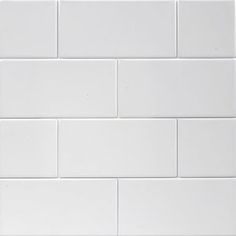
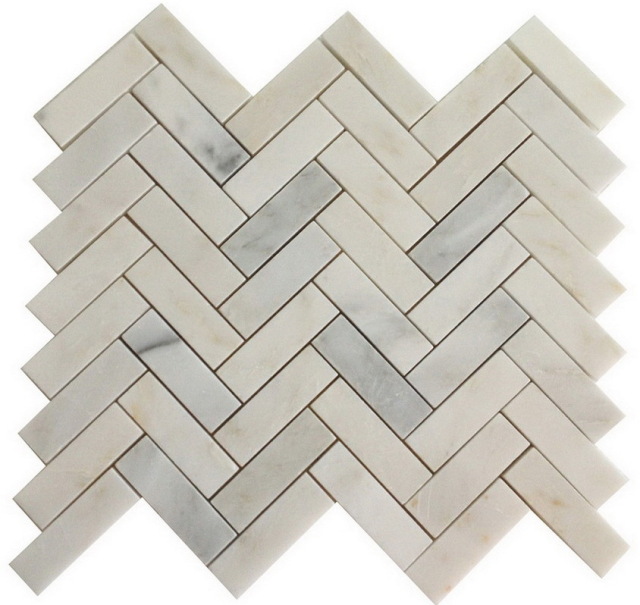
In the end, I chose to move forward with 3 x 6 white subway tile and 13″ x 13″ natural stone herringbone mosaic
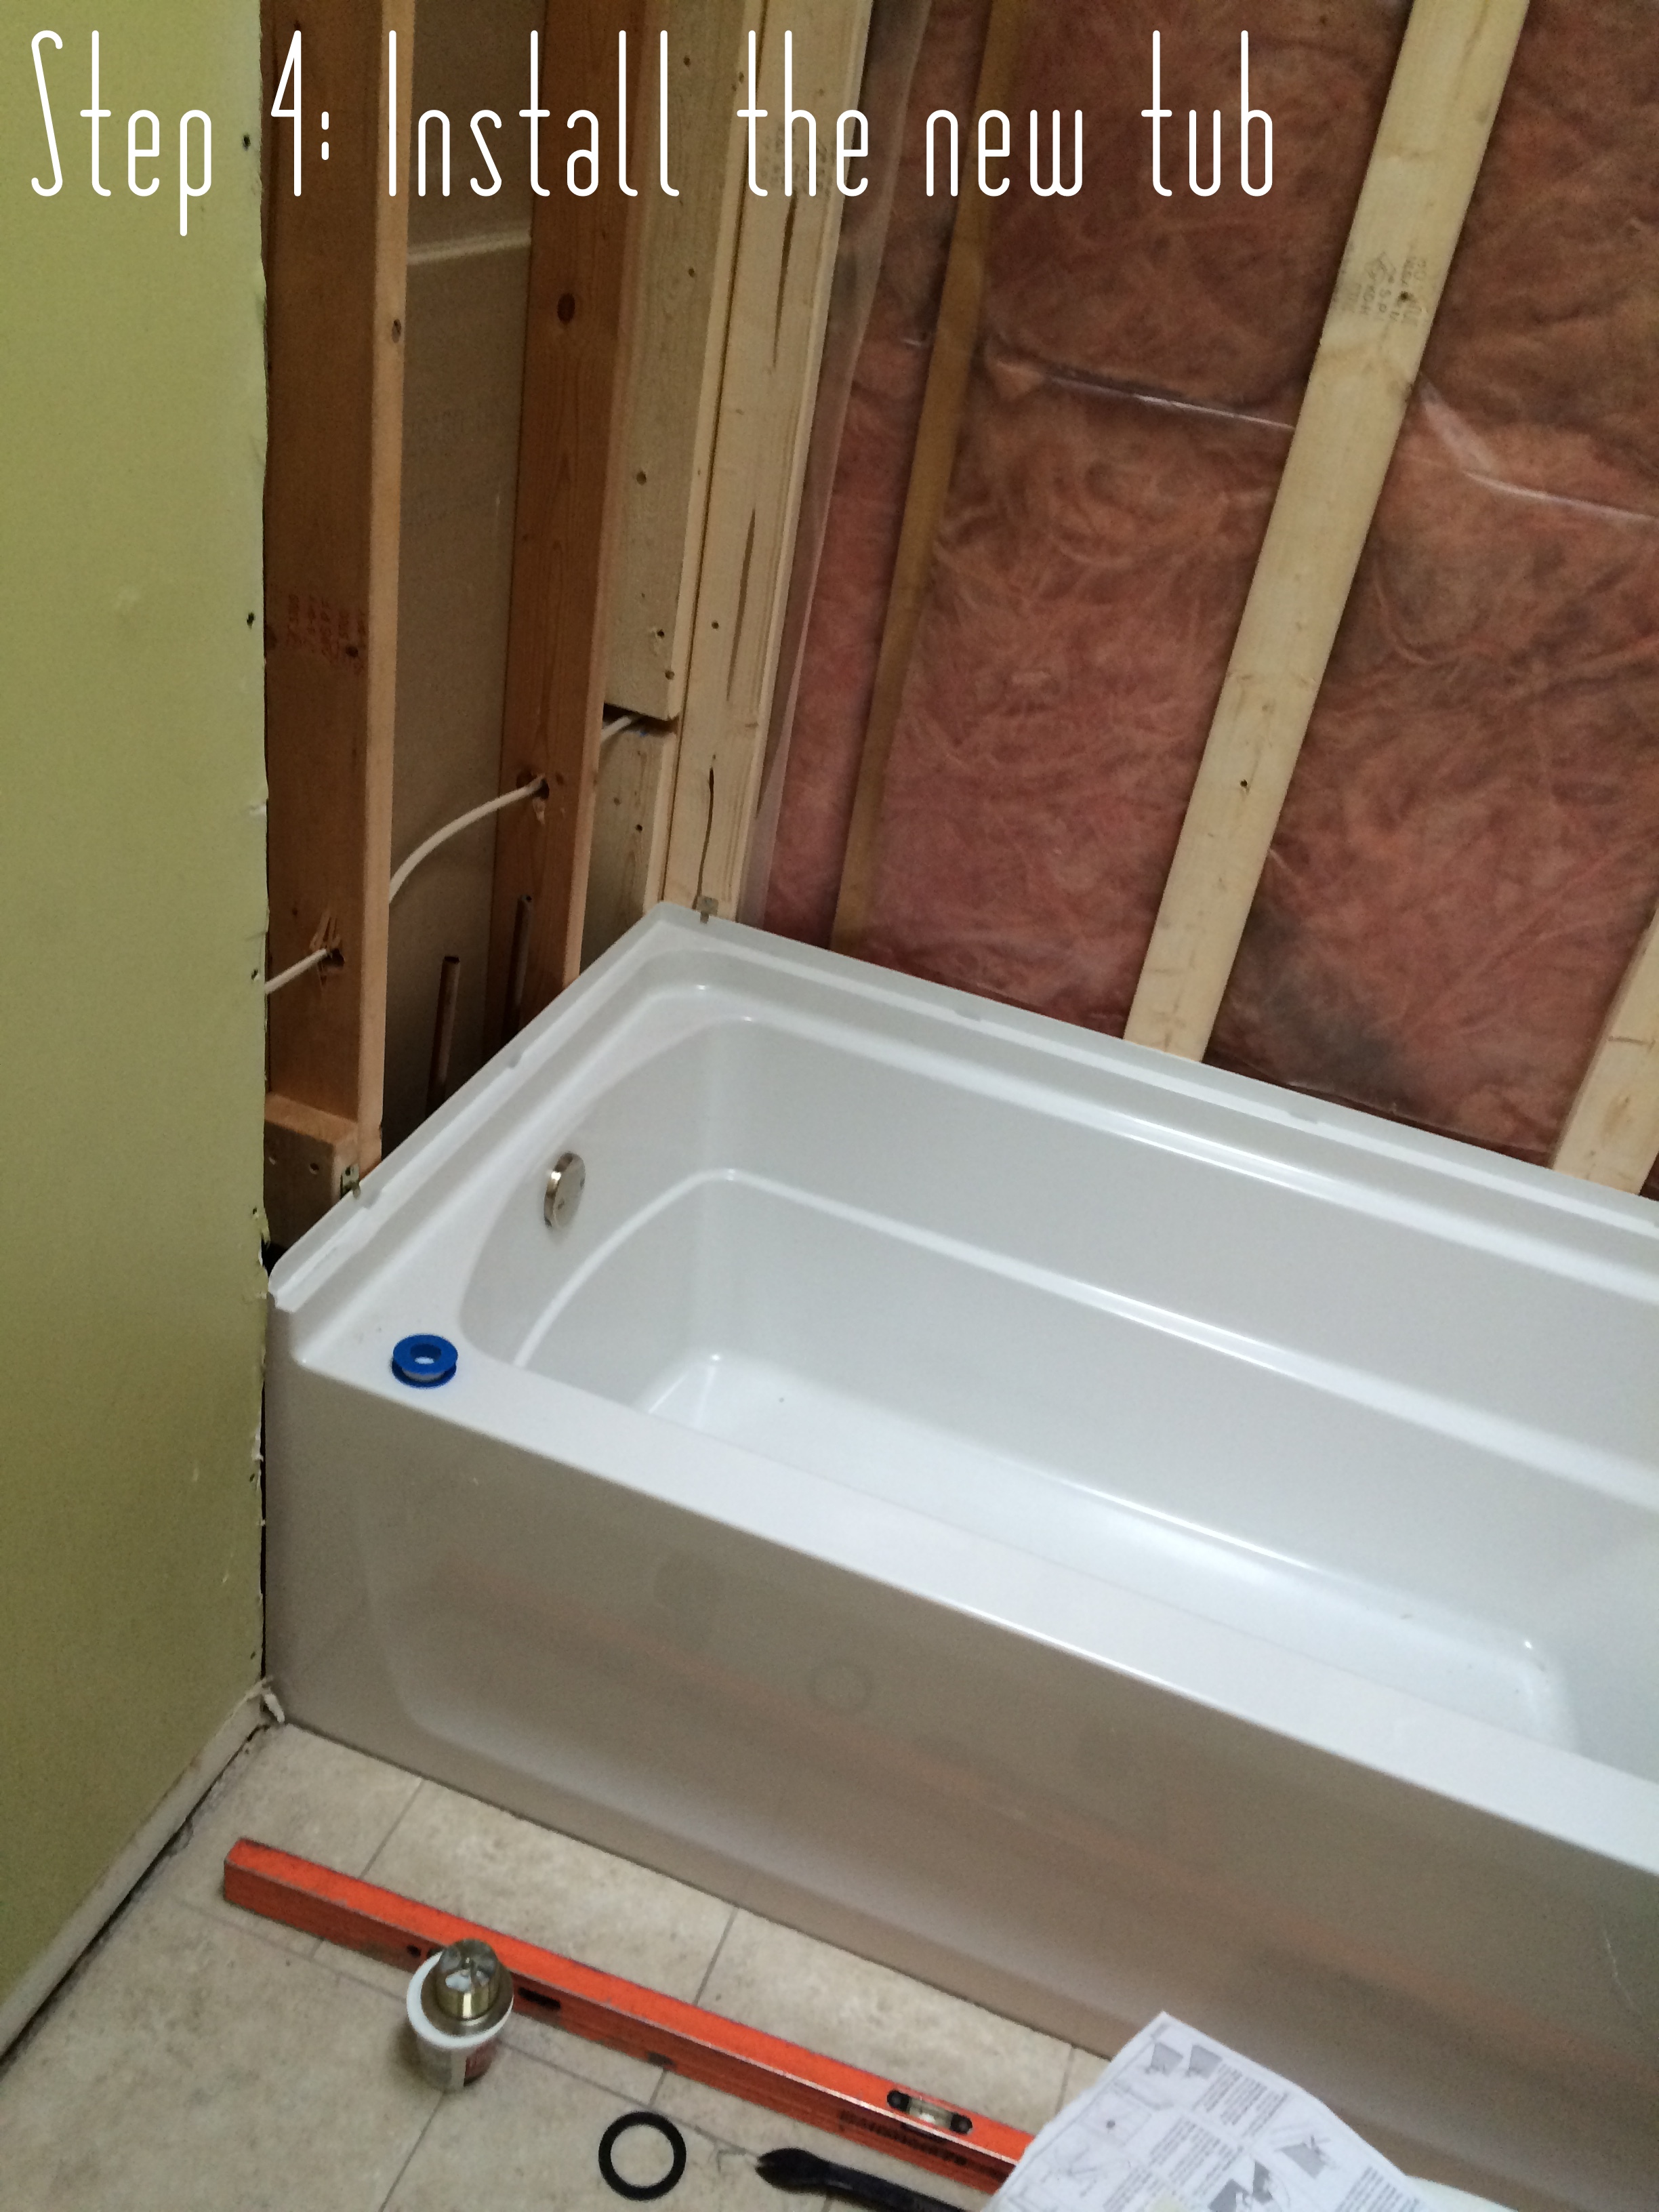
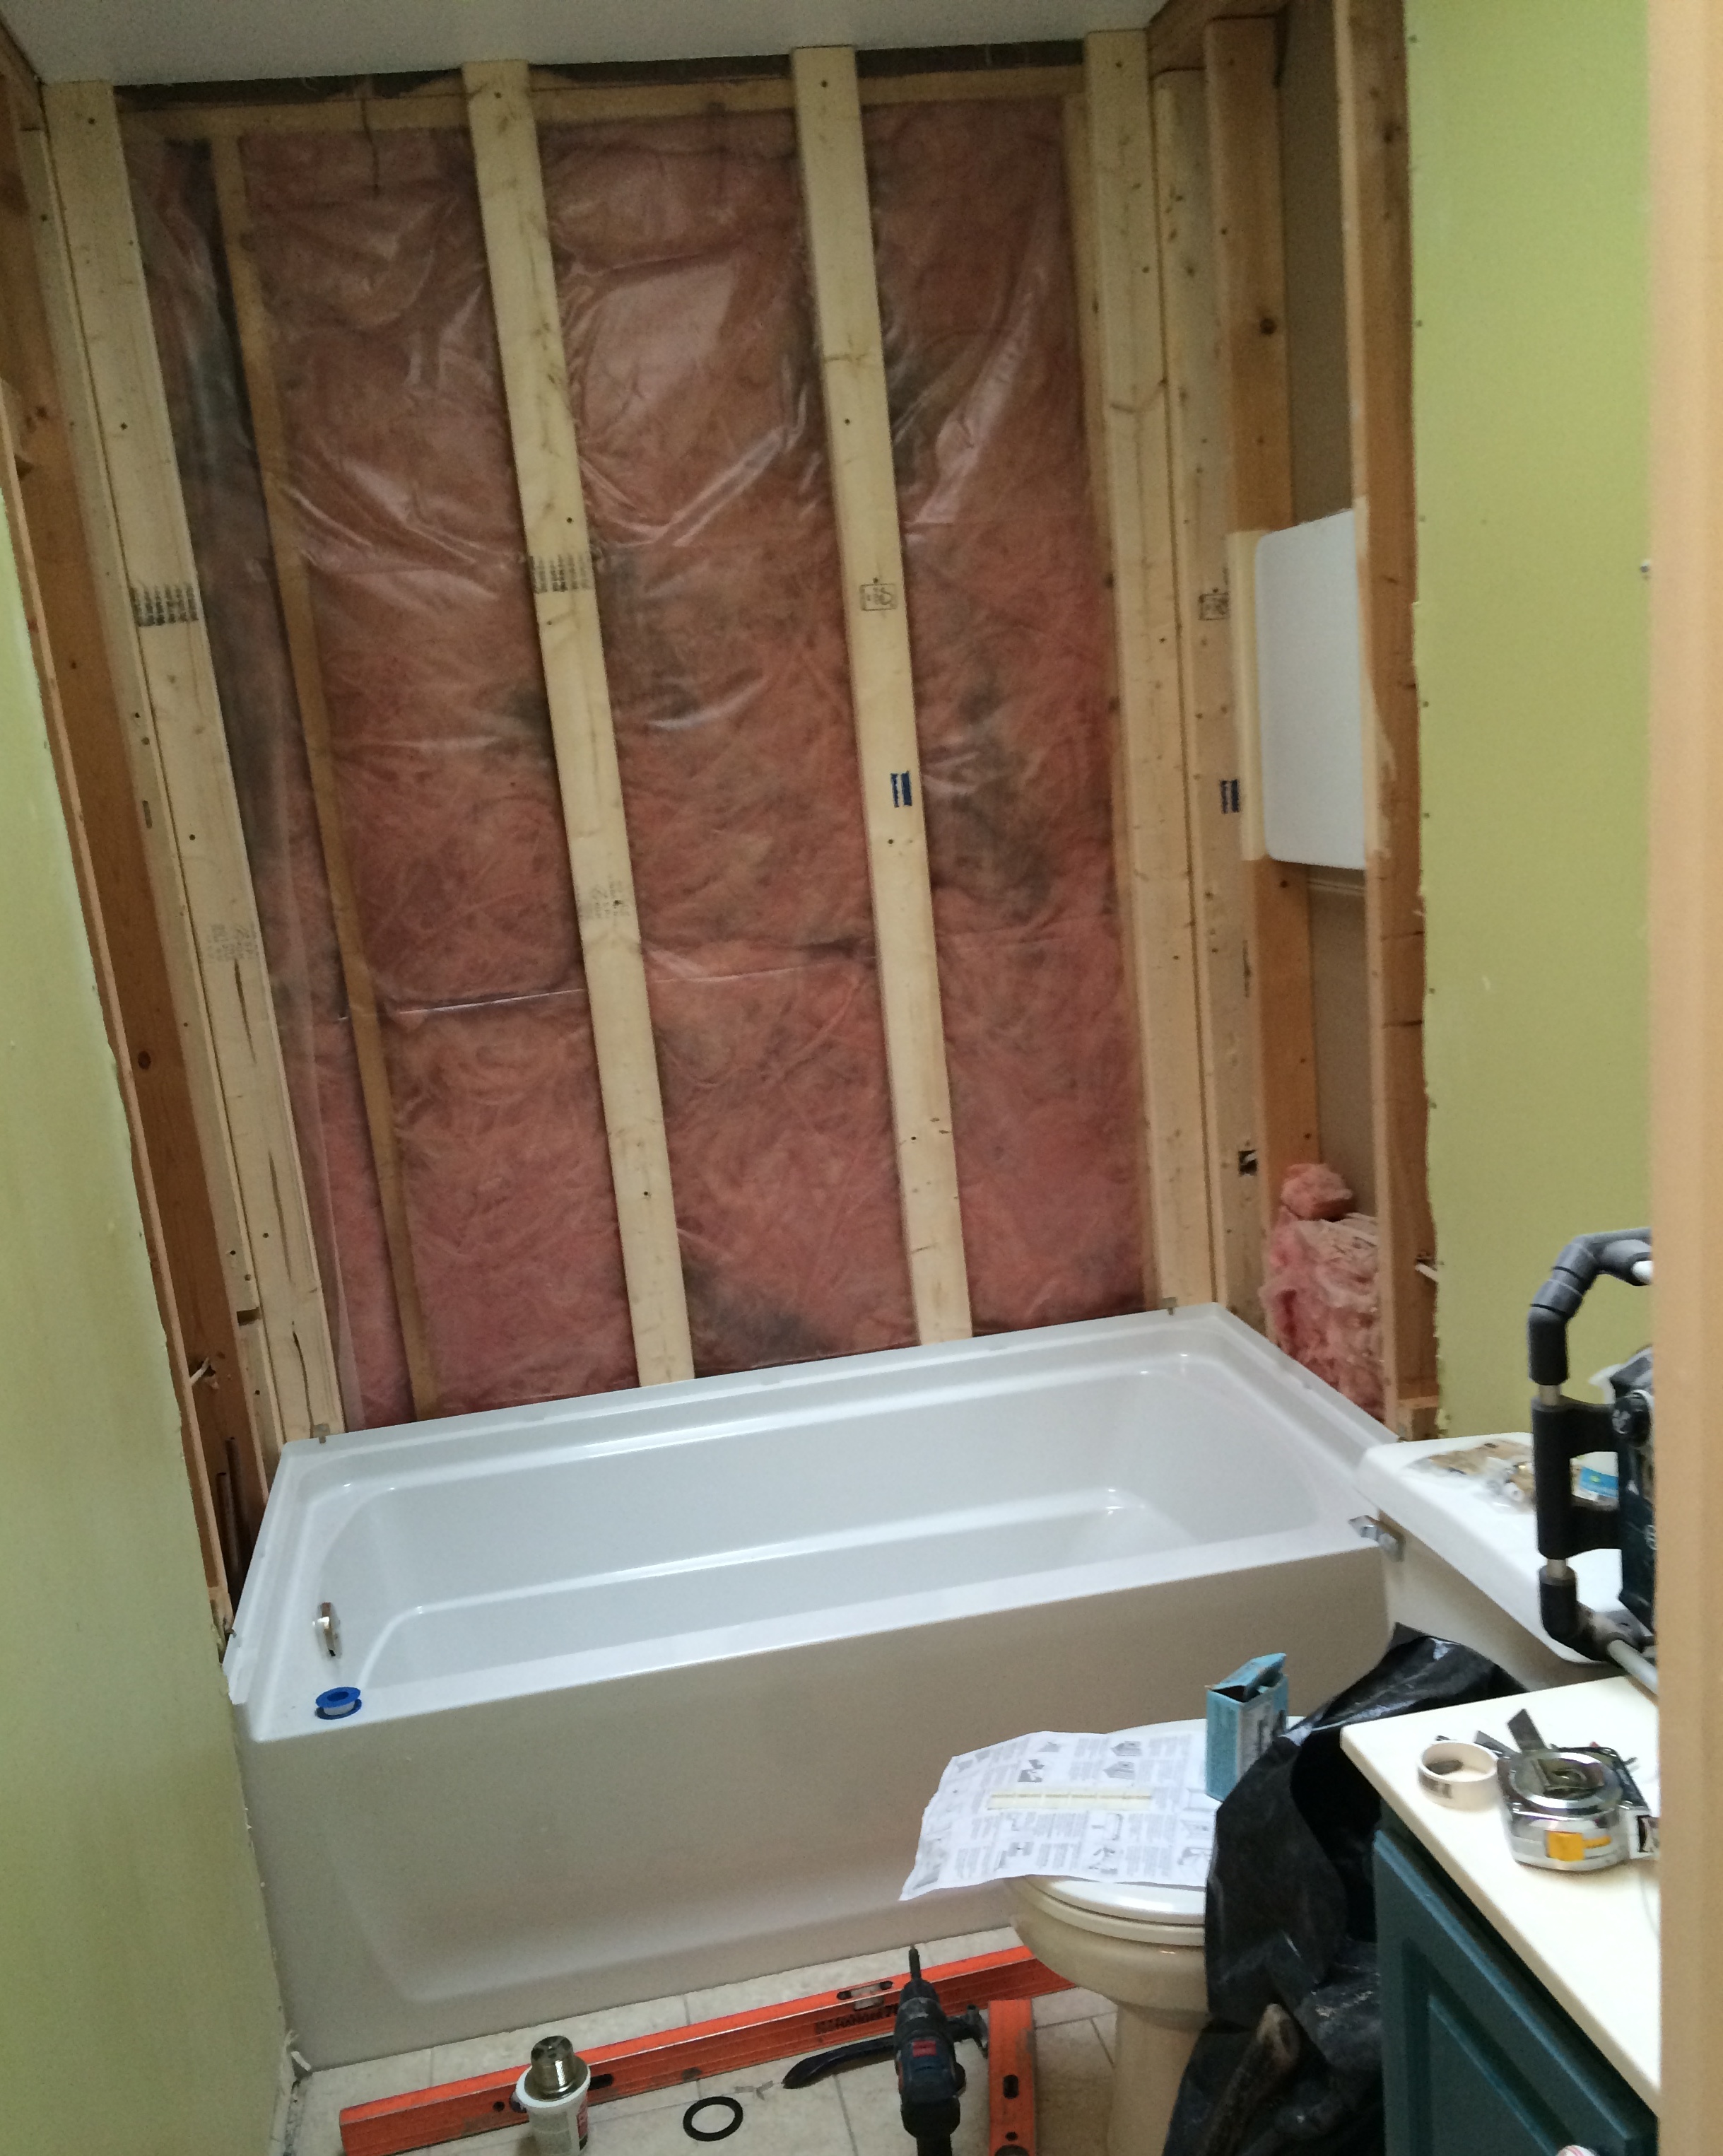
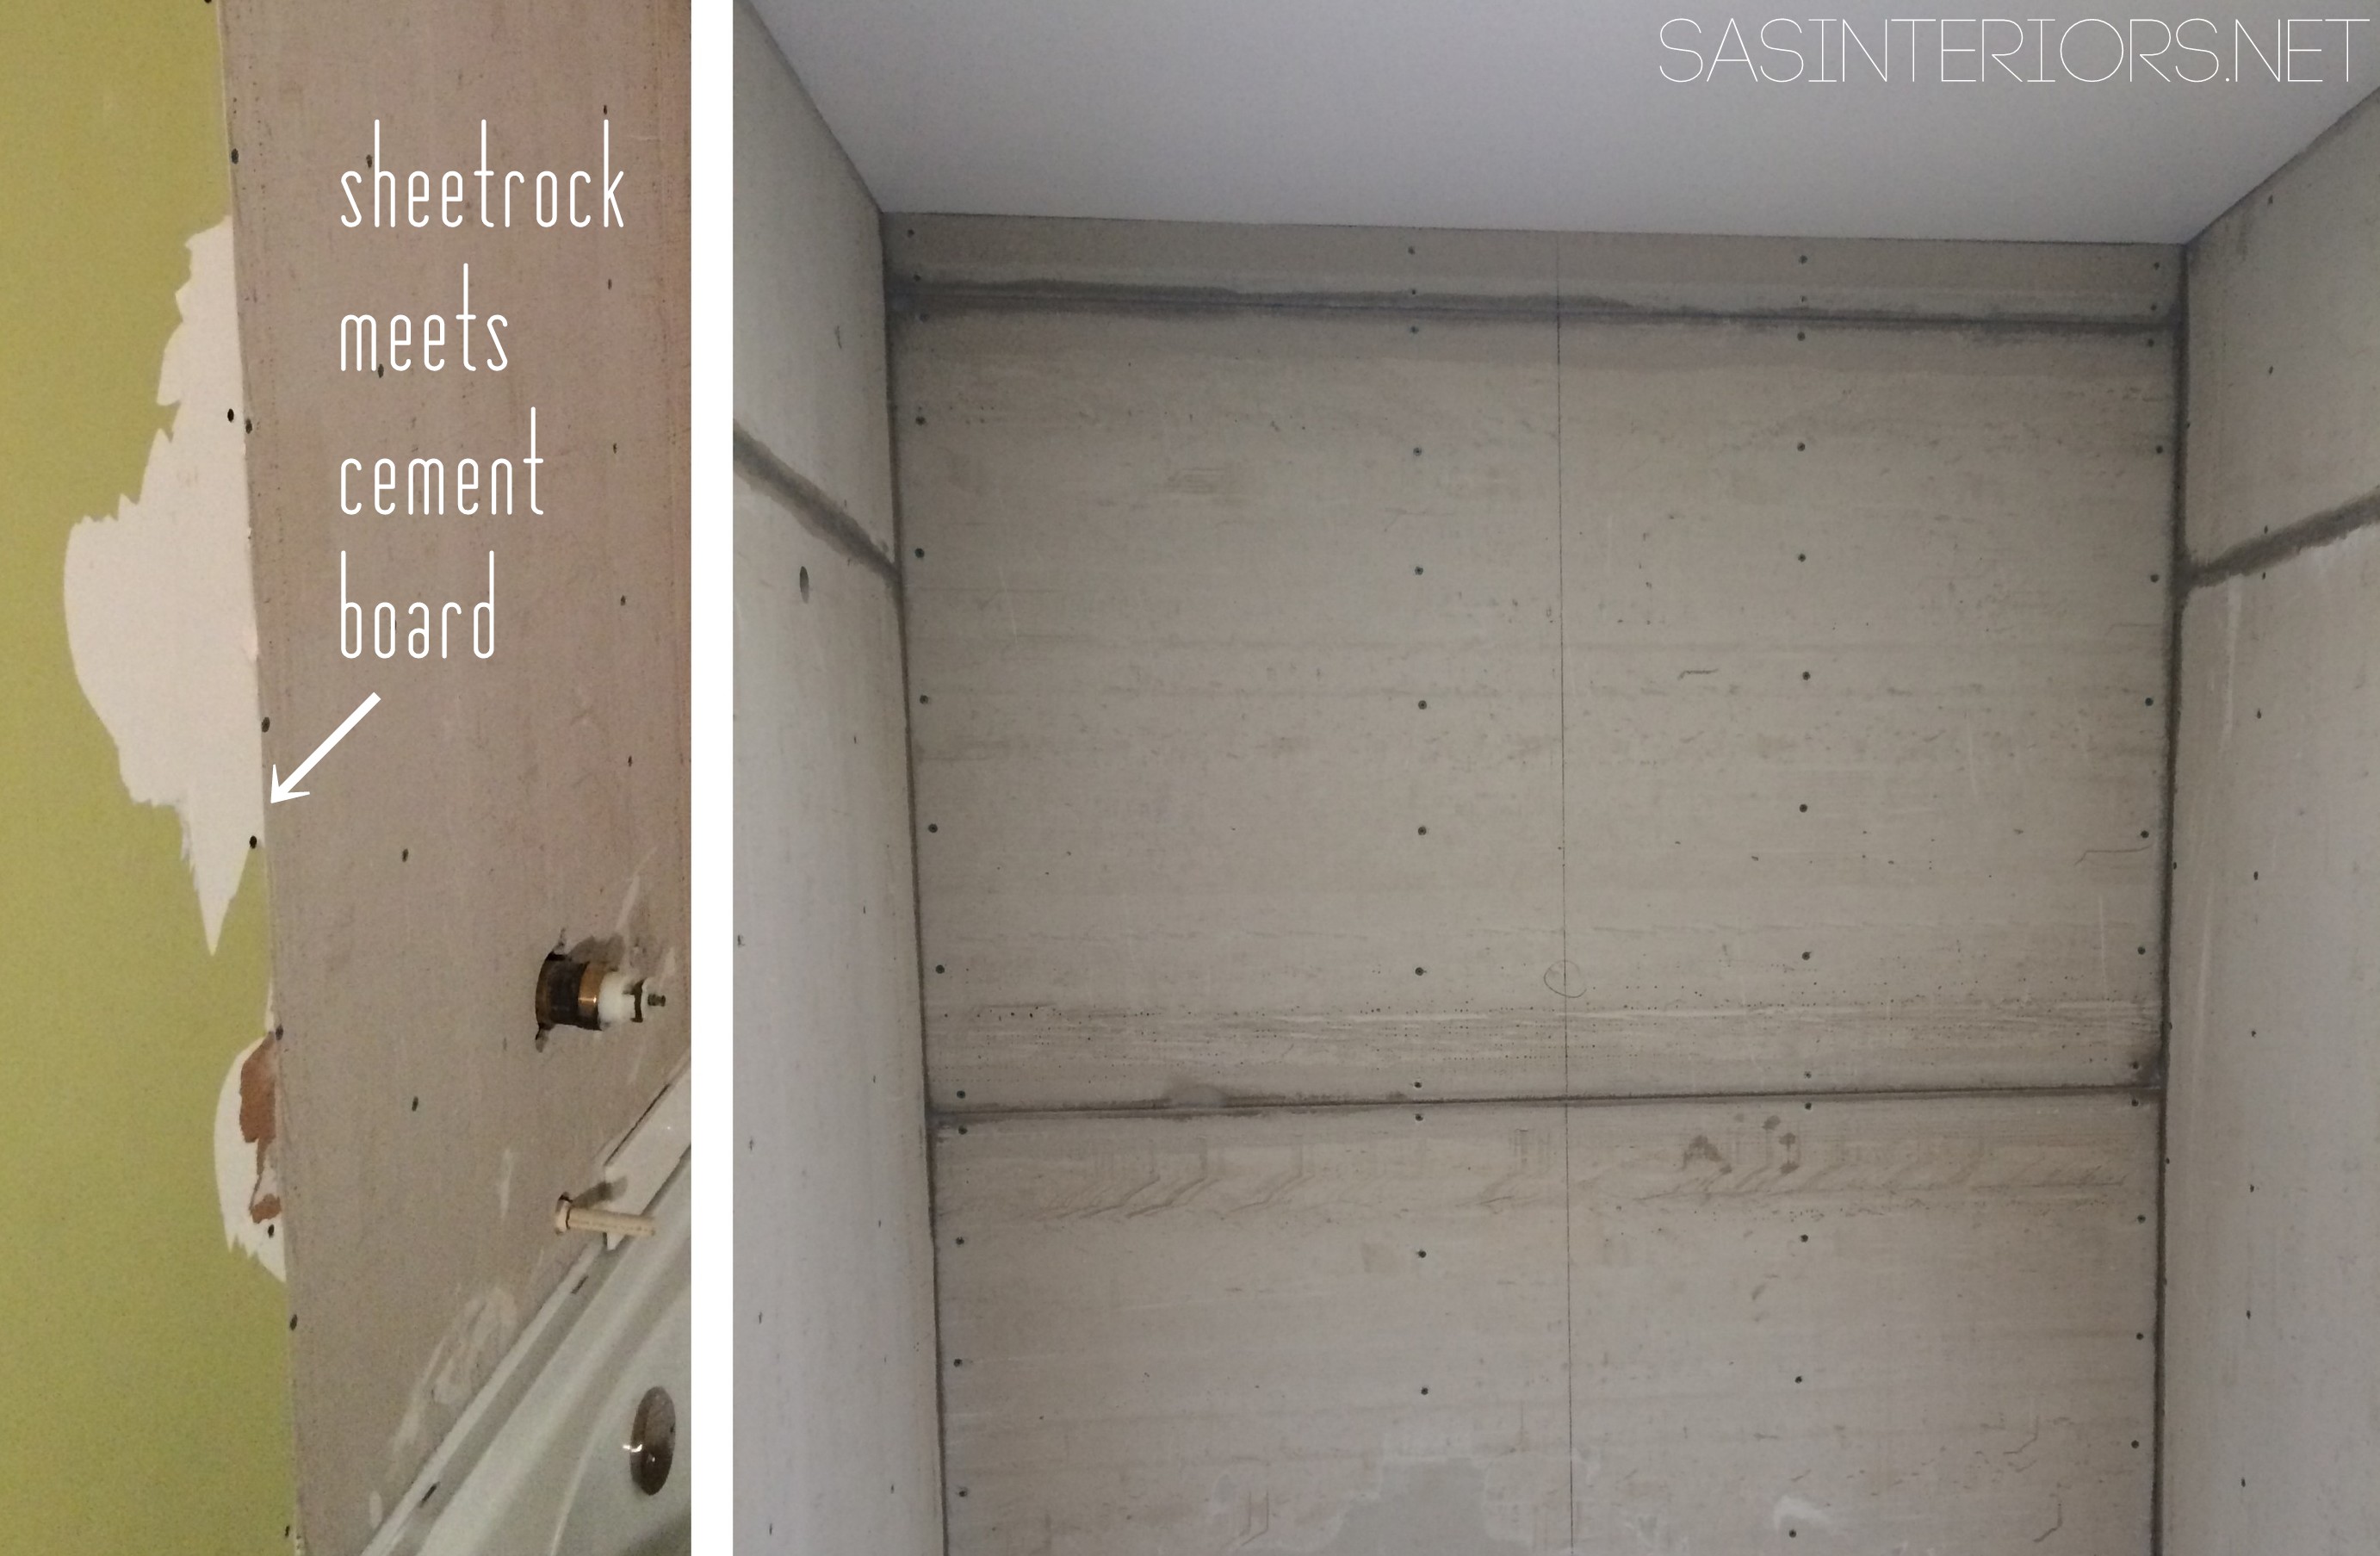
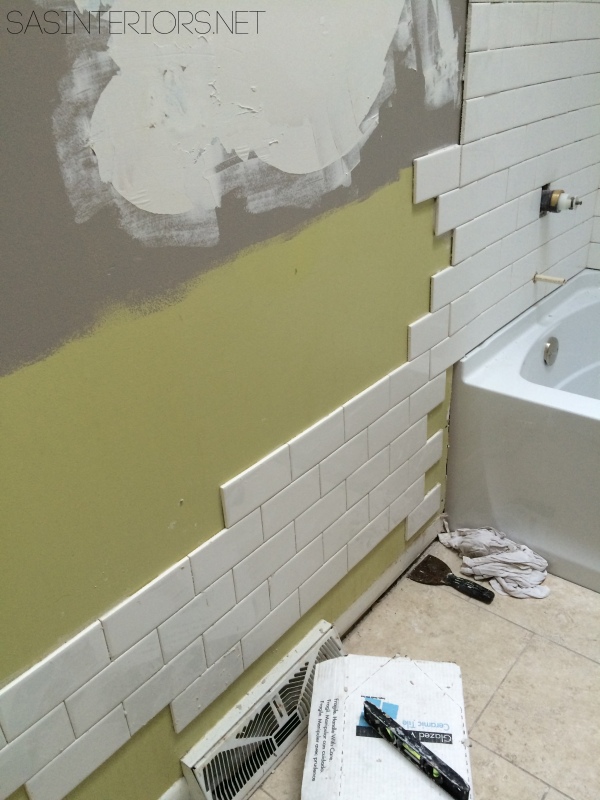
Once the removal & installation of the tub + cement board walls were complete, it was time to tile! To start, I chose the center point of the space – the back wall – and worked my way out and around the room. I marked out a level line at the base of the tile so I the tile would be as plumb as possible.
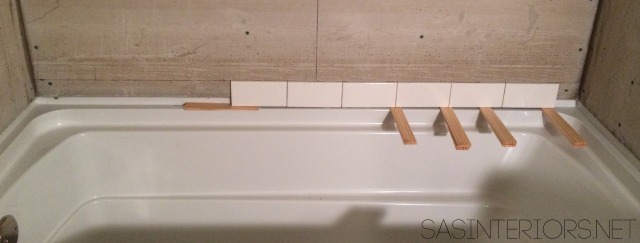
When starting the first row, it is important to keep the tile about 1/8 – 1/4″ above the tub deck (I used shims so the tile would not slide down). Instead of filling this gap with typical grout, use an expandable sealant to repel the water.
Tip to Know: Subway tile is the only tile that has a slight bevel, so there is no need to add a spacing/ joint between tiles. If you added a joint (using a spacer) than the joints would be very large. The pro for using subway tile is they stack one on top of the other. The con for using subway tile is you have no wiggle room. If a tile is off (when using spacers), you can cheat on the next tile or the next row, but not with subway since ever tile butts next to each other.
I continued my way around the base of the tub and installed the tile on the plumb line.
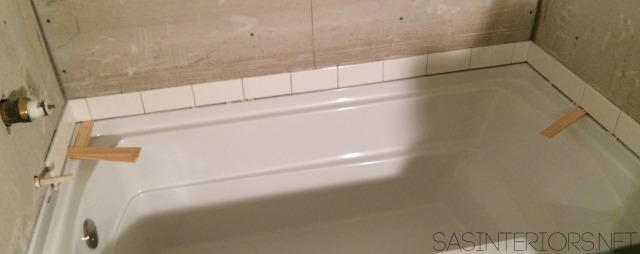
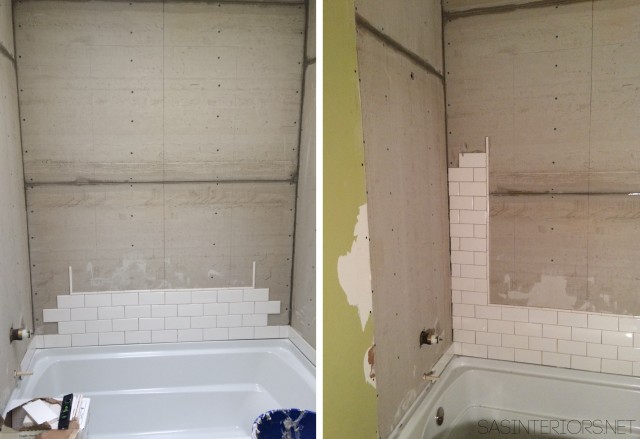
Once the first row was finished and the tile was cured, I continued my way up the wall starting at the back.
Somehow, somewhere I got this crazy-zany idea to introduce an accent tile. Yes gorgeous, but should an inexperienced person (me) be acting like a pro on the Day 2 of tiling? I asked myself late one evening. Well there was no going back…
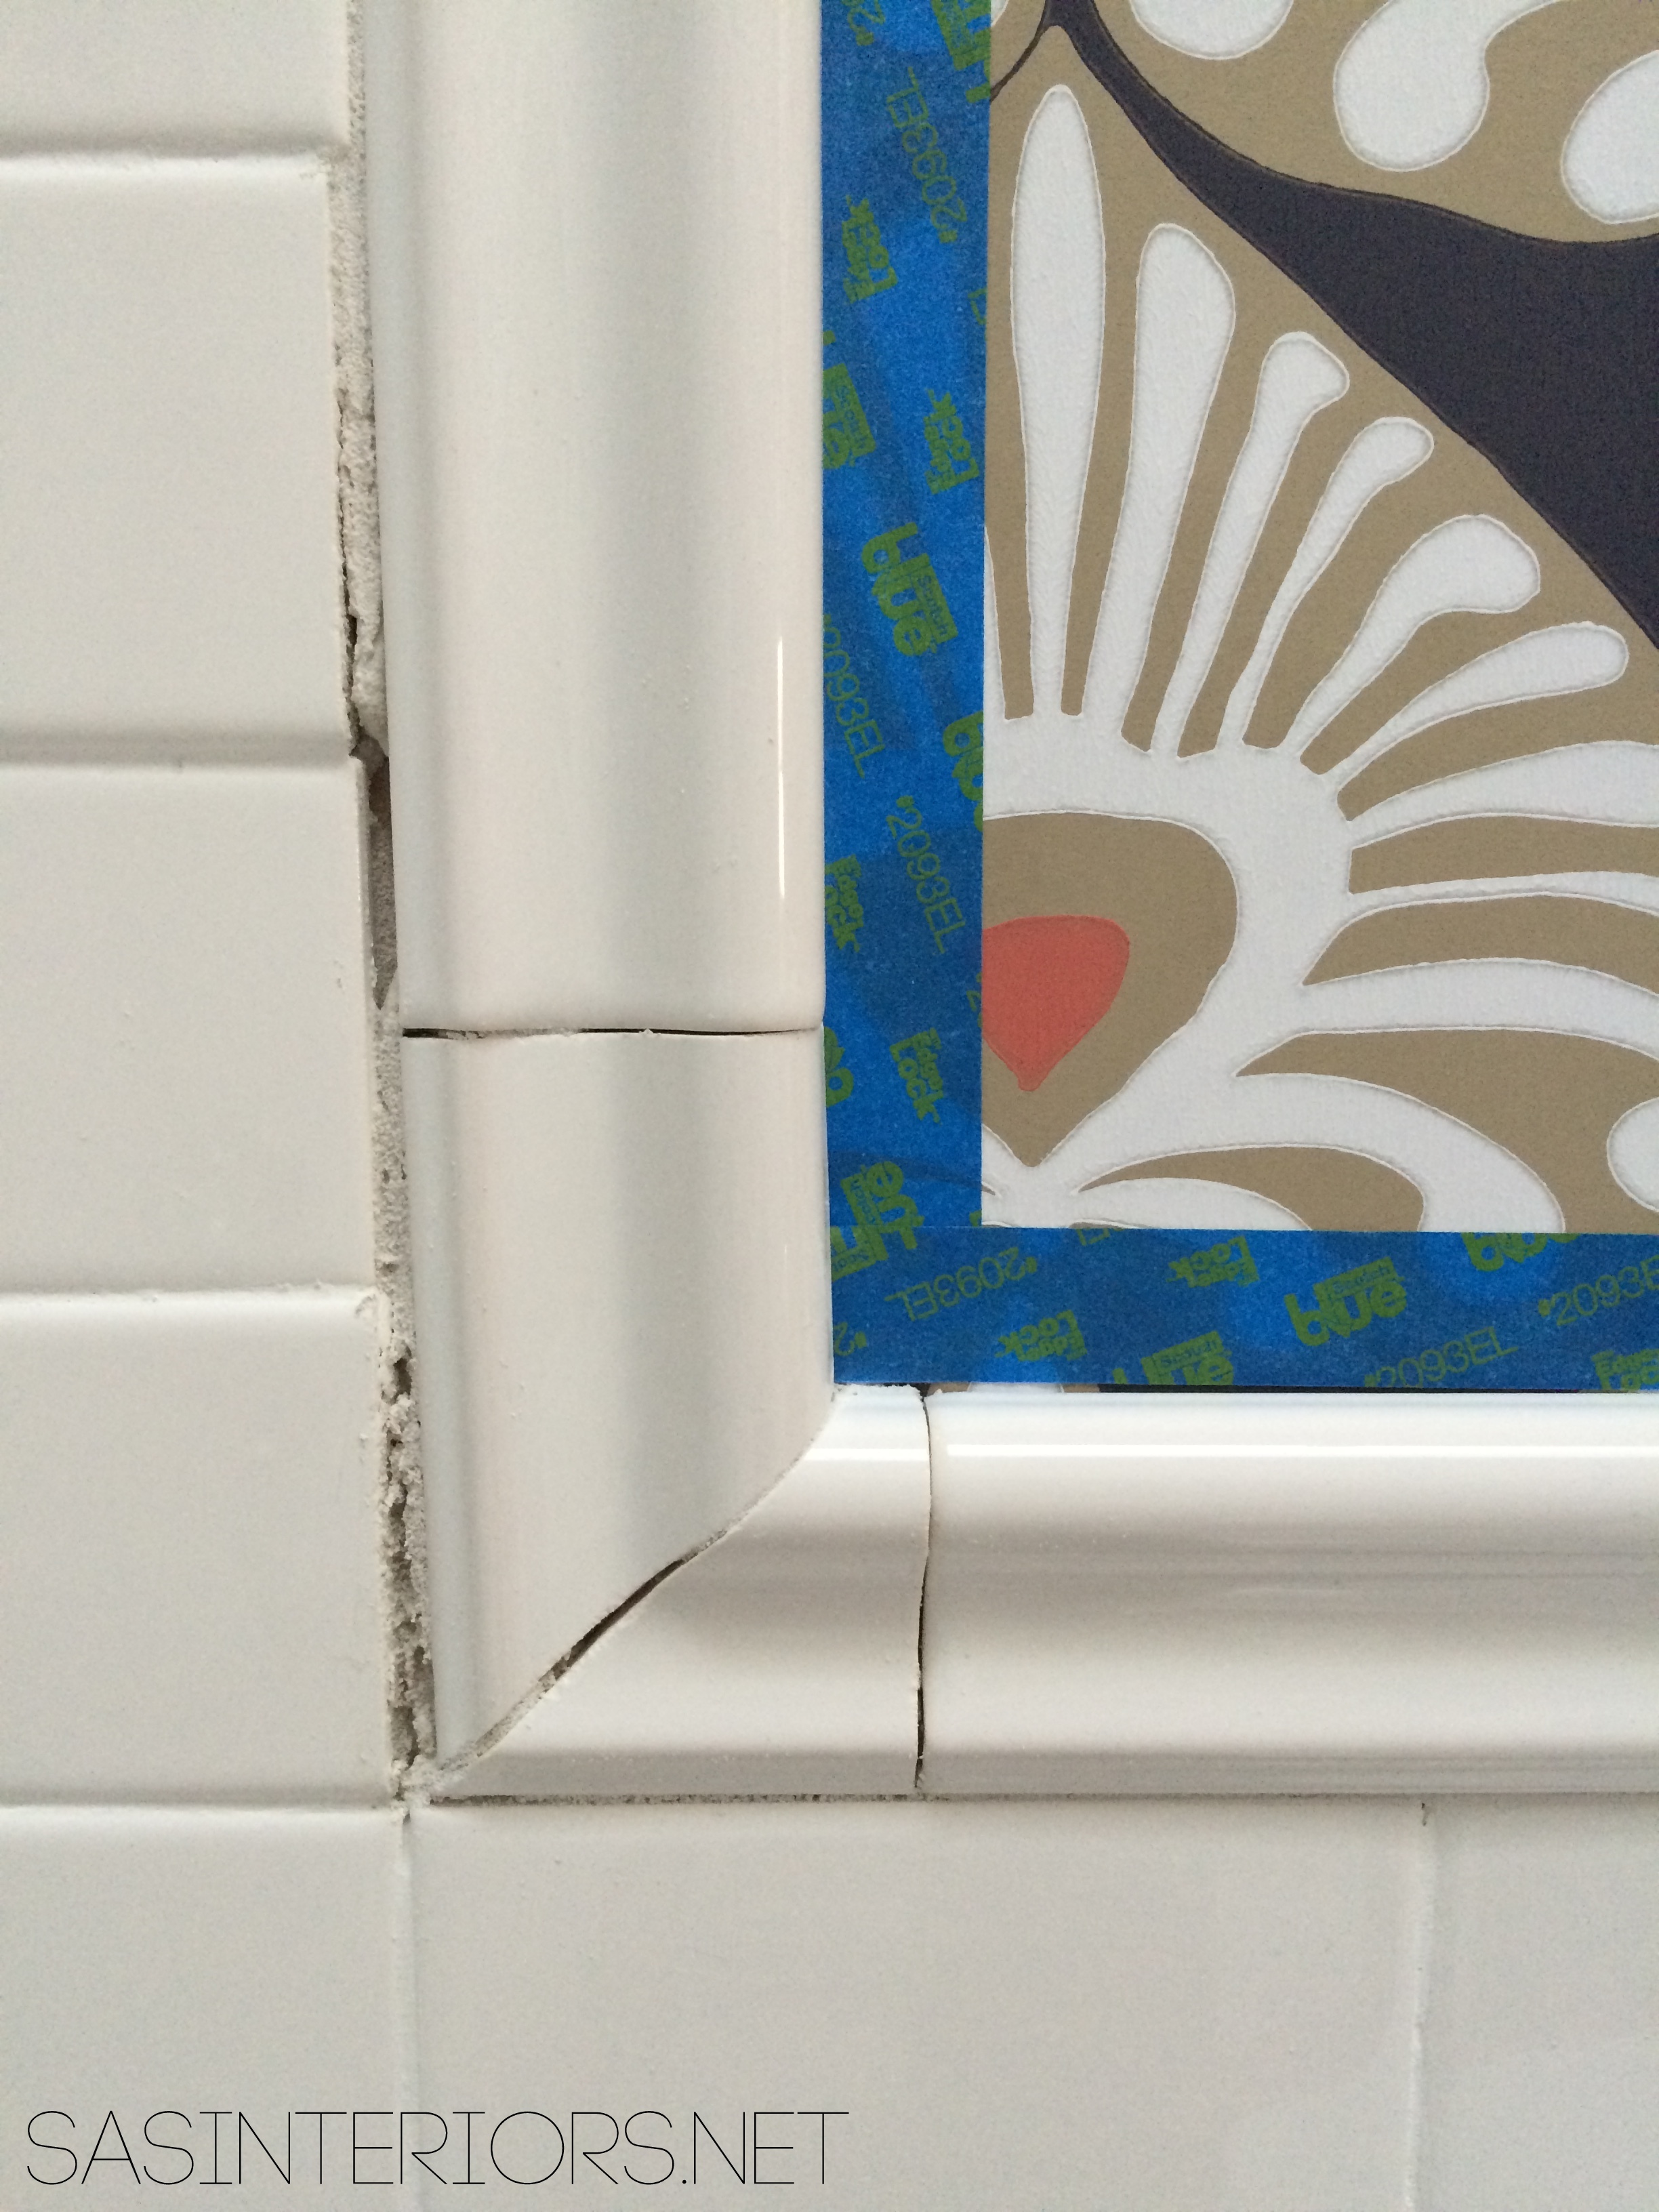
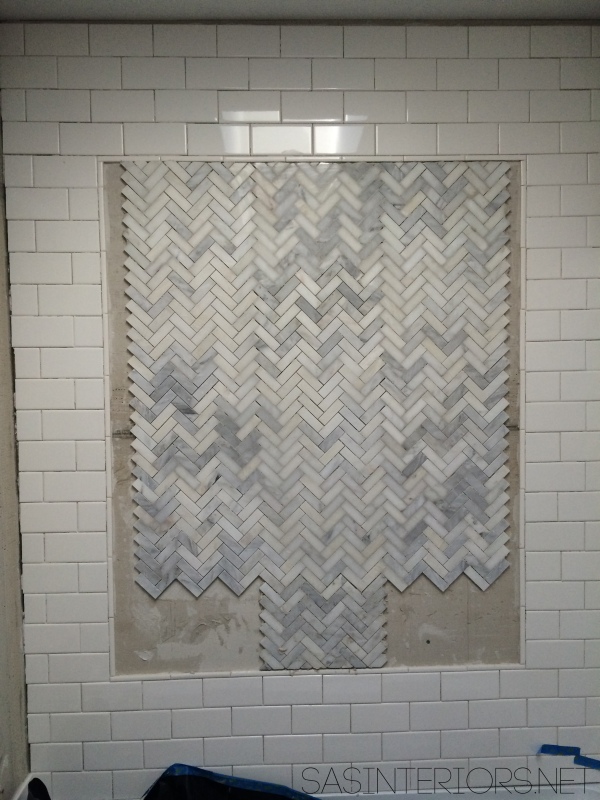
Once I figured out how large I wanted my accent tile inlay to be, I marked lines on the wall using a level. Then to outline the accent tile, I used a 1/2″ x 6″ pencil liner.
The two sides of the accent tile nearly killed me because of all the cuts, but I kept saying to myself, what doesn’t kill you makes you stronger.
But then, the sides were done, the pencil tile was added to the top and the bling-bling accent tile was ready to be installed!
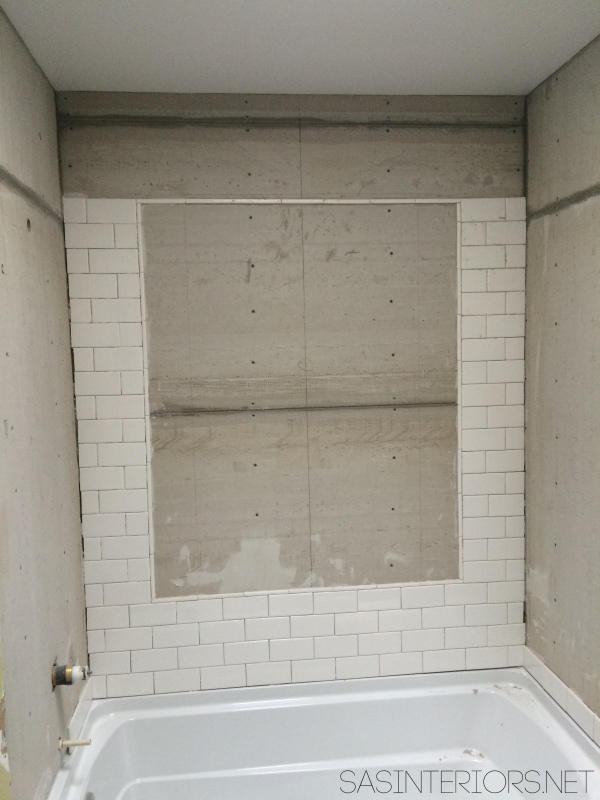
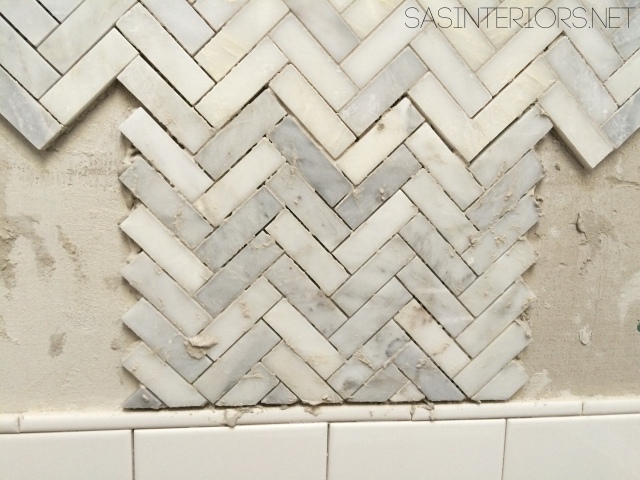
For the accent tile, I found the midpoint of the box and laid the first tile which is 13″ x 13″ natural stone herringbone mosaic (on a mesh sheet backing). Then I added the adjacent tiles. For this part, the Mister and I worked fast because we wanted to avoid the tiles from sliding down (gravity was not our friend on this day).

FYI: I tried taking as many pictures along the way, but to be honest, my hands were messy and filled with mortar. All the pictures were taken with my iphone and much of the project was tackled in the evening (with poor lighting).
[details on adhering the tile to the wall below]
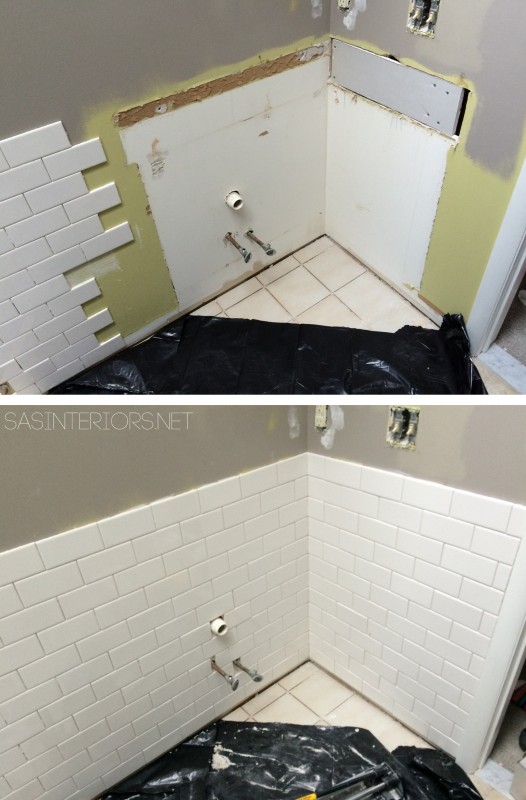
Once the walls of the tub were complete, I continued the tile about 3′ up on the main walls of the bathroom.

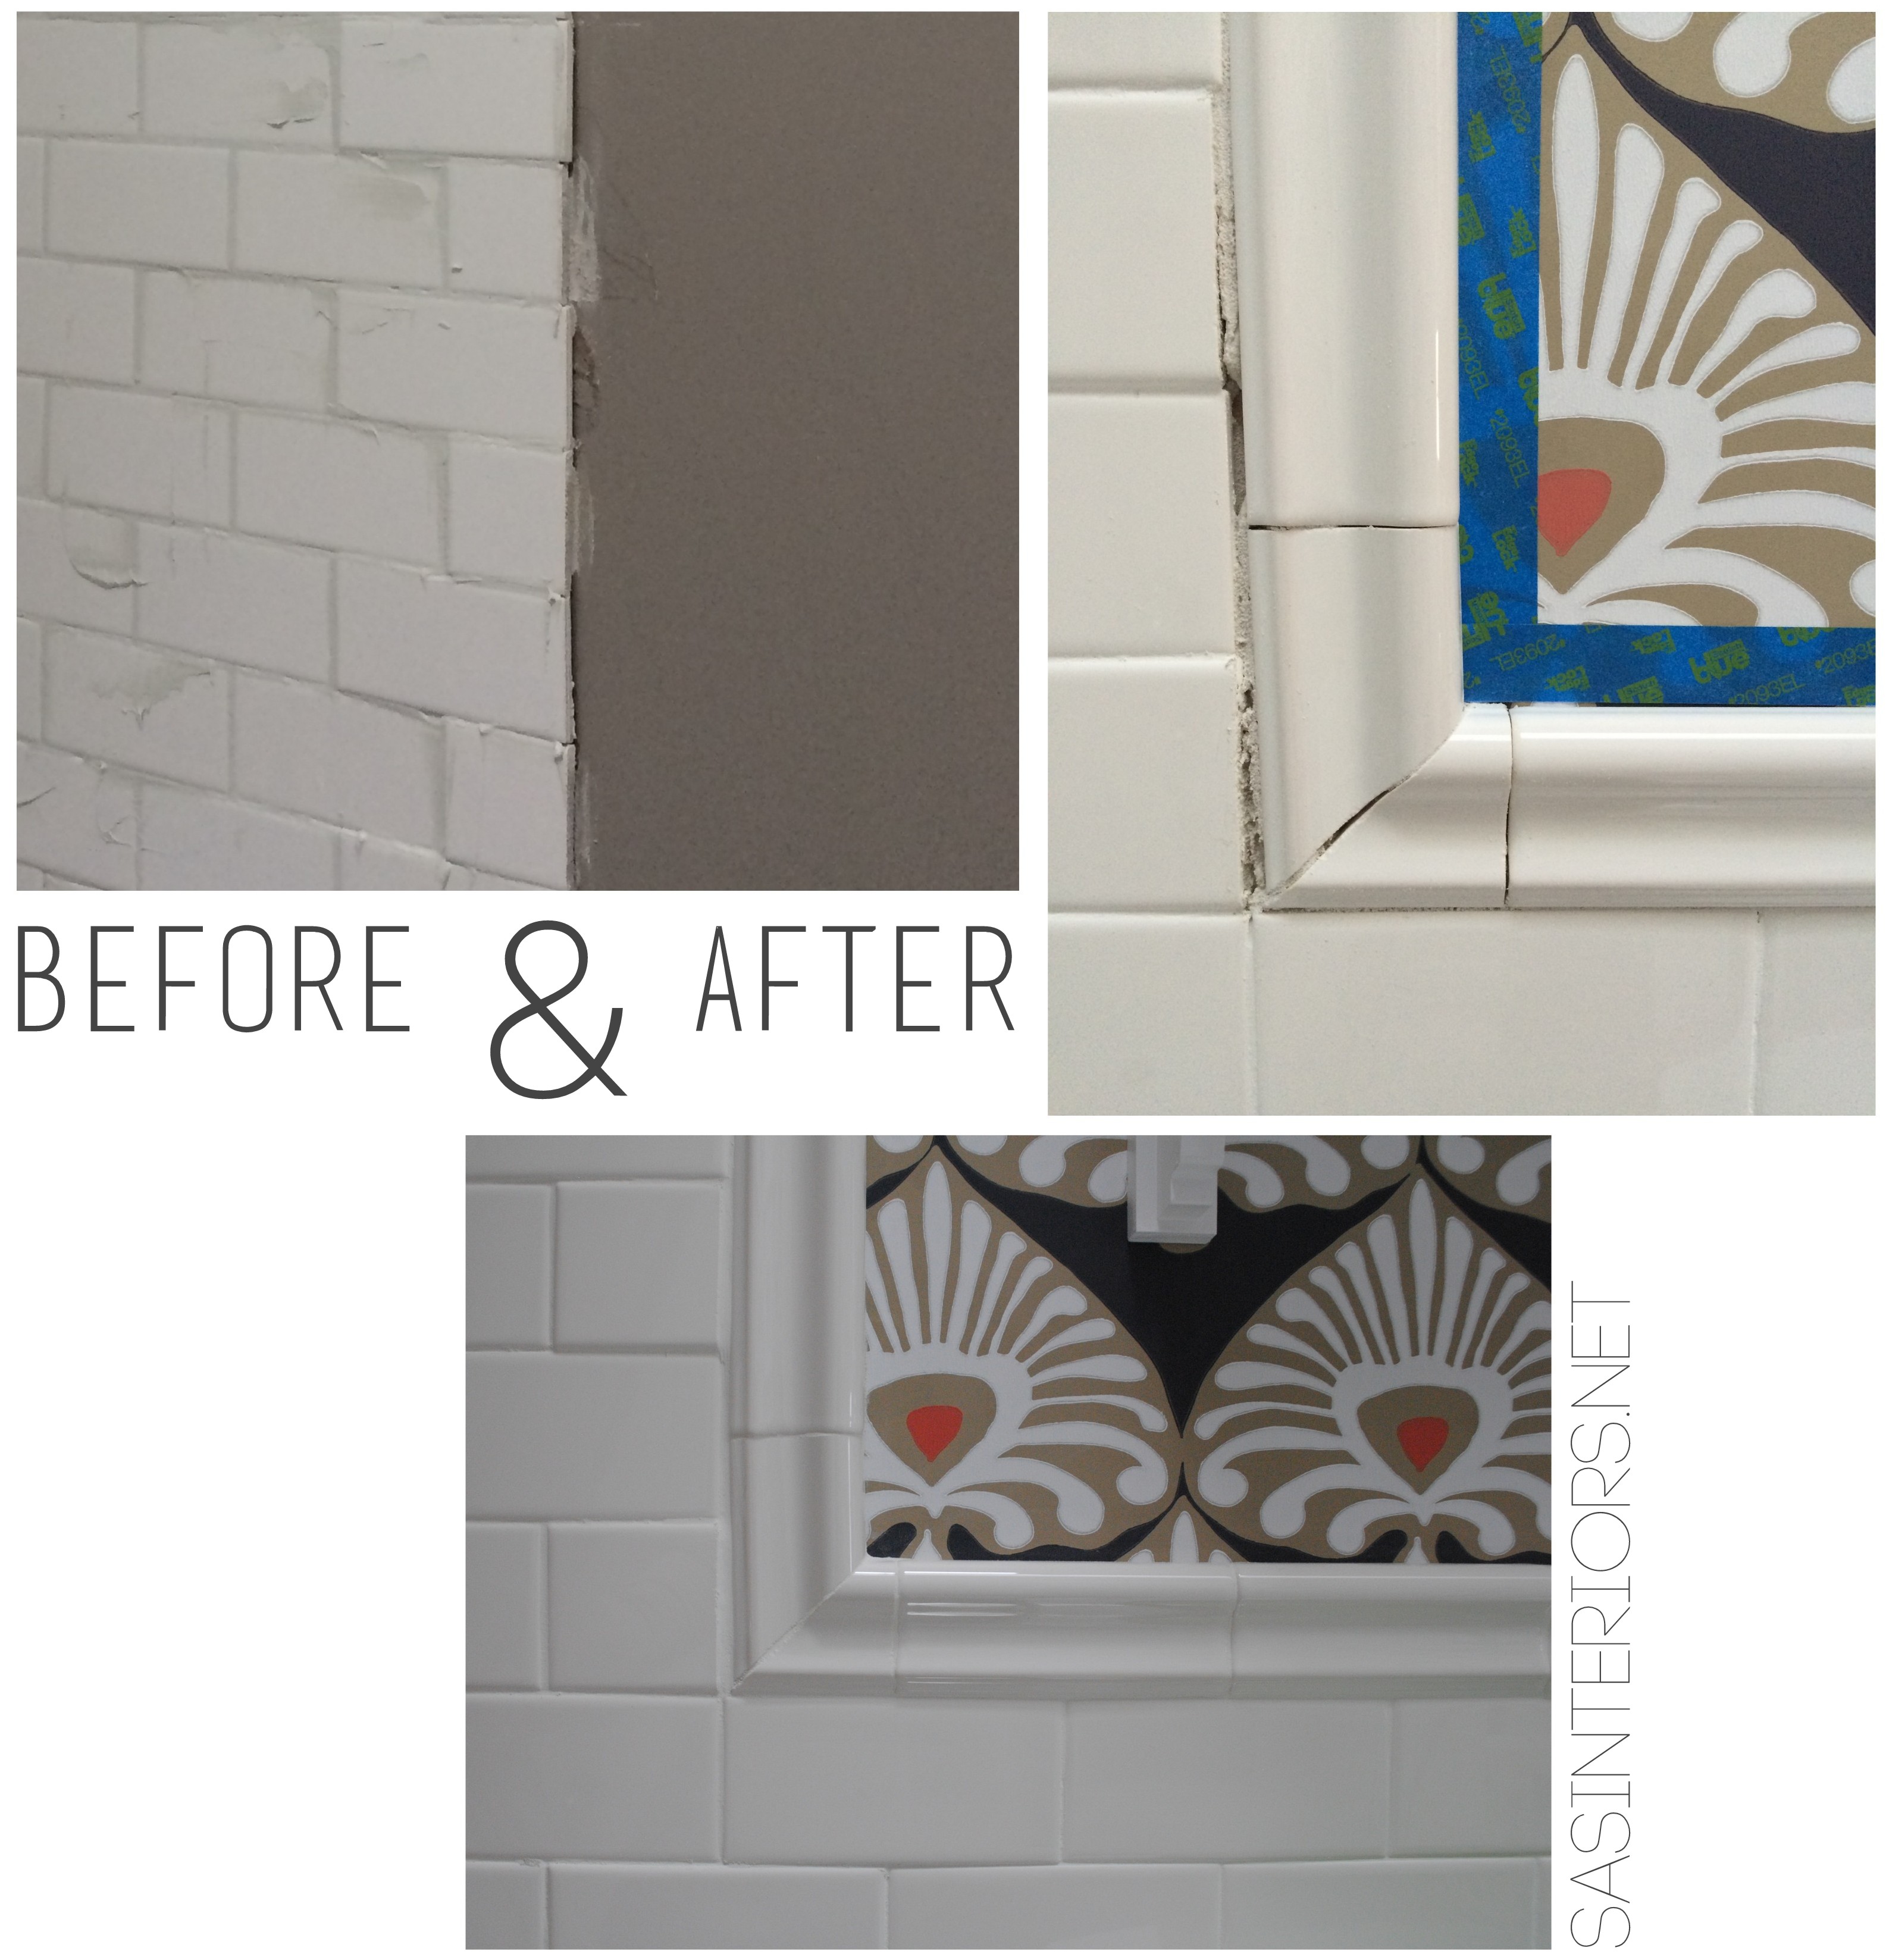
Before & After of the sink area…
What’s to Come
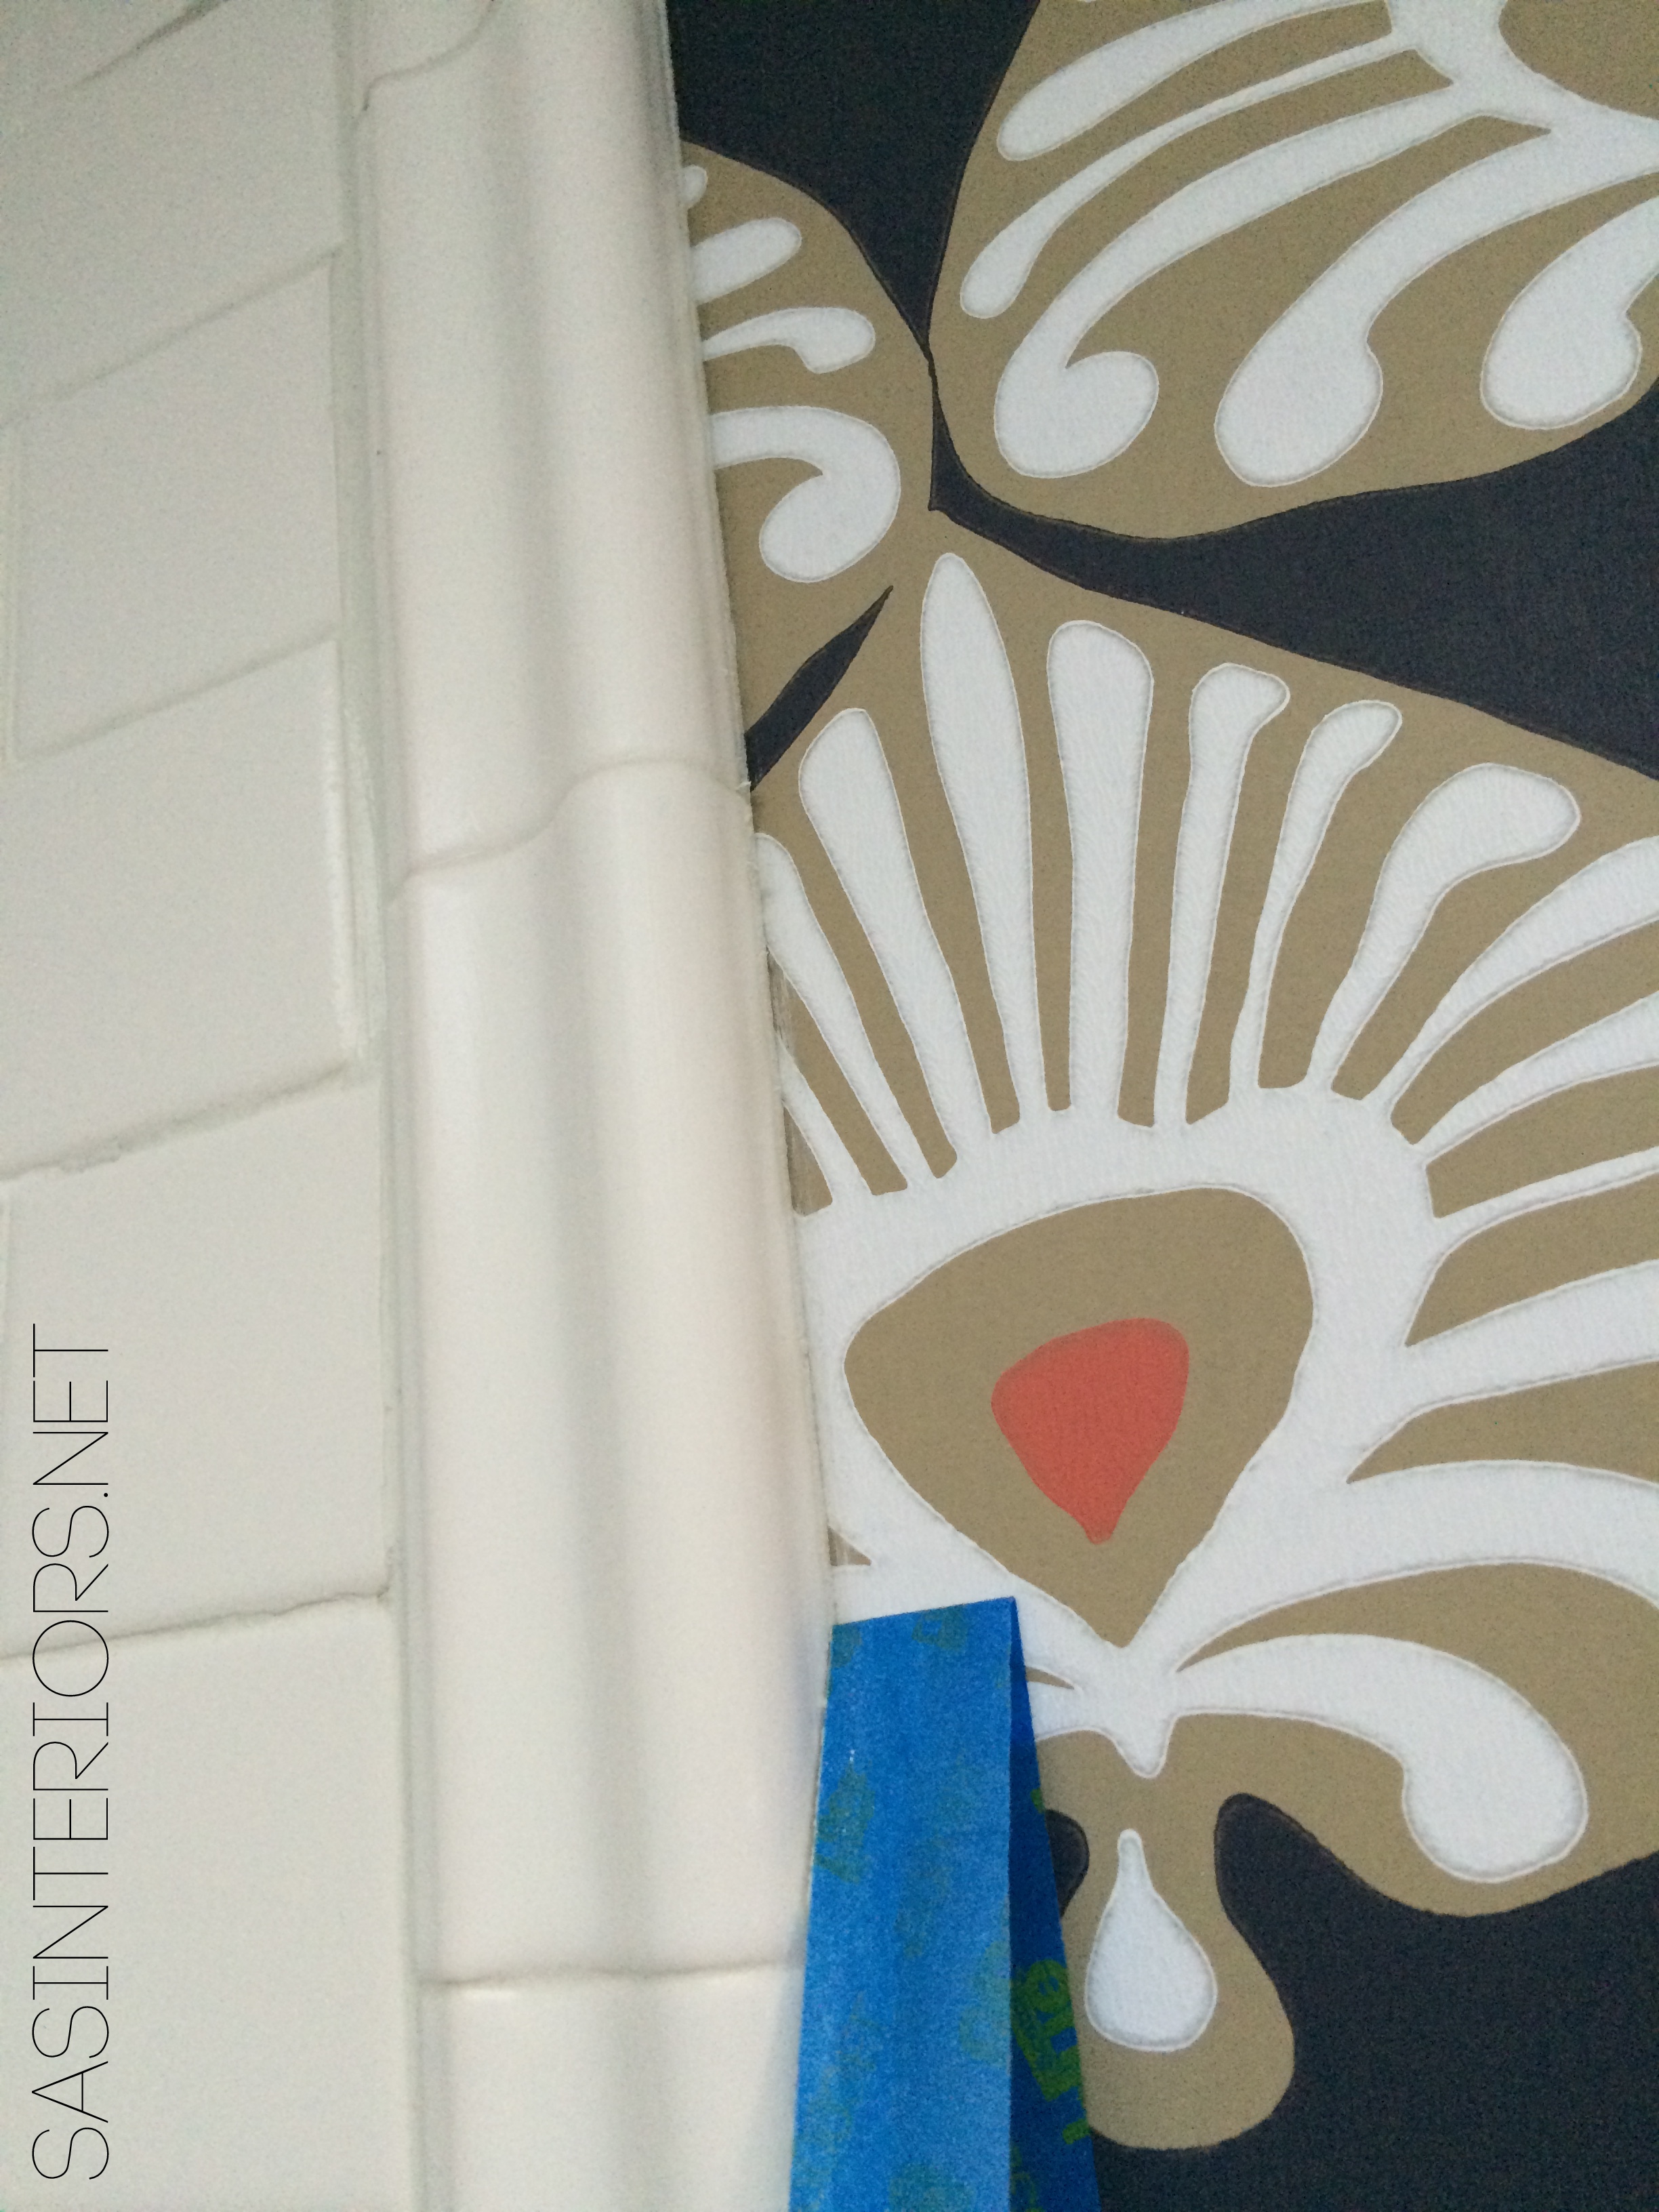
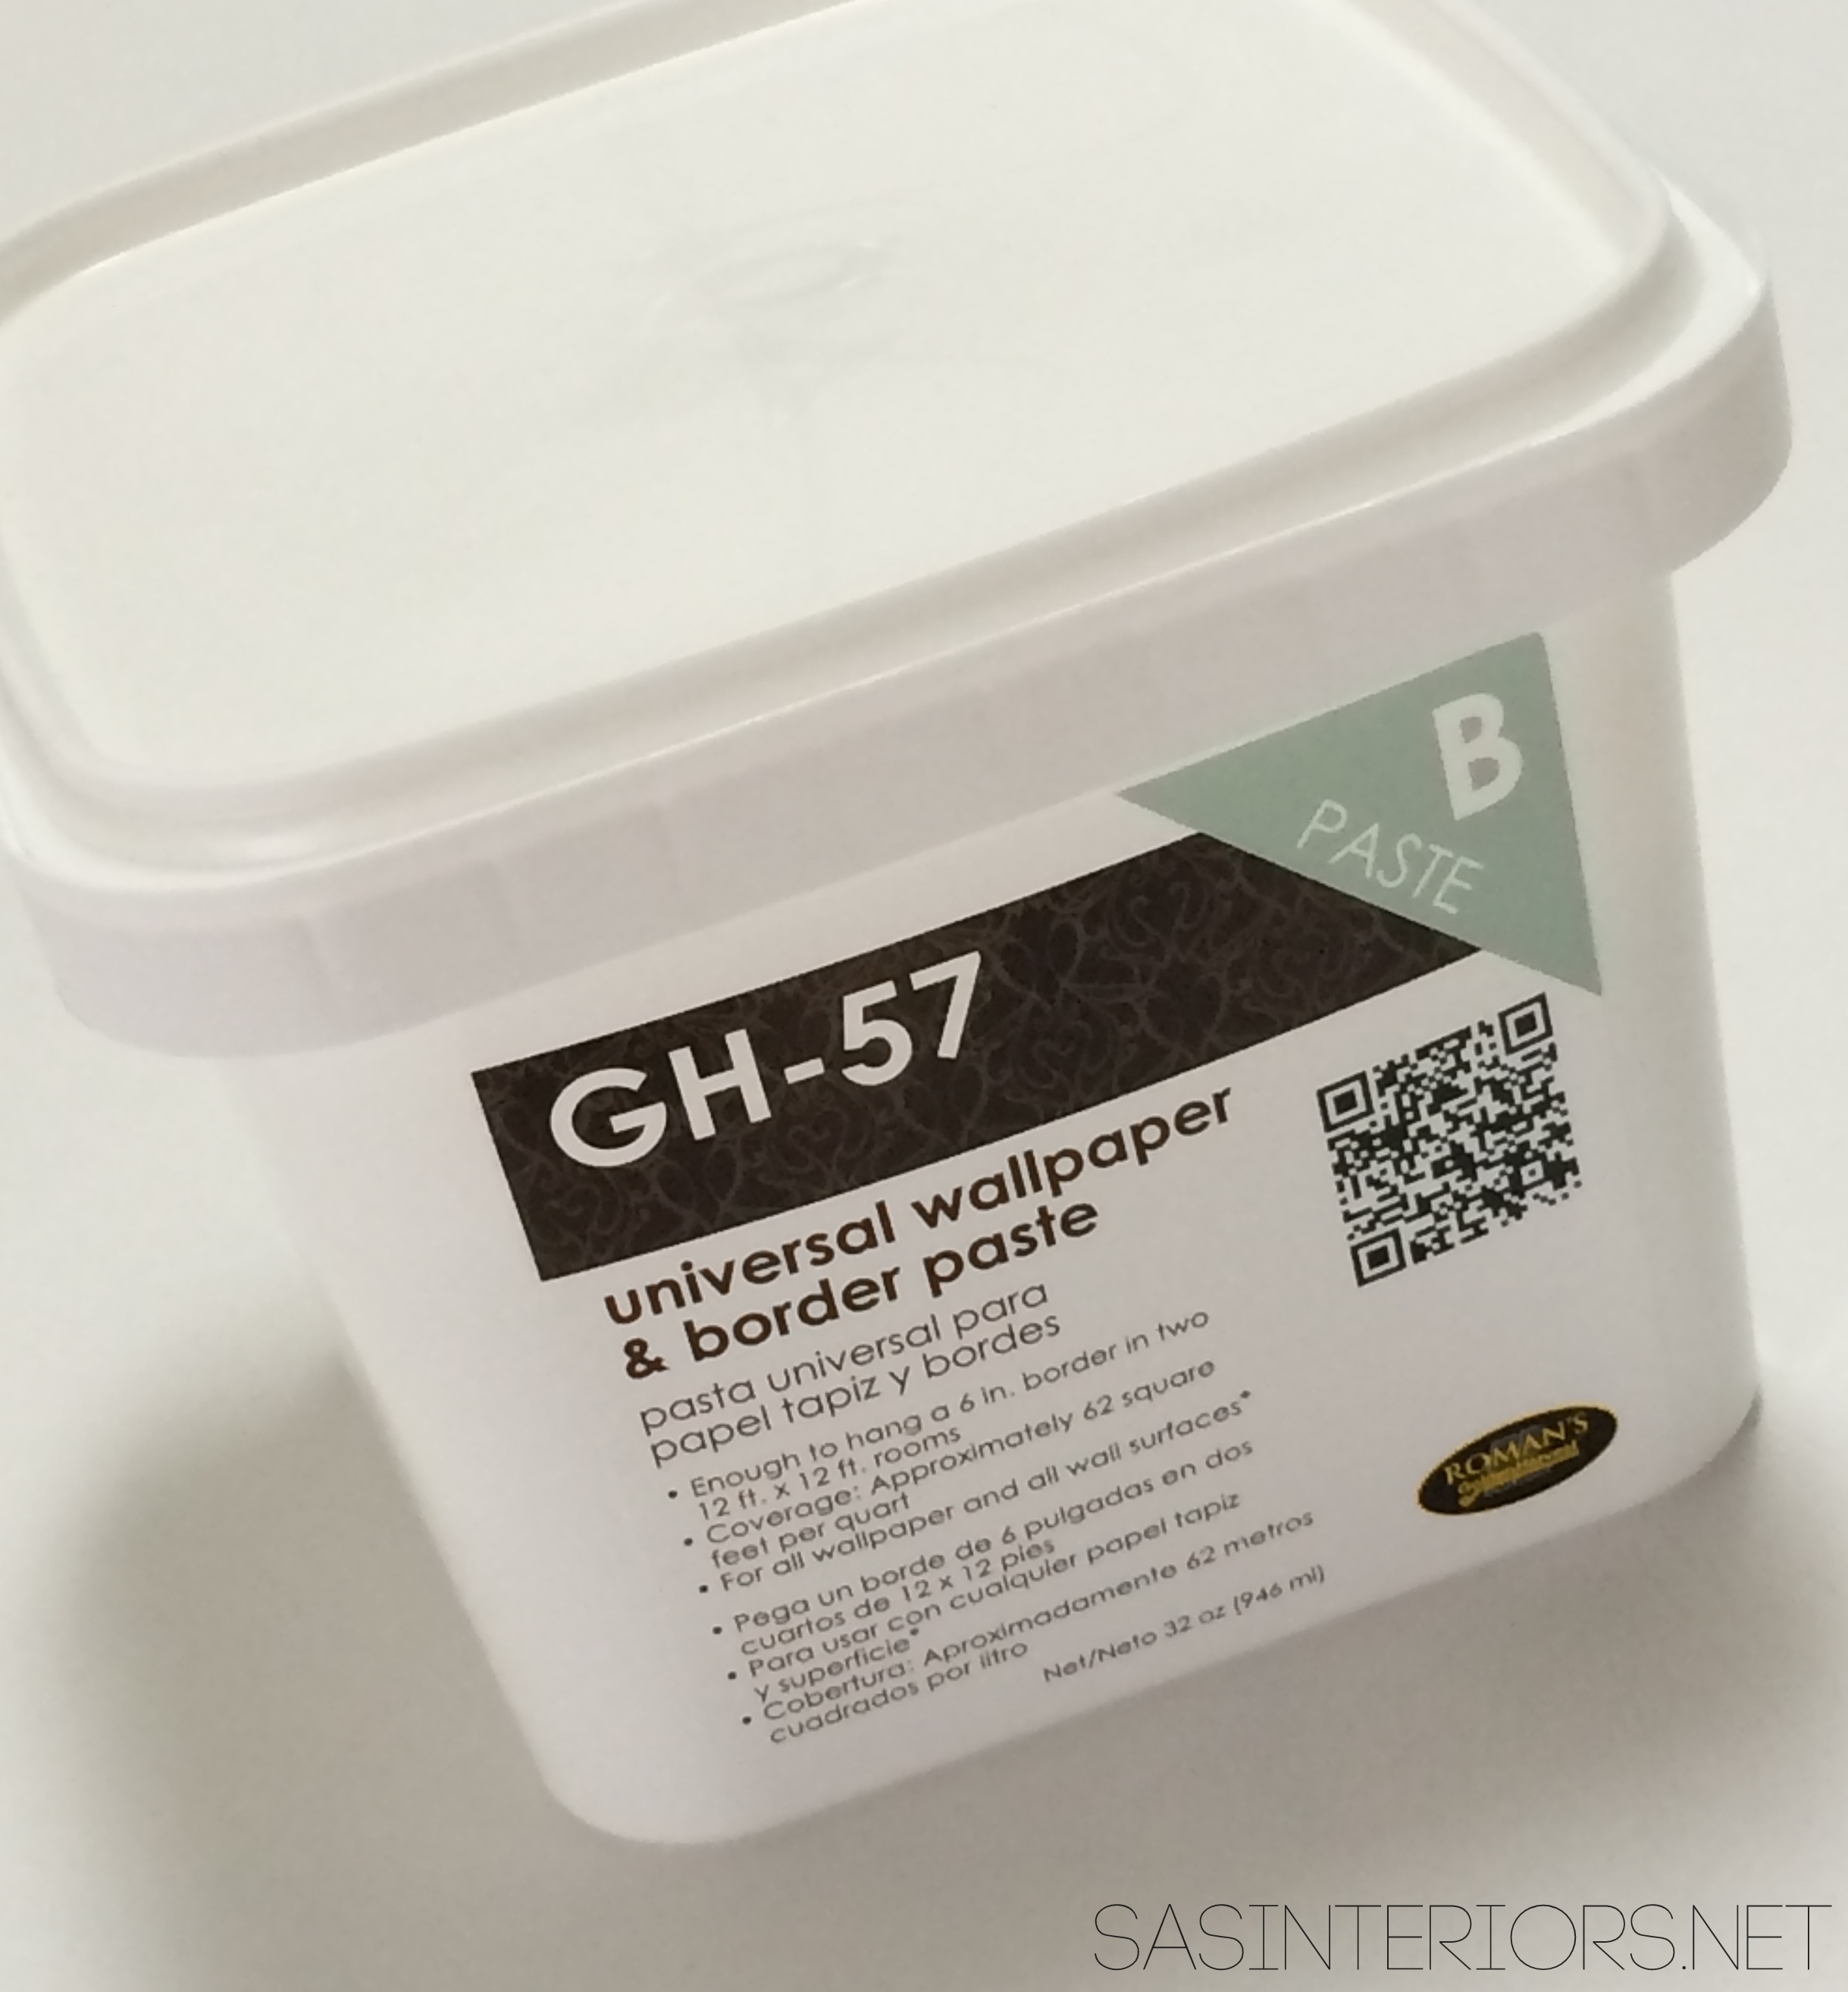
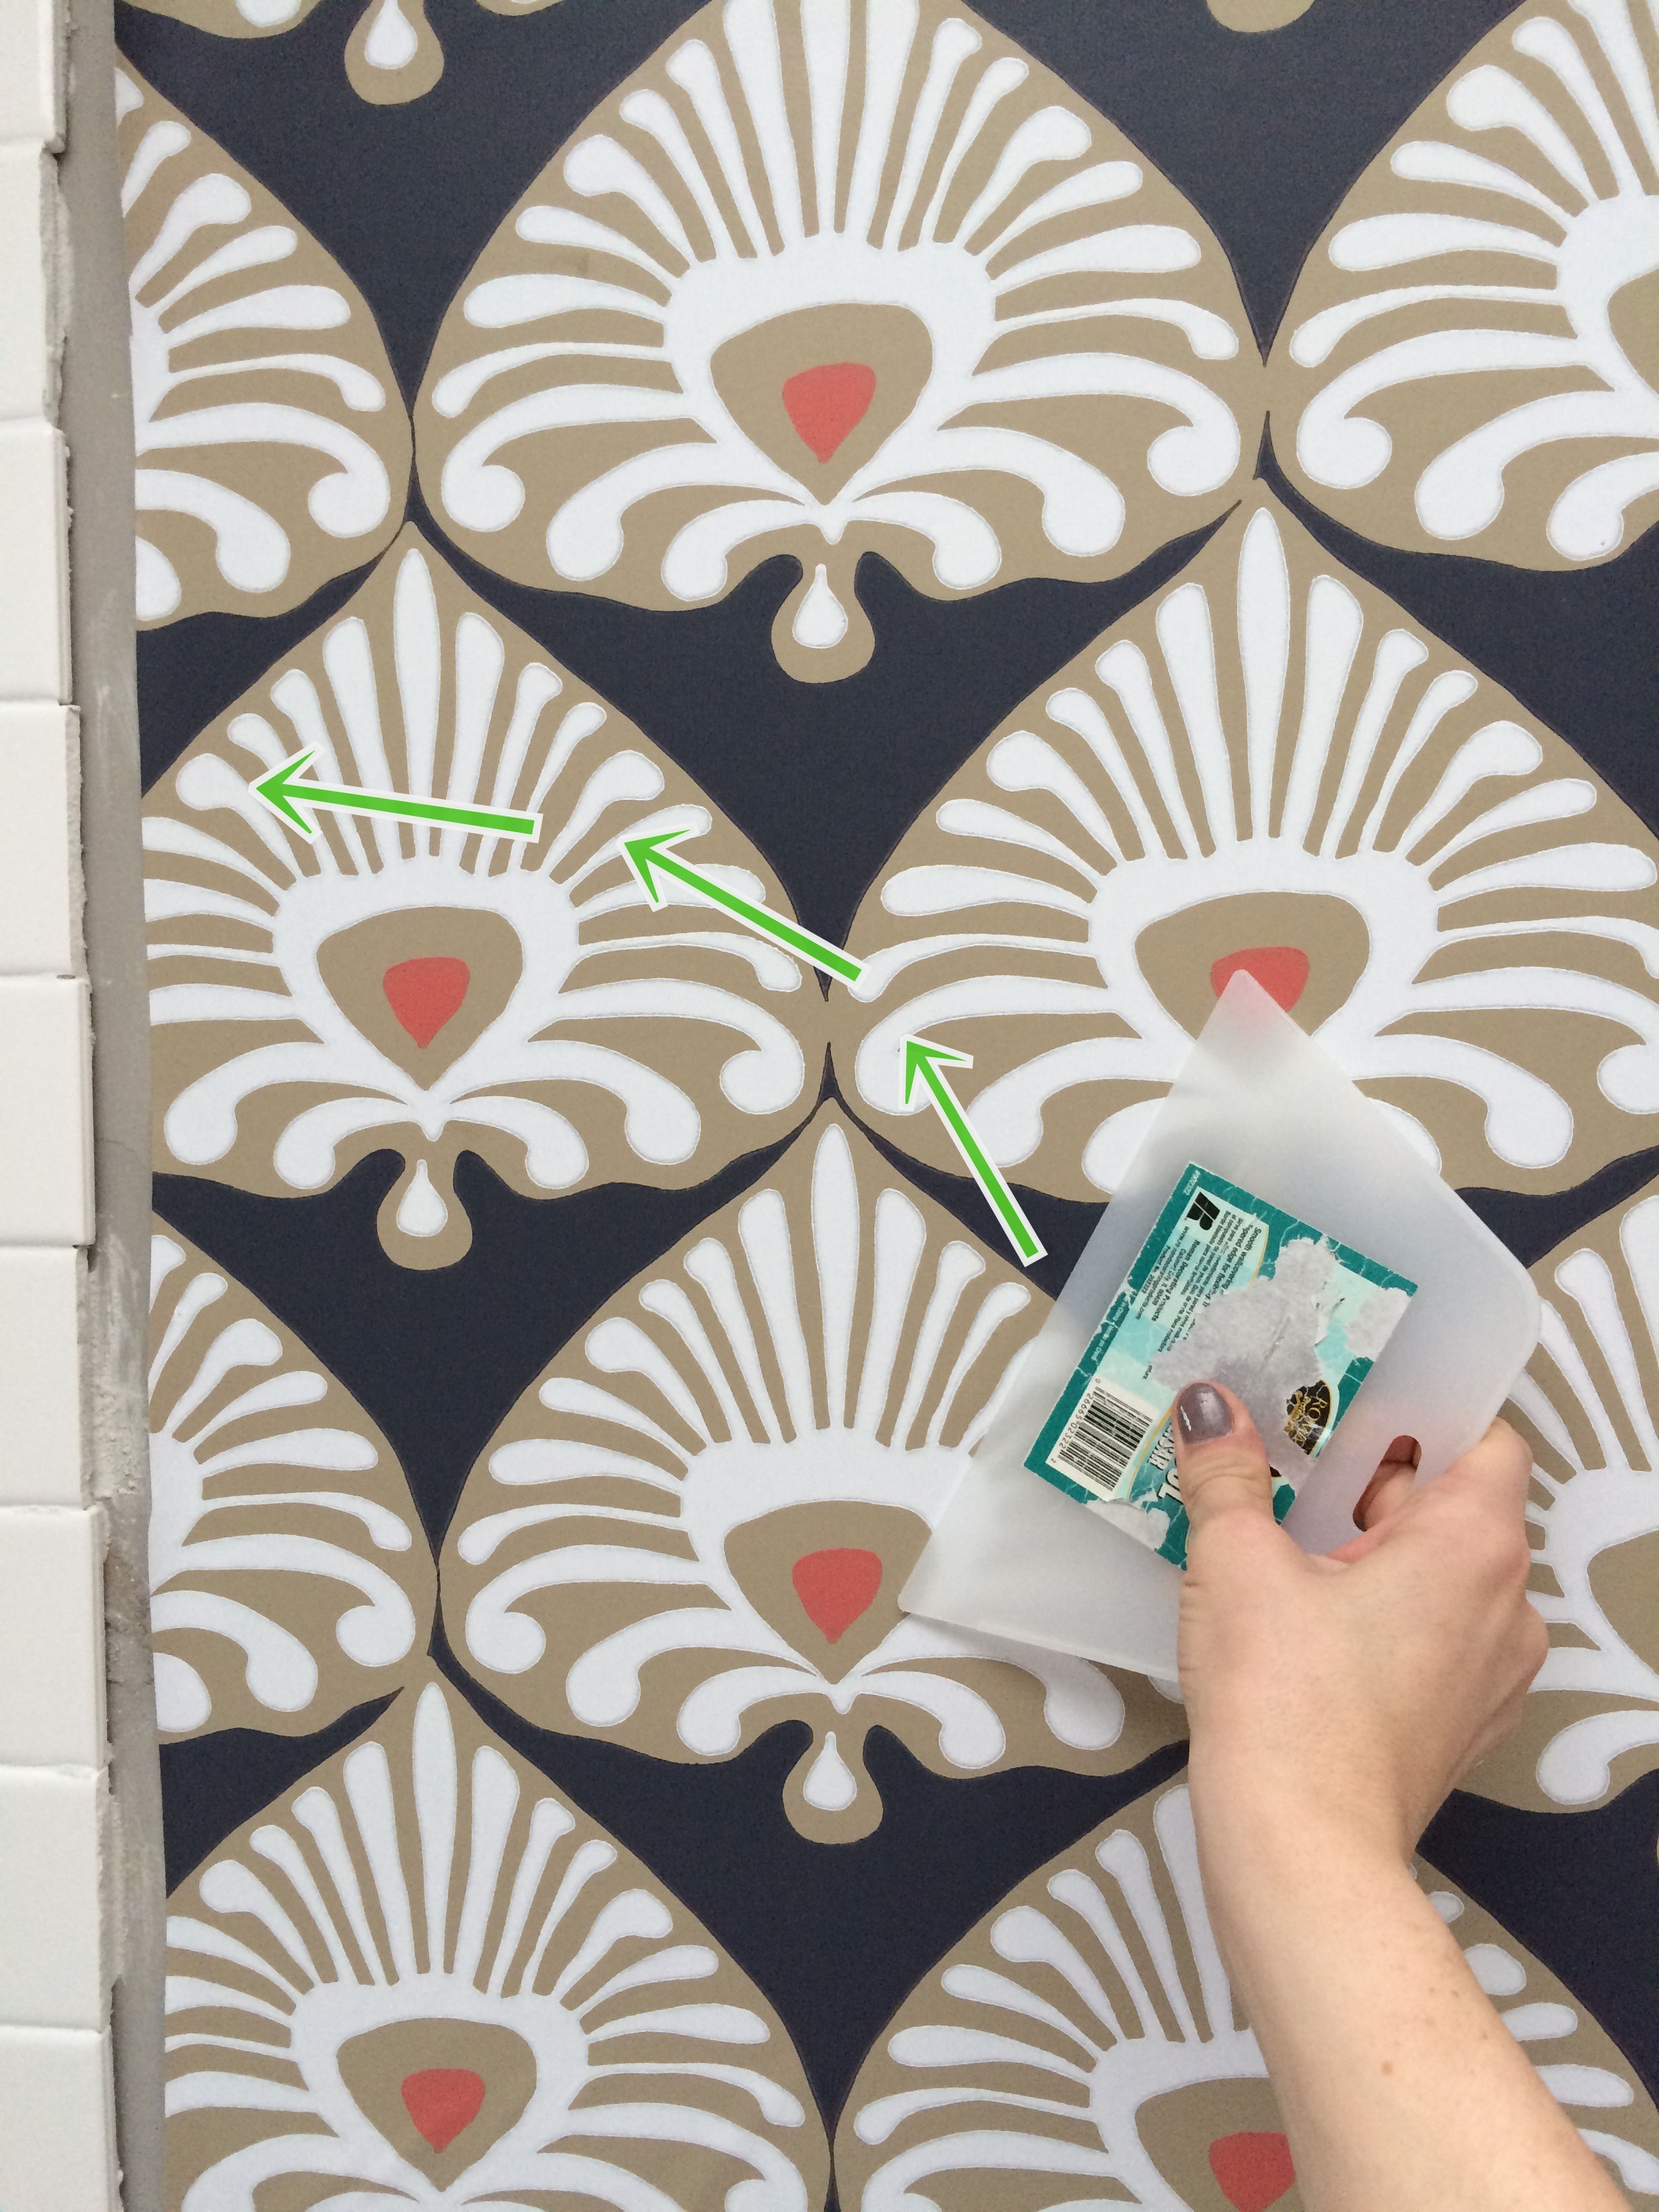
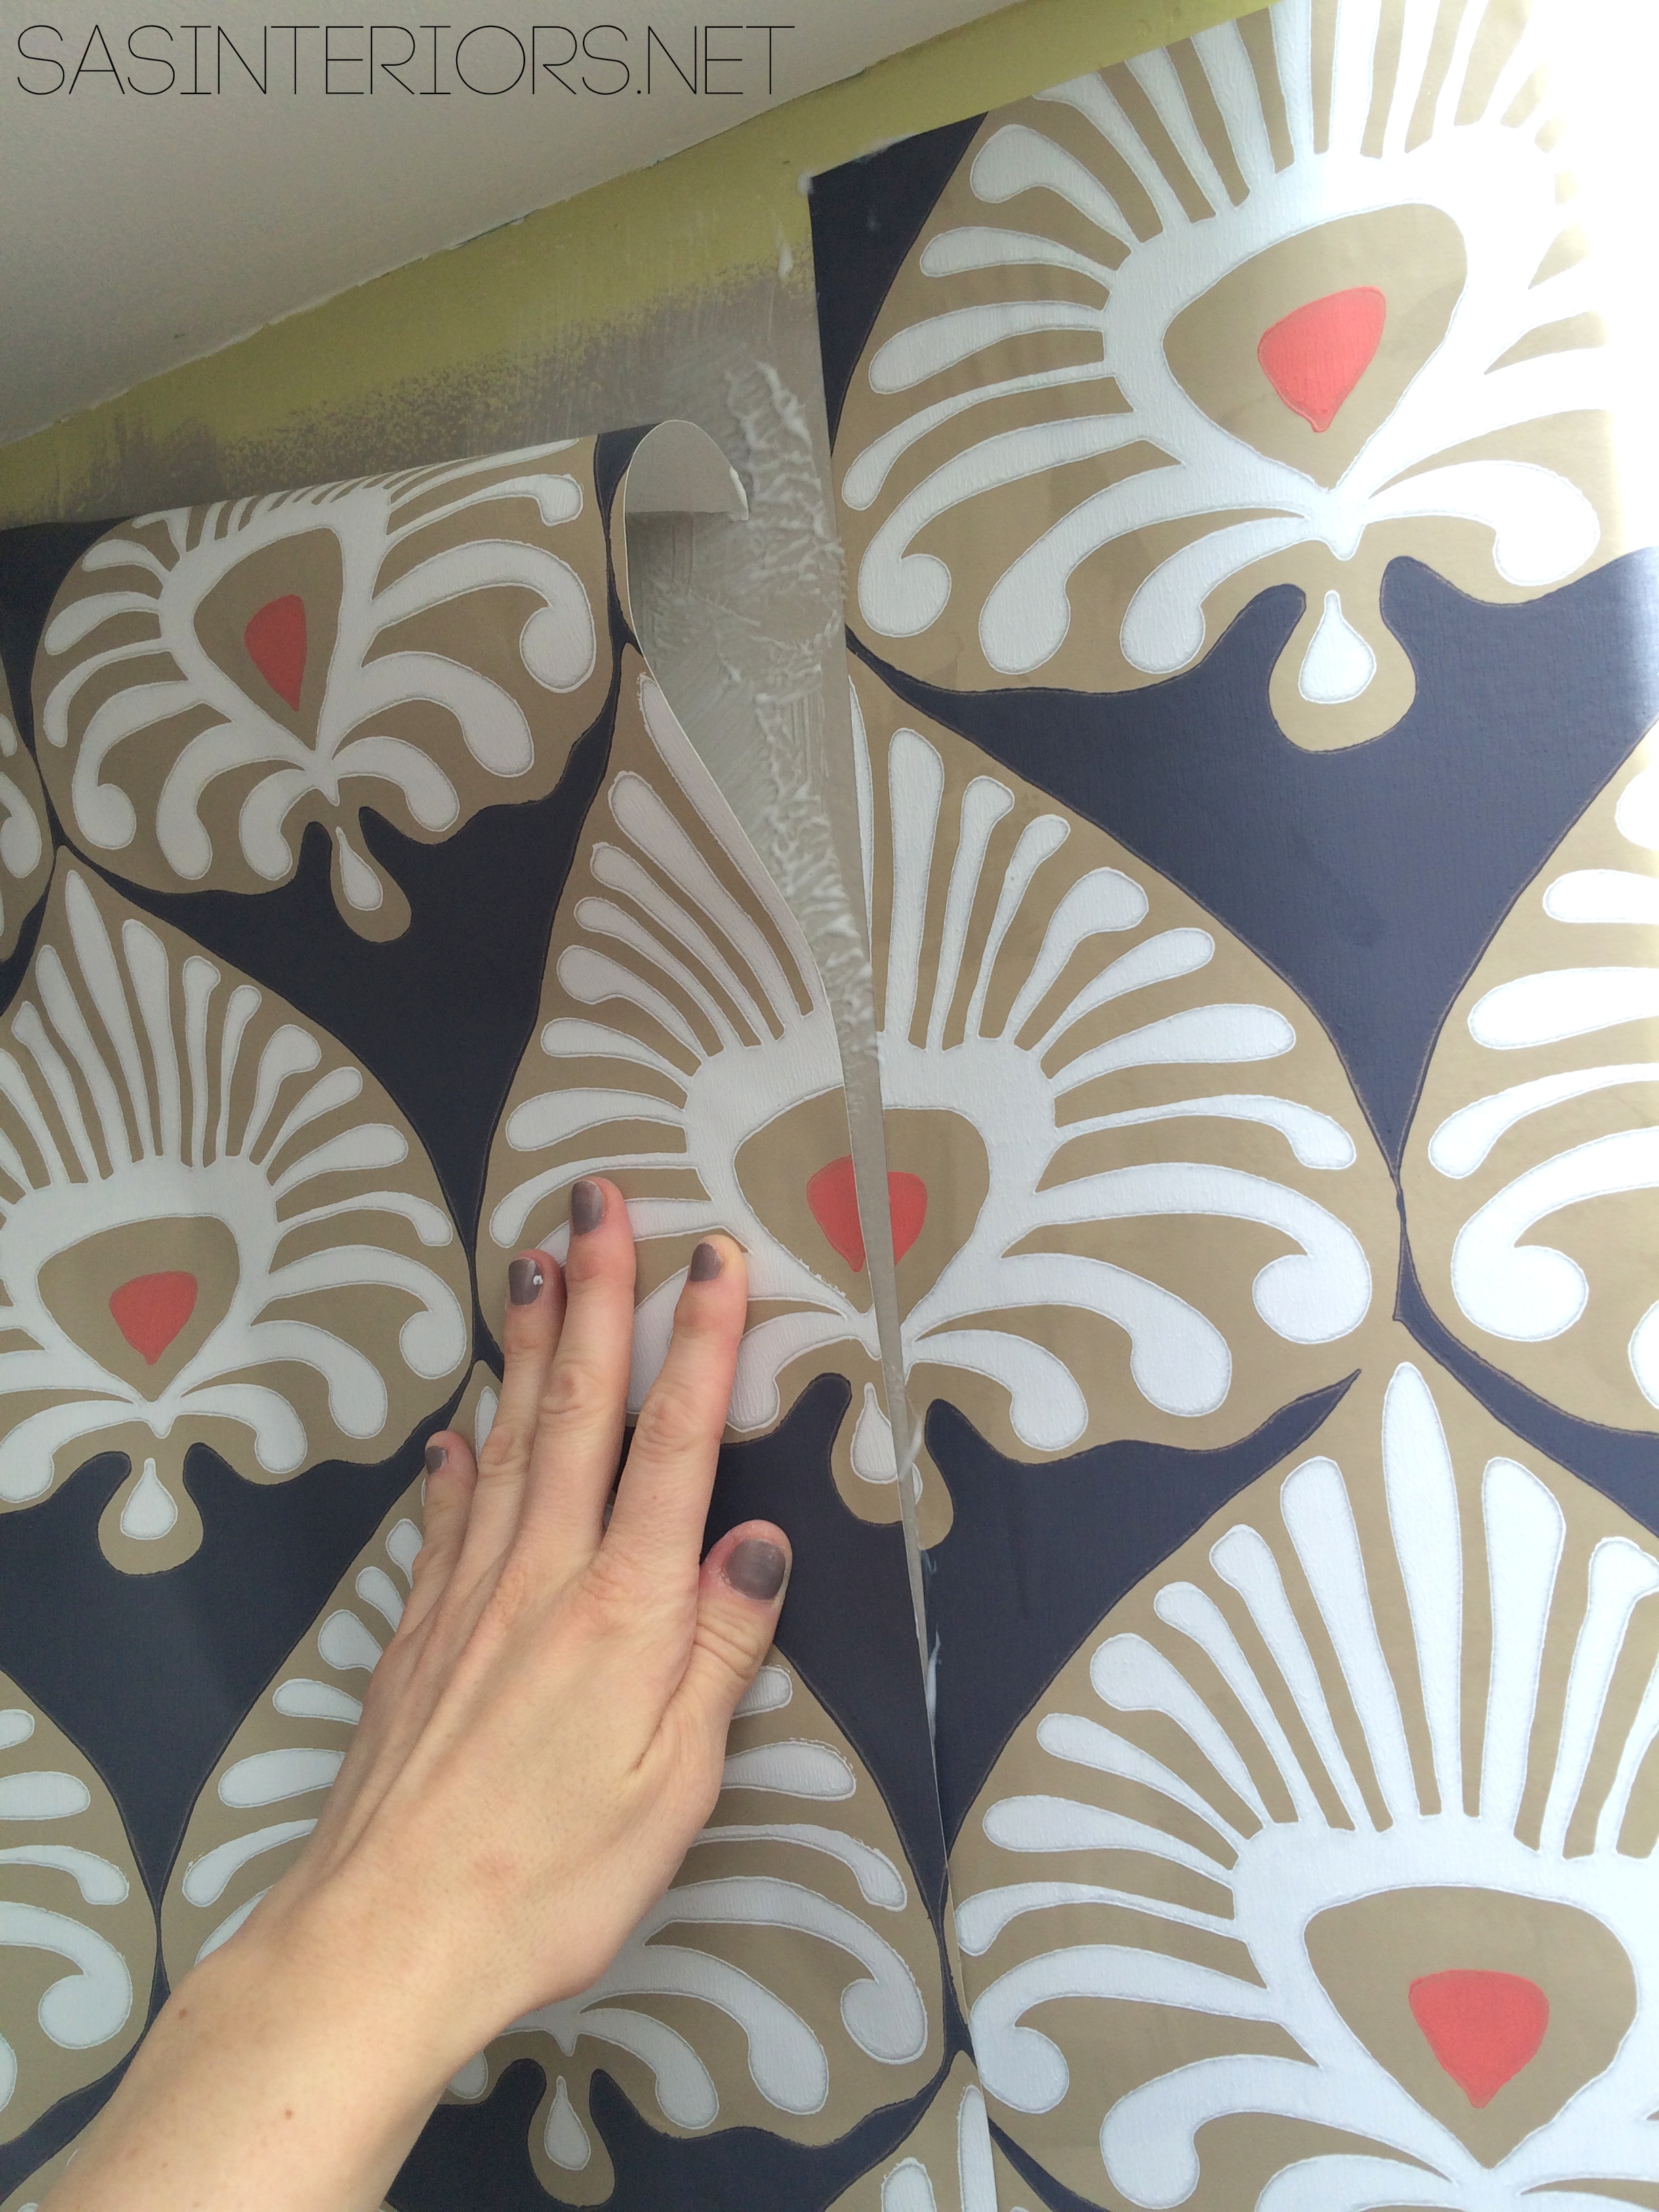
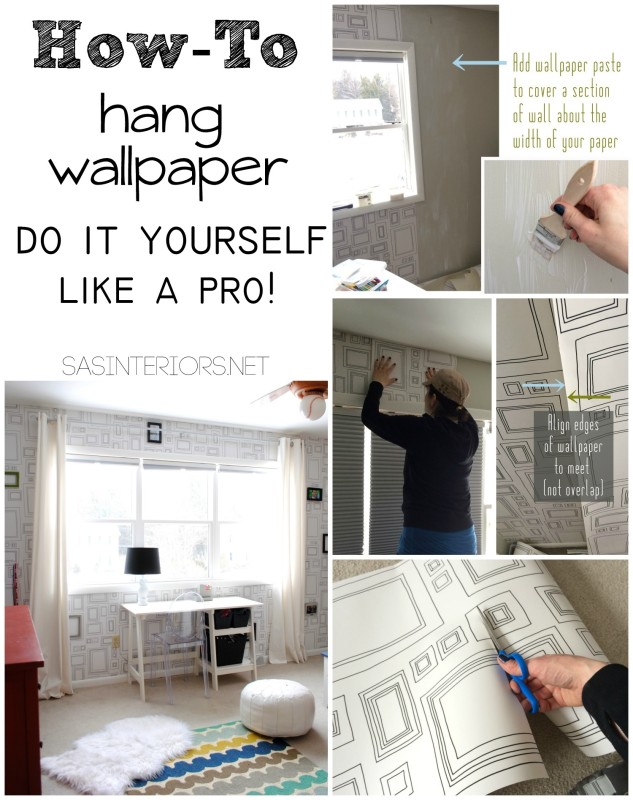
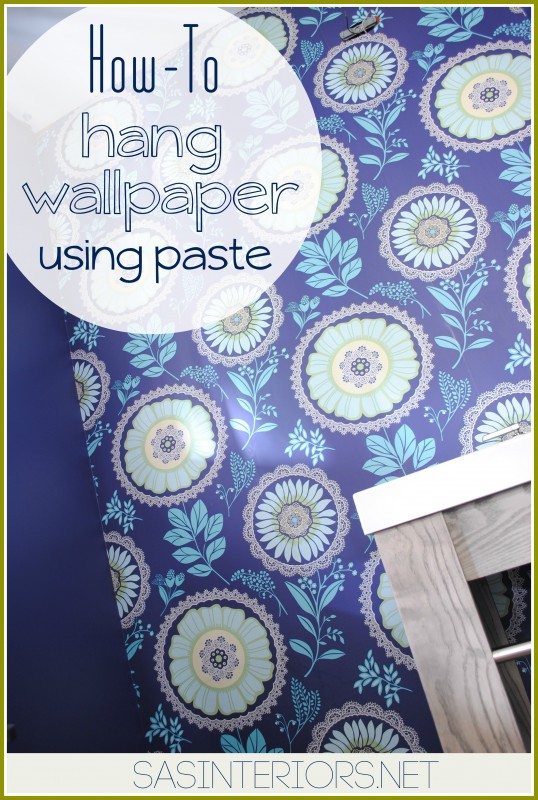
Once the subway tile is complete, I will be wallpapering the remaining exposed walls + a decorative border tile will be added to the edge of the subway tile to give a finished look.
Those were the steps I took for installing the tile and here are some details + specifics…
How-To Cut Tile
There are two methods I used to cut the tile, (1) with a hand-held tile cutter (like this) or (2) with a wet saw (like this). There are pros and cons to both.
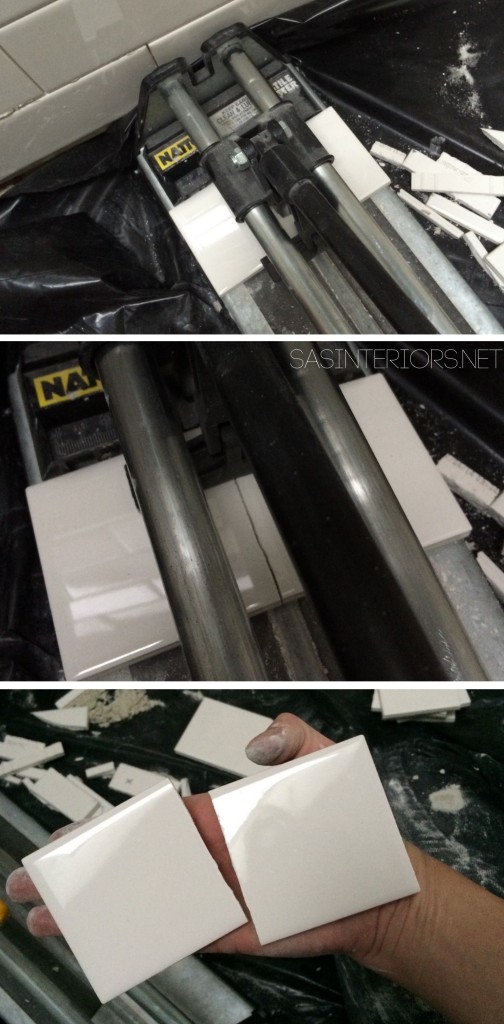
Hand Held Tile Cutter
The subway tile was fairly easy to cut/trim, so for those cuts I used the hand-held tile cutter and was able to do it right on the bathroom floor. This made the project easier and more manageable to tackle at night (which is when most of the bathroom came together).
Once I marked where the tile had to be cut. I lined it up on the tile cutter. Scored it 3-4 times with the manual blade. And snap. The tile was cut.
For smaller sized ceramic tile, I find that the hand held tile cutter is perfect, but for larger tile (ie: 12 x 12 or larger) and thicker natural stone (ie: the herringbone) a wet saw is needed!
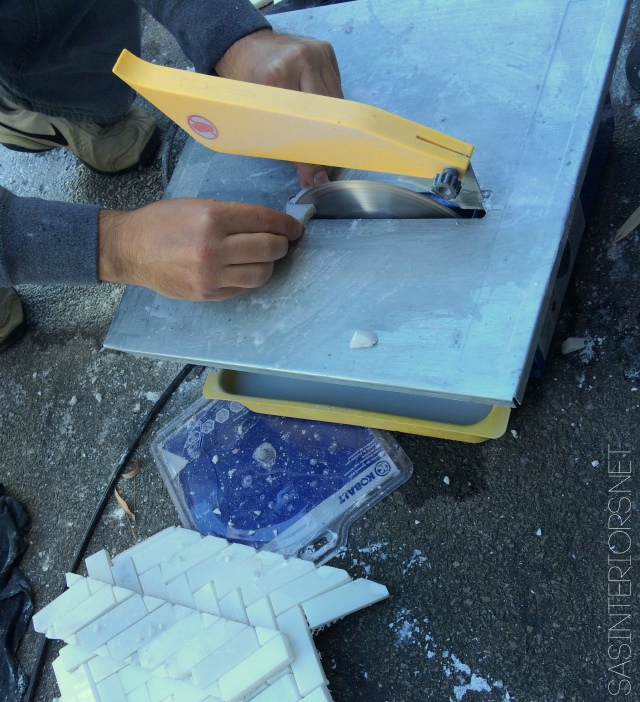
Wet Saw
The beauty of the wet saw is the ease and preciseness of the cuts. BUT it’s messy and there is a setup / cleanup process. Many wet saws come with a stand, but we don’t have one and instead set it up on our driveway. Since water is needed, there is a tendency to get wet and when working on a project late at night, who wants to be running up and down the stairs to go outside to cut tile? NOT I. So, for the cuts using the wet saw (herringbone accent tile and the decorative border tile) we waited till the weekend.
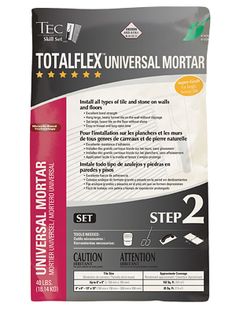
Adding Adhesive to Tile
Because I couldn’t spend 8 hours a days tiling (I wish – I’m glad if I got in 2 hours each day), I mixed small amounts of adhesive at a time, so I had to alter the directions from the back of the bag since they called for using all the adhesive at once. If you plan on tiling over many days, then mix small batches so the adhesive is fresh each time (otherwise it will harden).
Tip: Instead of cleaning out the bucket of mortar (as well as grout) each time, grab about 5-10 small buckets so they can be thrown away. And never ever, ever cleanup your tools in the sink of your home. Yes you can wash your hands, but be sure to run hot water for a few minutes afterwards. Washing a bucket or the tools in the sink of your home could result in the mortar (or grout) hardening in the pipes.
Why am I sharing this with you? Because it happened to me.
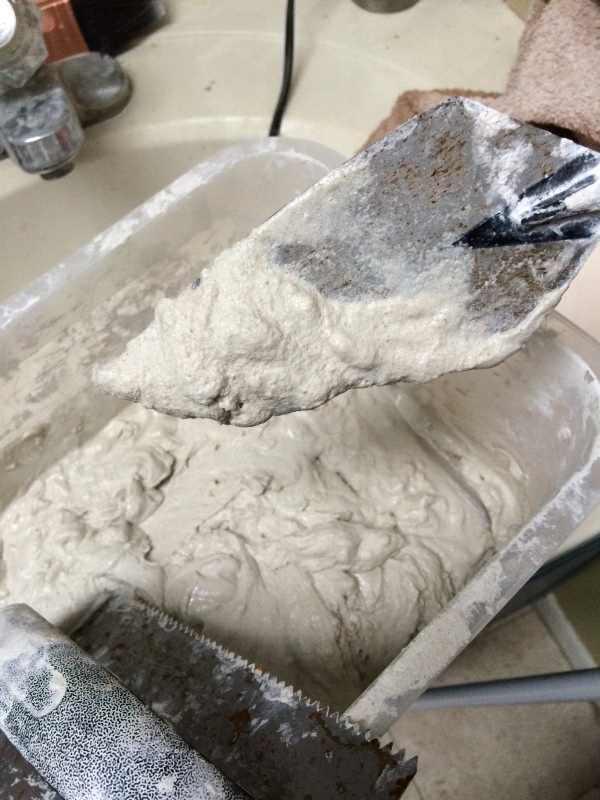
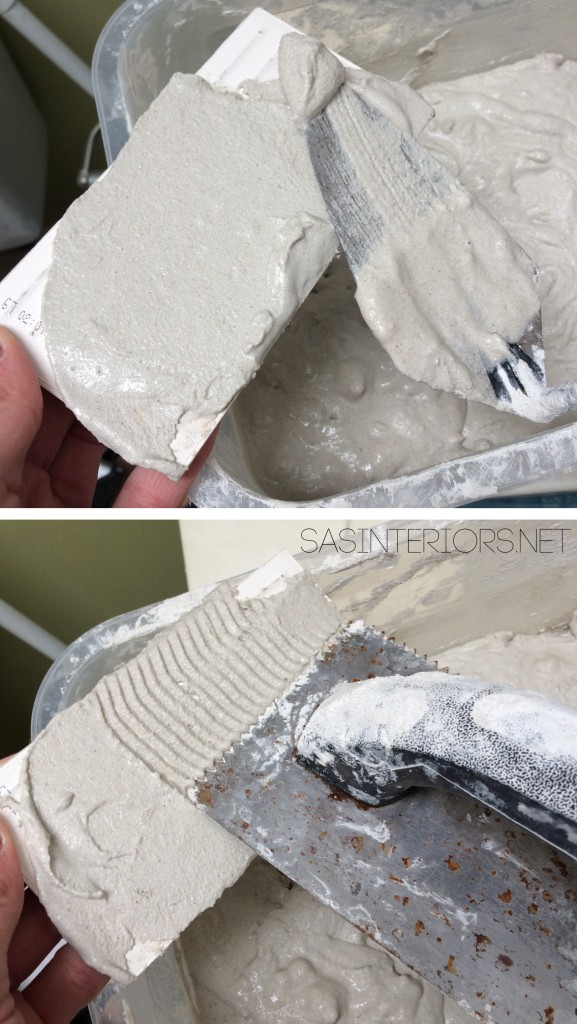
The consistency of powder to water should result in a pasty (not watery) mix… It shouldn’t fall easily off the trowel.
Most experienced tile installers put the adhesive on the wall to attach the tile. I tried that and found it made a lot of mess + a lot of wasted product. Instead, I found it much easier to add the adhesive directly to the back of the tile (for both the subway tile and the accent tile). This process may seem longer, but for me it worked better and there was very coverage.
Using a trowel, I added the adhesive to the back of the tile, then using the notched edge, I raked the adhesive in a vertical direction (perpendicular to how it will lay on the wall). Then I applied the tile to the wall.
Once the tile was on the wall, I wiped away the excess adhesive on the tile surface. If I hadn’t, it would have hardened on the surface.
Once the tile was set and the adhesive cured, it was time to grout!
How-To Grout Tile
Grout seals the deal! It not only gives a finished look, but grout “locks in” and secures the tile to stay in position.
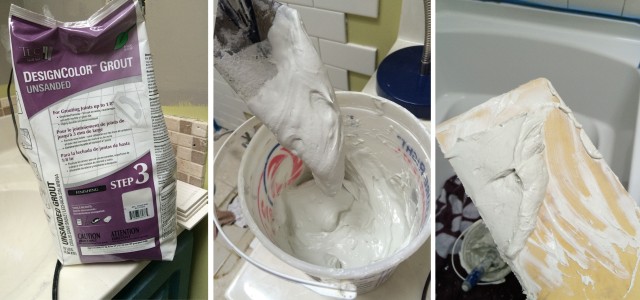
For this bathroom renovation, I chose to use unsanded grout (watch this video on how + why to use sanded / unsanded grout). Sanded grout is typically for larger joints from 1/8″ – 1/2″, while unsanded grout is for smaller grout lines that are less than 1/8″.
Using a small bucket, I added the powder then the water to create a pasty mix (similar to the consistency of toothpaste).
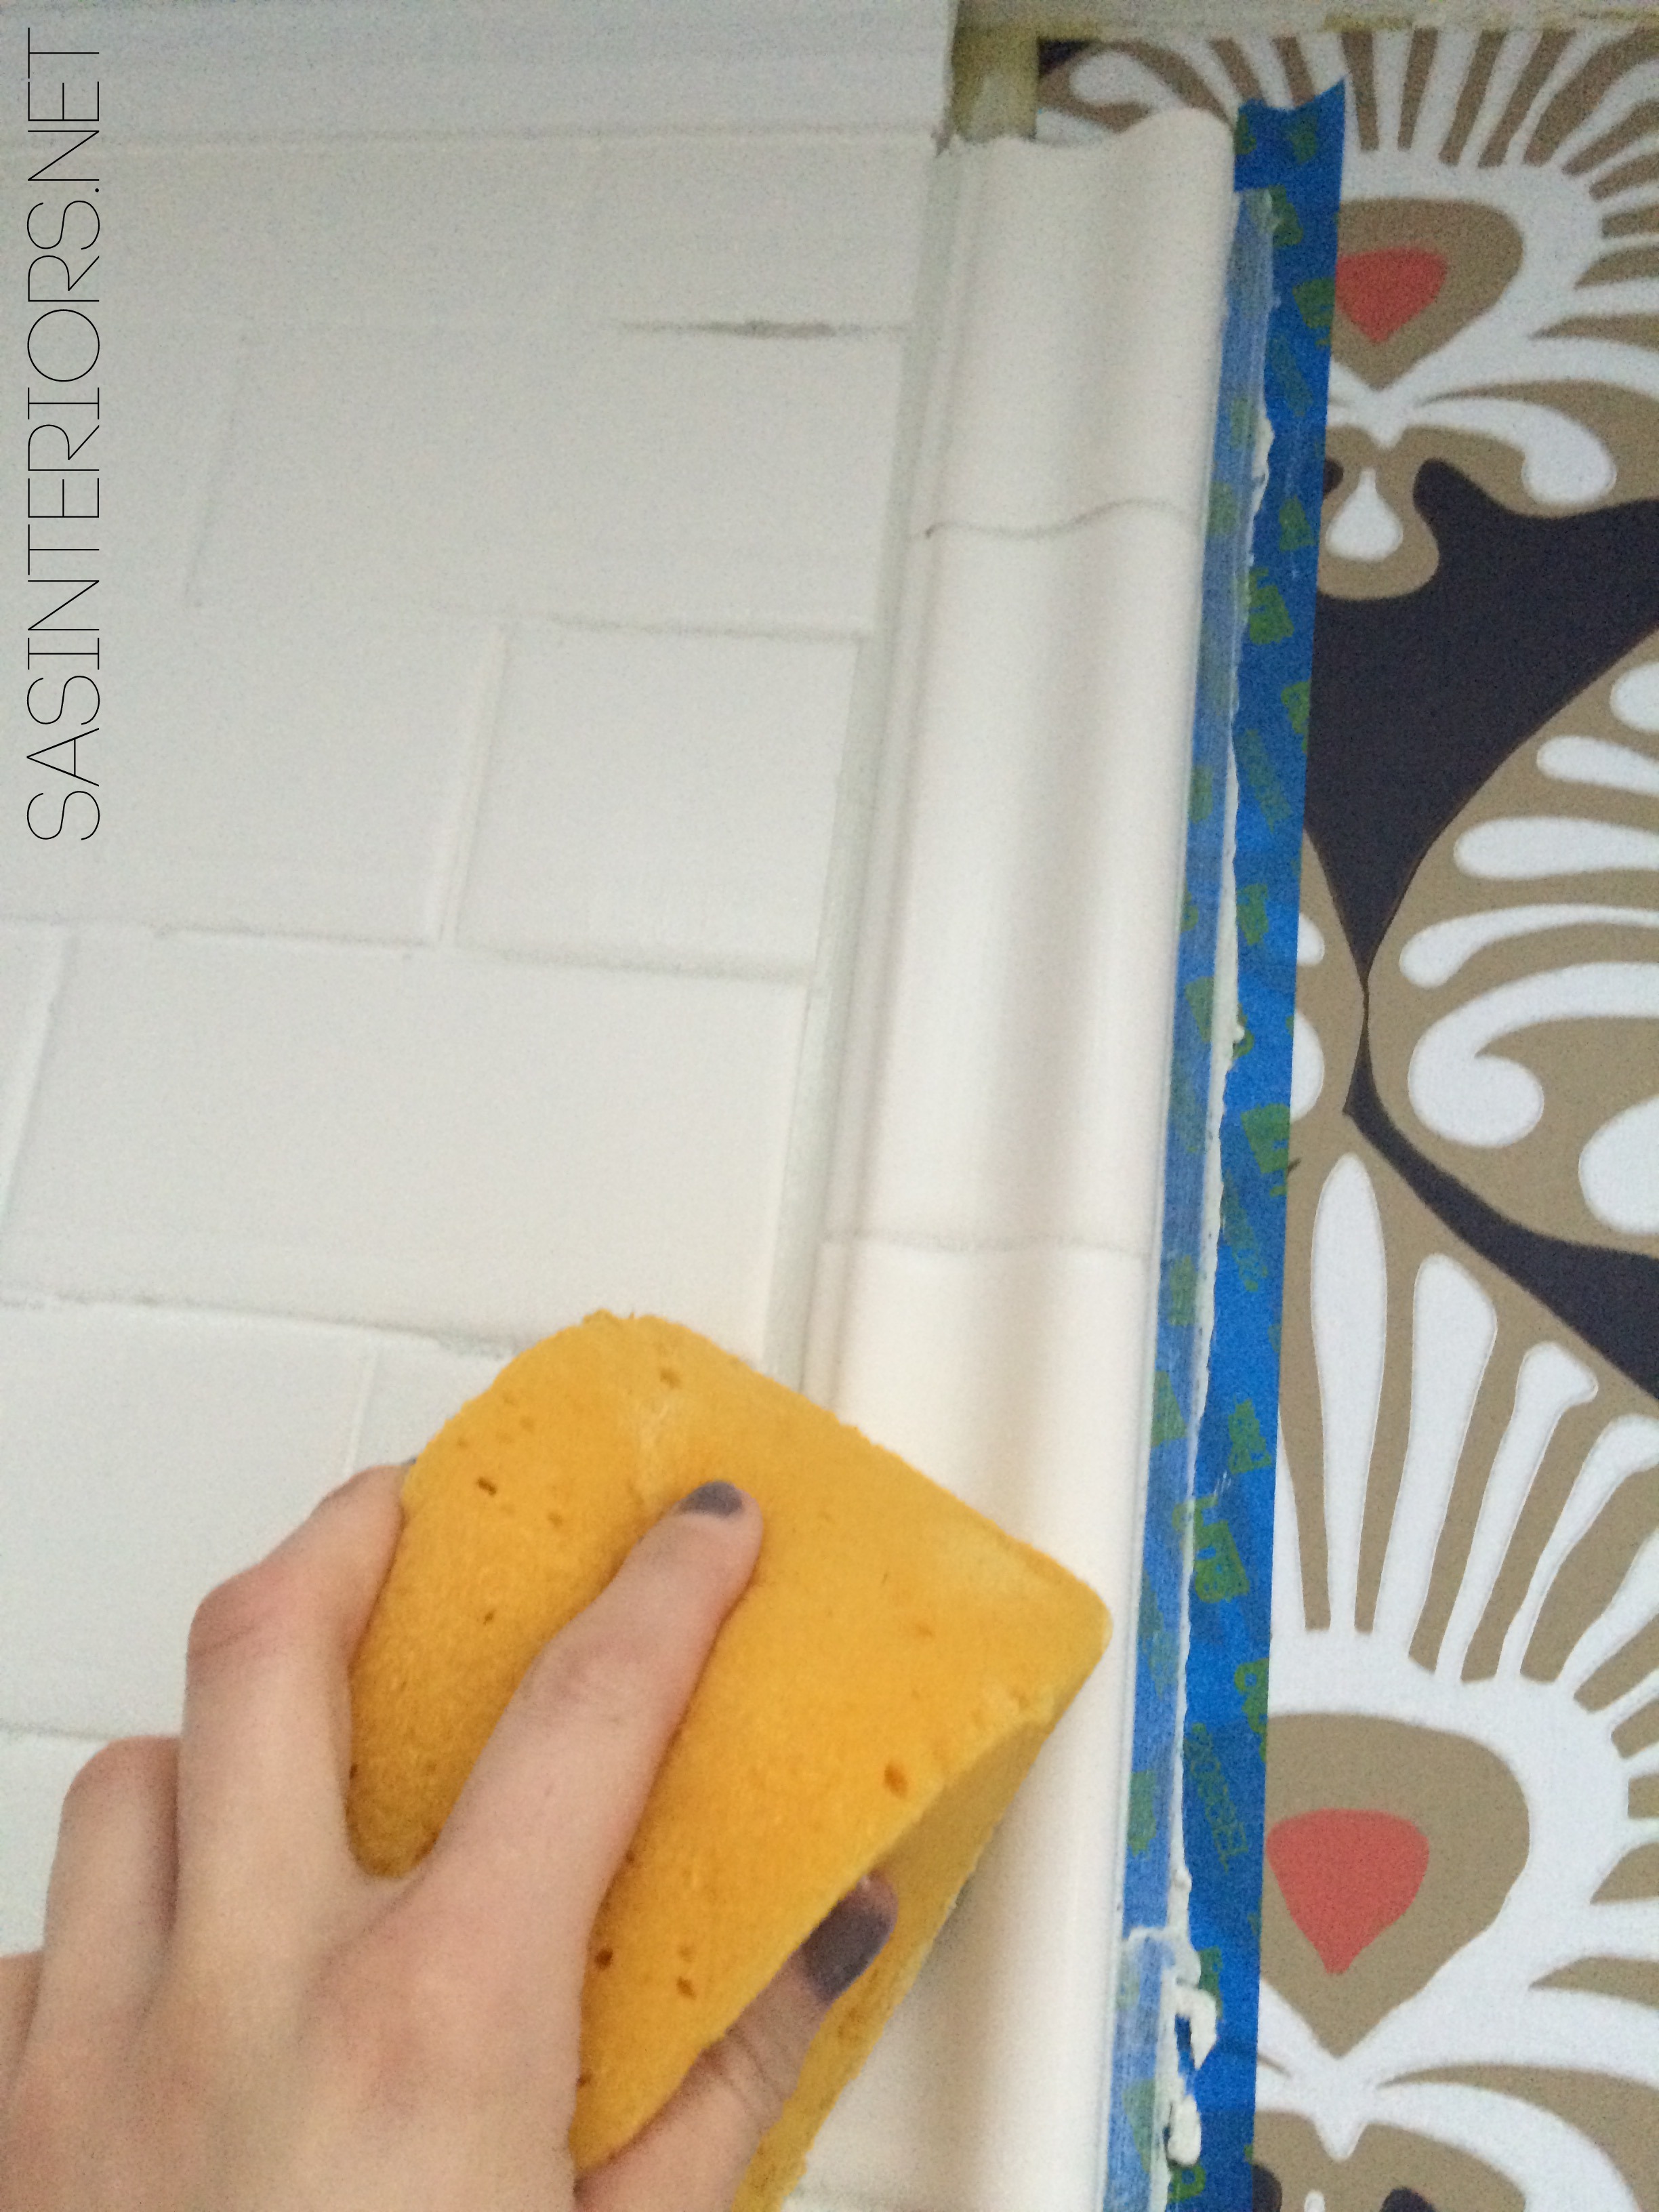
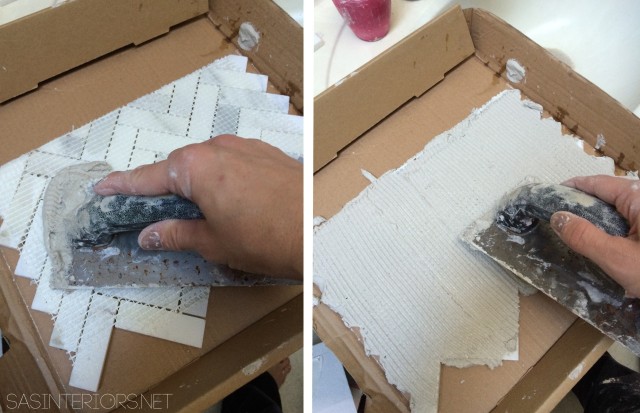
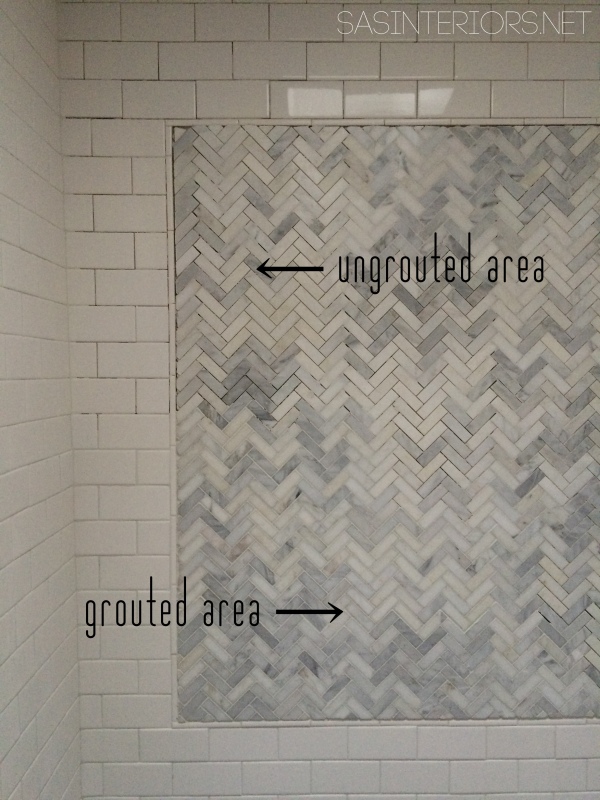
When the grout mix was ready, I added a nice amount on to the grout float. Then I chose a starting point and worked the grout into the joints with the float. Once a good sized section of tile was covered in grout, I took a damp sponge and wiped the surface. This not only cleans the tile face but smooths out the grout joints.
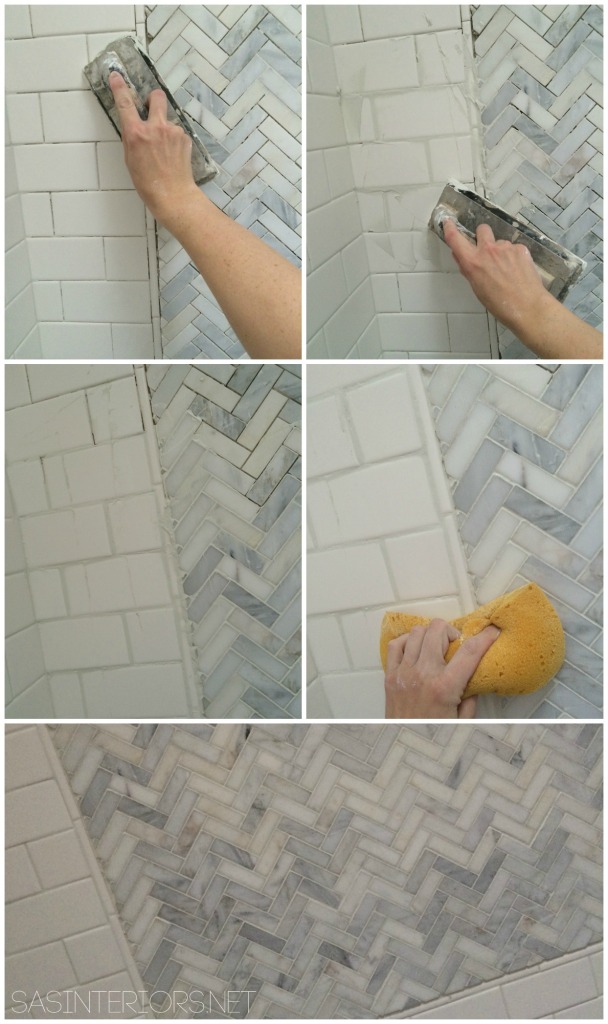
You can see how finished the wall looks with the grout by comparing the area with the joints filled in and the area without.
Once the bathroom was tile and grouted, this was the result…
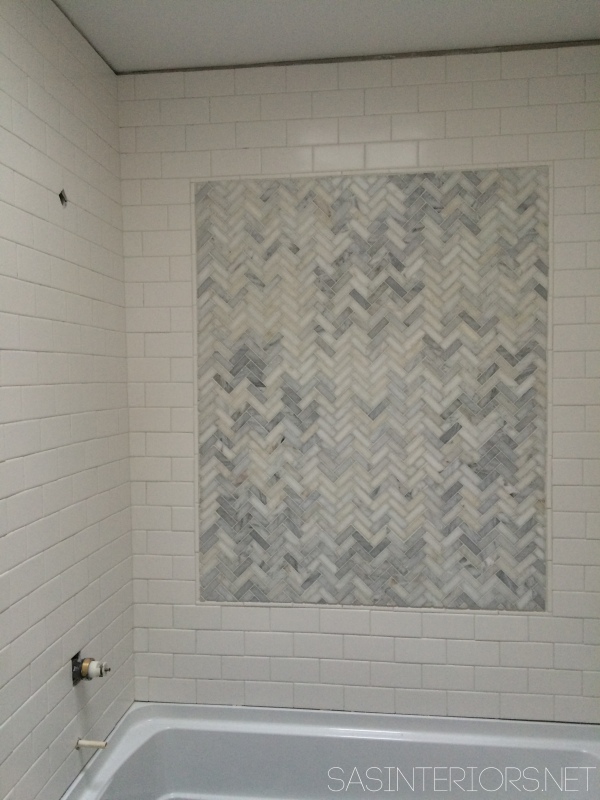
The installation & grouting of the tile & grouting took about 12 days – in total about 25 hours
Just shy of 1600 words, this post is jam-packed with information – I hope I didn’t overwhelm you! I was very apprehensive about tackling such a BIG project and at times I was overwhelmed, but in the end the job wasn’t difficult. Long YES, but not difficult. If I could tackle this huge space, so can you!
{Day 5-16} Tile & Grout – Complete! 14 more days to go…
From start to finish, these are all the posts pertaining to this bathroom remodel
Plan of Action
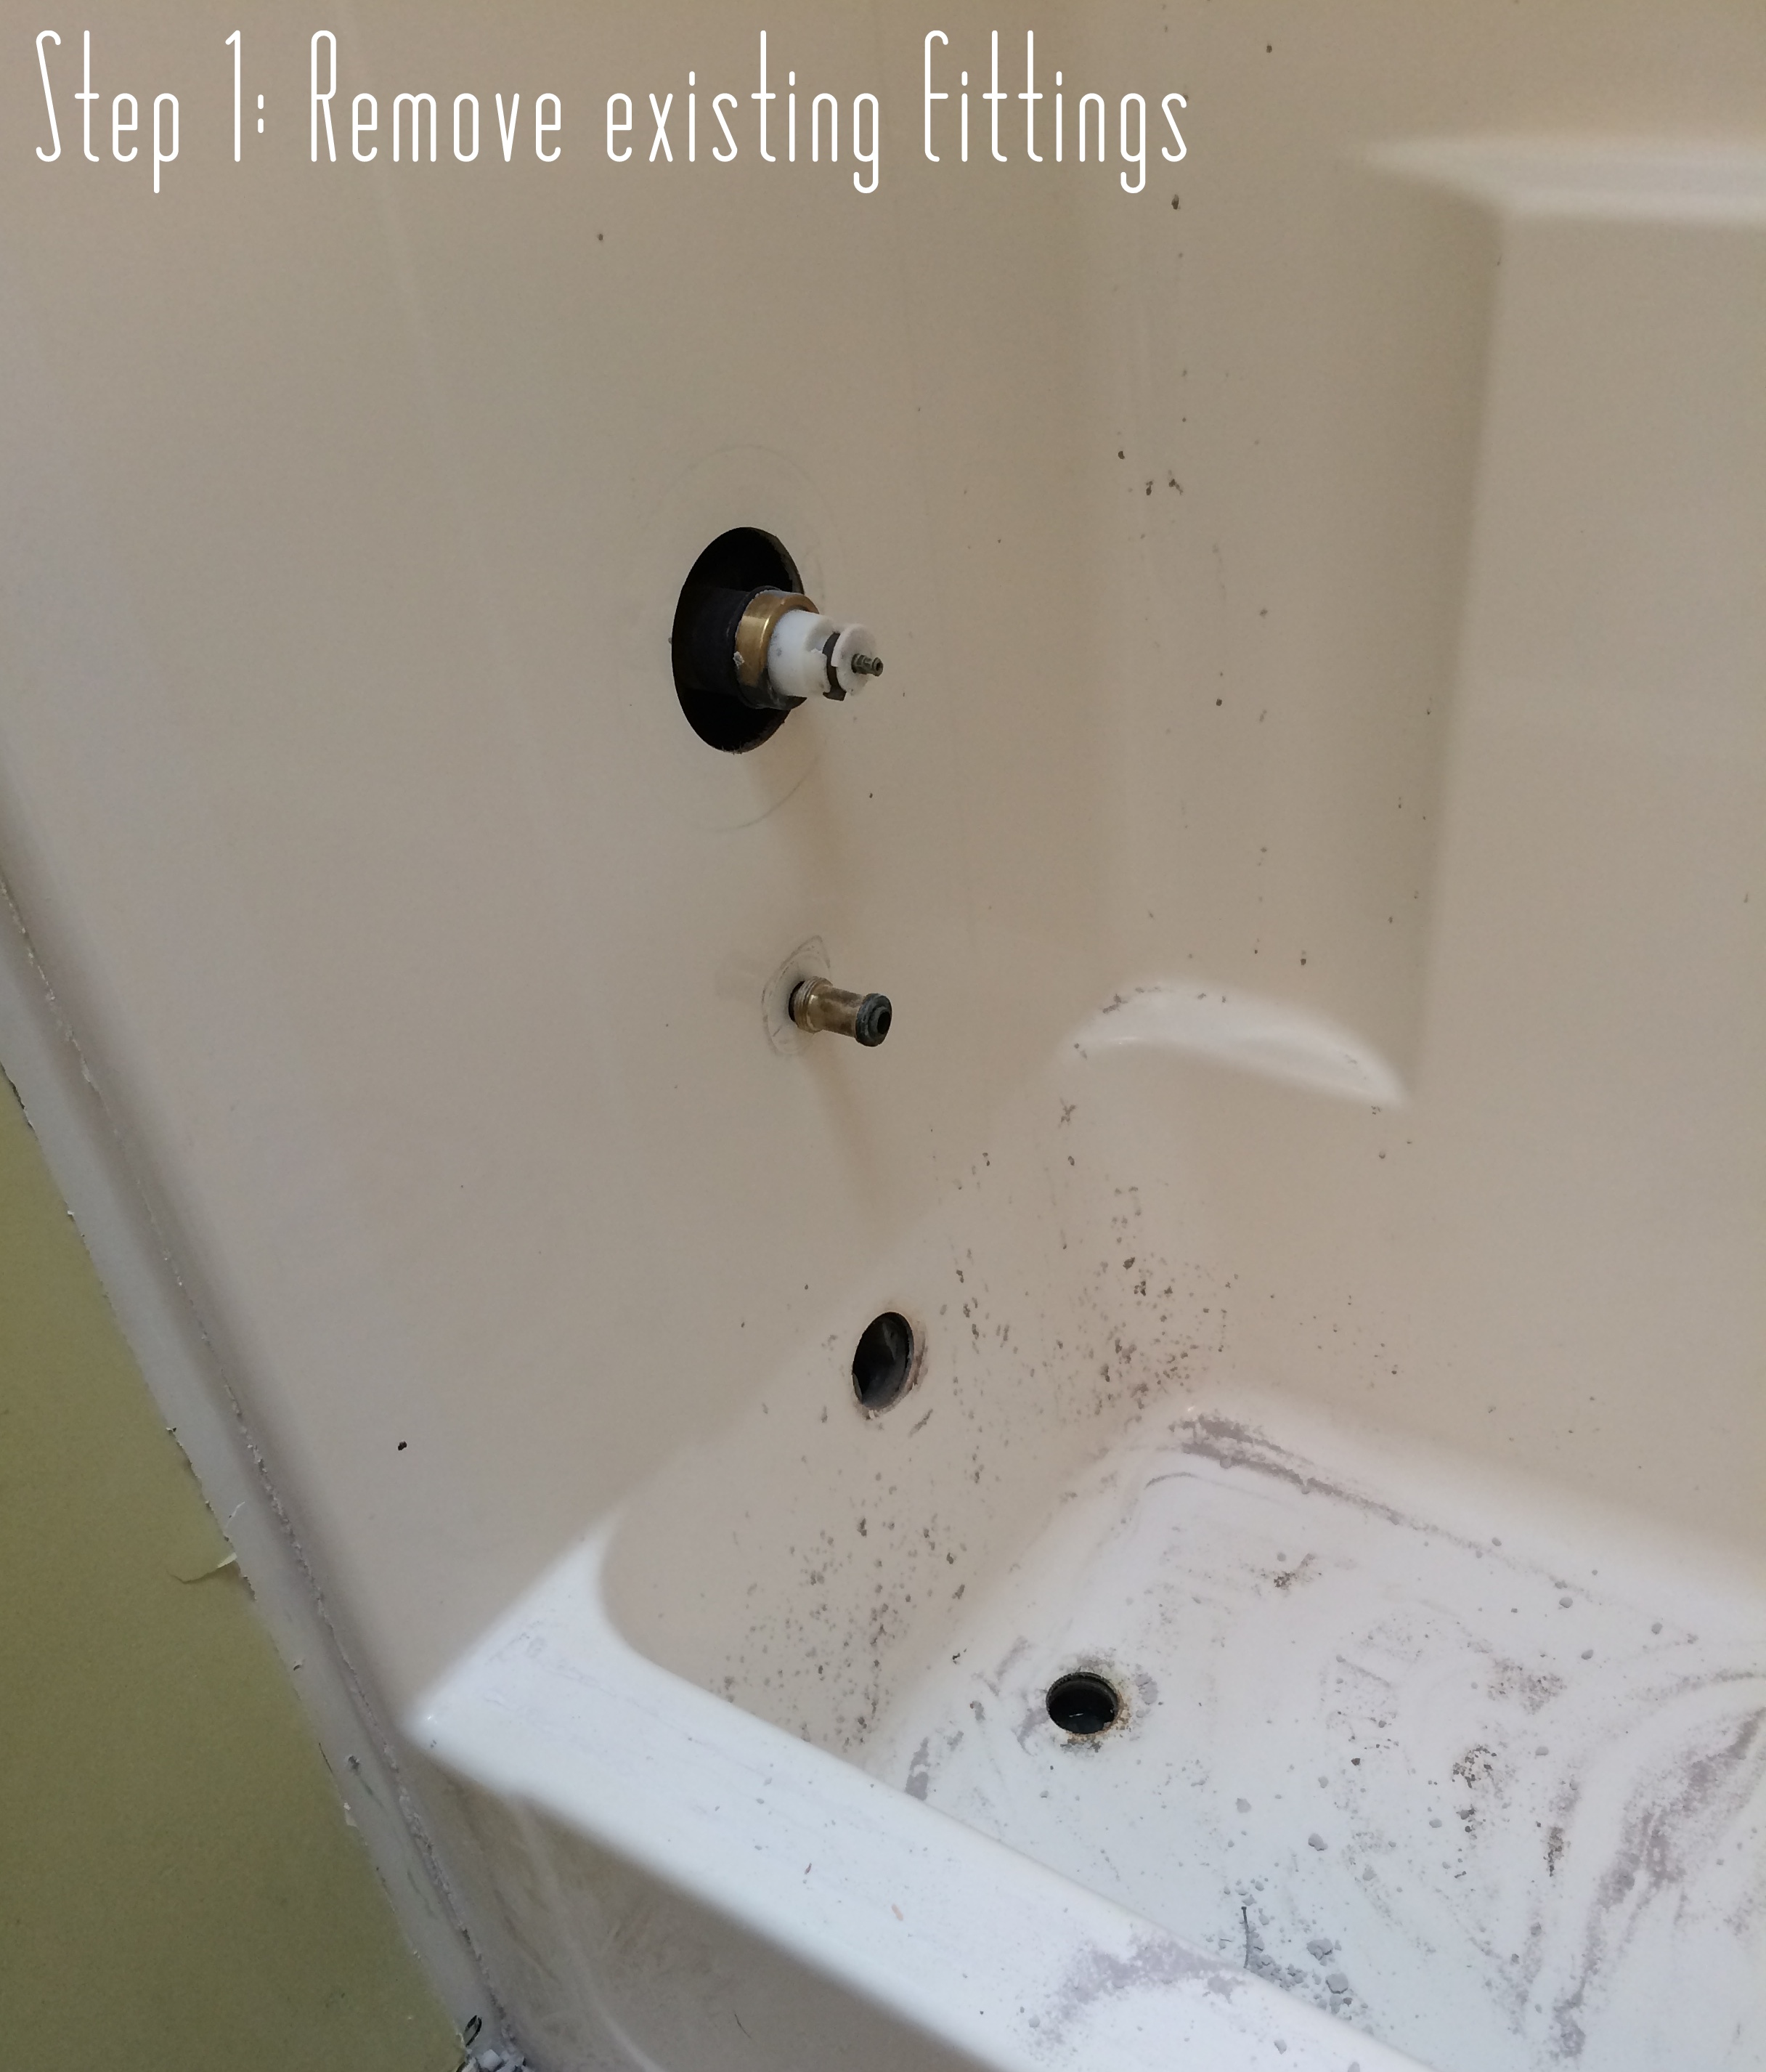
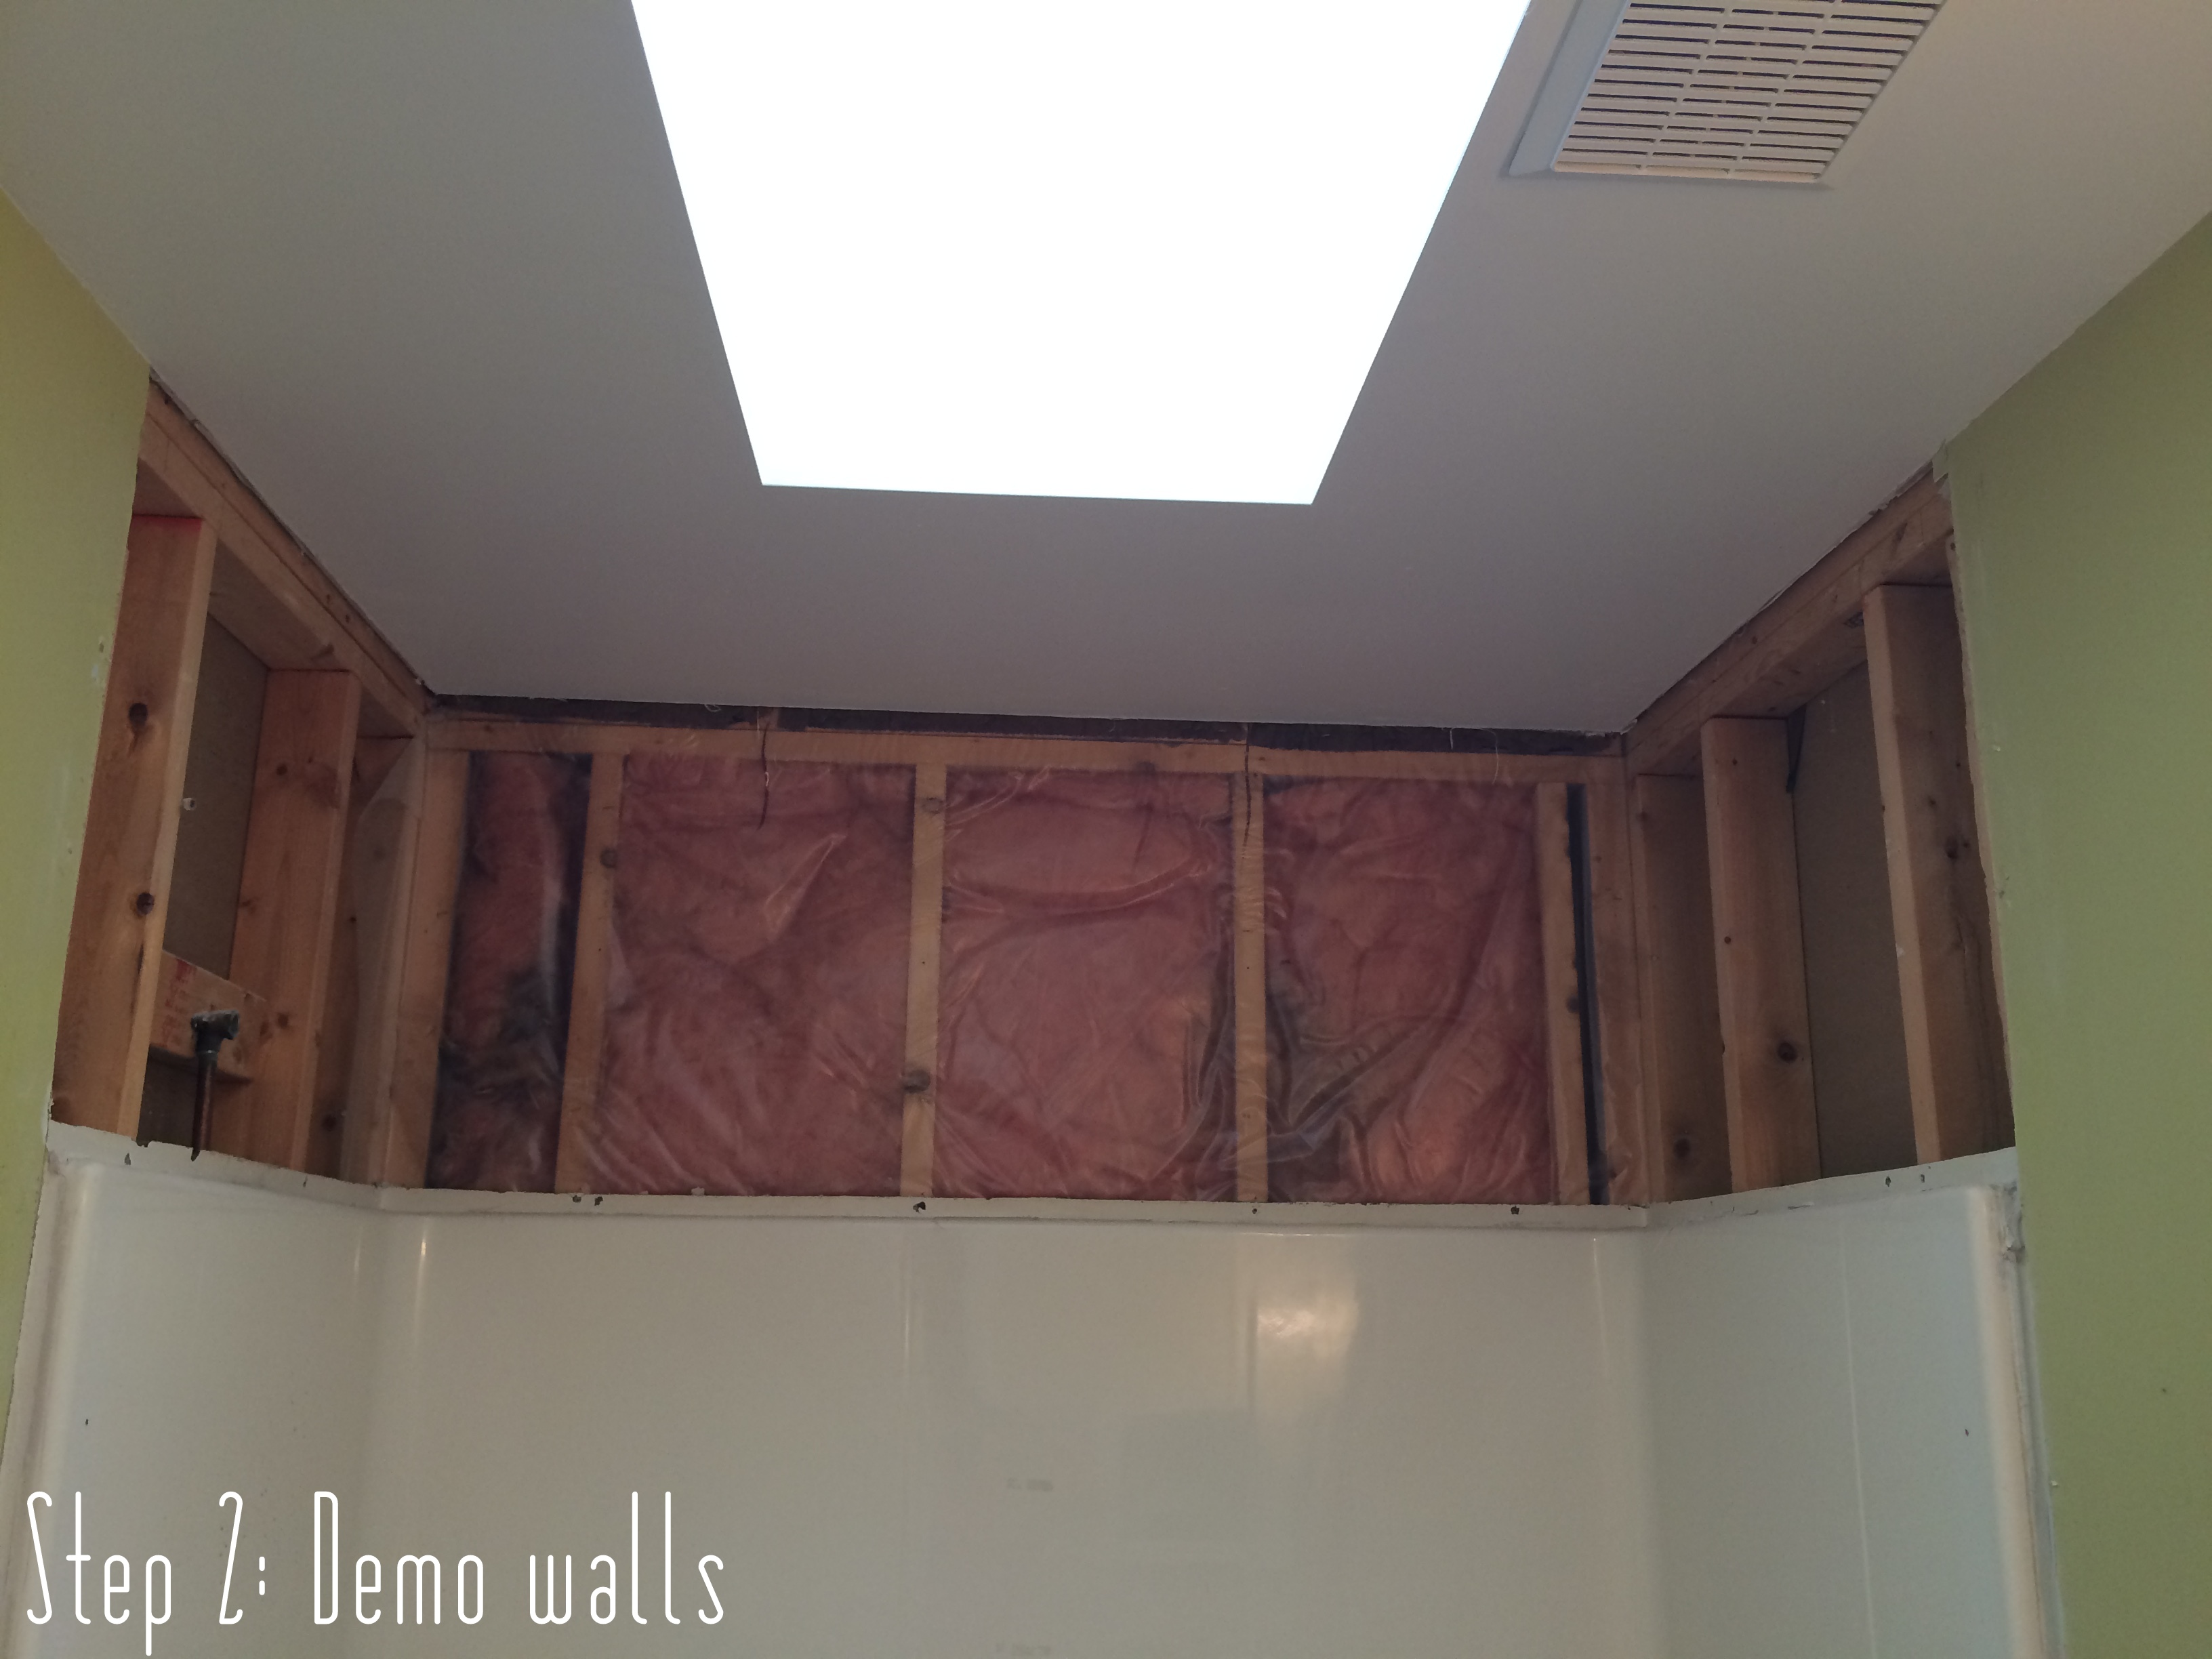
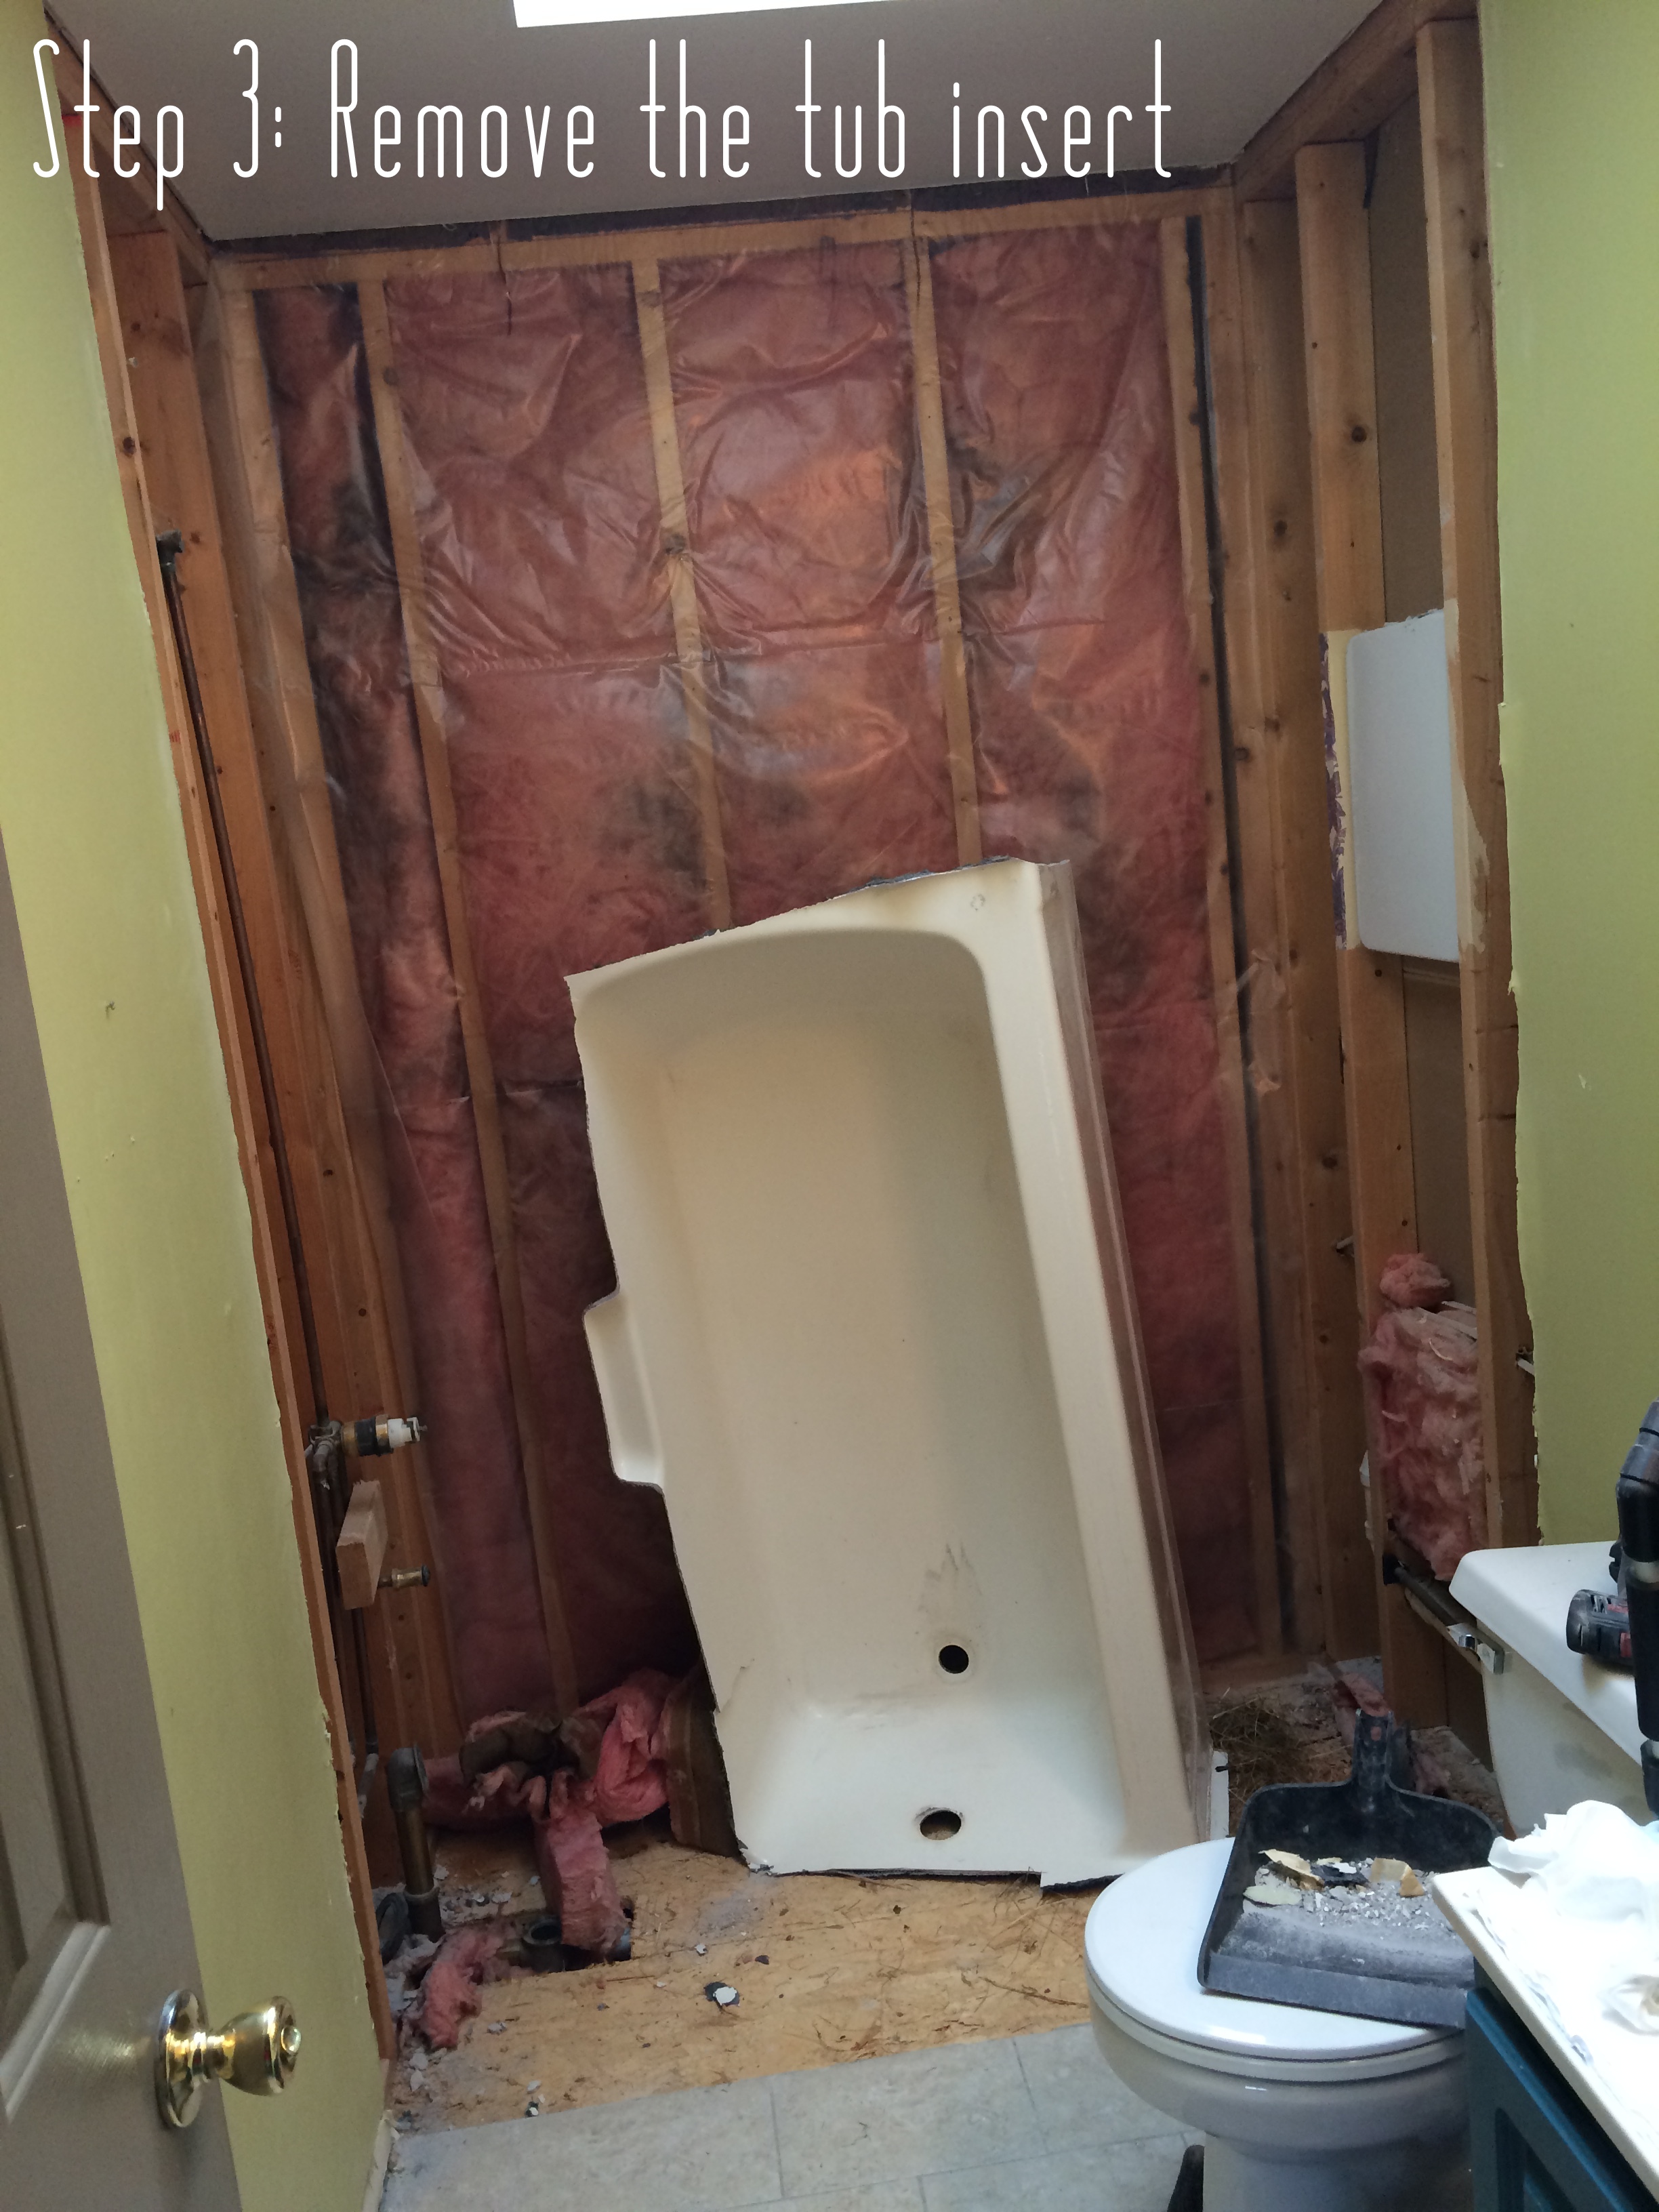
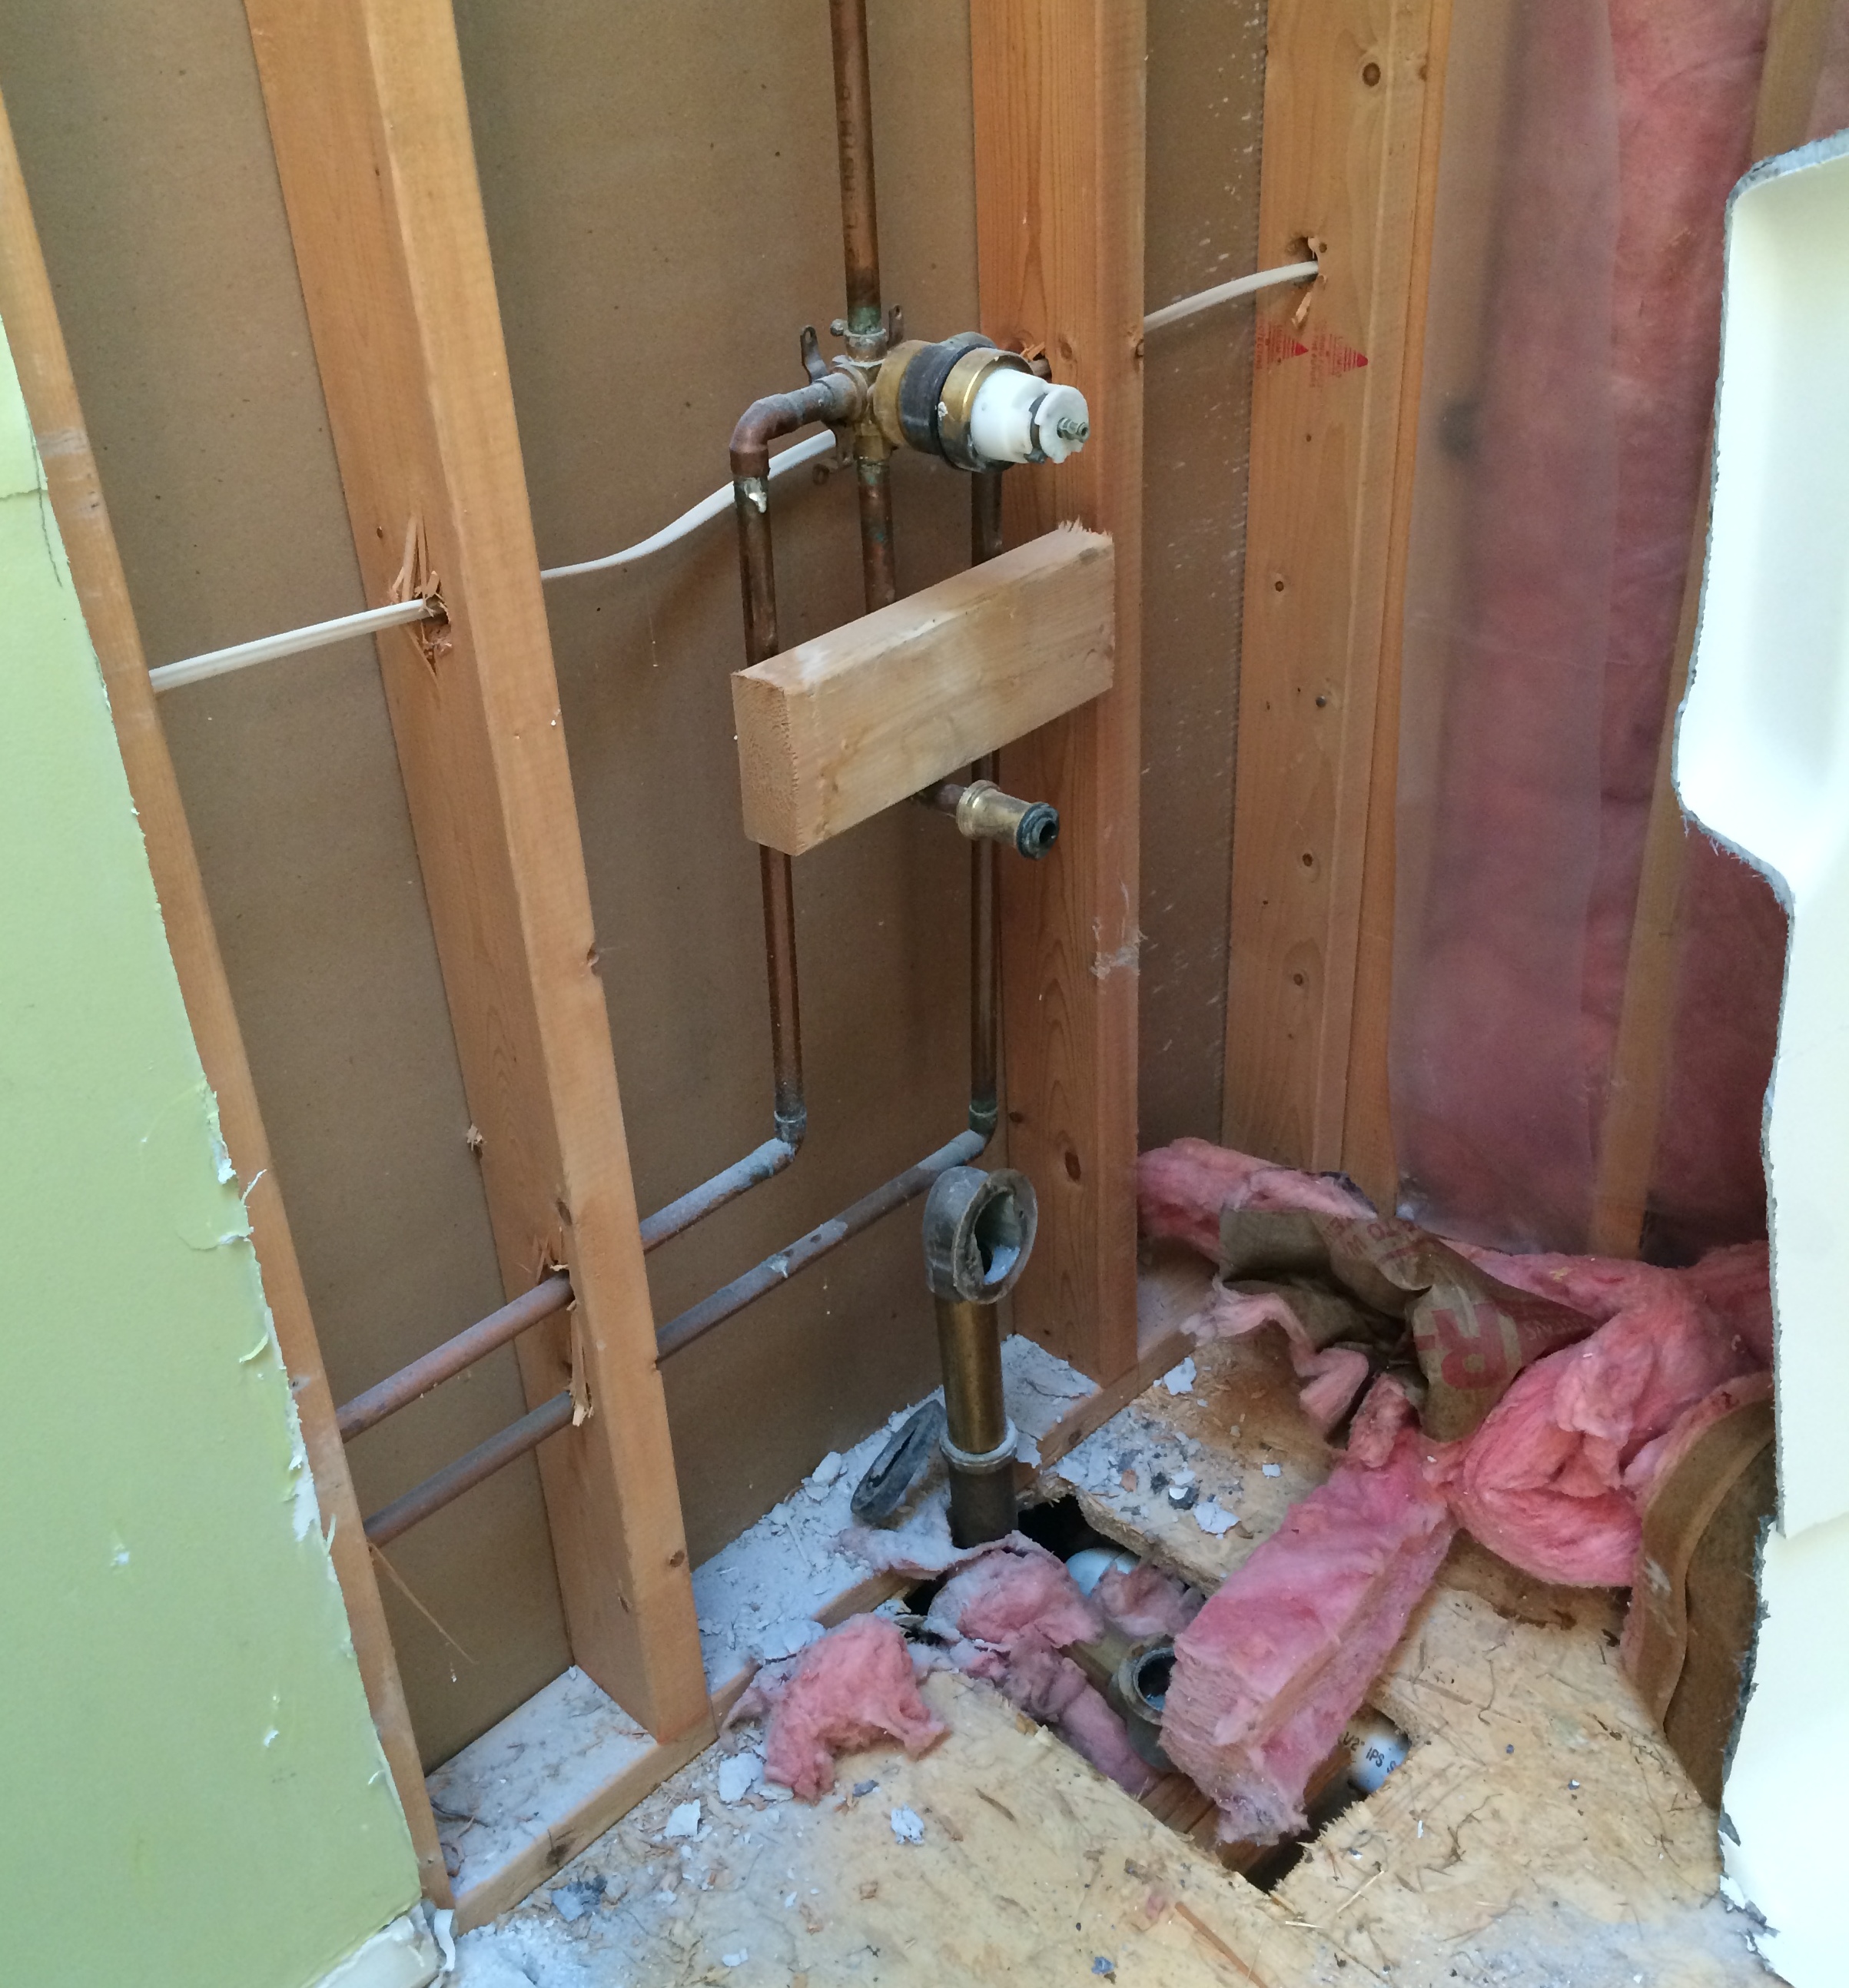
Demo: Removal + Installation of the Tub & Walls
How-To Tile + Grout the Bathroom Walls
Installing Wallpaper
Adding a Tile Accent Border
Creating a Tiled Niche
Bathroom Makeover Reveal
Resources
This post is sponsored by Lowe’s, but all thoughts and opinions are 100% my own. I am thrilled (and a bit nervous) about tackling this project, but very excited to be partnering with Lowe’s on creating an entirely new bathroom space. I’d love for you to follow along on this new project!


 Christmas Buffet & Tips for Holiday Entertaining
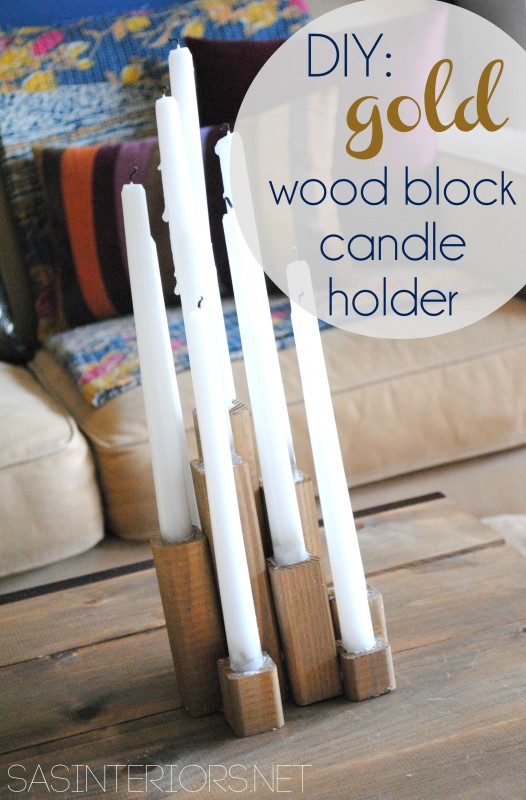 Wood Block Candle Holder {DIY tutorial}
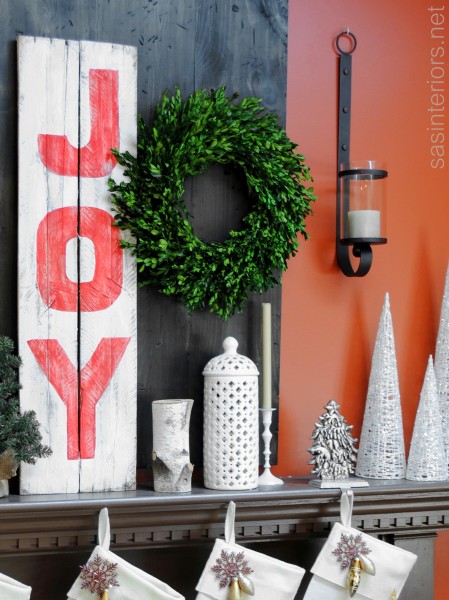 J-O-Y Sign using Pallets + Paint {DIY tutorial}
 Christmas Wrapping with Duct Tape {DIY tutorial}
 Let There Be Peace On Earth sign {DIY tutorial}
 Inspirational Christmas Interiors {Project Roundup}
 Christmas Card Holder {DIY tutorial}
 Pallet Christmas Countdown {DIY tutorial}
 Drop Cloth Stockings {DIY tutorial}
 15 Creative Ways to Display Christmas Cards {Project Roundup}
 Pinecone Wreath {DIY tutorial}
 Creative Ideas for Wrapping Holiday Gifts {Project Roundup}
 Cozy Adirondack Christmas Porch
 13 Christmas Porches, Doors, and Entryways {Project Roundup}
 Christmas Ornament using a Gold Sharpie {DIY tutorial}
 The Easiest + Fastest + Cheapest Tree Skirt EVER!
 Drop Cloth Placemat {DIY tutorial}
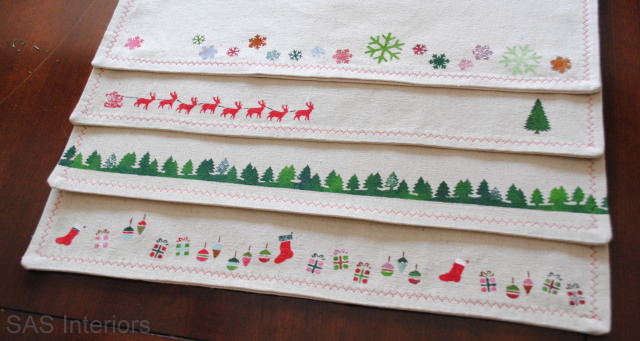 Stenciling Ideas for Christmas
 Holiday Photo Card {DIY tutorial}
 Making a LEGO Minifigure Christmas Card