


Master Bathroom Renovation: DEMO!
Hi All!
Last I left you, I mentioned we were about to undergo a major renovation of the master bathroom. It was a space that got a DIY makeover a few years back, but with wear + tear it was time for an overhaul.
As much as I adore color, I could only image this new bathroom to be soft + serene and clean + calm. The overall aesthetic will be based more on texture rather than color. Plus layers will add an important element to give the overall space contract + depth.
Just to share a reminder of the ‘before’ space…

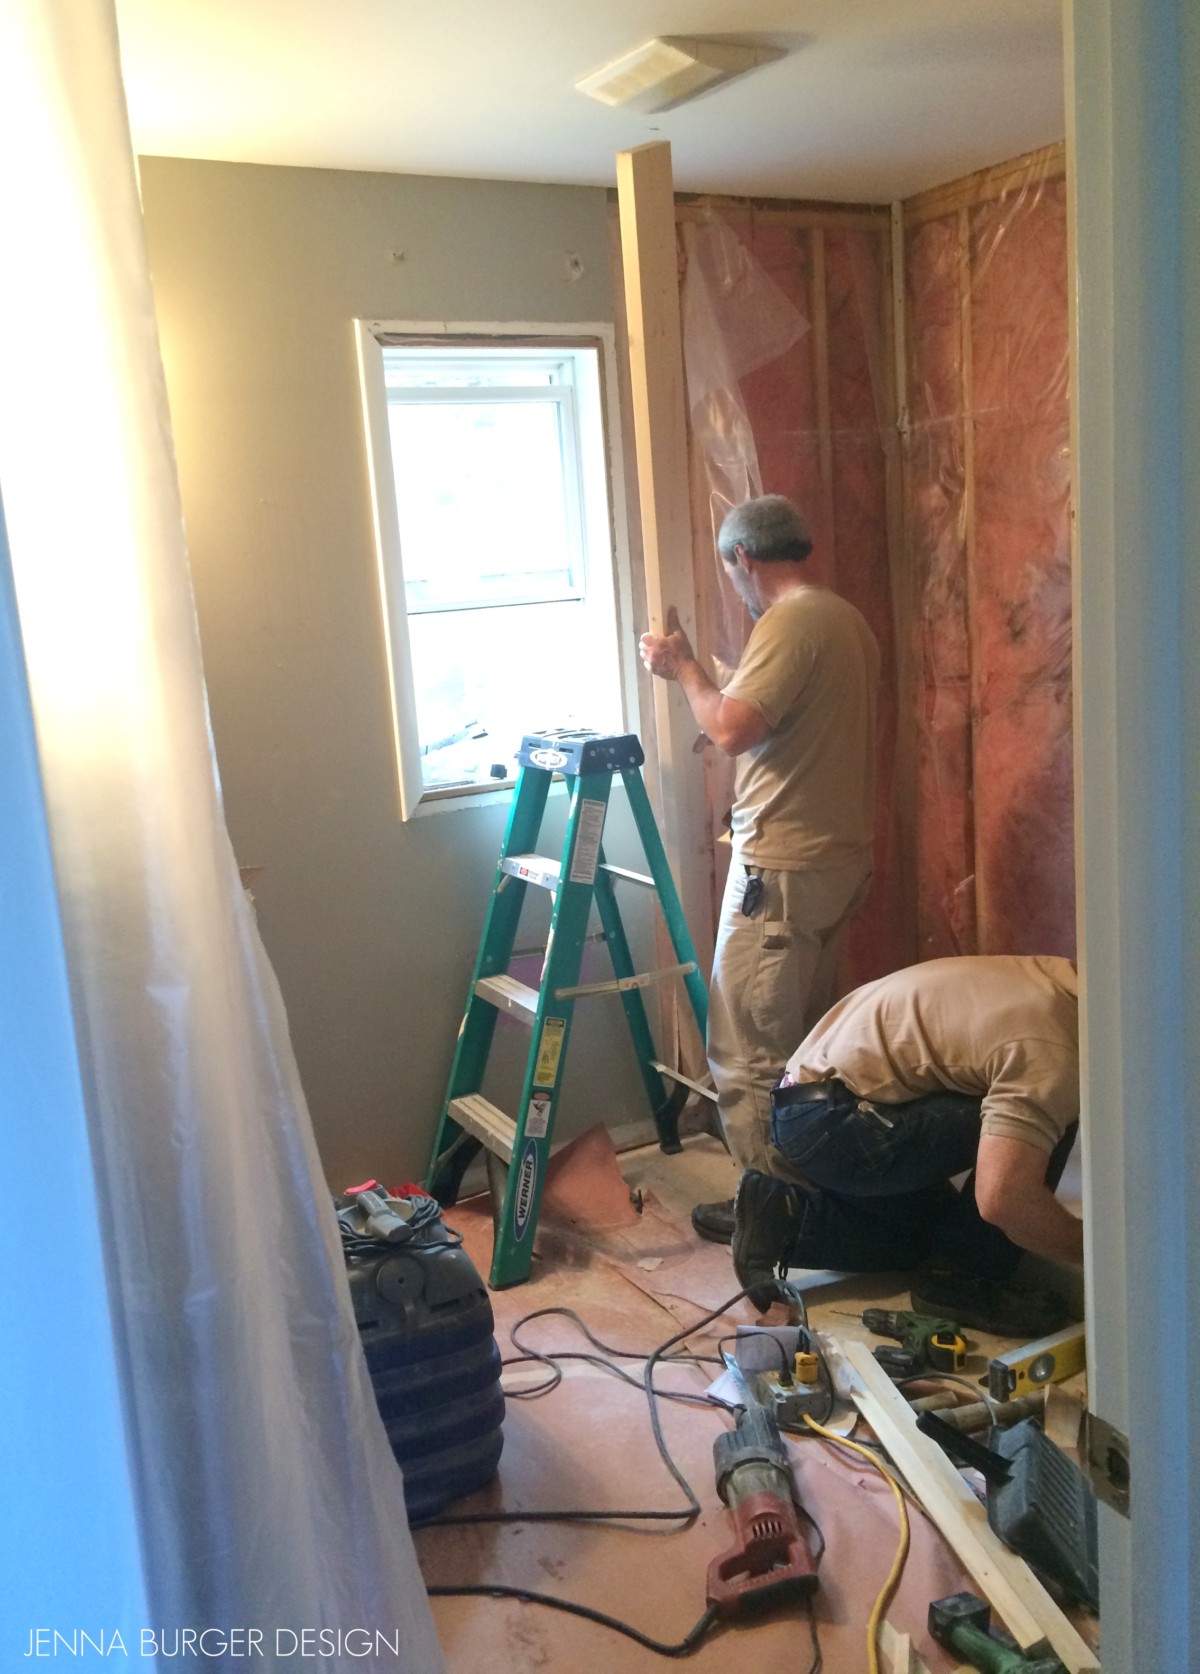
The morning of demo day, I snapped the picture above of the bathroom, and in no time the contractors got to work…
From the tub to the vanity to the toilet, everything was ripped out!
As I mentioned in my last post, this renovation is a dual endeavour. Due lack of time + components outside our skill set, we are taking on some areas of the renovation, while other areas will be performed by a contractor. As I previously said, I don’t want to be without a bathroom for months AND I want to stay sane (somewhat).
The contractors are tackling the major areas including demo + installing the main components – shower pan + fittings, toilet, vanity + faucet.
DAY ONE
On the first day, the three-man crew removed the existing pre-fab tub, the sheetrock above the tub, the toilet, and the vanity. It’s a small space, but by lunch time, the space was cleared out…
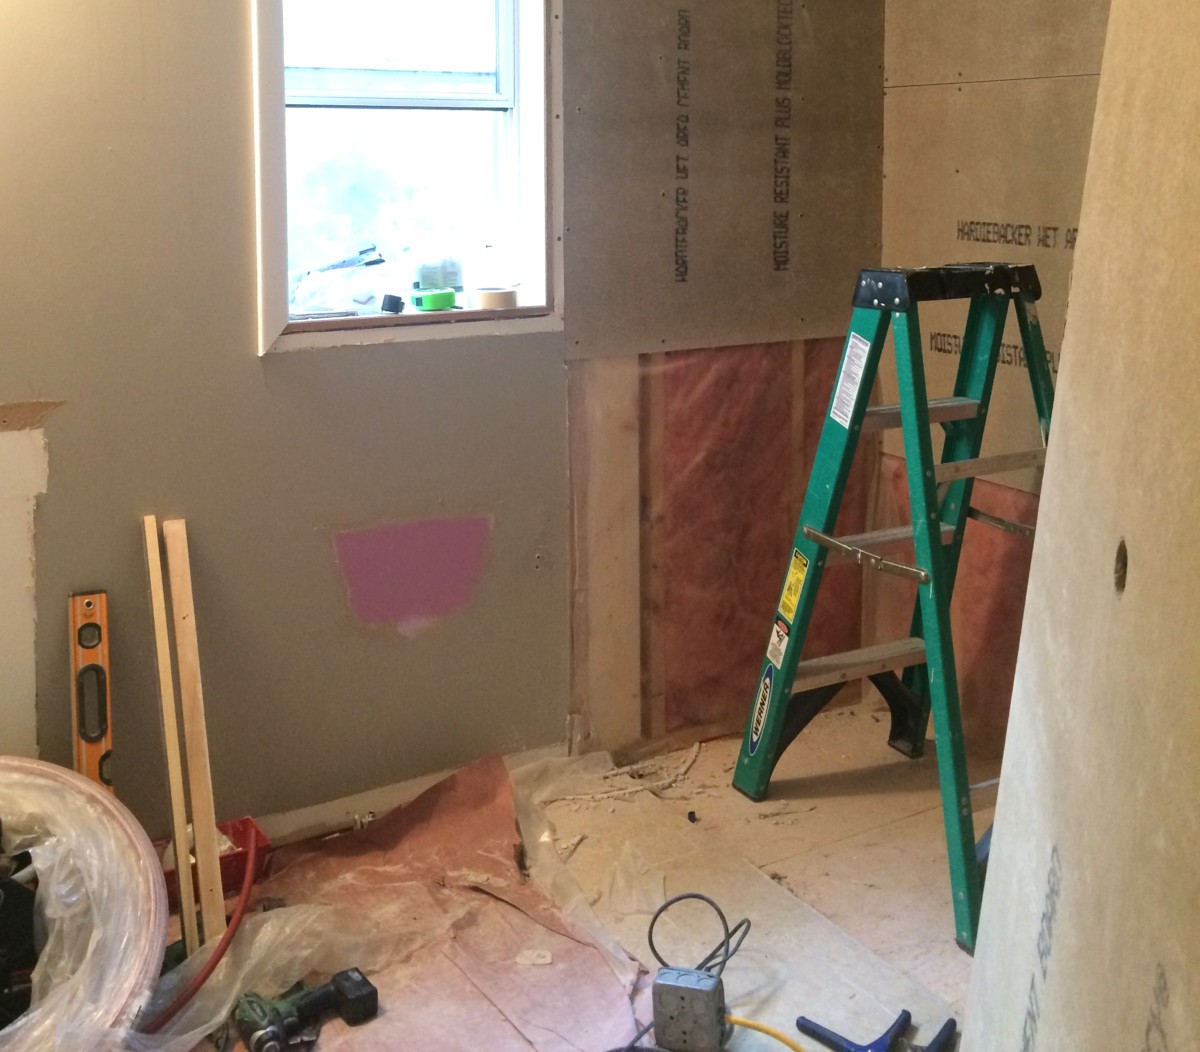
Instead of installing a new tub, we decided to use the 30″ x 60″ outcove for a shower. After the tub + sheetrock was removed, the space was ready for the new shower pan. For the new tile to adhere to, hardiboard (also known as cement board or backerboard) was installed.
Sheetrock is still a great product for the walls and ceiling of a bathroom, just not in the tub/shower area. Cement board is made with actual cement + a firberglass mesh exterior, so it’s waterproof and won’t deteriorate over time when/if it comes in contact with water.
Additionally, the new vanity that I chose is 48″ whereas the existing is 36″… I’m gaining 12″ of counterspace – I’m over the moon! Because of this change, the electrical wiring for the light needs to be moved so it will be centered on the new 48″ space.
By days end, this was the result…
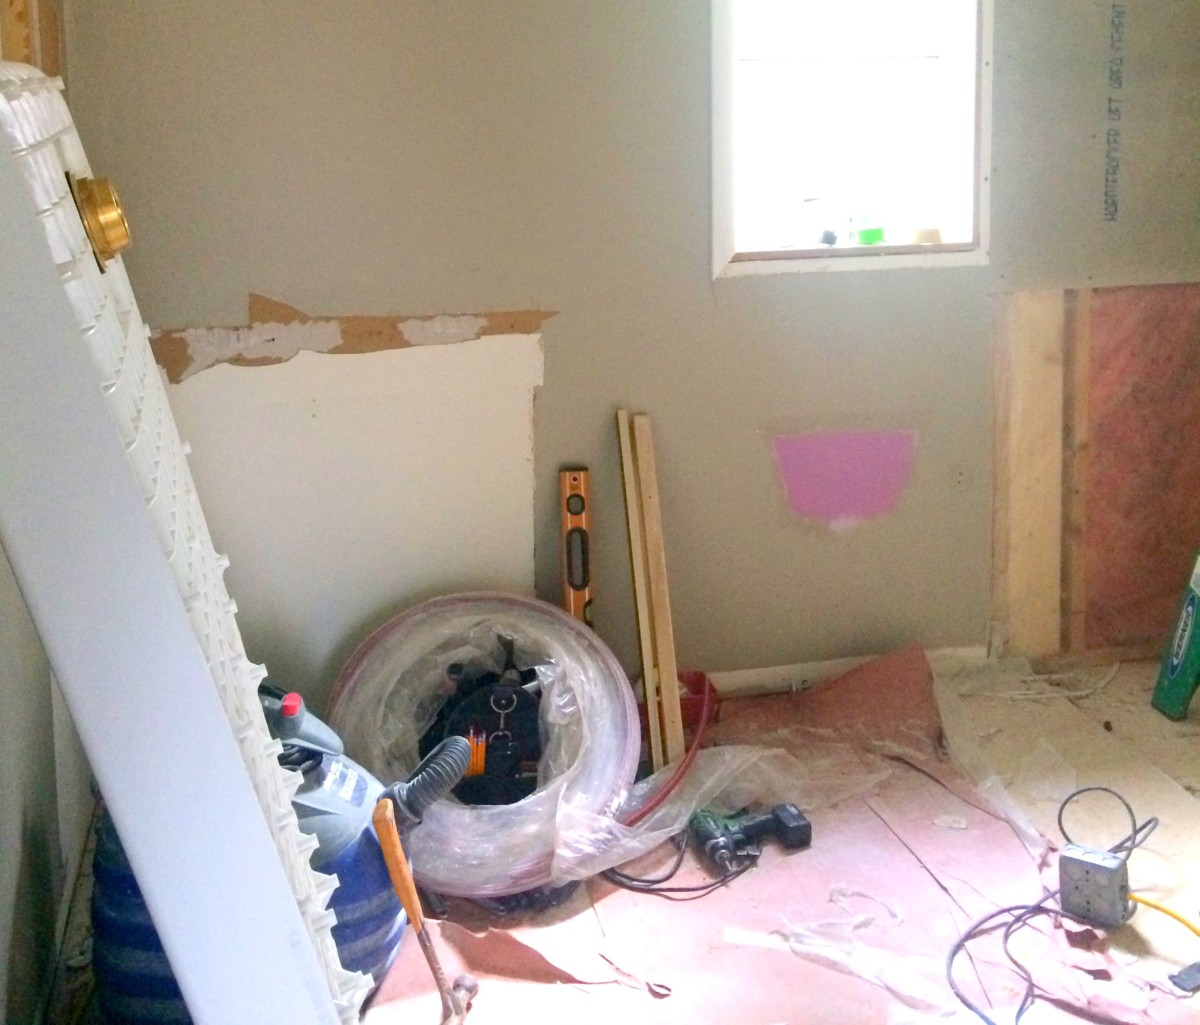
Check out the purple wall color that was behind the toilet… it was from before we renovated the last bathroom… Gosh that color is ghastly and I was hoping to never see it again, ha.
DAY TWO
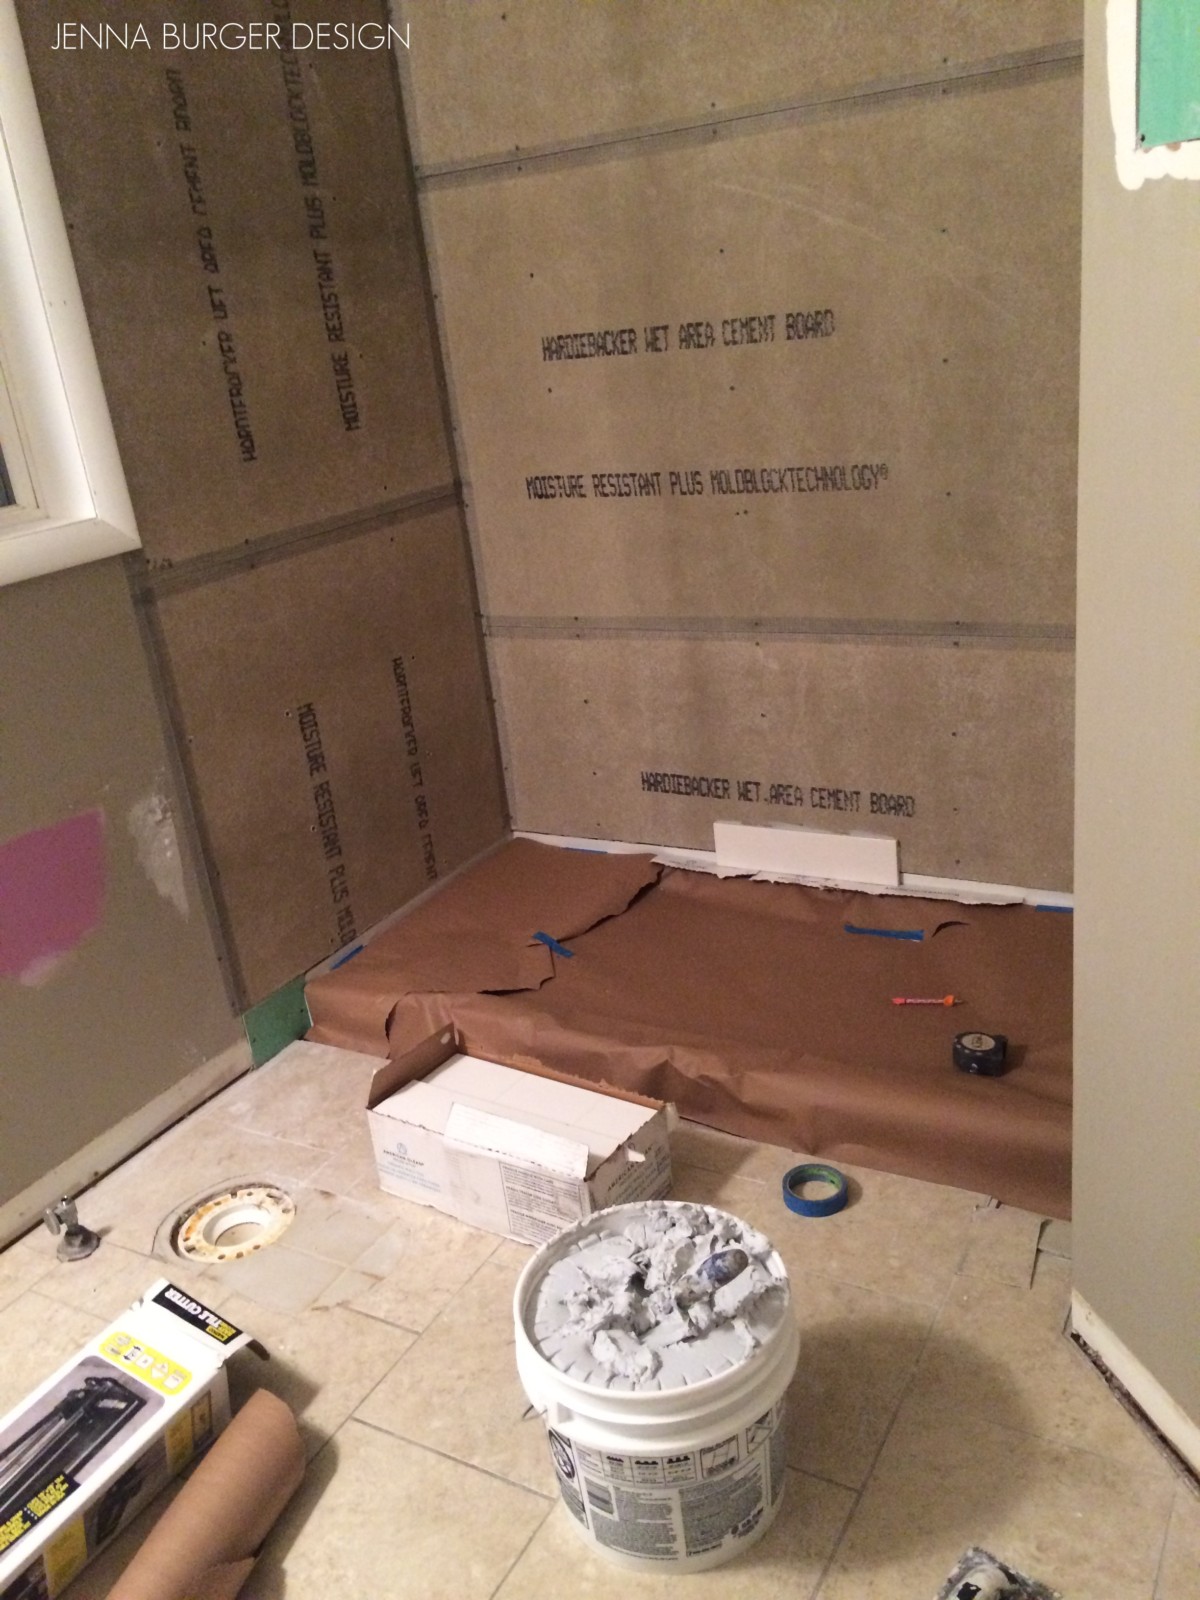
On the second day of renovation, the new shower pan was installed and the remainder of the space got prepped for tile. After another day’s work, it was my turn to step in to install the tile.
Here’s a peak of how the finished cement board looks upon installation with the new shower pan…
It’s ready for me to tile!
More details of the master bathroom renovation coming soon.
I gotta get back to tiling…
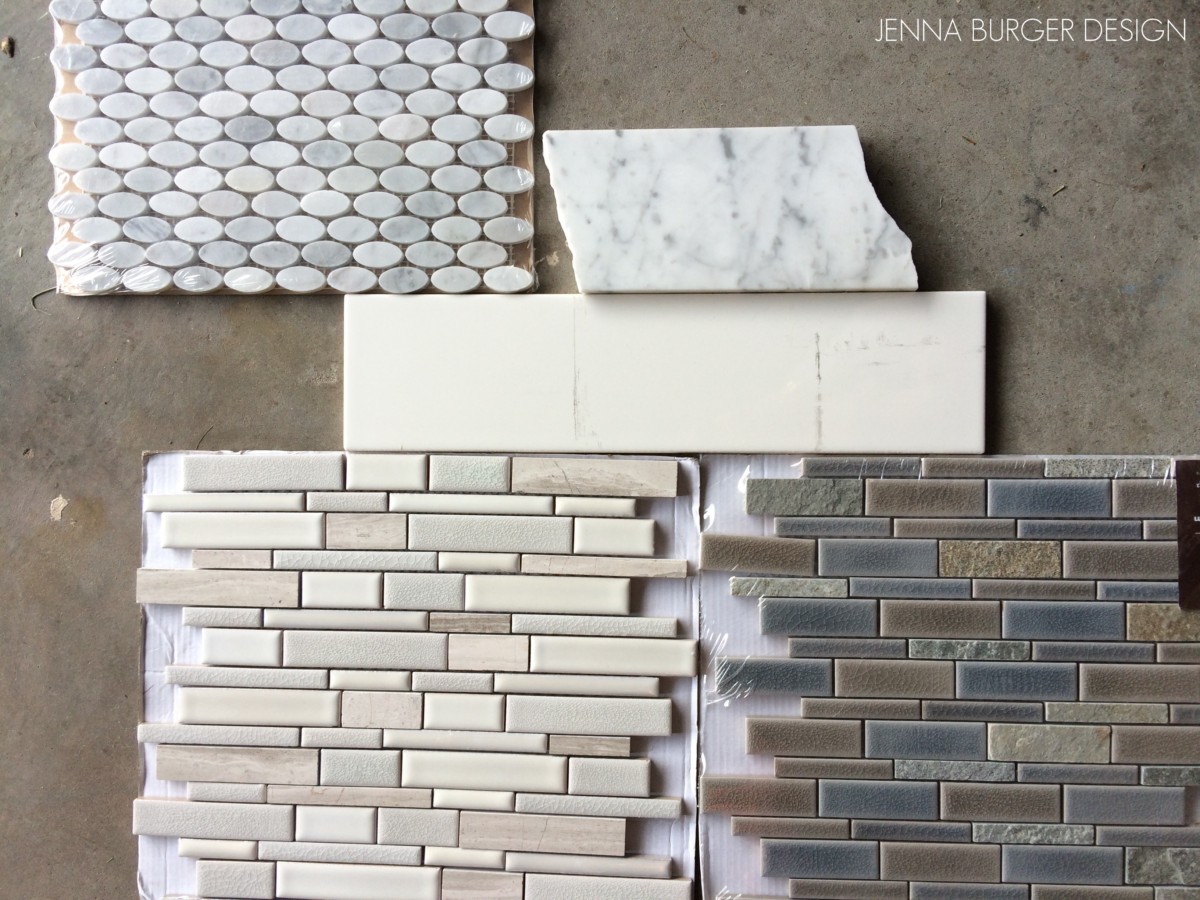
Oh, and I’m still deciding on the accent tile. Any suggestions? What do you like best??
DISCLAIMER: THIS BATHROOM RENOVATION IS A COLLABORATION WITH LOWE’S. ALL OPINIONS + SELECTIONS ARE MY OWN.