Living Room Progress
It’s been several weeks since I shared an update on our brick ranch fixer upper which started with a preview of the progress on the large living room. Since then, we officially moved into our new home after 6 weeks of renovations, which included a lot of sheetrock work, a new bathroom, and a new laundry space.
The second room reveal, well I should say more progress reveal, is another living / family space. This room has much of the furniture from the blue room in our previous home + a few exciting additions.
Let’s dive in…
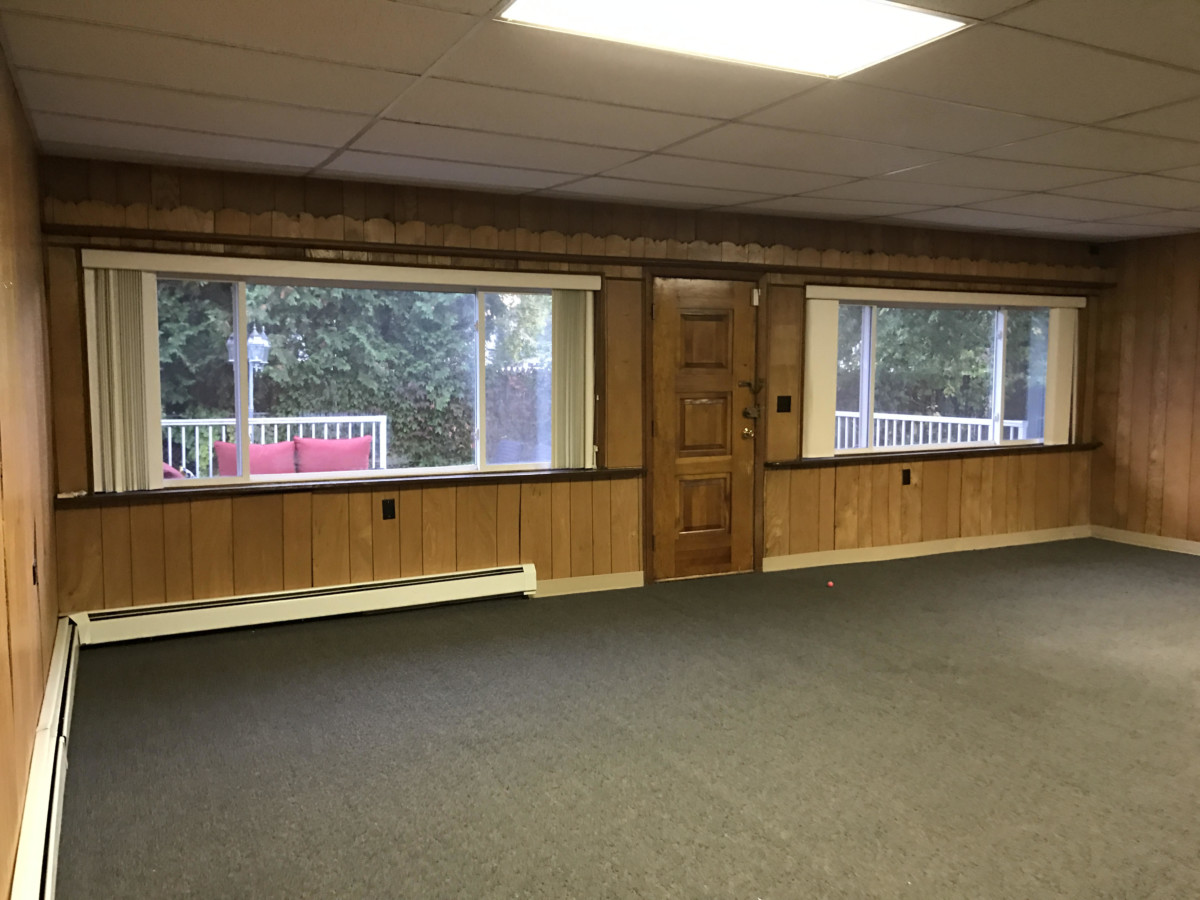
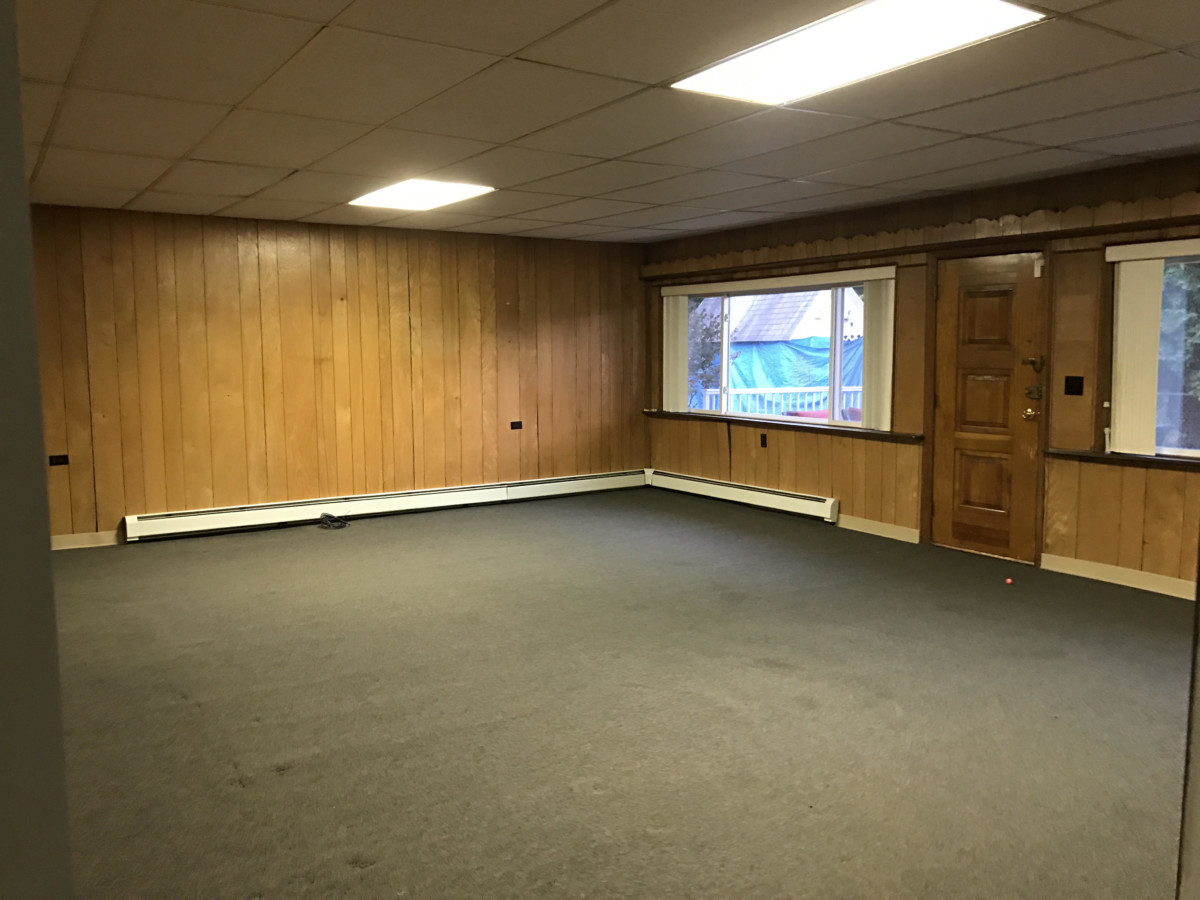
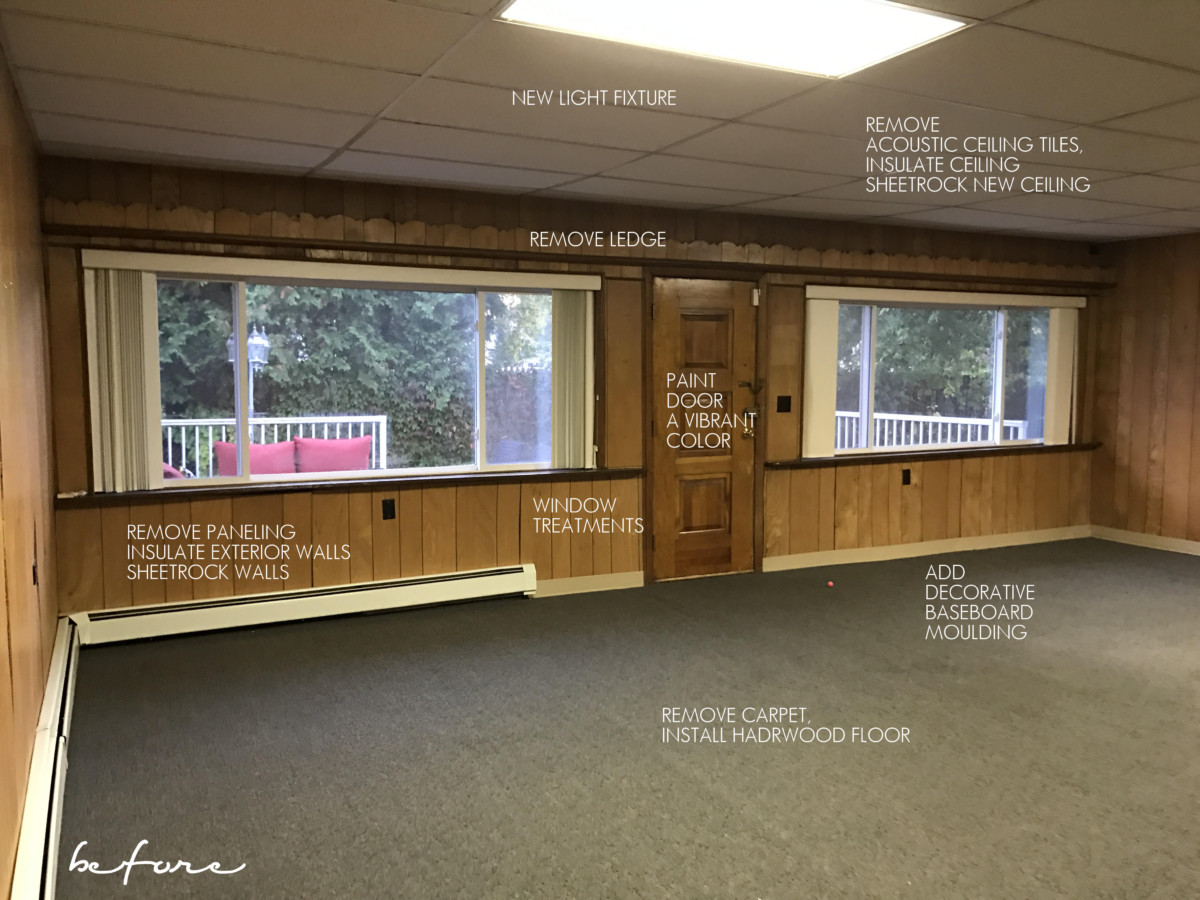
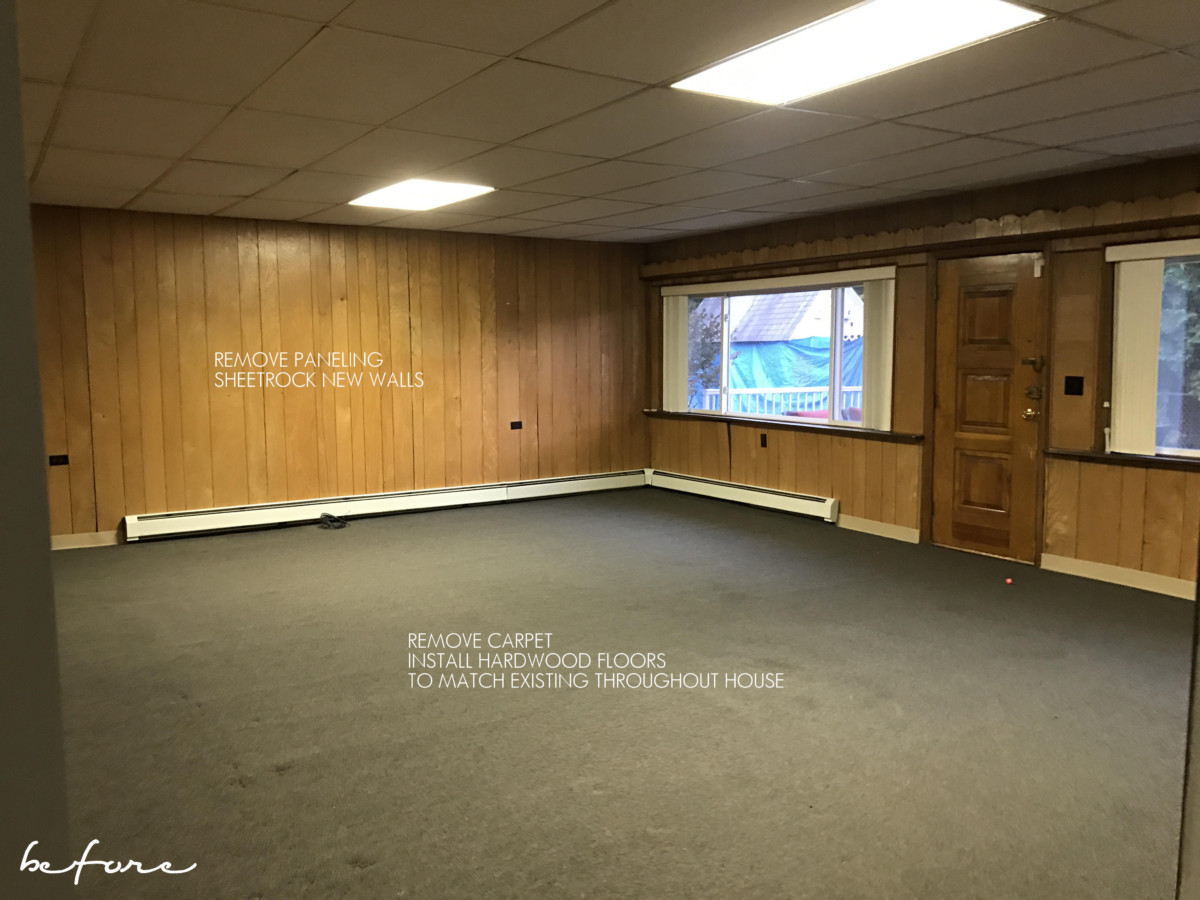
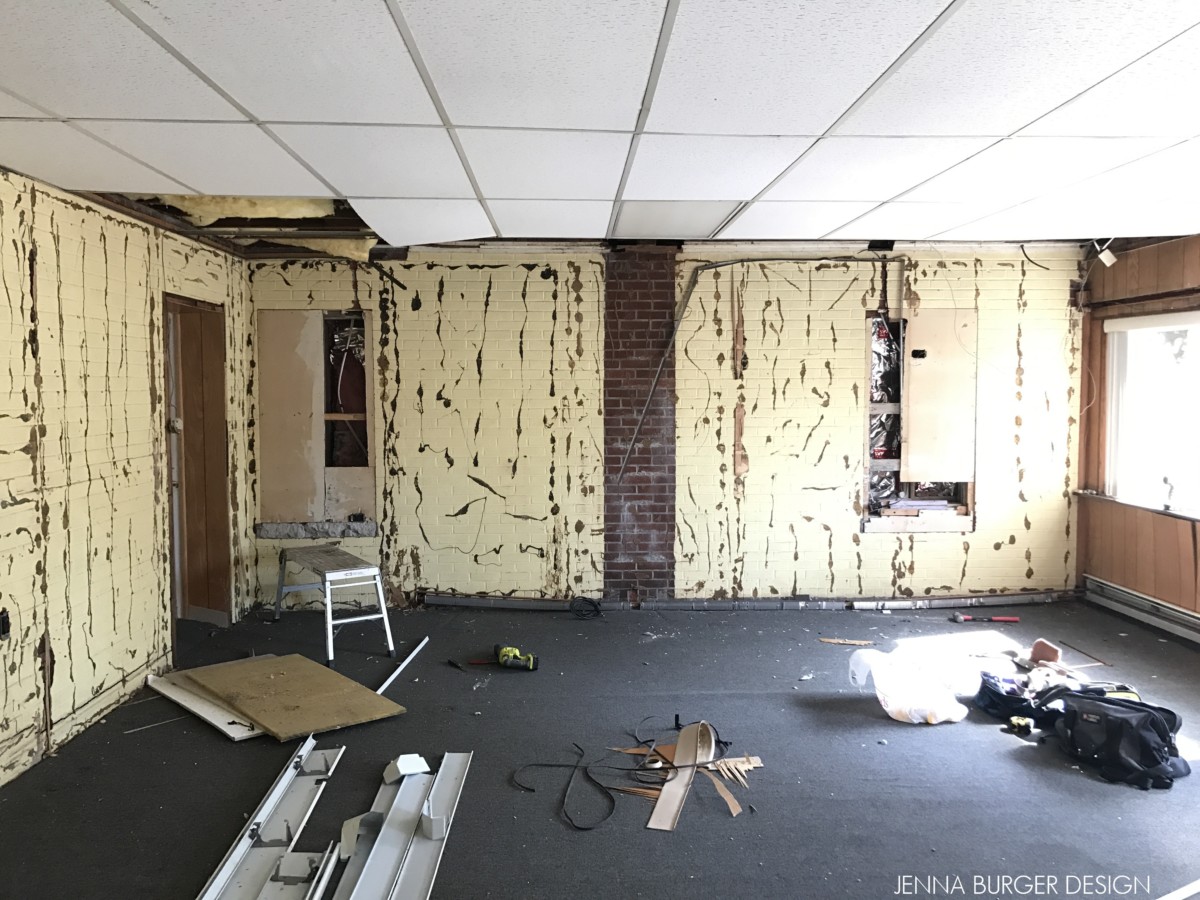
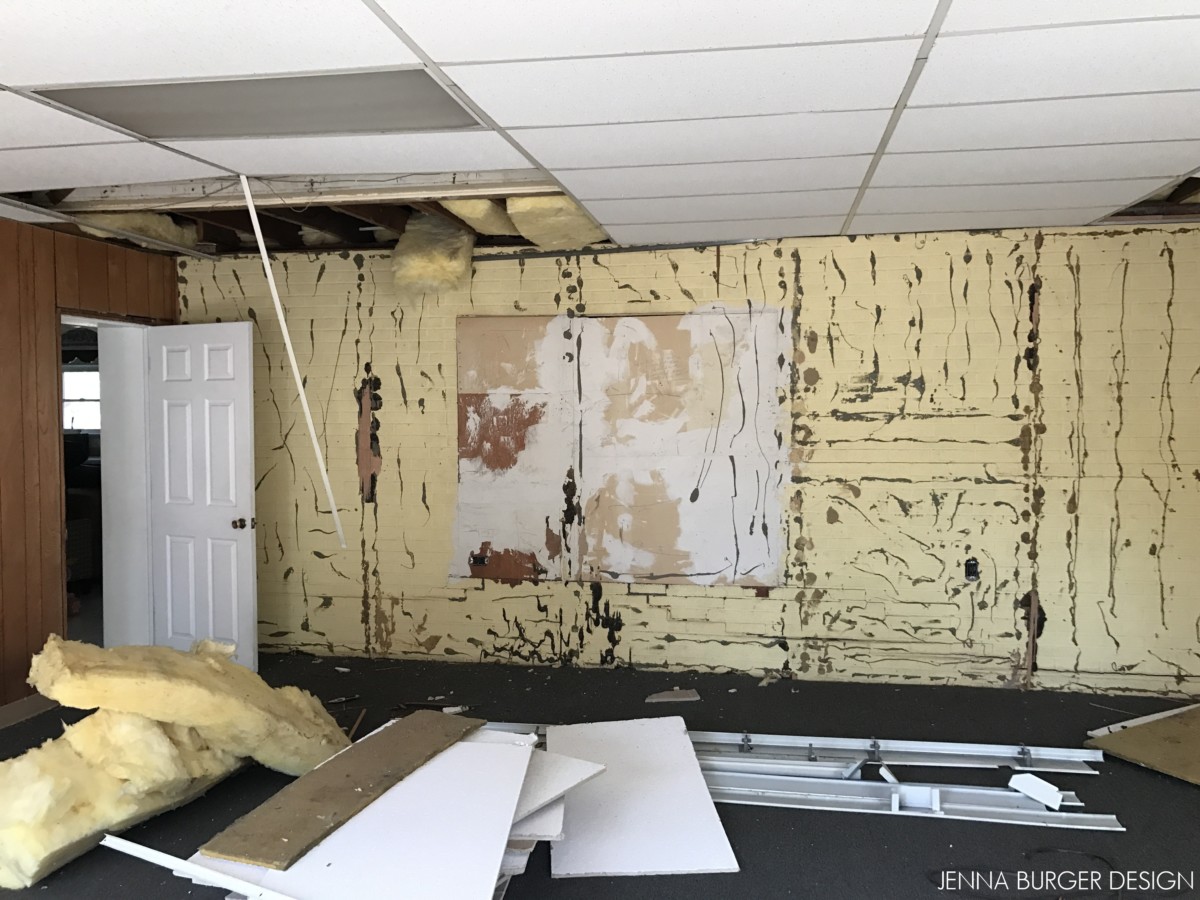
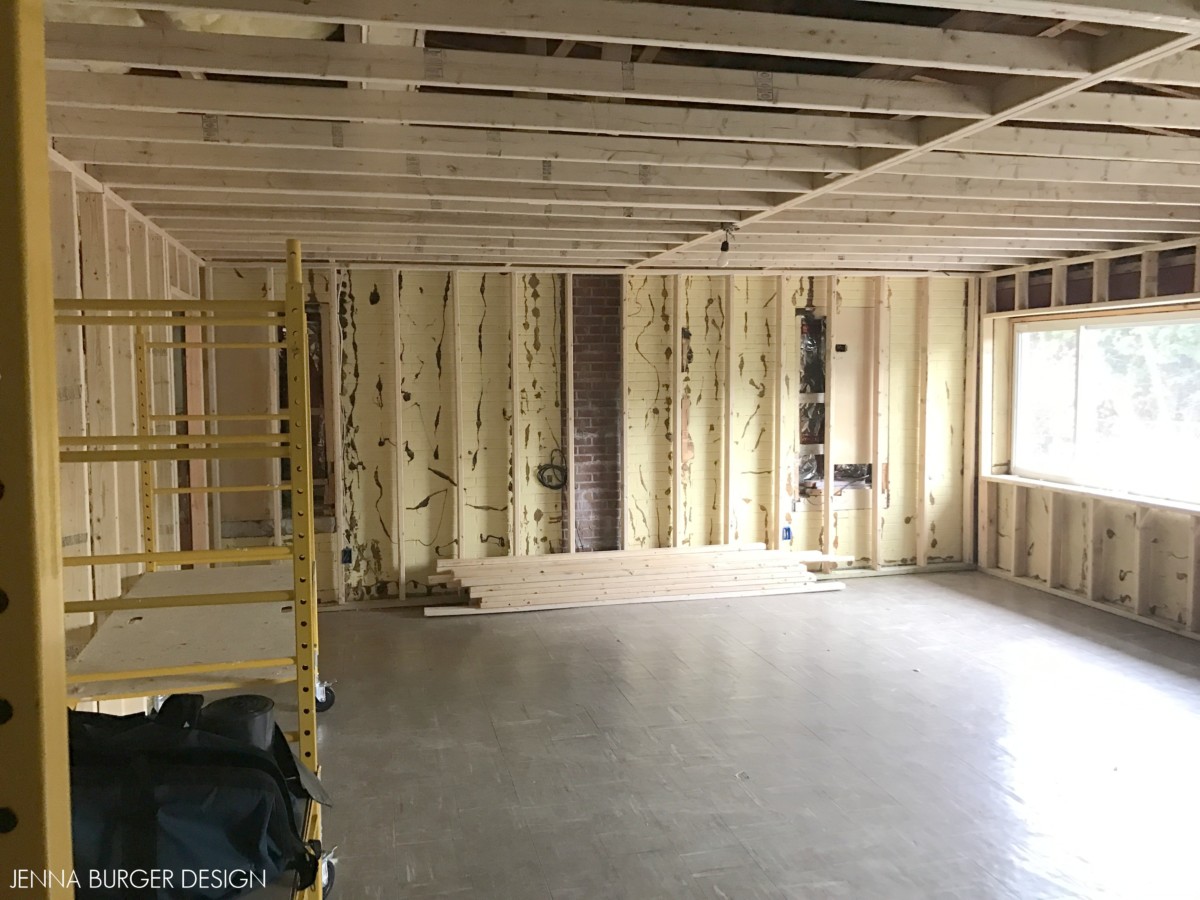
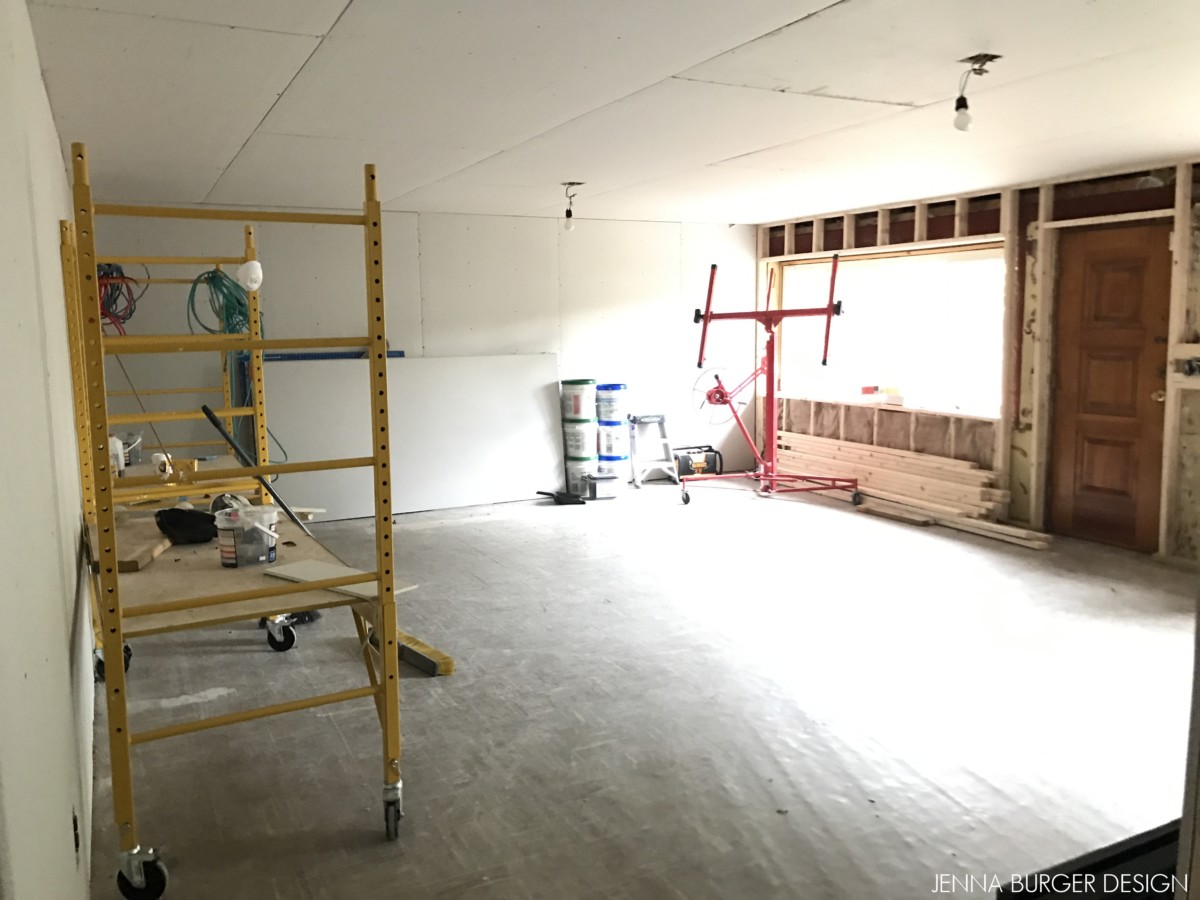
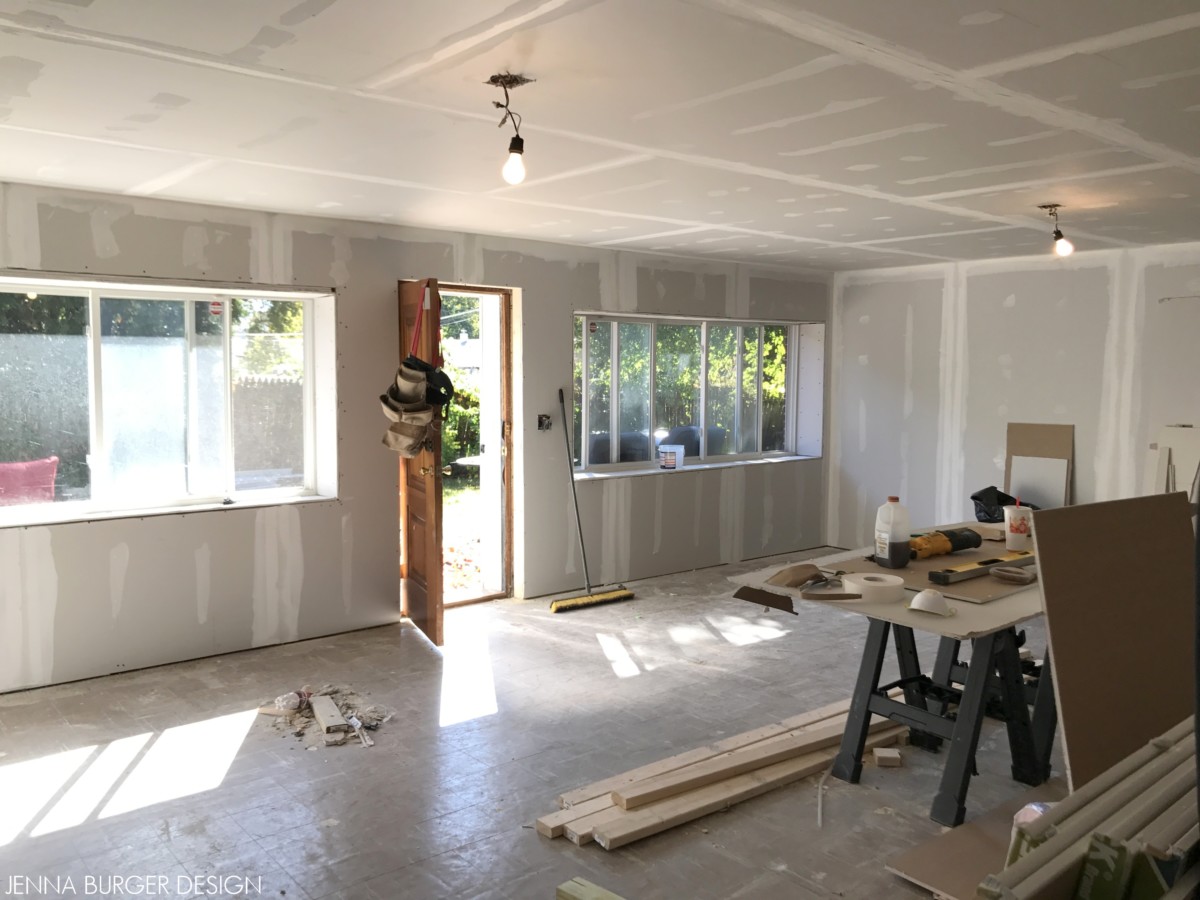
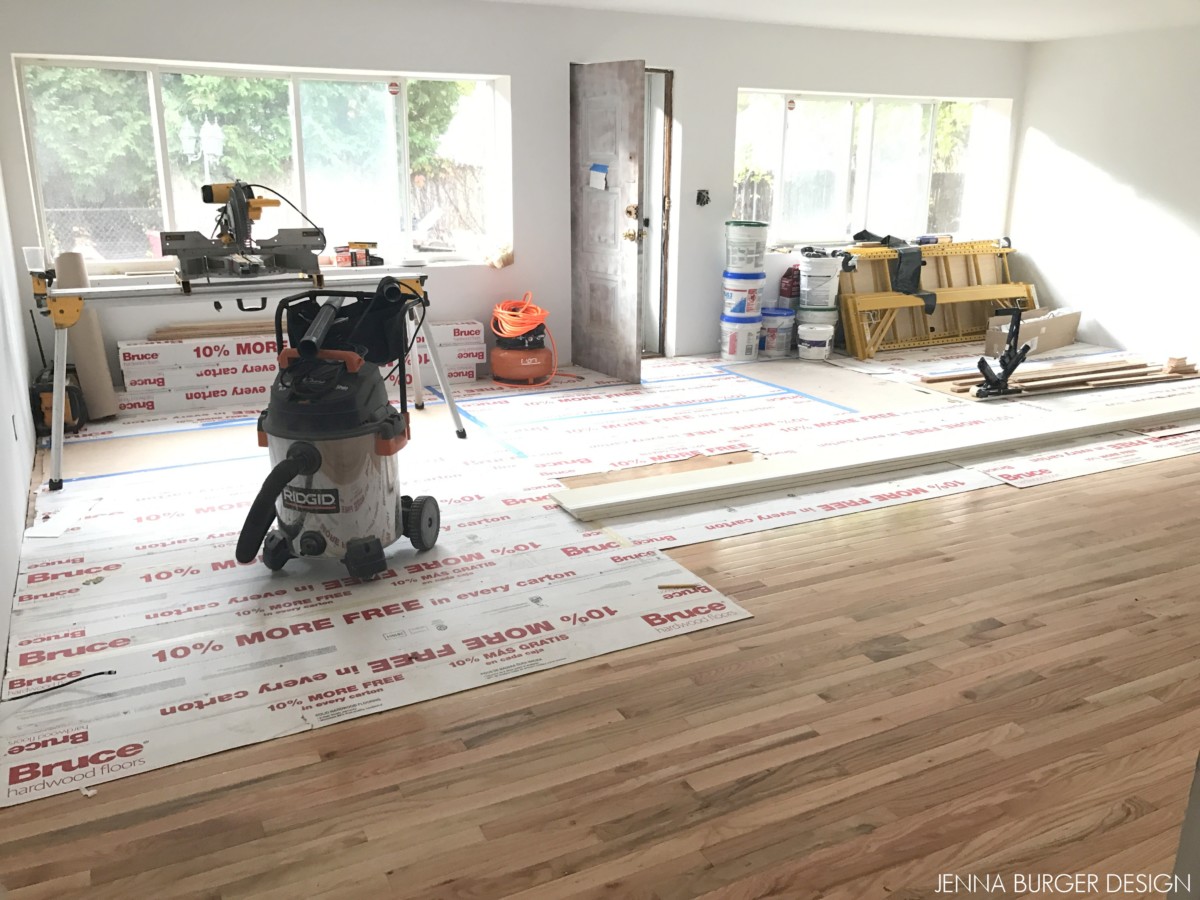
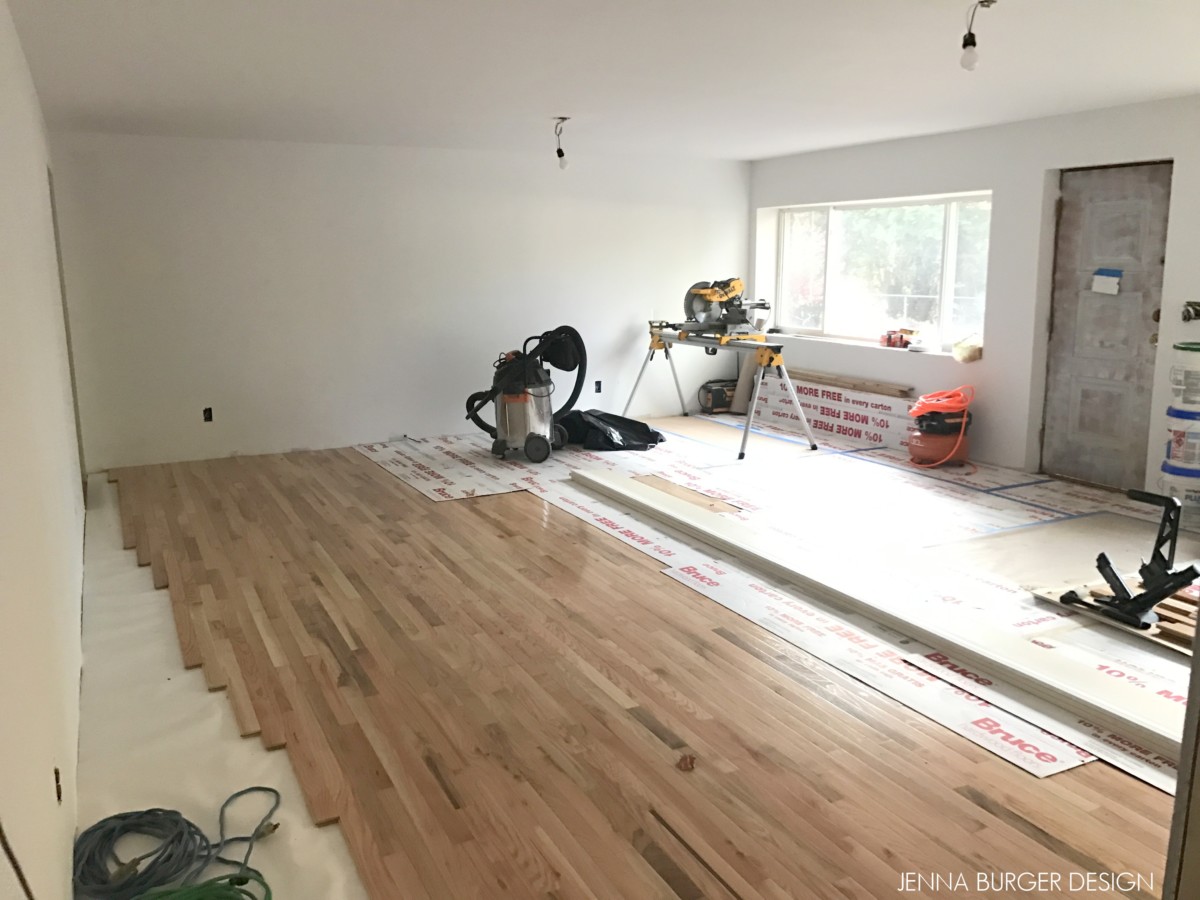
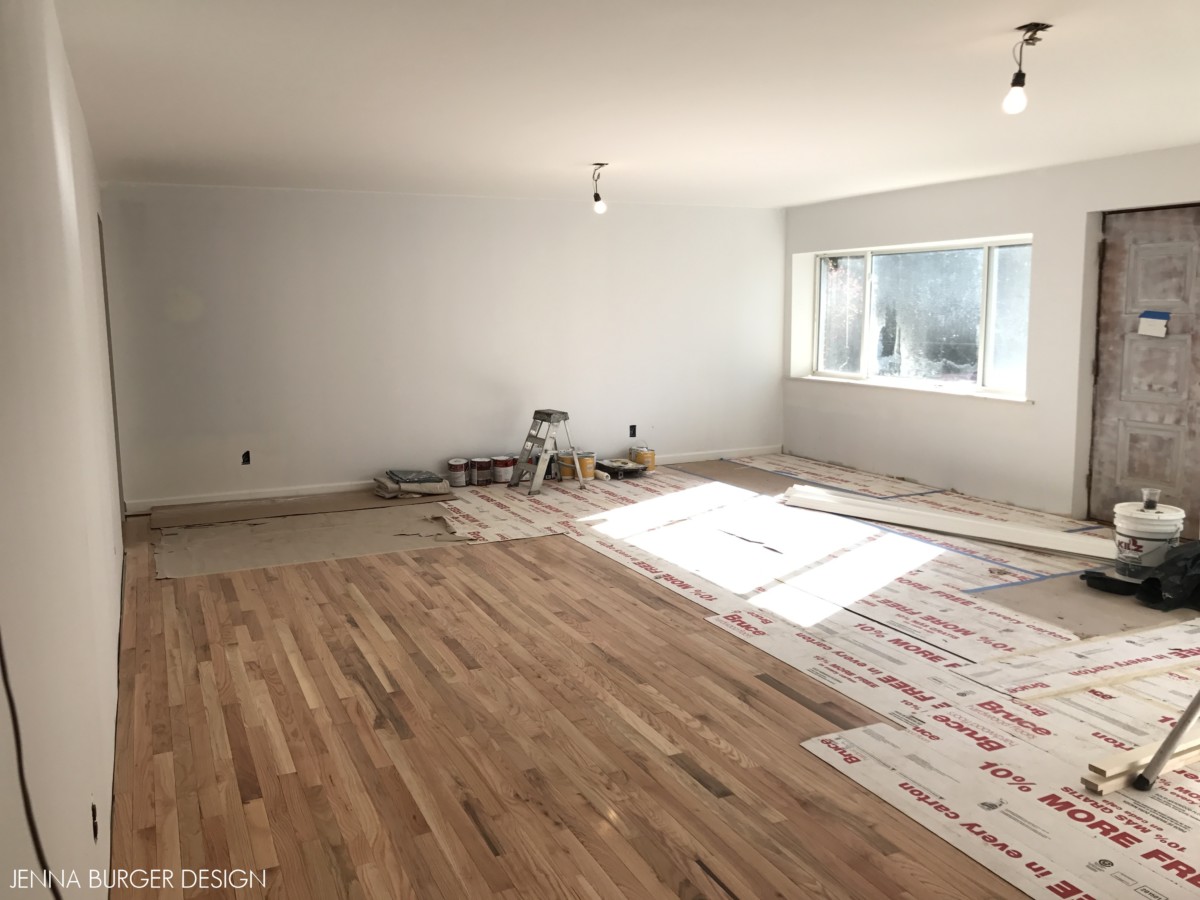
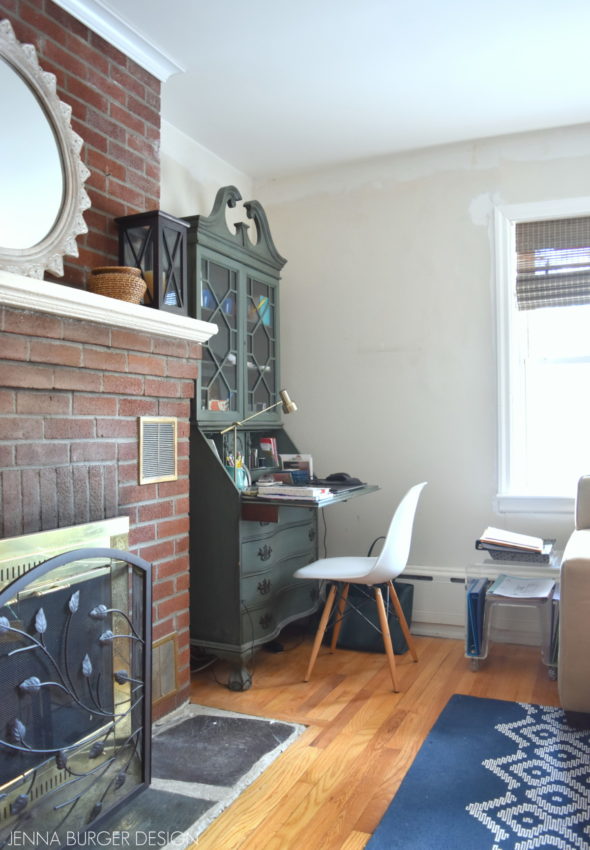
THE BEFORE
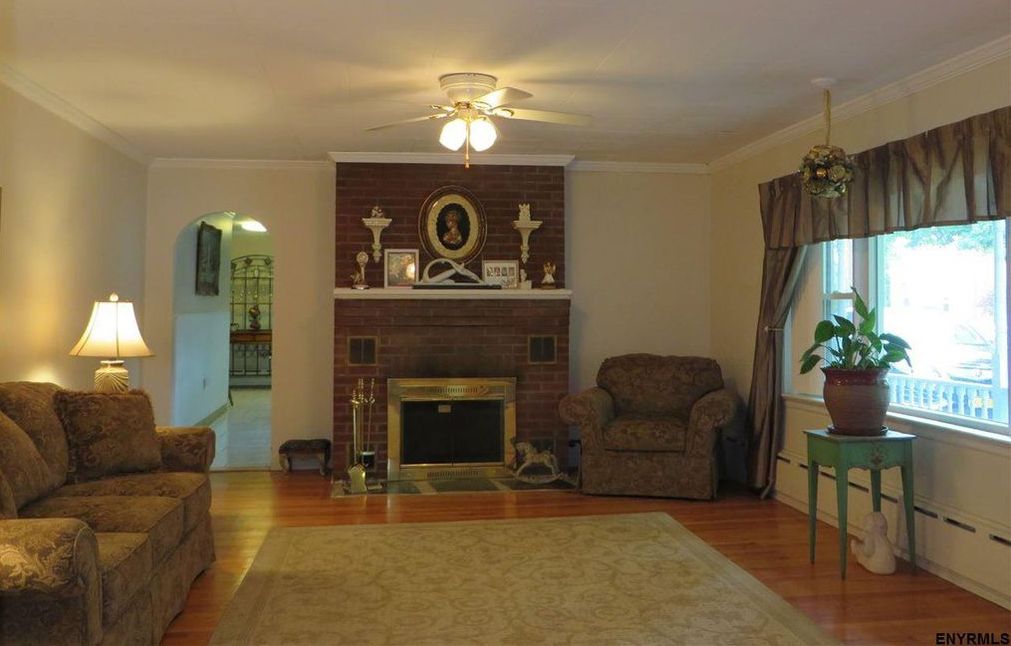
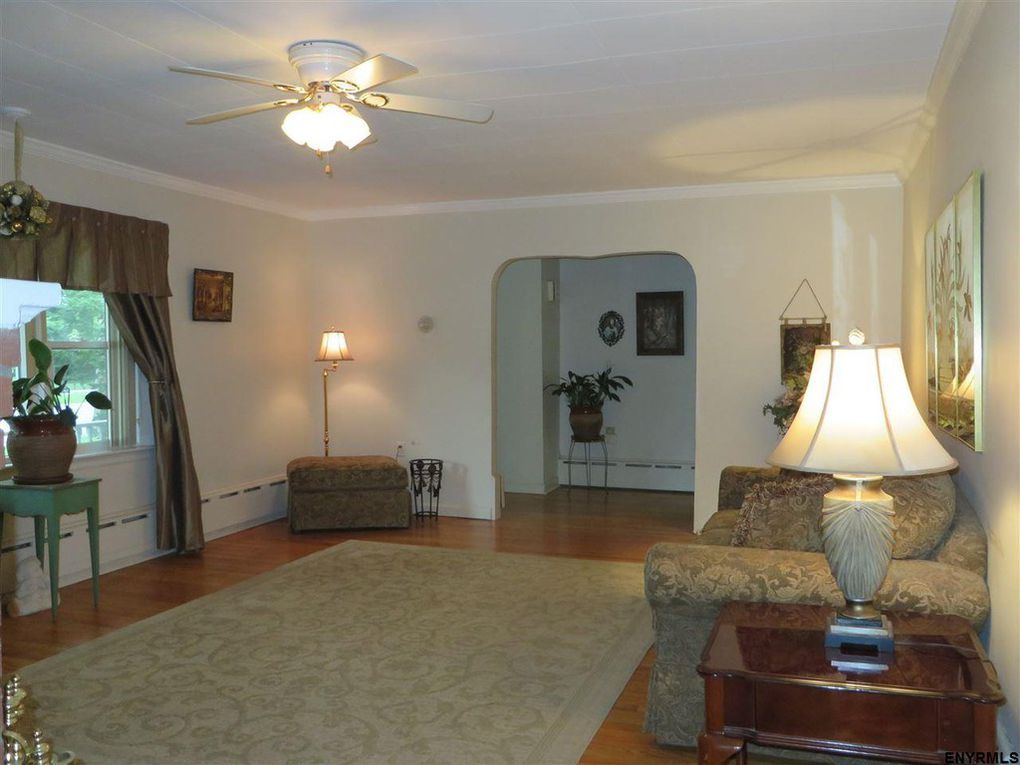
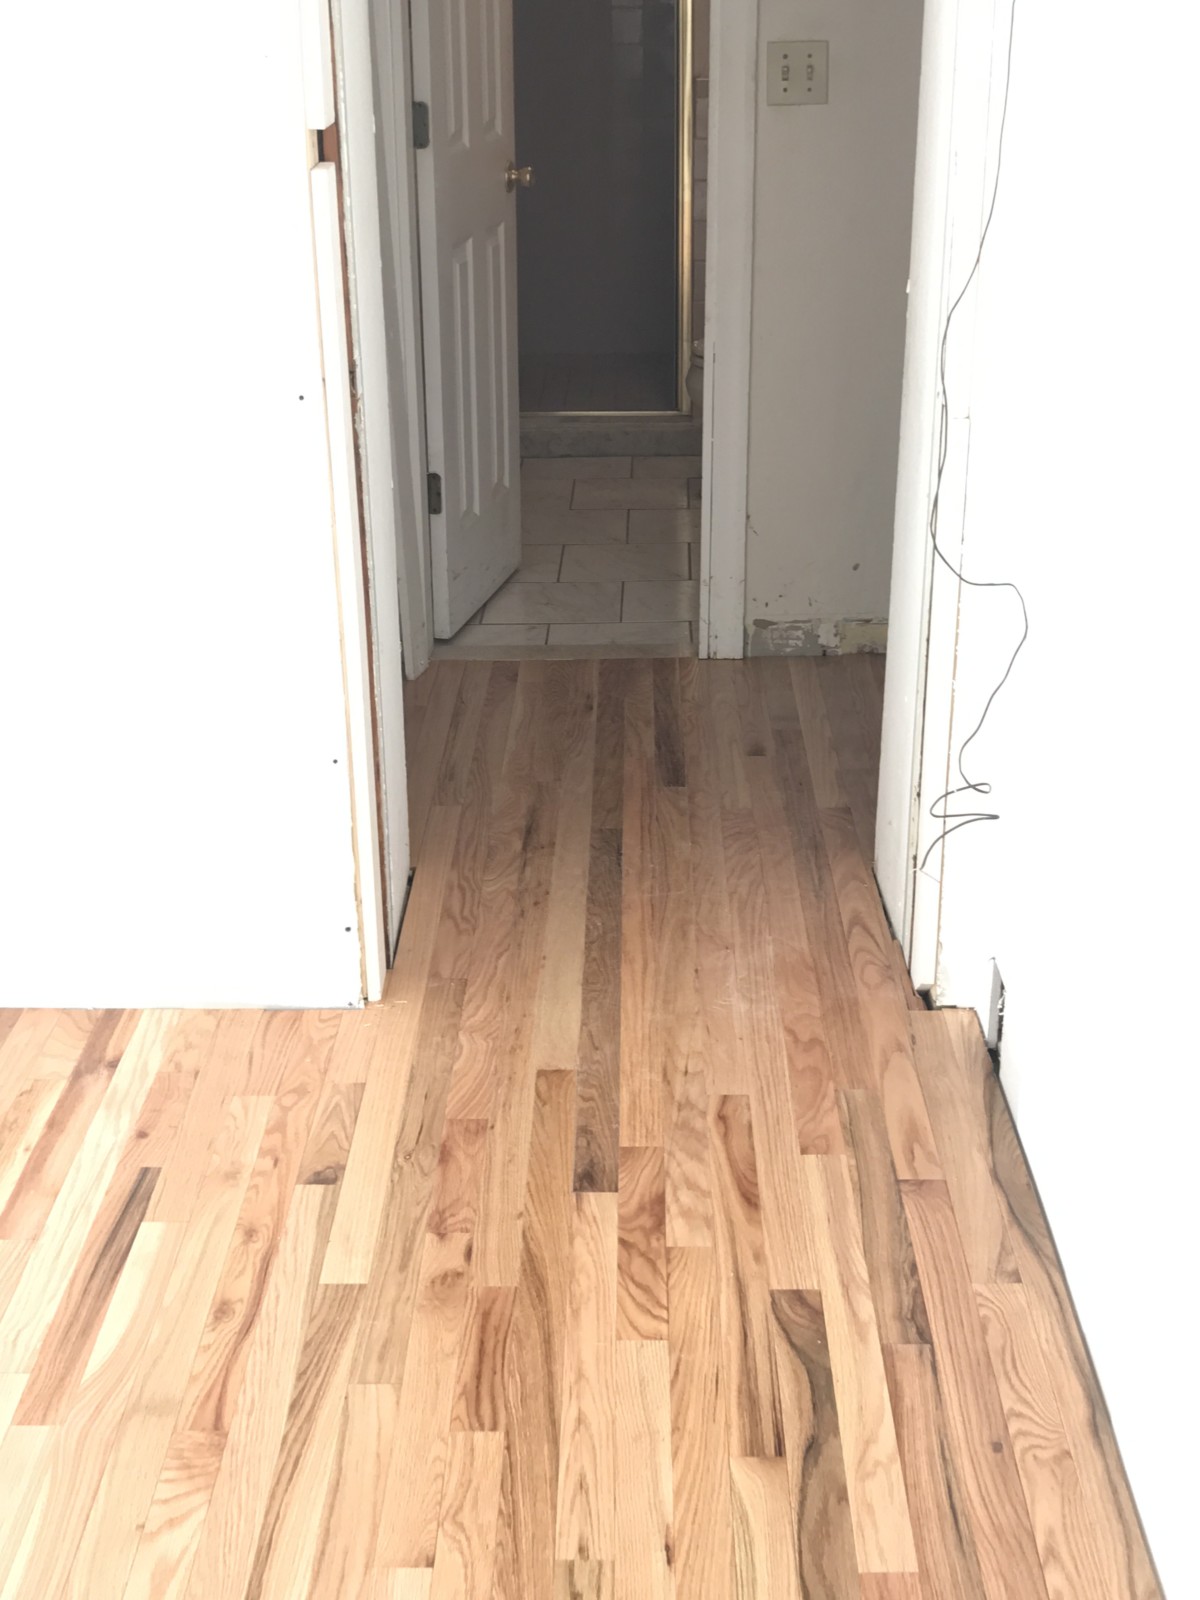
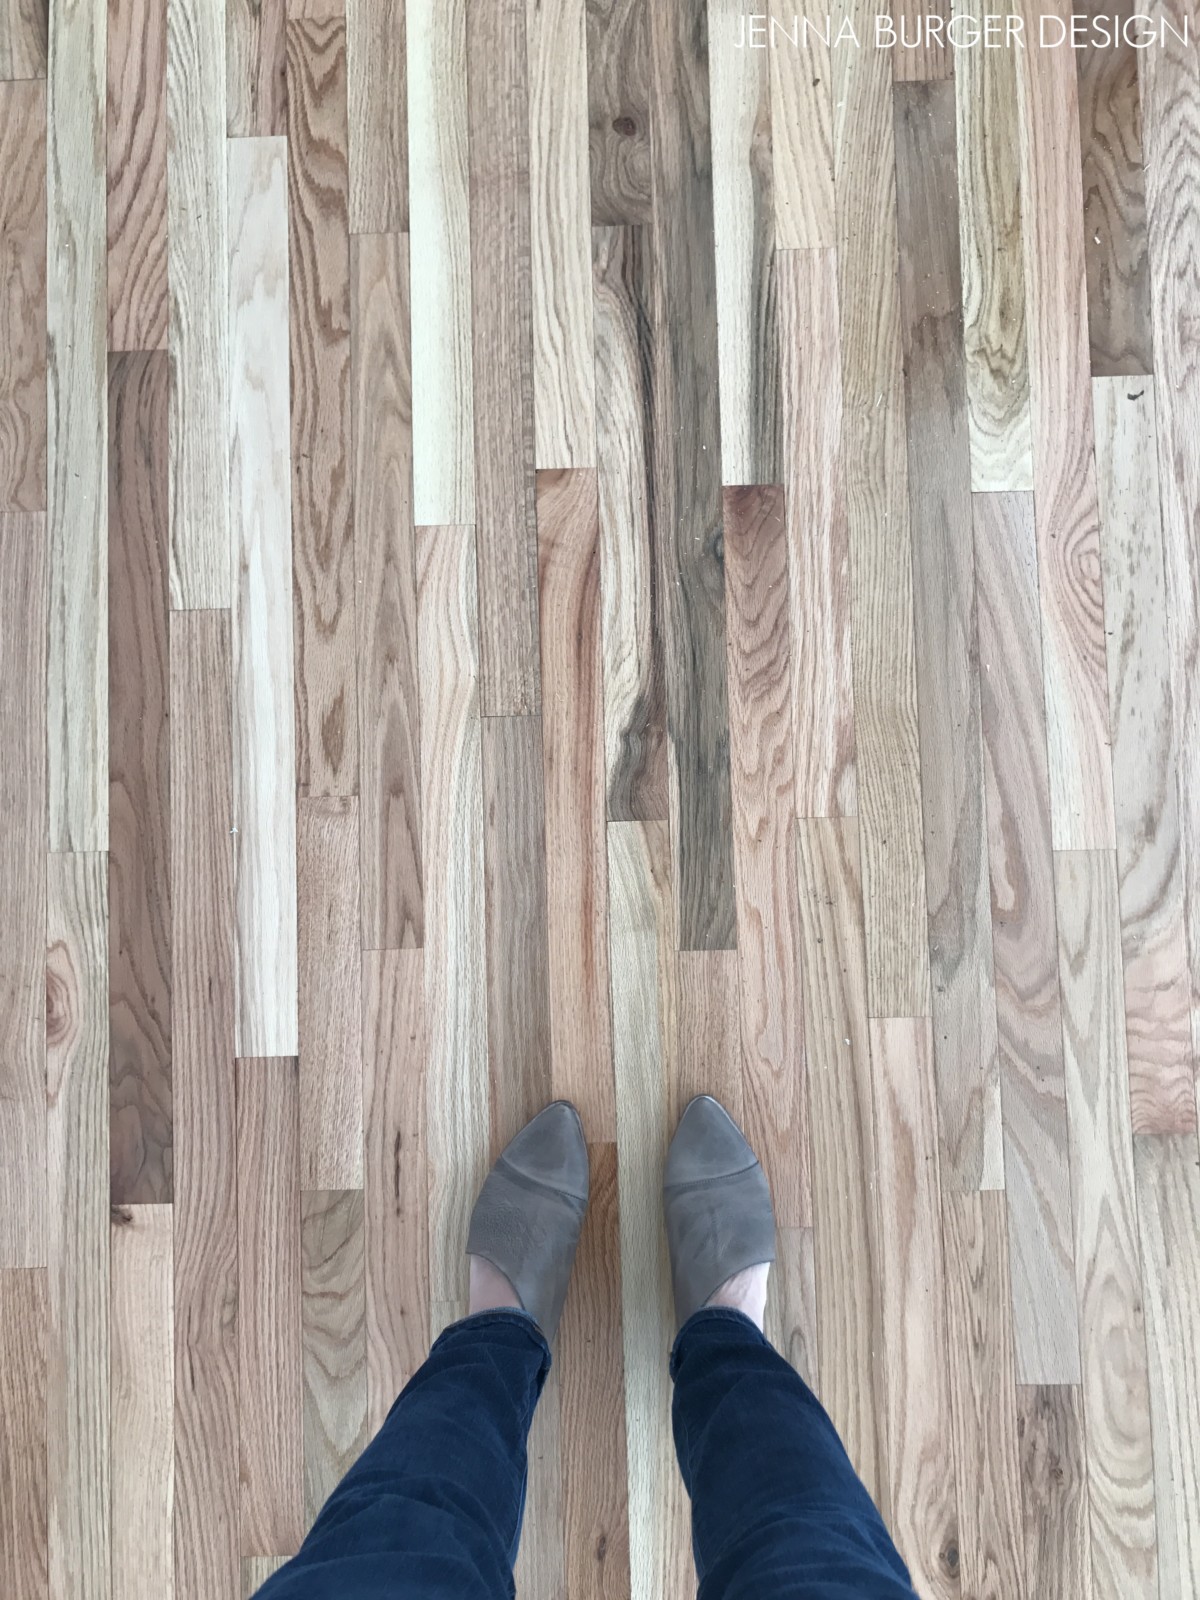
This is a sizable room about 15′ x 18′ with a brick fireplace, hardwood floors, a large window, and interesting architectural details like the rounded doorways.
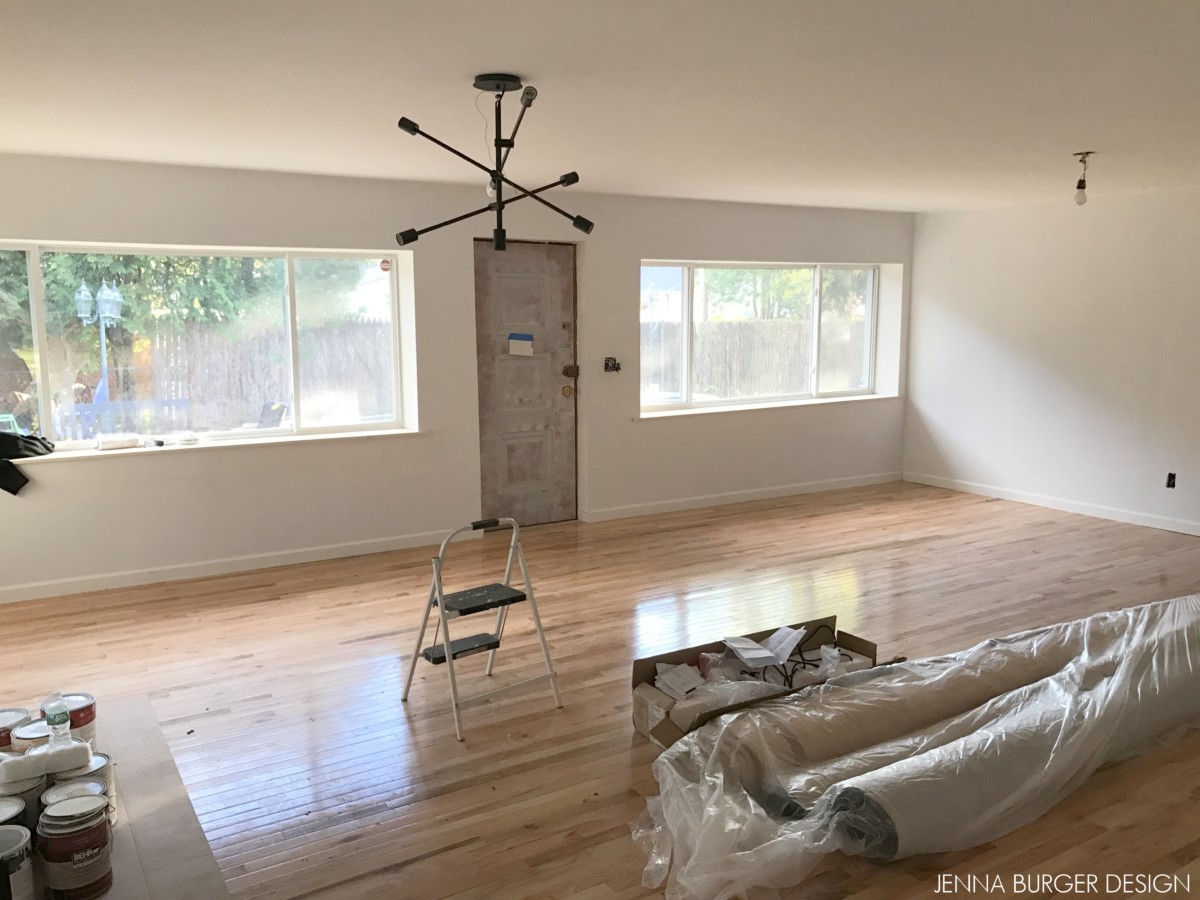
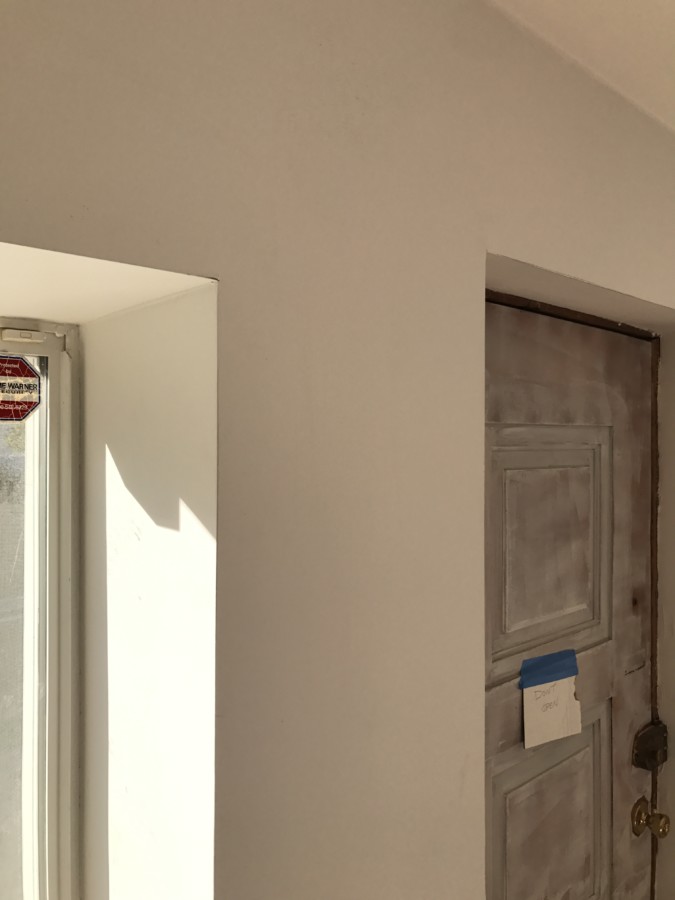
The room still isn’t painted (despite my hanging pictures) and there is still work to be done like the fireplace (more on that in a bit), but here is what the space looks like now…
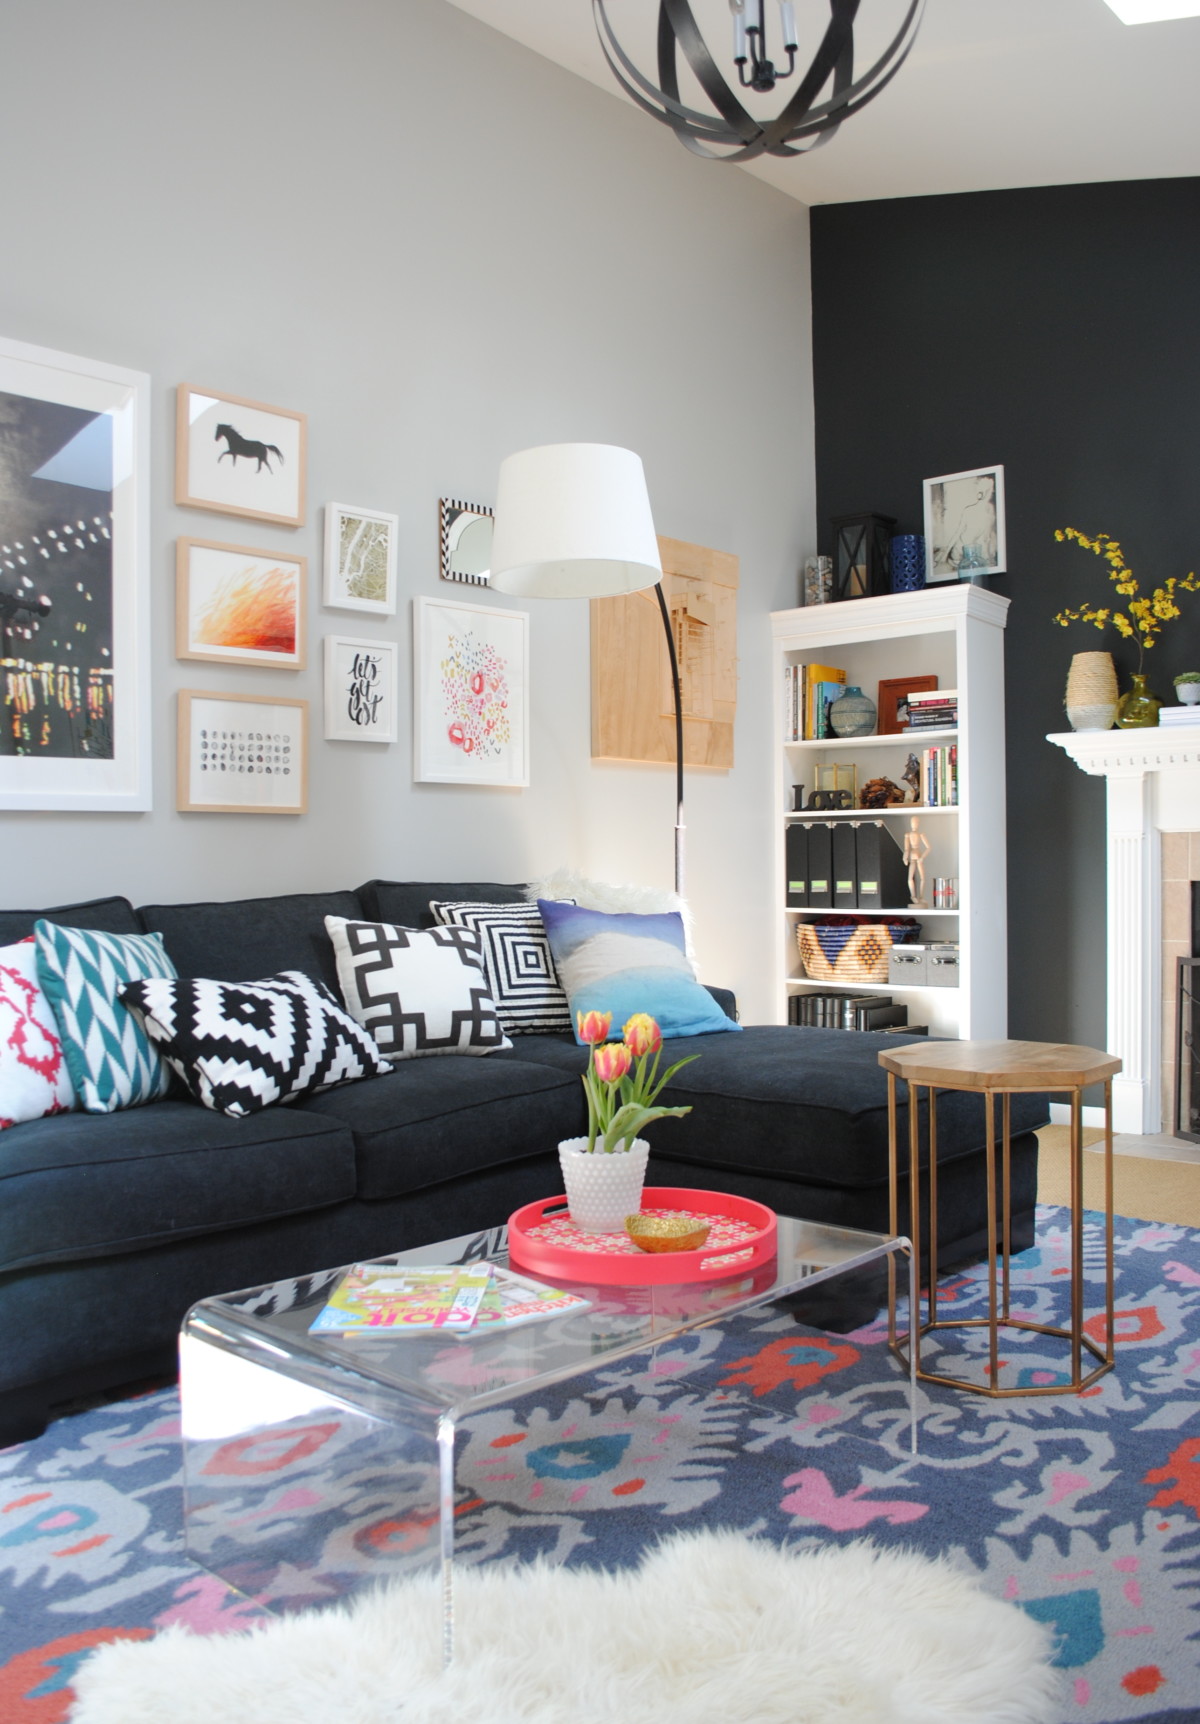
THE AFTER [PROGRESS]
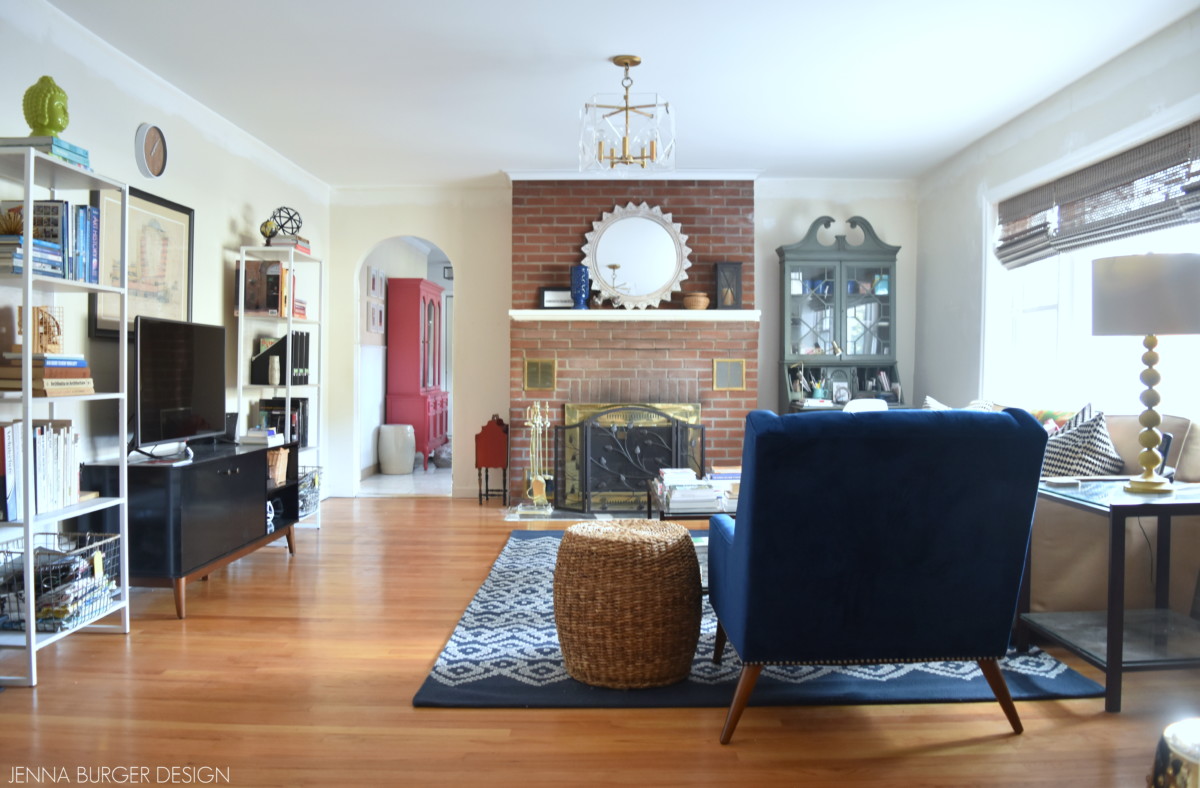
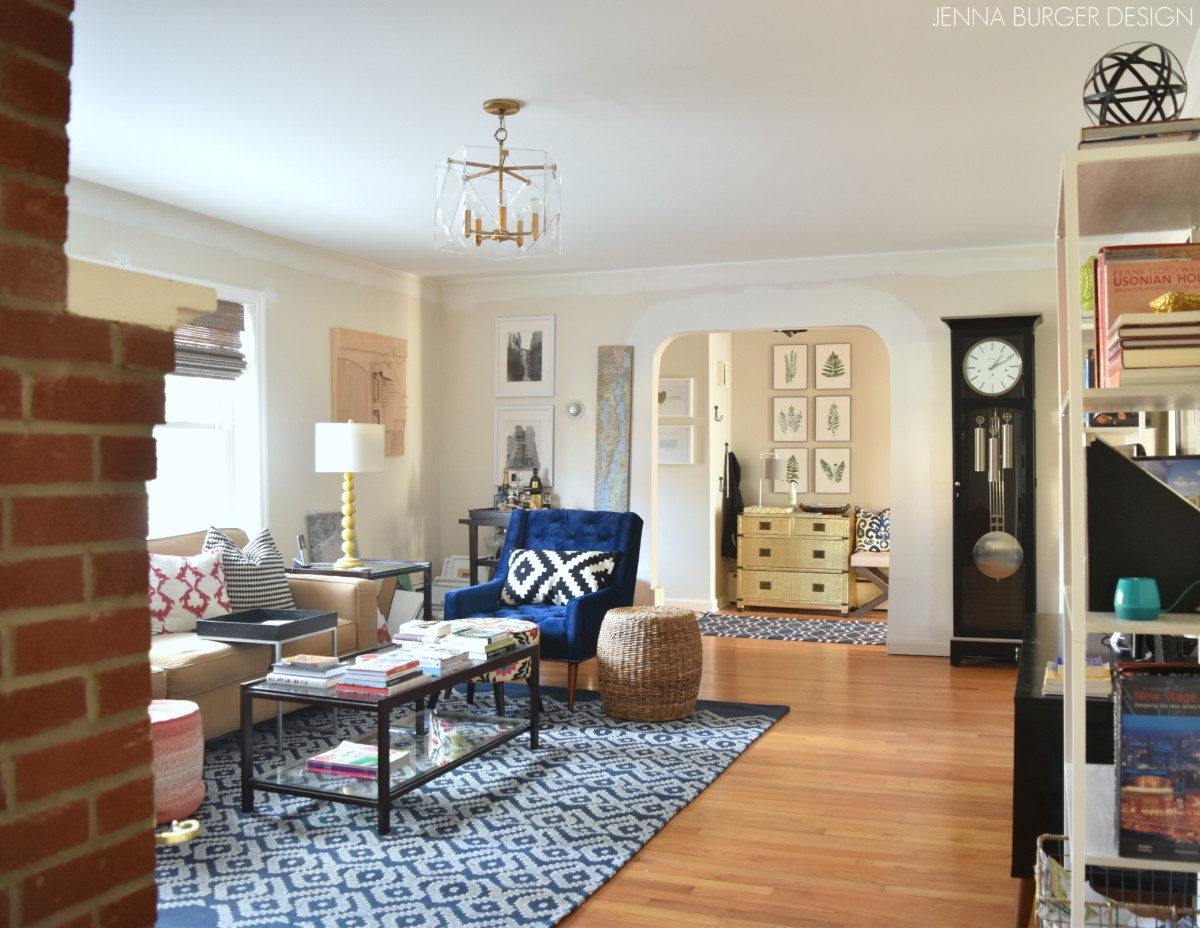
The bones of the space are still here, but it’s been updated to reflect our style and personality.

I chose to position the sofa (the Cameron sofa from Crate and Barrel that we purchased 15 years ago + still love) in front of the window, which has a straight on view of the TV and an equal easy view of the fireplace. I paired it with a metal coffee table that I actually changed a few years back with wood planks, but decided to change back with the original glass. It feels so fresh and new in this setting.
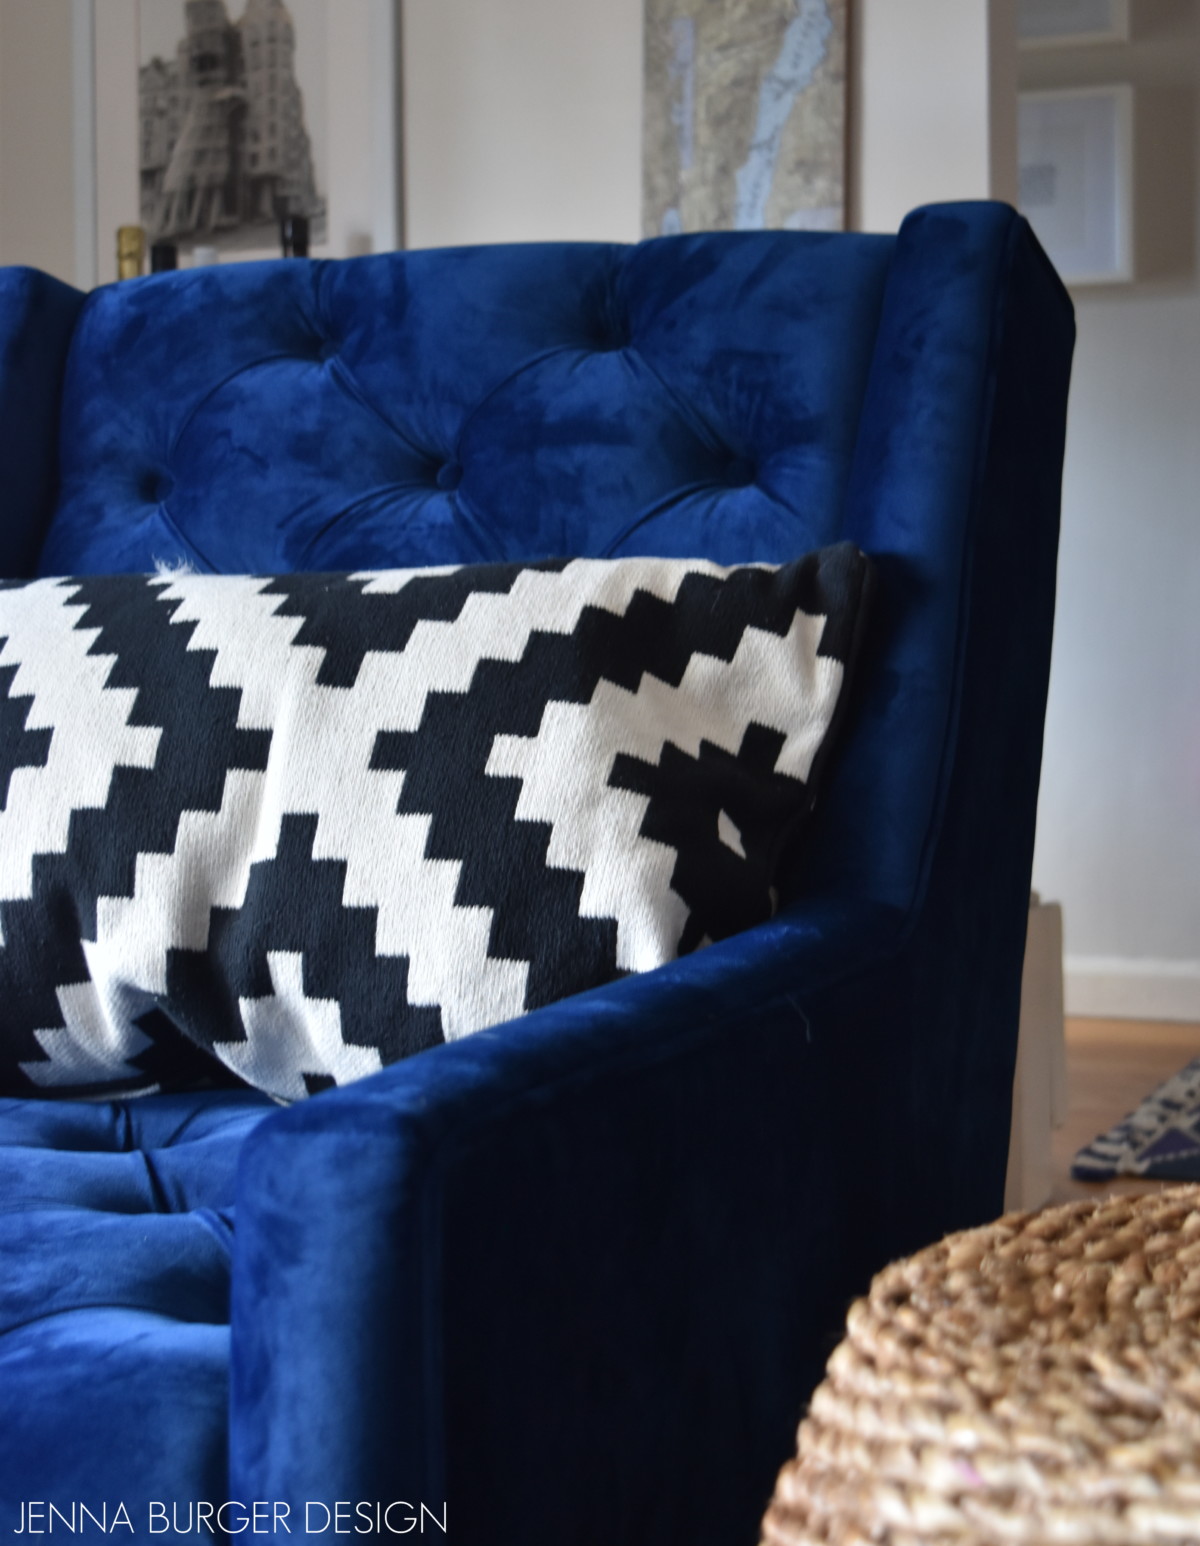
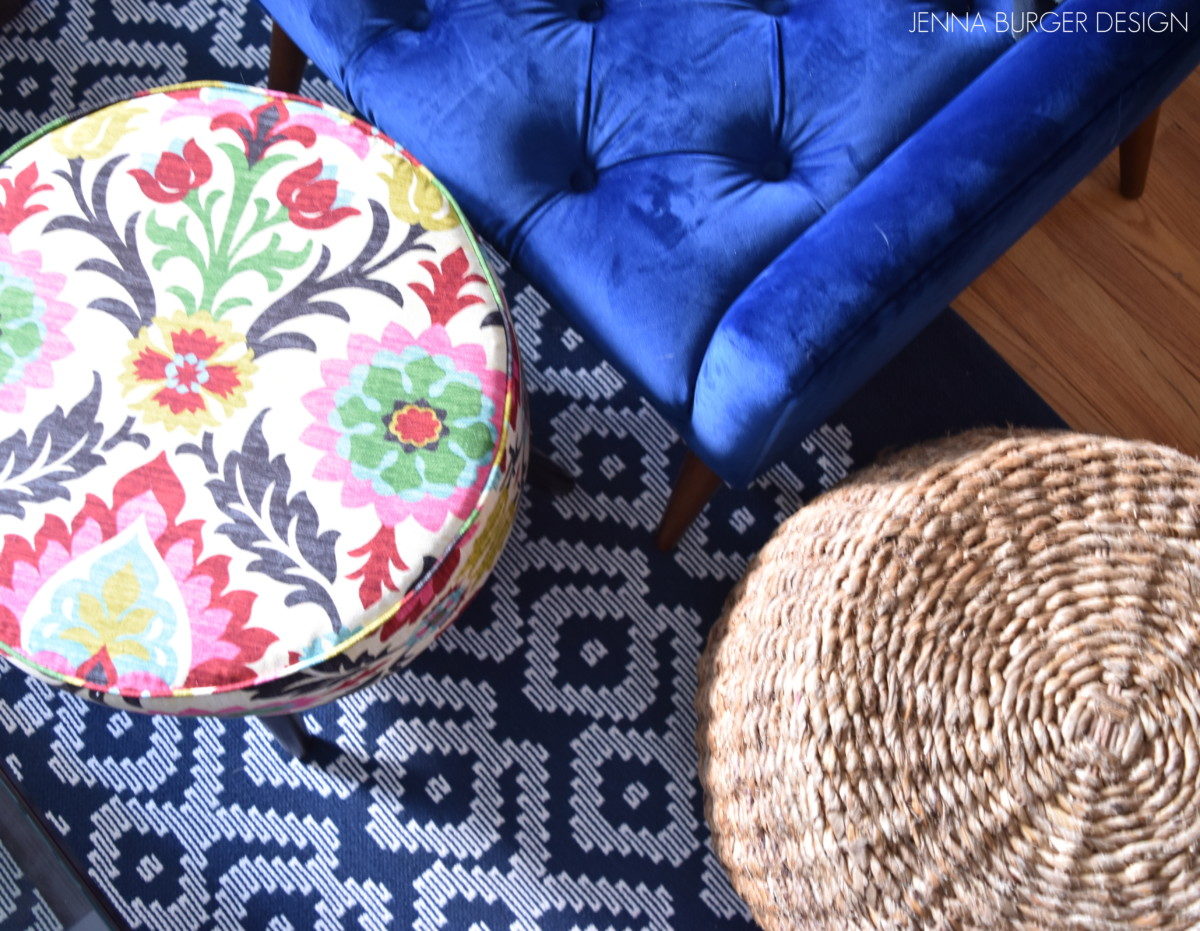
The velvet navy chair + graphic diamond rug are new purchases – both of which I am obsessed with. I adored the navy colored room in our last house and it worked well because so much light filtered into the space. This current home is different and I know the walls will have to be a lighter hue (color still to be determined), so I decided to bring in the deep navy color in a different way through layers and accessories.
This chair is a dream. It is SO luxurious. I found it on Wayfair, but it was out of stock – bummer. Then with some sourcing, I found it at bed, bath, and beyond, which I used a 20% coupon to purchase it with – score!
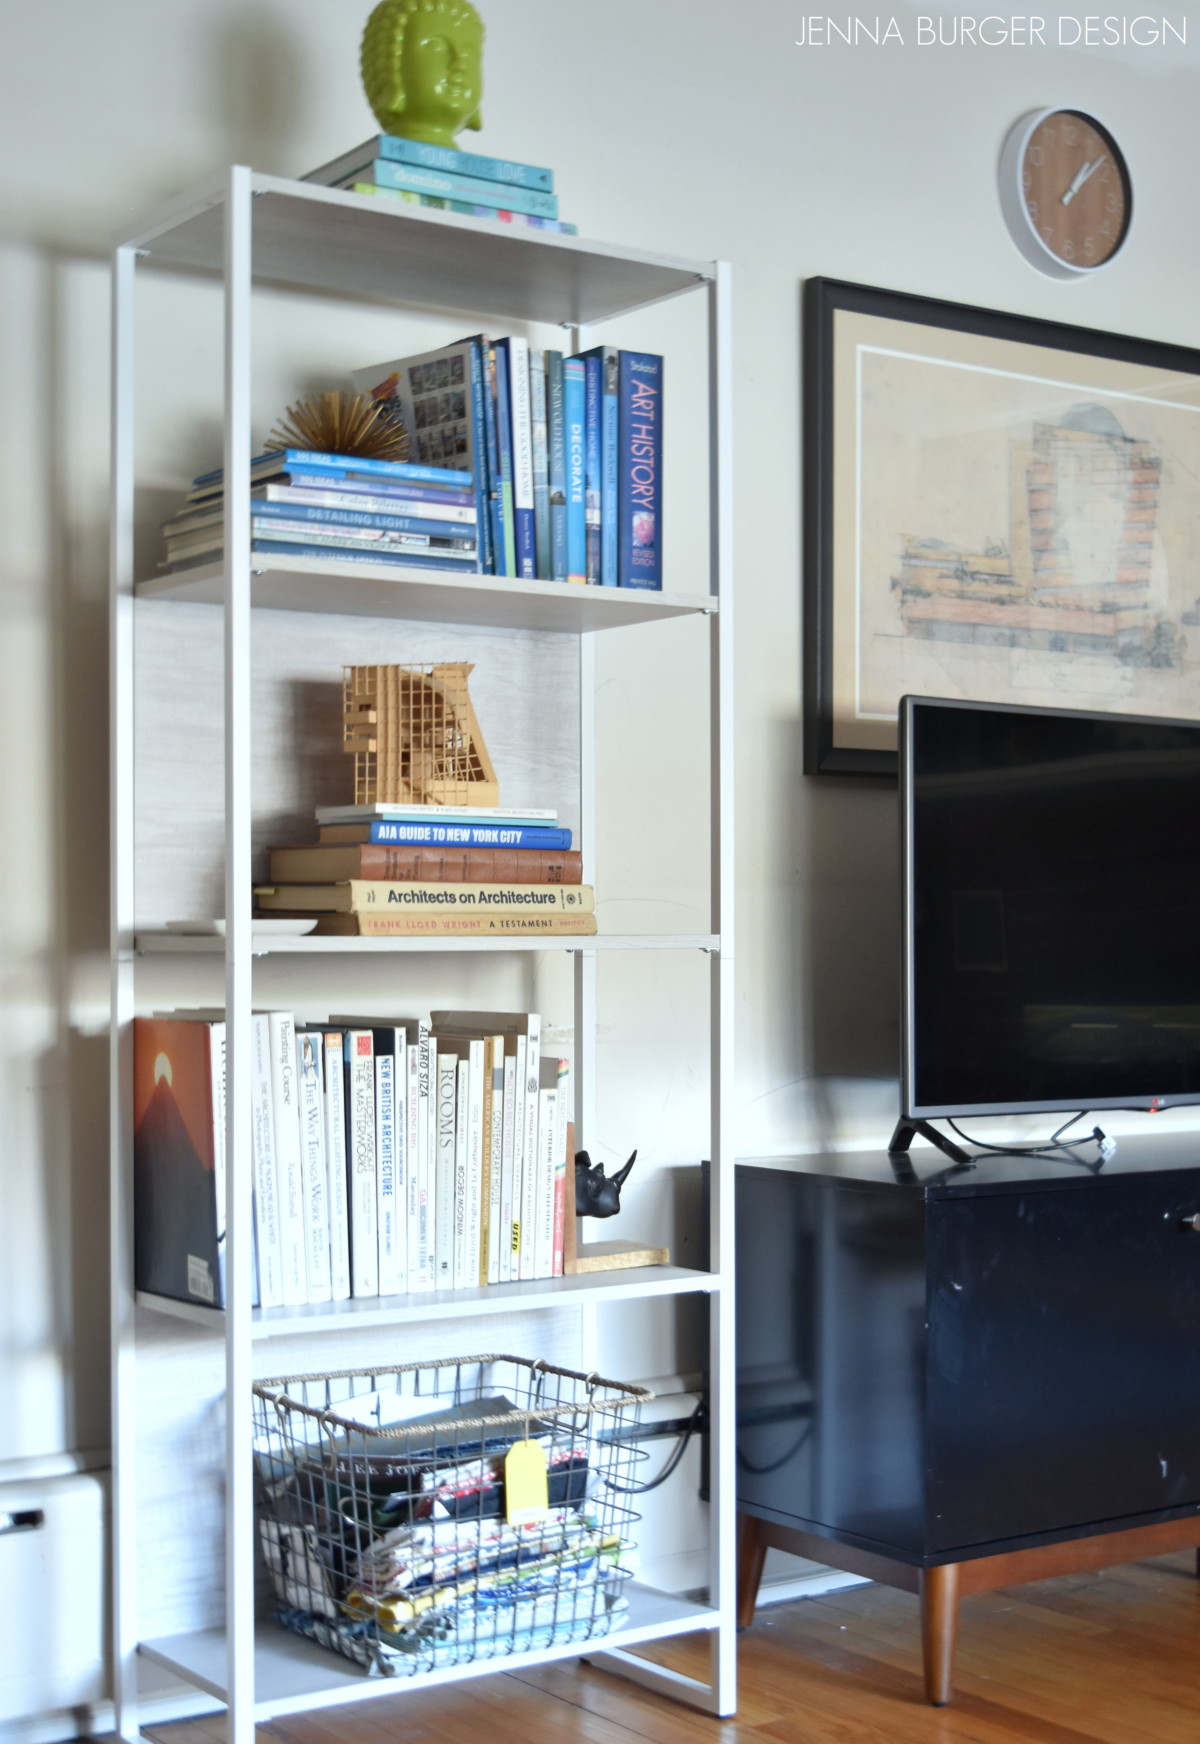
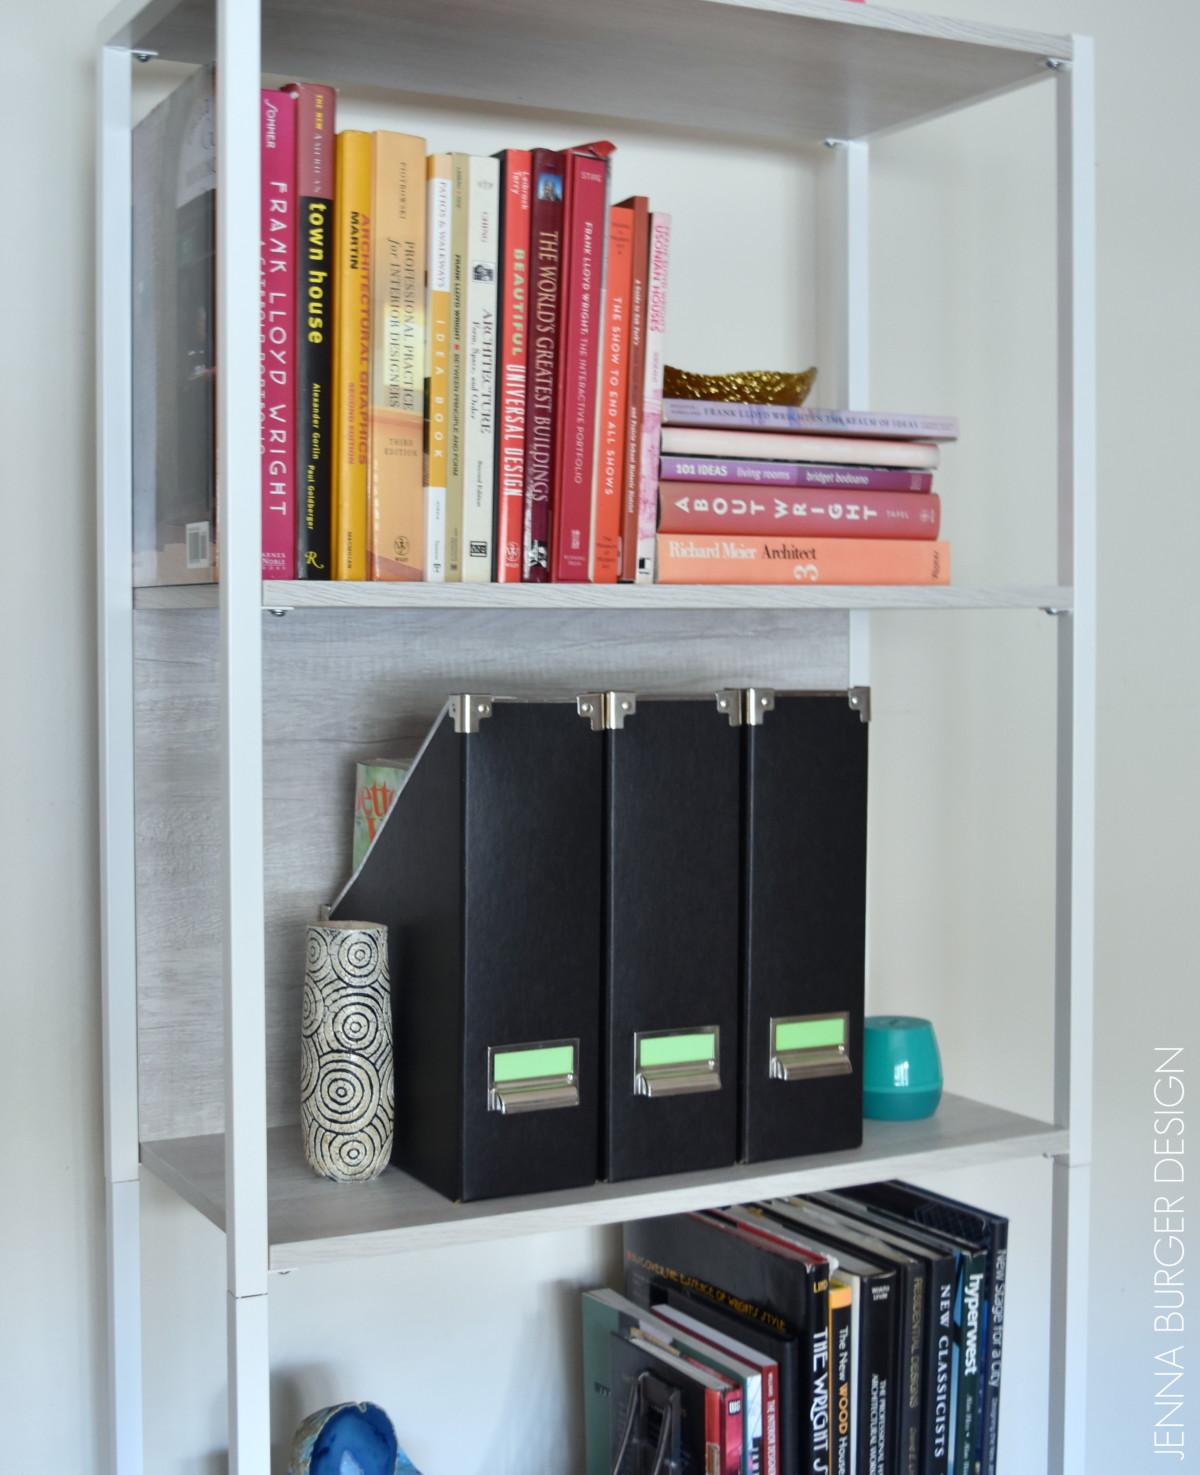
On the other side of the room is a large open wall so to add height + drama, I chose these new bookcases in white metal + light wood and paired it with a contrasting media cabinet in a black lacquer finish with hints of brown stained wood on the base.
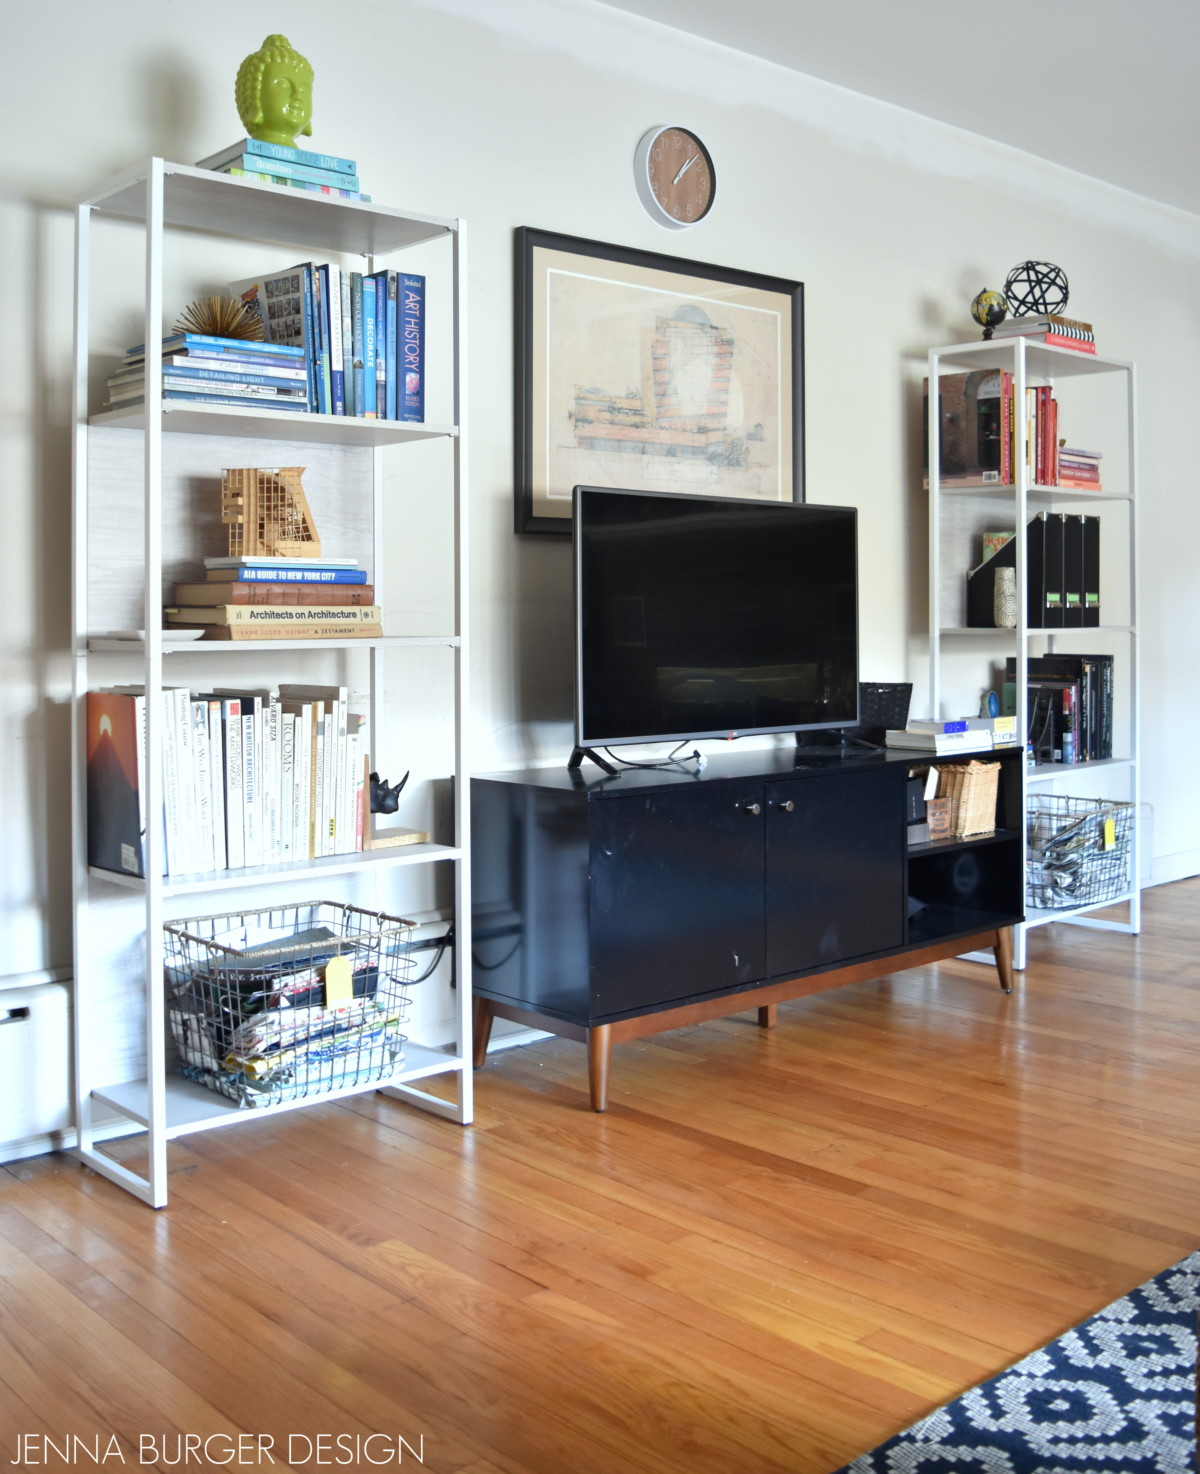
In this new home, we were desperate for shelving as we left behind two built-ins that flanked the fireplace + the two large bookcases in another room. We have many books + accessories, a.k.a “stuff”, and need space for them ALL!
TWEAKS TO THE ROOM
> Just a couple of days ago the TV stand arrived, yet I had already hung the picture above (a line drawing of the Guggenheim Museum by Frank Lloyd Wright), which now needs to be moved up slightly so it’s not overlapping.
> Pictures need to be added to either side of the bookcases.
> I feel the rug needs to be pulled out more from the sofa so there isn’t as much wood floor exposure in front of the media cabinet.
> Paint the walls of the room a light color
> Paint / stain the brick fireplace a black / deep charcoal hue. With the light paint on the walls (soon to be), a deep contrasting color like the black wall in our previous home will really bring beautiful depth to this room. >>> Check our my favorite black paint colors
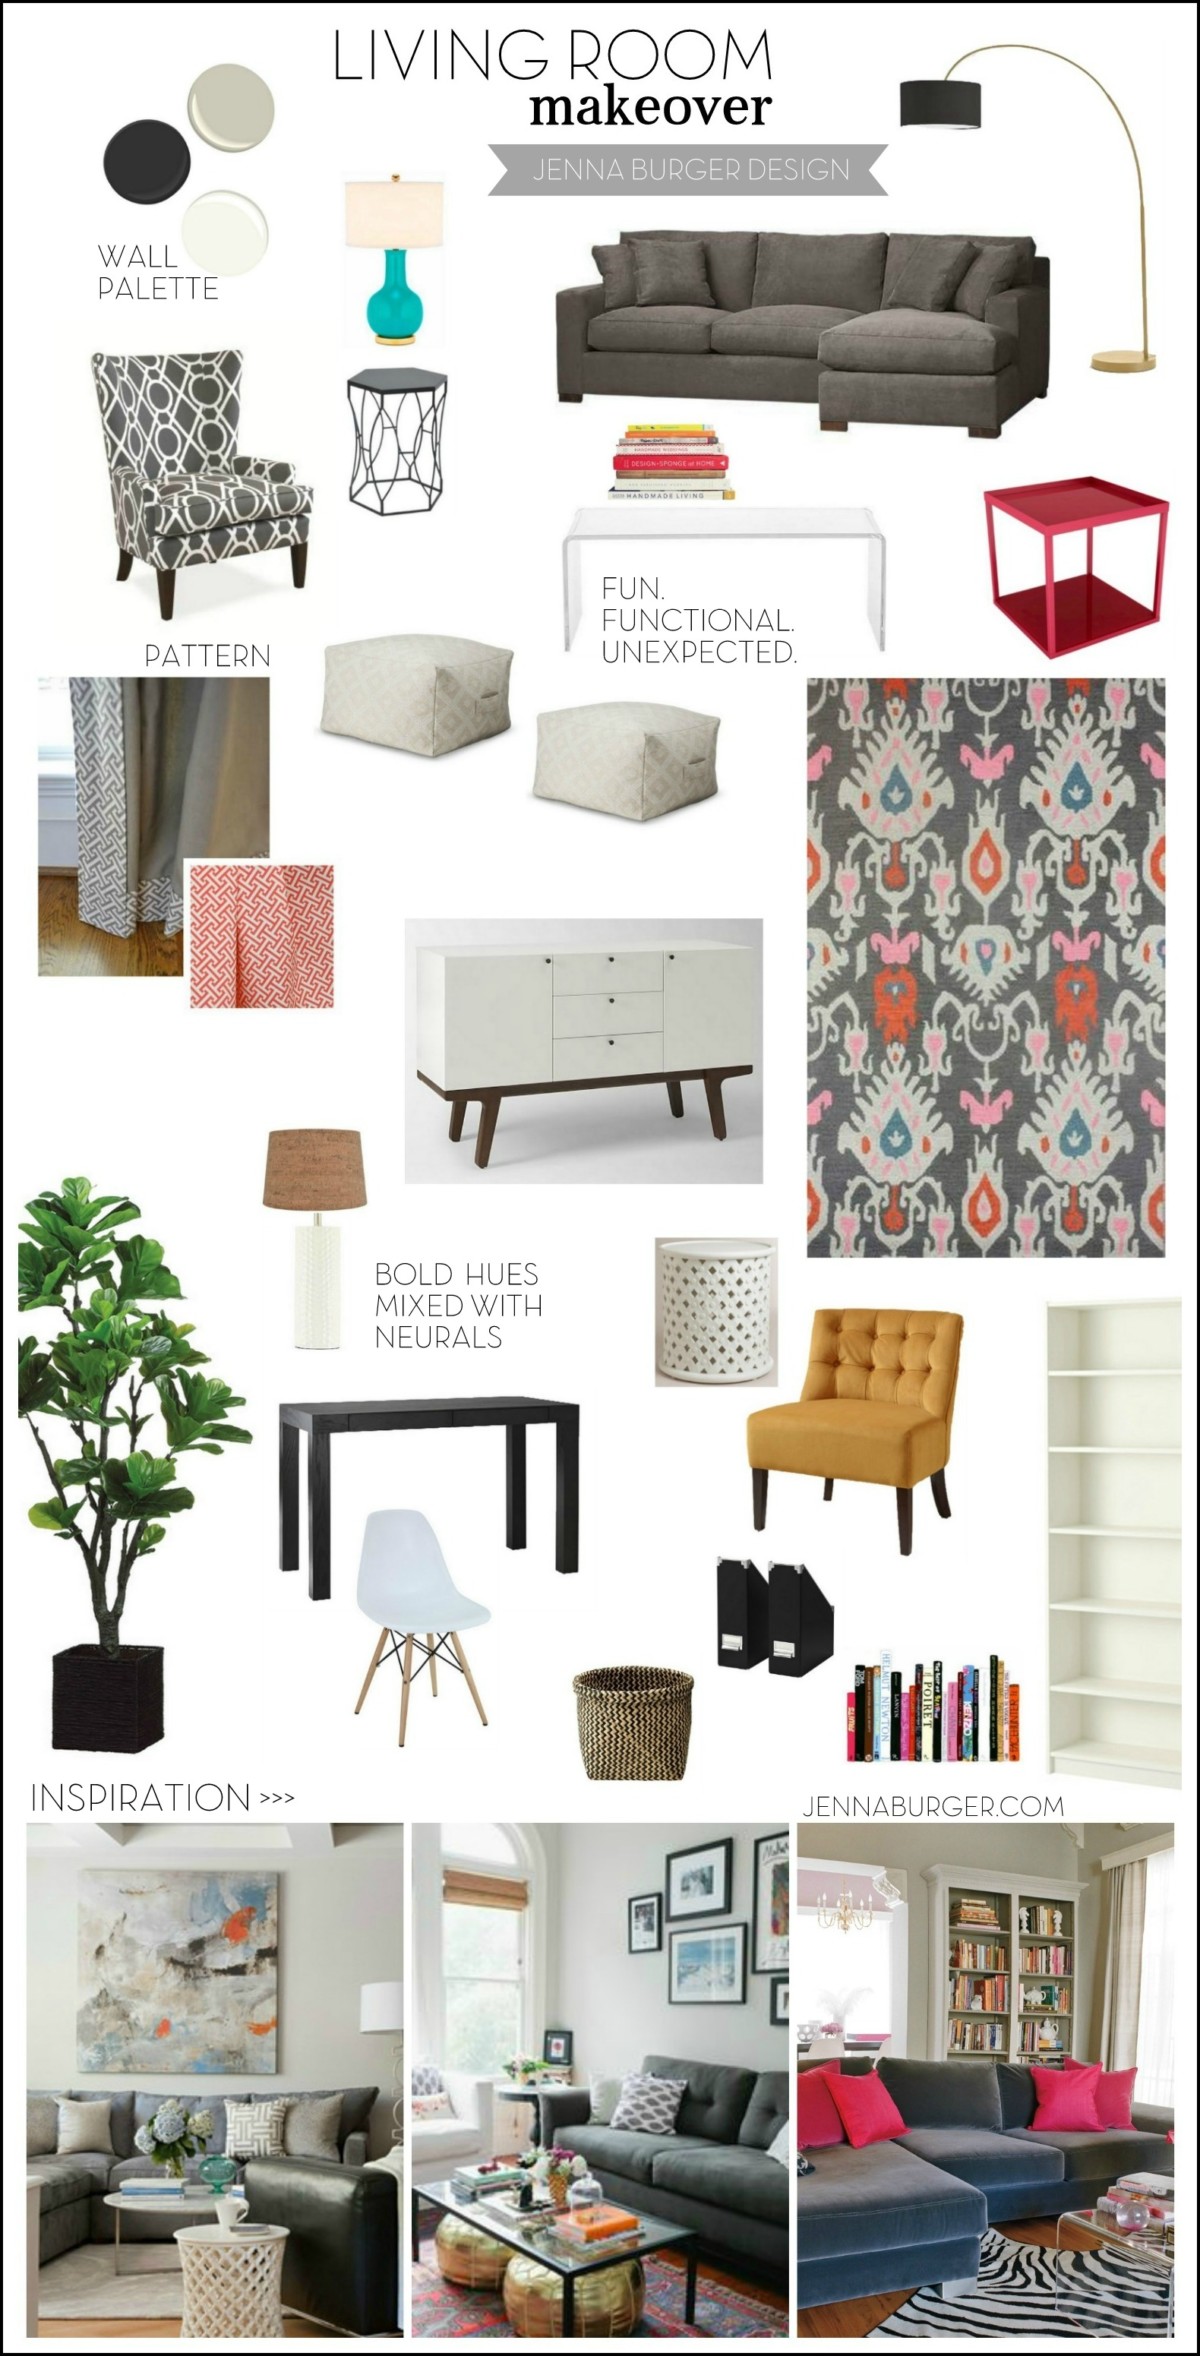
INSPIRATION
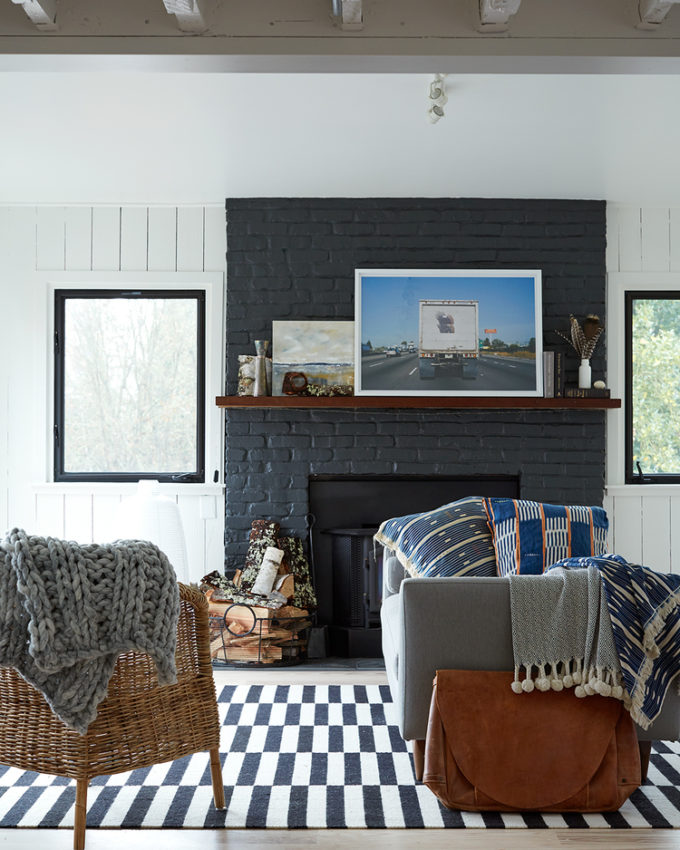
Photo Credit: Allison Bloom of Dehn Bloom
Wouldn’t the fireplace come alive in a dark hue?
Before I wrap up this progress tour, we have to talk about the new lucite light fixture.
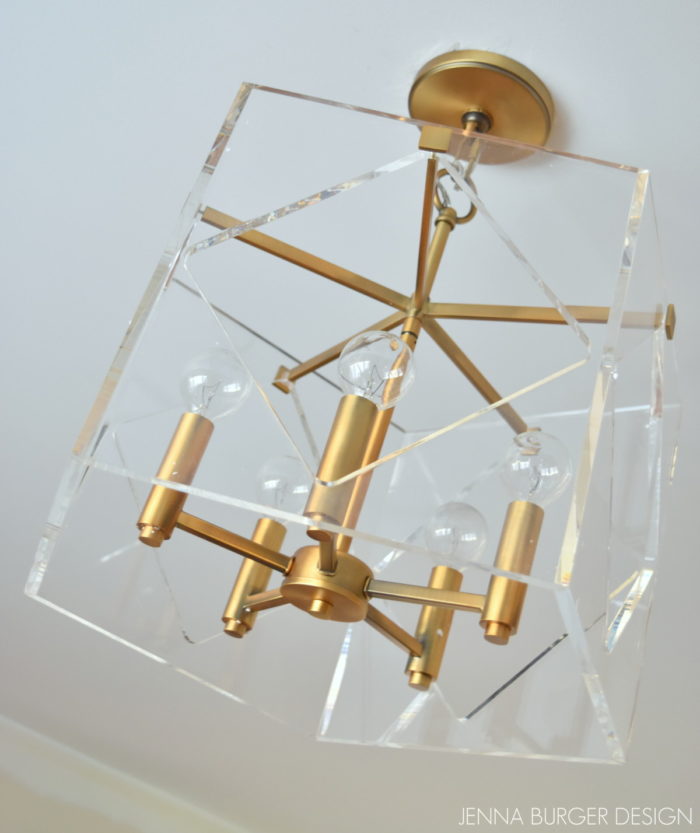
It’s another new addition to the room and it’s amazing. This lovely lucite light was love at first sight, but it took me a while to make the plunge and buy it. I absolutely was stopped in my tracks when I initially saw it, but I thought it would be too ‘glam’ or over the top for the room. After some thought and then seeing a similar fixture for 4x the cost, I had to get it. Once it was installed, I just about died!
RECAP
Another room almost complete.
From this…
To this…

From this…
To this…
More room updates on our brick ranch fixer upper coming soon.