
Month: December 2017

Kitchen: Creative Vision Board

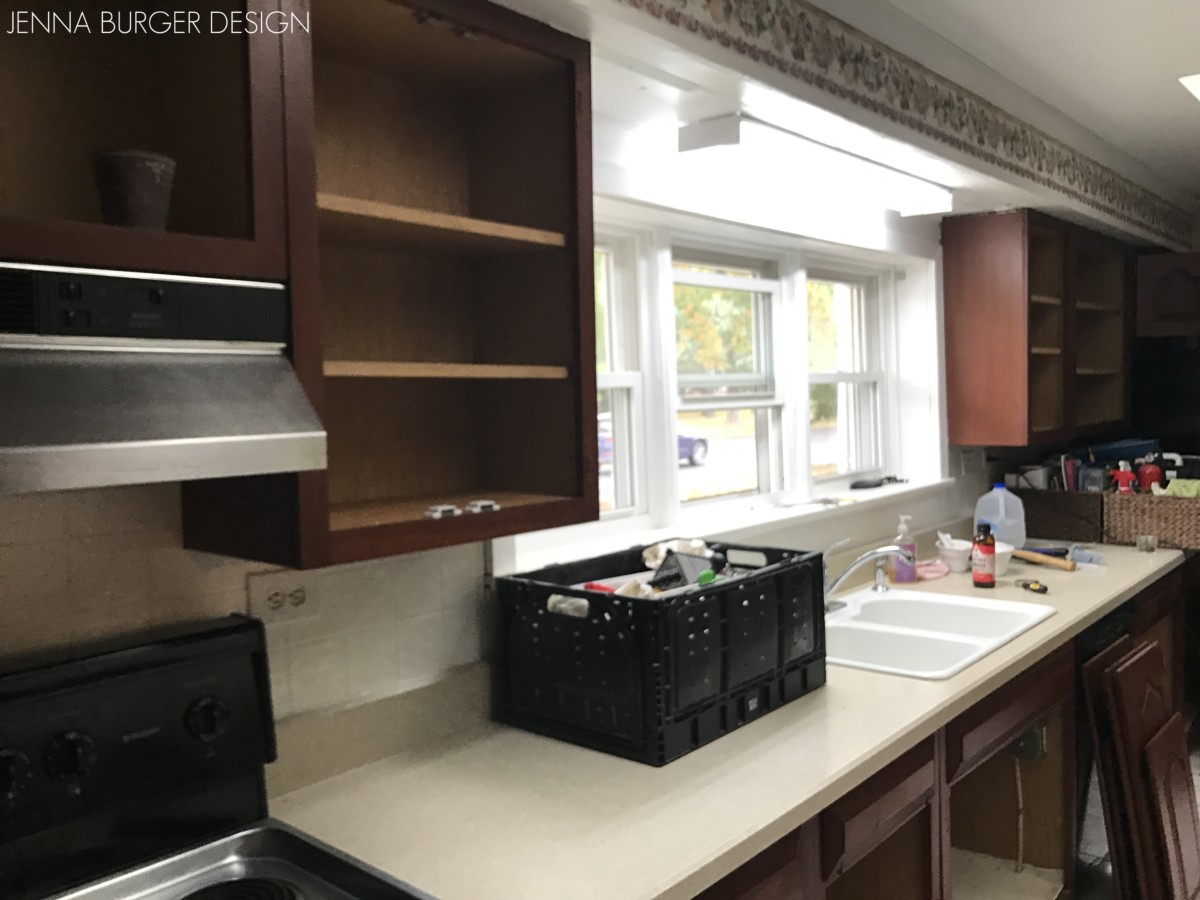
Before posting about the next steps of the DIY kitchen remodel for our brick ranch fixer upper, I want to share the design direction for the space. Much of the kitchen is staying the same (the floors, wall wainscotting and the layout), but with some budget-friendly upgrades like paint, hardware, and lighting, I hope to make this space feel fresh, updated, and our own.

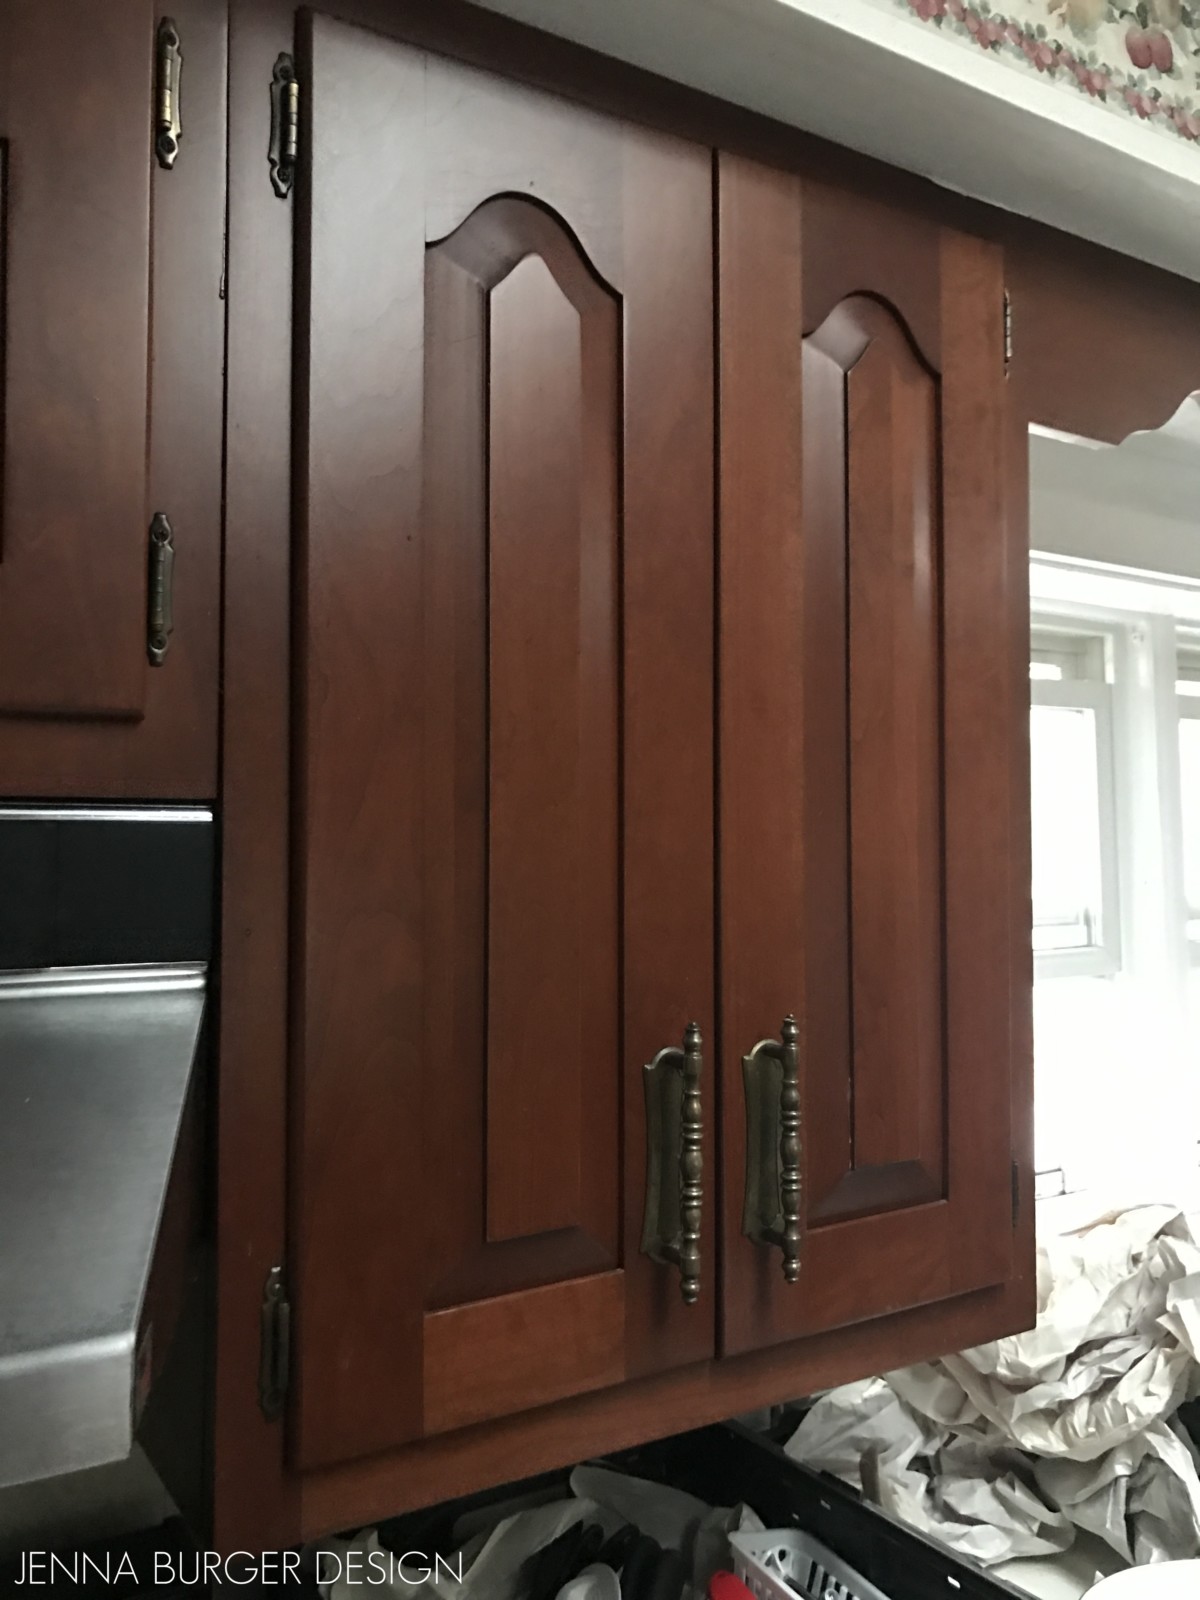
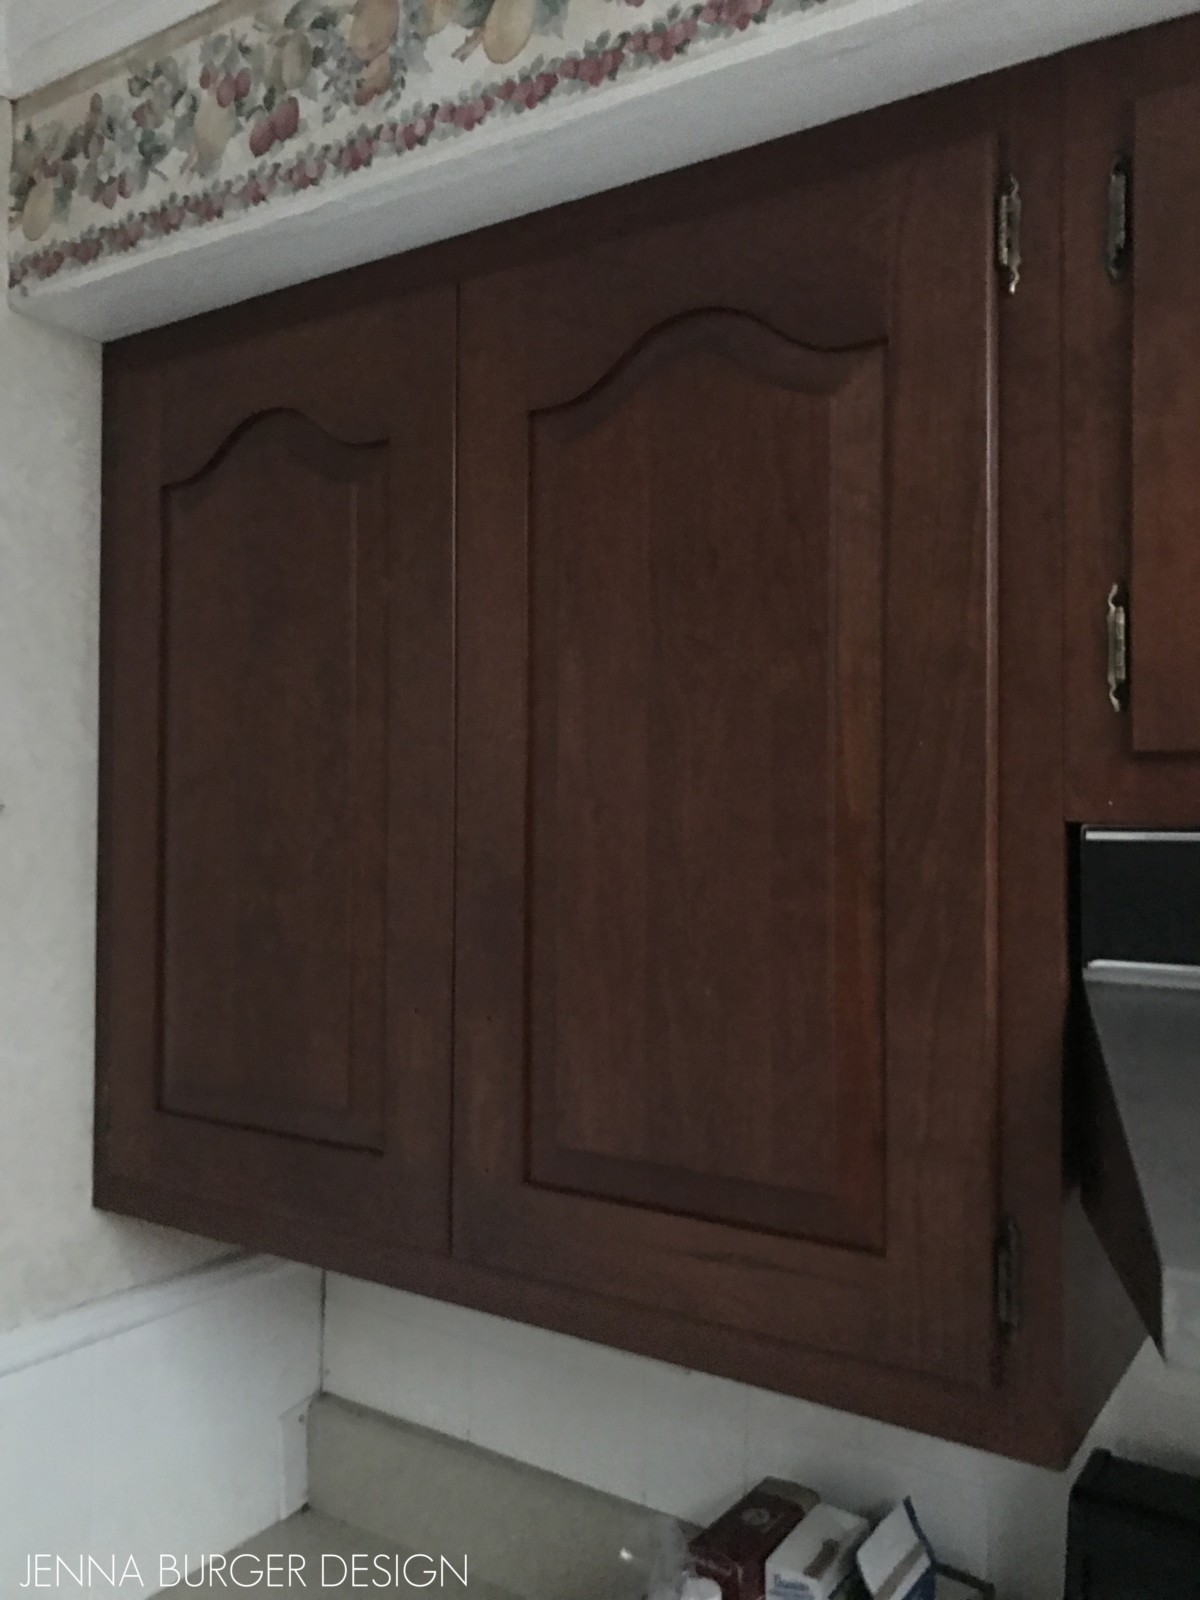
As I shared last week, the cabinets were a deep stained cherry finish when we bought the fixer upper.  When I first set foot into the space during the open house, I had a strong feeling for what color I wanted to paint the cabinets…  Navy was screaming to me.

Yes, a deep blue hue is dark, but the space is large and the existing floor (which is remaining) is white ceramic with a light gray veining.  The space also has white wainscotting half way up the walls, which will remain.  With all these light / white colors, I felt a darker hue would work to give balance.  Another reason why navy seemed perfect is that my beloved raspberry-colored china cabinet that I found on Craiglslist was also planned for the space.  Raspberry and navy work so well together.

Once the doors + drawers were removed from the face frames to prep them for paint, I created this vision board to make sure I was on the right design path.
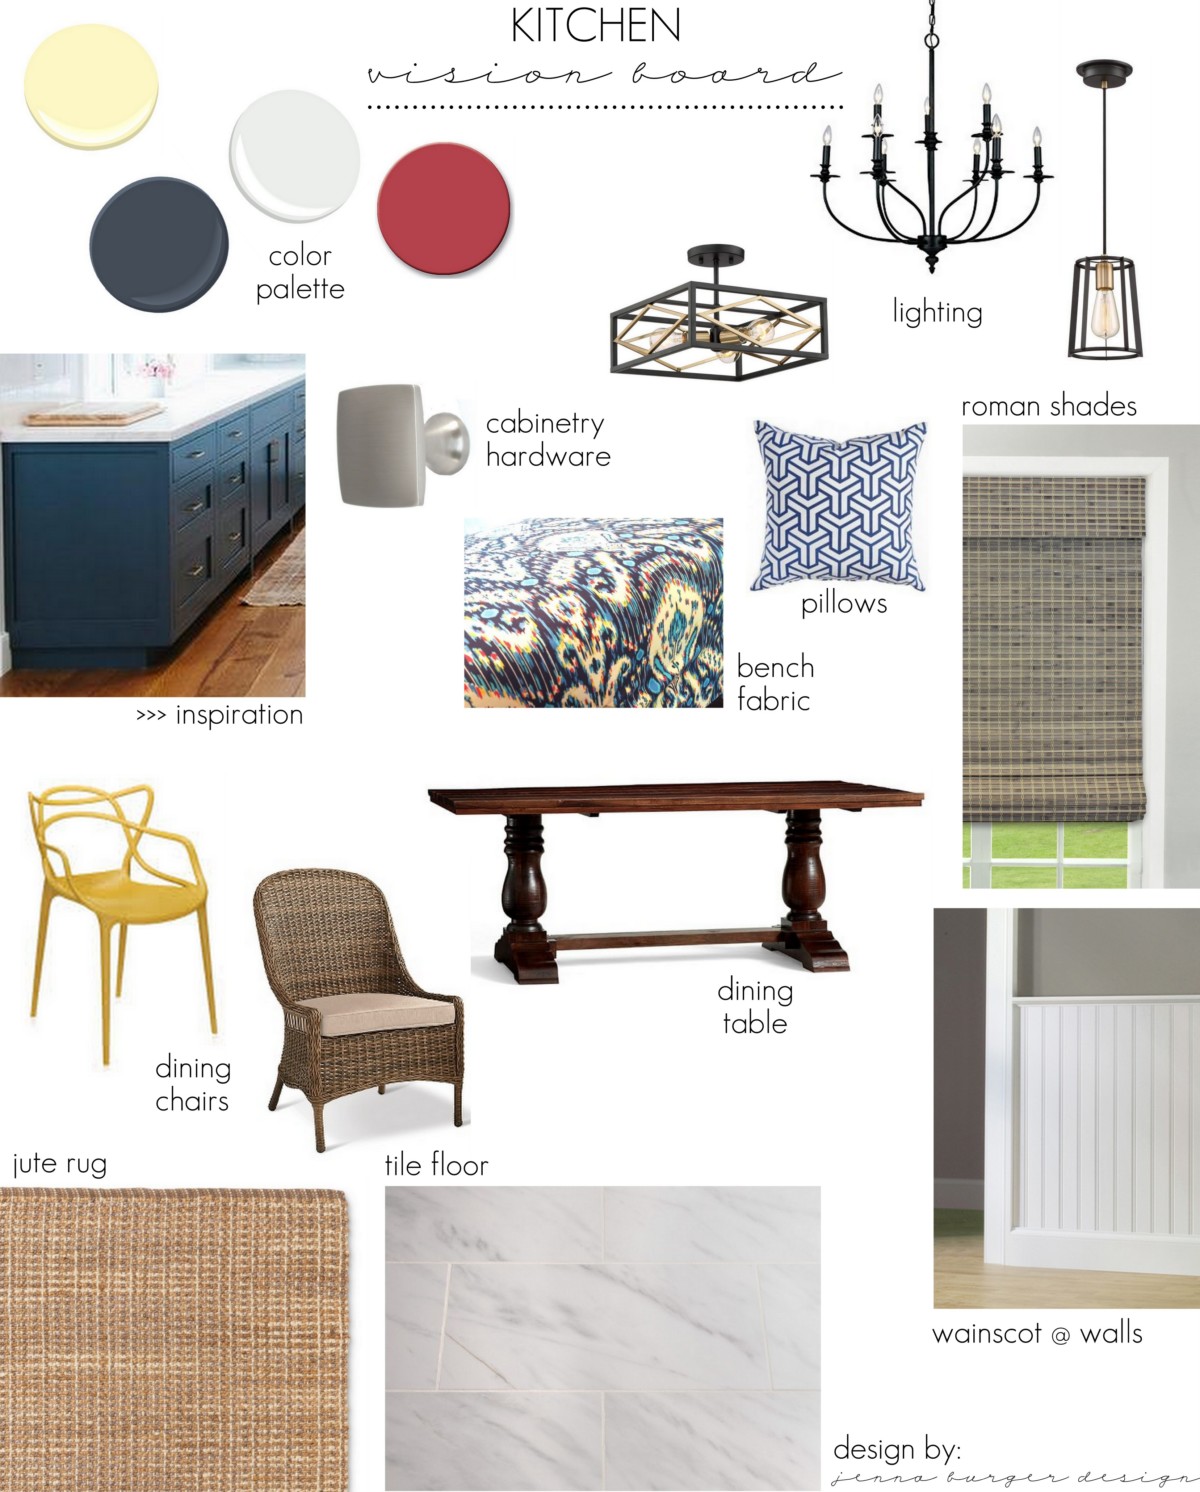
PAINT COLORS:
Yellow – Sherwin Williams White Citrus
Navy – Valspar Rouge Blue
Raspberry – Valspar Berry Blush
White – Valspar Ultra White

LIGHTING: Chandelier (similar), Semi-Flush light, Pendant

CABINET HARDWARE: Brushed square knob

ROMAN SHADE: Cordless woven driftwood shade

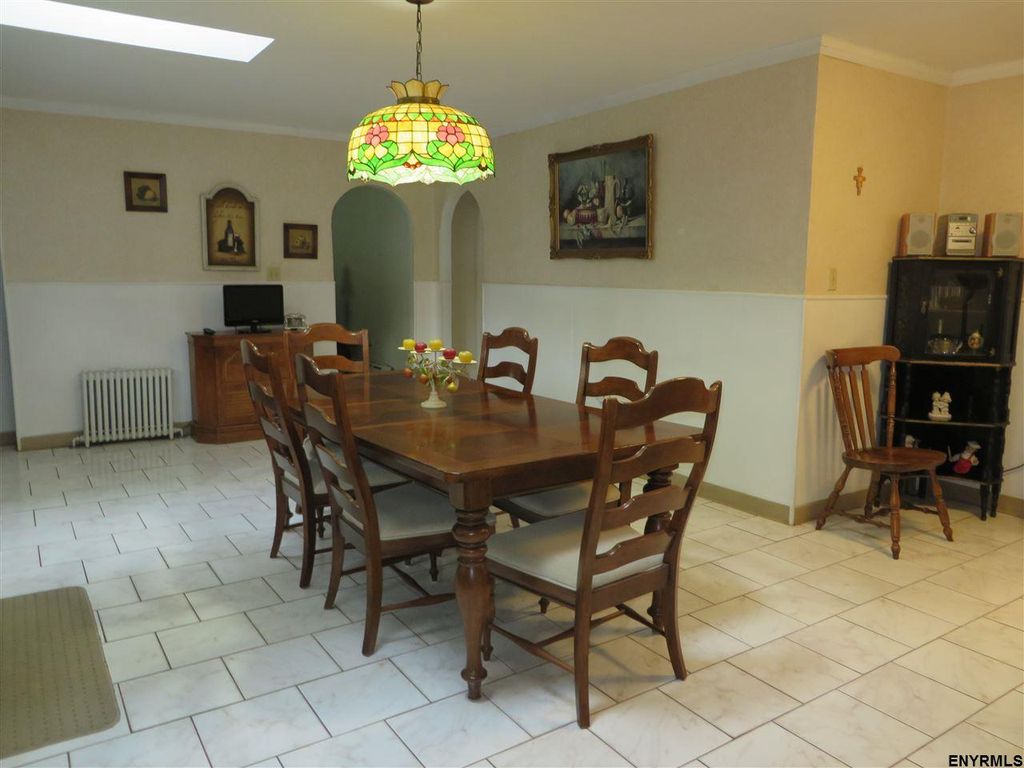
DINING TABLE: Trestle table

CHAIRS: Yellow Kartell Chairs, Wicker Chairs

JUTE RUG: Natural Jute Rug

Many of the elements in the vision board were pieces we already owned and came with us from our previous home.  Those items include the dining table, the yellow Kartel chairs, the bench with ikat fabric, the wicker dining chairs, the Caitlin Wilson pillows, and the chandelier.  New items that will be layered into the space are the cabinetry hardware, a semi-flush fixture, roman shades, a jute rug for under the dining table, and of course the beautiful new navy hue on the cabinets.

Painting the cabinets is coming up next…

DISCLAIMER: THIS KITCHEN REMODEL IS A COLLABORATION WITH LOWE’S.  ALL OPINIONS + SELECTIONS ARE MY OWN.

Kitchen: Prepping for Paint

It’s kinda crazy, but it’s been 10 weeks since we closed on our new-to-us home and just over a month since we moved in.  Due to budget and timing, we had no plans to remodel the kitchen.  The space is very large and duals as our kitchen + dining room.  From the day we stepped foot into the house, the kitchen space really through me for a loop and I was unsure of how it would function and how we would use it best.  I want to live in the space for a while to know what works and what doesn’t.  That being said, I couldn’t leave it as is.  A makeover was a must.

In our last house, it was a year before we took the plunge to tackle a DIY kitchen remodel with paint on the cabinets, new hardware, appliances, etc.  The result was pretty awesome and within a few years, it ended up being featured in Better Homes and Gardens Kitchen + Bath Makeovers magazine – how cool?!?

For our new home, I didn’t want to wait.  While we had a month of construction, I took on the task of making over the kitchen on my own.  It was quite the endeavour (since we weren’t living in the house AND there were boxes everywhere), but it was SO worth the crazy, hectic moments to get the beautiful, updated result for little cost.

Let’s take a step back and look at what the kitchen looked like before we moved in…

BEFORE

When we closed on the house, most of our boxes were stored in the garage and in the kitchen since it was the only space not being renovated.  From our mattresses, to sofas, to chairs, to our dining room set, the kitchen was packed from floor-to-ceiling, wall-to-wall.  Thankfully there was a 3-foot path in front of the cabinets for me to work and makeover our kitchen…

I started out by removing all the dated, ornate brass hardware from the stained cabinets. I ditched the pulls, but kept the hinges to possibly reuse (after spray paint).

Removing the hardware made a huge difference on how the cabinets looked.

The cabinets are made by Woodmode, which is a good cabinetry company and I have used before for Client projects.  They were stained a deep cherry hue, which I didn’t love, but they are made well and are actual wood cabinets (versus a cheap composite).

Once the hardware was removed, I labeled each cabinet using a sticker on the inside of the door, then detached the cabinet doors from the face frames.

I was blessed with a work space to use to paint the cabinets.  This was key to successfully painting 20+ cabinet doors and 6 large drawers.  I was able to spread out and work at my leisure to transform each piece.

Once the cabinets were in the shop, I started off by filling the holes from the hardware.  The hole separation from the previous hardware was an odd measurement and I couldn’t find any new hardware with the same center-to-center measurement.  I also wanted the updated, remodeled kitchen to be more modern and reflective of my style.  That being said, a simpler knob would be best.

I used this wood filler to fill the holes.

The doors were really dirty with layers of grease, grime, and gunk.  Once the wood filler dried, I sanded the overall face of the cabinets with my favorite orbital sander.  An orbital sander like this will save your countless hours and really sore arms – its a life changer and hands down, my most used tool!

Sanding the wood eliminated the top layer of finish (the sheen) and in some areas around the cabinet edges, the raw wood was exposed.  Once the holes were filled and smooth and the face of the cabinet doors + drawers felt clean, they were complete.

All ready for paint!

Before painting could begin, I had a lot of particle / dust build-up in the corners.  I first thought about using a wet rag, but I didn’t think it would get all the dust out.  The mister suggested using Flarp. Flarp? What the heck is that?!? I put him on the mission to find it and he did.  I think he got it at Walgreens.  Anyway, it was the answer to my prayers.


Flarp... the best trick to remove dust from cabinet corners

It’s sticky, but not messy.  It was perfect.  I clumped the Flarp into a ball, stuck it into the corner of the cabinets, then removed it.  Voila, the corner was dust-free.  Magic!

Check it out…

Prep is complete.  Next steps… Prime & Paint.

DISCLAIMER: THIS KITCHEN REMODEL IS A COLLABORATION WITH LOWE’S.  ALL OPINIONS + SELECTIONS ARE MY OWN.