Tutorial: How to Hang Wallpaper
For the past few weeks, I’ve been sharing my many recent basement updates with you and today I’ve got another one….
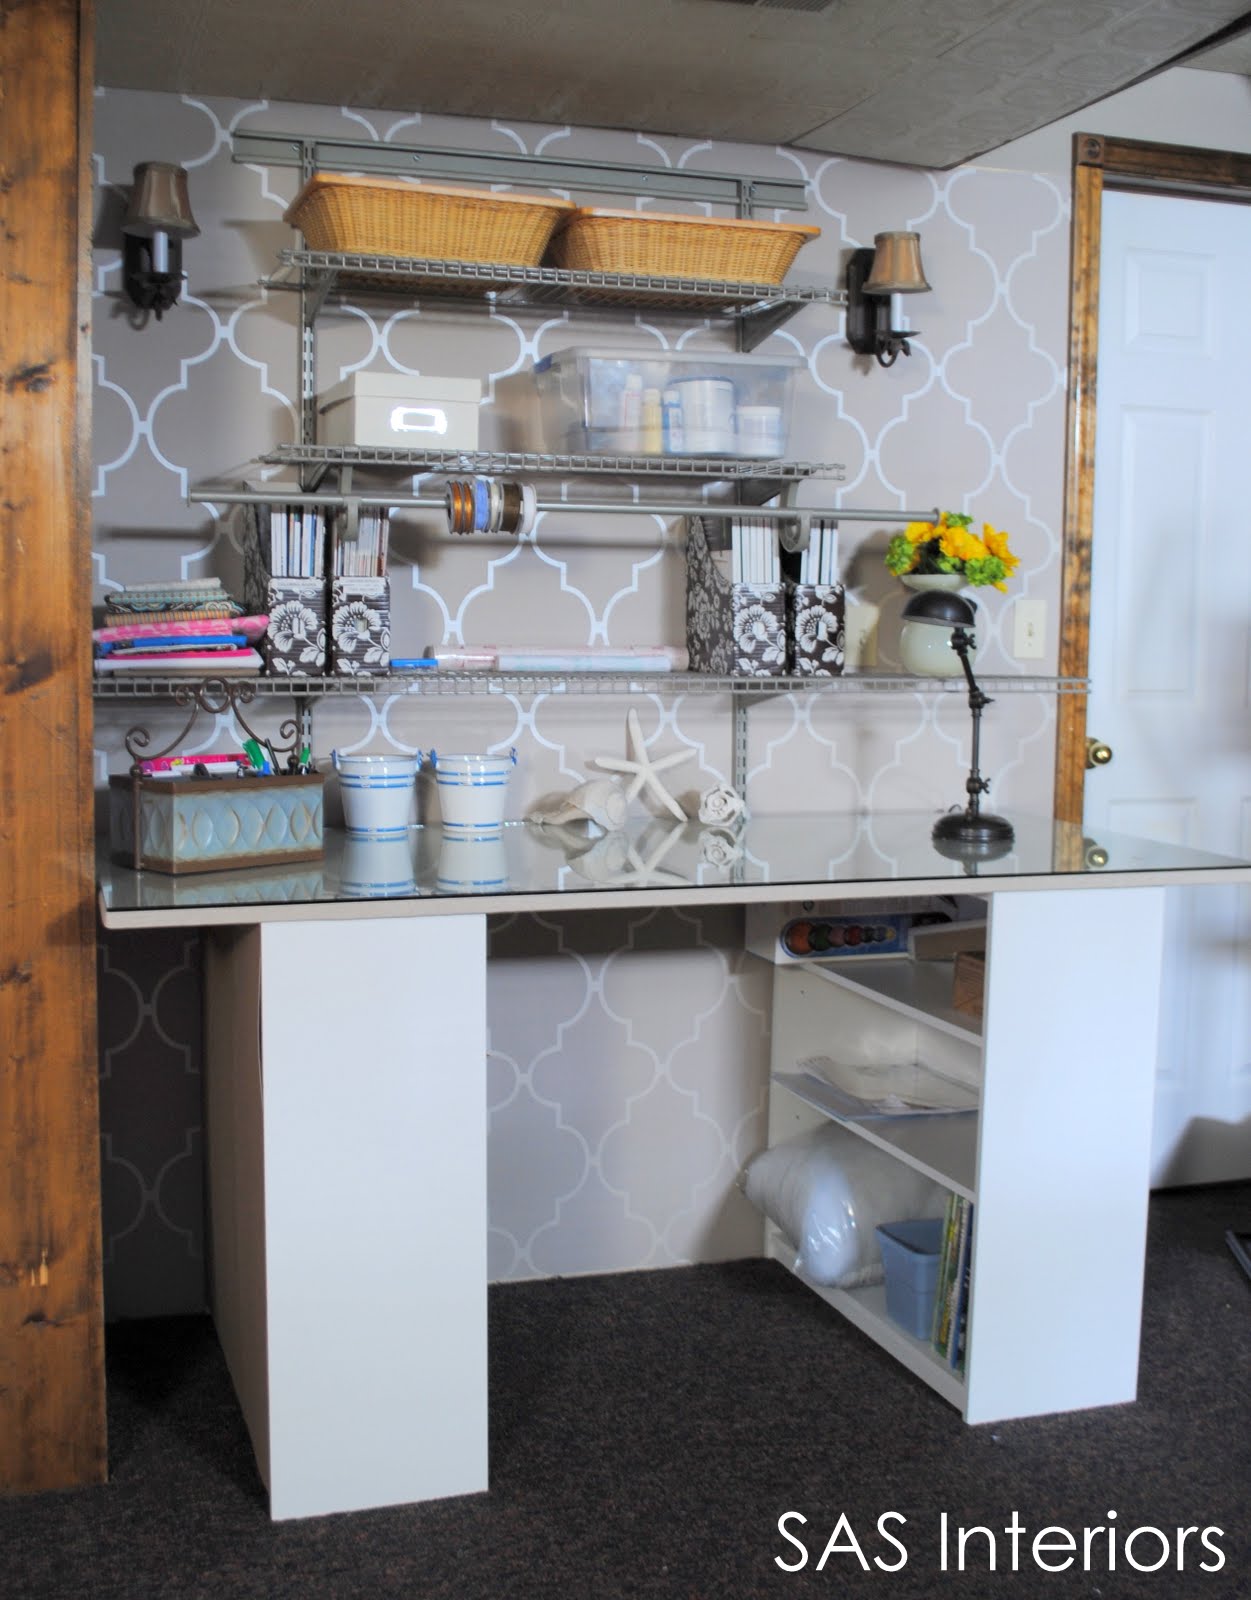
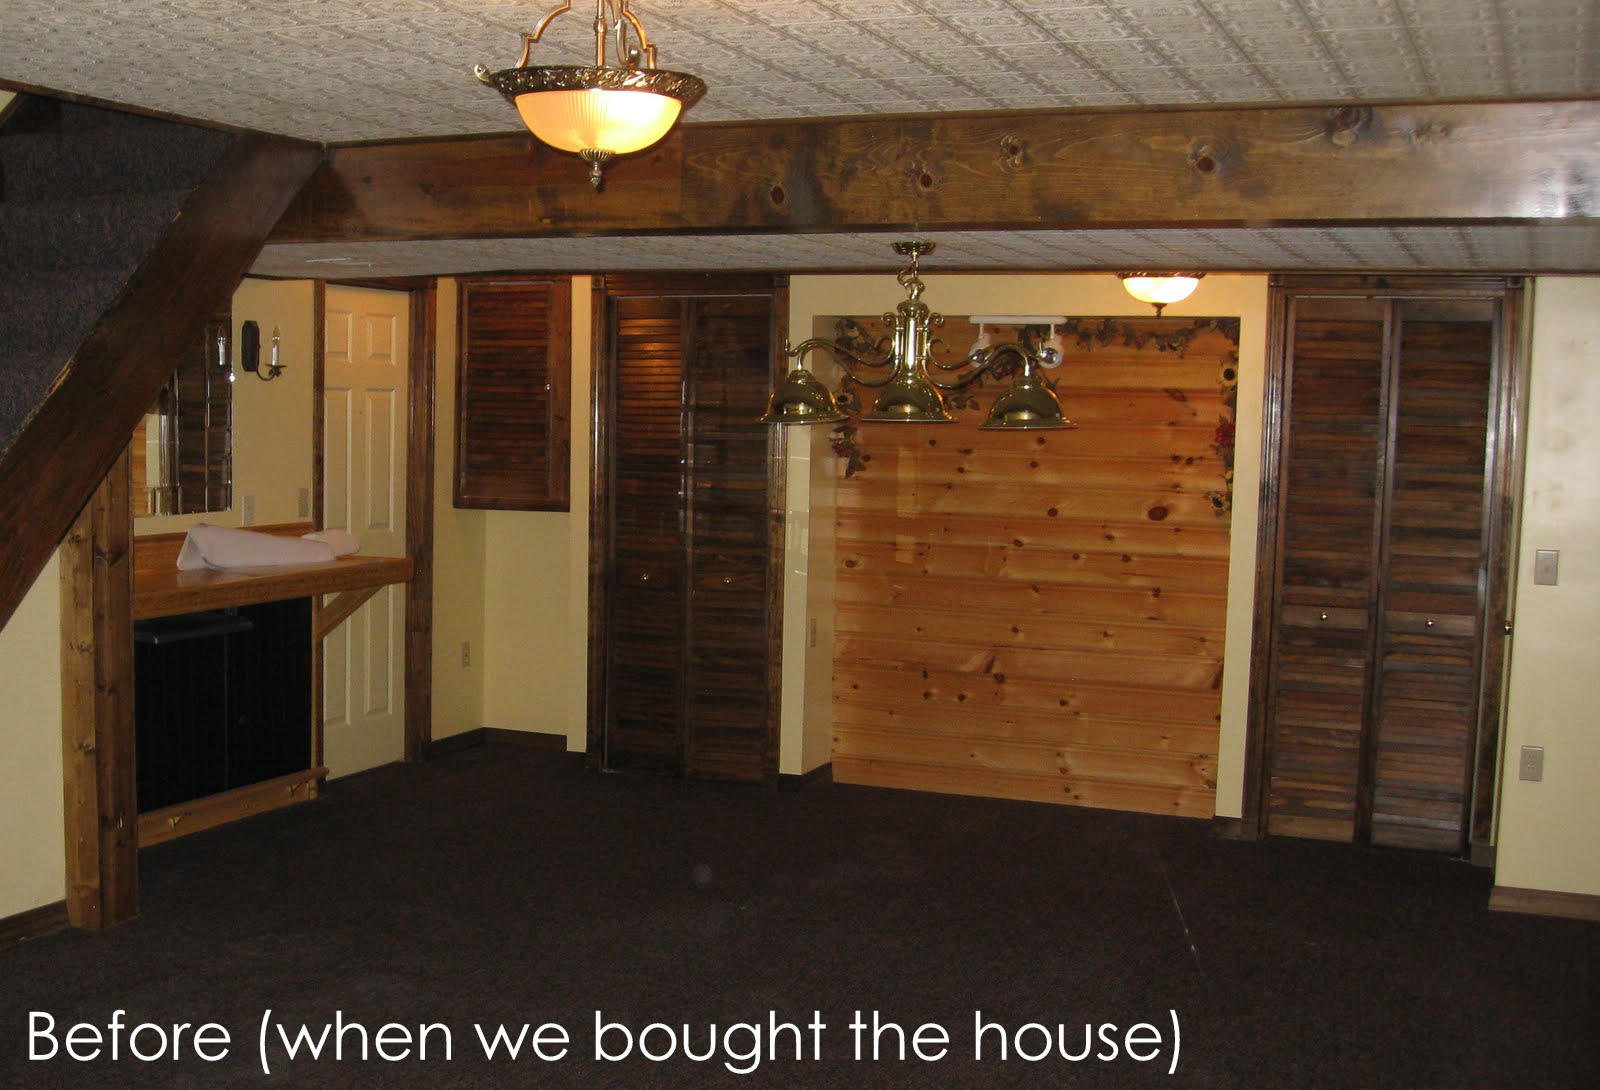
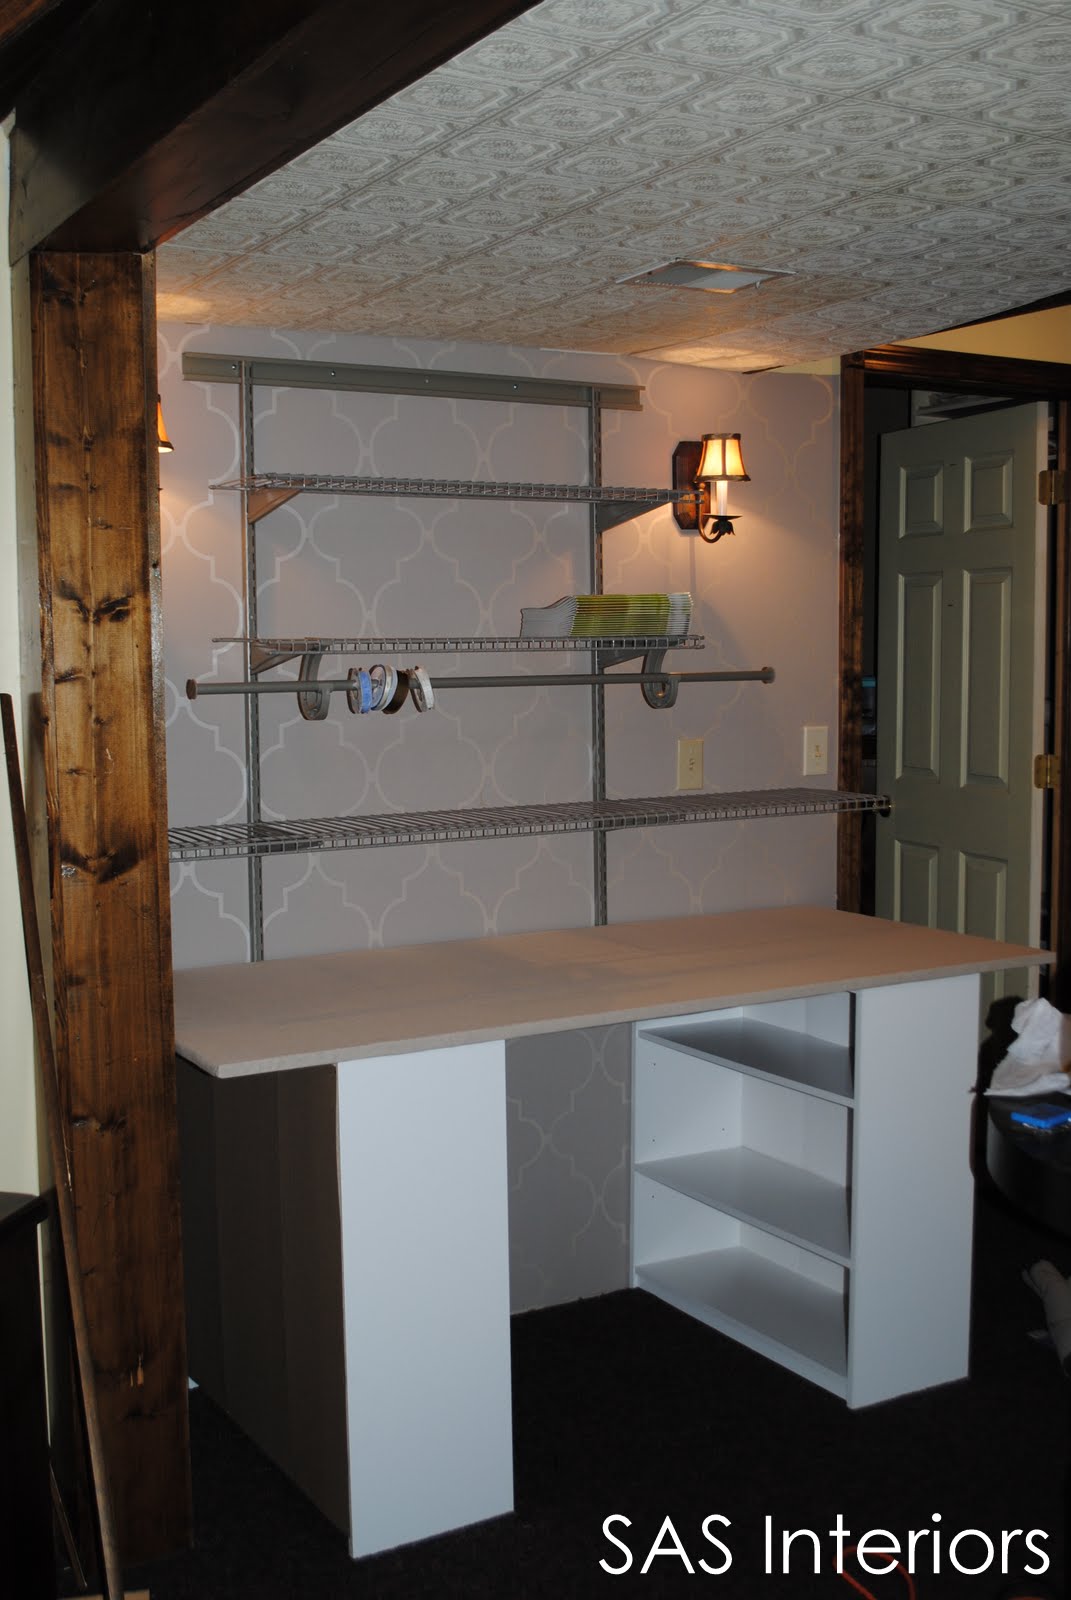
The basement had been the one space in my home that was in major need of sprucing up, hence my many recent DIY project posts. Last week, I debuted my new Mom Cave / Craft Area that I recently created on a slim budget, and received some amazing and encouraging comments. BUT, before the new desk went into place and the new shelving was hung, I wanted to give wallpapering a try (this was my first wallpapering experience ~ I know, crazy…who hasn’t hung wallpaper before?!). I didn’t wallpaper the entire room, just certain walls that were in need of drama and some added interest. Let’s take a look ~
- Spackle (for repairing any holes & imperfections in the wall)
- Sandpaper
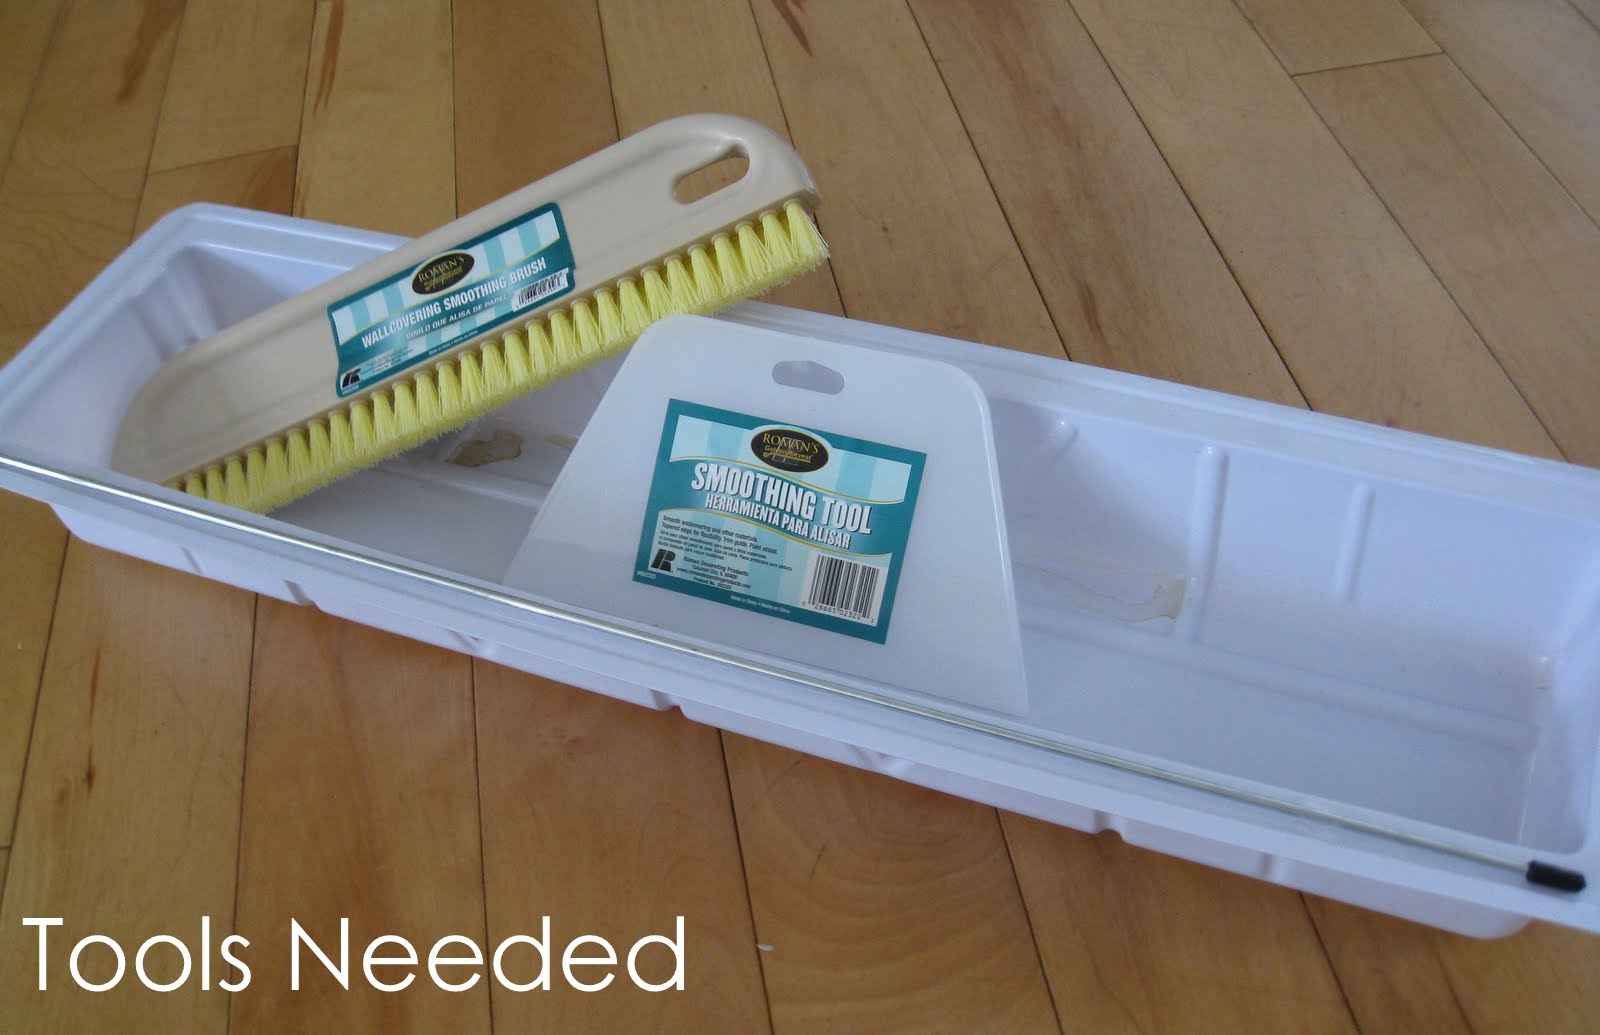
- Wallcovering Smoothing Brush and/or Wallcovering SmoothingTool (I recommend the smoothing tool over the brush ~ which you will see in the picture below)
- Wallcovering Water Bucket
- Level
- Tape Measure
- Sharp blade
- Scissors (to cut wallpaper)
- And, lastly but certainly not least ~ Your Wallpaper of choice!
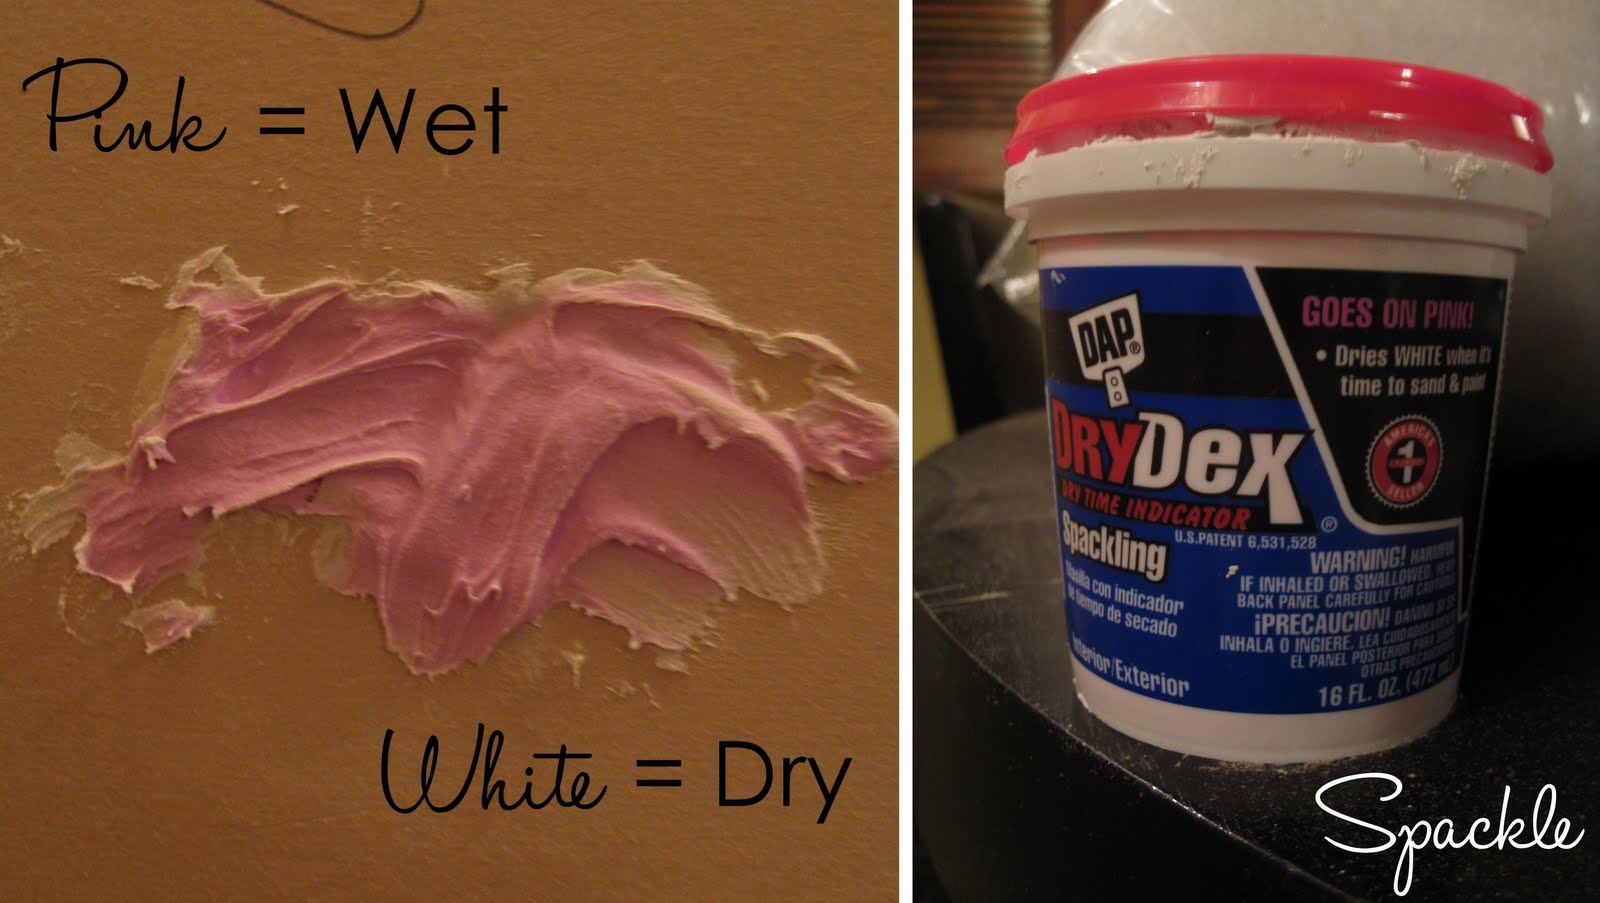
Most everyone has used regular white spackle to fill a hole or repair a damaged wall. And in those moments, have you asked yourself, Is the surface dry yet? Am I ready to sand? This spackle product by Dap gives you the answer ~ the spackle in the container is pink (it was a bit weird to look at) and when it’s dry and ready for sanding, it’ll magically turn completely white (like typical spackle). No wondering or questions needed!
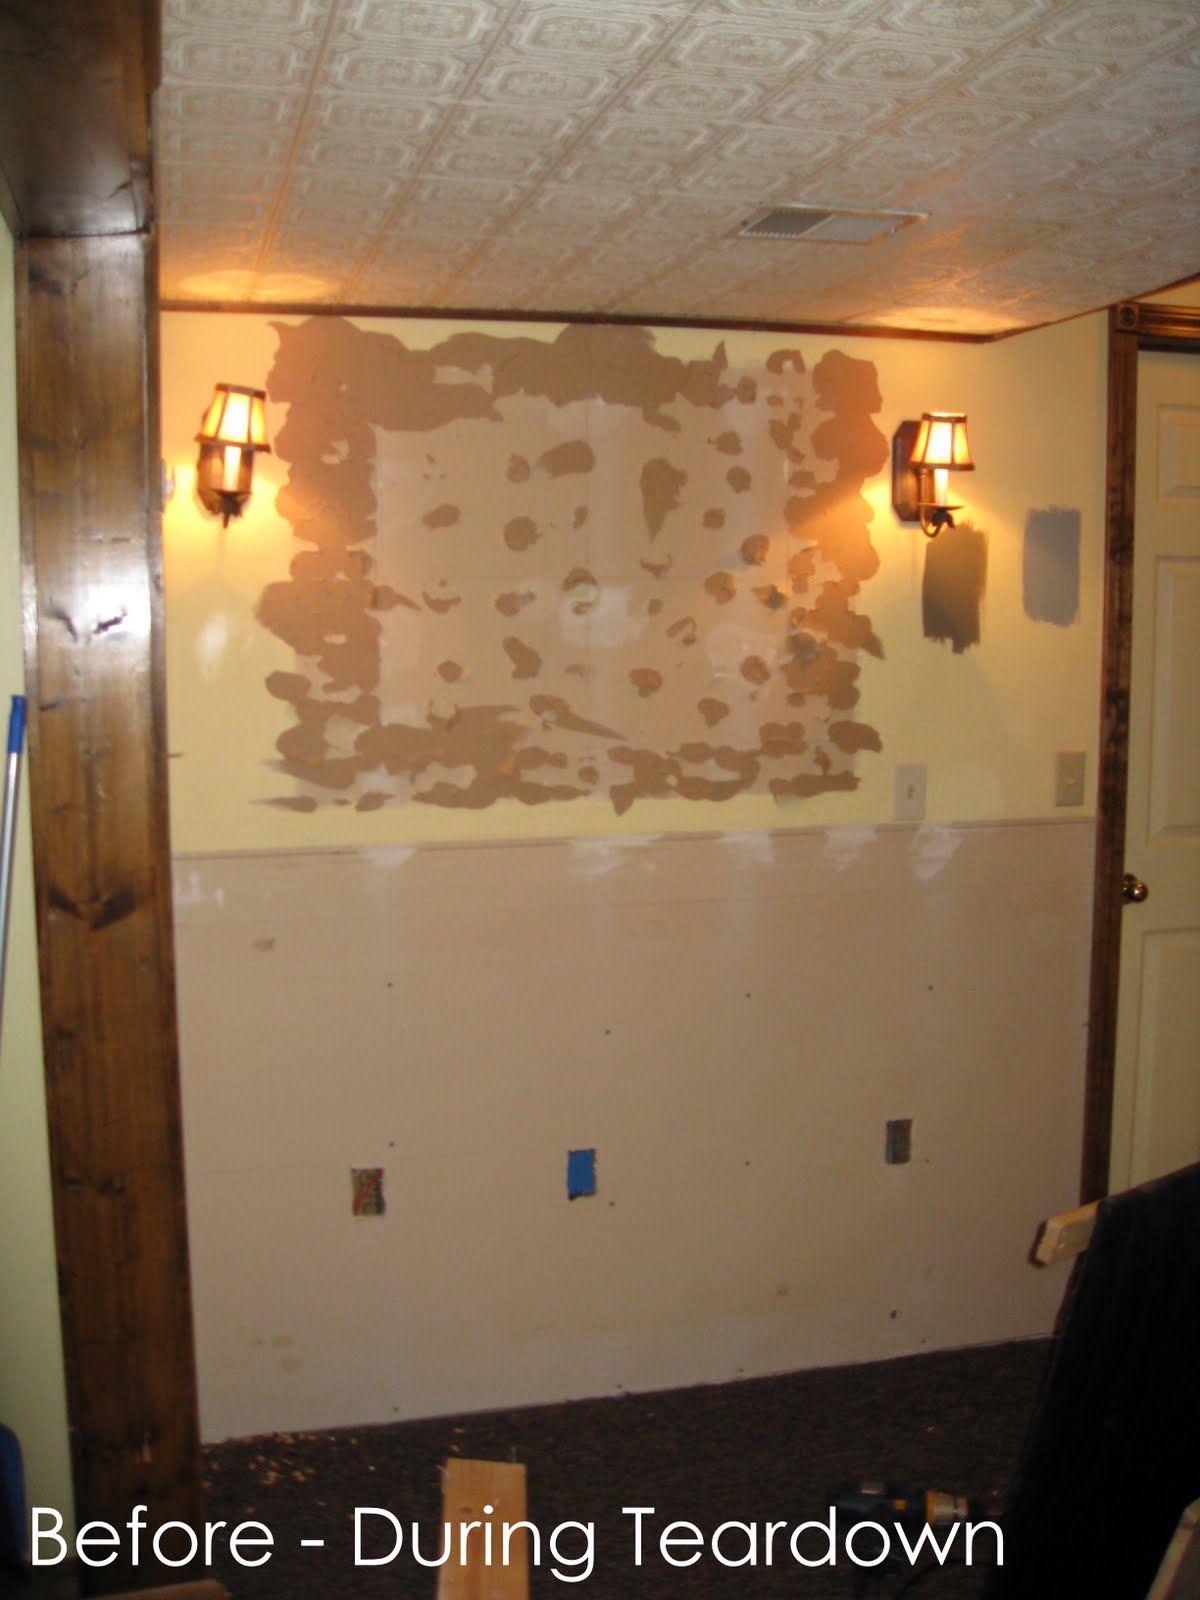
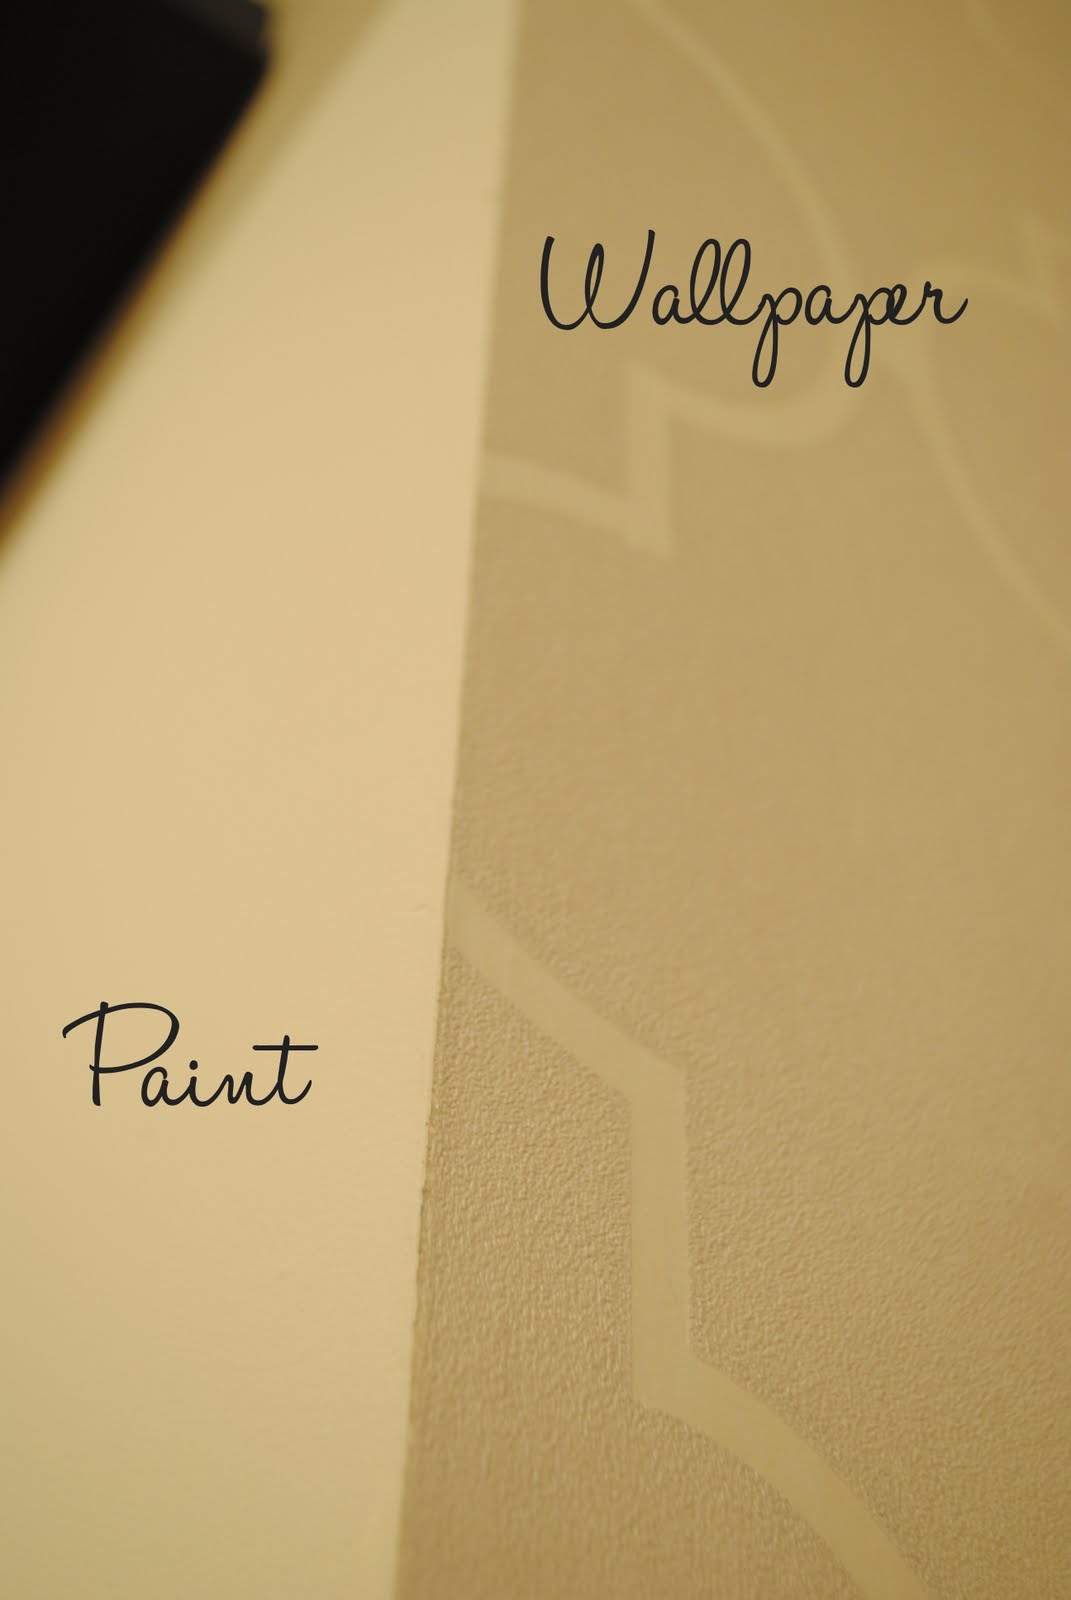
The most important part of wallpapering (I’m sharing this with you because I found out the hard way) is to make sure your wall is a perfect palette (meaning no holes, no bumps, no nails, etc). One of the reasons, I intended to use wallpaper was to hide imperfections in the wall. That didn’t happen. Every bump will show through.
So let’s get started:
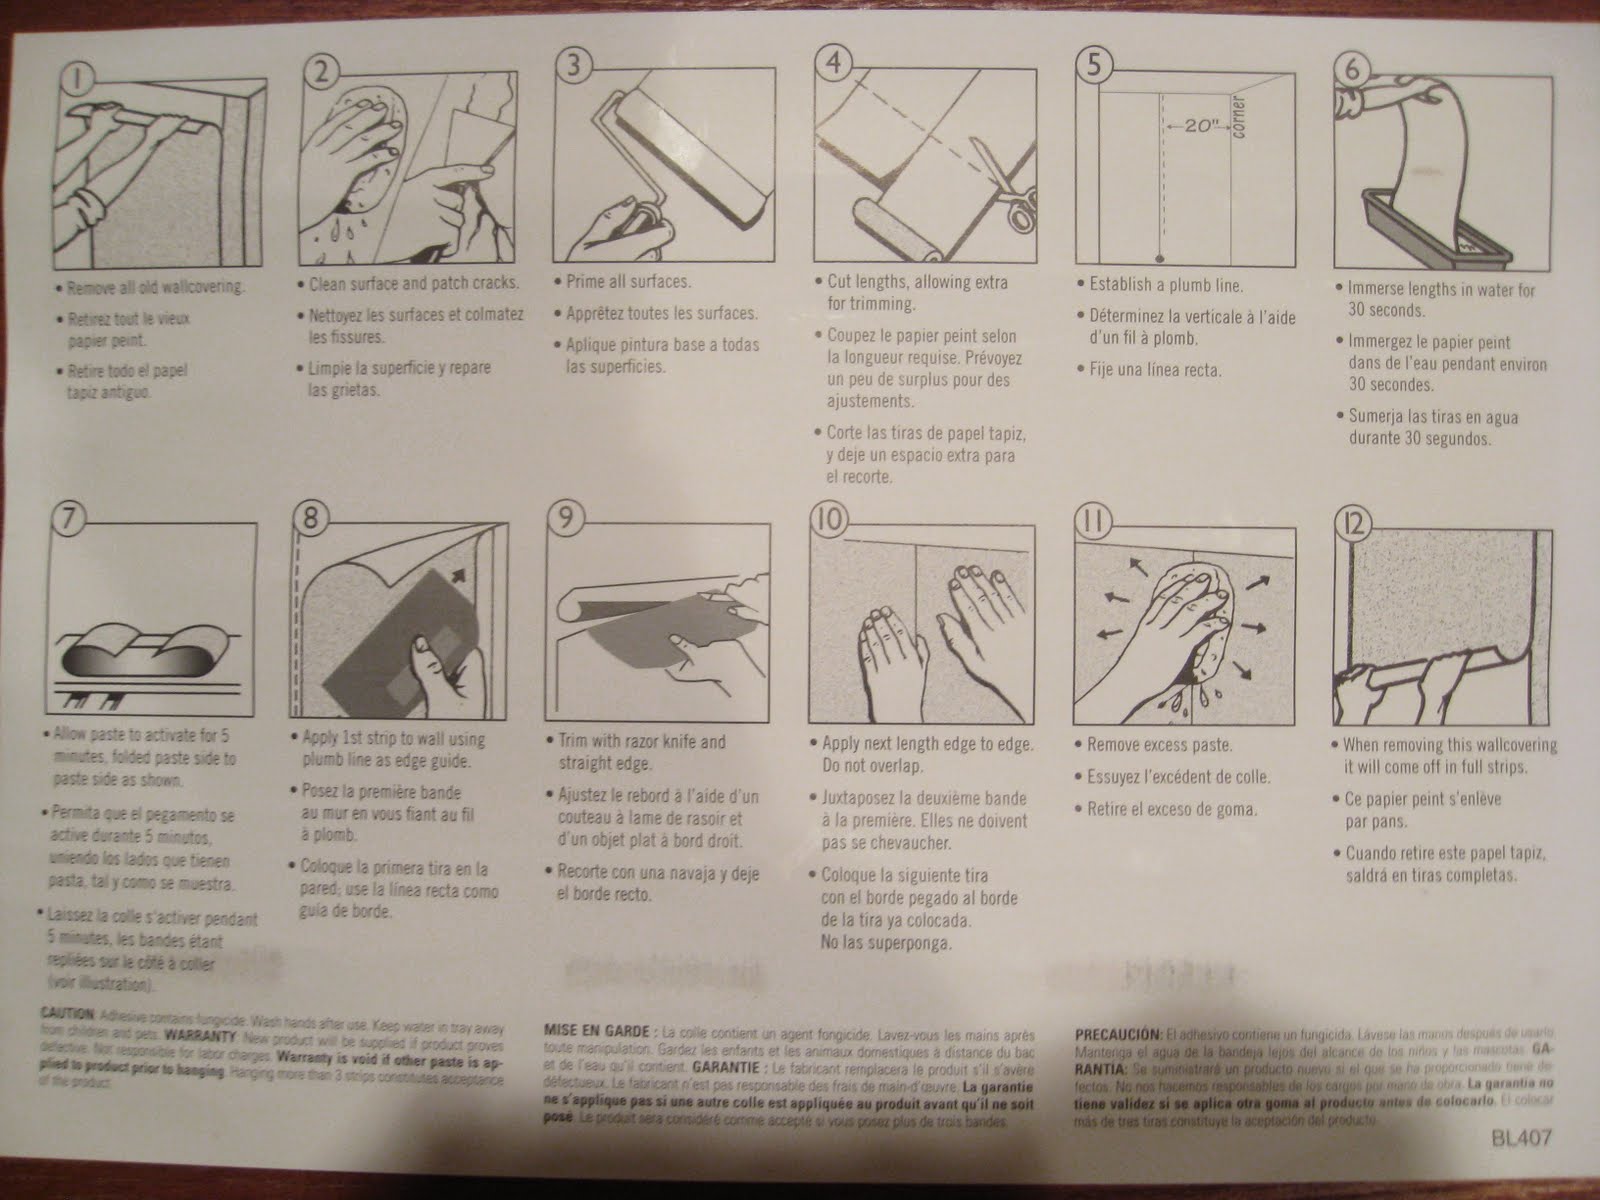
Step 1: Once your wall is completely prepped, you are ready to start hanging the wallpaper. I used a prepasted wallpaper, which means all I had to do was apply water to the back. PLEASE, read the instructions carefully for the specific wallpaper you choice for your space ~ the direction for installation may be different!
I first measured and cut my wallpaper piece to fit the size of the wall, leaving a little extra on the top and bottom. Then I was ready to go. With the prepasted wallpaper, I dragged it through the Wallcovering Water Bucket until the entire wallpaper backing was covered and wet.
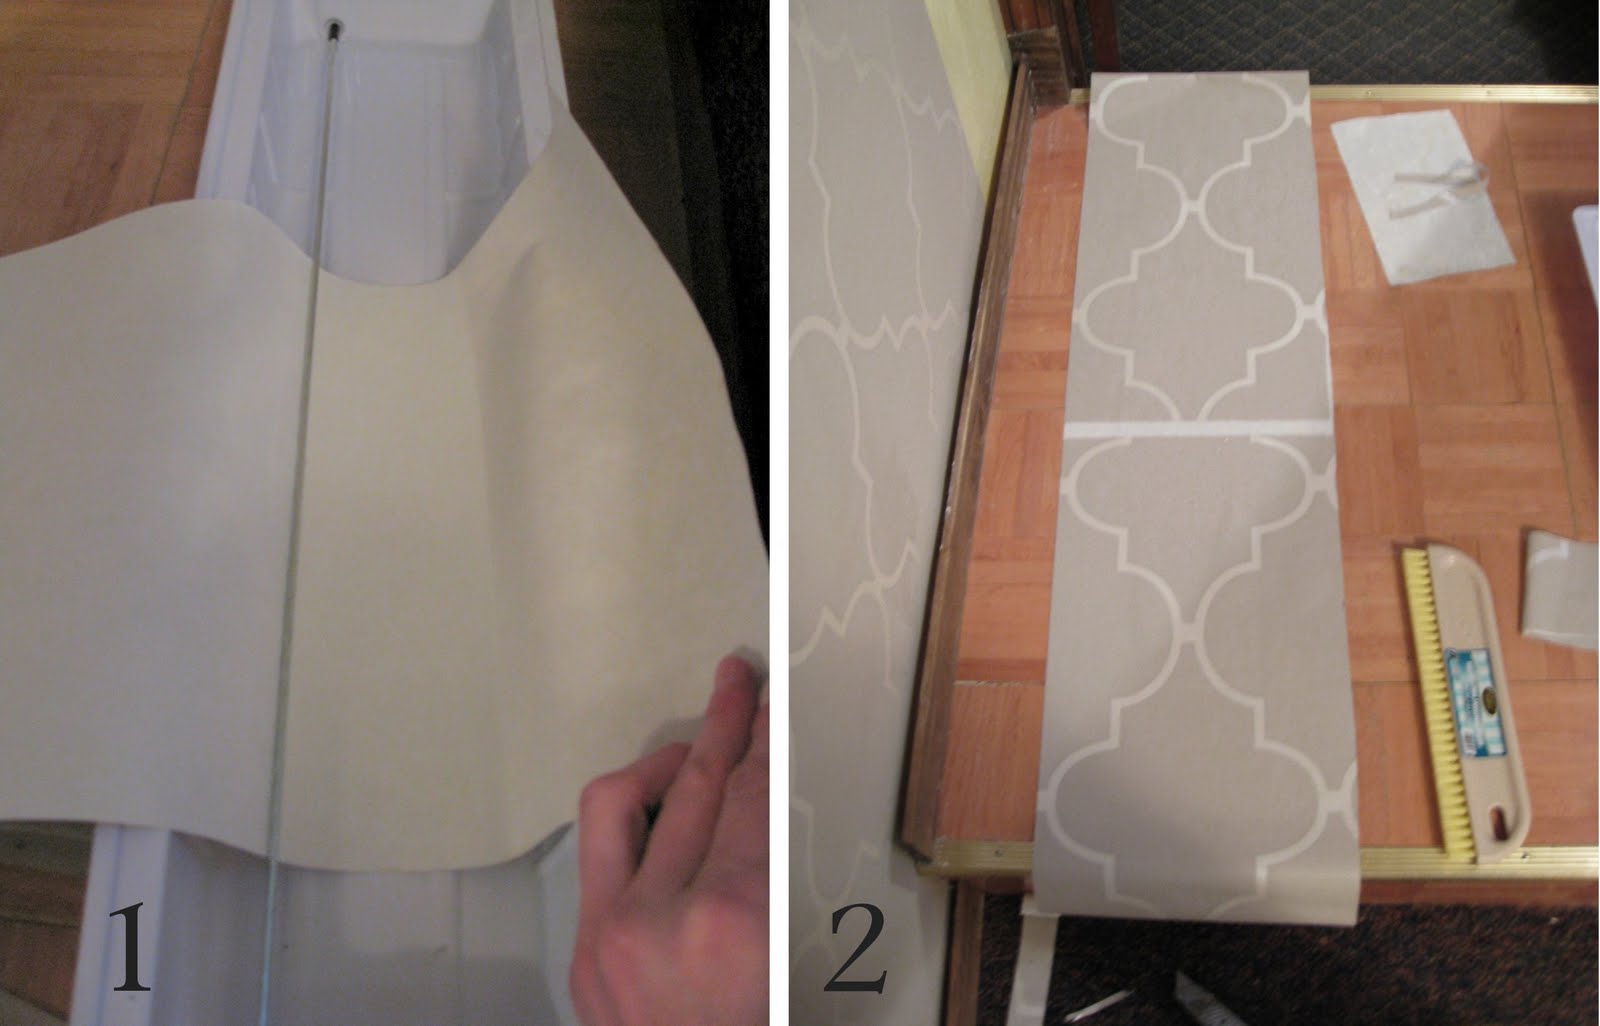
Step 2: Once the wallpaper is entirely wet, fold over the glue sides on each other (as shown above) and let it sit for 5-8 minutes. This will activate the glue.

Step 3: You’re ready to apply the wallpaper to the wall. I started the installation from the center of the wall and worked my way out to the edge. Depending on the space and pattern of your wallpaper, you may want to start in the center of the wall or at the wall edge. Make sure the wallpaper is plumb by using a level.
Step 4: Once your wallpaper is up, start to smooth it out with your Wallcovering Smoothing Tools. This will truly adhere the wallpaper to the wall and give you a smooth surface/finish. The ooey-gooey glue will start to come out the sides (as seen in the picture above)
You are ready for your next piece of wallpaper. Note: Do not overlap edges! This is SO important… I did it at first, and had to remove the wallpaper (which was easy to do ~ at least you have some flexibility with the application).
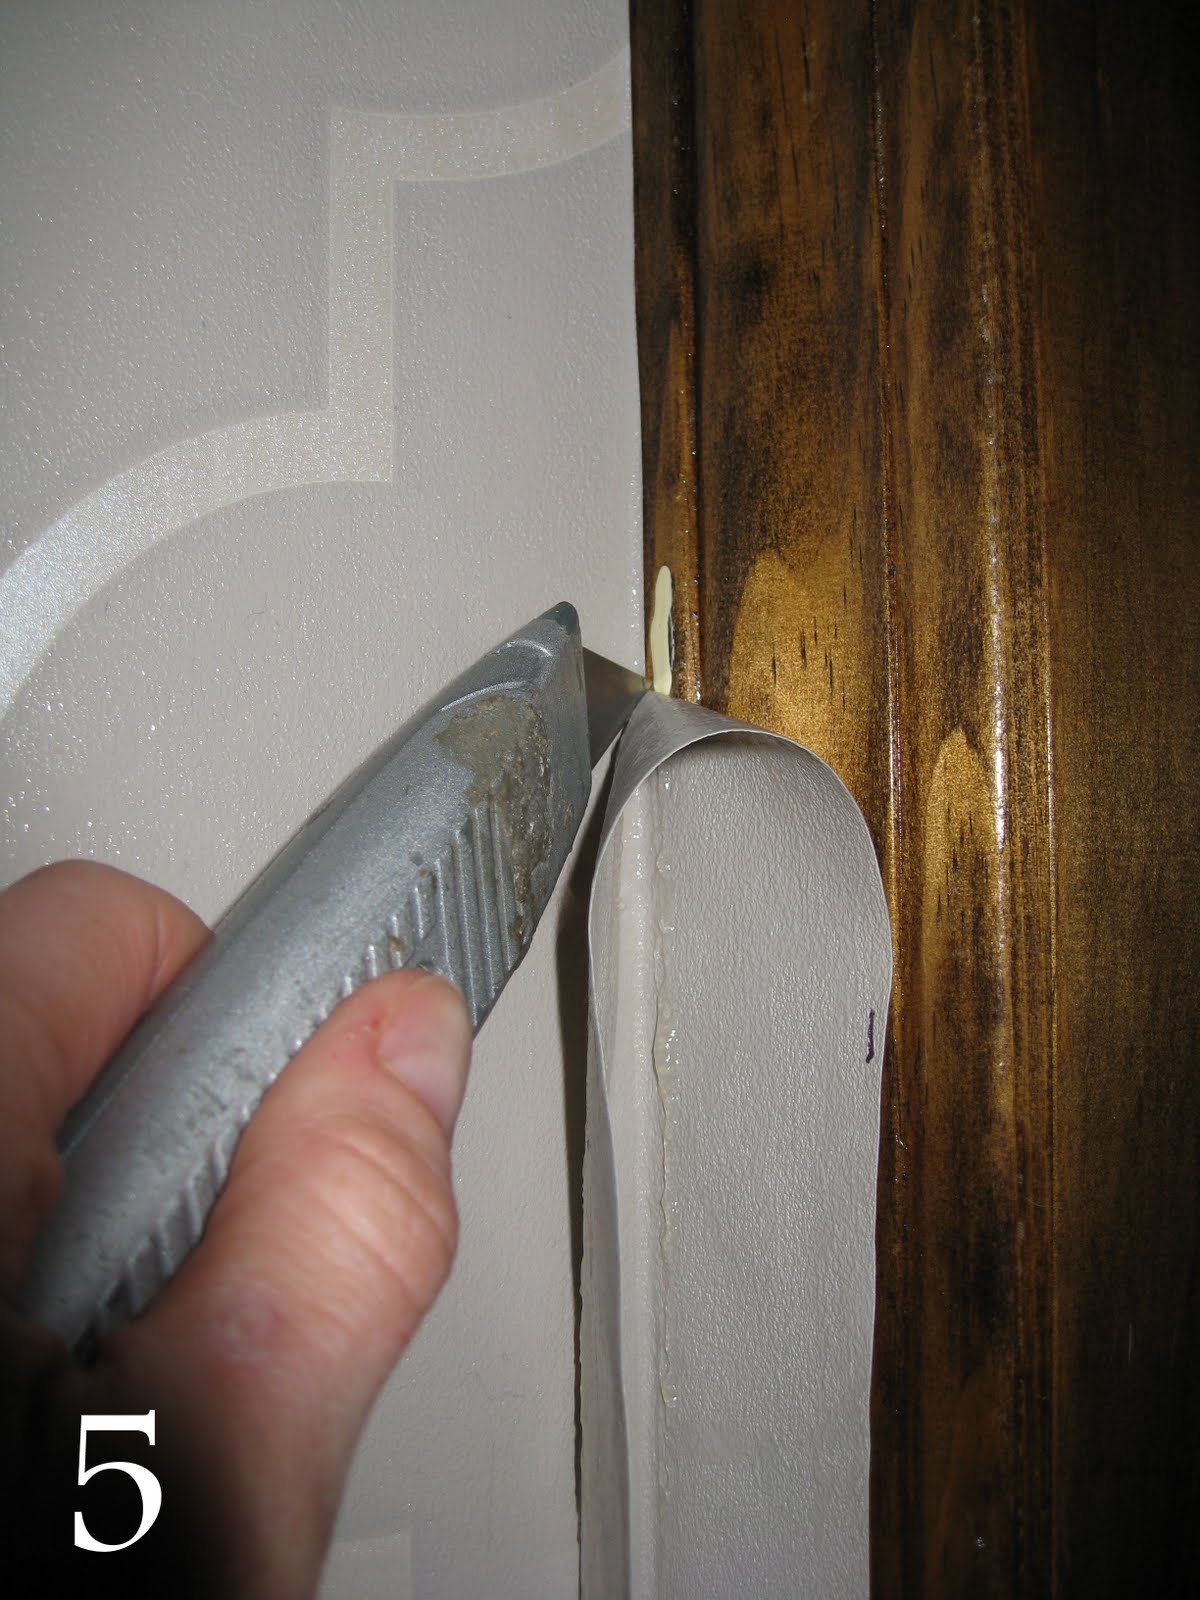
Step 5: Once your wallpaper is completely hung and dry (if the paper is not dry, it could tear ~ happened to me ), trim the overlapping edges with a sharp razor.
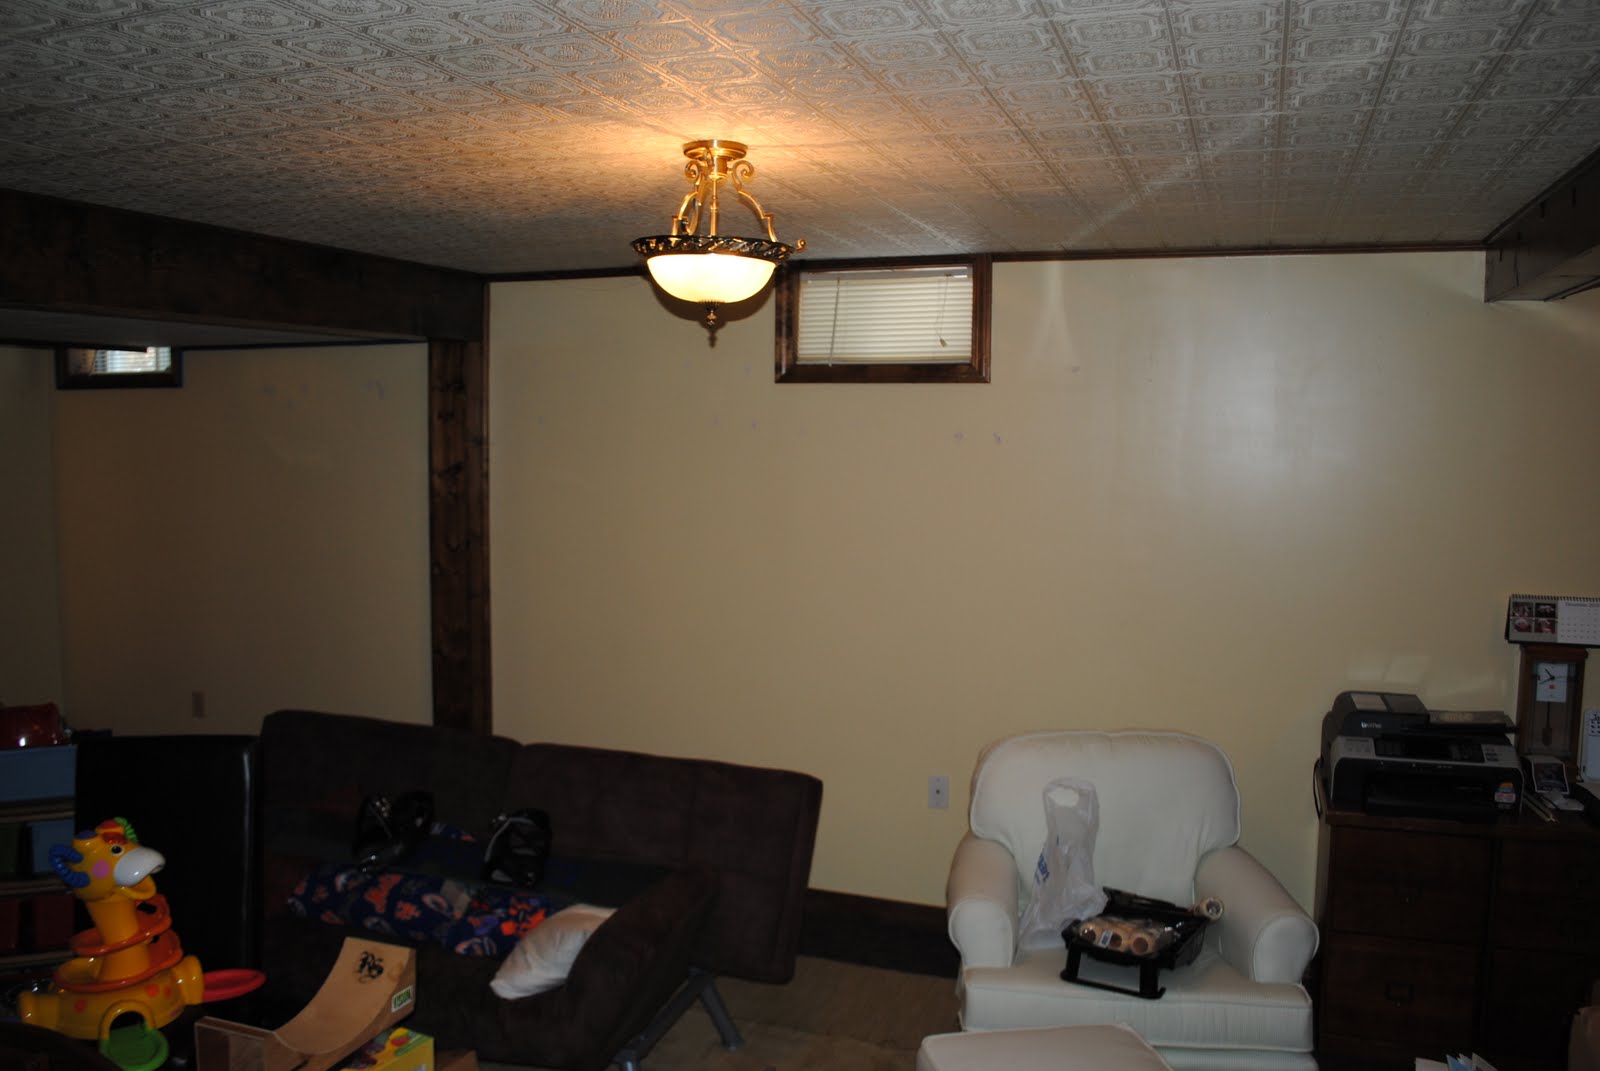
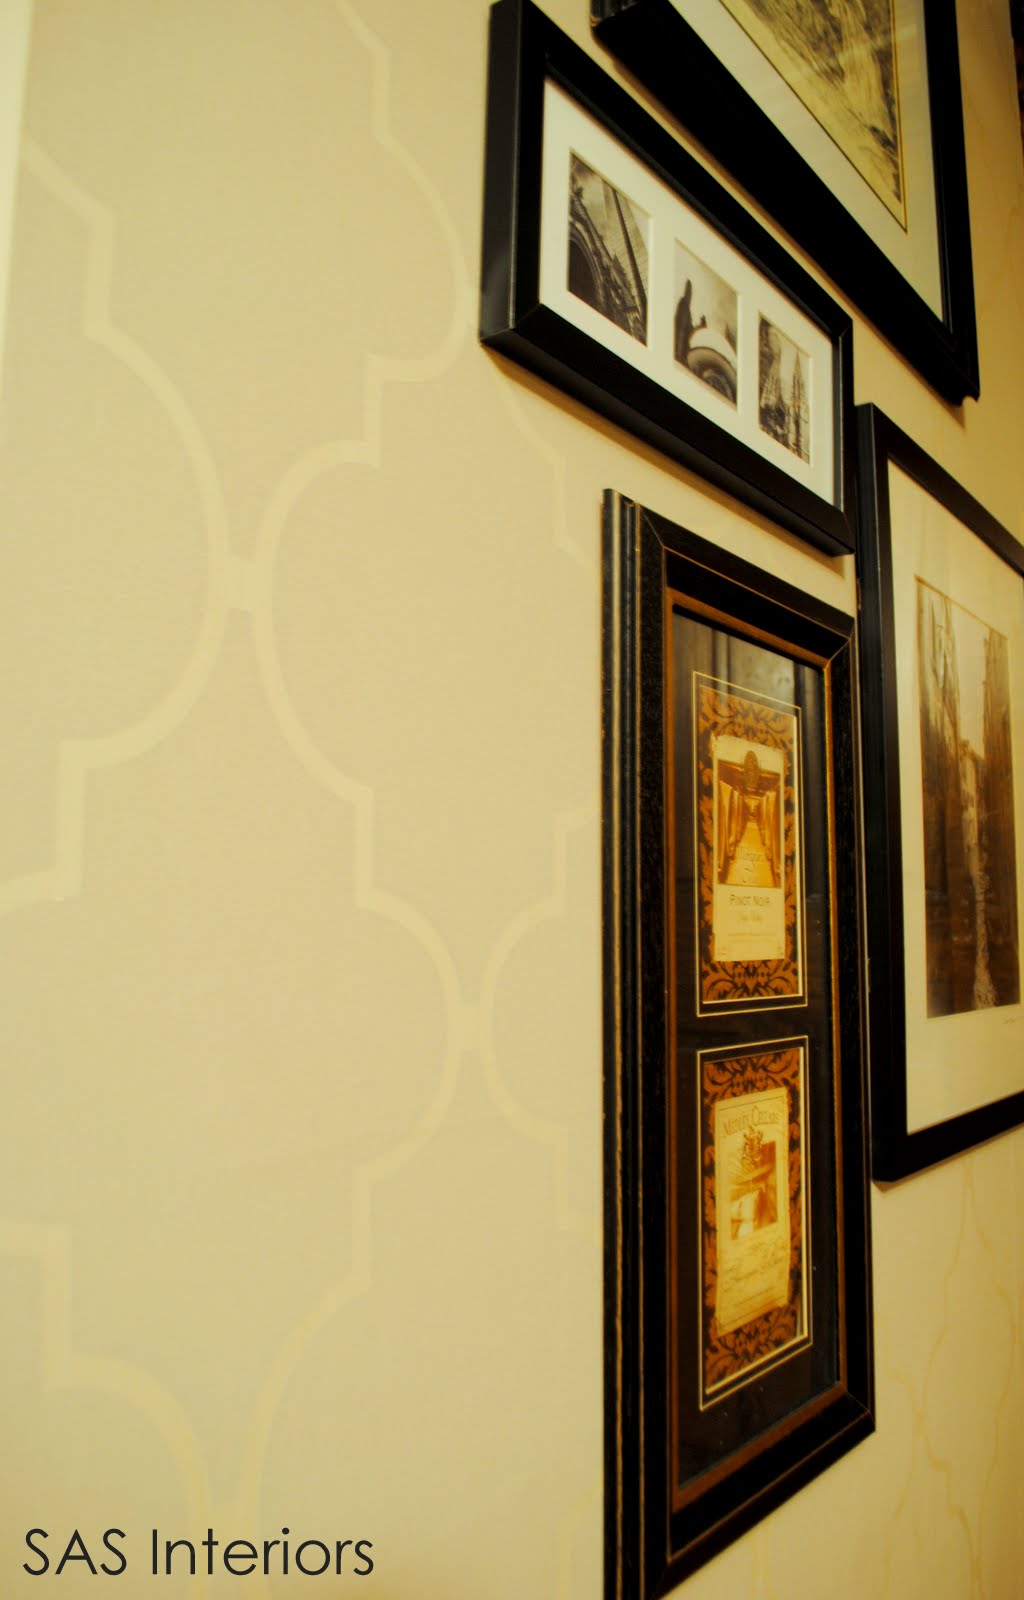
 To this….
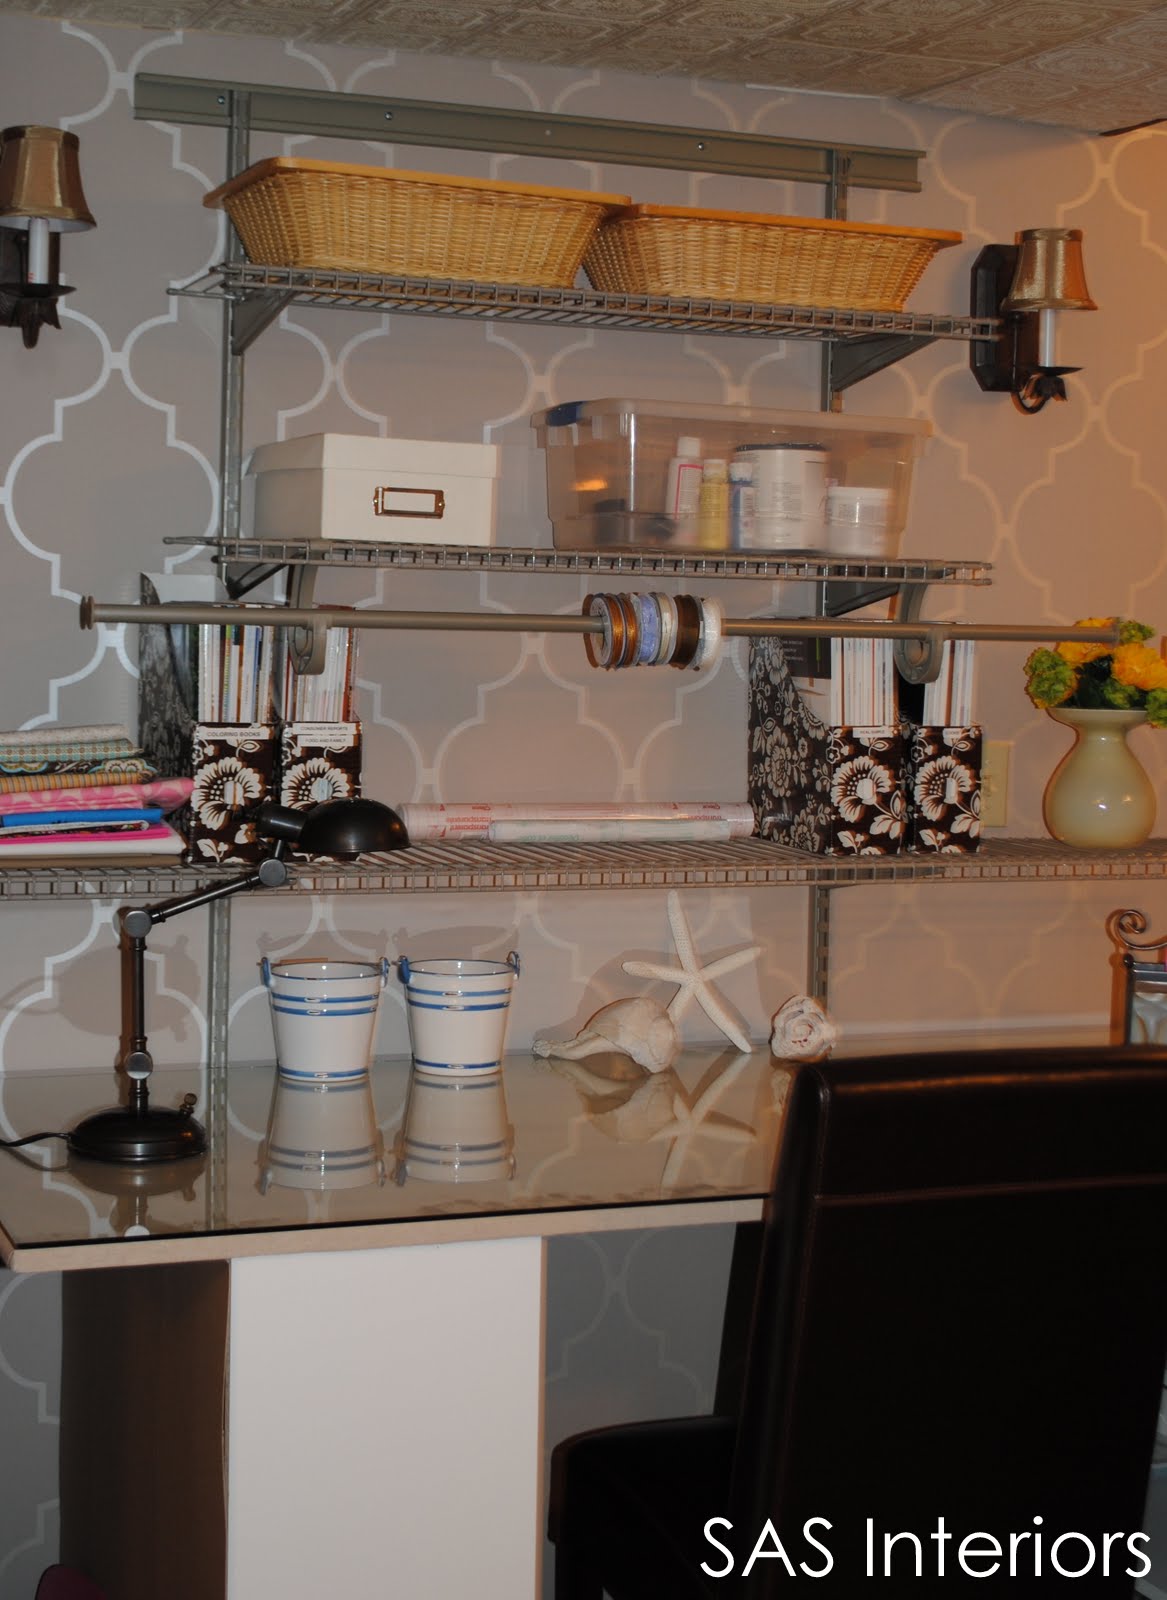
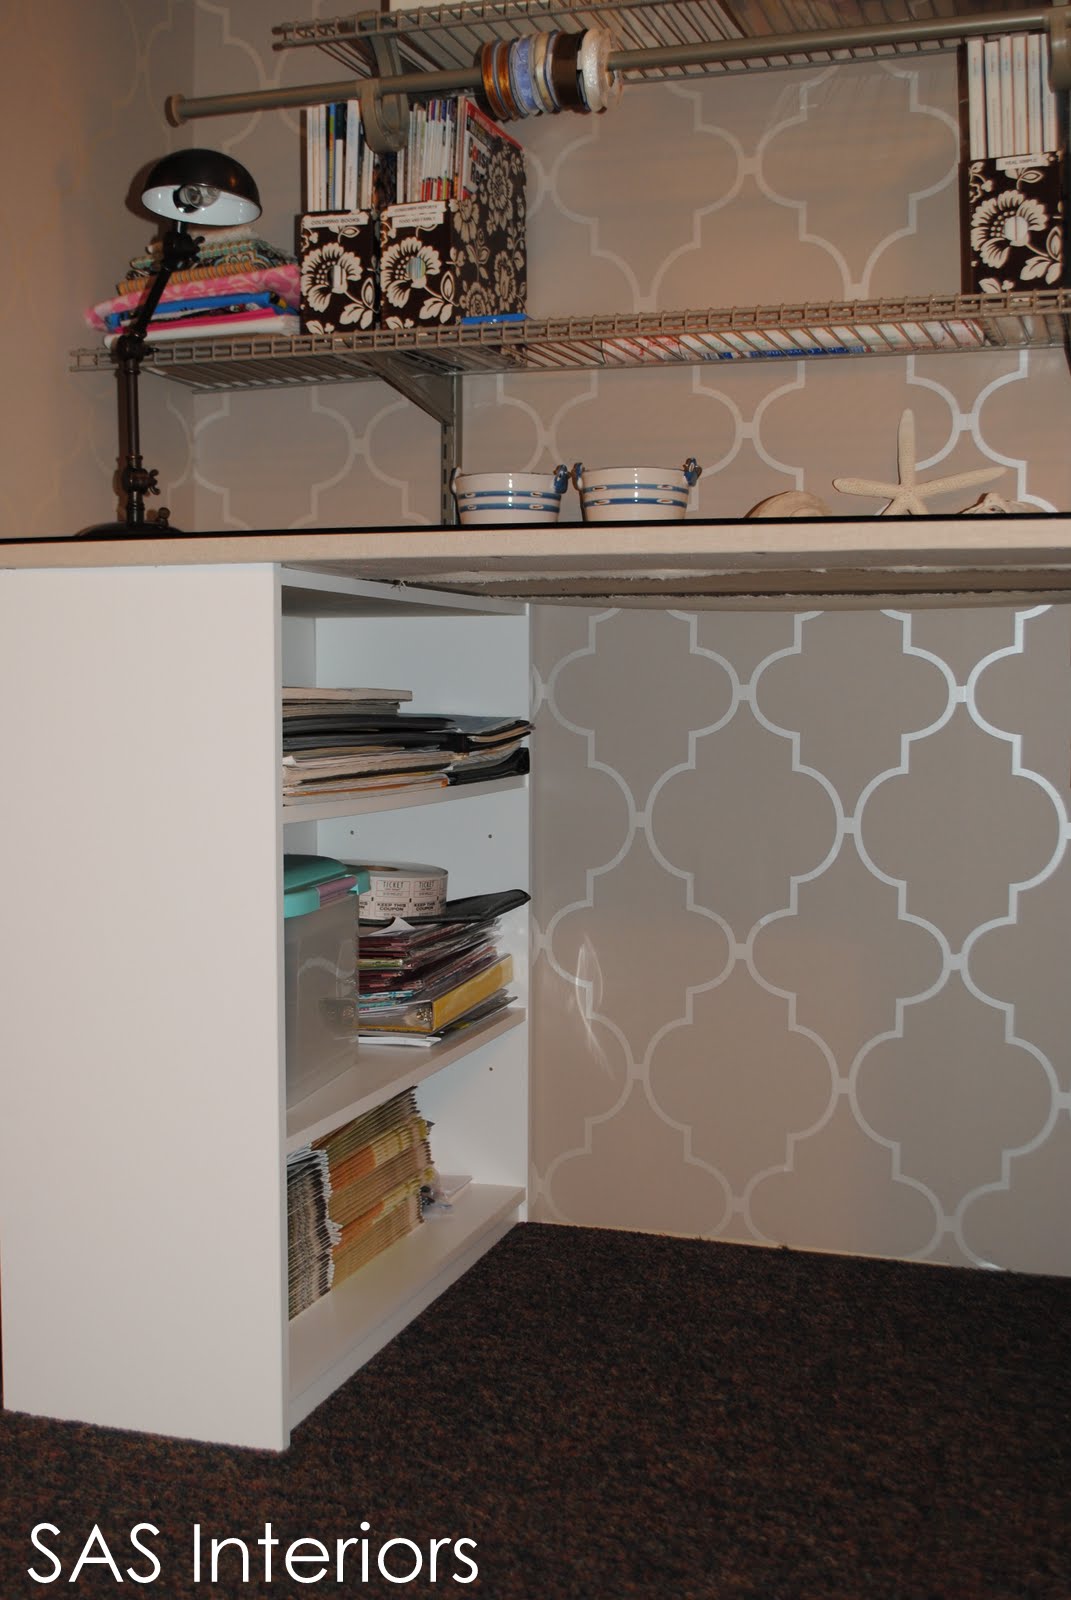
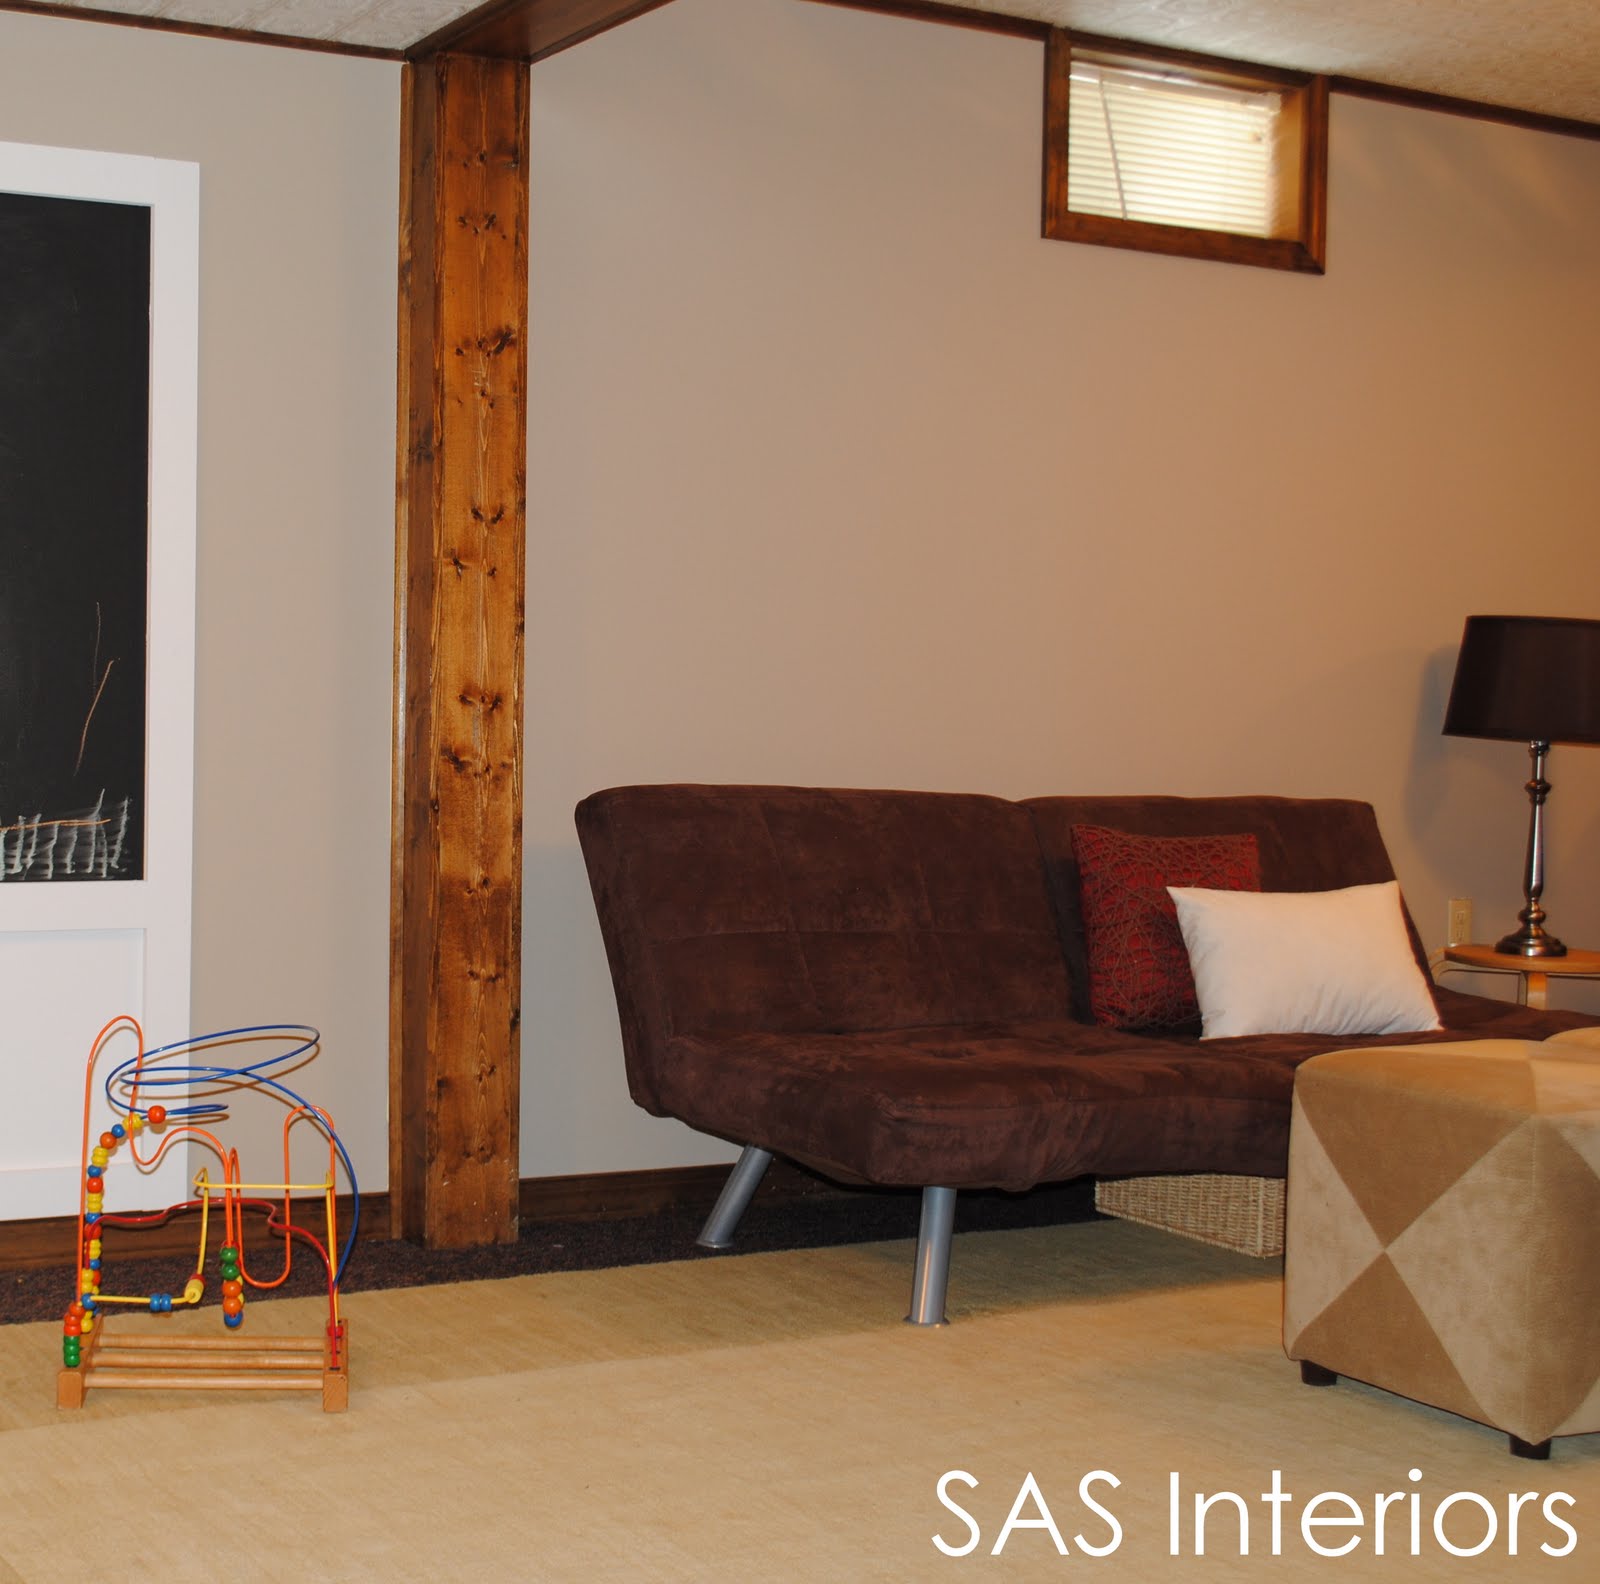
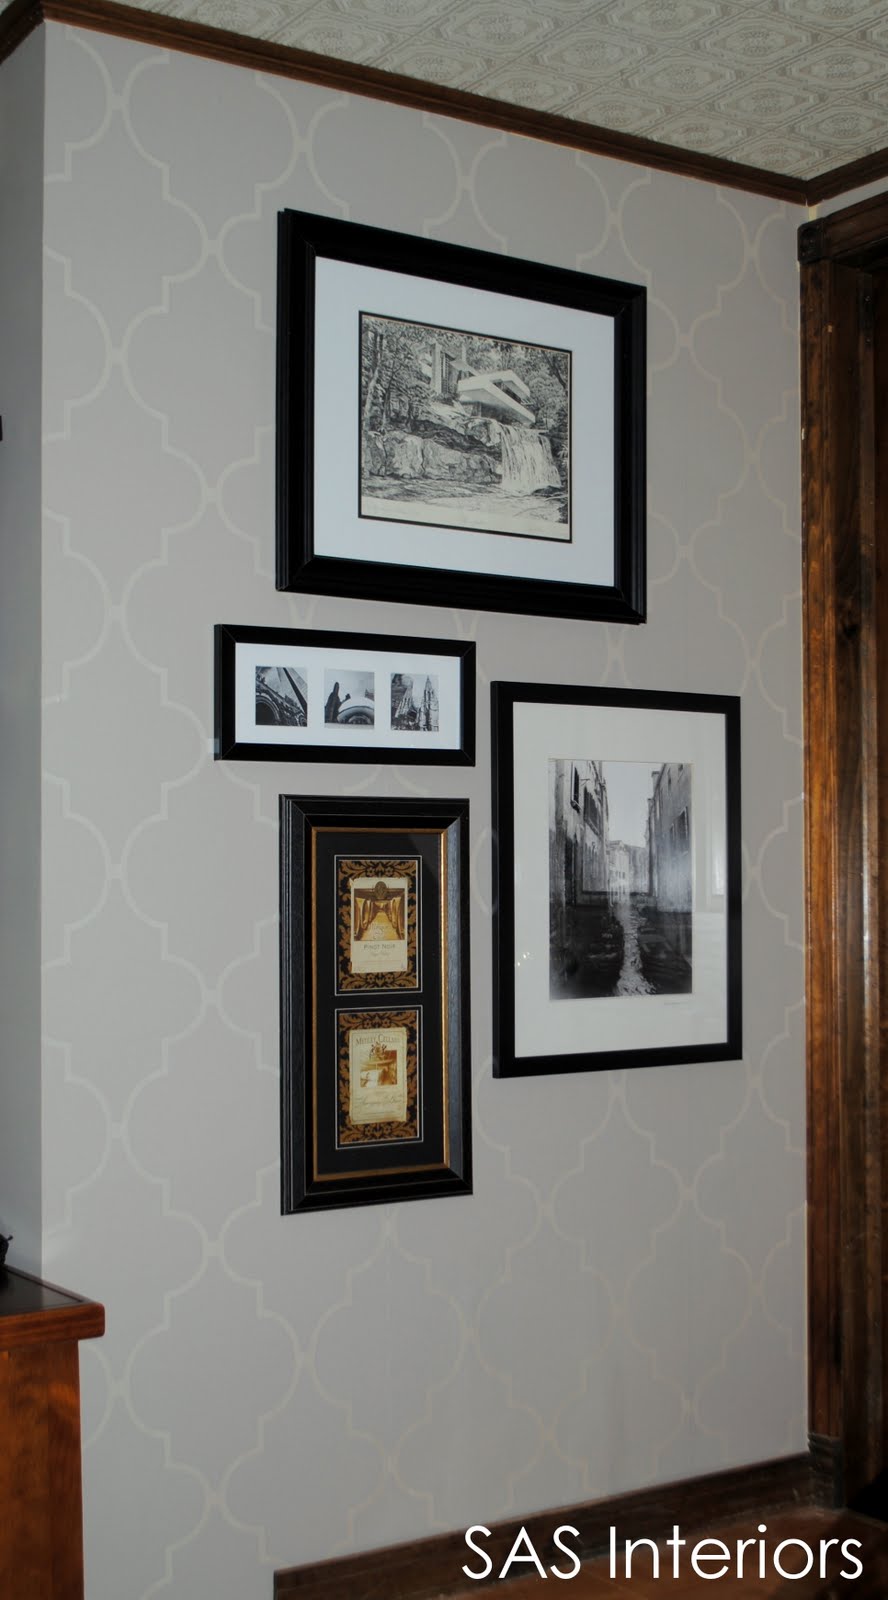
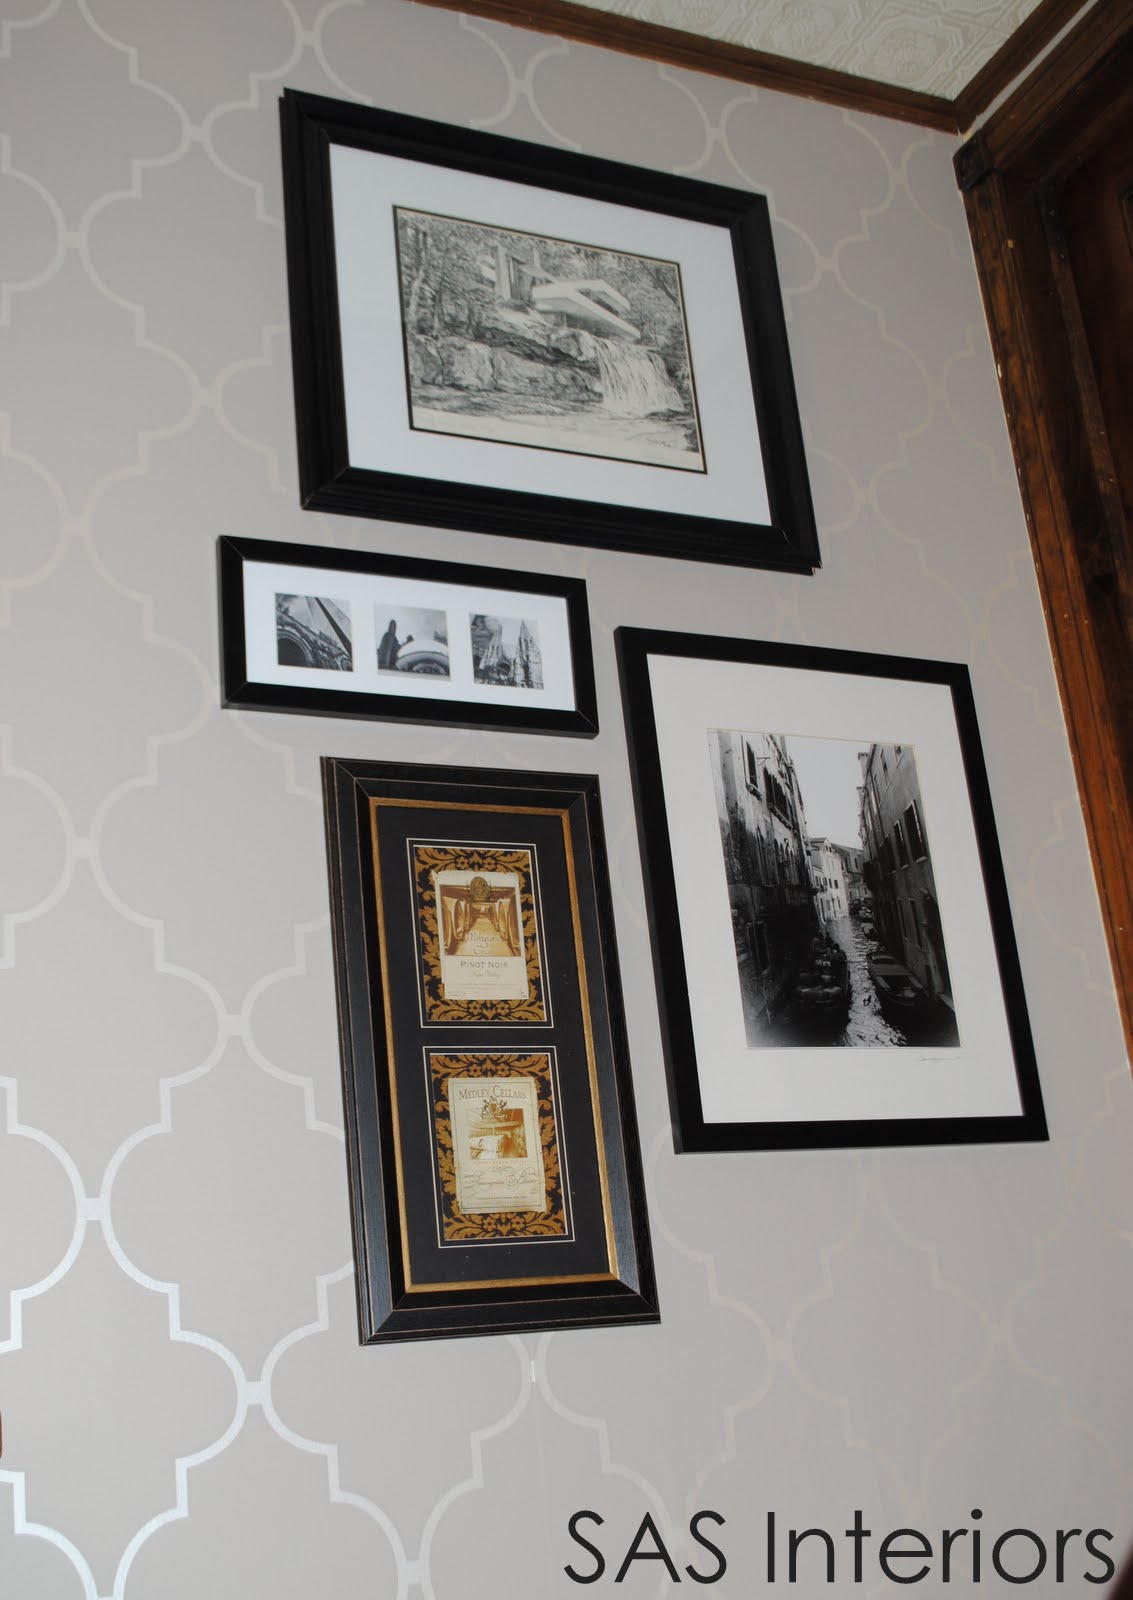
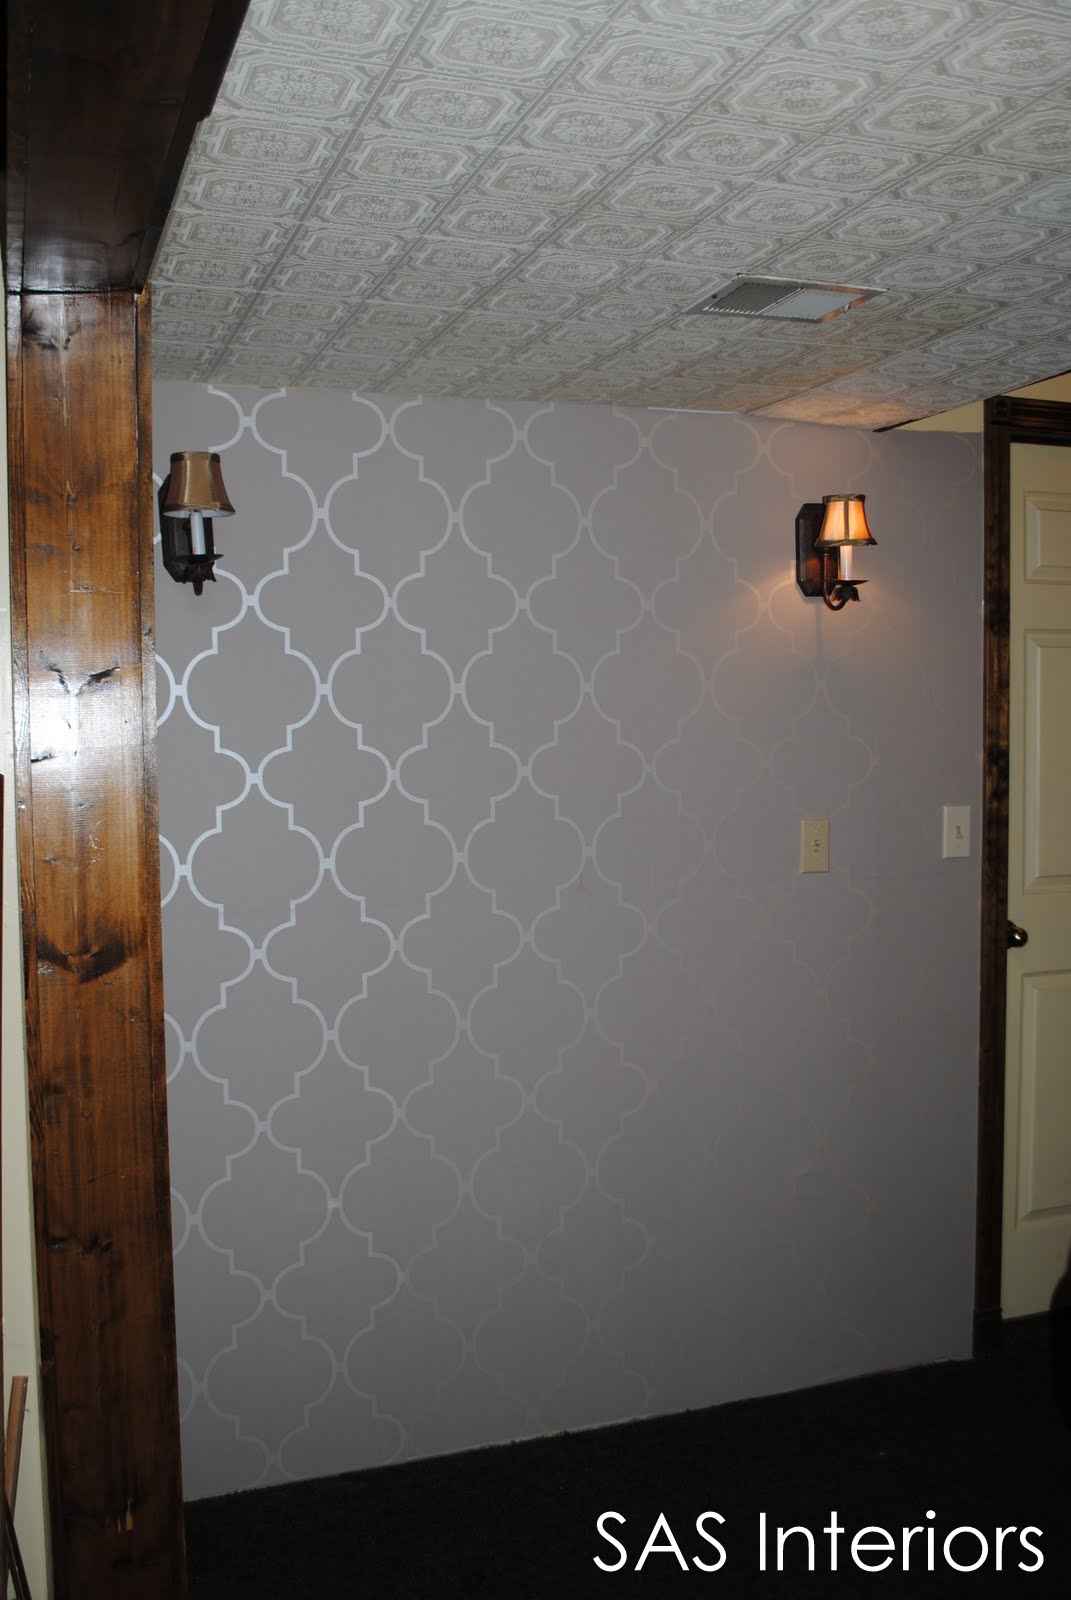
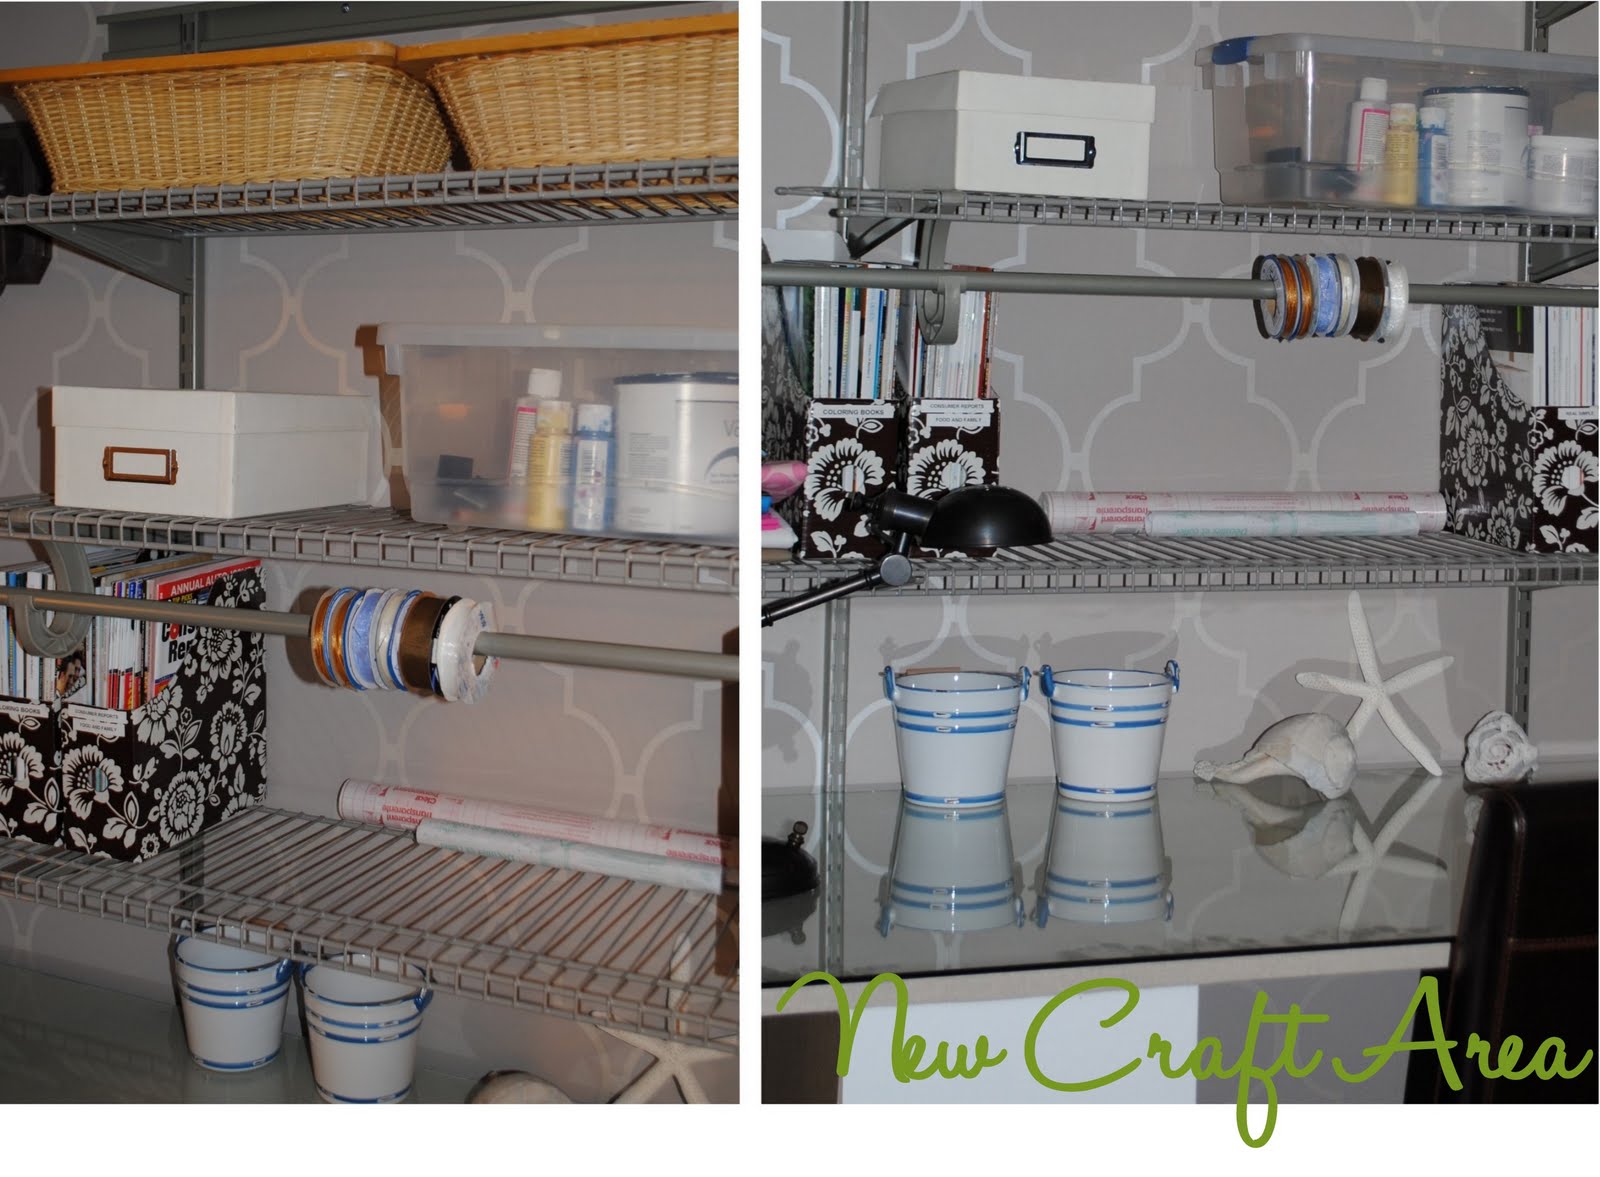
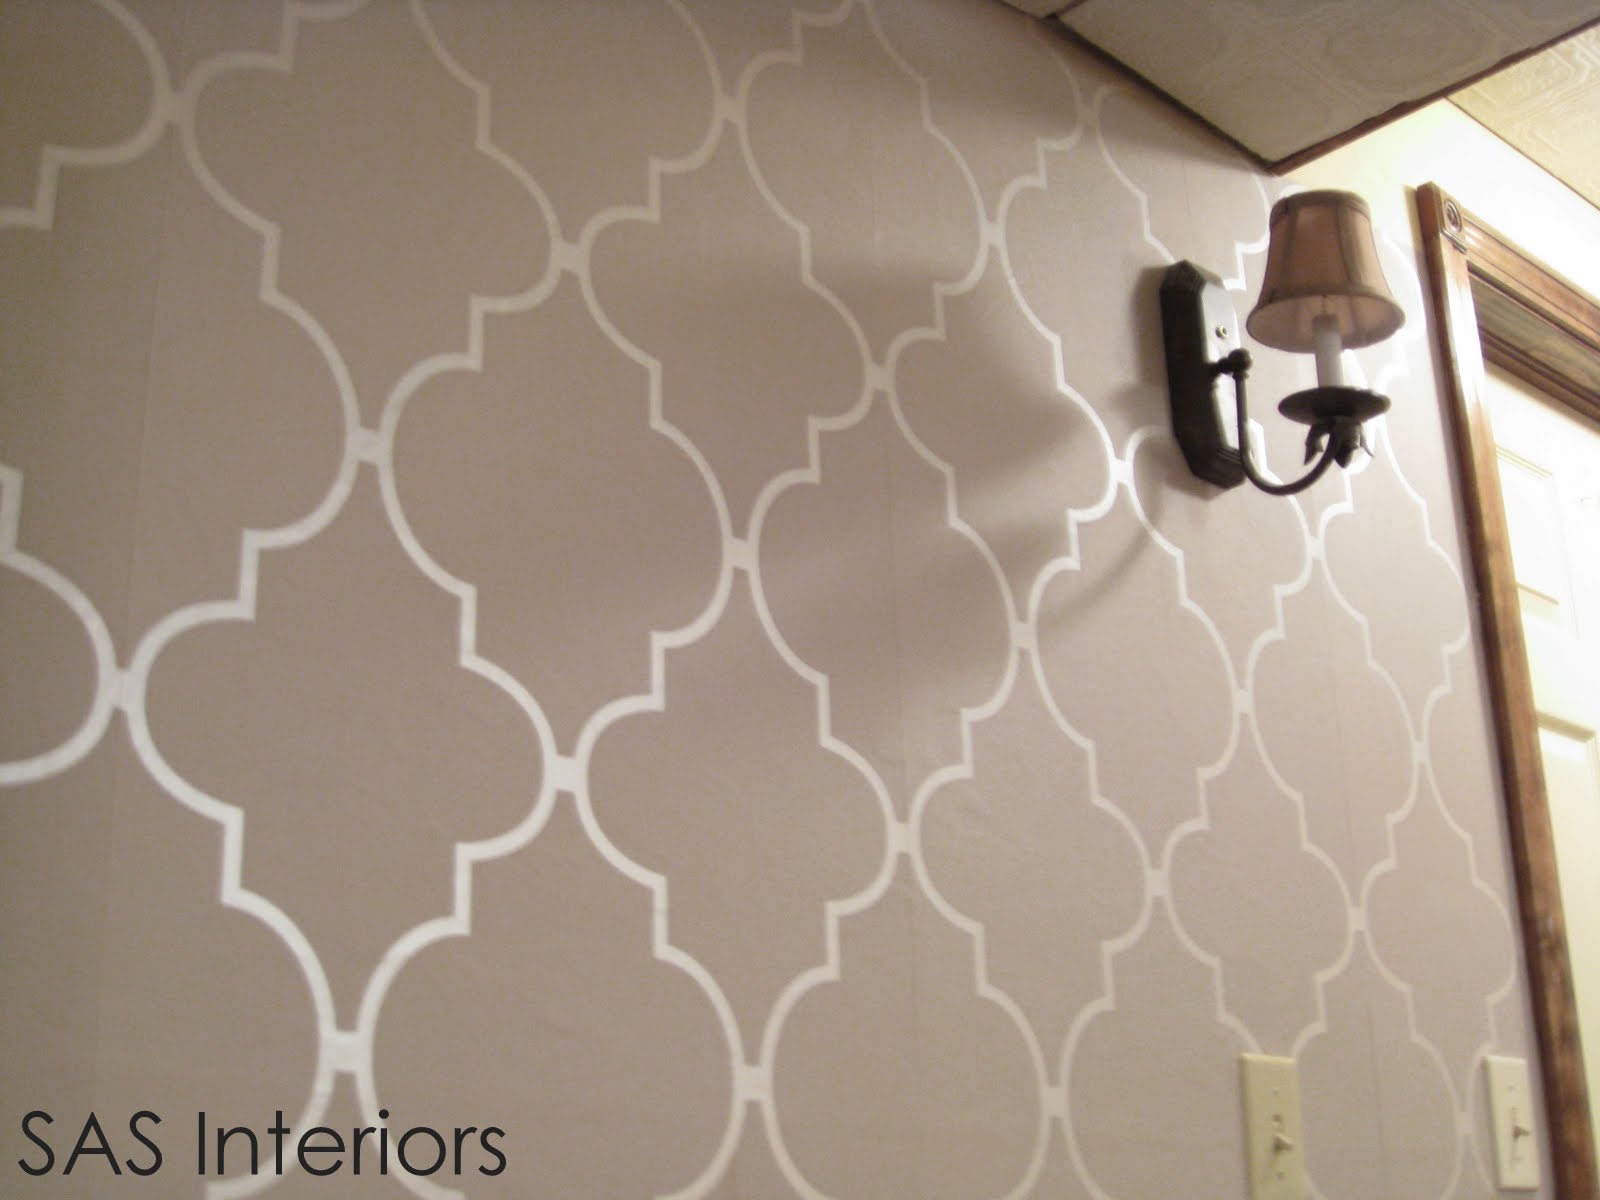
I truly love the quatrefoil design and never made a purchase so fast. If this wallpaper appeals to you as well, {here} is the info.


To see the entire look of the new Craft Area and detailed pictures of how I created this space, check it out {here}.
Wallpaper can be a guaranteed show stopper! The vast selection of wallpapers that are available today, can completely transform any space from blah to beautiful! I am very happy with the result of 1st wallpapering attempt…I can now say that I am no longer a {Wallpaper Virgin}! The thought of putting up wallpaper can be a bit daunting, but take your time and have patience…the end result is worth it. One of my first posts was on my love for wallpaper ~ take a look {here}.