
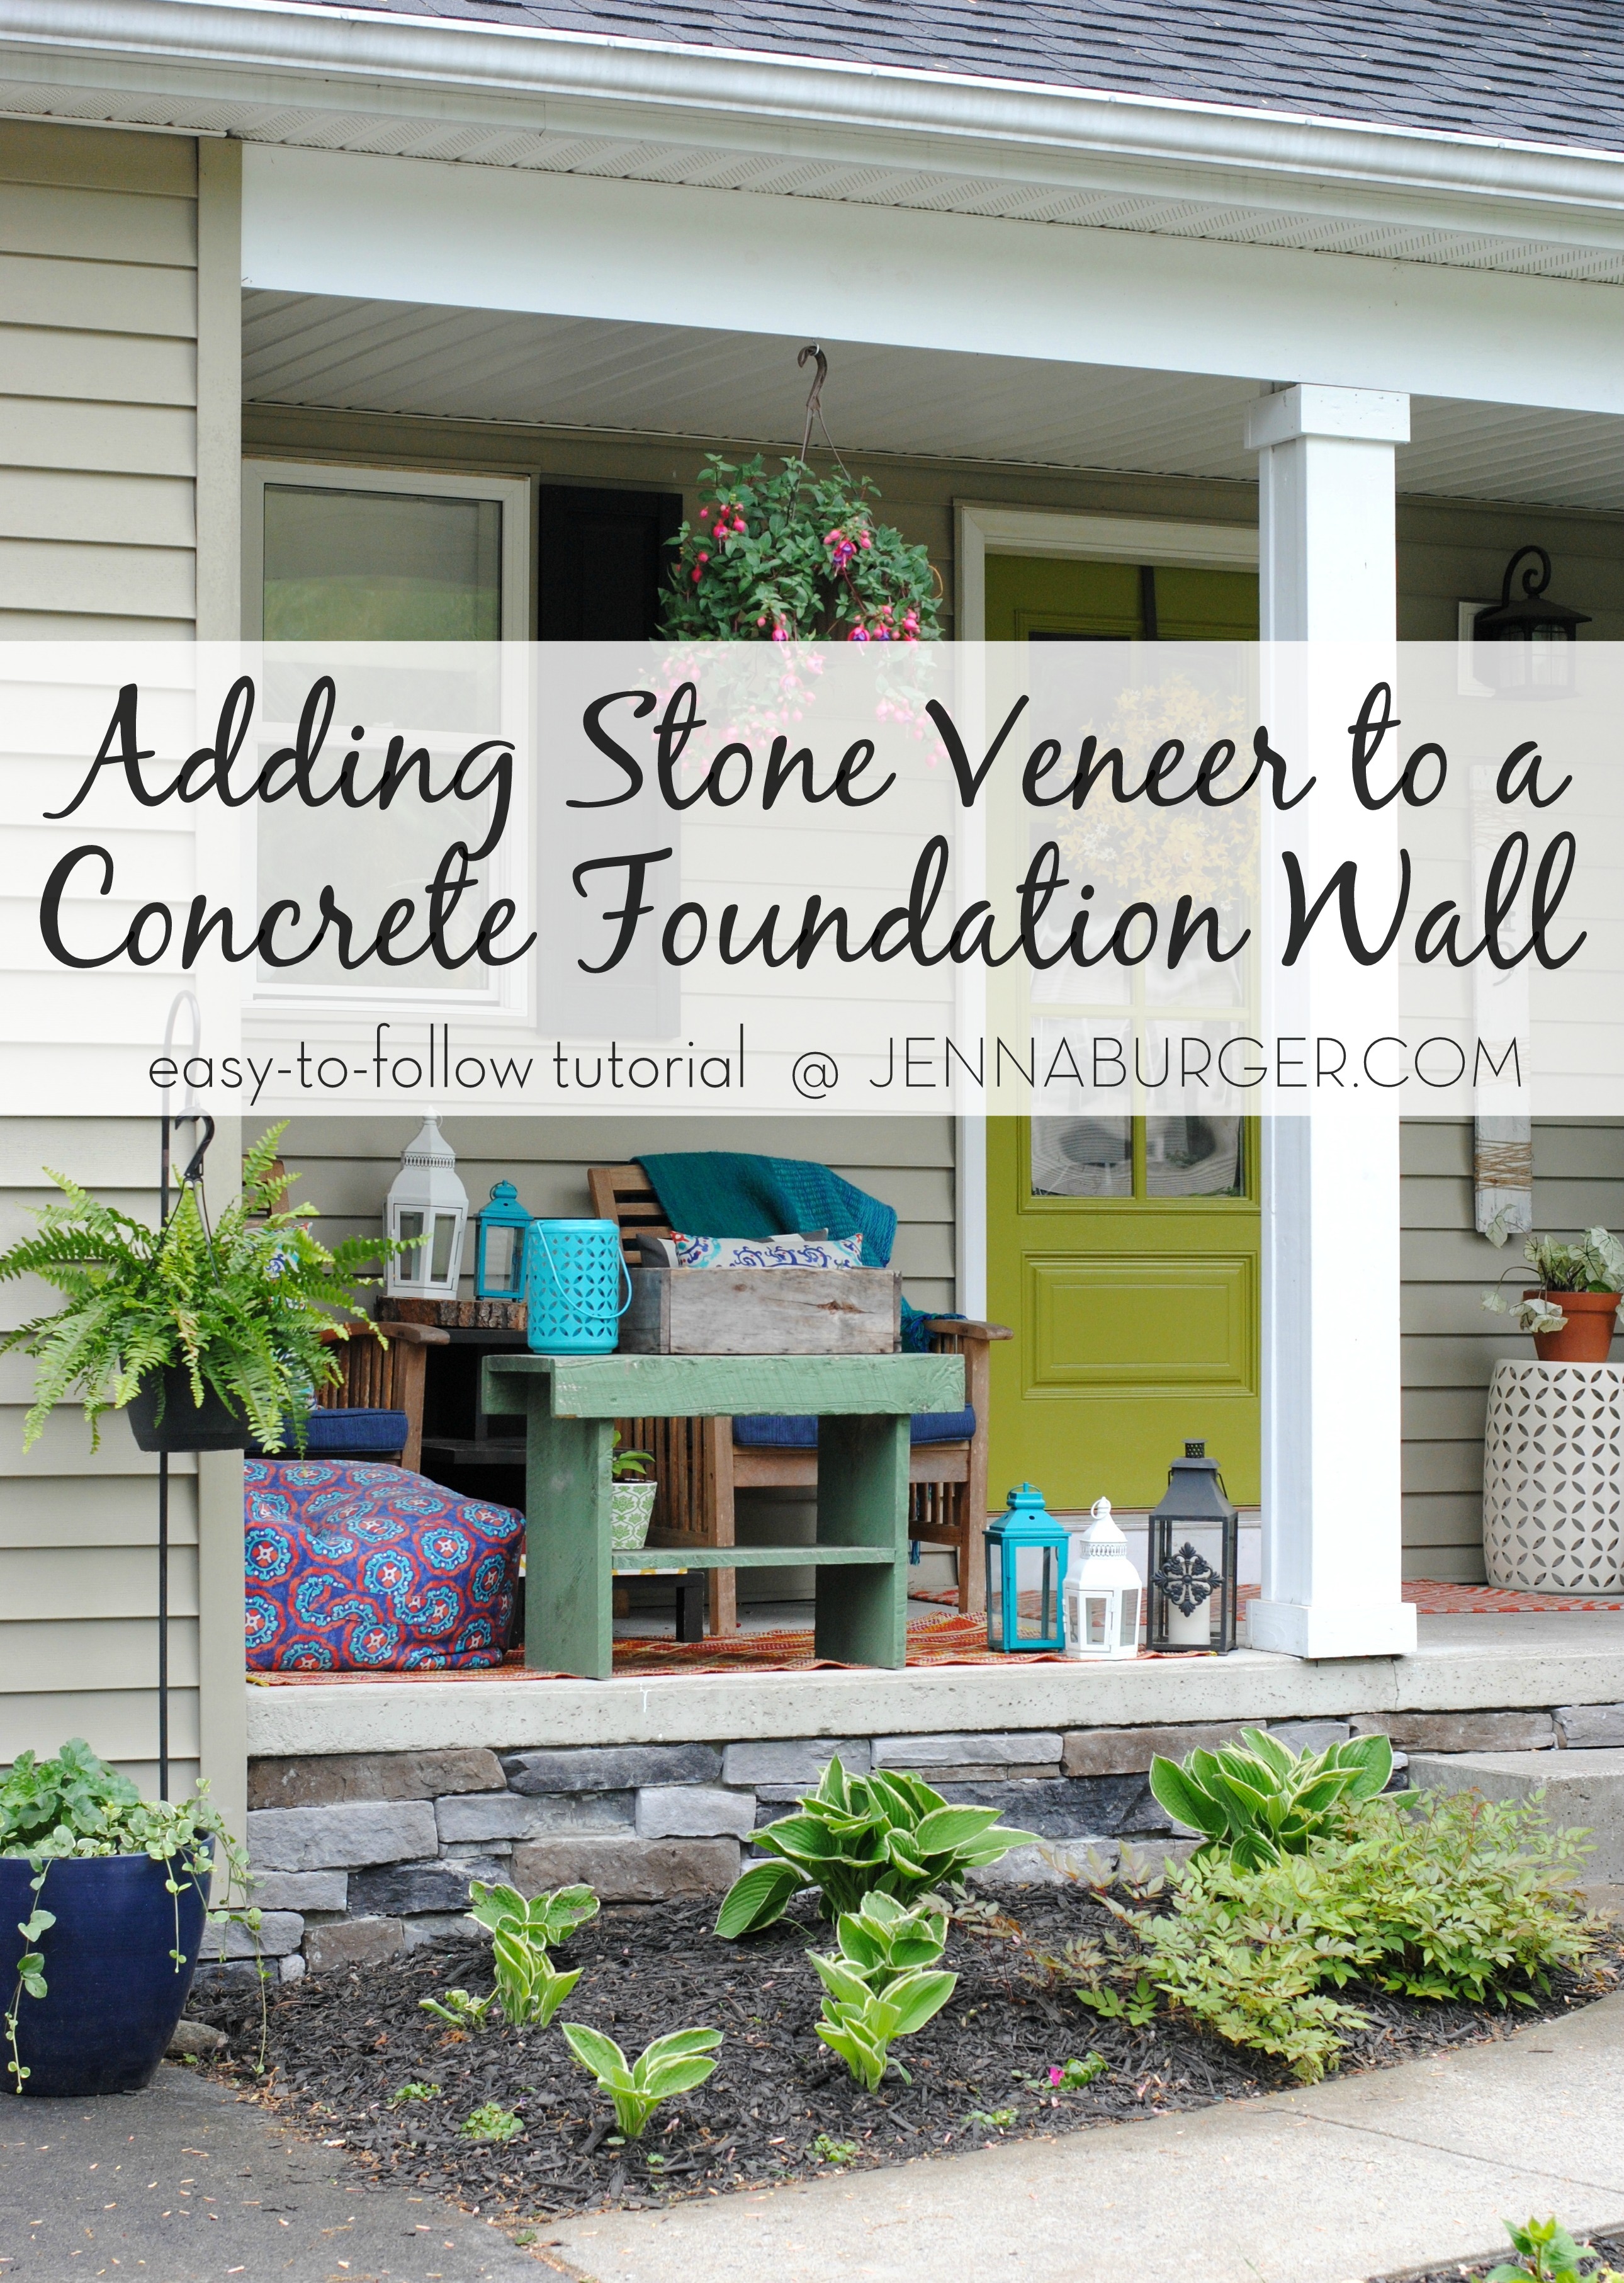
Adding Stone Veneer to a Concrete Foundation Wall

#DIY Tutorial for Adding a Stone Veneer to a Concrete Foundation Wall: Give a bare, untreated foundation wall a finished look with an affordable stone facing!  Easy-to-Follow tutorial @ www.jennaburger.com

May was A-MAY-zing (hehe, corny but true)! Really though, it was a wonderful month of sunshine + warmer temps for us in the North Country of New York – June not so much as of yet…

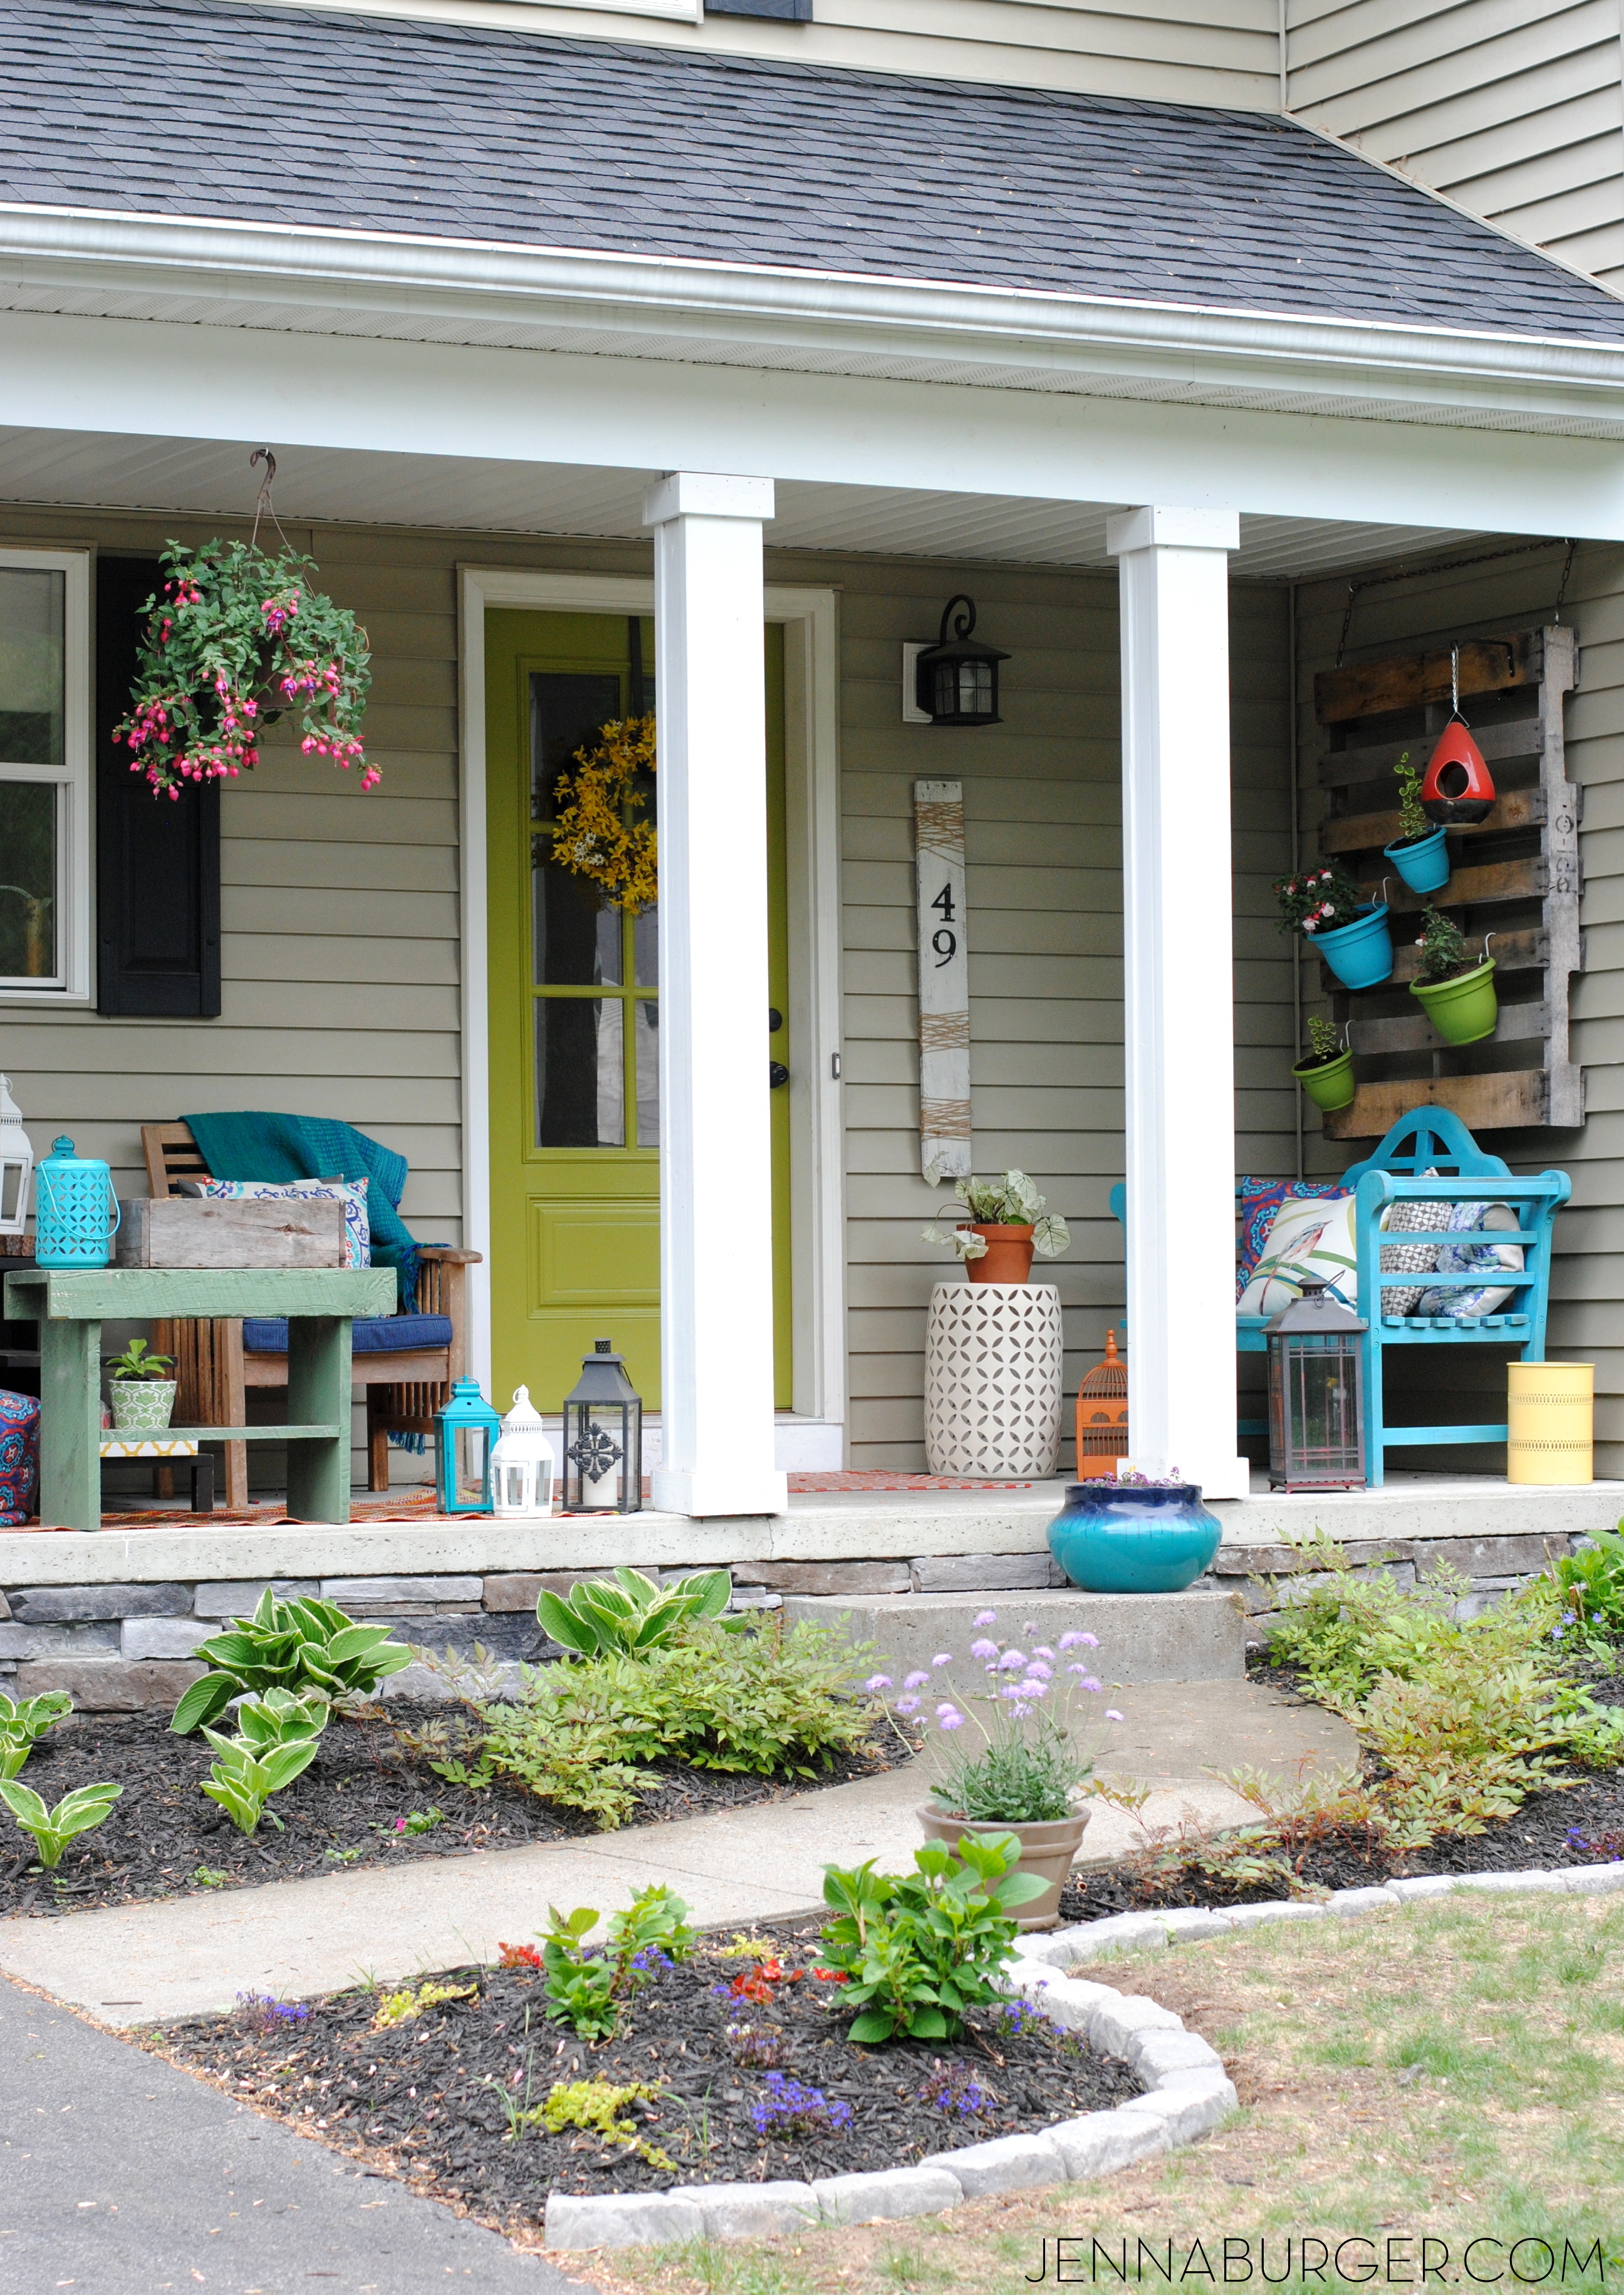
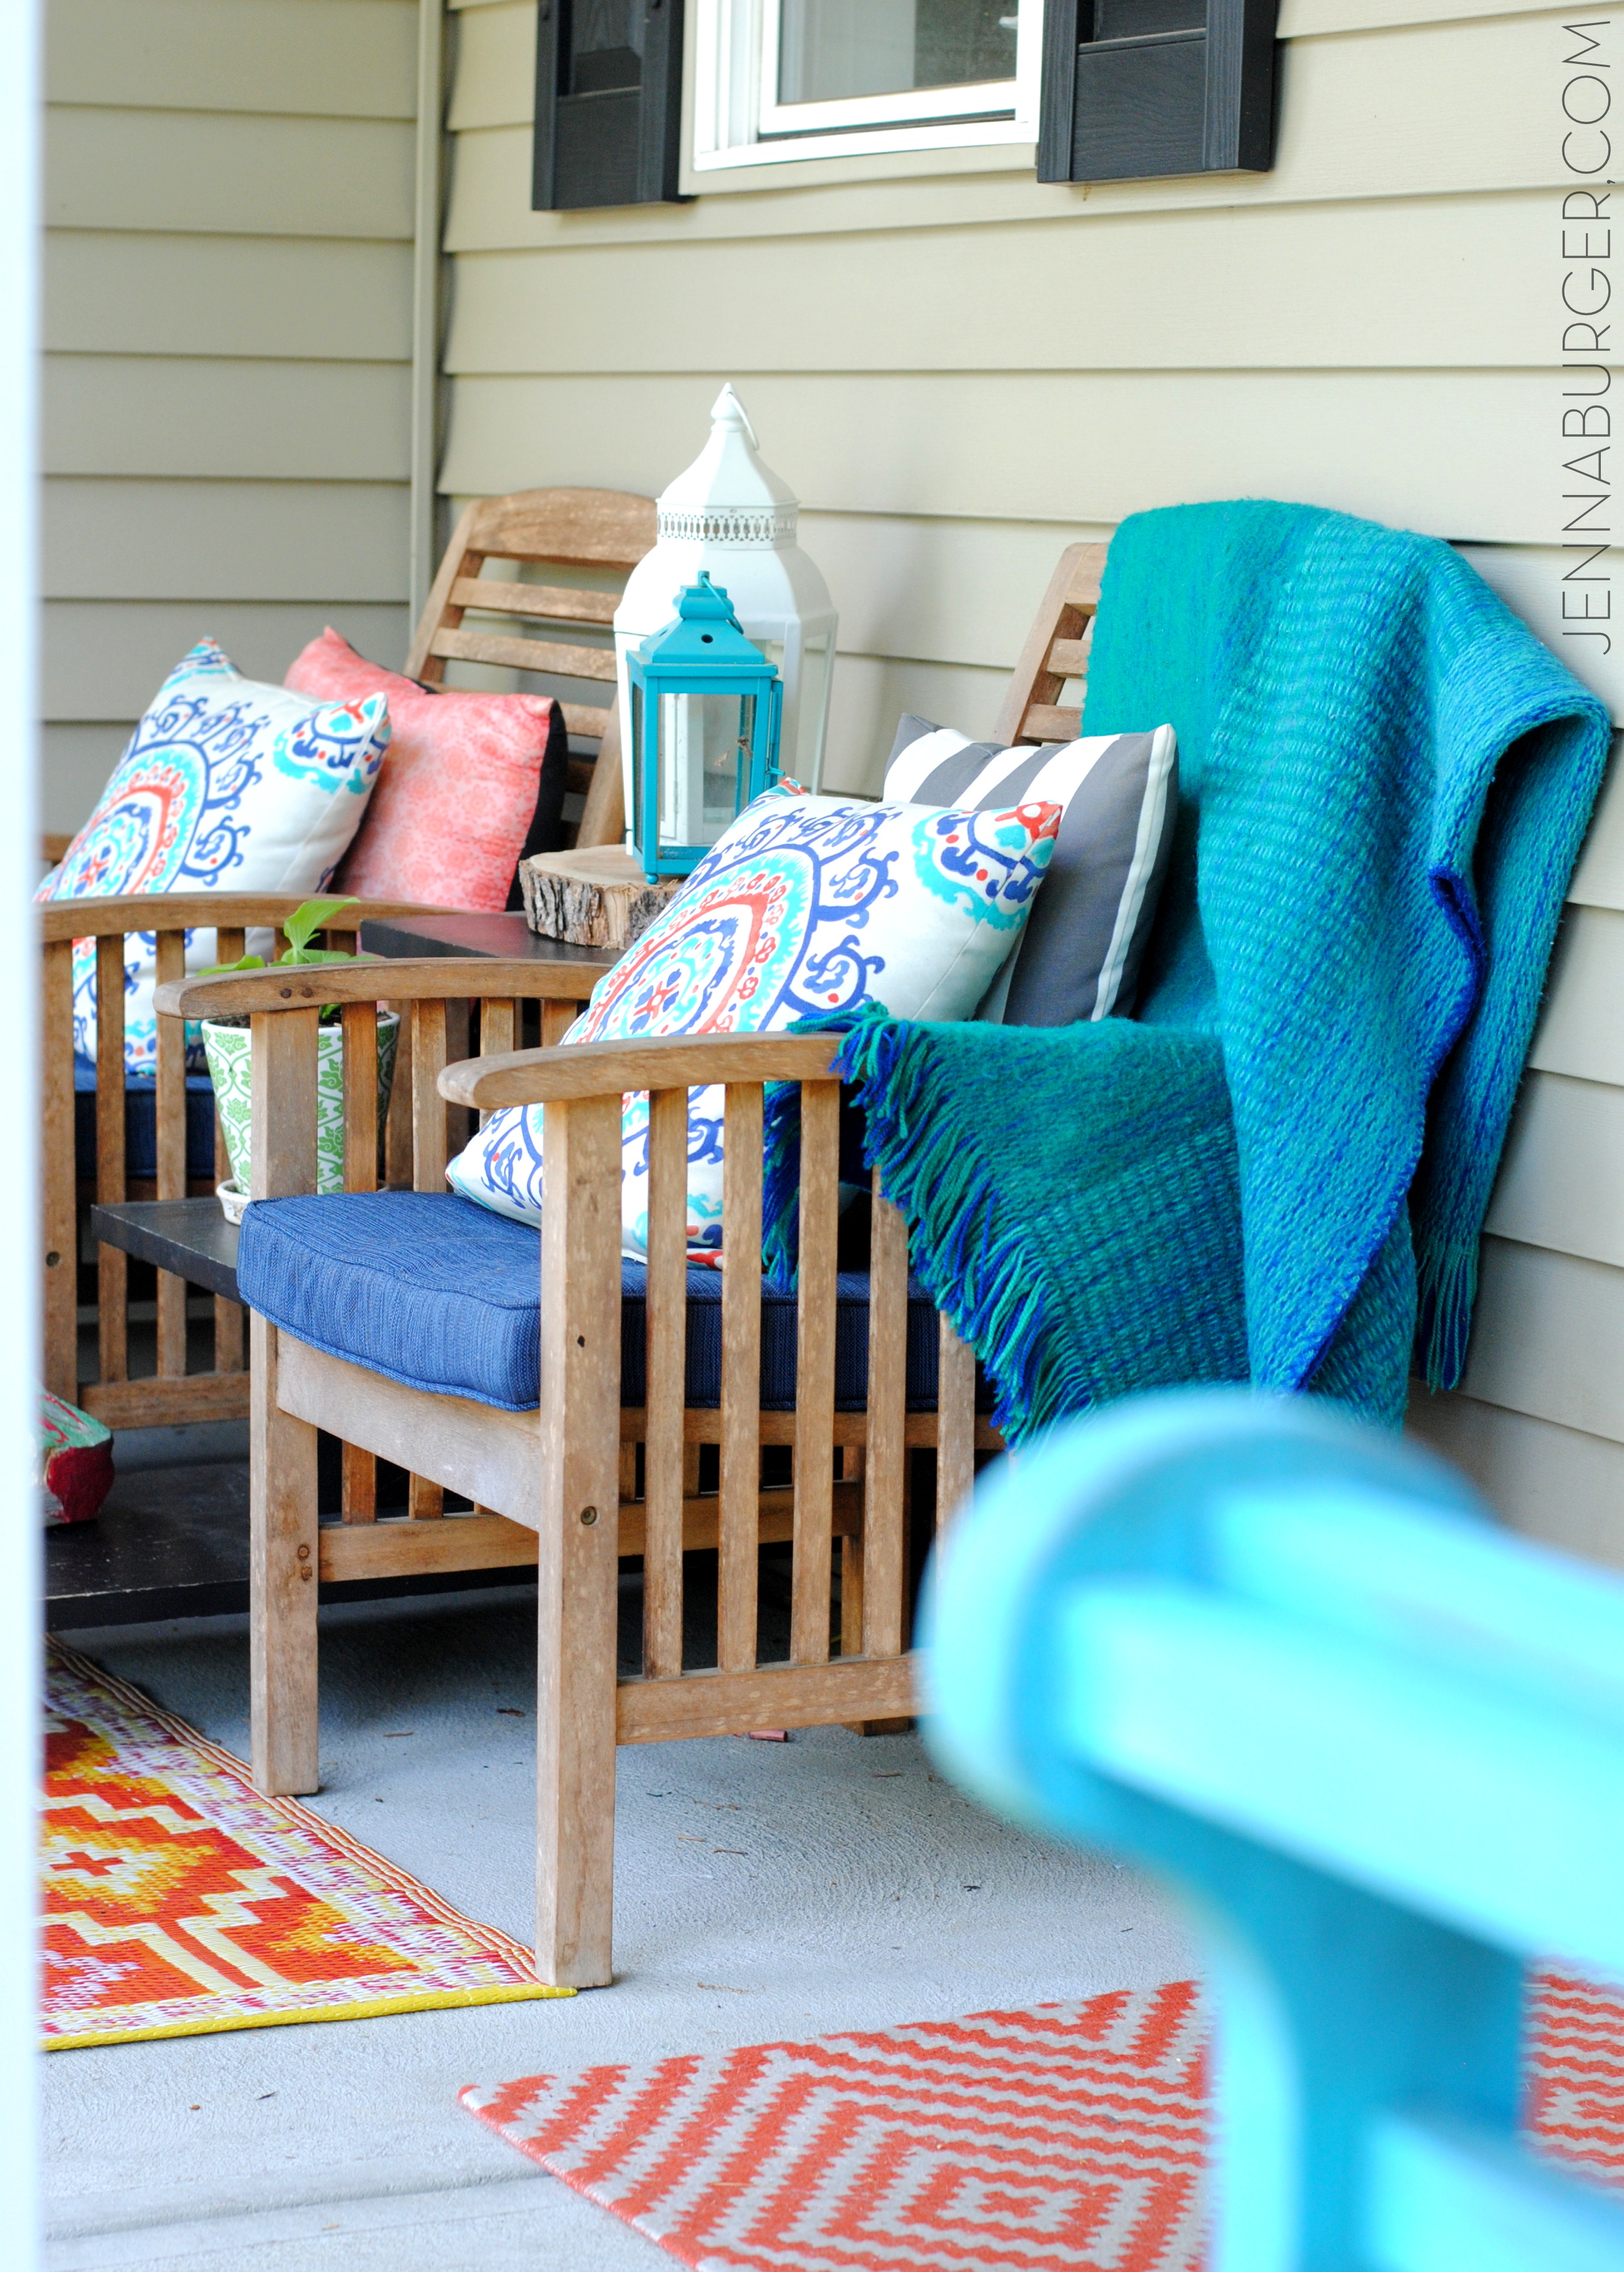
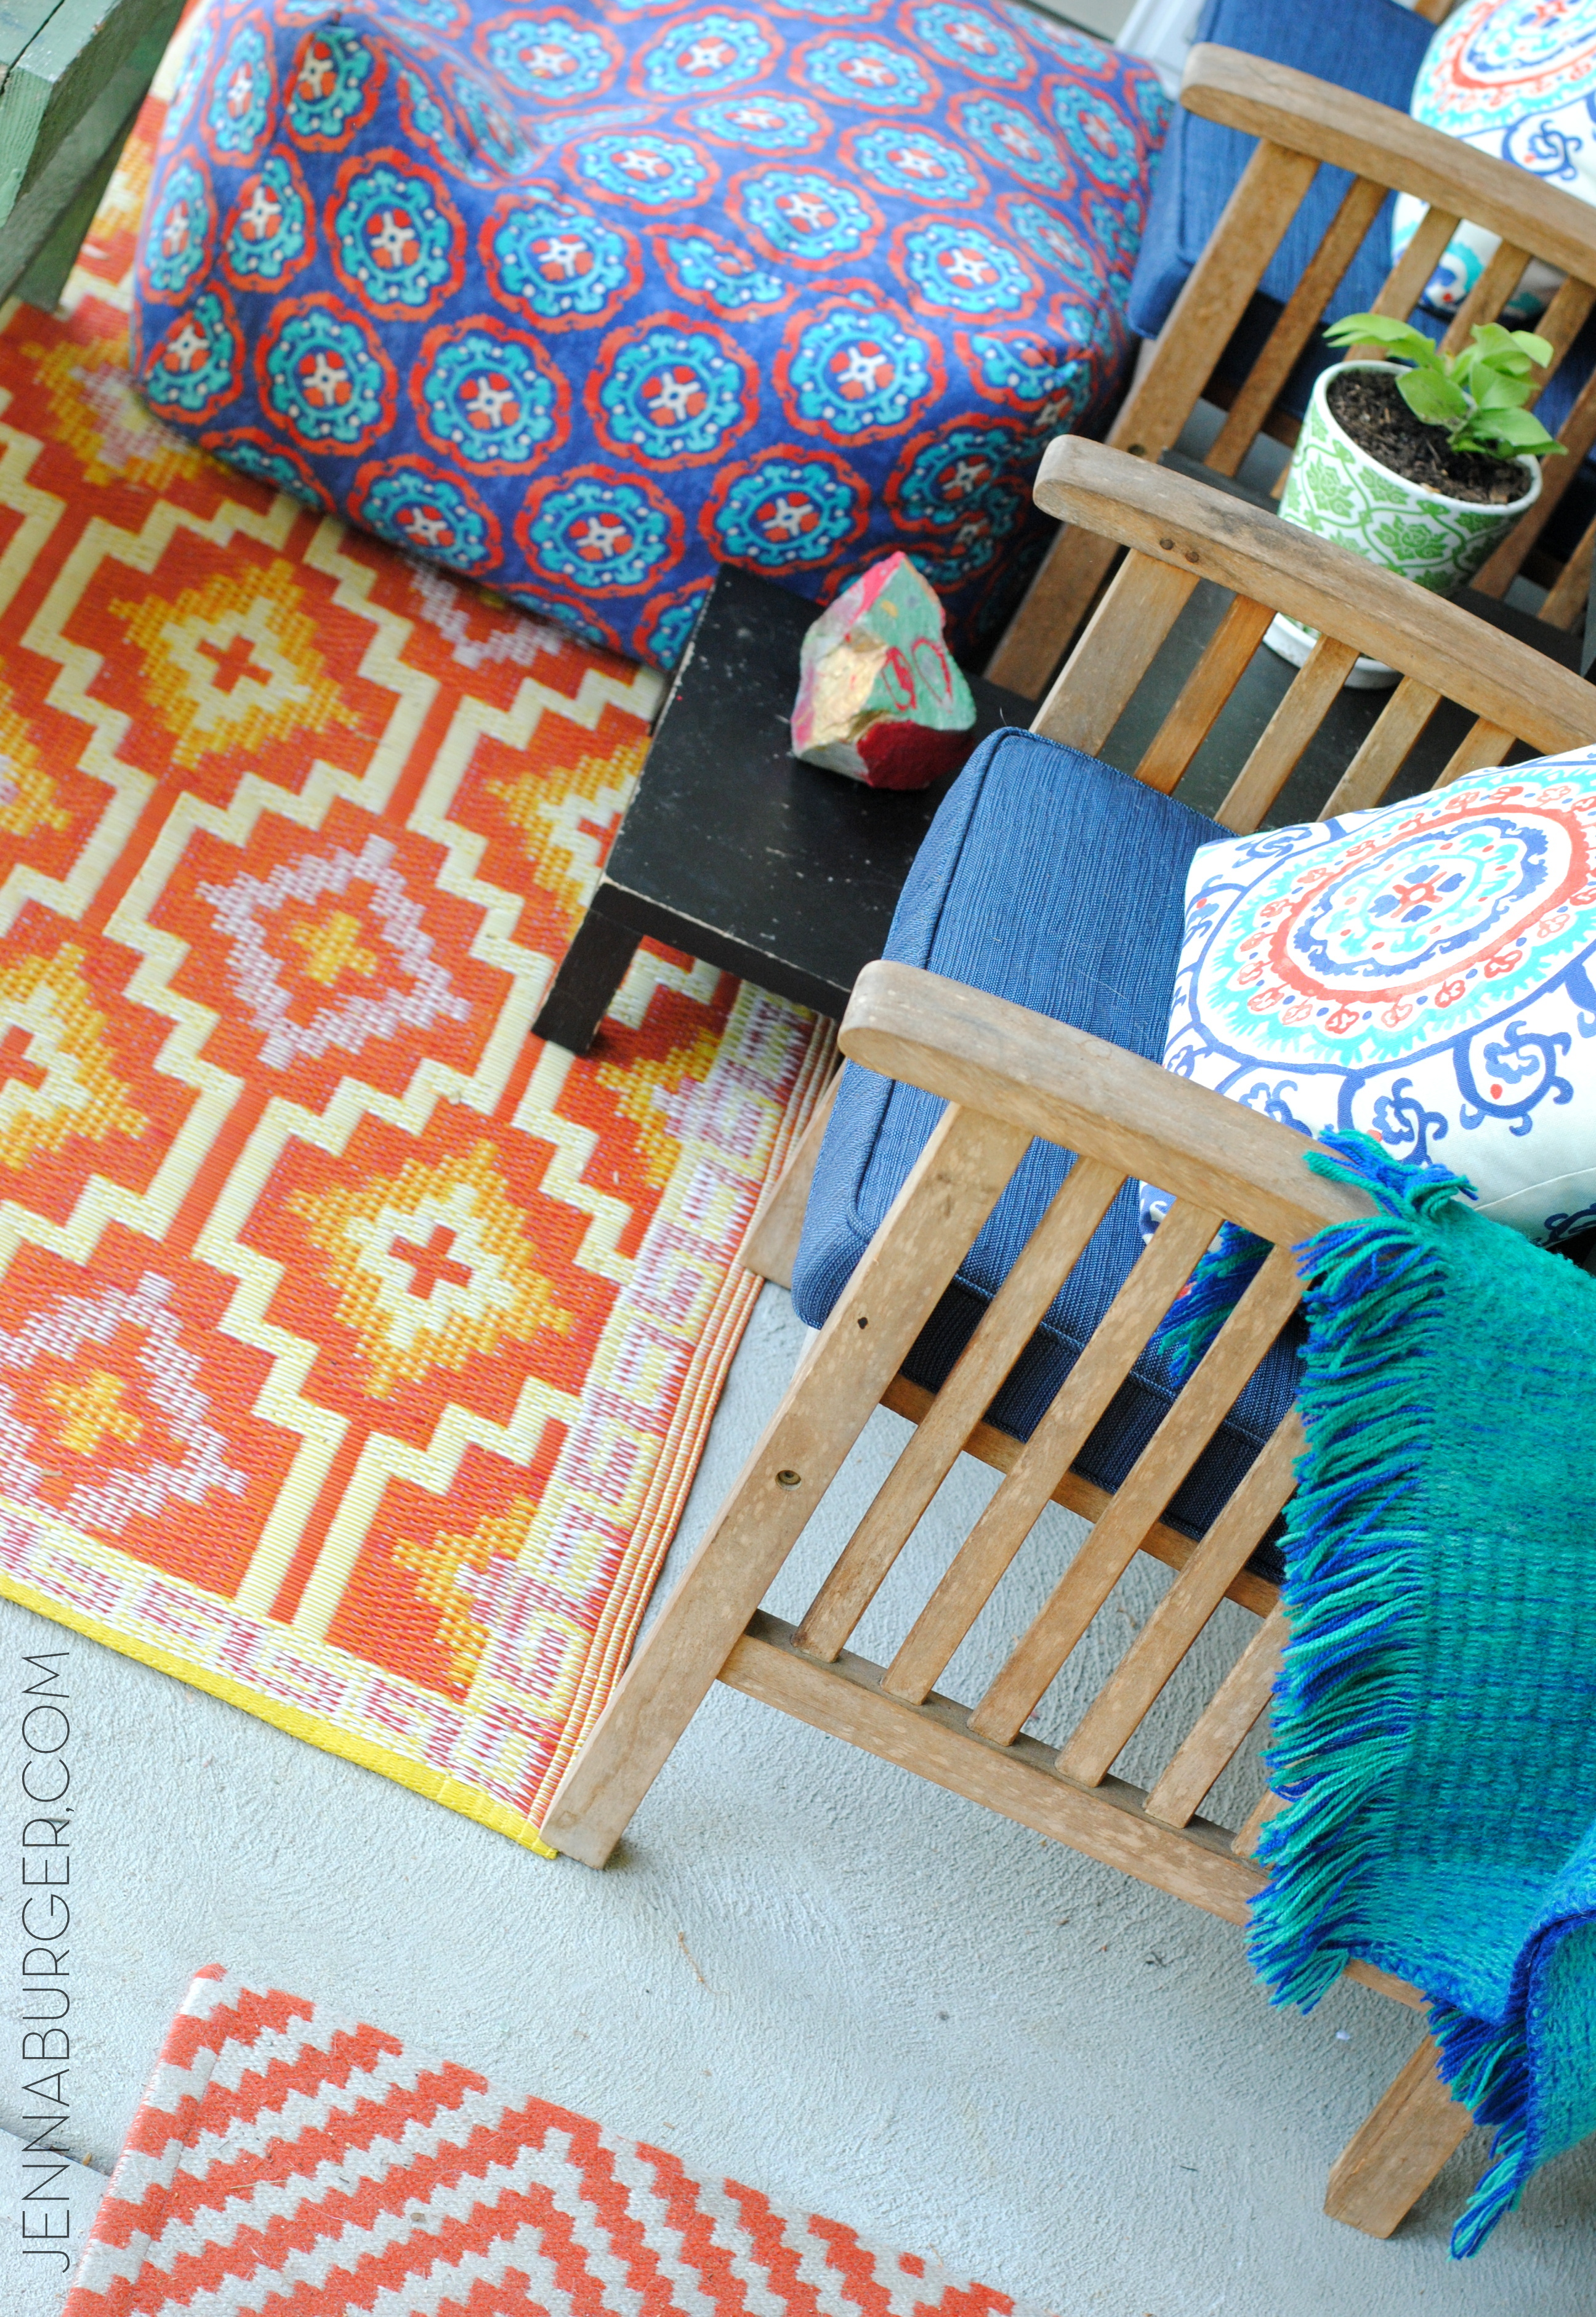
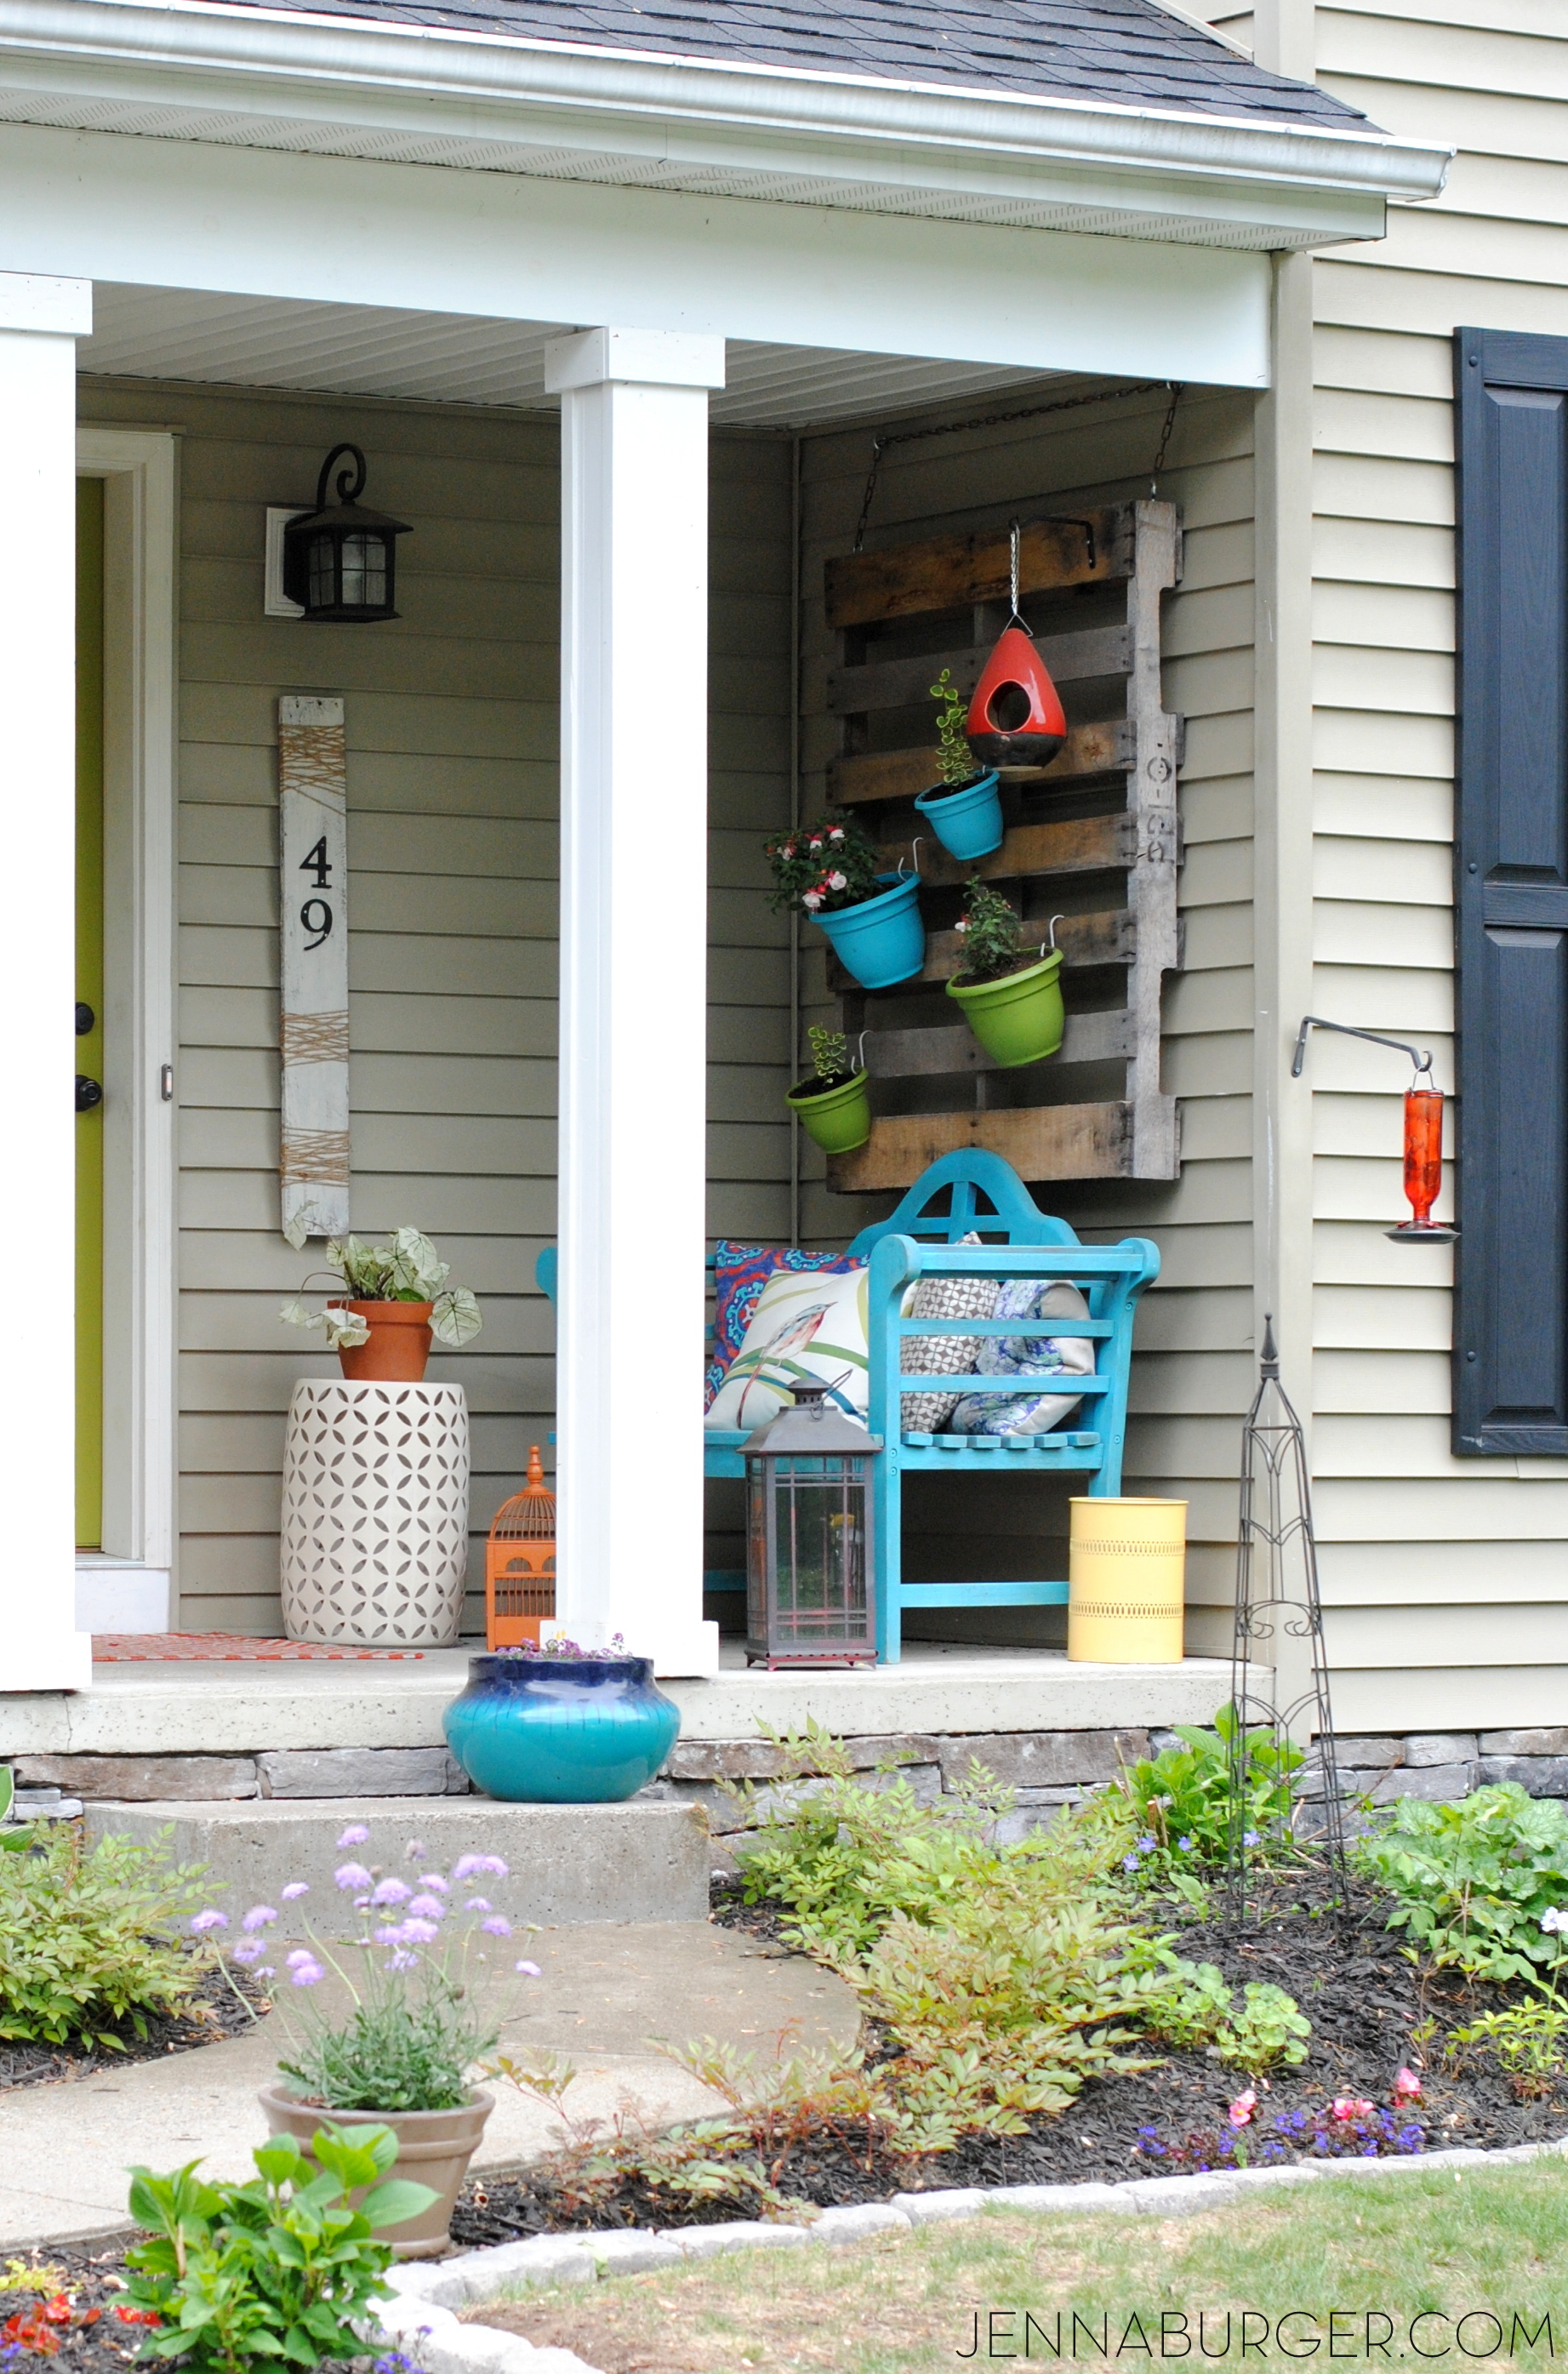
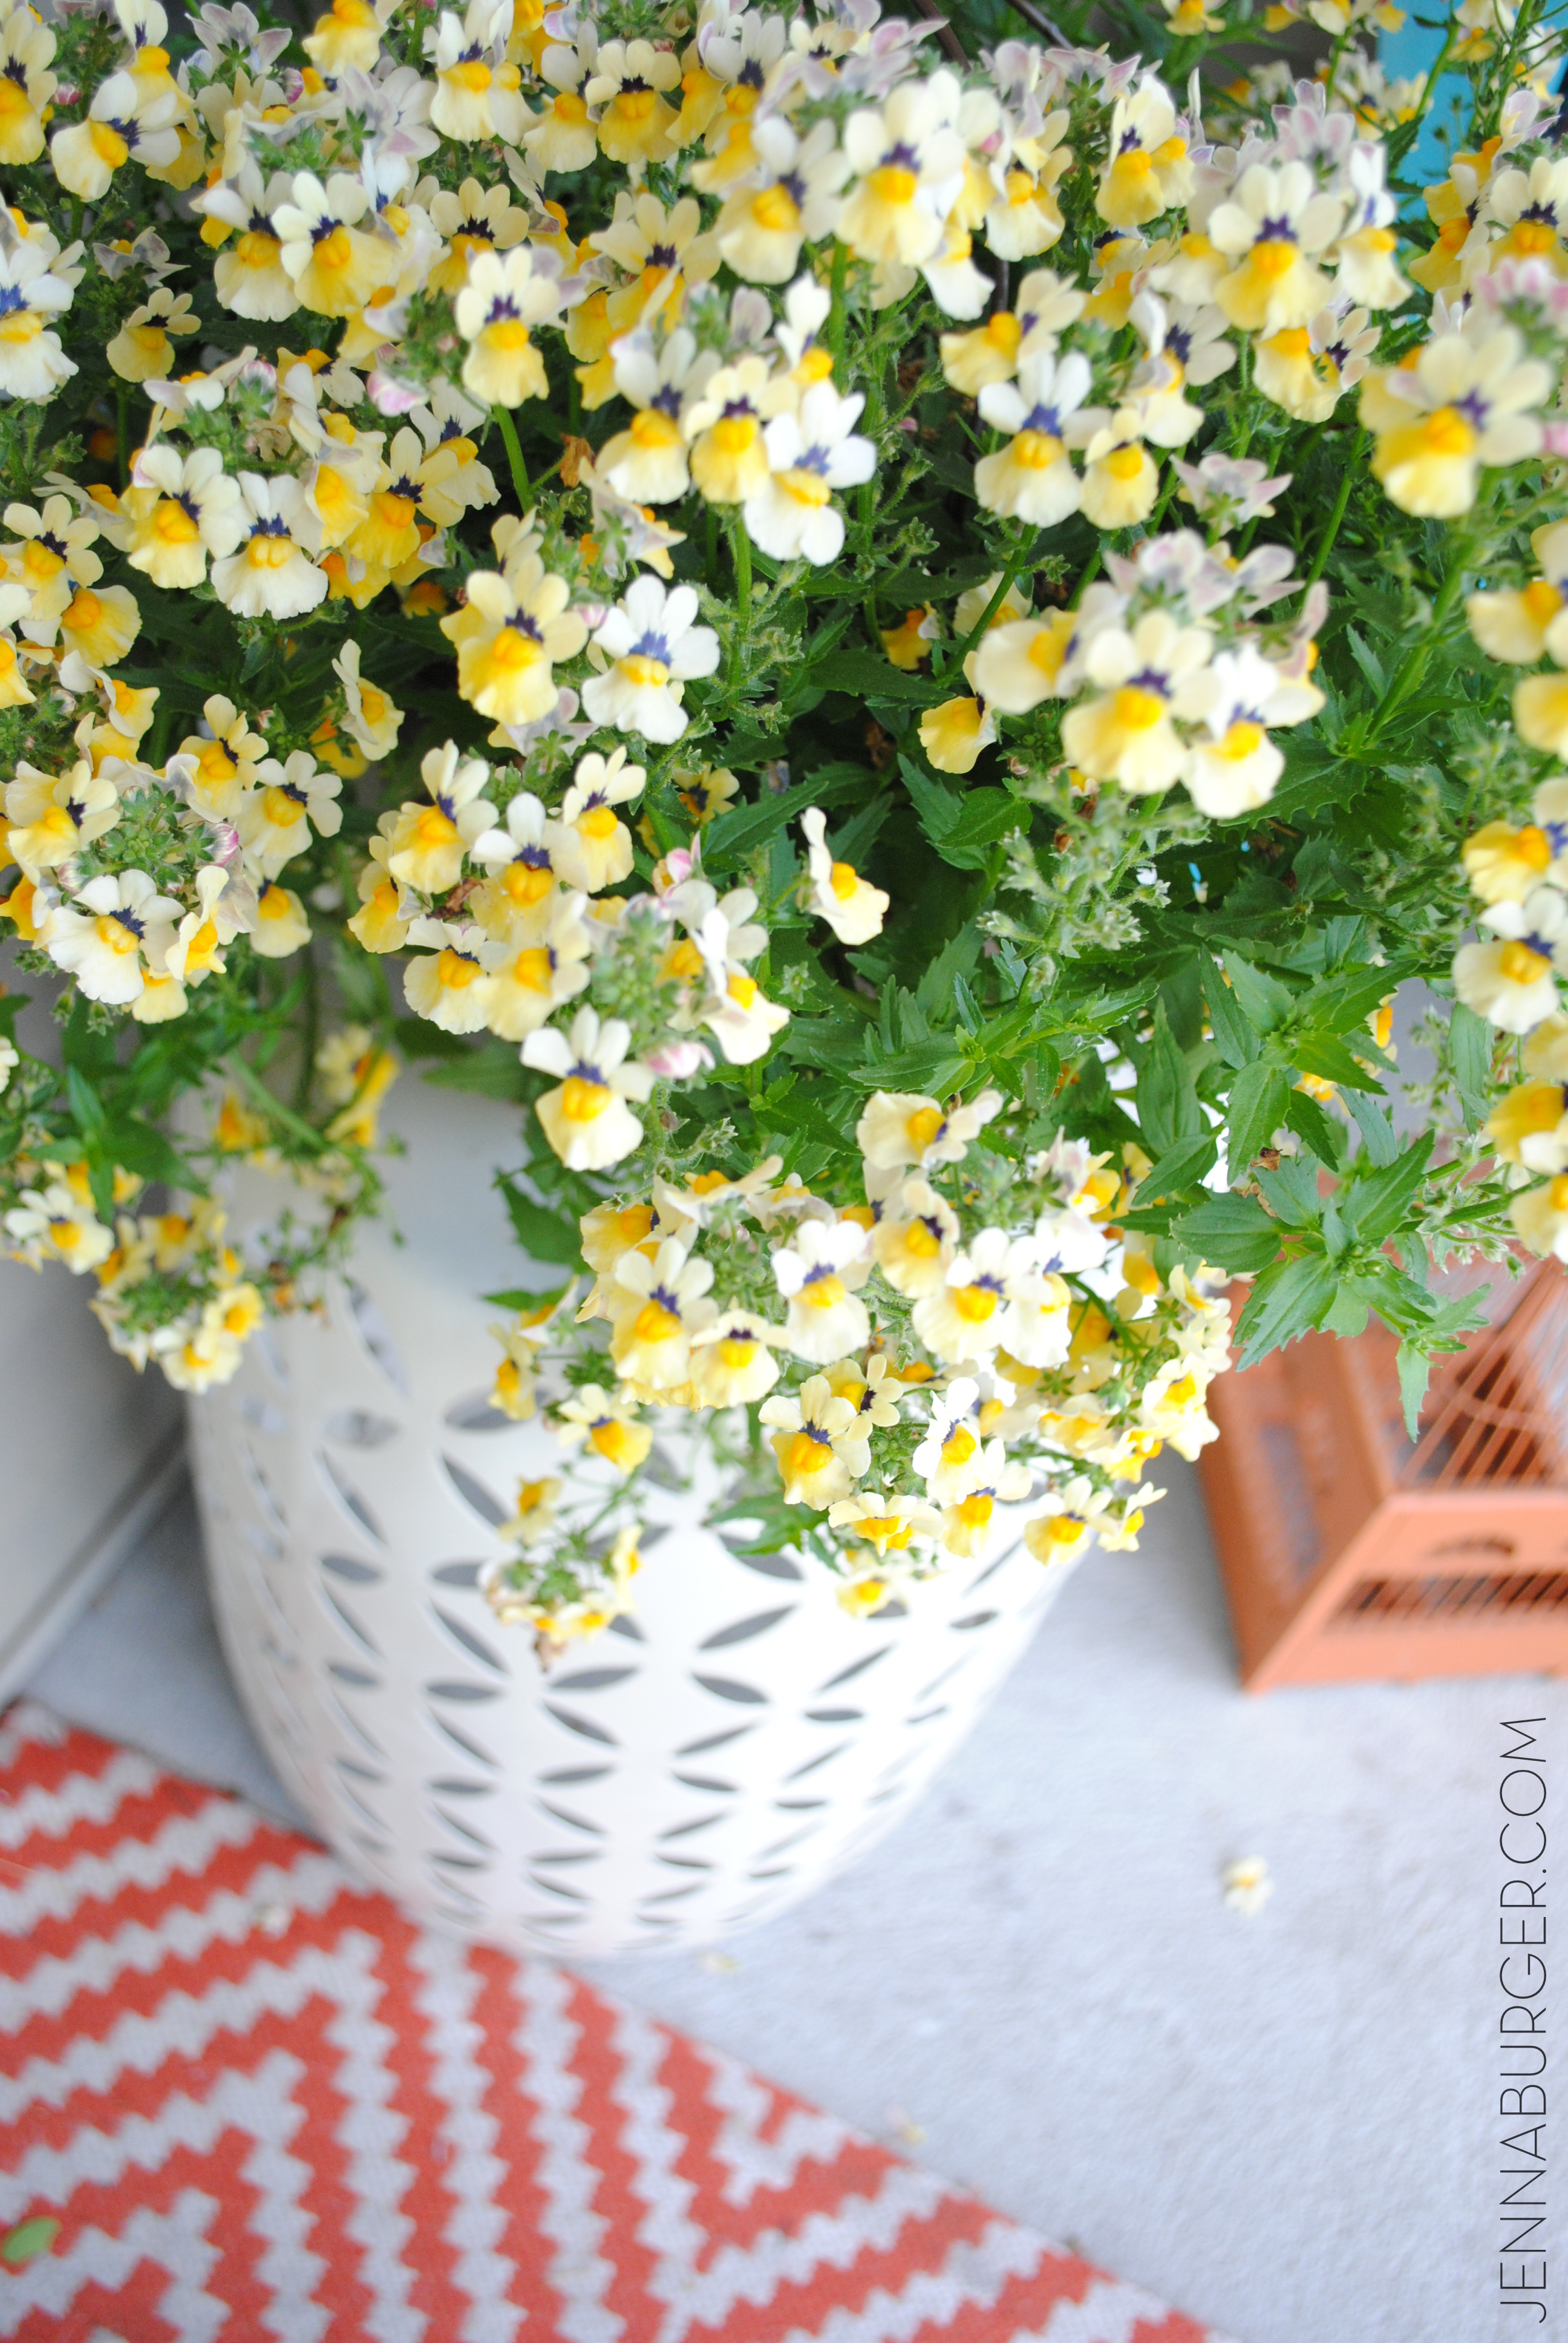
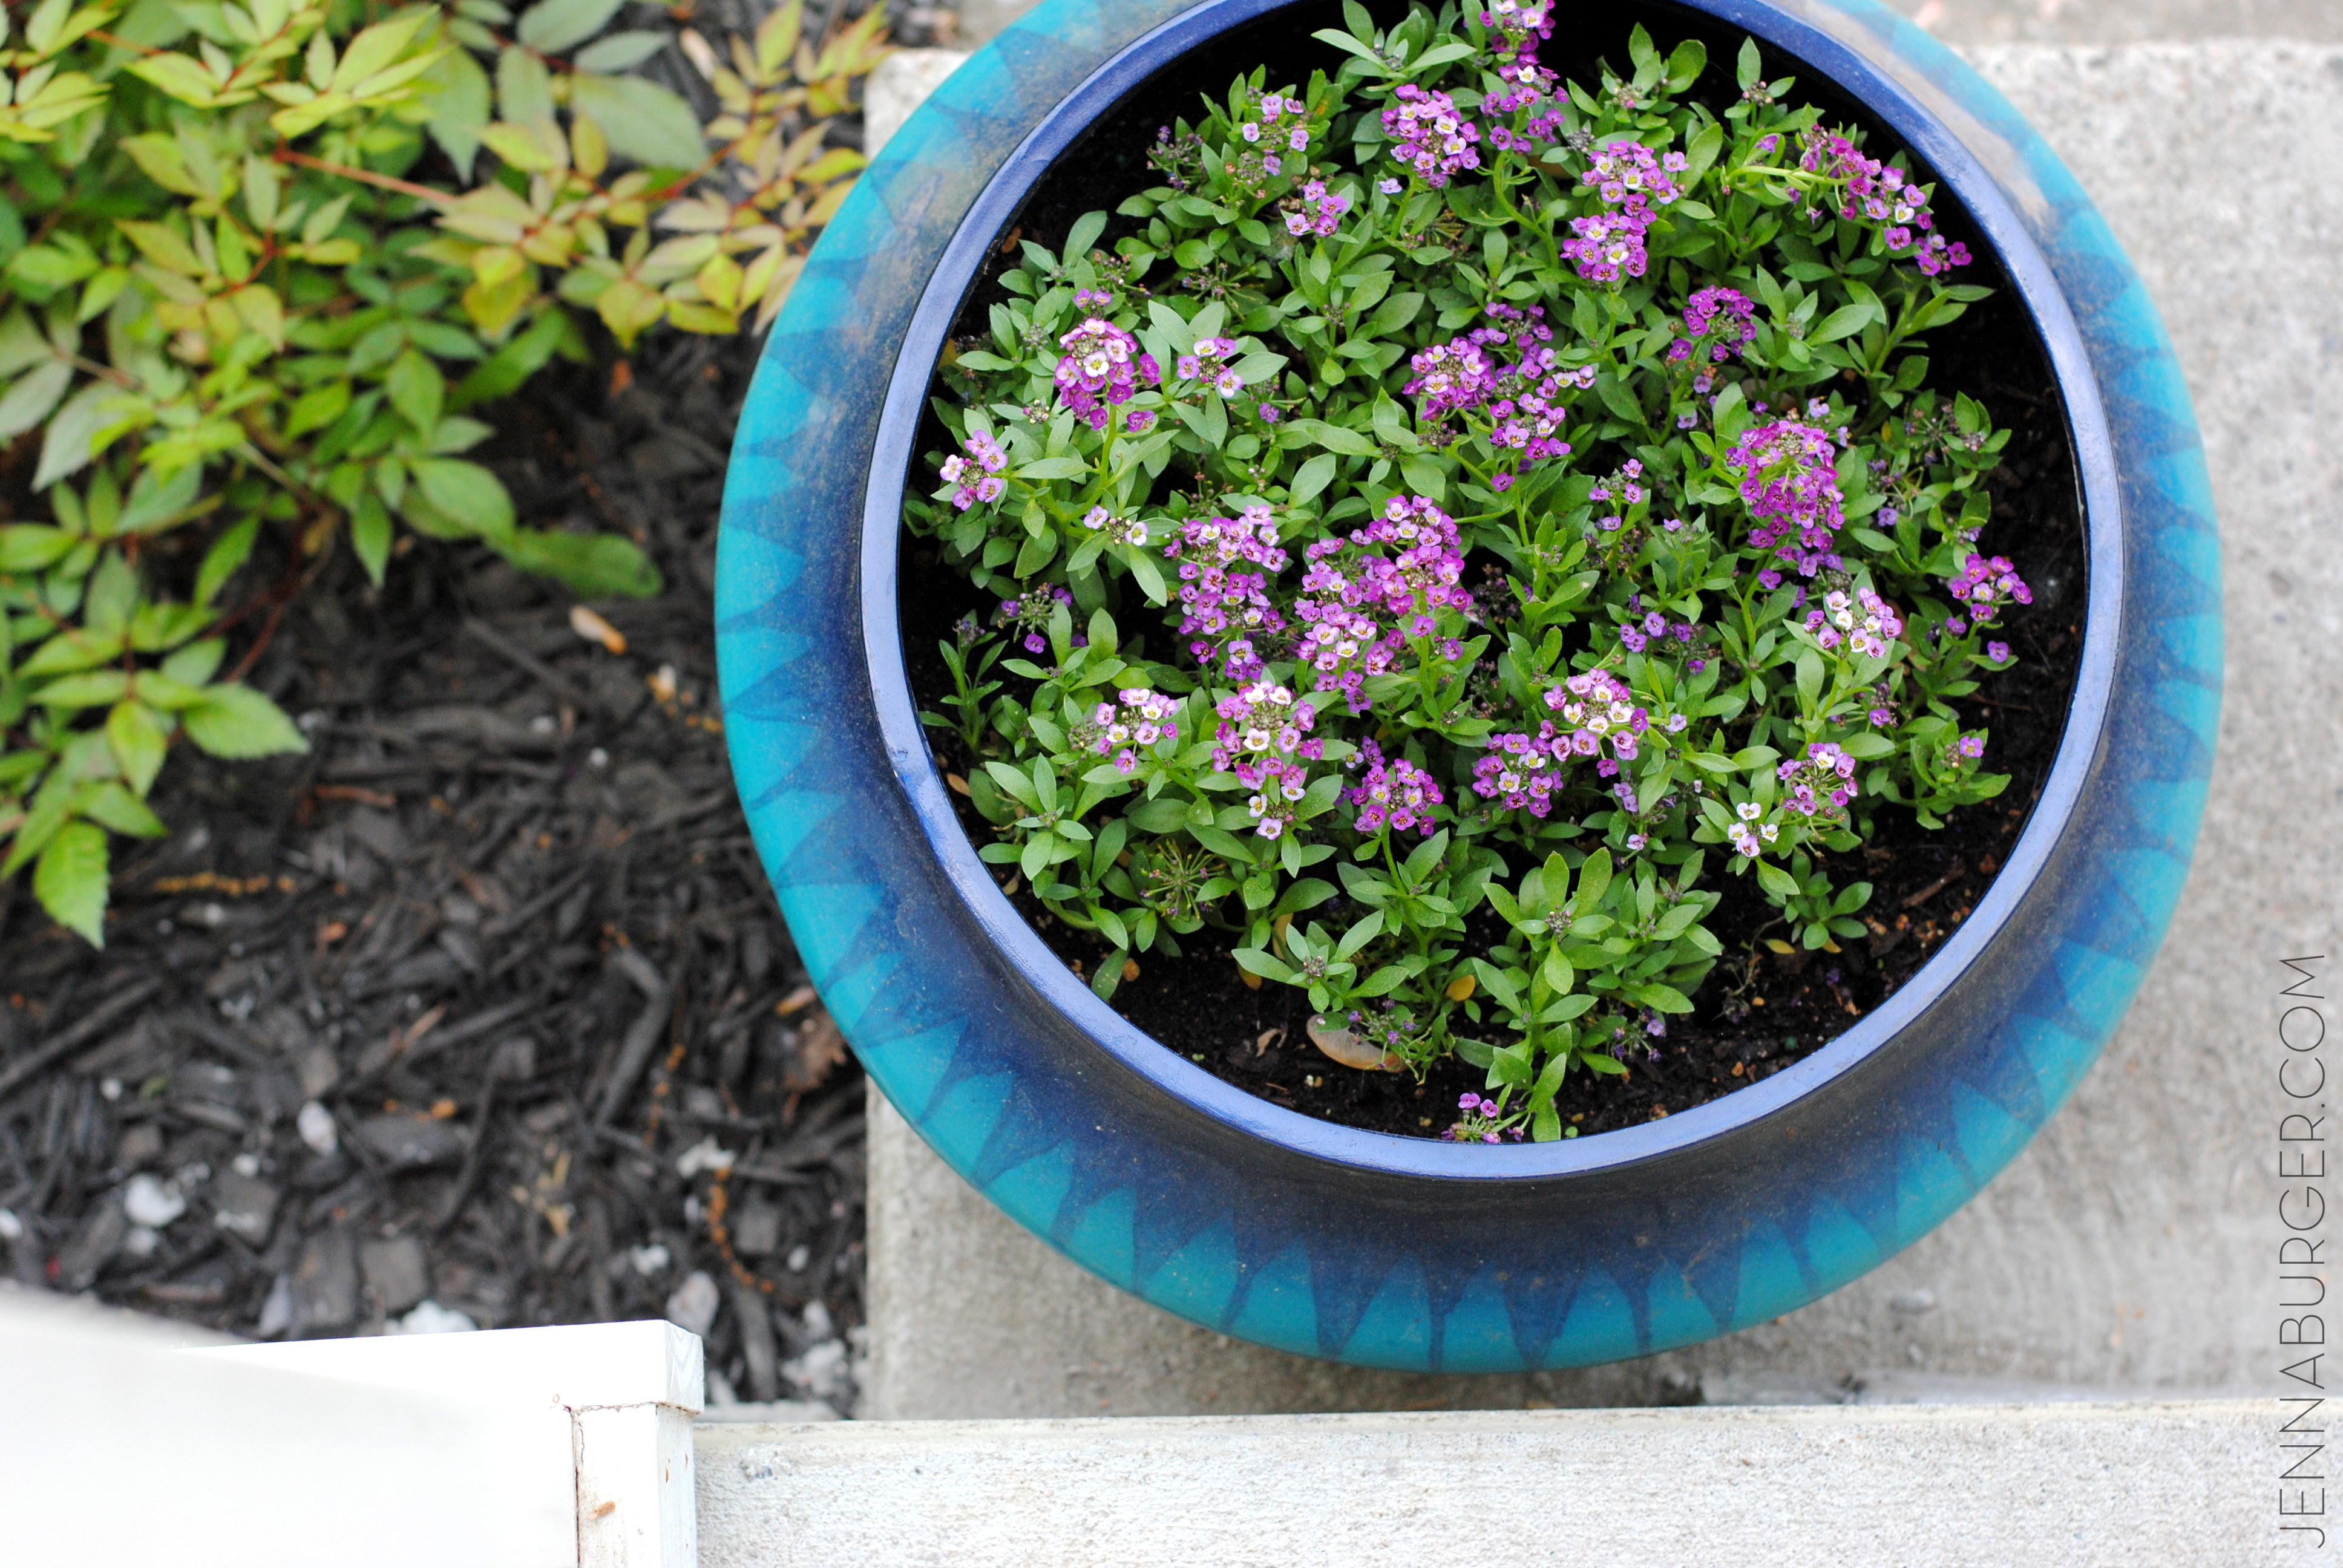
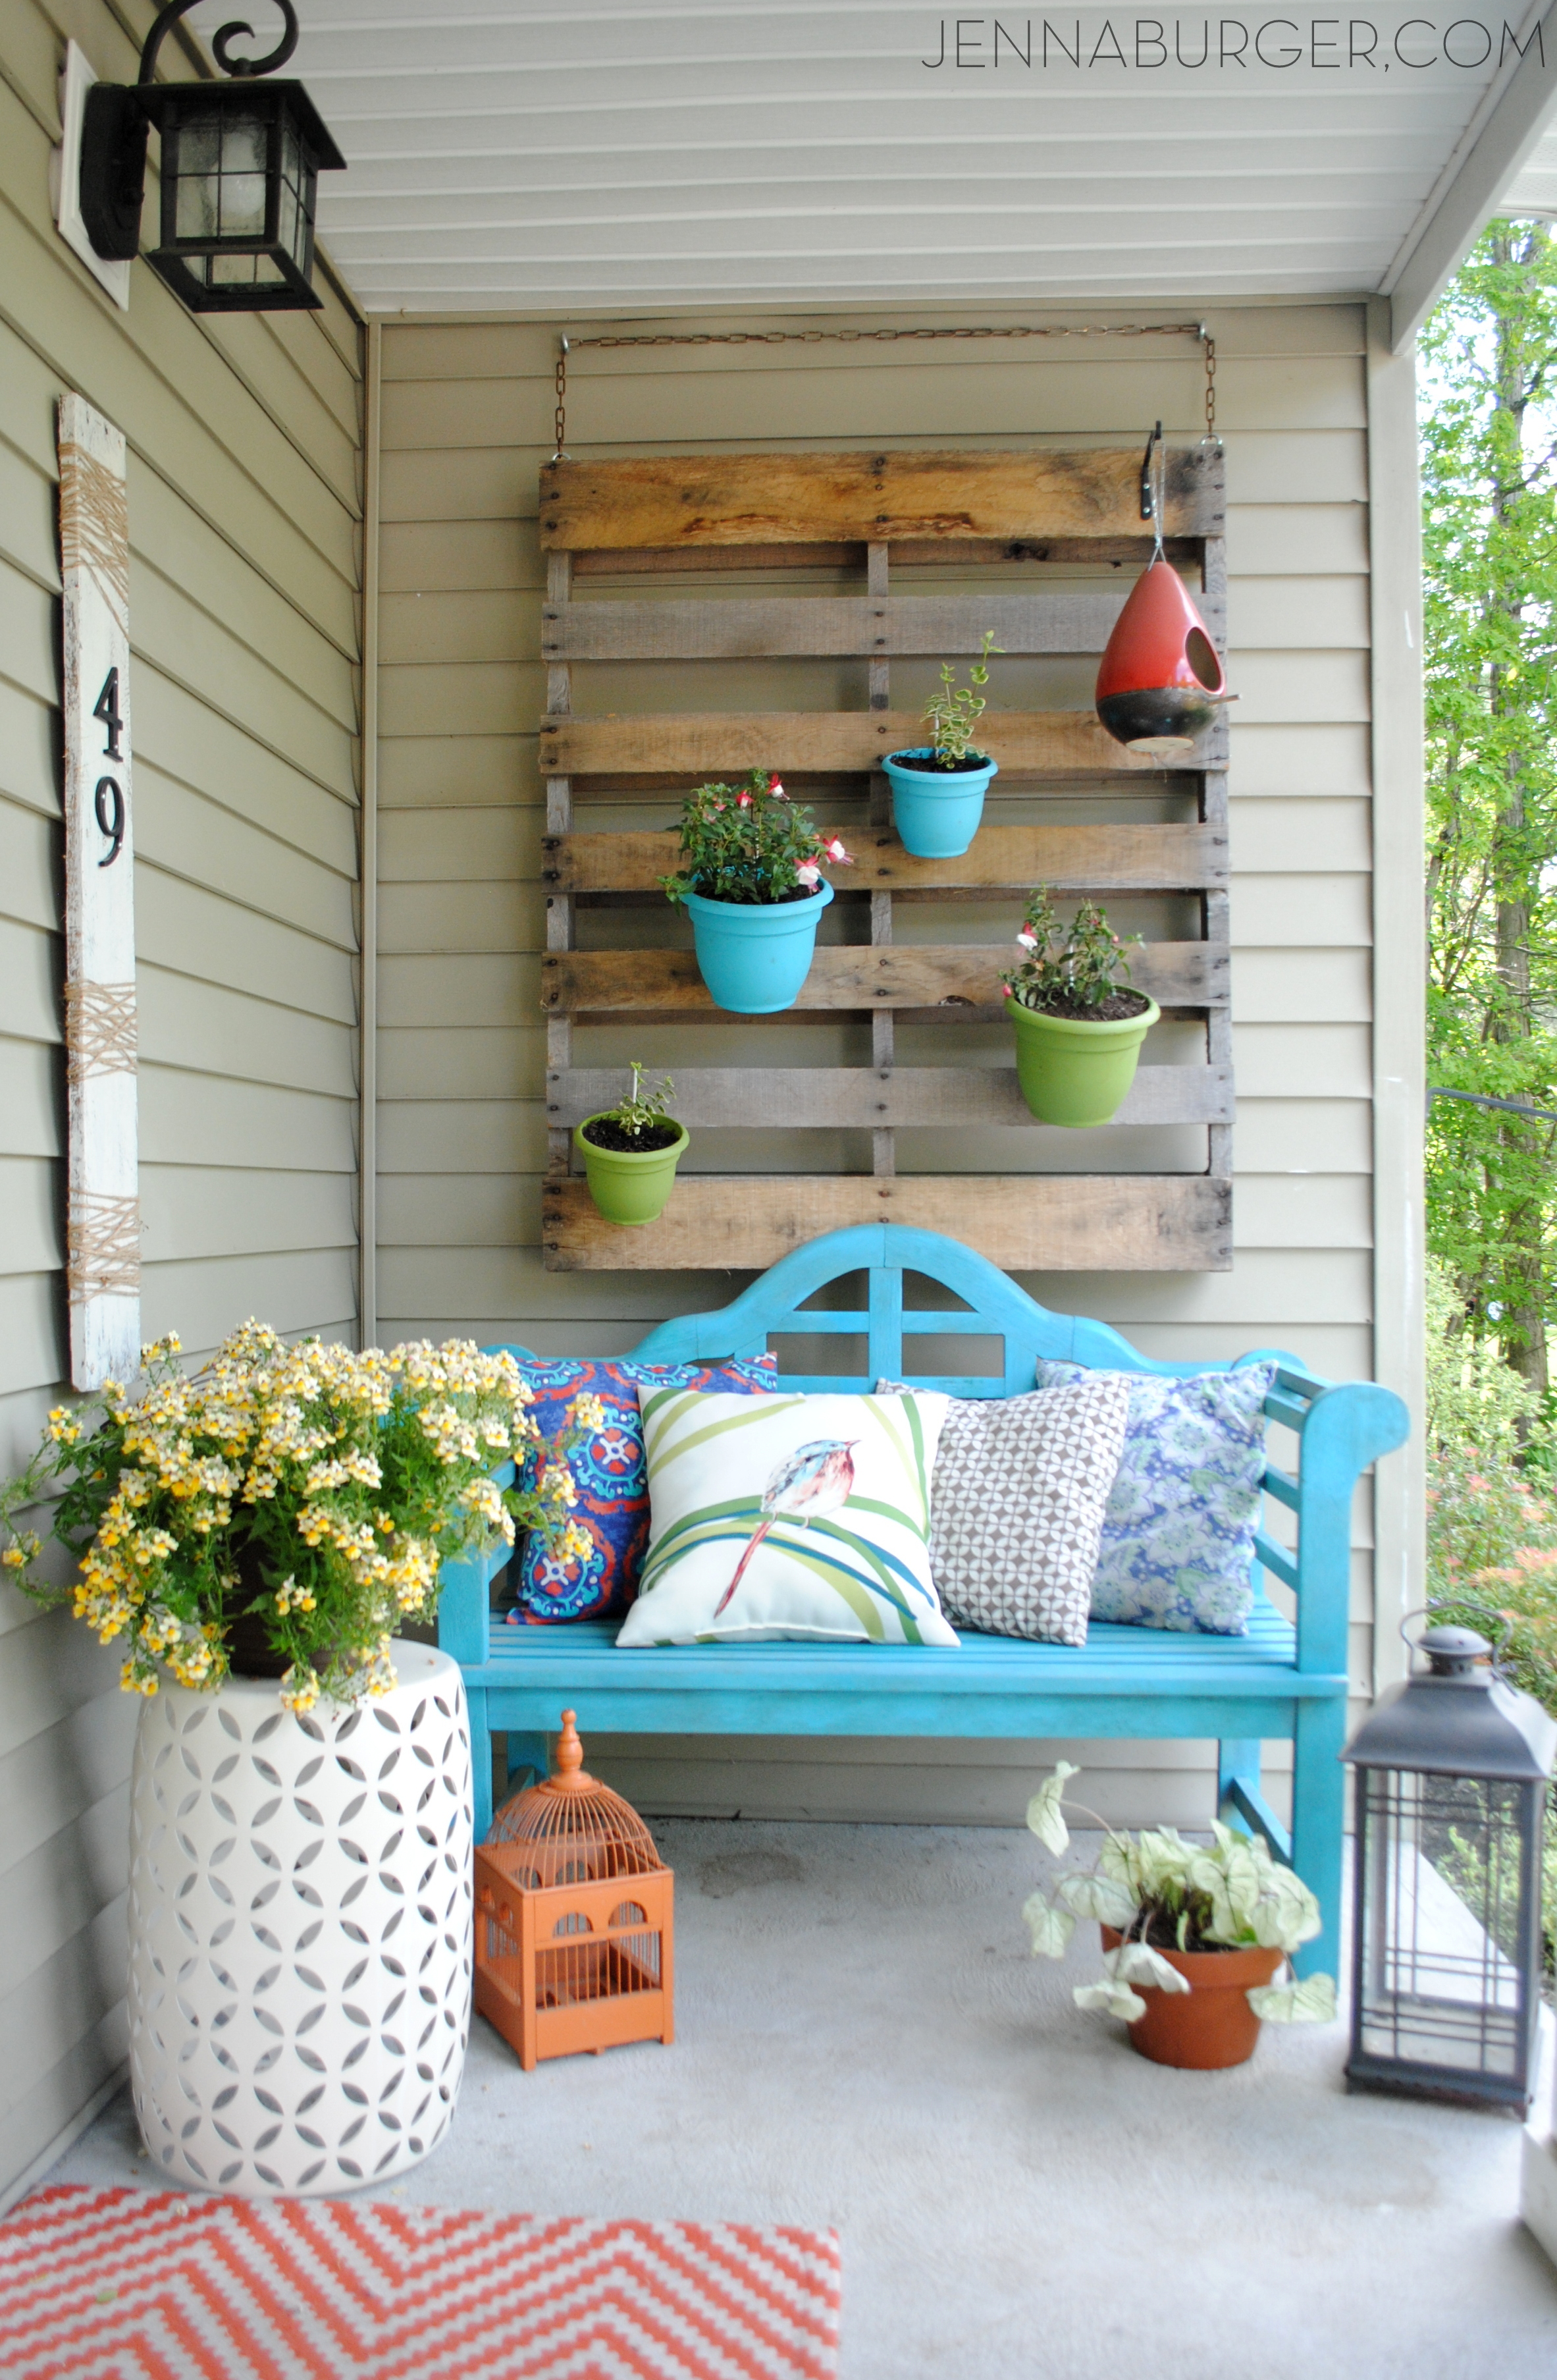
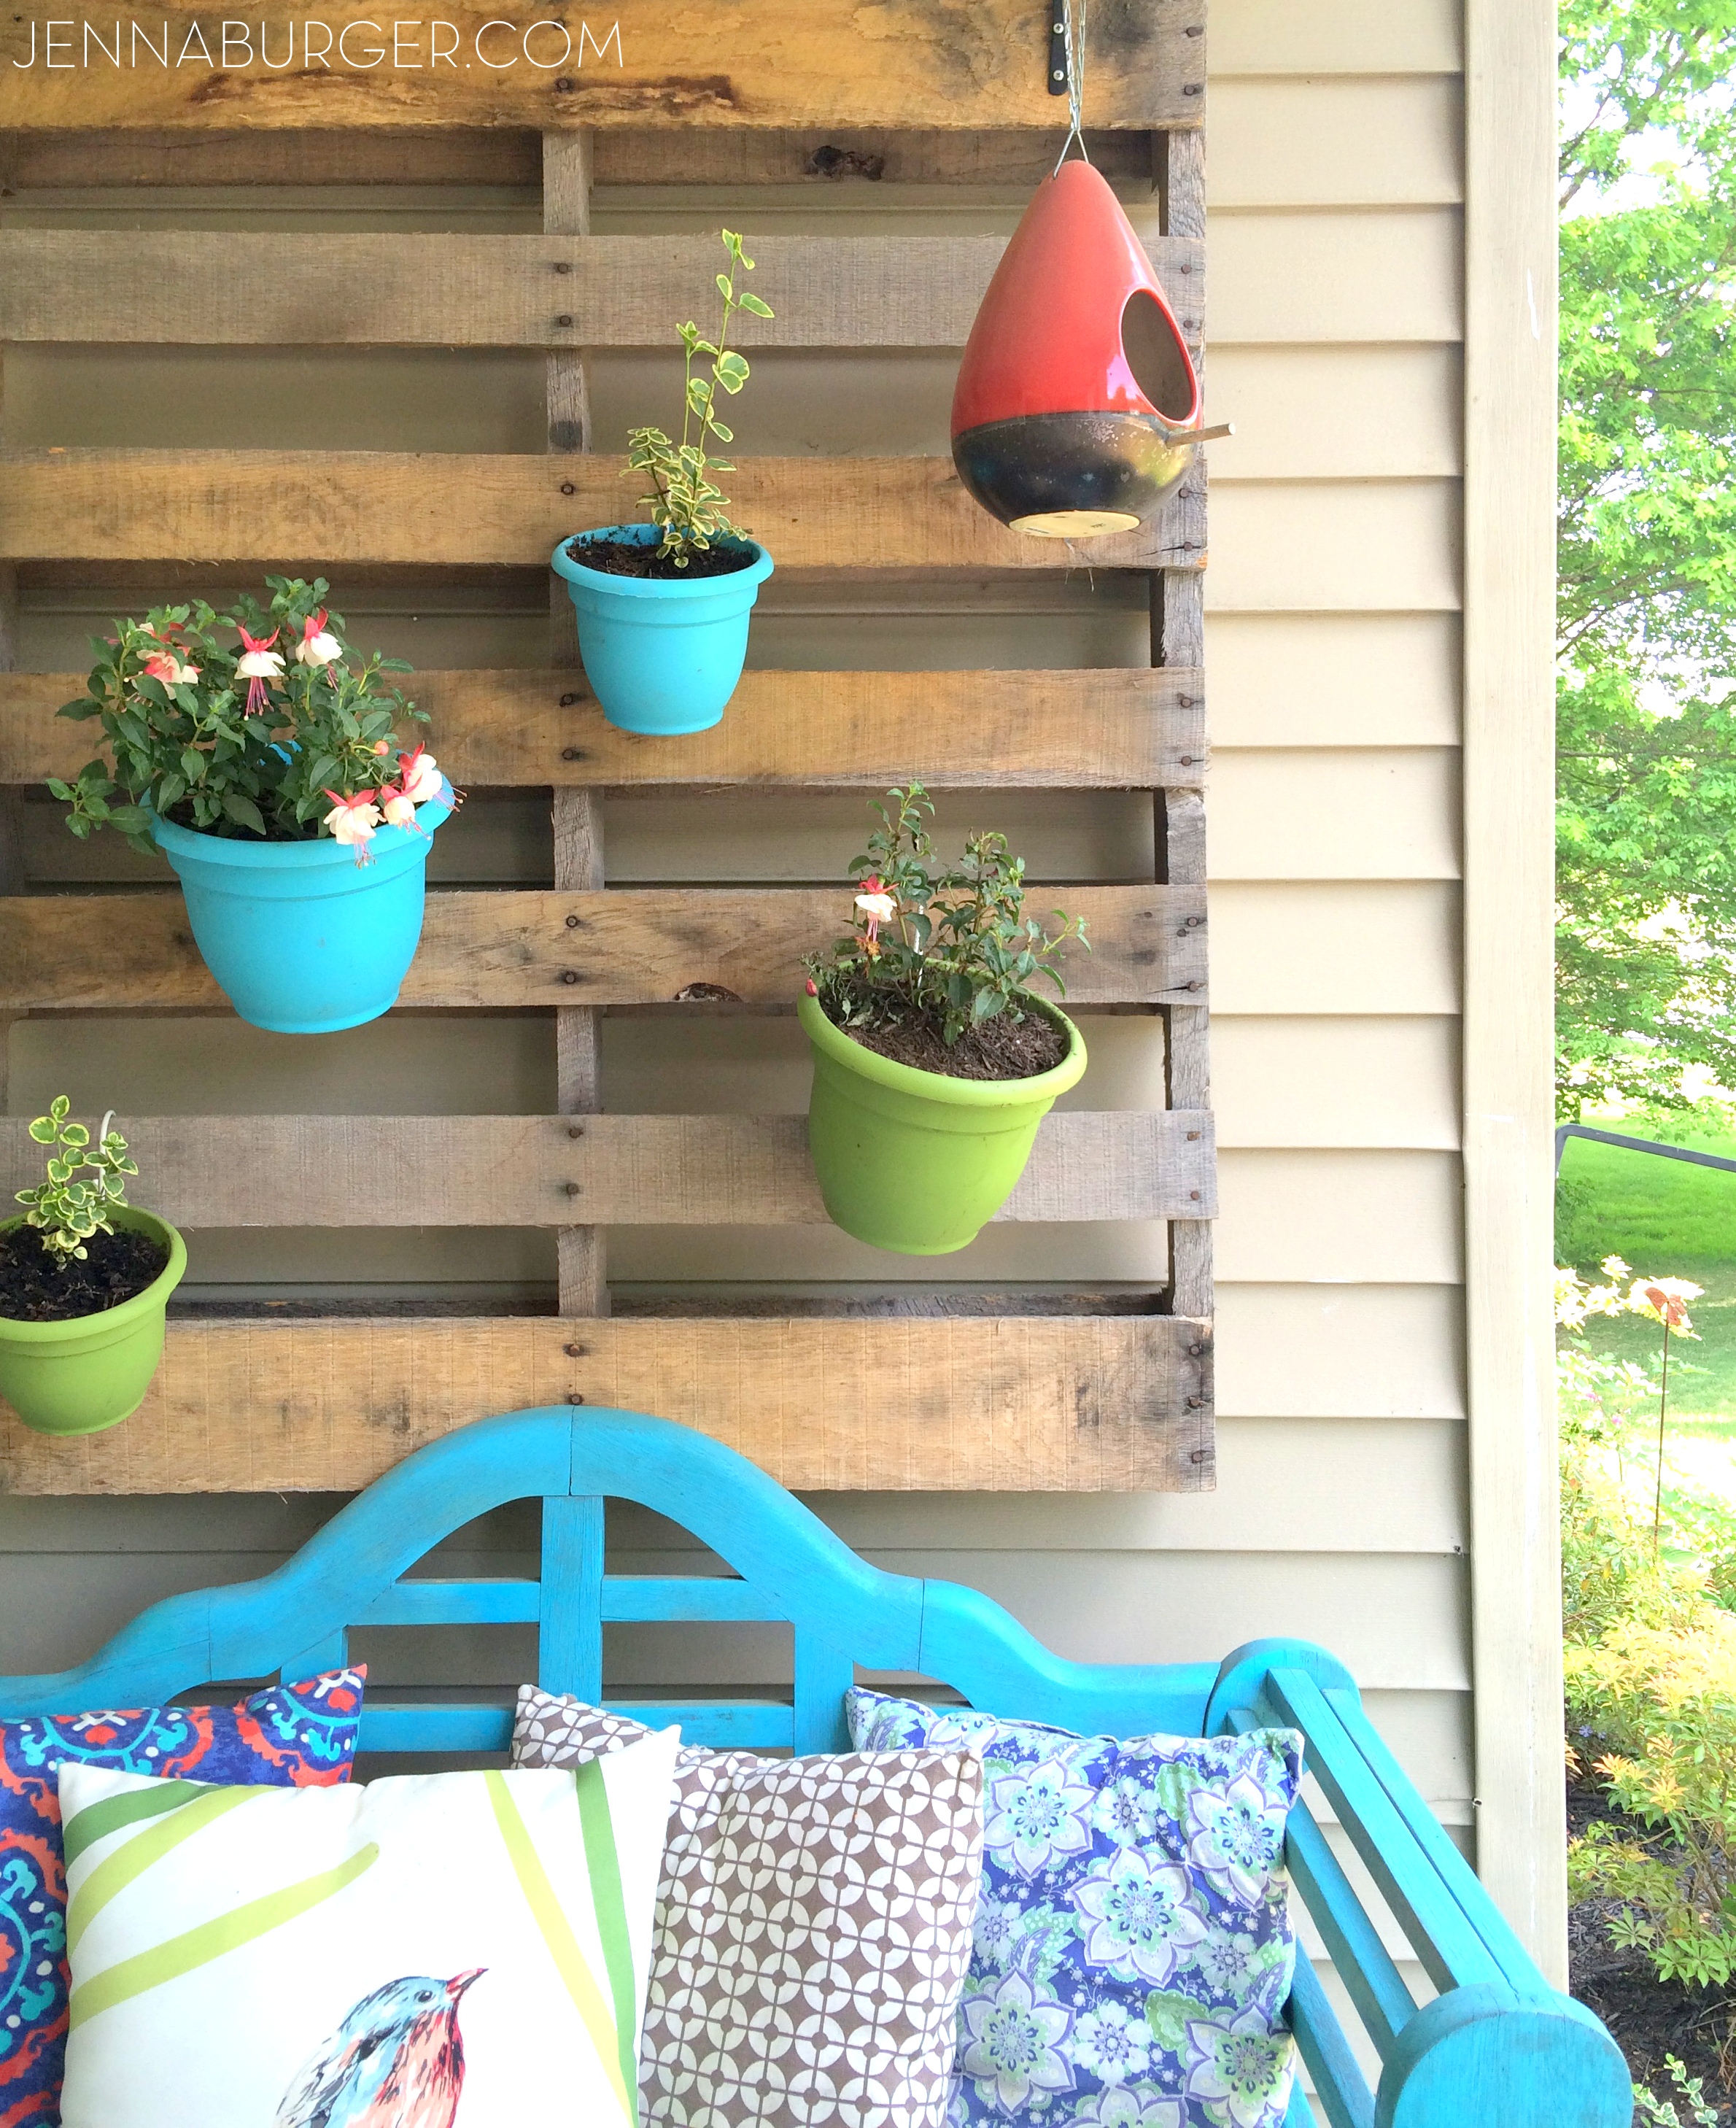
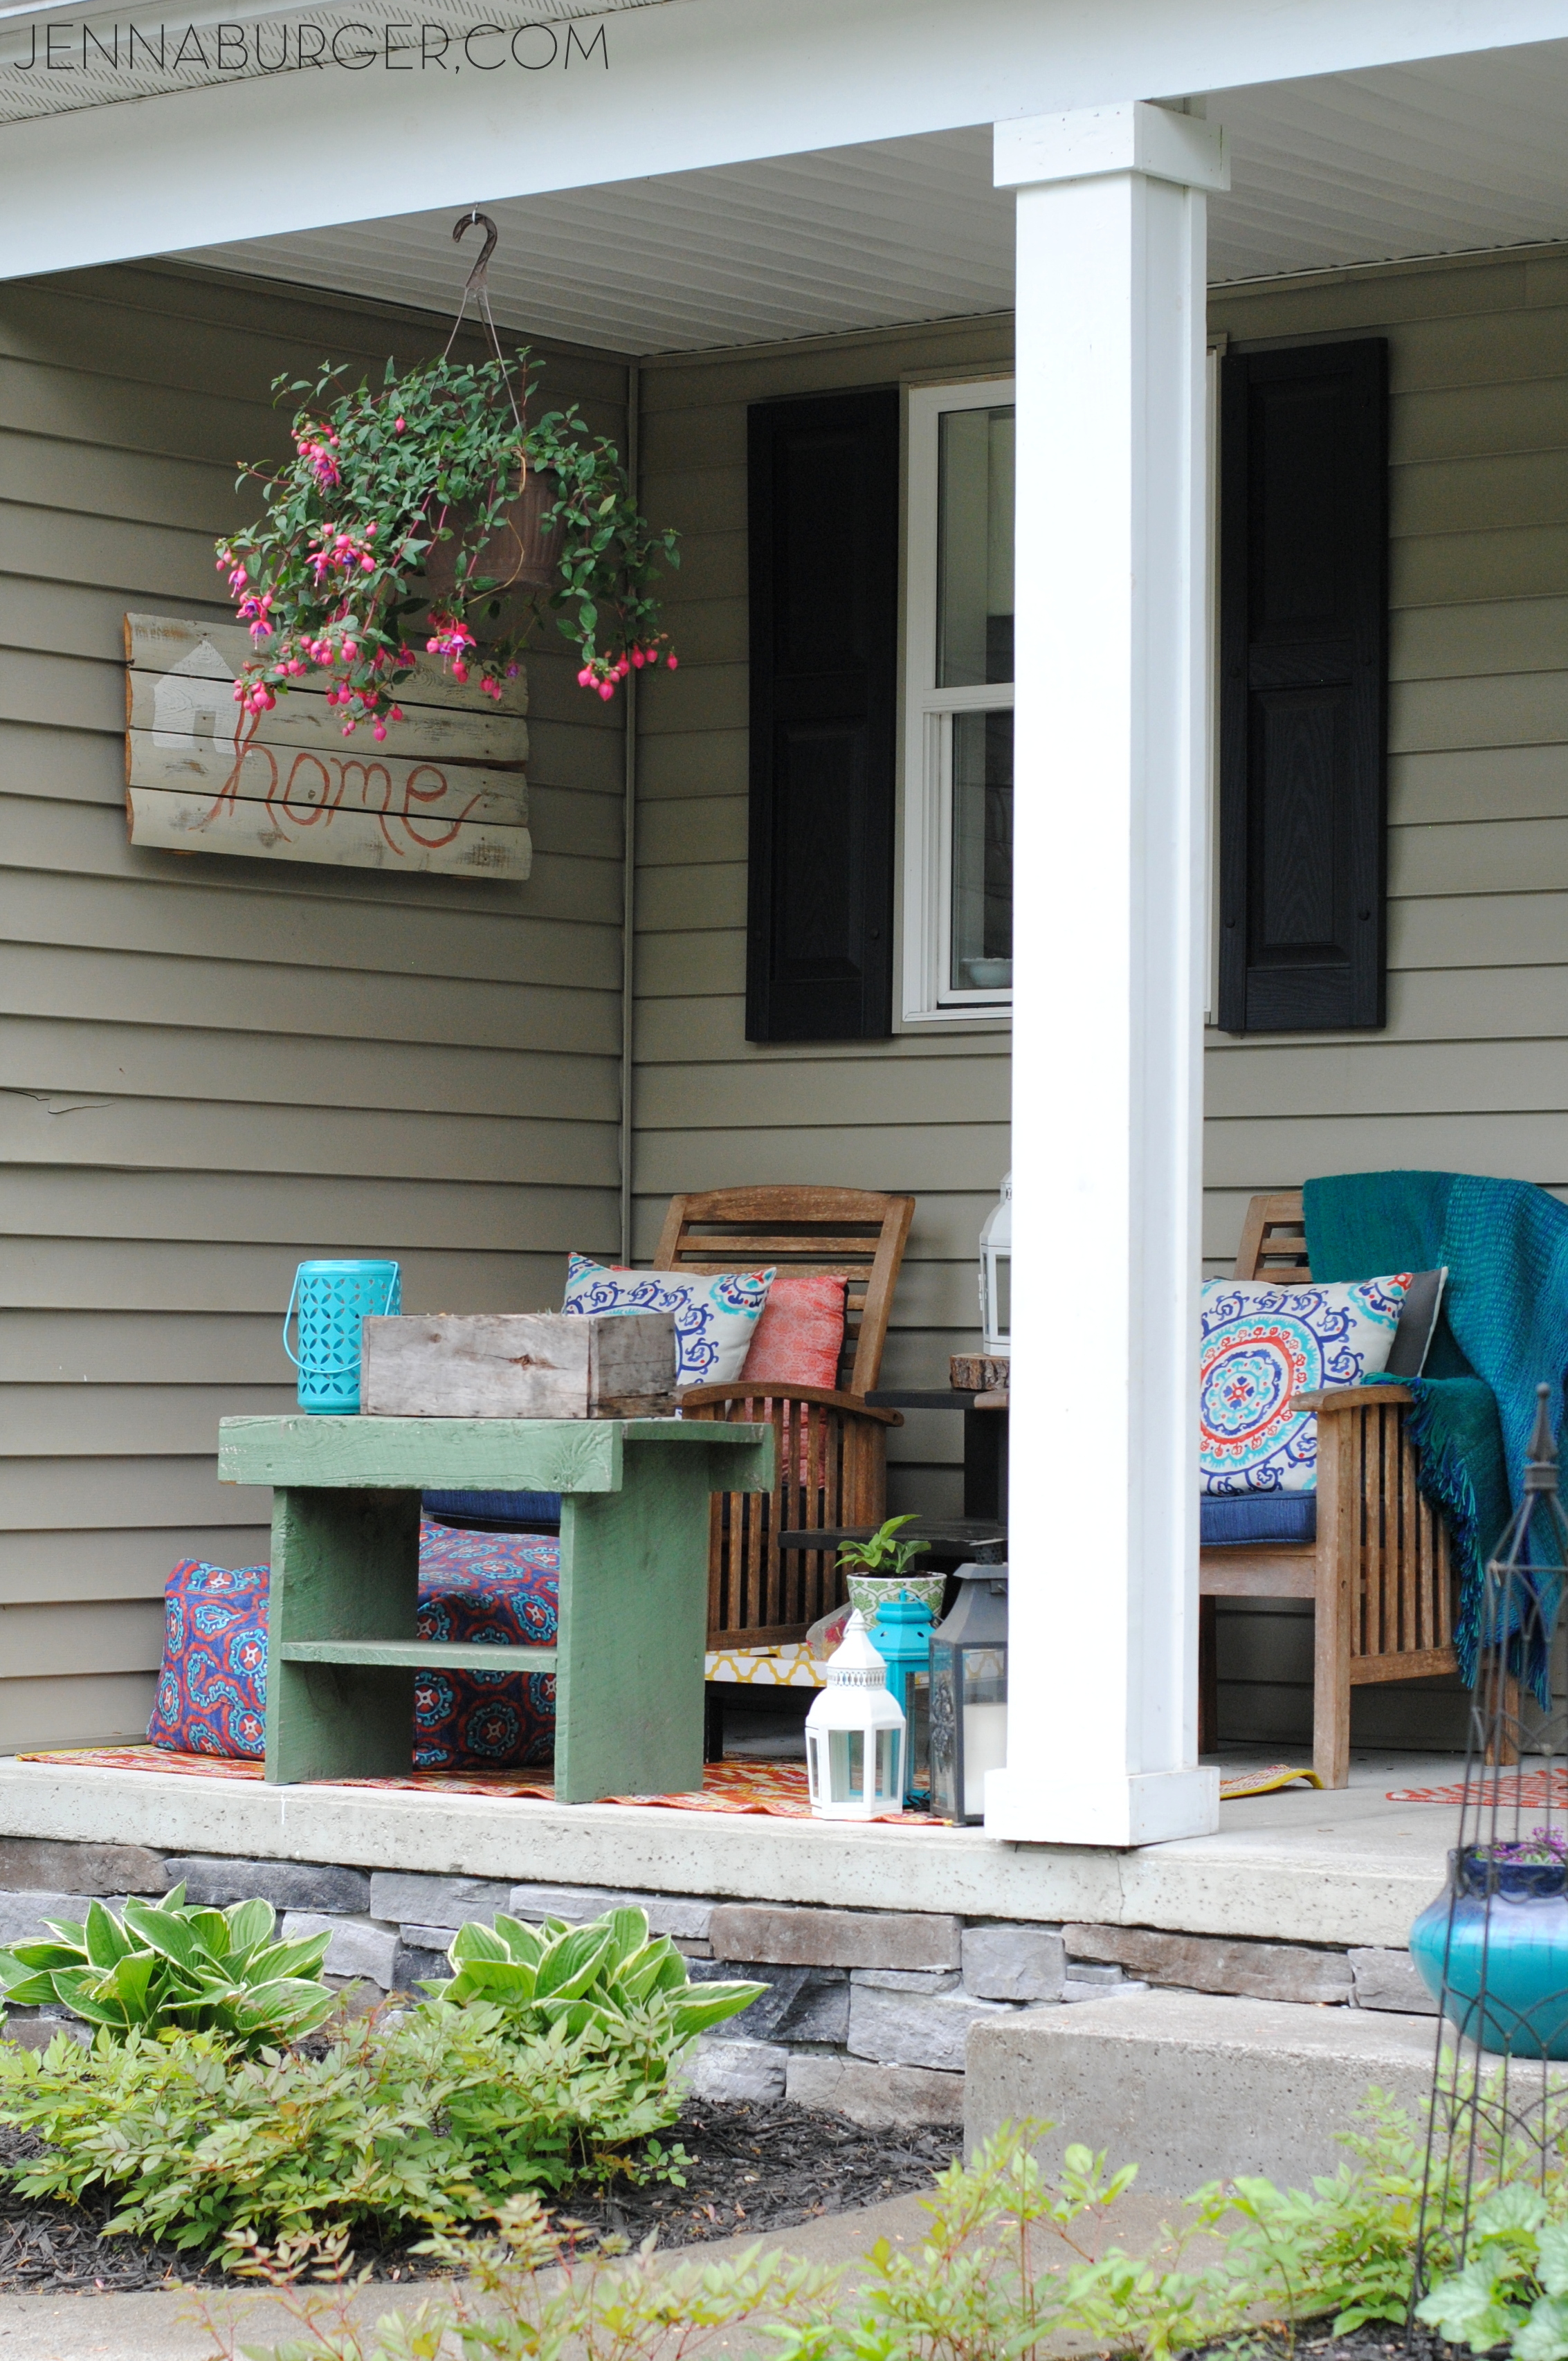
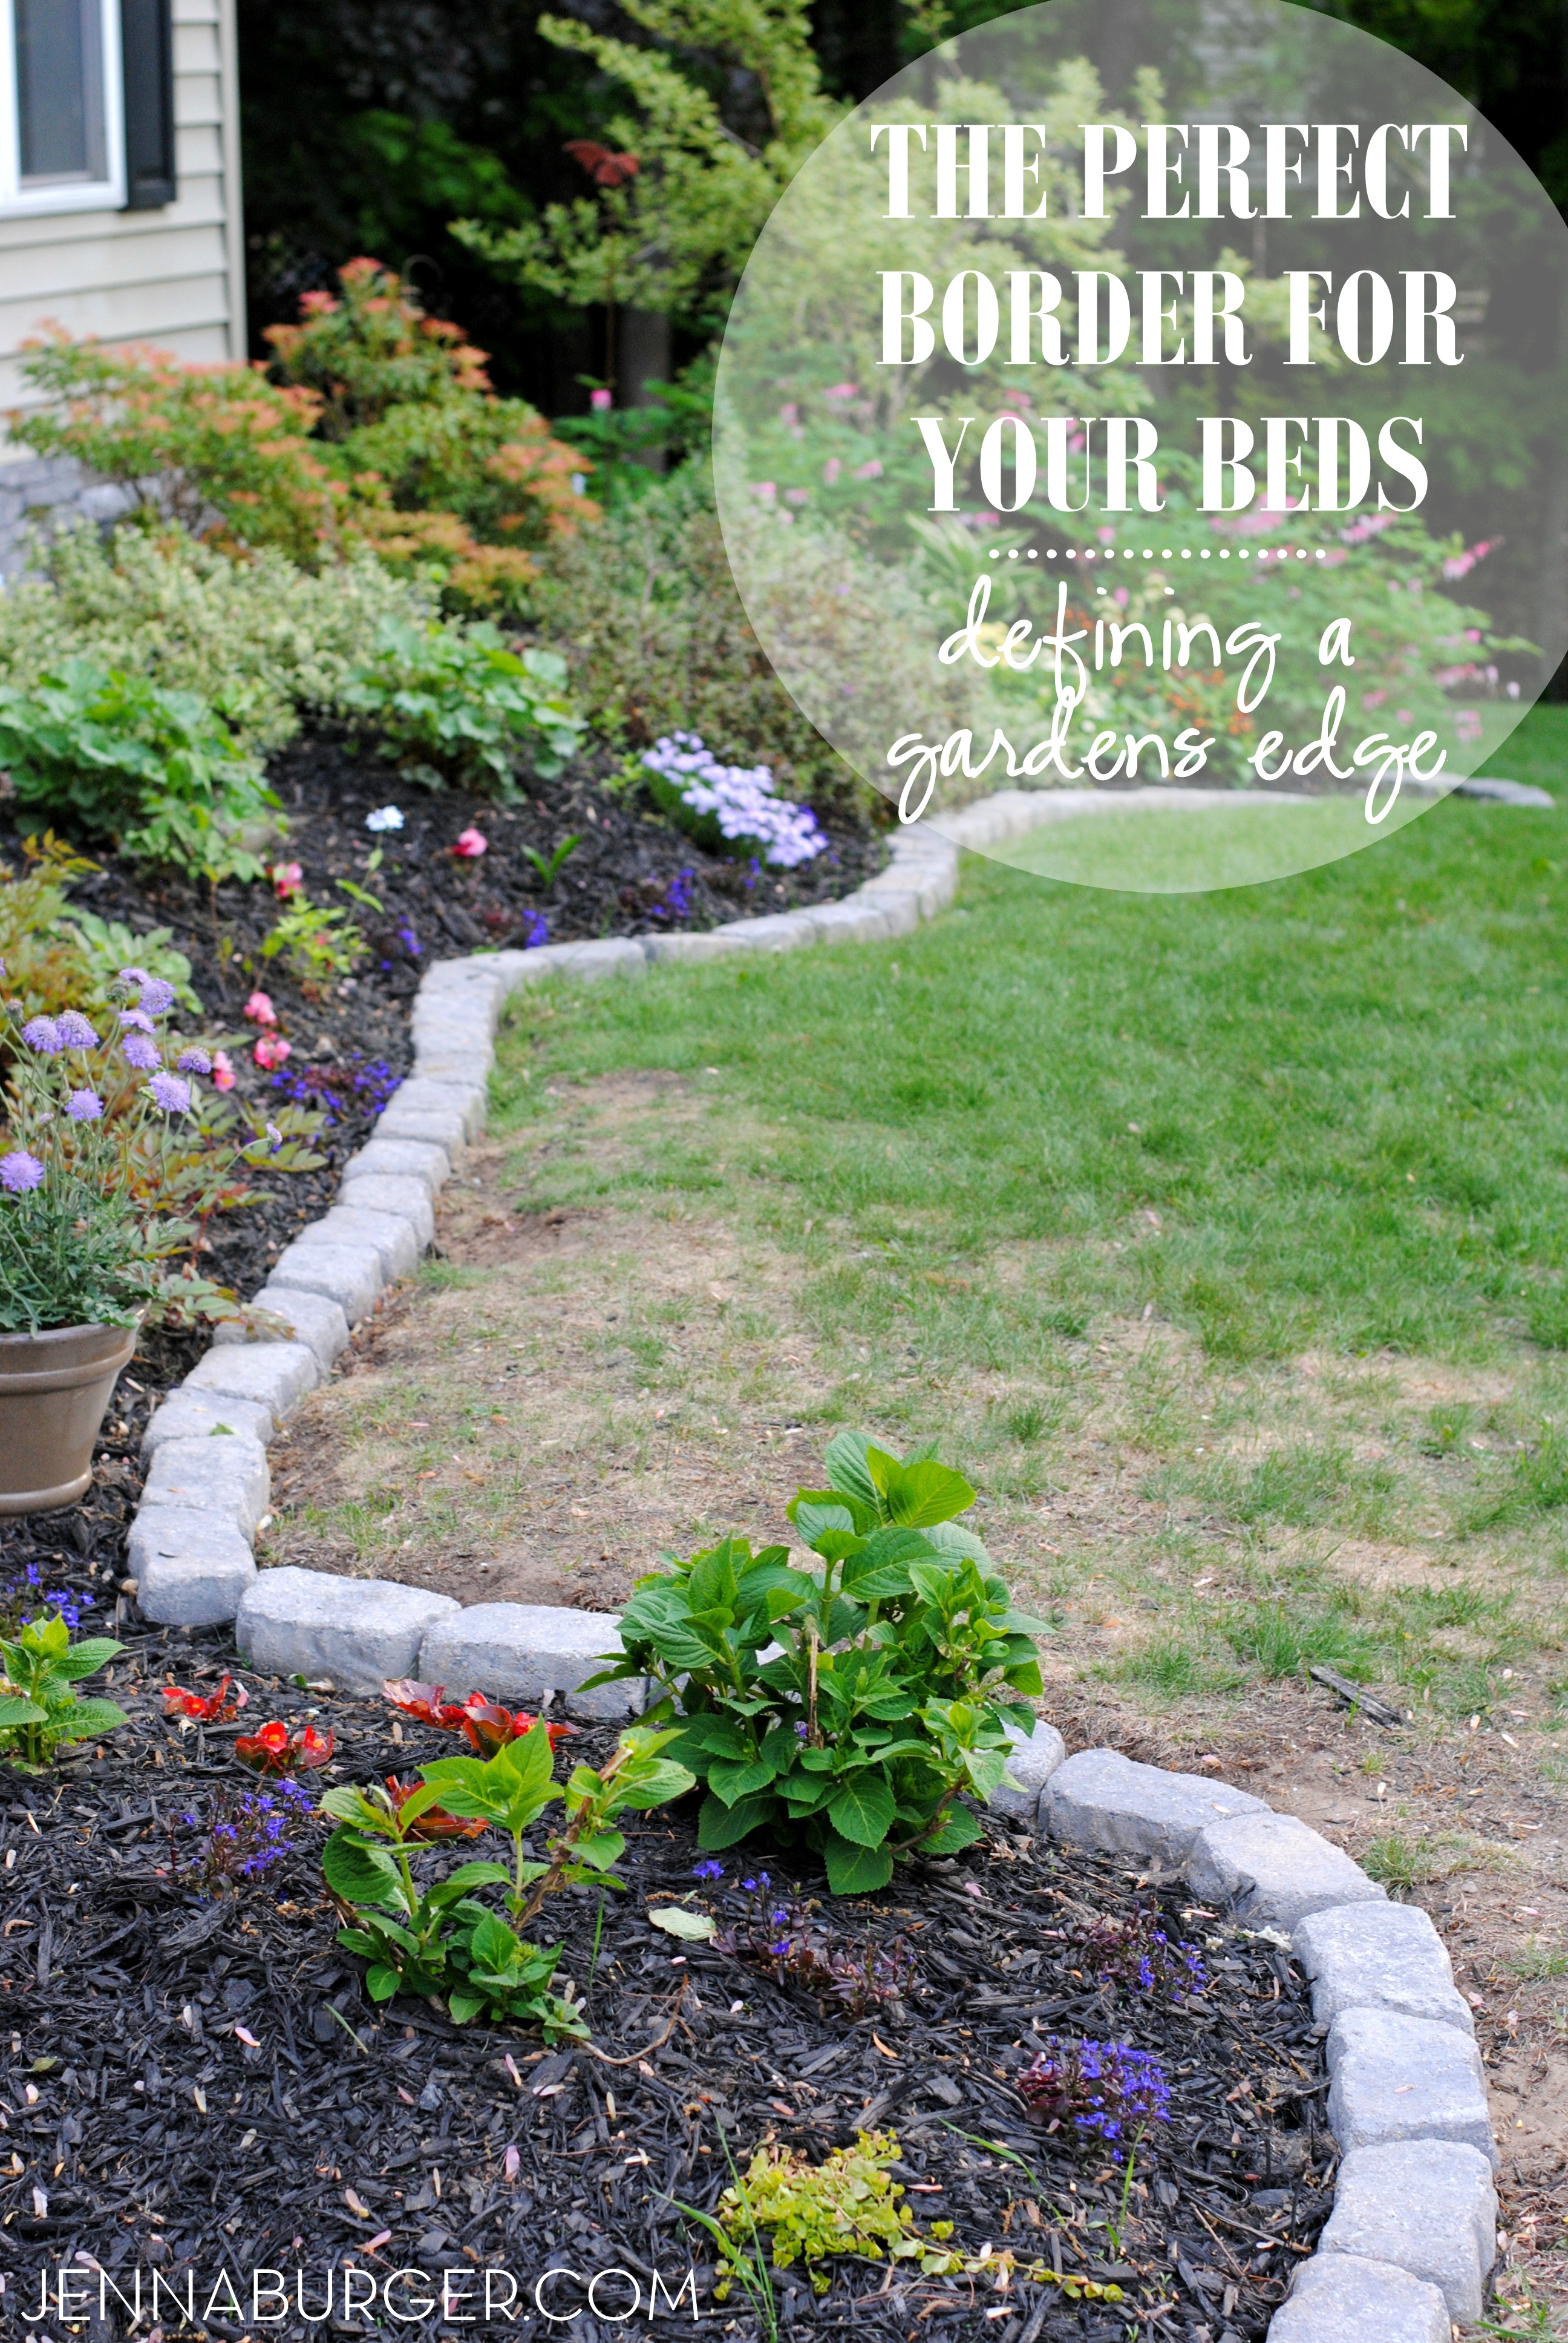
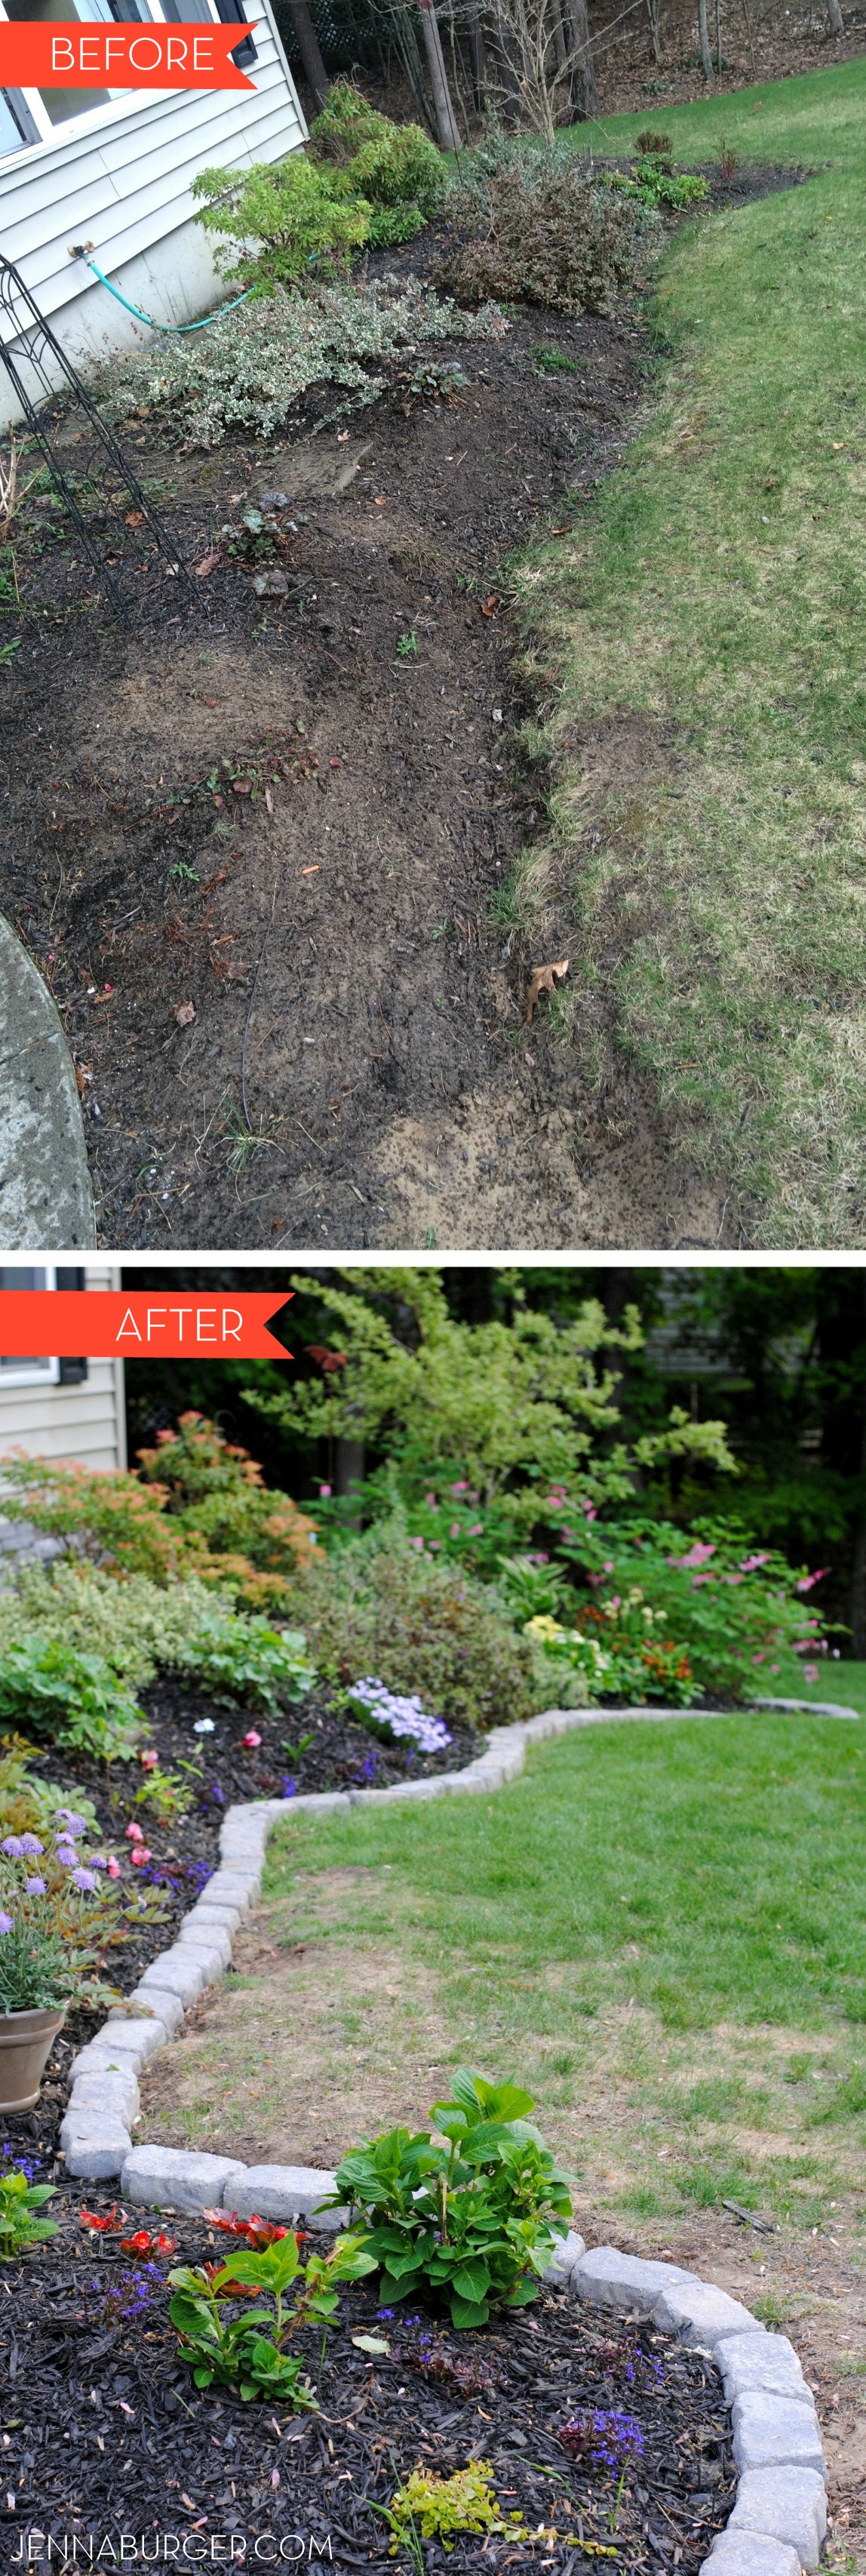
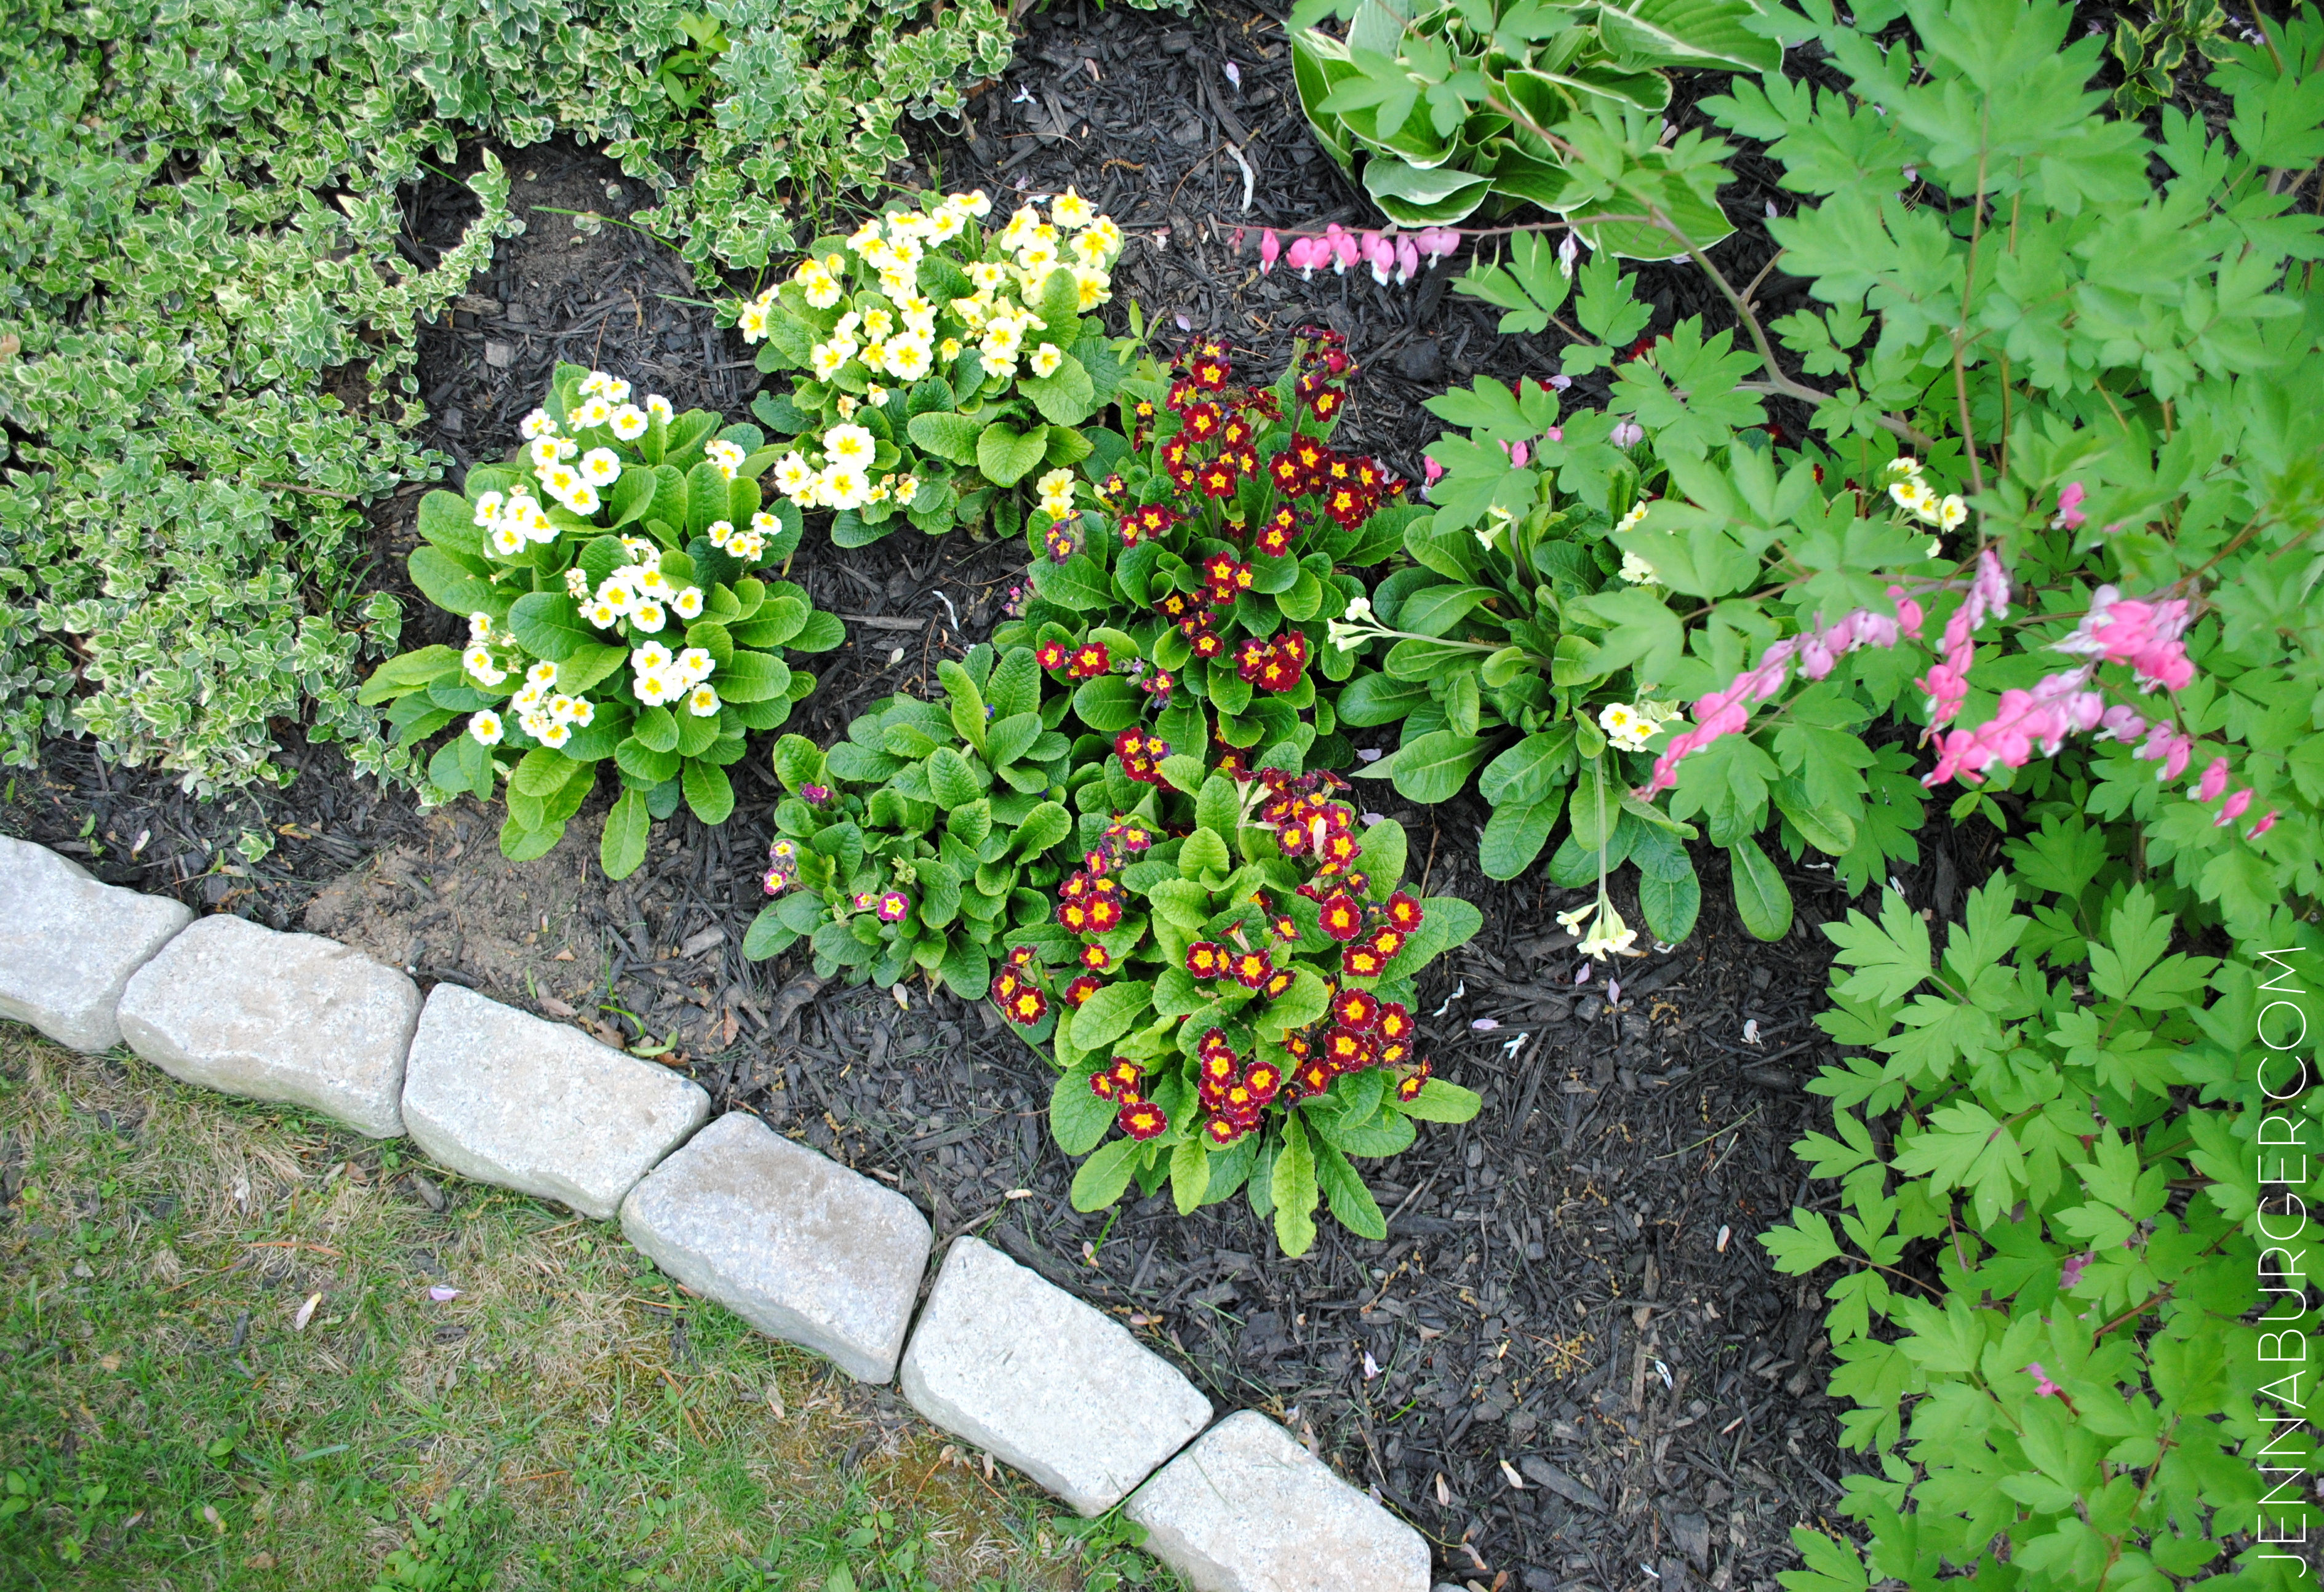
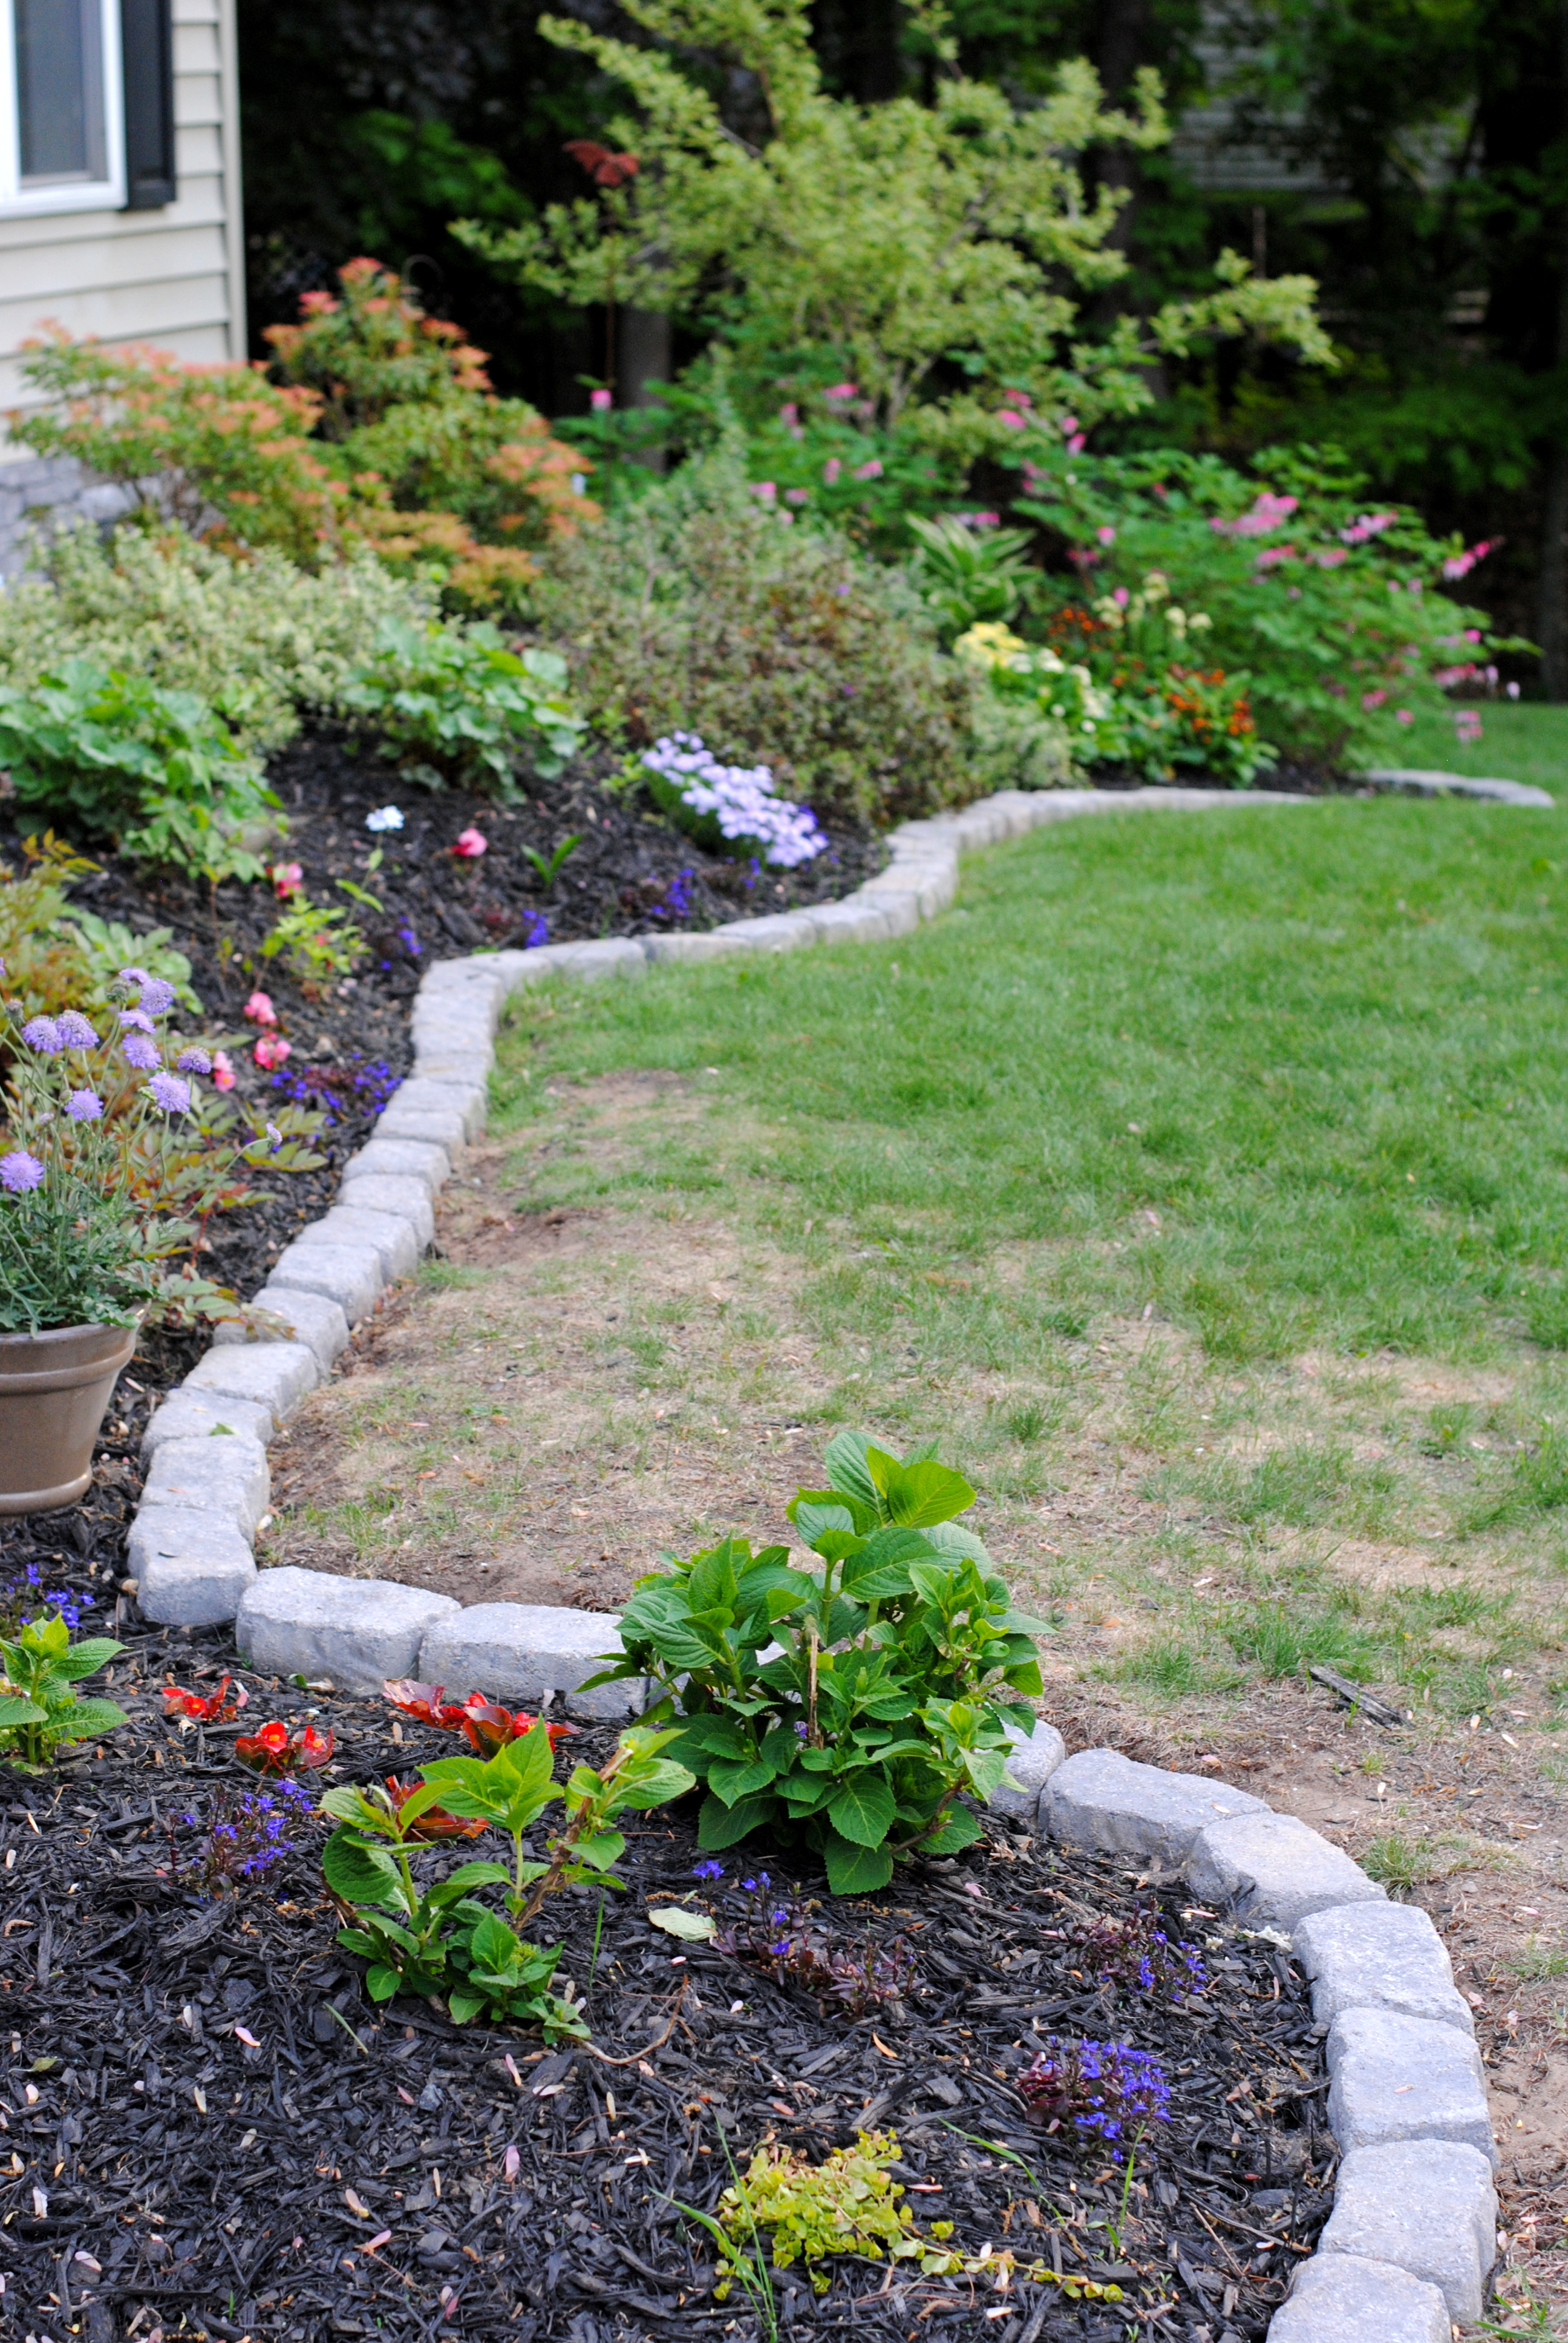
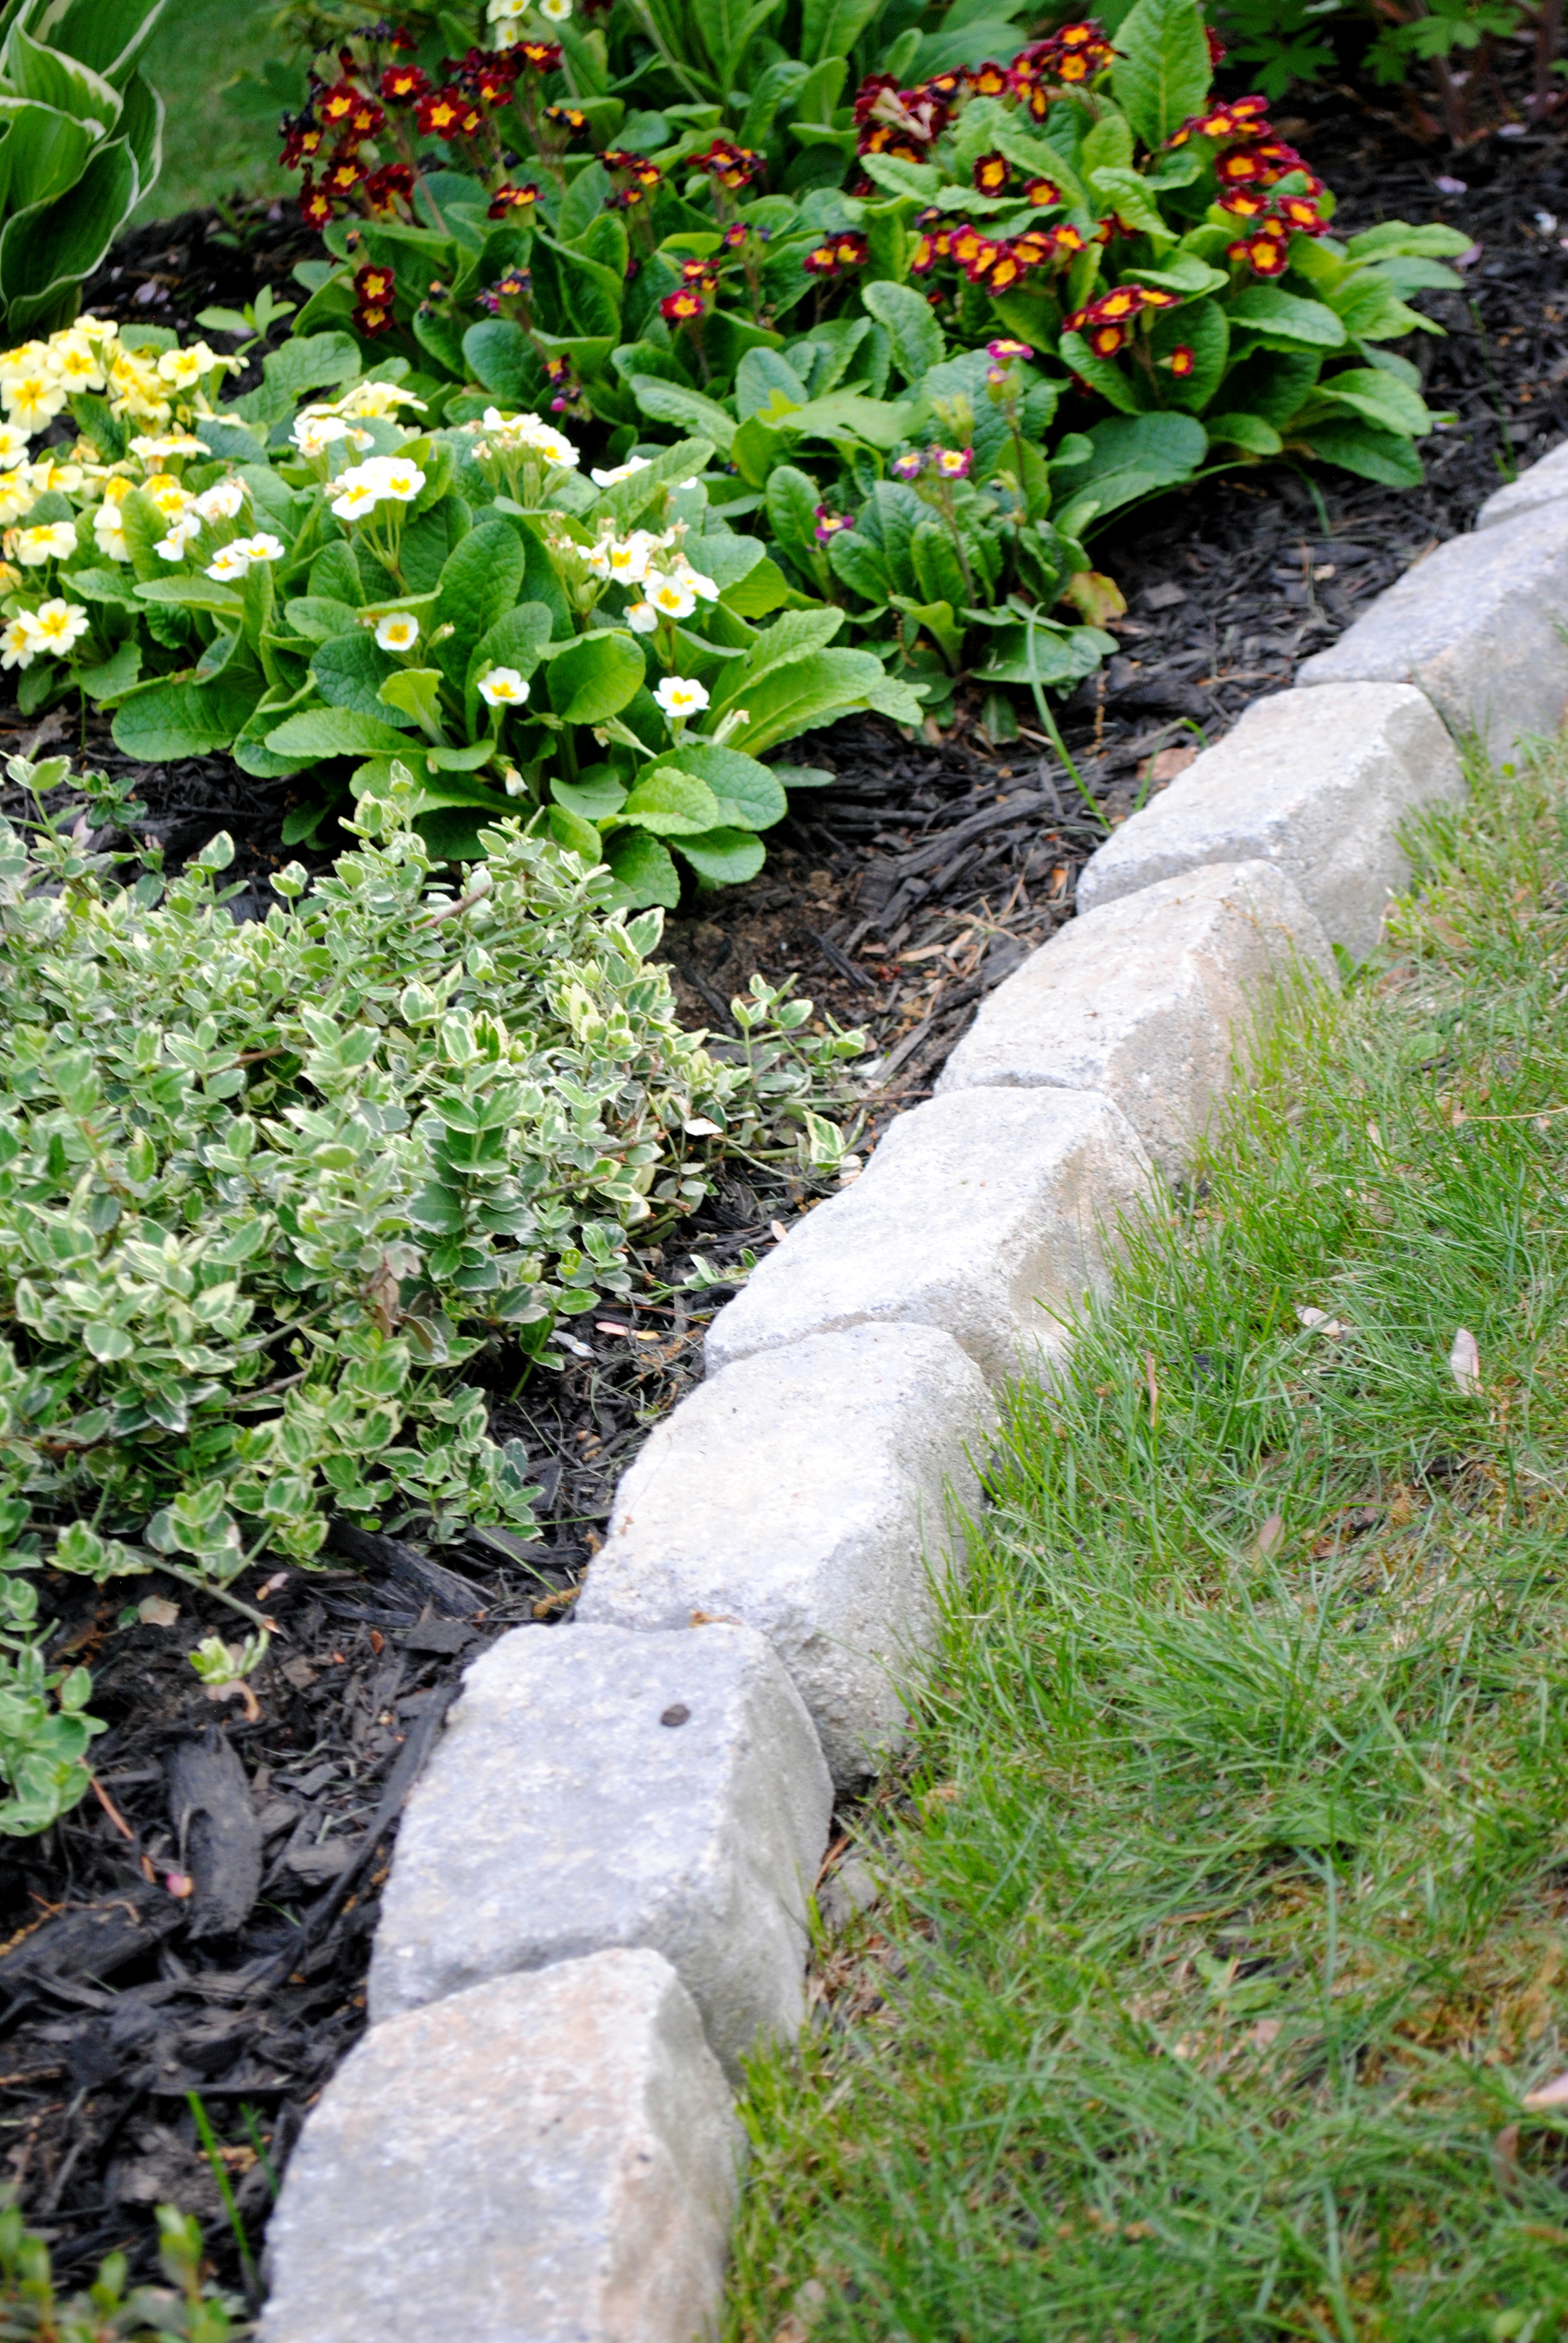
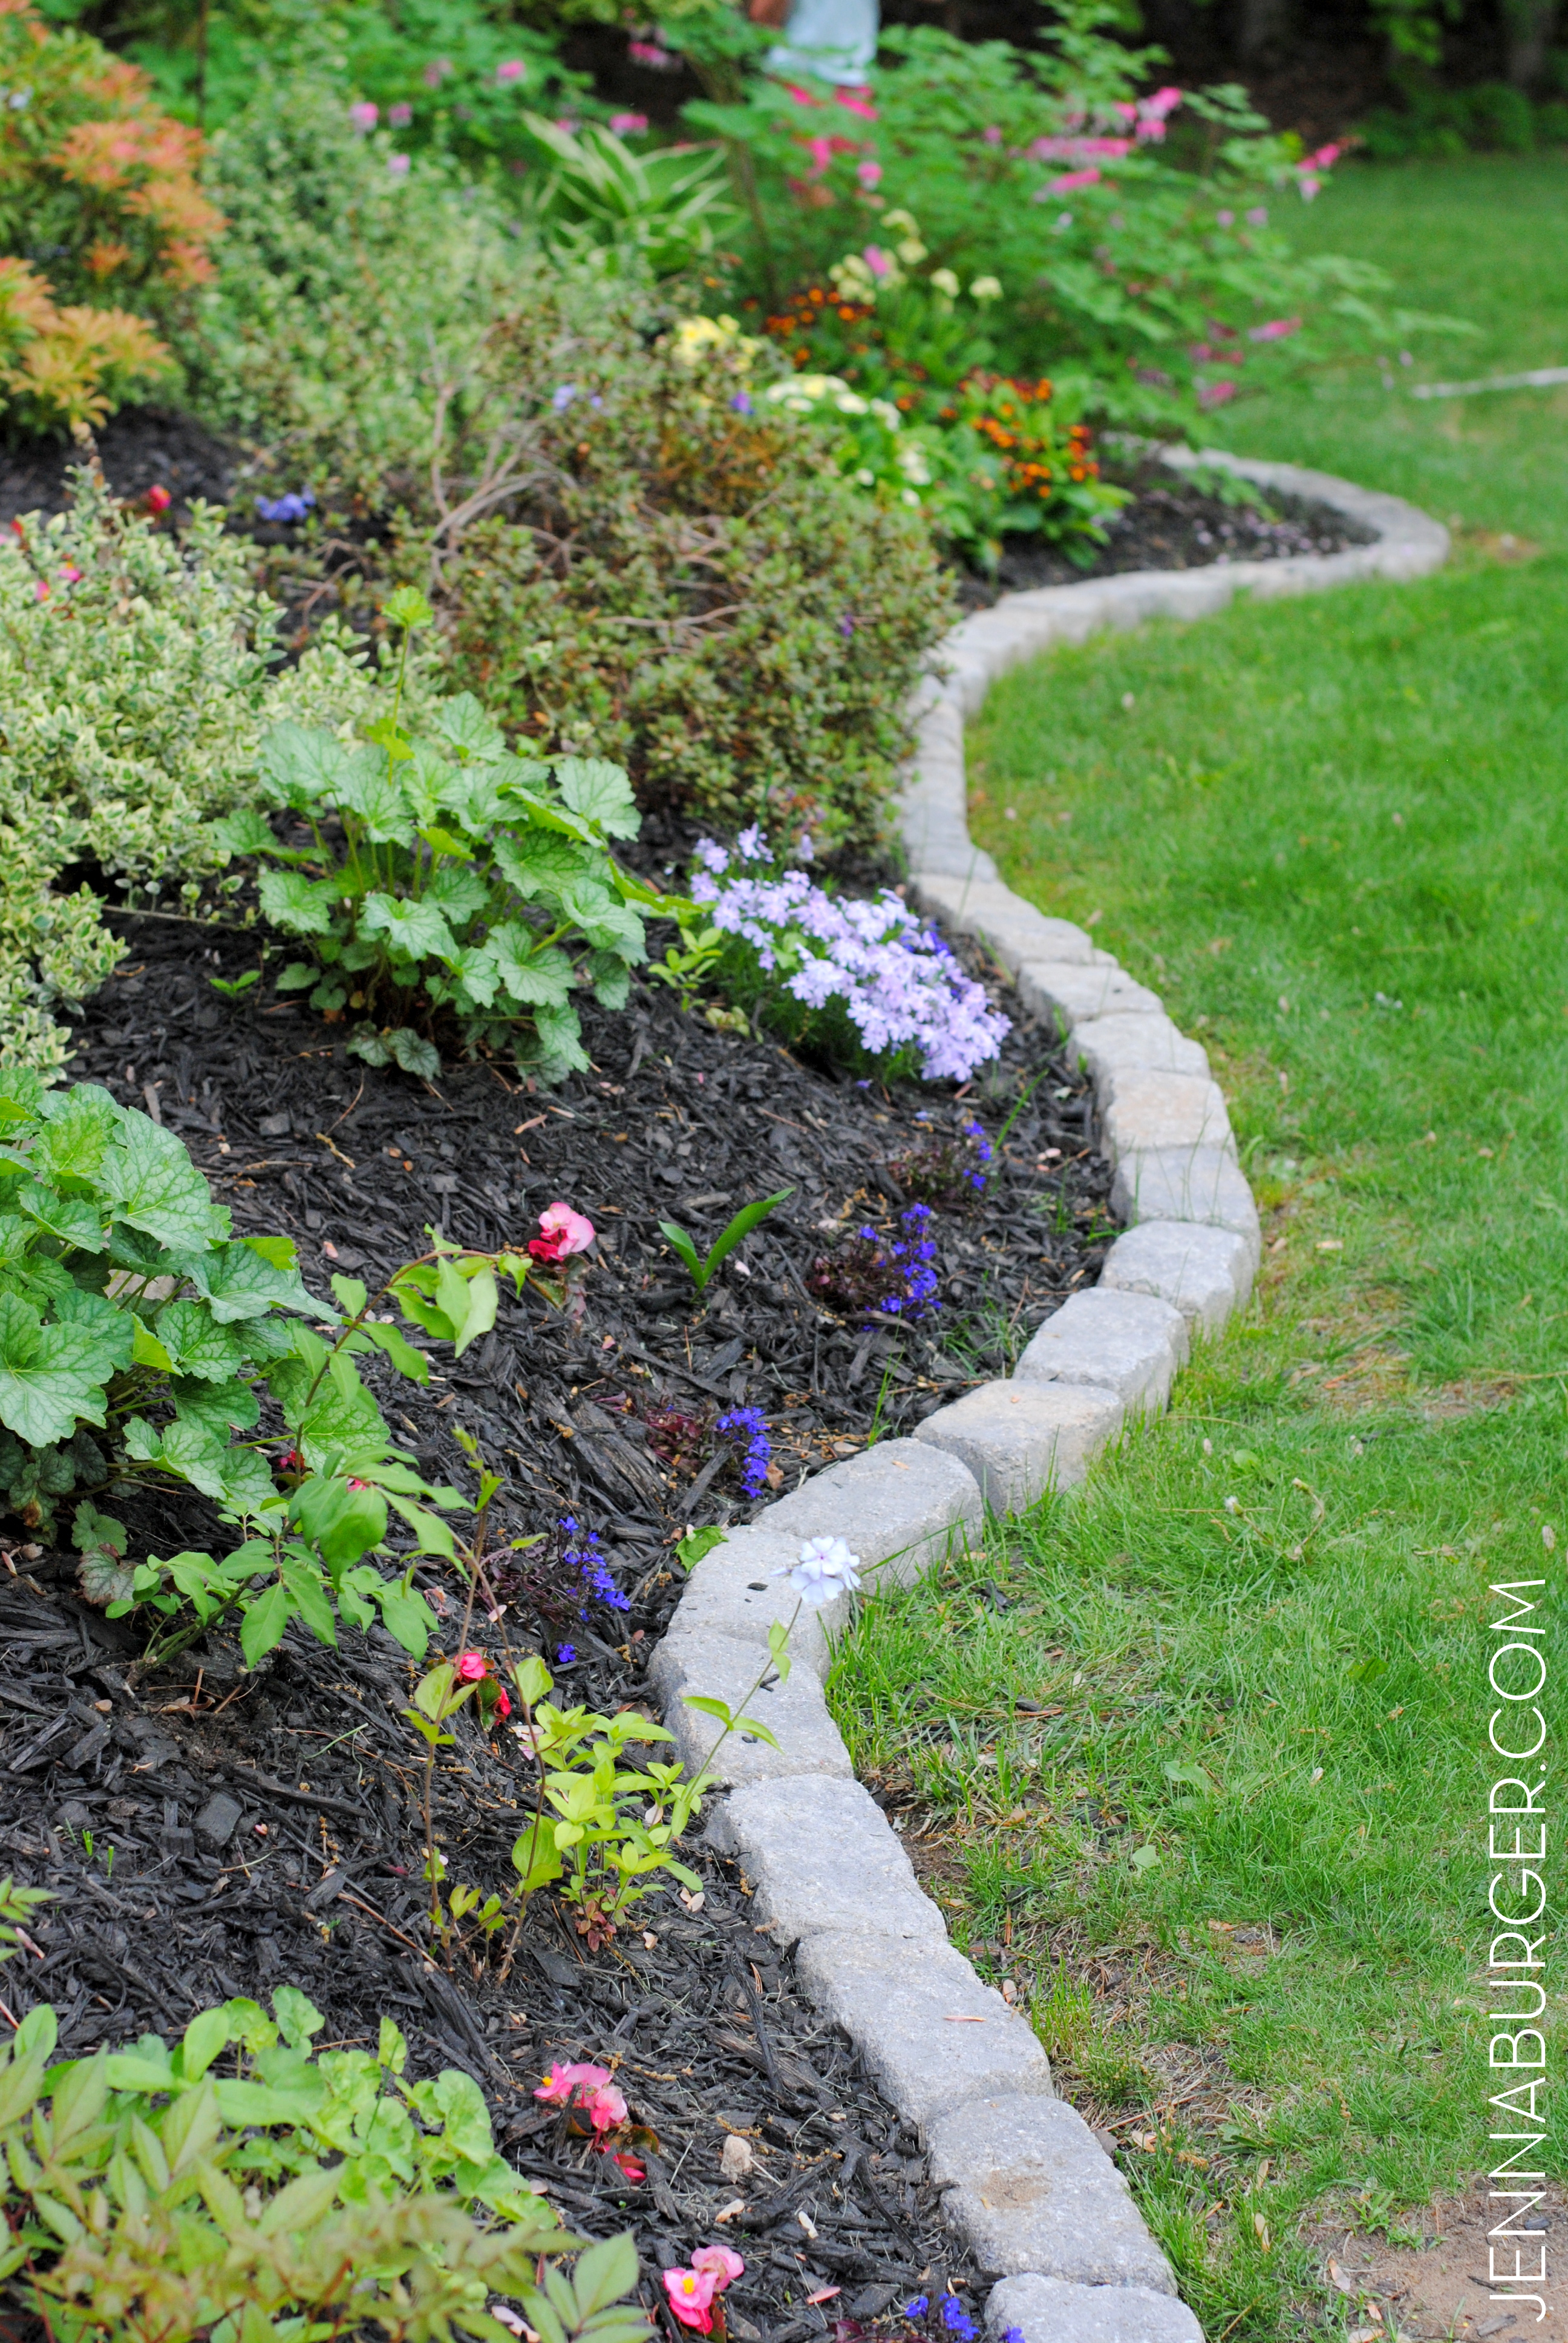
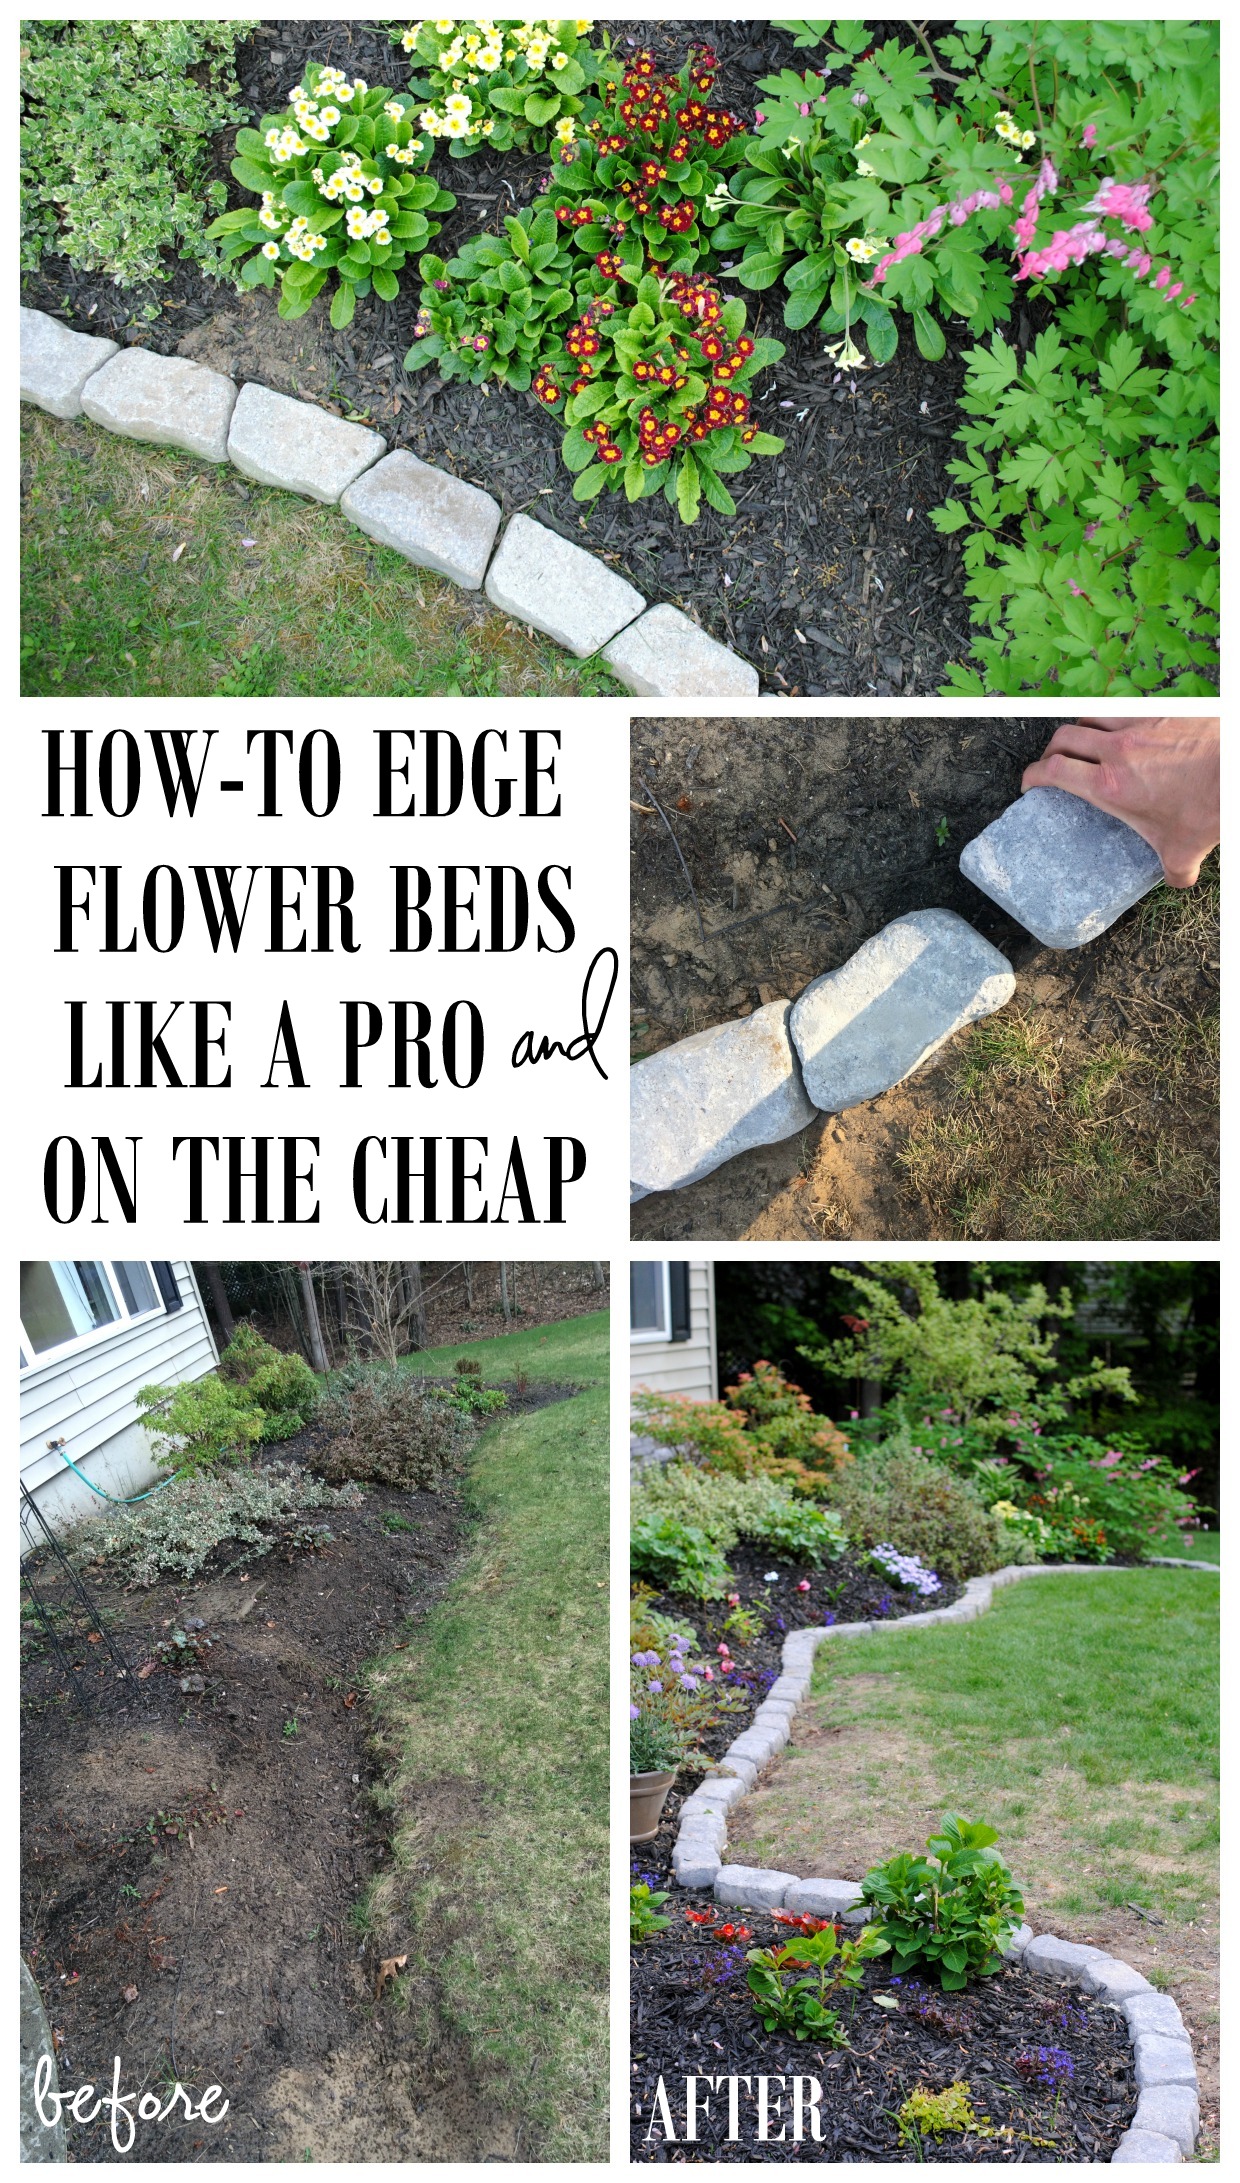
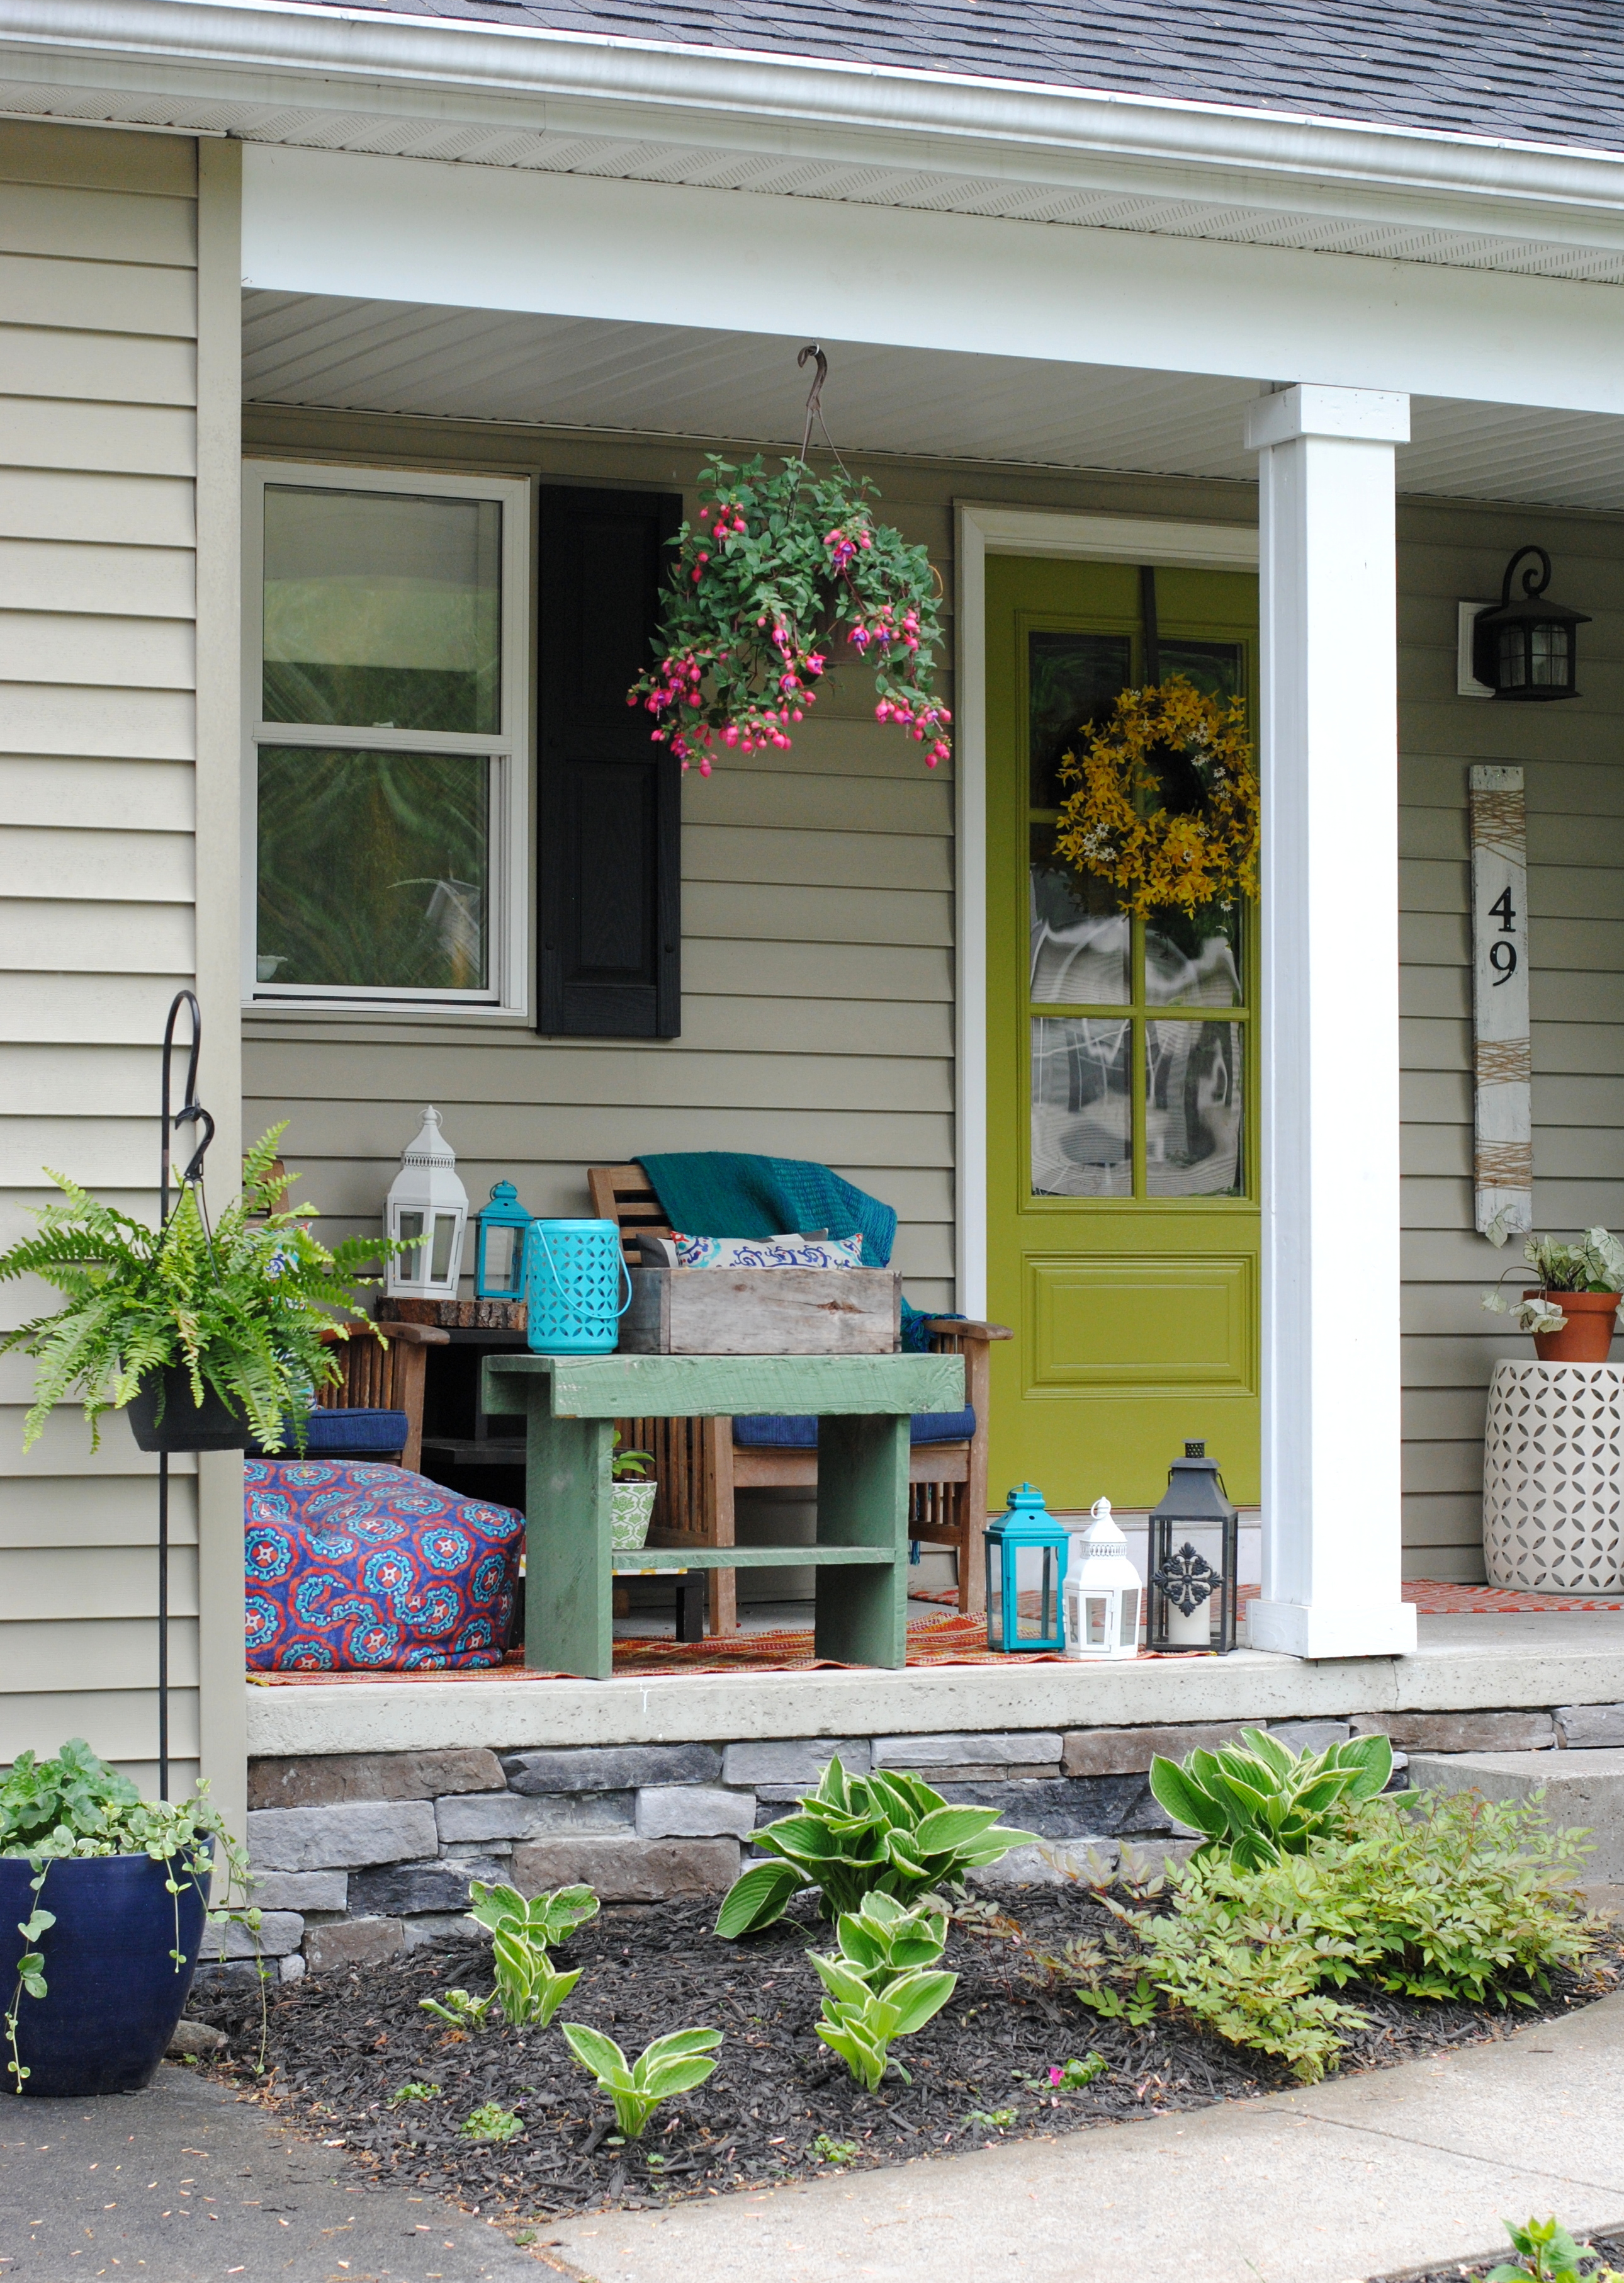
Anyway, with the warm, beautiful days last month we were able to tackle most of our yearly outdoor maintenance work + had some time to fit in a few new projects.  While the Mister worked on the grass, I spruced up the front porch (which I shared last week), then we both came together to tackle the new stone garden border + the DIY project featured today of adding stone veneer to the concrete foundation wall...

#DIY Tutorial for Adding a Stone Veneer to a Concrete Foundation Wall: Give a bare, untreated foundation wall a finished look with an affordable stone facing! Easy-to-Follow tutorial @ www.jennaburger.com  #DIY Tutorial for Adding a Stone Veneer to a Concrete Foundation Wall: Give a bare, untreated foundation wall a finished look with an affordable stone facing! Easy-to-Follow tutorial @ www.jennaburger.com

It’s typically for many homes – new and old –  to have a bare, “naked” foundation wall at the gap between where the siding stops and the ground starts.  Depending on the grade of the land, as little as a few inches or as much as 2’+ may be exposed giving an unattractive, unfinished appearance.

One way to make the plain wall look more finished is to add stone veneer to the foundation walls surface.

Stone veneer products, which are made from concrete, come in a range of colors + shapes and can be used for a variety of projects.  Their ‘pro’ is that they are lighter weight than real stone, less expensive, and only about 1″ – 2″ thick. And the best part of all… You really don’t need ANY EXPERIENCE to apply / install them.

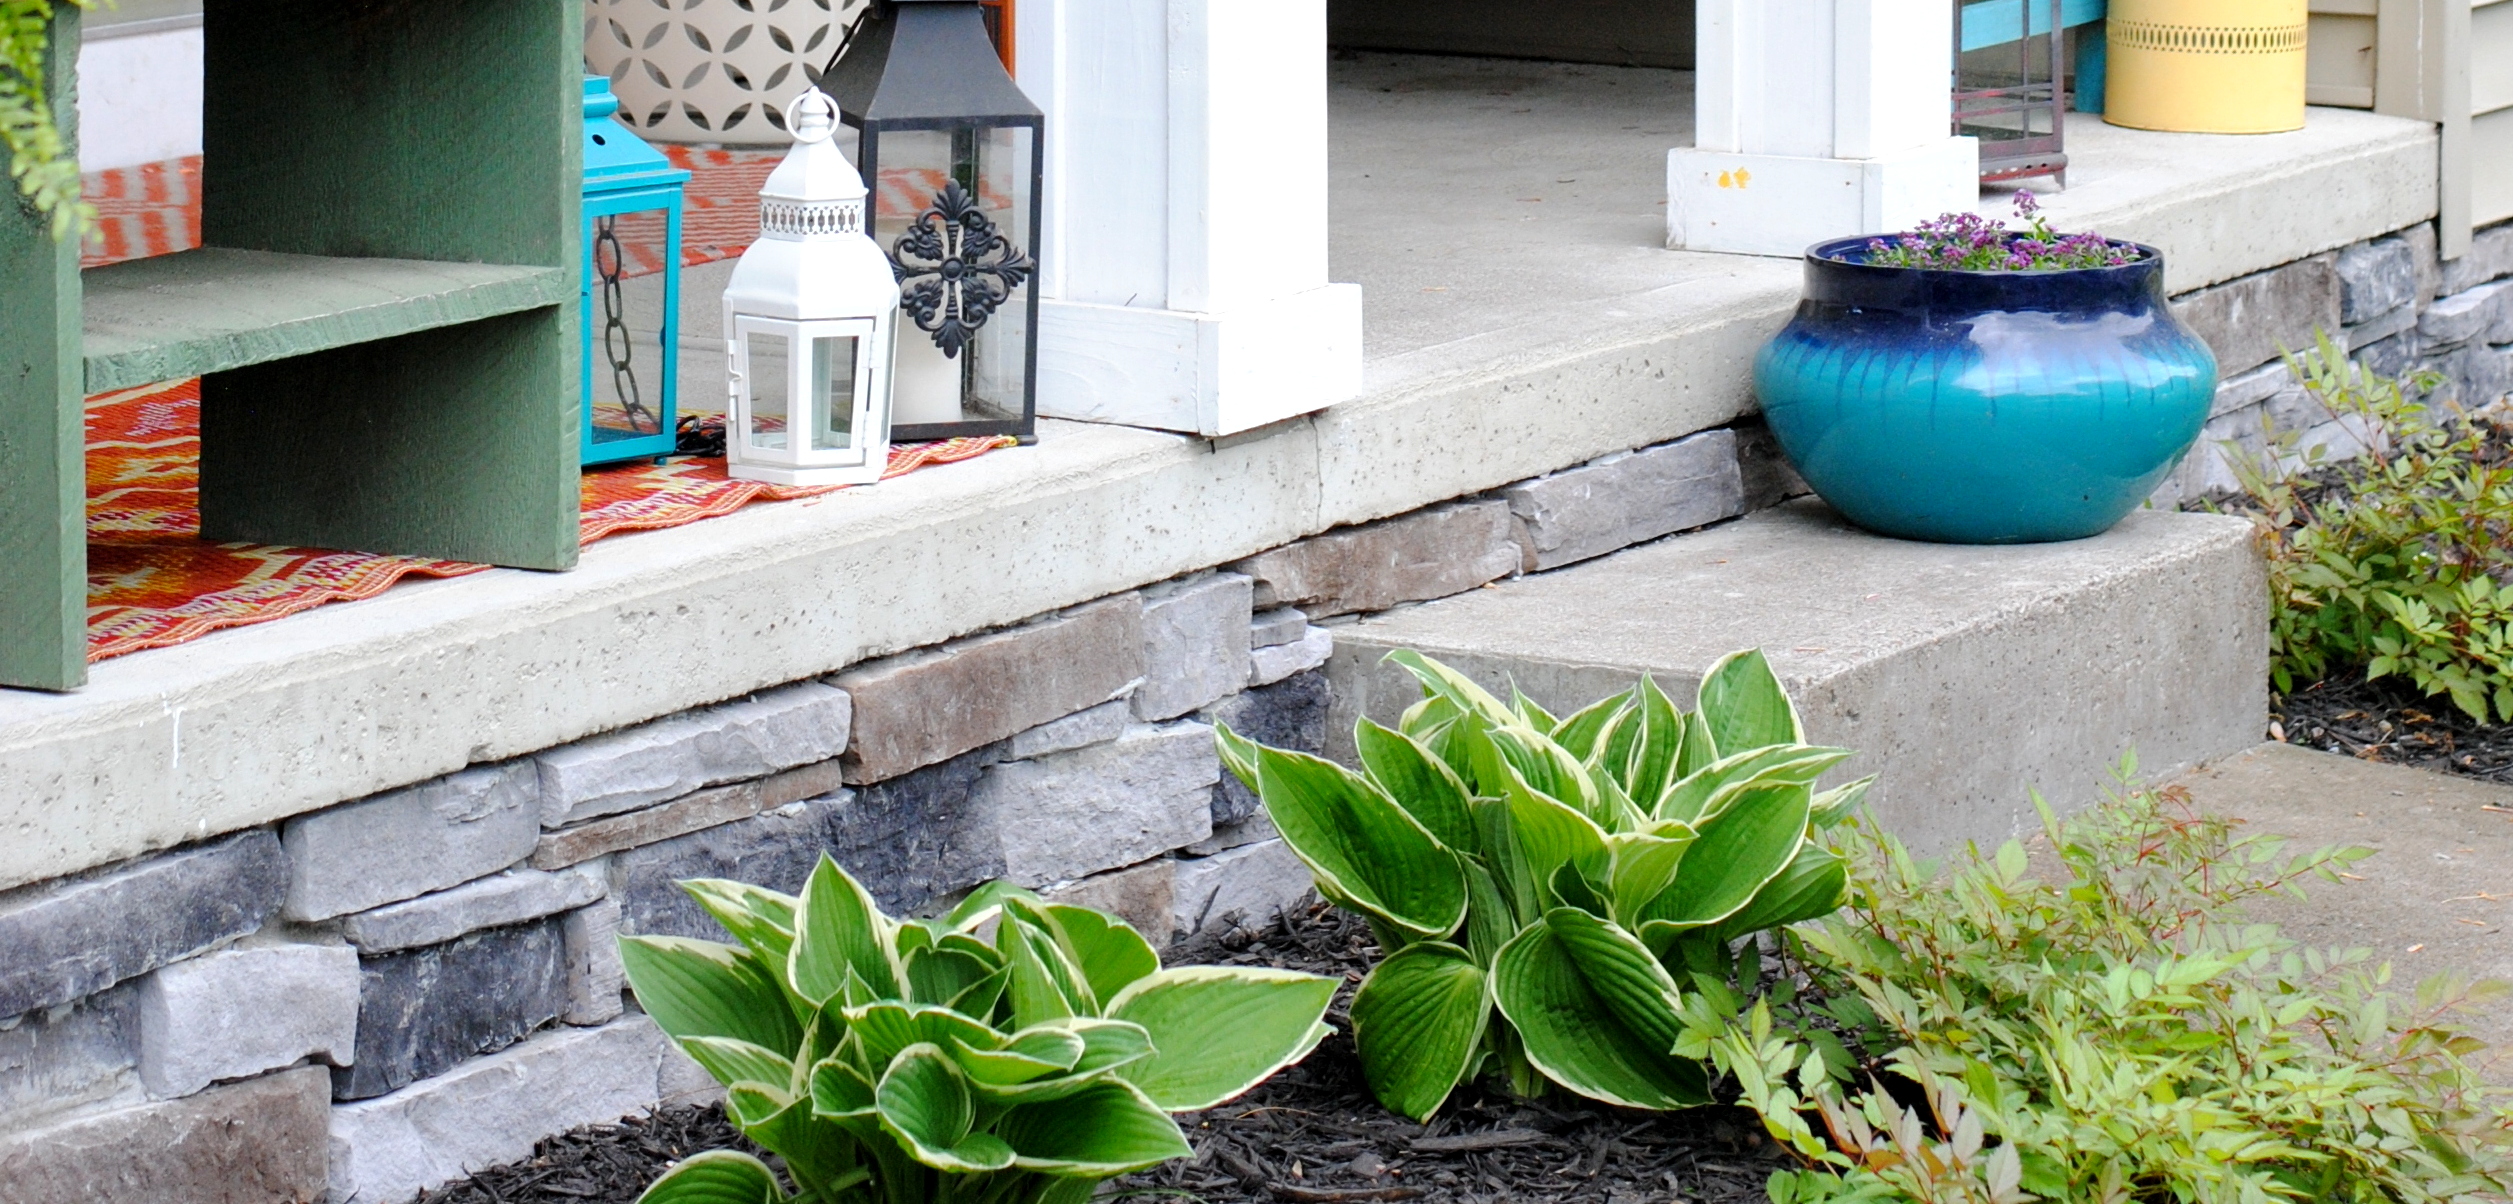
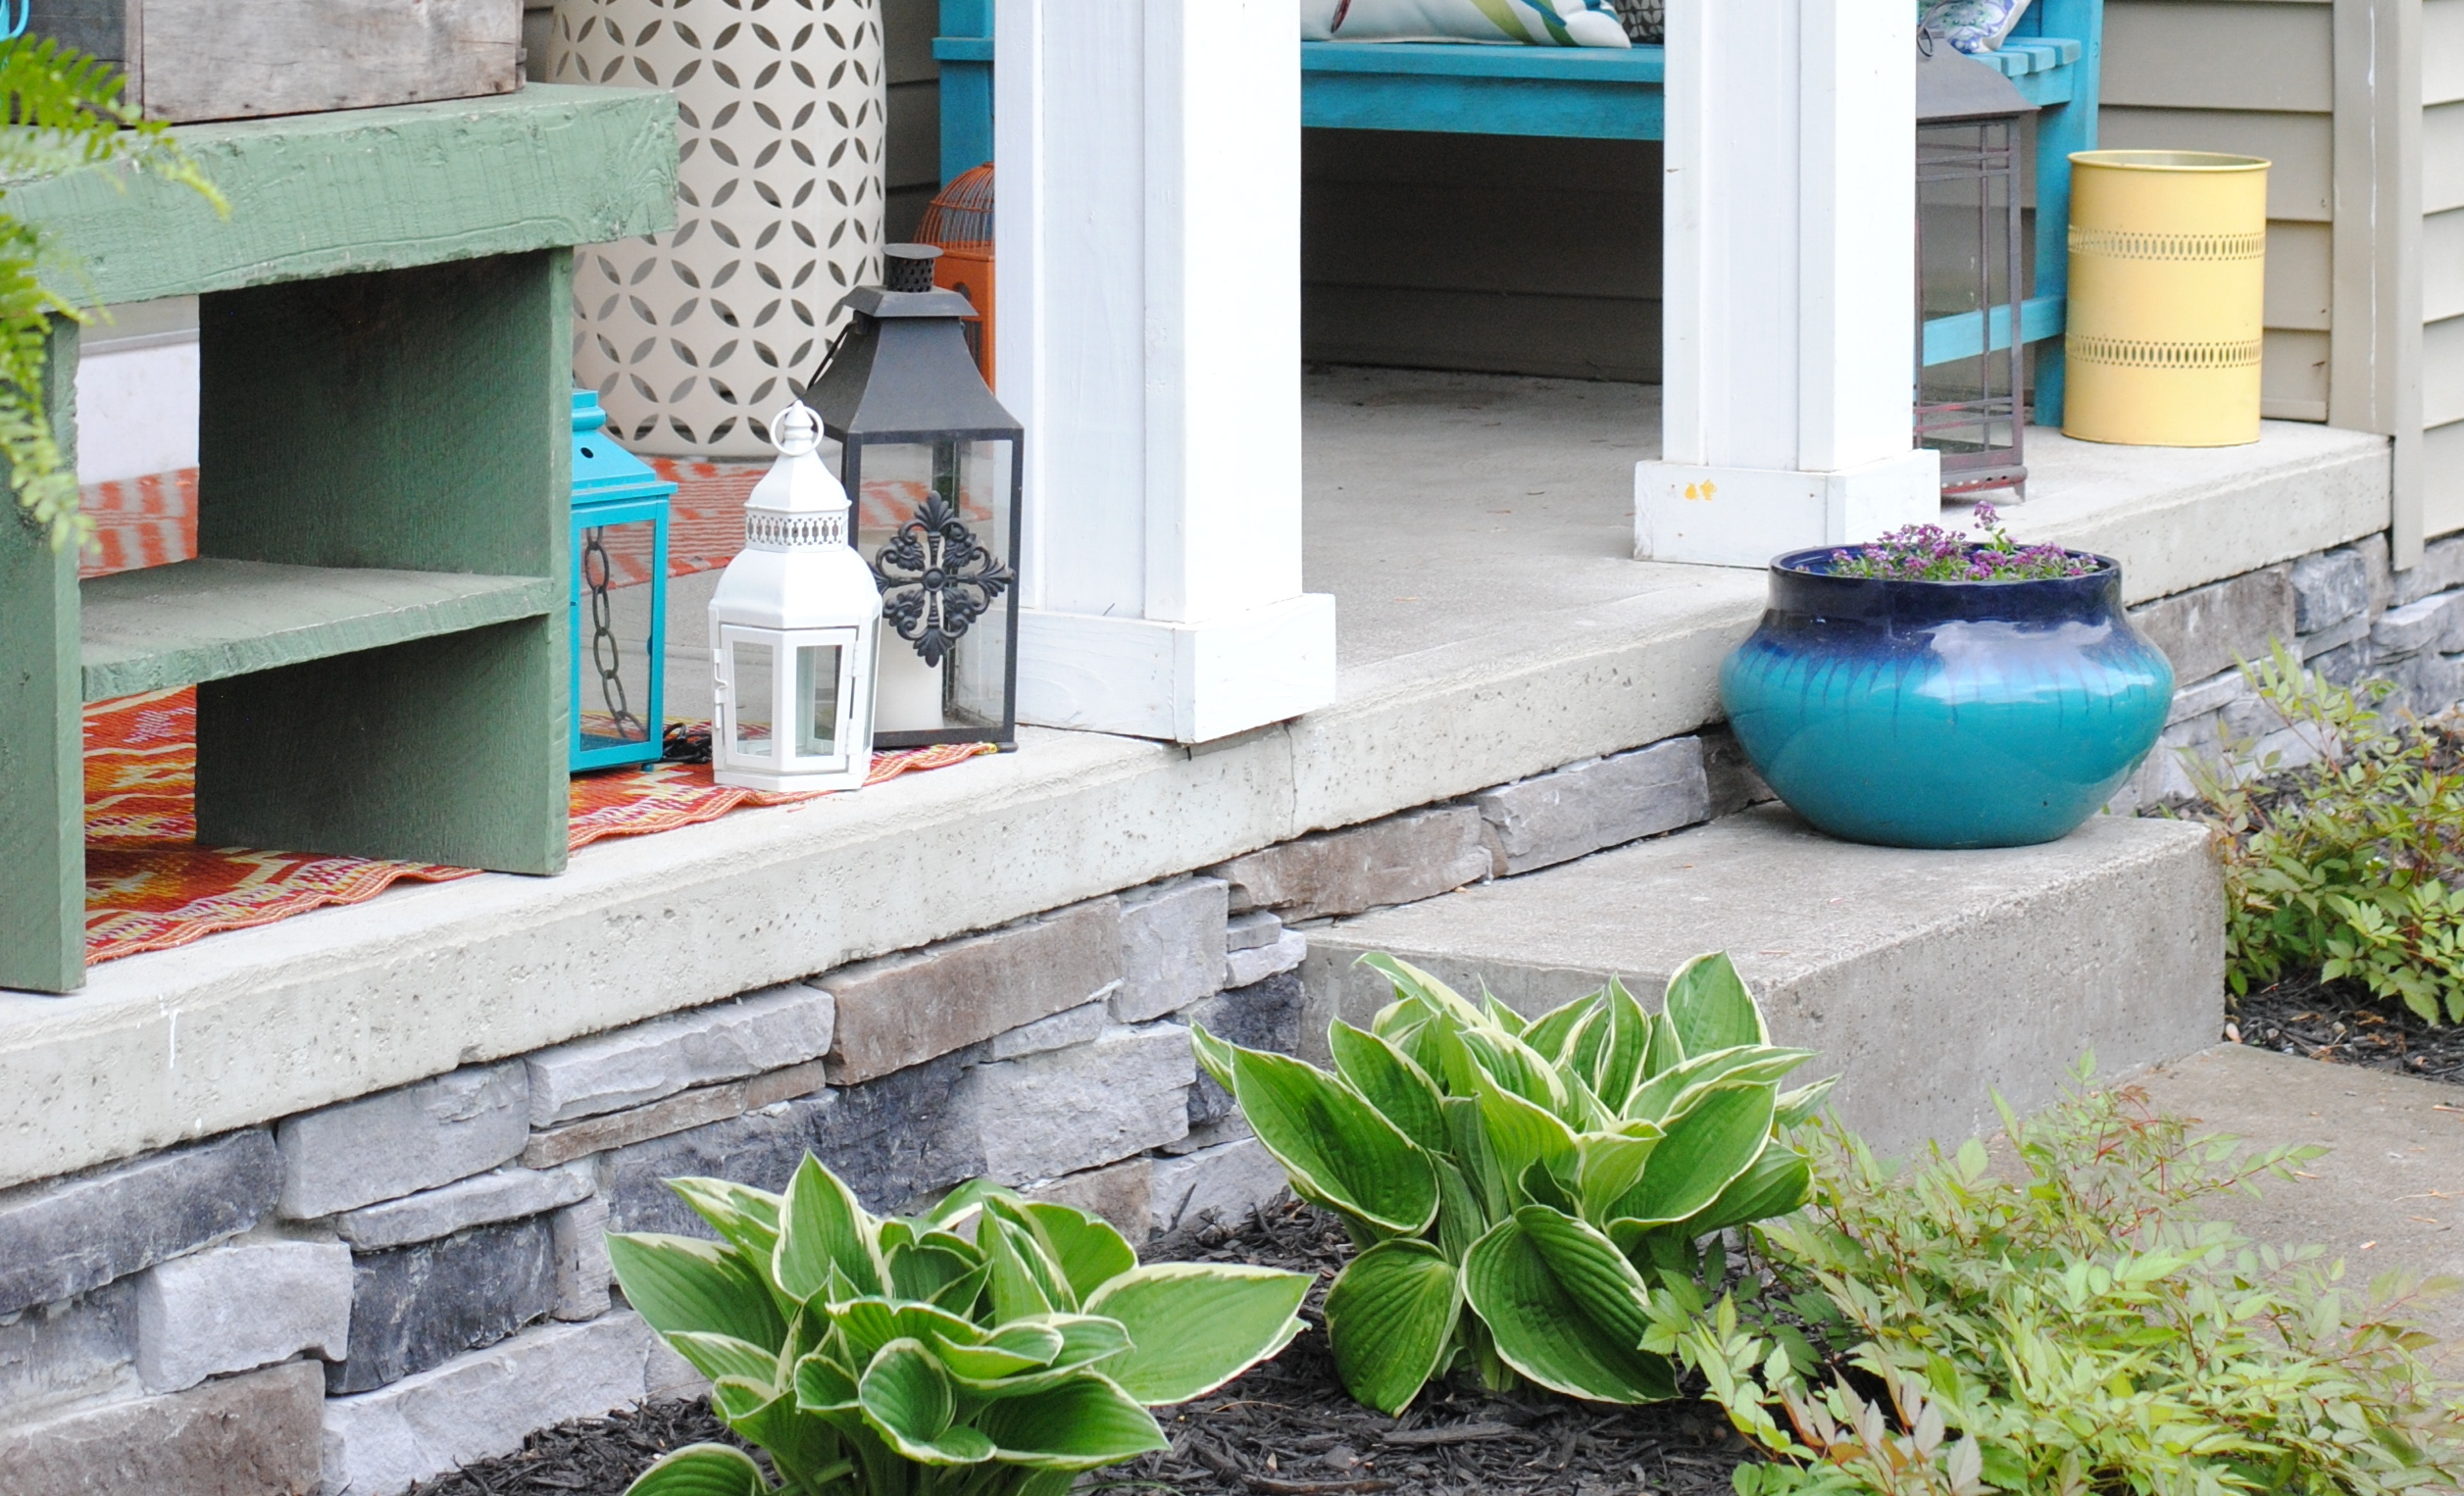
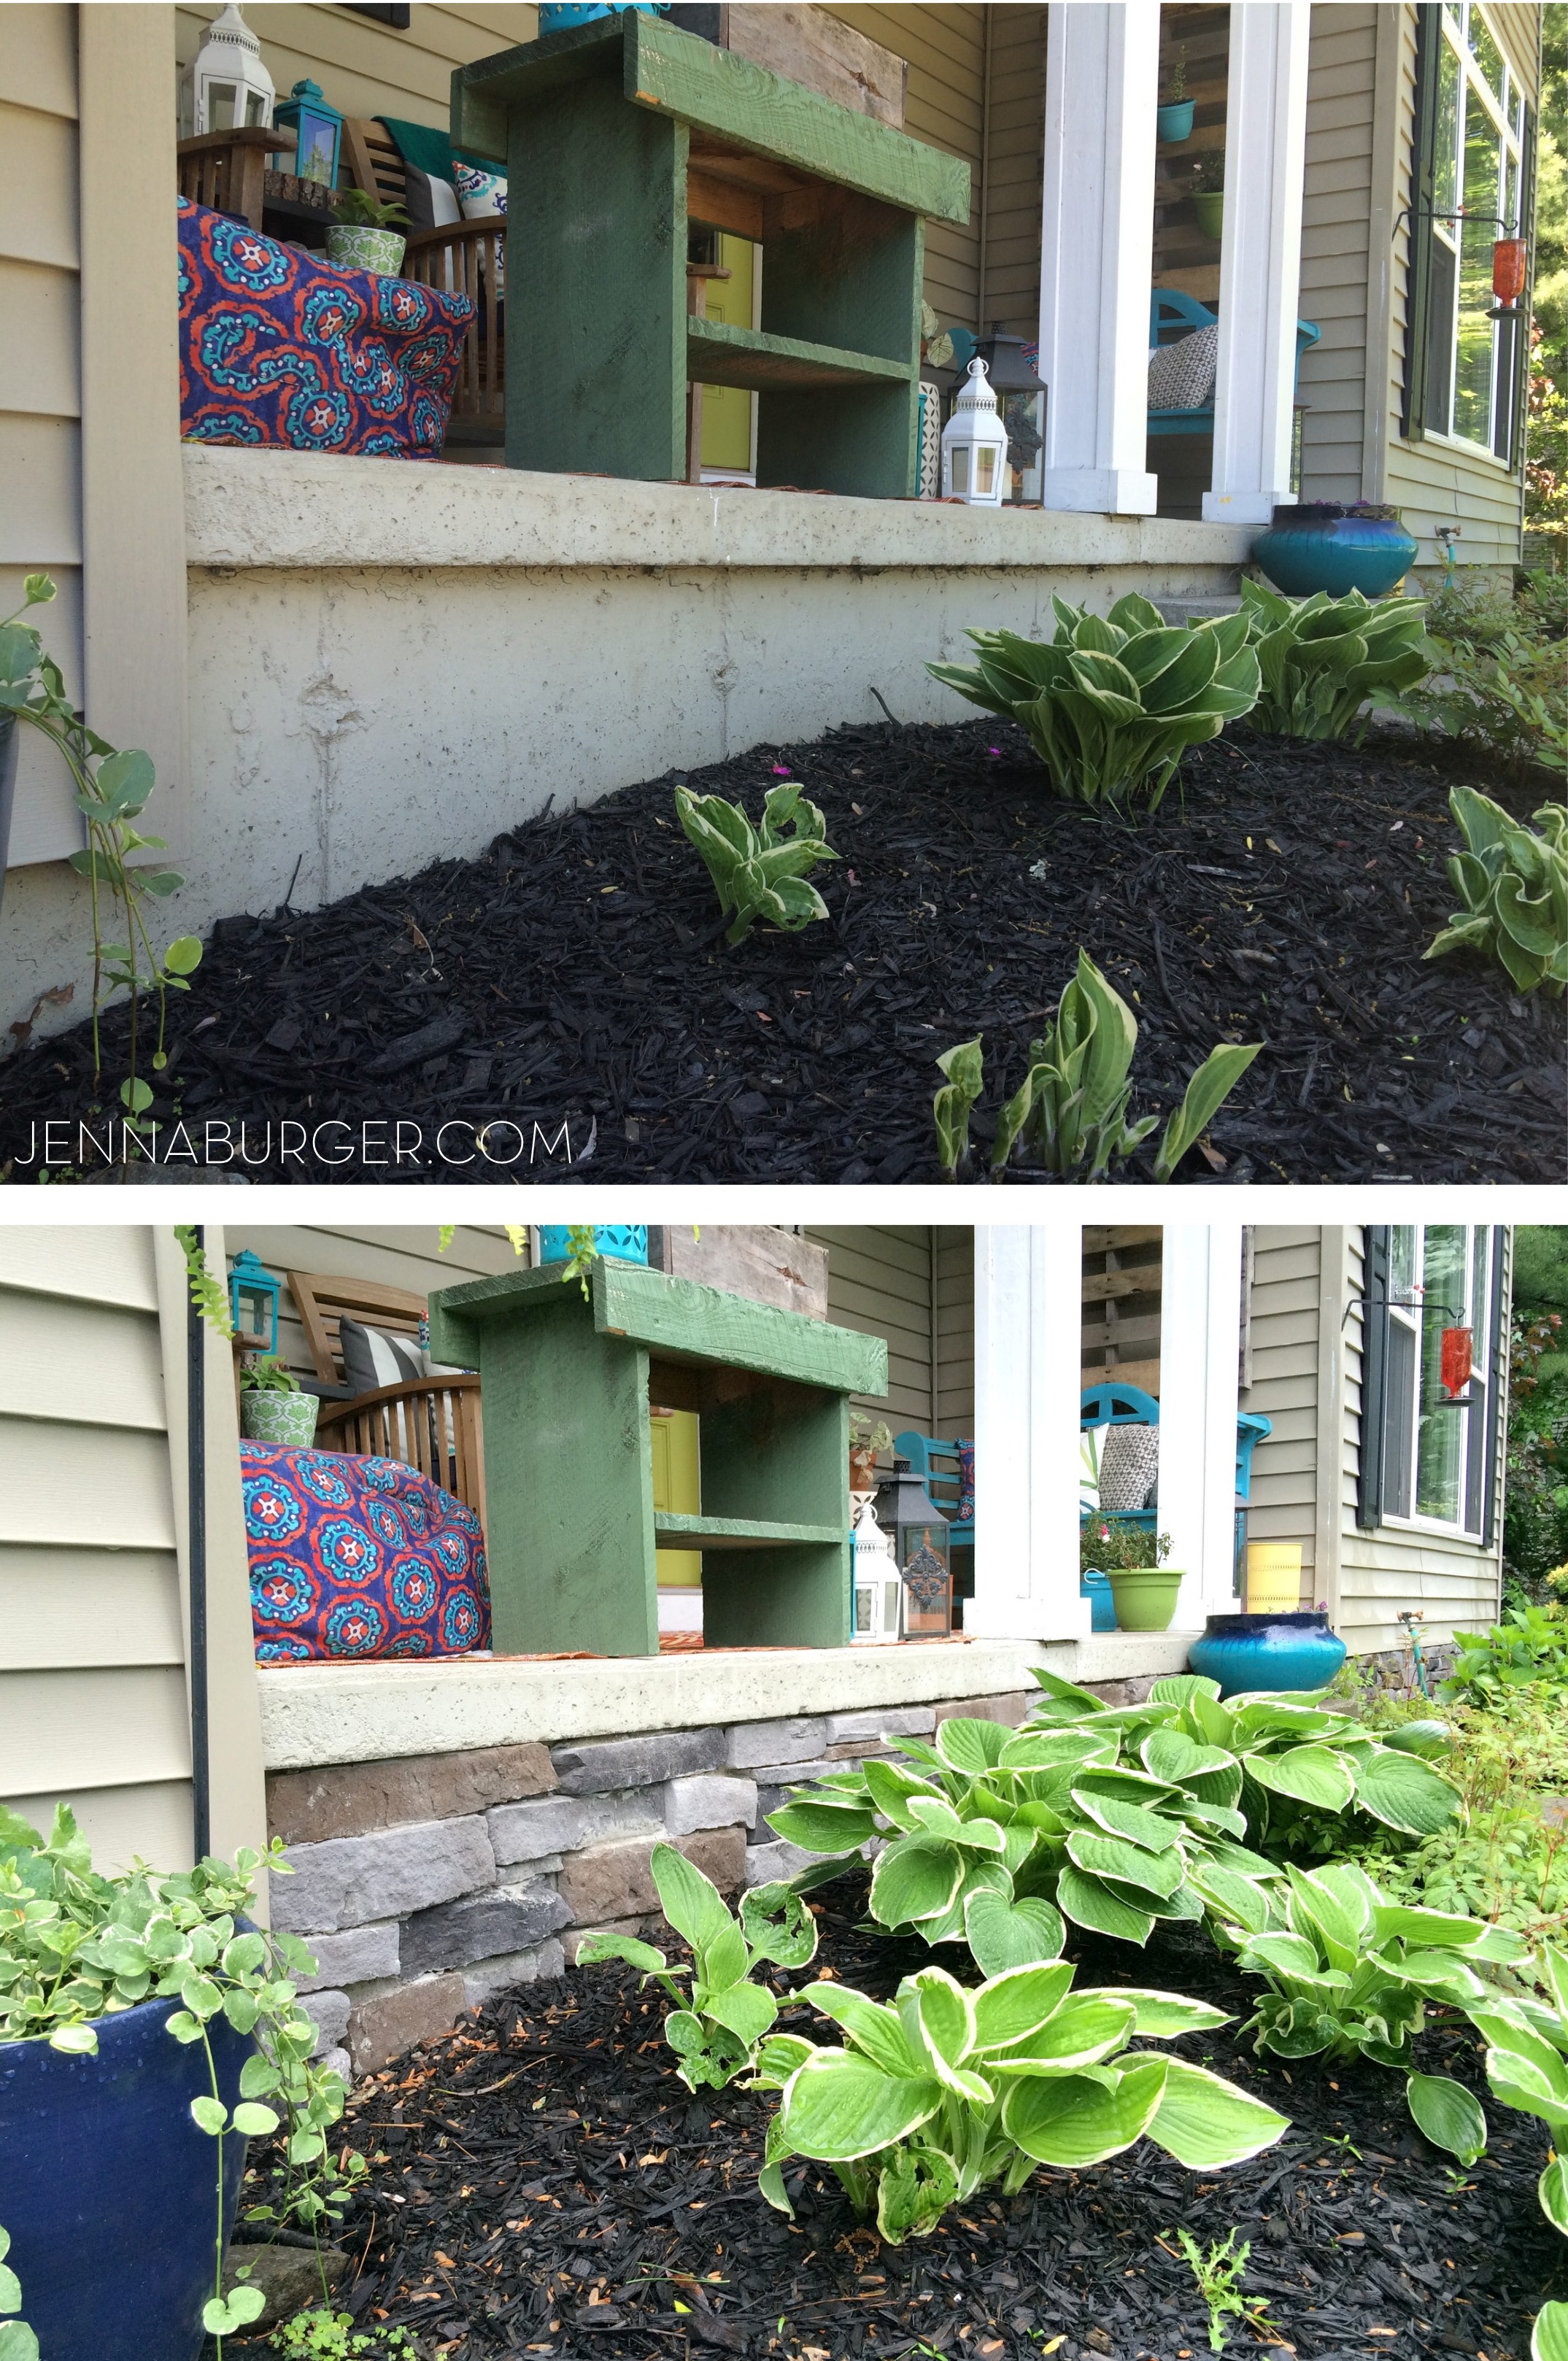
Check out the before & after on the far side of our front facade where over 2 feet of bare foundation wall was previously exposed.  What a difference!

#DIY Tutorial for Adding a Stone Veneer to a Concrete Foundation Wall: Give a bare, untreated foundation wall a finished look with an affordable stone facing!  Easy-to-Follow tutorial @ www.jennaburger.com

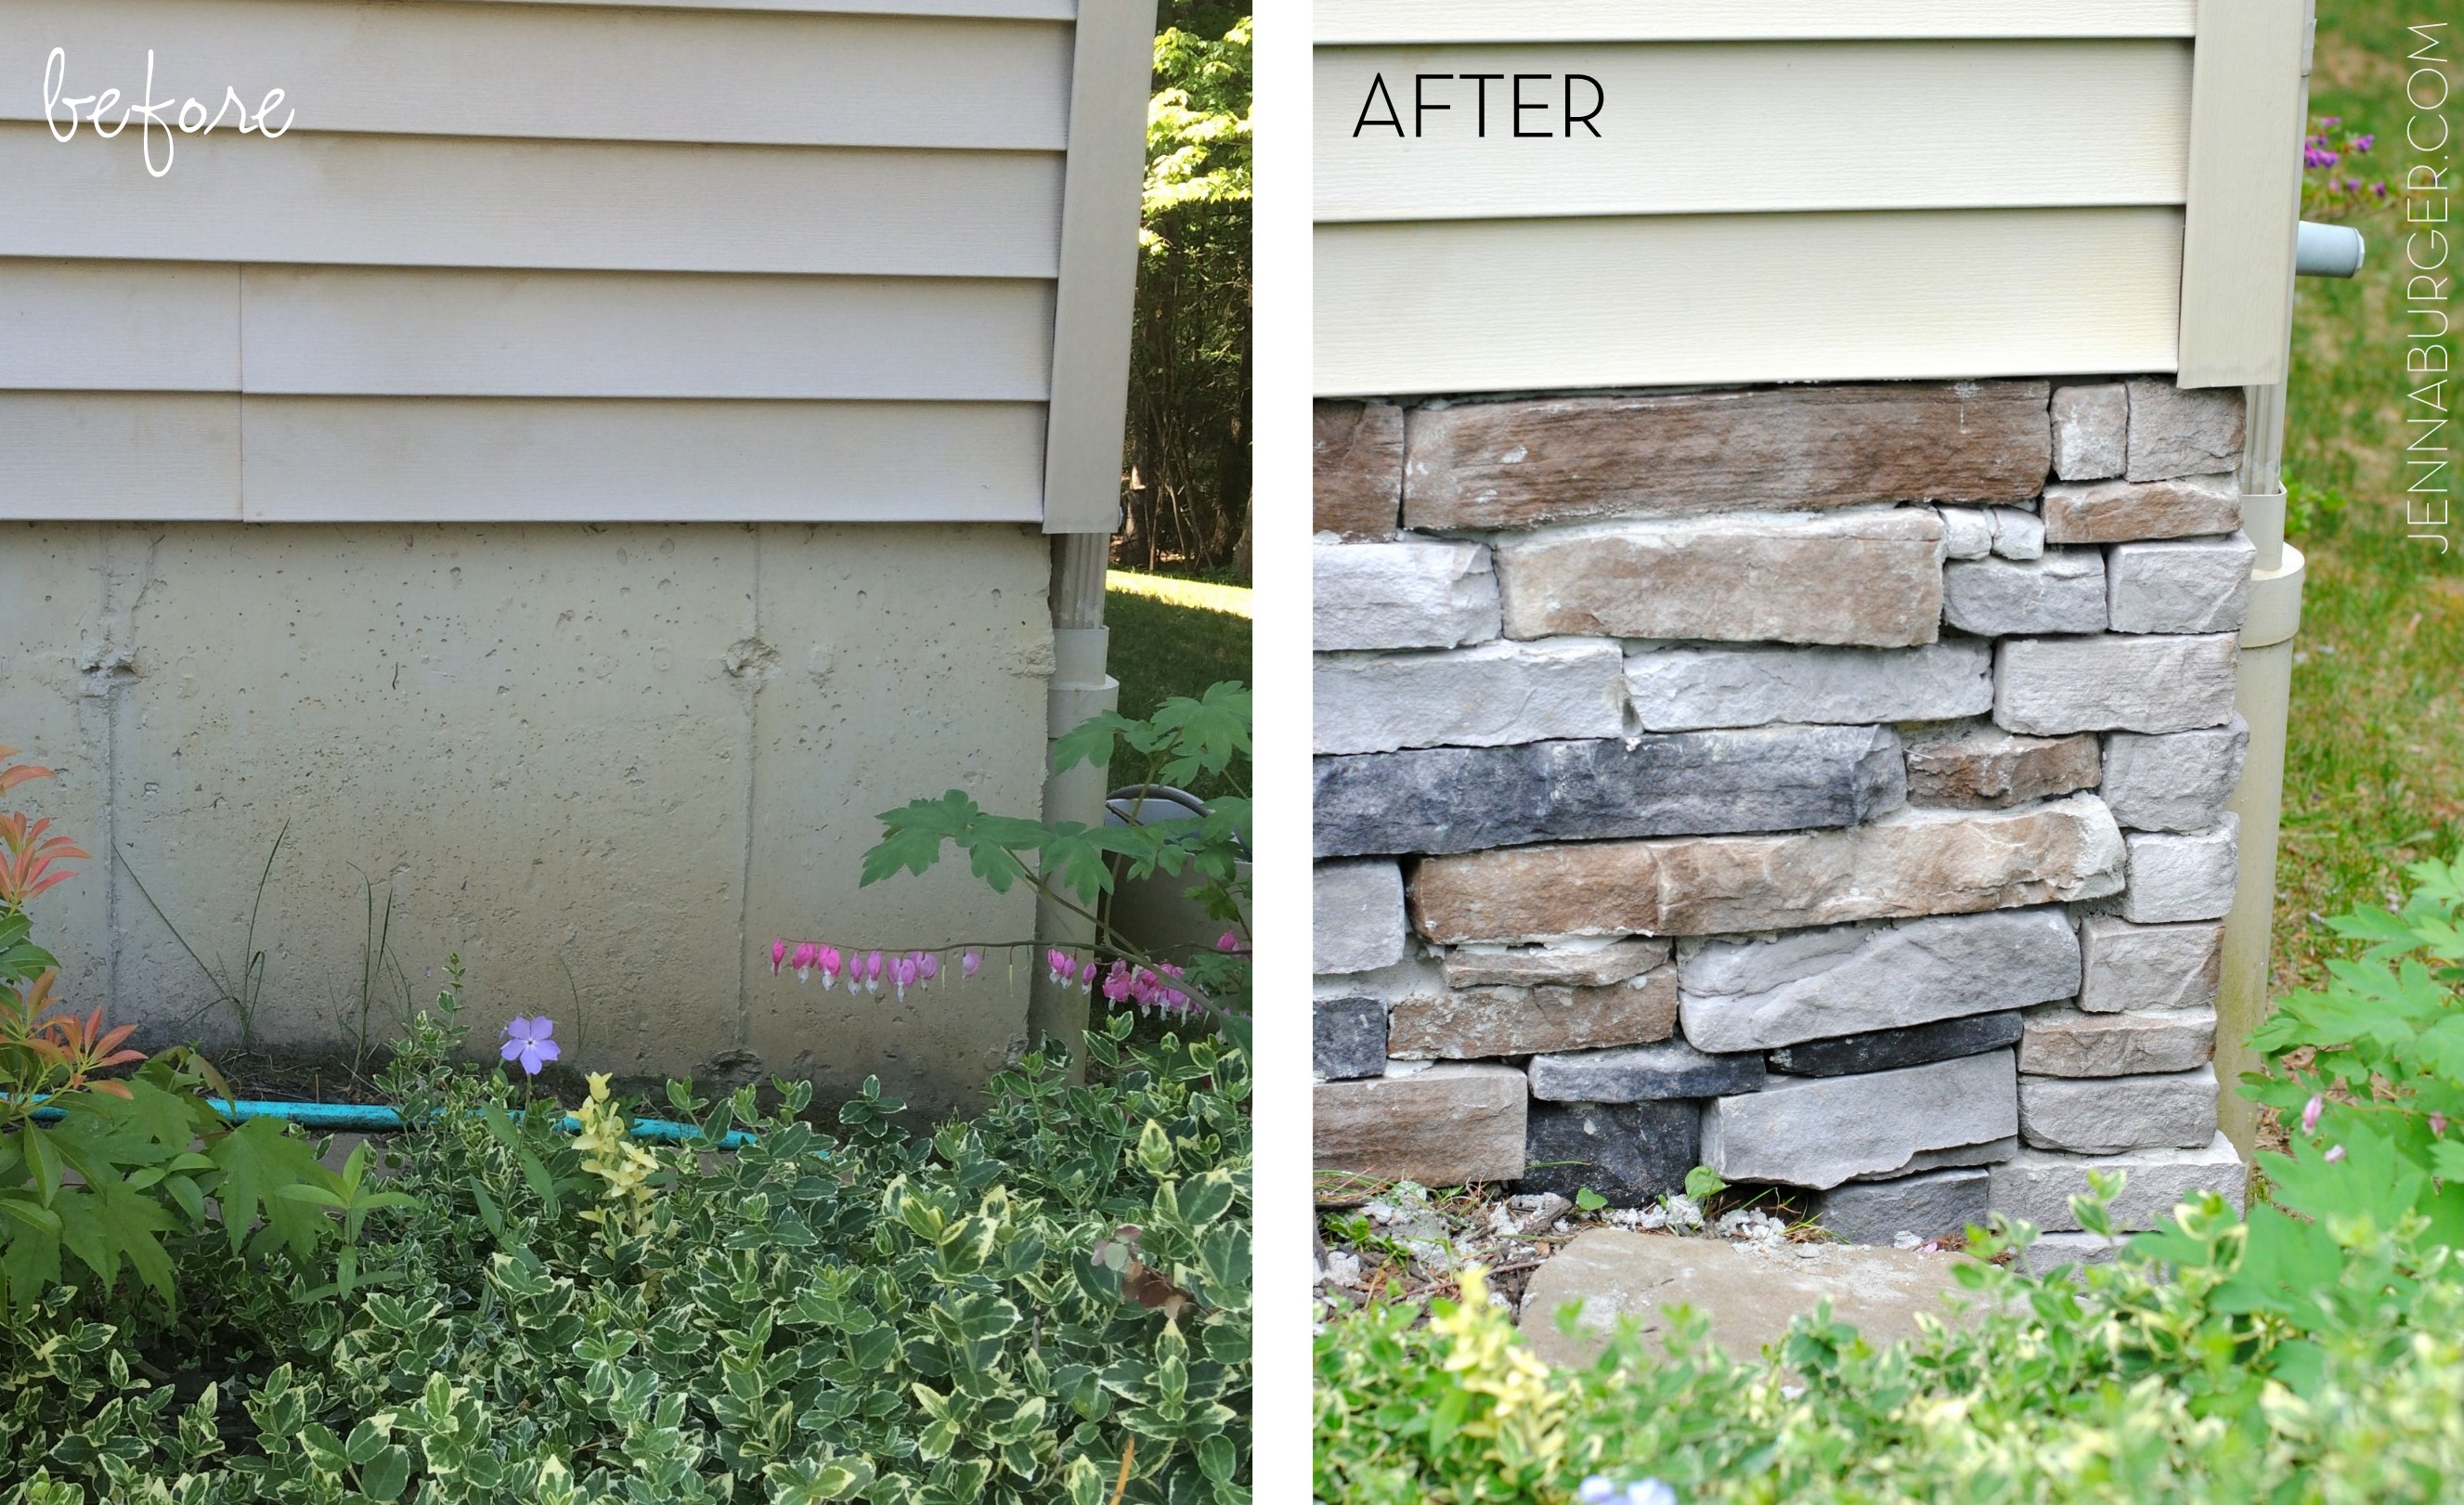
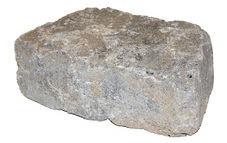
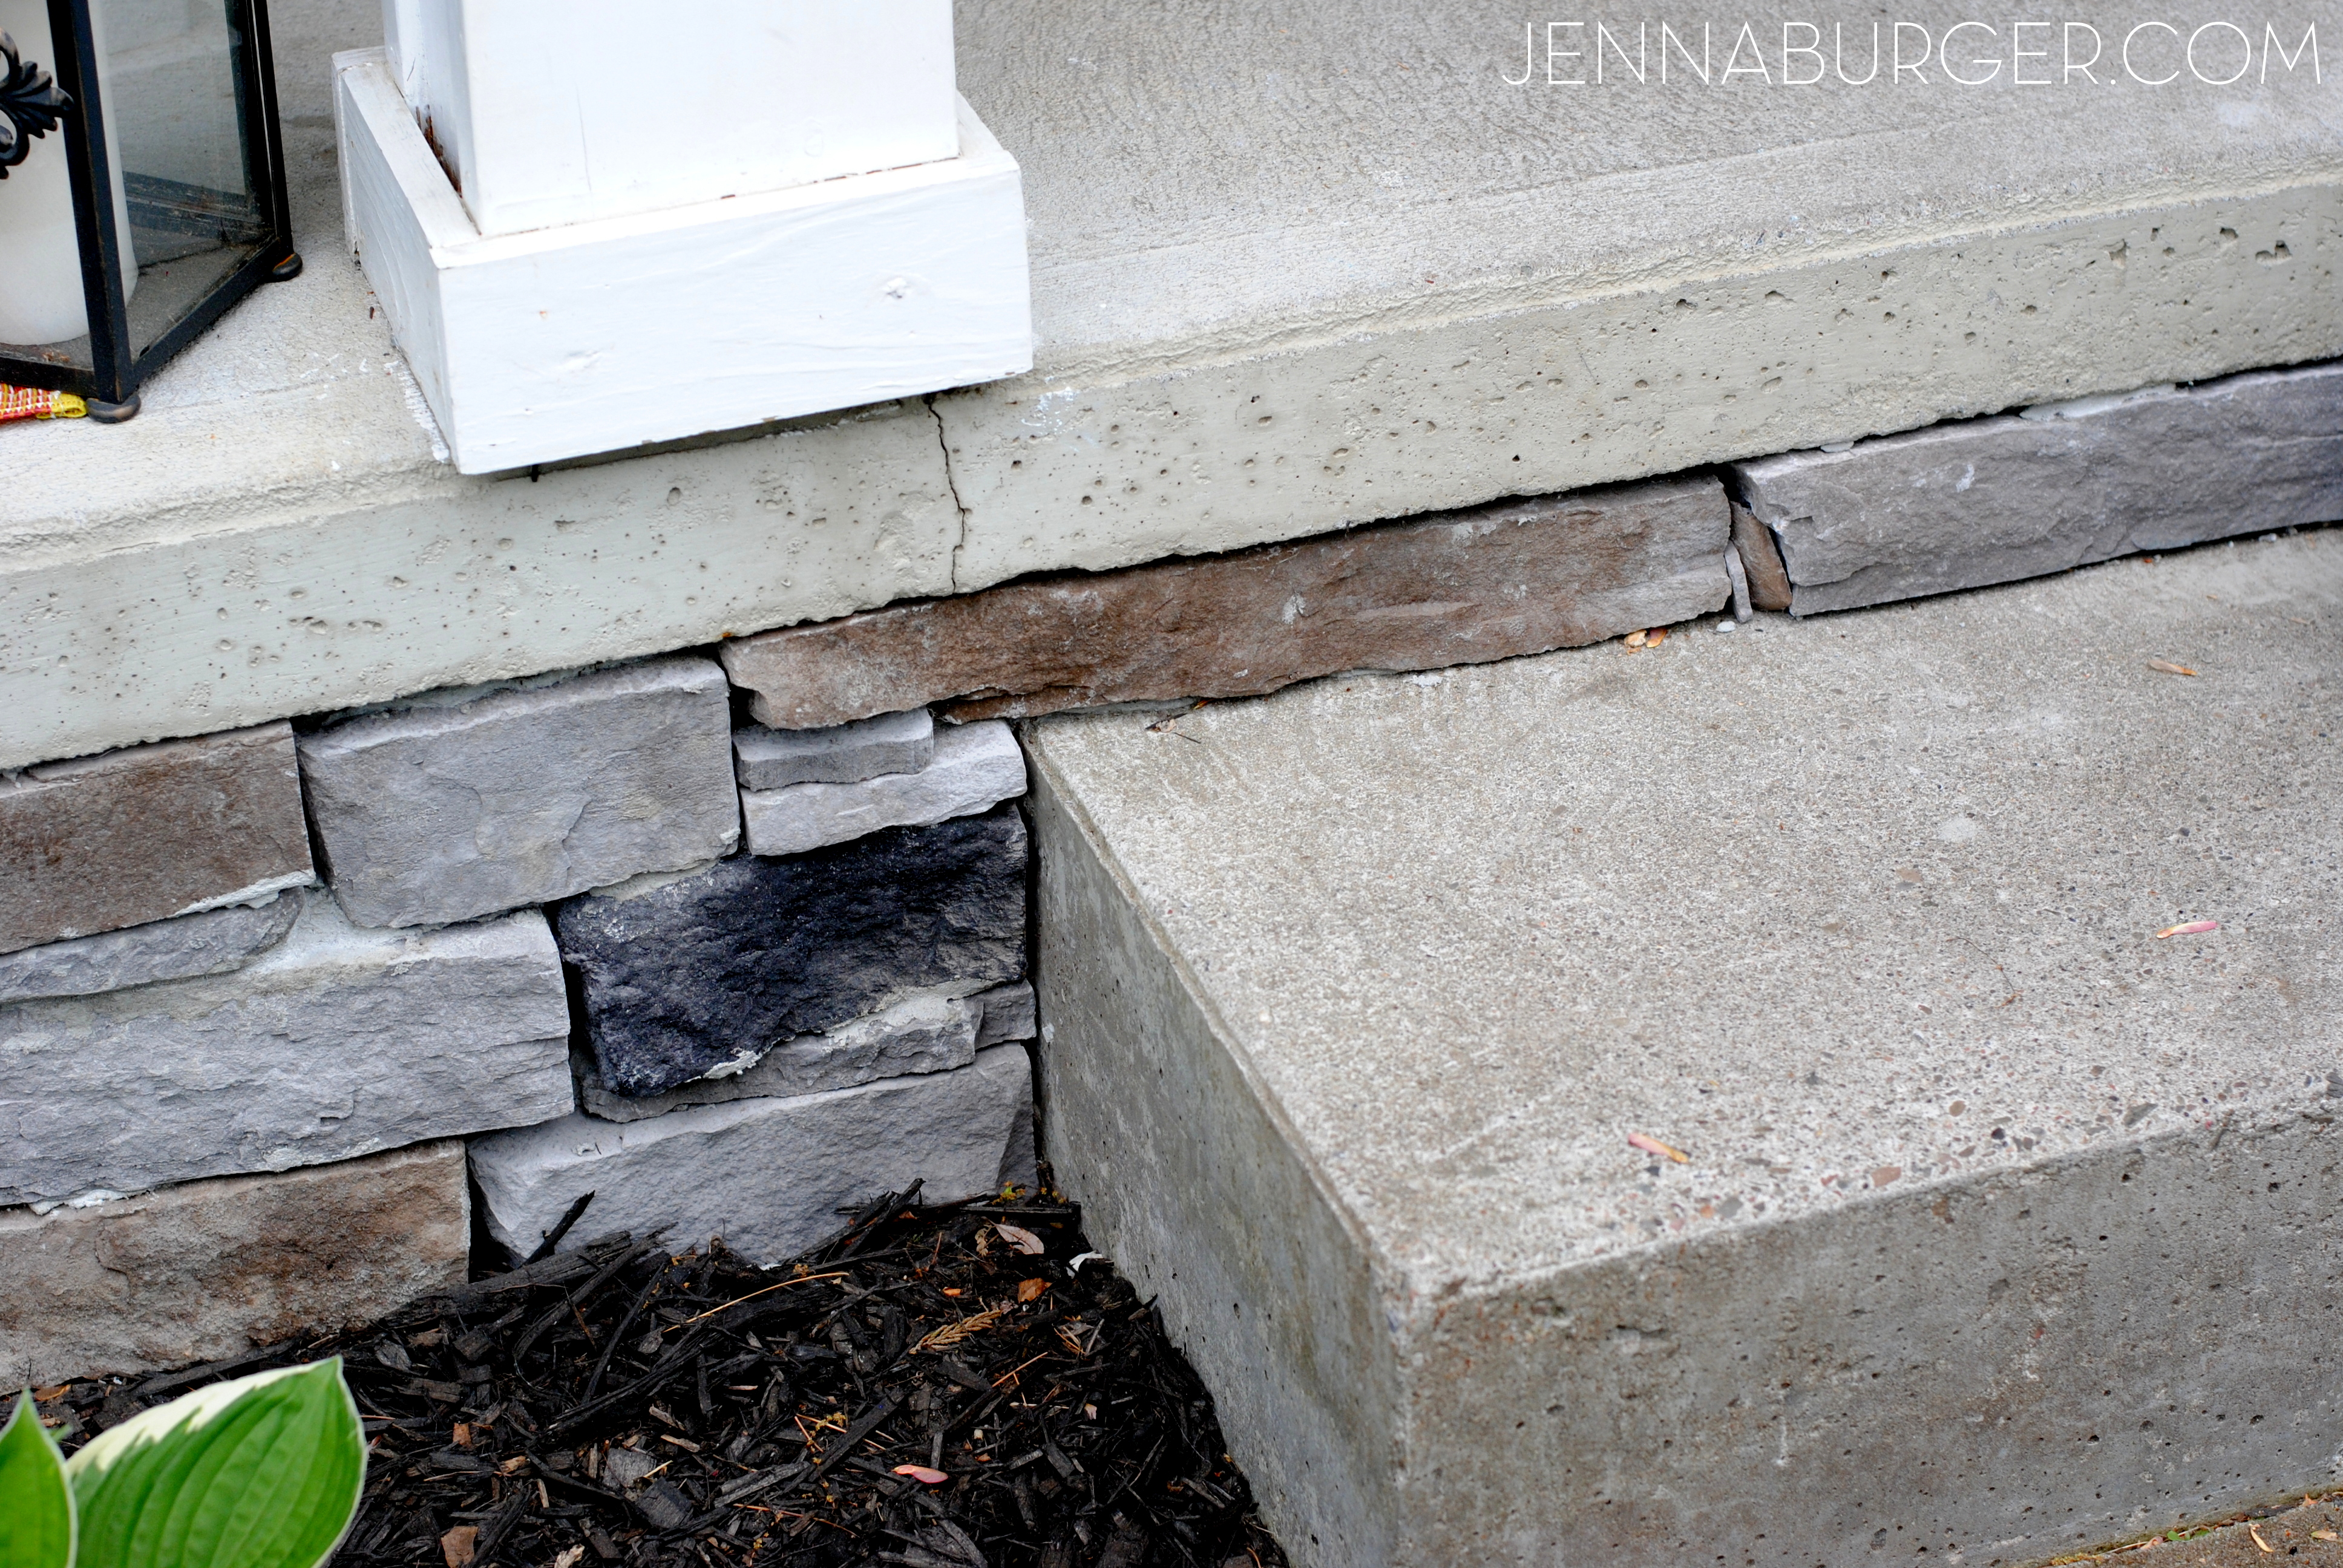
The stone veneer I chose is StoneCraft Pennsylvania Ledgestone Flats from Lowe’s.  The coloring has touches of grays & blues, with a medium-range stone size in a horizontal, linear pattern.

MATERIALS + COST

For the front facade only, I calculated about 45 square feet would be needed.   All the stone veneers at Lowe’s are special order and I ordered 6 boxes (@ 9 sq.ft. /per box), which gave me quite a bit extra for mistakes.  In the end, I had a full box and a half leftover.   Additionally, I ordered one box with corner pieces only.  Each of those boxes covers 7 linear feet, but I only needed about 3′-4′ linear feet.

Each box (which covered 9 sq. ft. + the corners which covered 7 linear ft.) was about $72, so the total was about $630

Other materials needed:

>  Circular Saw

> Masonry Blade

> Trowel (same as when tiling)

> Large bucket (to mix mortar)

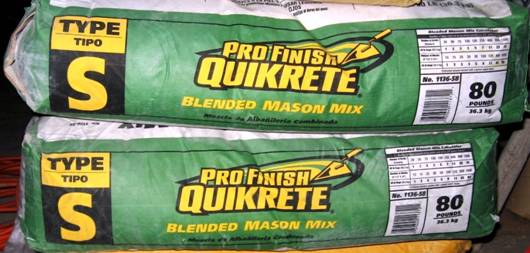
> Type S mortar (this is similar to what I purchased)

> Water (to mix mortar)
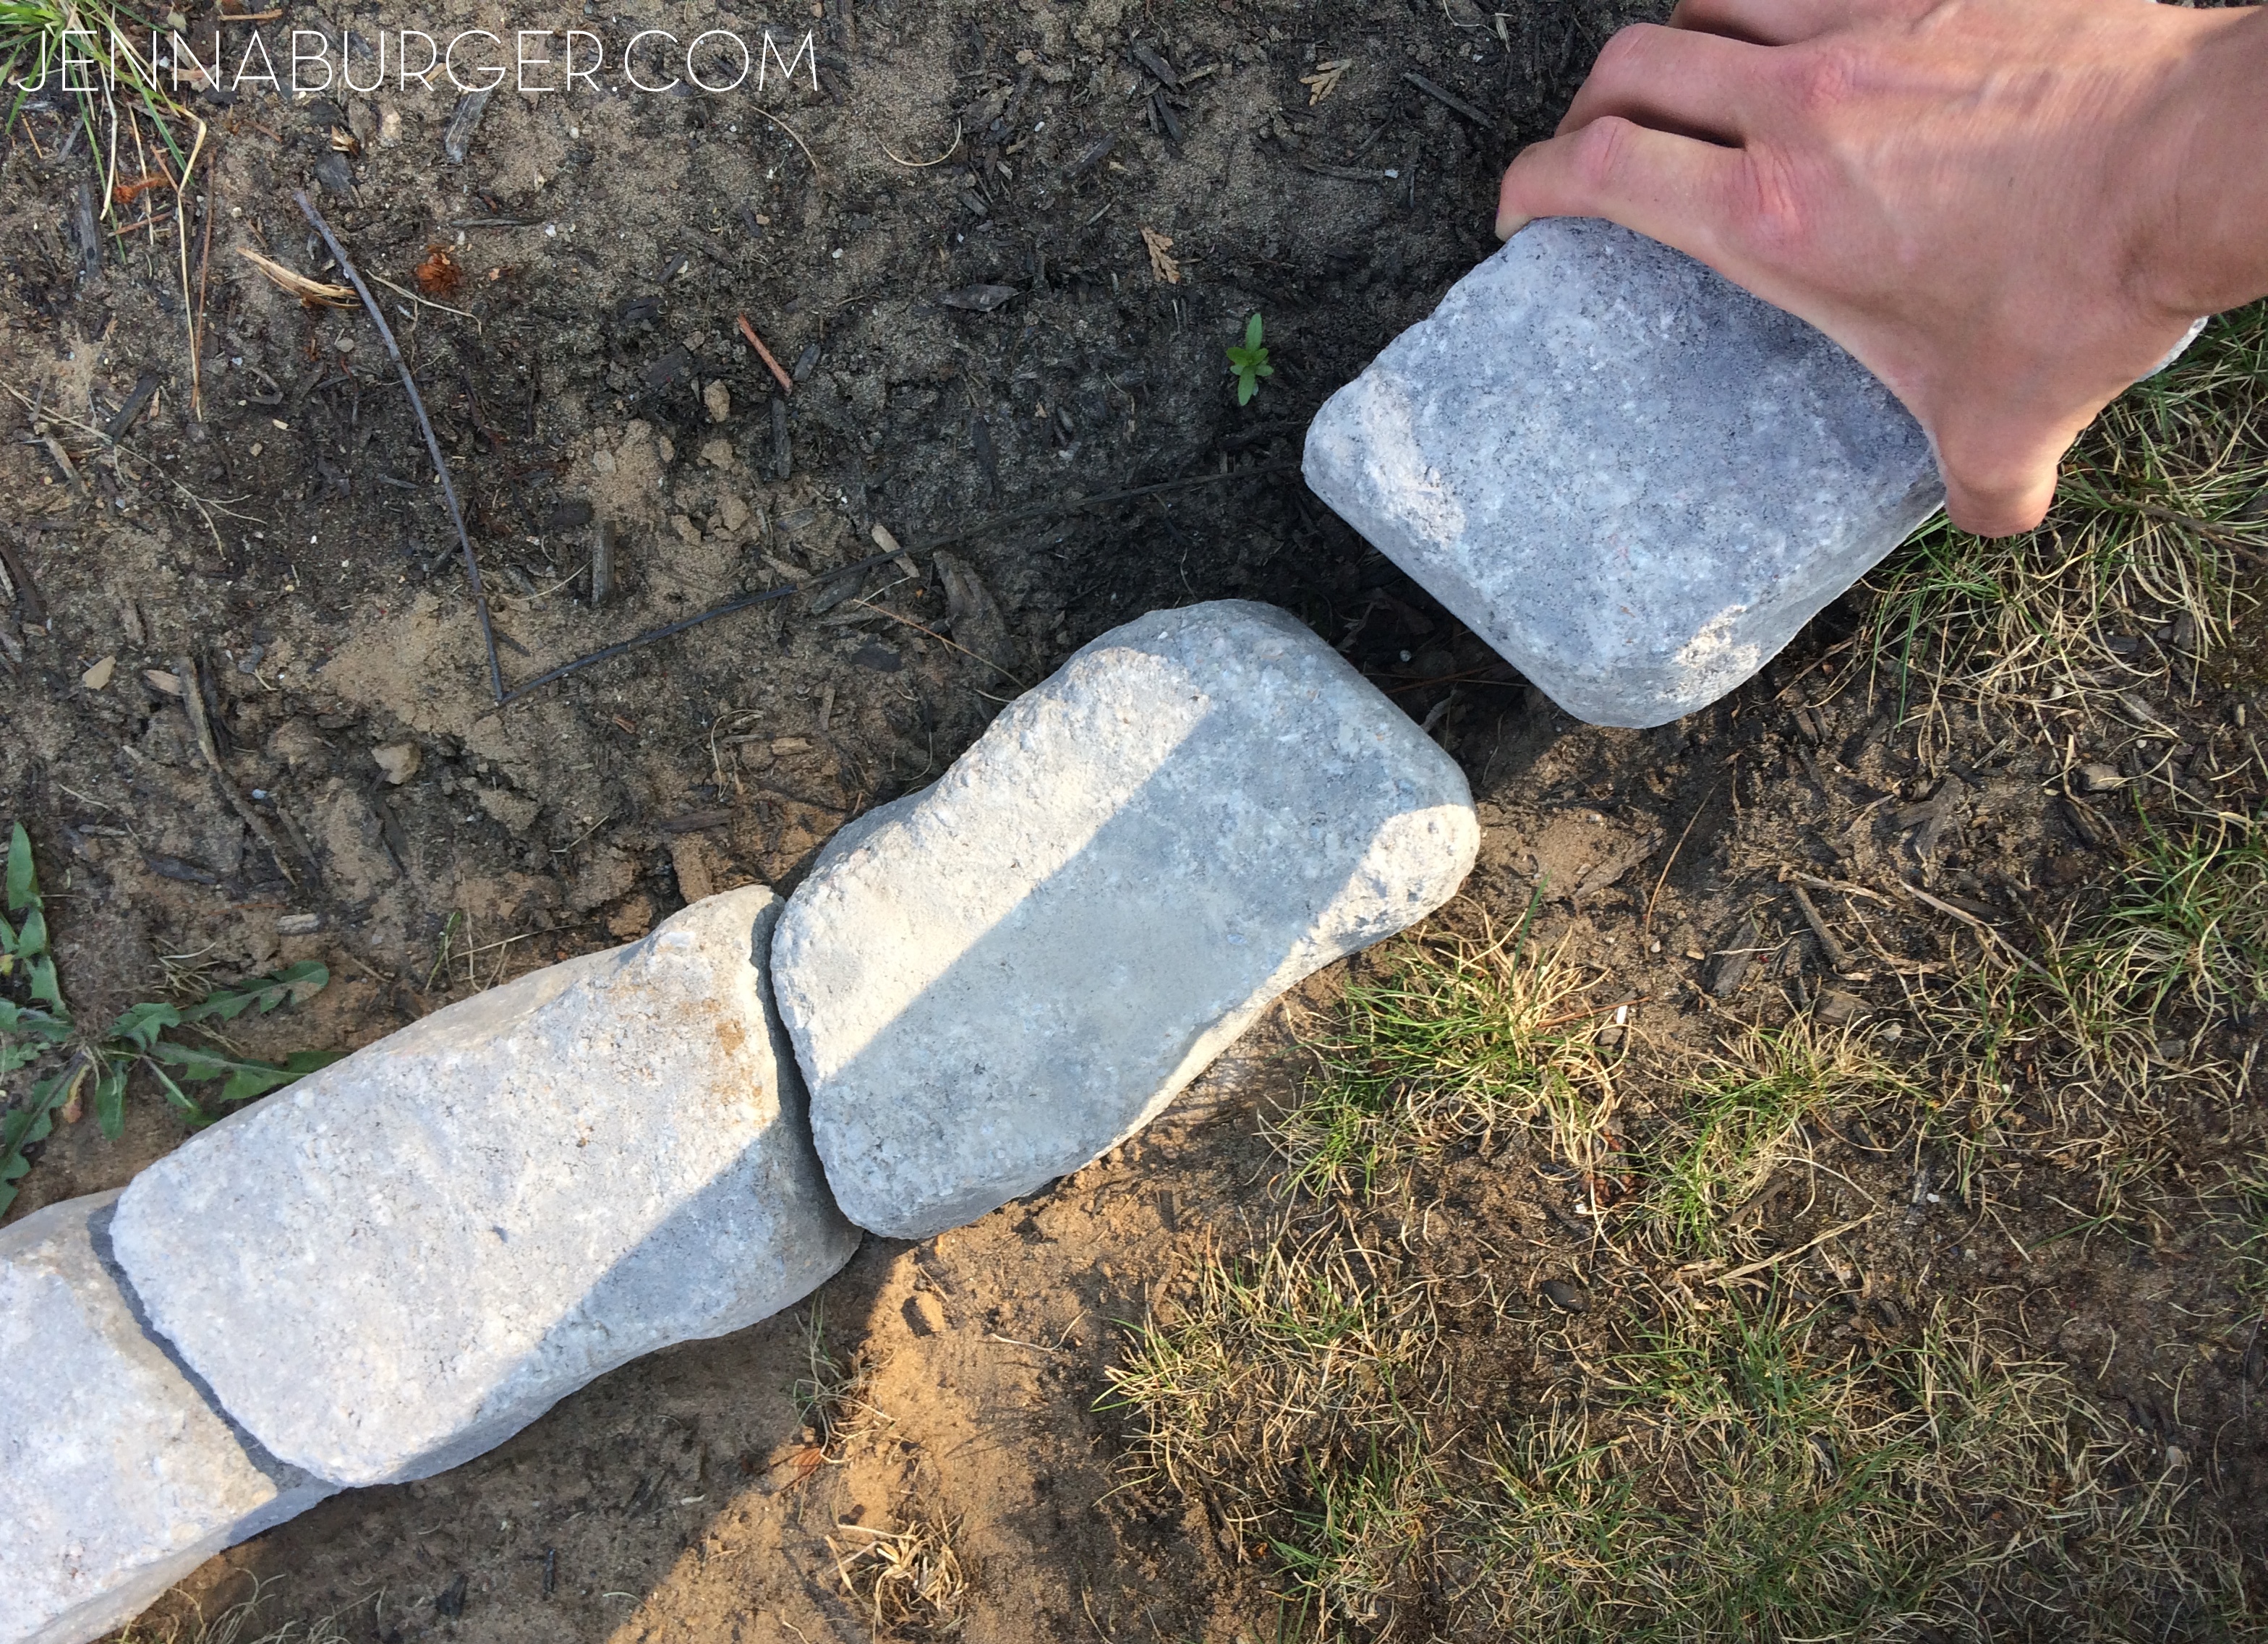
mortar

CREATING A PATTERN

The most difficult challenging part of this entire project wasn’t the actual install, but instead creating a pattern with an even mix of sizes & colors.  There was no tutorial or “how-to” for this so it took some thinking, looking, and analyzing along the way.

It’s important to vary the colors (in our case there was a mix of grays, taupes, blues, and blacks) and to vary the size + shapes of the stones.  With the pattern we chose, we stuck with a linear, horizontal direction, but it was kind of like a jigsaw puzzle.

As we worked along from one end to the other, we would “dry install” a few stones, confirm we liked how it looked, then removed them to add the mortar.

#DIY Tutorial for Adding a Stone Veneer to a Concrete Foundation Wall: Give a bare, untreated foundation wall a finished look with an affordable stone facing!  Easy-to-Follow tutorial @ www.jennaburger.com

Important note: If you have corners, start with them first, then work your way over!
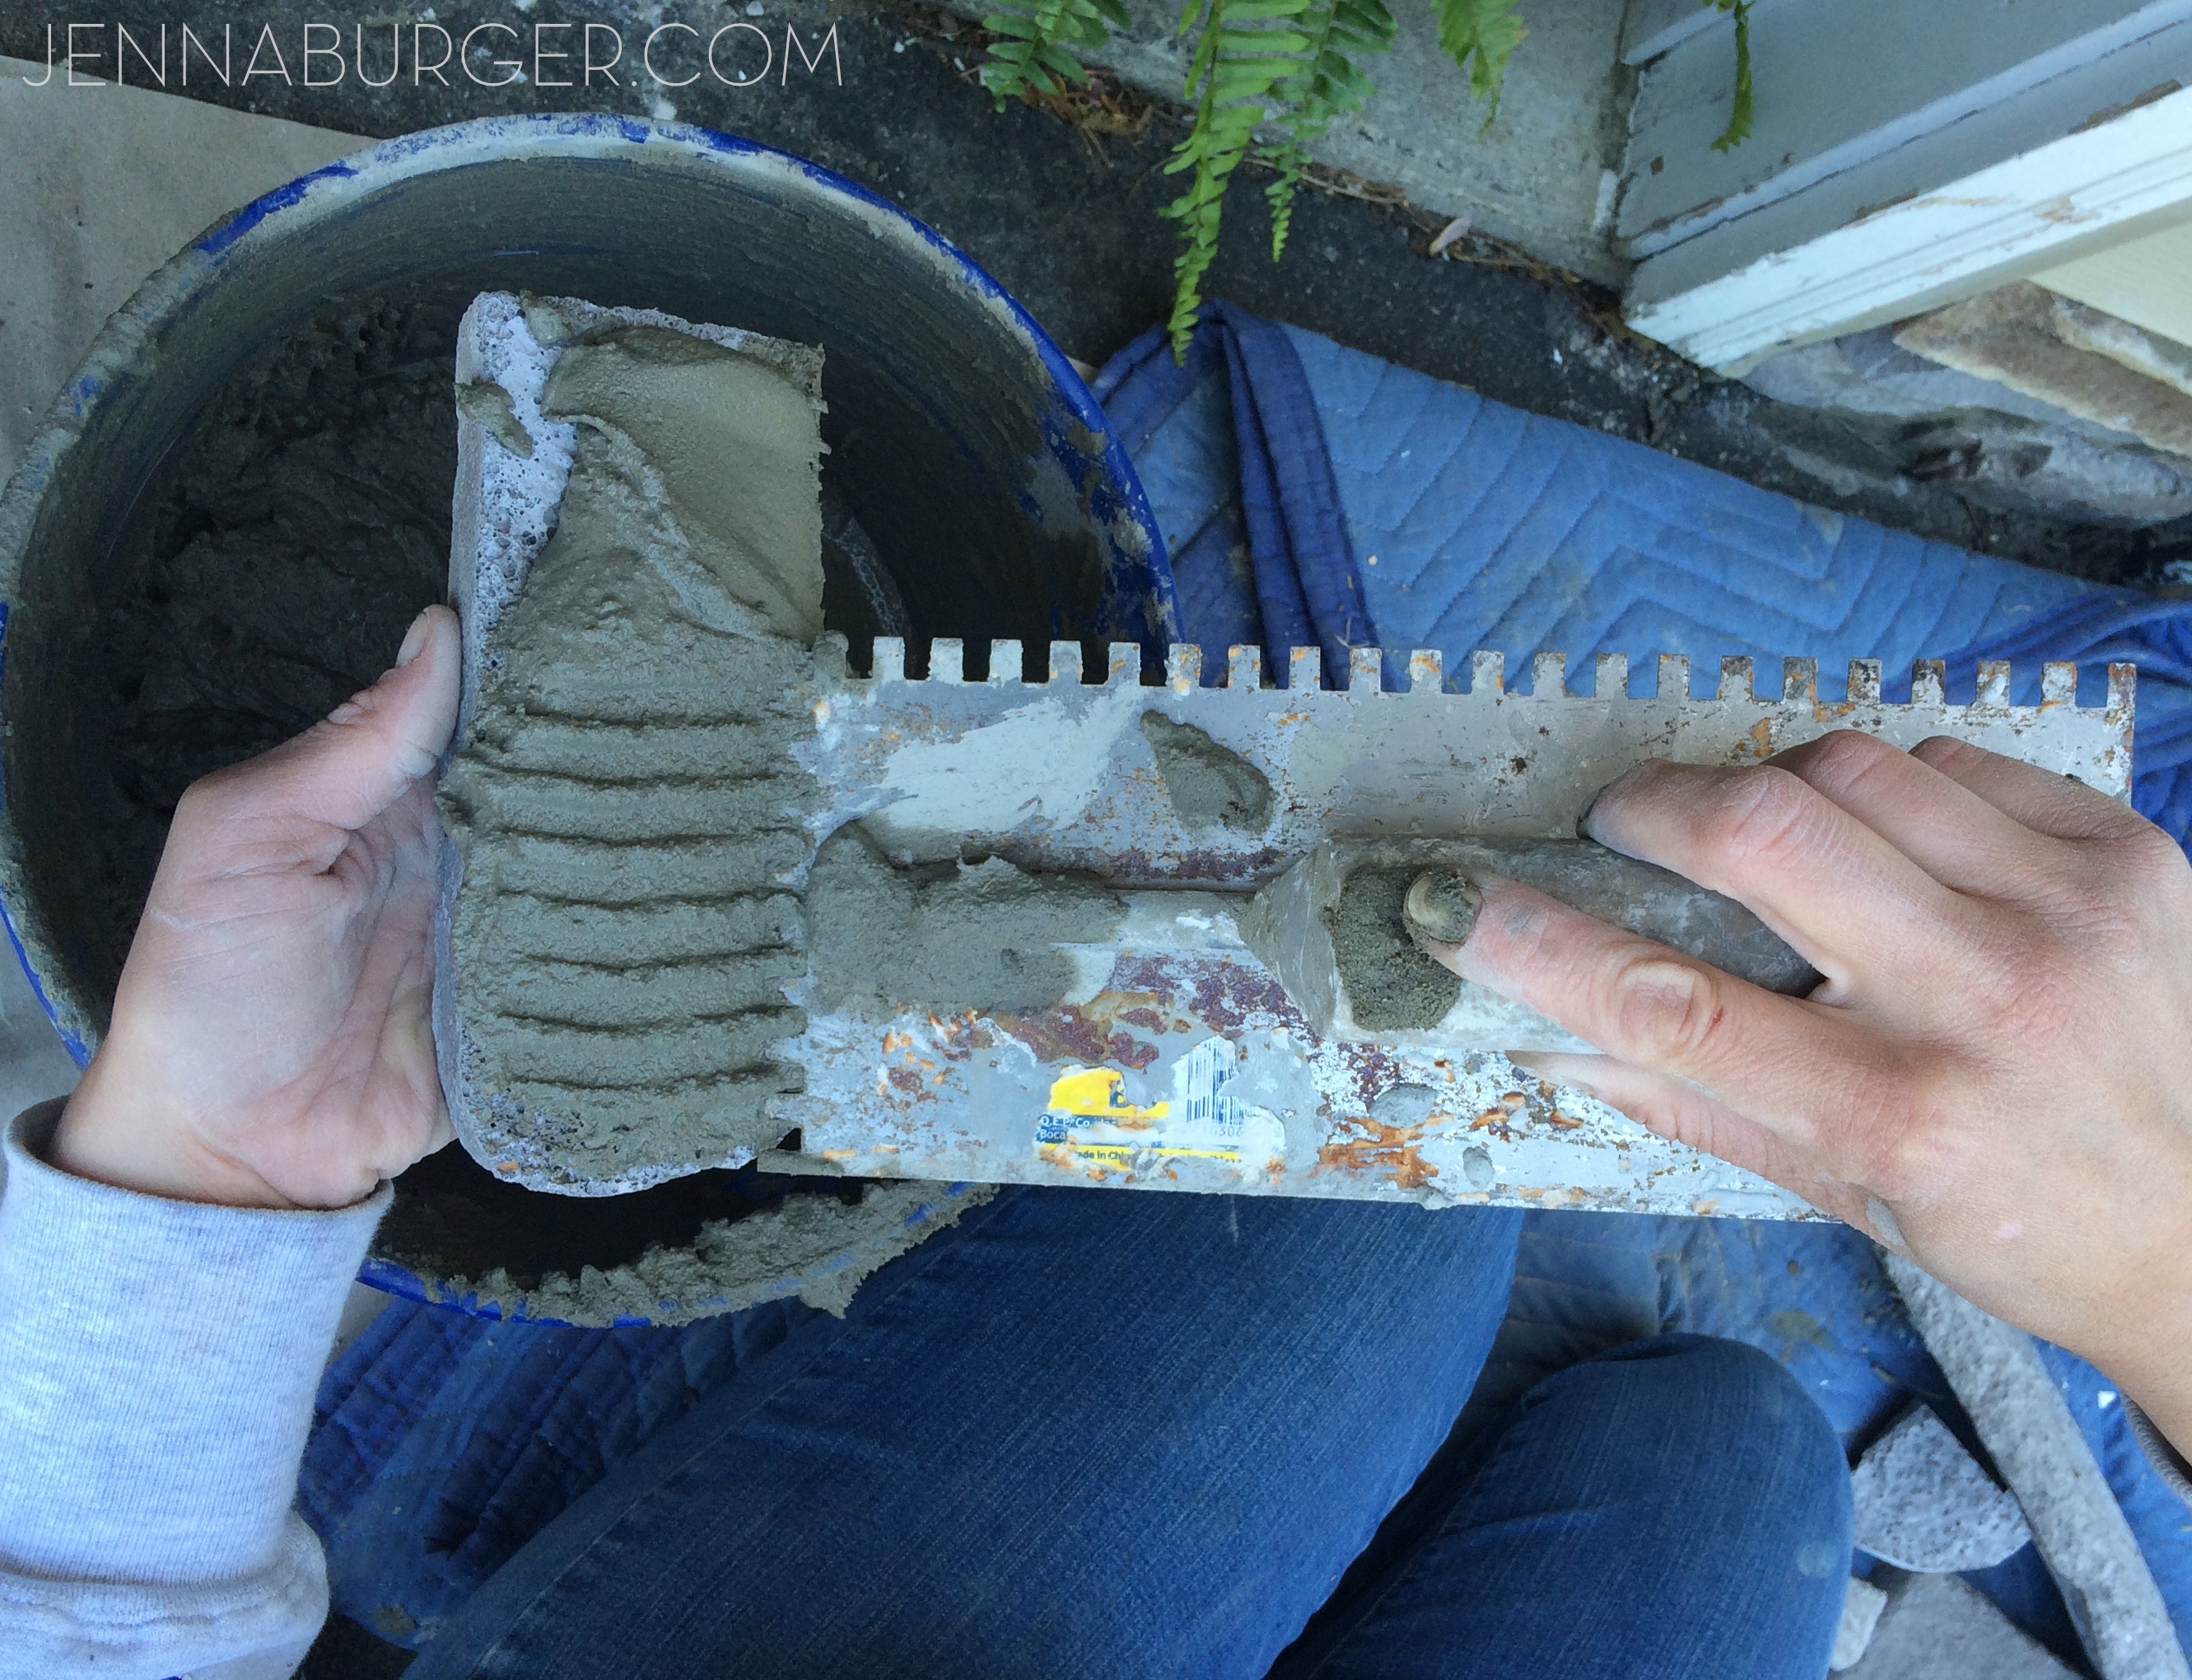
MIXING MORTAR

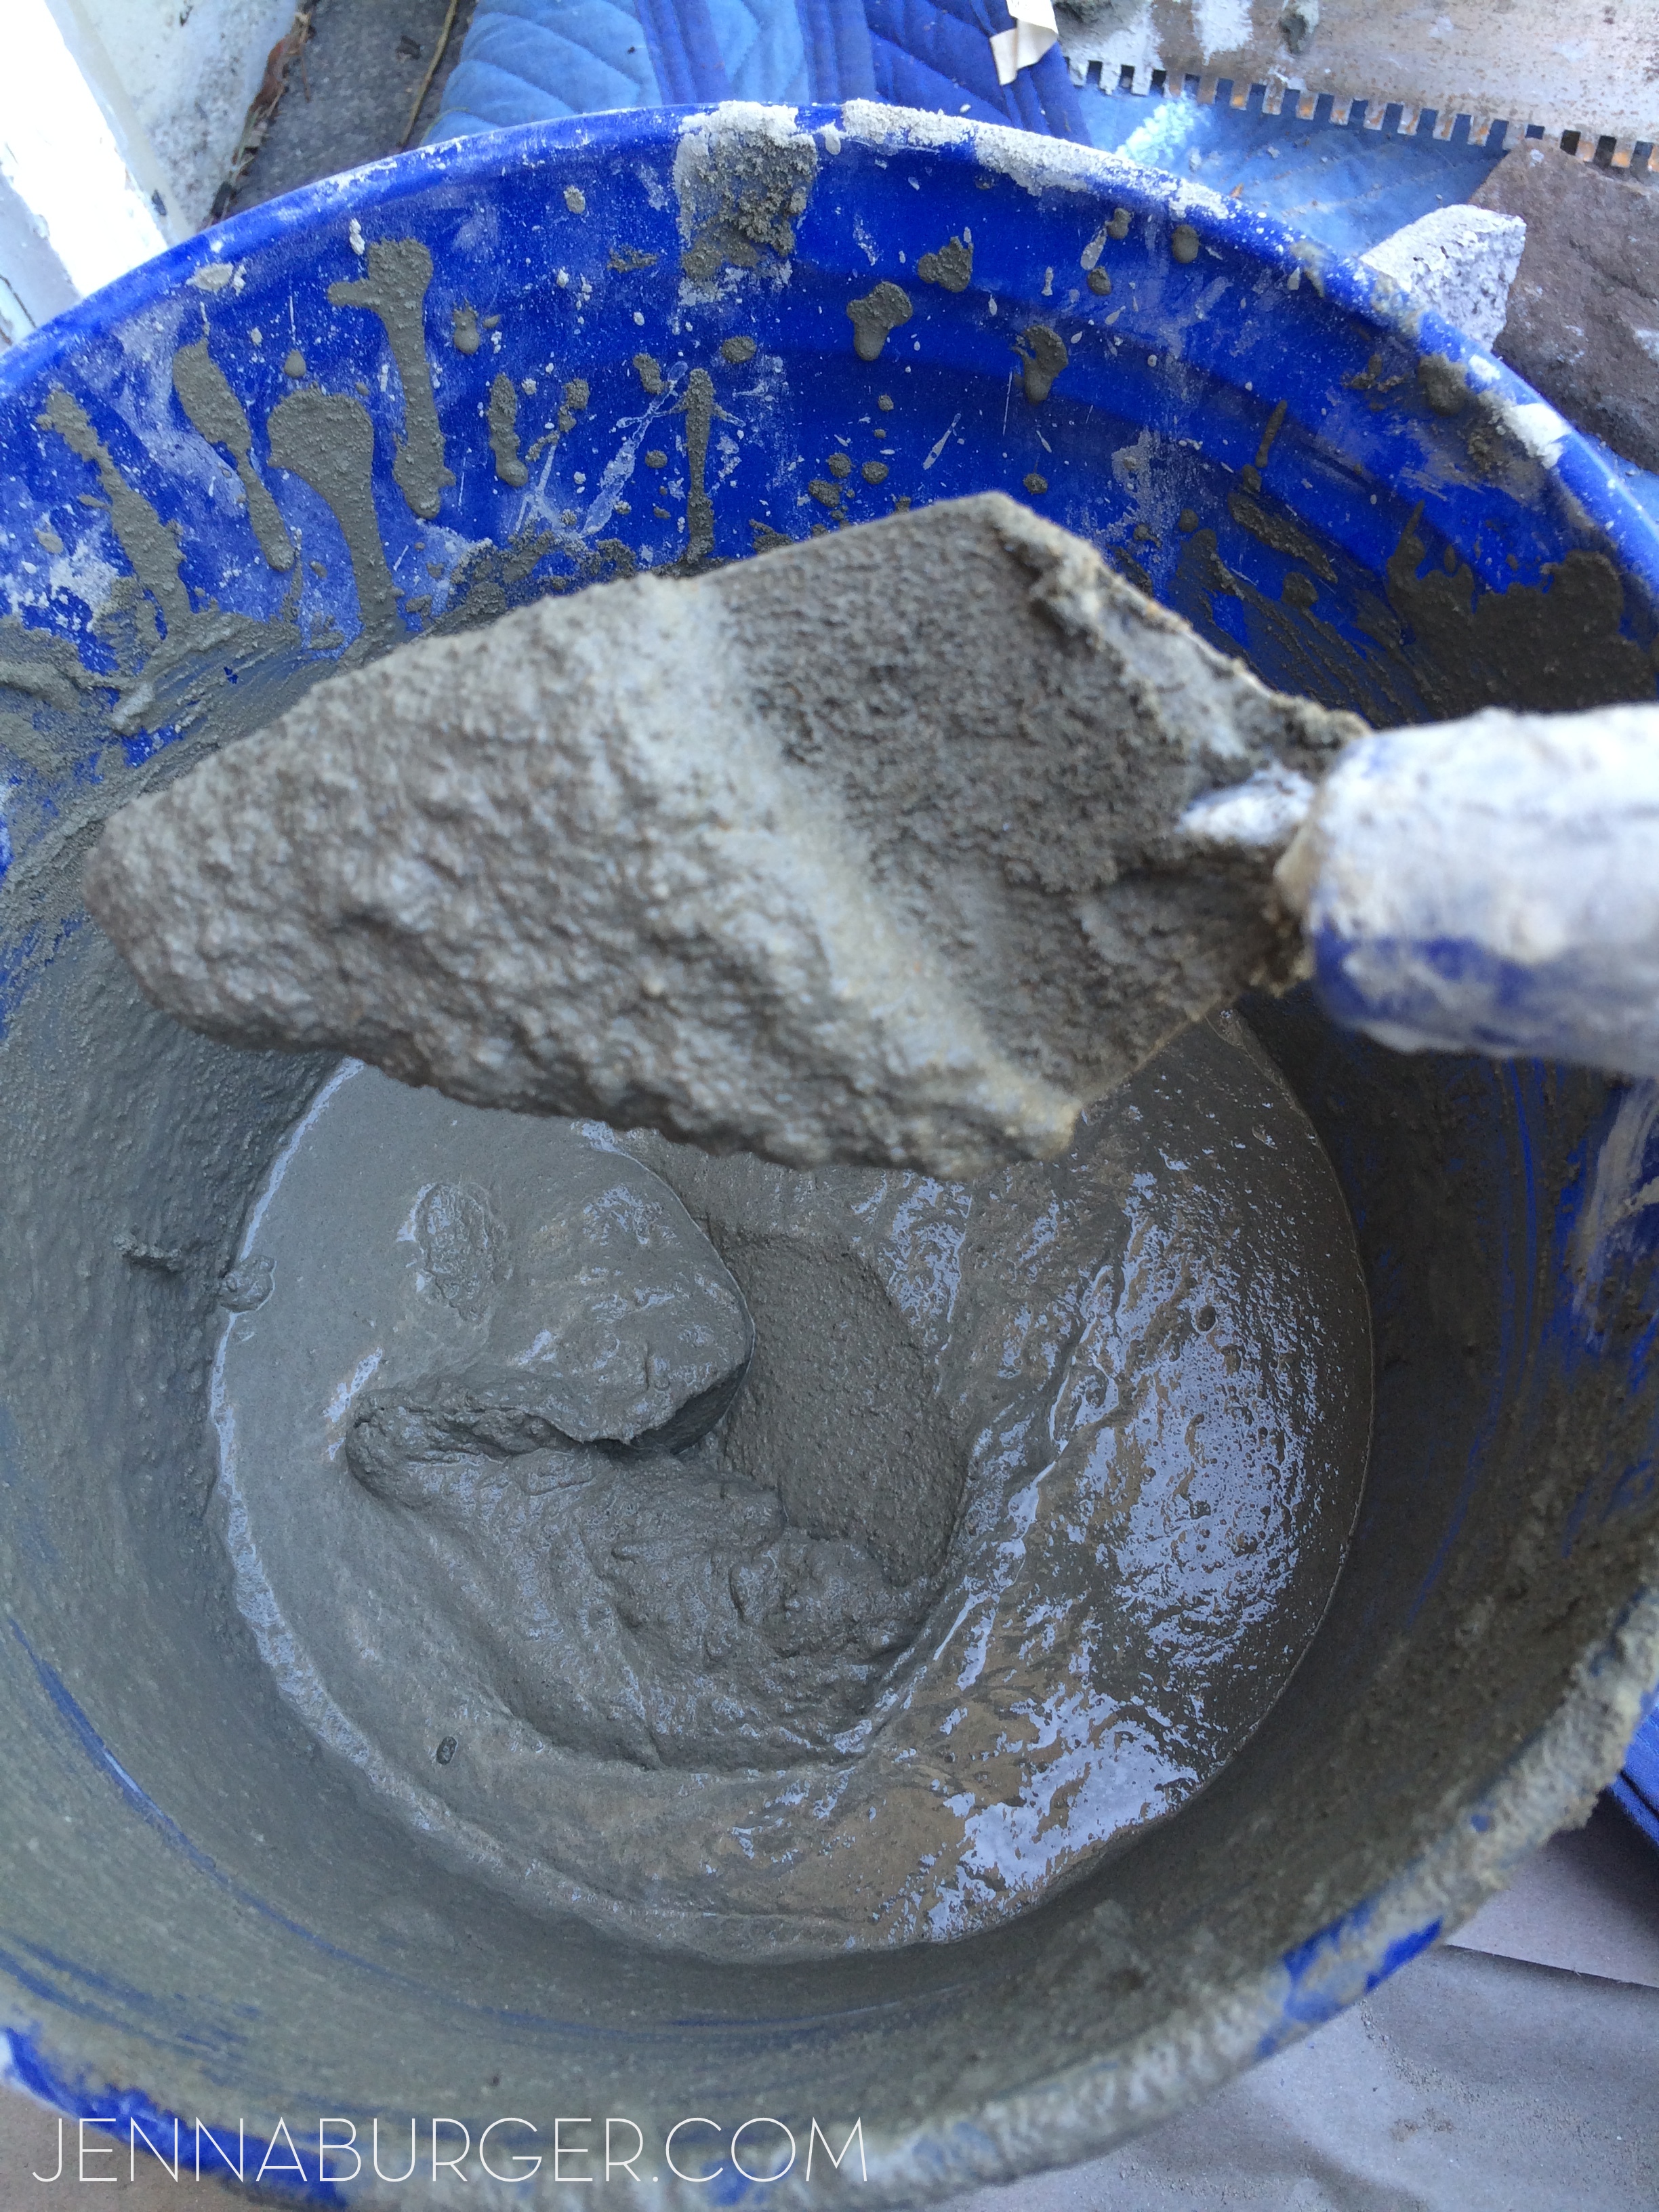
Using a large bucket (I used a 5 gallon bucket), add the mortar “powder”, then the water to make a mix that is pasty and that stays on the trowel without falling off when vertical.  If there is not enough water in the mix, the mortar will not join the stone to the wall, but if it’s too watery, the mix will run right off.

Sorry that I can’t be more specific or share an exact ratio, but it’ really trial and error.  There is a mixing ratio on the back of the bag, but it’s for the entire bag at one time and I don’t recommend doing that unless you work fast, have a large area to cover, and plan on using it all at one time.

This is a picture of the mortar mix just as I was about to begin the install of the stone…

#DIY Tutorial for Adding a Stone Veneer to a Concrete Foundation Wall: Give a bare, untreated foundation wall a finished look with an affordable stone facing!  Easy-to-Follow tutorial @ www.jennaburger.com

Once the mortar mix is ready, take a trowel and add a good amount to the back of the stone (the beauty of veneer is that the back is completely flat).

#DIY Tutorial for Adding a Stone Veneer to a Concrete Foundation Wall: Give a bare, untreated foundation wall a finished look with an affordable stone facing!  Easy-to-Follow tutorial @ www.jennaburger.com

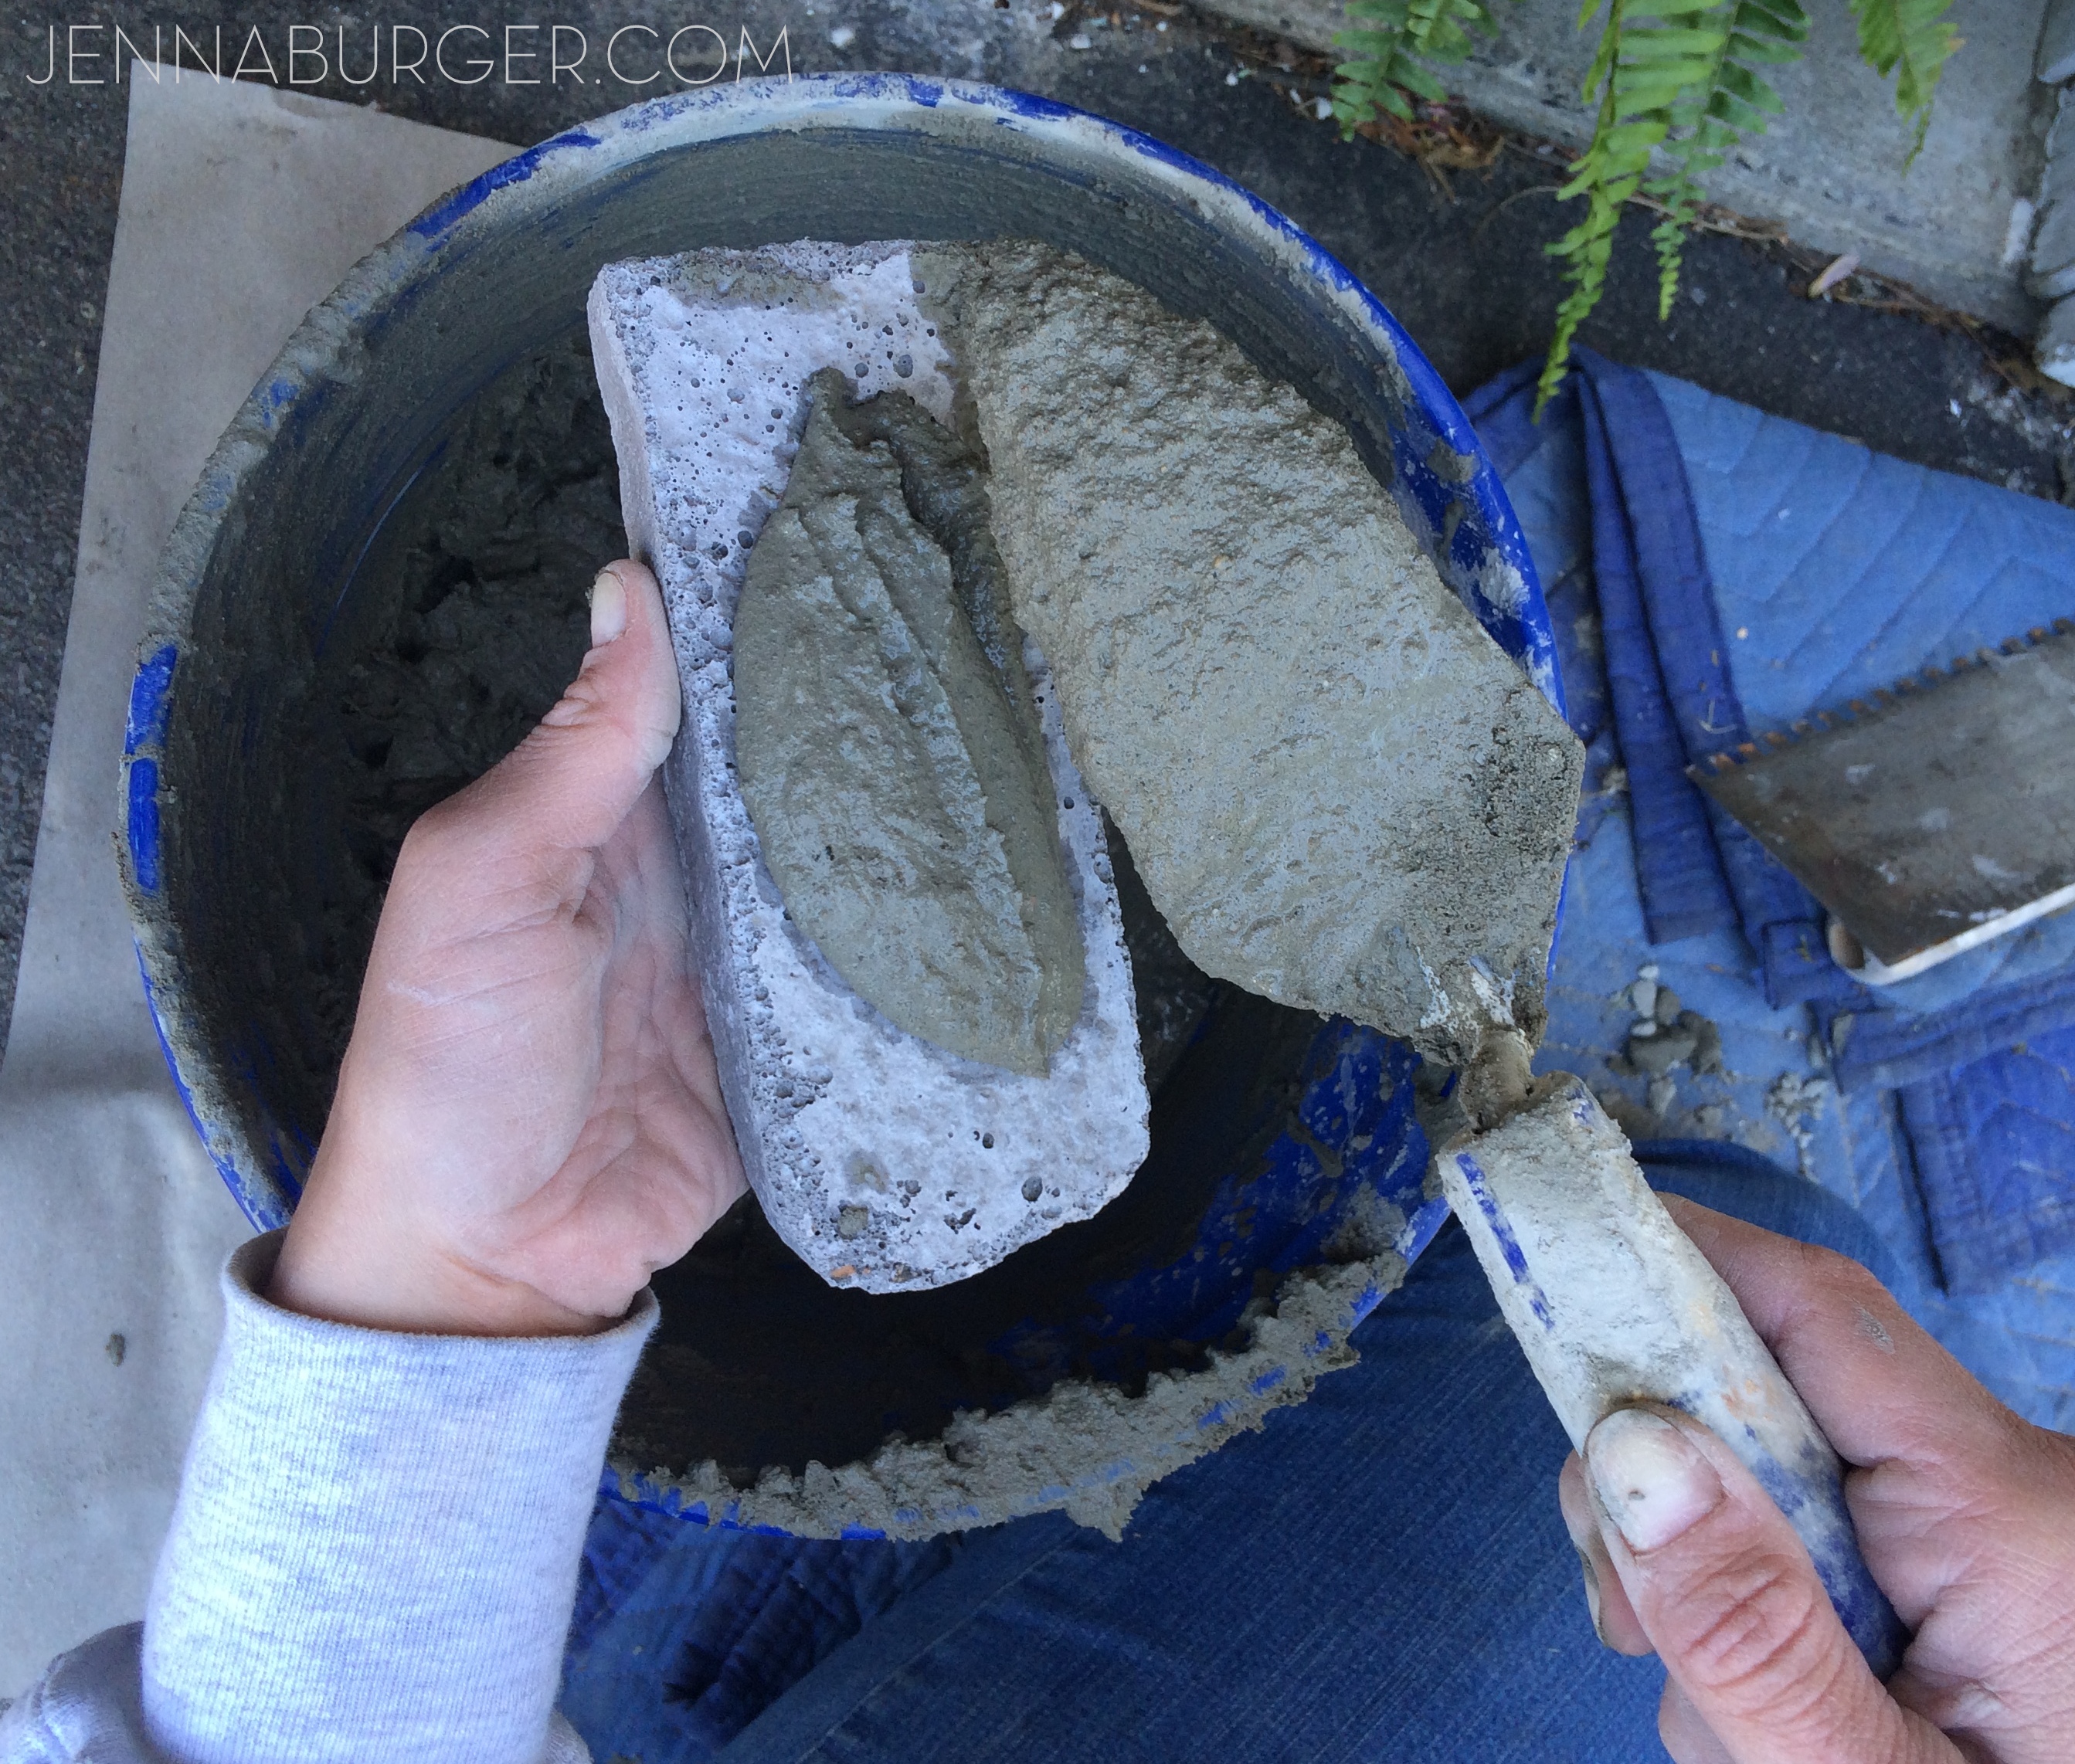
Spread out the mortar so the entire stones back is covered, then run the grooved section of the trowel over the mortar to create “ridges” which gives the stone a better adhesion to the foundation wall.

#DIY Tutorial for Adding a Stone Veneer to a Concrete Foundation Wall: Give a bare, untreated foundation wall a finished look with an affordable stone facing!  Easy-to-Follow tutorial @ www.jennaburger.com

Then stick the stone in place…

#DIY Tutorial for Adding a Stone Veneer to a Concrete Foundation Wall: Give a bare, untreated foundation wall a finished look with an affordable stone facing!  Easy-to-Follow tutorial @ www.jennaburger.com

If you’ve ever tiled before, it’s a very similar process!  [tutorial on How-To Tile + Grout a Bathroom]

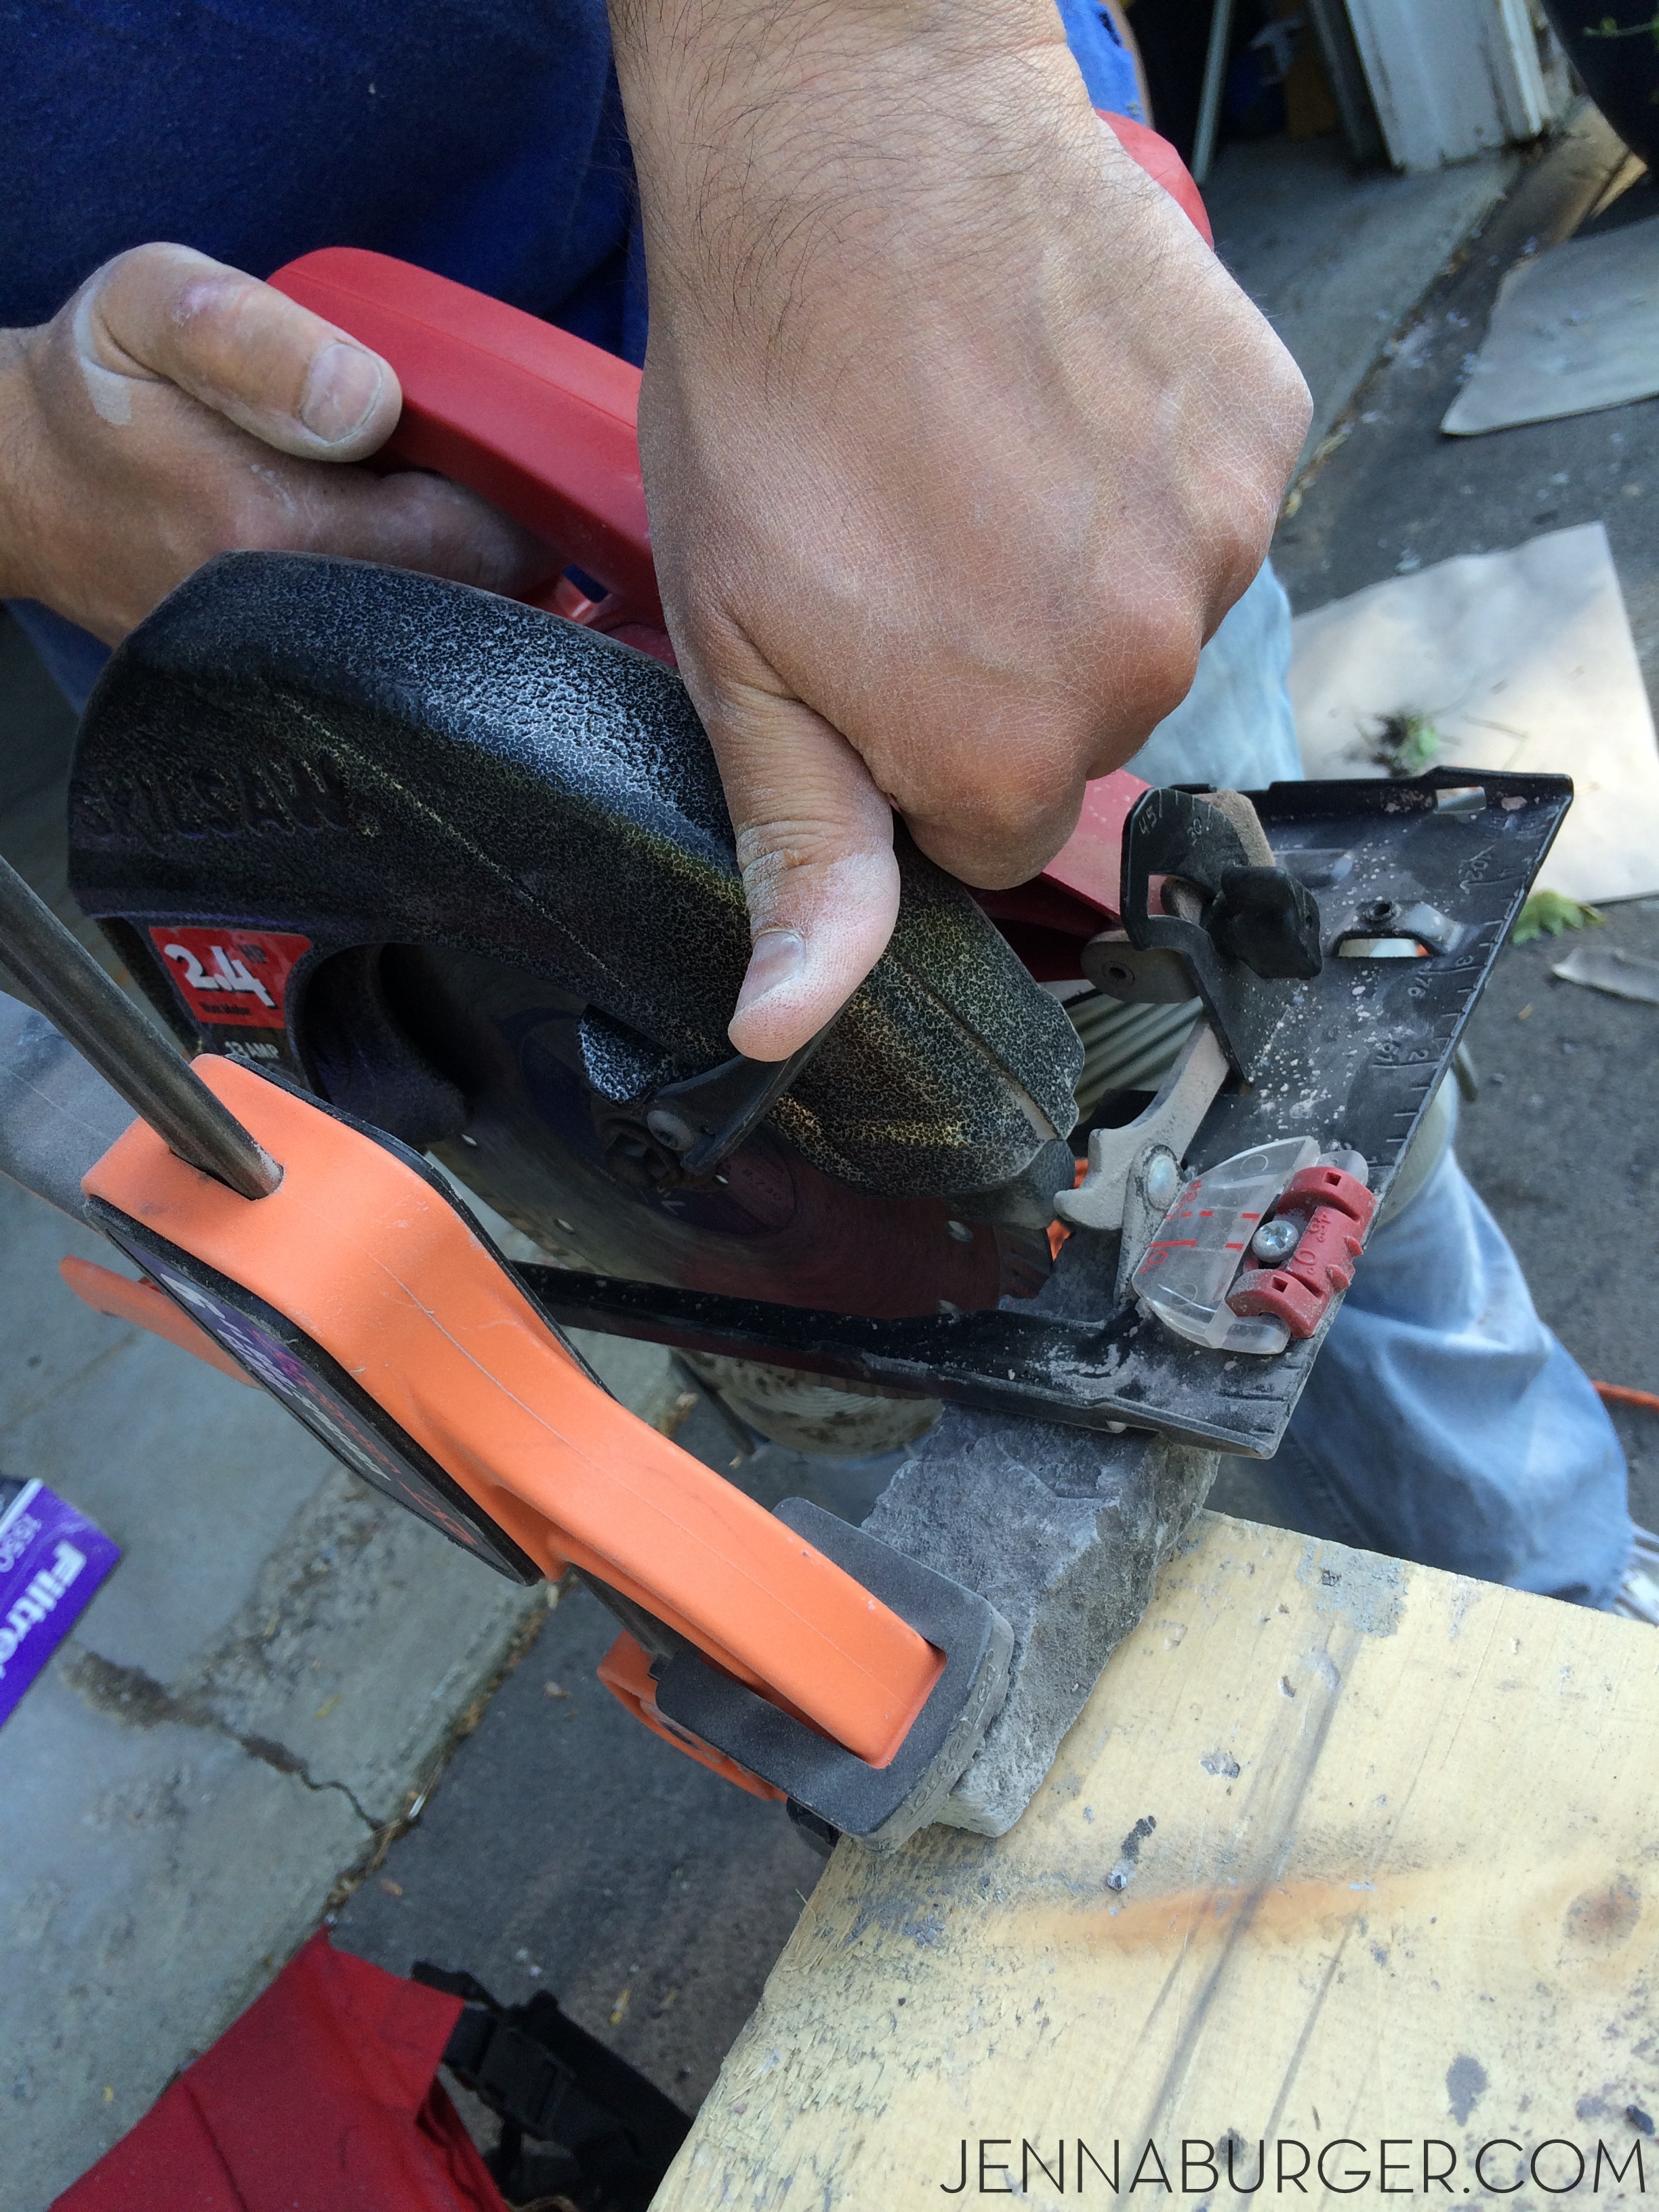
CUTTING STONE VENEER

Just as with tiling a bathroom, it’s inevitable that some stones will need to be altered / cut.

We used a Circular Saw (see my favorites tools) with a new Masonry Blade (it has an abrasive edge with no teeth) to cut the stones.  It was fairly easy to do and took little time to make cuts.  Be sure to clamp the stone down so it’s secure and slowly make the cut.

#DIY Tutorial for Adding a Stone Veneer to a Concrete Foundation Wall: Give a bare, untreated foundation wall a finished look with an affordable stone facing!  Easy-to-Follow tutorial @ www.jennaburger.com


#DIY Tutorial for Adding a Stone Veneer to a Concrete Foundation Wall: Give a bare, untreated foundation wall a finished look with an affordable stone facing!  Easy-to-Follow tutorial @ www.jennaburger.com

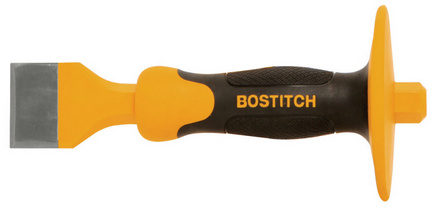
A Masons Chisel also comes in handy to cut small edges and/or make minor alternations.

Masons Chisel

#DIY Tutorial for Adding a Stone Veneer to a Concrete Foundation Wall: Give a bare, untreated foundation wall a finished look with an affordable stone facing!  Easy-to-Follow tutorial @ www.jennaburger.com

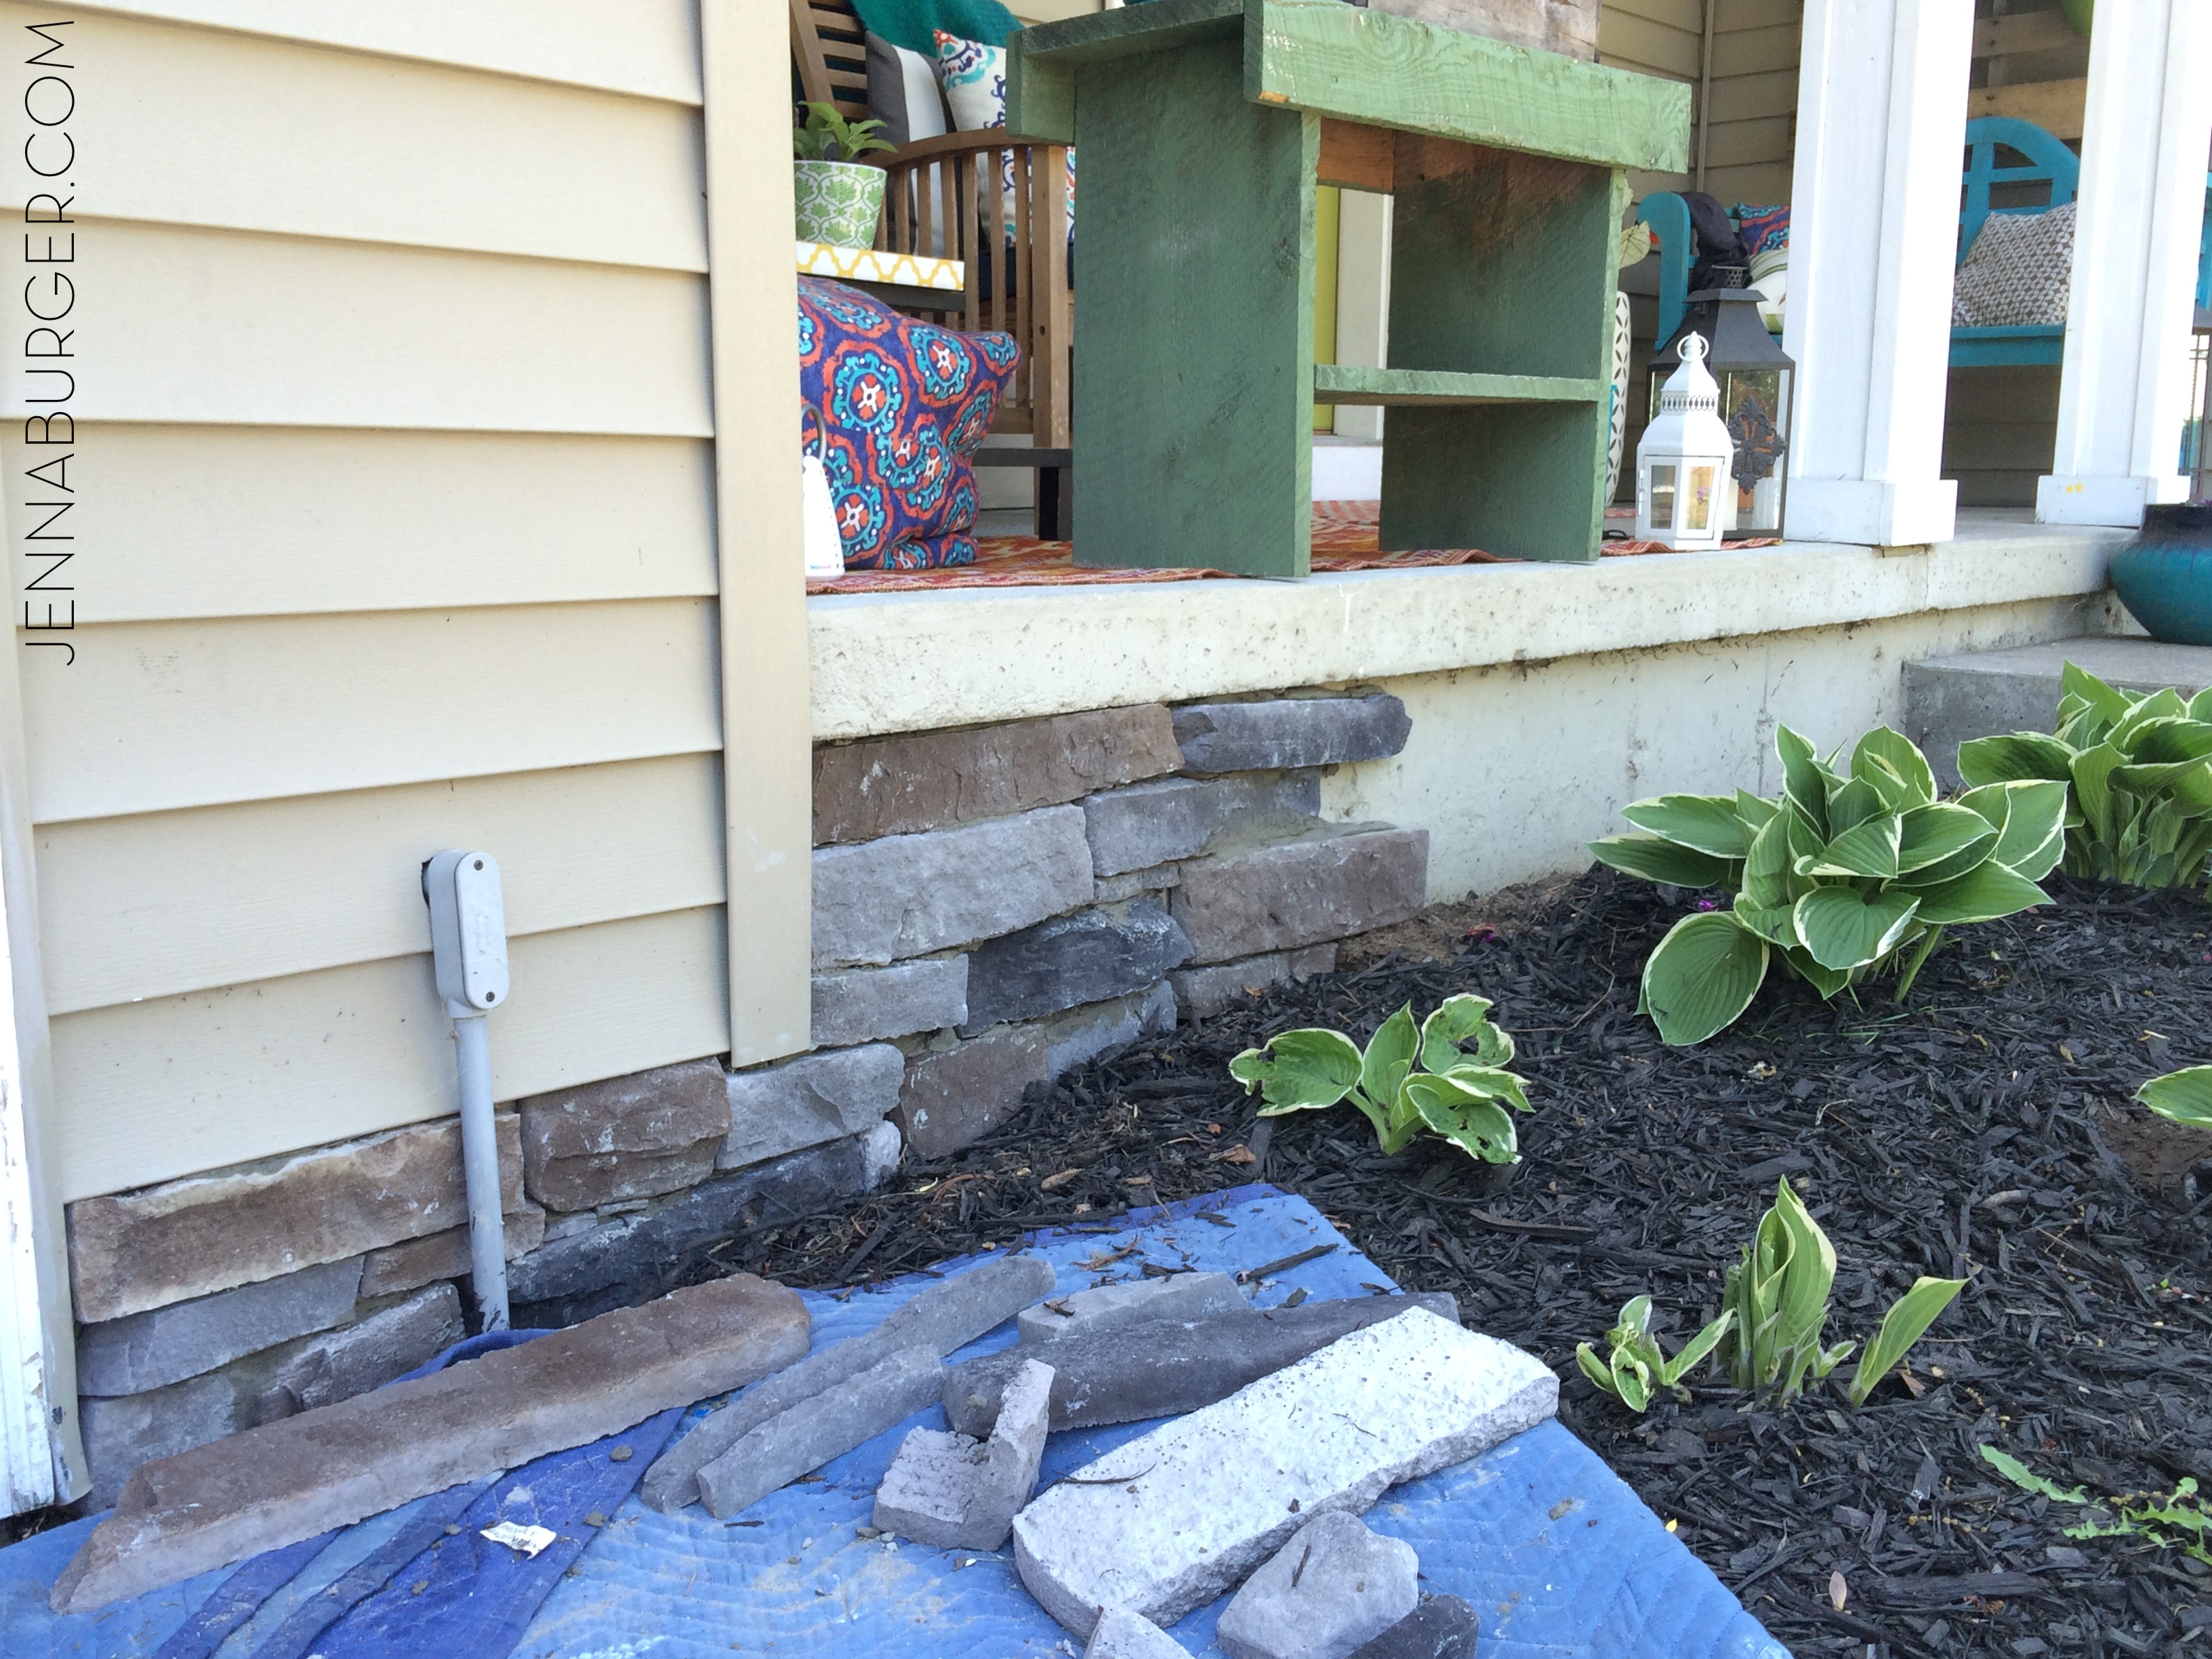
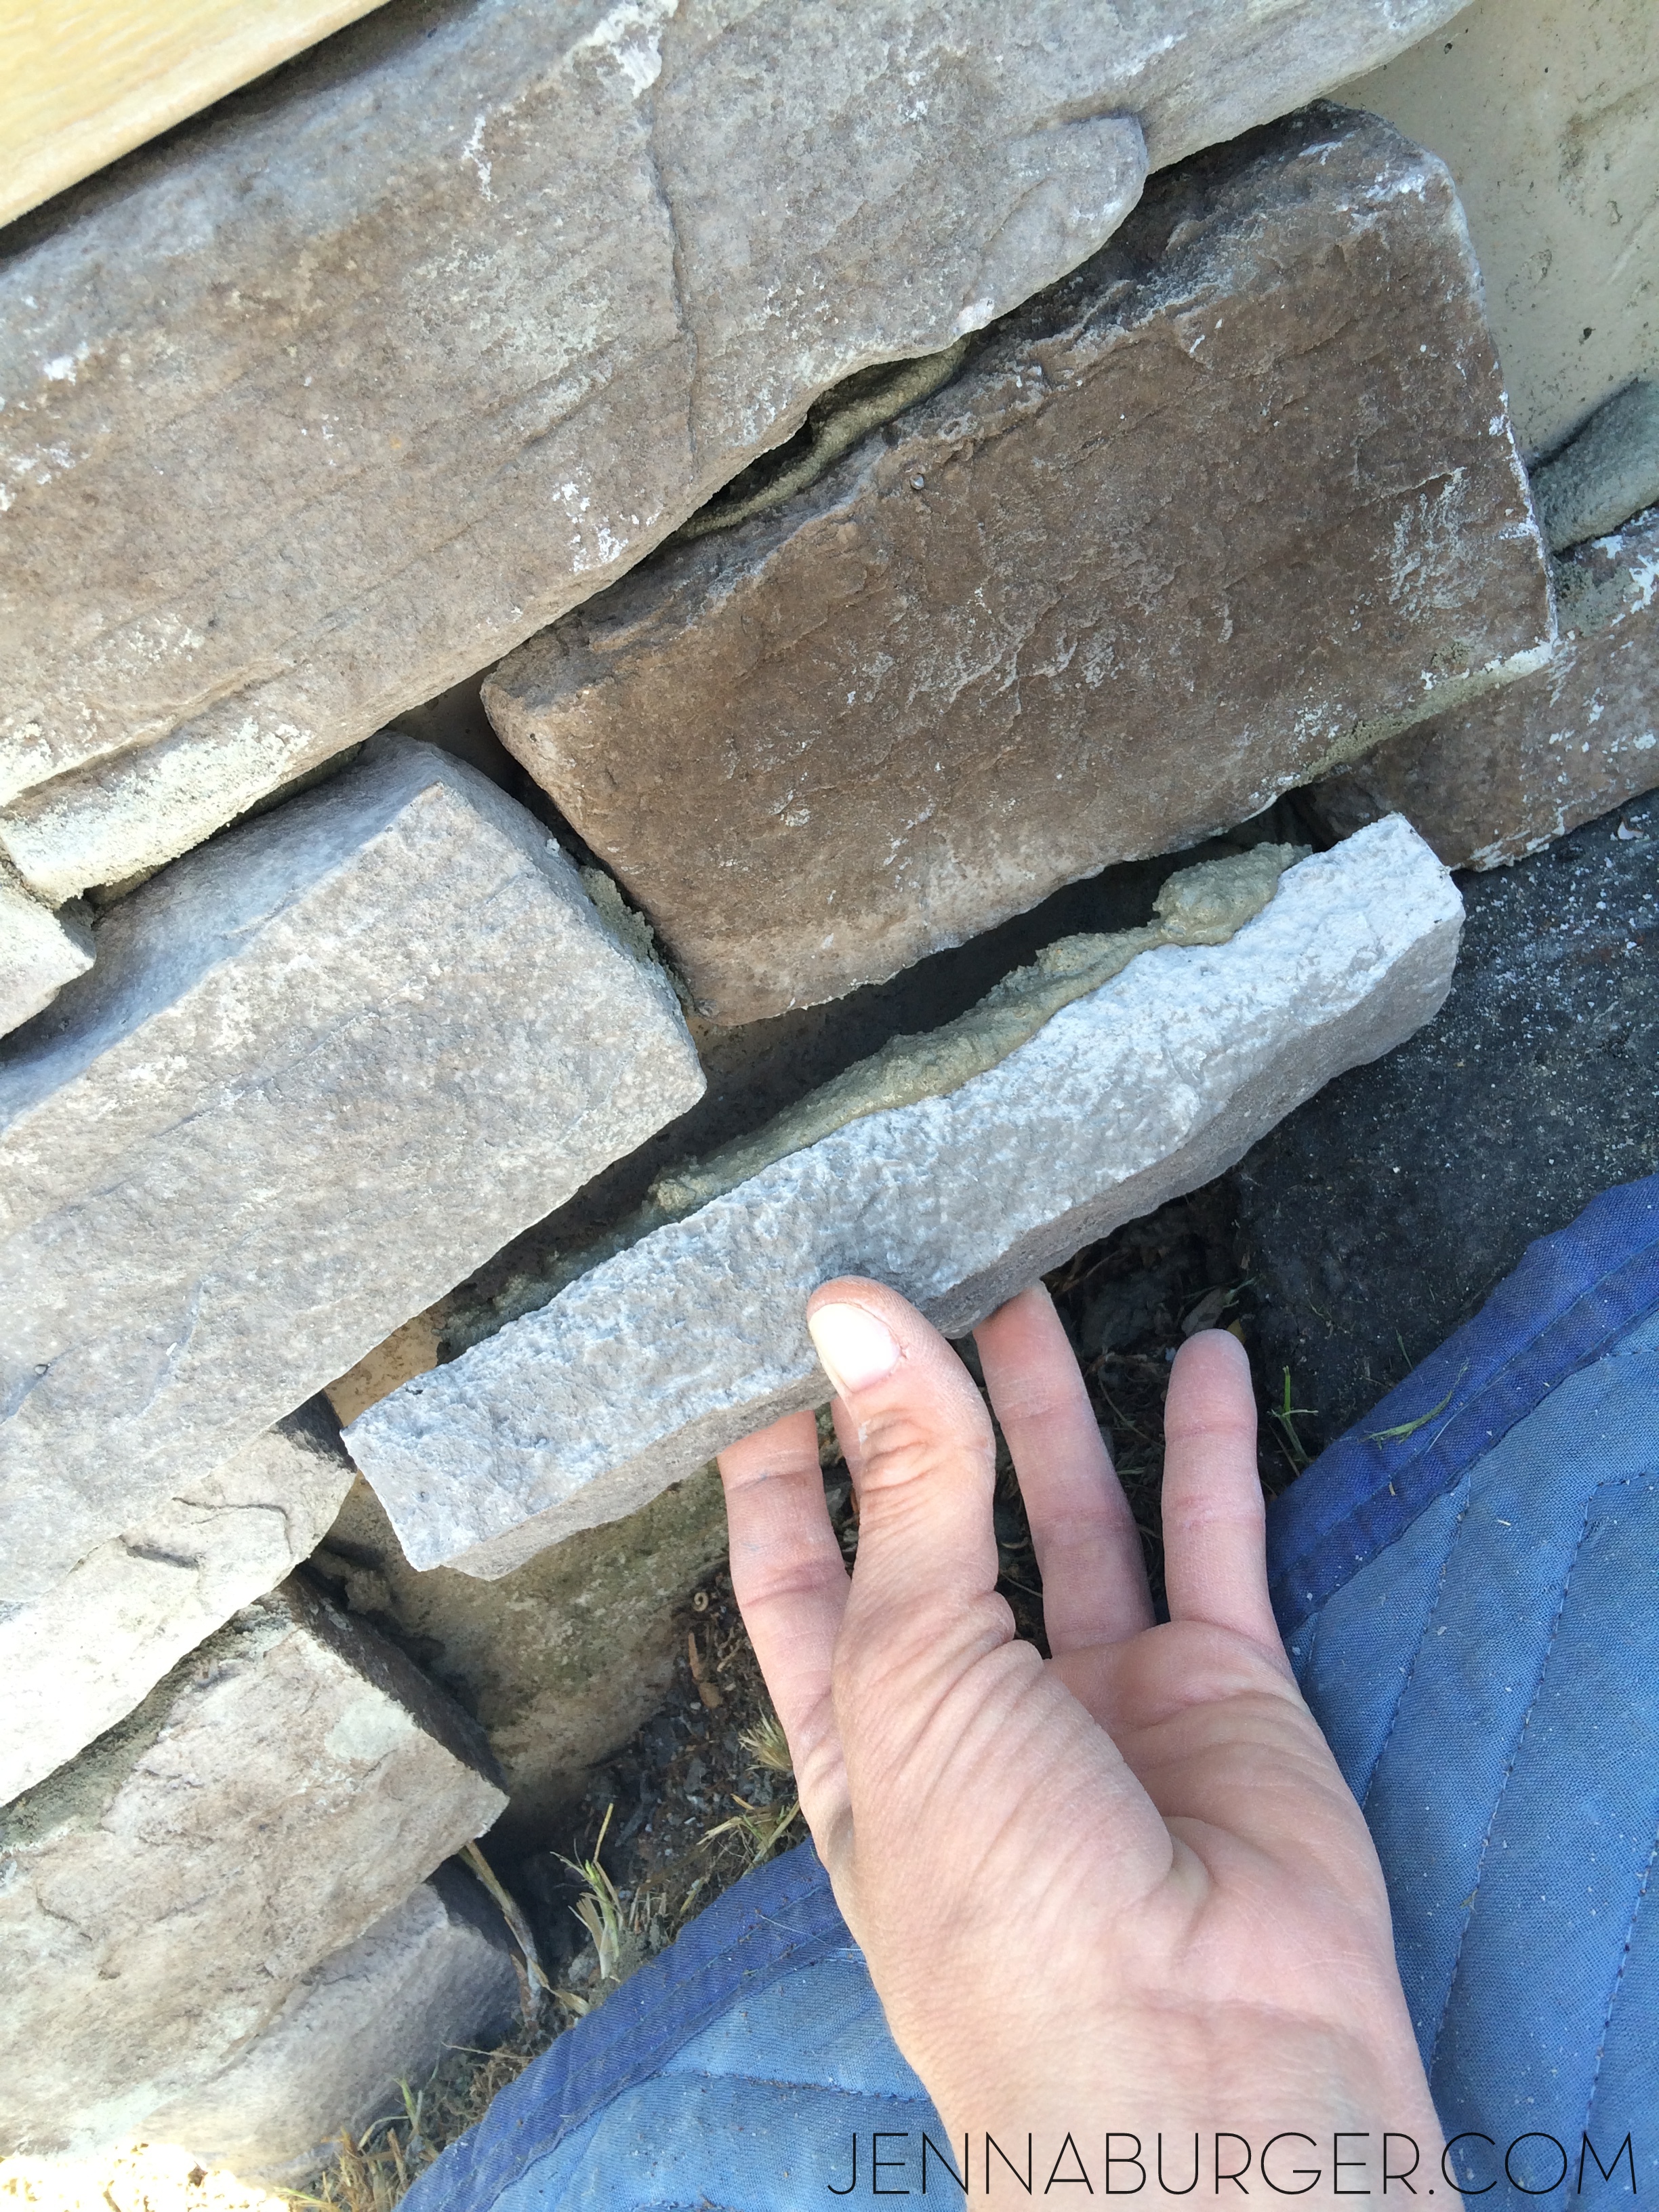
Check out the difference with part of the stone installed & the other side with the bare foundation wall…

#DIY Tutorial for Adding a Stone Veneer to a Concrete Foundation Wall: Give a bare, untreated foundation wall a finished look with an affordable stone facing!  Easy-to-Follow tutorial @ www.jennaburger.com

The total project took about 6 hours.  At times it was tiring being on the ground so long + our backs and knees were quite sore the next day, but it was really all worth the effort!

#DIY Tutorial for Adding a Stone Veneer to a Concrete Foundation Wall: Give a bare, untreated foundation wall a finished look with an affordable stone facing!  Easy-to-Follow tutorial @ www.jennaburger.com

THE RESULT

This was a 2 thumbs up project in our book.  Curb appeal is so important to how it ‘speaks’ to those visiting your home (and of course to those that live there).  Yes for many, $700 is a lot of money, but in the long term the addition of the stone veneer to the front of our home has made a big impact on the overall look.

#DIY Tutorial for Adding a Stone Veneer to a Concrete Foundation Wall: Give a bare, untreated foundation wall a finished look with an affordable stone facing!  Easy-to-Follow tutorial @ www.jennaburger.com

#DIY Tutorial for Adding a Stone Veneer to a Concrete Foundation Wall: Give a bare, untreated foundation wall a finished look with an affordable stone facing!  Easy-to-Follow tutorial @ www.jennaburger.com

#DIY Tutorial for Adding a Stone Veneer to a Concrete Foundation Wall: Give a bare, untreated foundation wall a finished look with an affordable stone facing!  Easy-to-Follow tutorial @ www.jennaburger.com

#DIY Tutorial for Adding a Stone Veneer to a Concrete Foundation Wall: Give a bare, untreated foundation wall a finished look with an affordable stone facing!  Easy-to-Follow tutorial @ www.jennaburger.com

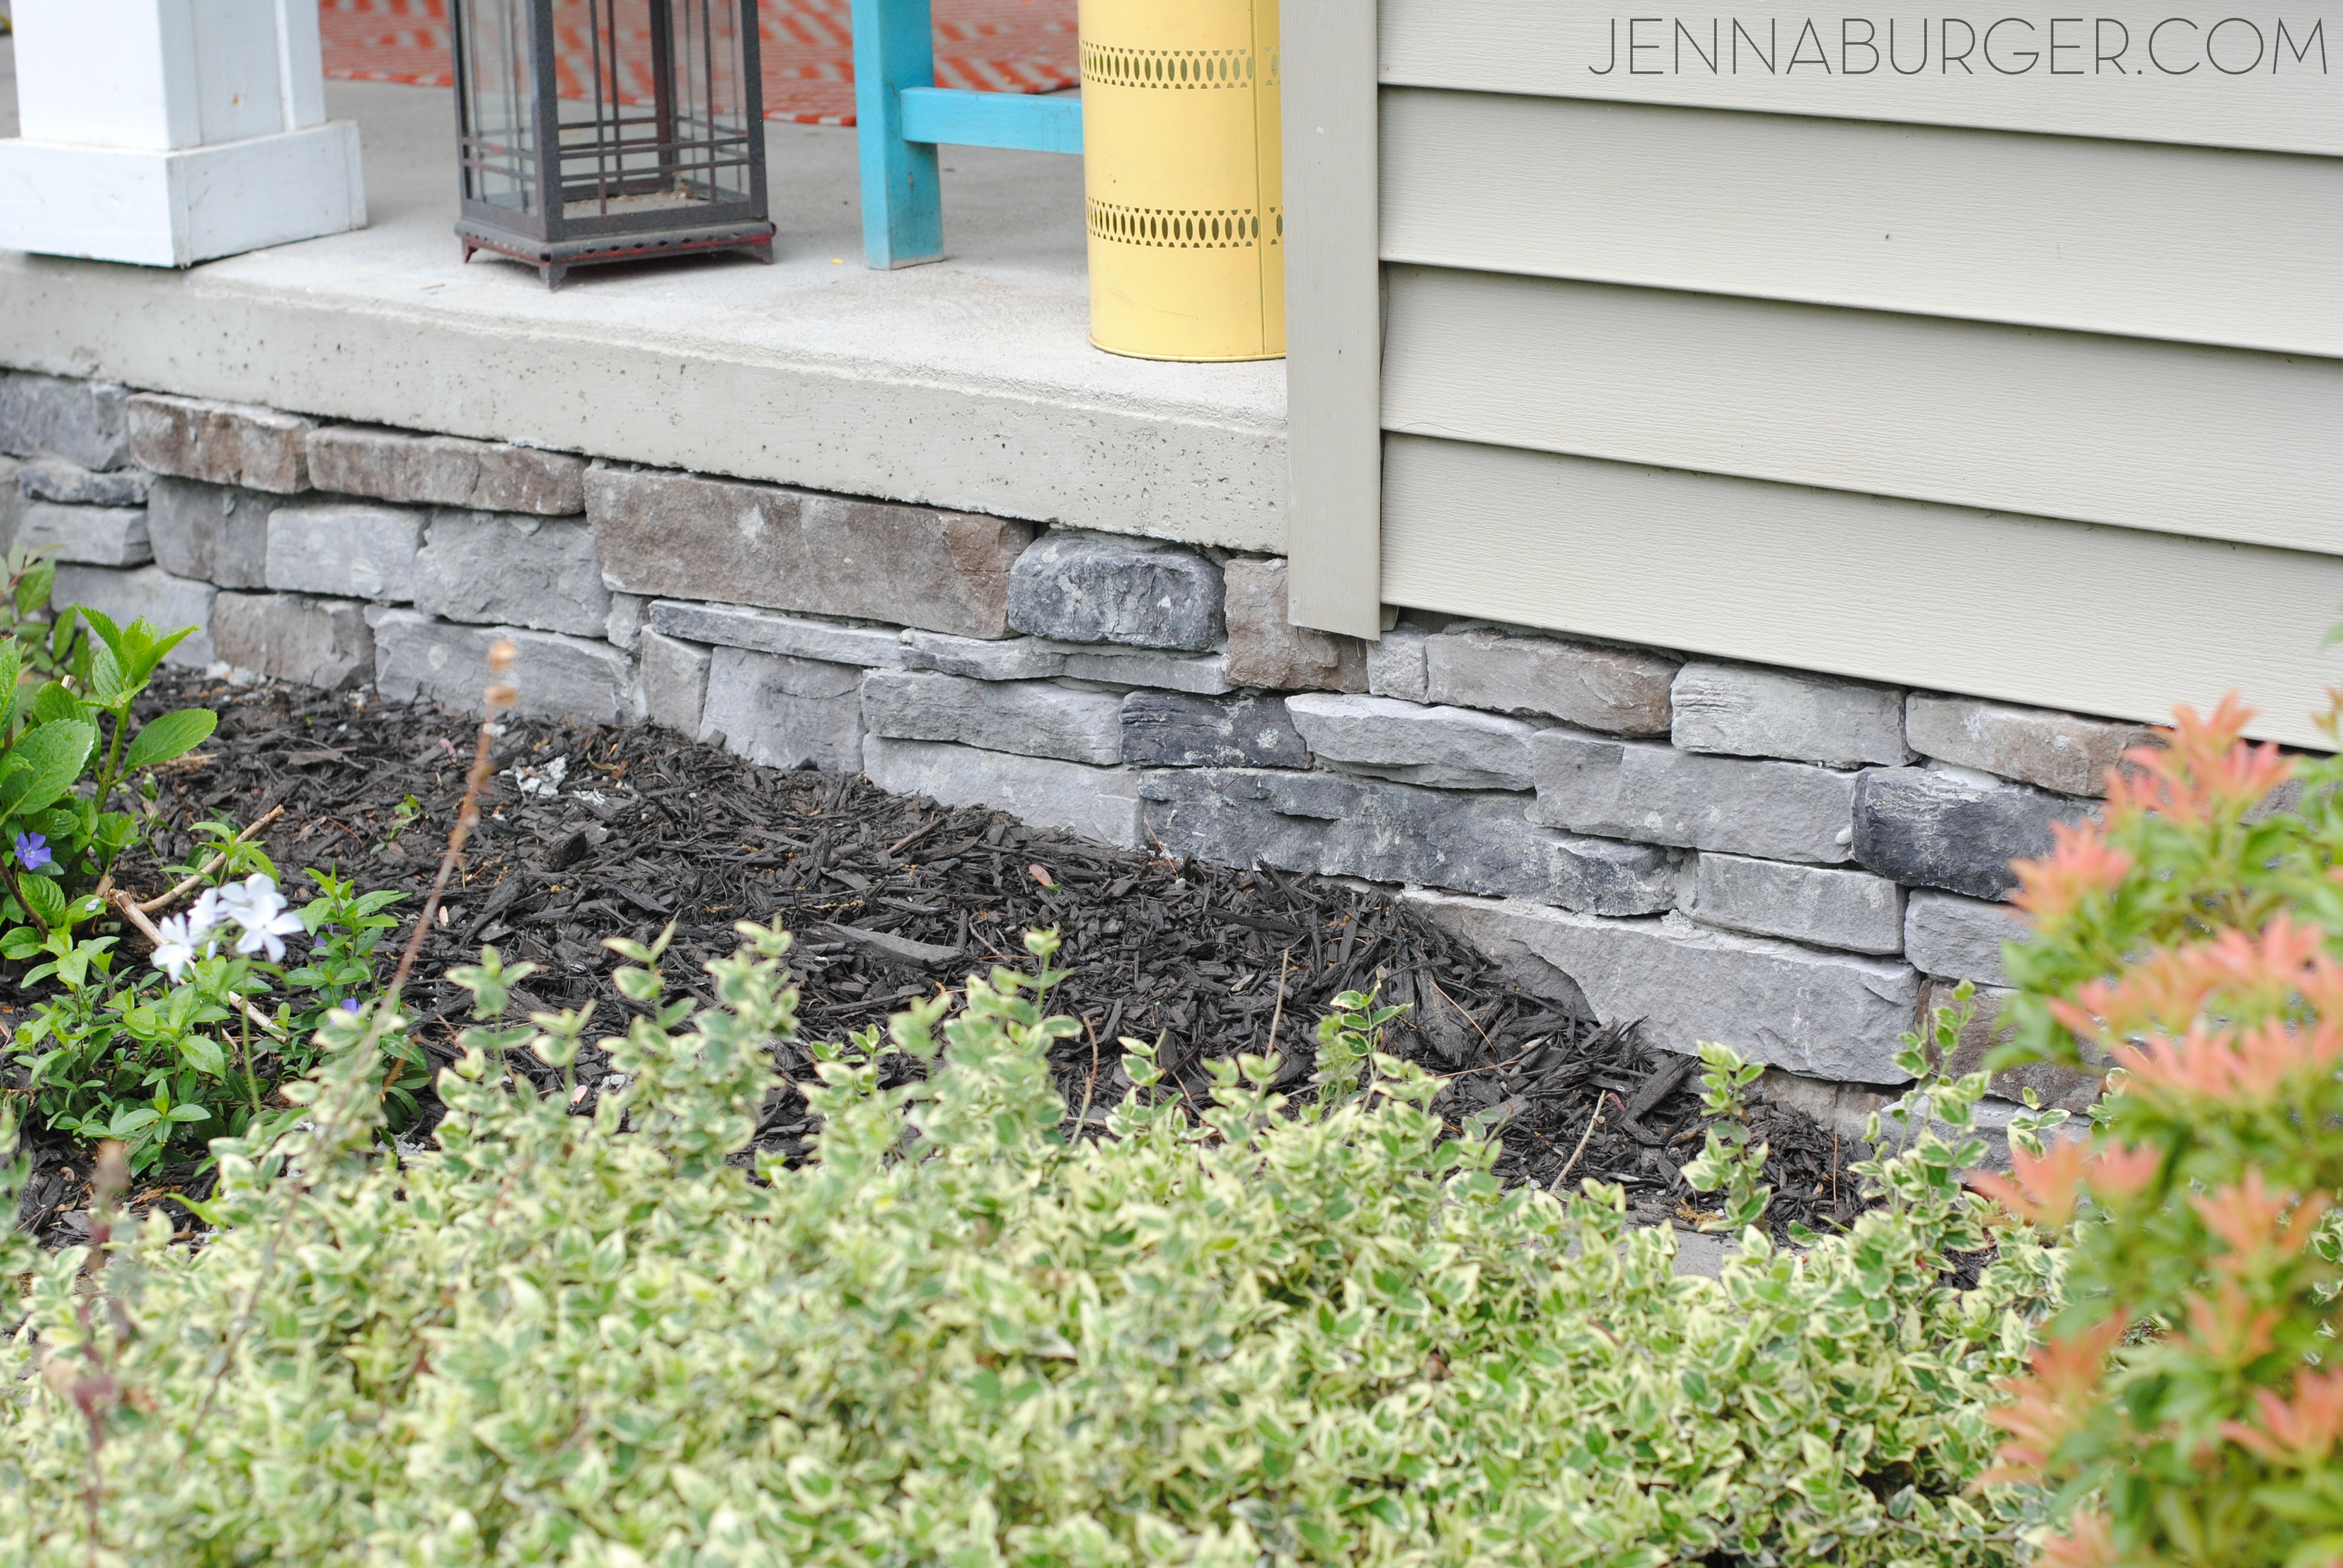
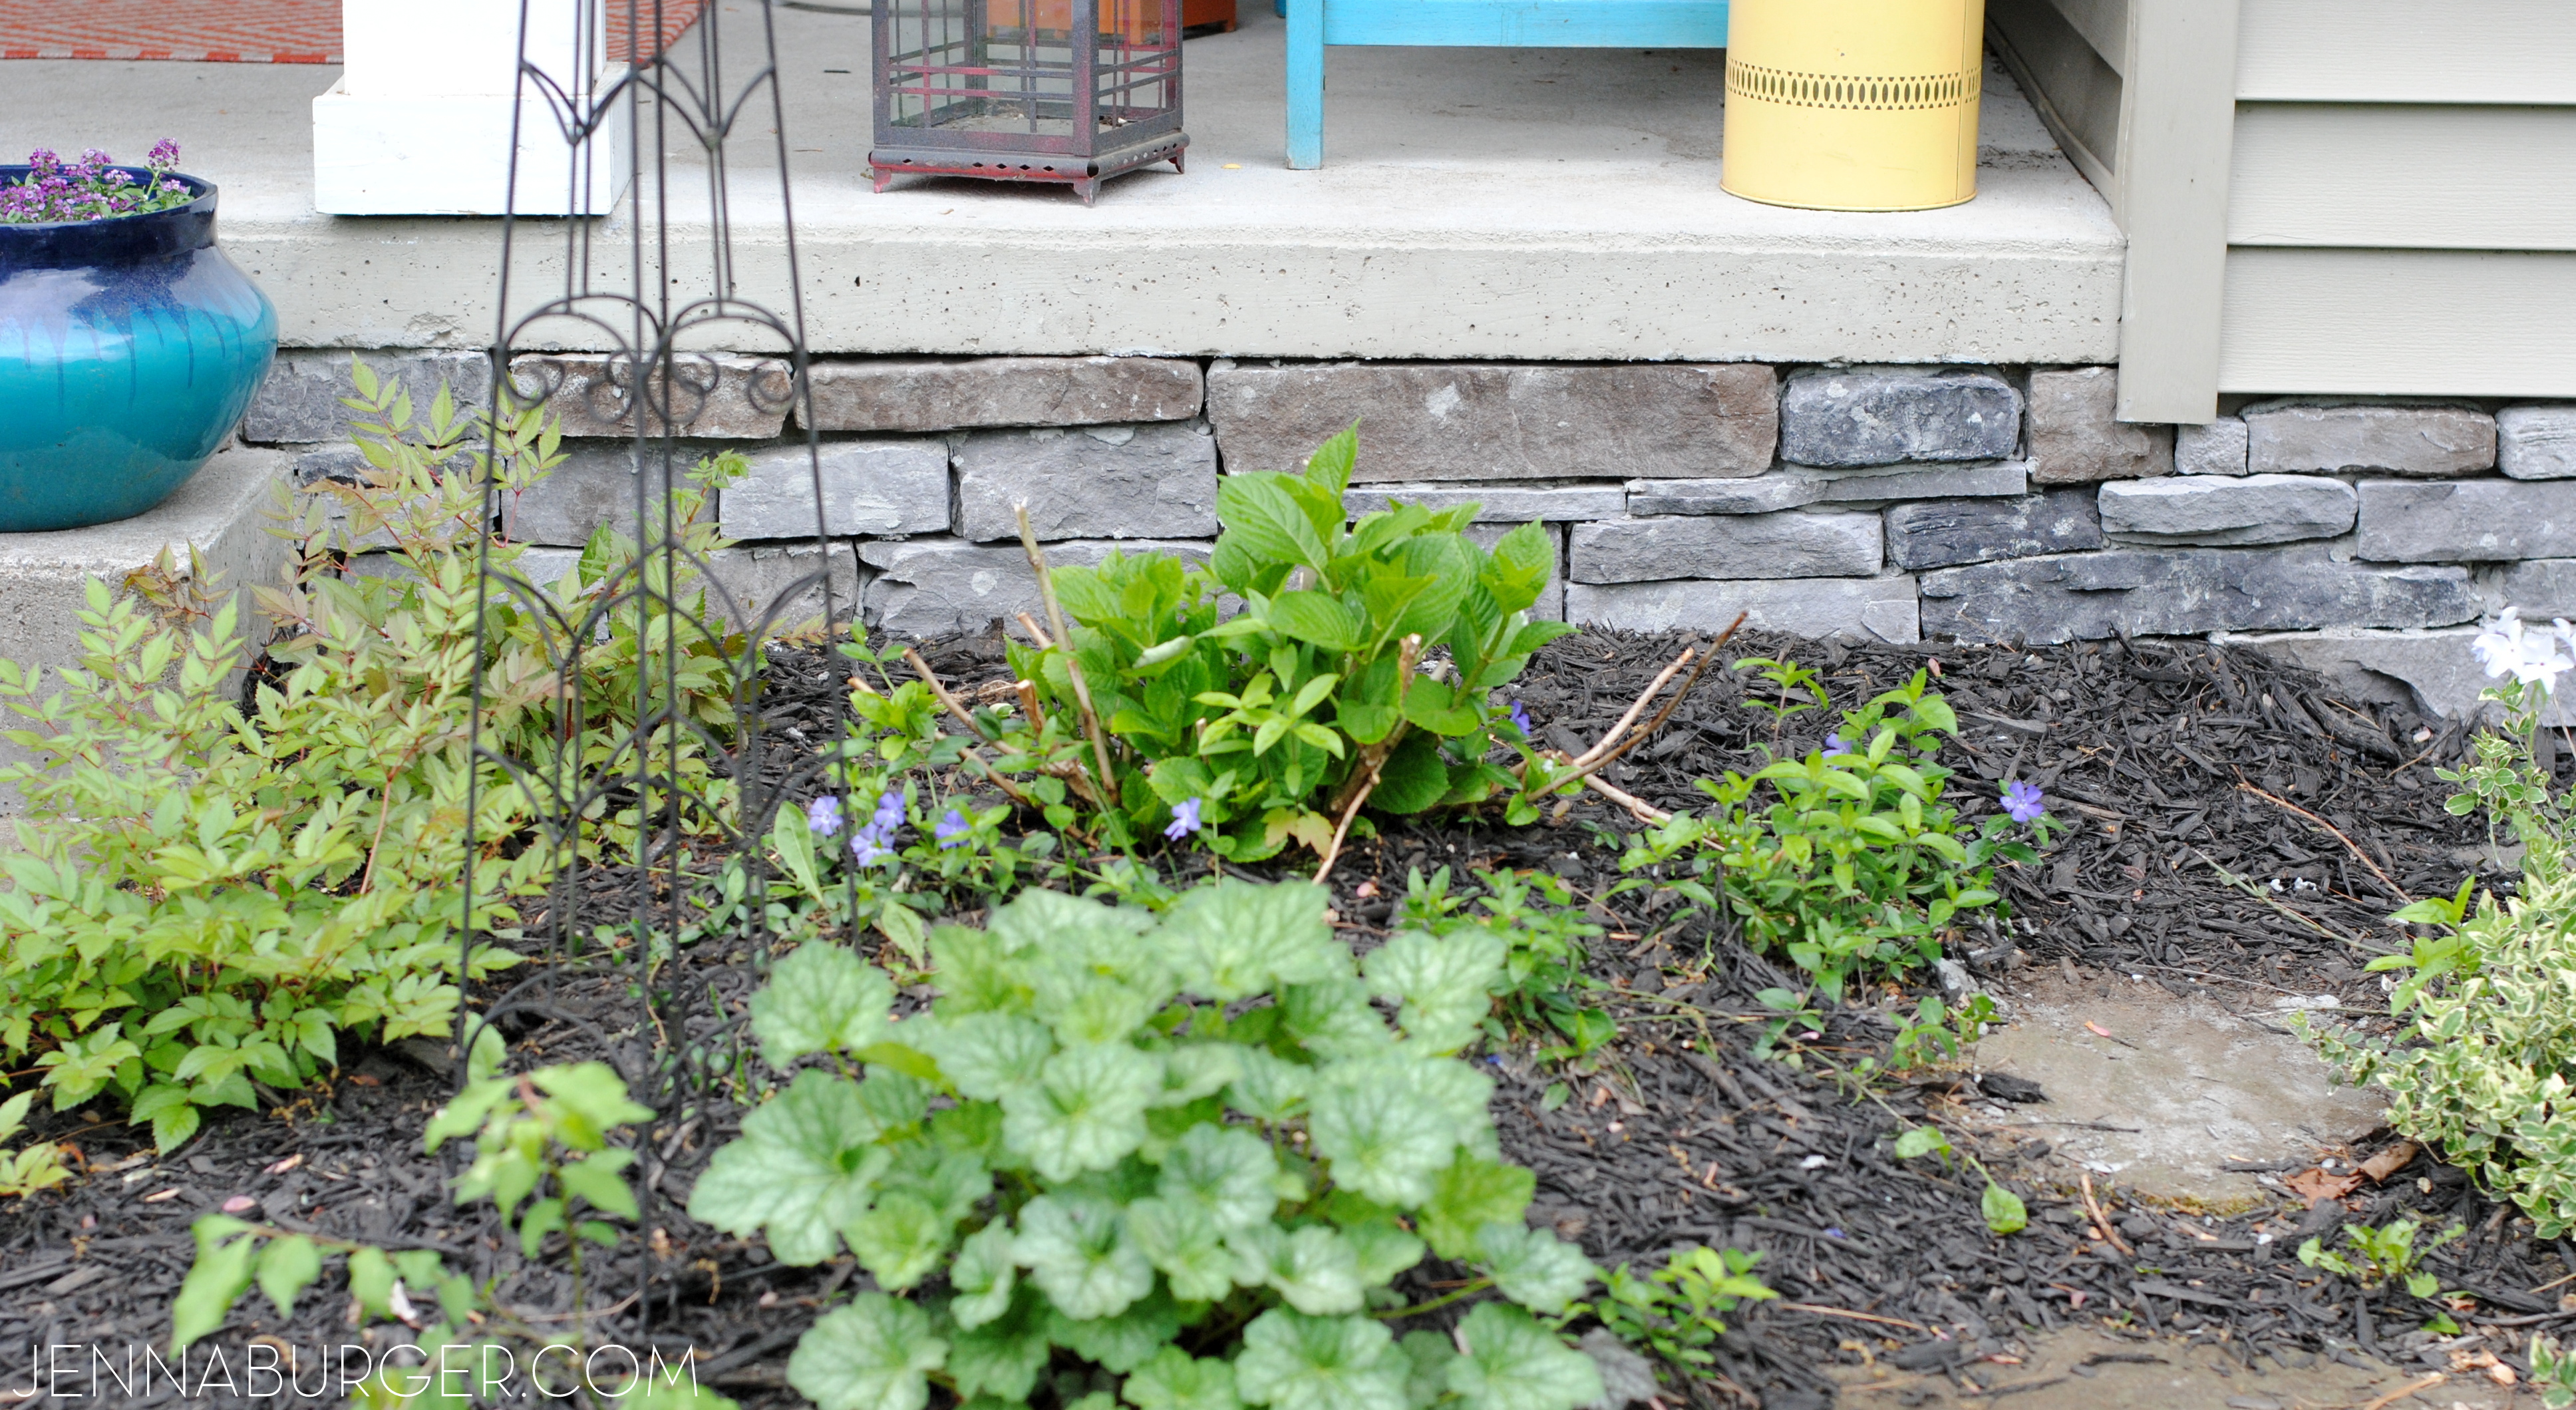
The new stone veneer absolutely enhances the front facade of our home and looks like it’s always been there.   It’s a beautiful complimentary addition to the other changes we’ve made!
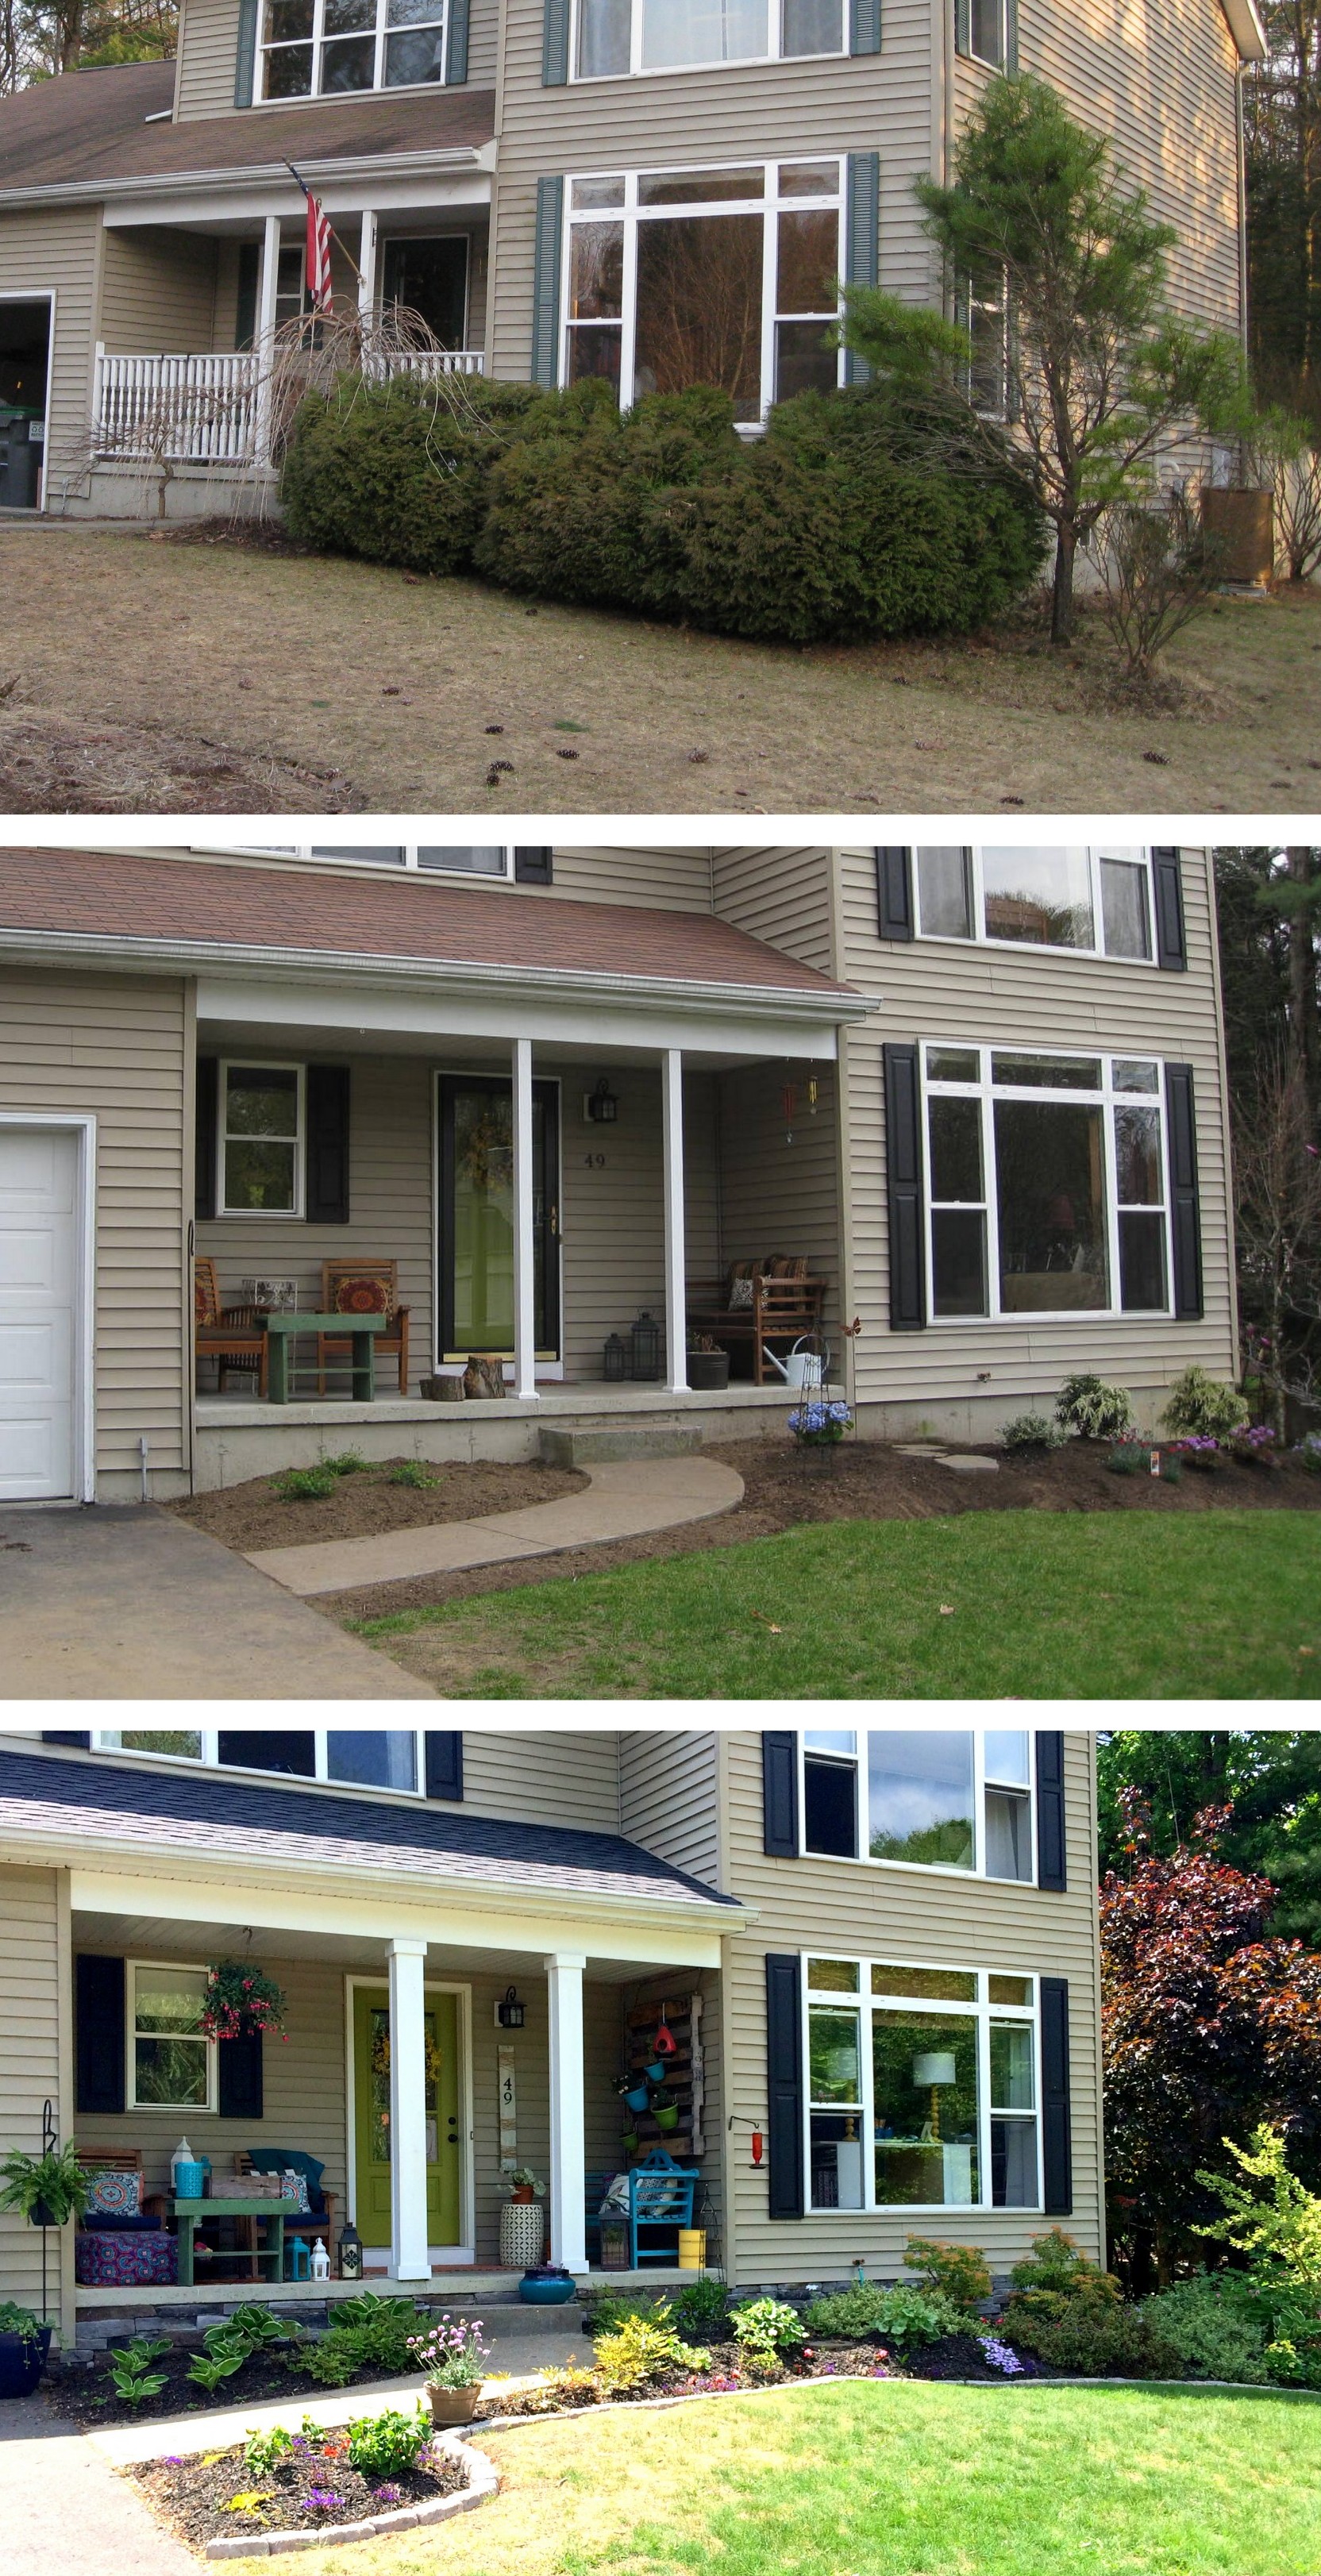
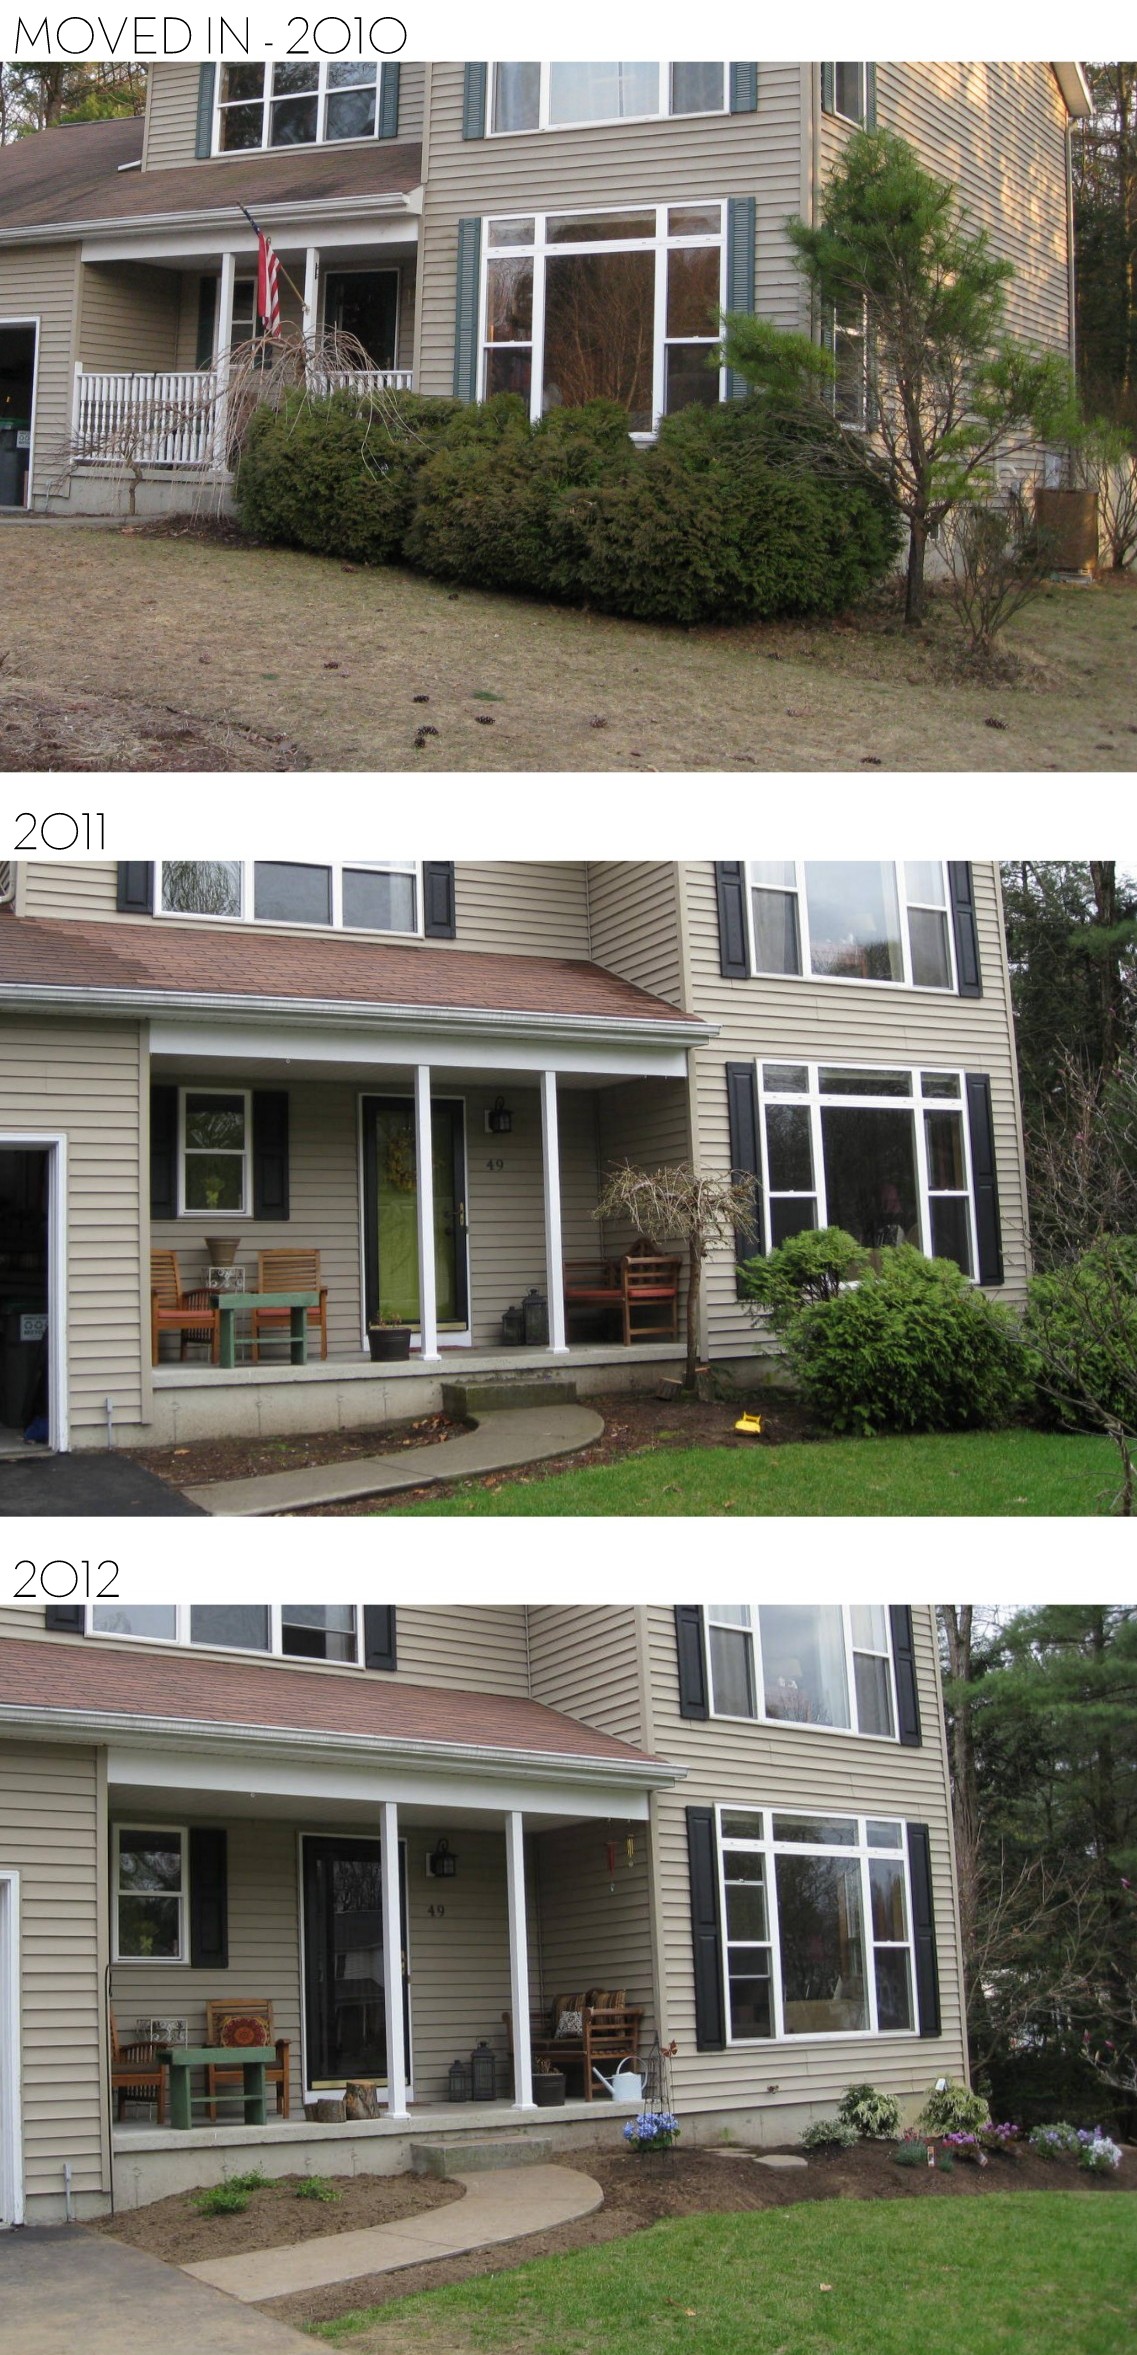
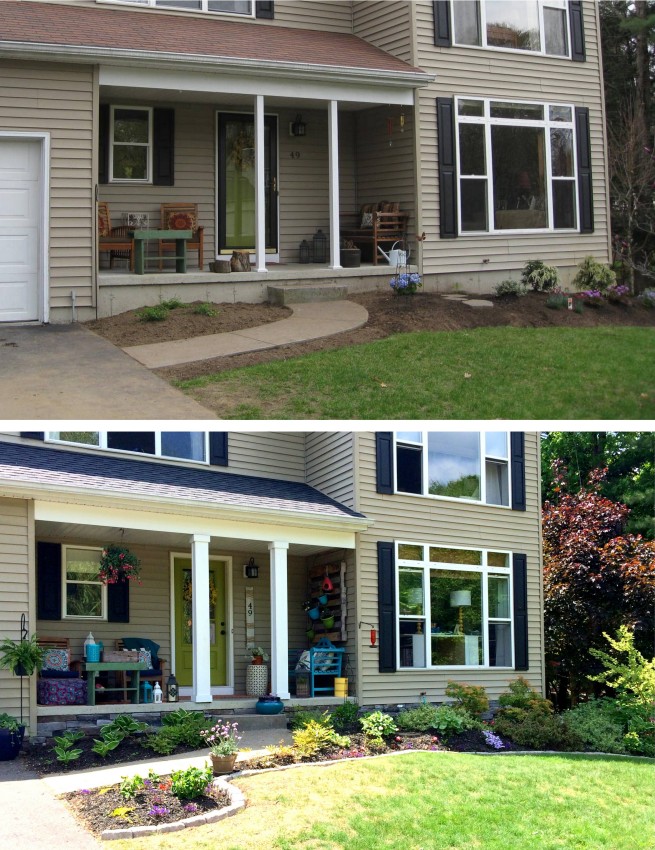
#DIY Tutorial for Adding a Stone Veneer to a Concrete Foundation Wall: Give a bare, untreated foundation wall a finished look with an affordable stone facing!  Easy-to-Follow tutorial @ www.jennaburger.com

#DIY Tutorial for Adding a Stone Veneer to a Concrete Foundation Wall: Give a bare, untreated foundation wall a finished look with an affordable stone facing!  Easy-to-Follow tutorial @ www.jennaburger.com

BEFORE + AFTER

In just a few years, here’s the progress…

#DIY Tutorial for Adding a Stone Veneer to a Concrete Foundation Wall: Give a bare, untreated foundation wall a finished look with an affordable stone facing!  Easy-to-Follow tutorial @ www.jennaburger.comone more…

#DIY Tutorial for Adding a Stone Veneer to a Concrete Foundation Wall: Give a bare, untreated foundation wall a finished look with an affordable stone facing! Easy-to-Follow tutorial @ www.jennaburger.com

Can I say, ‘I think we’re done outdoors?’…  Not quite yet.  All the big + more involved outdoor projects we wanted to tackle this year are finished, but I do have a few ideas that I want to focus on for the deck in the back of our house.  That will be a in a few weeks. For now, I just need to put my feet up & take a breather so I can truly enjoy what’s been accomplished.

I hope I’ve inspired you to look at what you have and enhance it to make it even more beautiful!  Curb appeal at it’s finest…


Spring + Summer Front Porch

I can not be more excited that the warm weather is here!  Over the last few weeks, it’s been hot.  Spring skipped right over us this year, but after that brutal winter, who cares.  As I’ve mentioned once or twice, we’ve been working hard on vamping up the outdoors for the warmer days ahead.

A lot of work has gone into the front of our home this year… curb appeal at it’s finest.  The porch got quite a few updates.  Here is this years Spring-right-into-Summer Front Porch…

Spring + Summer Front Porch: A small space filled with lots of colors and layers that create a welcoming entry.  See the rest of this porch + how it's evolved over the years! www.jennaburger.com

I feel lucky to have so many spots around our homestead to chill + put our feet up (the patio / the deck), but the one spot (which is by far the smallest of all) our clan of 5 always seems to choose to relax is the front porch.  Maybe it’s because the kids are often riding their bikes on the road or playing basketball in the driveway, but even when we’re playing a game of Uno, all of us pretty much always choose the front porch.

It certainly is quaint + cozy…

Spring + Summer Front Porch: A small space filled with lots of colors and layers that create a welcoming entry.  See the rest of this porch + how it's evolved over the years! www.jennaburger.com

…with lots of color + texture.

Spring + Summer Front Porch: A small space filled with lots of colors and layers that create a welcoming entry.  See the rest of this porch + how it's evolved over the years! www.jennaburger.com

Pillows on the porch: Blue Multi / White Medallion / Bird

Carpet @ chairs: $5 polypropylene mats from Five Below

Mat @ front door: Target – similar to this

Pouf: Lowe’s

Front Door color: Valspar Crushed Oregano in semi-gloss

A few upgrades from when we first moved in – enlarging the columns, adding the vertical pallet, installing the new front door – have all made a big impact to the entry of our home. psst, another fairly easy DIY project with a big impact look coming your way next week.

Spring + Summer Front Porch: A small space filled with lots of colors and layers that create a welcoming entry.  See the rest of this porch + how it's evolved over the years! www.jennaburger.com

EASY DO-IT-YOURSELF PROJECT

Dress up your house numbers…

Using a board from an old pallet, I brushed on a light coat of white paint.  I installed the house numbers (that used to be attached to the house) on the board about 3/4 up from the bottom. Then I took jute cord and wrapped it around to create an interesting design. Simple & not a penny spent!

Spring + Summer Front Porch: A small space filled with lots of colors and layers that create a welcoming entry.  See the rest of this porch + how it's evolved over the years! www.jennaburger.com[The stone edging at the garden beds are a new addition this year. Check out the tutorial on creating the perfect border for your beds]

And pretty flowers do make a BIG difference.  This porch looked far from how it does now only a few short weeks ago…

All of my flowers for this years porch came from Lowe’s.  They always have such a great variety of flowers + plants!

Spring + Summer Front Porch: A small space filled with lots of colors and layers that create a welcoming entry.  See the rest of this porch + how it's evolved over the years! www.jennaburger.com

Spring + Summer Front Porch: A small space filled with lots of colors and layers that create a welcoming entry.  See the rest of this porch + how it's evolved over the years! www.jennaburger.com

Not much is new; most of the furniture and layers on this years Spring + Summer front porch we’ve had for years.  With some little updates, it’s amazing how old can look new in a snap.

The side chairs are inexpensive teak bought about 8 years ago from the Christmas Tree store.  I thought about getting rid of them many times, but last year I added new cushions + a few vibrant pillows from Lowe’s and all of a sudden, they looked great again.

The lutchens bench used to be stained, but then I got my hands on a can of turquoise spray paint and it took on a new life!

The vertical garden pallet is a DIY creation from a few years back and it’s still a show-stopper on the porch.

Spring + Summer Front Porch: A small space filled with lots of colors and layers that create a welcoming entry.  See the rest of this porch + how it's evolved over the years! www.jennaburger.com

It is such a wonderful way to add height to a vertical space (and height = drama!).  From herbs to succulents to vines, I’ve hung many different types of plants on this vertical pallet over the years!  For this Spring season, I chose to plant Variegated Vinca Vines in the smaller pots and Fuchsia in the larger pots – they are both shade annuals.

Spring + Summer Front Porch: A small space filled with lots of colors and layers that create a welcoming entry.  See the rest of this porch + how it's evolved over the years! www.jennaburger.com

Fuchsia is also what I chose for the hanging plant over the porch since this side of the house gets no sun.

Spring + Summer Front Porch: A small space filled with lots of colors and layers that create a welcoming entry.  See the rest of this porch + how it's evolved over the years! www.jennaburger.com

Spring + Summer Front Porch: A small space filled with lots of colors and layers that create a welcoming entry.  See the rest of this porch + how it's evolved over the years! www.jennaburger.com

Ferns are another great shade choice and I have that hanging from a tall hook next to the porch.  It’s such a beautiful, hardy Summer staple.

Spring + Summer Front Porch: A small space filled with lots of colors and layers that create a welcoming entry.  See the rest of this porch + how it's evolved over the years! www.jennaburger.com

Can you see why this spot is our favorite to spend those long dog days of Summer?  Do you blame us?!

Spring + Summer Front Porch: A small space filled with lots of colors and layers that create a welcoming entry.  See the rest of this porch + how it's evolved over the years! www.jennaburger.com

Lastly, I love seeing + sharing how our front facade has evolved over the years…

Spring + Summer Front Porch: A small space filled with lots of colors and layers that create a welcoming entry.  See the rest of this porch + how it's evolved over the years! www.jennaburger.com

Crazy, right?  All this TLC has been tackled with our own hands!

Thanks for taking the tour of our favorite Summer Space!  And by the way, did you catch anything different about this years porch from years past – if you’ve been following along with me for over the years, you might have noticed.  Well if not, I’ll give you a hint… we jazzed up the ugly foundation with new stone veneer.  More on that + a tutorial on how we installed it coming up next week.

Cheers to a fantastic summer! 

So tell me, are you more of a front porch sitter or a back deck lounger?

DISCLOSURE: I am part of the Lowe’s Creative Team and was provided with a Lowe’s gift card to purchase items for my project.  I was also compensated for my time to use the products.  No one told me what to create, what to buy, how to use the product, or what to write.  All opinions are 100% mine!

The Perfect Border for your Beds

As I mentioned last week while sharing ideas on creating an outdoor oasis, we’ve been fast + furious over the past few weeks on sprucing up the outdoors of our humble abode.

It’s what’s happening around our little ole’ homestead in the North Country and I am excited to share the updates we’ve been making!  First up, the garden beds in the front yard…

Granted the front beds have received a whole lotta TLC over the 5 years we’ve lived here, but I still felt like there needed to be more definition between the grass and the gardens.  After cleaning out the beds and before laying the mulch, I installed a stone garden edge that not only defines the line between the grass & garden, but gives character and texture…

The Perfect Border for your Beds: Defining a gardens edge with inexpensive stone that fit any shape or size garden bed.  Details @ www.jennaburger.com

This is the garden bed that is against the front of our home and it looks much different than when we moved in a few years ago.  It’s had quite the transformation…

Garden before

Without giving too much away (the full ‘tour’ of this years Spring porch coming later this week), this is how the front of the house looks now…

The Perfect Border for your Beds: Defining a gardens edge with inexpensive stone that fit any shape or size garden bed.  Details @ www.jennaburger.com

One of the many reasons I love having a blog is documenting the evolution of our home. It’s wonderful to look back and see how much we’ve done!

So back to…

CREATING A GARDEN EDGE USING STONE

I found these edging stones at Lowe’s for $1.28 each.

Stone to edge garden beds

These stones are a trapezoid shape – about 7″ long on one side, about 5″ long on the other side.  Because of the stones shape, they can be layed in a straight line (by changing the direction with each one) OR on a curve (tight curve or gradual curve) to border a garden.  One row high is just enough (that’s what I did) or these inexpensive stones can be stacked (staggering the joint) to create a taller garden border or retaining wall.  They can also be used to create a firepit.

The best part about these stones aside from the price is that there is truly no installation!  You simply set it & forget it (I sound like an infomercial, but it’s really that easy).

The Perfect Border for your Beds: Defining a gardens edge with inexpensive stone that fit any shape or size garden bed.  Details @ www.jennaburger.com

The garden beds bordering the front of the house & in the yard had a natural trench at the edge, so I followed the line and layed the stones in place.  A few tweaks needed to be in some spots to create a nicer curve but in all it took minutes to lay them all.

BEFORE & AFTER

Just a few weeks ago before the flowers started coming to life & before the mulch was added, I snapped the before picture.  Now look how the new stones define the garden…

The Perfect Border for your Beds: Defining a gardens edge with inexpensive stone that fit any shape or size garden bed.  Details @ www.jennaburger.com

The Perfect Border for your Beds: Defining a gardens edge with inexpensive stone that fit any shape or size garden bed.  Details @ www.jennaburger.com

Once the stone edge was set, I planted a few annuals amongst the growing perennials and filled in the garden with mulch.

The Perfect Border for your Beds: Defining a gardens edge with inexpensive stone that fit any shape or size garden bed.  Details @ www.jennaburger.com

The Perfect Border for your Beds: Defining a gardens edge with inexpensive stone that fit any shape or size garden bed.  Details @ www.jennaburger.com

And it was complete…

The Perfect Border for your Beds: Defining a gardens edge with inexpensive stone that fit any shape or size garden bed.  Details @ www.jennaburger.com

The Perfect Border for your Beds: Defining a gardens edge with inexpensive stone that fit any shape or size garden bed.  Details @ www.jennaburger.com

It’s far from an award-winning garden, but it’s ours that we created.

The Perfect Border for your Beds: Defining a gardens edge with inexpensive stone that fit any shape or size garden bed.  Details @ www.jennaburger.com

Each day the flowers show more of their beauty.

The Perfect Border for your Beds: Defining a gardens edge with inexpensive stone that fit any shape or size garden bed.  Details @ www.jennaburger.com

I’ll admit, because I am a bit Type A & love instant gratification, gardening isn’t top on my list of favorite things to do.  I often get frustrated & annoyed each Spring season not knowing what will bloom again. Thankfully looking back on old pictures, I am able to truly appreciate all the hard work we’ve put into creating a home we love.  What an incredible lesson of patience, right?!

This stone edge was truly a simple + high impact DIY project to jazz up the front of our home.  I am thrilled that it was inexpensive + easy to do – how much better does it get?!

The Perfect Border for your Beds: Defining a gardens edge with inexpensive stone that fit any shape or size garden bed.  Details @ www.jennaburger.comThe front facade of our home also got another big upgrade.  More on that coming soon…  In the meantime, if you have garden beds that merge into the grass, adding a stone edge will surely create the definition needed to add character & texture to your landscaping beds!

DISCLOSURE: I am part of the Lowe’s Creative Team and was provided with a Lowe’s gift card to purchase items for my project.  I was also compensated for my time to use the products.  No one told me what to create, what to buy, how to use the product, or what to write.  All opinions are 100% mine!