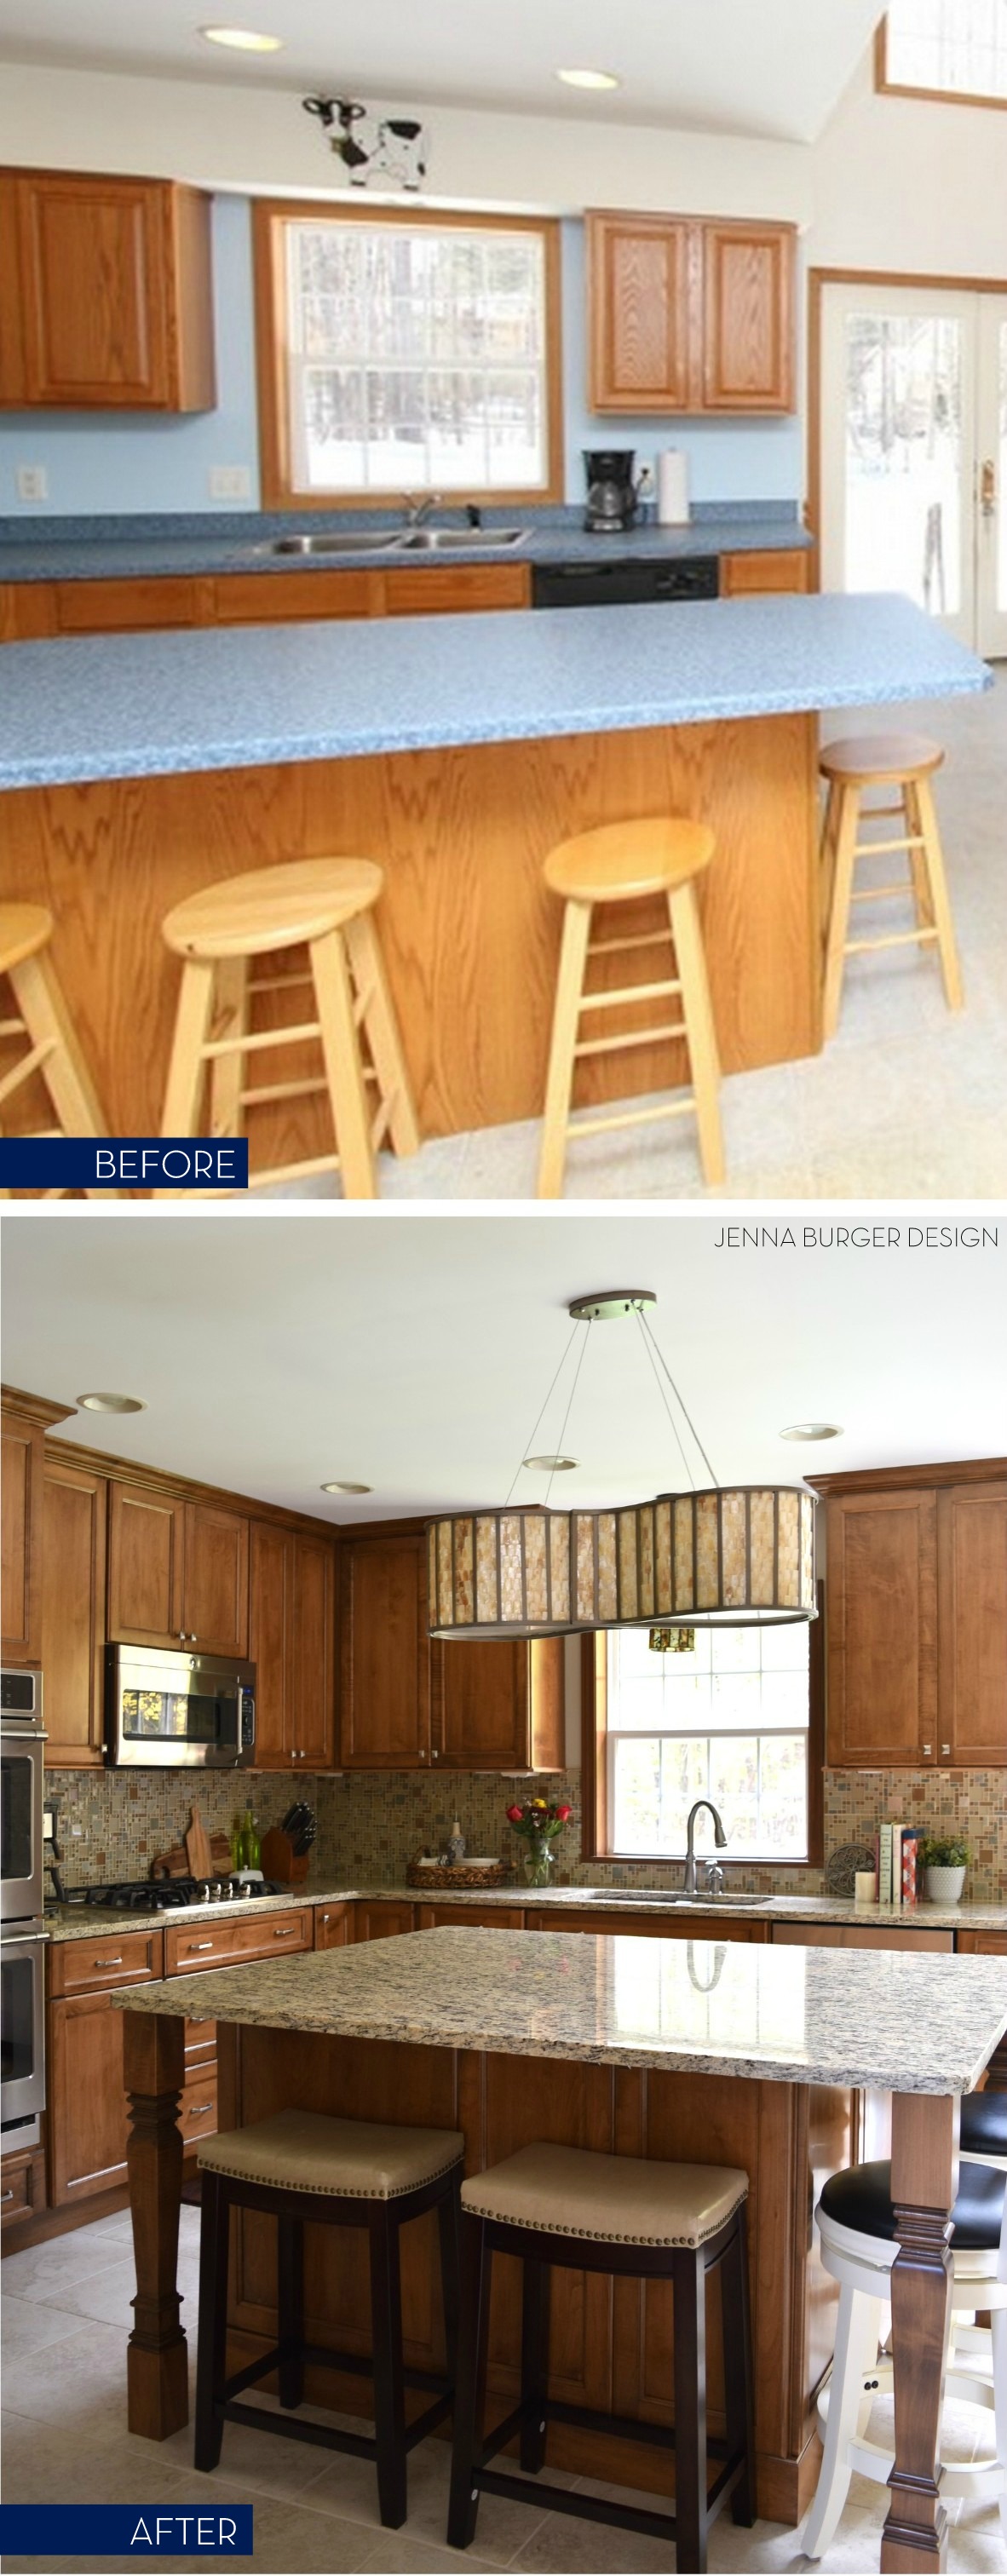
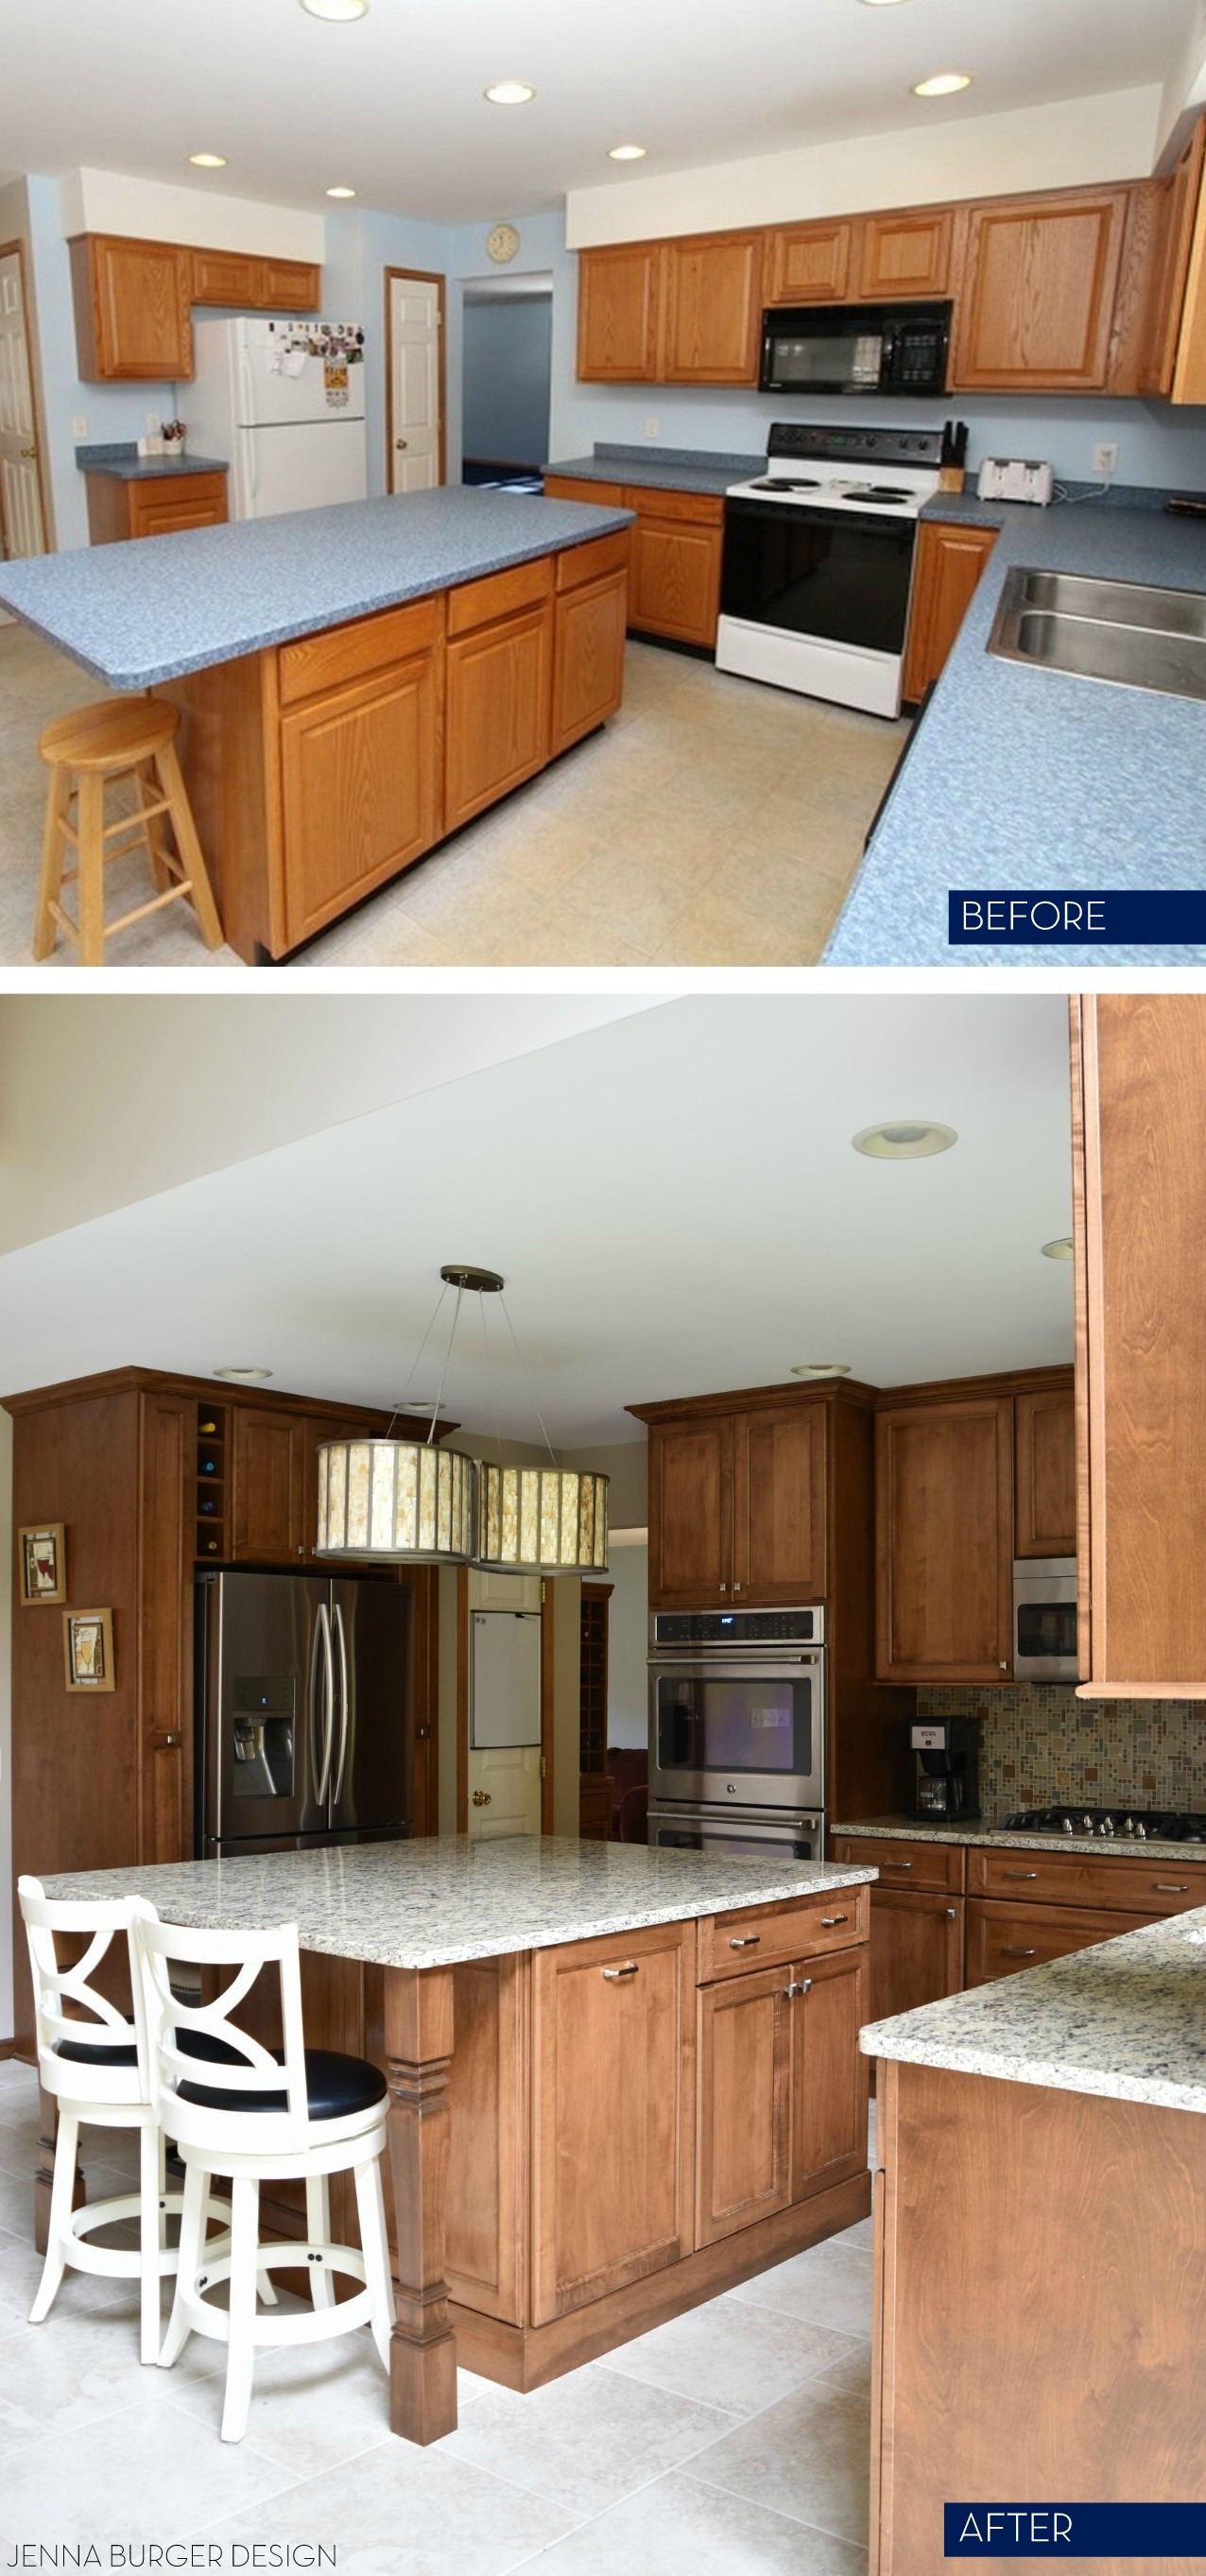
Kitchen Renovation: The Cabinets
It’s been about 2+ weeks since I shared an update on the progress of the kitchen renovation and A LOT has happened!
Once the hardwood floors were complete and we were able to move back into our home, the CABINETS ARRIVED. It was a very, very exciting day to say the least.
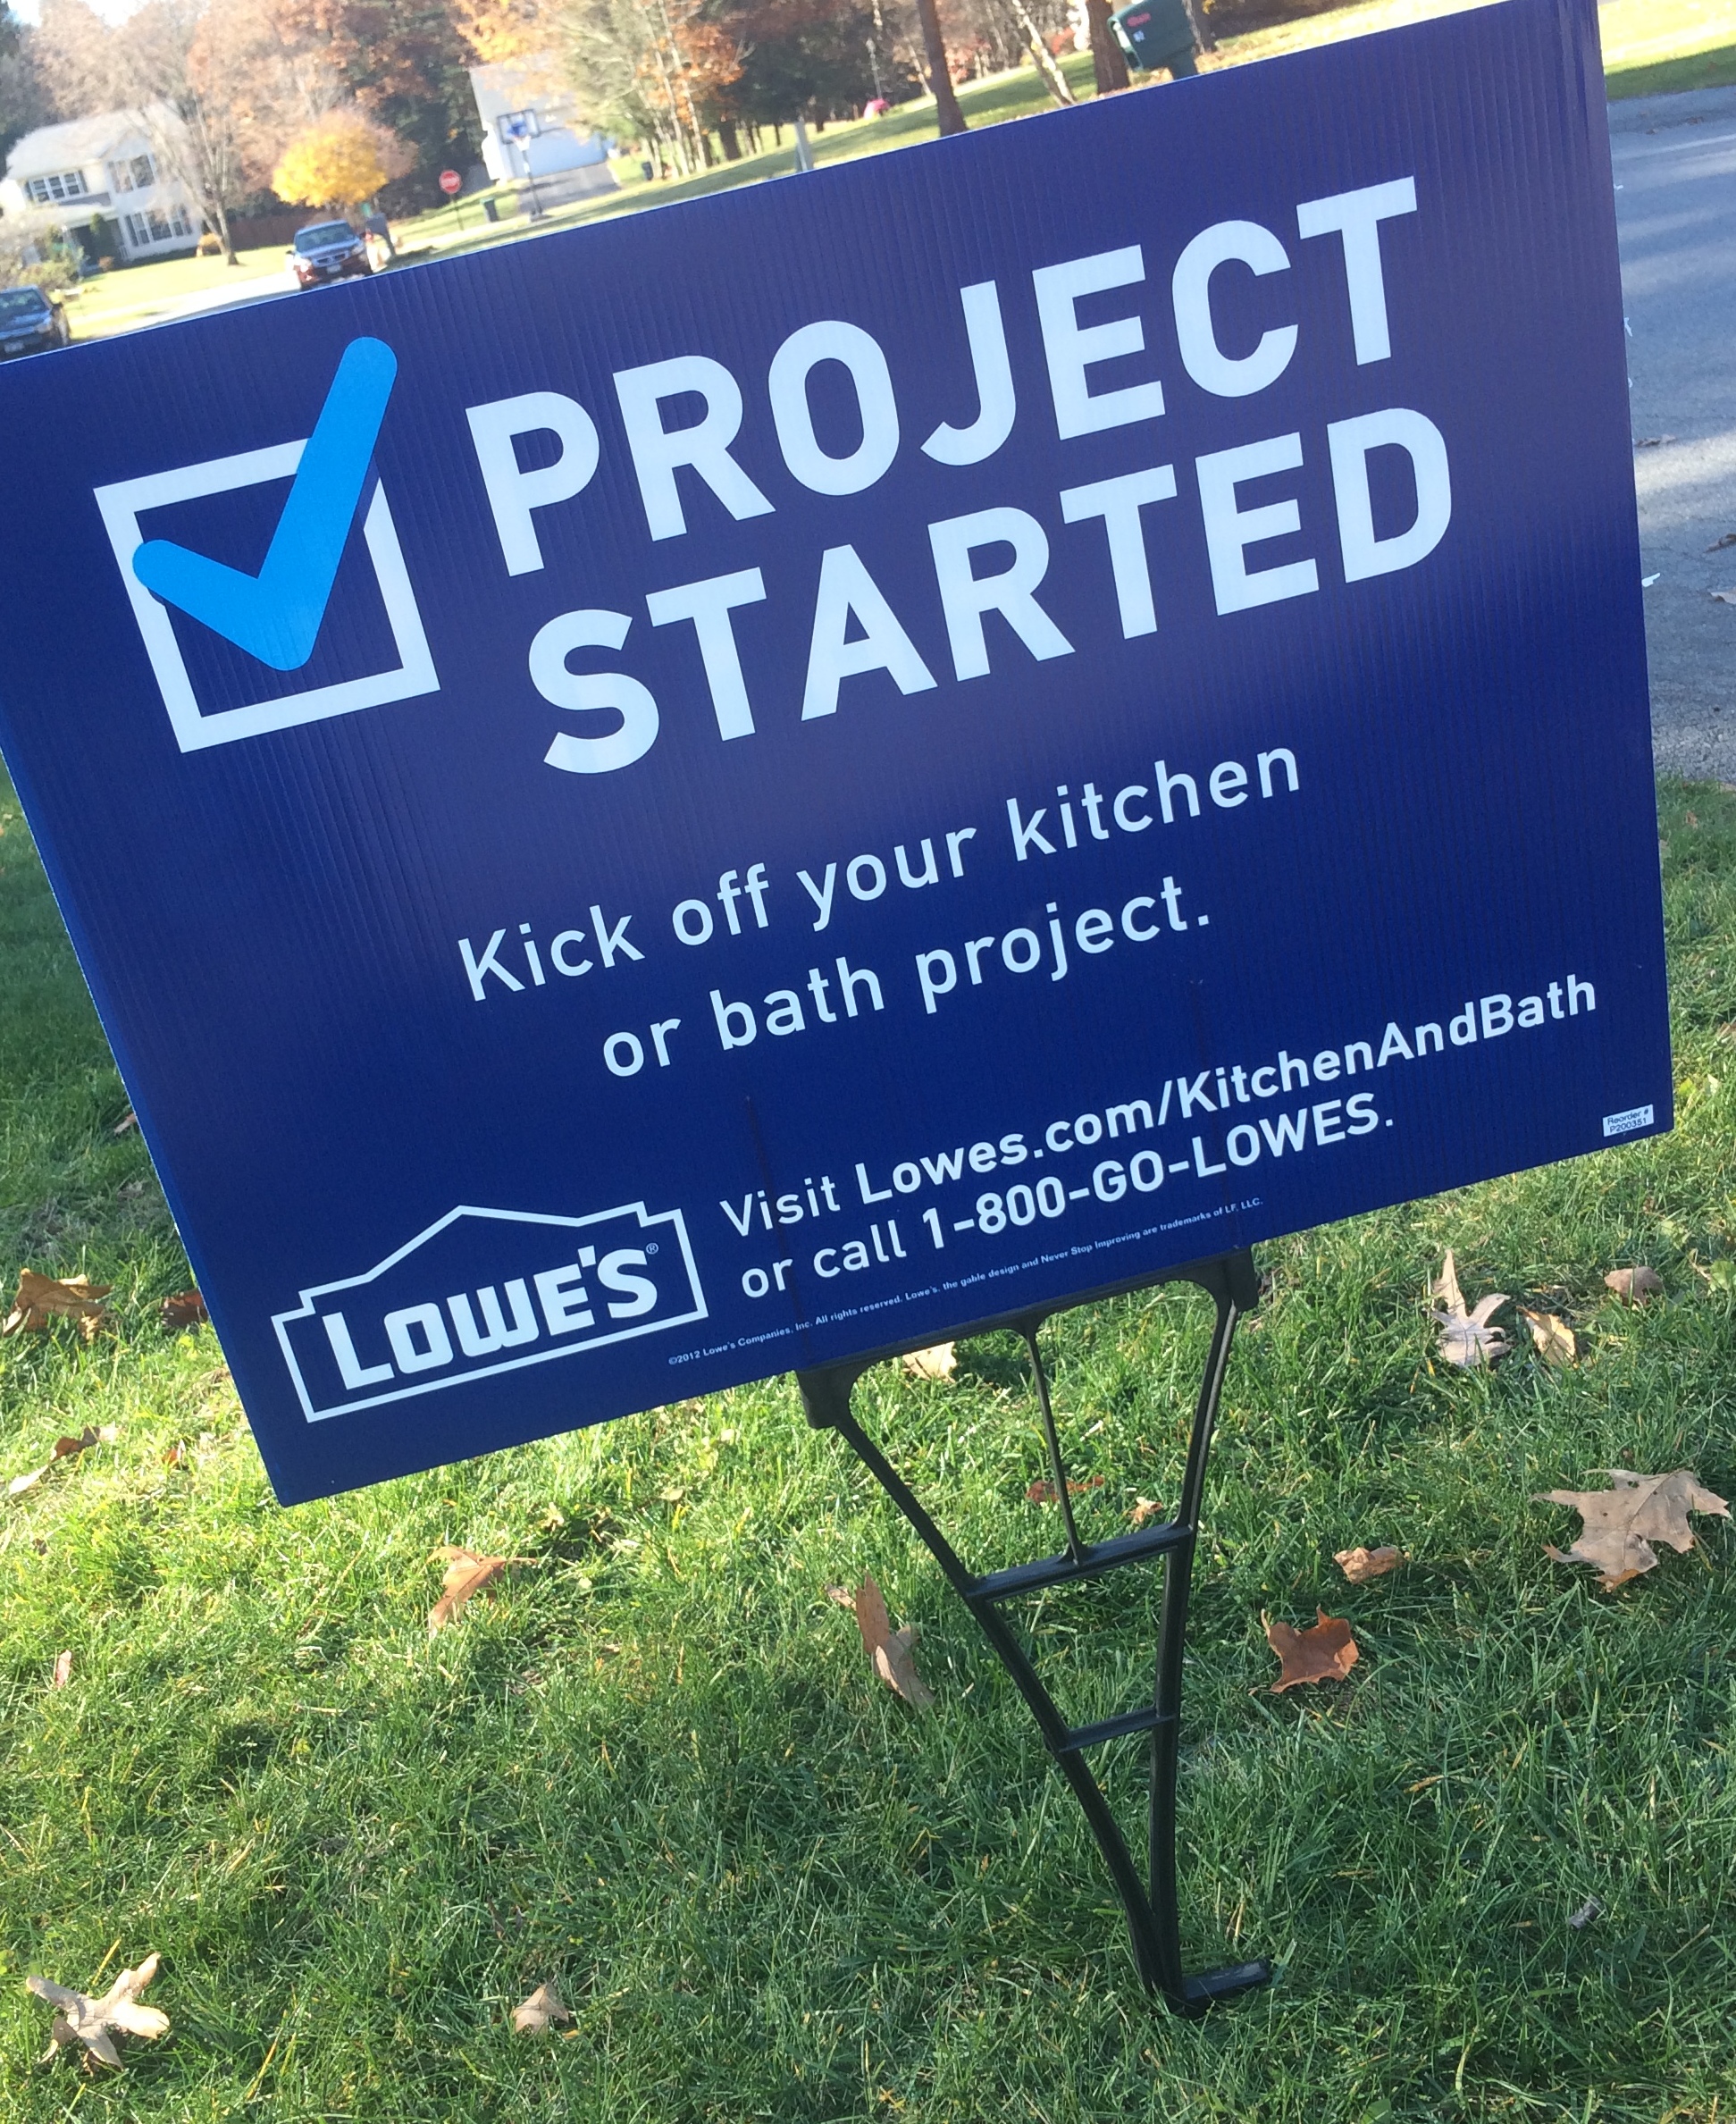
For this kitchen renovation that I am partnering with Lowe’s on, I chose to use cabinets by Kraftmaid.
Not only does Kraftmaid have an extensive selection of cabinet styles + colors, their attention to detail is exquisite, as well as the craftmanship of their product. When I started the design process for this renovation, I was quite impressed with all the ‘bells & whistles’ that they offer (many of which come standard with their cabinetry) + the variety of storage solutions they offer.
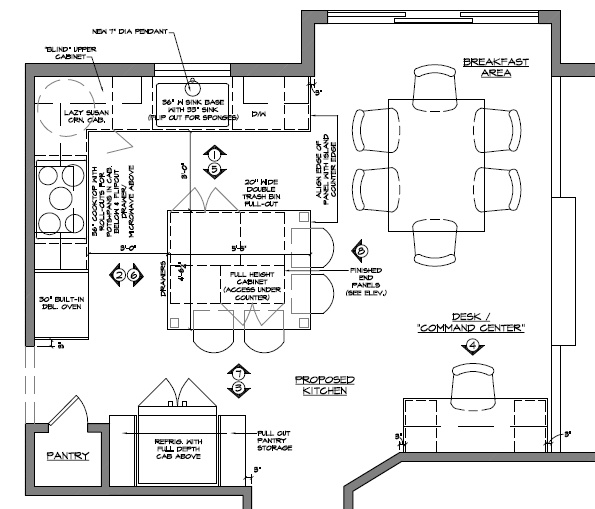
Once the design plan was in place and the cabinets went into production, a date for their arrival was lightly scratched in stone (versus ‘set in stone’ – bad joke, I know). We didn’t know if the cabinets would actually arrive on that date, but the Lowe’s independent contractor worked day after day to have everything with the walls + floors buttoned up by this magical date.
So the morning of the date comes and I heard crickets… I never was so anxious to receive a call, and THEN my phone rank and I was jumping for joy.
The cabinets DID arrive as planned on the date and I was able to breathe again…
The delivery company unloaded the truck box by box and stacked them ALL into my garage.

There were a lotta boxes and the garage was filled to the max!
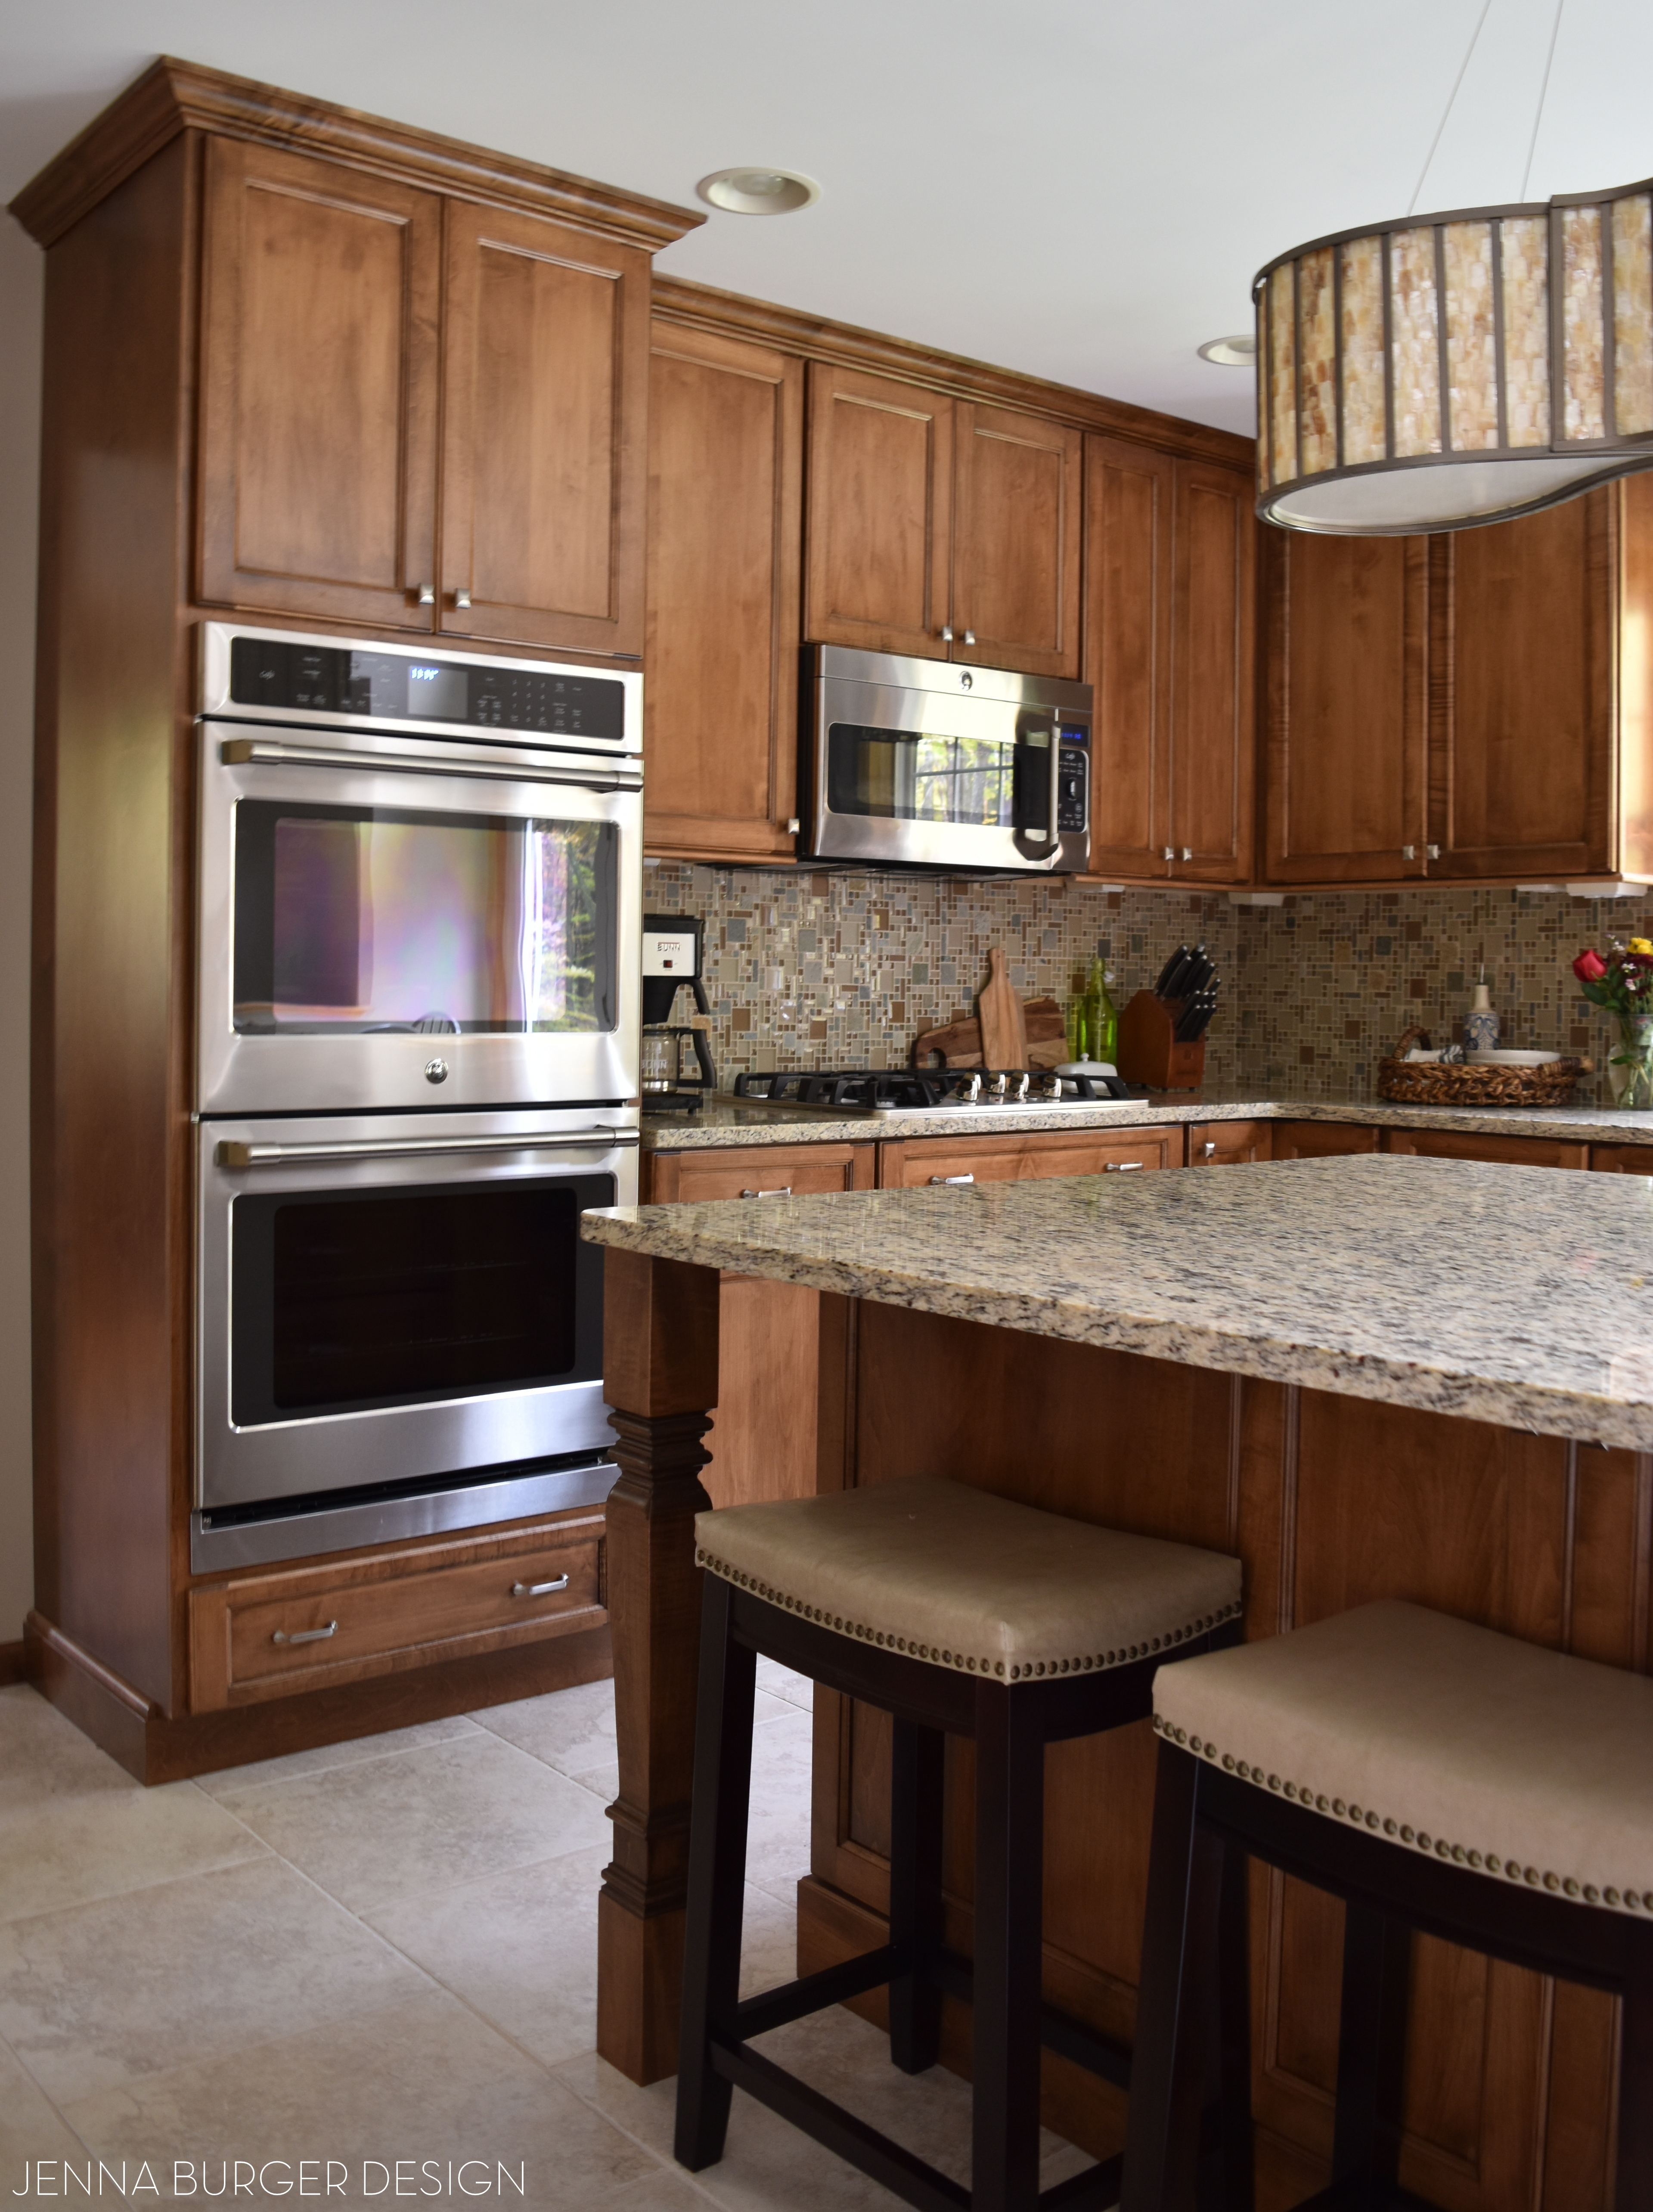
The cabinets were gorgeous. Just how I imagined.
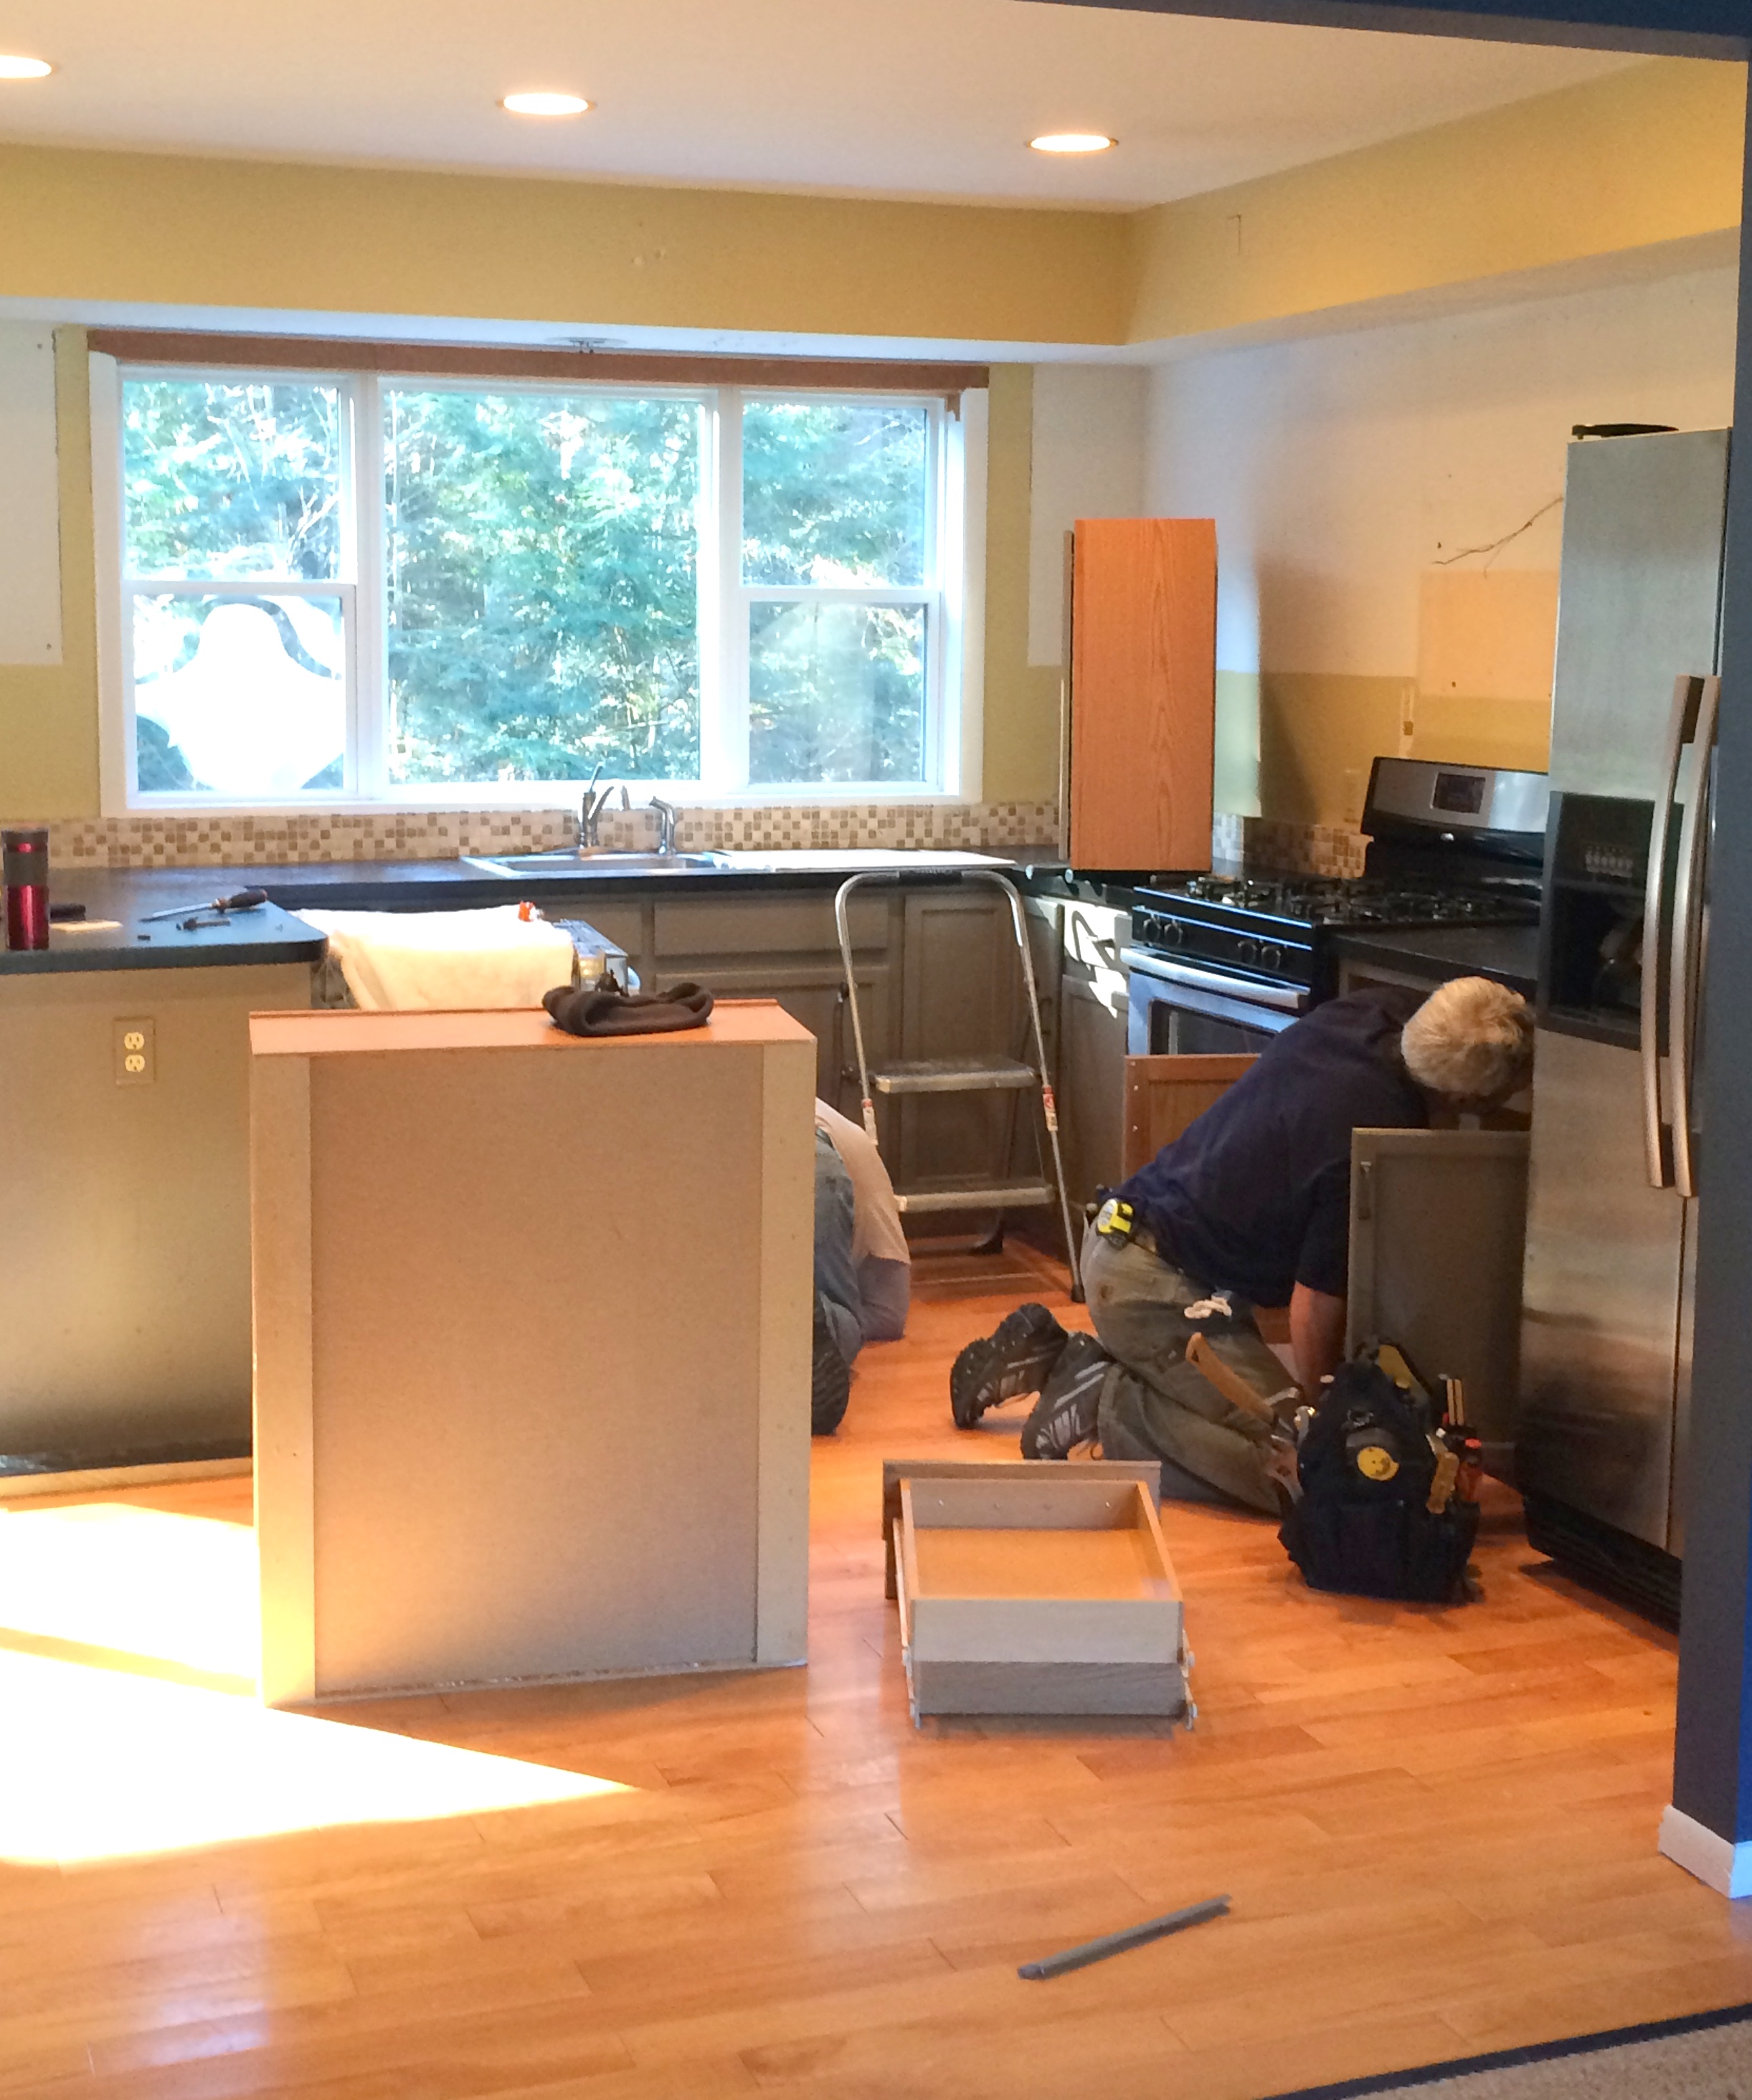
And then the fun began of installation…
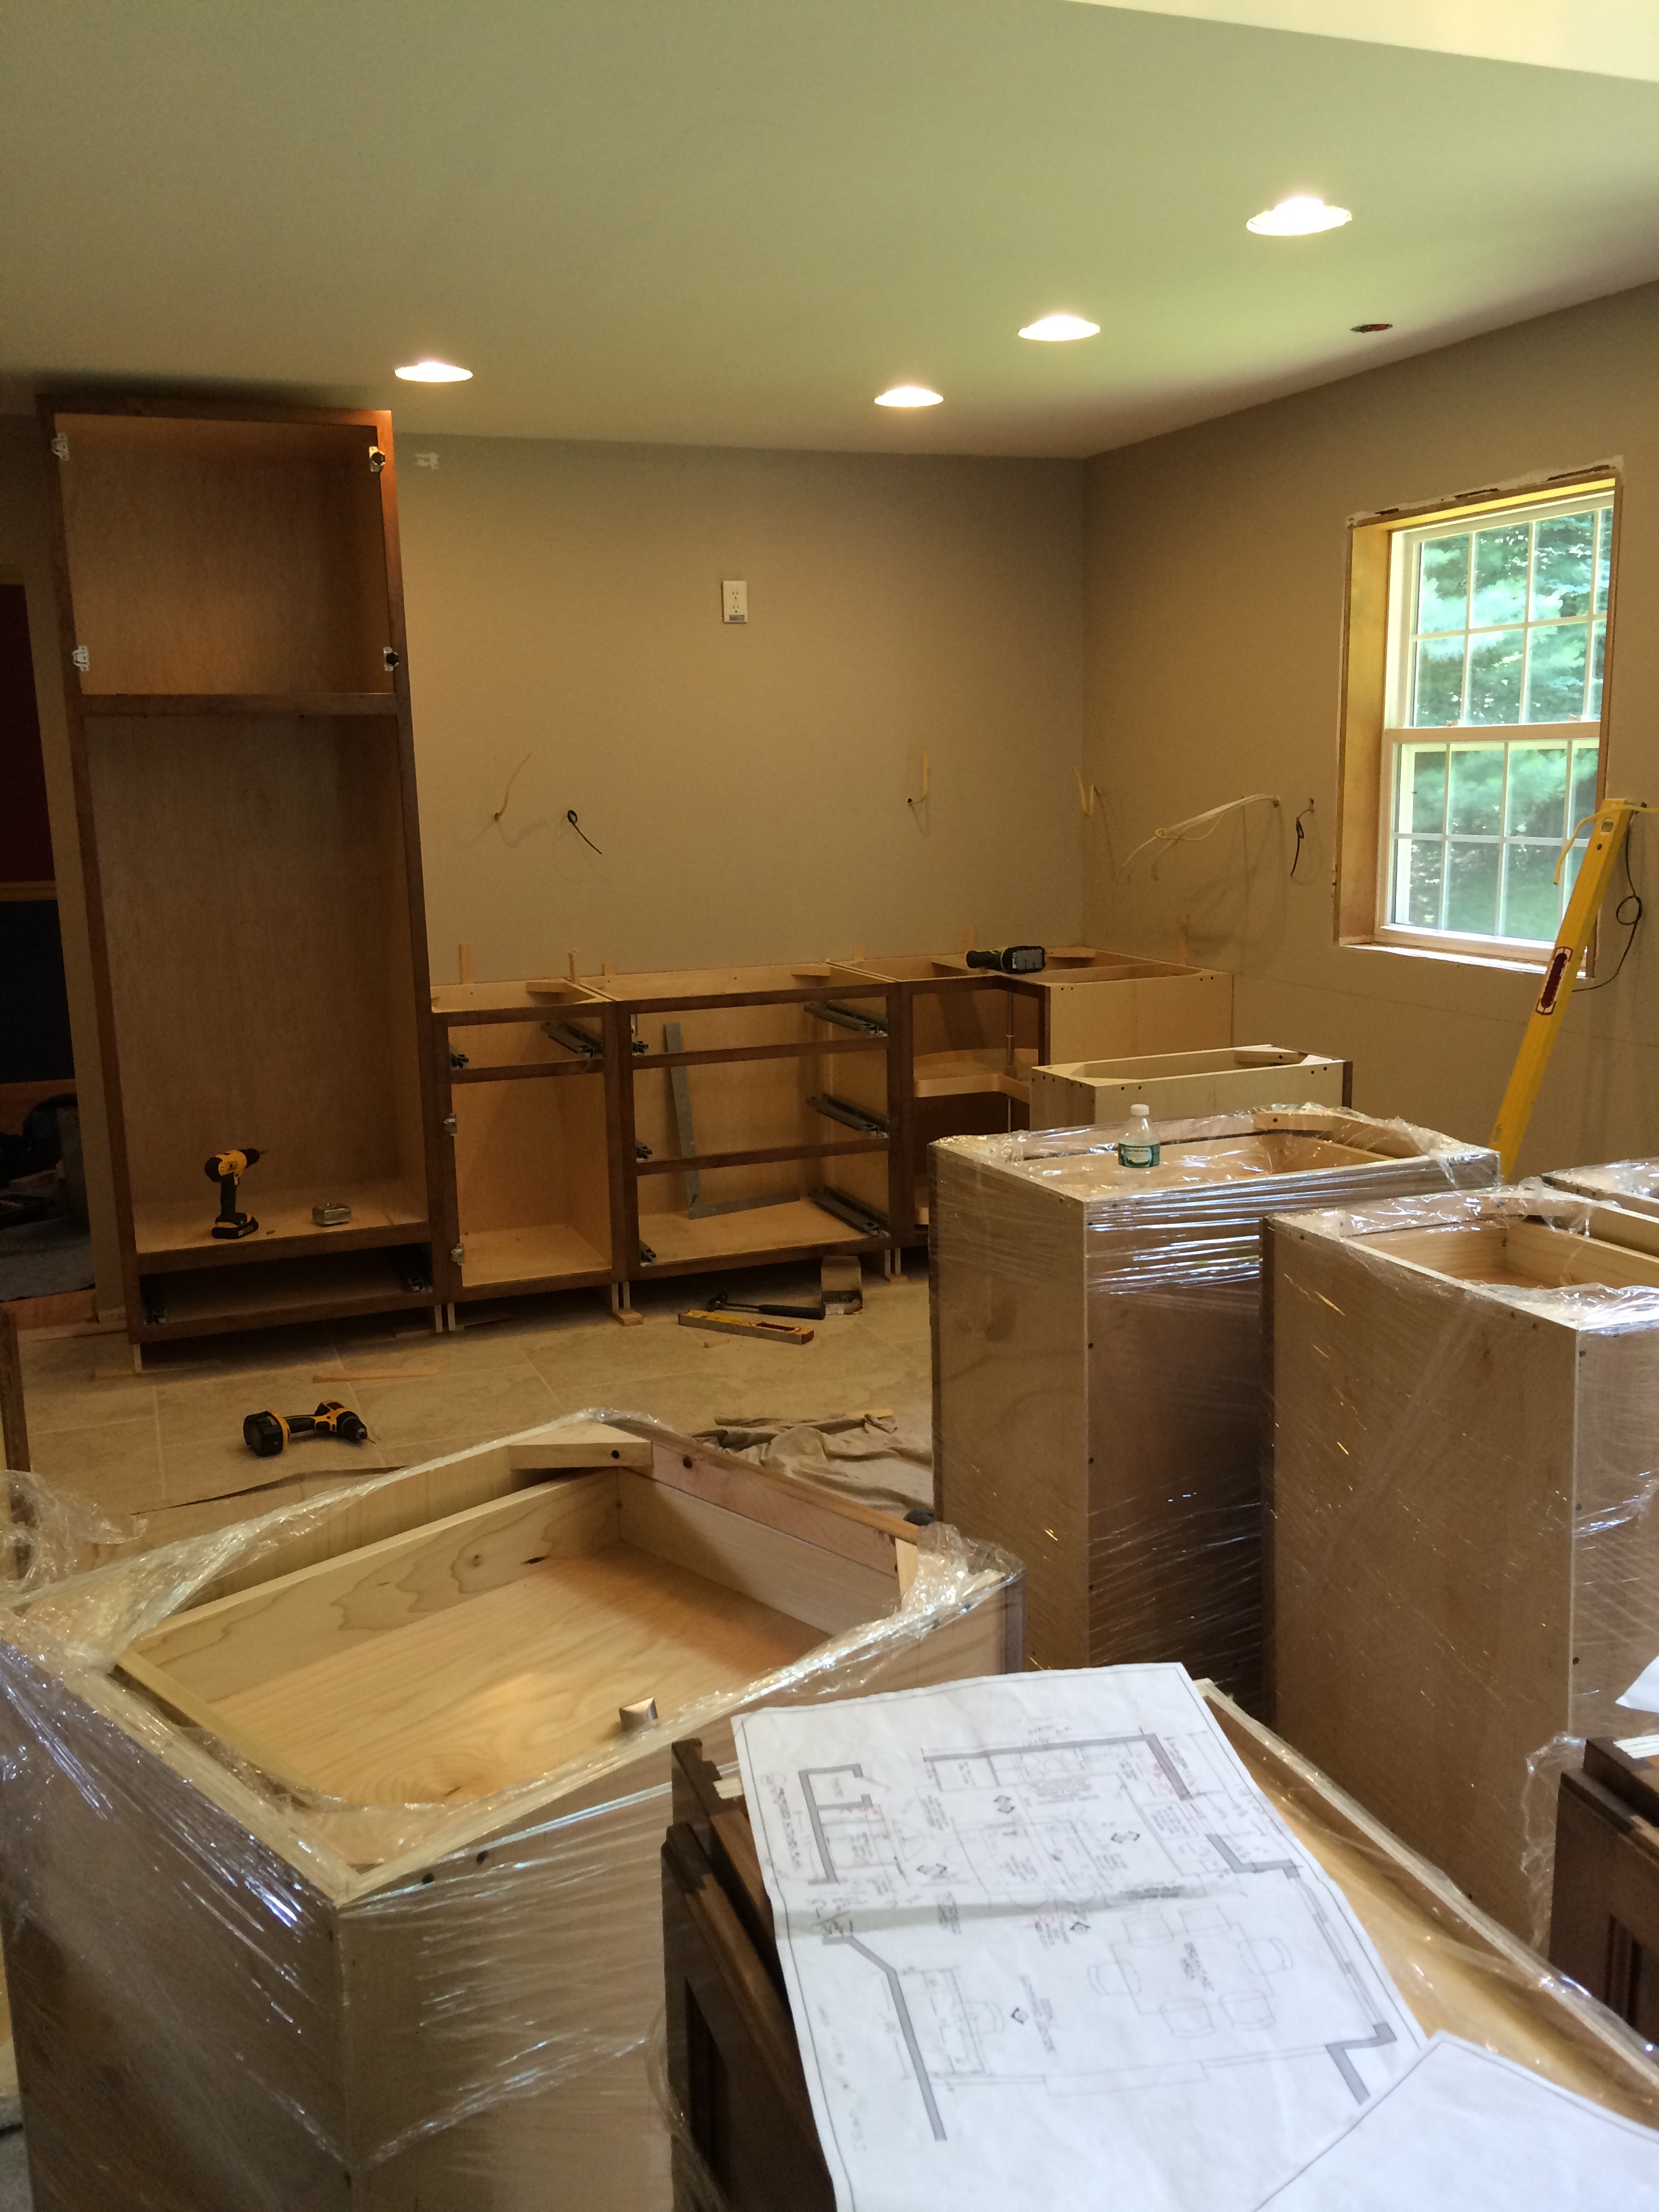
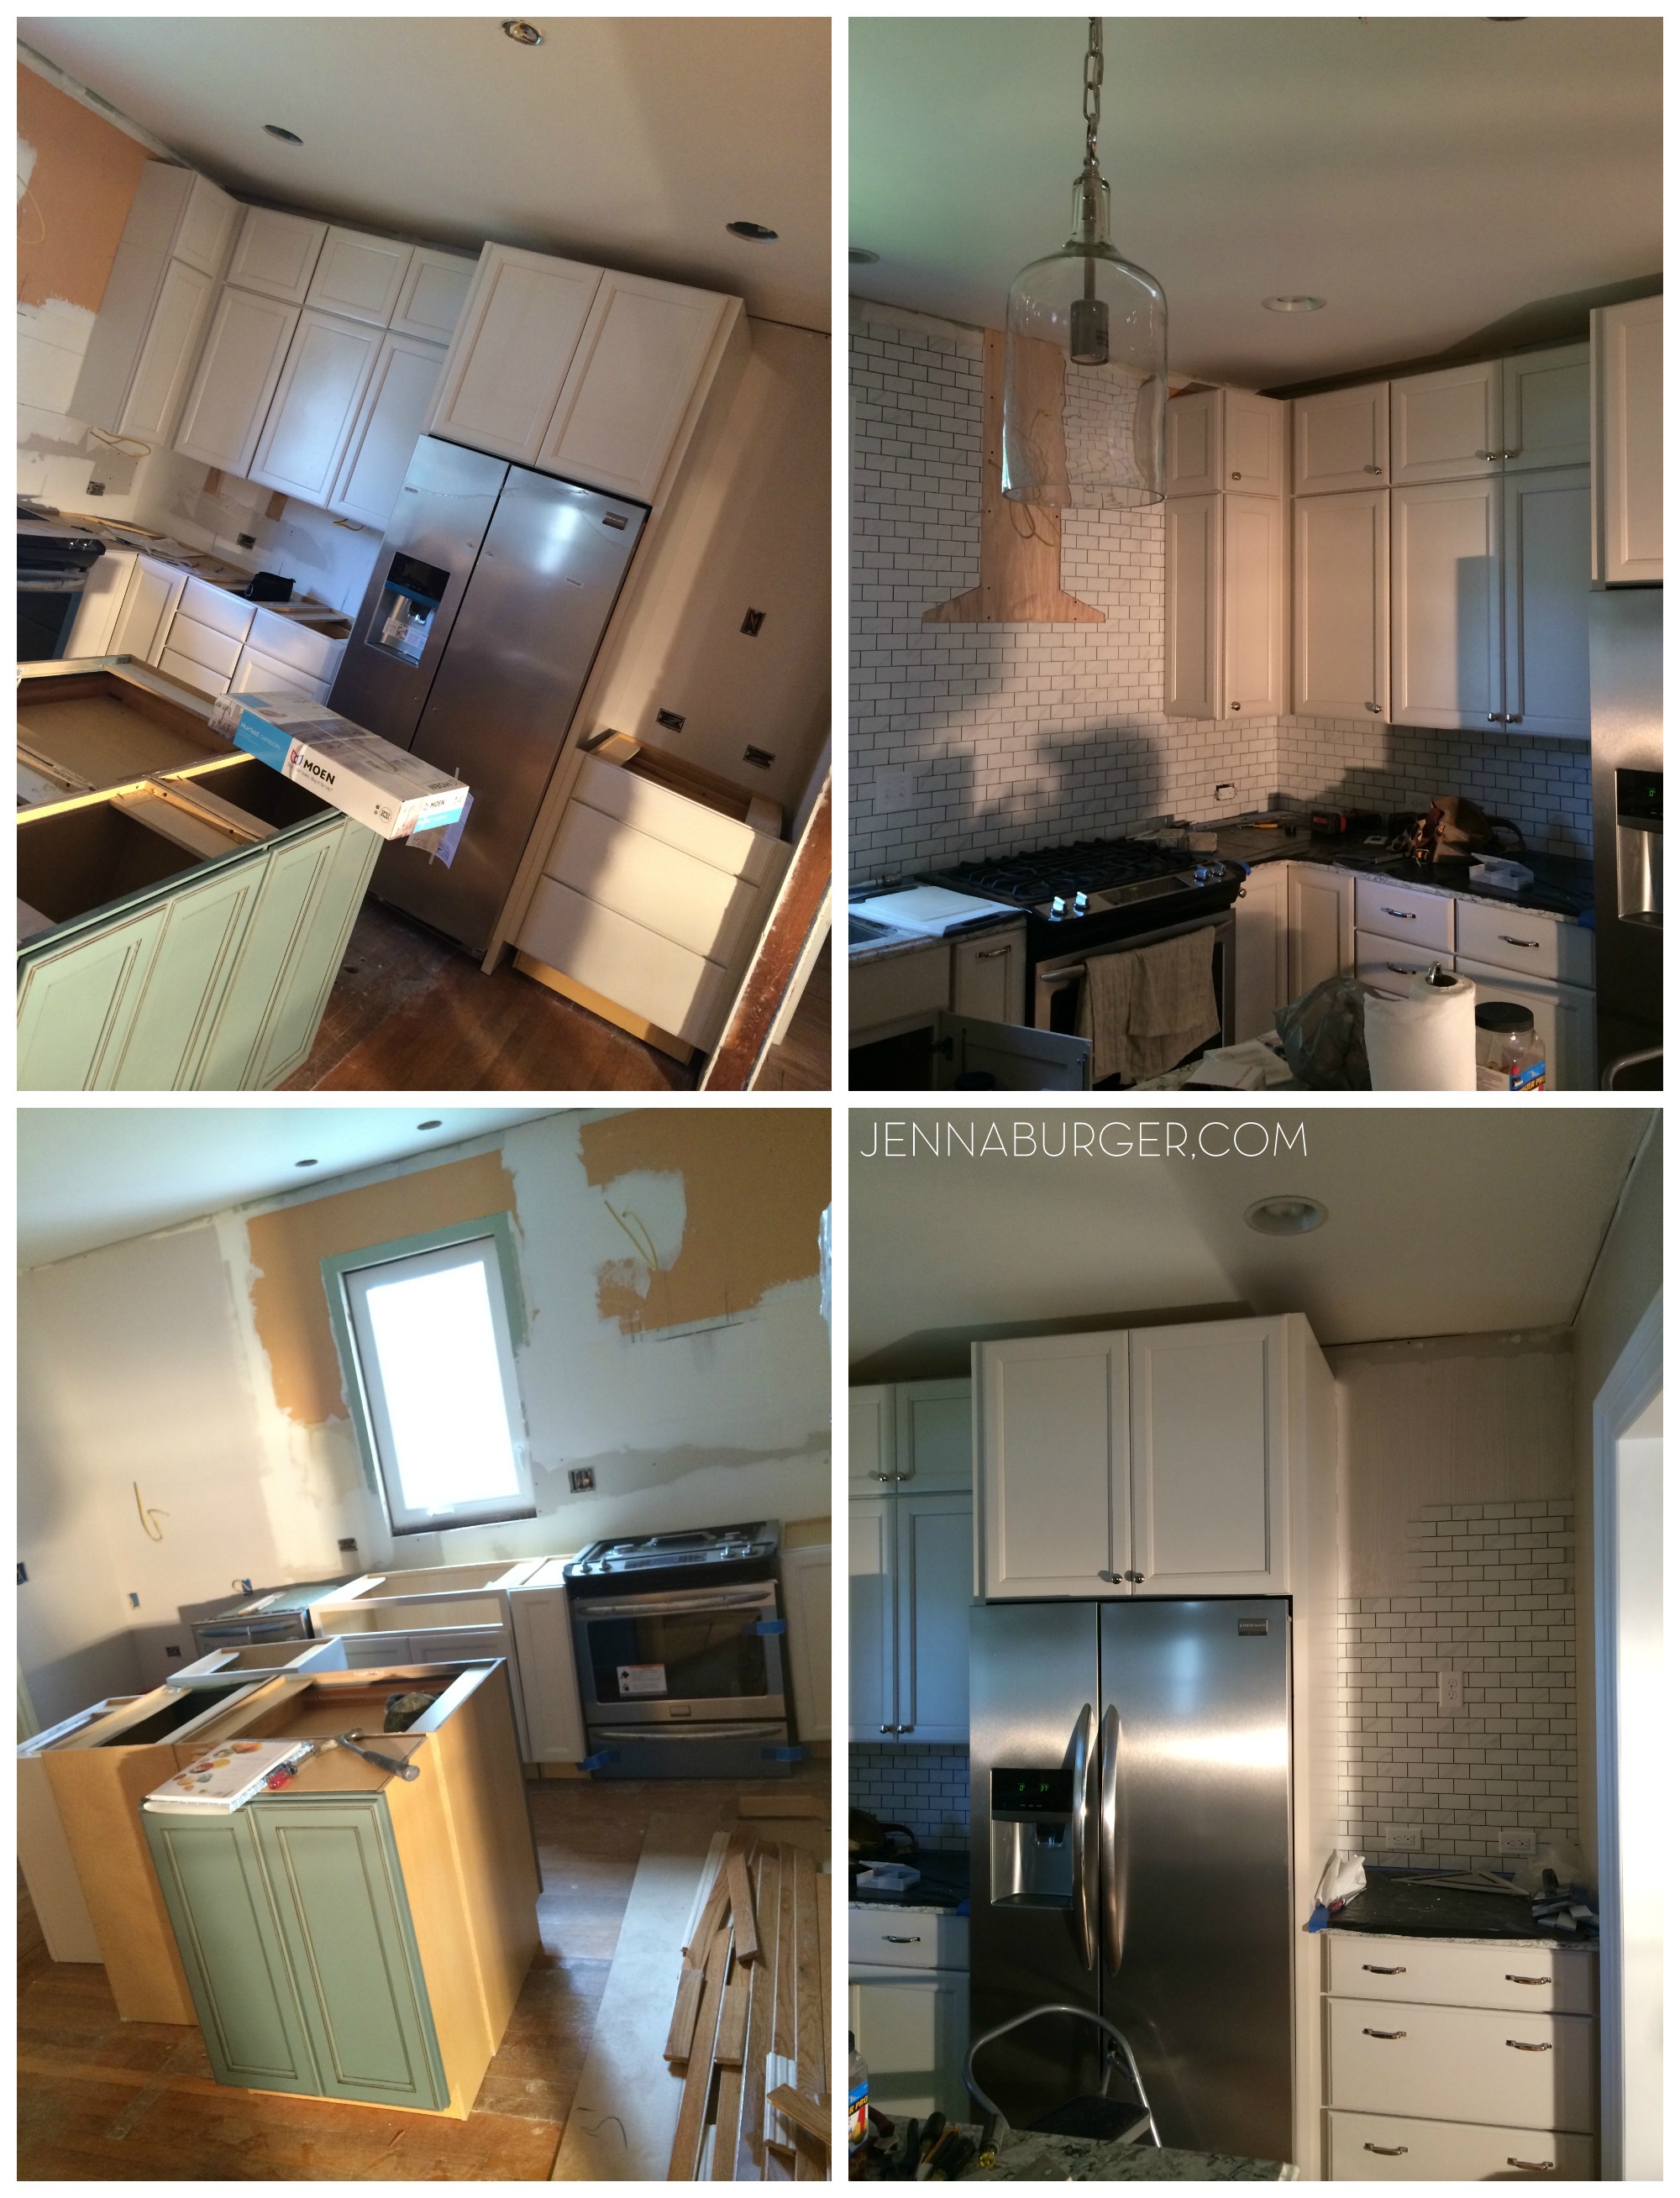
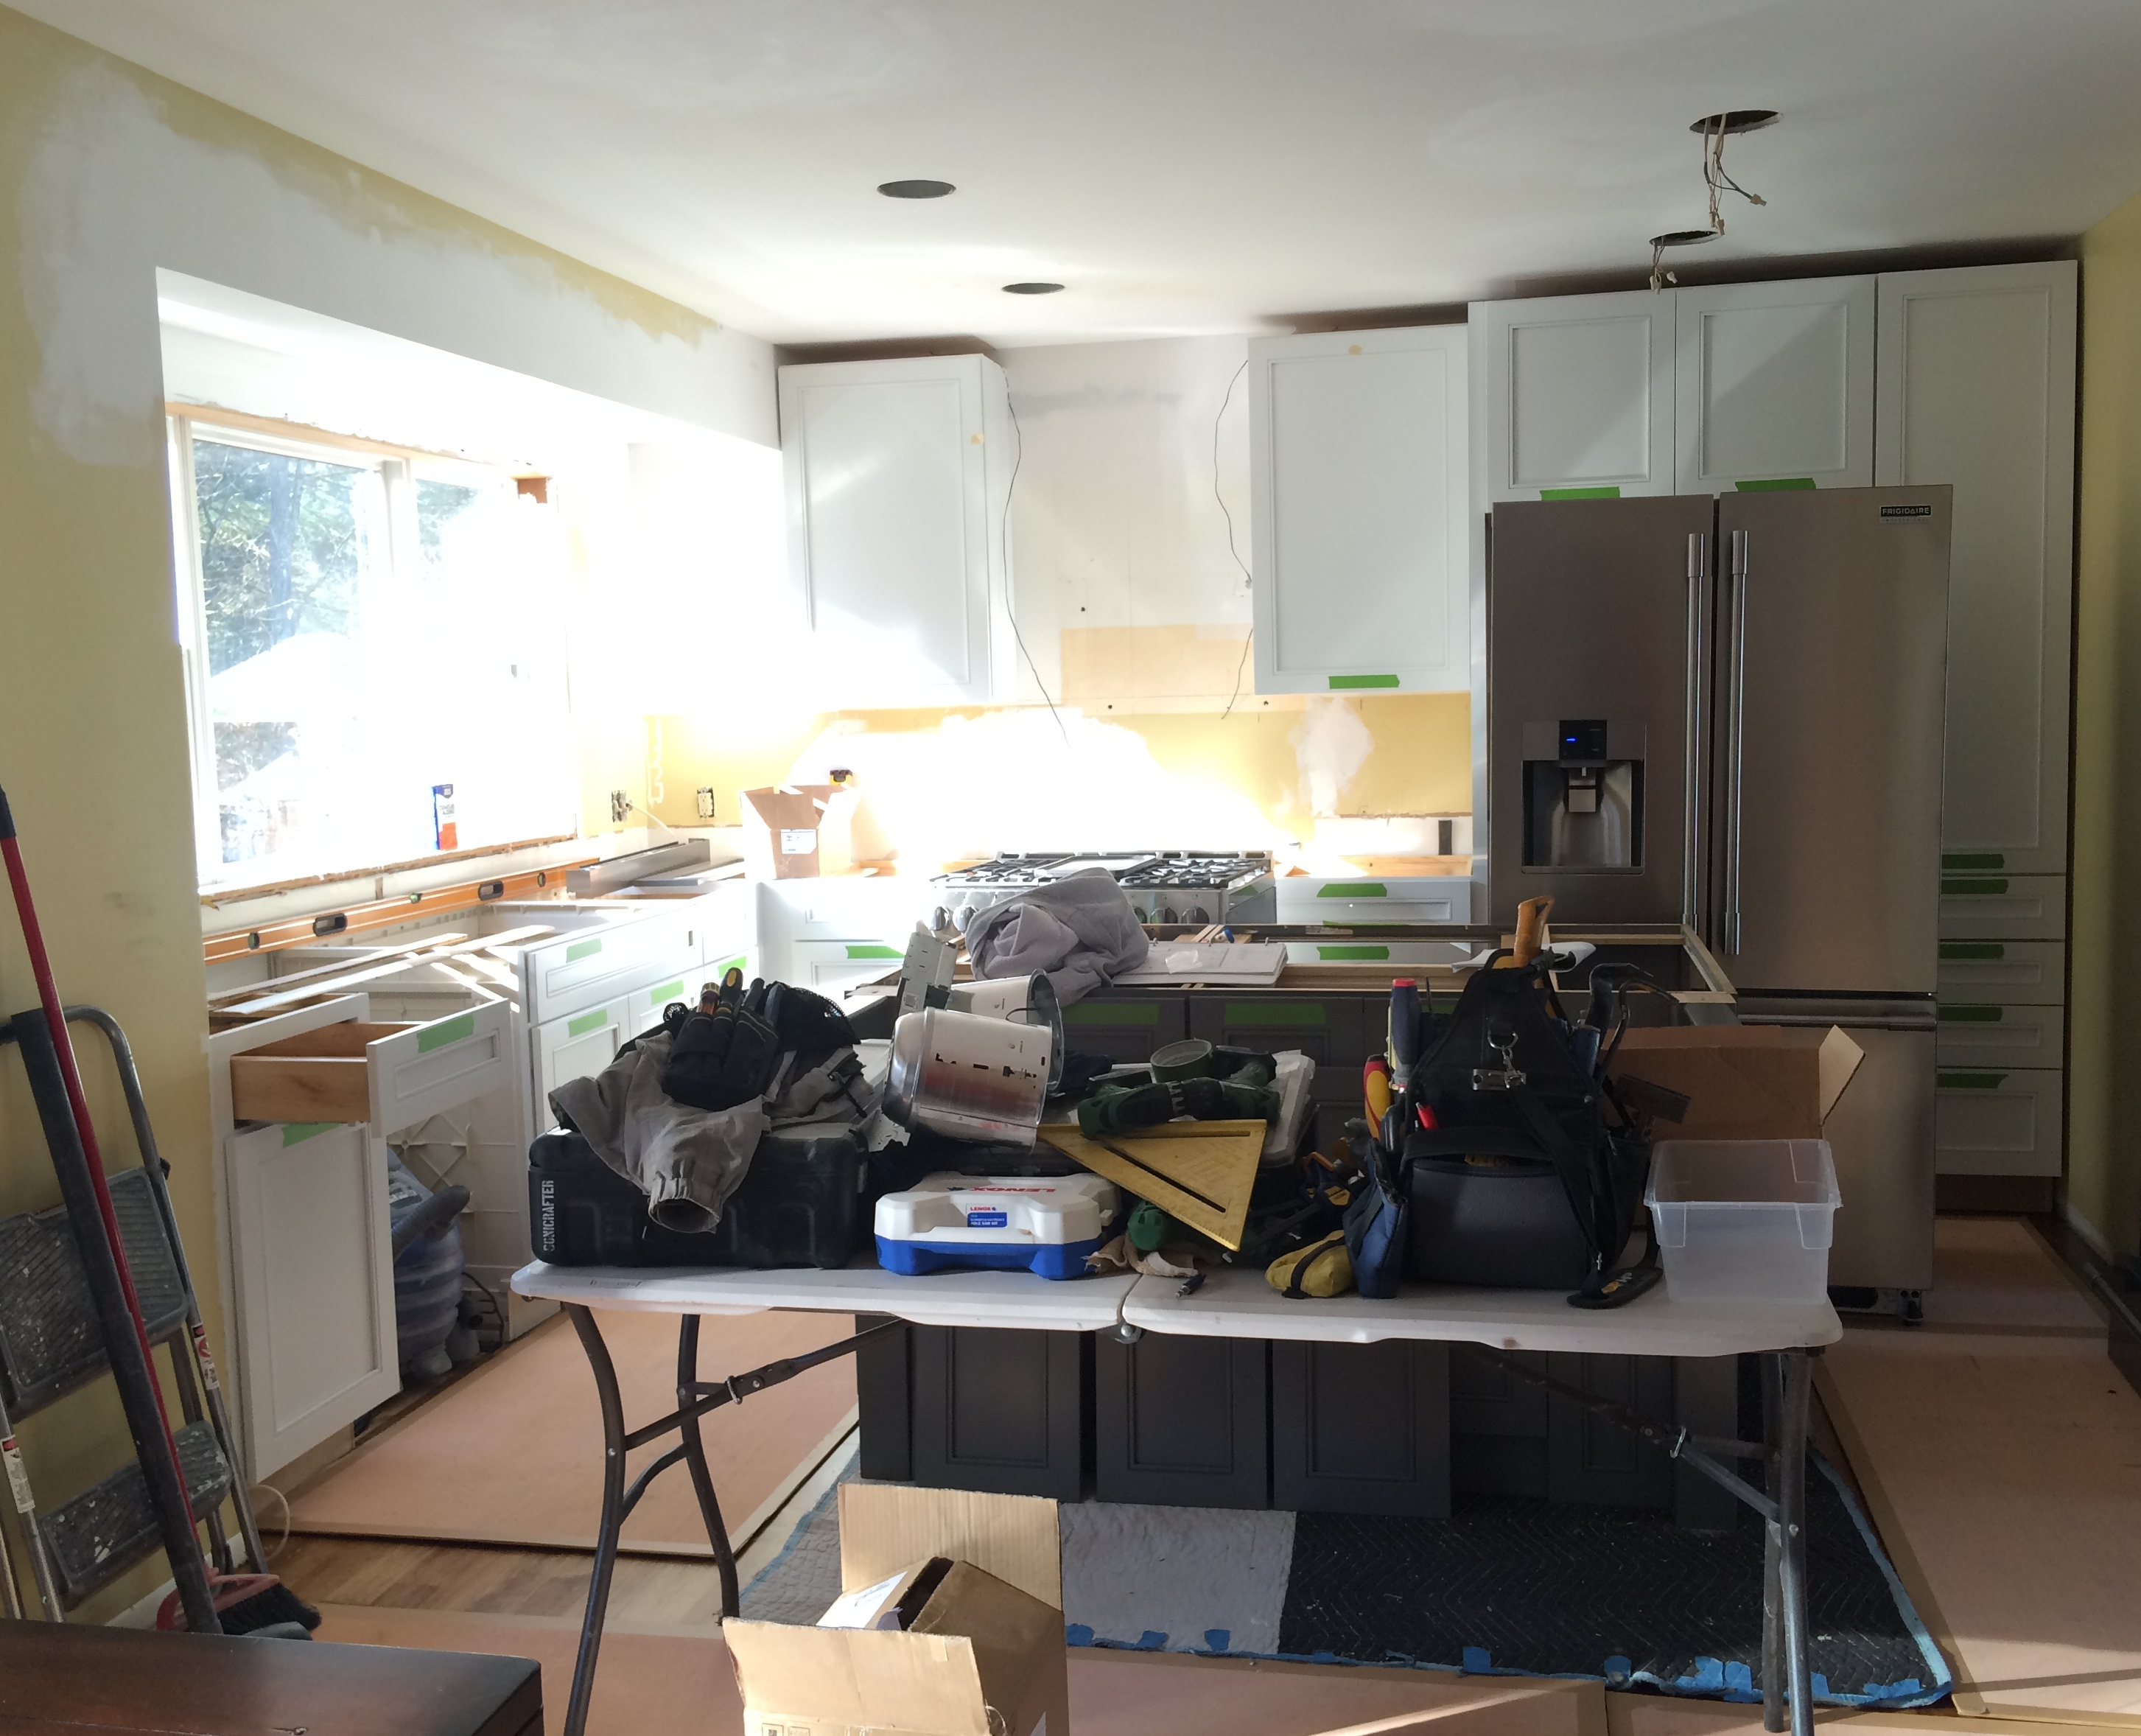
The following Monday, the contractor got started with installing the cabinets in the empty shell that we once called our kitchen. The upper cabinets (which there are only 2 of) were the first to go into place. They set the placement for everything else thereafter.

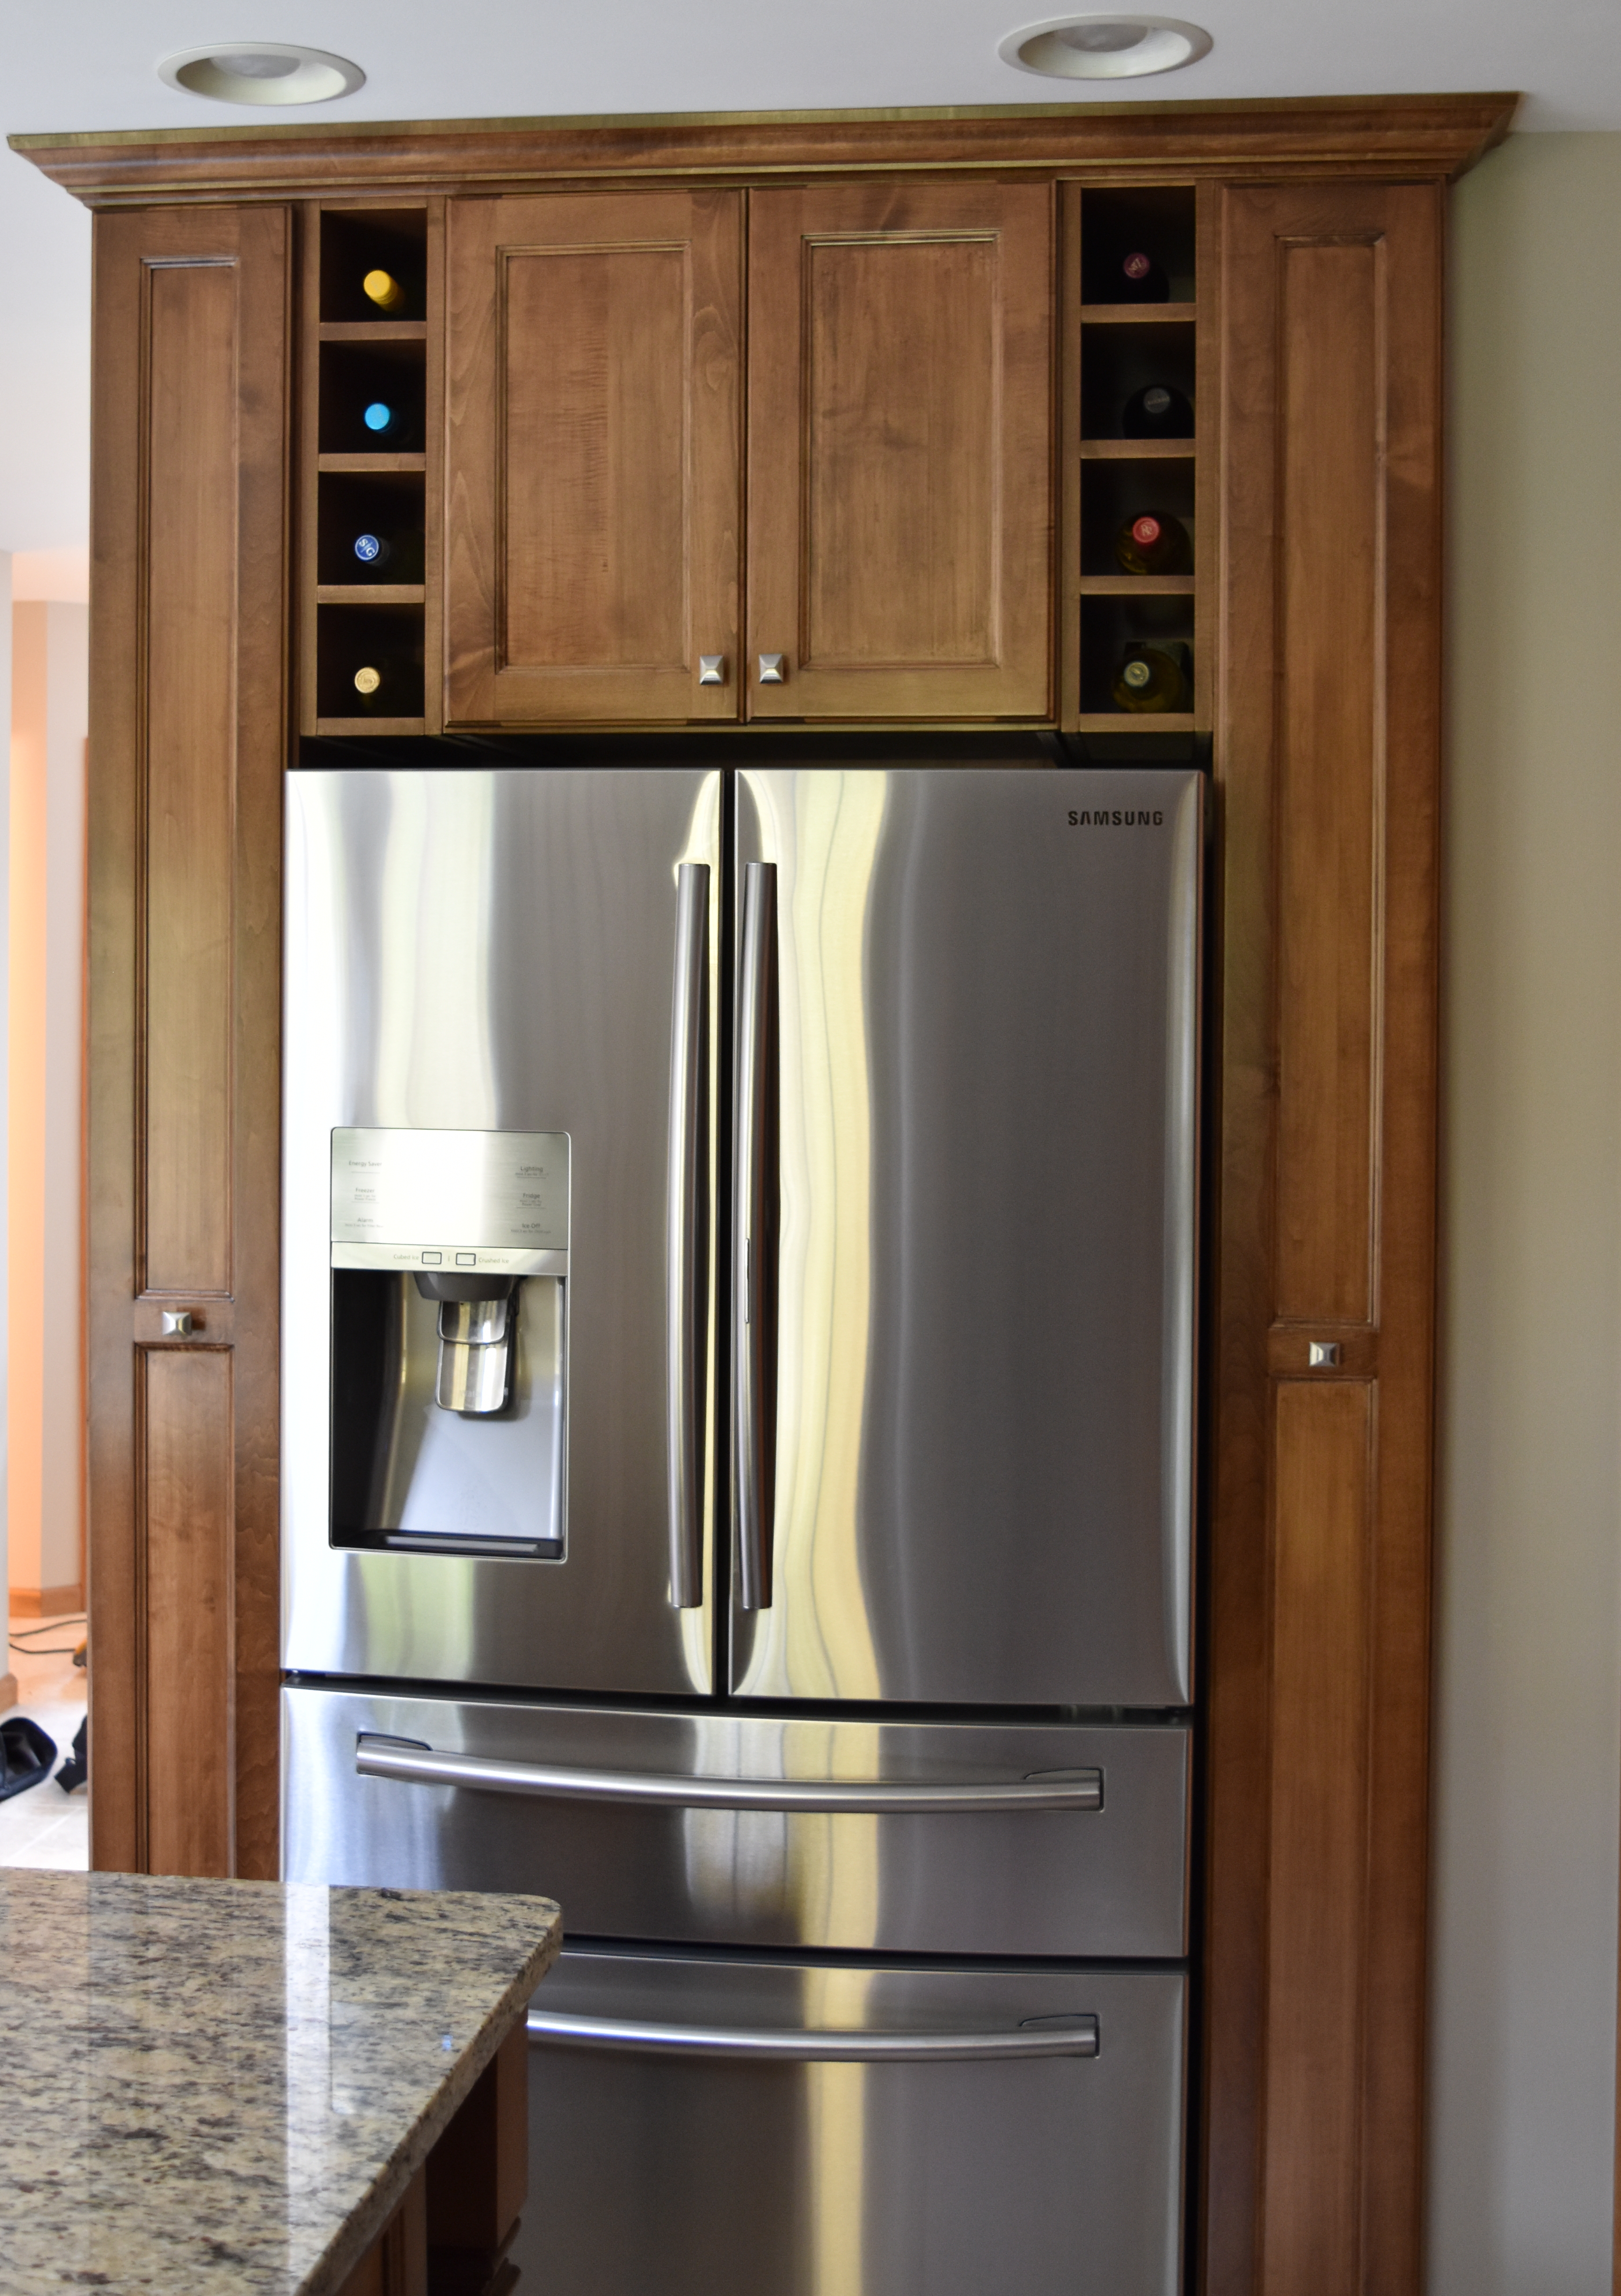
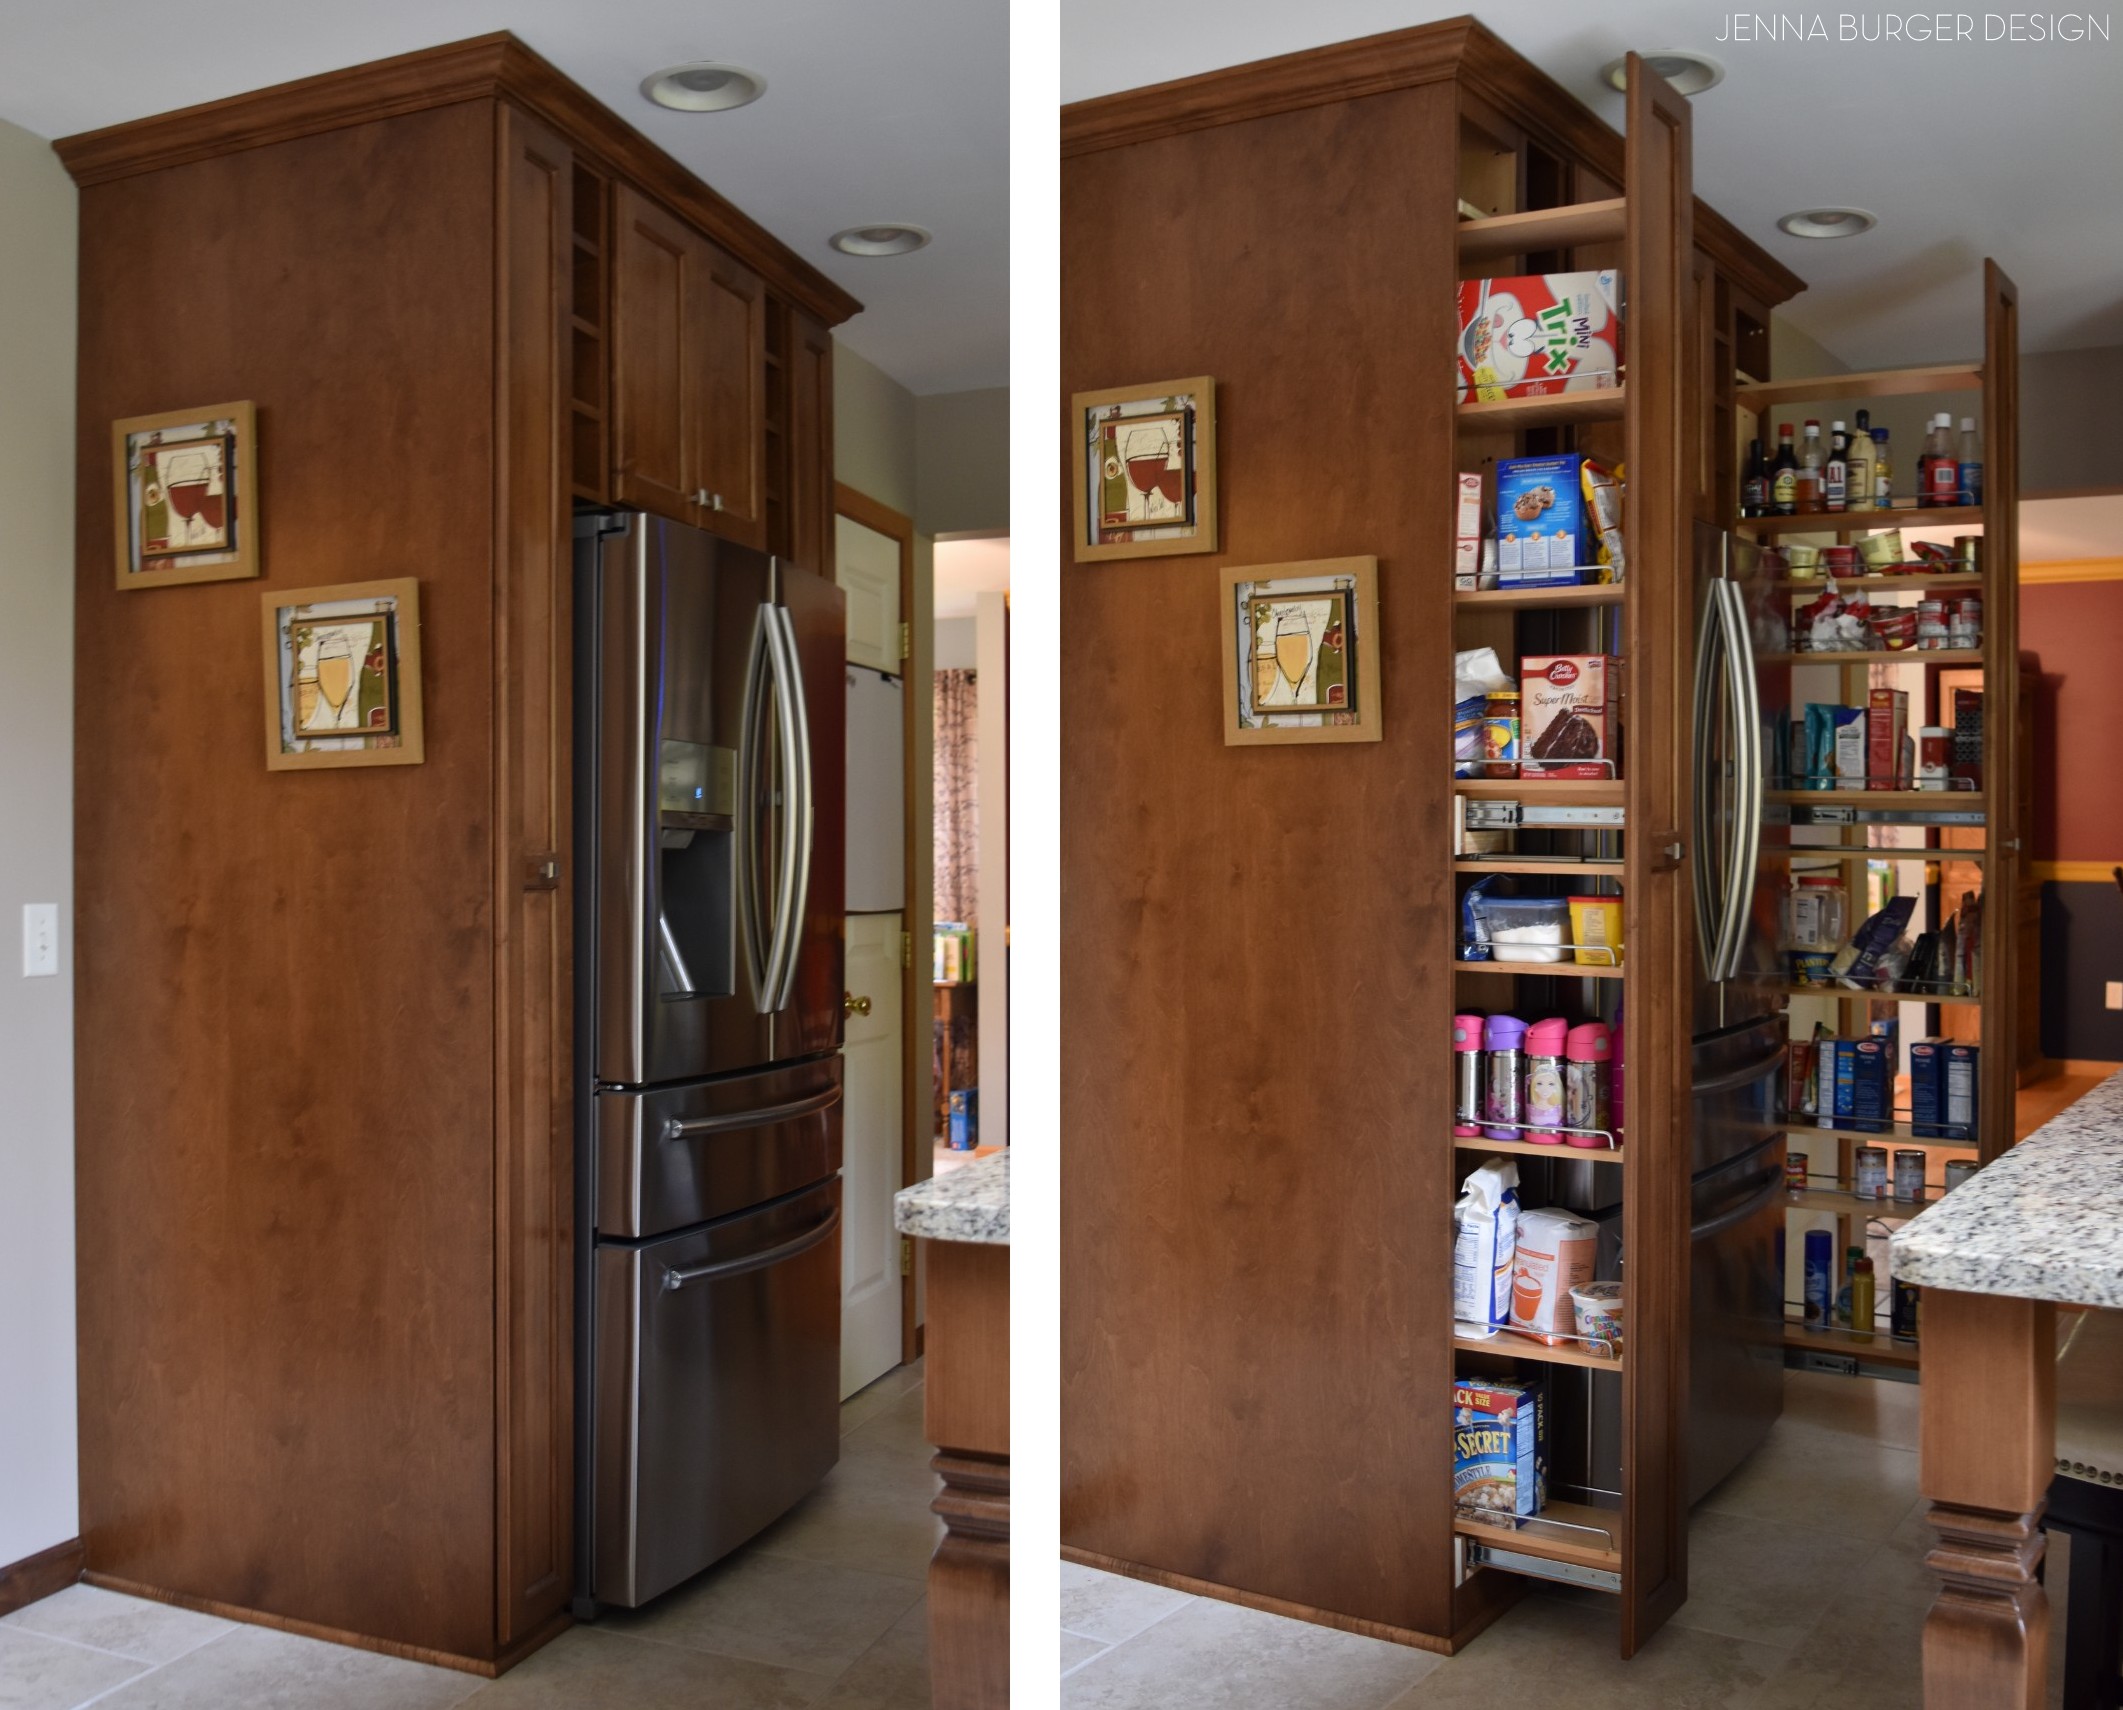
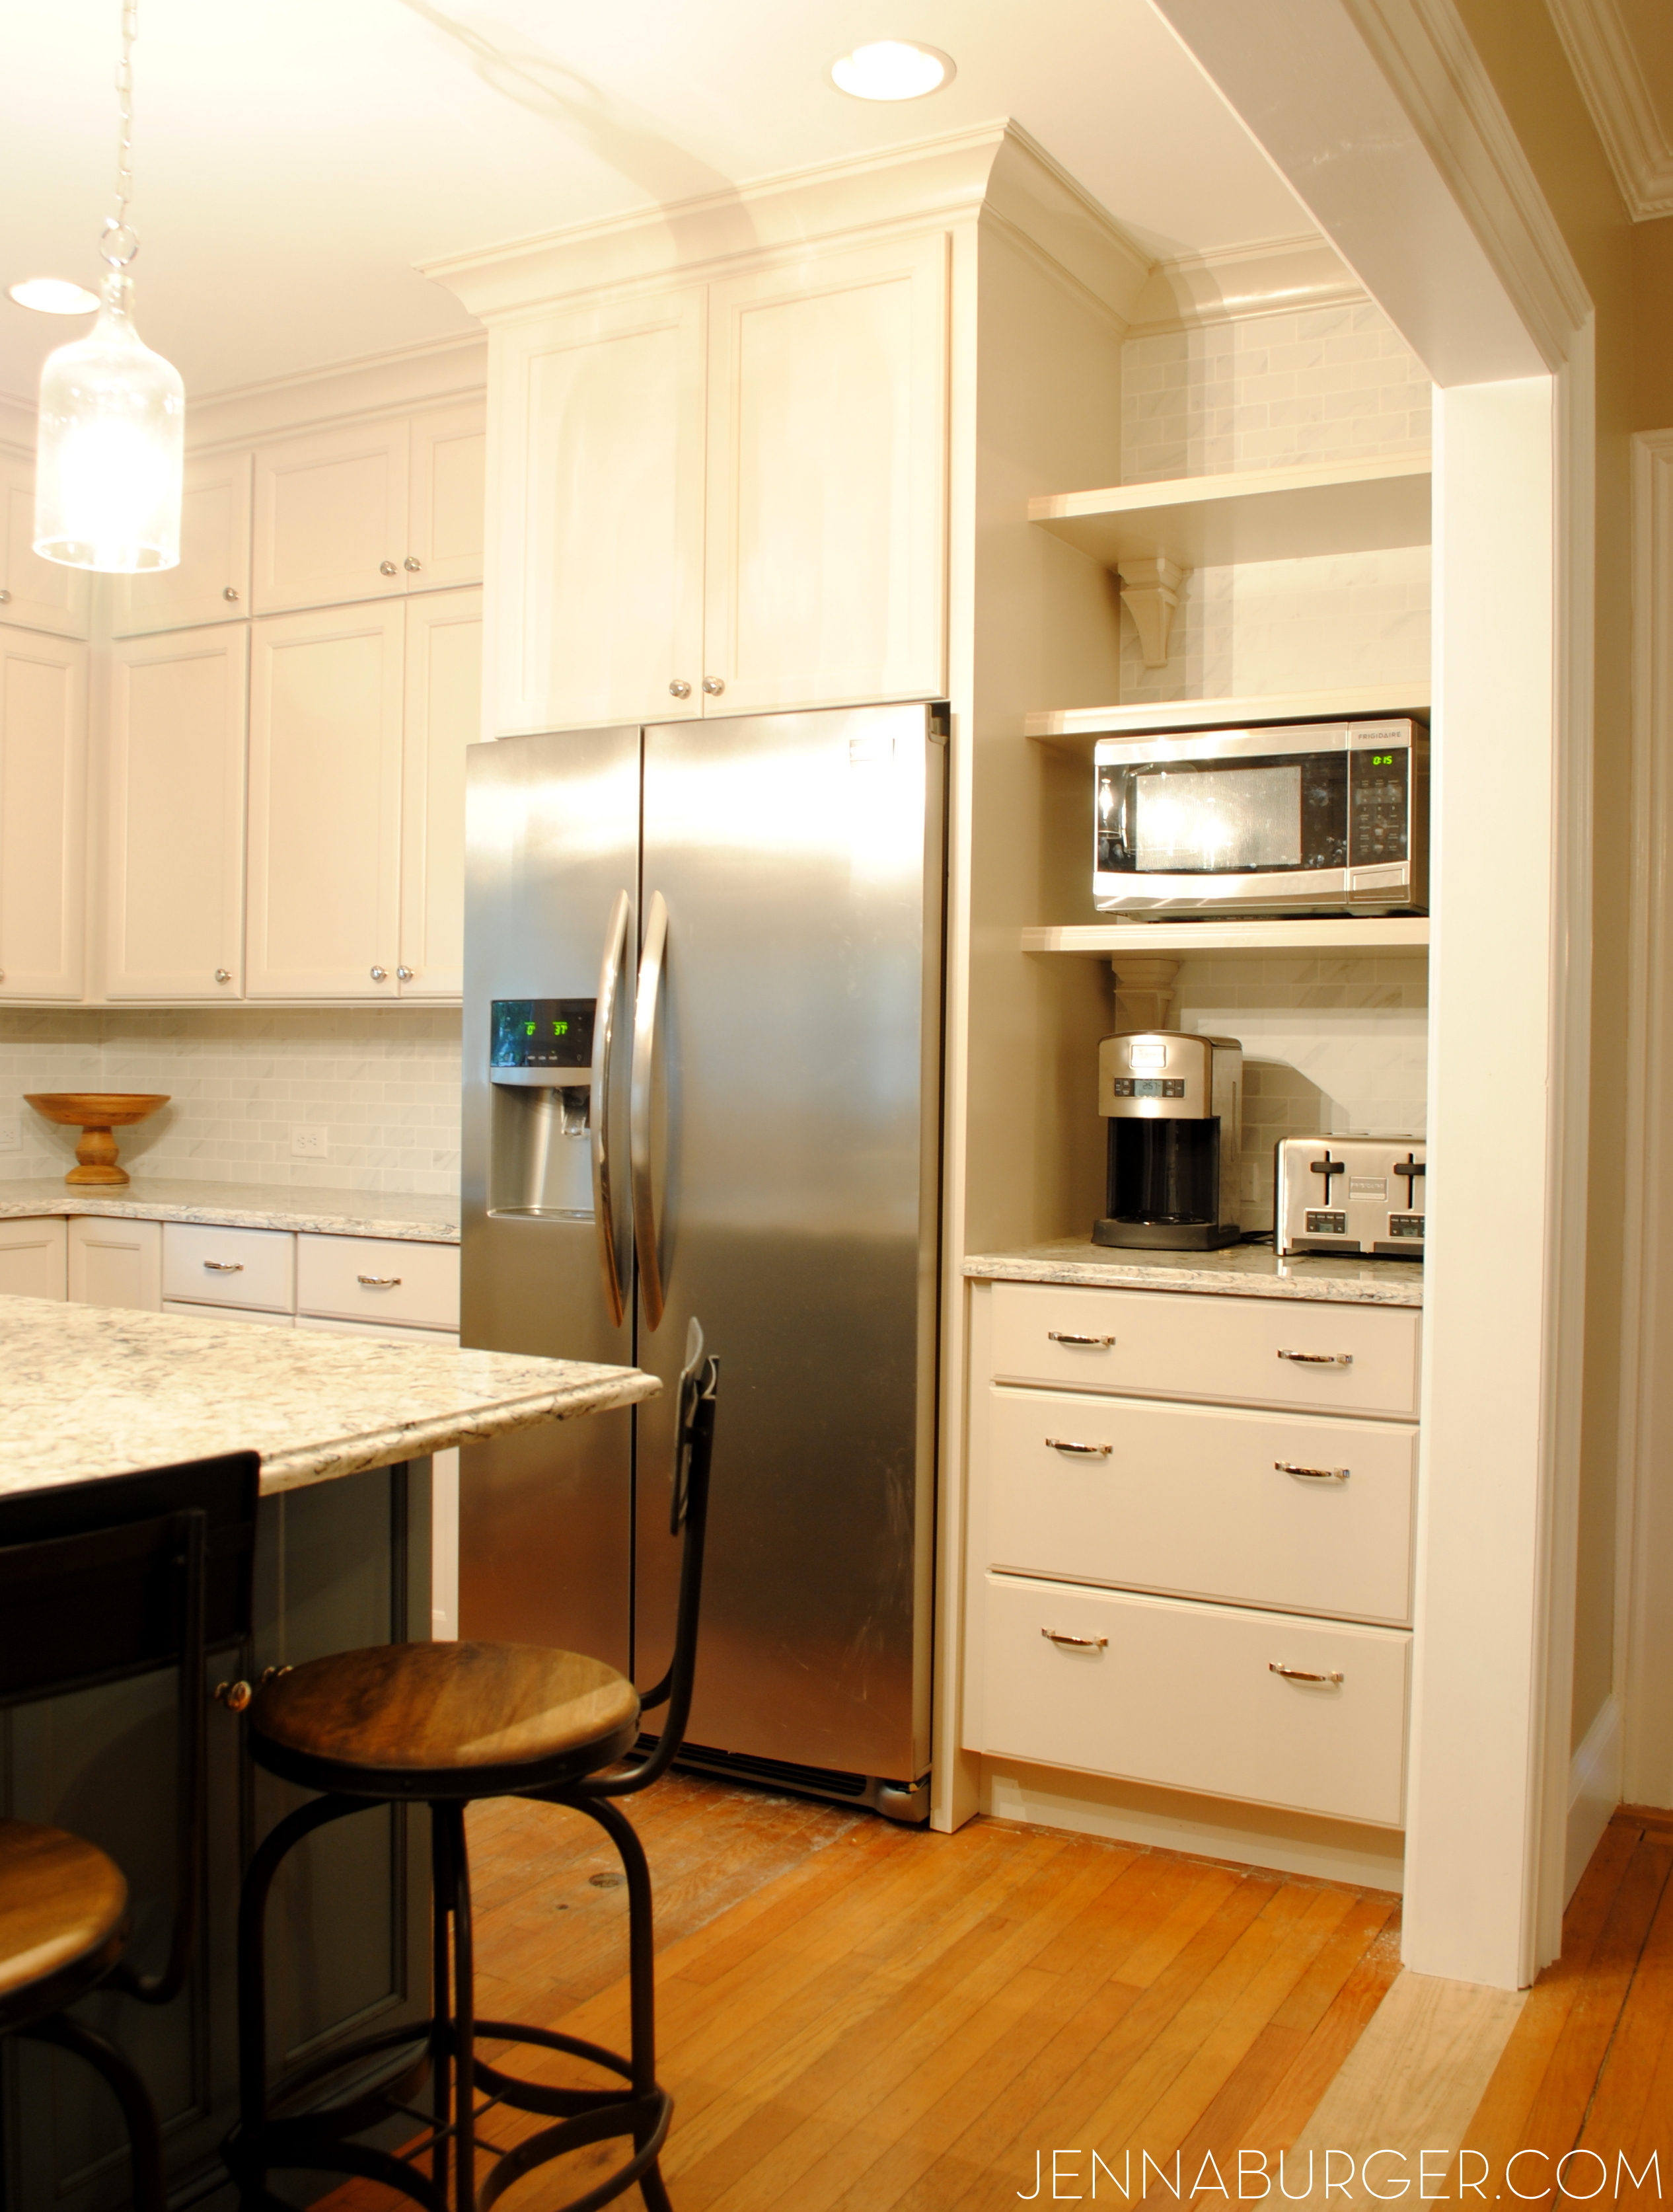
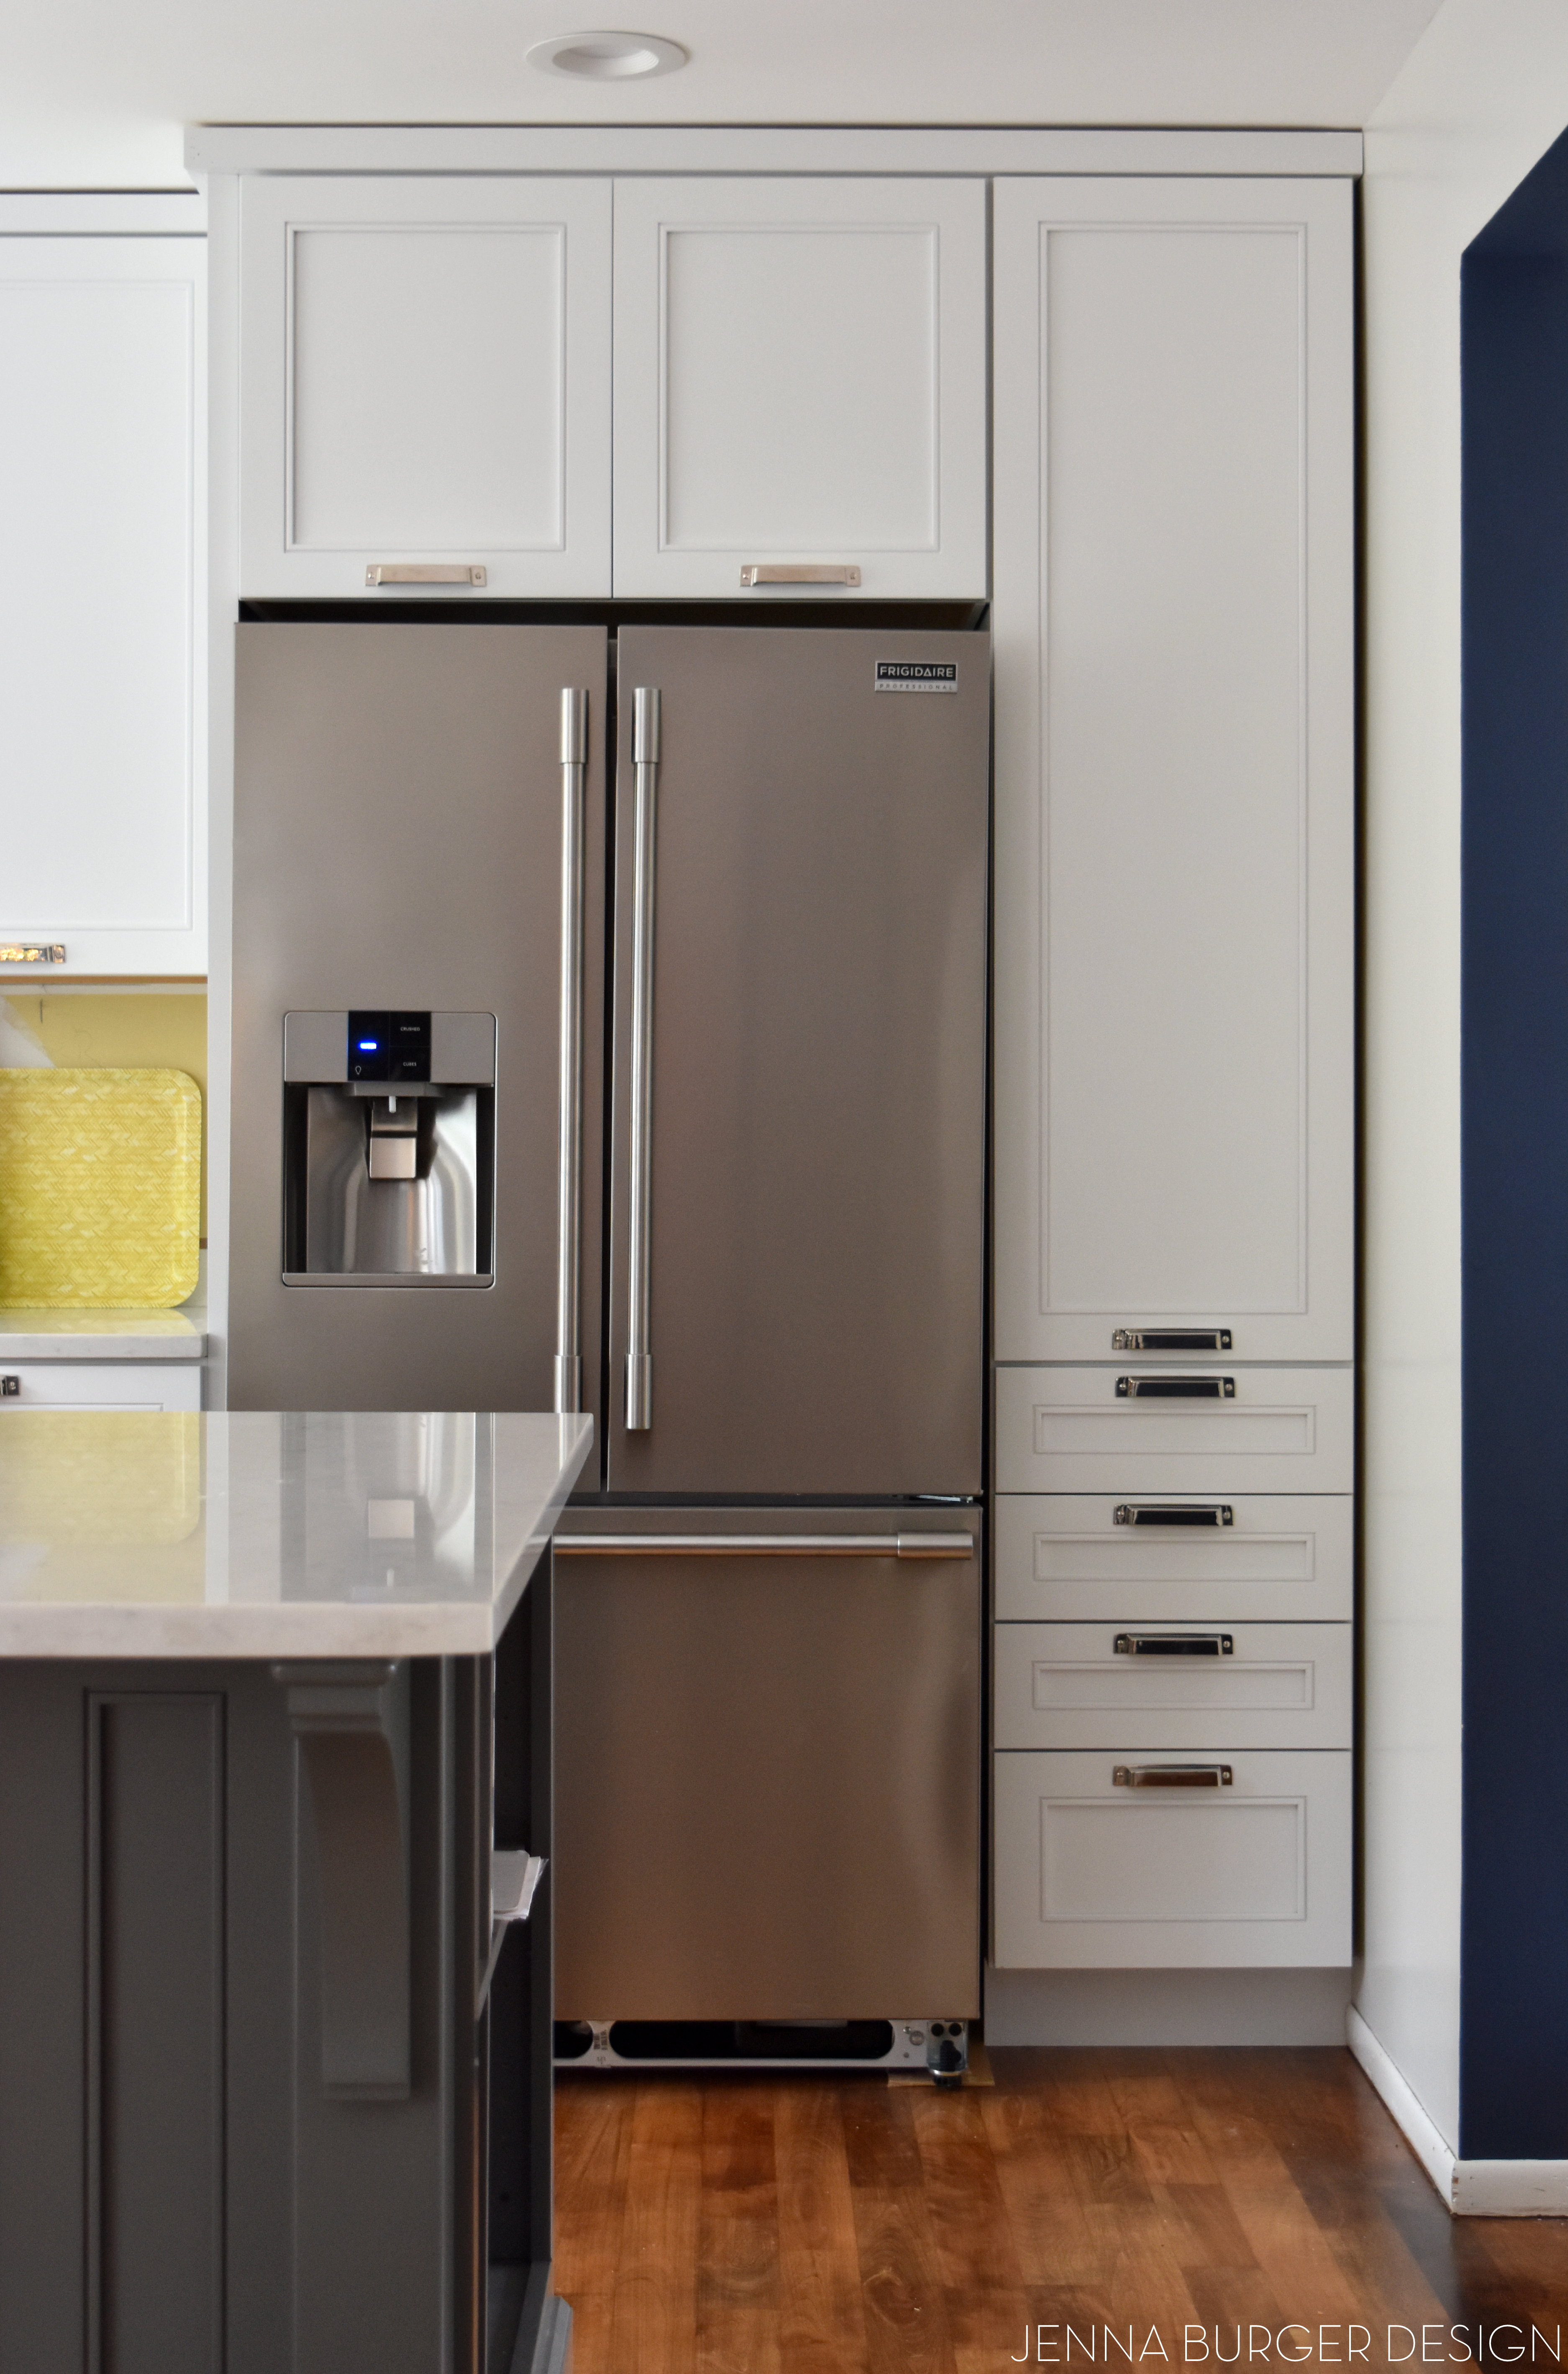
Once the upper cabinets were in place, the base cabinets were installed, followed by the cabinet above the refrigerator + the pantry to the right…
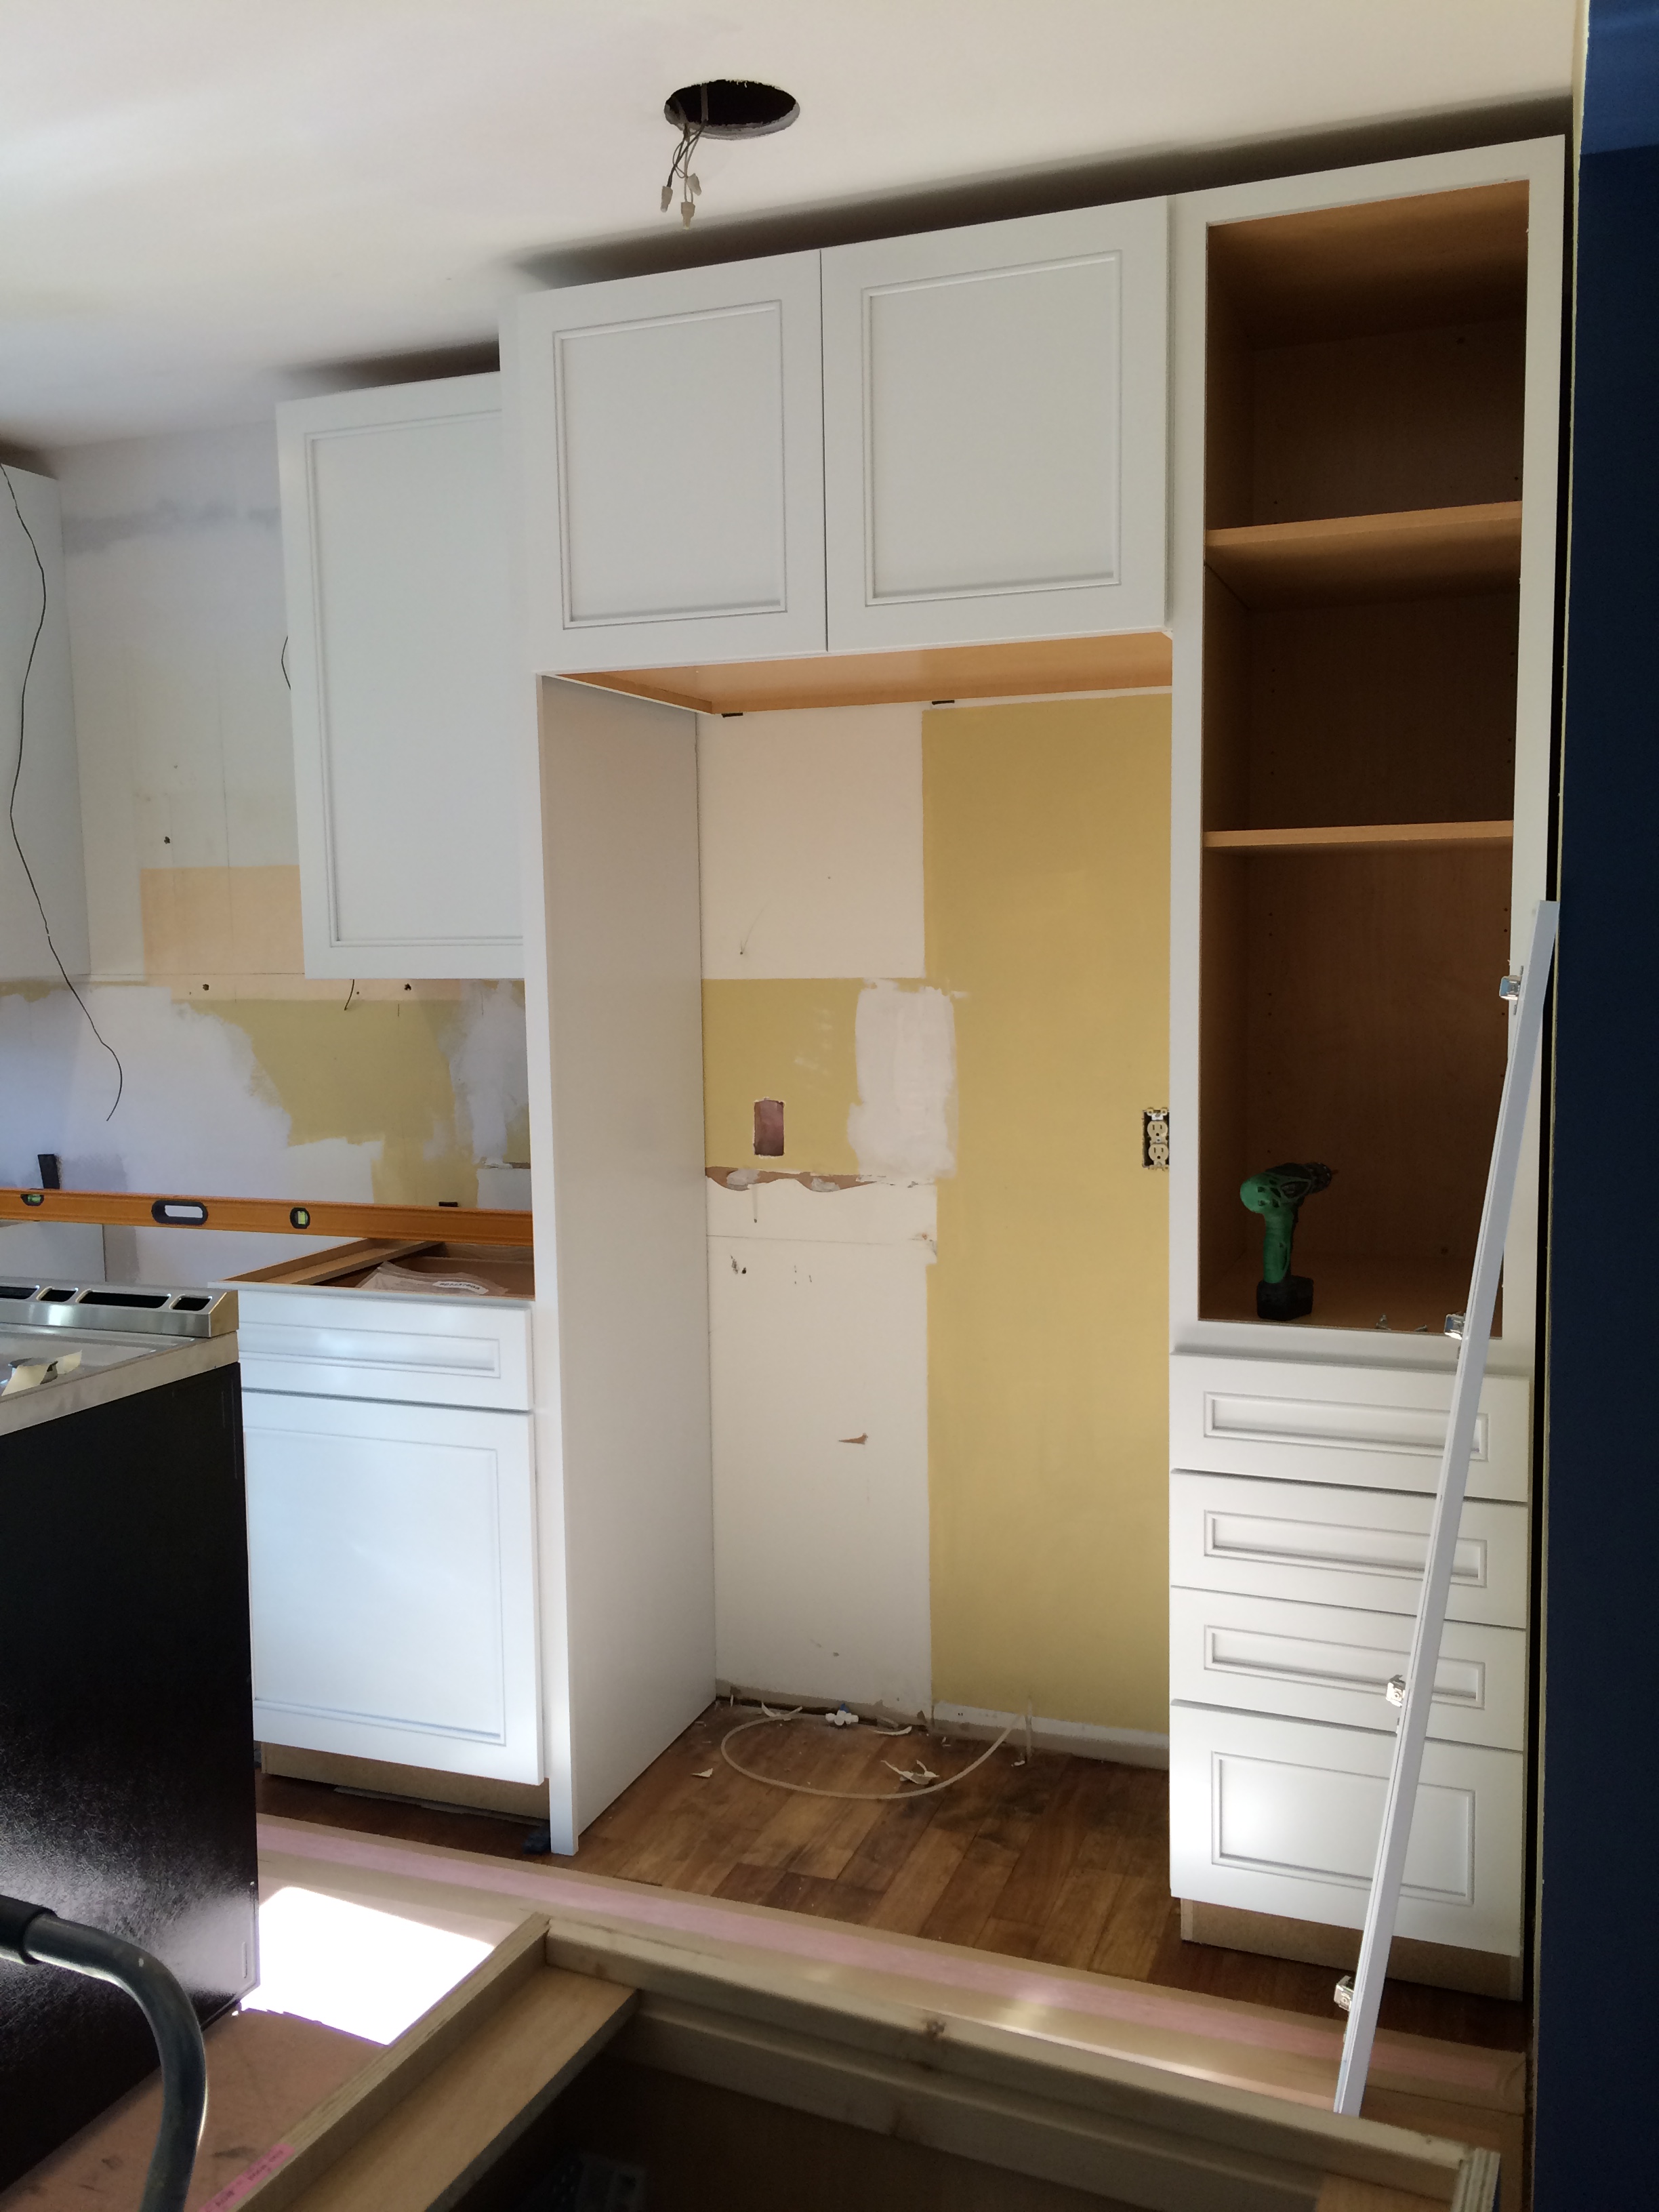
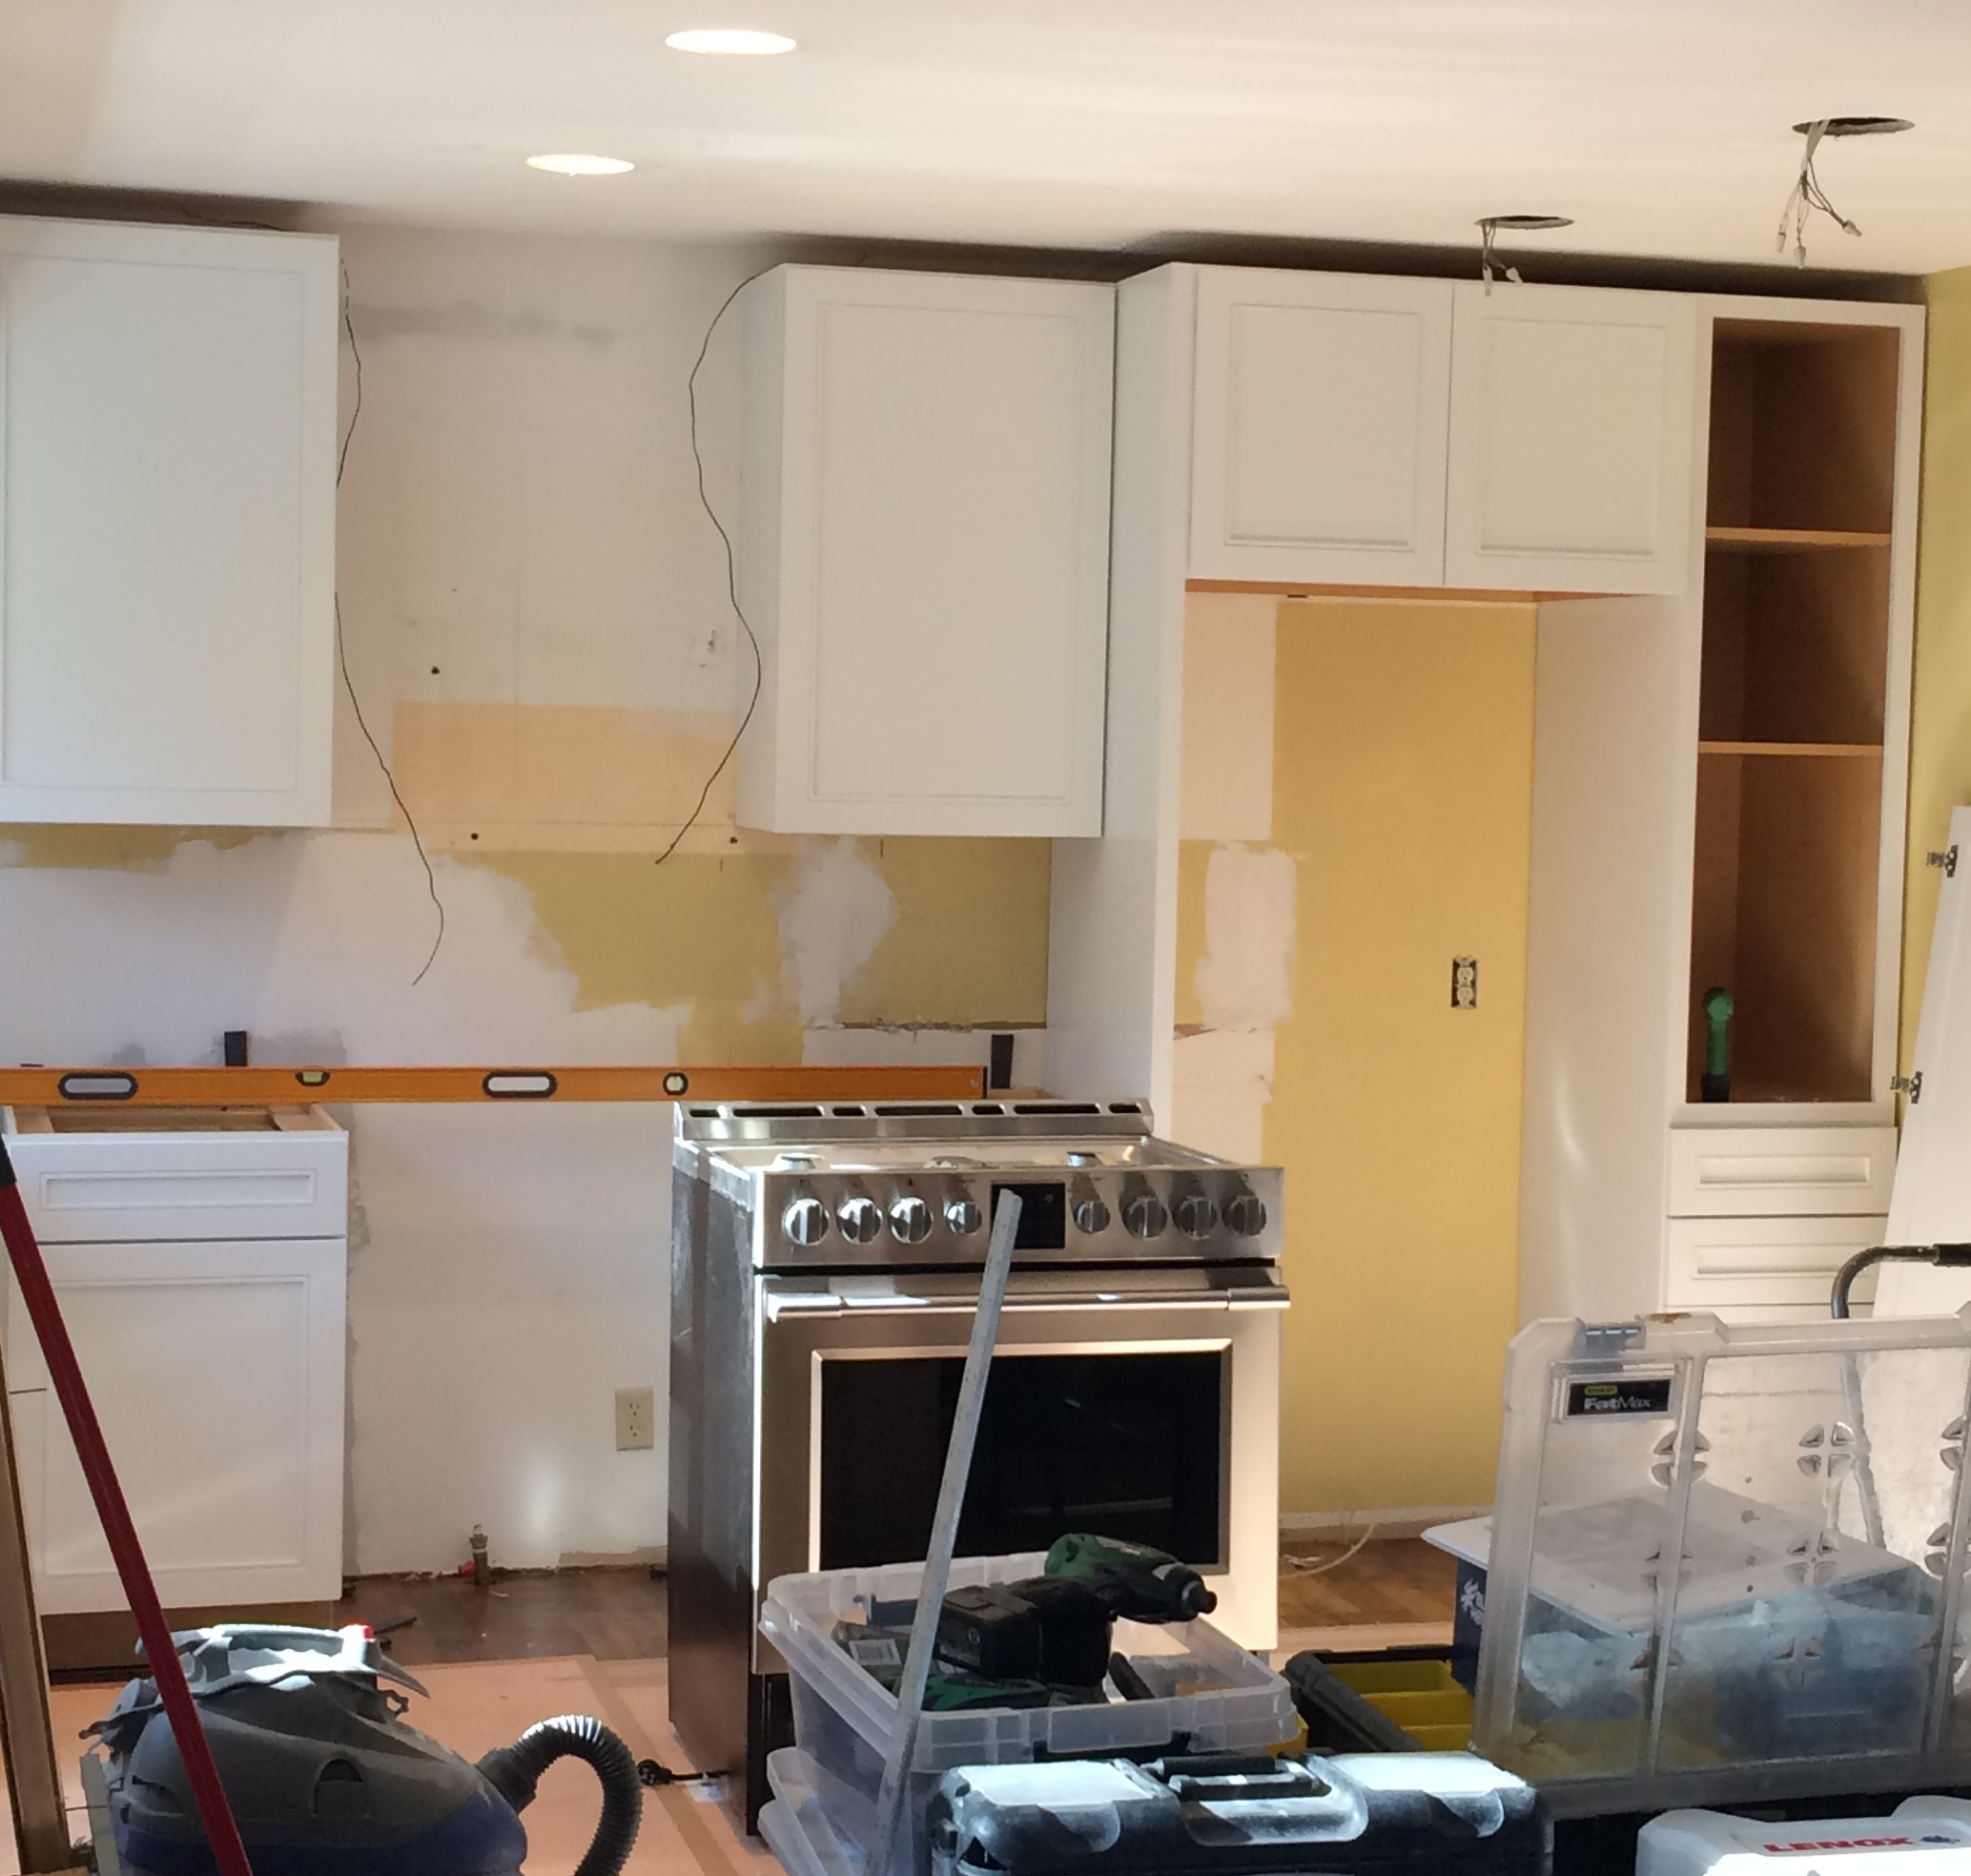
By the end of Day One, this was the progress that was made.
I loved watching the new space evolve.
I literally gasped with excitement as each new cabinet was set into place.
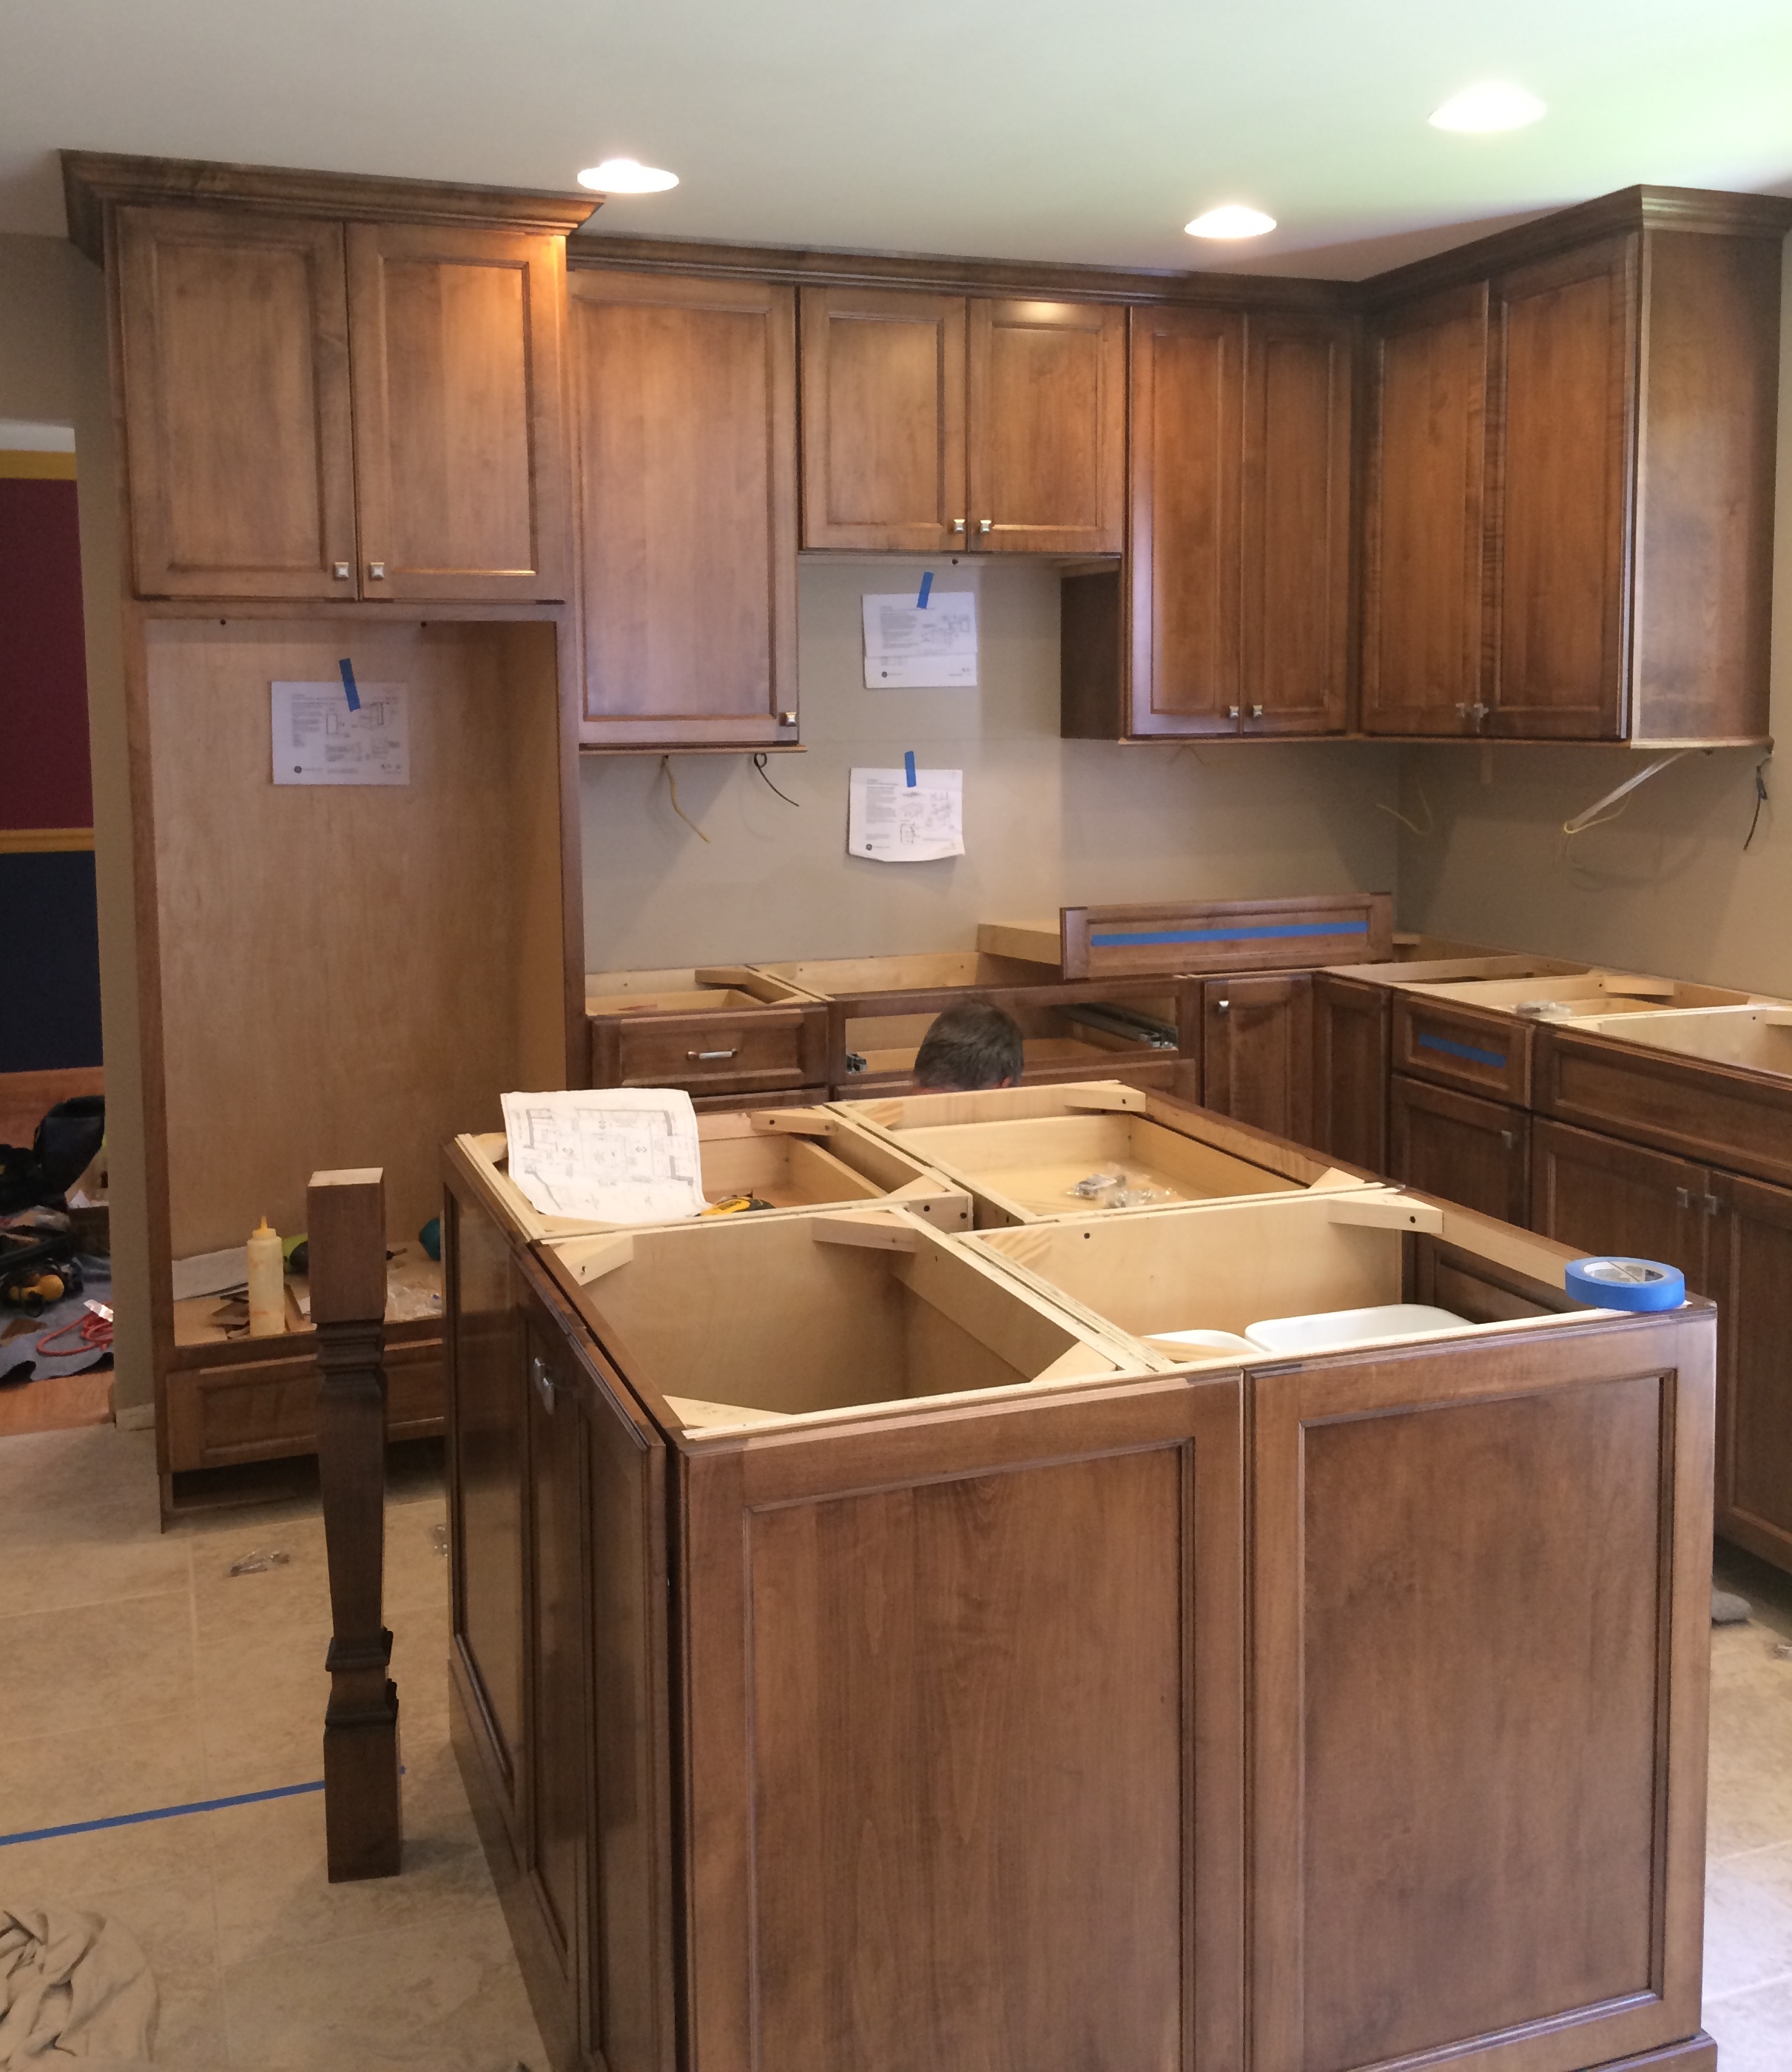
Day after day, more progress was made and it started to look & feel like a kitchen.
A real kitchen.
After dreaming about this space for so long + being without a functioning hub for weeks, it felt so good.
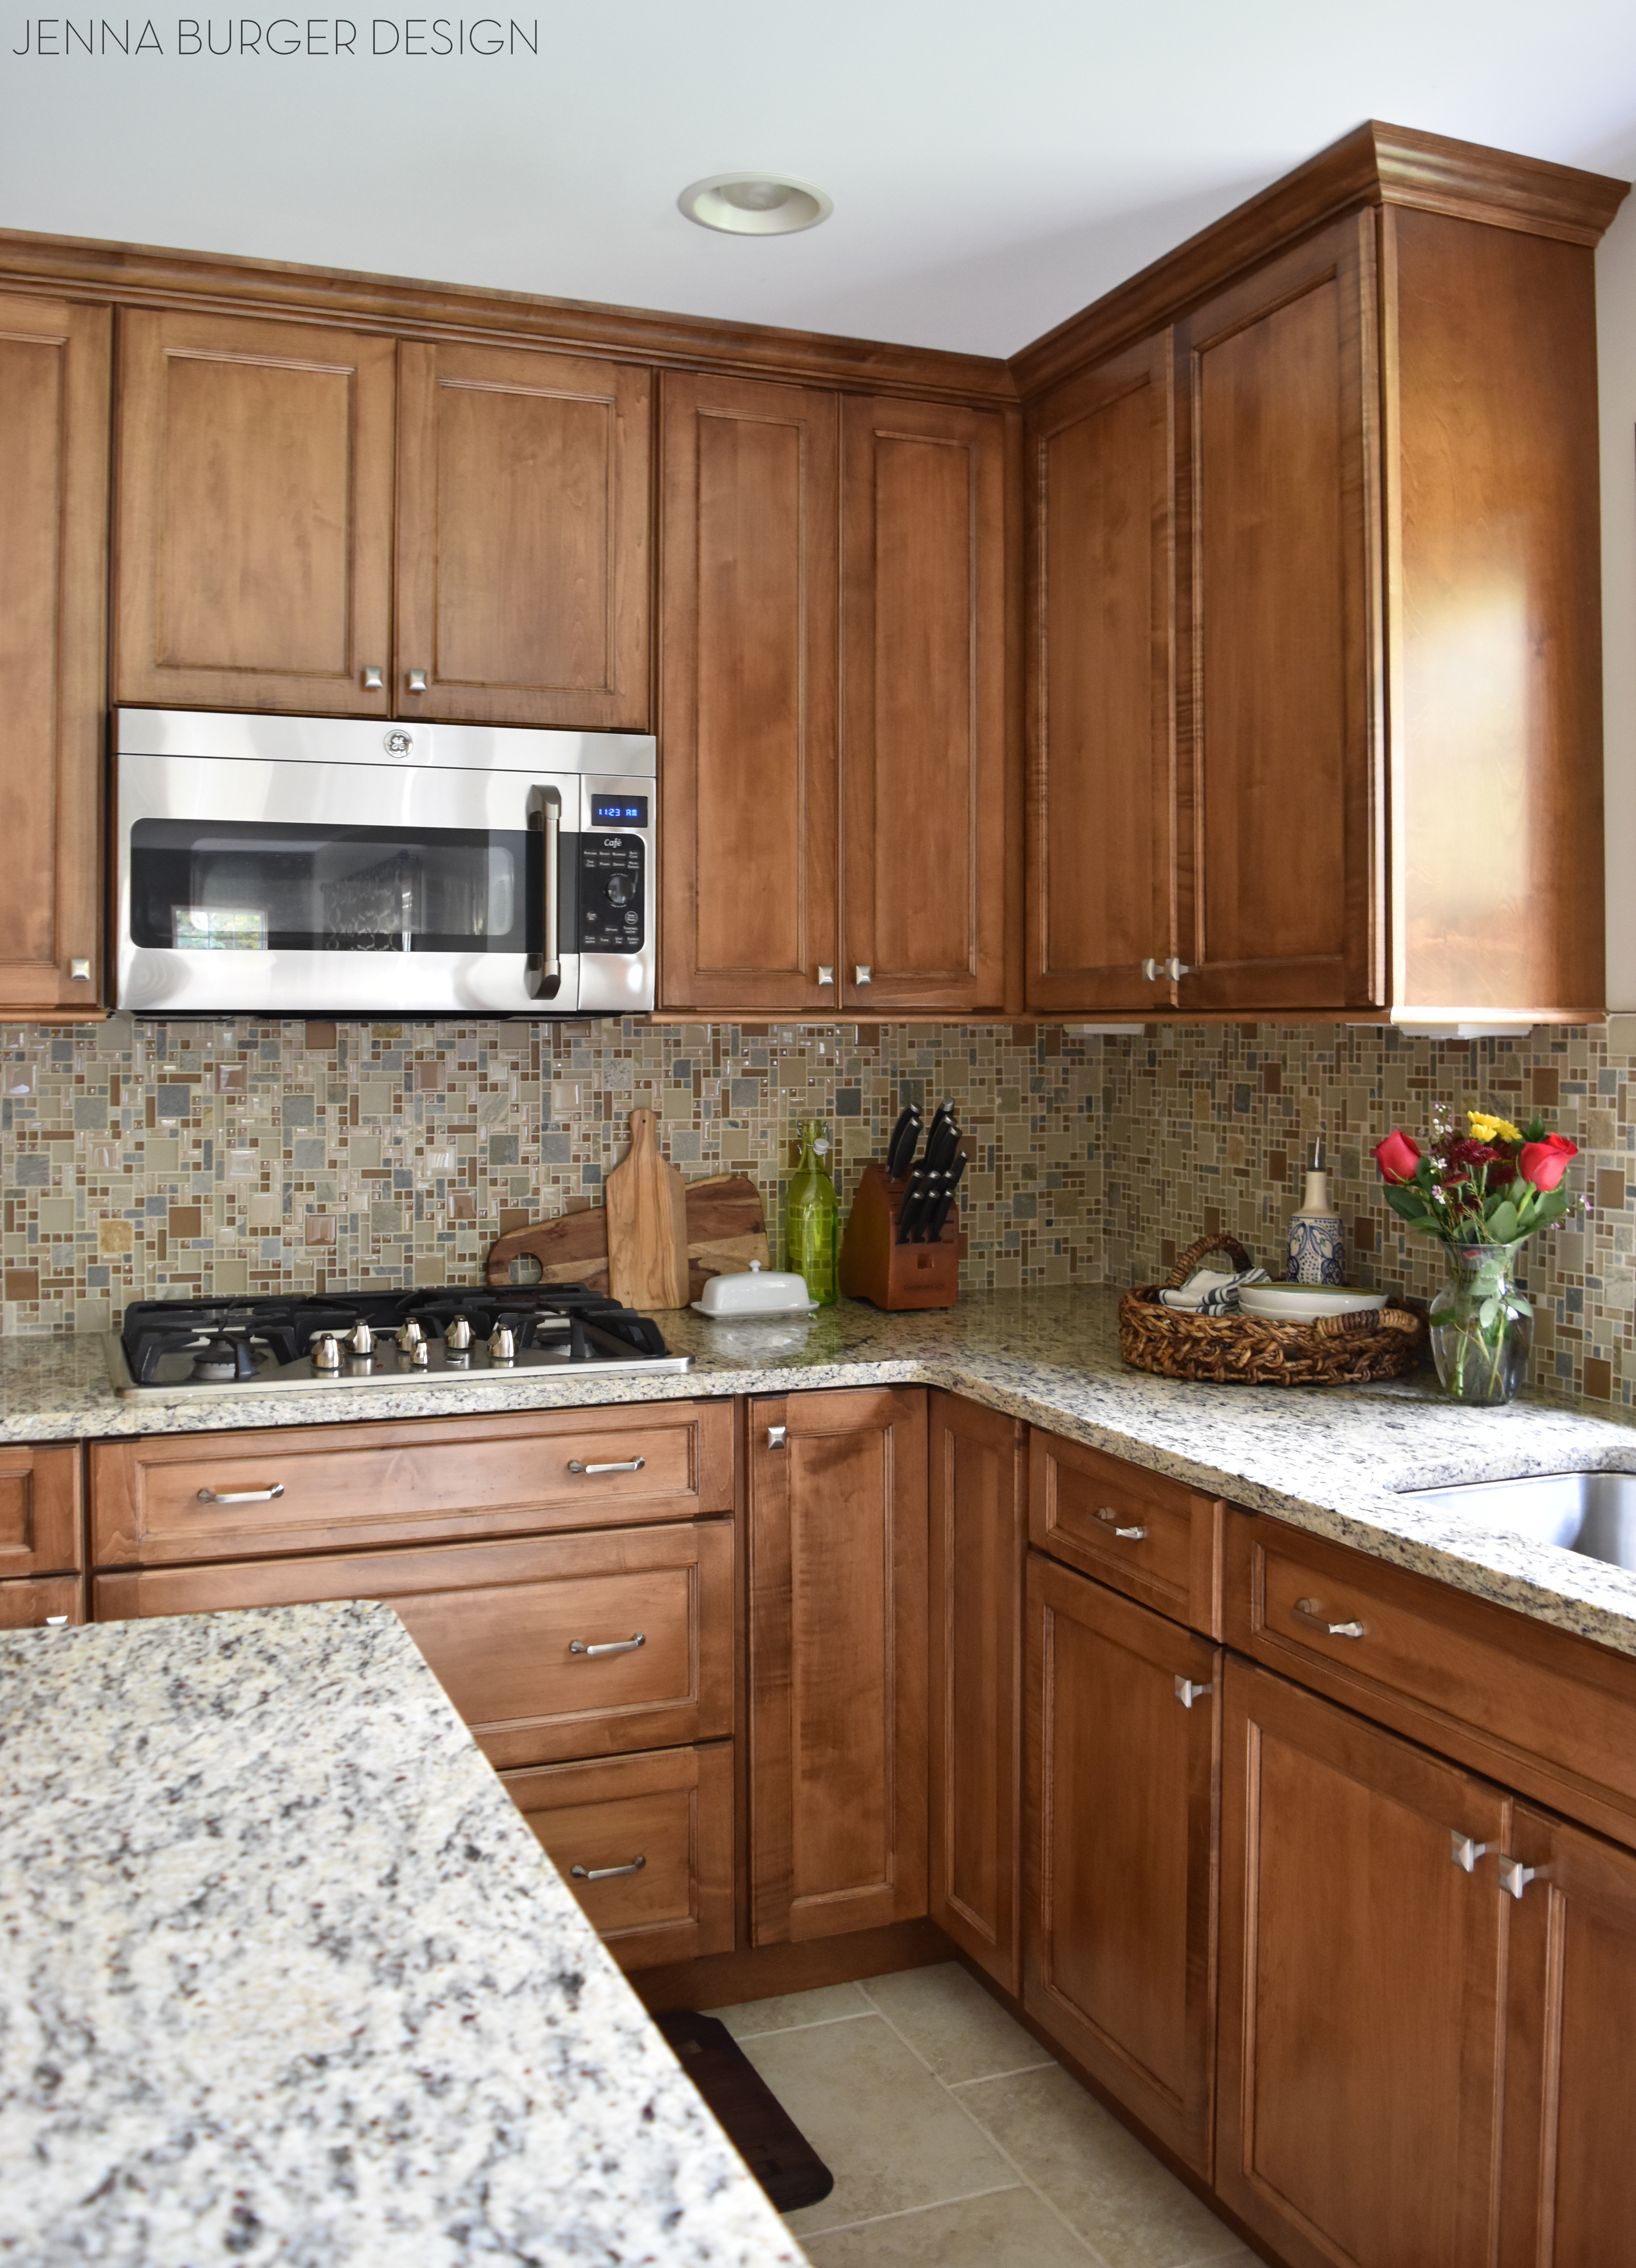
In about 5 days, about 95% of the cabinets were installed.
And then IT HAPPENED… after weeks of living out of boxes, I was able to put away all my kitchen essentials.
A glass of wine + some serene tunes on Pandora and IT WAS A PARTY. By myself. With my dishes.
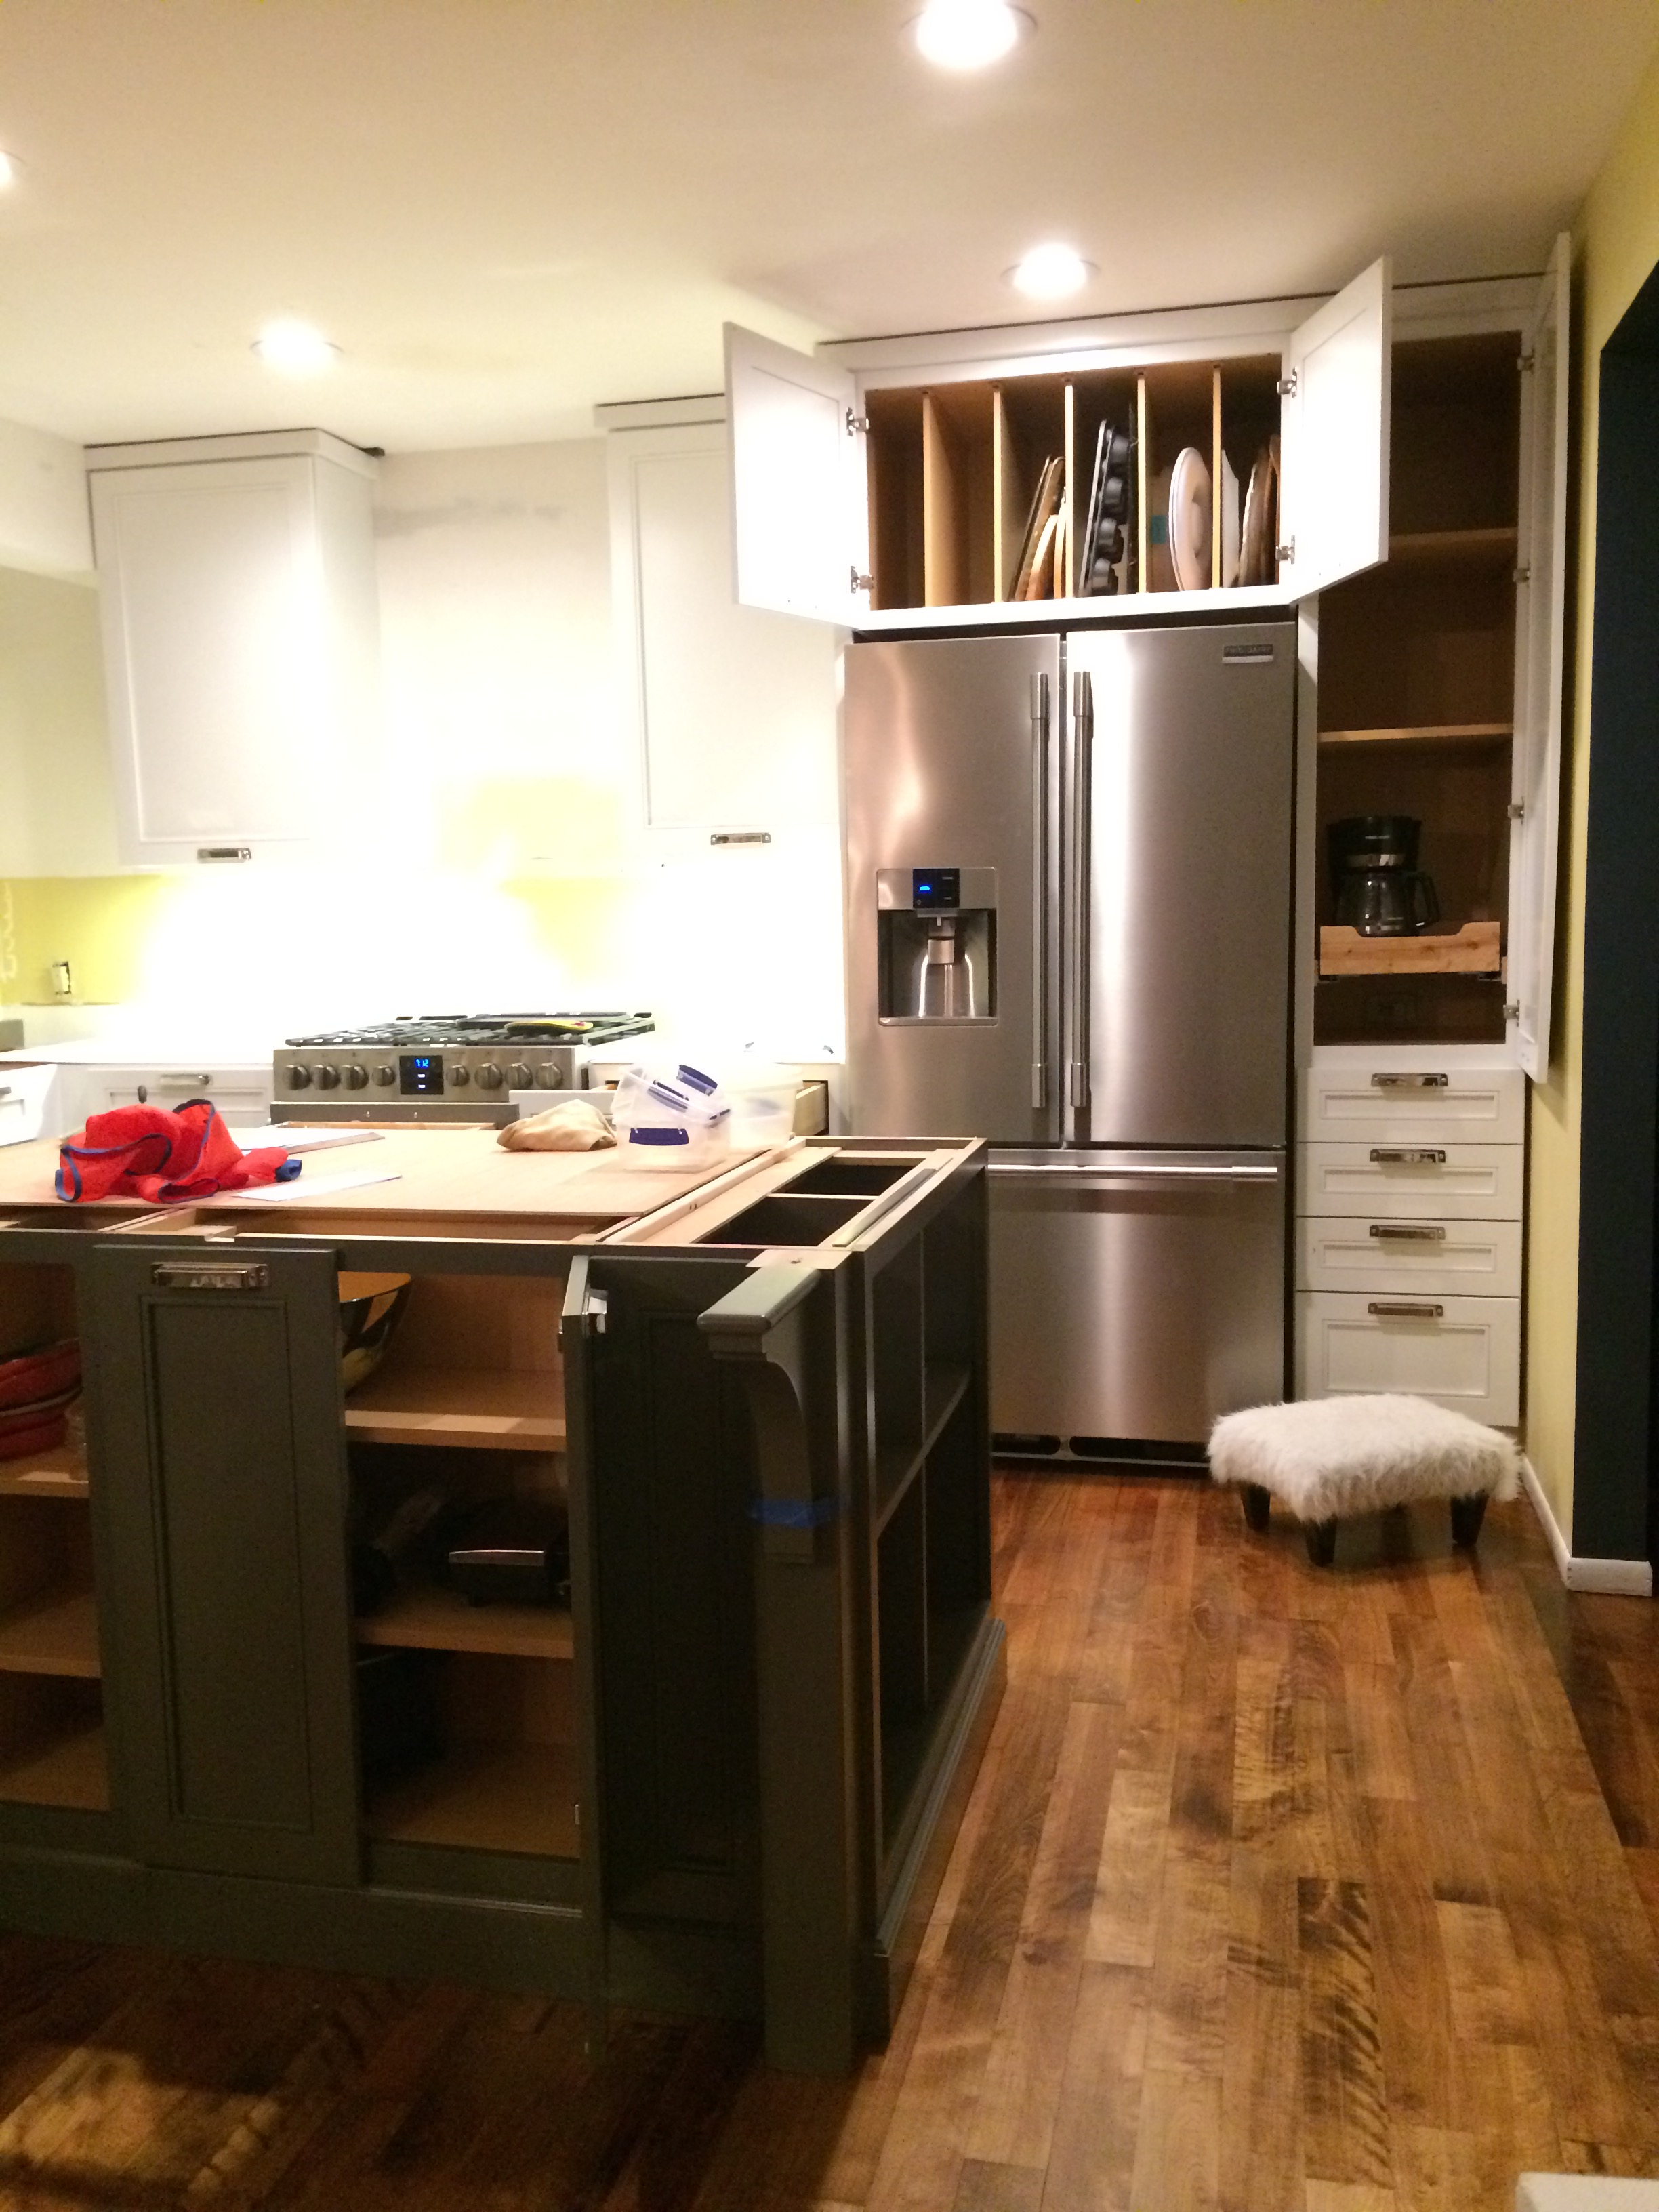
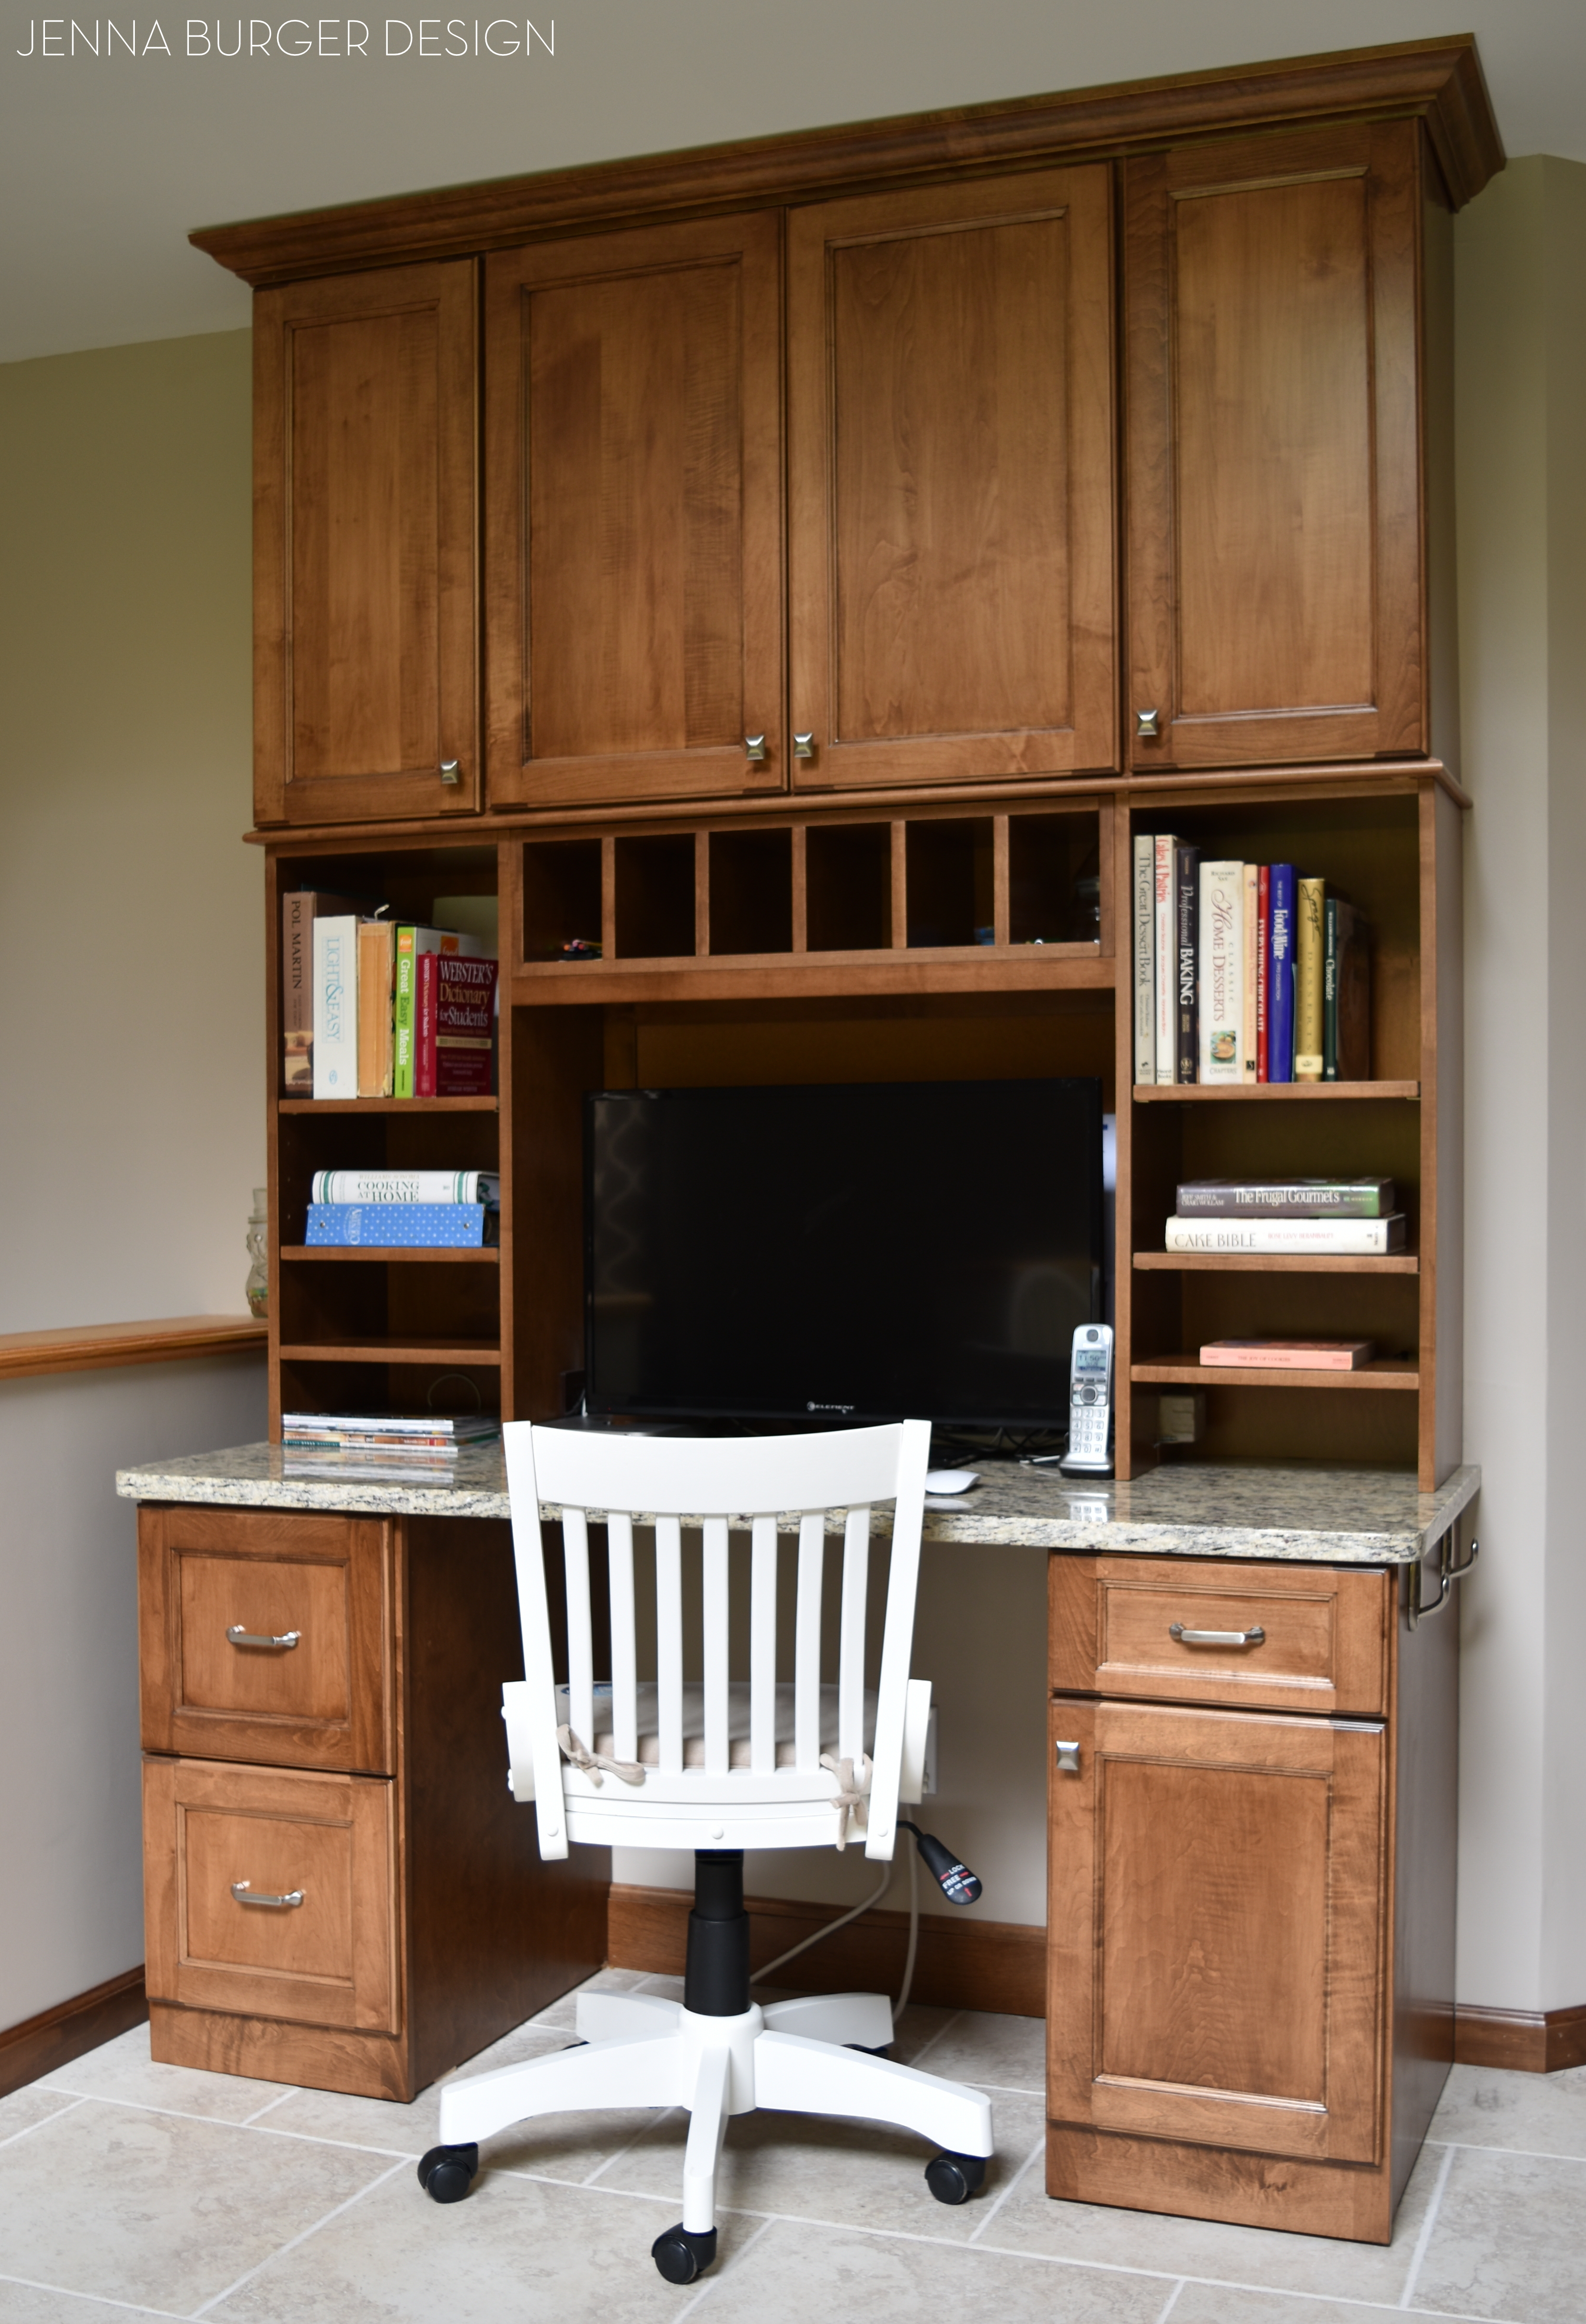
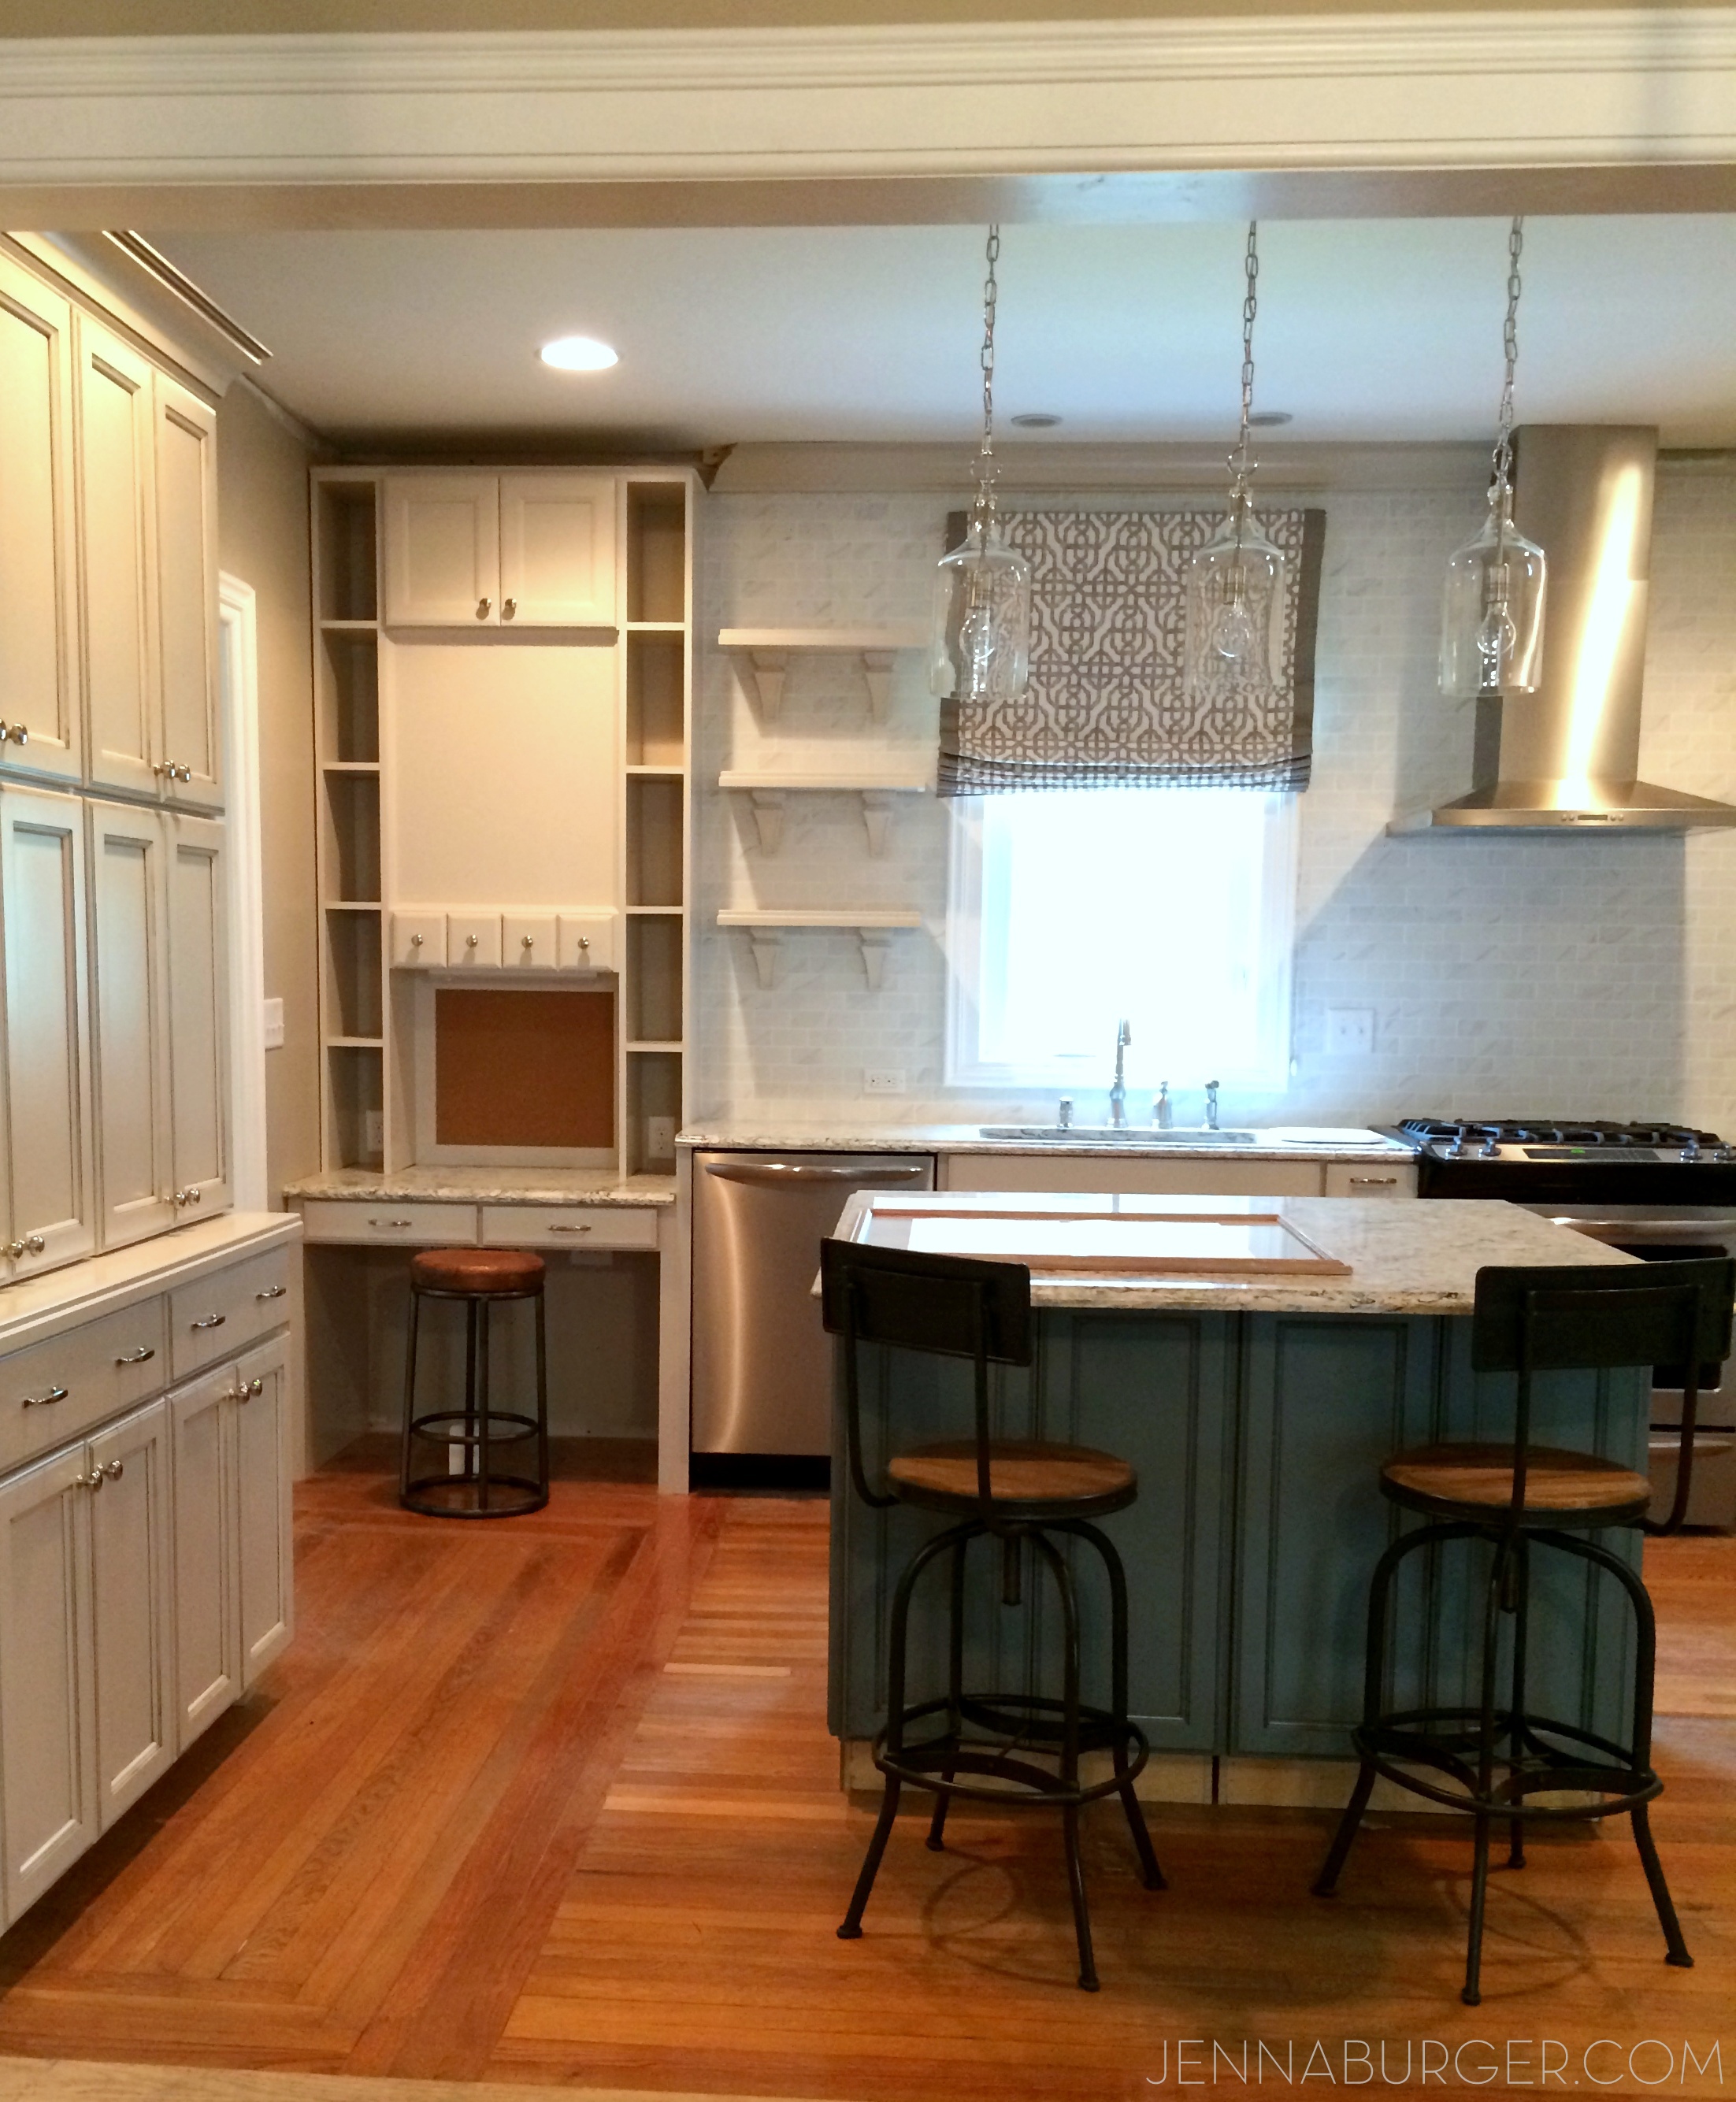
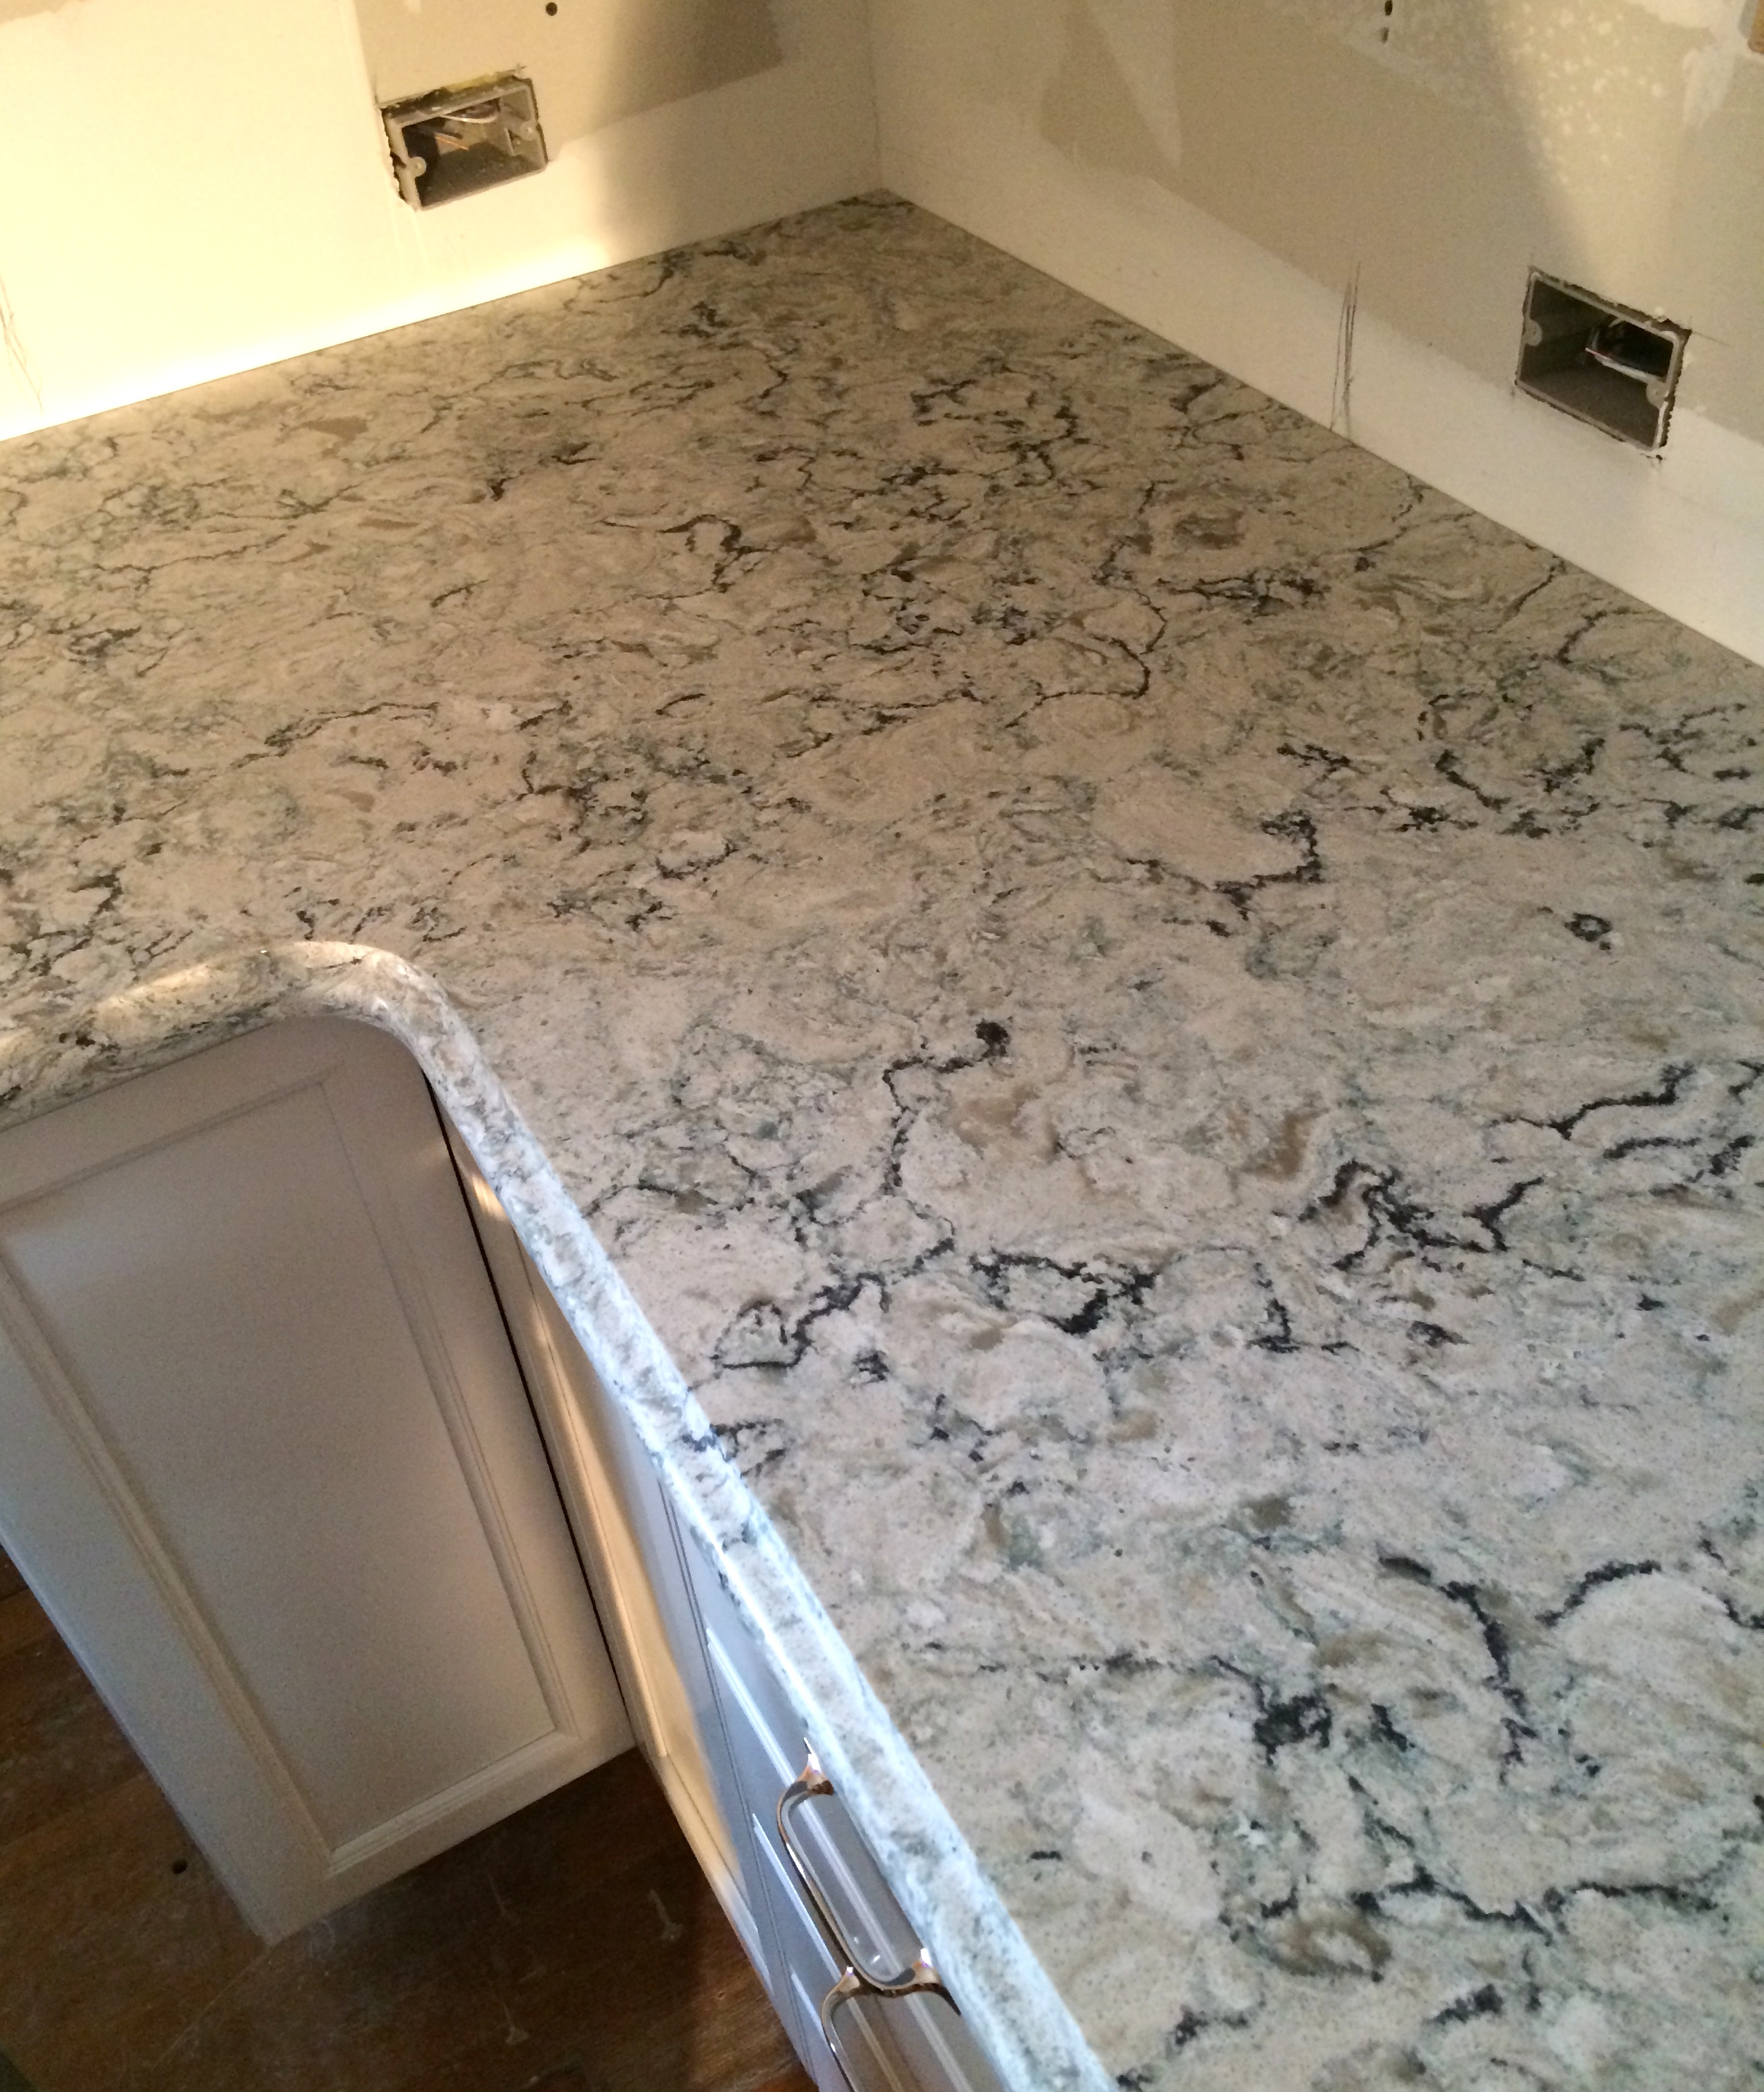
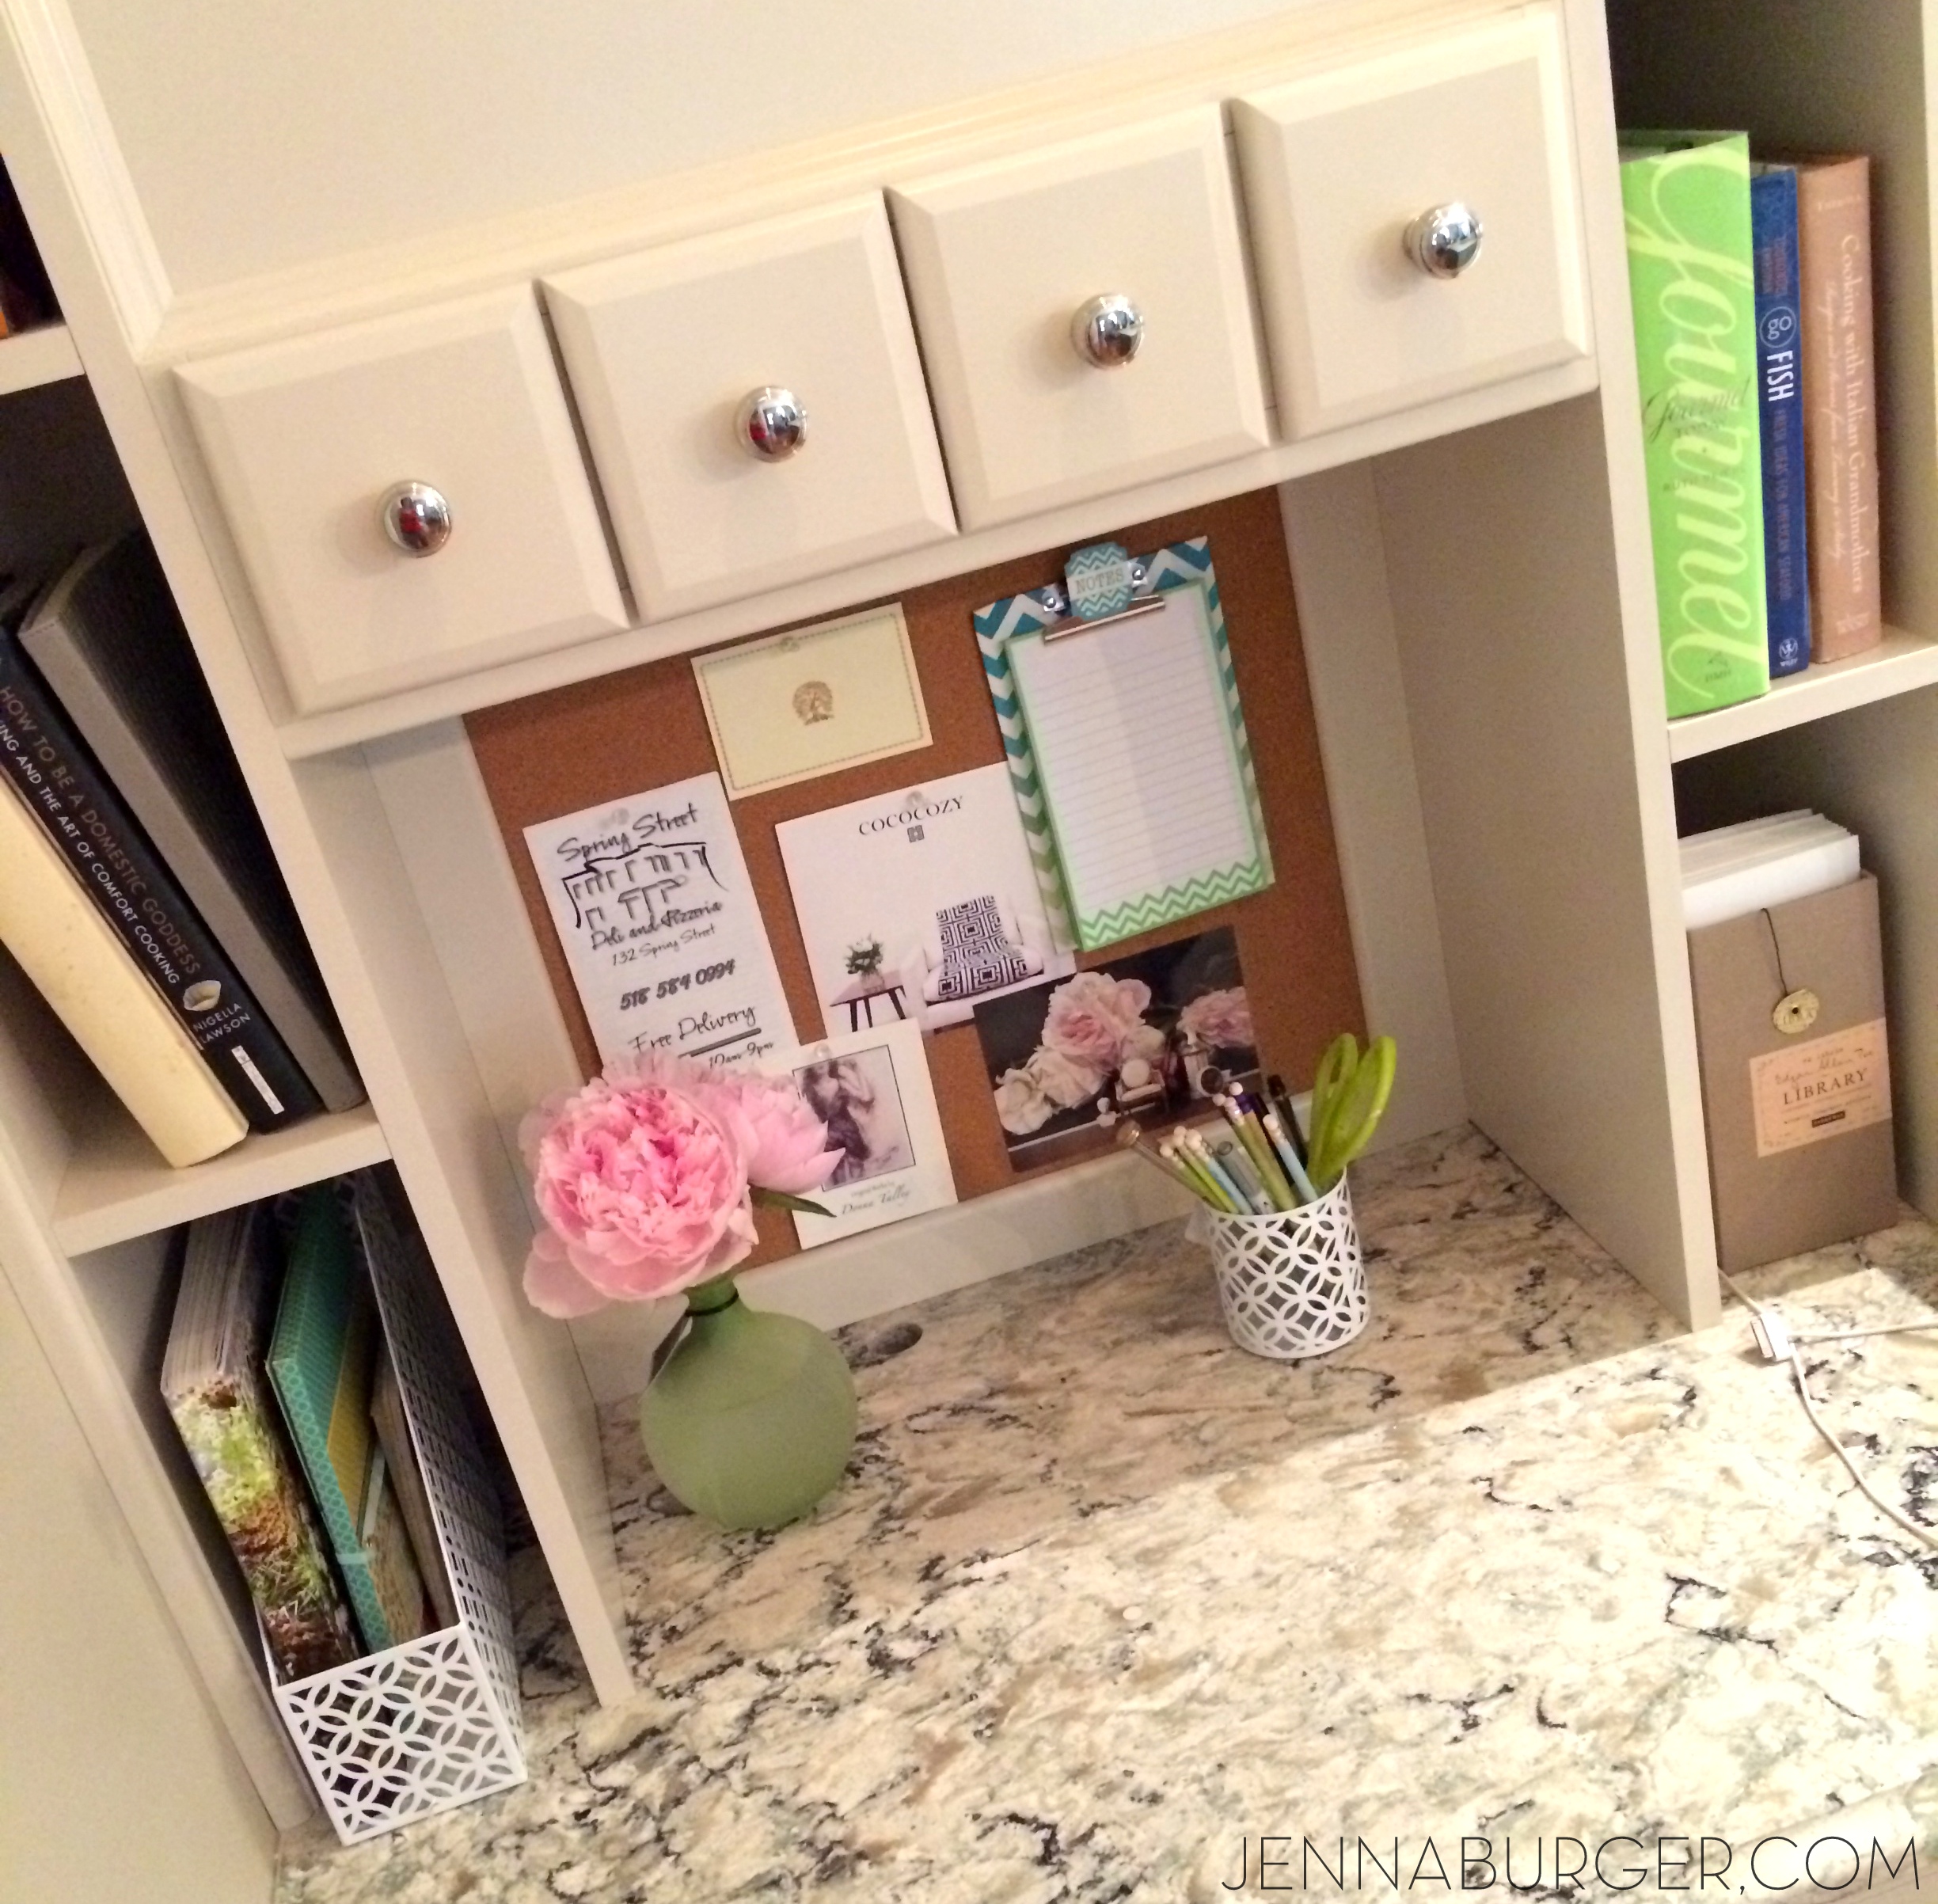
Above…
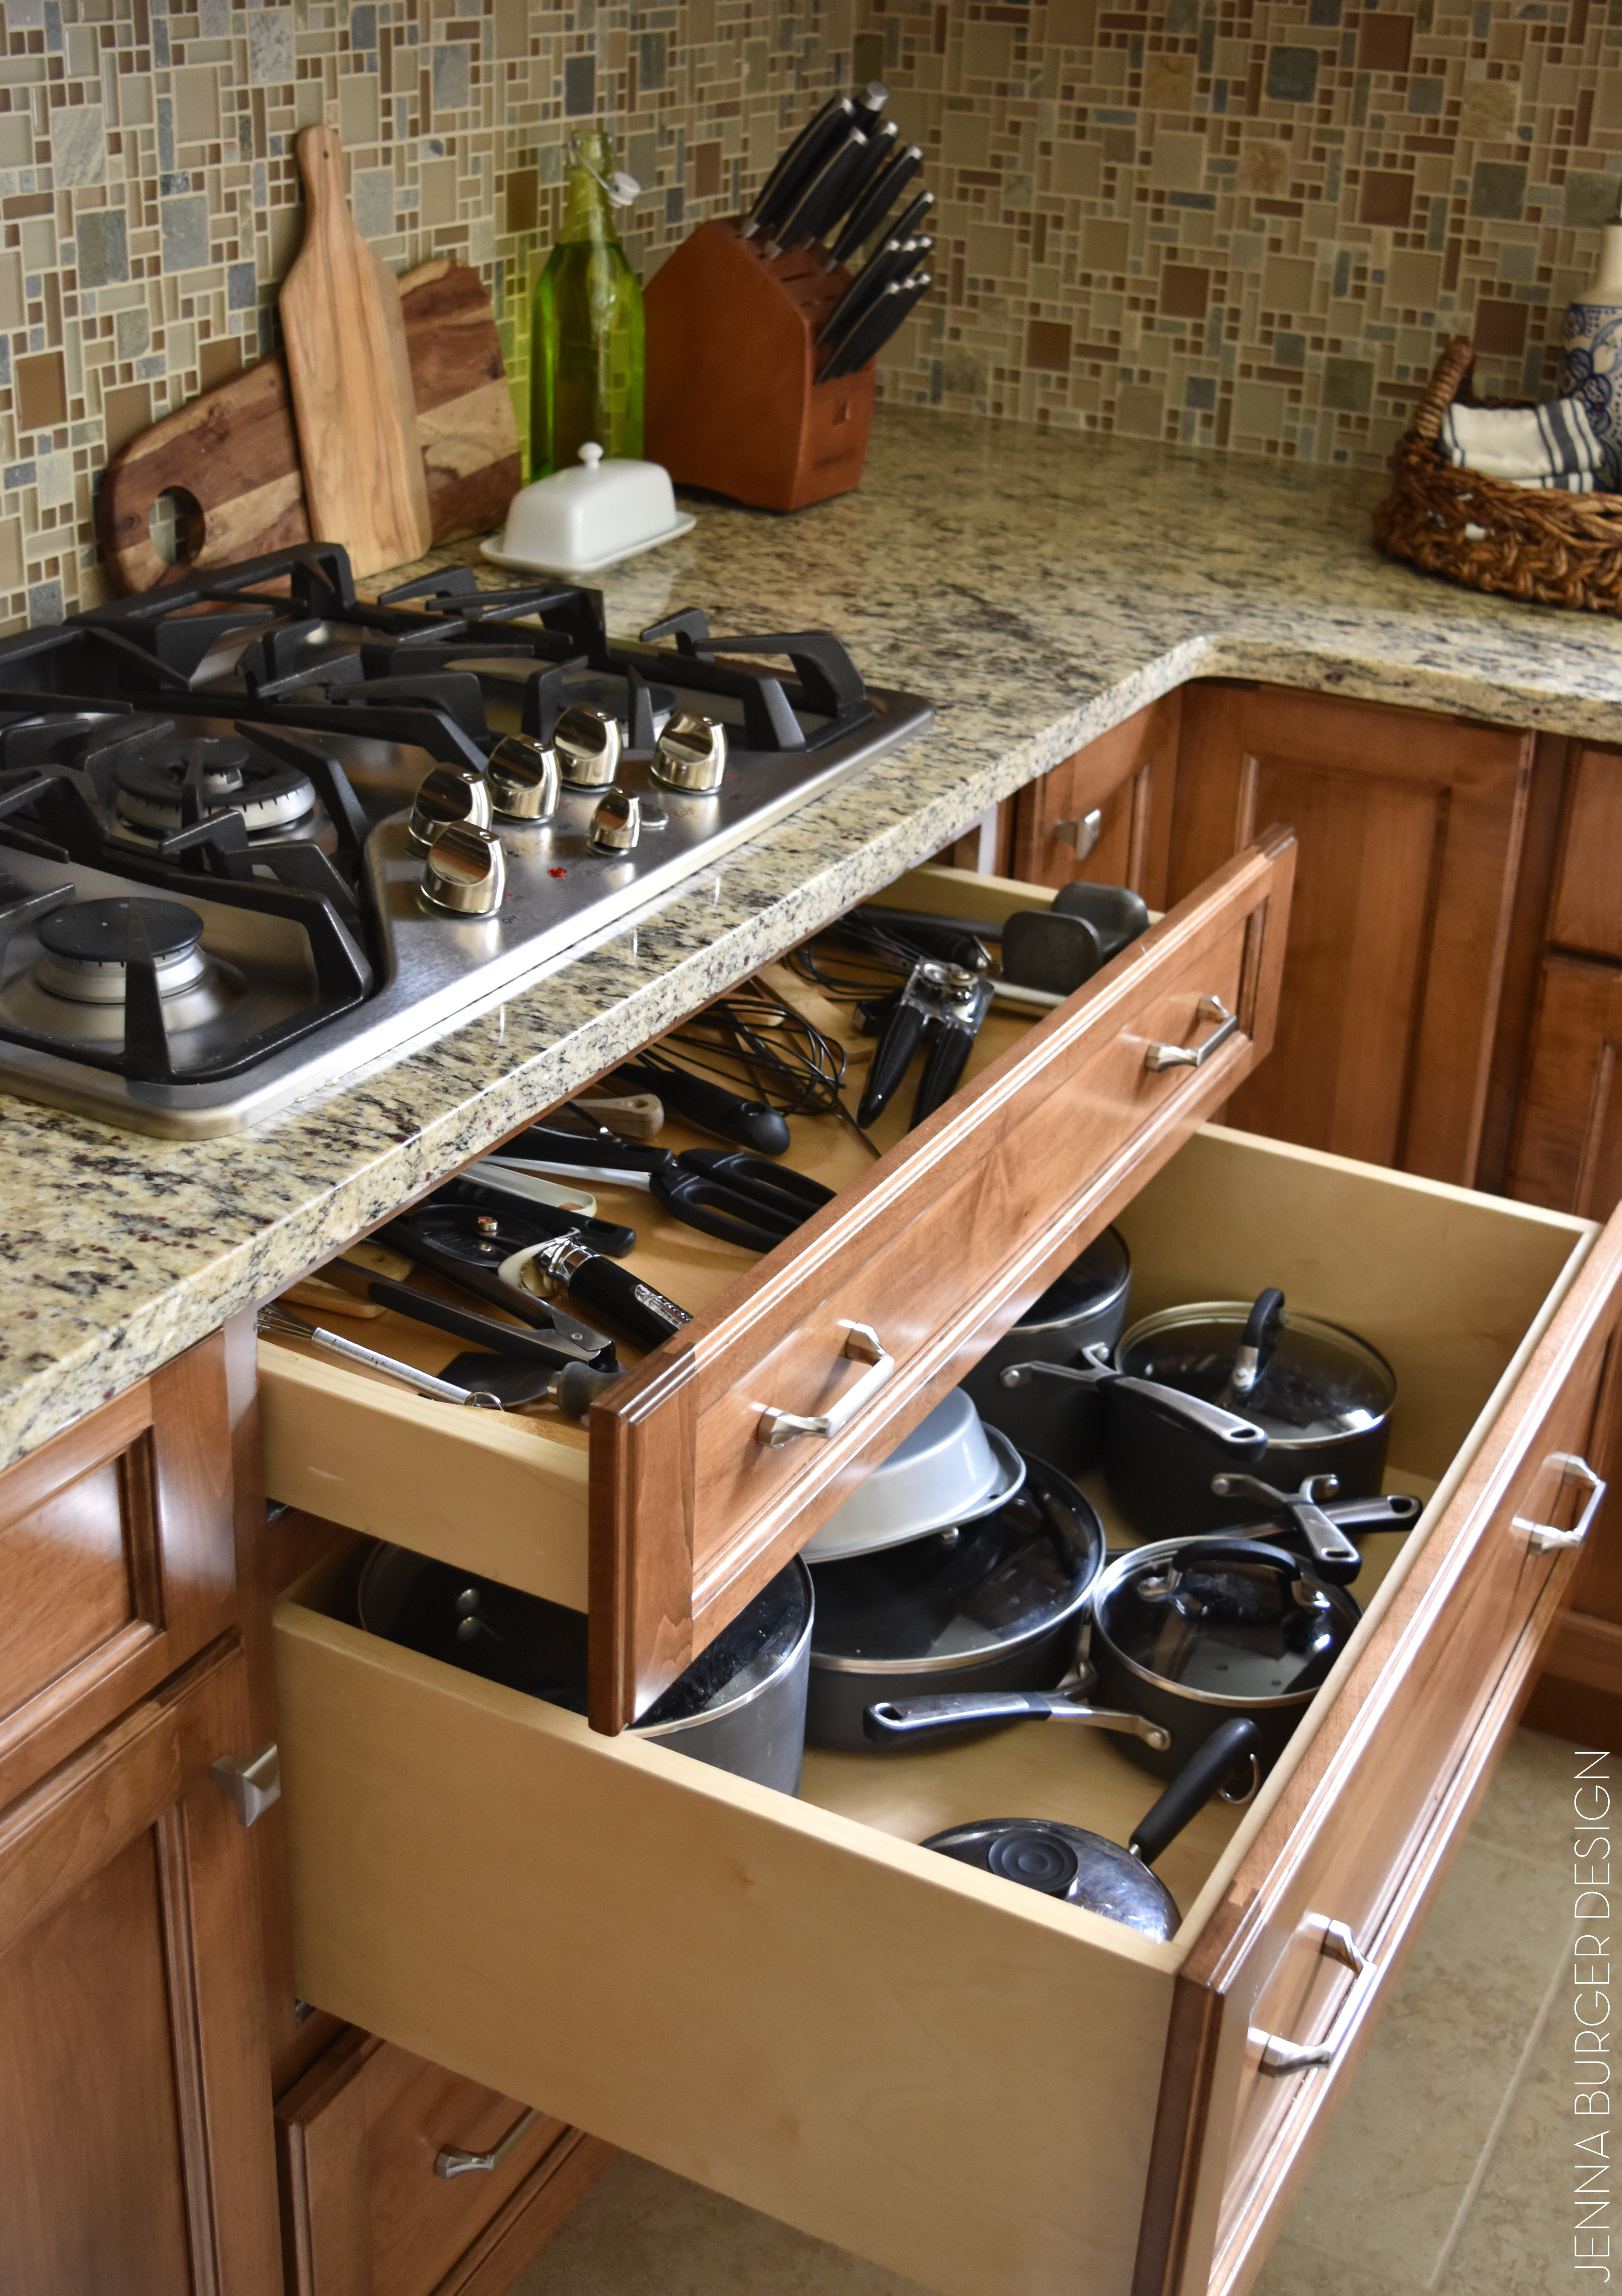
Below…
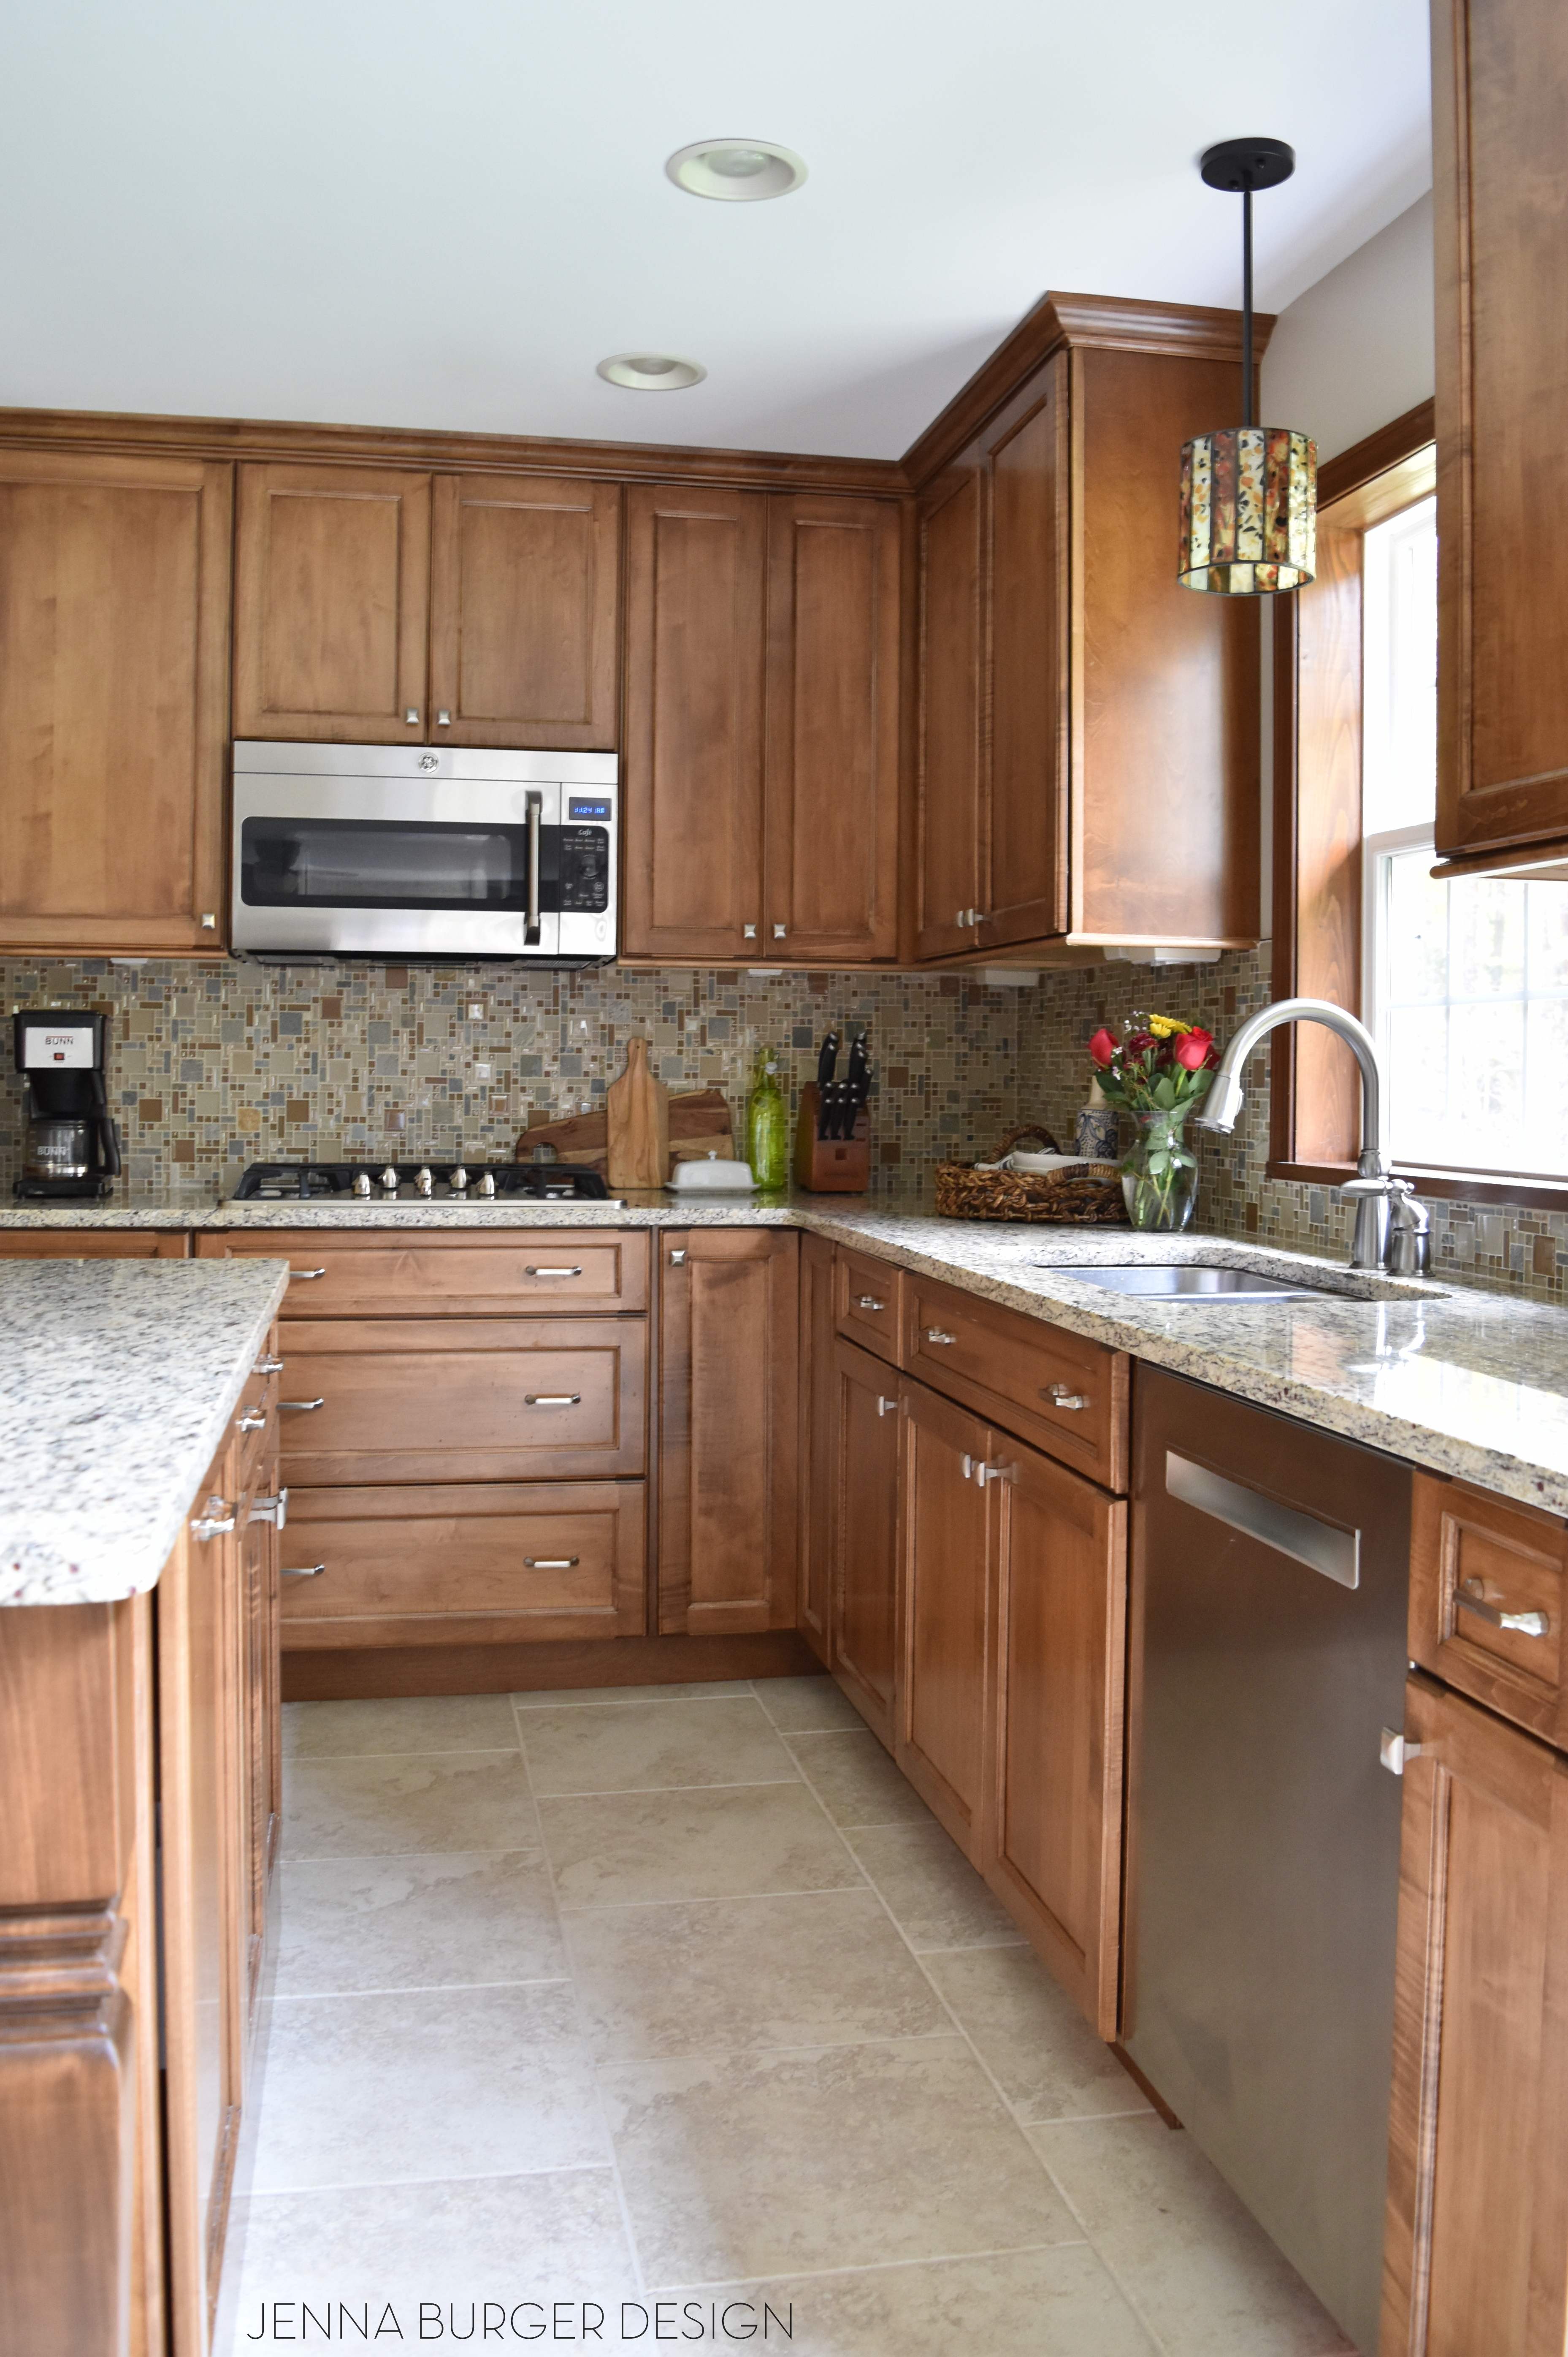
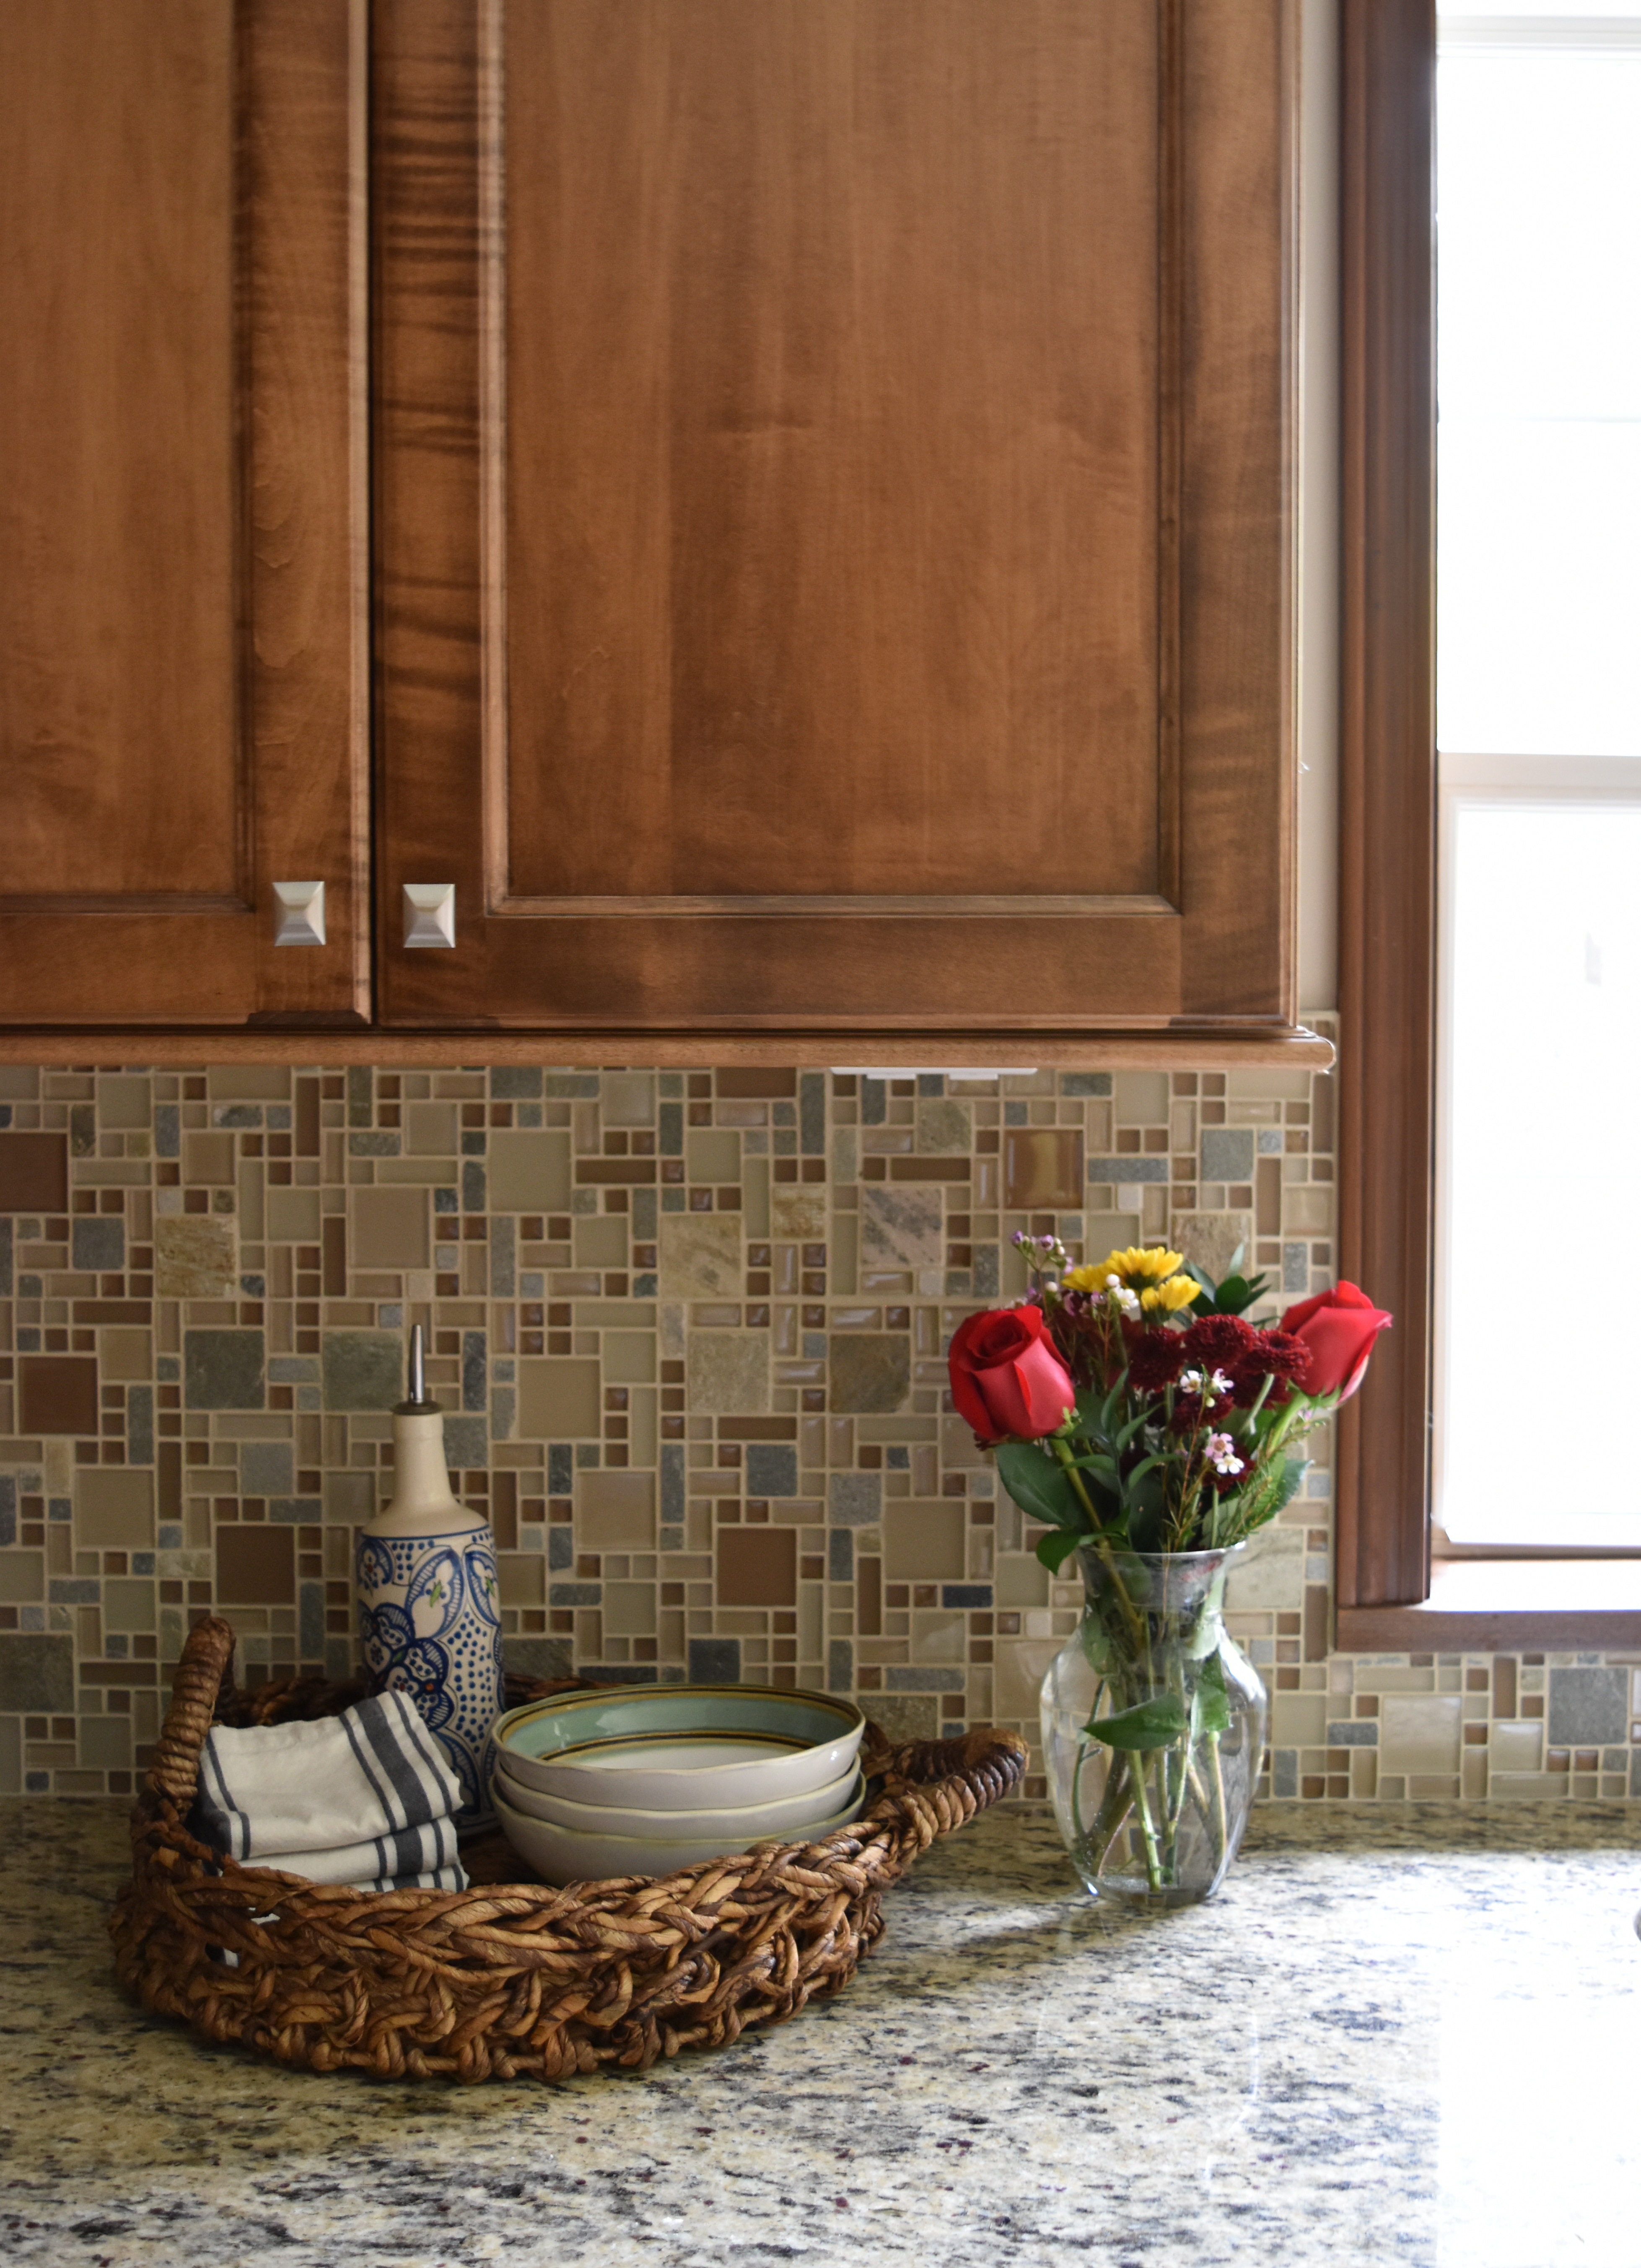
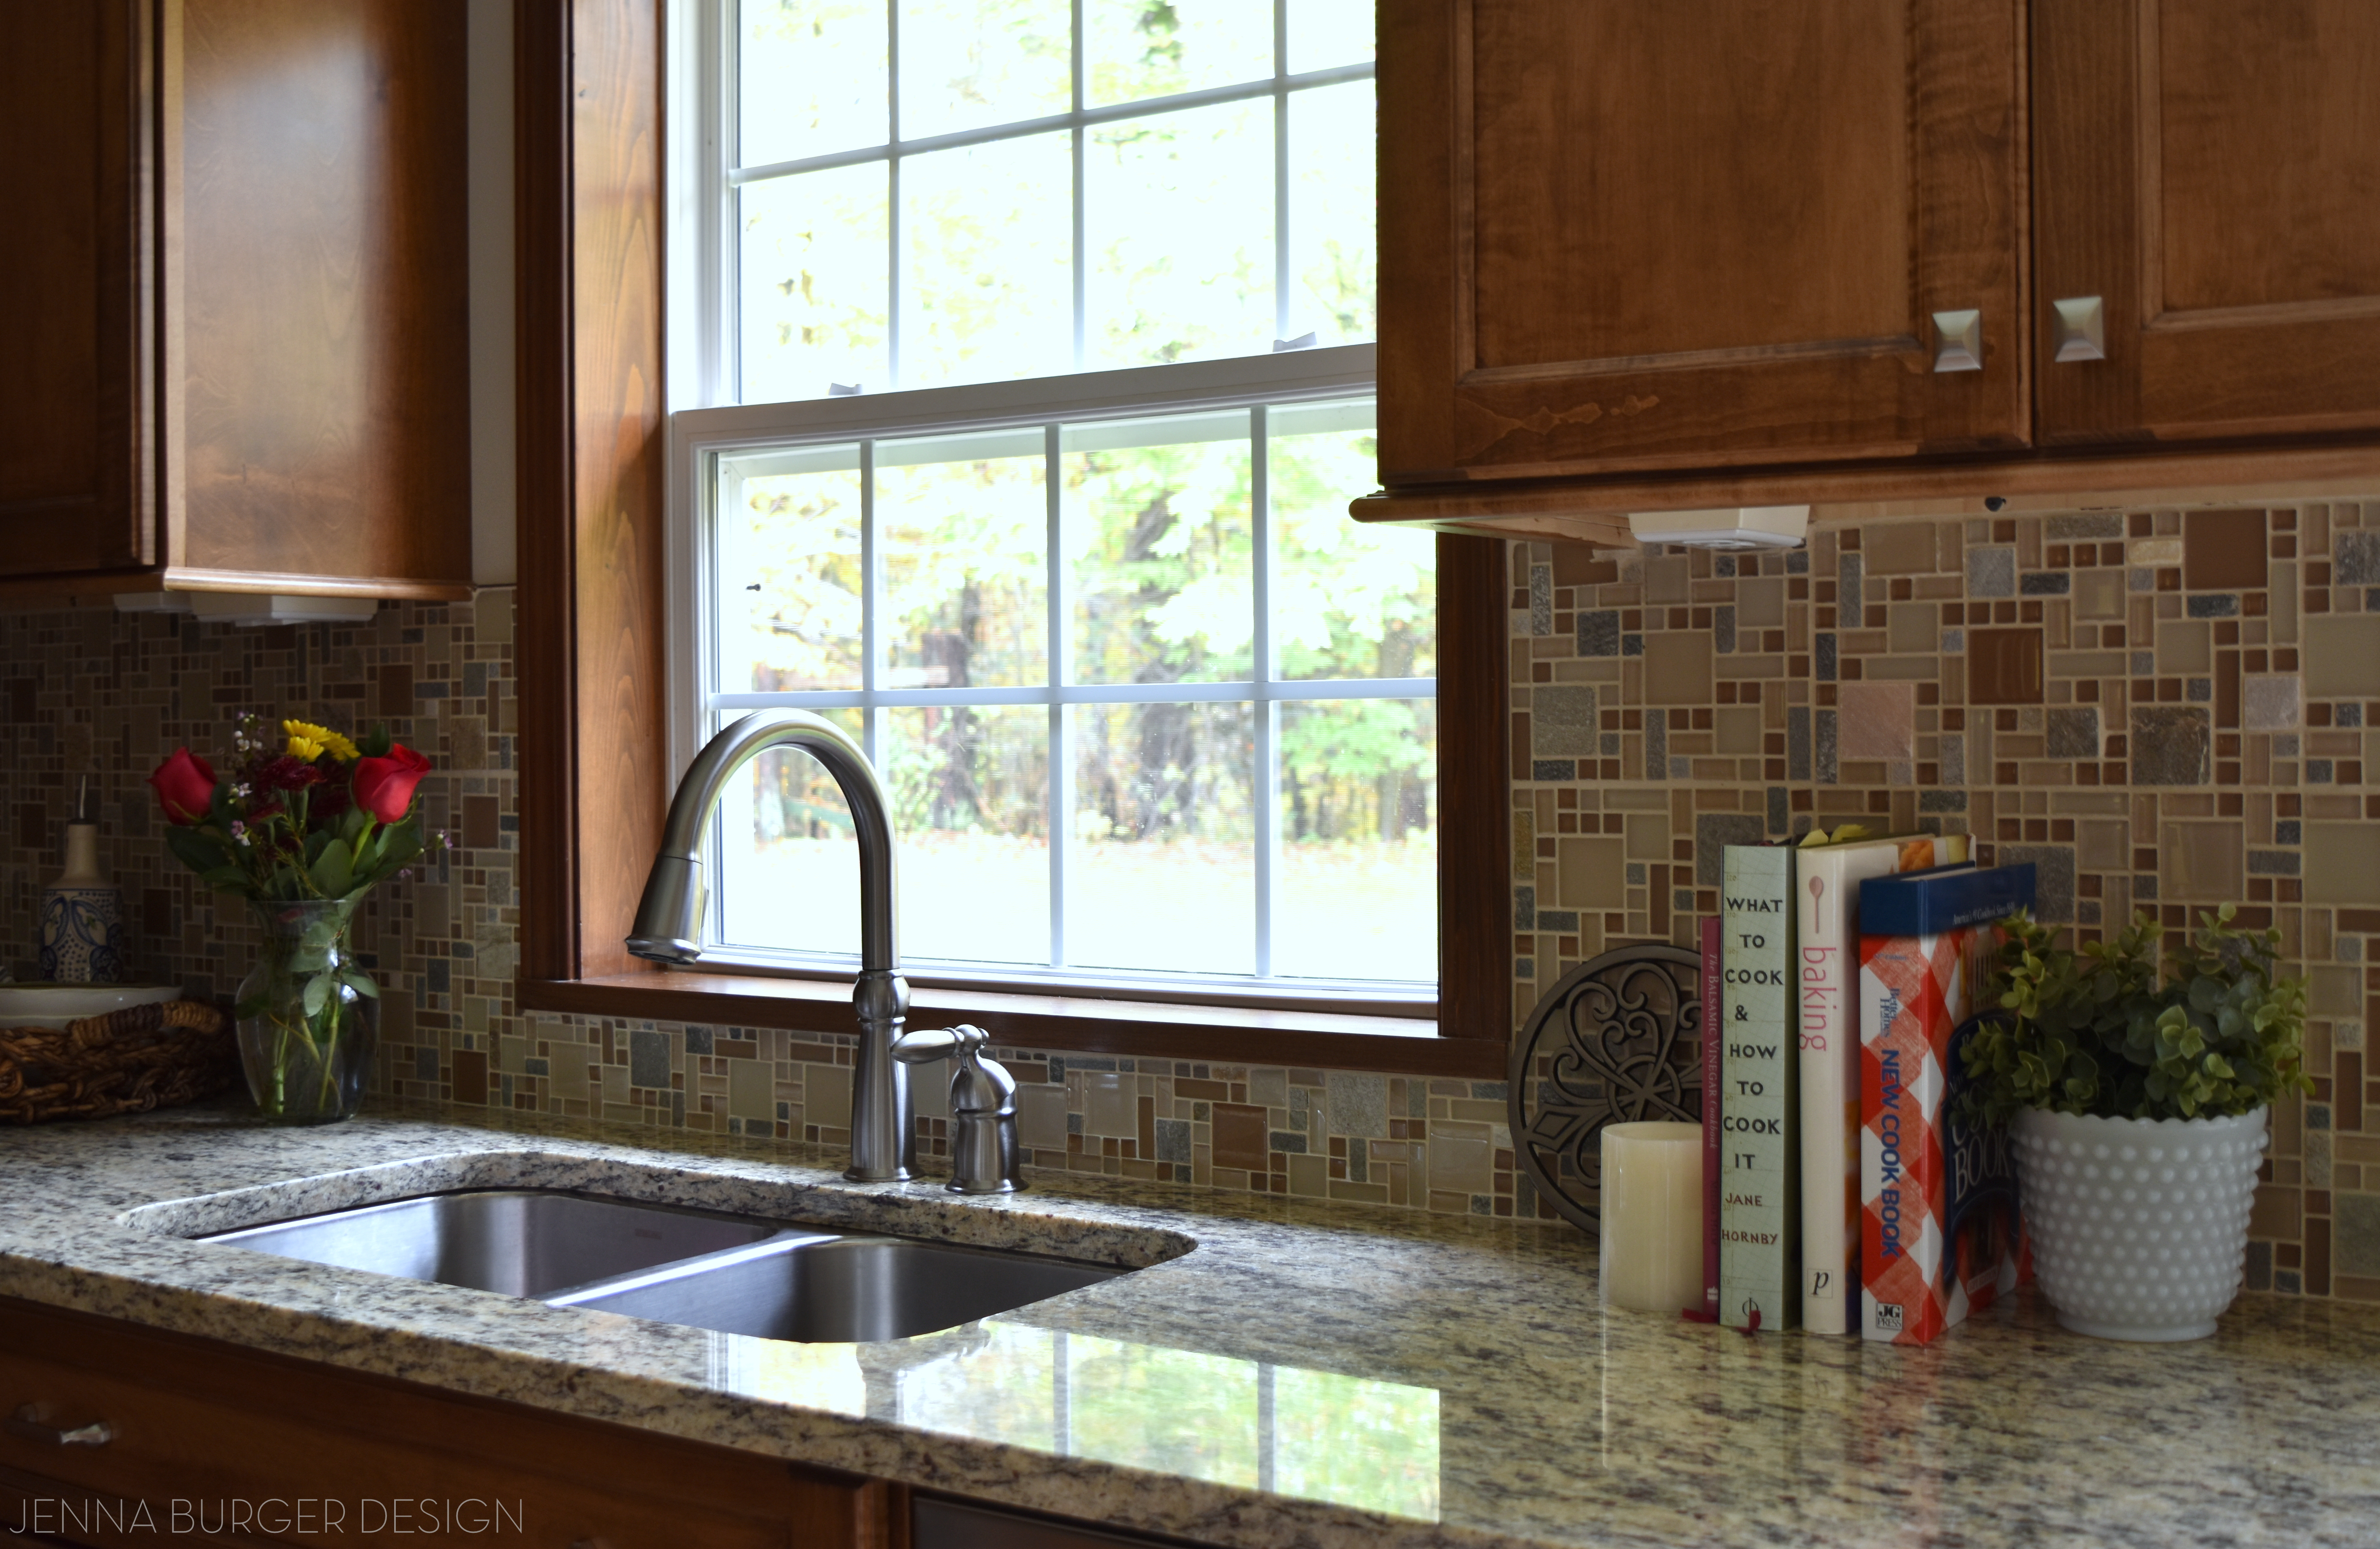
…There is so much incredible storage + space. From the outside to the inside, every nook & cranny is so pretty!
CABINETRY
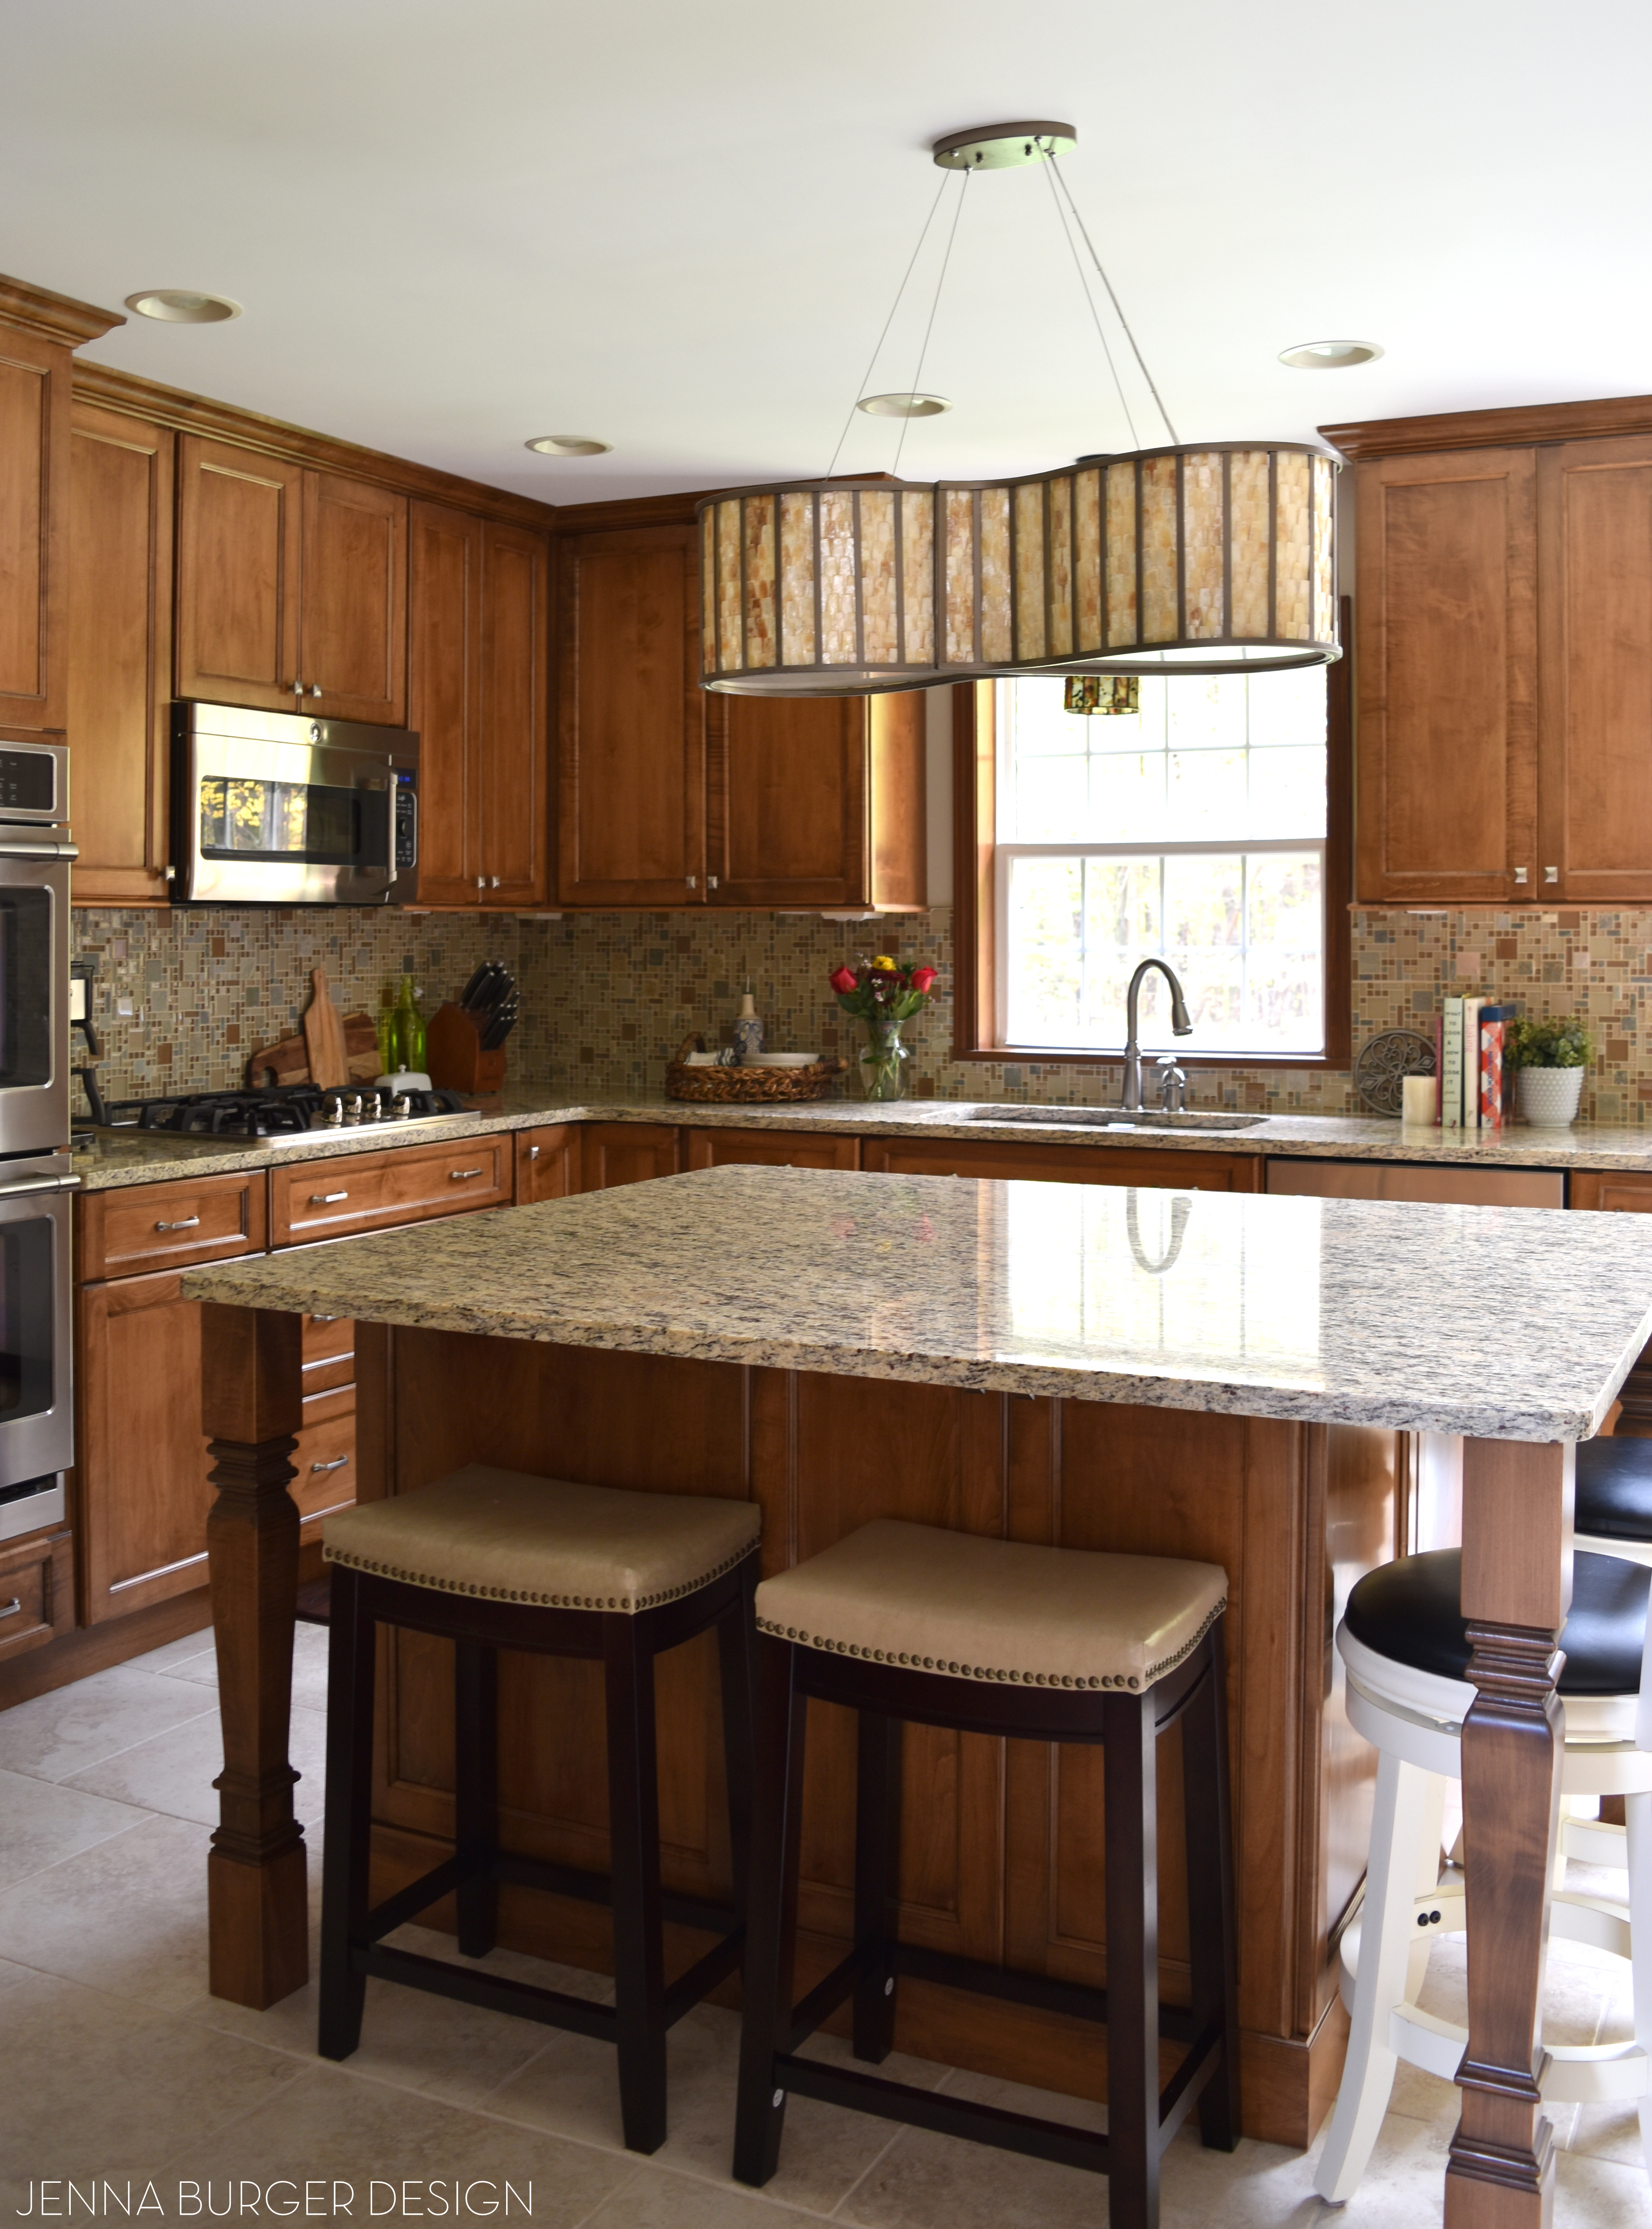
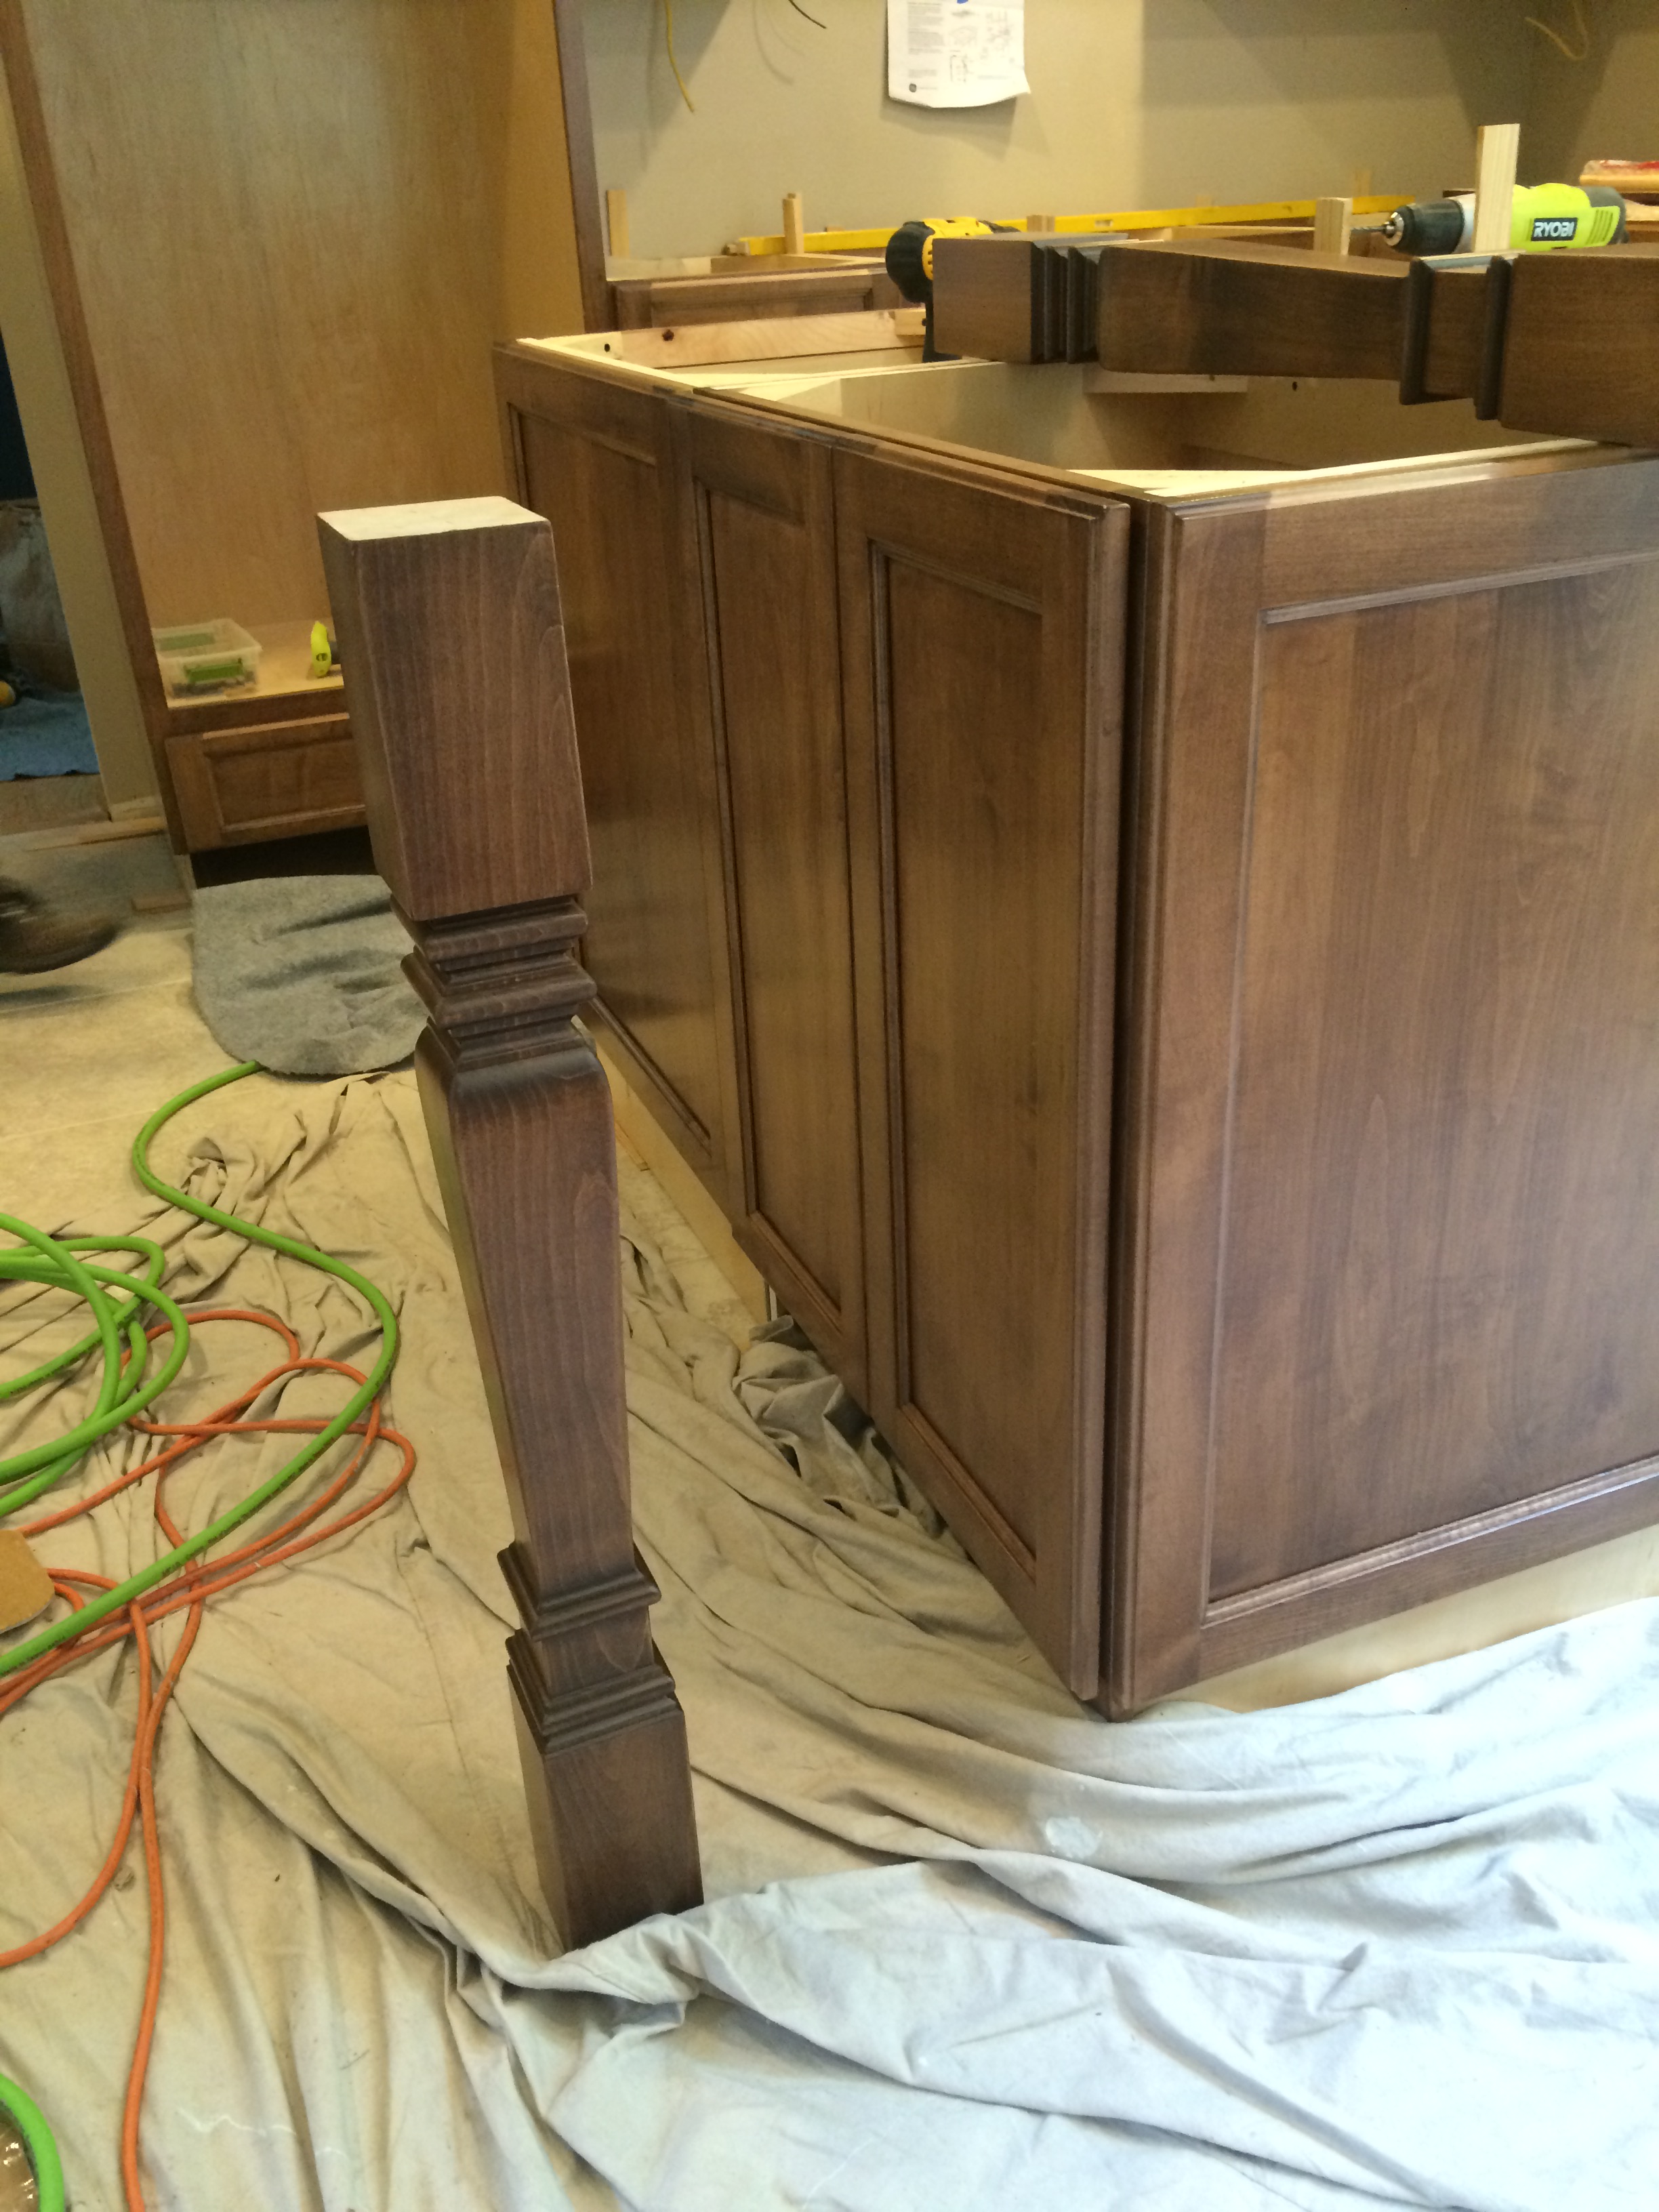
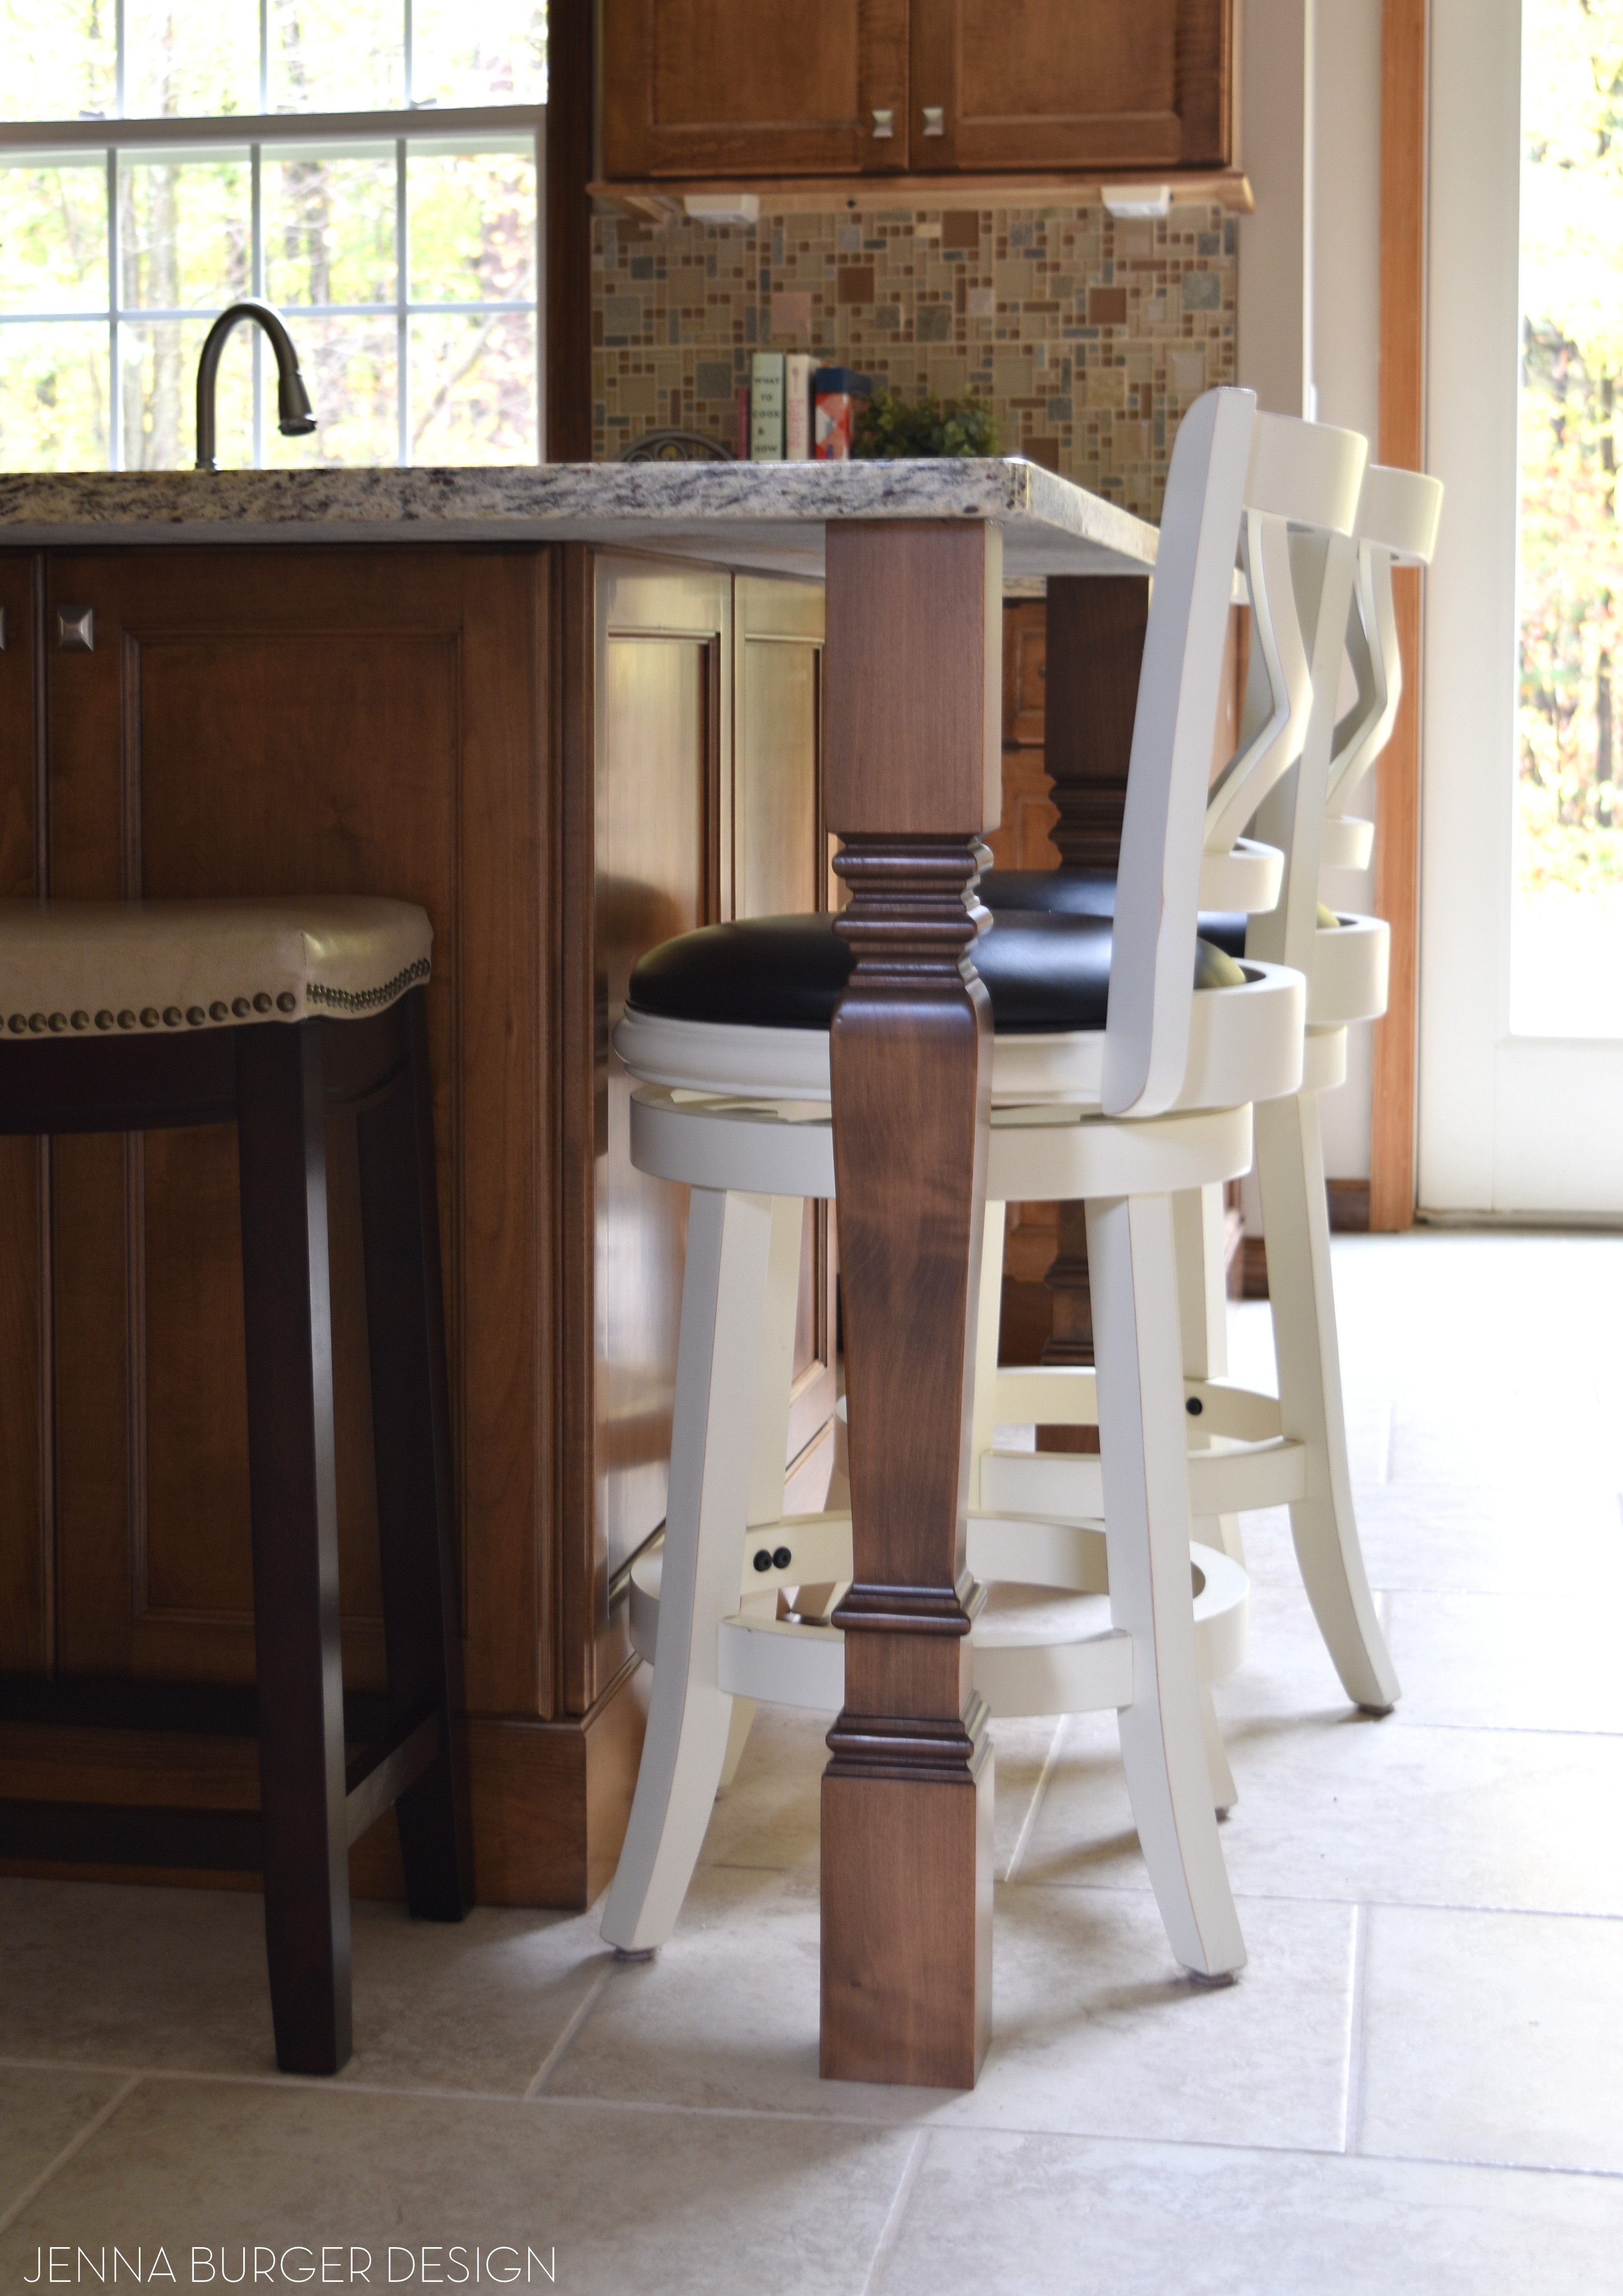
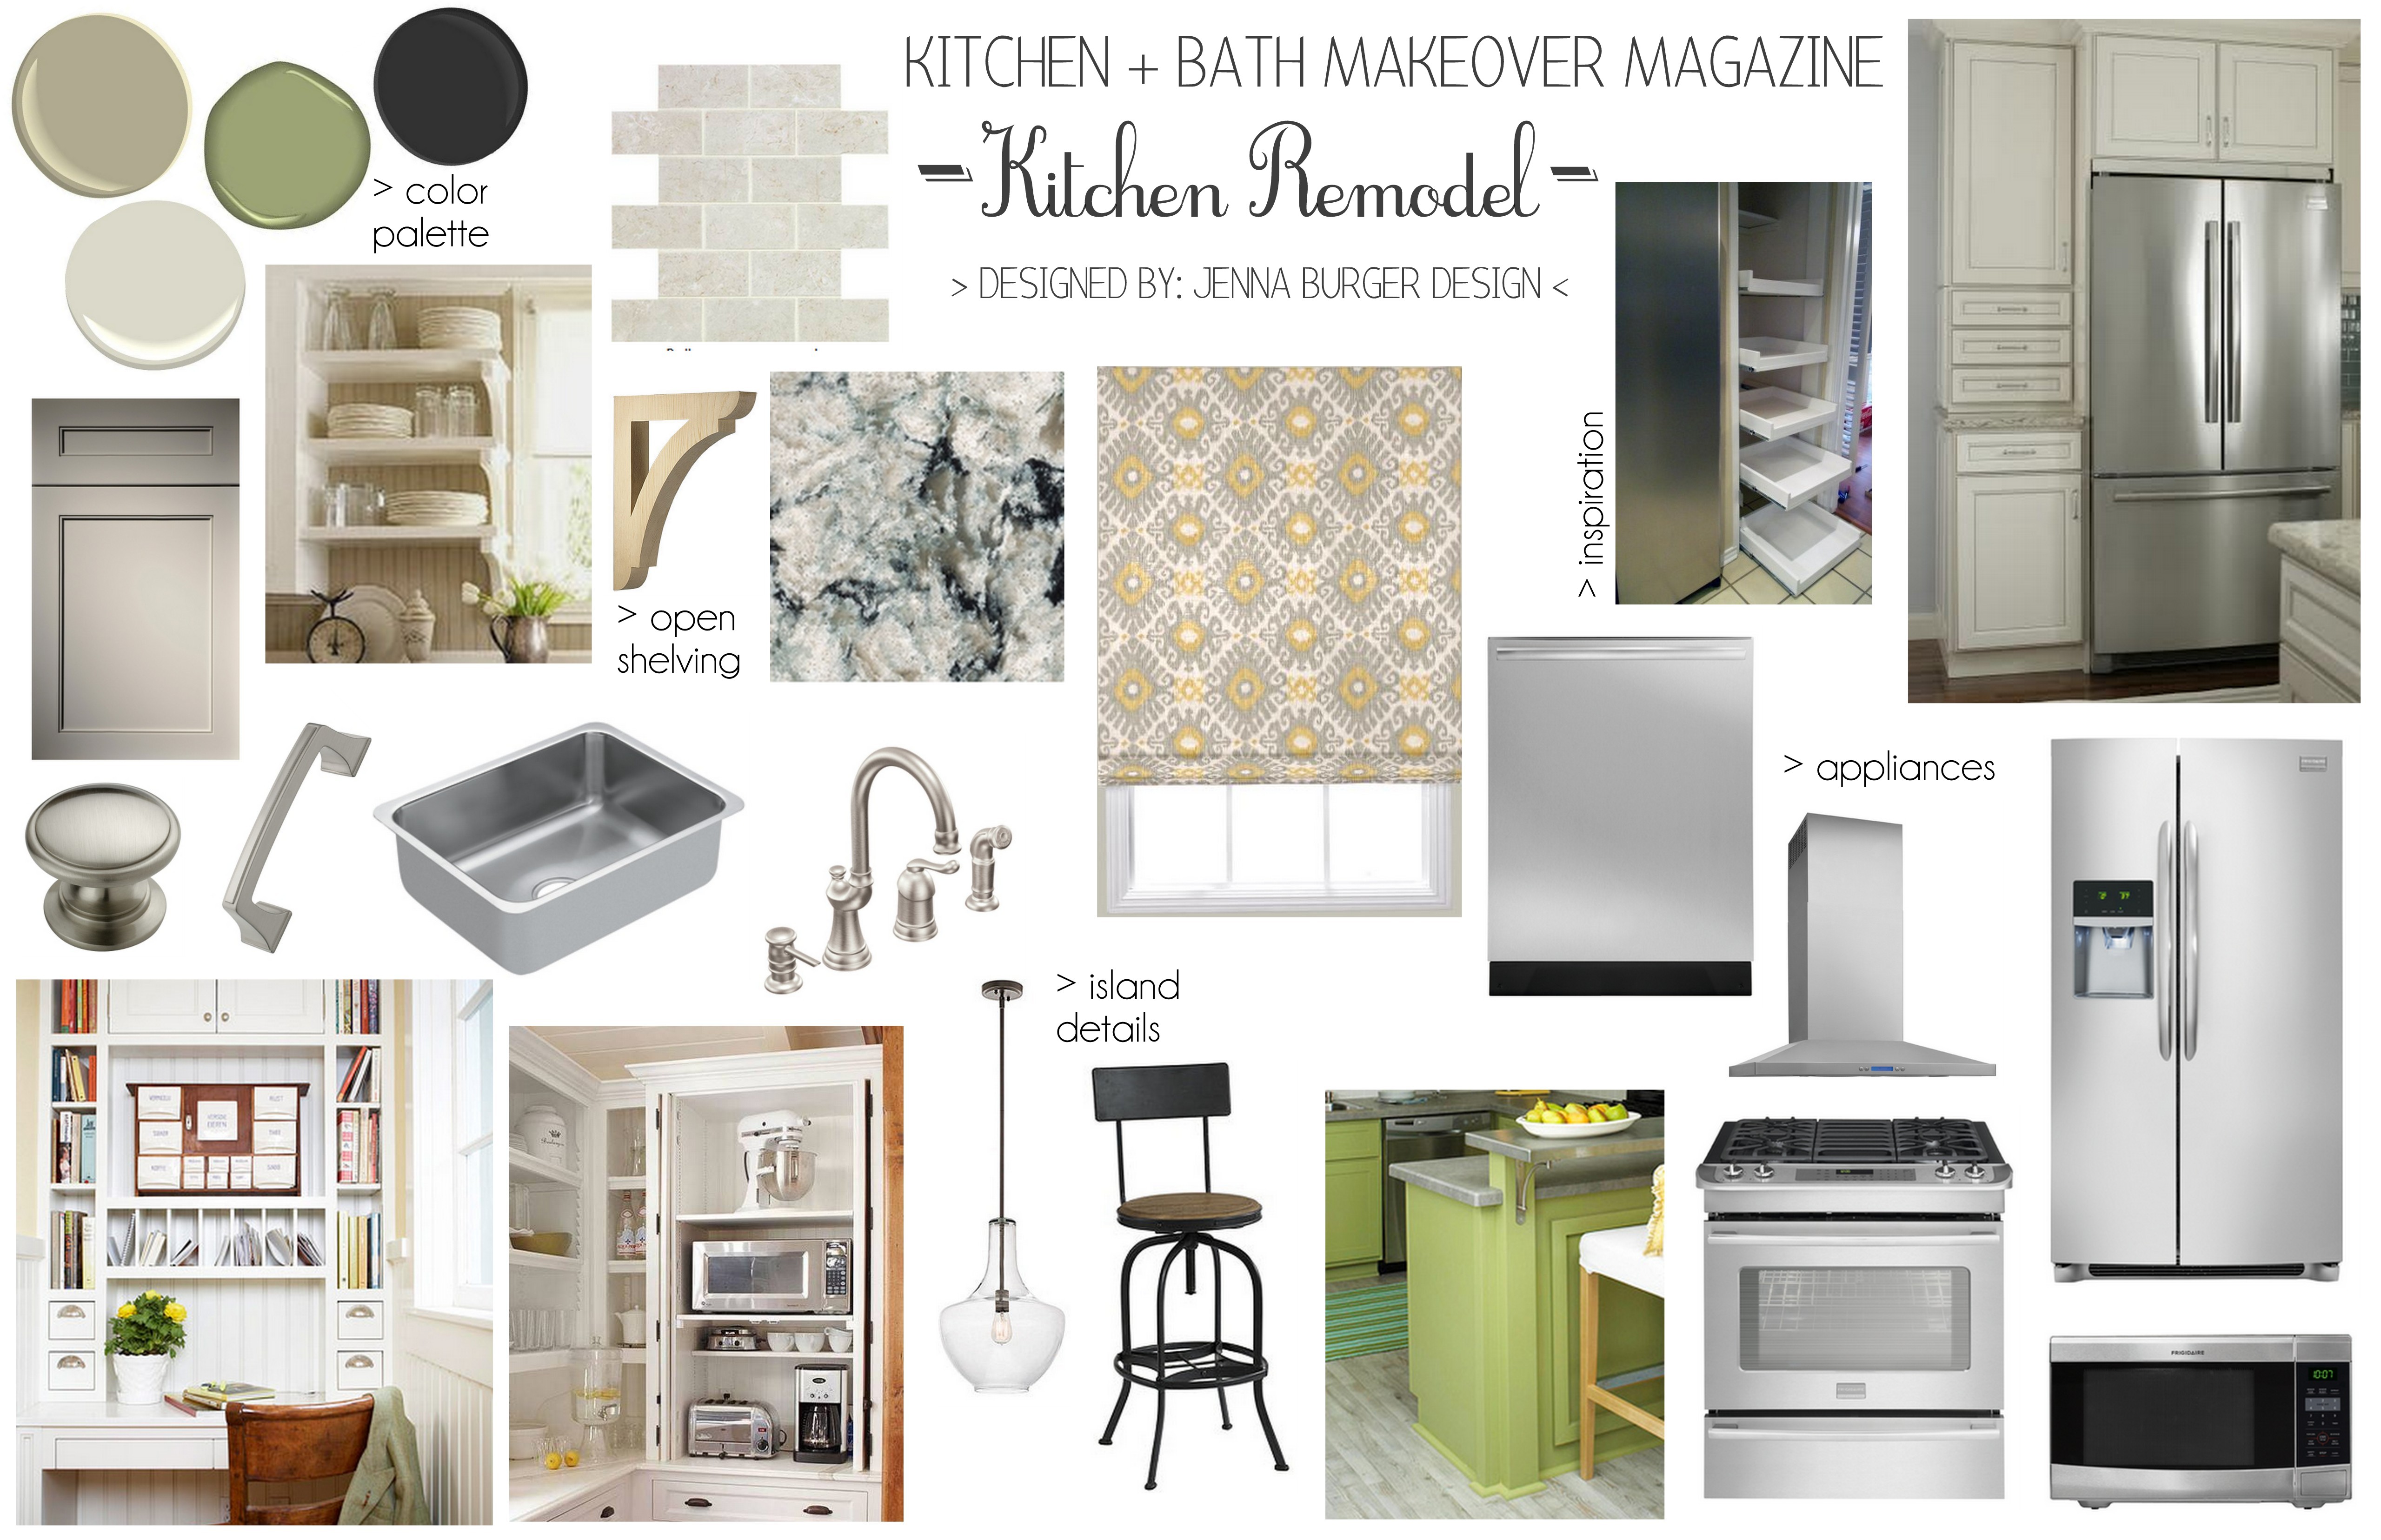
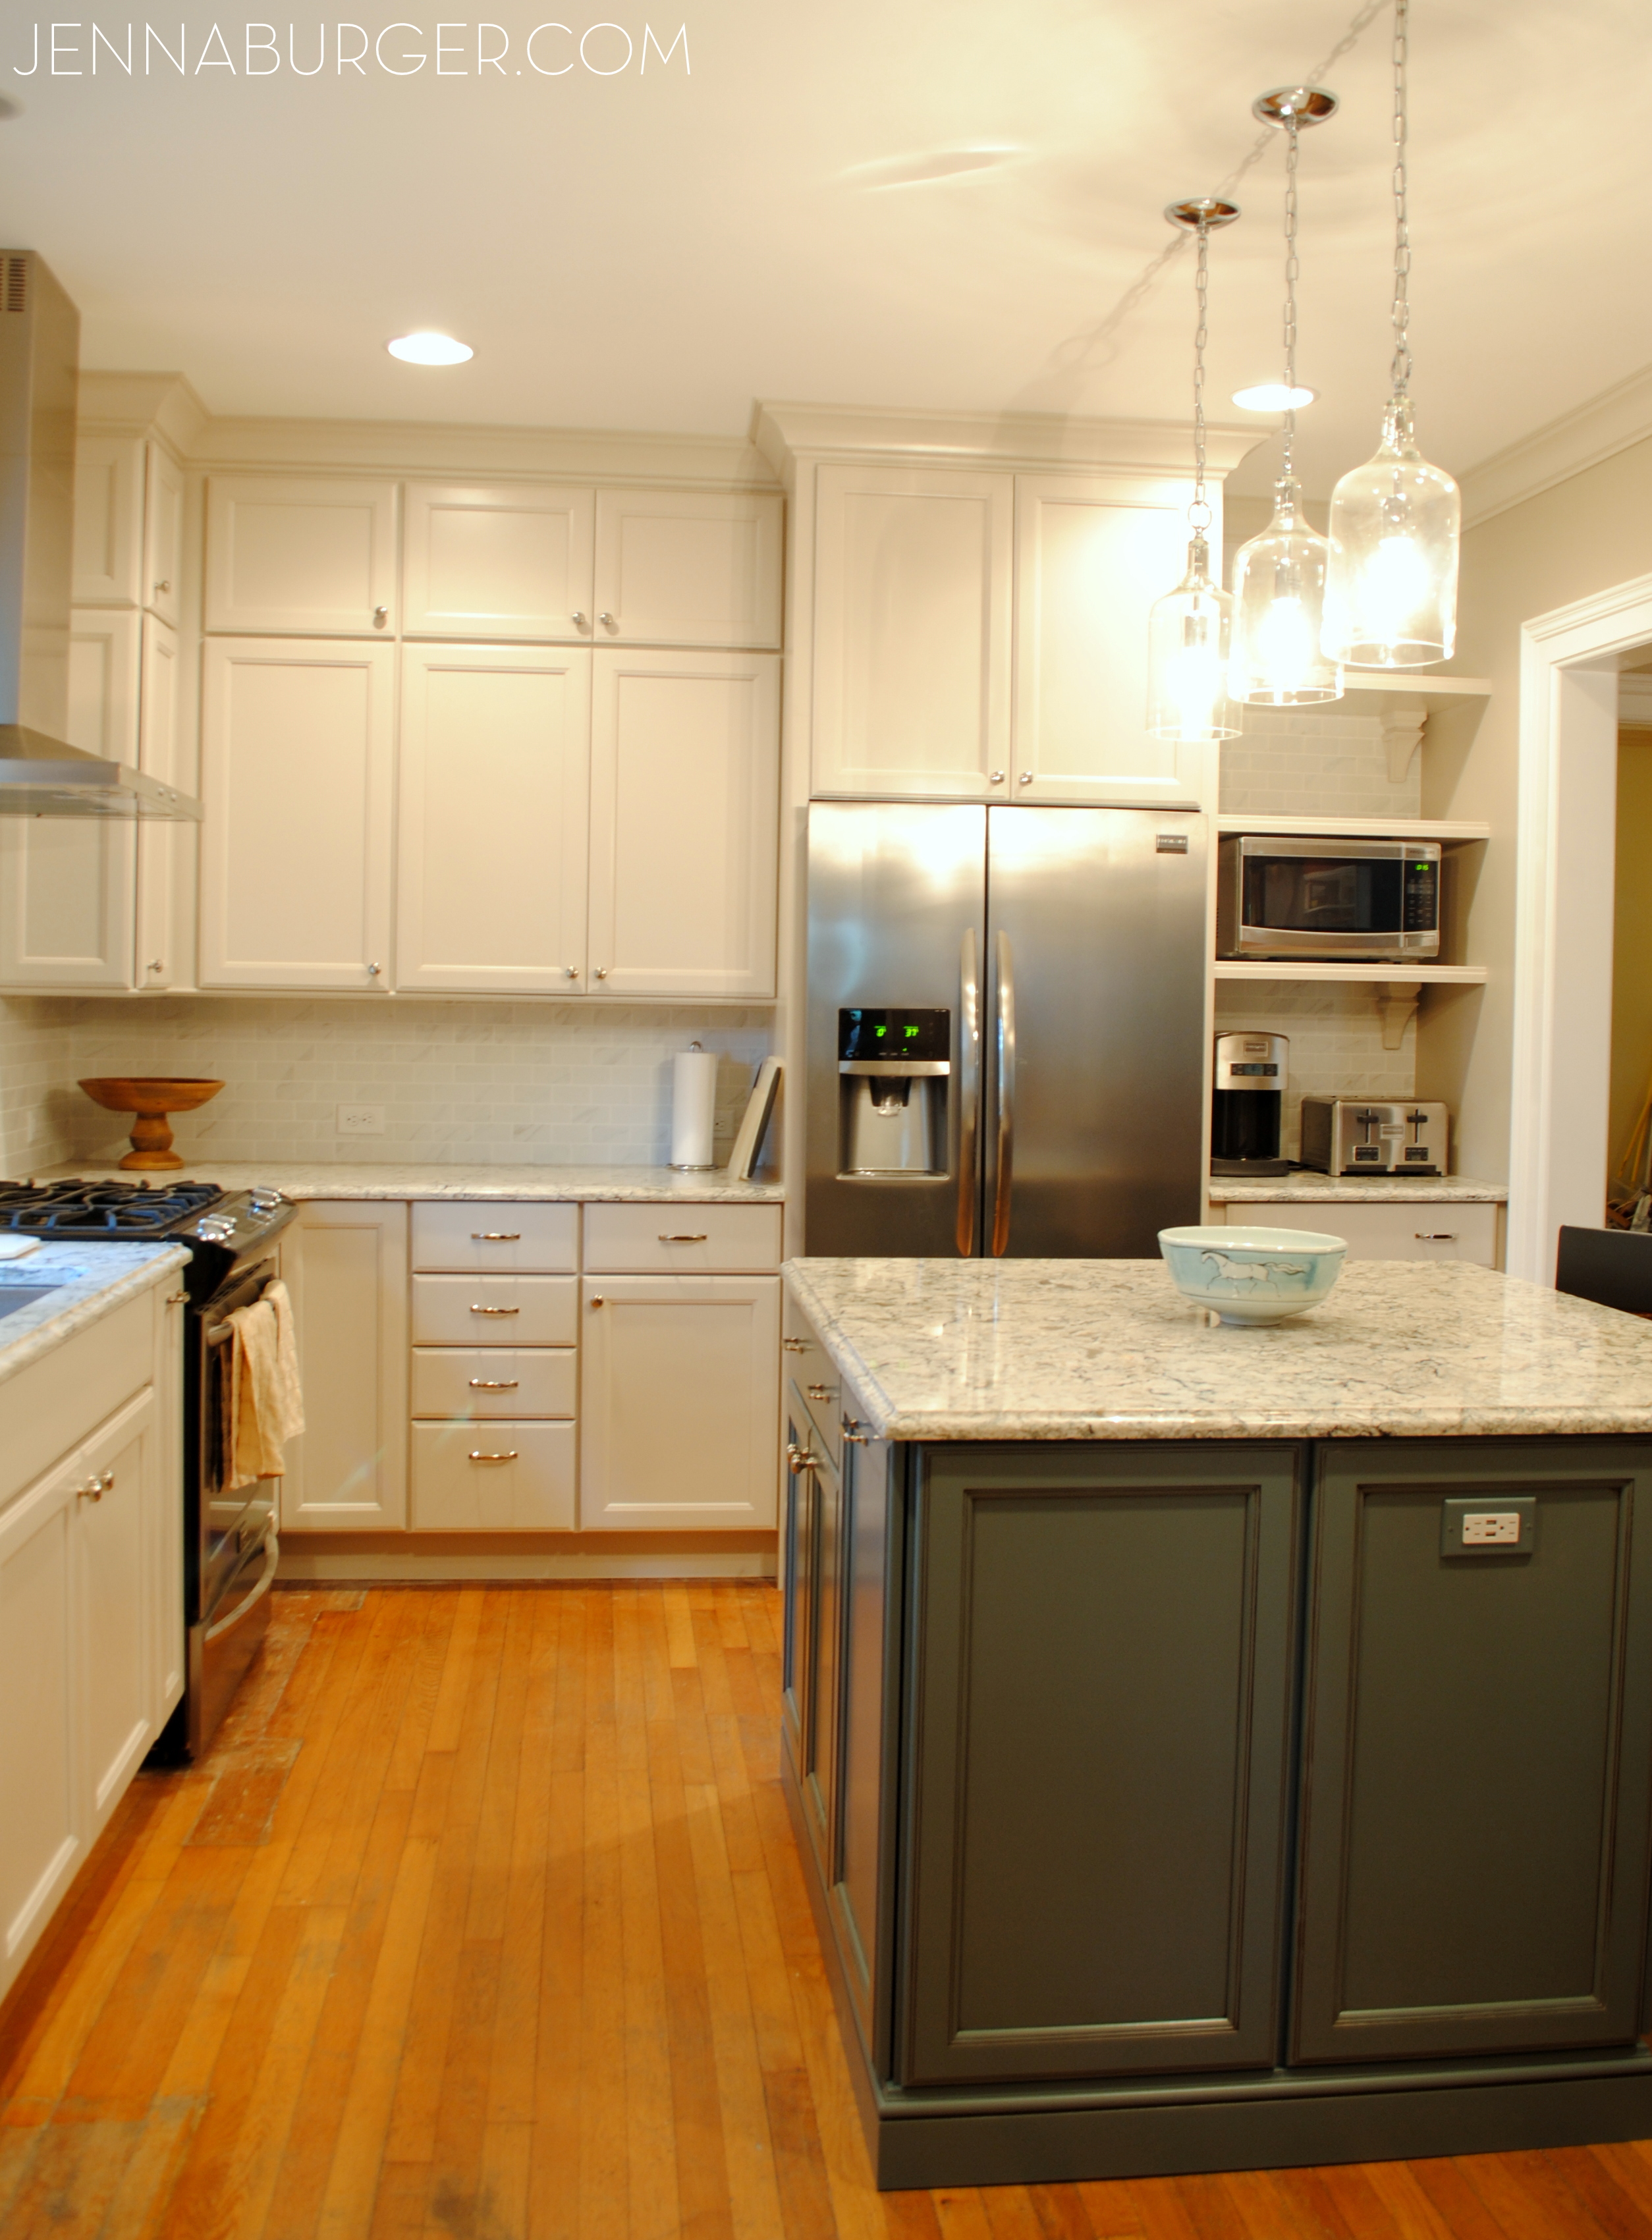
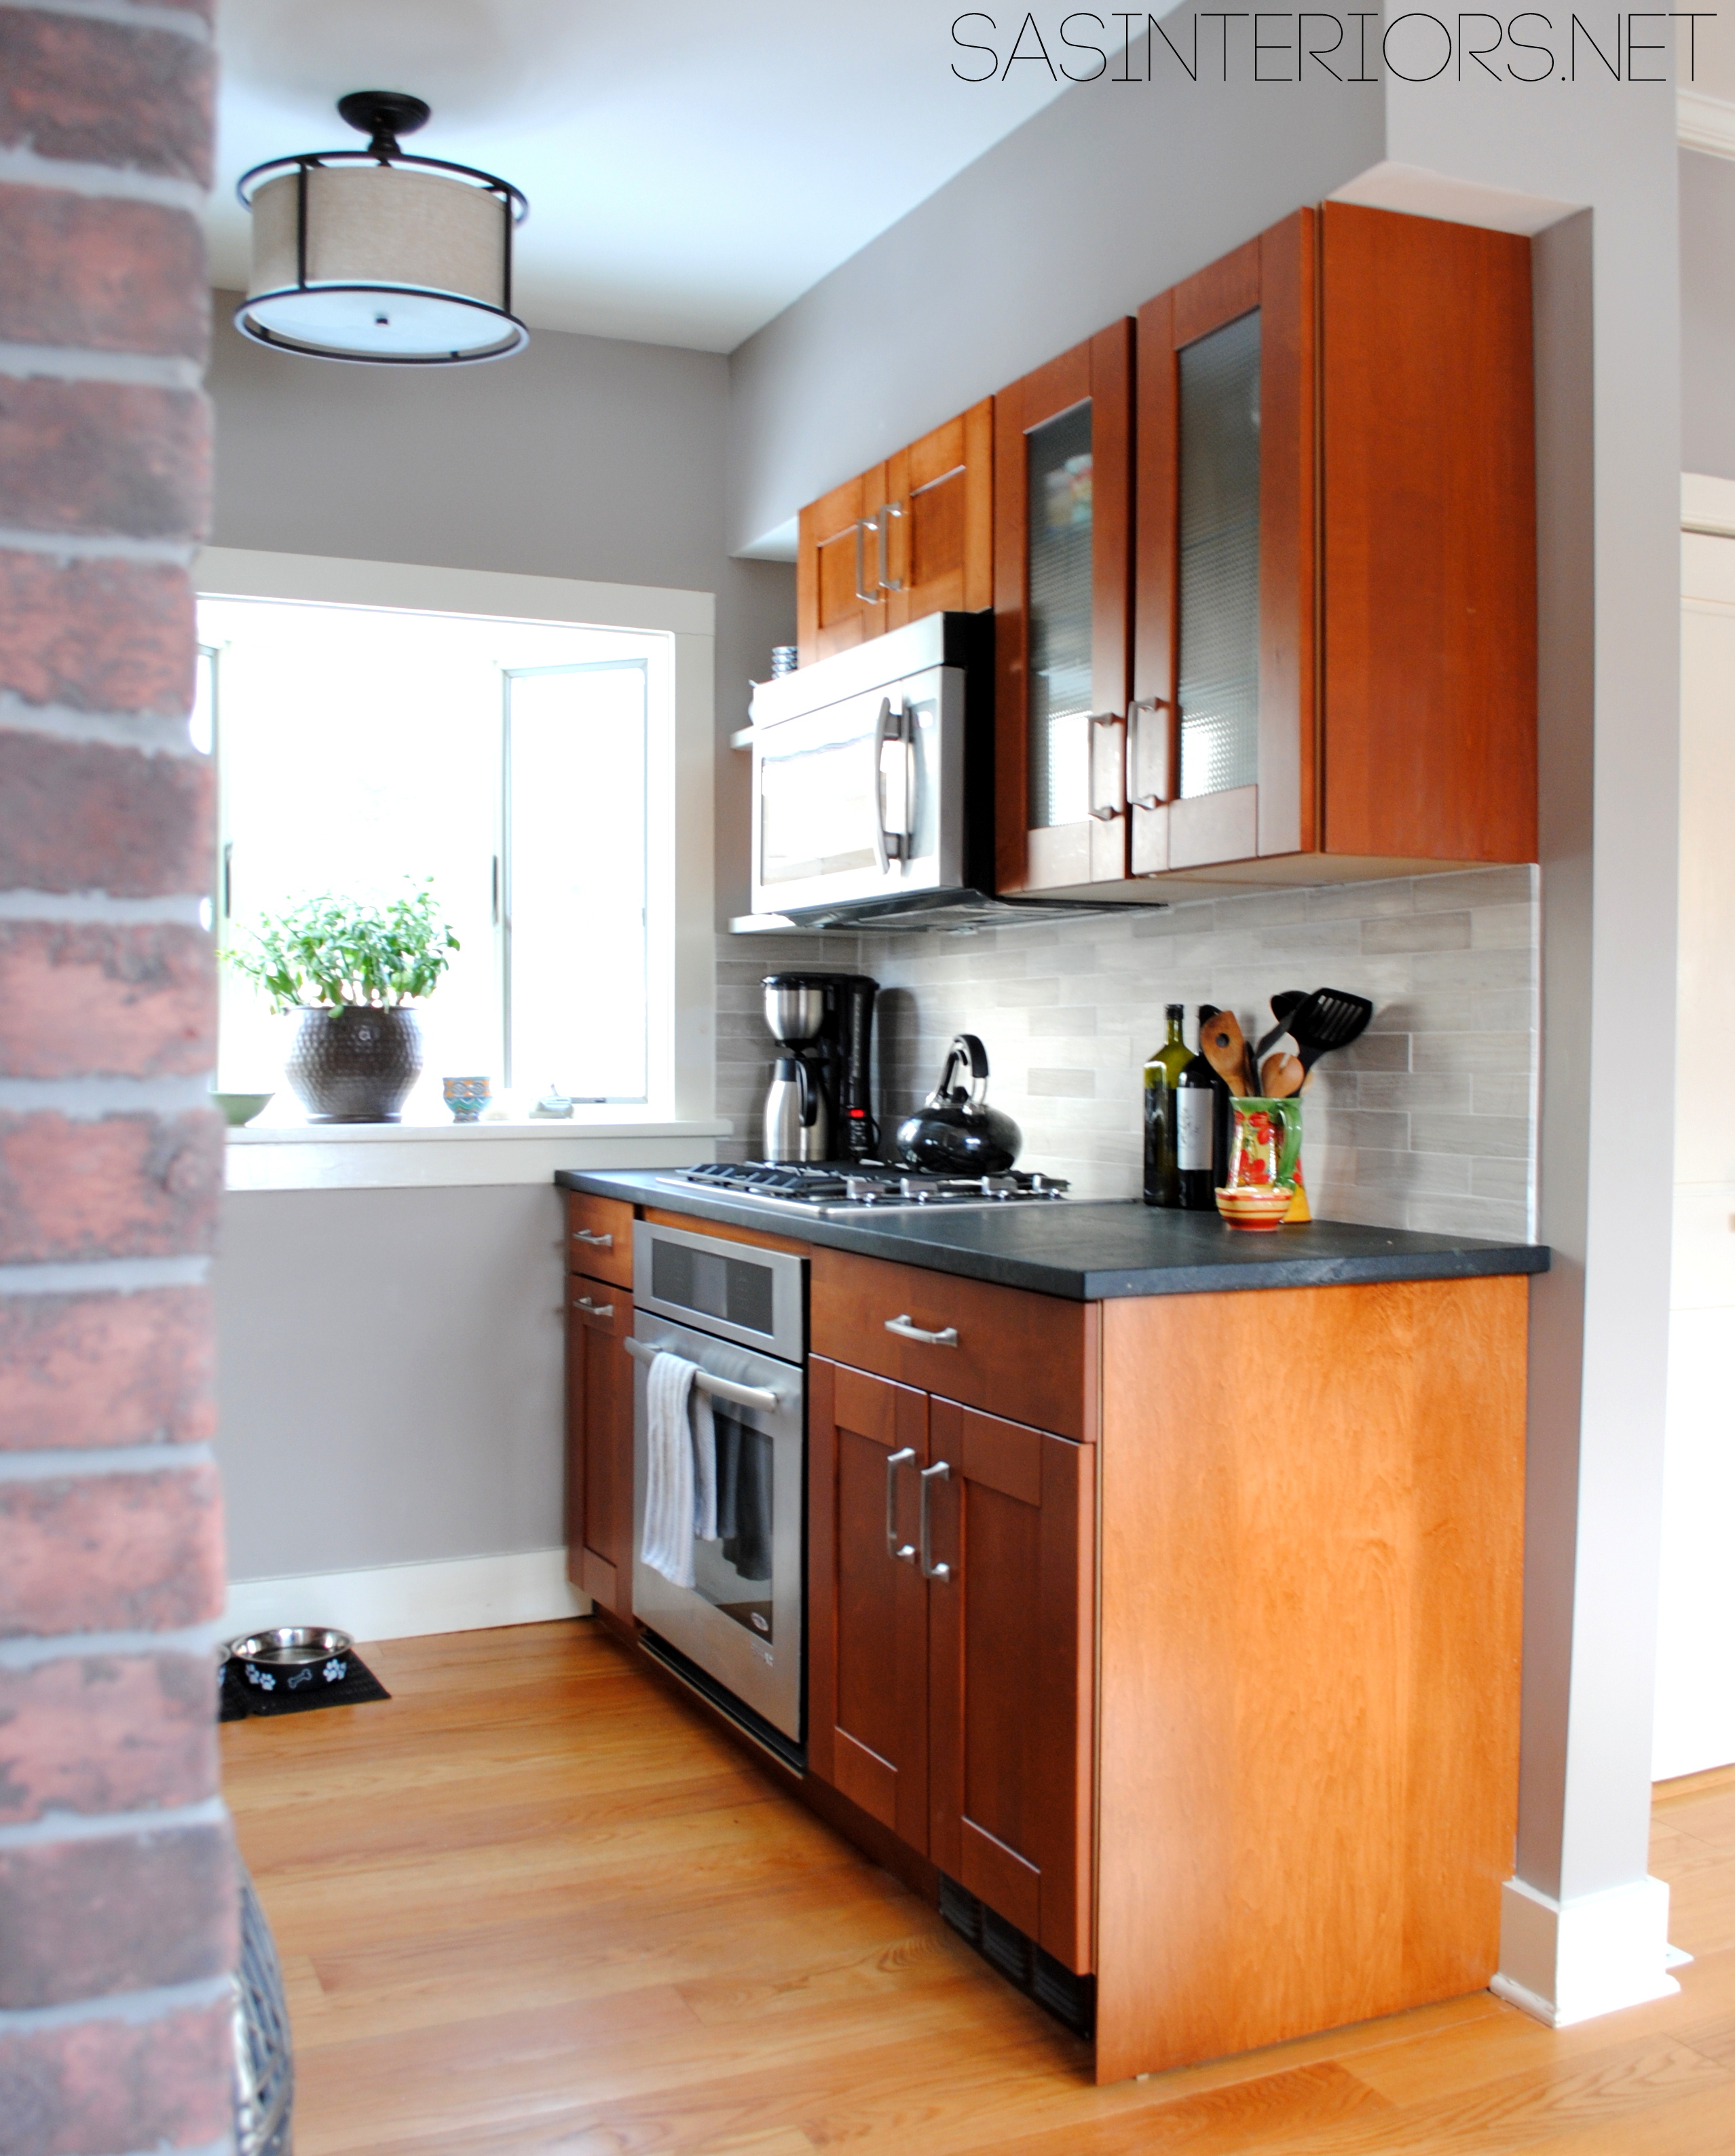
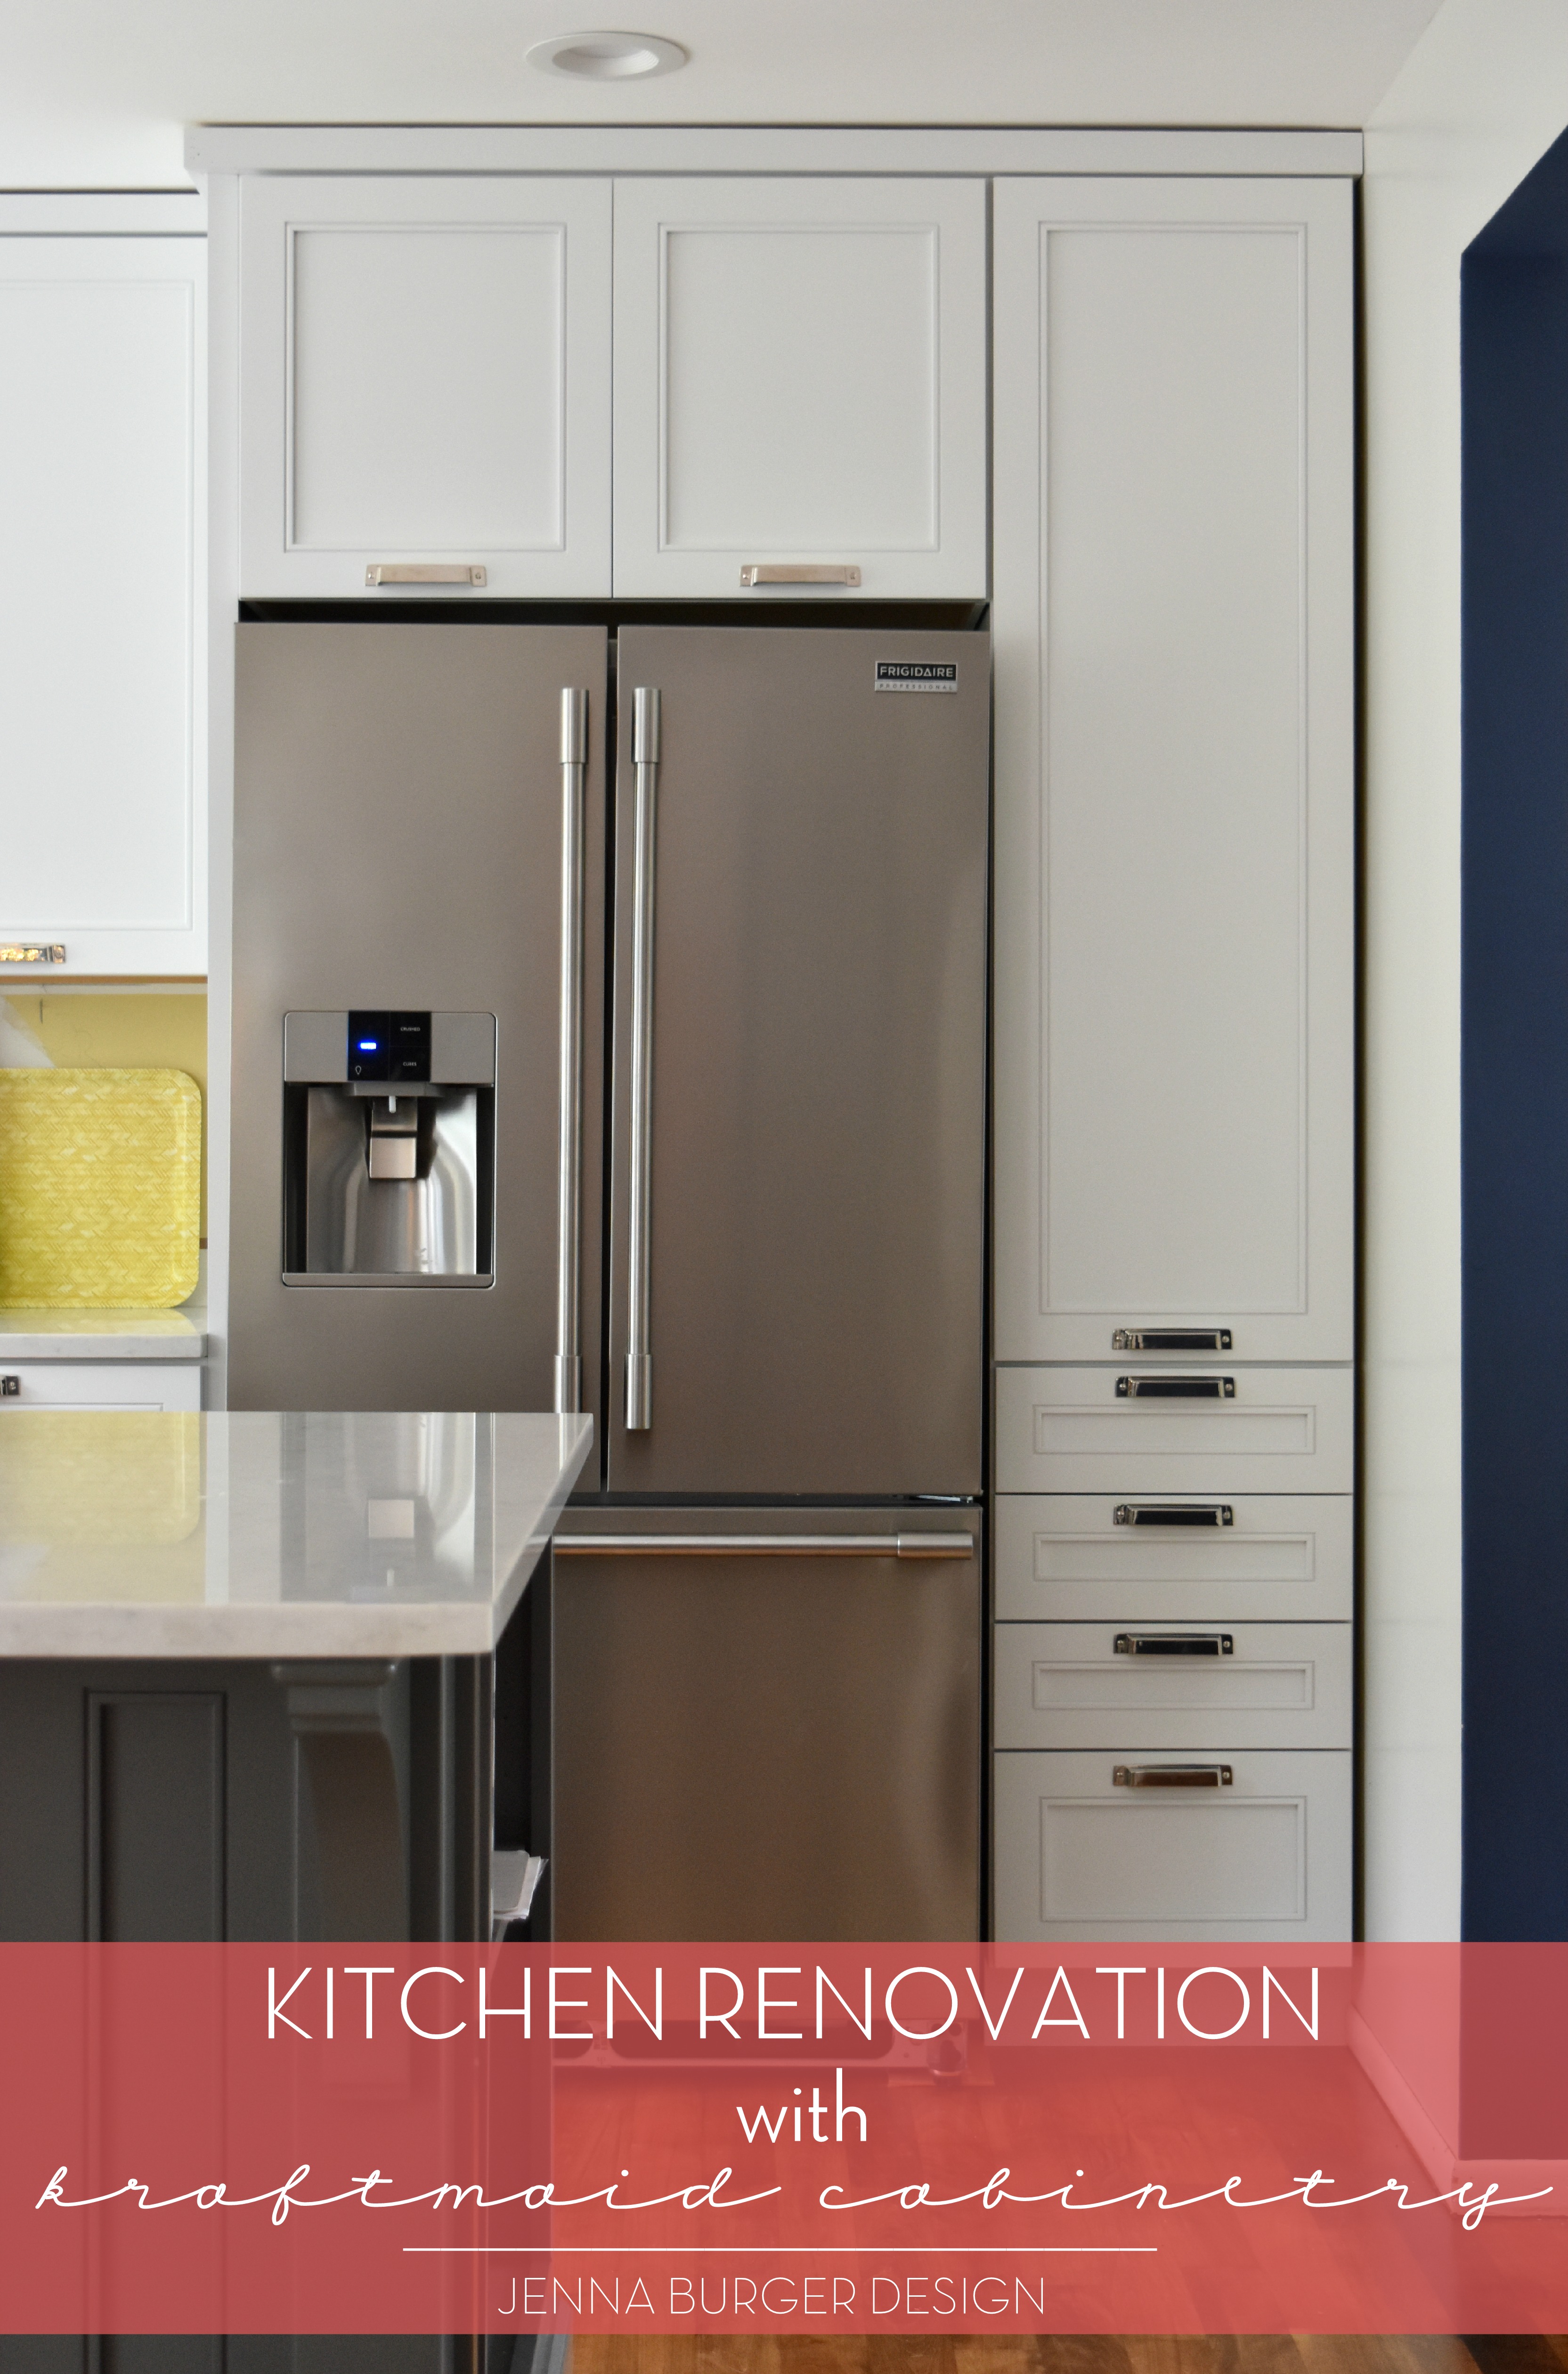
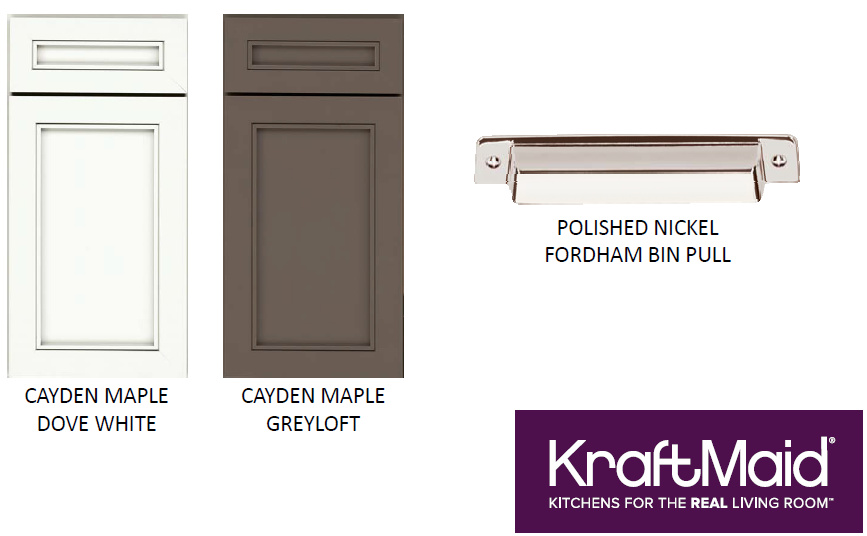
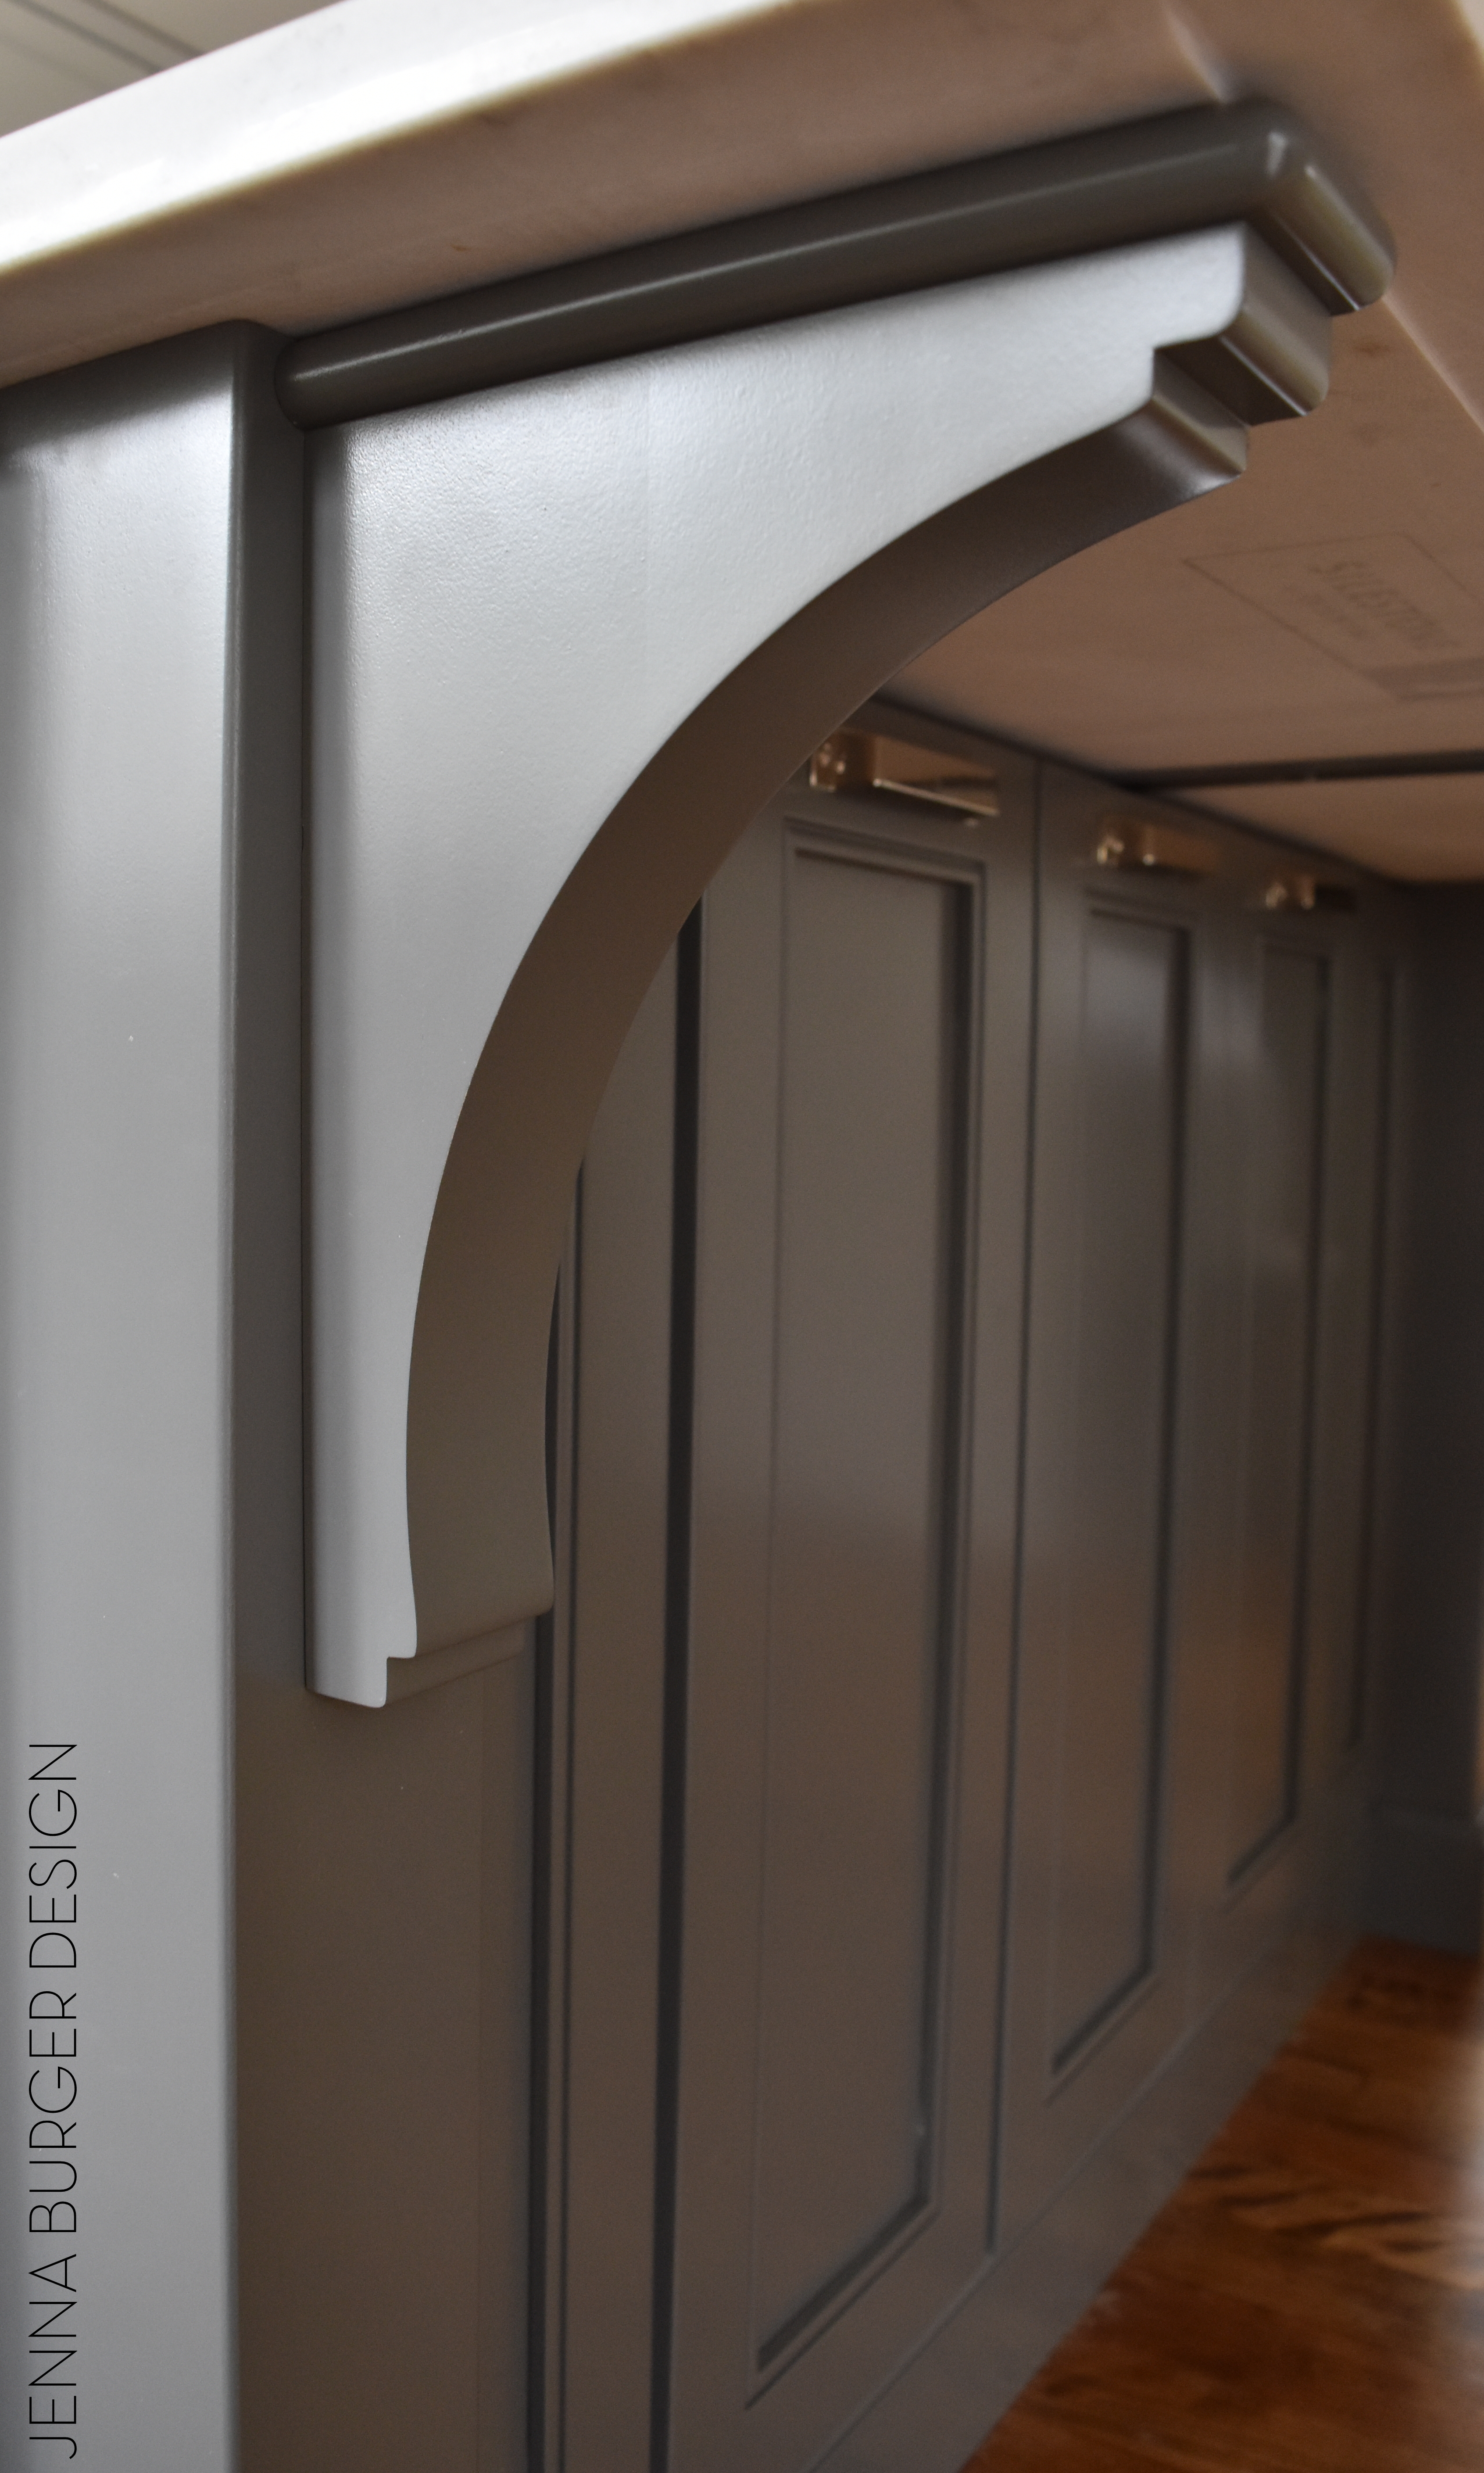
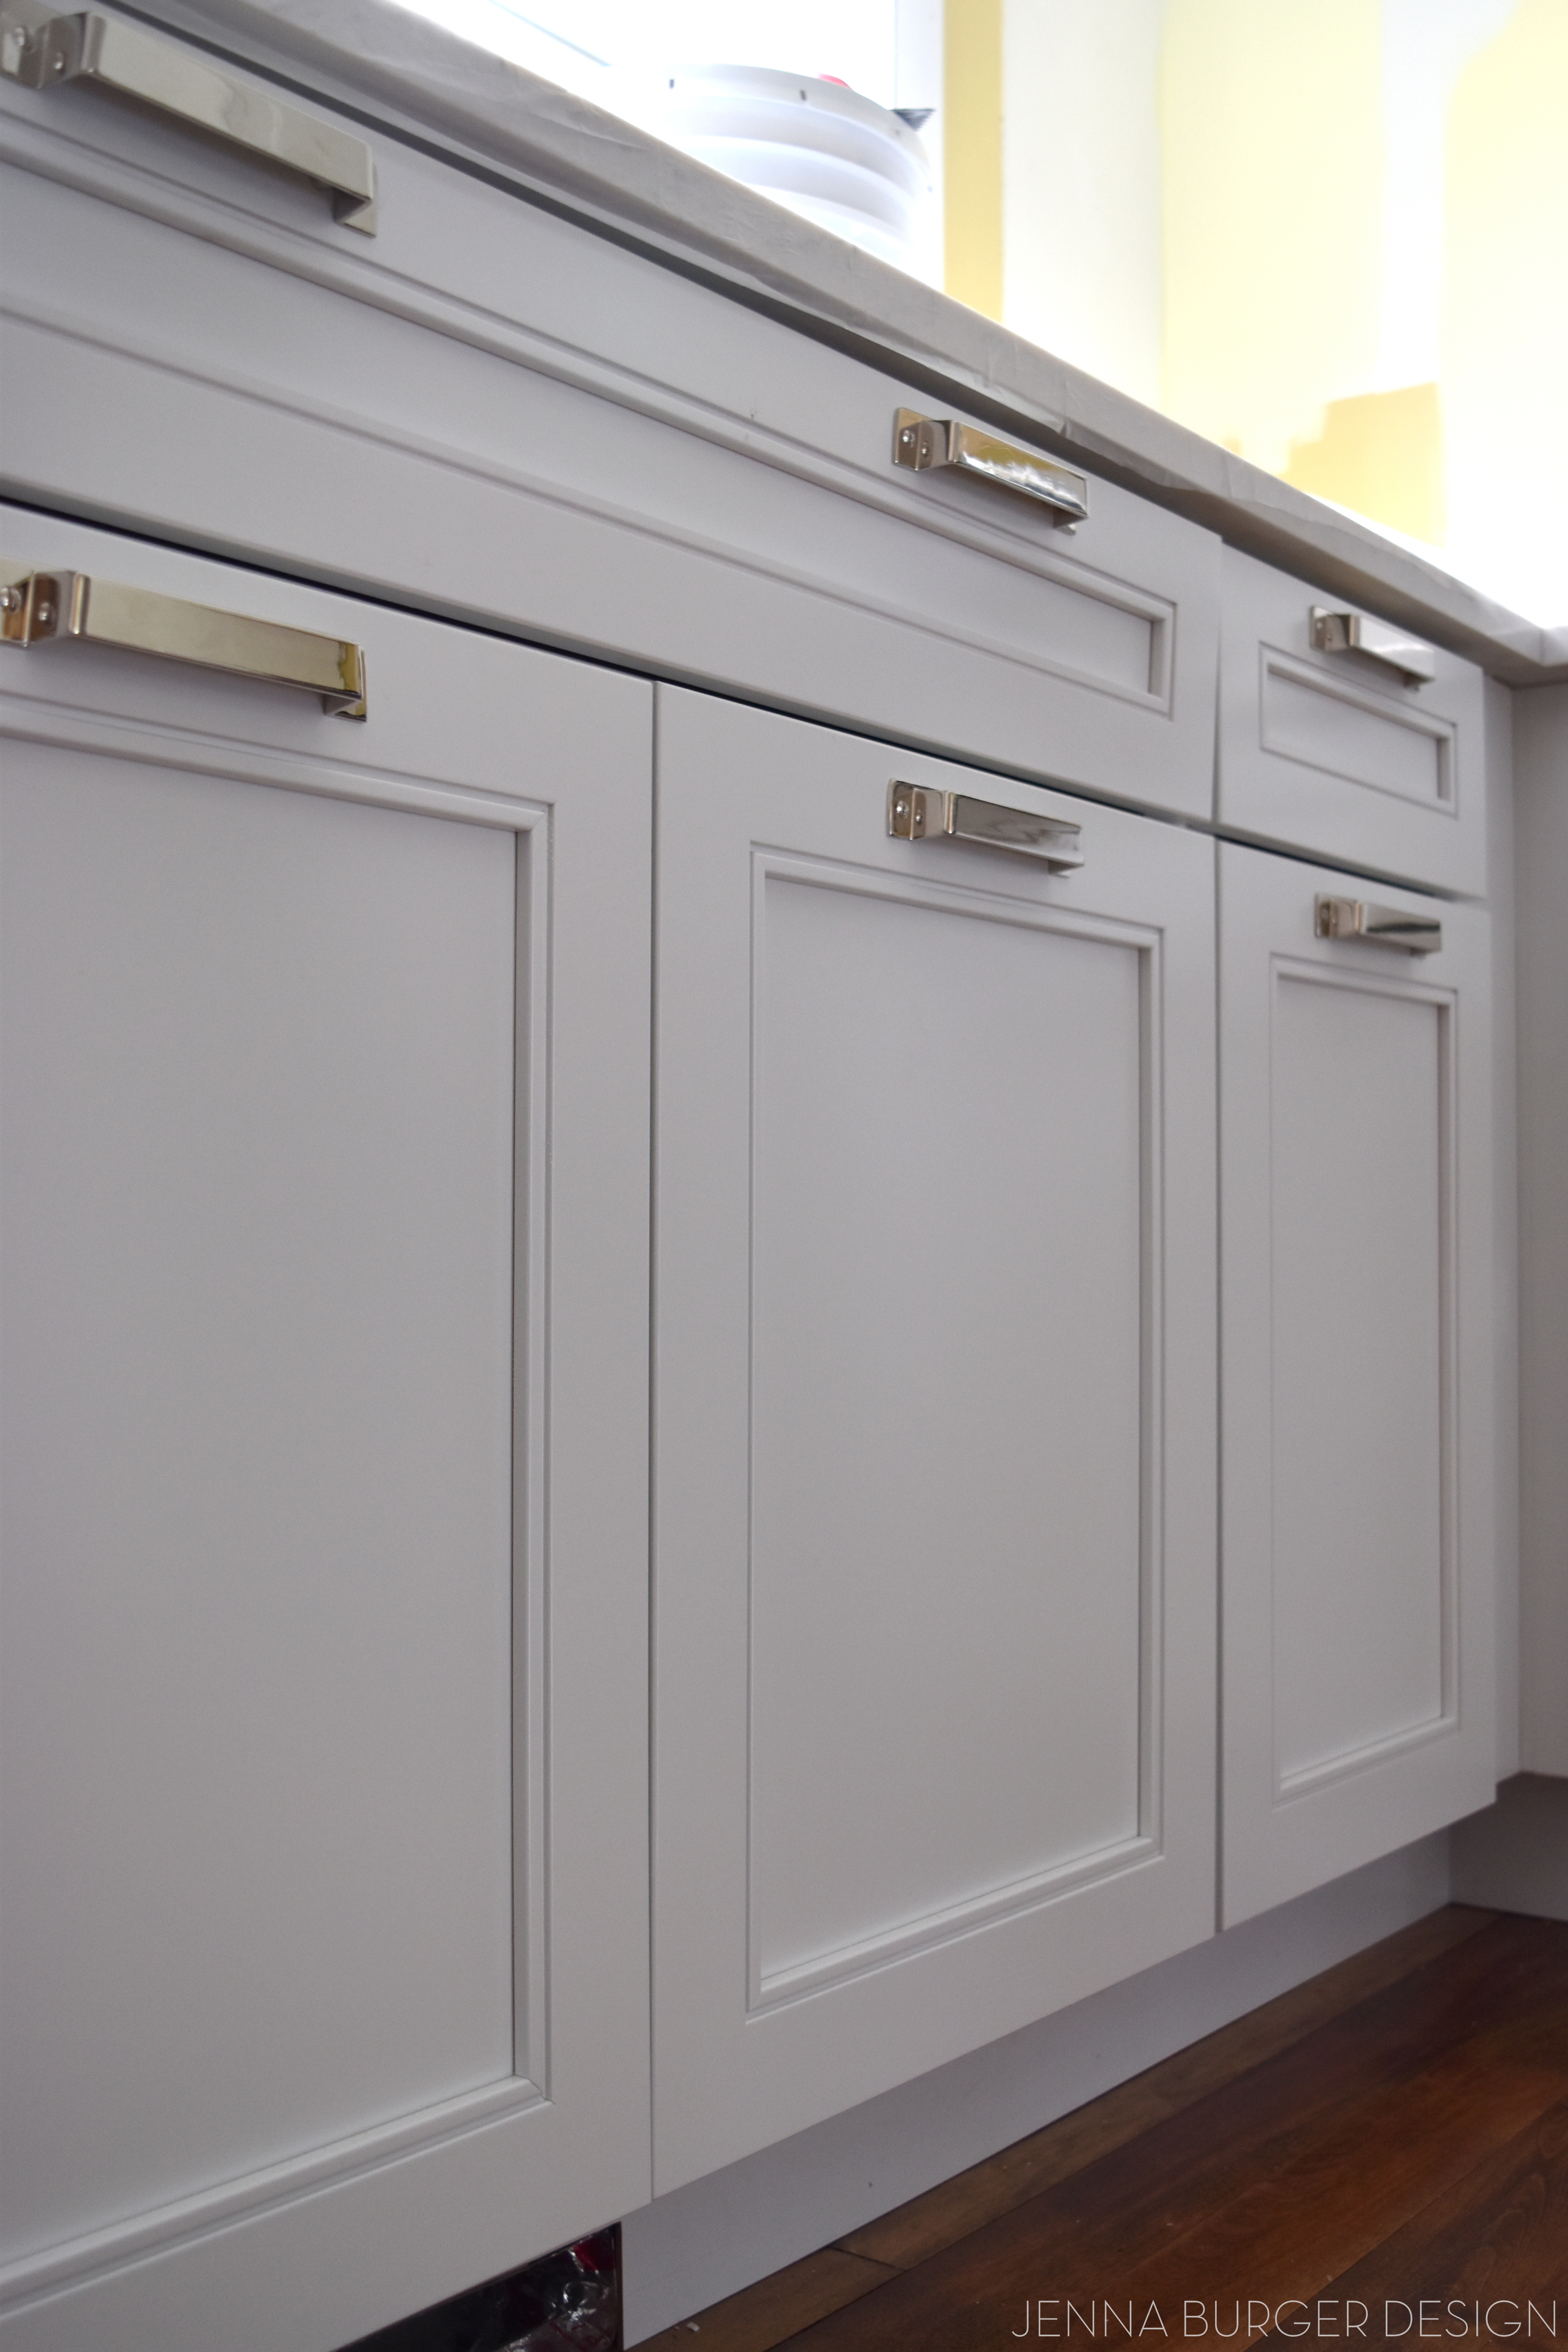
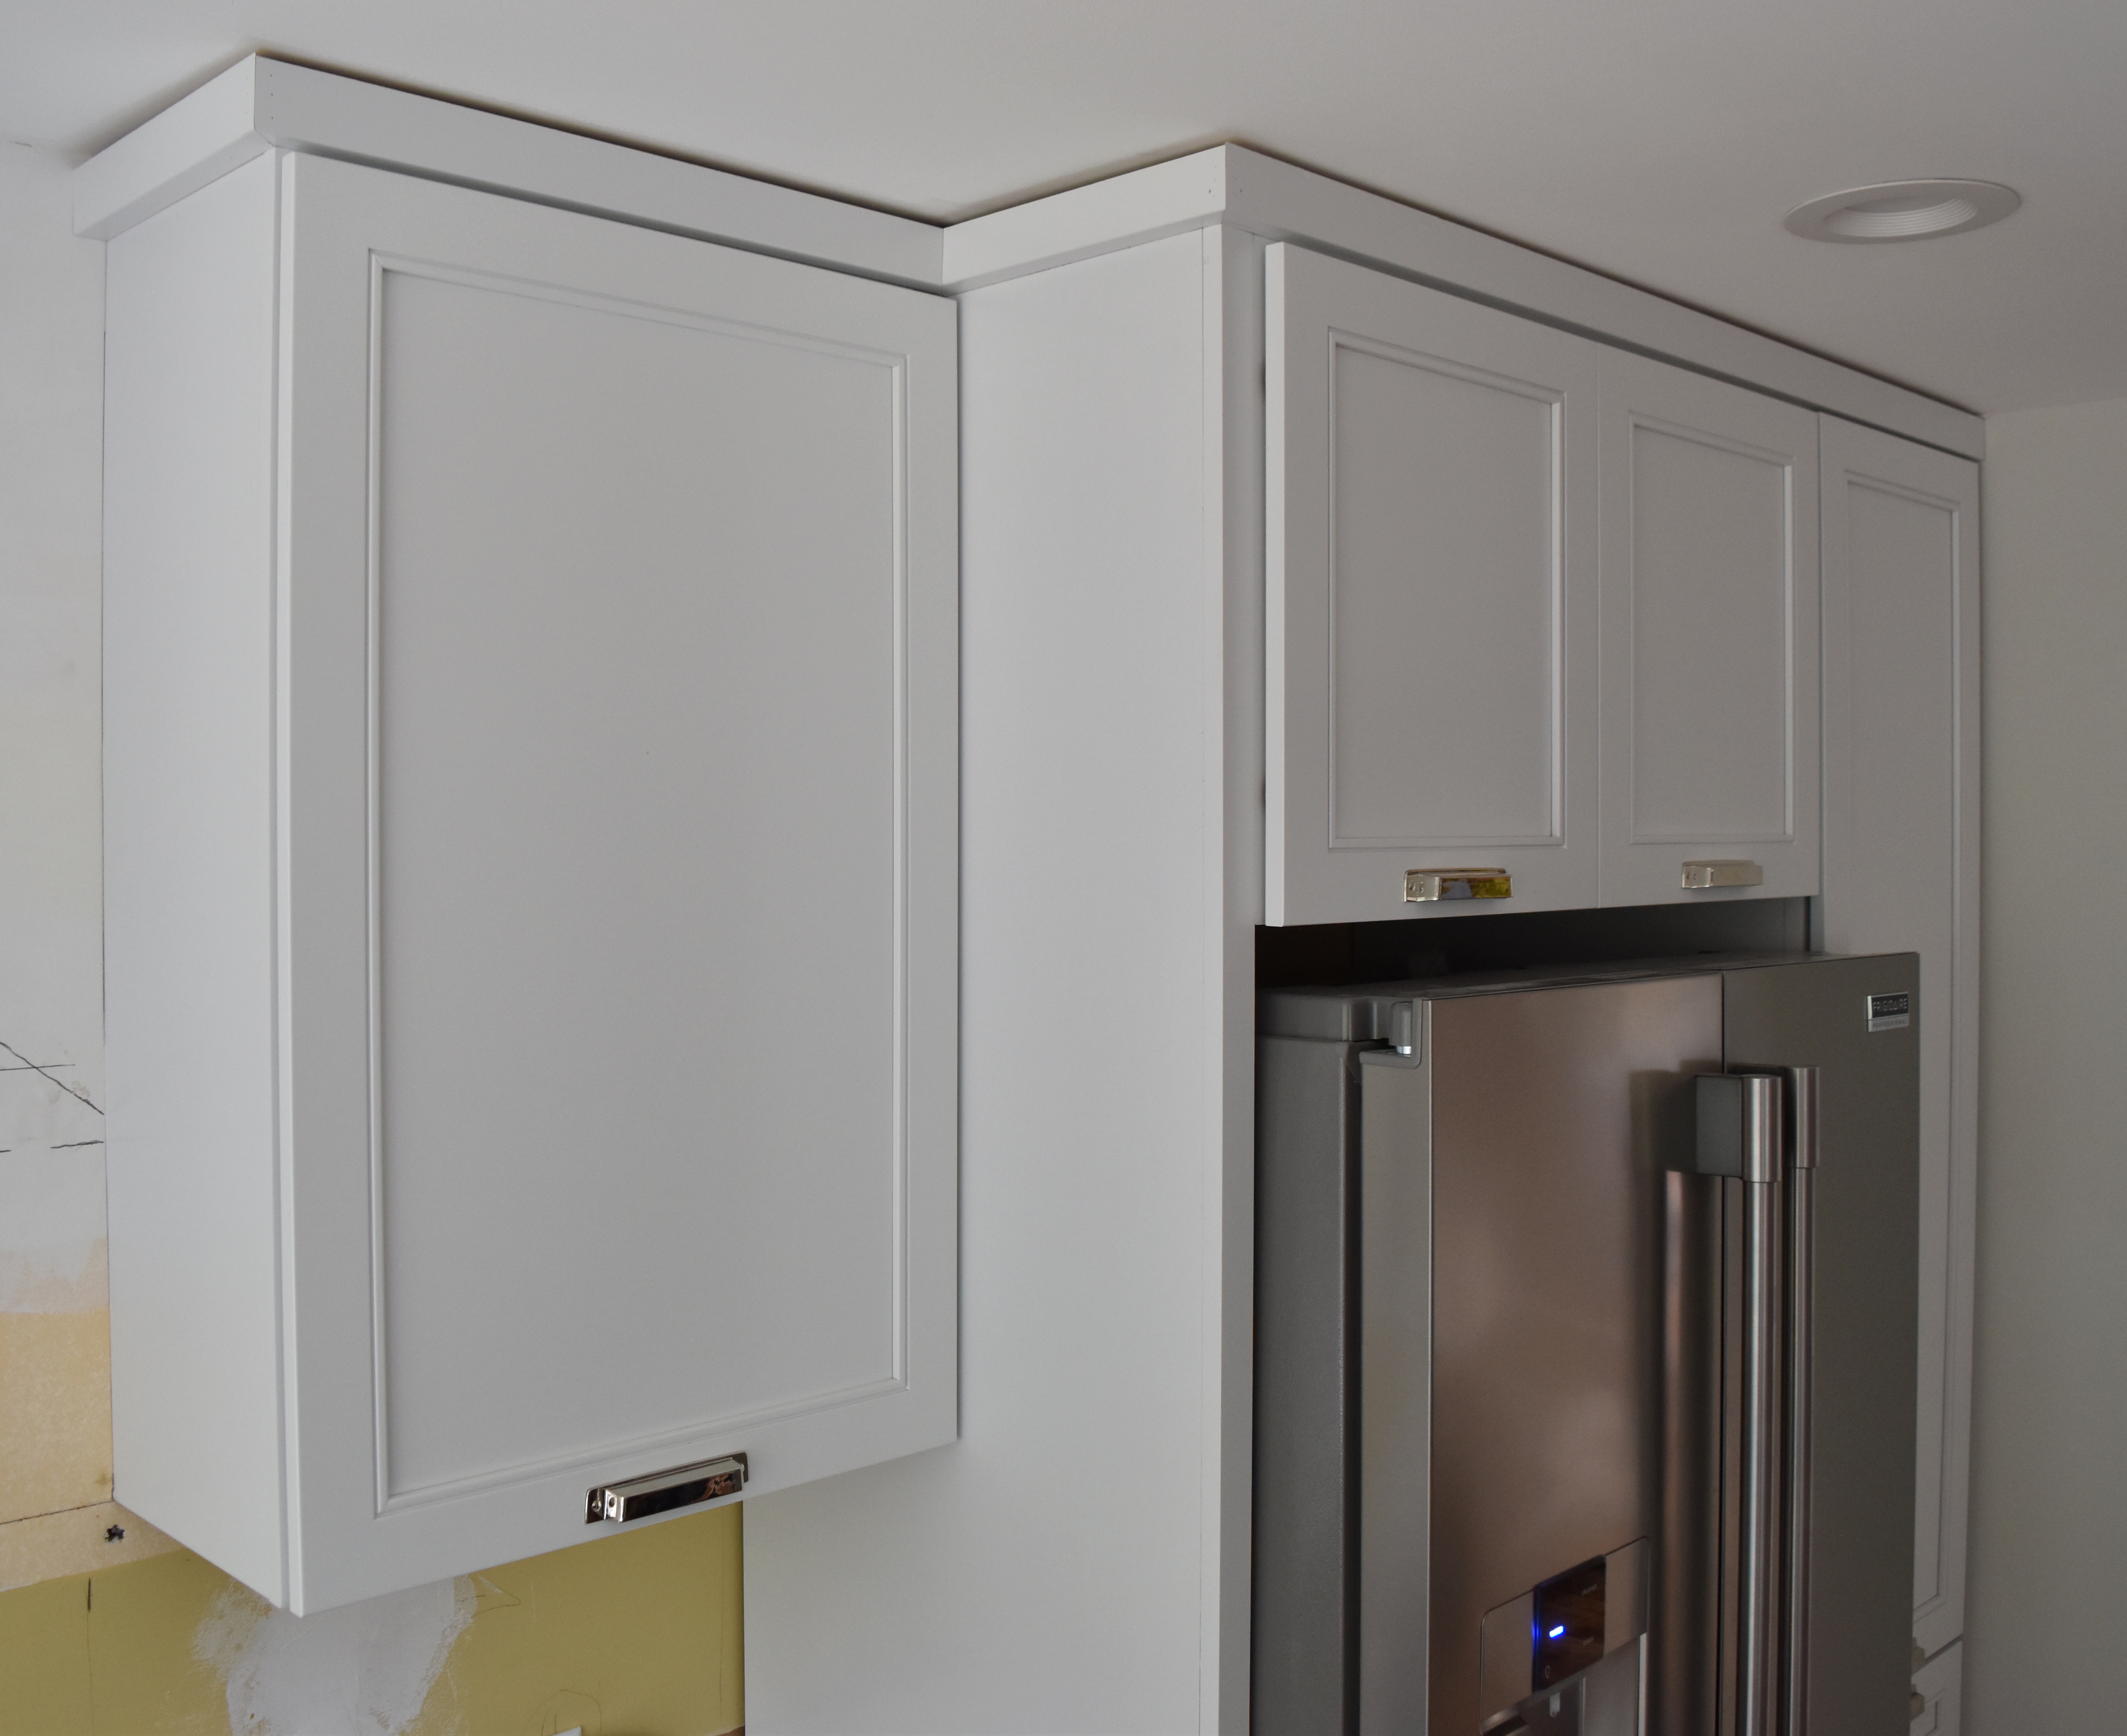
For this kitchen renovation, I chose the Cayden line of cabinets in Dove White (perimeter cabinets) + Greyloft (island cabinets) by Kraftmaid. It’s a full overlay door with an inset panel and minimalist detailing.
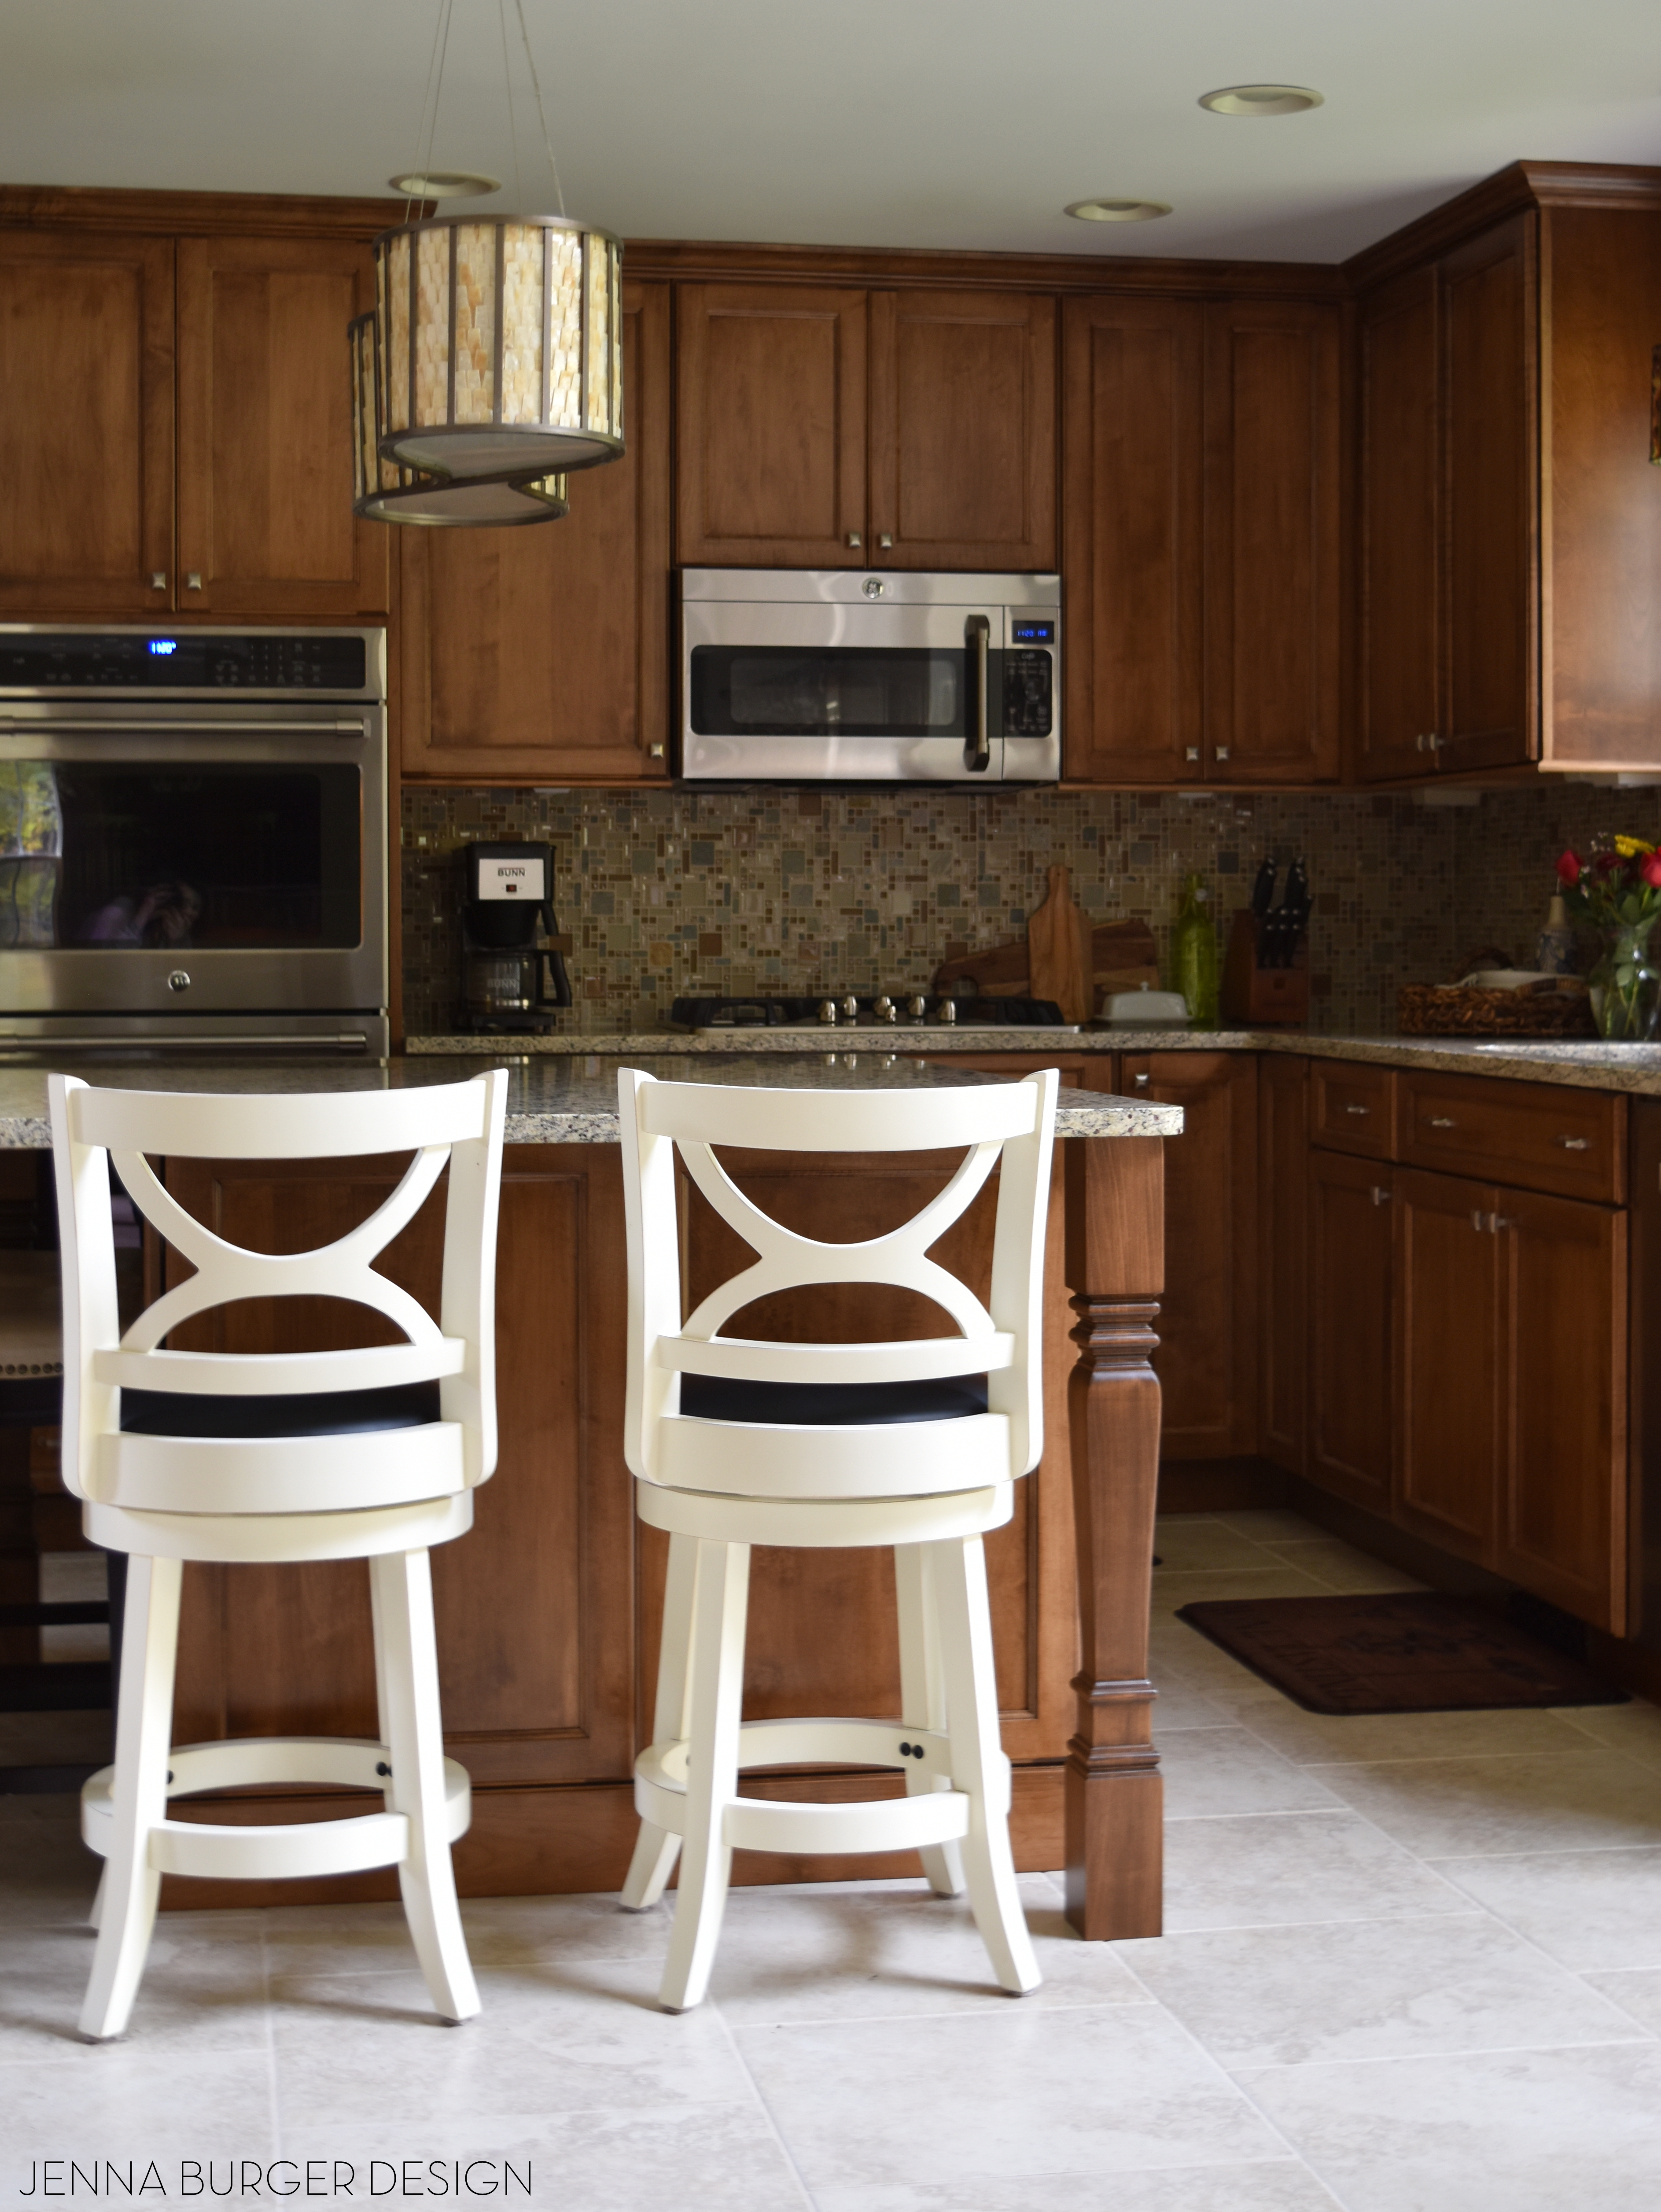
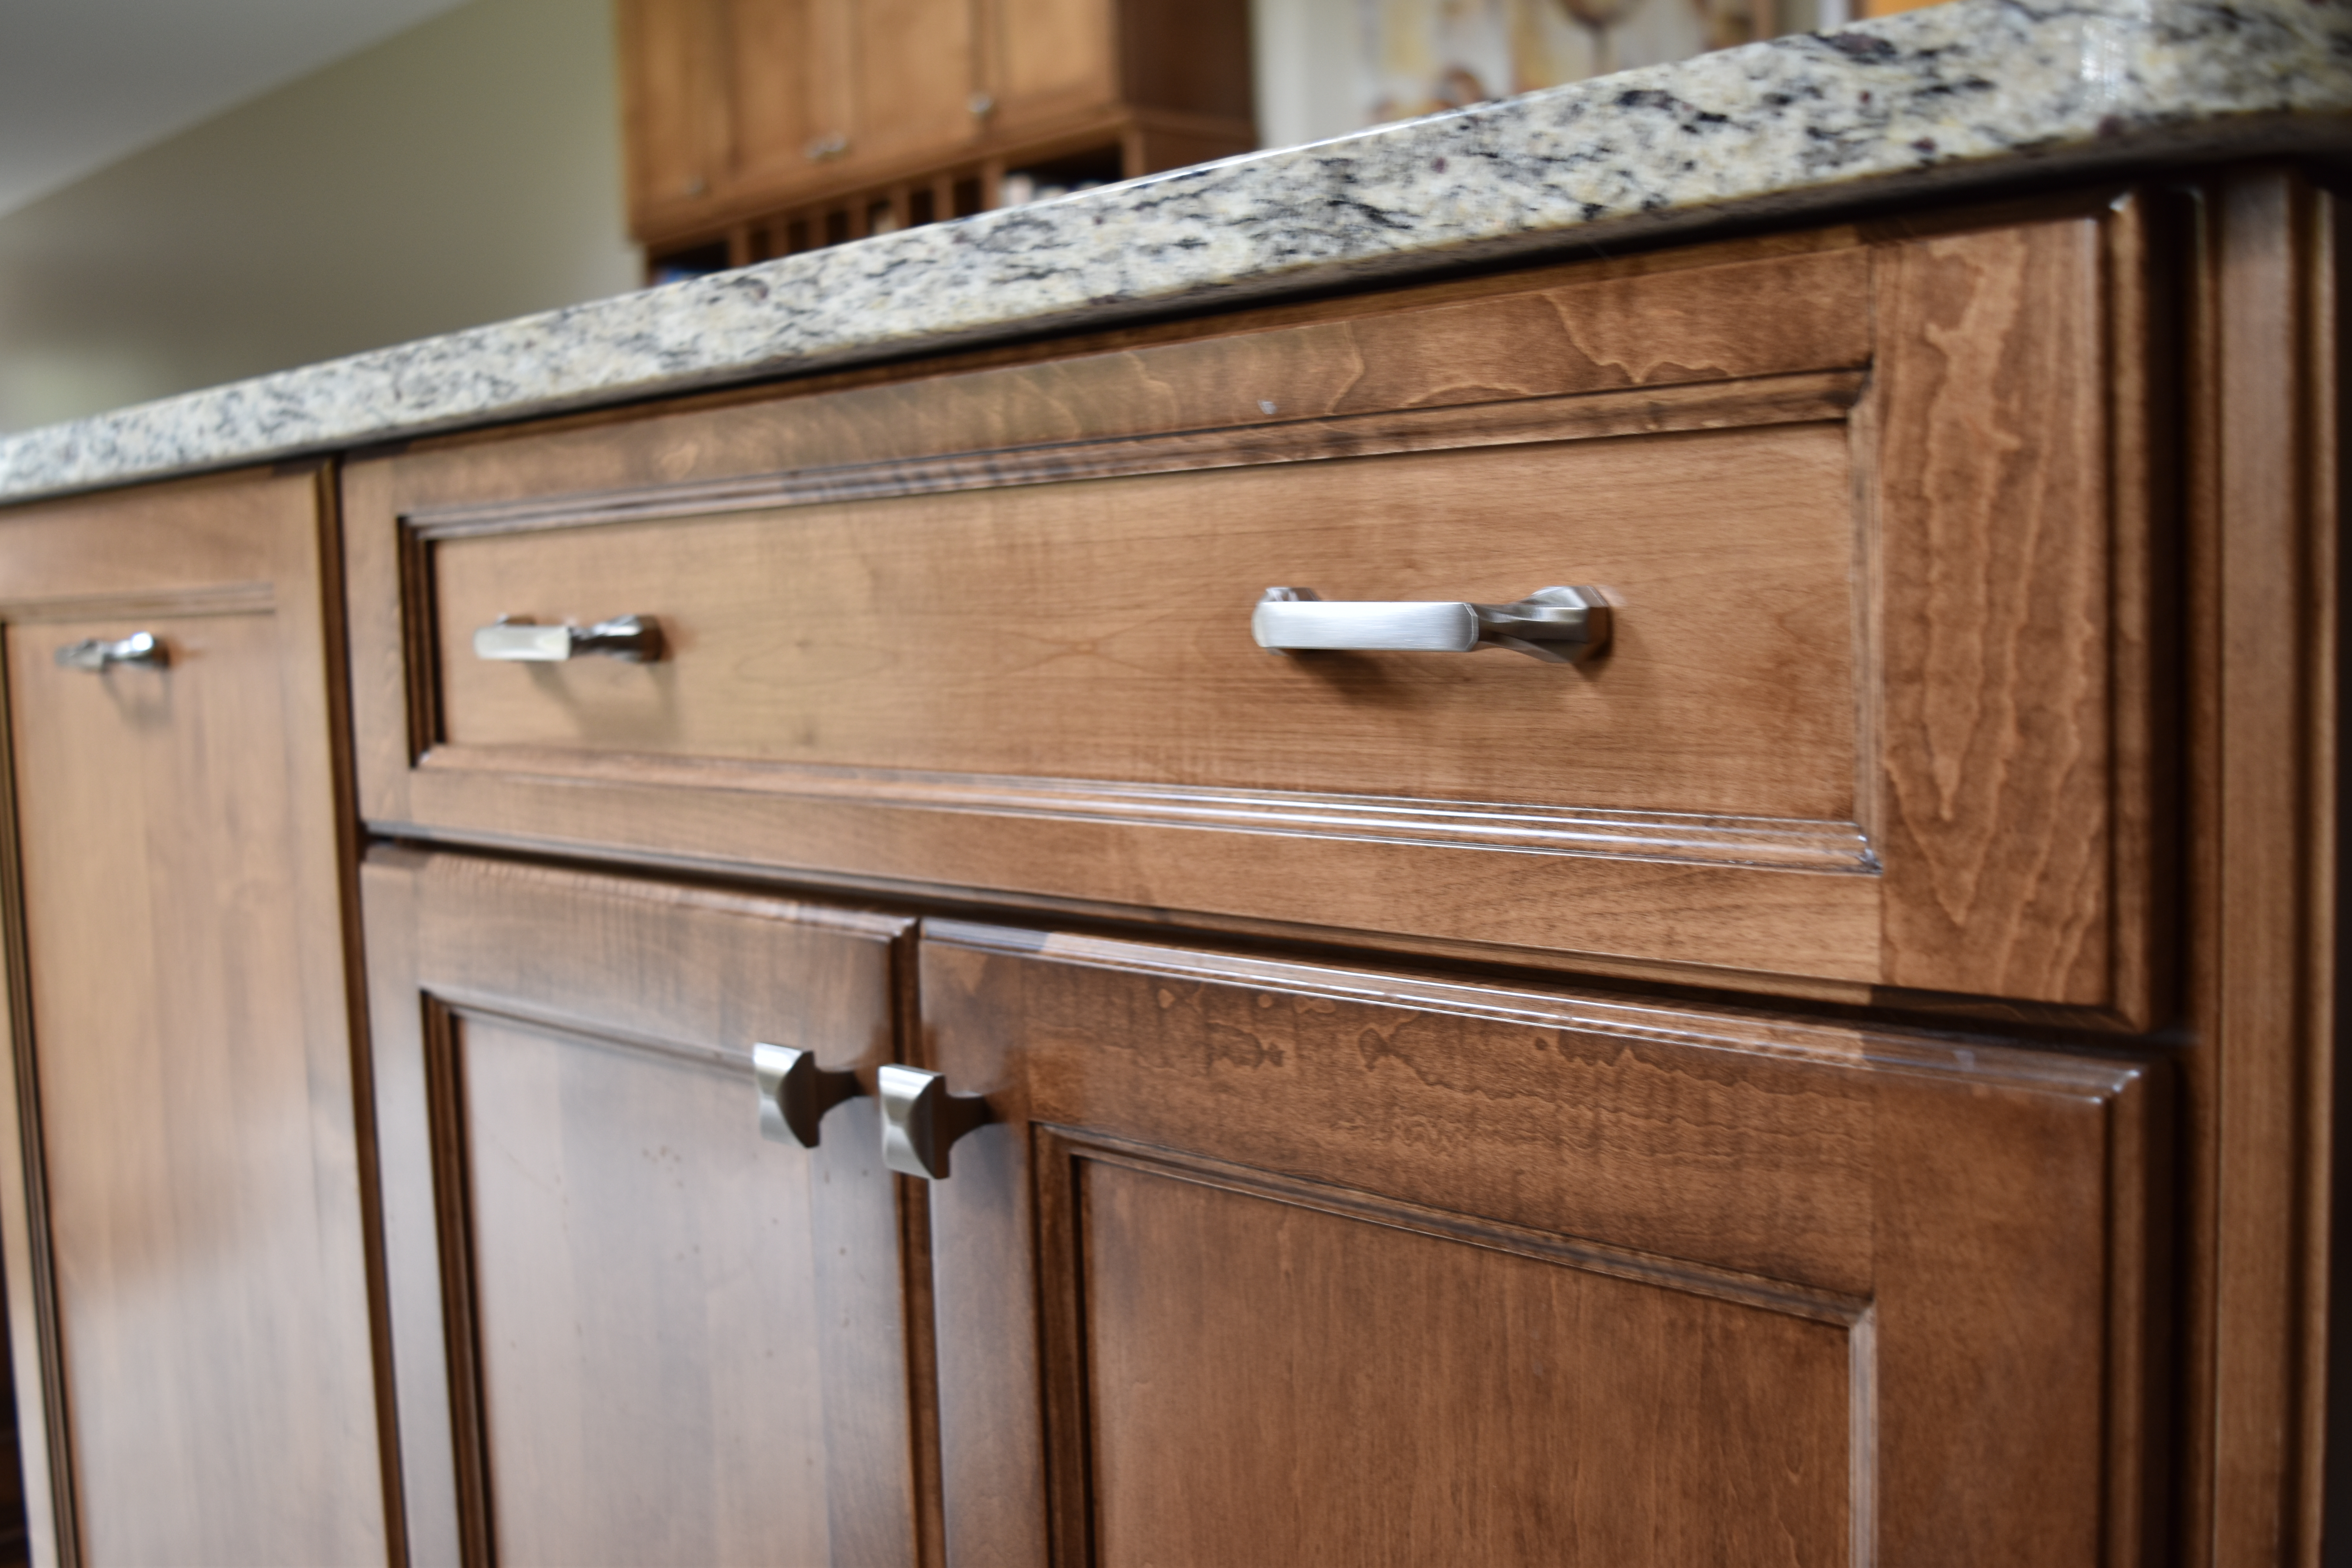
For the hardware, I chose the sleek polished nickel Fordham pull.
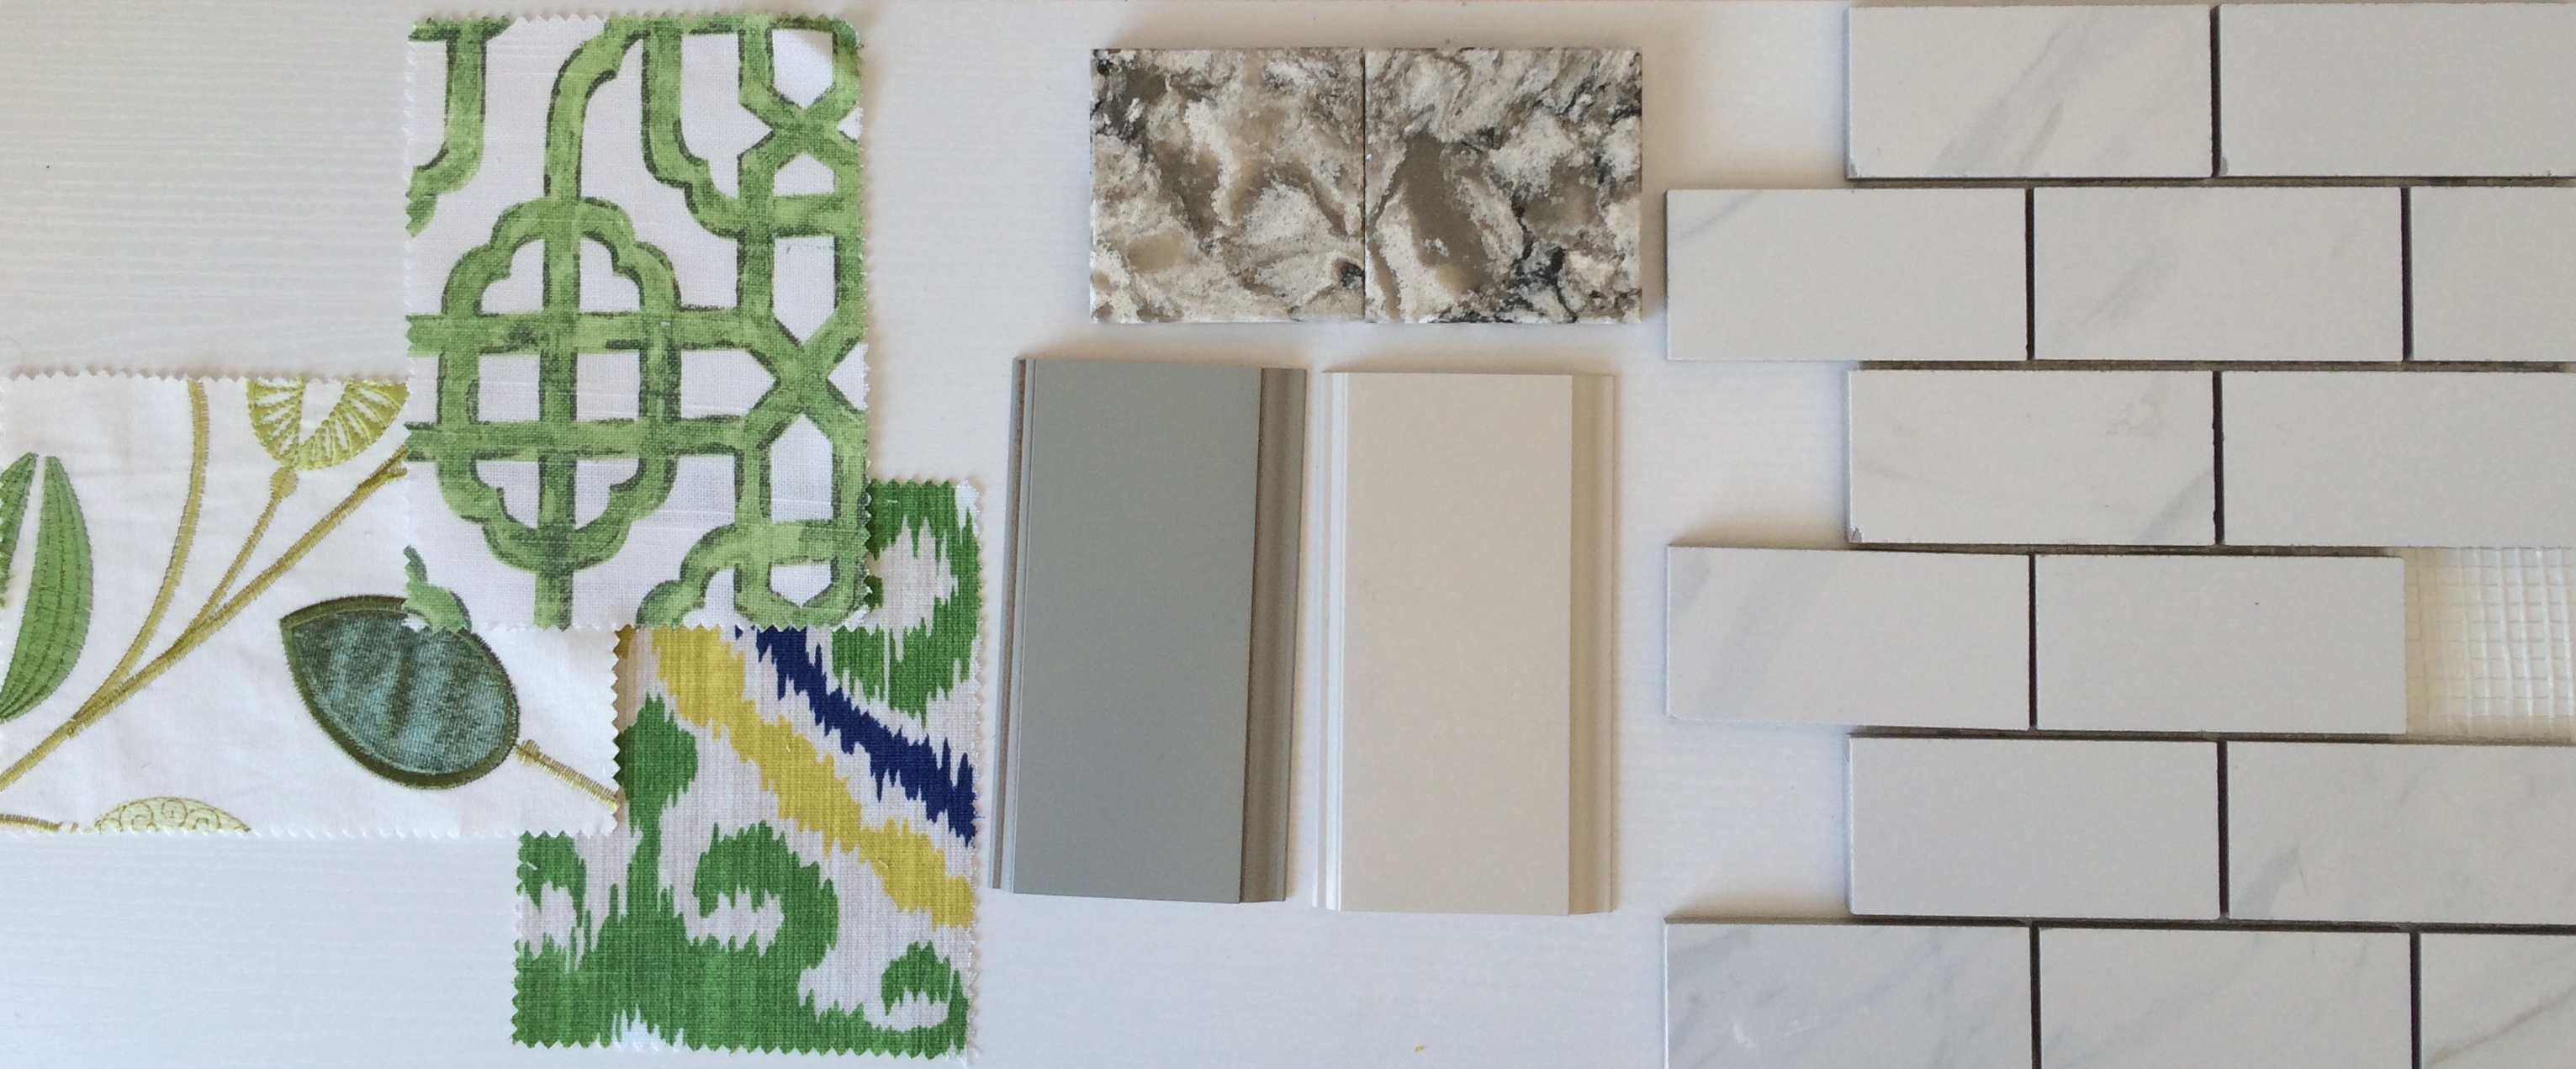
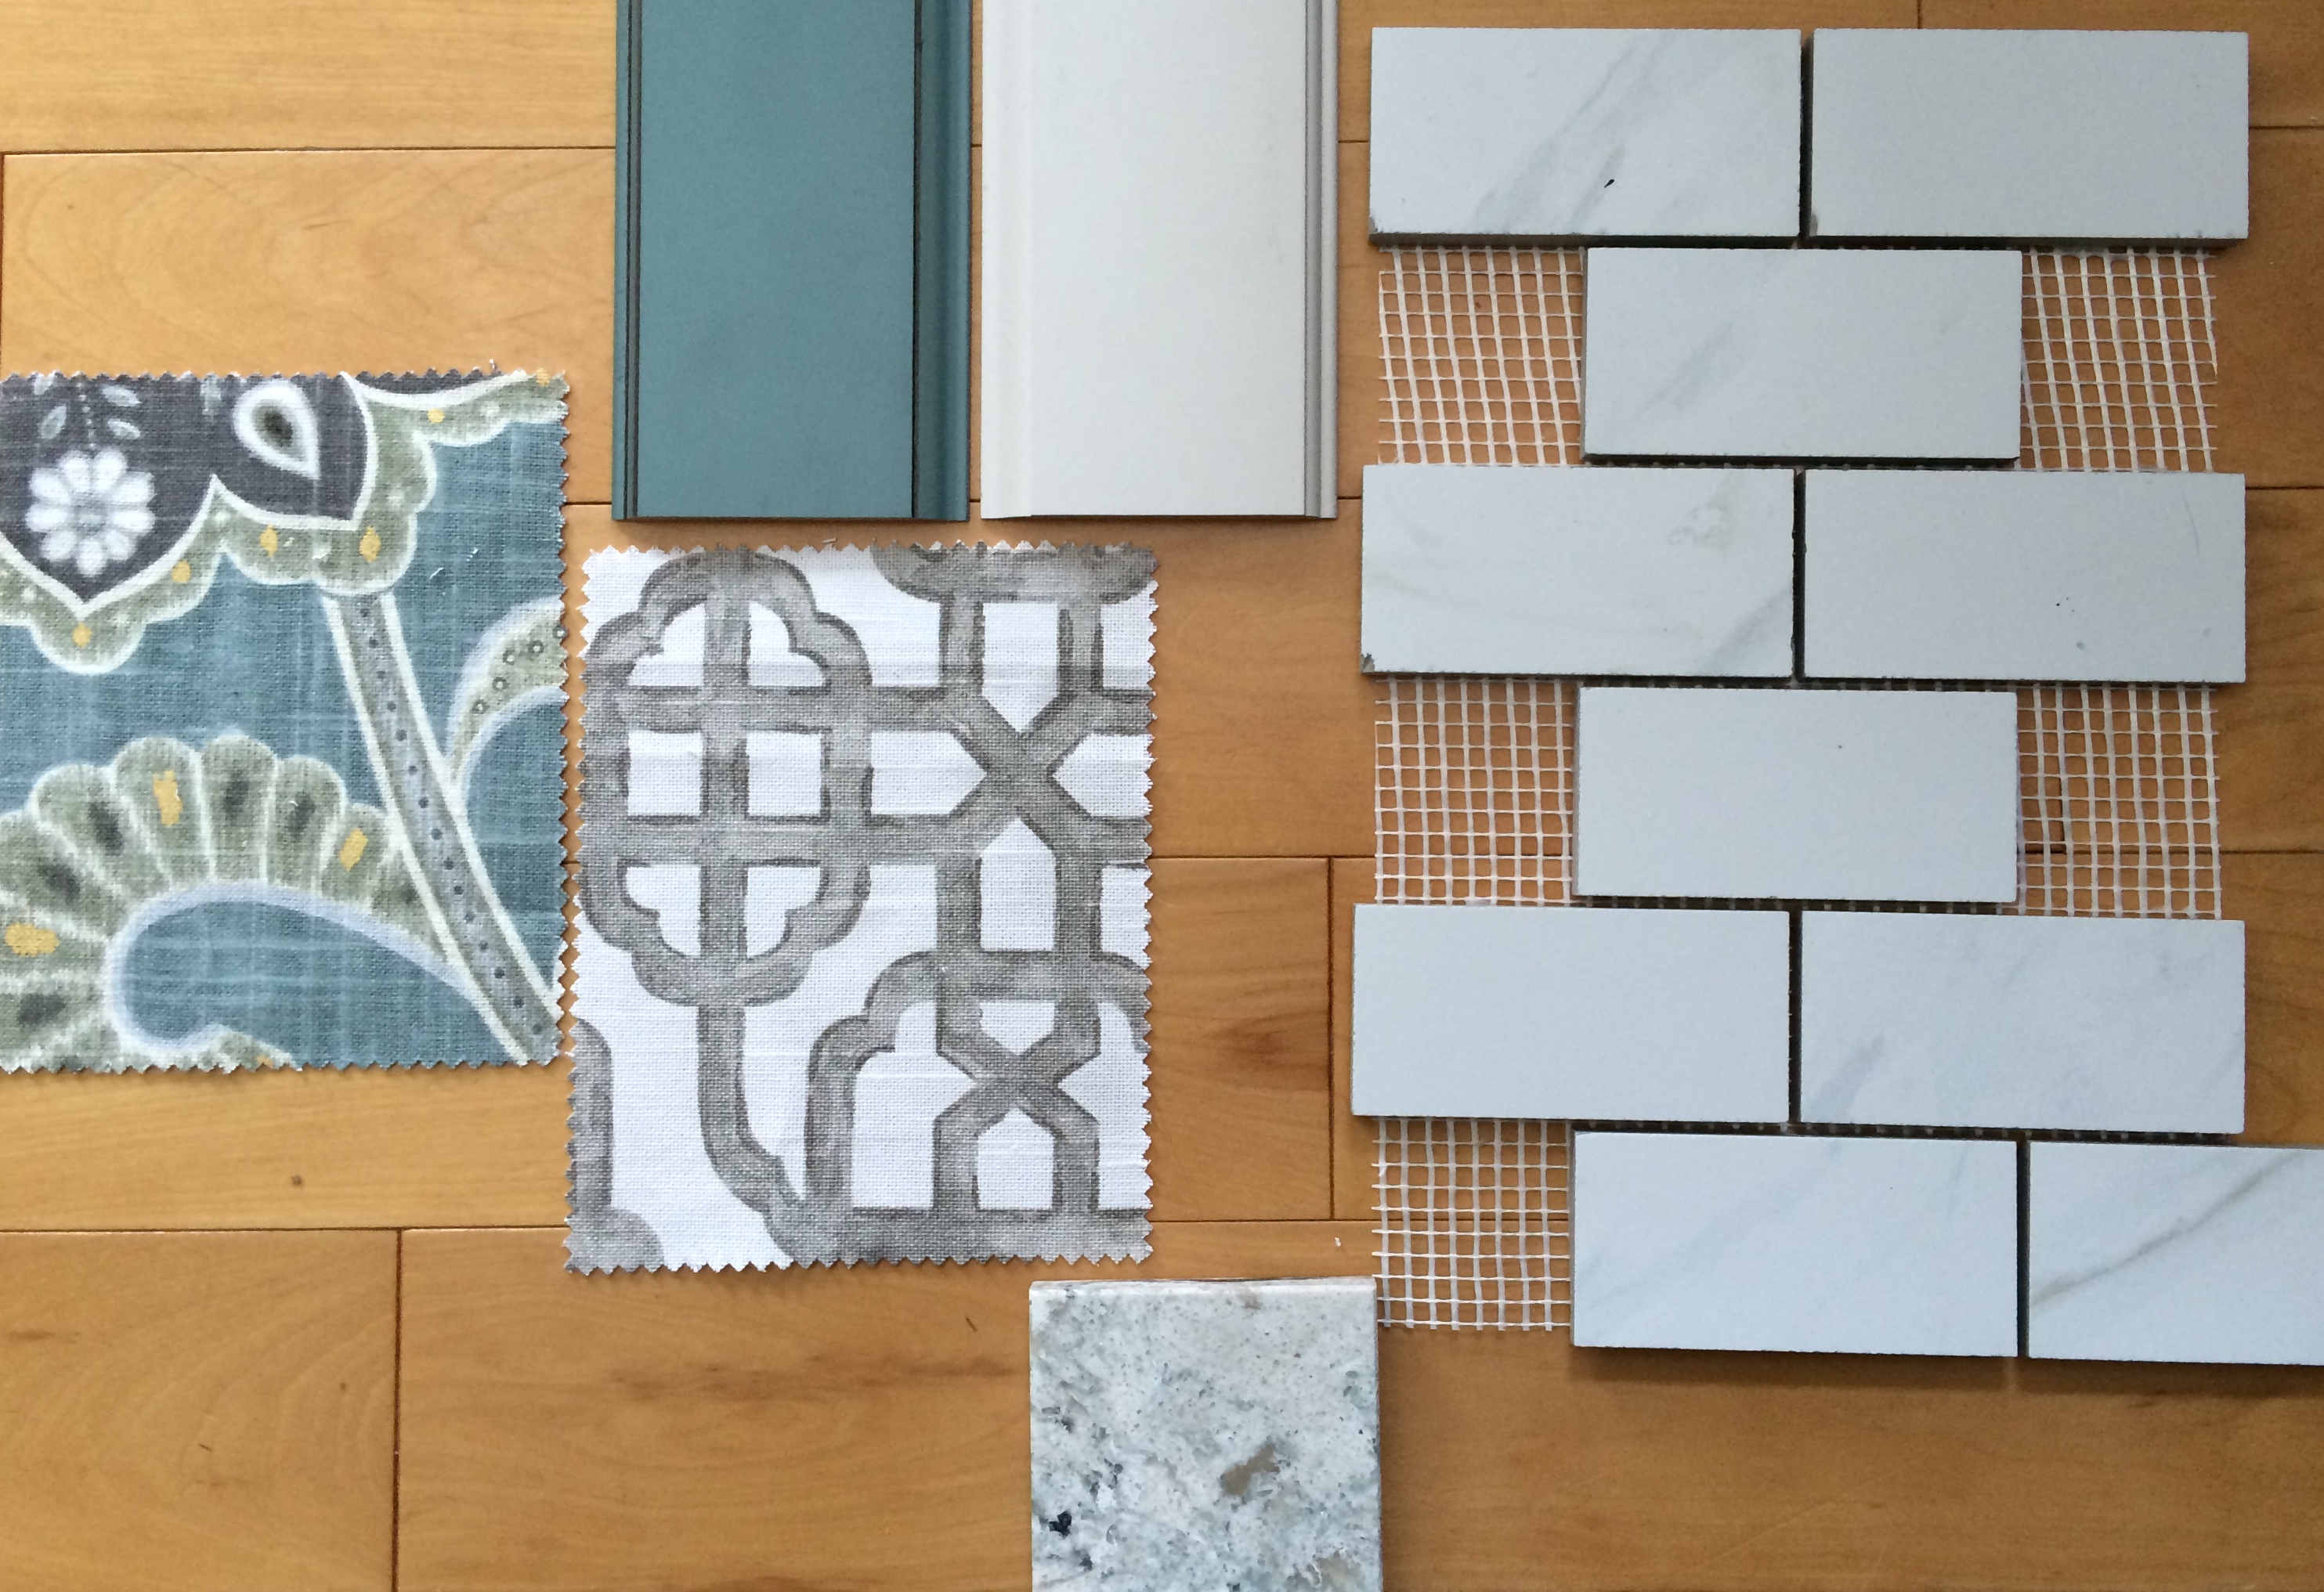
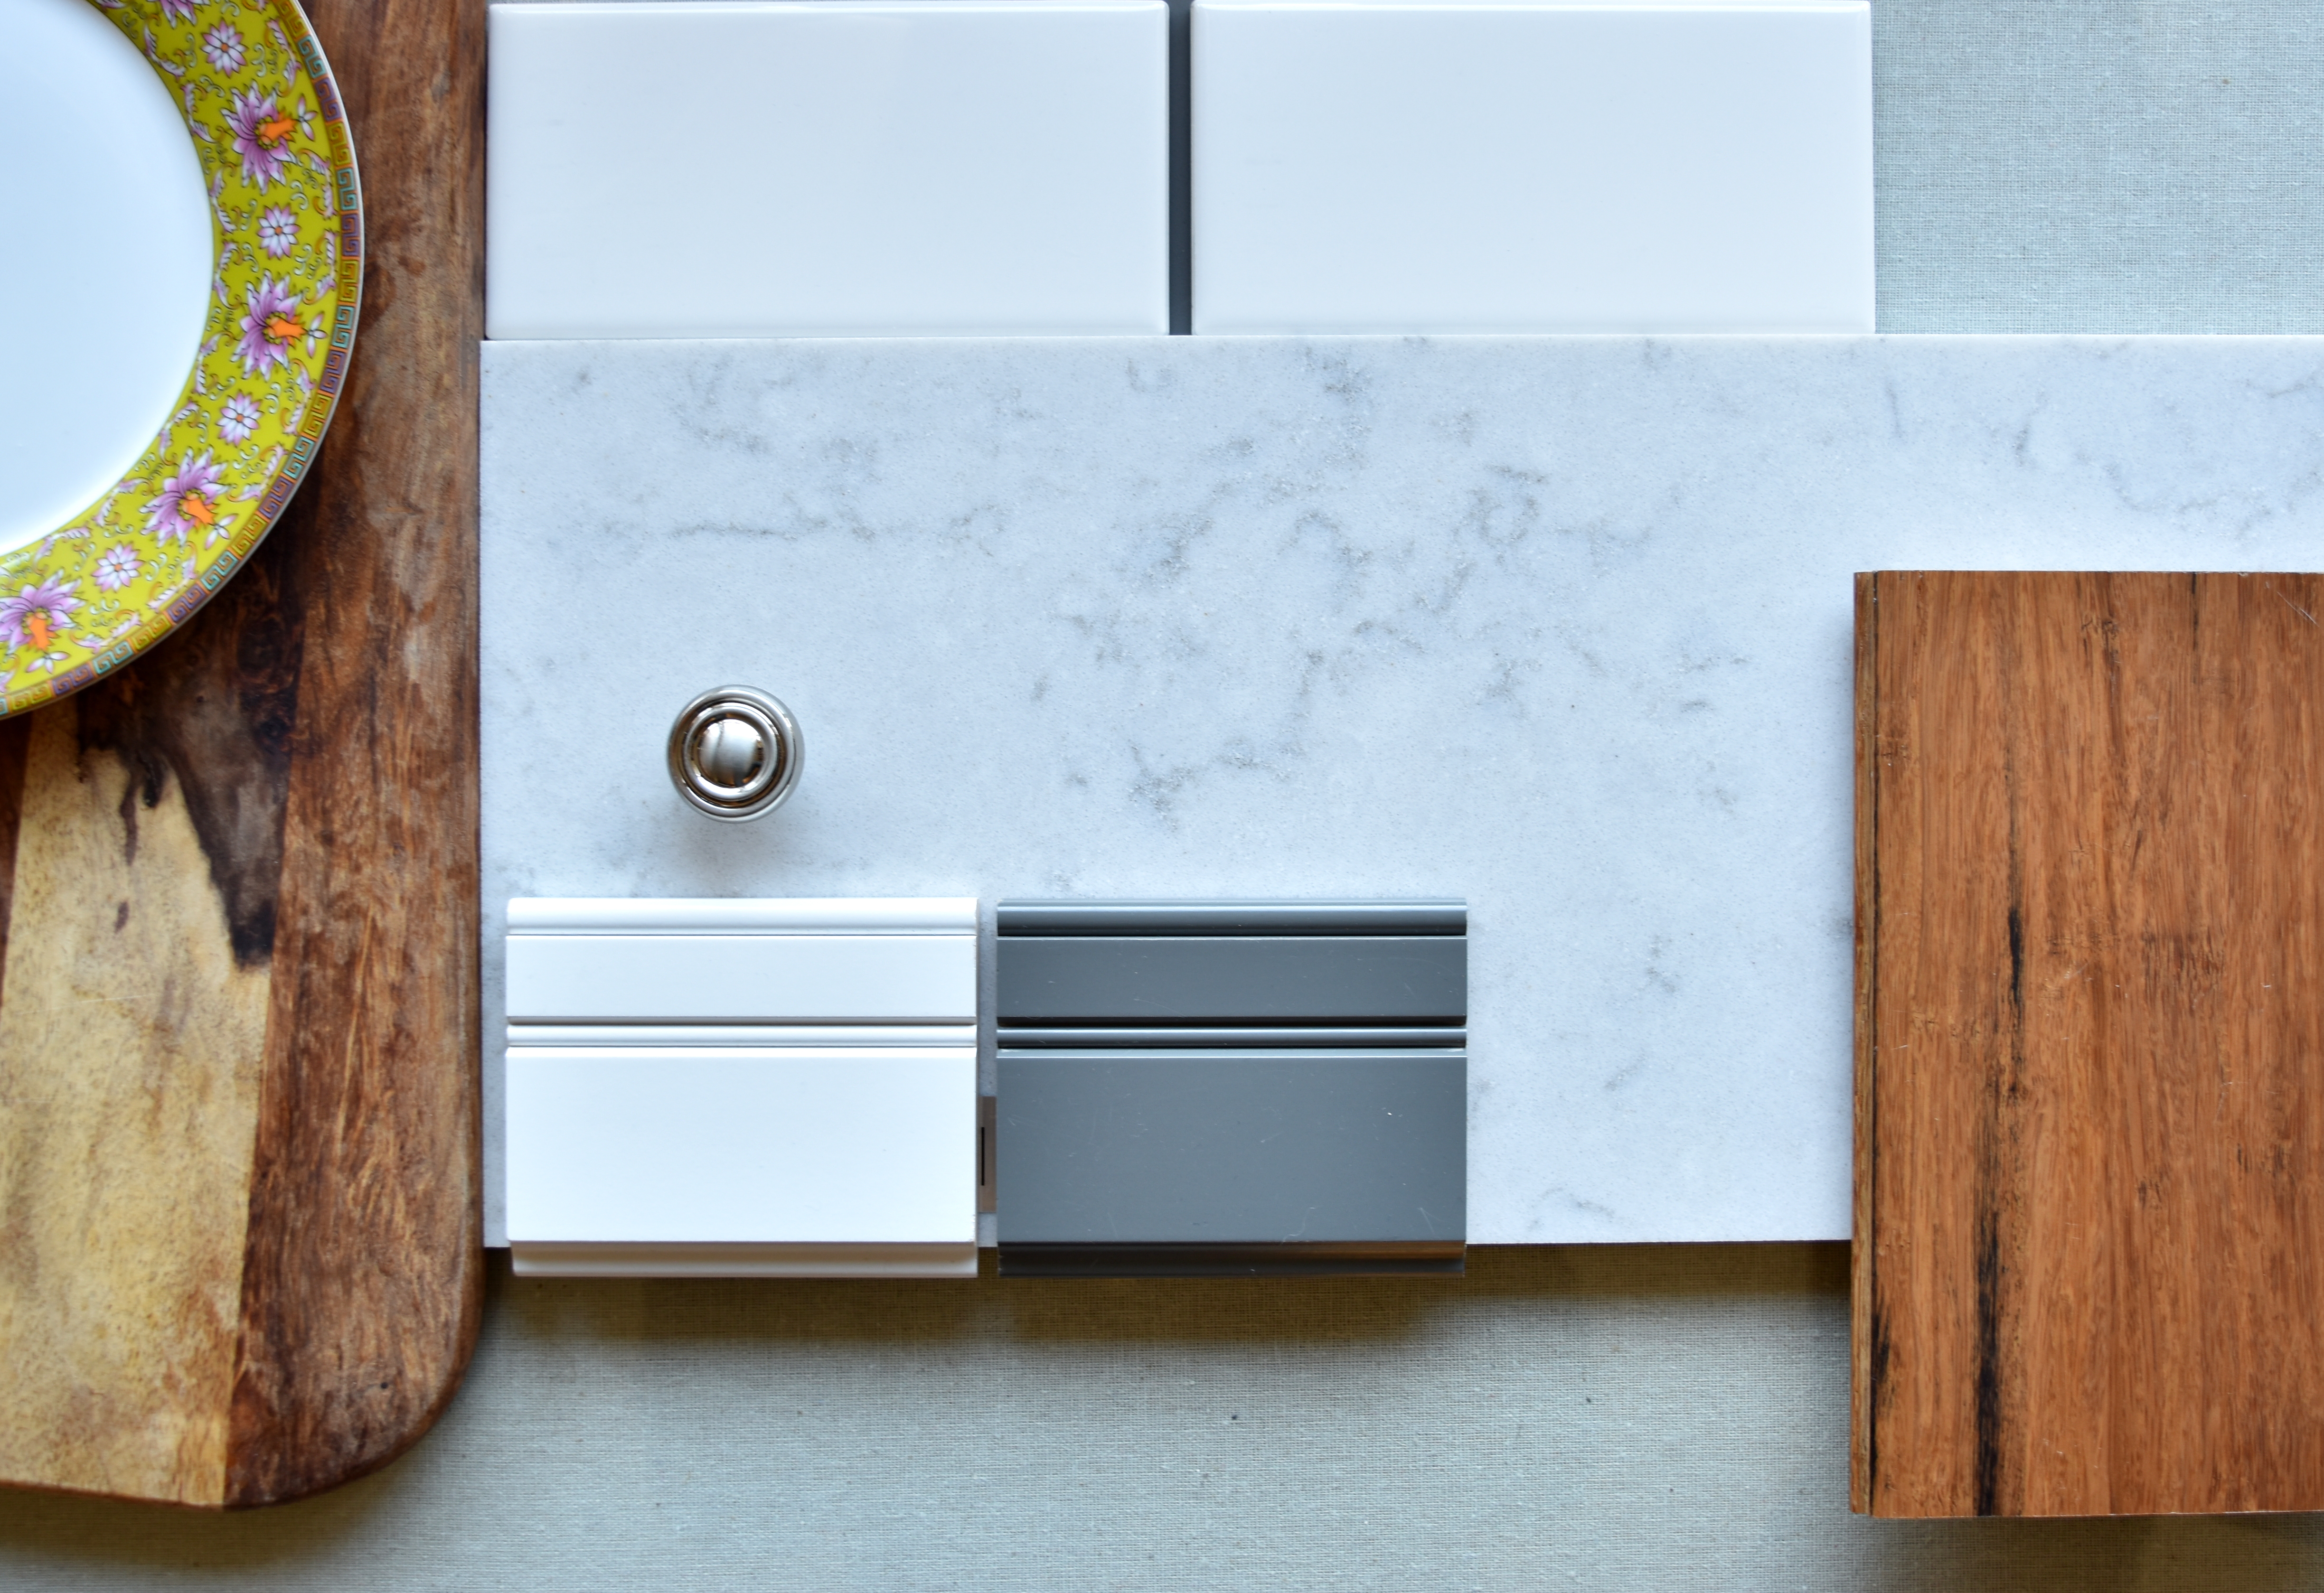
This was the palette that I created during the design phase and the actual space is really coming together how I envisioned. squeal…
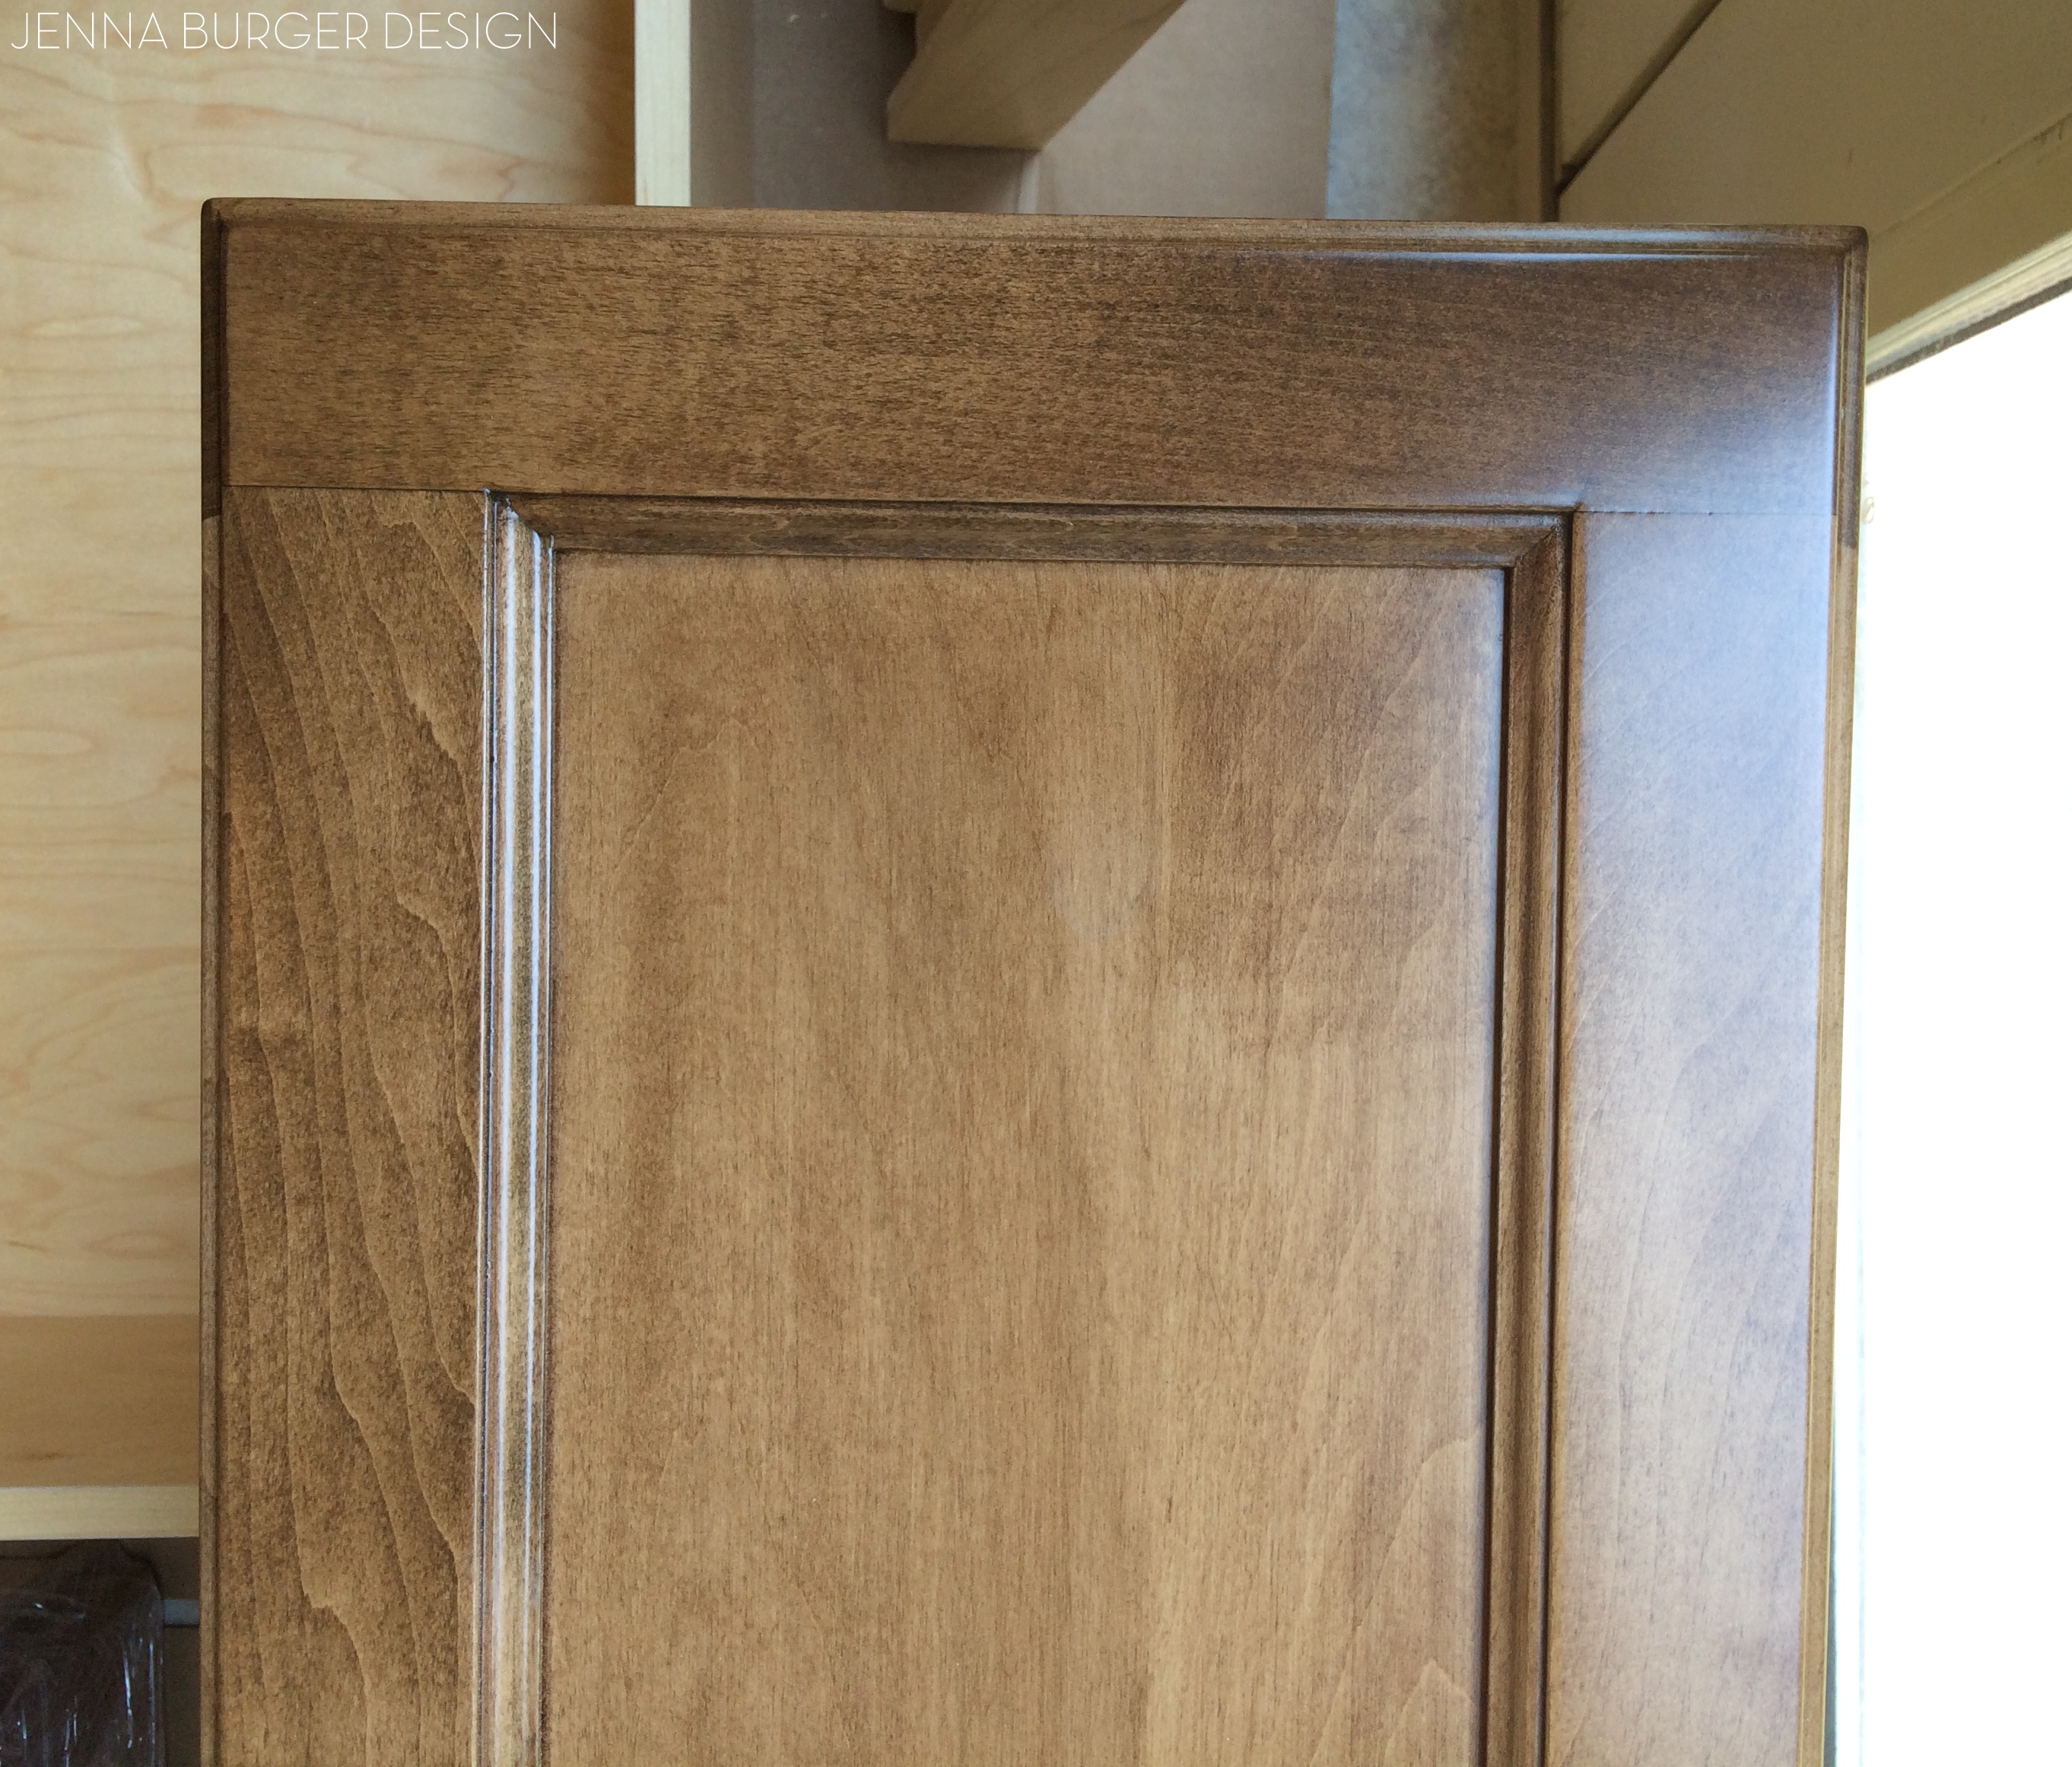
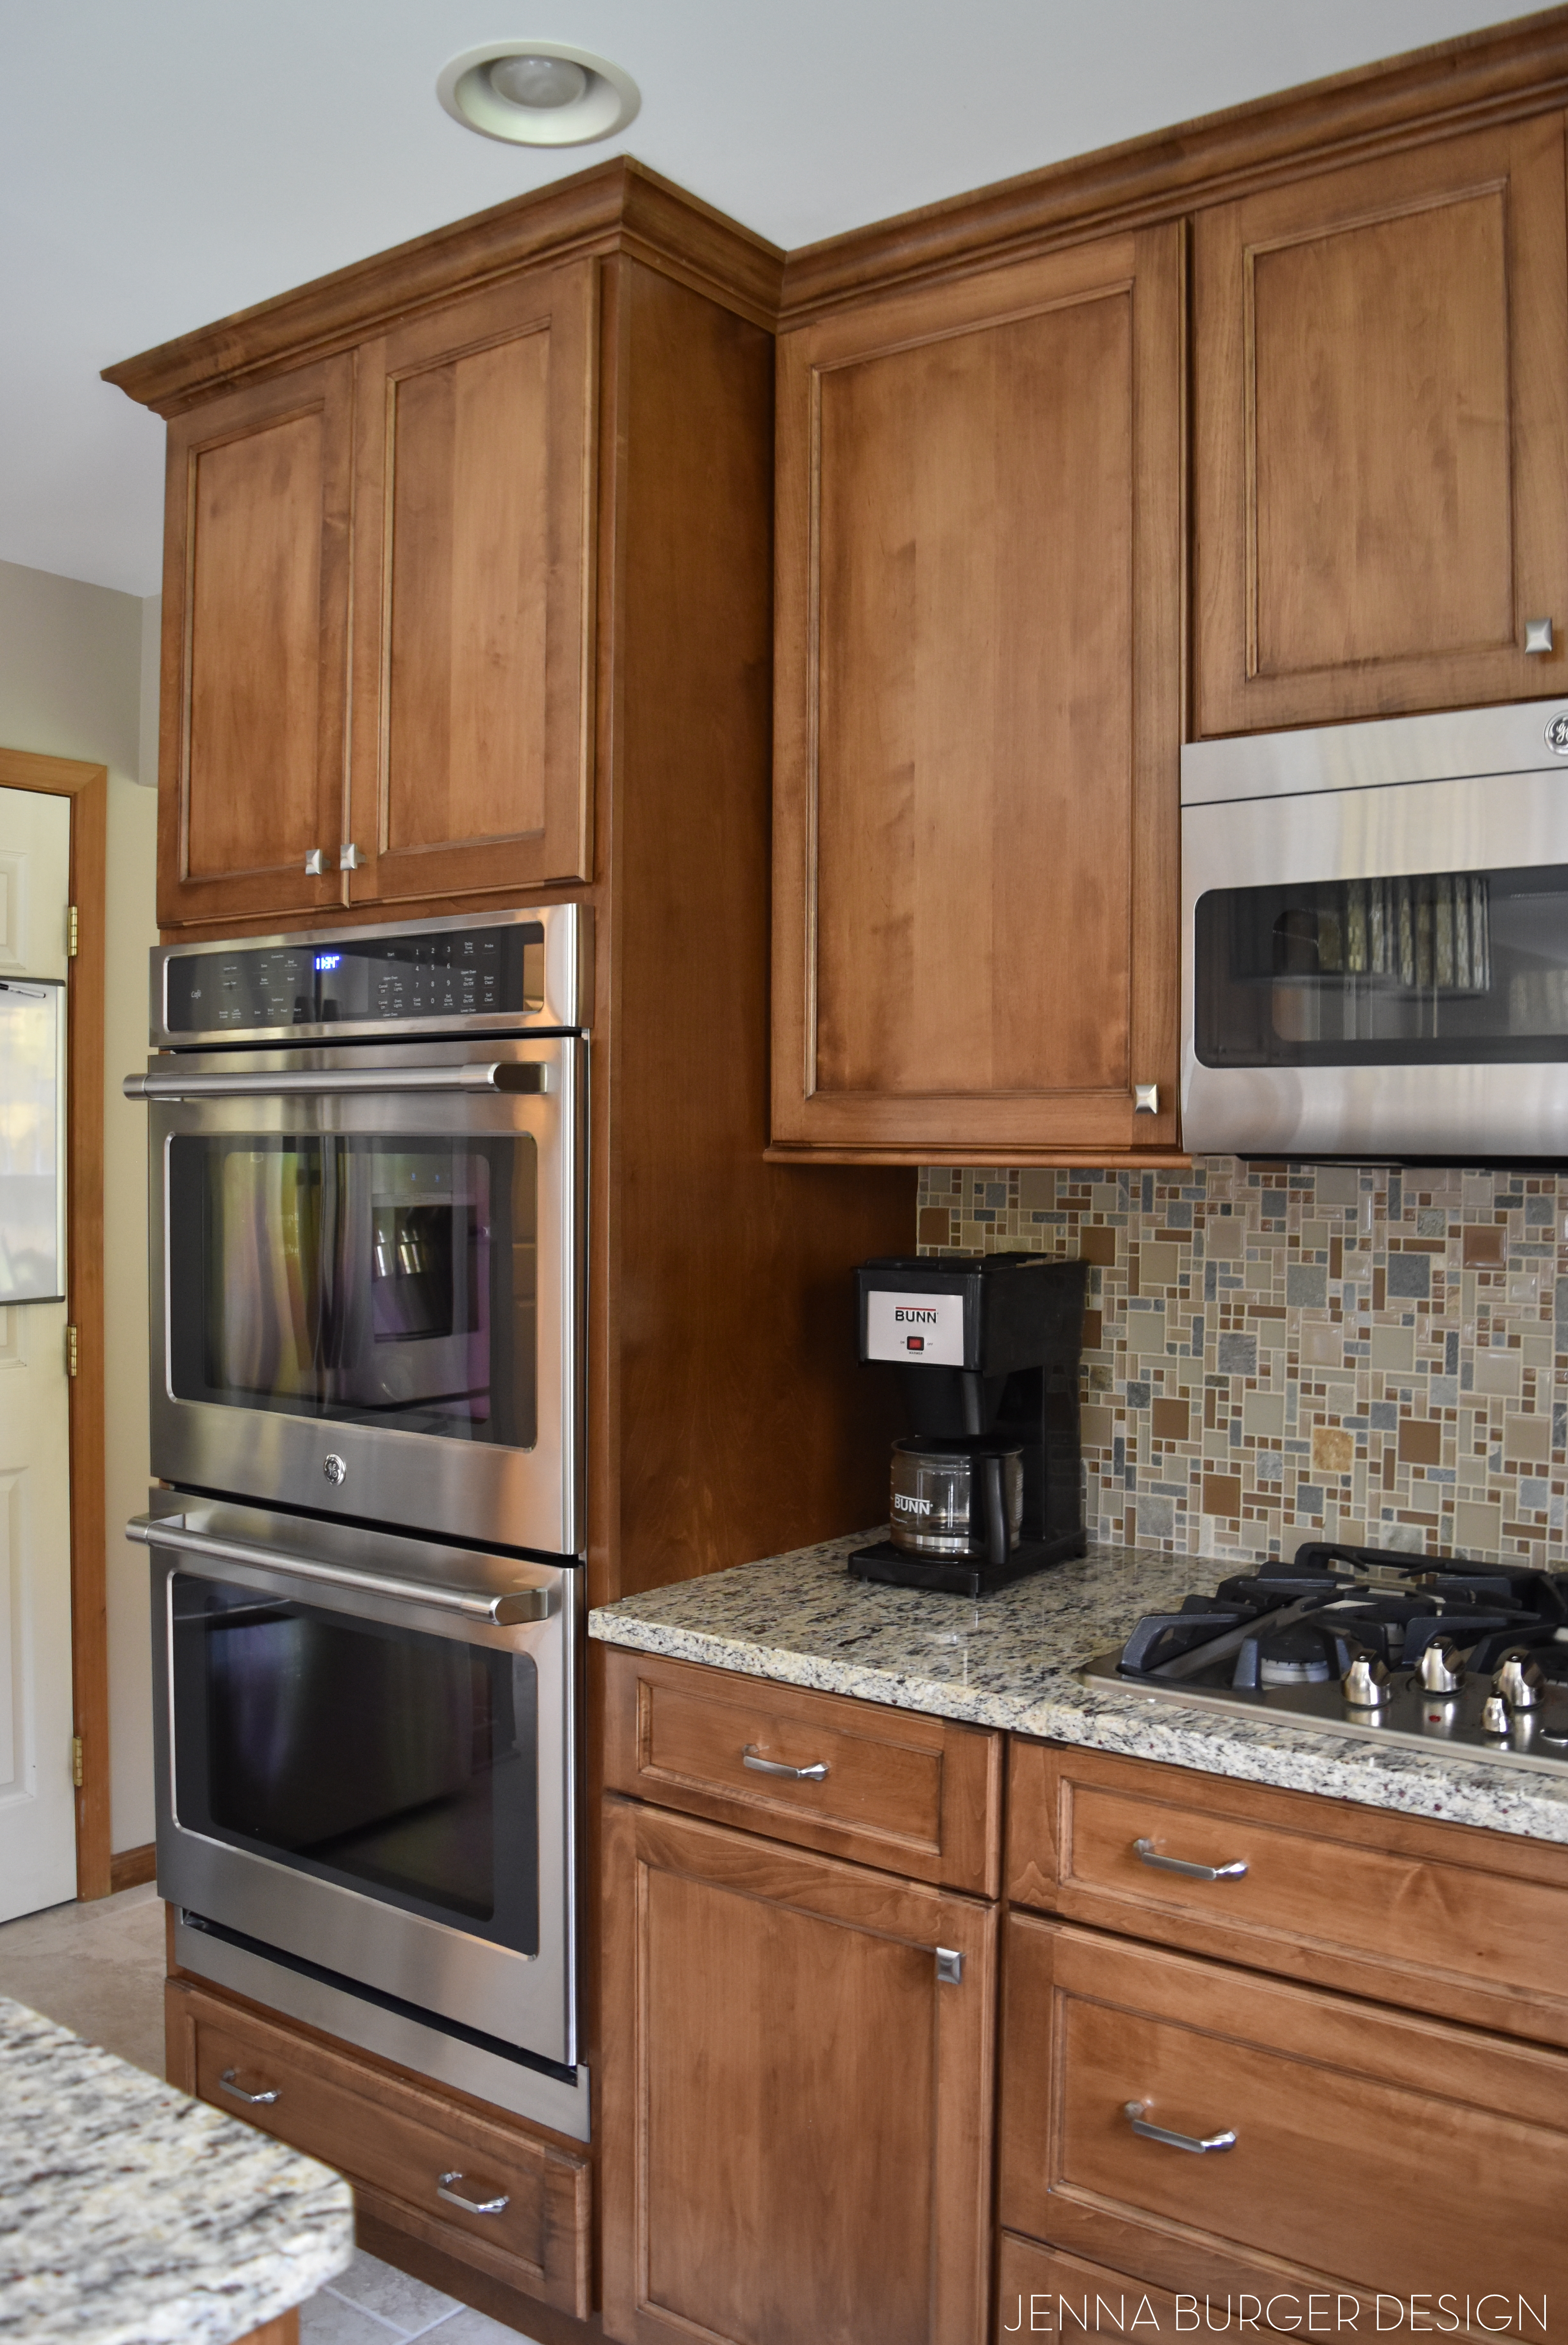
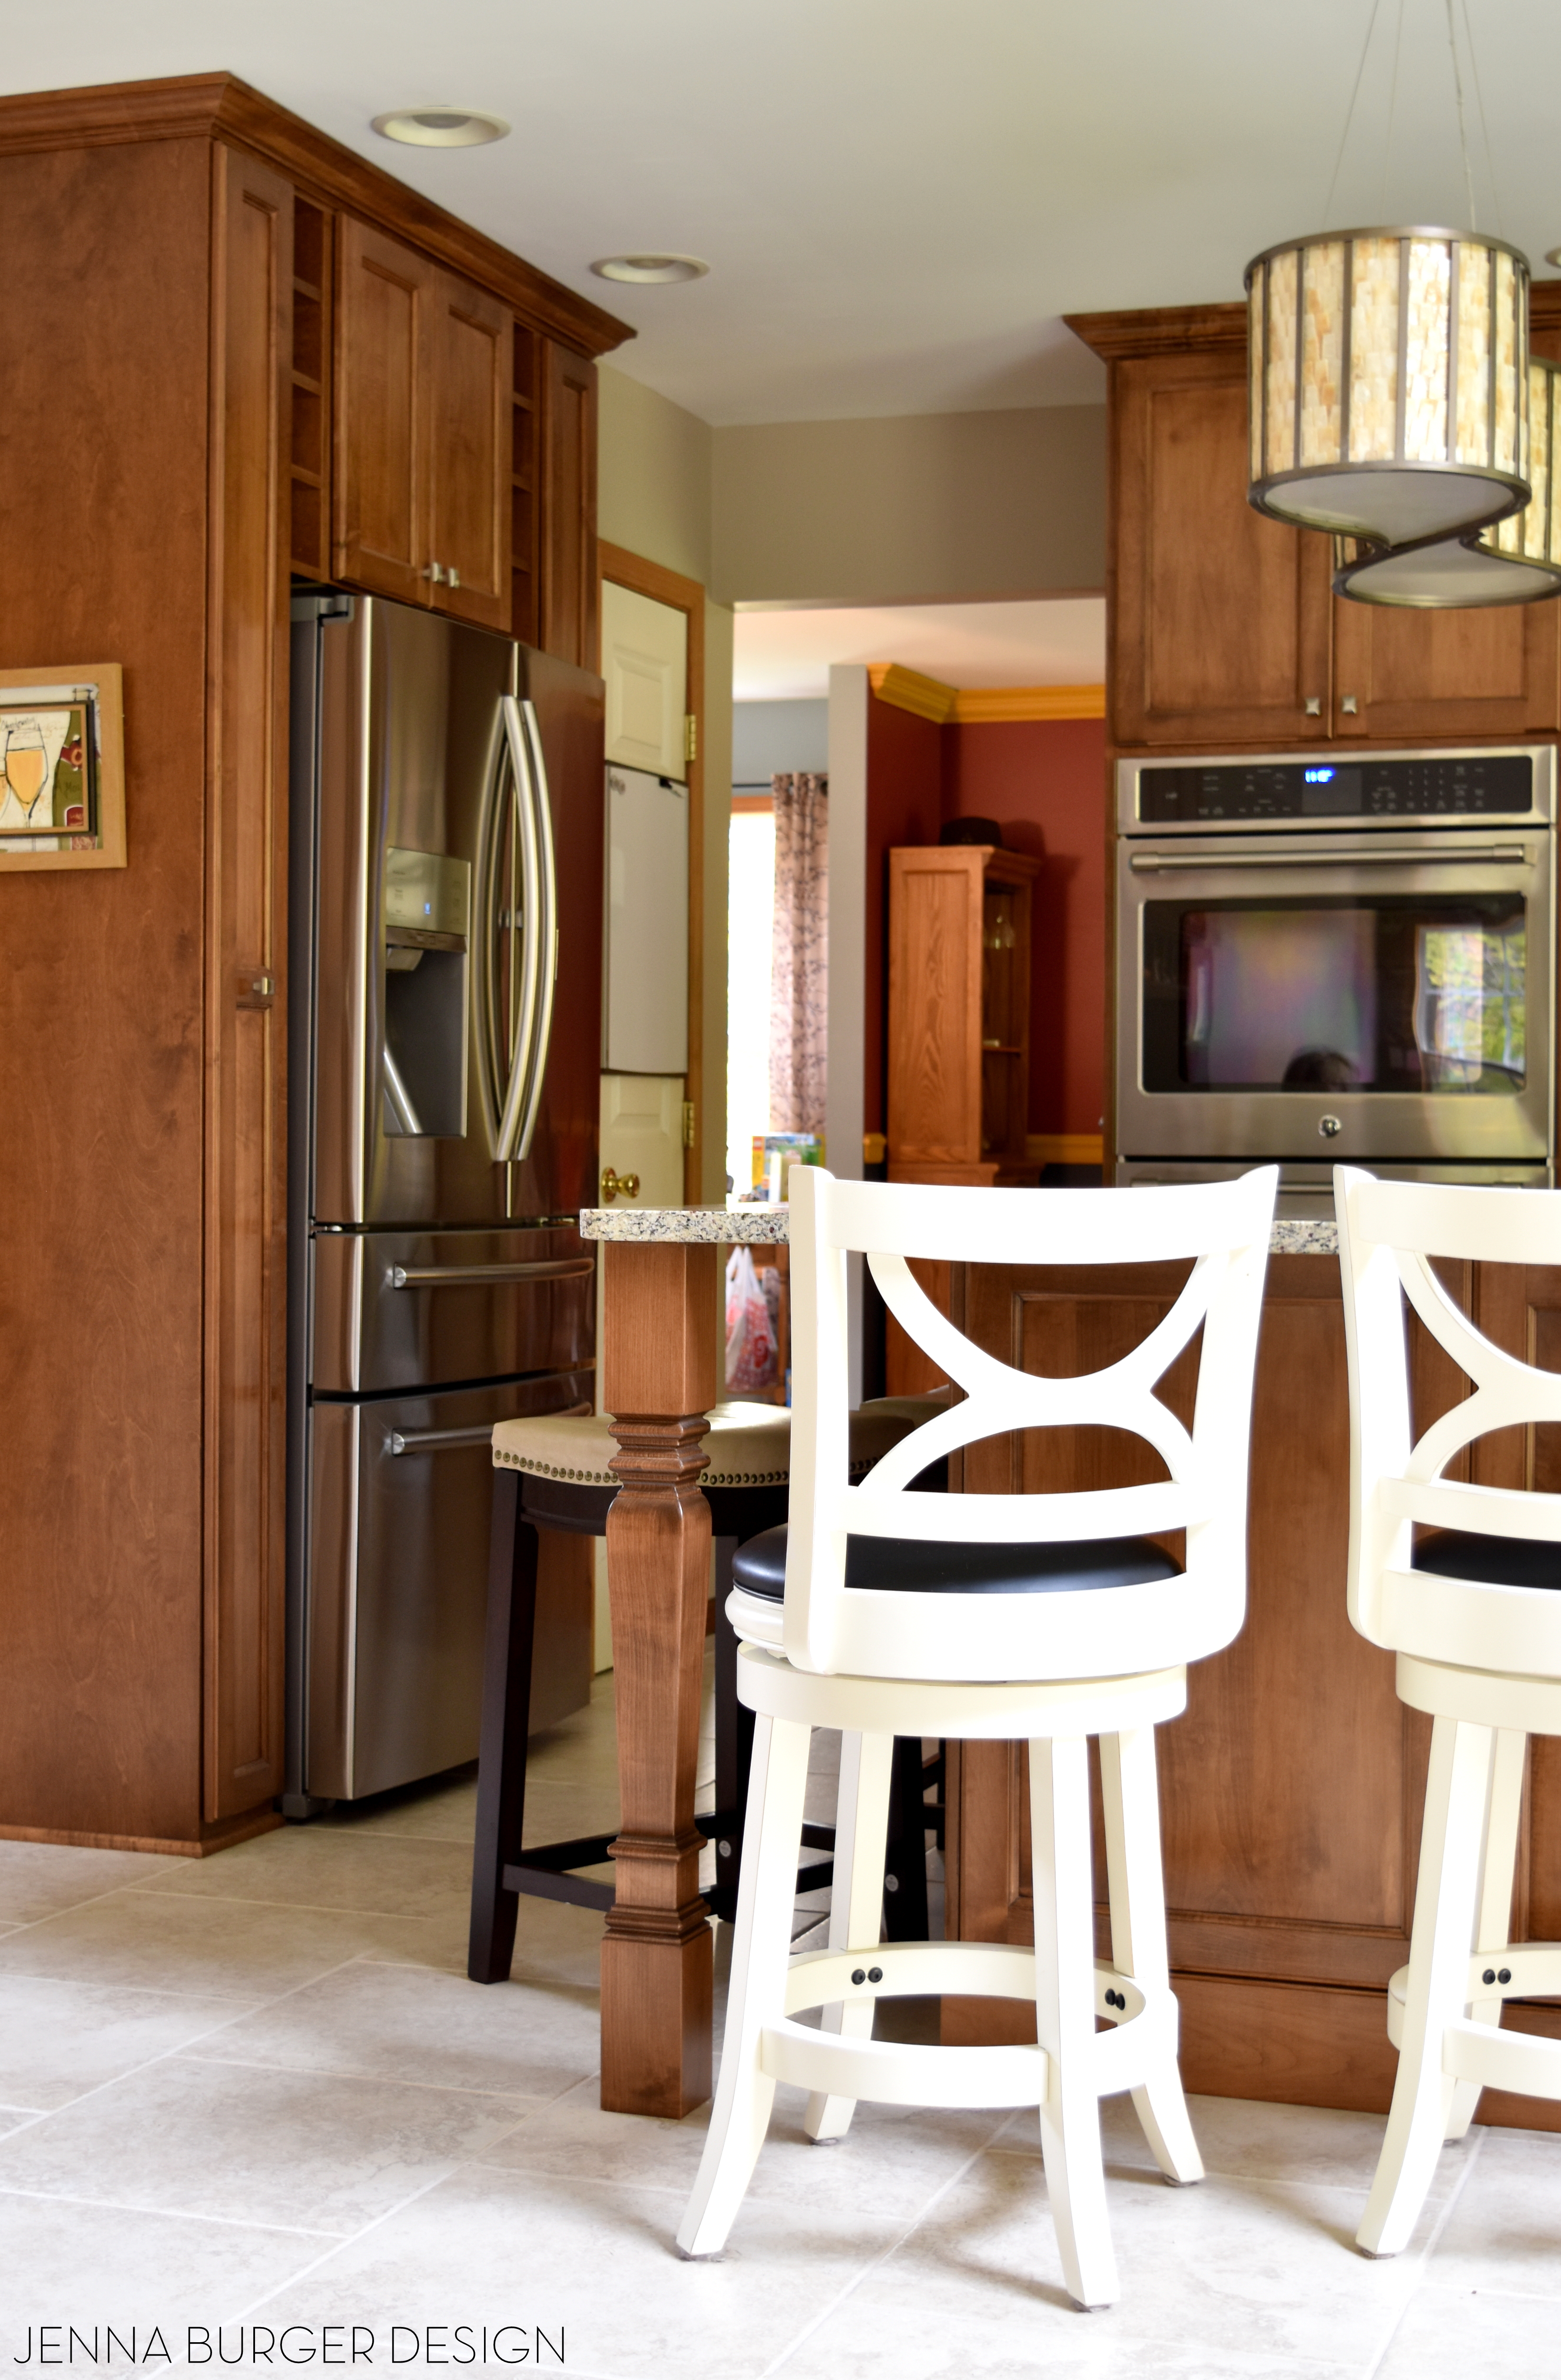
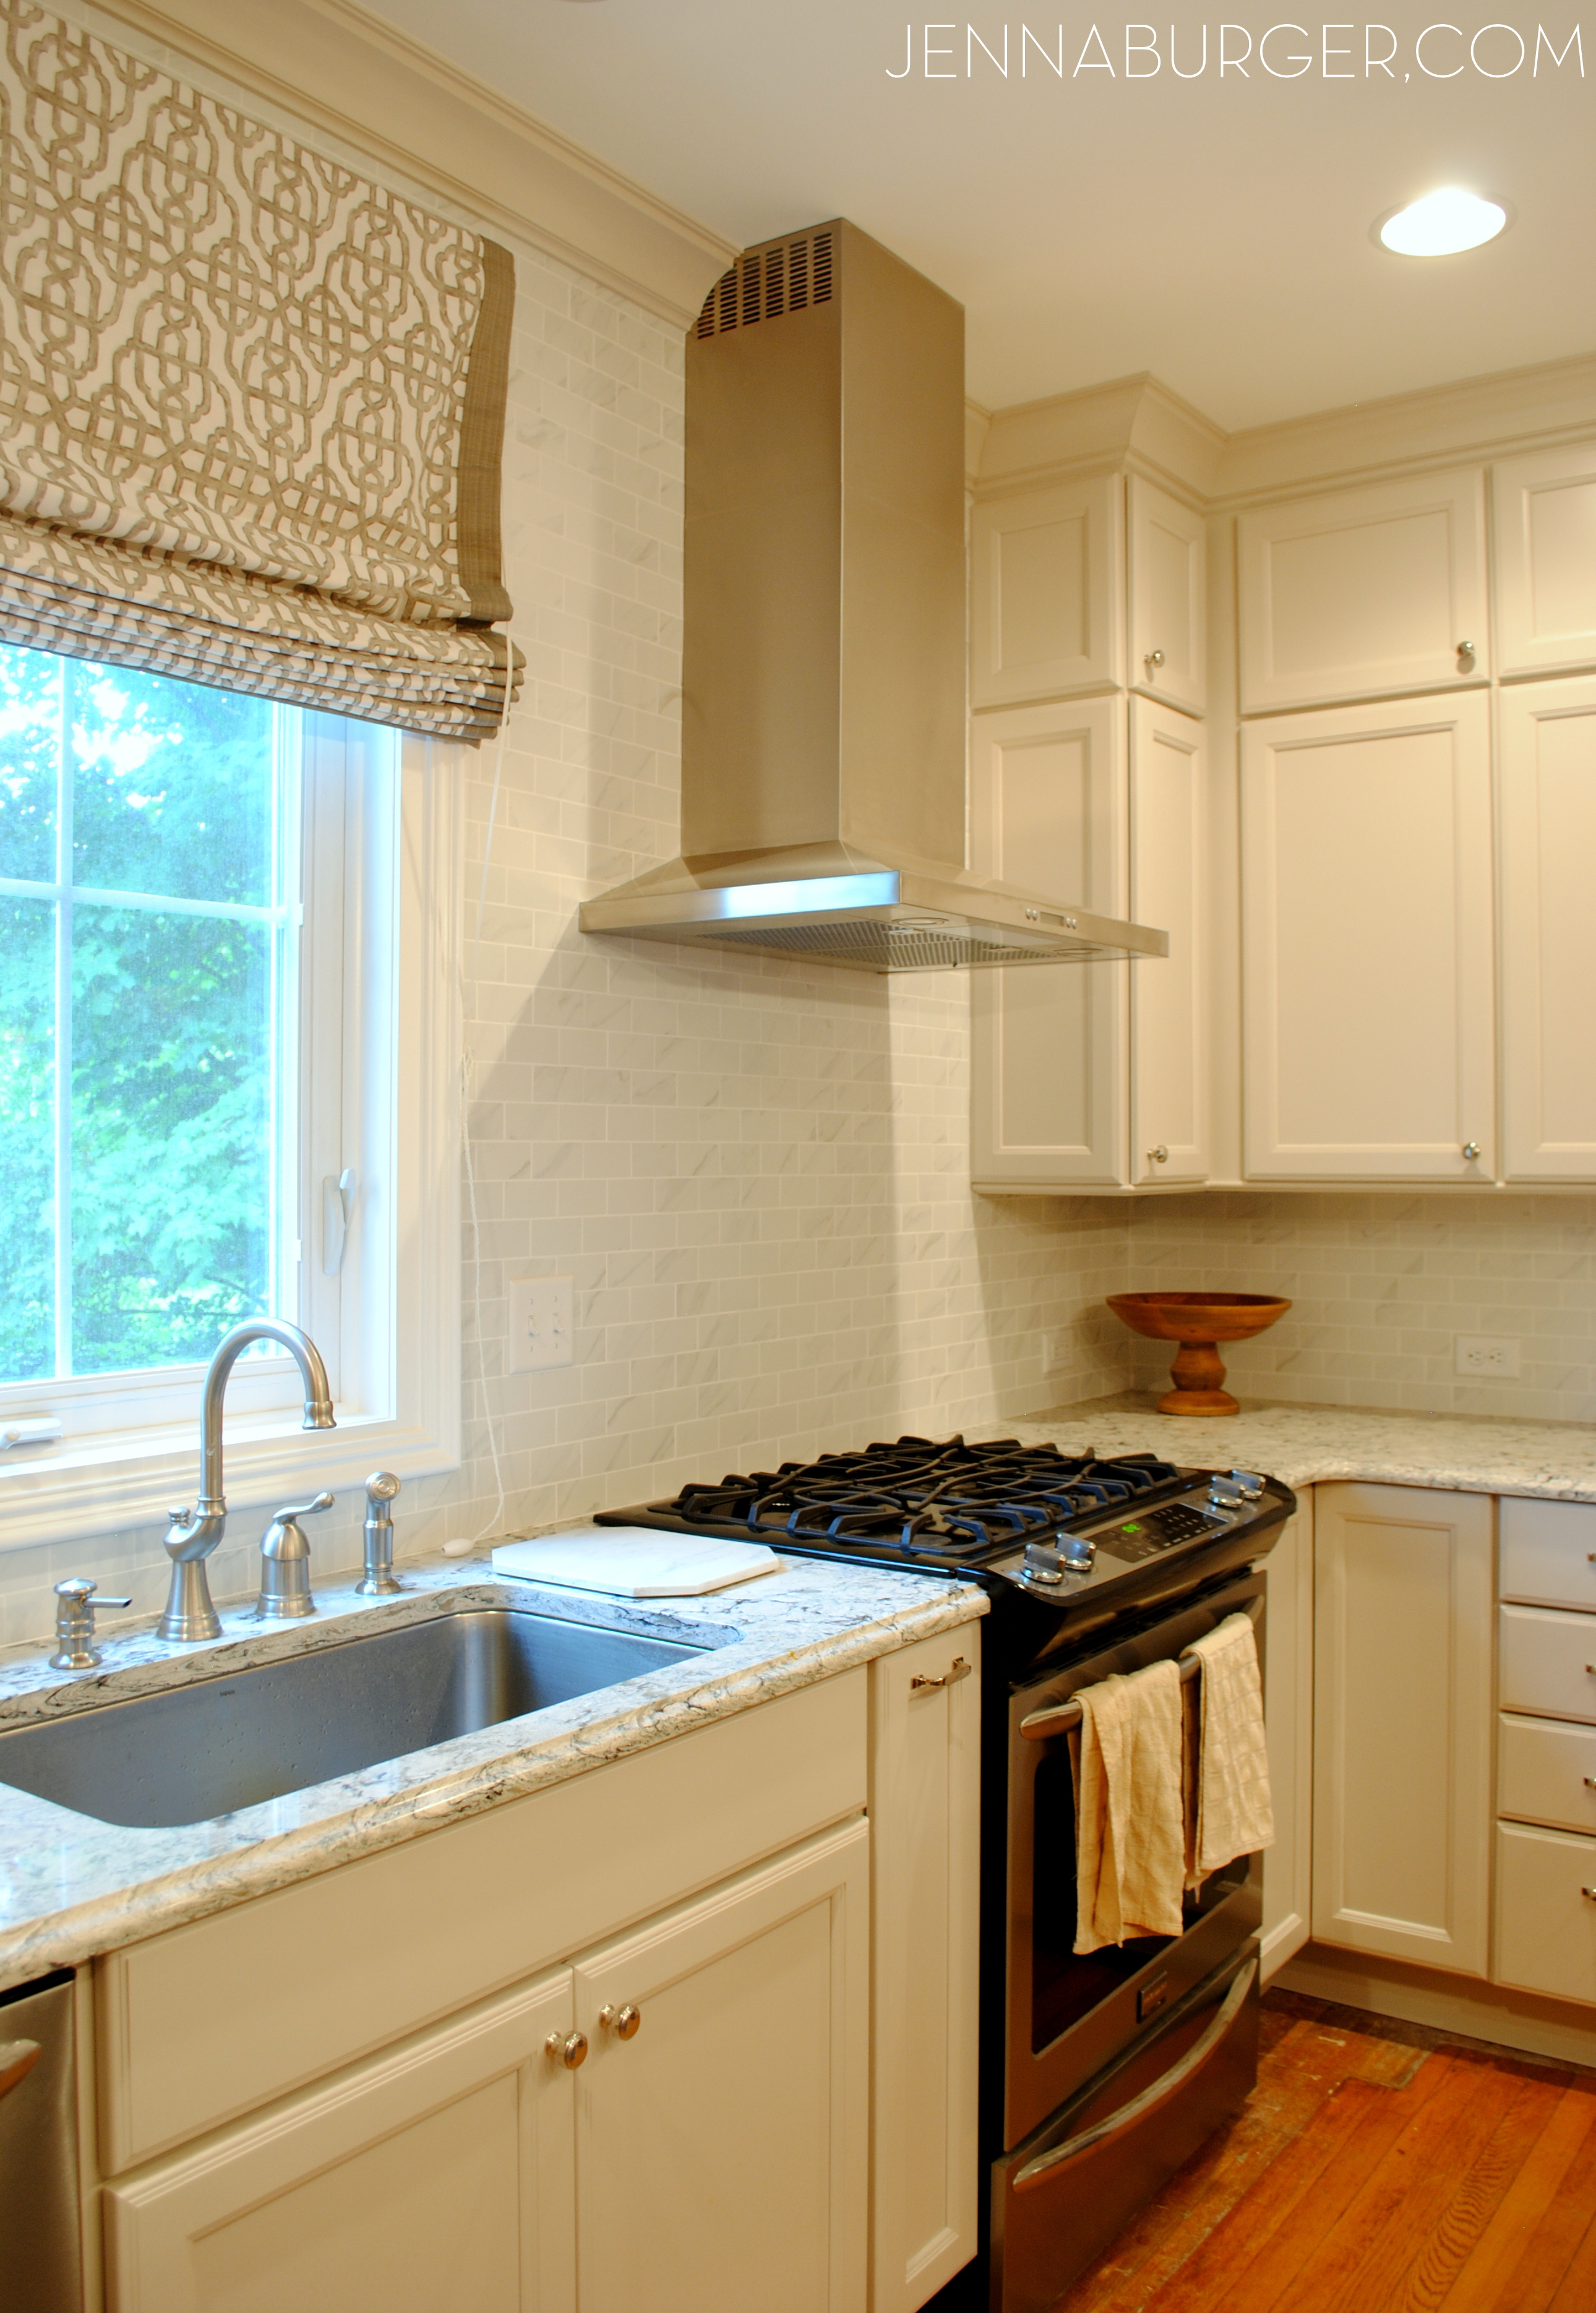
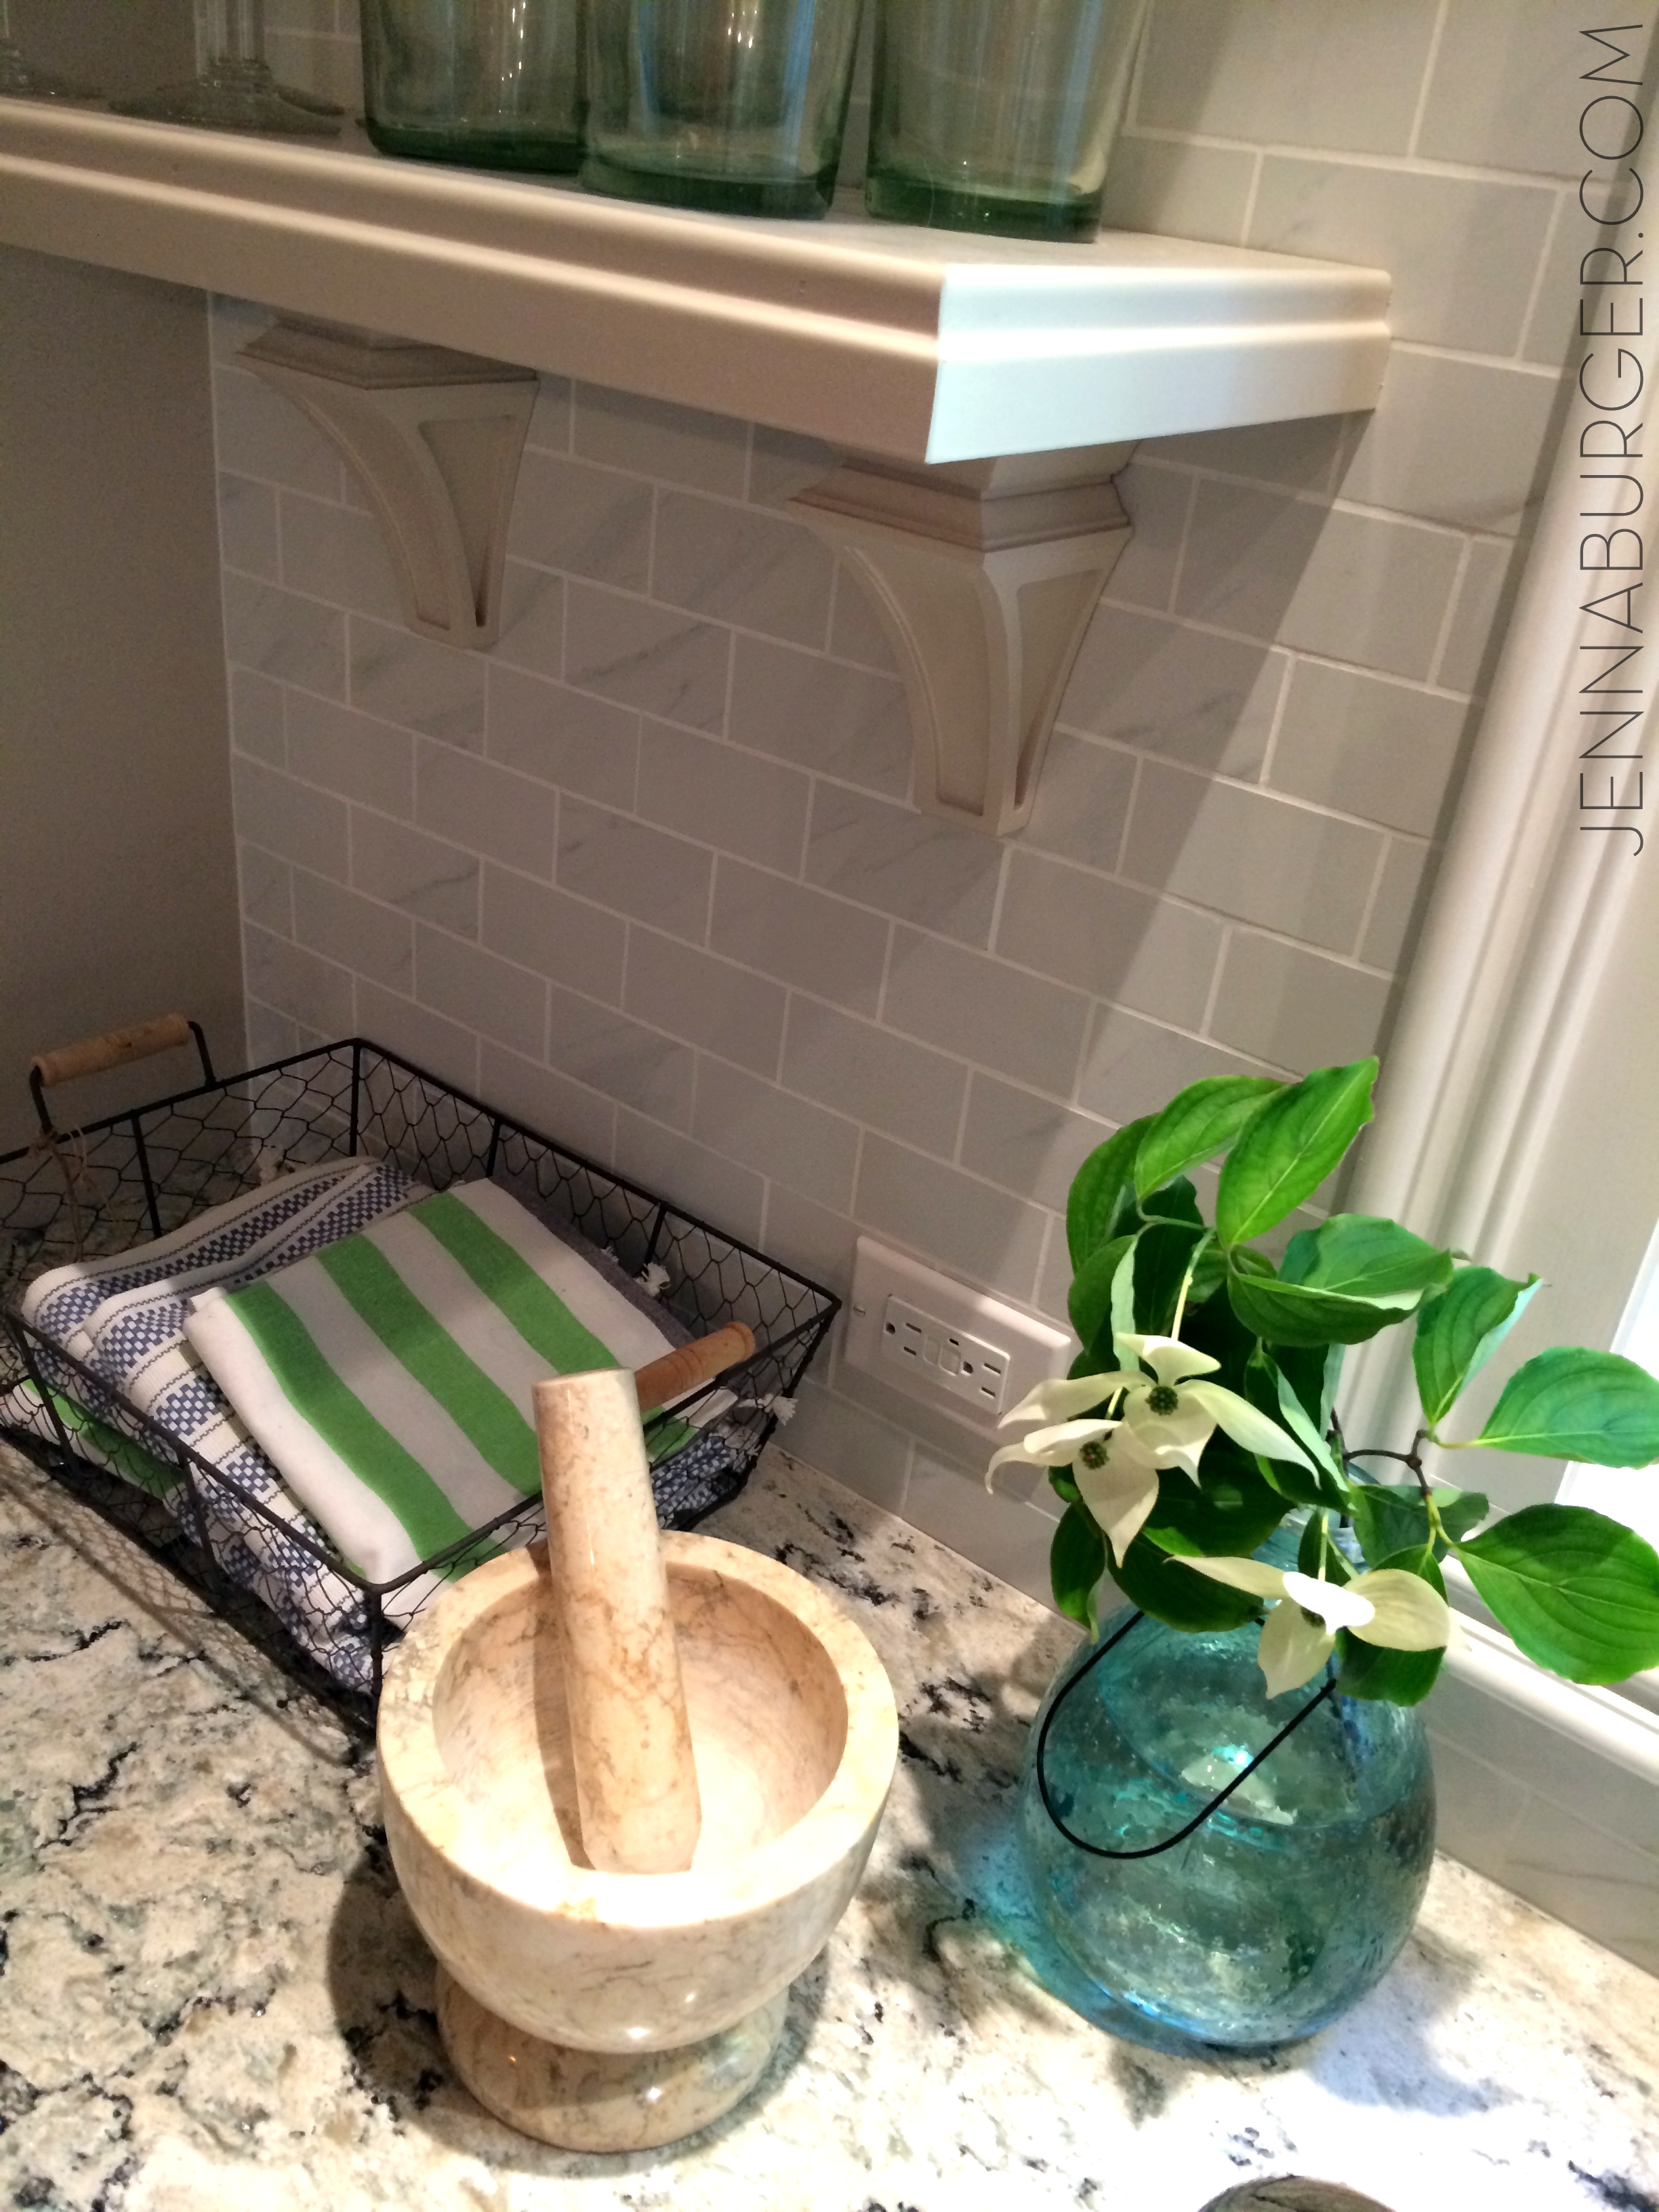
Without giving too much away, here are a few close up peeks at how the finished cabinets look once installed…
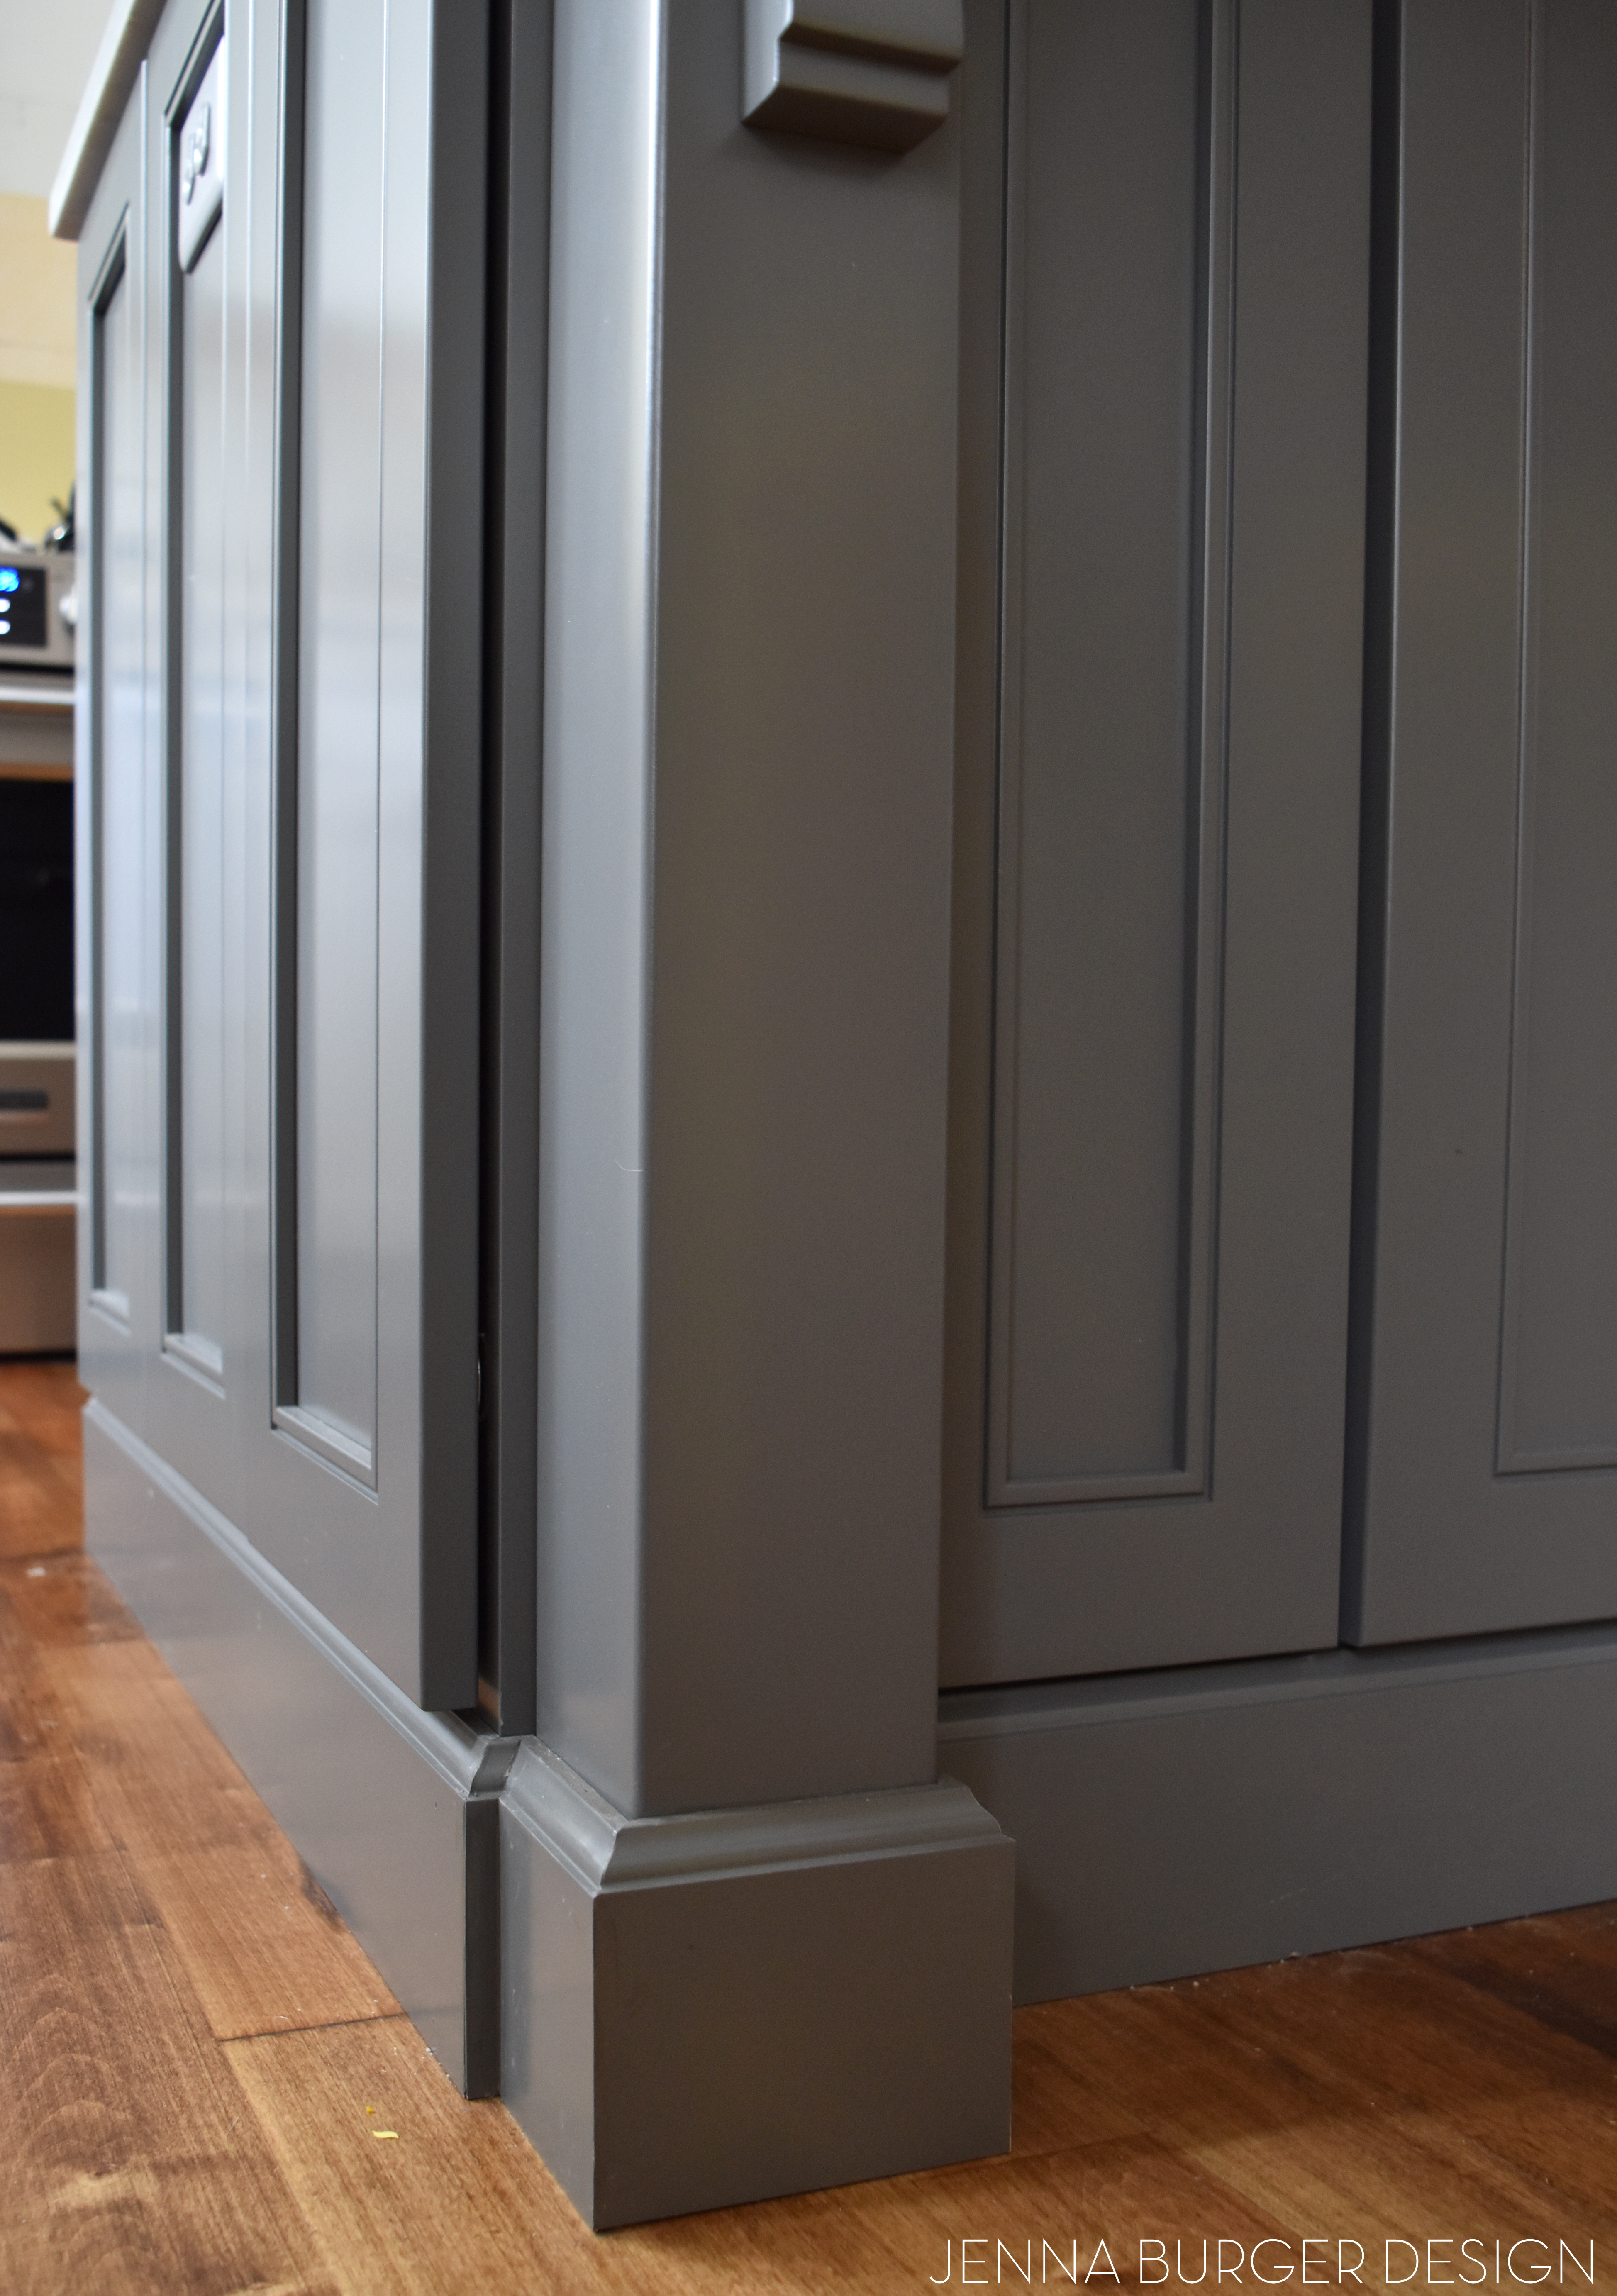
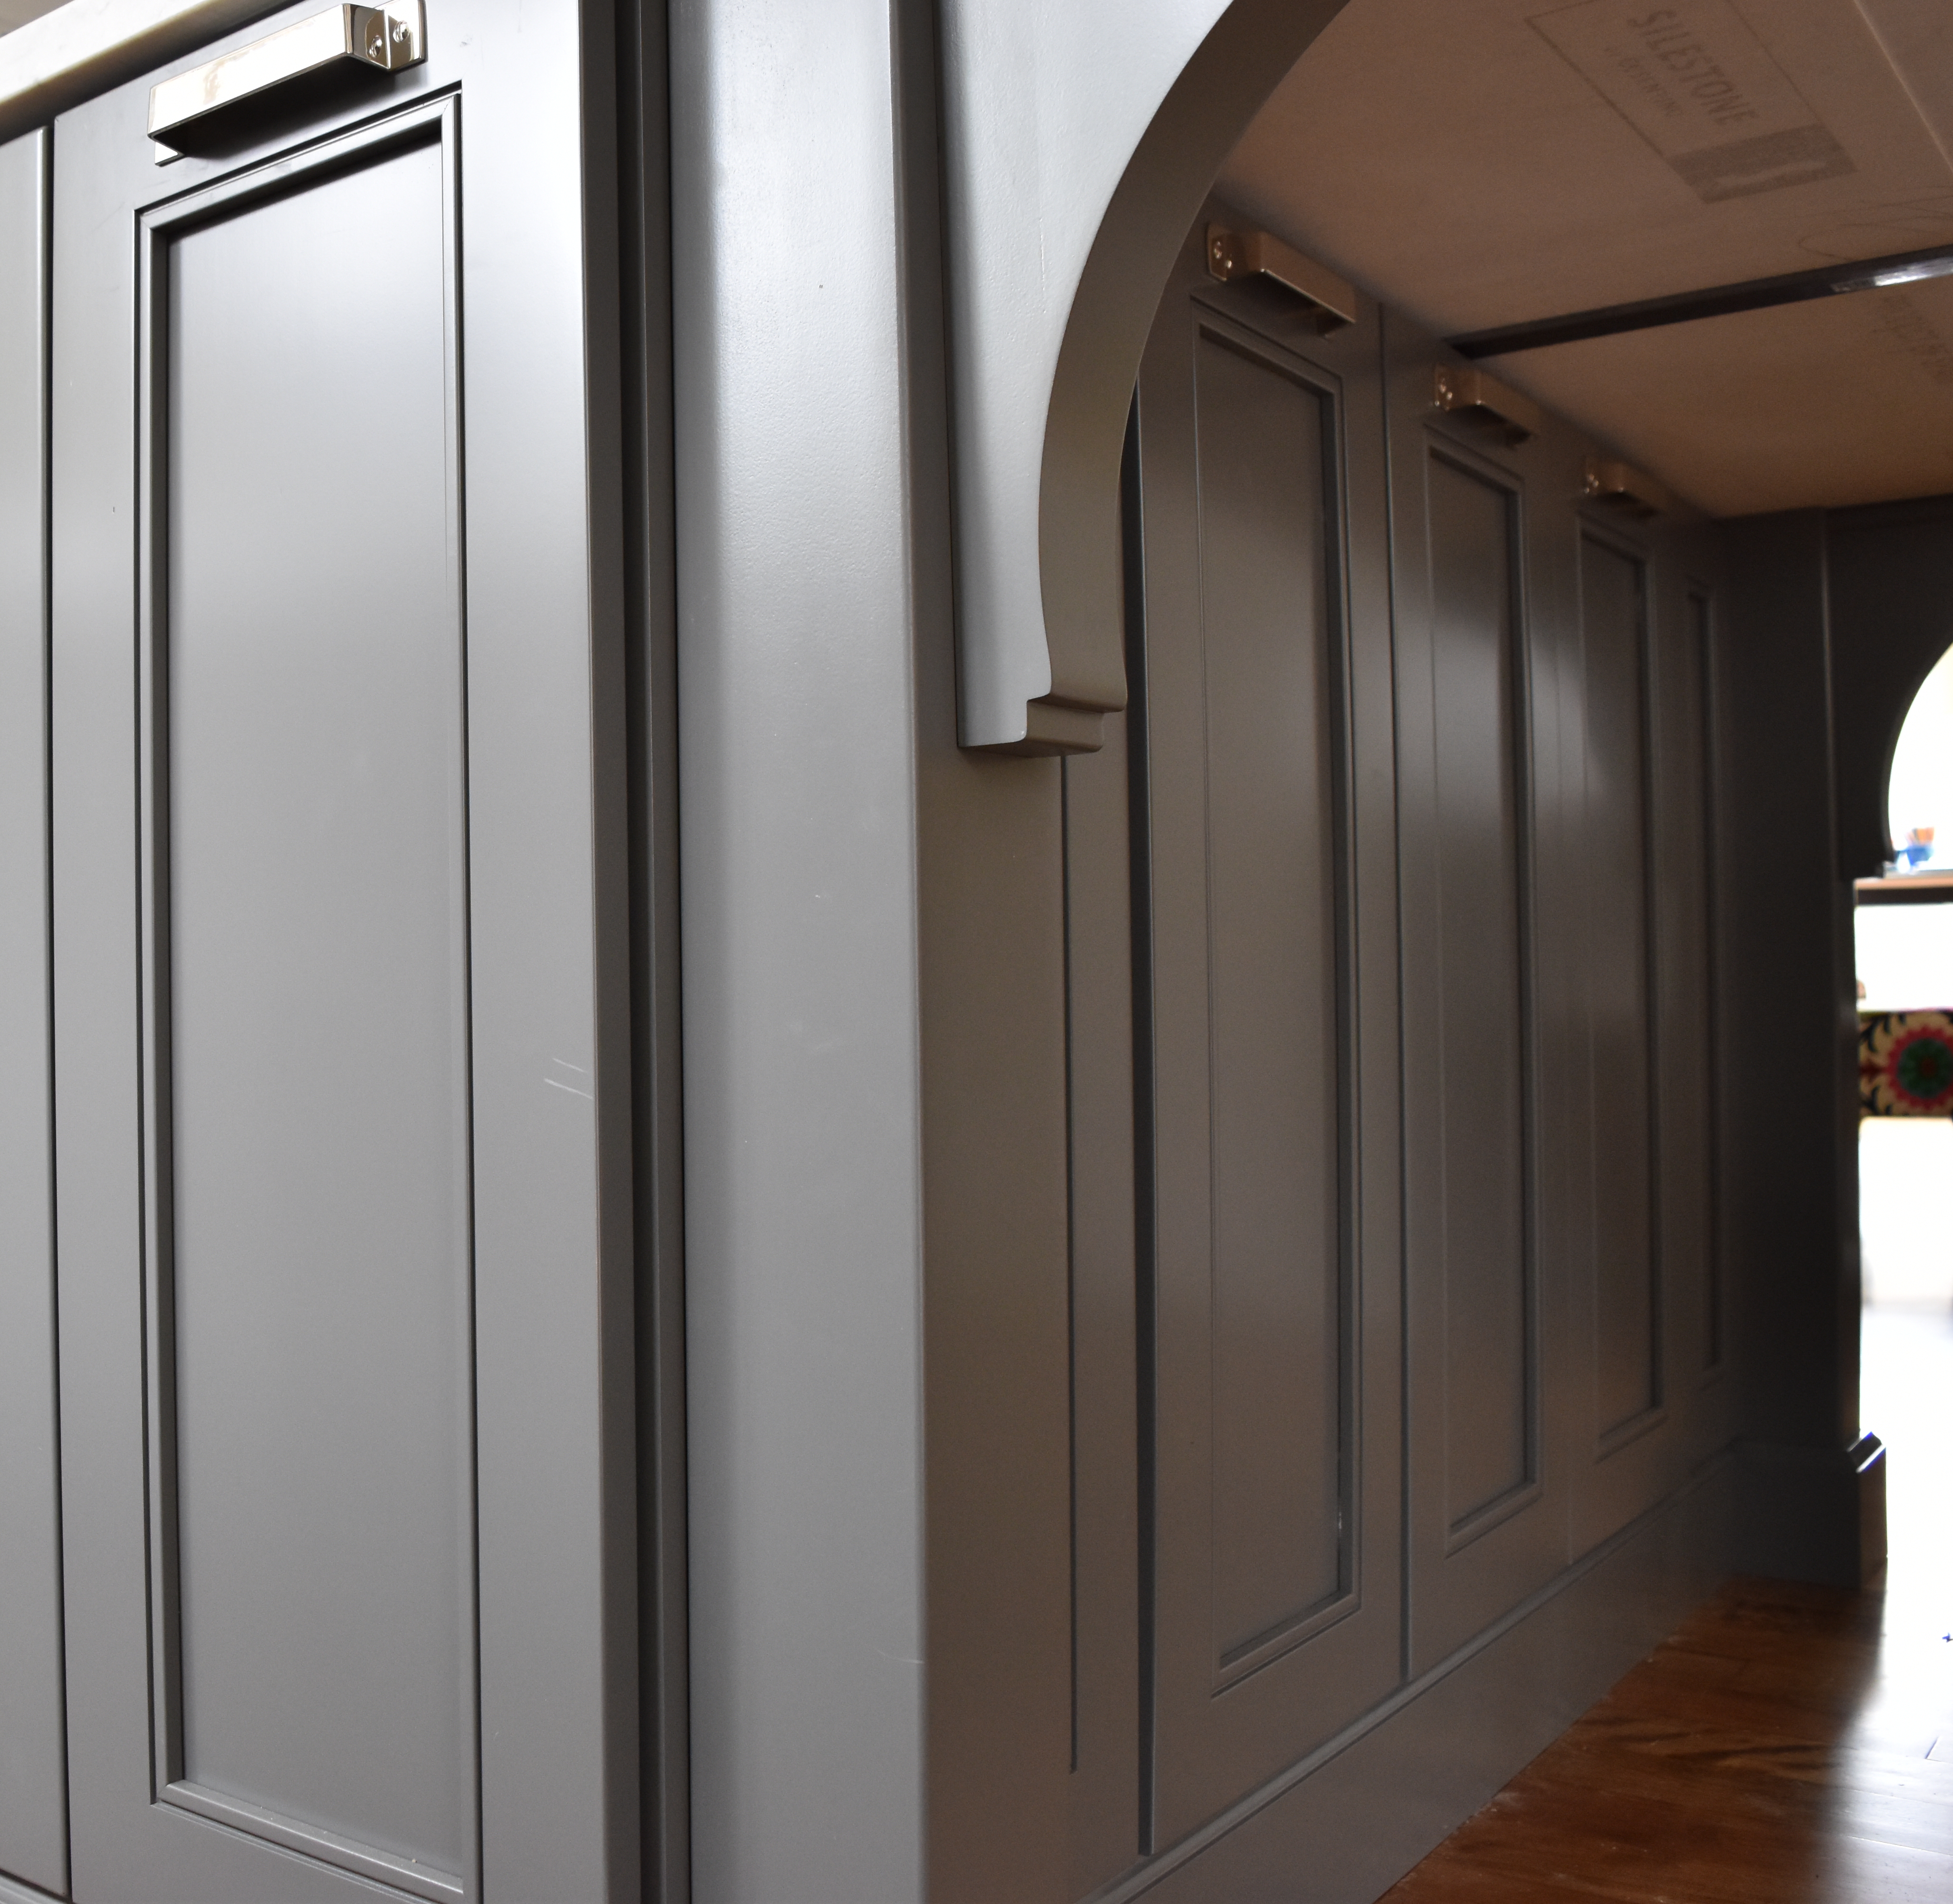

The crown moulding still has to be finished, but the flat stock has been added.
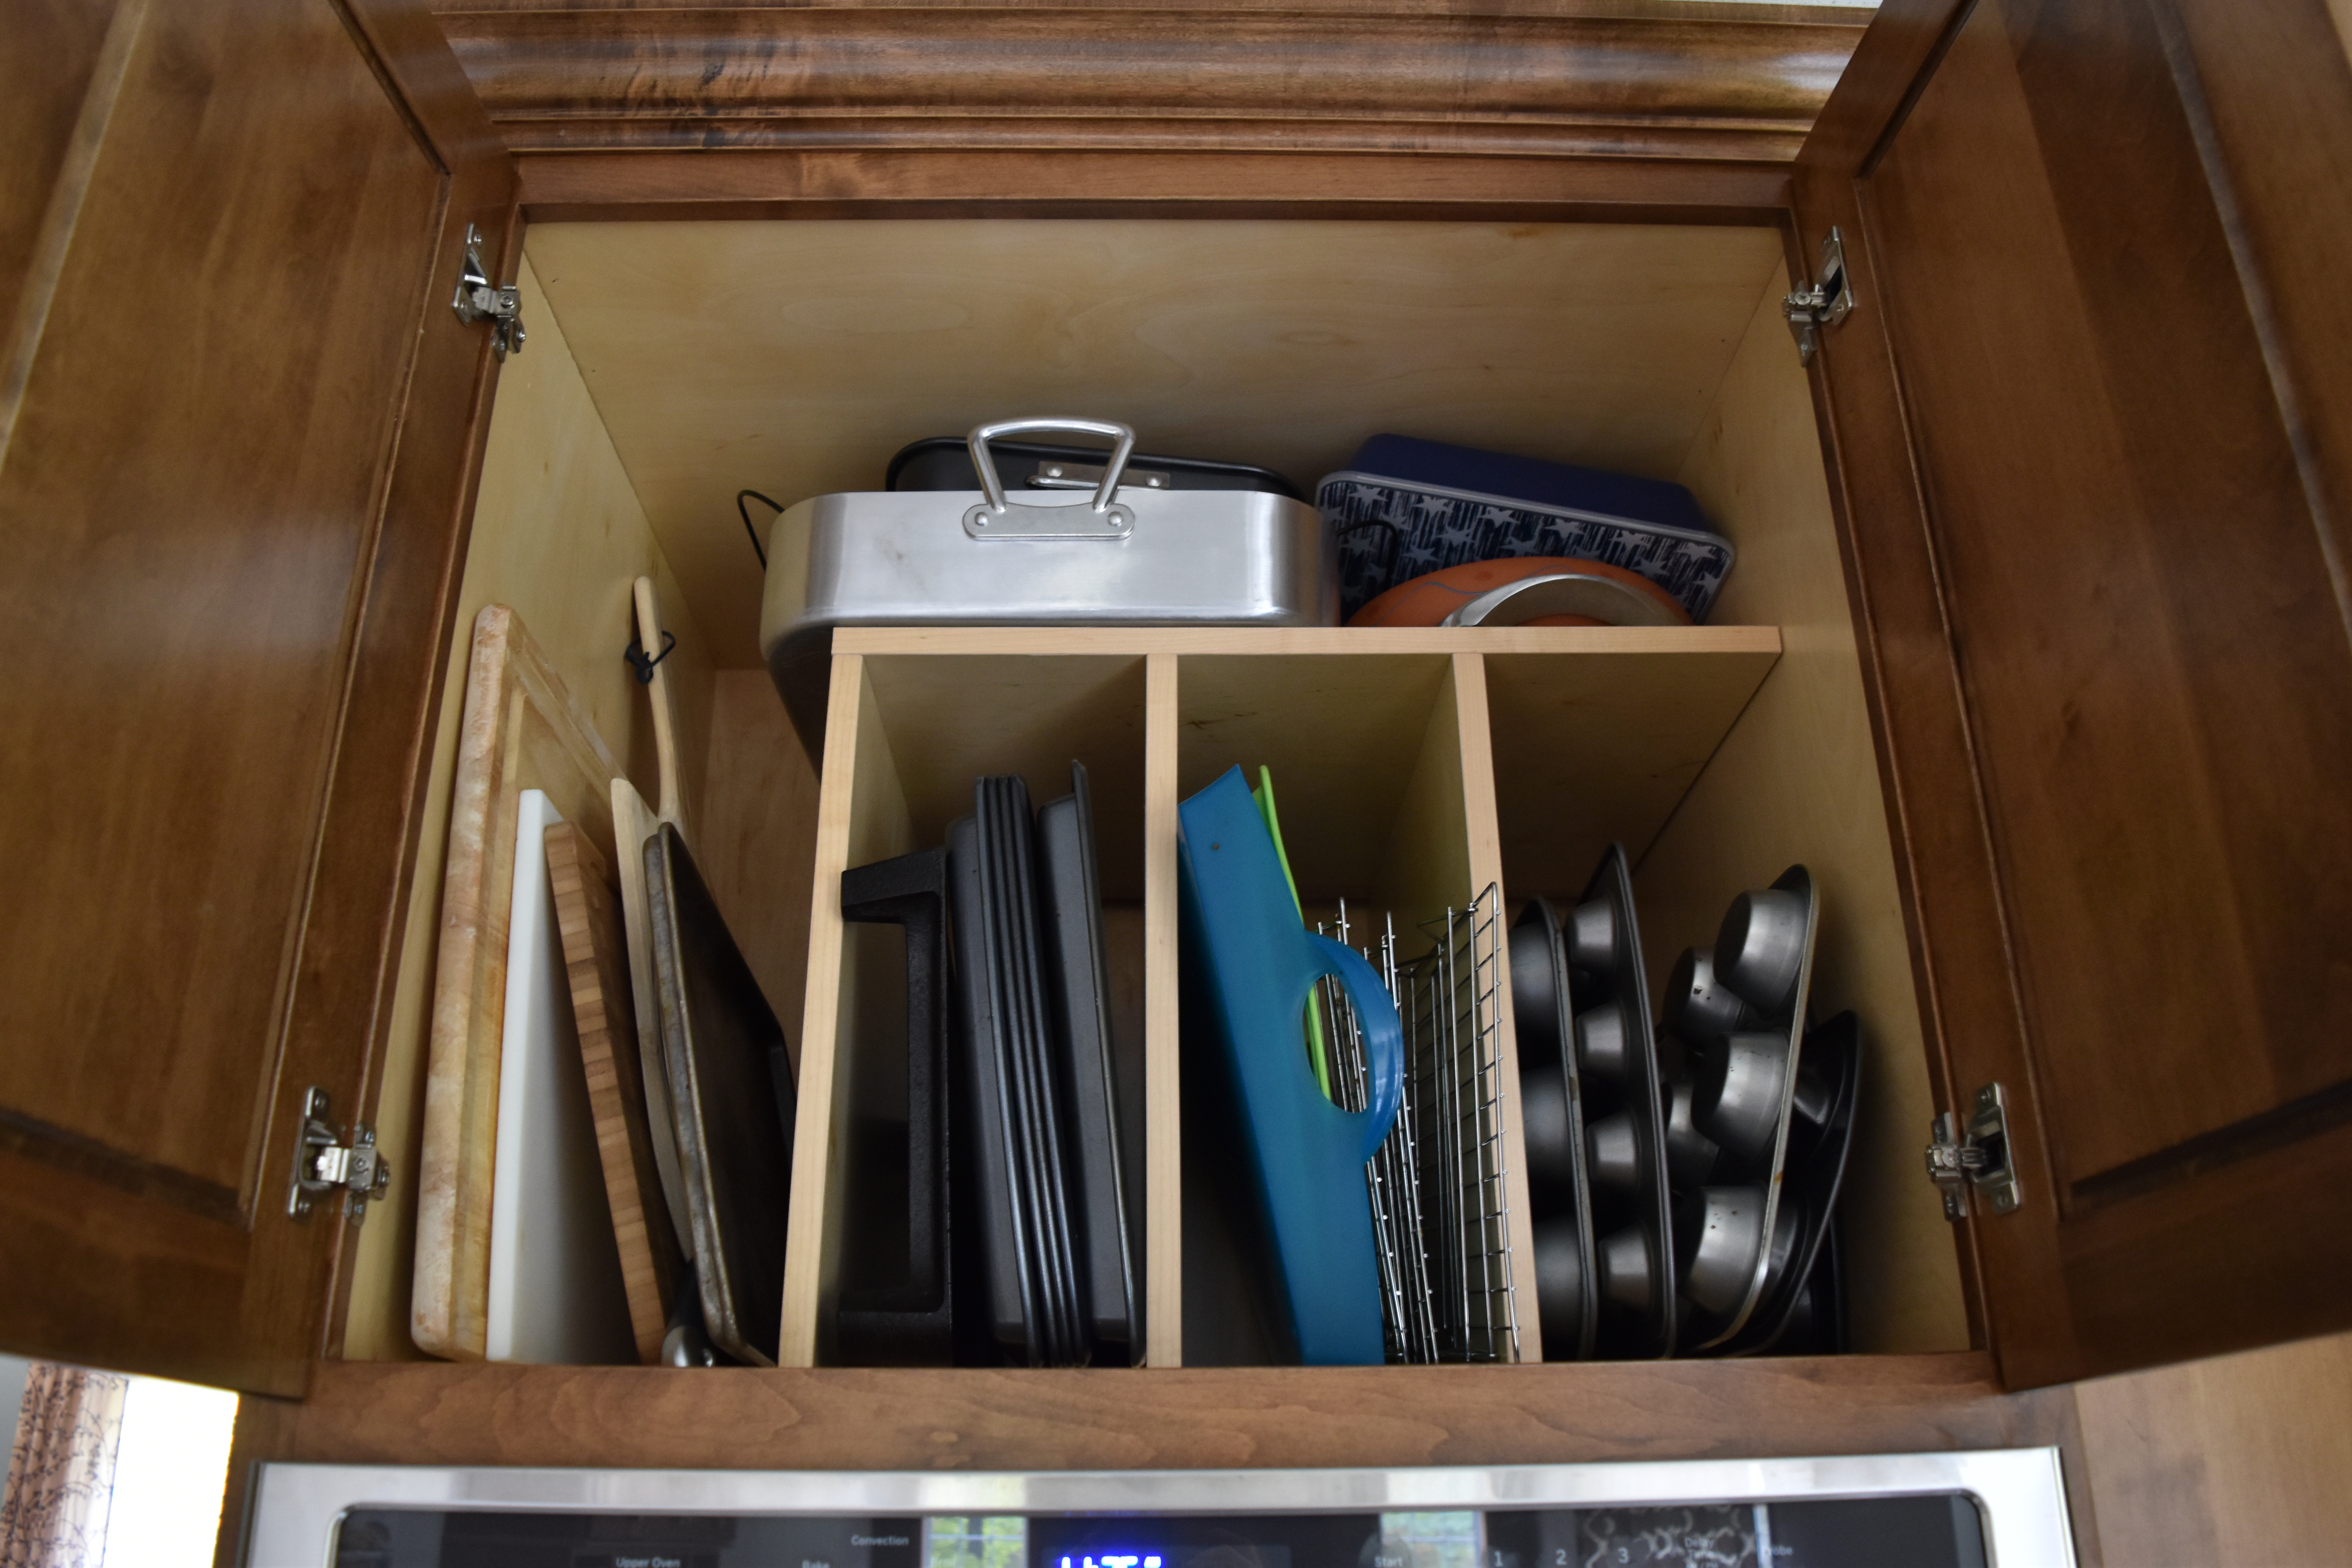
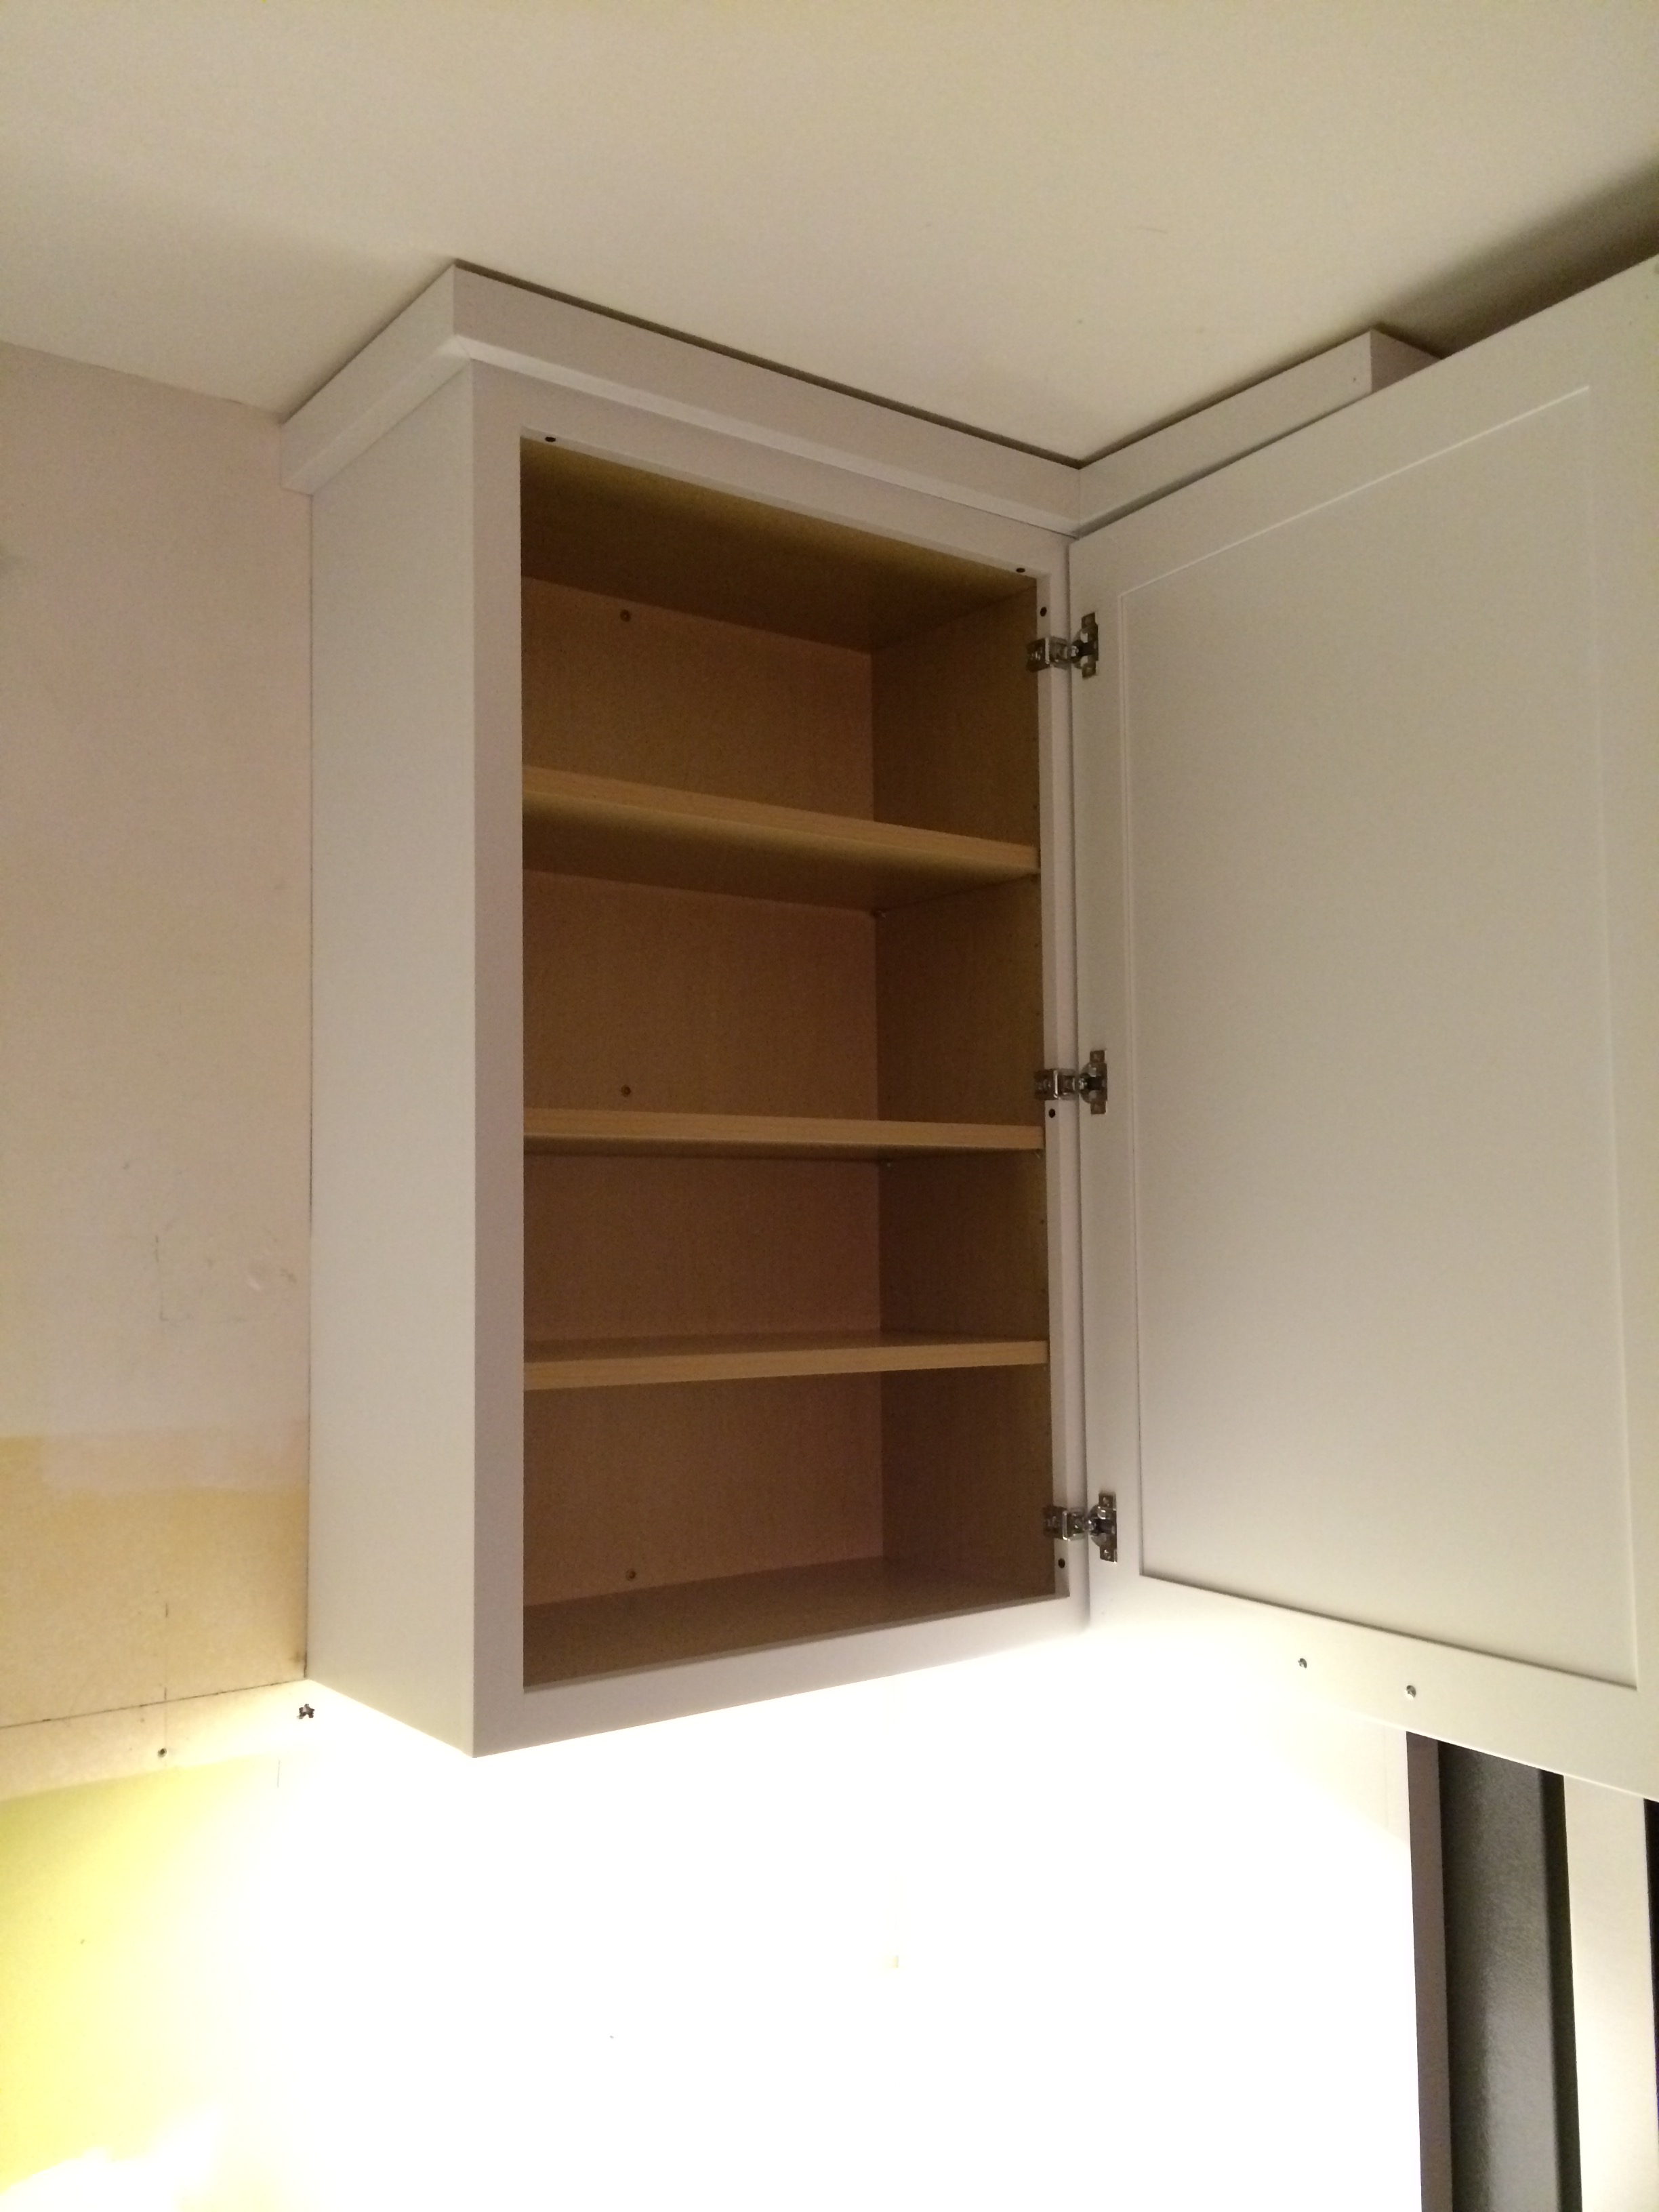
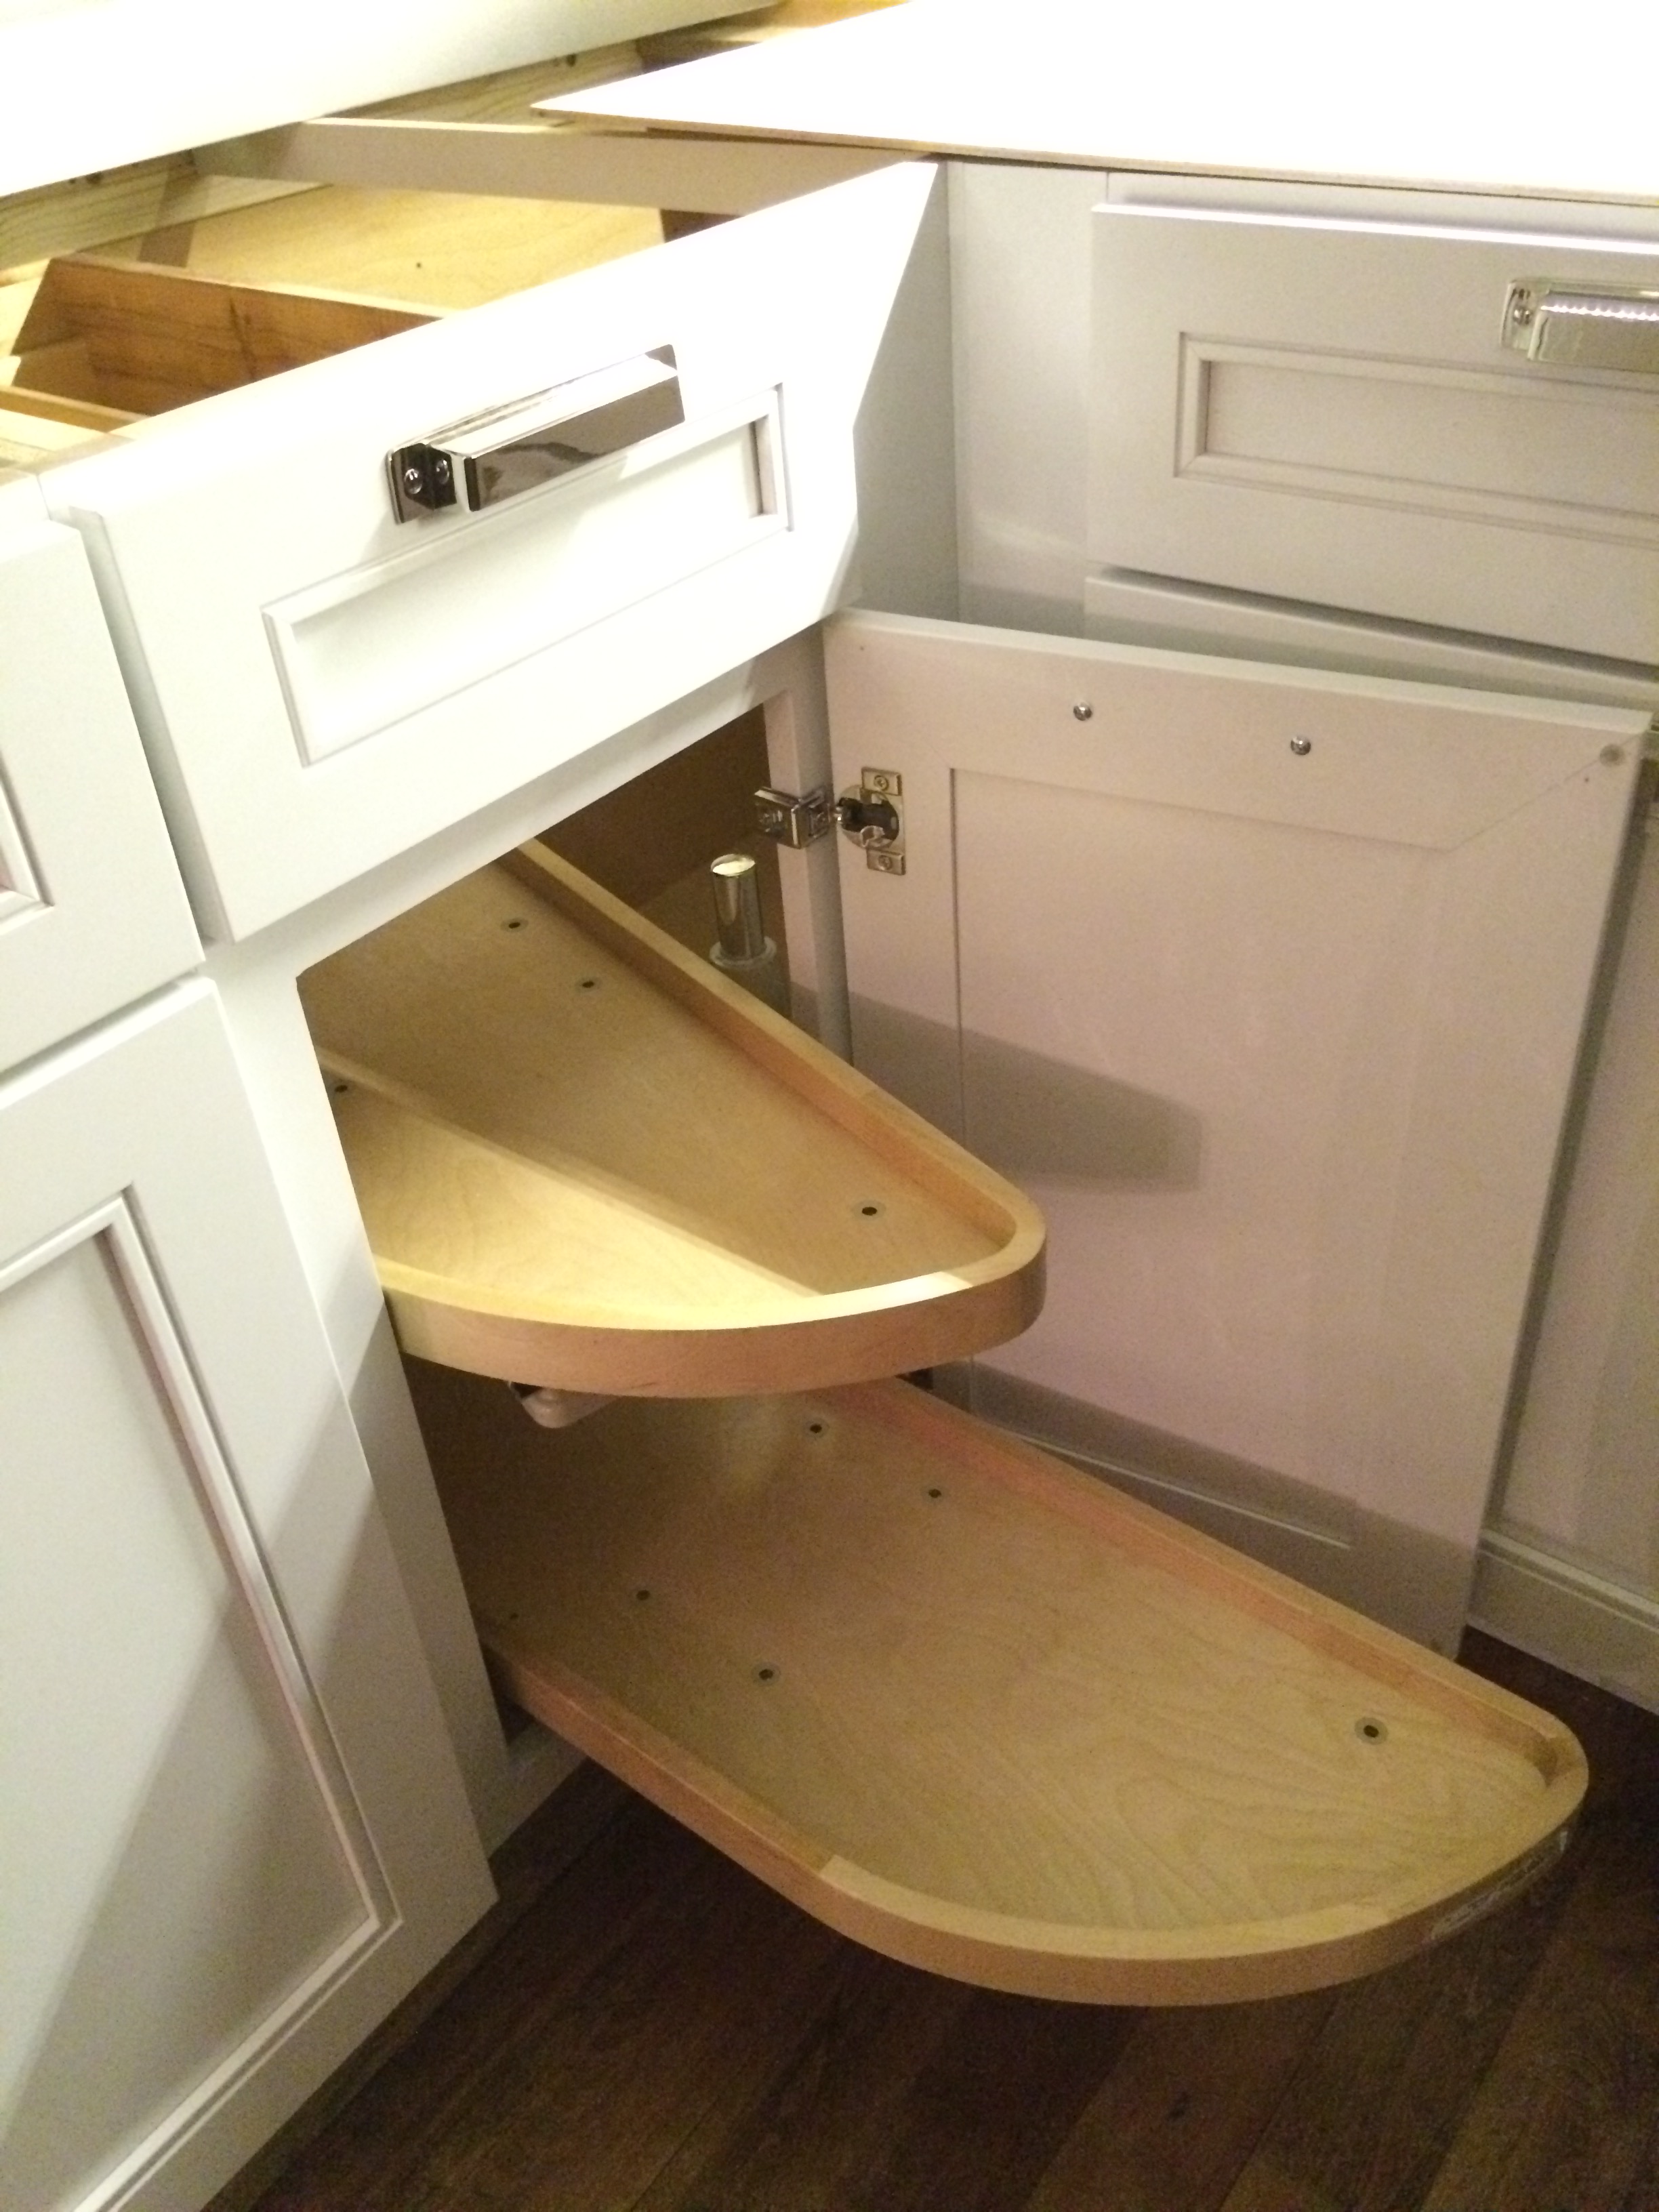
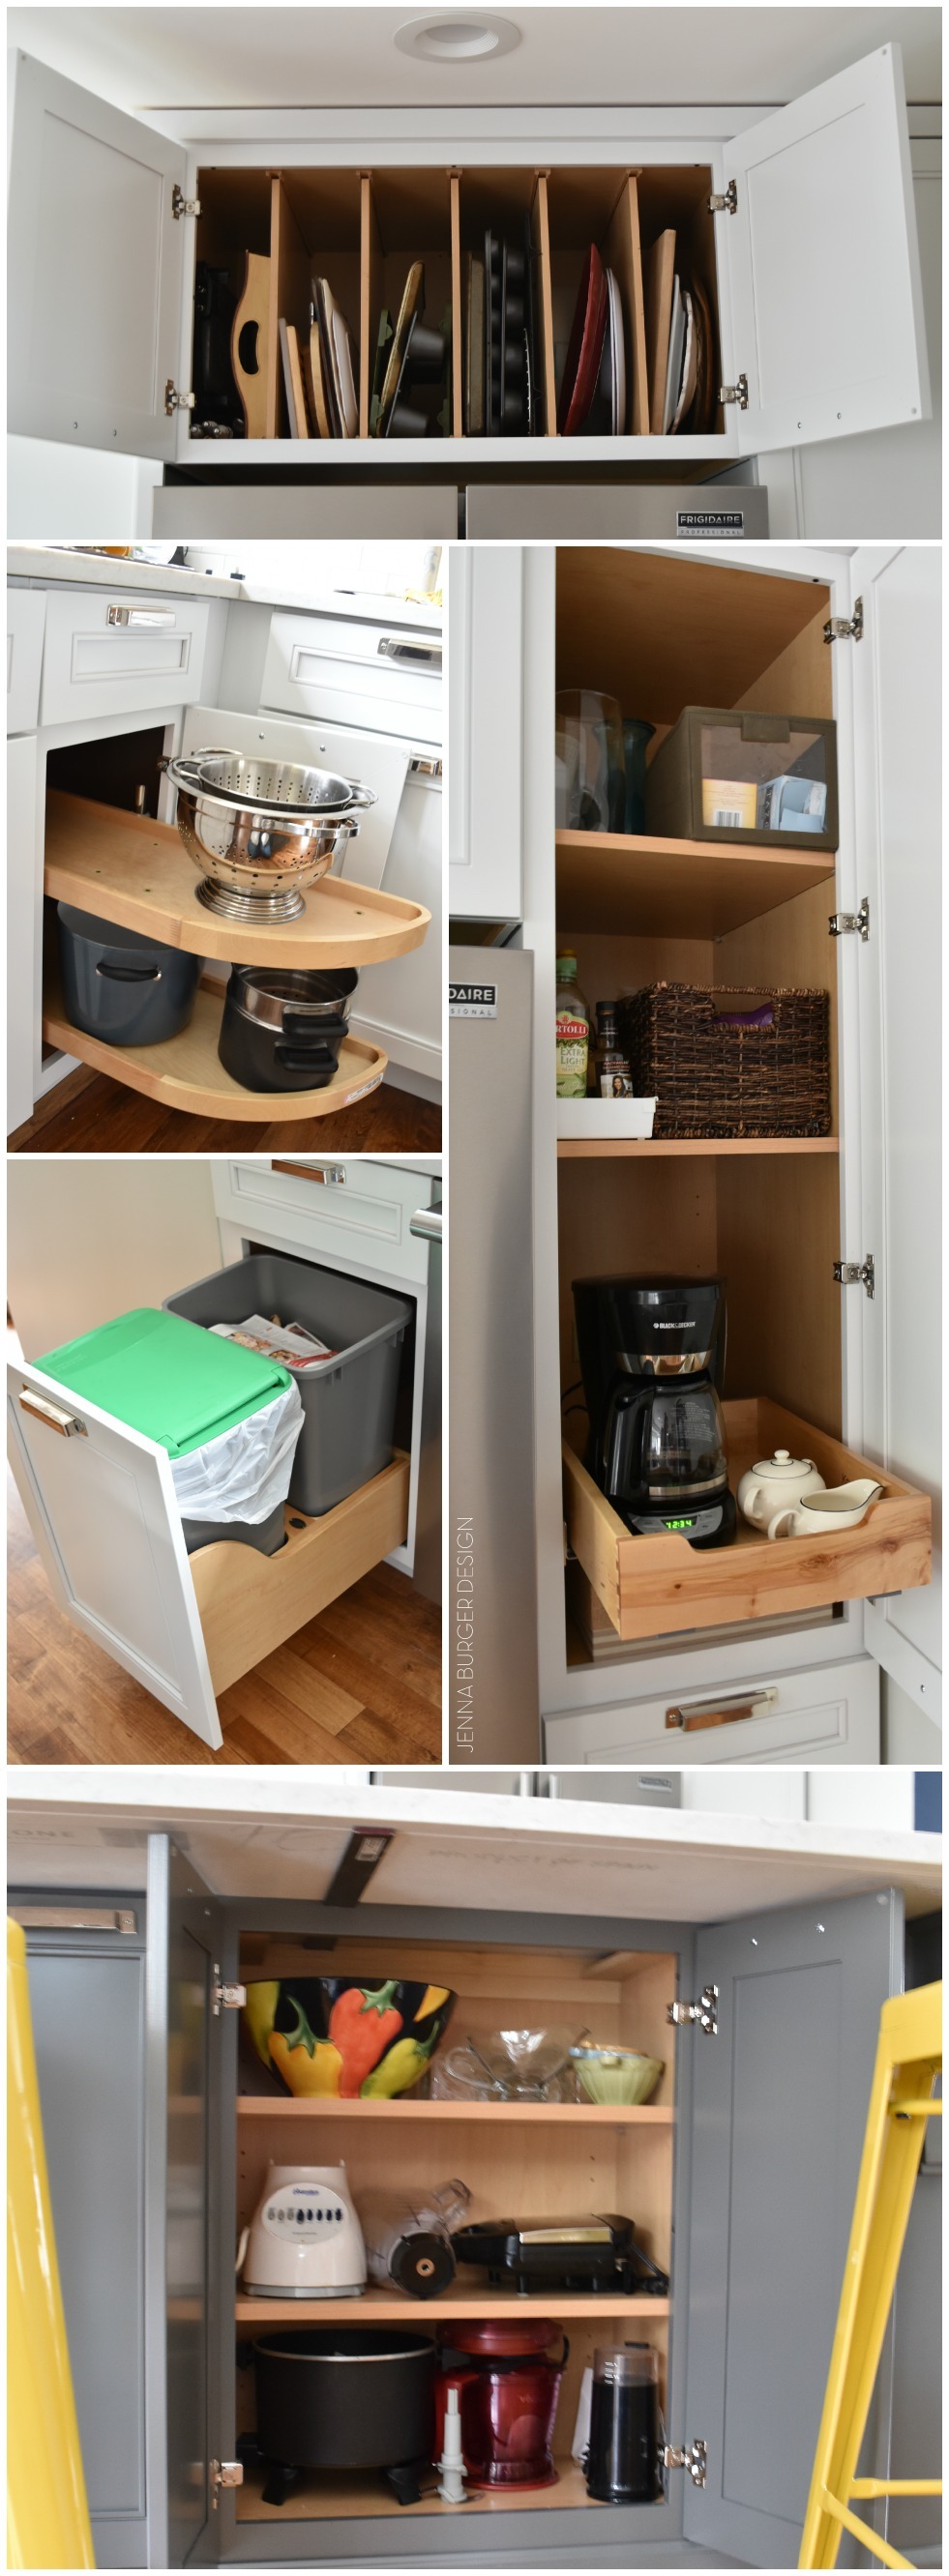
CABINET INTERIORS
Check out a few snapshots of the cabinet interiors…
WHY KRAFTMAID.
It’s a fair question. From Ikea to custom, there are a zillion cabinetry companies out there to choose form, so why Kraftmaid?
DESIGN. Lowe’s offers a great service of working with a kitchen designer who can create a plan for you. Whether you know exactly what you want or need hand-holding + direction, the Lowe’s design team will work with you to implement a plan. You not only want to create a high-functioning space, but also a kitchen area that fits your style + aesthetic… the Lowe’s kitchen designers can do that for you!
SELECTION. Kraftmaid has an incredible selection of cabinet styles, colors, decorative enhancements (add-ons), storage solutions, hardware, etc… Having options allows the possibility of achieving a custom-to-you, one of a kind kitchen!
QUALITY. Kraftmaid stands behind their product (check out their warranty) and with a big investment you want a company that cares about their product. Their attention to detail + the craftsmanship of their product is exquisite. What other cabinet companies upcharge for, Kraftmaid cabinets come as standard including solid wood dovetail drawers that are full extension + soft close and a finishing system on their doors to make them twice as resistant to scratches.
STORAGE. Kraftmaid has a huge selection of storage solutions. As much as the outsides of the cabinets need to be pretty, the insides have to be functional.
I am so thrilled with the progress of this kitchen renovation. I will be 100% honest, the renovation process has been exhausting + wearing and I haven’t even lifted a finger (with all the DIY we do, I couldn’t not imagine doing this as a do it yourself project… that’s just too much for me). There have been frustrating + tiring days, but I just keep focusing on the end result. In mere months, this renovation will be simply be a past moment in time. For now, I’m just thankful to have cabinets + focusing on the day-to-day progress!
Next up… countertops. I can not wait to share with you what I chose!

If you want to see all the posts documenting the kitchen renovation, here they are from start to finish:
Wonderful White Kitchen Inspiration
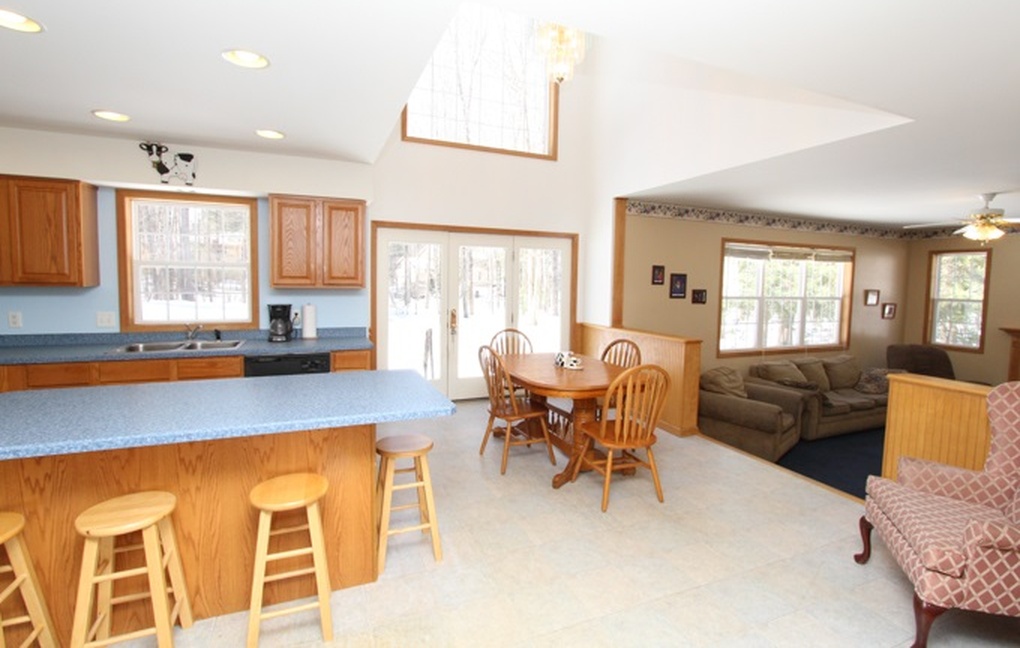
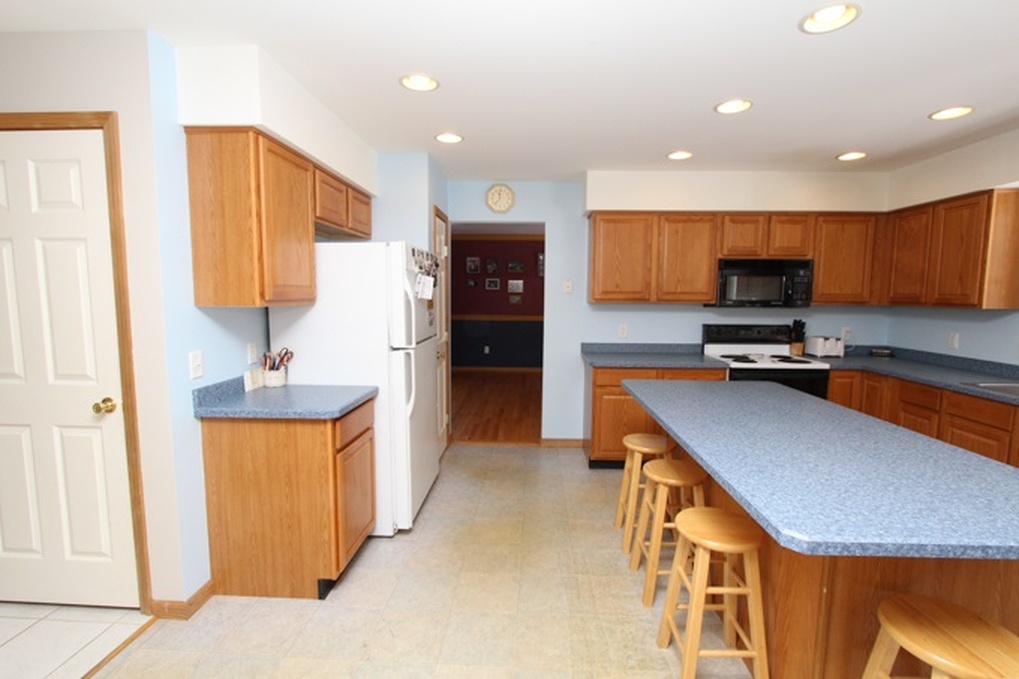
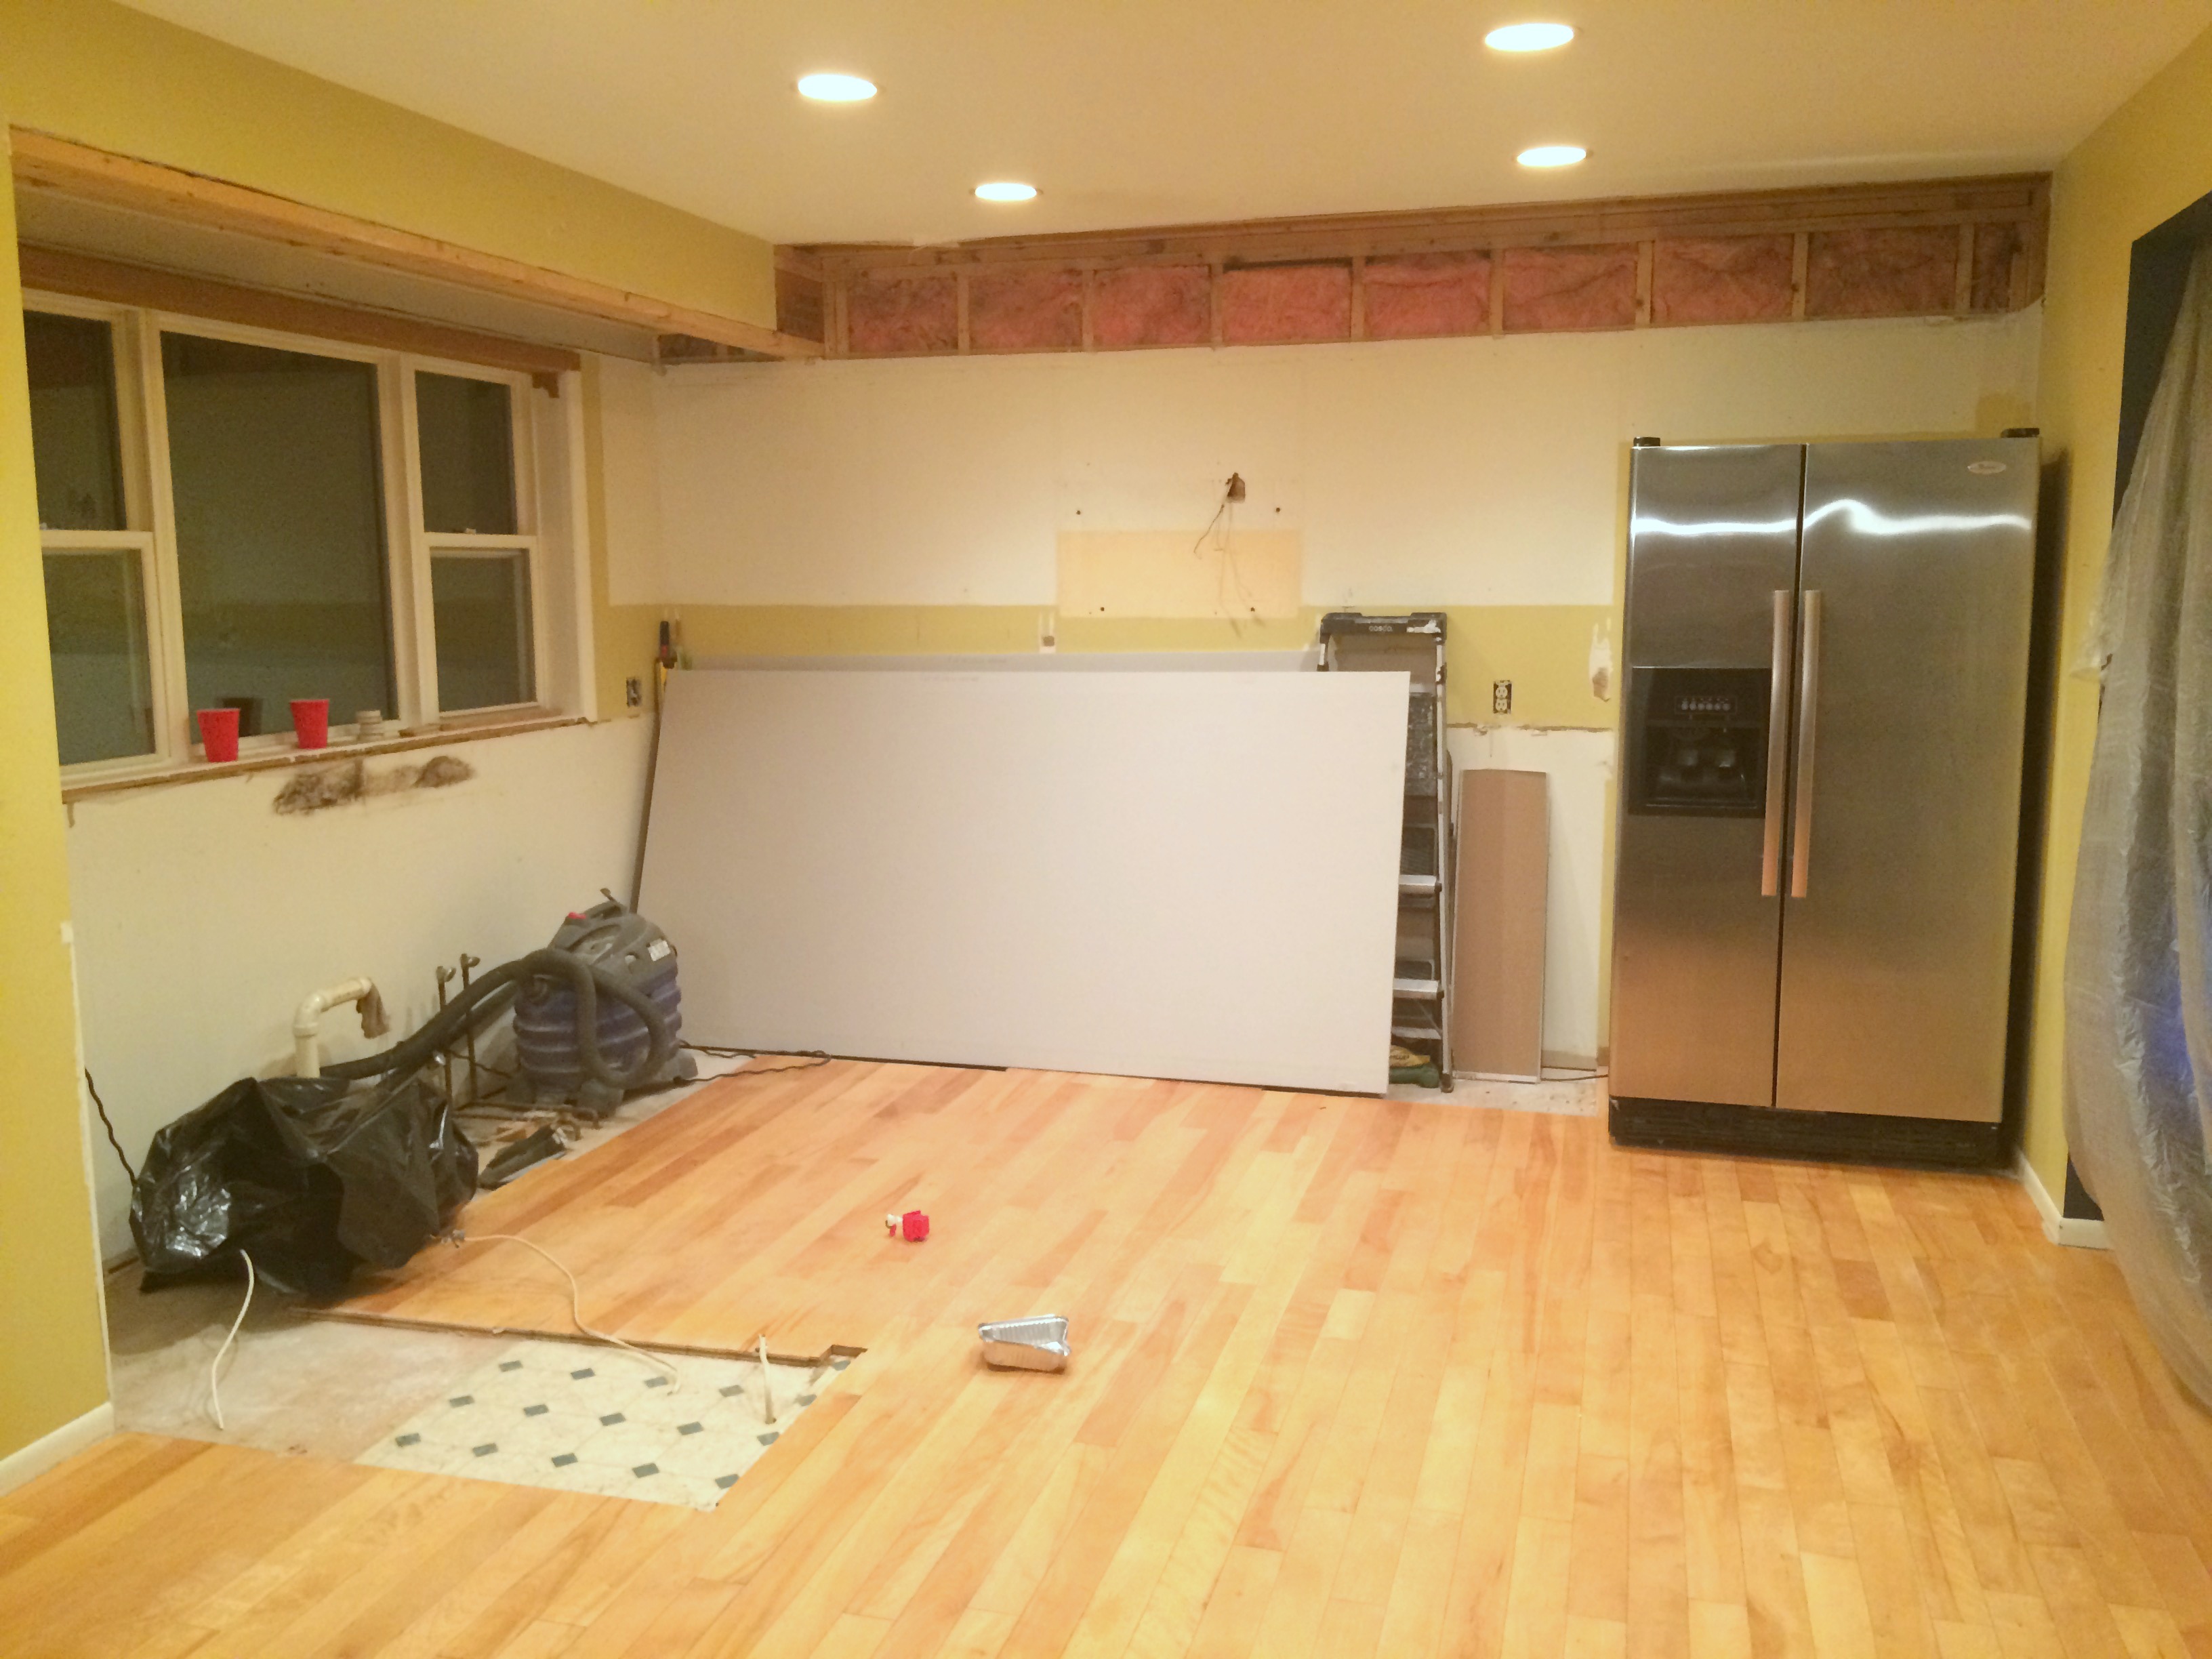
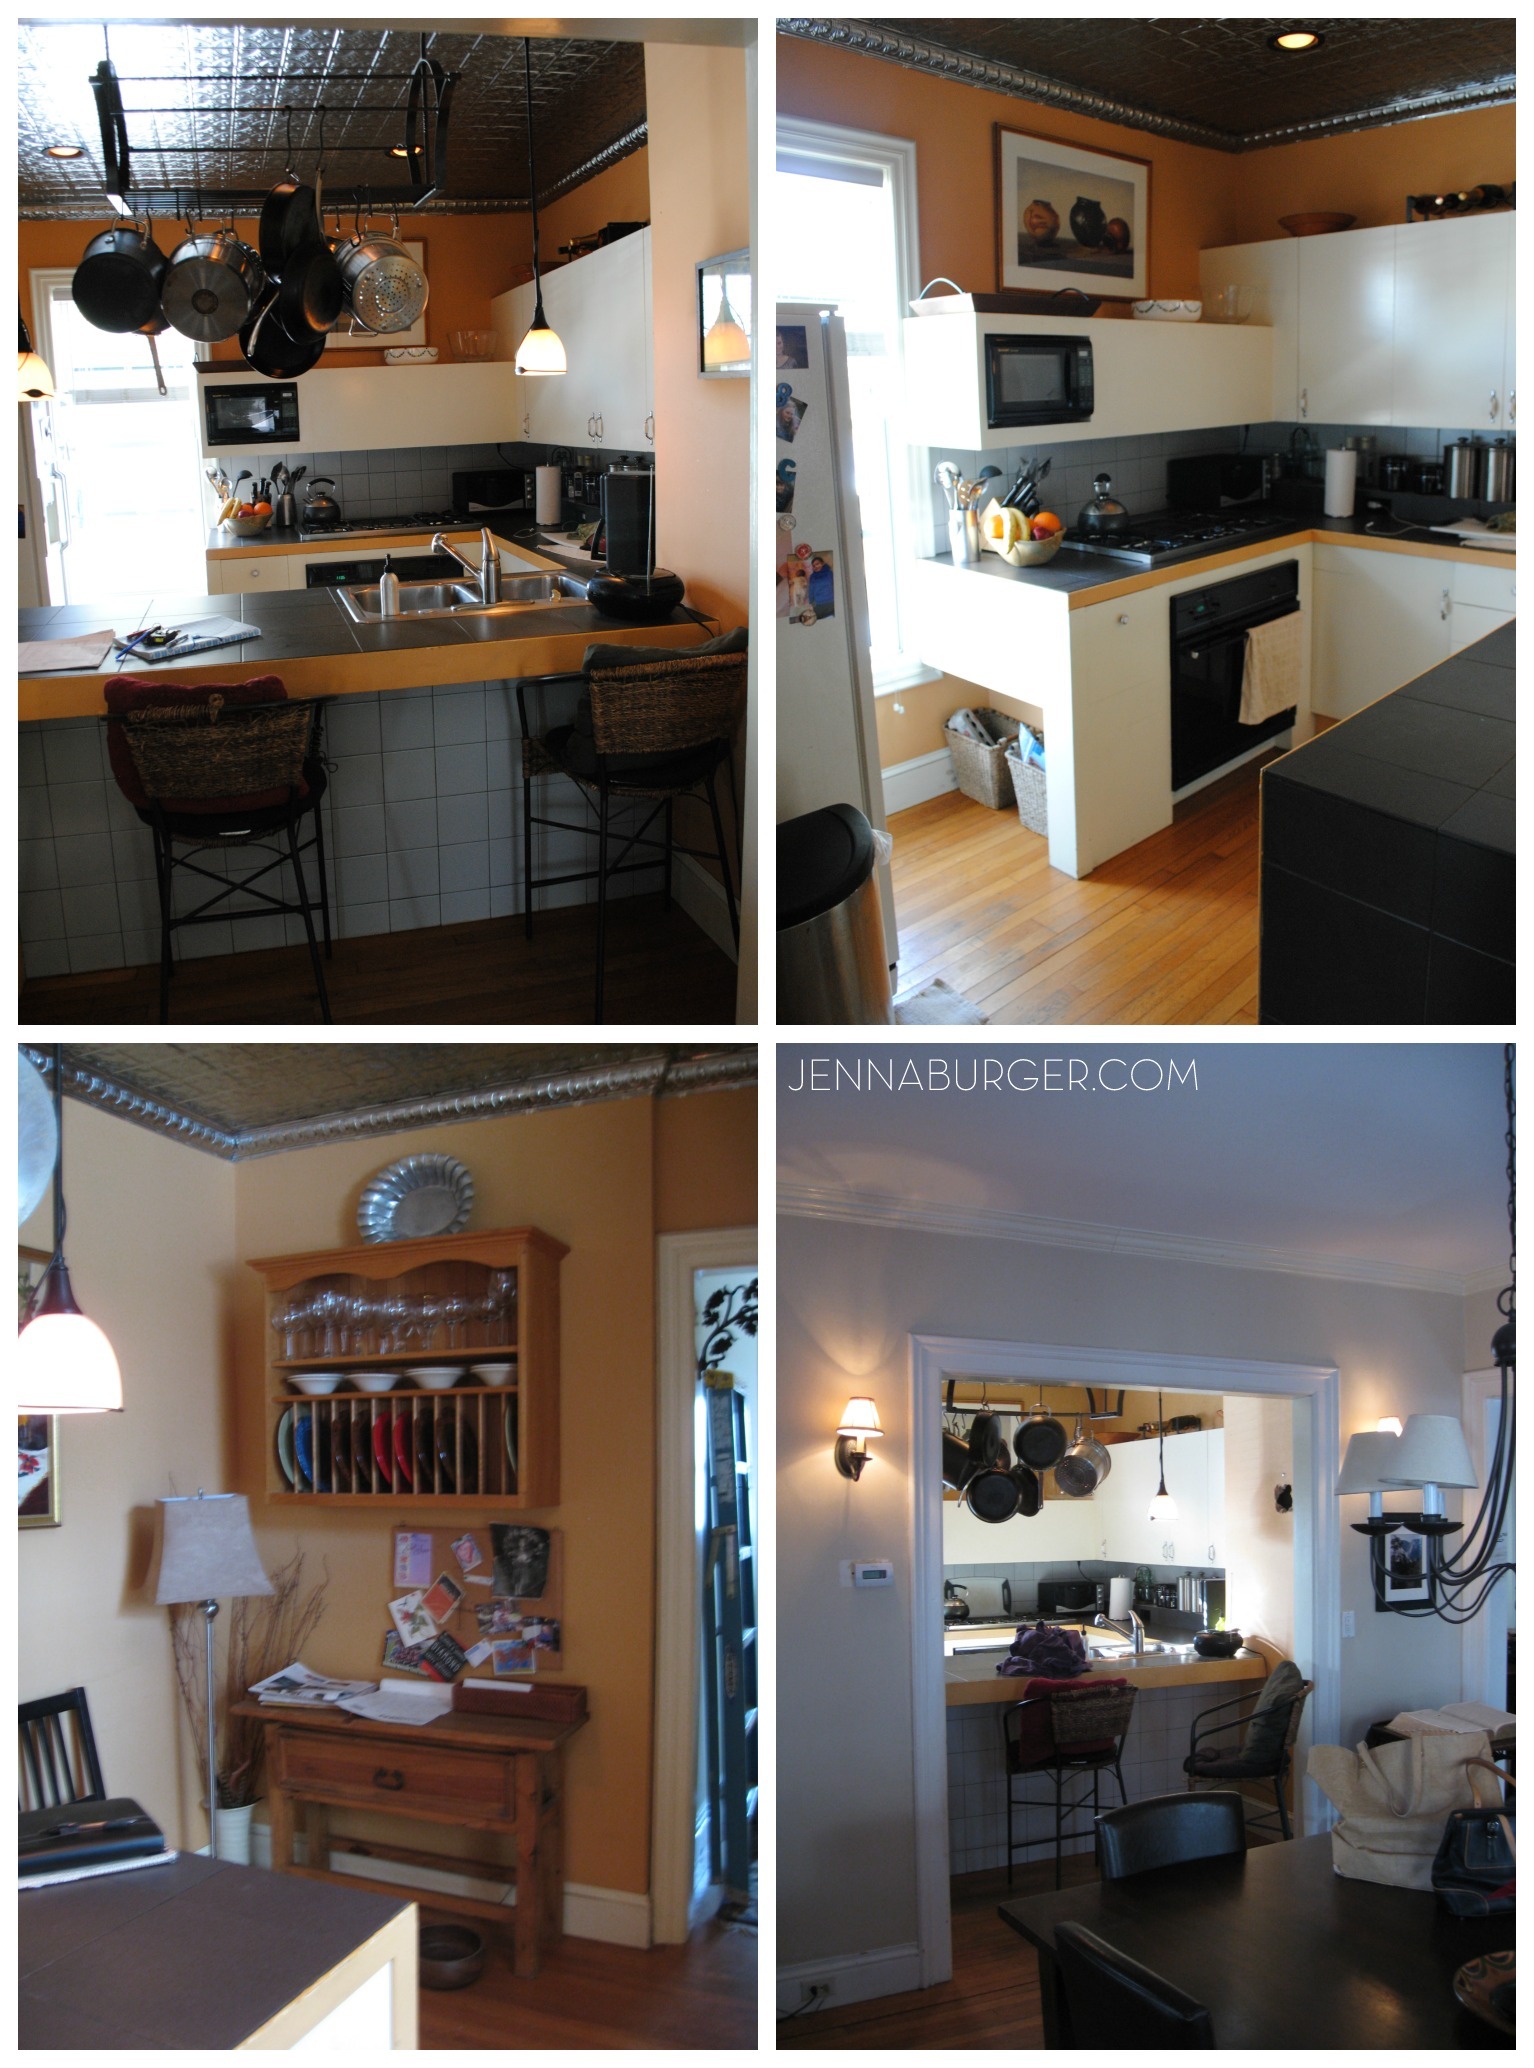
Kitchen Remodel: Before + Plan of Action
Demo Day: Steps for Demolishing the Kitchen
Kitchen Progress: Staining Hardwood Floors
The Cabinets Arrive + Get Installed
Natural Quartz Countertops in the Kitchen
10 Countertop Materials to Consider for the Kitchen
Subway Tile Installation + Choosing the RIGHT Subway
Kitchen Backsplash Tile Options + Inspiration
Choosing a Paint Color + Wallpaper for the Kitchen and Dining Room
Kitchen Renovation: The Appliances
Dissecting the Details
Kitchen Renovation: REVEAL + RESOURCES
DISCLAIMER: THIS KITCHEN RENOVATION IS A COLLABORATION WITH LOWE’S USING KRAFTMAID CABINETRY. ALL OPINIONS + SELECTIONS ARE MY OWN WITH THE ASSISTANCE OF KRAFTMAID AND THE LOWE’S DESIGN TEAM.