How to Make a Pallet Bookshelf
What a week it’s been! Is it really March already? I’m still in February! I really thought I would have the bathroom complete by now to reveal today, but (I know, here it comes) it’s not done – boo hoo. It’s 95% there, but the finishing touches are still needed, and that’s always the most important part. So sorry to say, you’ll have to wait a few more days… you don’t mind, right? Instead, I have a fun, easy, and unique DIY project to share with you.
In the midst of my son’s room makeover, the bookcase he had wasn’t fitting anymore, but he still needed something to hold his many of books. I had wanted to make shelves from old pallets for a long time, so this was the perfect opportunity. I’ve seen alot of pallet bookshelves around the blogosphere, but hadn’t seen a tutorial (not that I searched long and hard either), so here we go…

After finally snagging a few pallets from my local hardware store, I was ready and working. Depending on the pallet you find / pick up, you can get two bookshelves from one pallet. Each end of the pallet is one bookshelf.

Duration of Project: 40 minutes (staining or painting will increase duration of project and may take longer than one day to complete)
Project Difficulty: Easy to Medium
How Many People Needed: 1
1. Remove / pry off the center wood strip(s) from the pallet (as shown in the above image), using the back of a hammer or crowbar. This wood strip(s) will be reused for the bottom of the bookshelf. Pallets come in a few difference sizes, so yours may have 1 or multiple center wood strips. My pallet only had one, so I had to use a wood strip from another pallet to create the bottom for my second bookshelf.
2. Reuse the center wood strip and attach it to the side of the pallet, which will soon be the bottom of your bookshelf. I reused the nails that were already in the wood strip, but you may need / want to use new nails.
 It’s time to cut the wood to create the bookshelves!
3. Measure about 1-2″ above the higher wood strip and make a mark for your cuts.
4. Using a jigsaw, make your cuts.

5. Once the cuts are done, your bookshelf is essentially complete.
6. Sand down all the sharp edges using a hand sander or power sander.
7. Stain. I used Minwax Jacobean stain for a dark look. The wood was quite porous, so it soaked it right up!

8. Once completely dry (it took mine a few days to completely dry and not smell anymore), they were ready to hang. To hang the pallet bookshelves, I used Self-Drilling Drywall Anchors which are great to use when you can’t find a stud (never my strong suit).
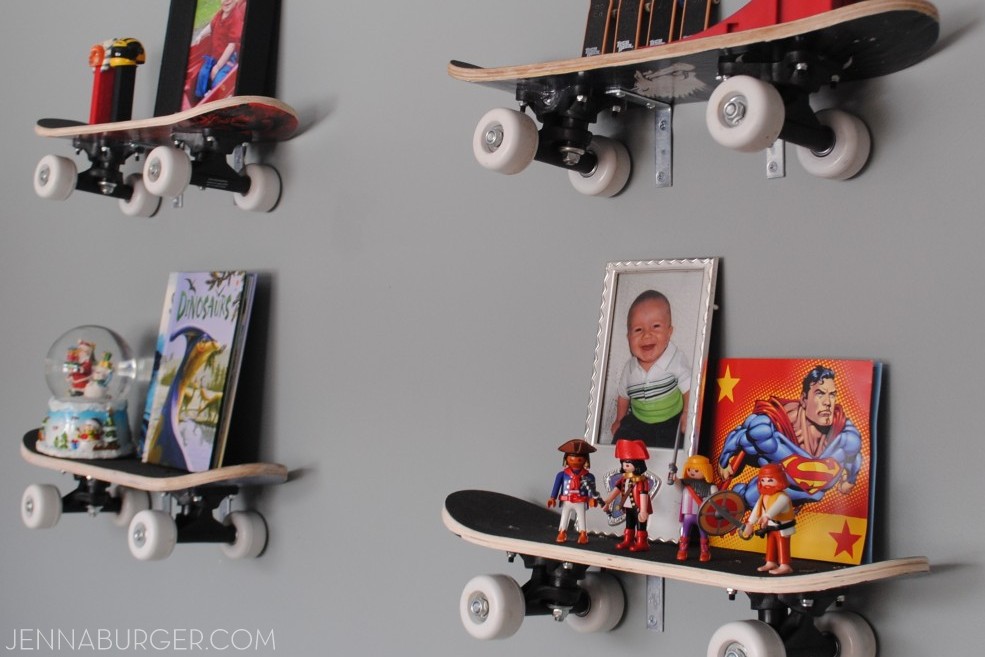
And they’re ready to fill with your child’s favorites books.


I will admit that this style bookshelf doesn’t hold as much as a typical bookshelf, but I love how the kids can see (and choose) the books straight on. They add so much color into the space!

These pallet shelves are also great for tight spaces since they’re only about 4″ deep. Imagine a whole wall of them?! (Ooo, that gives me an idea…)
 The room is still coming together, but like the bathroom, it’s 95% complete (story of my life, I guess, lol). I have another exciting project to show you in his room, so stay tuned.
Have a great weekend!
Have you created anything using pallets? If you’re in need of more pallet ideas, take a look at my post on Do-It-Yourself Projects Using Pallets.