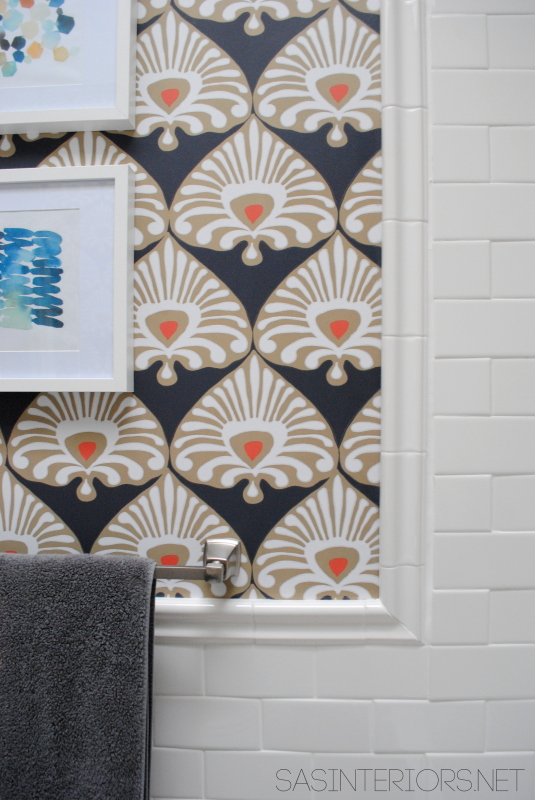
Bathroom Makeover: Tile Accent Border {Day 18}
Since the wallpaper, the last phase of the bathroom makeover, was fairly quick taking only a day from start to finish, I was able to move on the next step pretty quick. With the completion of the dynamic + bold wallpaper, I am feeling so happy with how the bathroom is coming along. There were a few points that I questioned my decisions + selections, but I feel the wallpaper really pulled it together and added the interest needed to make this new space + funky against the stark white tile. It’s all about the balance and the contrast…
Onto the next phase to get this space done. I’m on Day 18 of this Bathroom Makeover in 30 Days Challenge and it was spent adding a tile accent (trim) border to finish the edge of the subway tile.
Take a look…
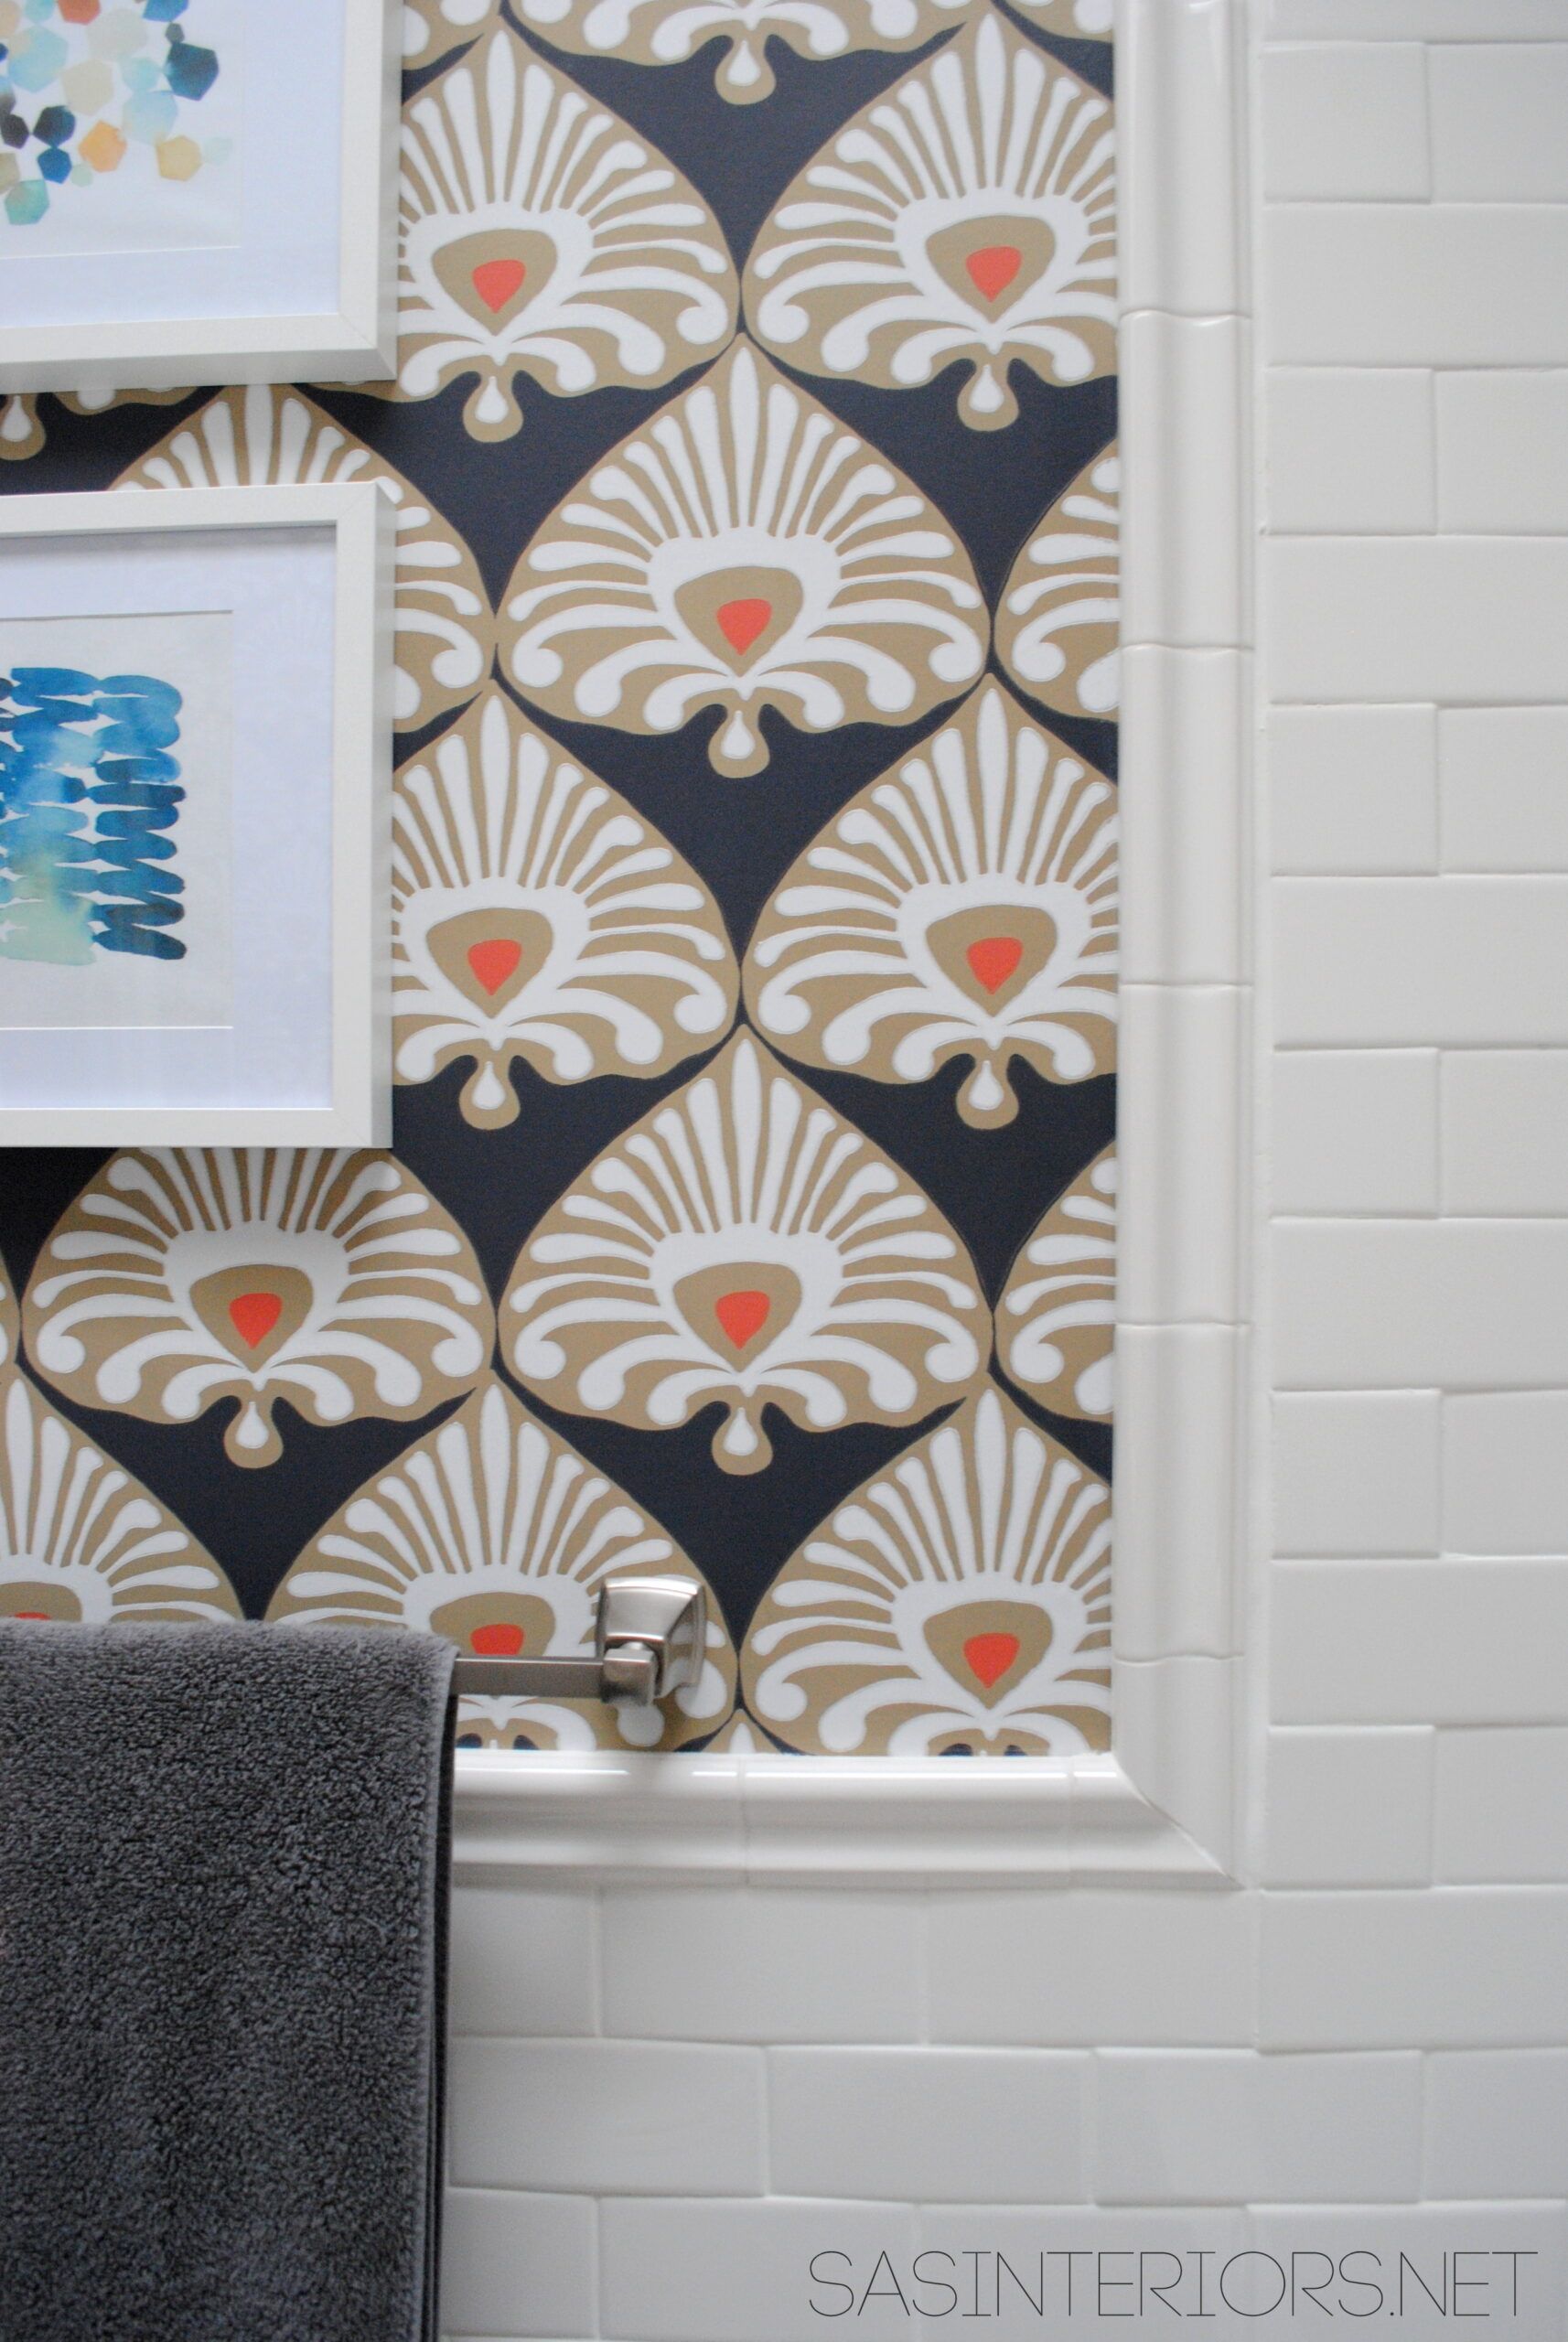
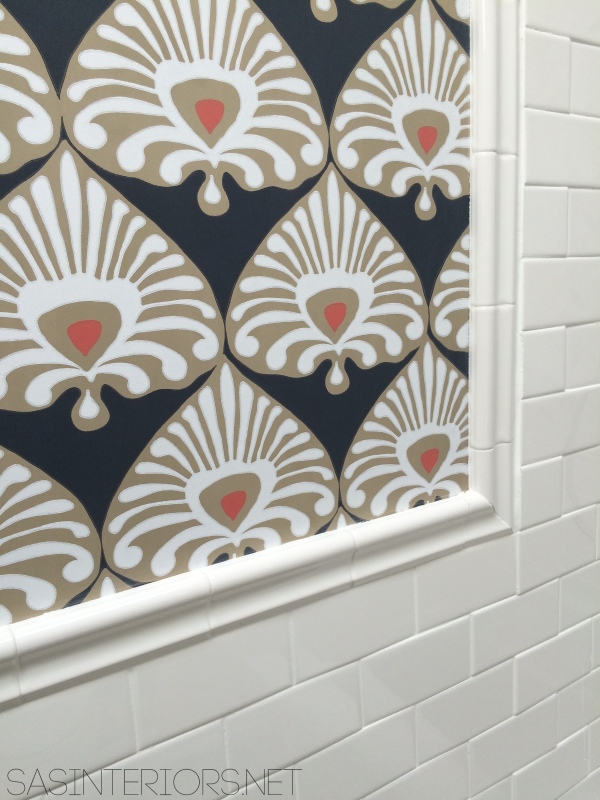
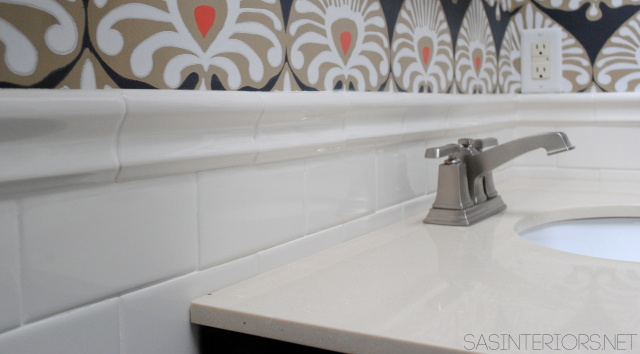
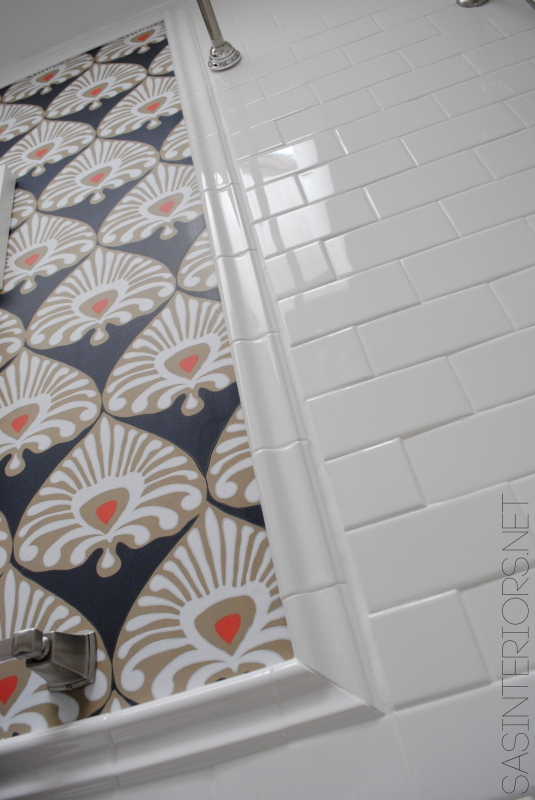
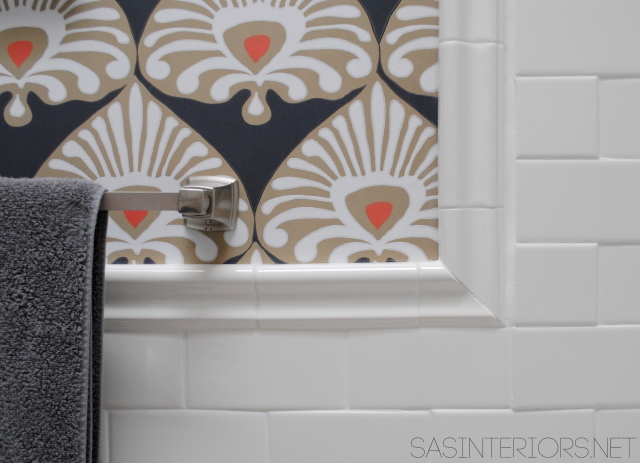
From the start, I had intention of using a tile board to finish off the subway tile, but once the installation of the horizontally layed subway tile was complete, it confirmed that something was definitely needed to finish the ends. I chose a pretty decorative tile at Lowe’s that was the perfect complement to the subway tile.
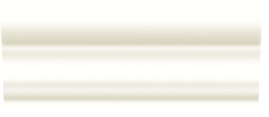 I chose to use the border tile vertically to border the shower tile and then turn it horizontally to border the subway tile on the walls outside of the shower space. Originally I was going to use this accent barliner to border the herringbone tile in the shower as well, but I chose a simpler tile instead > see it here. Like I said before, this has been my biggest tile job EVER. I HAVE NEVER ventured into a project as big, so I was learning as I worked. I questioned my skillset a few times along the way, but in the end I am very happy with the result.
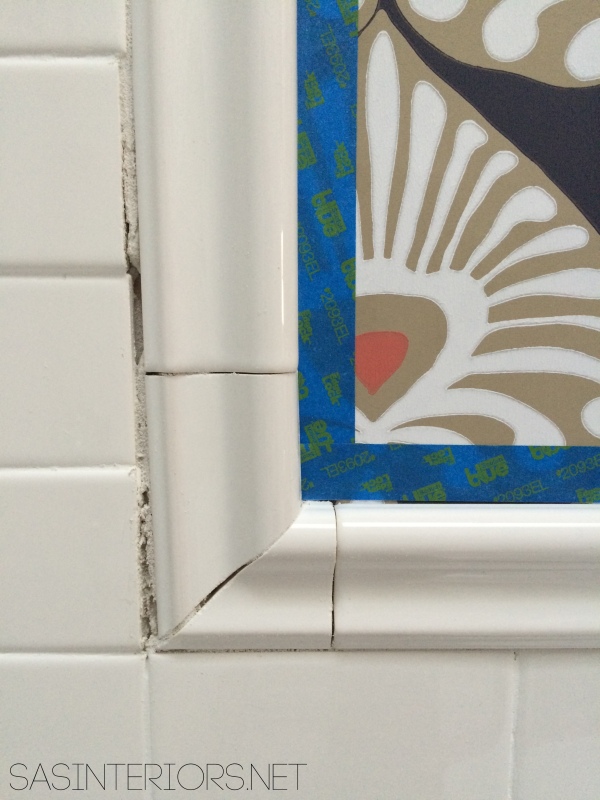
For the tile border, I started with the corner pieces because they had to be cut on a 45 degree angle. I measured and cut the two pieces using a wet saw and then worked my way up vertically and over horizontally.
I installed the accent tile using the same method as I did for the subway tile. To learn more about installing the tile, check out my post on How-To Tile + Grout Bathroom Walls
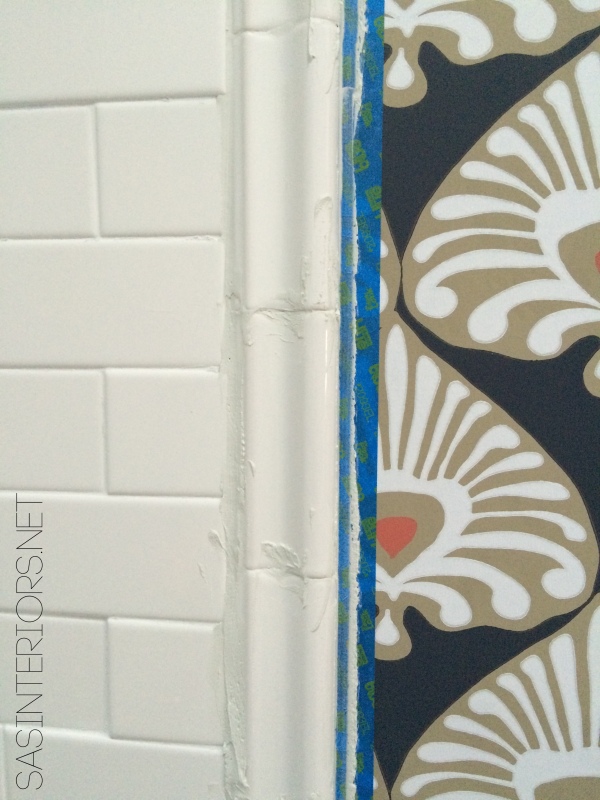
Once the tile border was in place, I used painters tape to tape off the wallpaper so the grout would not get on it. After installing that gorgeous paper, the last thing I wanted was to get it ruined!
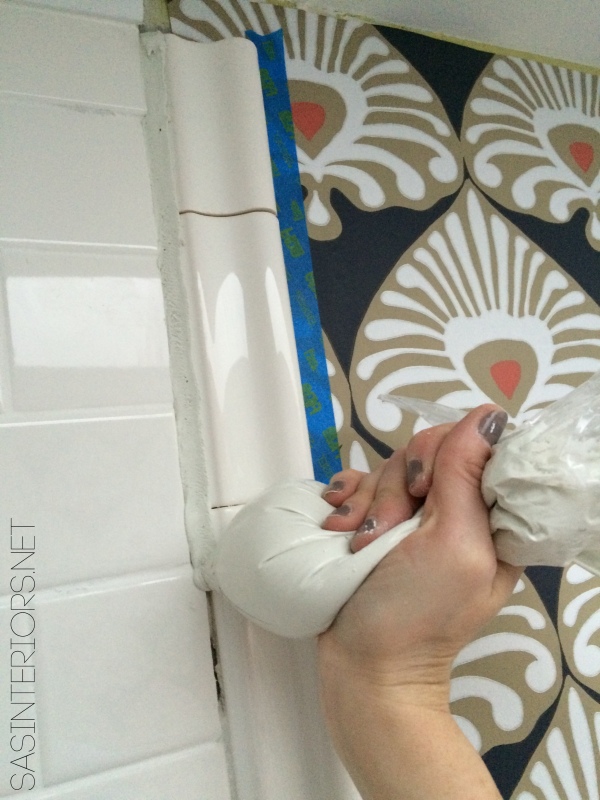
Then it was time to grout. After mixed + made the grout mixture, I put it in a ziploc bag and cut one corner creating a small hole for the grout to come out of. Kind of like icing a cake… Then I worked the grout into the cracks & crevices.
It was a little messy, but using the Ziploc bag was very helpful to direct the grout where I wanted it, instead of going on the entire tile surface.
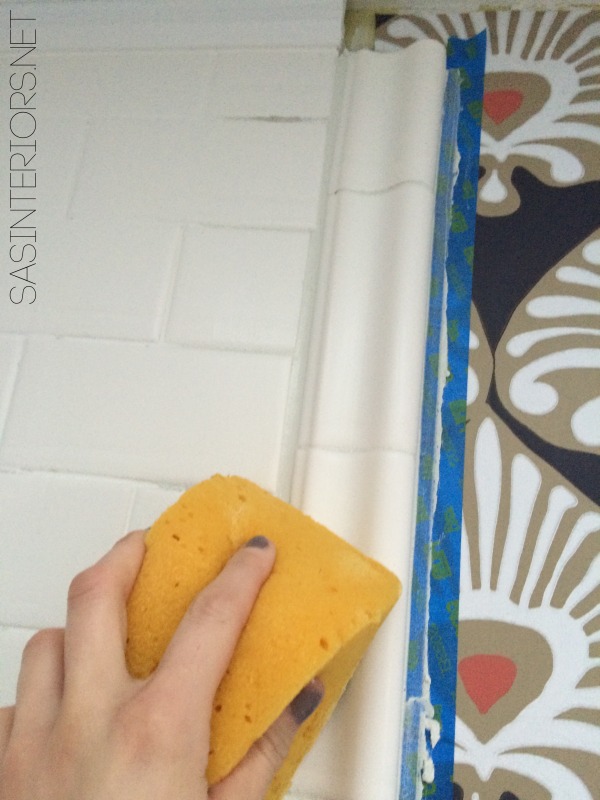
Once I filled all the holes and crevices, I used a damp sponge to smooth out the grout. This not only cleans the tile face but smooths out the grout joints.
If your walls are painted or have wallpaper on them, like mine, go slow + be careful so the wall surface doesn’t get grout on it otherwise it’ll become hazy. Thankfully the wallpaper was easy to wipe off, but I am sure paint wouldn’t be as simple. I guess you could always touch up those spots…
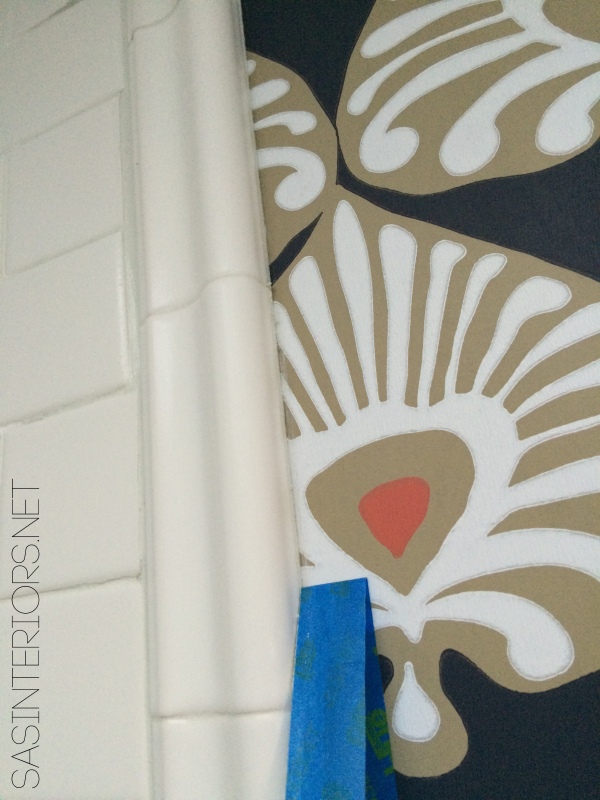
BEFORE THE GROUT DRIES, REMOVE THE TAPE! This is in caps because if not the tape will dry into the grout. Yes, it’s happened to me (not on this project thankfully). As soon as you finish grouting while the grout is still moist, pull the tape off.
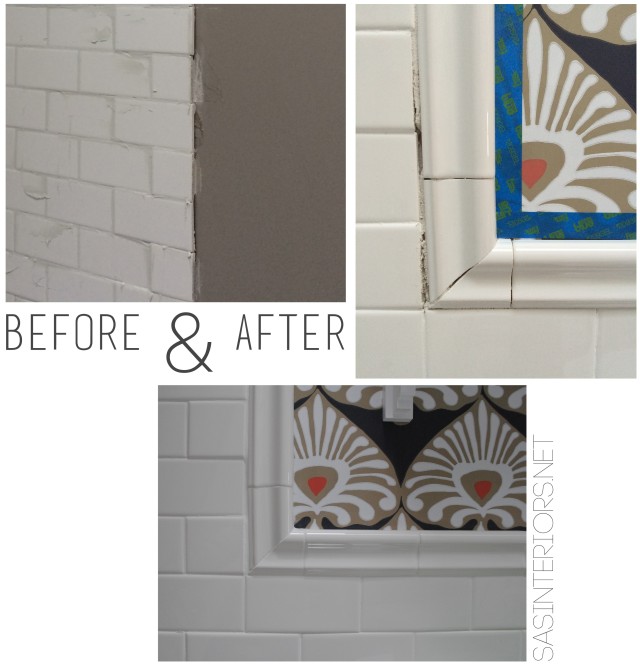
From start to finish…
And the result…
And a peek at a few other things happening {art + accessories}…
The tile accent border is truly a beautiful addition. Not only did it hide a lot of little mistakes and imperfect spots, but it has given this bathroom such an elegant + sophisticated finished look. I am so happy that I installed the wallpaper before adding the border because it has really given a nice clean edge. If / when I ever want to remove the wallpaper, my plan would be to score the edge of the accent tile with a sharp blade and then peel the paper off.
Adding a tile accent border on Day 18 is complete! Up next… creating a tiled niche. I removed the old medicine cabinet and replaced the space with a tiled niche. More to come next week!
The installation of the tile accent border took about 4 hours on one day
From start to finish, these are all the posts pertaining to this bathroom remodel
Plan of Action
Demo: Removal + Installation of the Tub & Walls
How-To Tile + Grout the Bathroom Walls
Installing Wallpaper
Adding a Tile Accent Border
Creating a Tiled Niche
Bathroom Makeover Reveal
Resources
{Day 18} Tile Accent Border – Complete! 12 more days to go…
This post is sponsored by Lowe’s, but all thoughts and opinions are 100% my own. I am thrilled (and a bit nervous) about tackling this project, but very excited to be partnering with Lowe’s on creating an entirely new bathroom space. I’d love for you to follow along on this new project!
