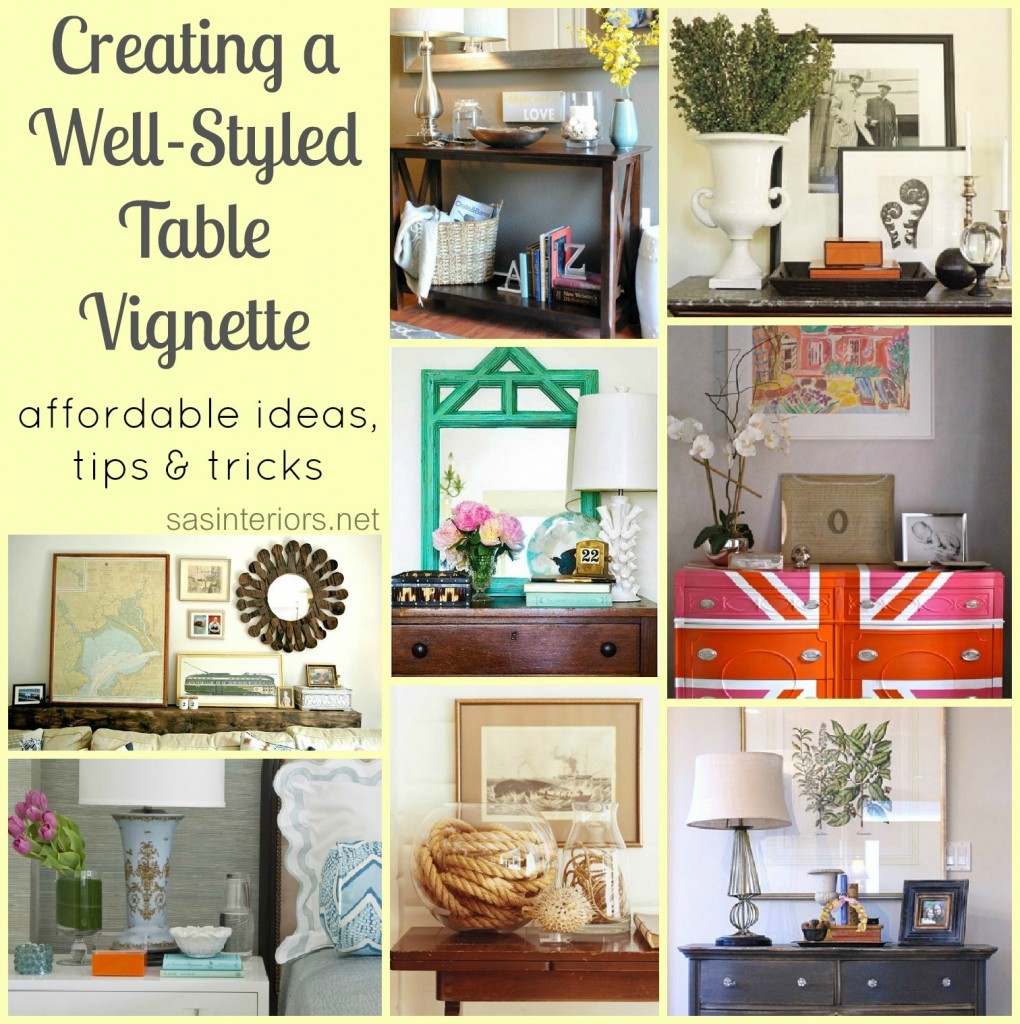
Creating a Well Styled Table Vignette
I’ve shared my ideas and thoughts on how to create a well styled bookcase and today I’m back sharing simple, affordable, and stylish tips on how to create a beautiful table vignette (or any horizontal surface – could be a dresser, buffet, window sill, etc). I just love the word vignette – it sounds so she-she and regal – but getting down to basics, it simply means a pulled together and balanced composition (that’s my meaning, not Webster’s, so please don’t head to your dictionary and quote me- hehe).
A well-styled table vignette is the perfect way to add warmth, interest, and unique character to your home. Inexpensive elements can easily be introduced to create a beautiful and balance composition. It’s really not about the value of the items you display (I have things that have cost mere pennies) , but instead how it’s put together!
Let’s get inspired (and dissect)…
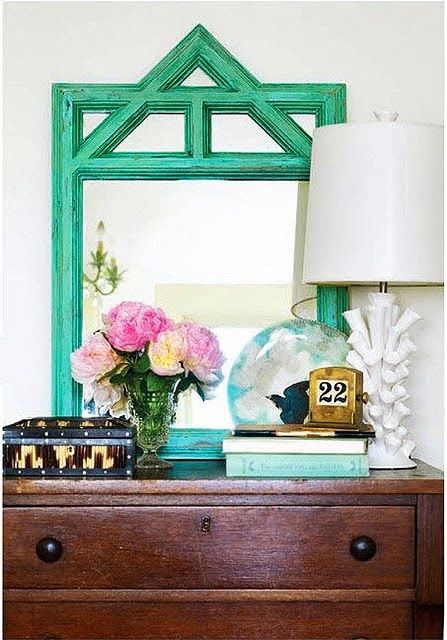
 To start off, this vignette atop an antique dresser is fun because of the variety of color. I like color, but that’s my opinion. Color isn’t always needed to achieve a well-styled vignette, but I would suggest adding in a splash here or there – a small dose is better than nothing. This composition works so well because of the layers, as well as varying heights and sized objects – 3 key elements to achieving a stylish vignette. The overall setting is engaging and interesting because of the different textures and unique objects. Vignette via House and Home
Tip 1. Once you’ve chosen your perfect horizontal table to create a vignette, clear everything off. When decorating ANYTHING, it’s a must to start with a blank slate. It’s not only easy to add elements and move them around, but also to see the space in a different way – believe me, it works! I start every revamp (a room or a vignette) by clearing out and then bringing elements in.
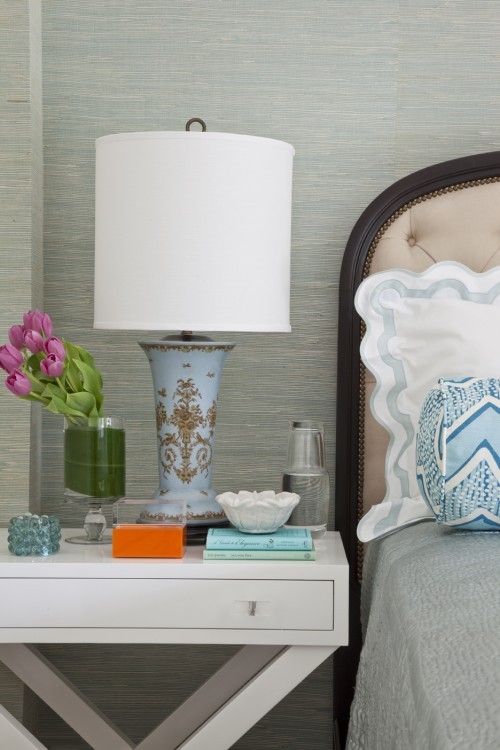 Basically a beautiful vignette can be created on any horizontal surface, even a nightstand. Don’t you just love this space? I sure do! In this vignette there is a little pop of color and it goes a long way. It’s nice to make a nightstand look pretty, but I come from the school of thought that it also has to be functional. Meshing the two isn’t difficult. One favorite way is to use a decorative or antique bowl for holding jewelry, which can be layered on top of the book(s) you’re reading. Of course you need lighting – again the lamp is not only functional, but also adds height to the table. Additionally, flowers bring a touch of freshness to a simple vignette. Inspirational Vignette found via Cape Code Collegiate
 If you’ve noticed, there is a common theme with each of the three above pictures, and it’s my 3 key elements again – layers, varying heights, and varying sized objects. Instead of a lamp in this vignette, this space has a tall plant filled urn with layered black and white framed photos behind. In front is a nice-sized tray filled with colorful boxes (there is the pop of color again), with more interesting objects of varying sizes and heights to the right.
Tip 2. Choose an anchor: Starting with and positioning an anchor object is the ideal way to begin a vignette. What’s an anchor object? A lamp, floral arrangement, sculpture, etc – basically the dominate piece in the vignette. It’s the focal point of the horizontal surface and brings height to the overall composition.
Tip 3. Layer: Add elements – pictures, artwork, accessories – from the back to the front of the horizontal surface. If there is a wall behind, have something large (picture, photo, mirror) on the wall or a smaller grouping, then layer objects in front on the surface. Again start with the anchor object and layer around. Ideas: Position small pictures in front of large ones. Add a small bowl, vase, or accessory on top of a stack of books. Create a grouping of candles layered in front of each other.
 A simple and elegant side table next to the bed. Again the lamp is the dominate feature in this vignette with layered pictures leaning against the wall. Books are layed on their side with a small flower arrangement atop. This table isn’t overloaded with “stuff” (what nightstand should be?), but all the elements are here to create a well-styled table vignette. Vignette via Traditional Home
 Love this entryway by my friend, Pamela. It has all the elements to create a complete composition. She started with her large mirror behind, then added a beautiful tall lamp in front to anchor the vignette. Continuing, she introduced inexpensive elements of varying heights and layered them on the top of the table, as well as on the shelf underneath.
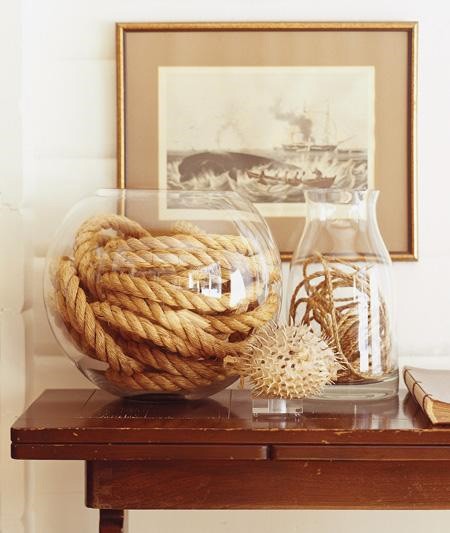 A little bit different type of vignette, but still using the same techniques. The large bowl filled with rope is such a strong element in this vignette and is nicely balanced with 2 other elements – a smaller rope filled glass jar and an interesting sea creature (do you know what that is? looks kinda like a porcupine). This grouping has awesome texture and would be simple and inexpensive to create! Vignette found via Pinterest (original source unfound)
Tip 4. Varying Heights and Sizes: Accessories and elements used in a vignette shouldn’t be all the same height and size – that would just look strange. Play with the idea of introducing objects where some are smaller, some are larger, some are thin and tall, some are short and stout. This will allow the layering to be more obvious and easy to create.
 Just as you were probably getting comfortable with the idea of 1 major object, layer, and size variation, I throw you a curve-ball.
This table vignette has 2 major focal objects. But it works because they’re the same. If you had one lamp and one large vase on the other said that would have been dominance overload, but this nautical composition works. Also because of the intense main objects, the center accessories are minimal which gives a nice balance. Vignette Inspiration found via Brunch at Saks
Tip 5. Mix it up: Introduce different kinds of interesting elements / objects. Display a mixture of books, accessories, collectibles, DIY creations, and photos.
Tip 6. Display in odds: For some reason, designing in odd numbers (3 or 5 work best) makes better sense than even numbers. Plus you can create a great layered composition with 3 rather than 2.
A few more inspirational vignettes …
 Vignette Inspiration found via Brunch at Saks
 Vignette Inspiration found via Forever Cottage
 Vignette via Ladybird and Fellow
My final tips and tricks…
Tip 7. Affordable Vignettes: Creating a well-styled vignette doesn’t have to be expensive. Honestly it could cost you nothing depending on what you already have on hand. I’m always changing and revamping my vignettes by “shopping my home”. I move objects and accessories from table to table and purchase new pieces when I see something eye-catching and/or on sale. I rarely go to a store specifically to find something. 9 out of 10 times, I see something I like, buy it, and somehow incorporate it now or in the future. Aside from shopping-your-home, Craigslist, thrift stores, estate sales, garage sales, and of course discount stores like Home Goods or TJs are great go-to hot spots.
Tip 8. Enjoy and trust yourself: Just go for it! Don’t hesitate and say you’ll do it later. Go for now and you’ll be so satisified once it’s done. Again, clear everything off to start fresh and new. Then start layering and moving things around. Trust yourself in knowing what you like. Use the images I provided to help you or find inspiration in magazines and pinterest of course. And if you need extra help, I can always be of assistance!
Creating a table vignette can be thought of as tricky or challenging for some, but once those anxieties are lost a beautiful display can be achieved – patience and practice helps too! Hopefully my tricks, tips, and ideas have helped you to create a well-styled table vignette.
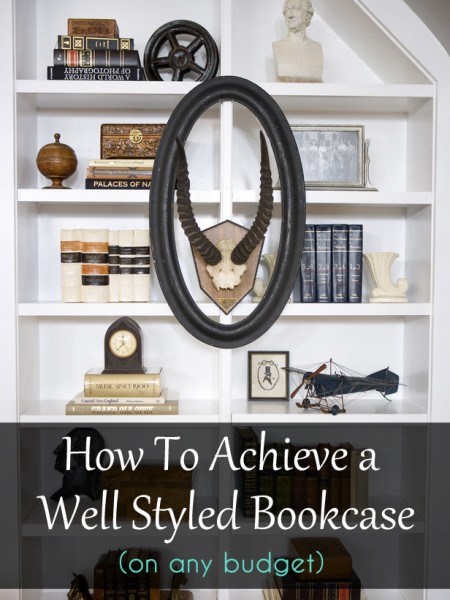
If you’re interested in creating a well-styled bookcase, click to this post:
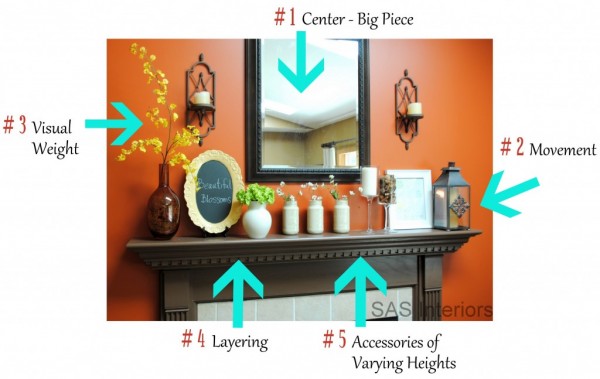
If you’d like to learn tips on designing a mantel, click to this post:
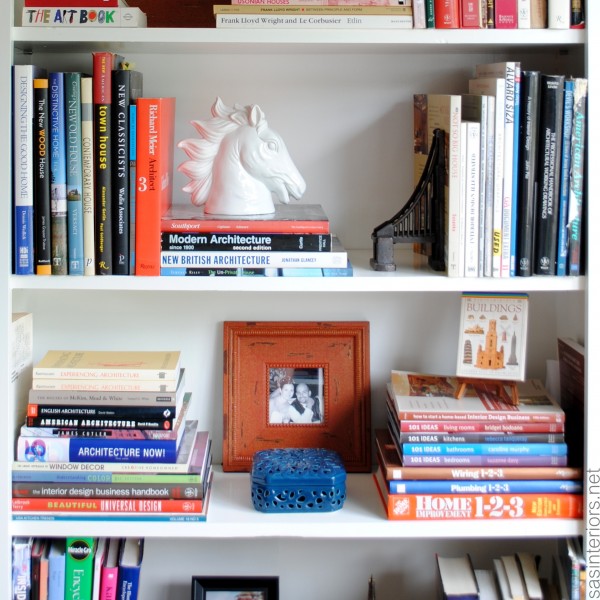
You can also check out my recently styled shelves, click to this post:
What do you display on your tables? What other ideas or tricks do you have to display objects on a table?
