
Tag: HomeRight

WOW to Painting Wicker

I’ve been excited all weekend to share an amazing WOW, Ah-Ha moment!

For the past few weeks, I’ve slowly been transitioning my decor to Fall by adding in seasonal favorites.  NO huge updates or changes, but a few touches here and there around the home to welcome the season.  One main focus has been the front porchI even shared a peek at it last week on Instagram when my prop assistant ran away with my gourds.  I feel like the entry of the home is a good place to put the most effort since it’s the first area you & your guests see as they enter the home AND a little effort can make a big impact.

I bought mums (some of which died – my black thumb has returned) and I have a few new trash-to-treasure items that I’ve slowly been introducing.  You got a peek of them a few weeks back – remember?

One new-to-me item was a wicker chair.  I was looking for a sister, and I found “her”.   They needed a bit of sprucin’ up, but I wasn’t in the mood to paint them.  Who wants to paint wicker?  NOT ME!  So they sat.

BUT THEN, I decided to finally use my hand paint sprayer that has been sitting in the garage for months and voila, no joke, 20 minutes total THEY. WERE. DONE.
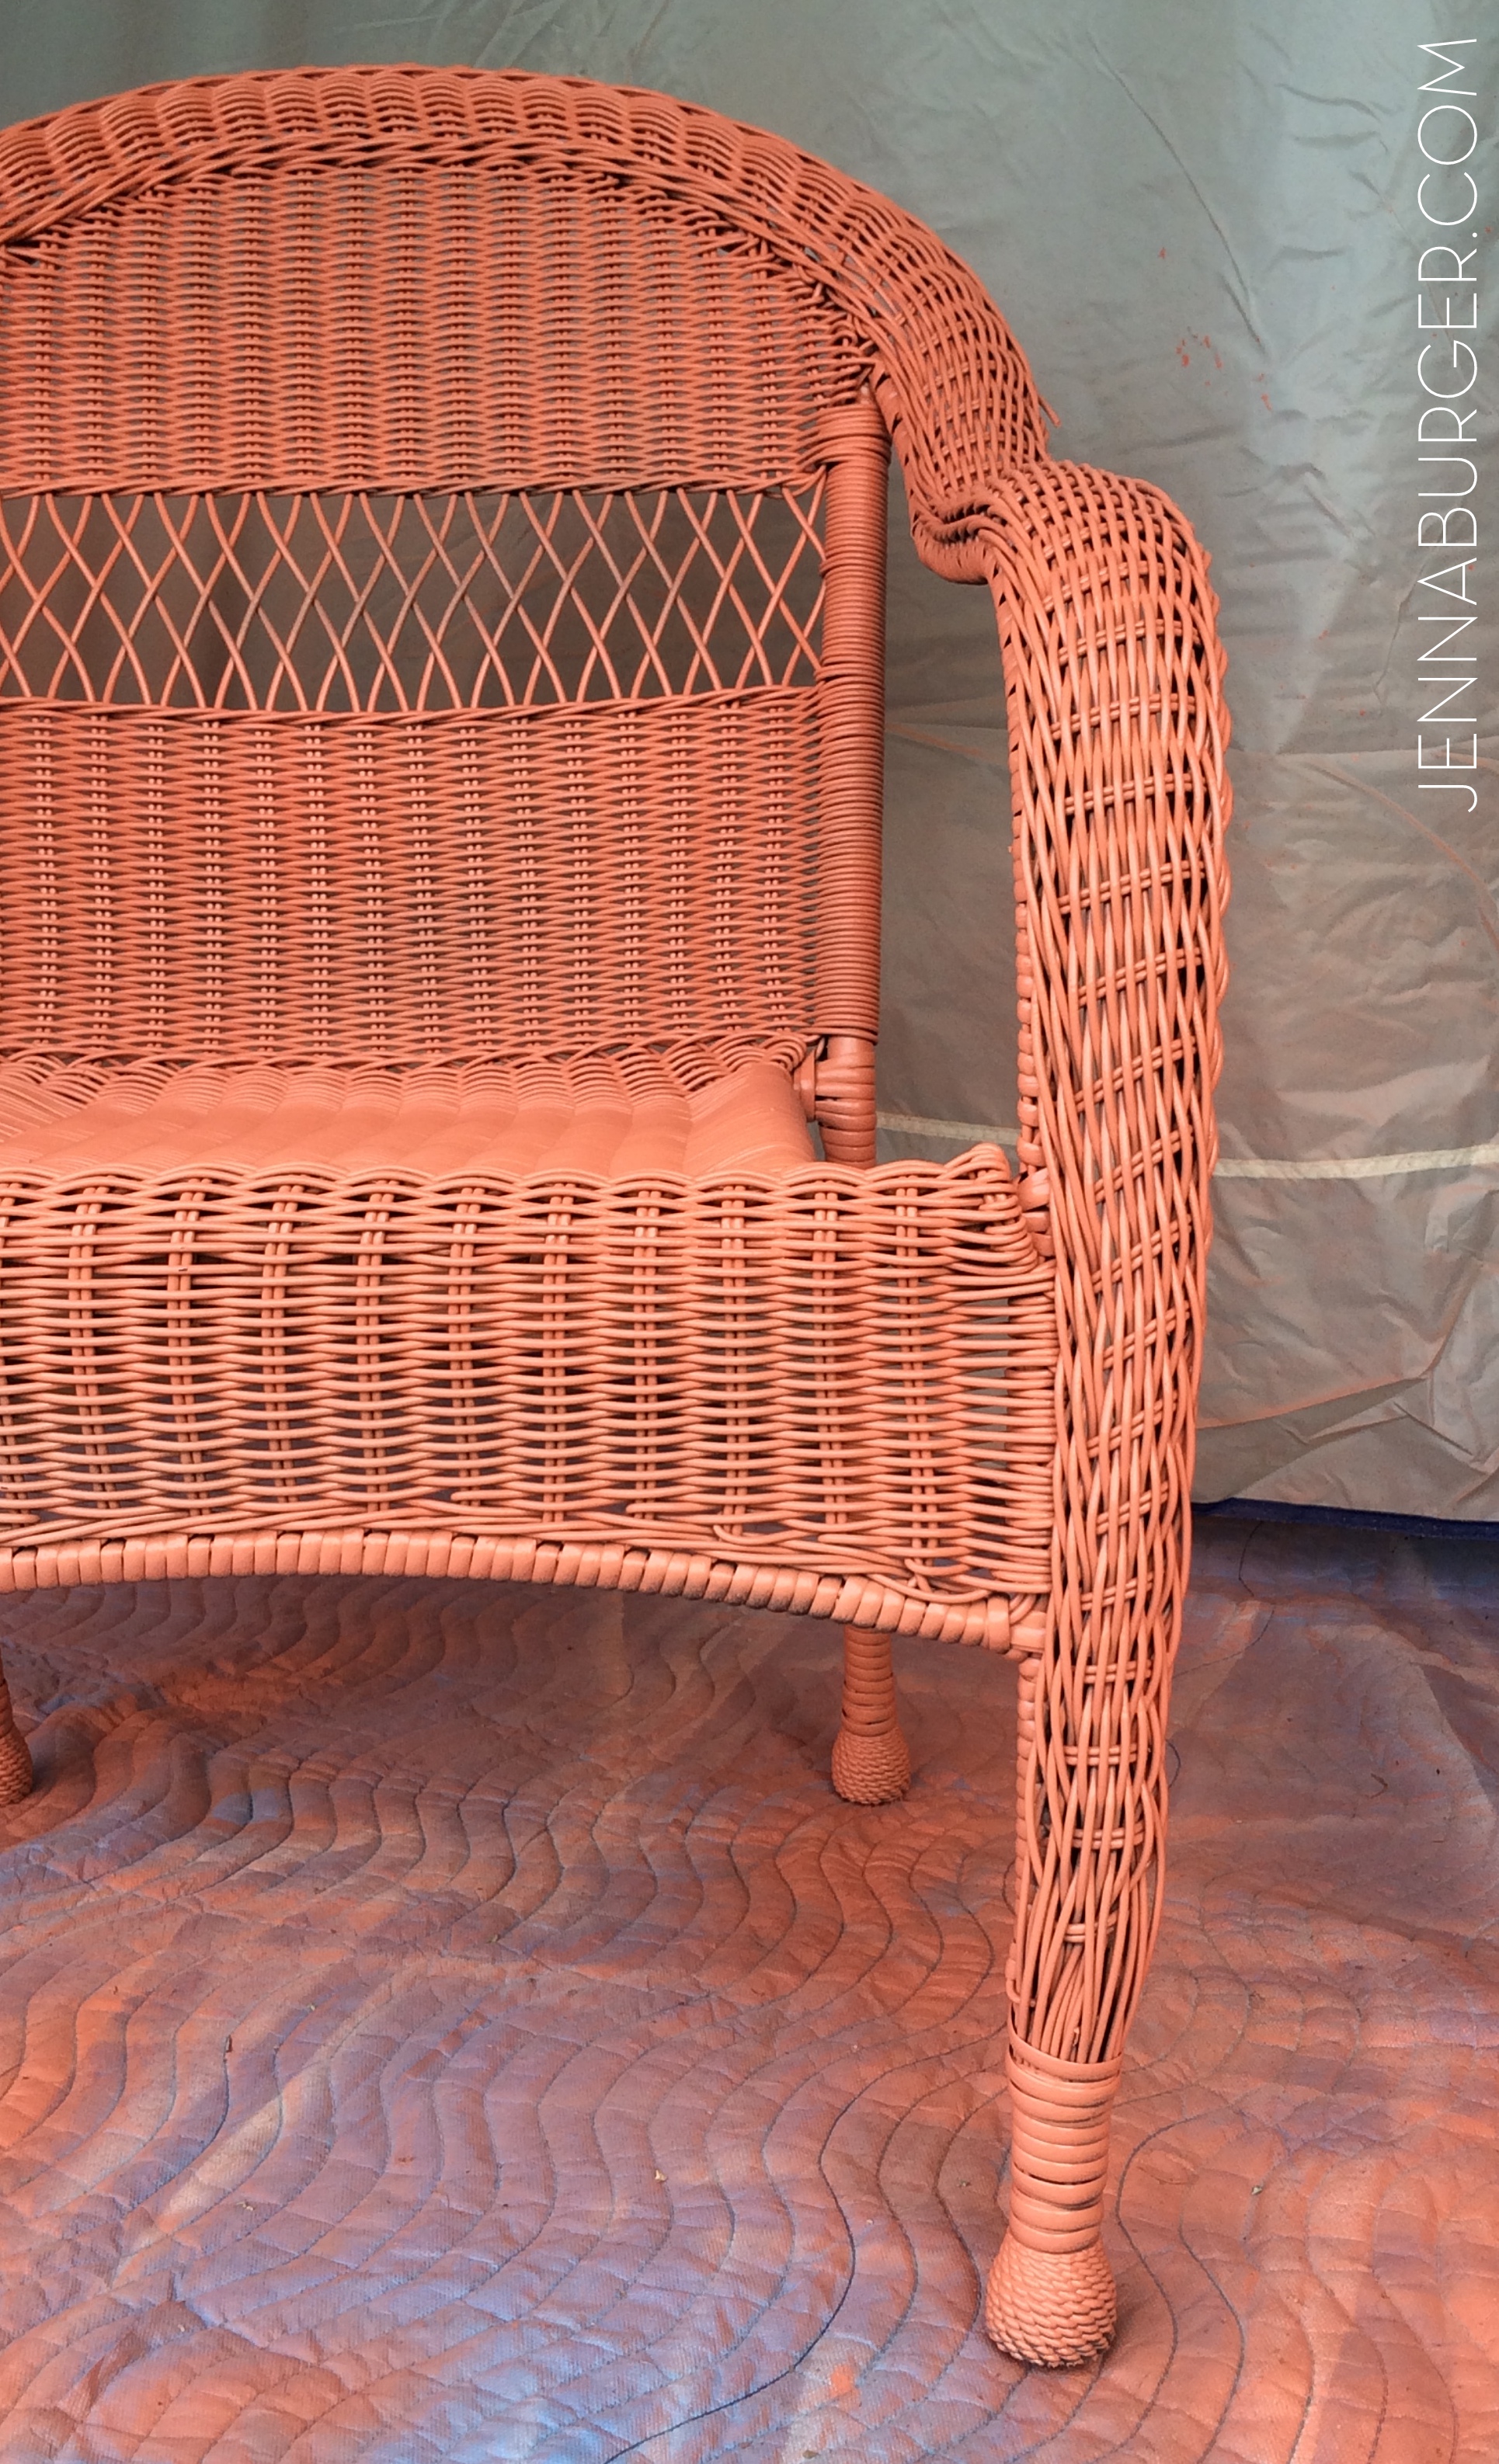
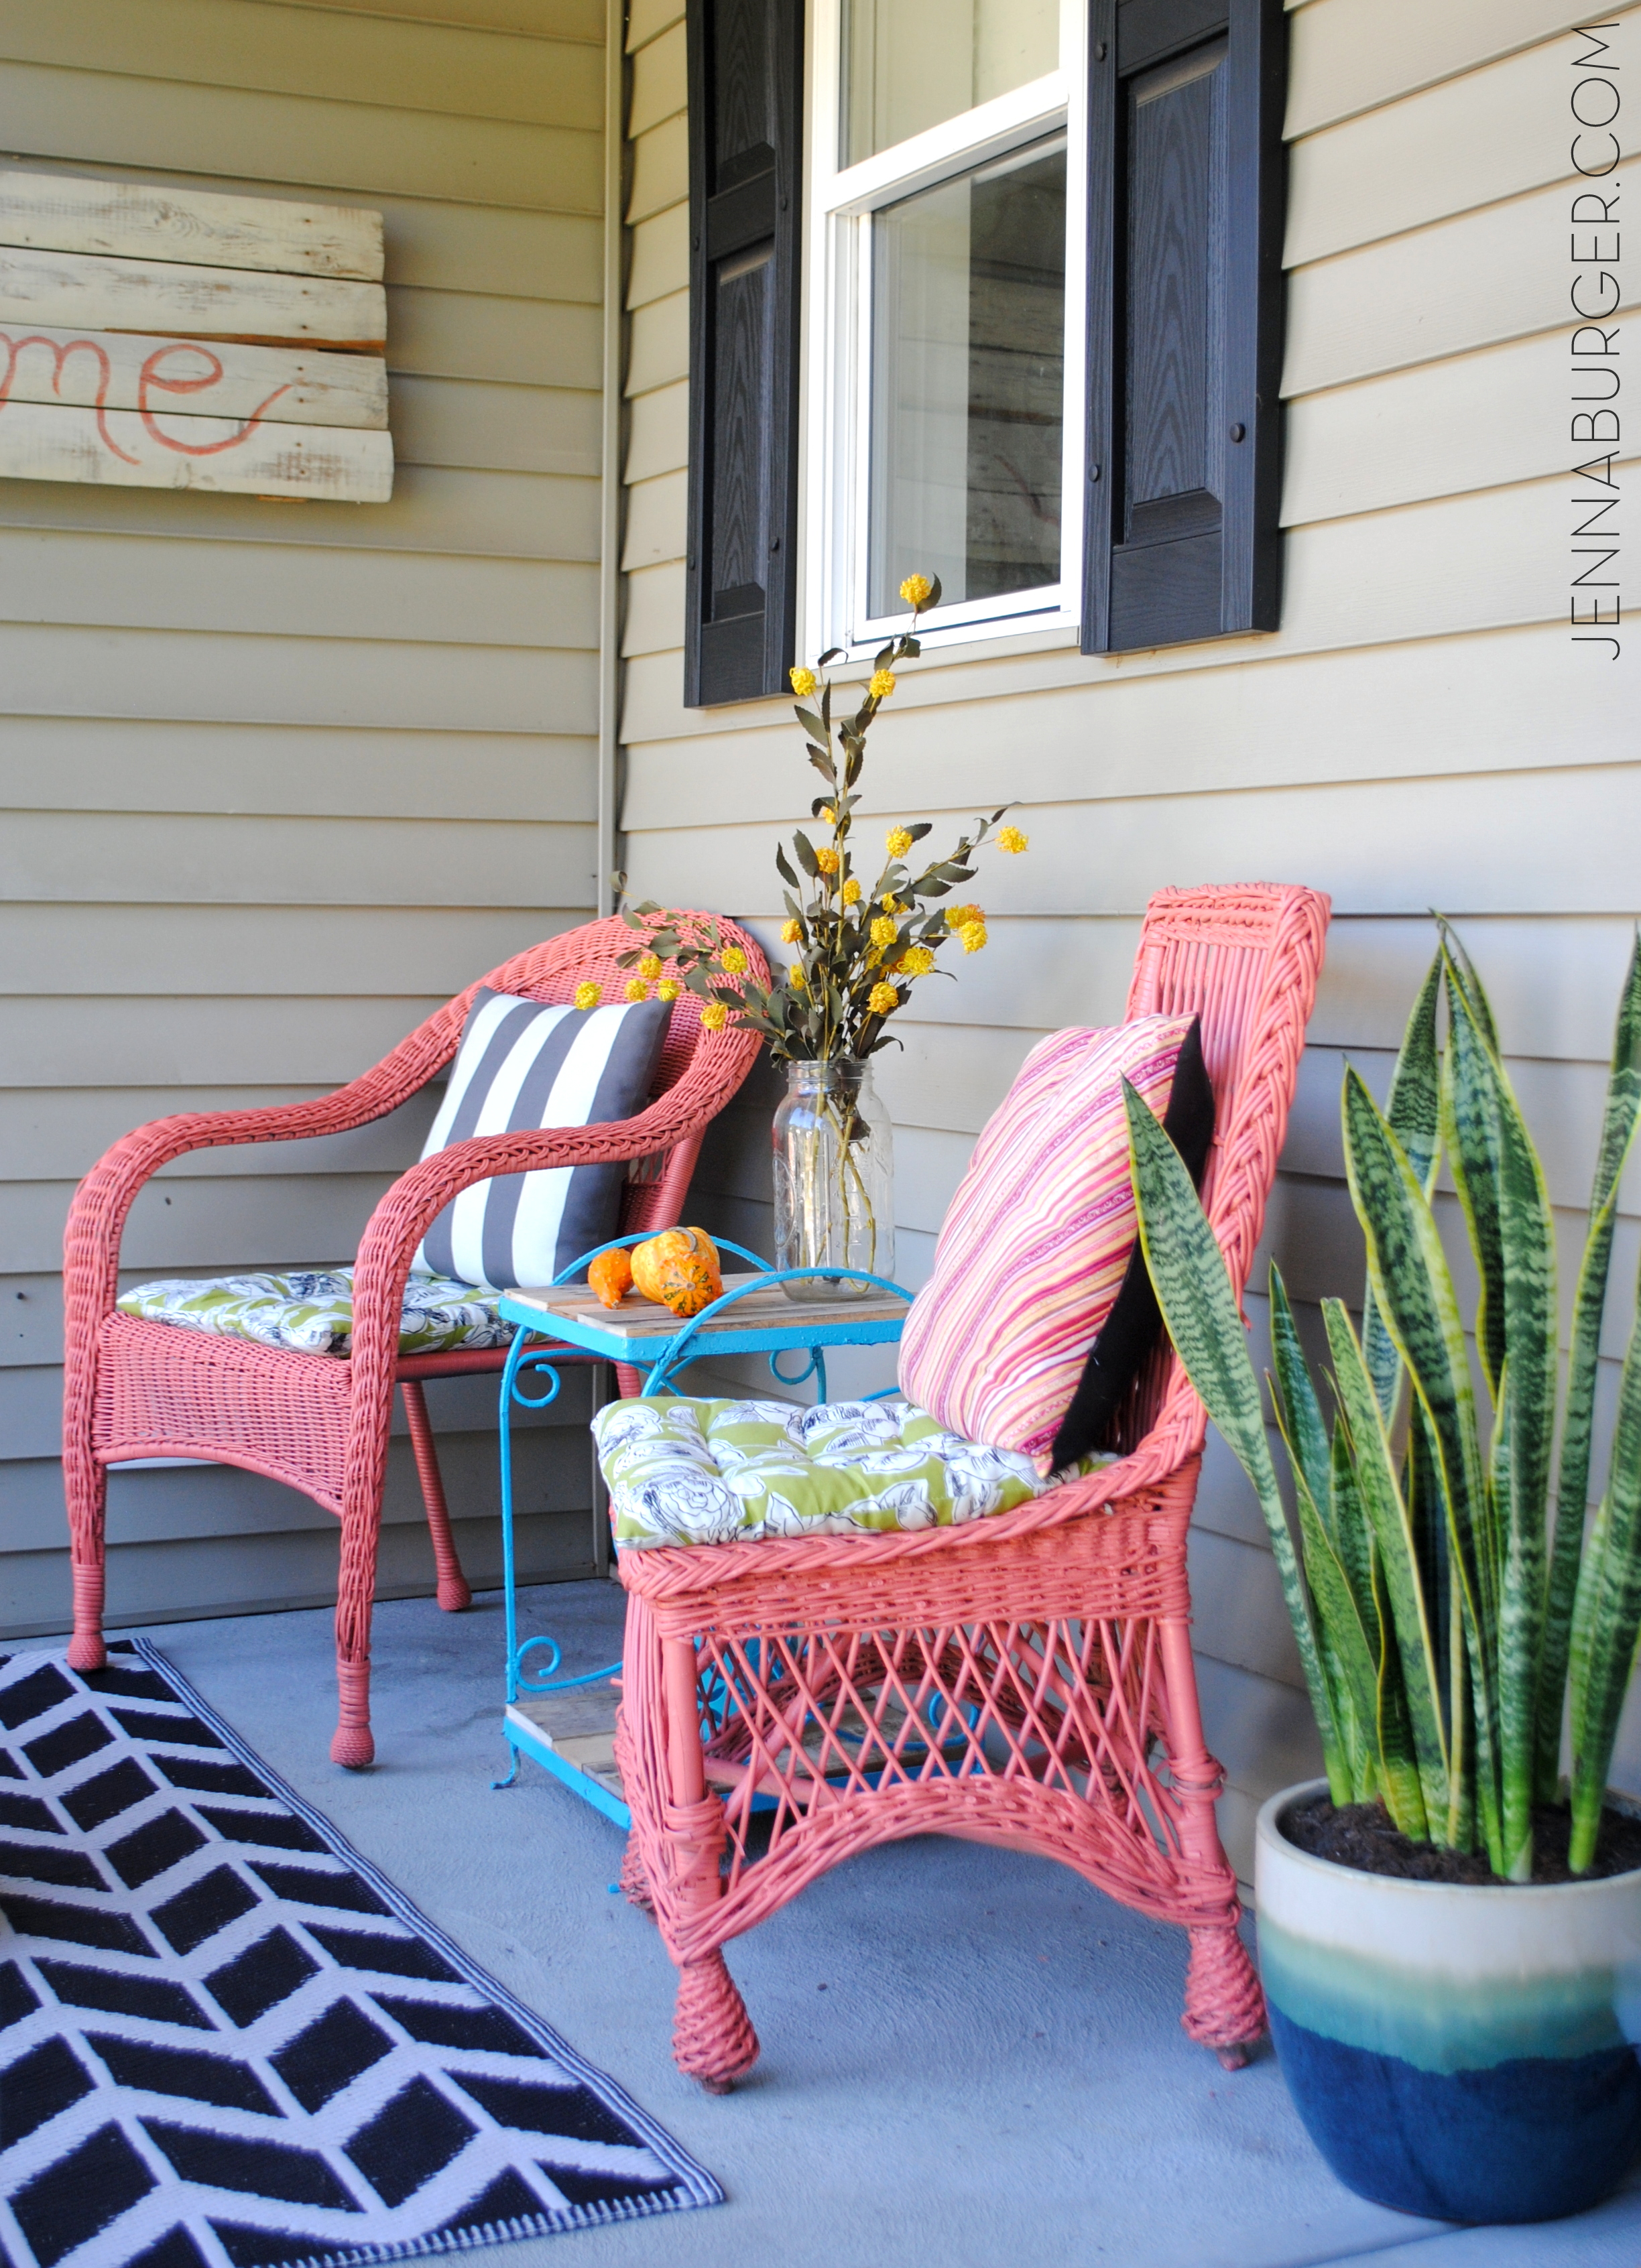
THE RESULT.

DIY tutorial for painting wicker using the HomeRight finish max hand sprayer. I painted 2 wicker chairs in less than 10 minutes. That would be impossible with a paint brush. A hand sprayer is a MUST TOOL for paint projects. Check out a step-by-step tutorial + video of how fast it covers > www.jennaburger.com

And guess what I didn’t do most of the work. WHAT? Why?

Yup, my 9 year old took over the job.  Literally we had so much fun spraying these 2 wicker chairs that we were battling who got the sprayer.  #hewon

DIY tutorial for painting wicker using the HomeRight finish max hand sprayer. I painted 2 wicker chairs in less than 10 minutes. That would be impossible with a paint brush. A hand sprayer is a MUST TOOL for paint projects. Check out a step-by-step tutorial + video of how fast it covers > www.jennaburger.comSeriously though, this hand spray painter by HomeRight is amazing.  It is incredible.  I am just mad at myself that I have not used it sooner.

REWIND.

Before I get ahead of myself with excitement, let’s rewind…  A few weeks back I had major success at a garage sale and snagged a bunch of new-to-me ‘trash treasures’.

I had shared this picture on InstagramGarage sale finds

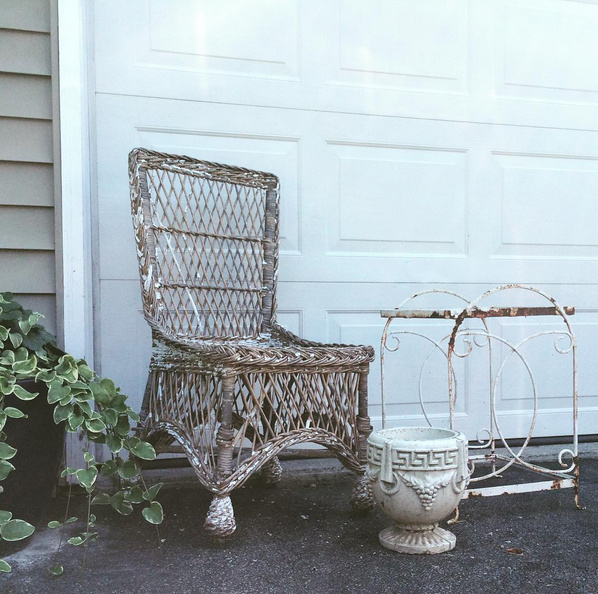
I transformed the planter with the most gorgeous green hue…

Before and After planter - $1 garage sale find transformed with Green Citrus spray paint

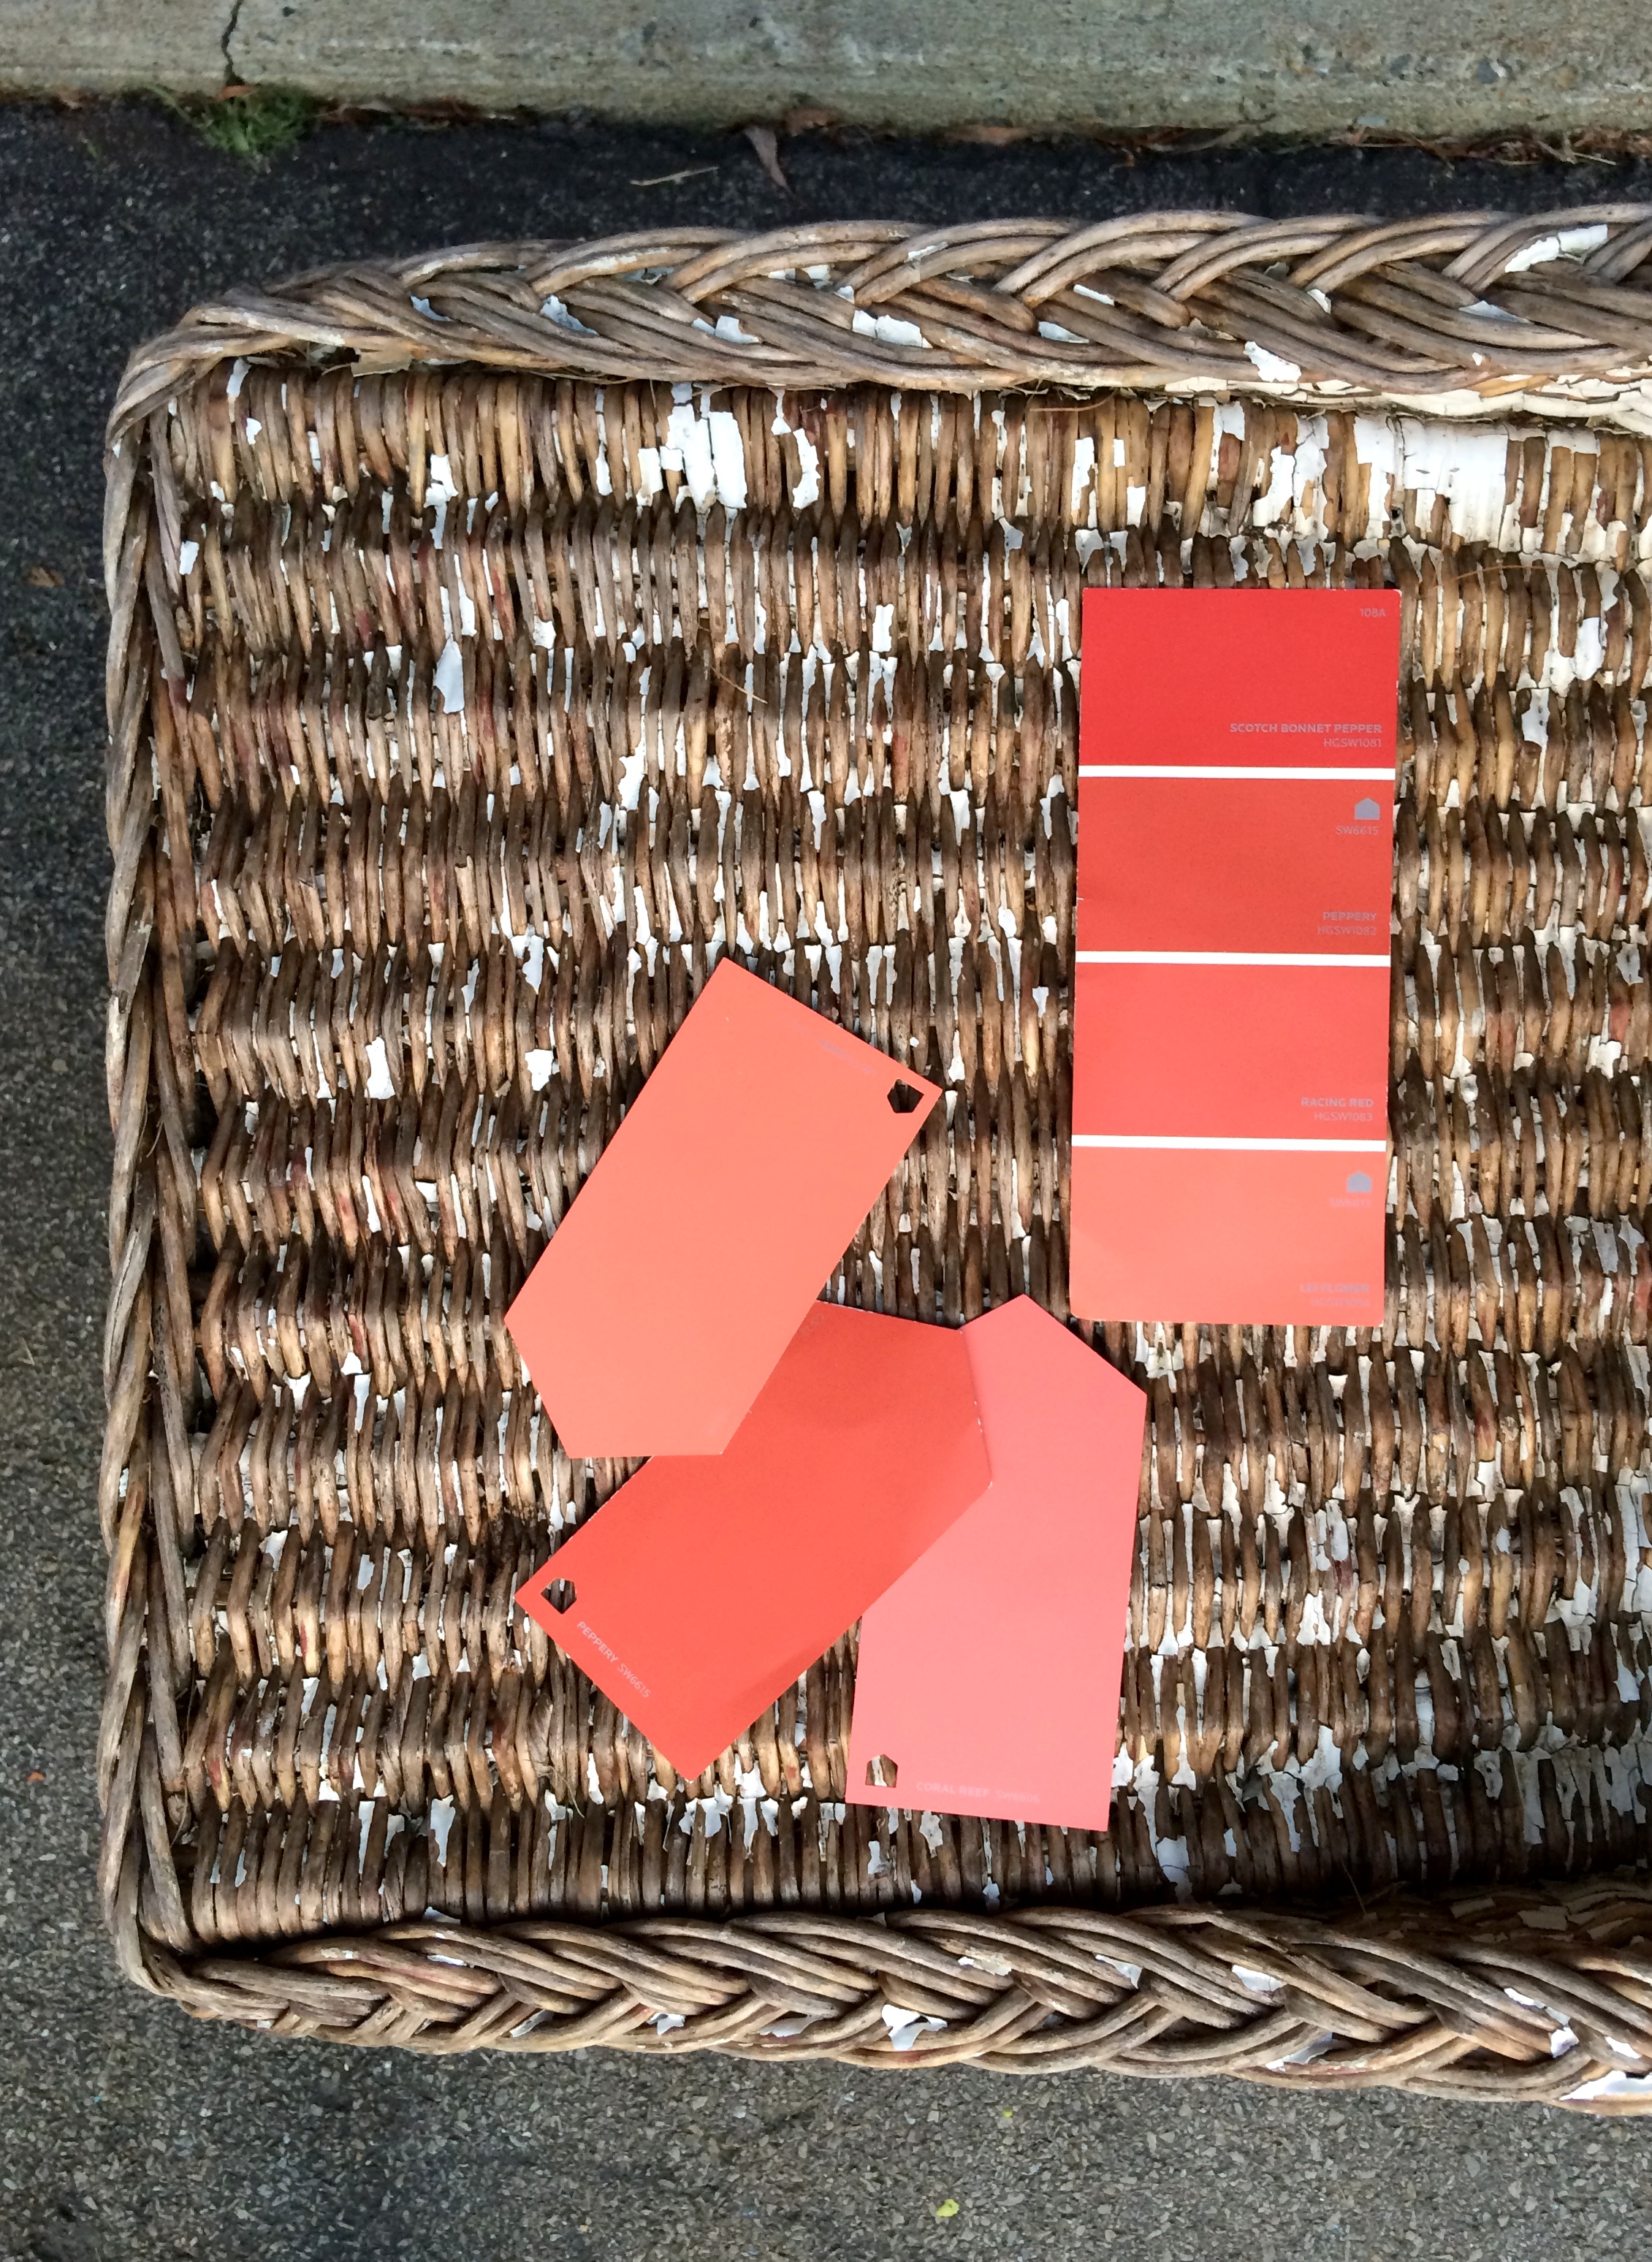
…And now it was time to finally paint the wicker chair (plus another one I found) a fun coral color.

It took a few days to choose a color, but I decided on Sherwin Williams HGTV Home (available @ Lowe’s) Lei Flower – SW6613.

DIY tutorial for painting wicker using the HomeRight finish max hand sprayer. I painted 2 wicker chairs in less than 10 minutes. That would be impossible with a paint brush. A hand sprayer is a MUST TOOL for paint projects. Check out a step-by-step tutorial + video of how fast it covers > www.jennaburger.com

I was ready to GO!

DIY tutorial for painting wicker using the HomeRight finish max hand sprayer. I painted 2 wicker chairs in less than 10 minutes. That would be impossible with a paint brush. A hand sprayer is a MUST TOOL for paint projects. Check out a step-by-step tutorial + video of how fast it covers > www.jennaburger.com

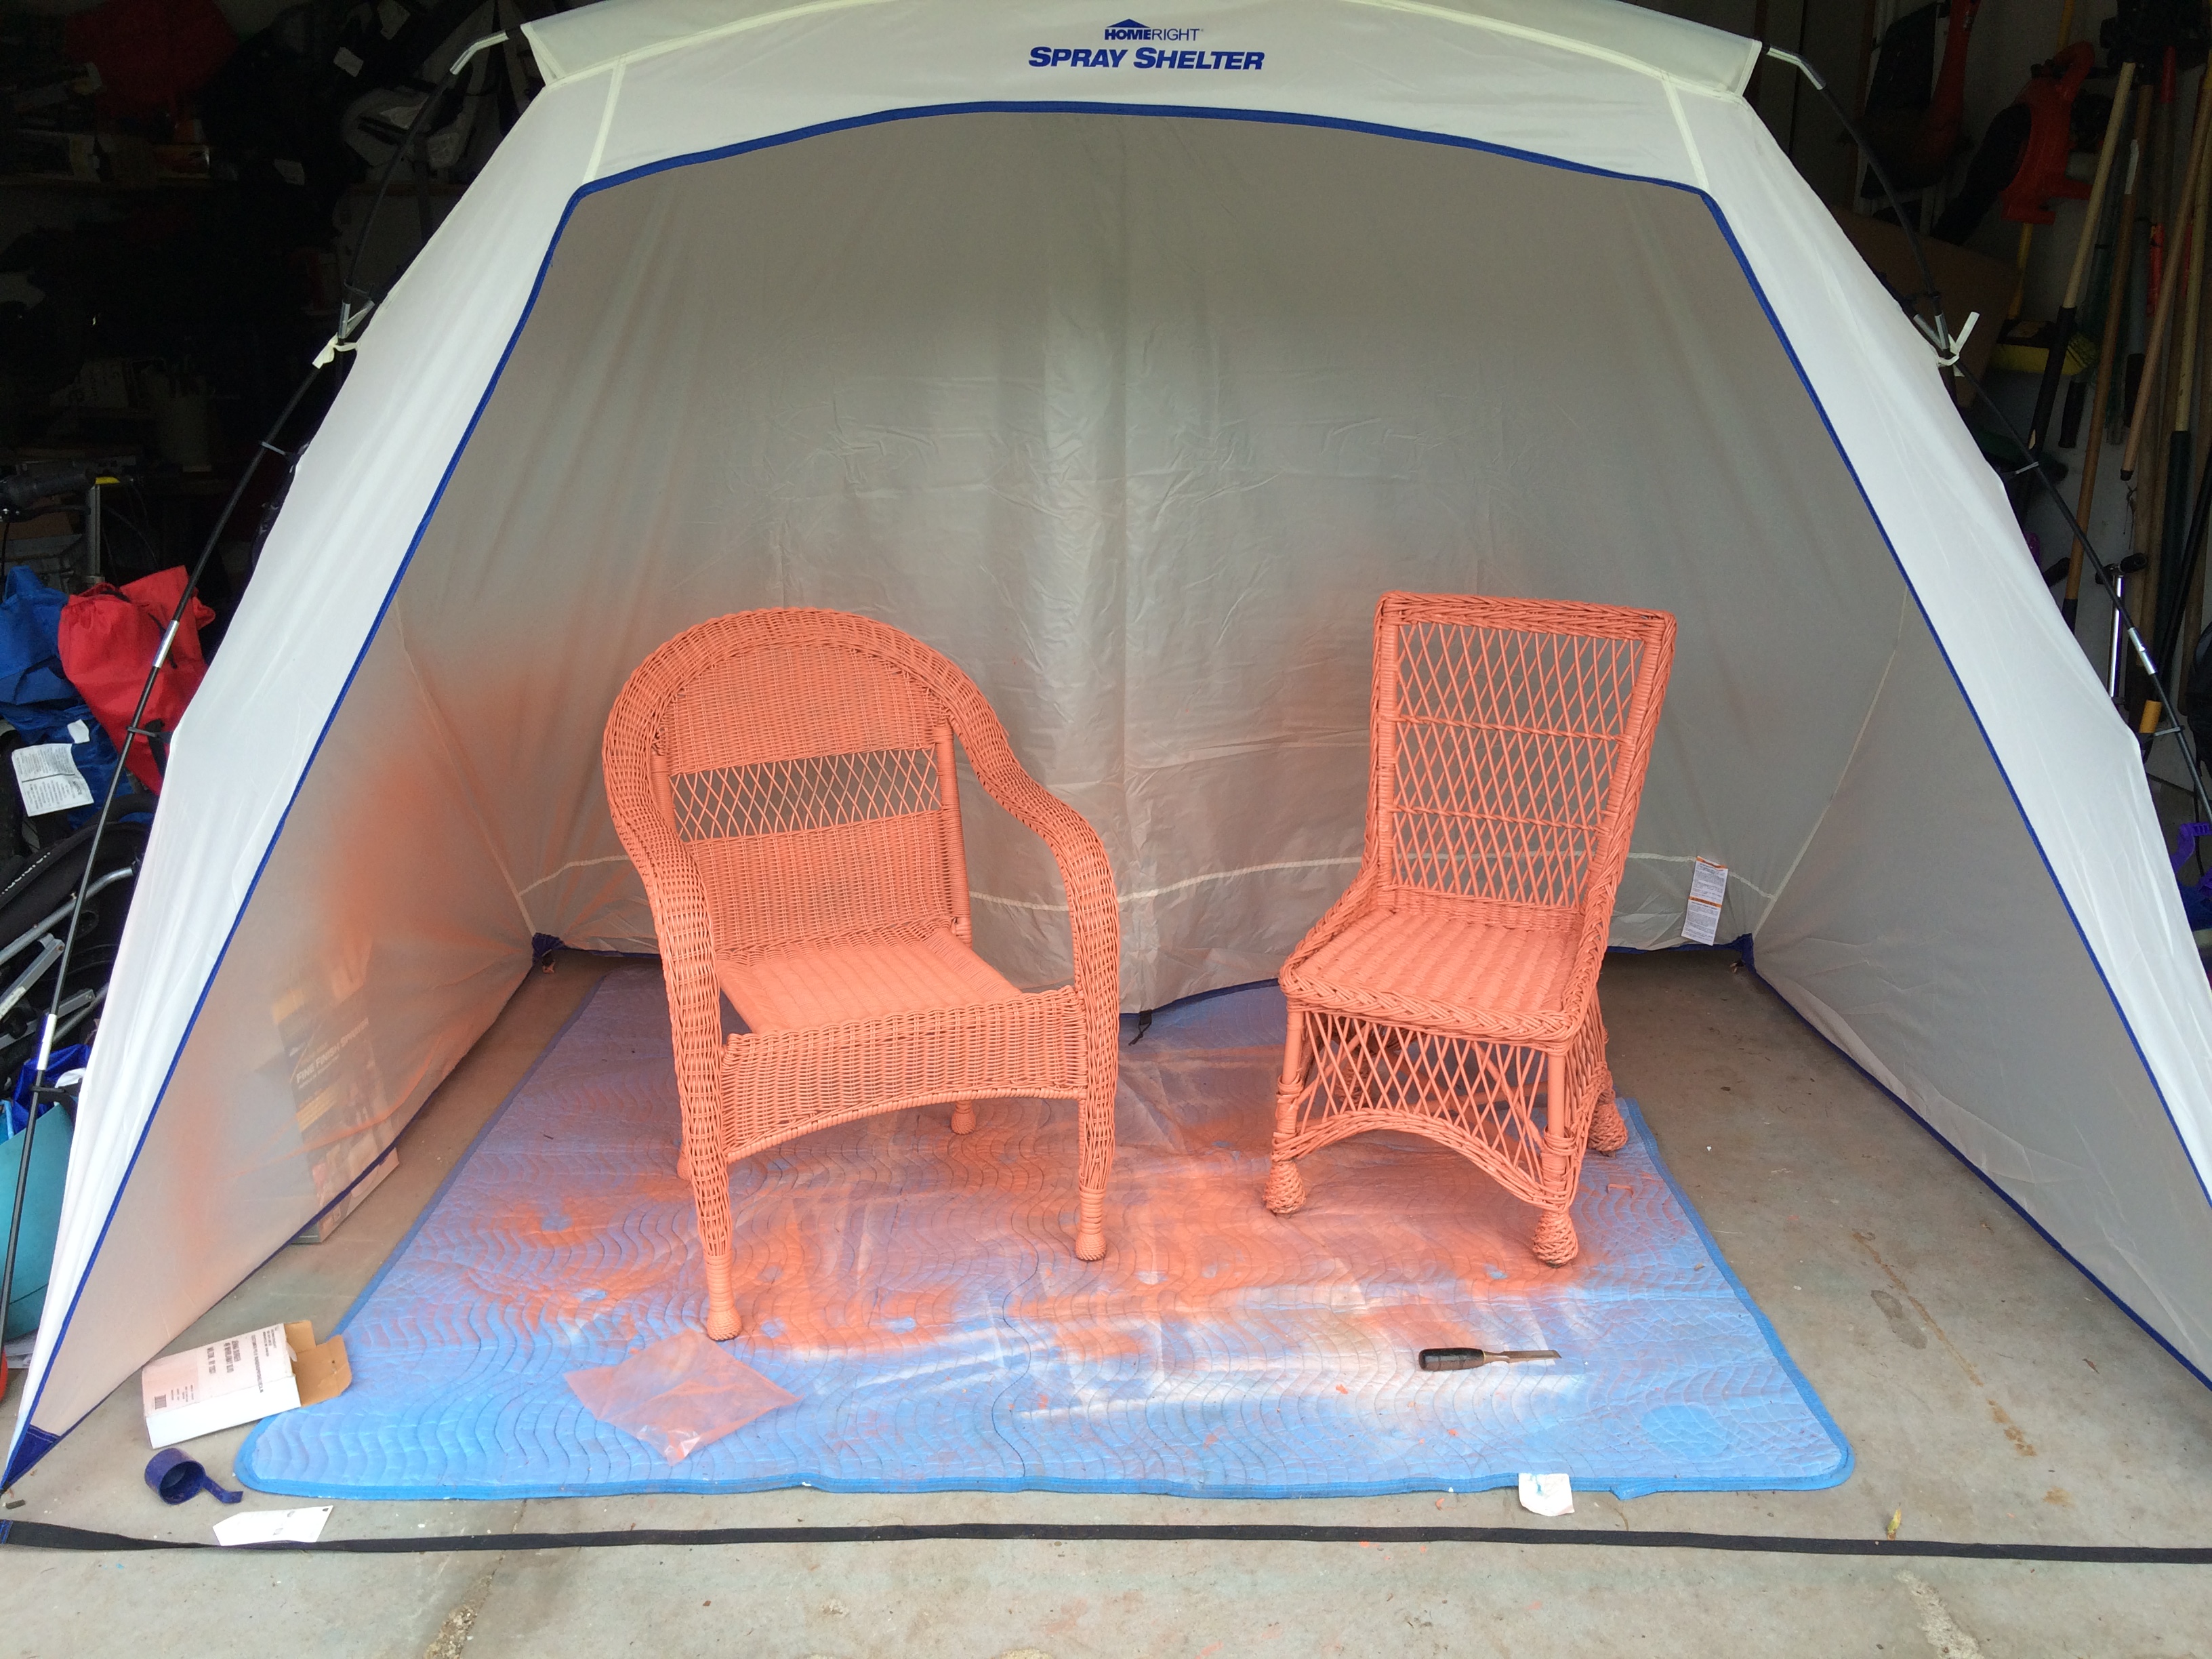
I didn’t want the paint to spray everything in sight, so the Spray Shelter by HomeRight really came in handy.  It too was my first time using it, but set-up took about 5 minutes and I had my son helping me a bit.  Assembly was just like putting a tent or beach shelter together.

The instructions are attached directly to the bag that the shelter comes in, which is genius!

DIY tutorial for painting wicker using the HomeRight finish max hand sprayer. I painted 2 wicker chairs in less than 10 minutes. That would be impossible with a paint brush. A hand sprayer is a MUST TOOL for paint projects. Check out a step-by-step tutorial + video of how fast it covers > www.jennaburger.com

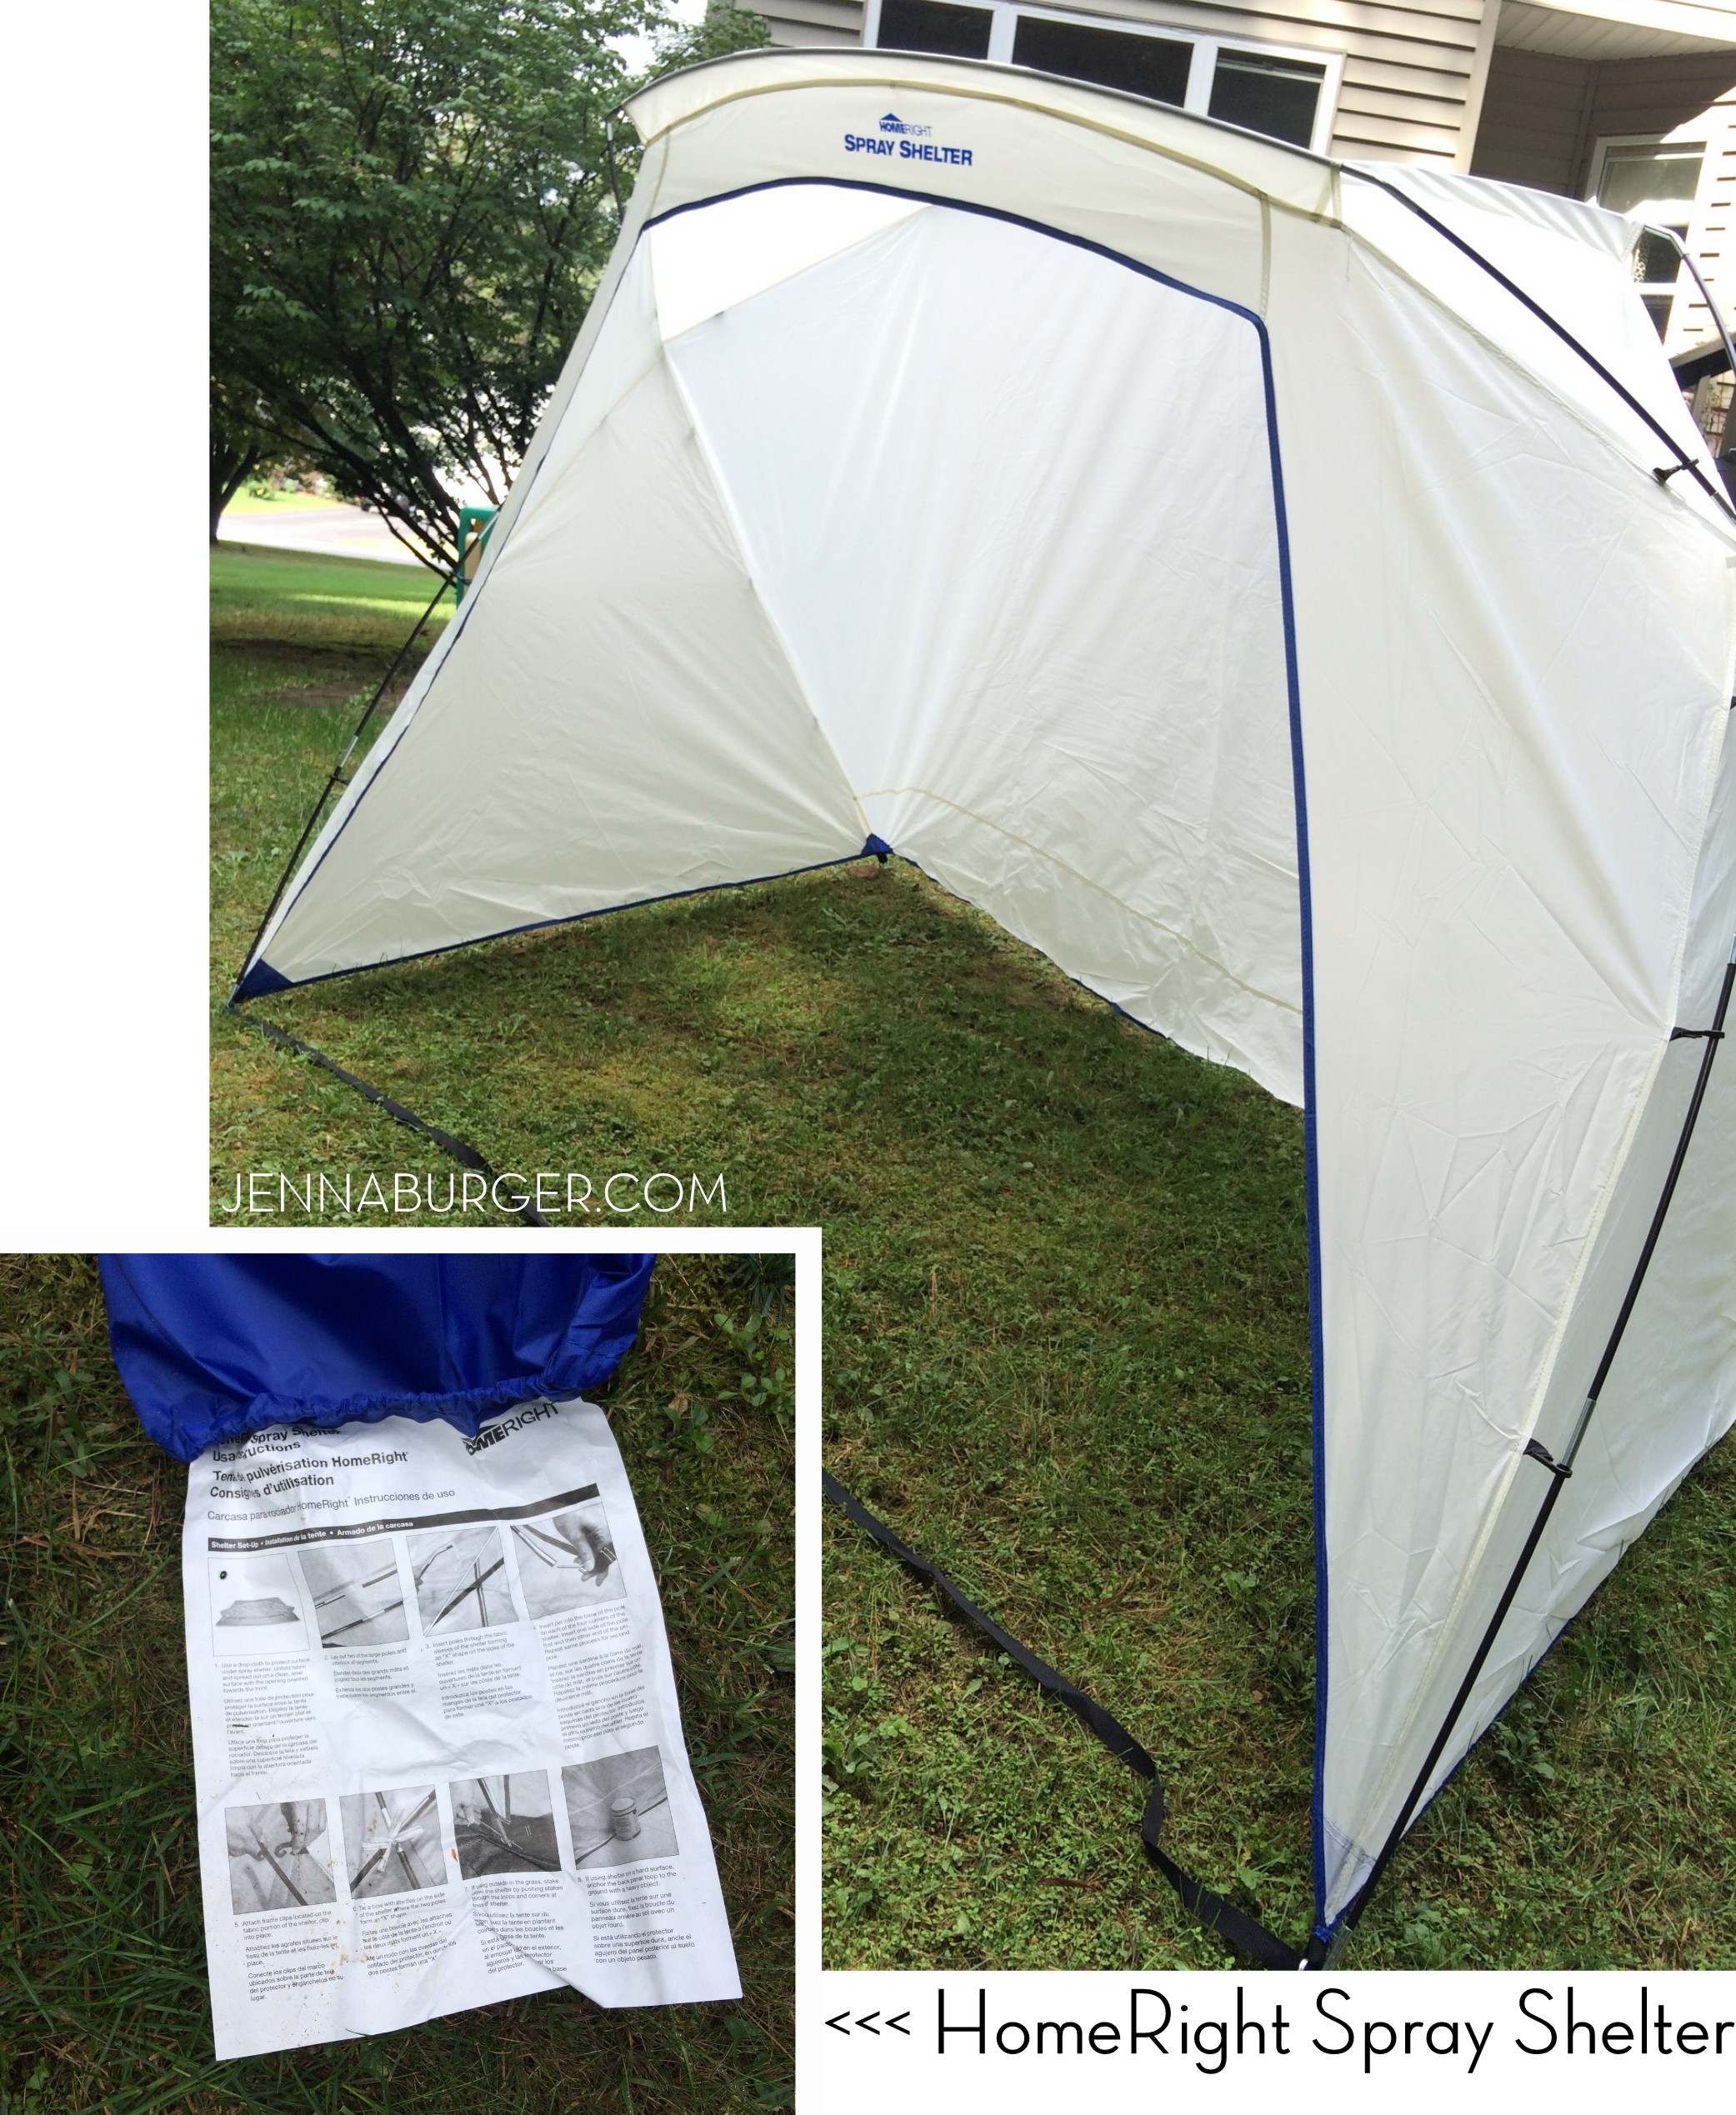
Right when I was done erecting the shelter, it started to rain.  Just my luck, ha.  So I moved it to the garage…

DIY tutorial for painting wicker using the HomeRight finish max hand sprayer. I painted 2 wicker chairs in less than 10 minutes. That would be impossible with a paint brush. A hand sprayer is a MUST TOOL for paint projects. Check out a step-by-step tutorial + video of how fast it covers > www.jennaburger.com

NOW, I was ready!

Being totally honest, I was nervous to use this ‘machine’, but there really was no learning curve and there was little set-up / clean-up.  I hate reading directions, but HomeRight has made it so easy with a one-page Fast Start Quick Reference Guide.  Within 3 minutes of opening the box, I was ready!

DIY tutorial for painting wicker using the HomeRight finish max hand sprayer. I painted 2 wicker chairs in less than 10 minutes. That would be impossible with a paint brush. A hand sprayer is a MUST TOOL for paint projects. Check out a step-by-step tutorial + video of how fast it covers > www.jennaburger.com

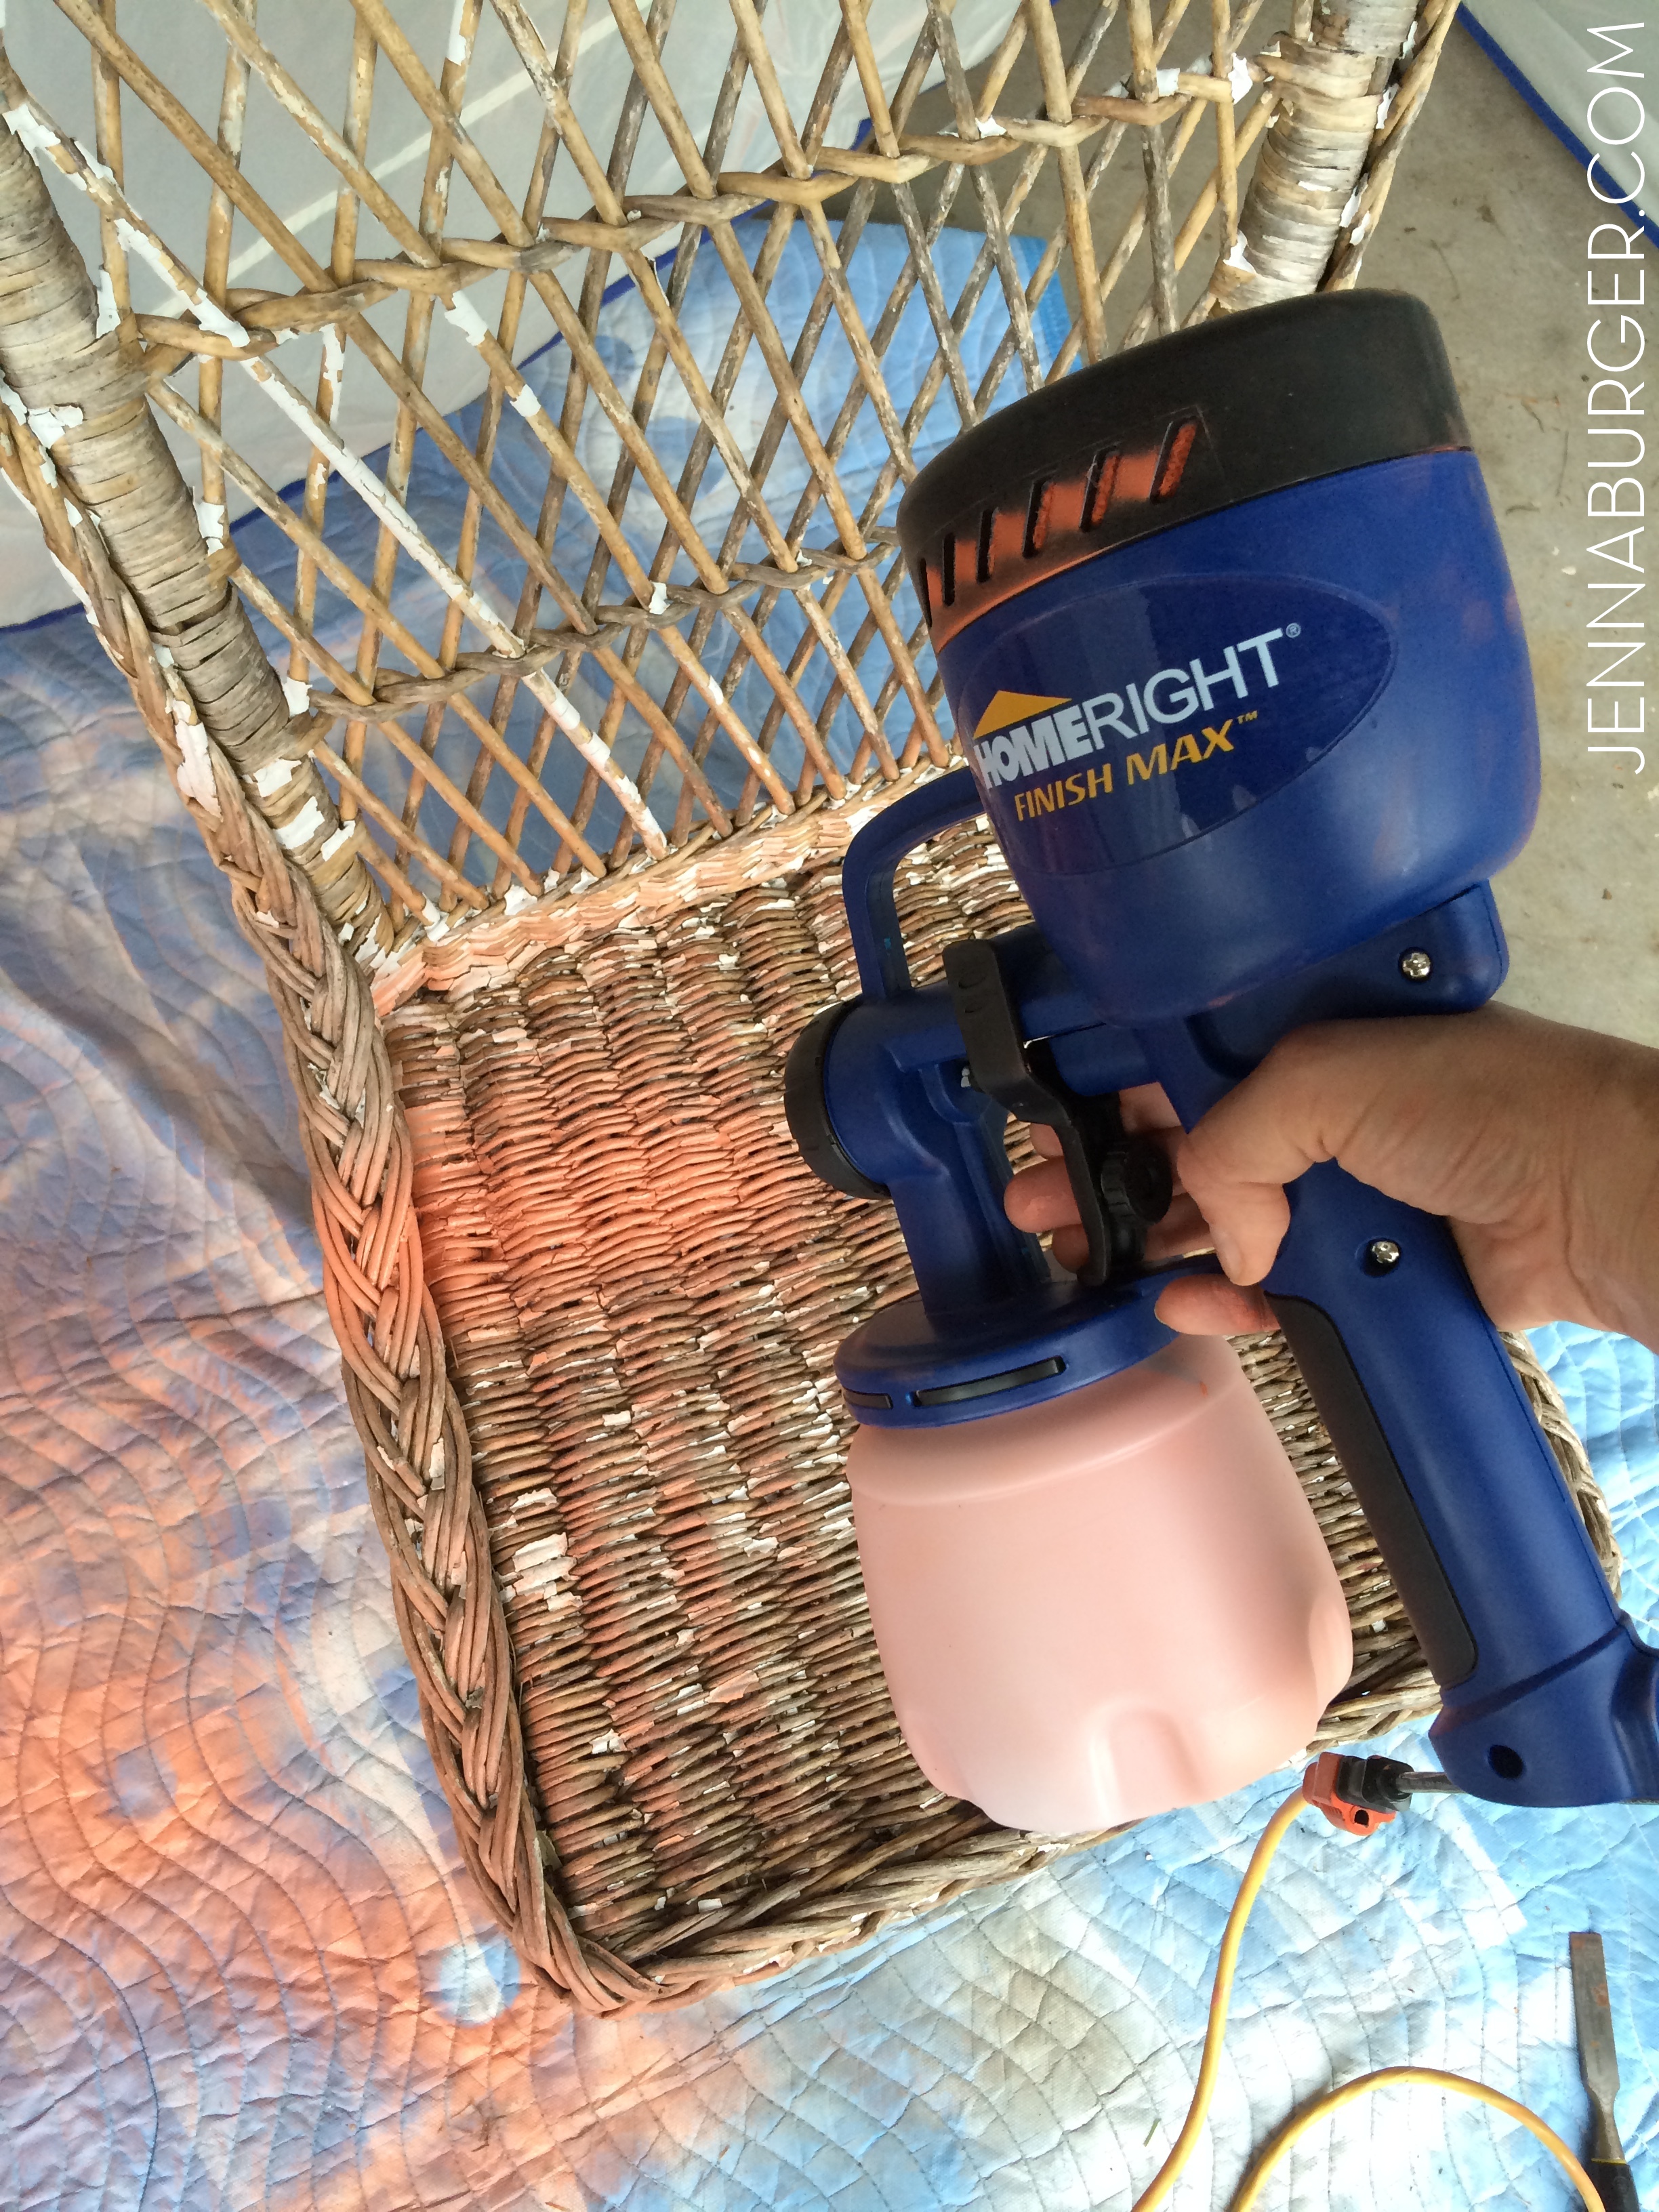
With the paint in the canister (read my helpful tips below before starting), I was ready to start.  I pushed the trigger and the paint started to flow.

DIY tutorial for painting wicker using the HomeRight finish max hand sprayer. I painted 2 wicker chairs in less than 10 minutes. That would be impossible with a paint brush. A hand sprayer is a MUST TOOL for paint projects. Check out a step-by-step tutorial + video of how fast it covers > www.jennaburger.com

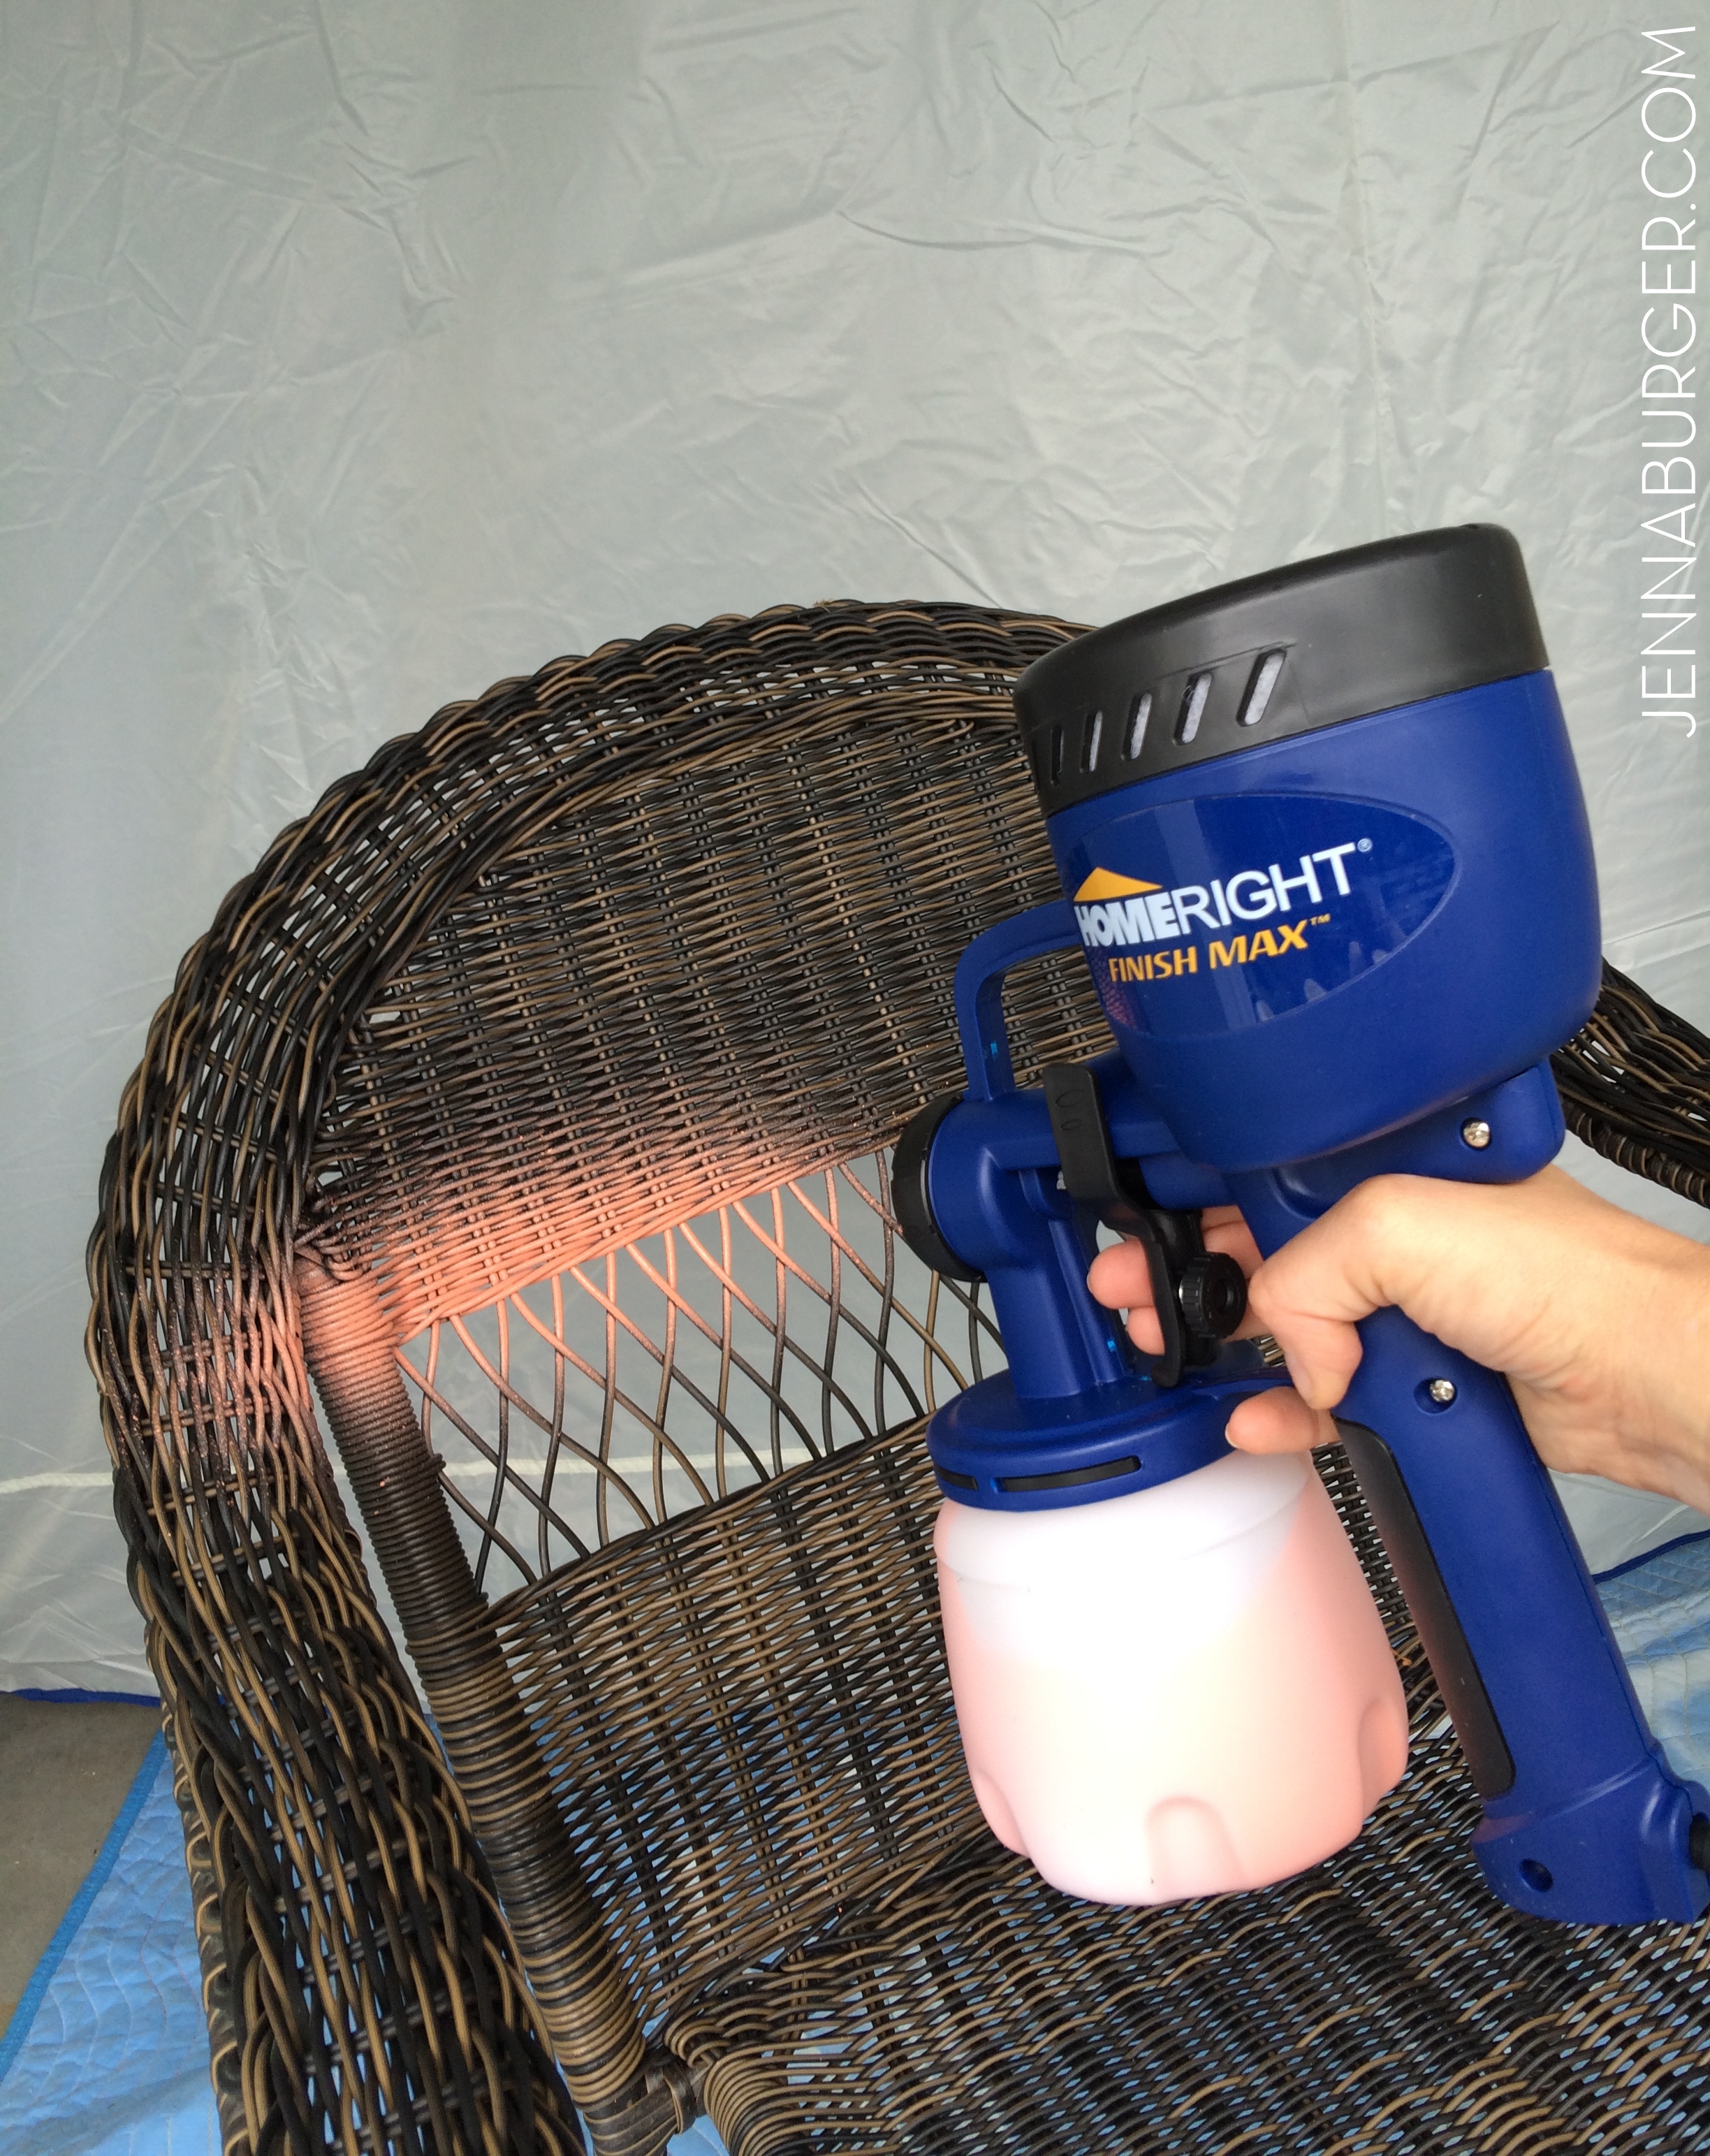
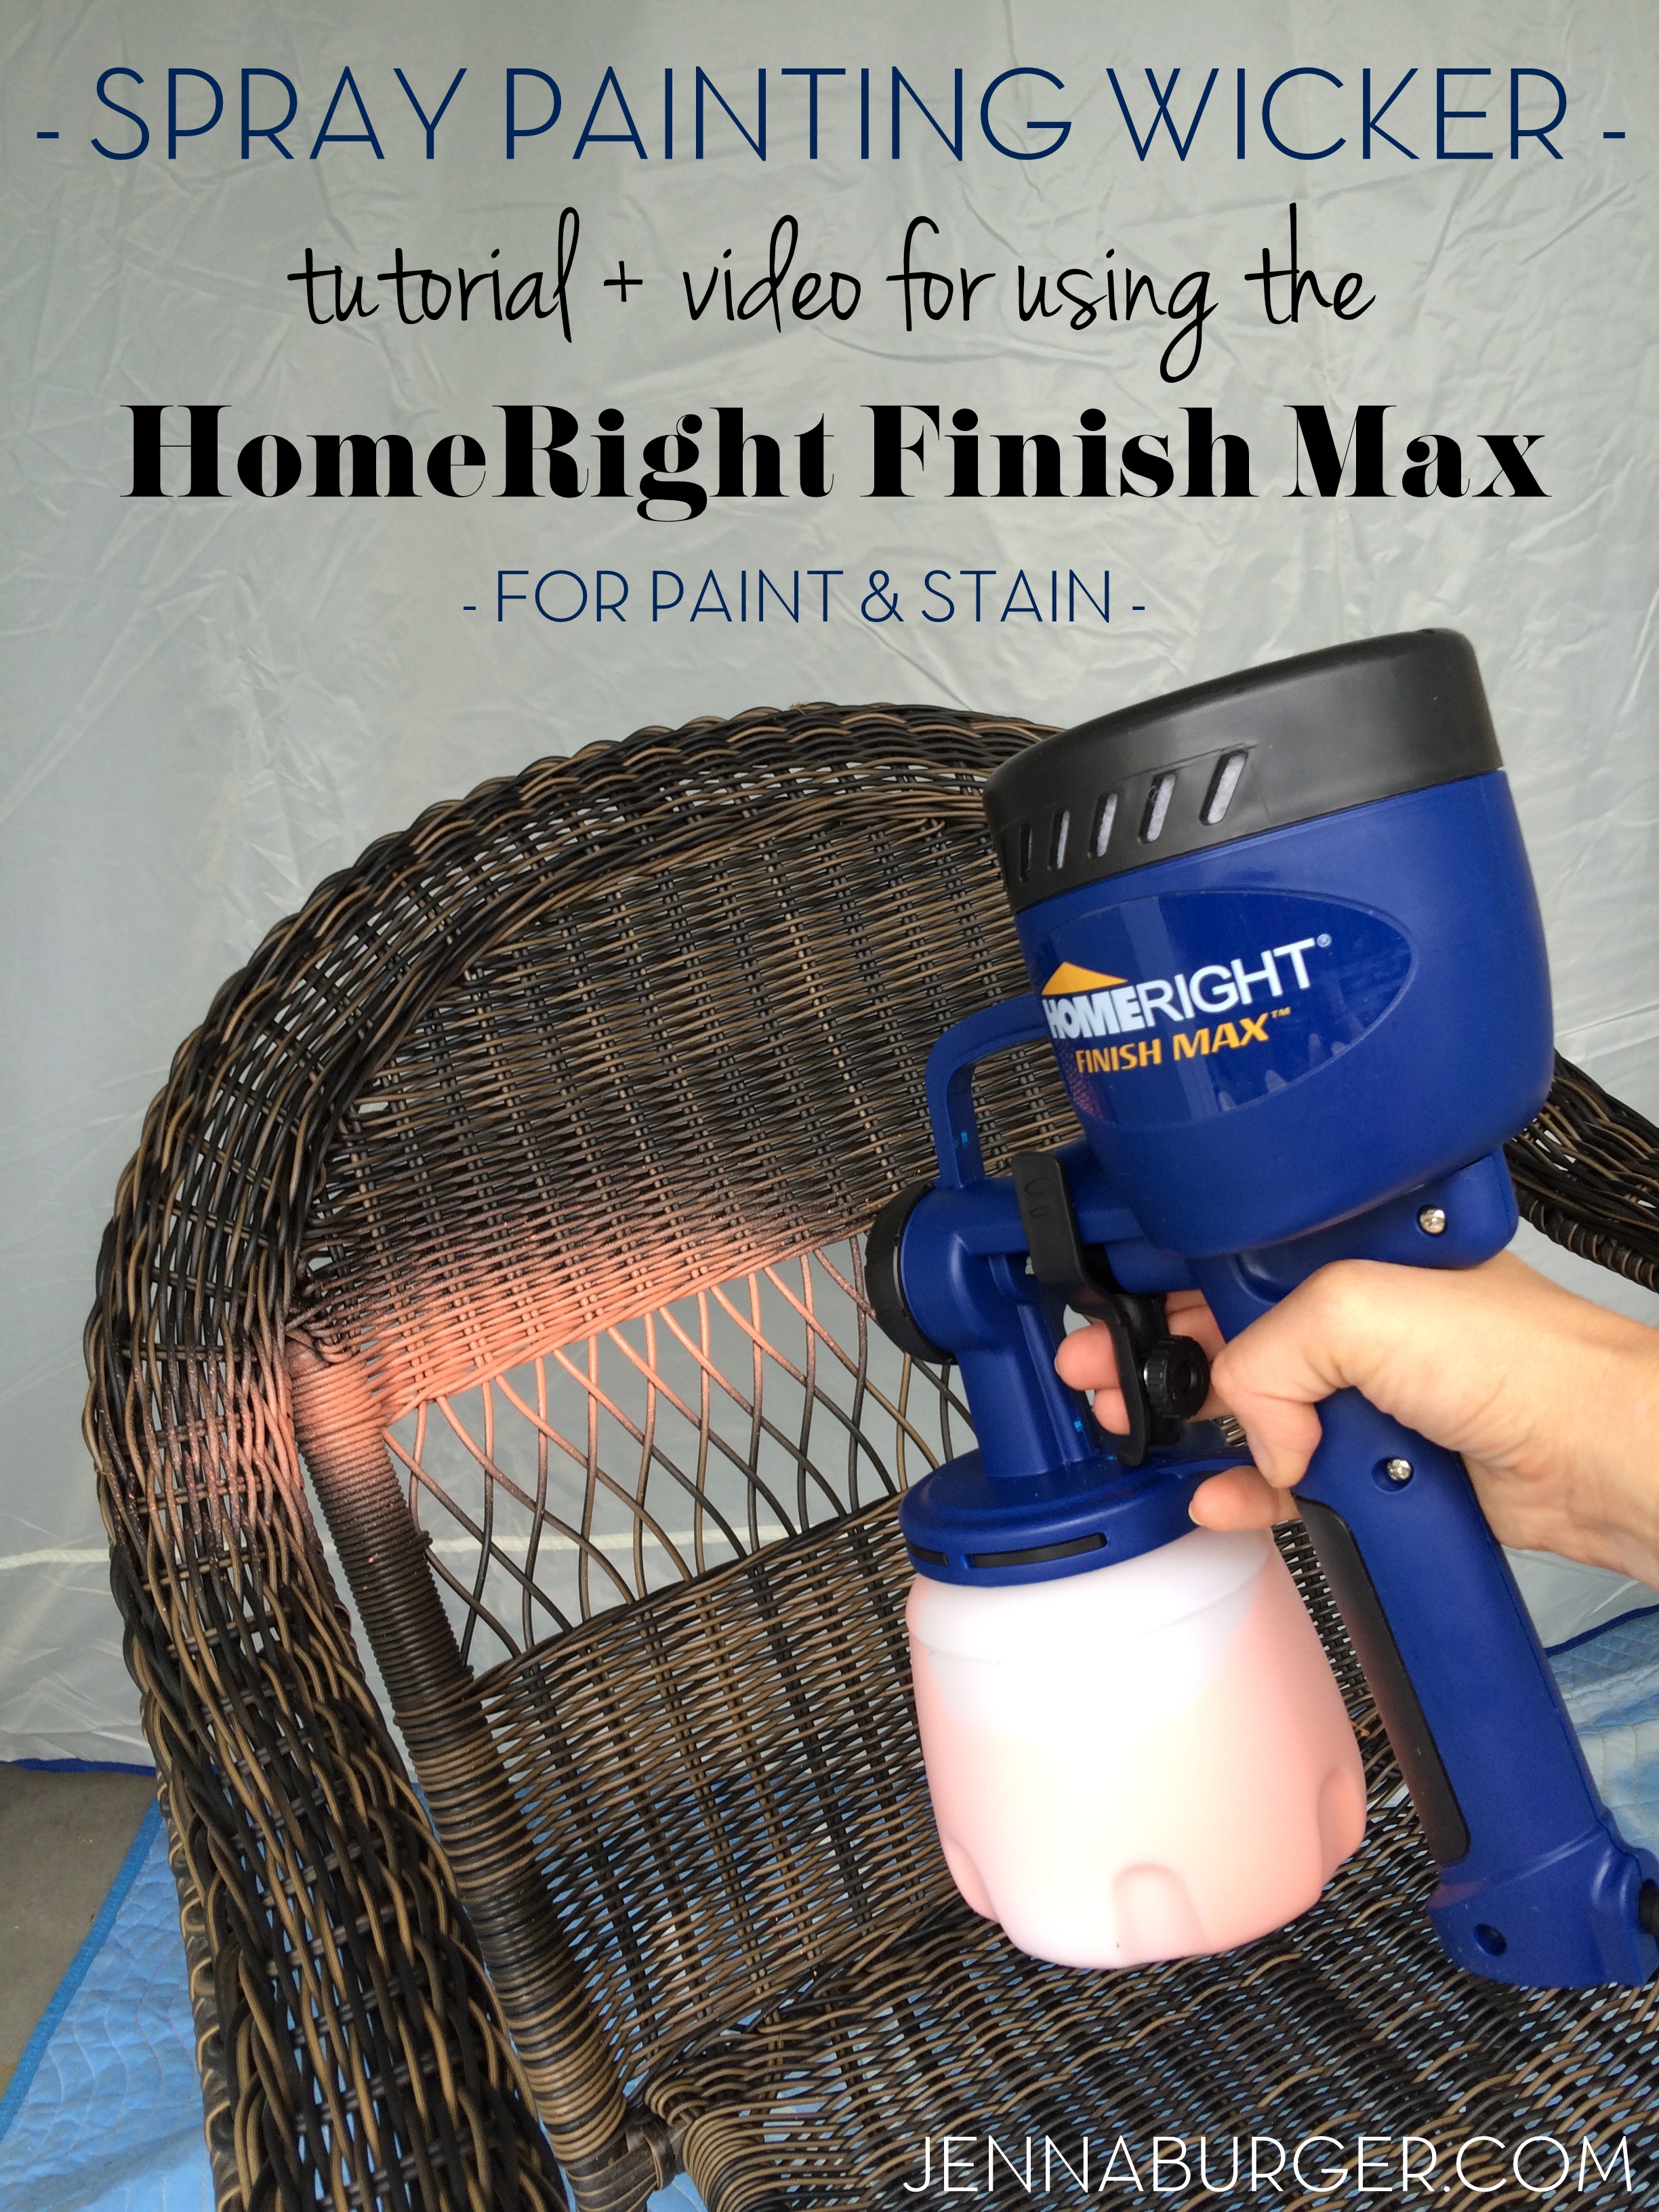
Details on the HomeRight Finish Max Fine Sprayer

VIDEO

I never take videos, but I couldn’t resist.  I had to show you how quick + easy the paint covered the chair.

On to the next chair…

DIY tutorial for painting wicker using the HomeRight finish max hand sprayer. I painted 2 wicker chairs in less than 10 minutes. That would be impossible with a paint brush. A hand sprayer is a MUST TOOL for paint projects. Check out a step-by-step tutorial + video of how fast it covers > www.jennaburger.comIn about 10 minutes, both chairs were covered with coat #1.   A bit later I sprayed them again with a second coat and they were done.

DIY tutorial for painting wicker using the HomeRight finish max hand sprayer. I painted 2 wicker chairs in less than 10 minutes. That would be impossible with a paint brush. A hand sprayer is a MUST TOOL for paint projects. Check out a step-by-step tutorial + video of how fast it covers > www.jennaburger.com

TIPS + TRICKS

Here are some tips + tricks I learned along the way (plus my friends Jaime & Ashley shared a few tips with me on Instagram) so you too can ditch the nervousness of using this sprayer…

> Get full coverage of all nooks & crannies by moving the piece of furniture to spray at different angles – I especially had to do this with wicker!

> Paints & Stains need to be watered down so they flow through the sprayer properly.  With the sprayer comes a handy gadget to determine the appropriate water needed + there is a helpful chart in the instruction booklet.

> The Finish Max can spray horizontal, vertical, or in a cone pattern.  You can easily choose the direction by turning the dial on the front of the sprayer.

> There is no need to clean the sprayer between coats. Leave the paint or stain in the container (of course if time between coats is days long, then clean it).

My new coral chairs looks Ah-Mazing on my front porch and it’s almost complete for Fall.

Want a peek?

Enjoy.

DIY tutorial for painting wicker using the HomeRight finish max hand sprayer. I painted 2 wicker chairs in less than 10 minutes. That would be impossible with a paint brush. A hand sprayer is a MUST TOOL for paint projects. Check out a step-by-step tutorial + video of how fast it covers > www.jennaburger.com

More to come later this week…

Want to save this tutorial for a later date – you know you want to try this sprayer 😉

PIN IT!

DIY tutorial for painting wicker using the HomeRight finish max hand sprayer. I painted 2 wicker chairs in less than 10 minutes. That would be impossible with a paint brush. A hand sprayer is a MUST TOOL for paint projects. Check out a step-by-step tutorial + video of how fast it covers > www.jennaburger.com

DISCLOSURE: THIS IS A SPONSORED POST WITH HOMERIGHT.  ALL WORDS + OPINIONS ARE 100% MY OWN – I TRULY LOVE THIS PRODUCT.  AFFILIATE LINKS ARE ALSO INCLUDED IN THIS POST.

Foyer Progress + Painting Made Easy

As of 9:00 last night, the painting of the walls + the stripes are done.  Now that’s a big checkmark off my list!

I have one more element in the space that needs a last coat of paint, and then the painting part of the Foyer Remodel will be complete.  A few styling magic tricks to follow and the space will be completely fresh and new.

Taking a step back though, I have to tell ya that the painting process wasn’t too grueling.  Before venturing into a painting project, I’m always a little leery about how long it will really take. From removing everything in the space to spackling the holes to painting the edges to finally painting the main walls, it ends up being double the time than originally estimated. Plus I’m usually tuckered out over the days to follow from all the bending and lifting.

Thankfully the painting part for this project didn’t take long at all and it took exactly the amount of time that I estimated.  Why? Because of a handy dandy tool that I used called the Paint Stick by HomeRight.

HomeRight Paint Stick EZ Twist Product Review

When I was at Haven during the middle of the Summer, HomeRight was one of the vendors.  Since they have a wide-range of painting tools, I gravitated right in their direction. I was awestruck by the huge selection of paint sprayers, but then I saw the Paint Stick.  A minute-long demo later sold me.  I had to try it.

Once I had it in my home a few weeks later, I was psyched to get started.

The process of putting the Paint Stick together was fairly easy.  Within about 2 minutes, the stick was in place and I was ready.  One point I will mention is that the first time pulling up the inner tube, which draws up the paint, was difficult.  I had to use some womanpower, and then got it!  I initial thought I was doing it wrong and didn’t want to break anything, but it just needed some muscle.

Once I put the paint cover onto the paint can, I was ready.

HomeRight Paint Stick EZ Twist Product Review

BUT, before I could begin, I had some prep to do.  The good ole’ prep work…

Since the main wall with the stencil was slightly raised, I gave the wall a quick overall sanding.  The ‘before’ wall color was eggshell and the stencil design was the same color but in a high gloss finish.  I was a little reluctant how the new paint would take on the high gloss and thought sanding over the design would cut down on the sheen, allowing the new paint to adhere better.

Sanding the soon to be covered stencil

I spackled all the holes.  Those dang holes.  There were more than I thought.

Spackling the holes in the wall

Then painted all the edges and corners of the room.  Instead of taping the ceiling and all the mouldings, I decided to just “cut-in” with an angled brush and I have to tell you, it was so much easier and the result is so much better.  The usual steps I take are: tape, paint, remove tape, and do touchups.  None of that was needed this time.  My angled Purdy brush was awesome.  I bought a new one for this project and it was $10 well spent and saved a ton of time.

Painting edges with brush

At last, it was finally time to paint with the Paint Stick!

I stuck the Paint Stick onto the port of the cover and drew the paint up.  I was ready…

HomeRight Paint Stick EZ Twist Product Review

And away I painted…

HomeRight Paint Stick EZ Twist Product Review

Bye Bye Stencil.  It was nice knowing ya.

My new Greige color, Benjamin Moore Gallery Buff, is gorgeous and my new handy-dandy paint tool, the Paint Stick, made it easy!

Designer Advice: If you want a neutral wall color, go with Greige! It's the perfect combo of warm + cool tones. @Jenna_Burger

Once the base color was done, I was able to start the stripes.  Check out my tips + tricks for painting the perfect stripes.

Painting Stripes

My thoughts

Overall I thought the Paint Stick was a great product.  It made the process of painting the main section of the walls a breeze.  I only had to fill the PaintStick up twice for my entire foyer.  It’s not a huge space, but a decent size.  The up-and-down on a ladder when using a regular roller was eliminated and the bending over to reach the areas near the lower part of the wall wasn’t necessary.   The other nice part of the Paint Stick is that the paint can be used directly from the can.  There is no need for messy trays + there is no waste.  How many times has someone stepped in paint and/or paint drips all over?  Plus there is never a way to get all the leftovers from a tray back into the paint can.

I will say the cleaning up process wasn’t as easy as simply throwing away a liner and roller, but it wasn’t too bad.  Overall it took about 15 minutes.  I actually started cleaning the supplies without reading the directions – shame, shame on me – and it took much longer than it should have.  If you follow these directions, it’s fairly simple!

Would I use it again? 

You bet and I would suggest you try it too!  You can pick one up at your local Lowe’s.  When picking up the paint + supplies for this project, there was a huge display in the paint aisle.

HomeRight Paint Stick EZ Twist Product Review

So guess what…  HomeRight is super great and is giving away (1) Paint Stick EZ-Twist to one of my fabulous followers.  Want to make painting less daunting and have it take way less time than ever before?  Then enter now >

This Giveaway is Over.  Stephanie Whitacker is the official Winner.  Please keep on the lookout for more giveaways coming up soon.

a Rafflecopter giveaway

Disclosure: HomeRight has chosen to partner with me to share their products with you, my wonderful readers and followers.  I was provided with product to review and was compensated for my time to use the products.  No one told me what to create, what to buy, how to use the product, or what to write.  All opinions are 100% mine!