Autumn Mantel
I’ve been loving the cool temps over the past few days, have you? For me, there’s no transition time once September hits. A switch goes off in my head that says “Fall, Fall, Fall”. Thankfully I haven’t dug out the sweaters yet, BUT I did gather some decor for my newest mantel for the coming season.
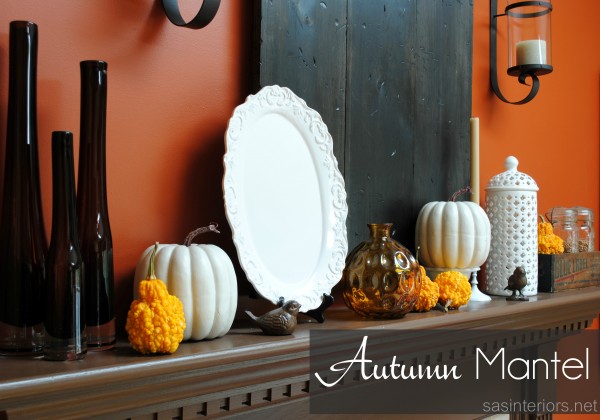
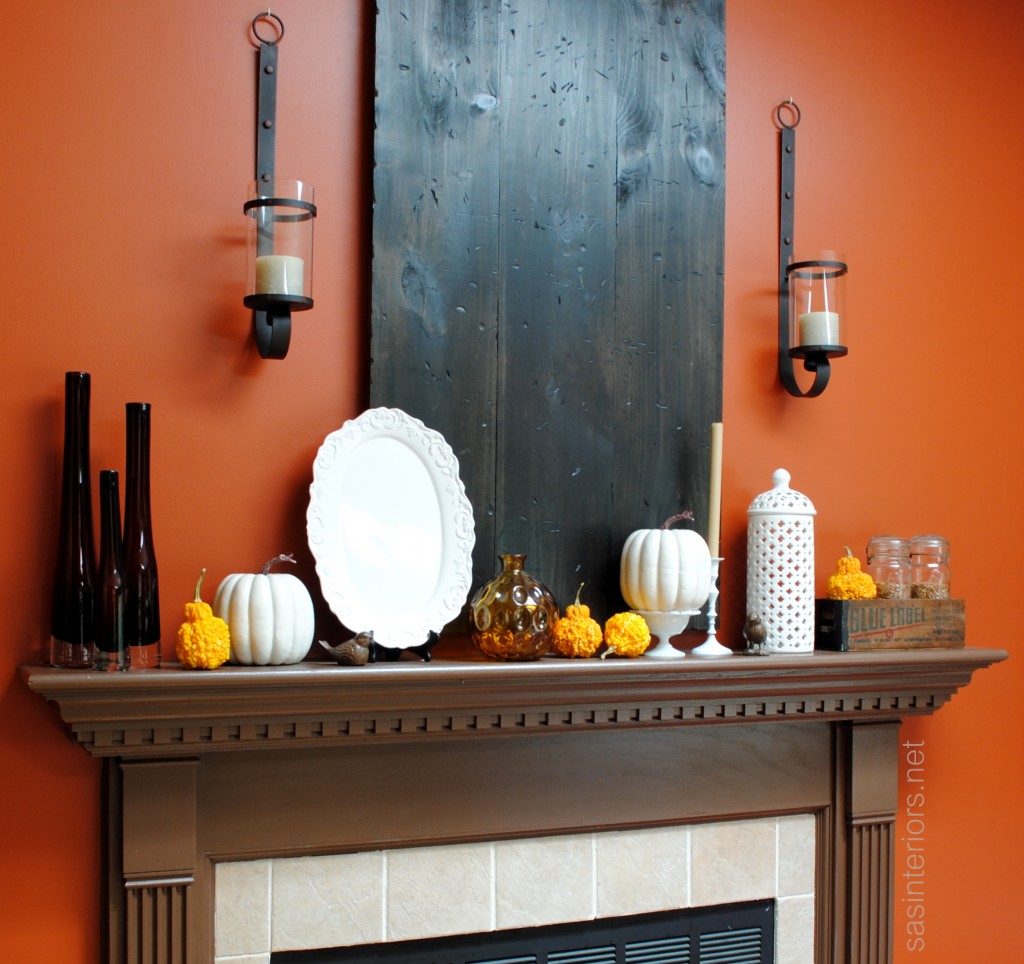
Autumn is almost here and after sharing a fun roundup of Fall Fireplace Mantels earlier this week, I’m ready to reveal mine. But before we begin, I have a confession to make… I never showed you my summer mantel. I had great intentions to, but it never happened. No worries, because for Fall I didn’t change much and basically the reasoning is that I just love it. This years Autumn Mantel isn’t overly “themed” and actually isn’t really “fallish”. Basically I kept it simple and added a few festive elements. Take a look…
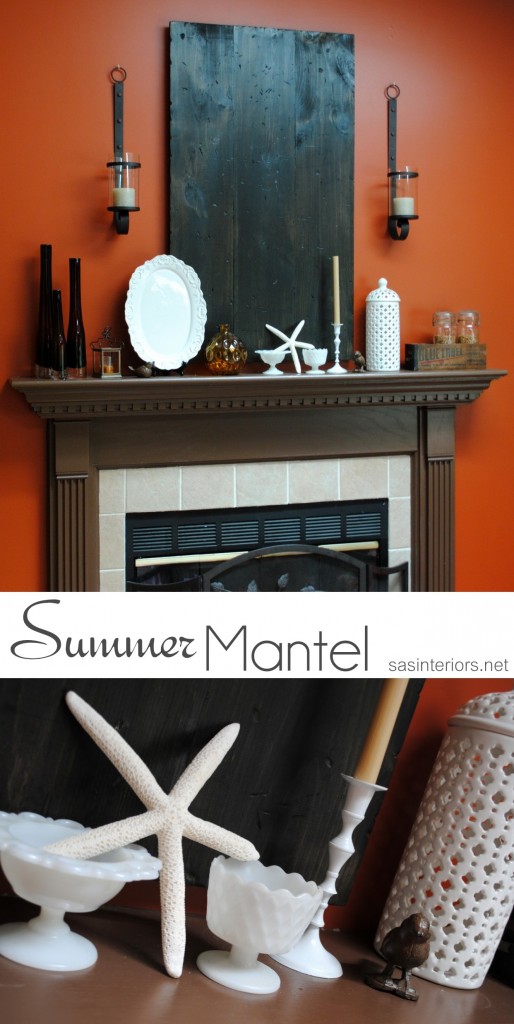
The change from my Summer mantel to now wasn’t that different or difficult. Since you didn’t see the Summer mantel, this is what it looked like. With the addition of the starfish for the warm months and the simple switchout to pumpkins and ghords for Fall, the mantel was updated in minutes.
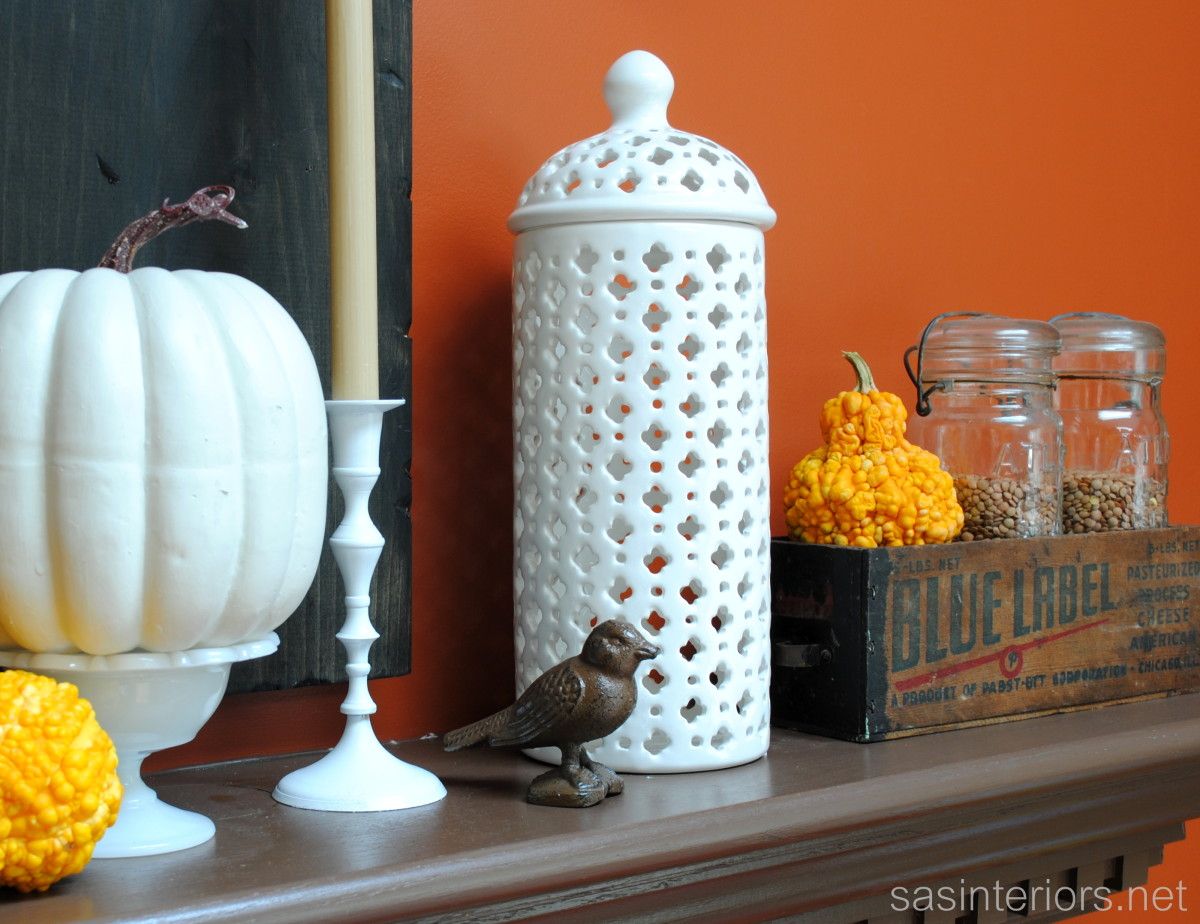
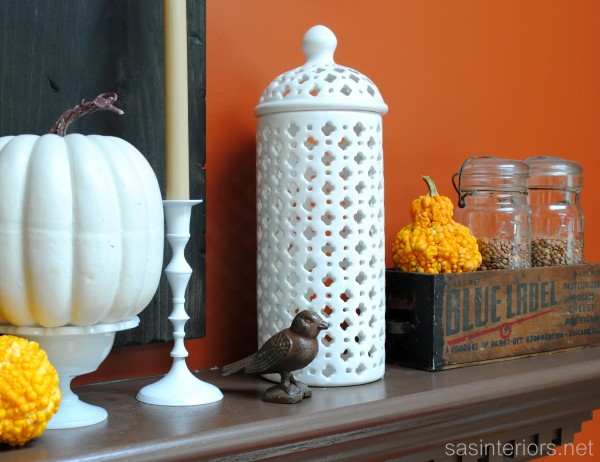
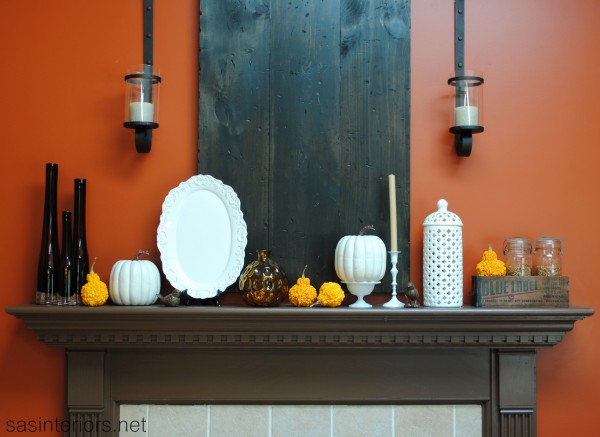
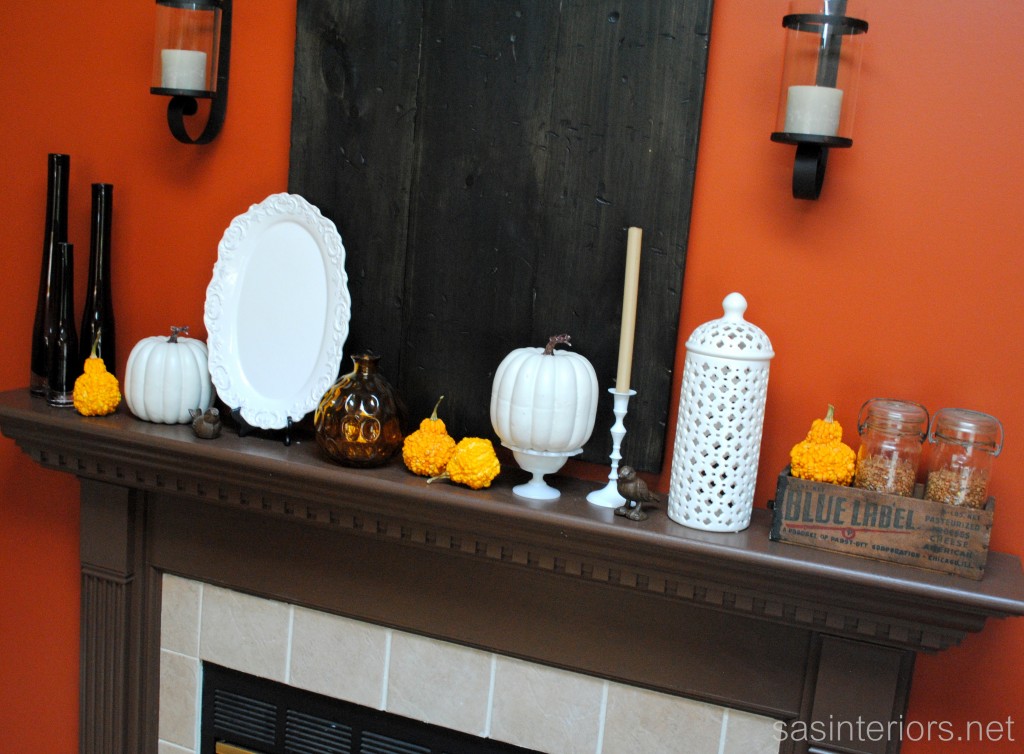
I have to say, I’m really happy with the simplicity and monochromatic look of this year’s Fall Mantel. For this mantel, I shopped my home for everything, except one piece – the tall white jar. I had been on the search for something like it and when I saw this beautiful pierced ginger jar at TJ Maxx a few months, I snagged it up – it was attractive and for under $20 it was a must-have! It’s height and detail bring so much character to the mantel. Don’t ya think?!
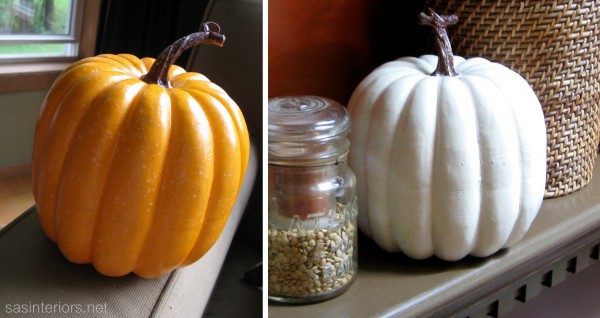
All the other elements in this Fall decor were seen in last years mantel or were someplace else around the house. The white pumkpins were a great score last year and weren’t always white. If you recall, this is what I did…
It’s amazing what a little white craft paint can do!
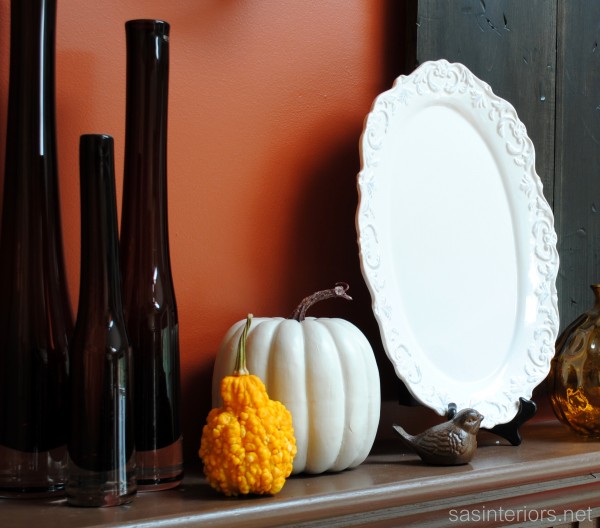
In continuing my simple white aesthetic, I spray painted the candle stick white as well. In my other mantels, it was brass, but not anymore. Continuing, my estate sale found mason jars are still filled with lentils and beautiful, bumpy, bright orange ghords were added throughout. I had to add some color. right?!
Those tall glass jars are killer – loved them since the day I bought them which was a gazzillion years ago (more like 10+) from Crate and Barrel. Ya gotta love the Crate!
The birds are another recent find that I purchased at a local home store. They are dark brown, similar to the mantel color and almost blend right in, but they are so cute and add a whimsical touch to the mantel decor.
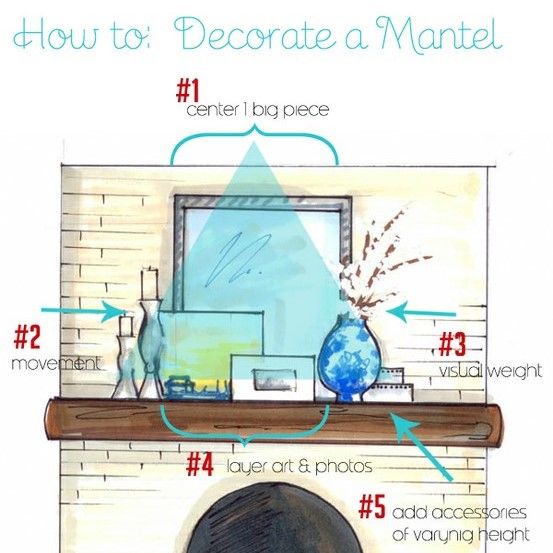
I think it’s so important to add varying heights and layers when creating a mantel. Think of your mantel composition as a wave – it should go up and down as it moves across. Need more tips on mantel decor? Check out my post on How-To Decorate a Mantel. Looking at others mantels will also help inspire and give ideas. That’s where my roundup comes in handy!
Here’s the overall Fall Mantel.
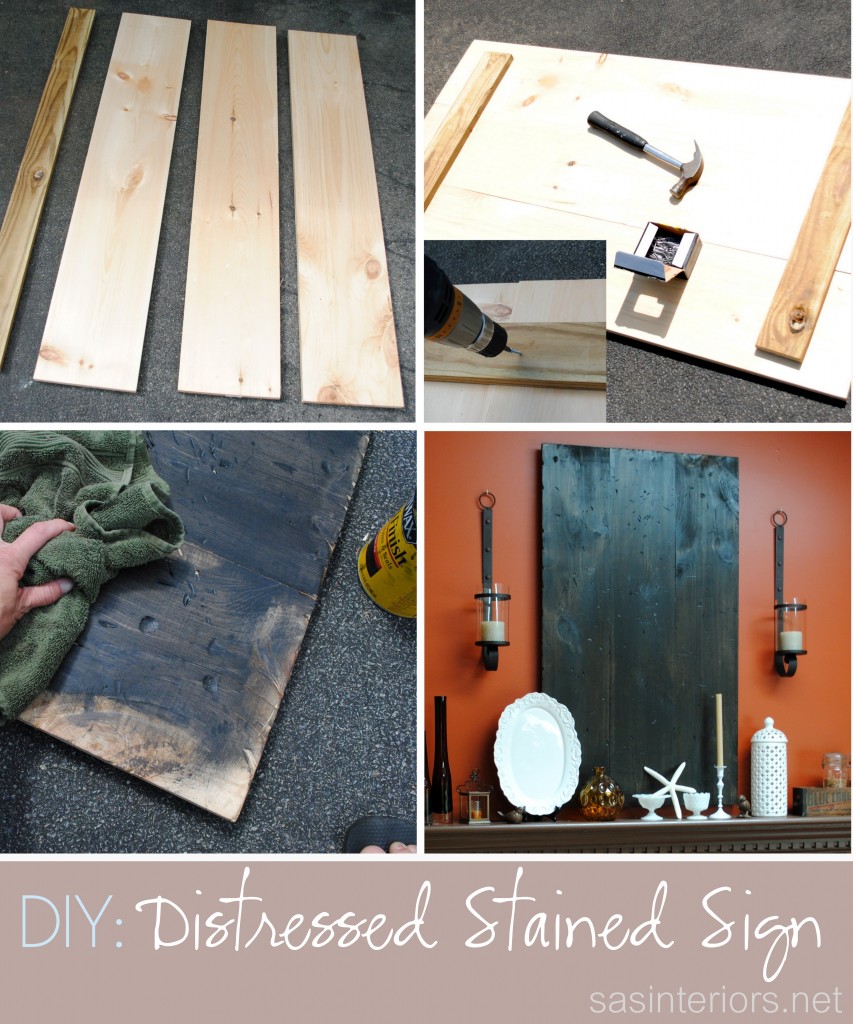
You might have noticed in some of the pictures that there’s somethin’ different on the wall? Yup, that’s new. There used to be a mirror there, but that got revamped and moved to the dining area. In it’s place is a new distressed stained sign, which was easy to create and is an awesome backdrop. Want to create something similar? Here’s how…
Create a Distressed Stained Sign
1. Measure and cut lumber to the size desired (I used (3) 2″ x 12″ x 48″ pieces of pine)
2. Use (2) horizontonal pieces of lumber to secure the vertical pieces (I used (2) 2 x 4, but any size lumber would really work)
3. Distress the sign using a chain, hammer, nails, etc. to add as much or as little distressing as desired
4. Stain your sign. I used the stain that I had leftover from my staircase which was Ebony, but you can use a lighter stain depending on the depth of color you want to achieve.

Simple and Chic Autumn Mantel. Yes, I’m happy 😉
Have you started your decorating for Fall yet? I’ve got my mums and ghords, and this weekend we’re headed to the apple orchard. O, do I LOVE Fall!
I link my projects to some of these parties: Skip to My Lou, Dittle Dattle, Between Naps on the Porch, Today’s Creative Blog, Stories of A to Z, All Things Heart & Home, Savvy Southern Style, House of Hepworths, Finding Fabulous, Creation Corner, The Shabby Nest, Serenity Now, Tatertots and Jello, Thrifty Decor Chick, Tip Junkie
