As a Blogger, finding support throughout the blogging community is important for blog growth, friendship, and creative inspiration. For the past several weeks, I’ve joined forces with a few fabulous DIY bloggers and we’ve been helping each other with various aspects of blogging. Along with our helpful “chats”, we were given a Blogging Challenge by Beckie of Infarrantly Creative to create a DIY project using specific materials – additional items could be added, but it was a must to use the required five.
What did I create you ask?
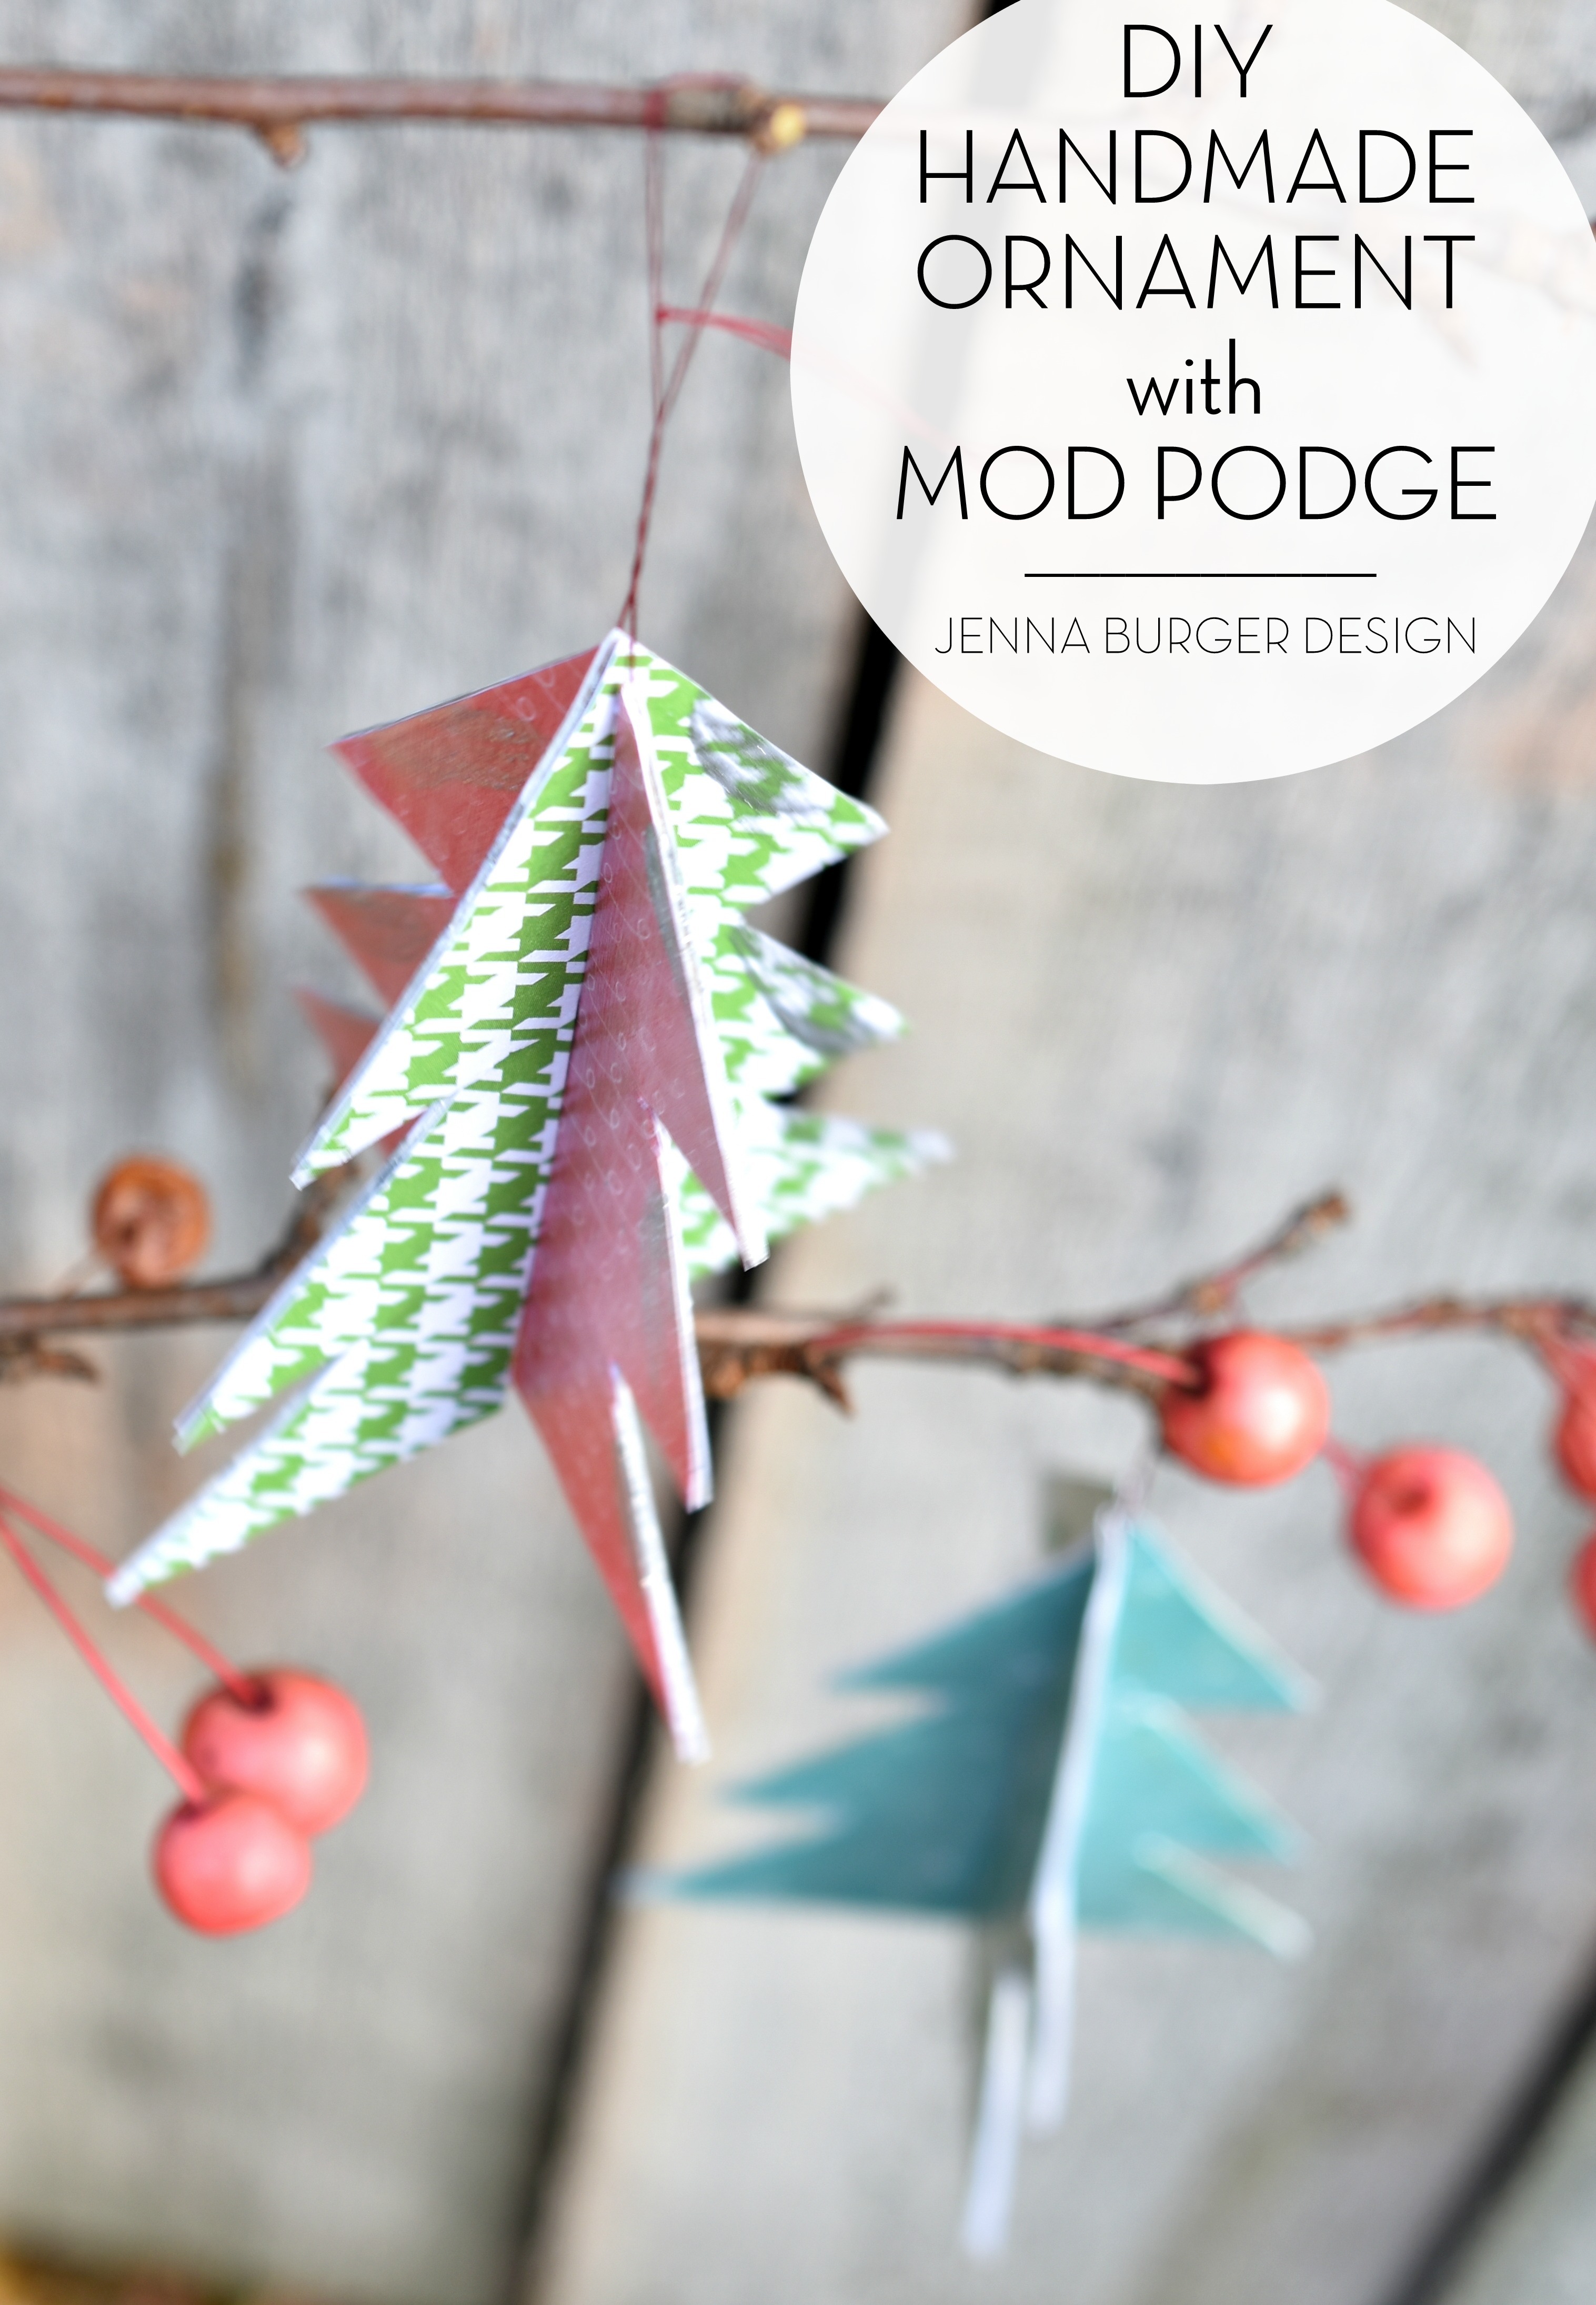
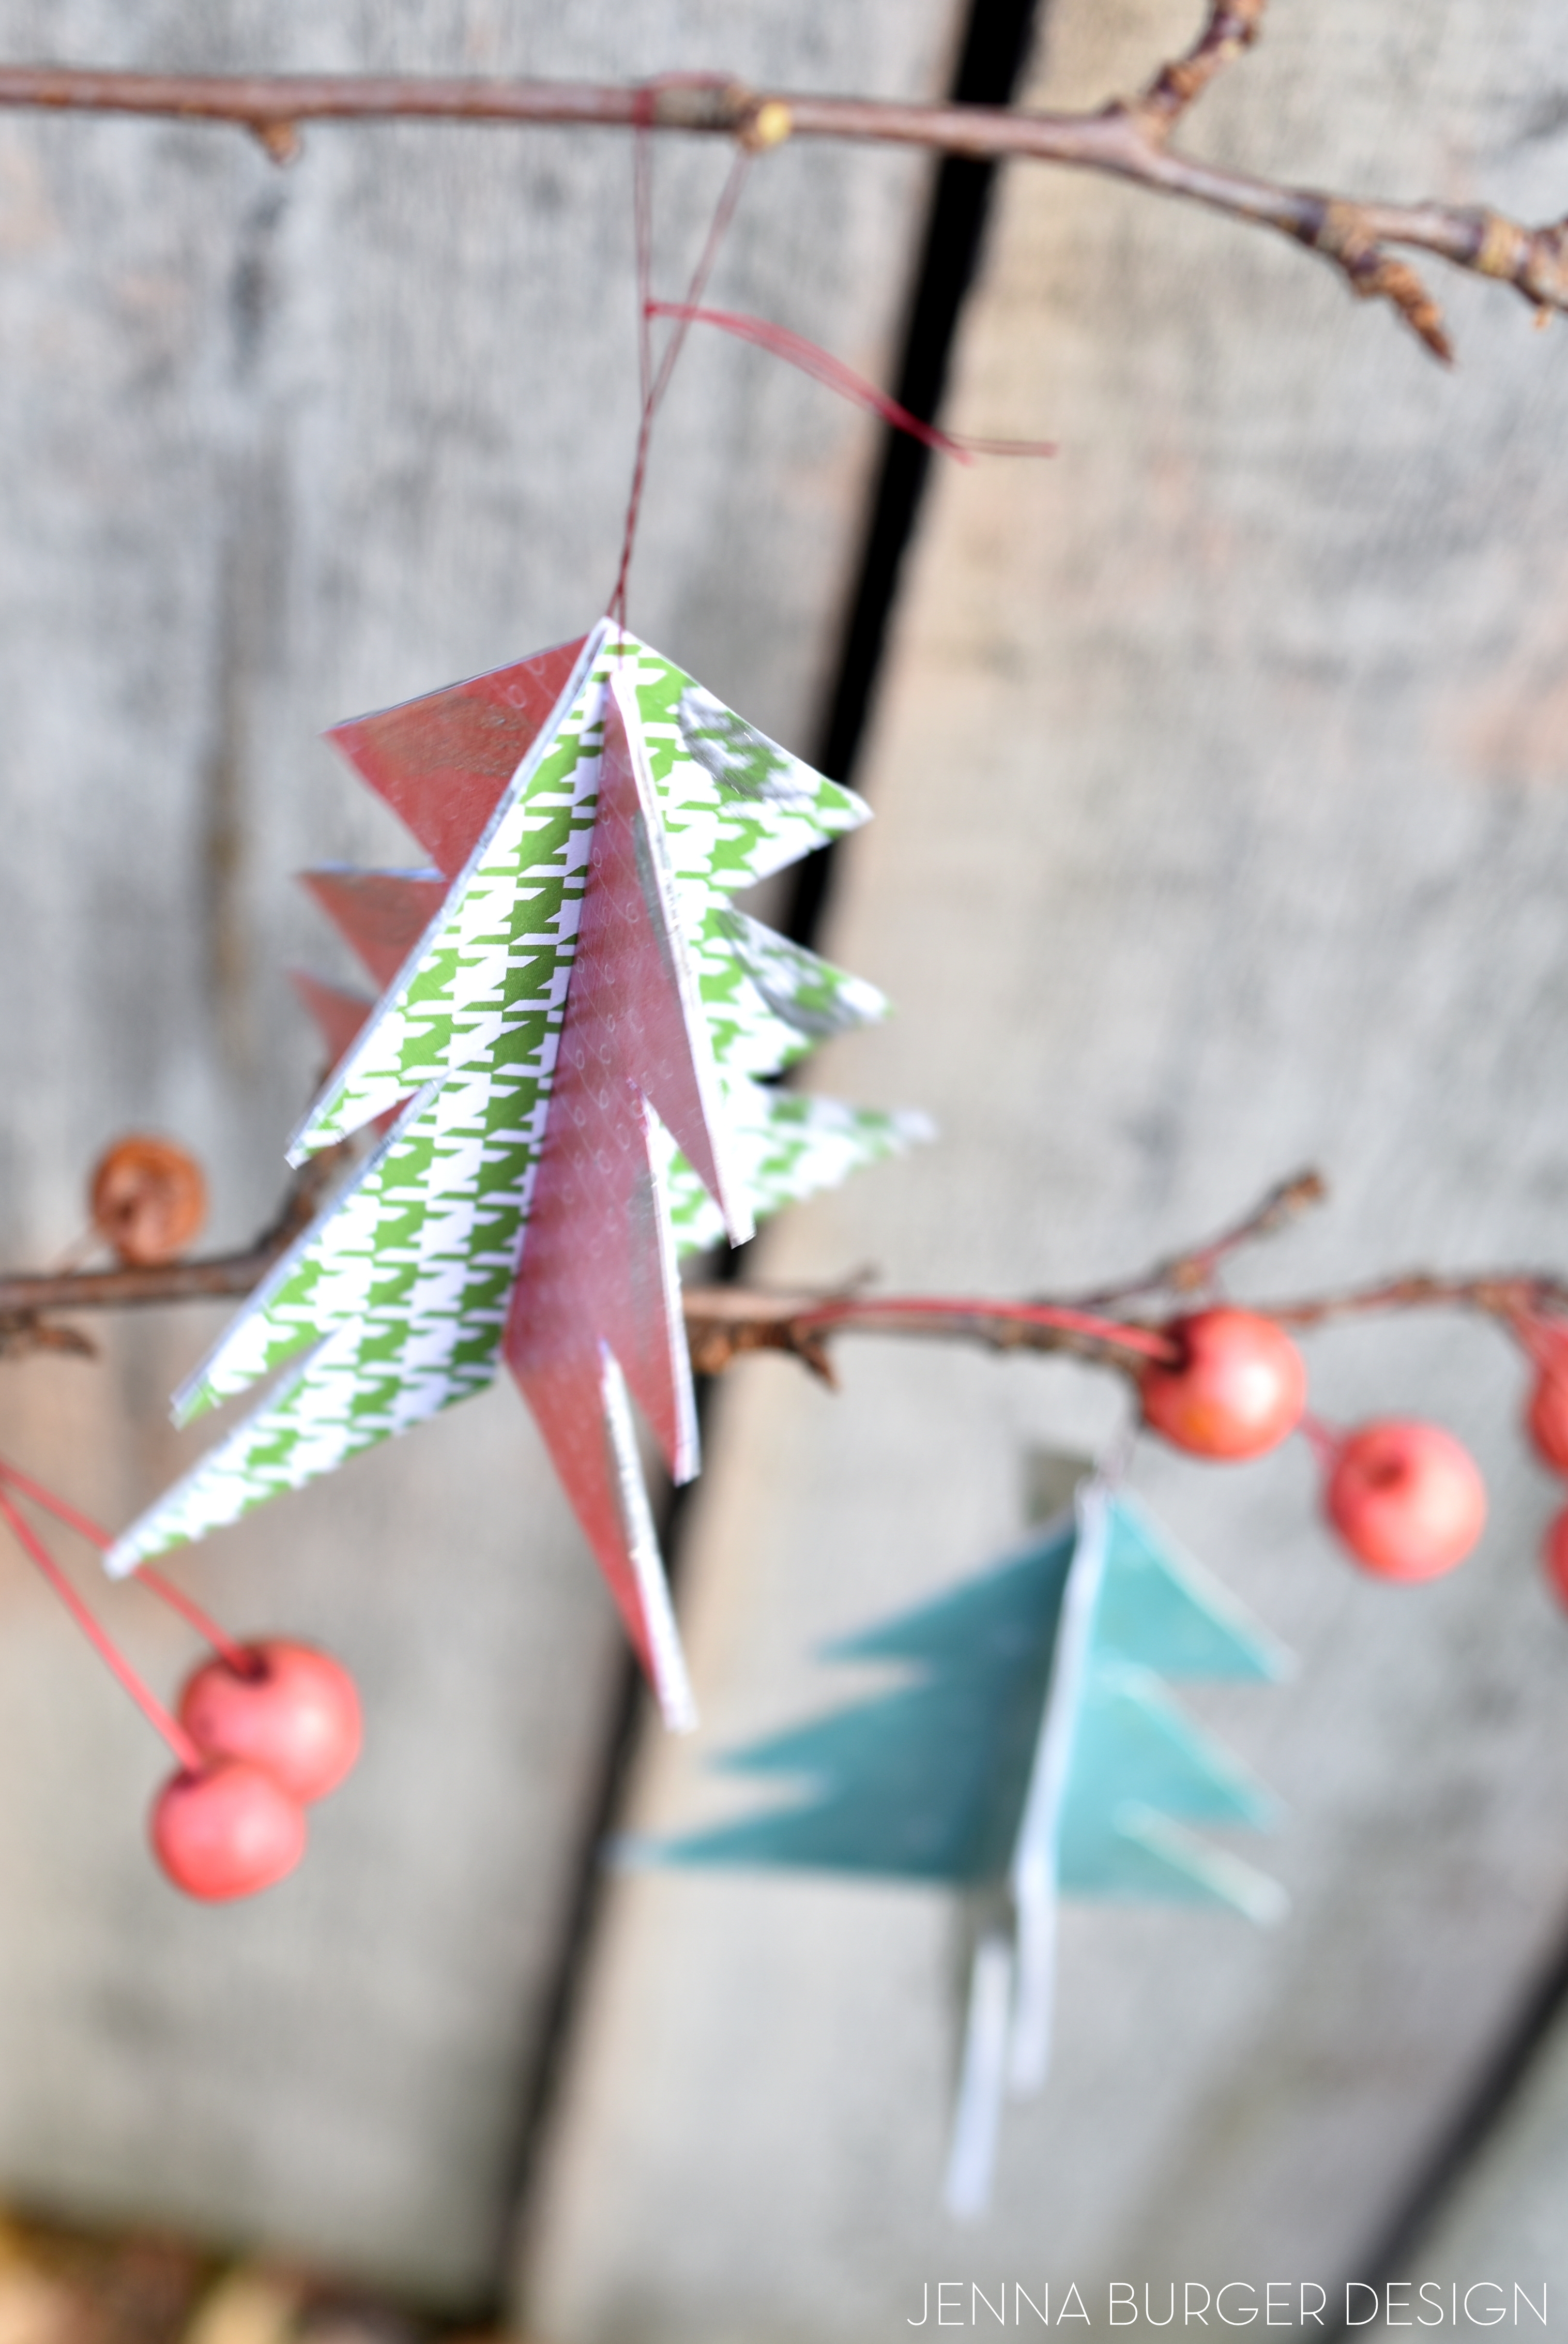
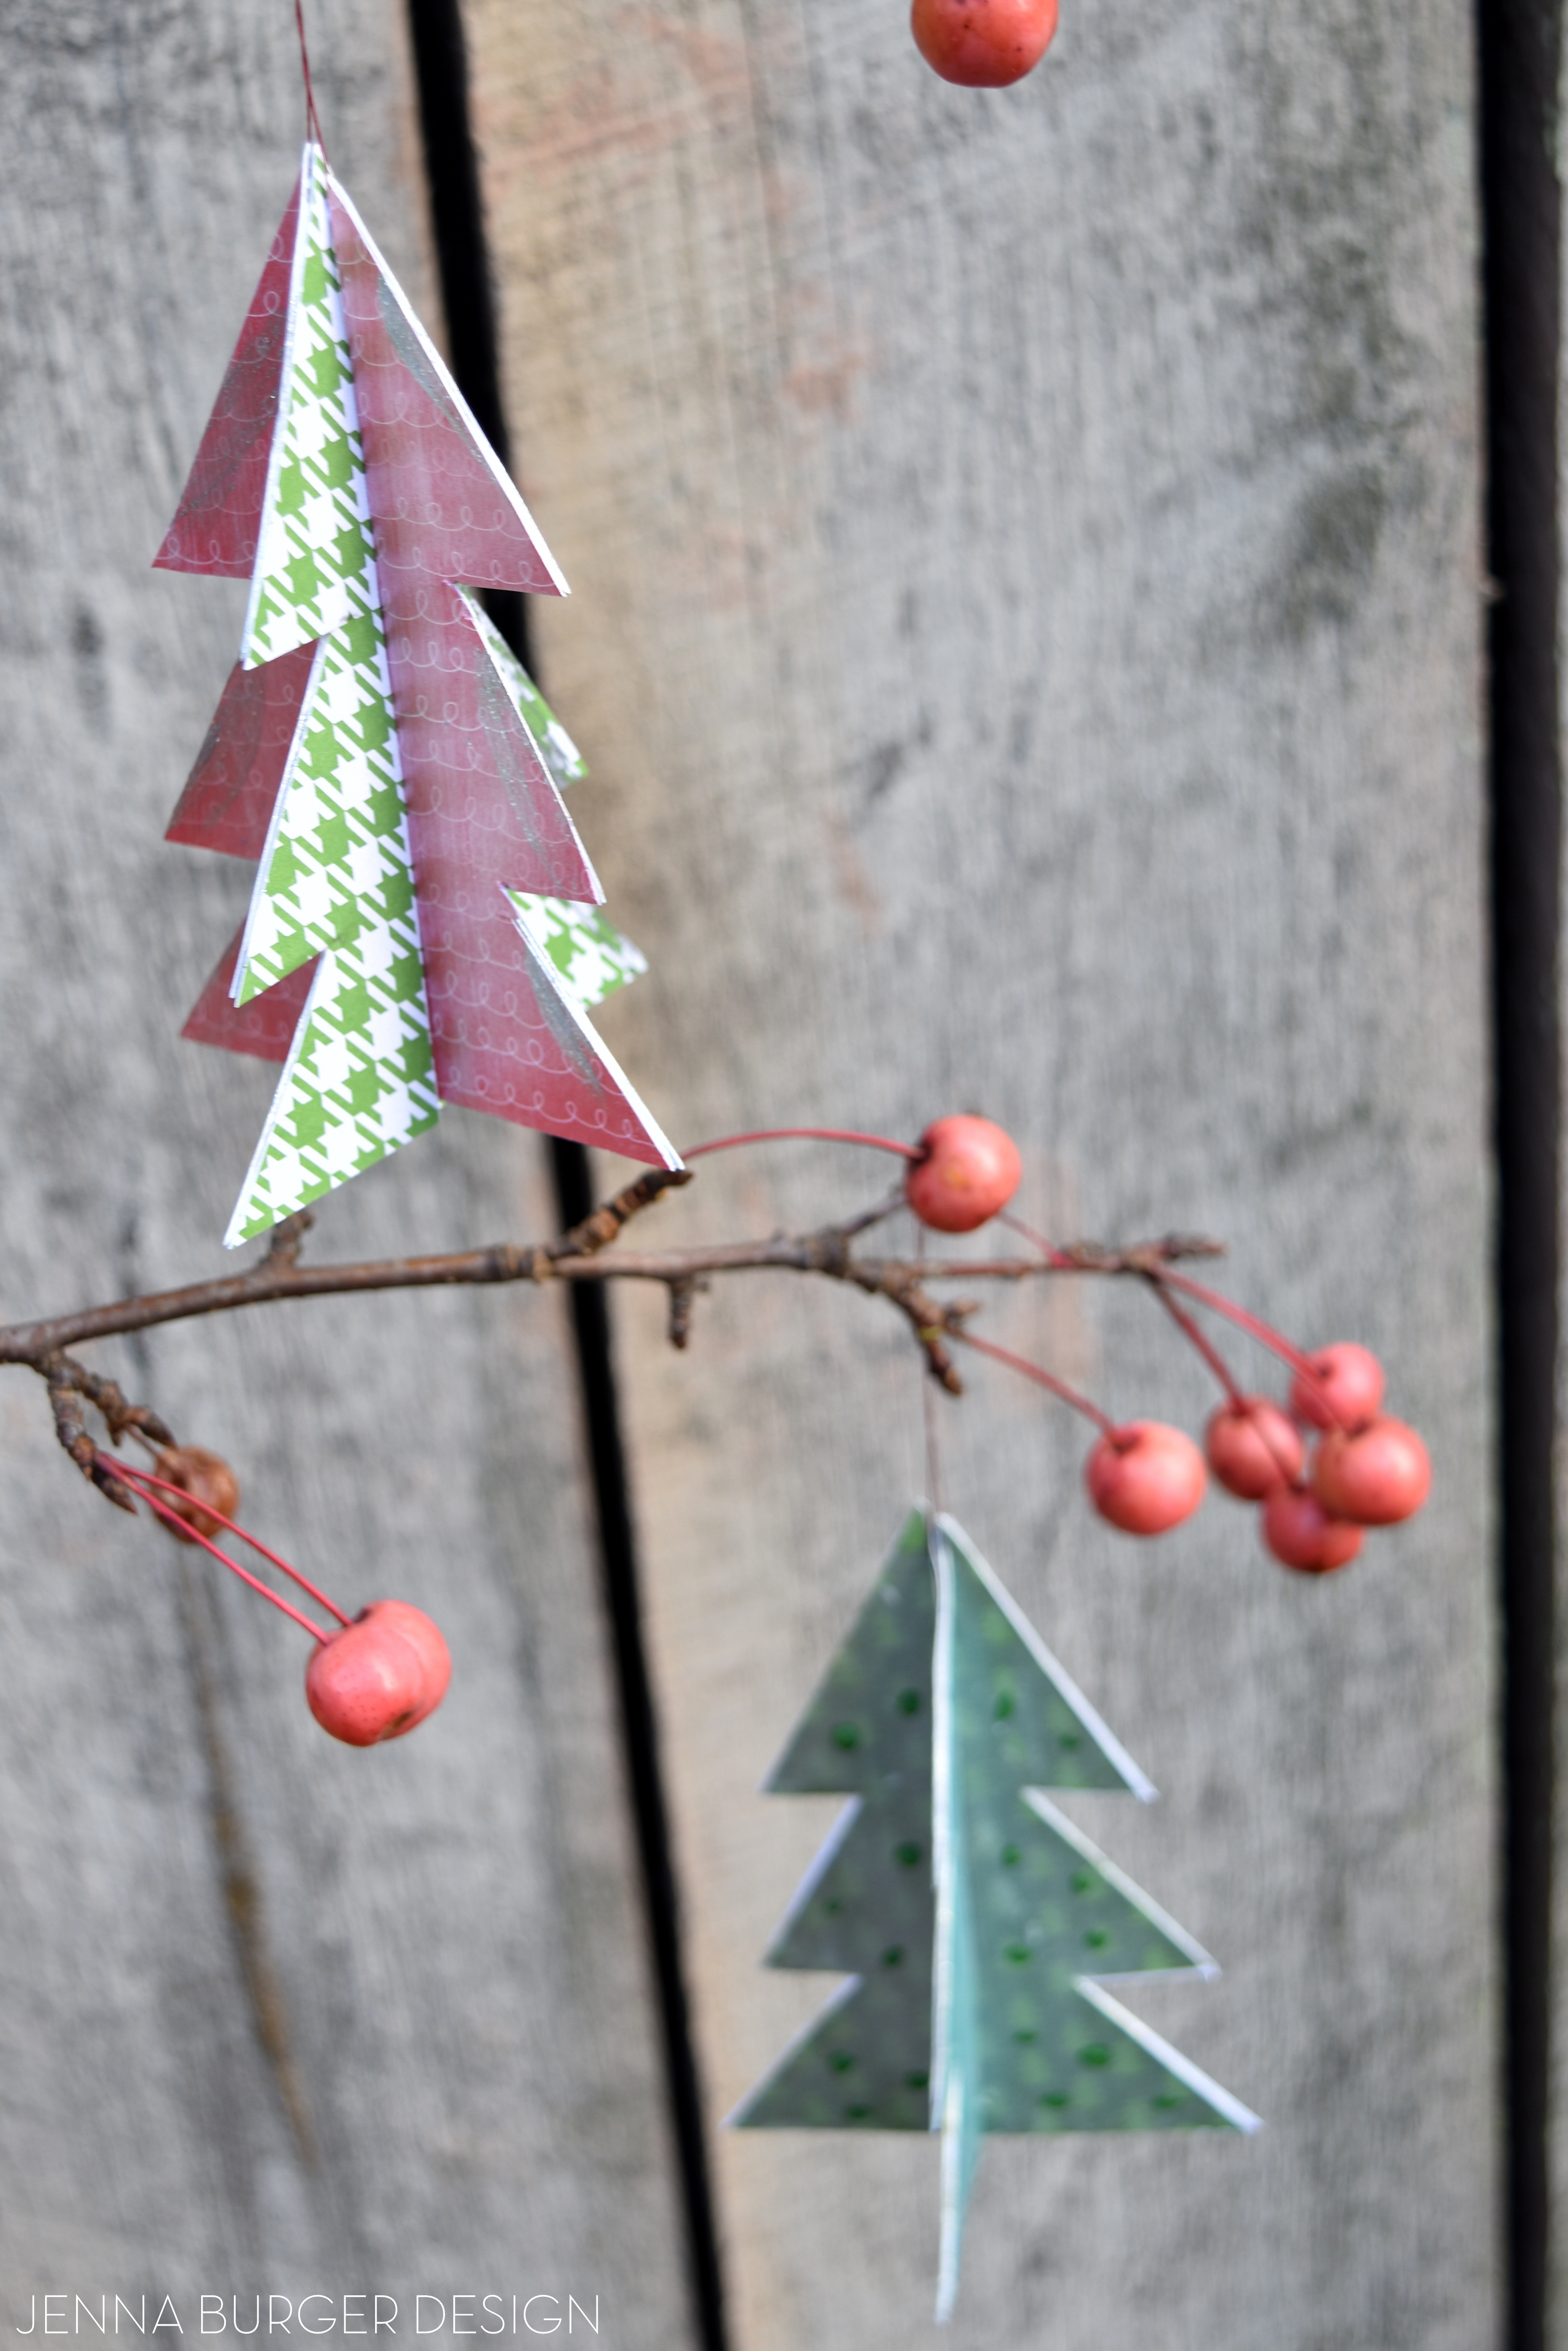
Well take a look… (and then keep on reading for the details)

Included in our Blogging 2 Better group was Monica & Jess of East Coast Creative, Allison of House of Hepworths, Brook of Being Brook, and Kim of Sand & Sisal – all incredibly talented and inspiring women and friends!
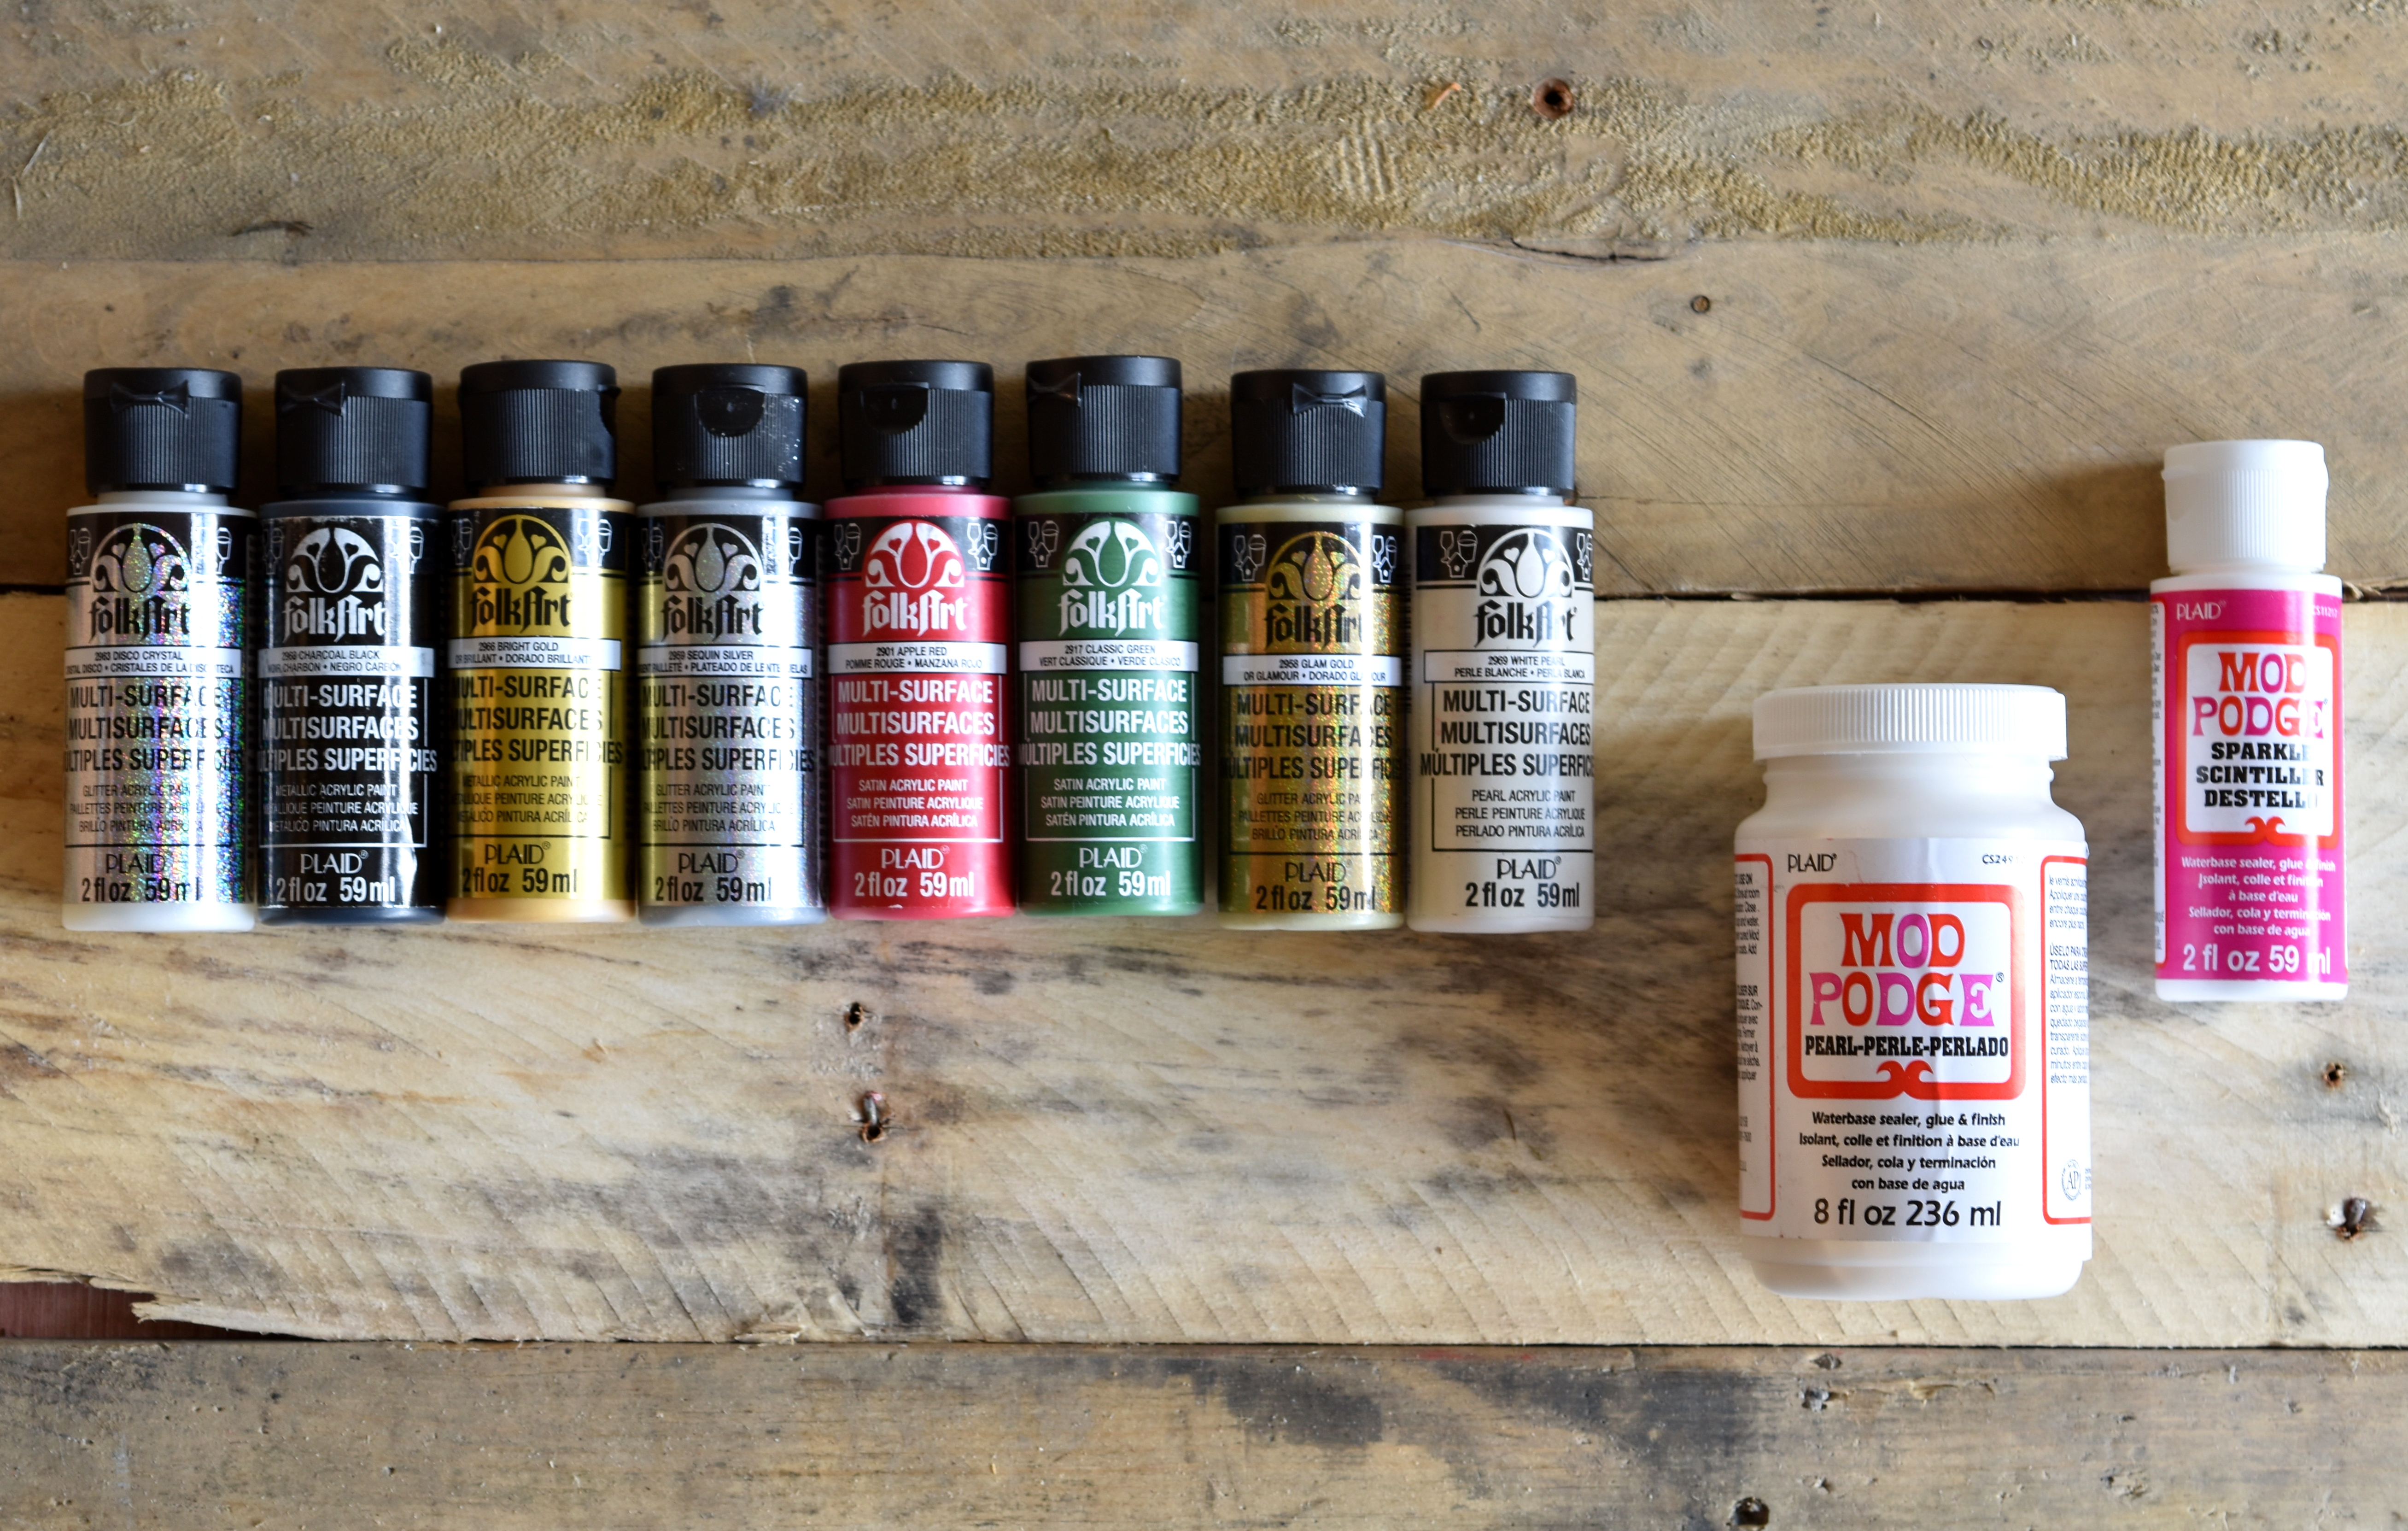
To begin, this is the list of items that we were required to use, and actually I pretty much just stuck to the list and didn’t use many additional items.

Fun, but definitely challenging! I was quite nervous at first trying to think about what to create with these 5 items and then it came to me… A tray that would be perfect to bring items in and out while BBQing (or even just to display on the coffee table – you know I love trays).
Once I had the idea, my project was quickly underway, especially since I already had a stash of pallets in my garage for a few other projects.
Item #1 – Pallet

To start off, I determined the size of the tray that I wanted to make (17″ x 17″), so the Mister and I measured (4) 17″ long pallet pieces.

Using the reciprocating saw, we buzzed right through that wood :-/

I’m always leary about using the BIG TOOLS (even though my friend Brittany has empowered me with the right skills), but I helped out and made a boo-boo when cutting. No problemo – the Mister came to the rescue with his Band Saw and cleaned the edges right up. In no time the (4) pieces of pallet were ready to make into a box.

Lining up the corners of the pallet planks, we hammered 2 nails into each corner.

Onto the bottom of the tray…
The only material used that wasn’t on the list was a piece of 1/8″ thick plywood that I used for the bottom of the tray. Once the pallet “frame” was made, we measured the distance to the outer edges and cut it using the Band Saw.

Once the plywood was cut to the right dimensions, we nailed it onto the bottom of the pallet “frame”.

I gave the overall tray a quick sanding, and within 20 minutes it was done!
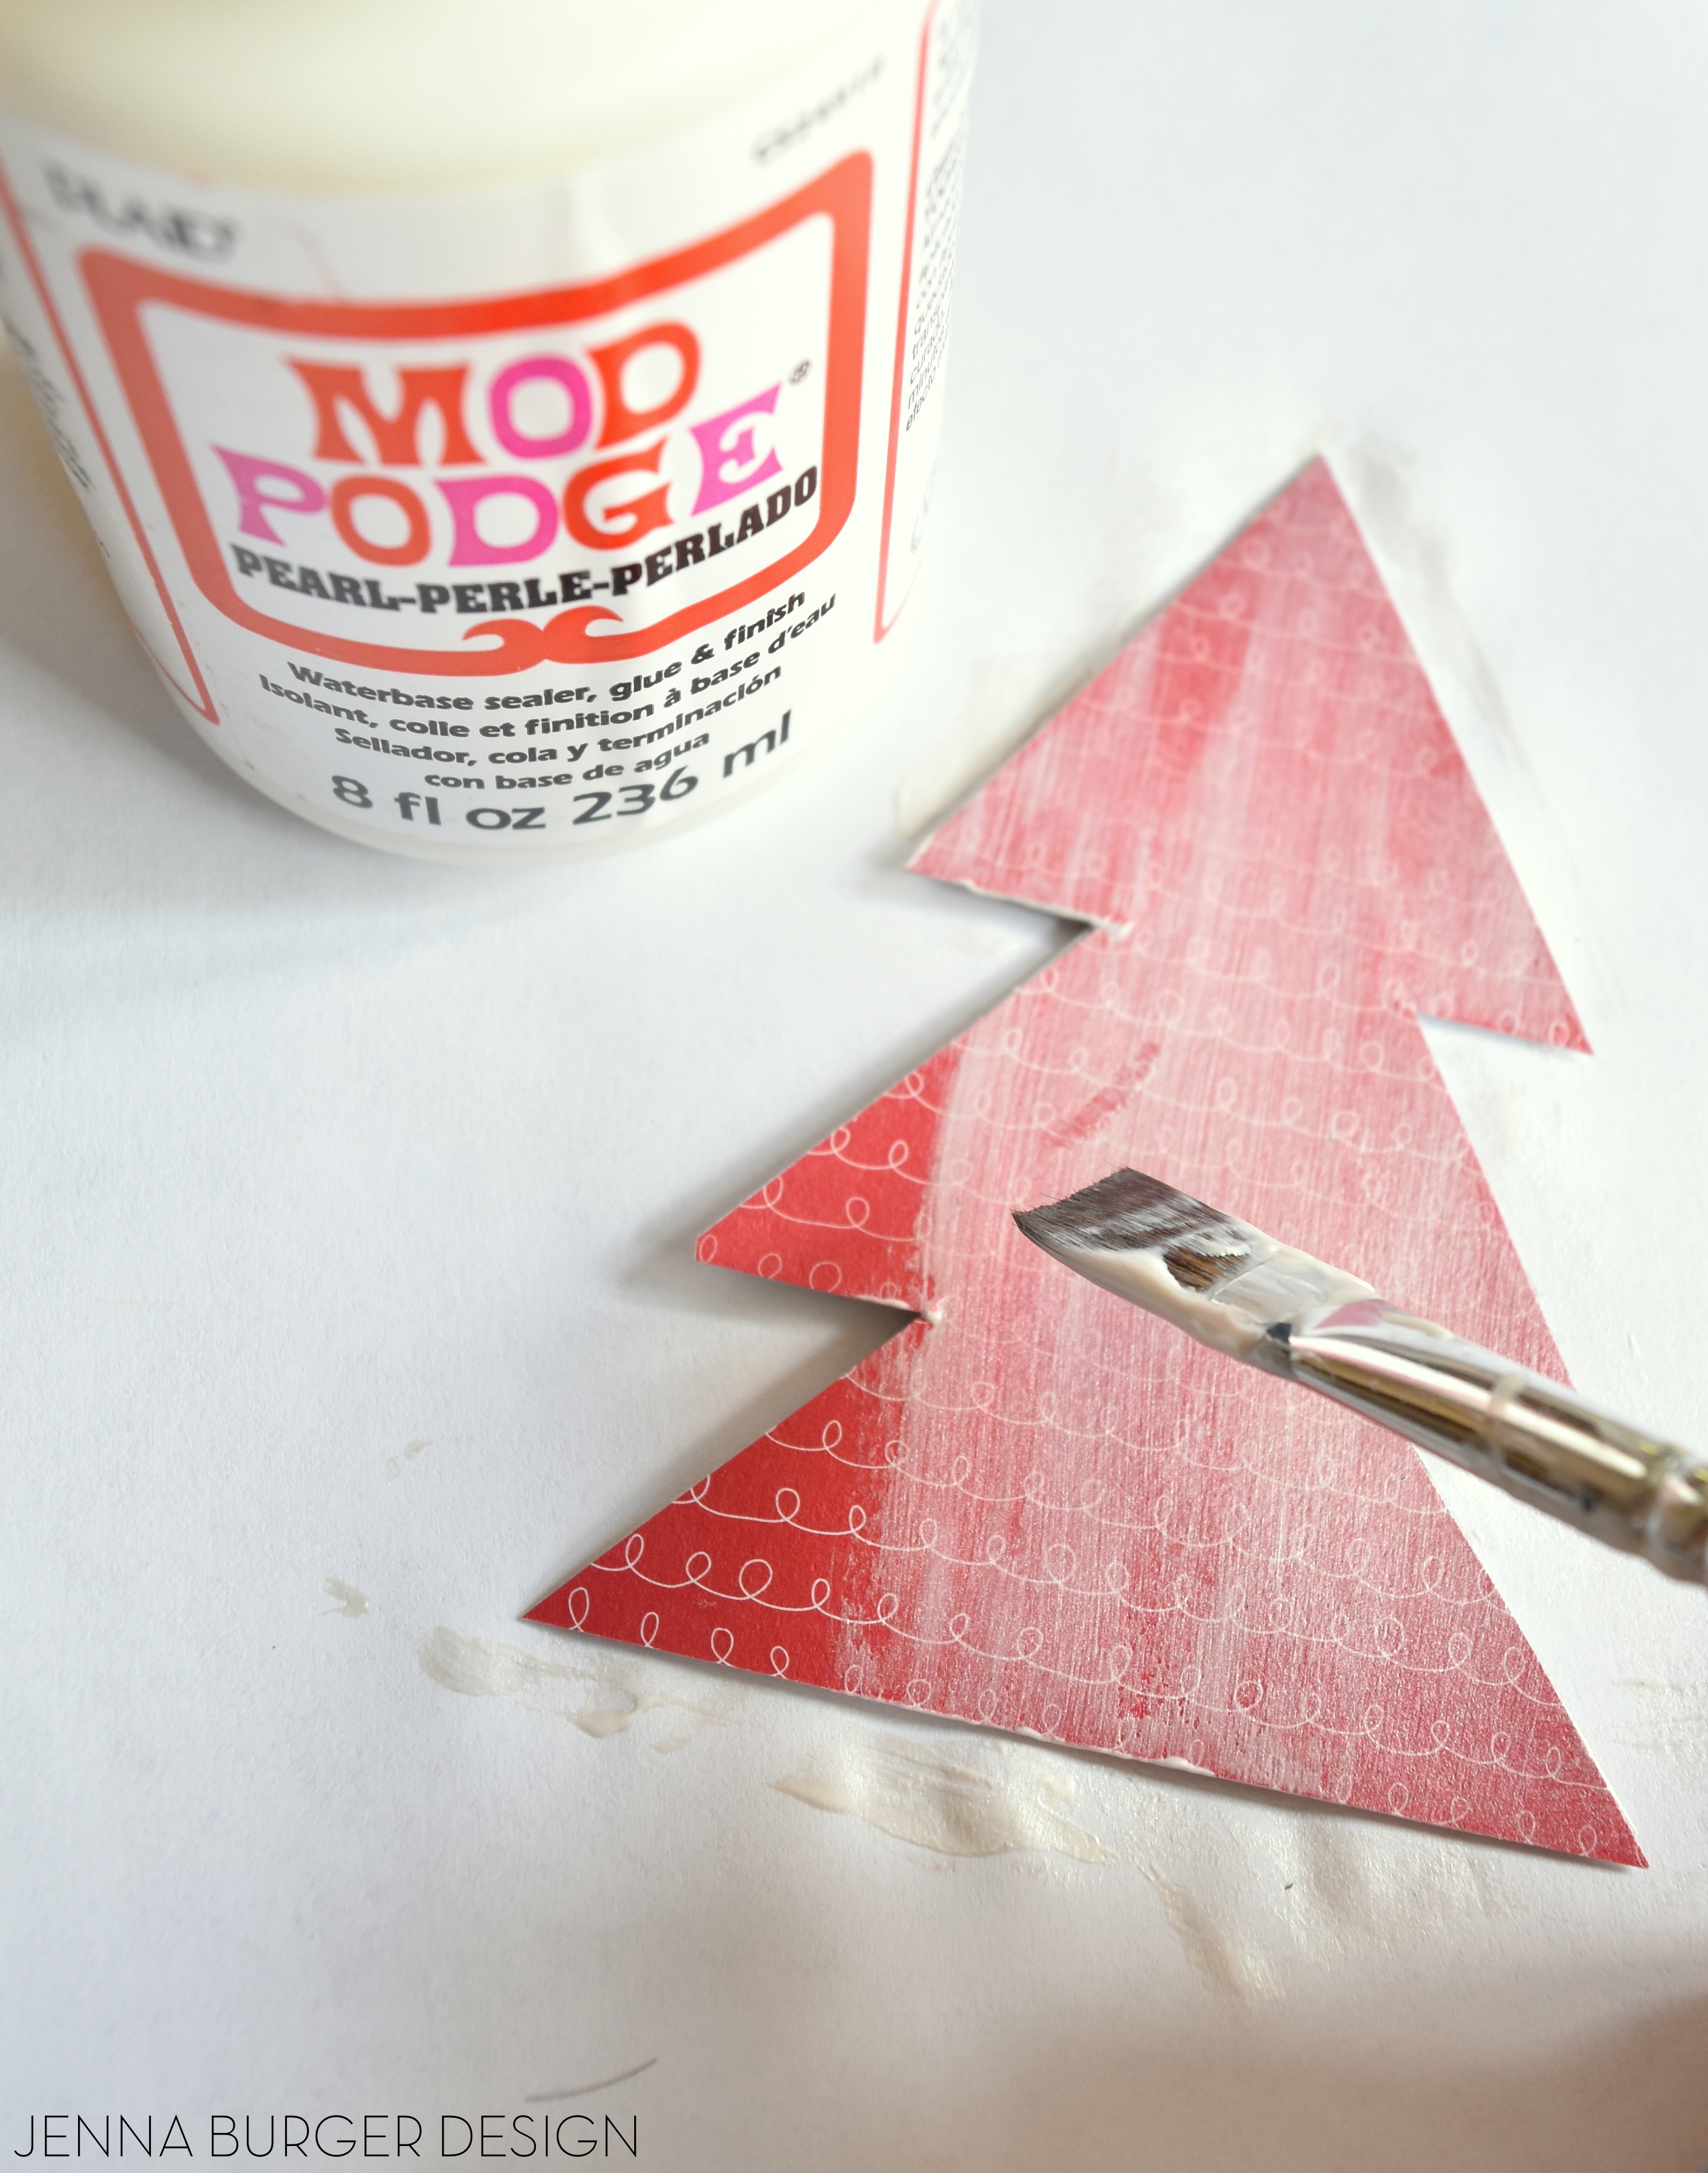
Now onto the fun part… Using my second and third required items, fabric and Mod Podge, I lined the bottom of the tray with a brown and white chevron fabric.
To start off, I spread a nice coat of Mod Podge along the entire bottom of the tray.
Item #2 Mod Podge

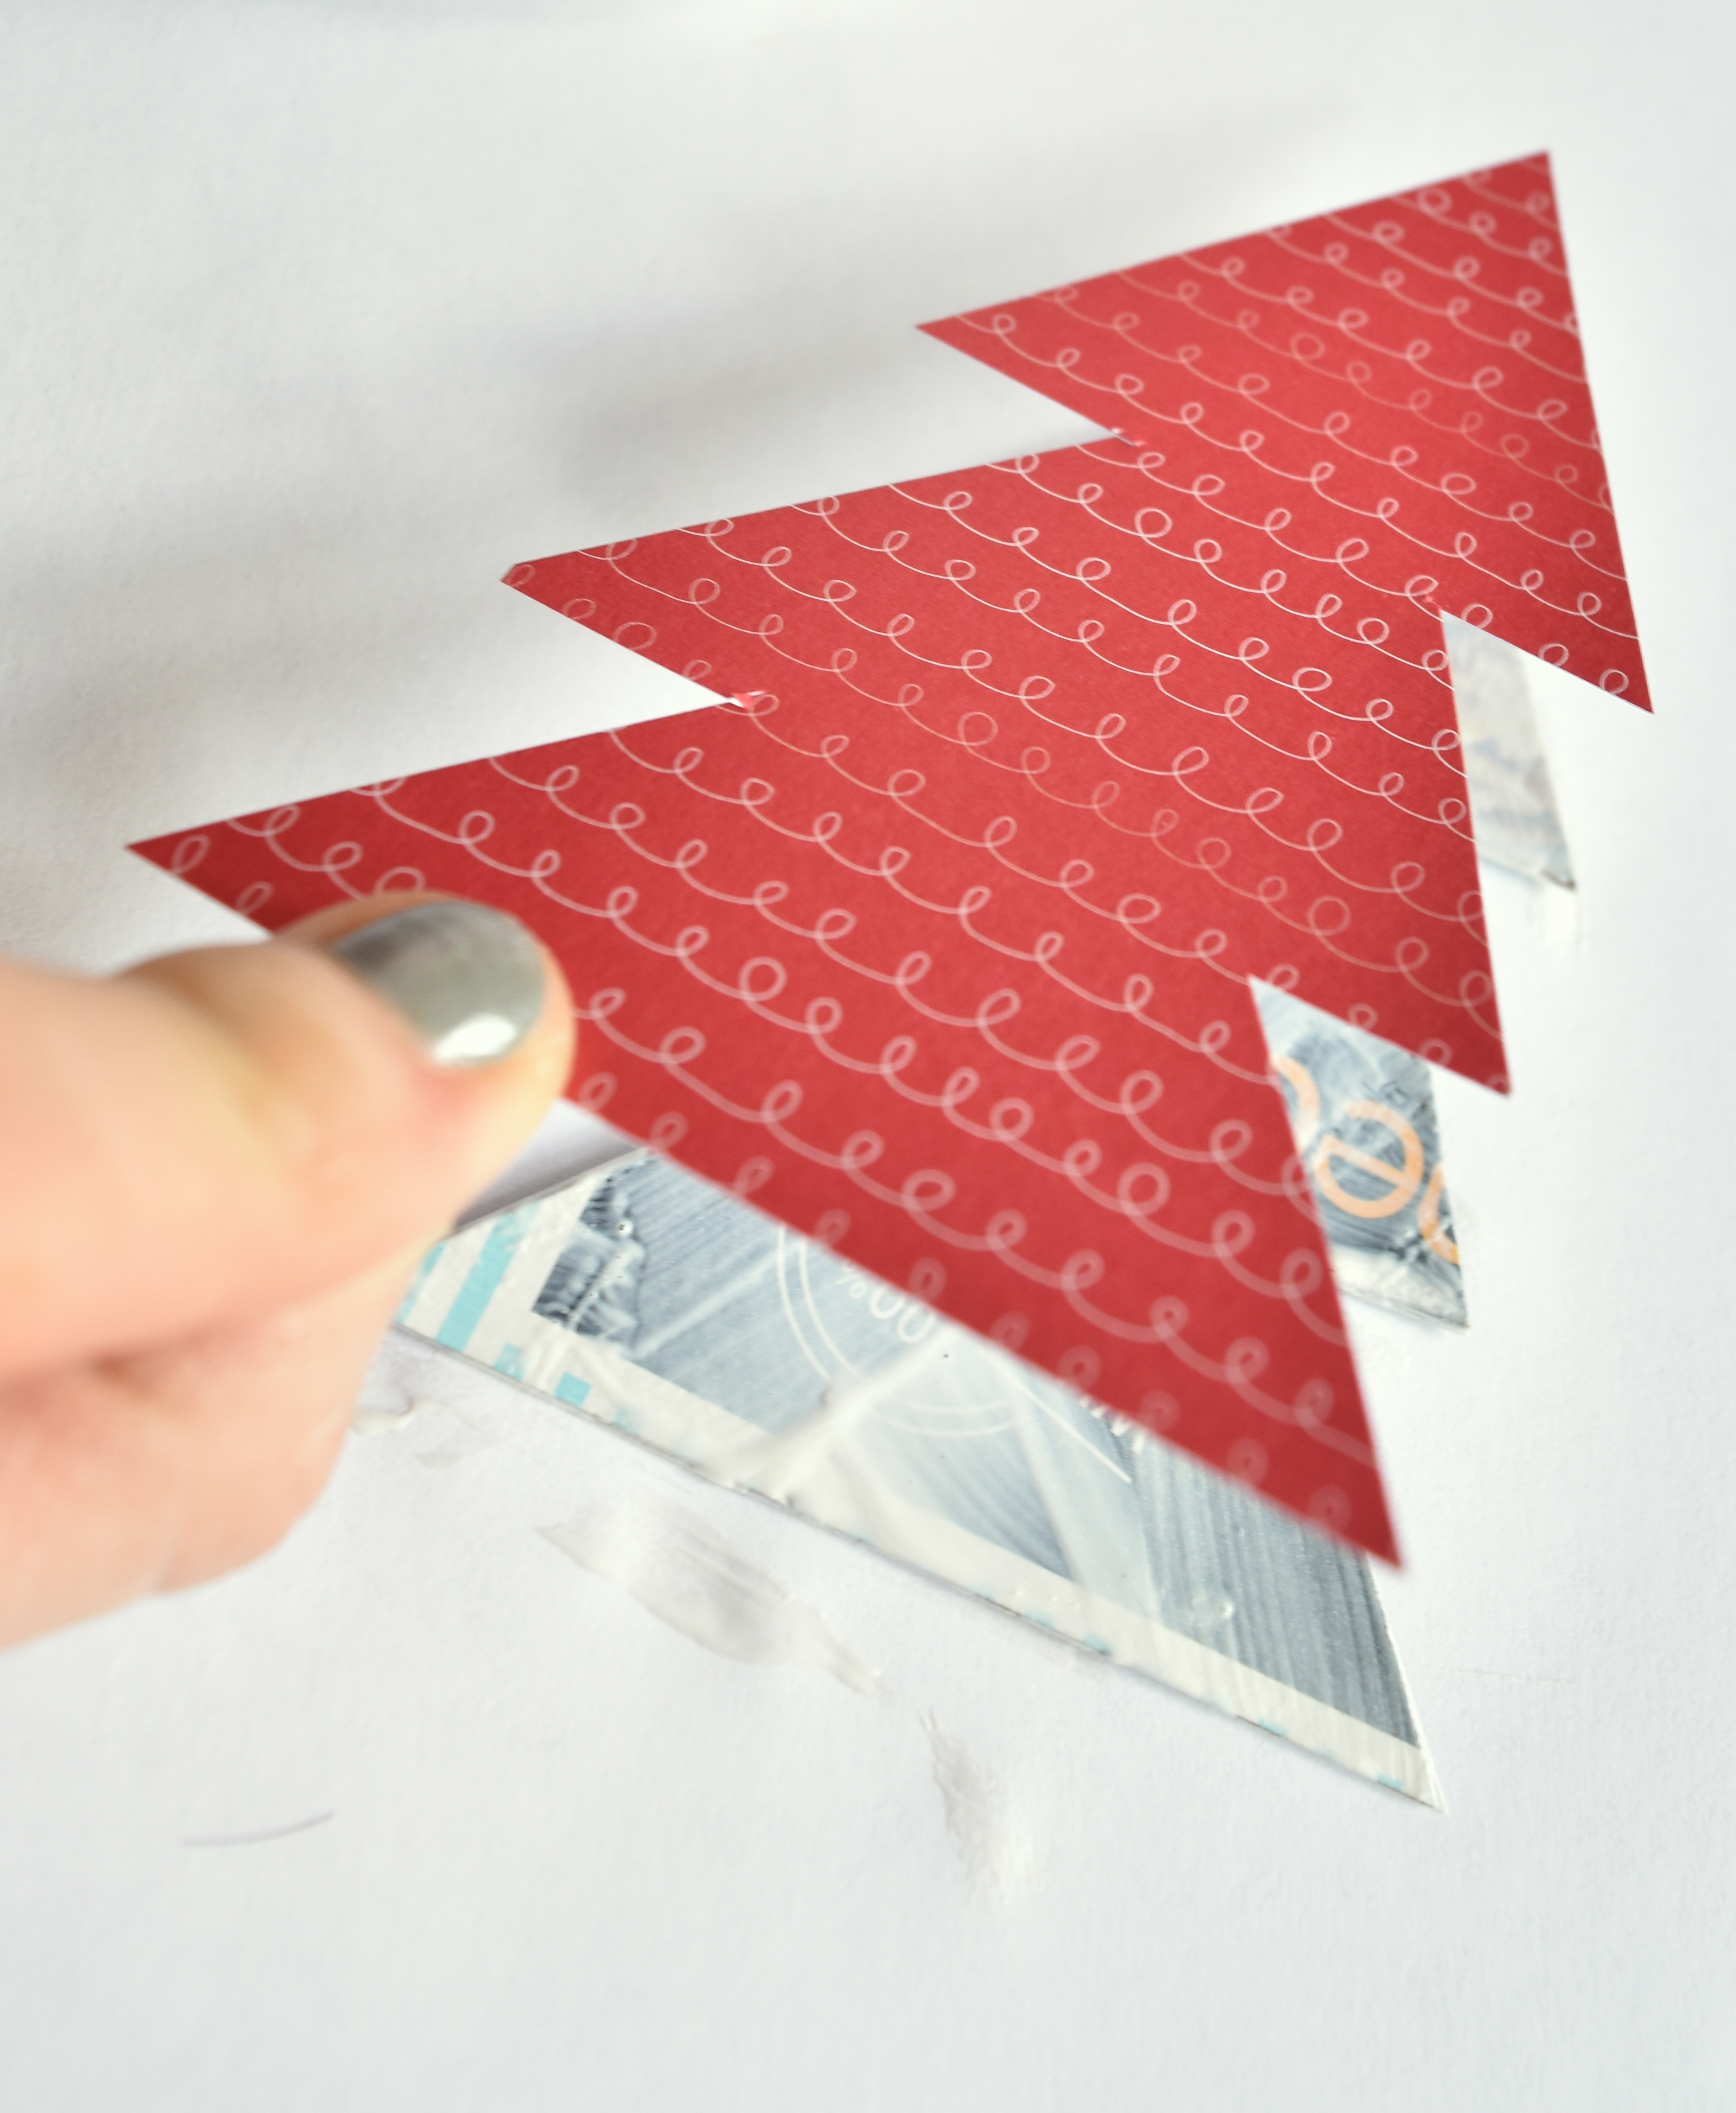
Then I added the fabric onto the glue-y surface and made sure to get it nicely in the corners as well. Make sure the fabric size is larger than the surface because in the next step, I’ll show you how I trimmed it.
Item #3 – Fabric

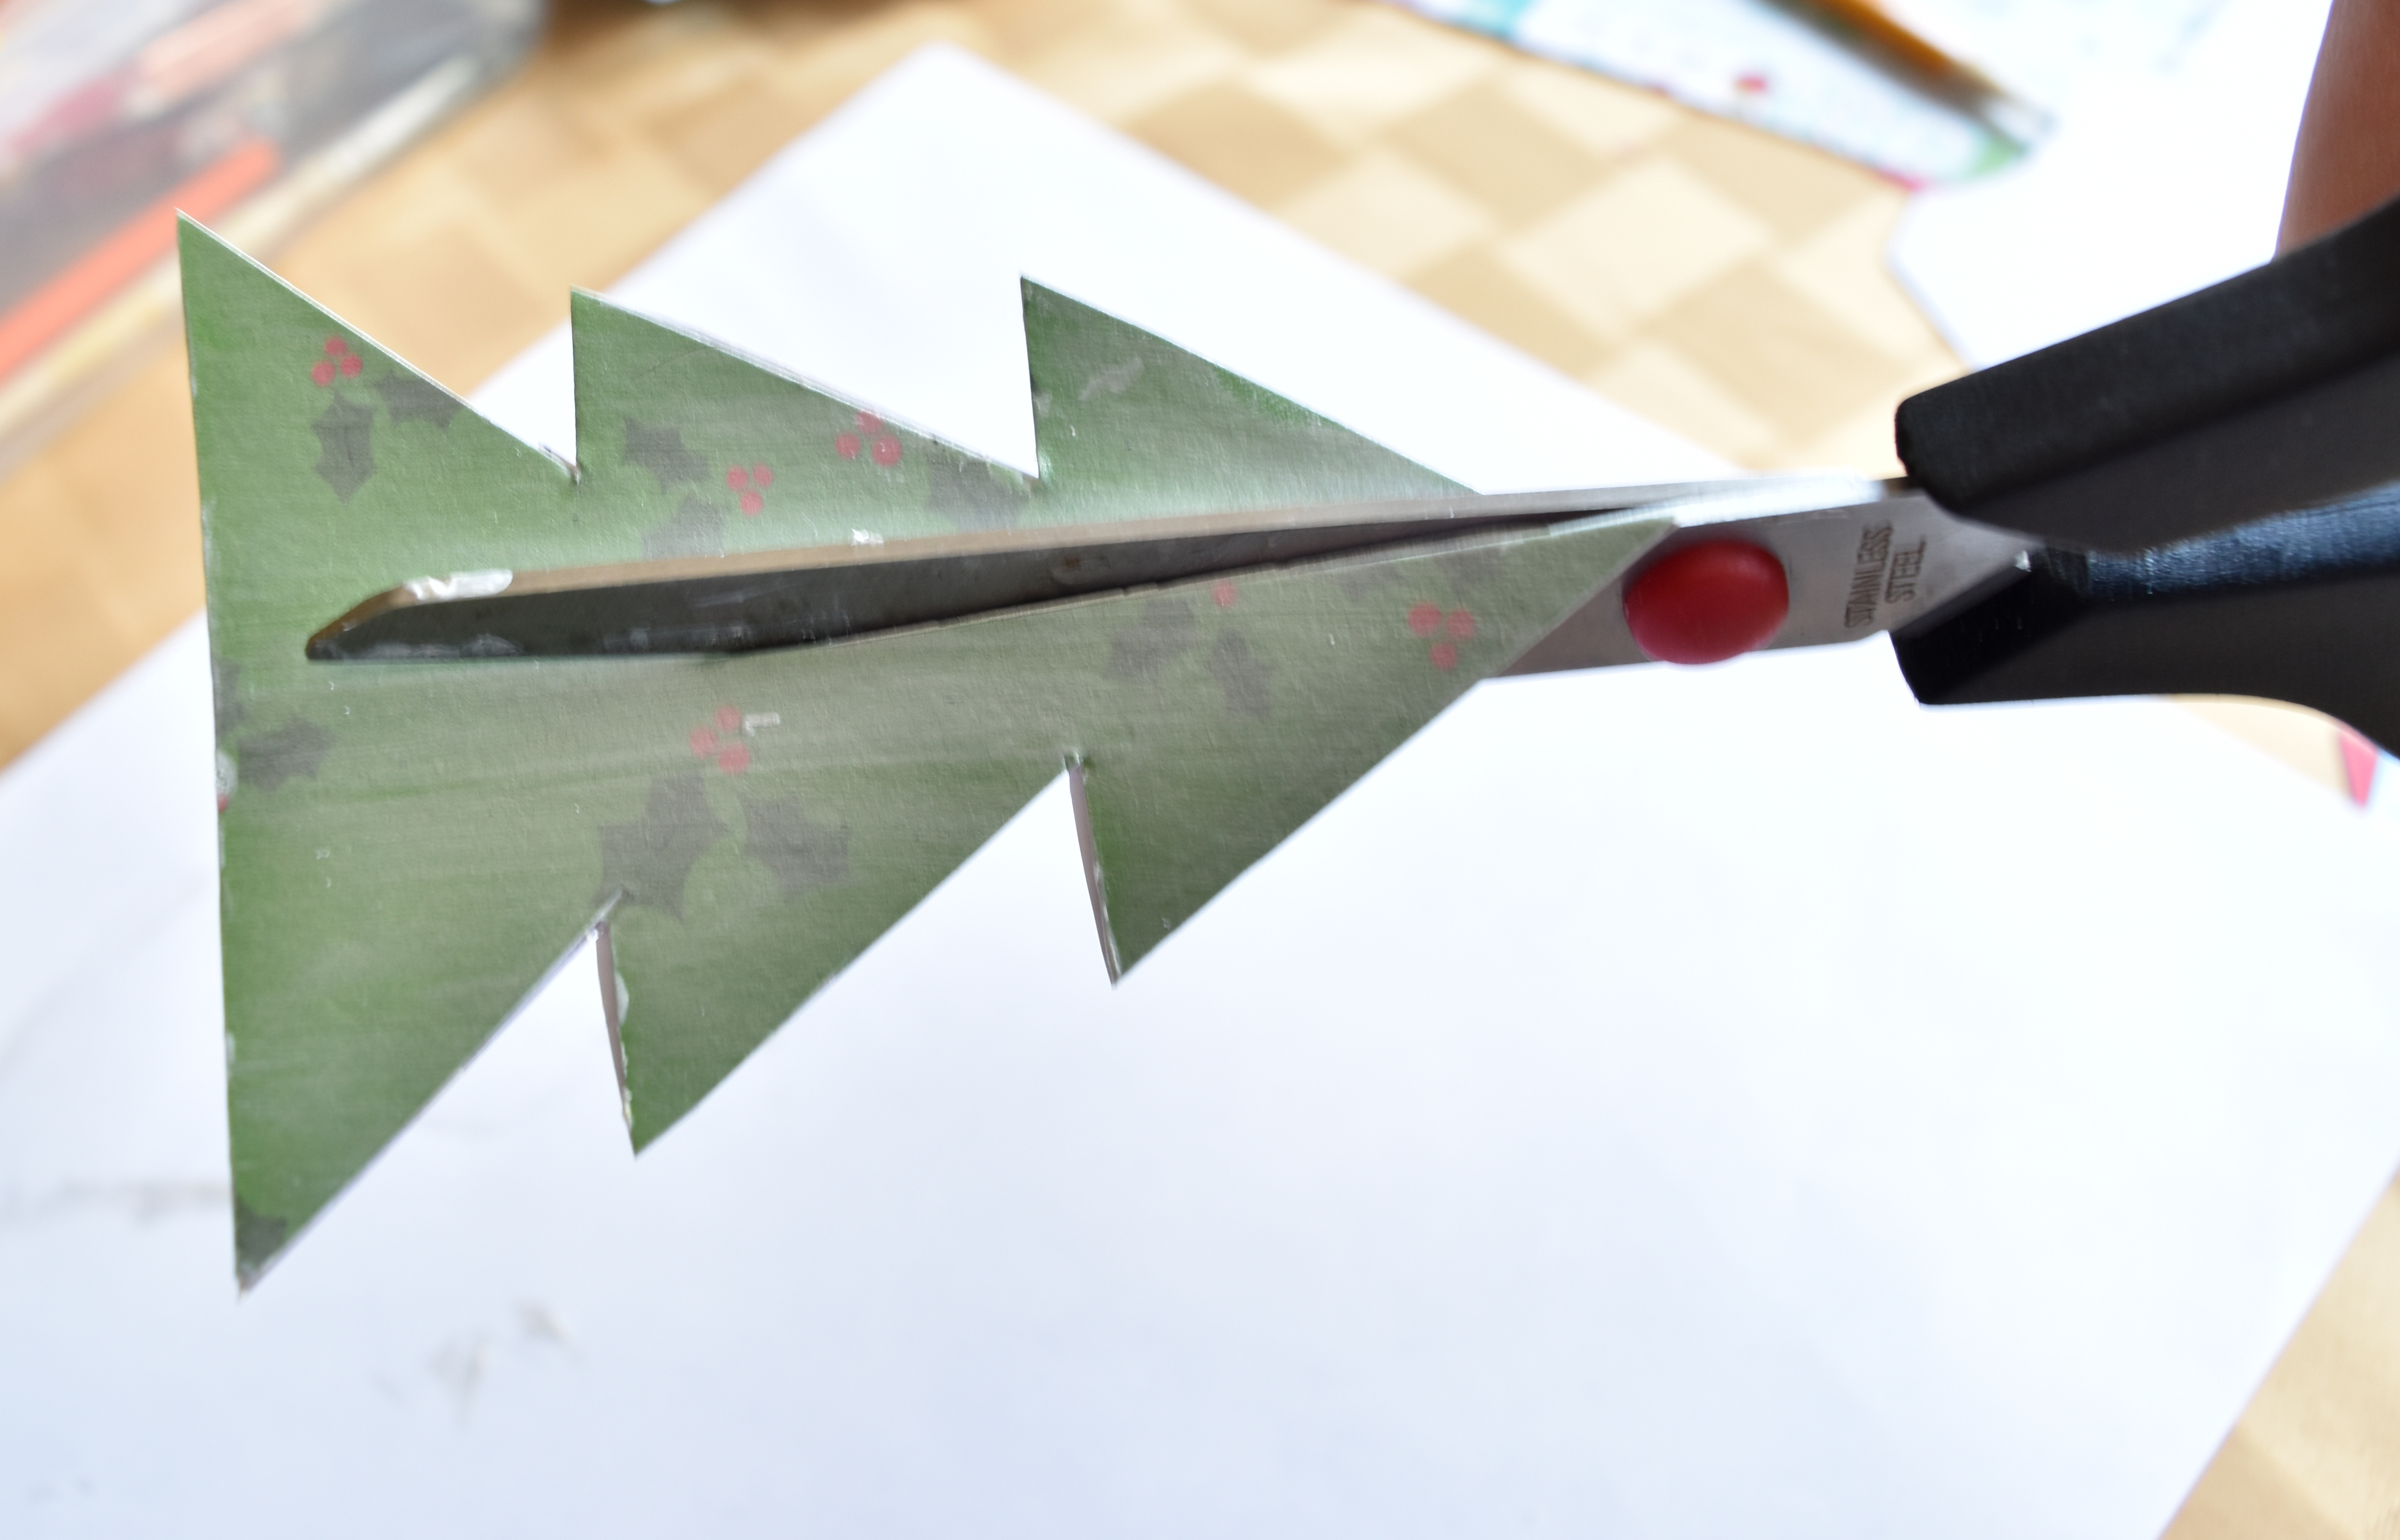
Once the fabric was well stuck to the Mod Podge, it was time to trim the fabric (this can be done before the glue underneath is dry). Using a very sharp blade, I dragged it along the edge of the tray to trim the excess fabric.

Once the fabric was cut, I add a layer of Mod Podge OVER the fabric – no worries, it will dry clear!

Once the Mod Podge was dry (fully about 1 day later), it was time to add my last 2 items – the stencil and the color coral.
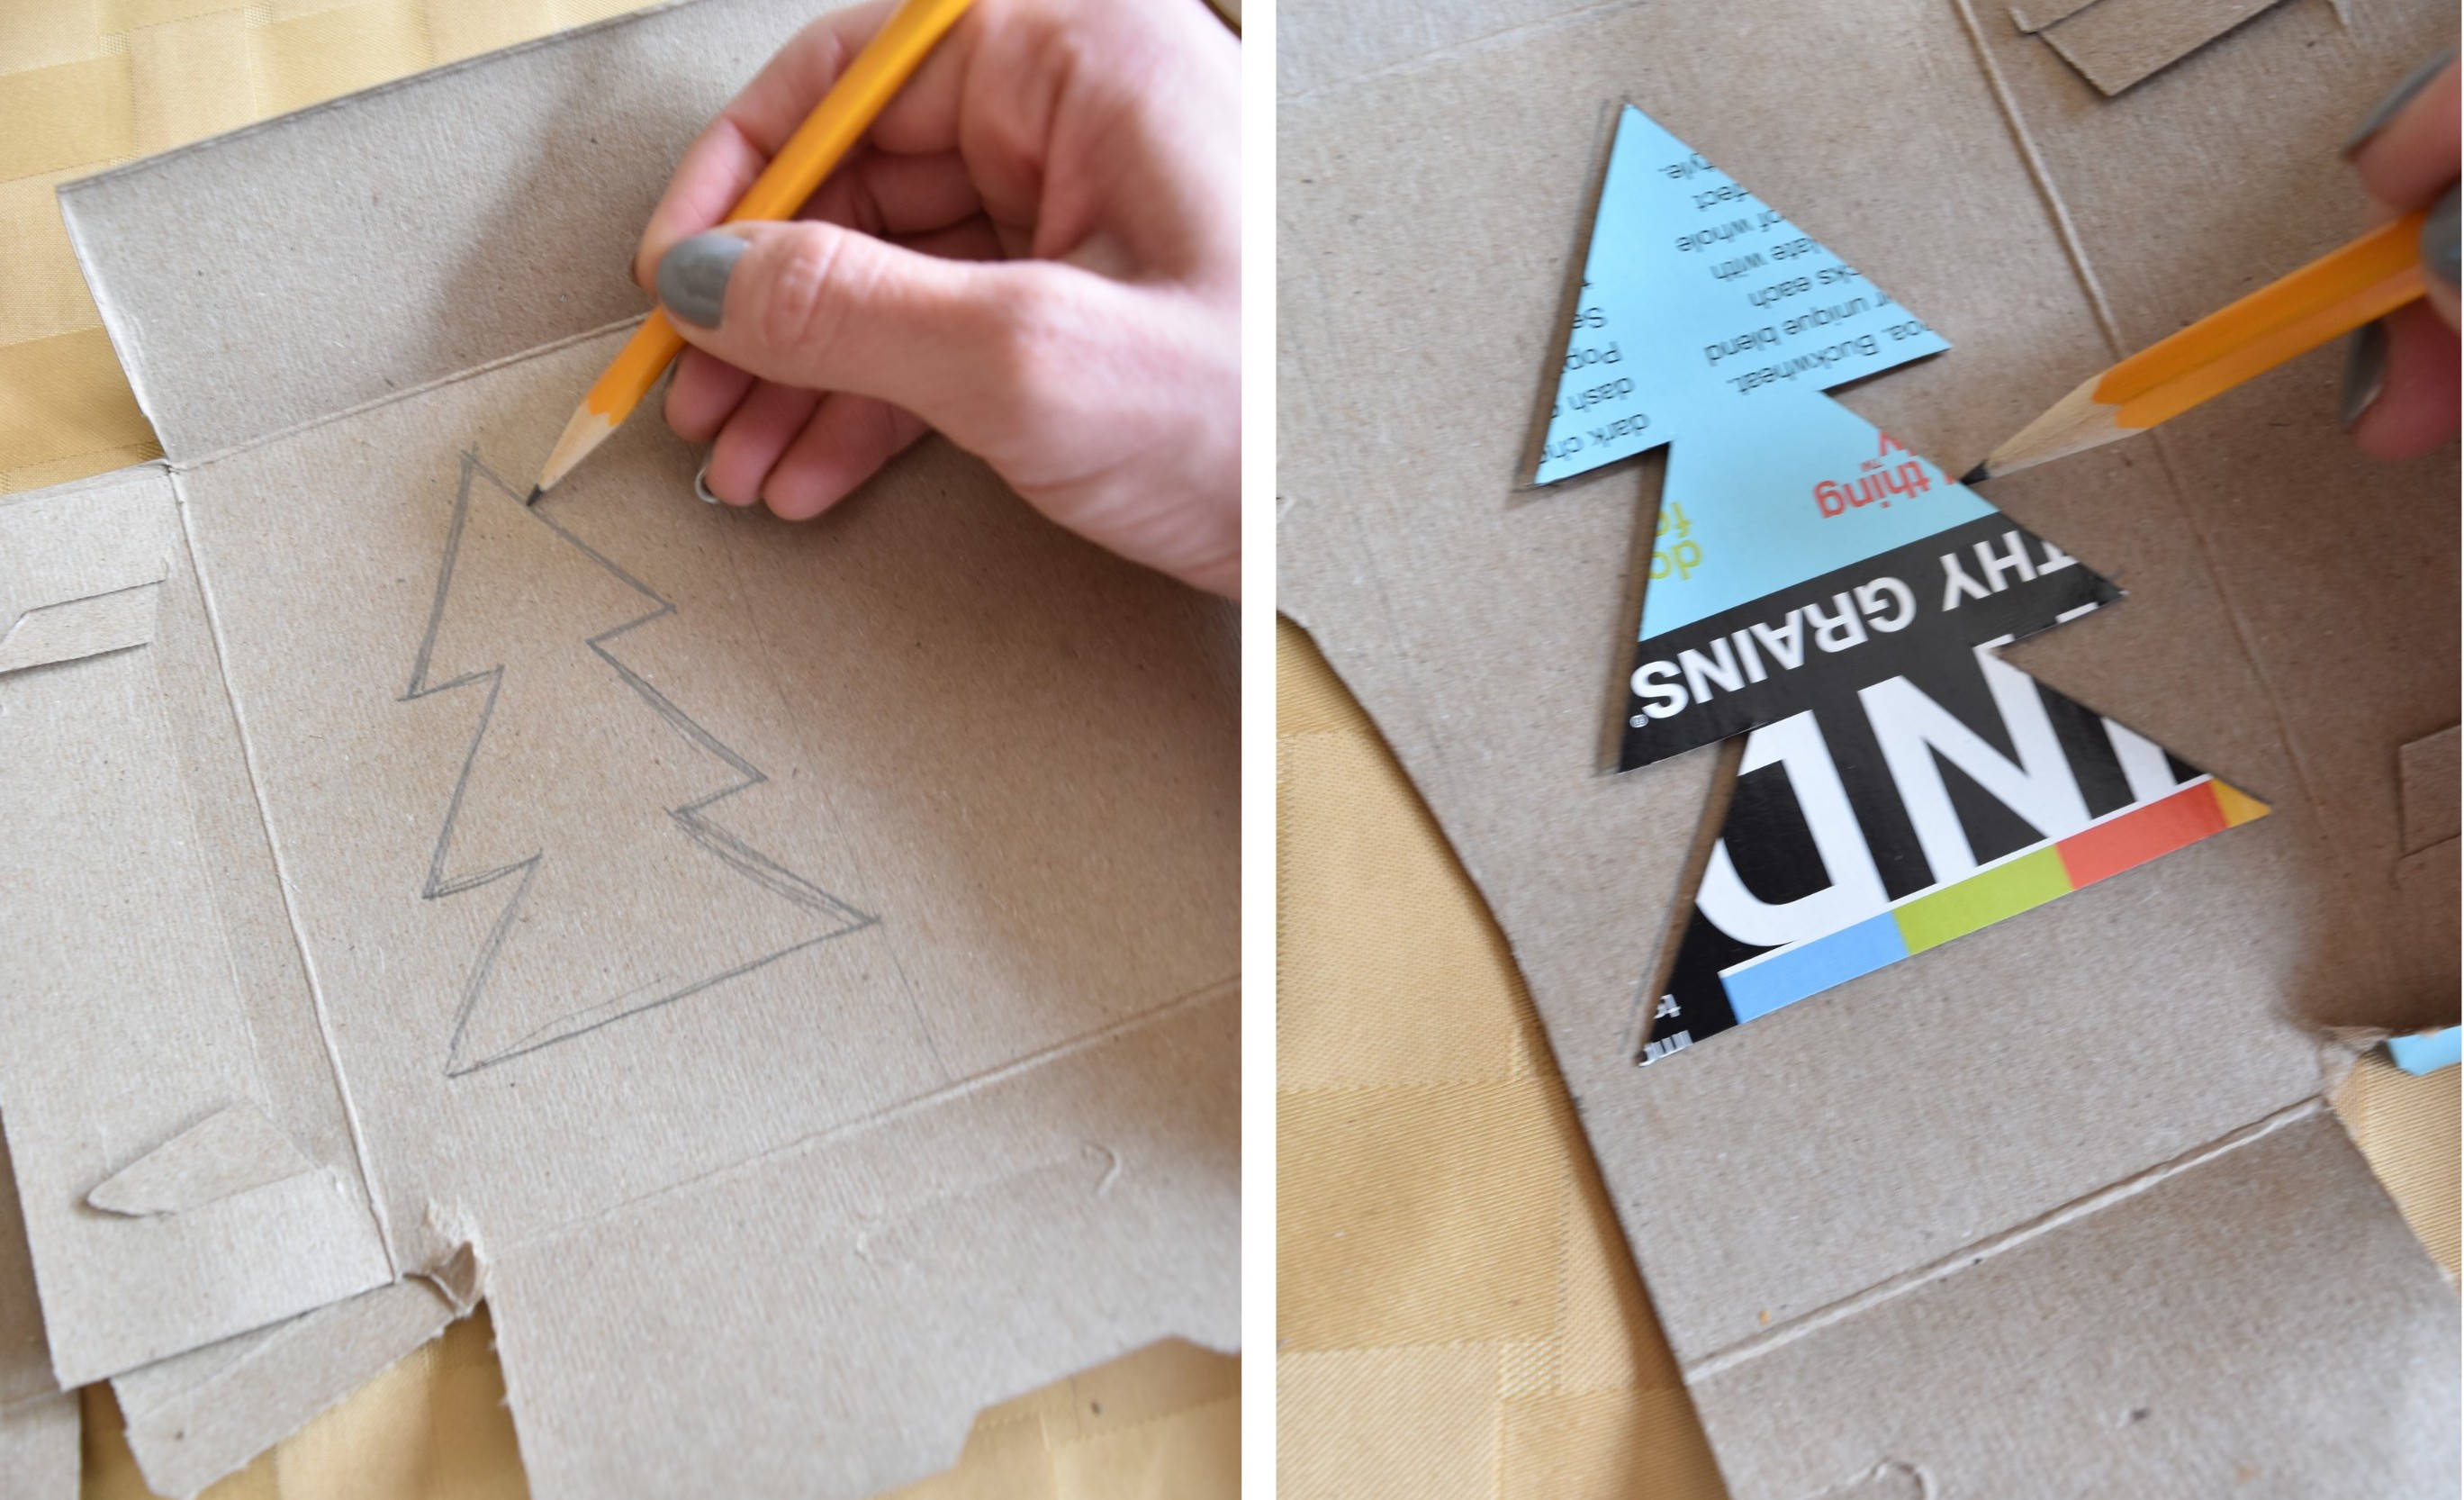
Using a new Word Doc, I found a font I liked (credit valley) and printed a large letter ‘B’ in lowercase for Burger (my last name). Then I cut it out with a scissor and traced the outline on the fabric.
Item #4 – Stencil

Then filled in the stencil with a beautiful color coral (it needed about 4 coats, but it didn’t take long).
Item #5 – Coral

And here it is all complete! My Blogging 2 Better Challenge was done and I was quite happy with the result. What do you think? Perfect for the indoors or out!


And you of course have to check out the other B2B Challenge Projects using the same materials. It’s truly amazing how they’re all SO DIFFERENT!
Rustic Industrial Storage Bins by Monica & Jess of East Coast Creative Blog
Dangle Earring Frame by Allison of House of Hepworths
Fabric Wall Art by Brook of Being Brook
Pallet Art Surfboard by Kim of Sand & Sisal
I’m sure you know all these ladies, but if not, you are REALLY missing out! Be sure to visit each of their great Challenge projects, as well as their daily DIY creations.
I link my projects to some of these parties: Skip to My Lou, Dittle Dattle, Between Naps on the Porch, Today’s Creative Blog, Stories of A to Z, All Things Heart & Home, Savvy Southern Style, House of Hepworths, Finding Fabulous, Creation Corner, The Shabby Nest, Tatertots and Jello, Thrifty Decor Chick, Tip Junkie


 RECAP
RECAP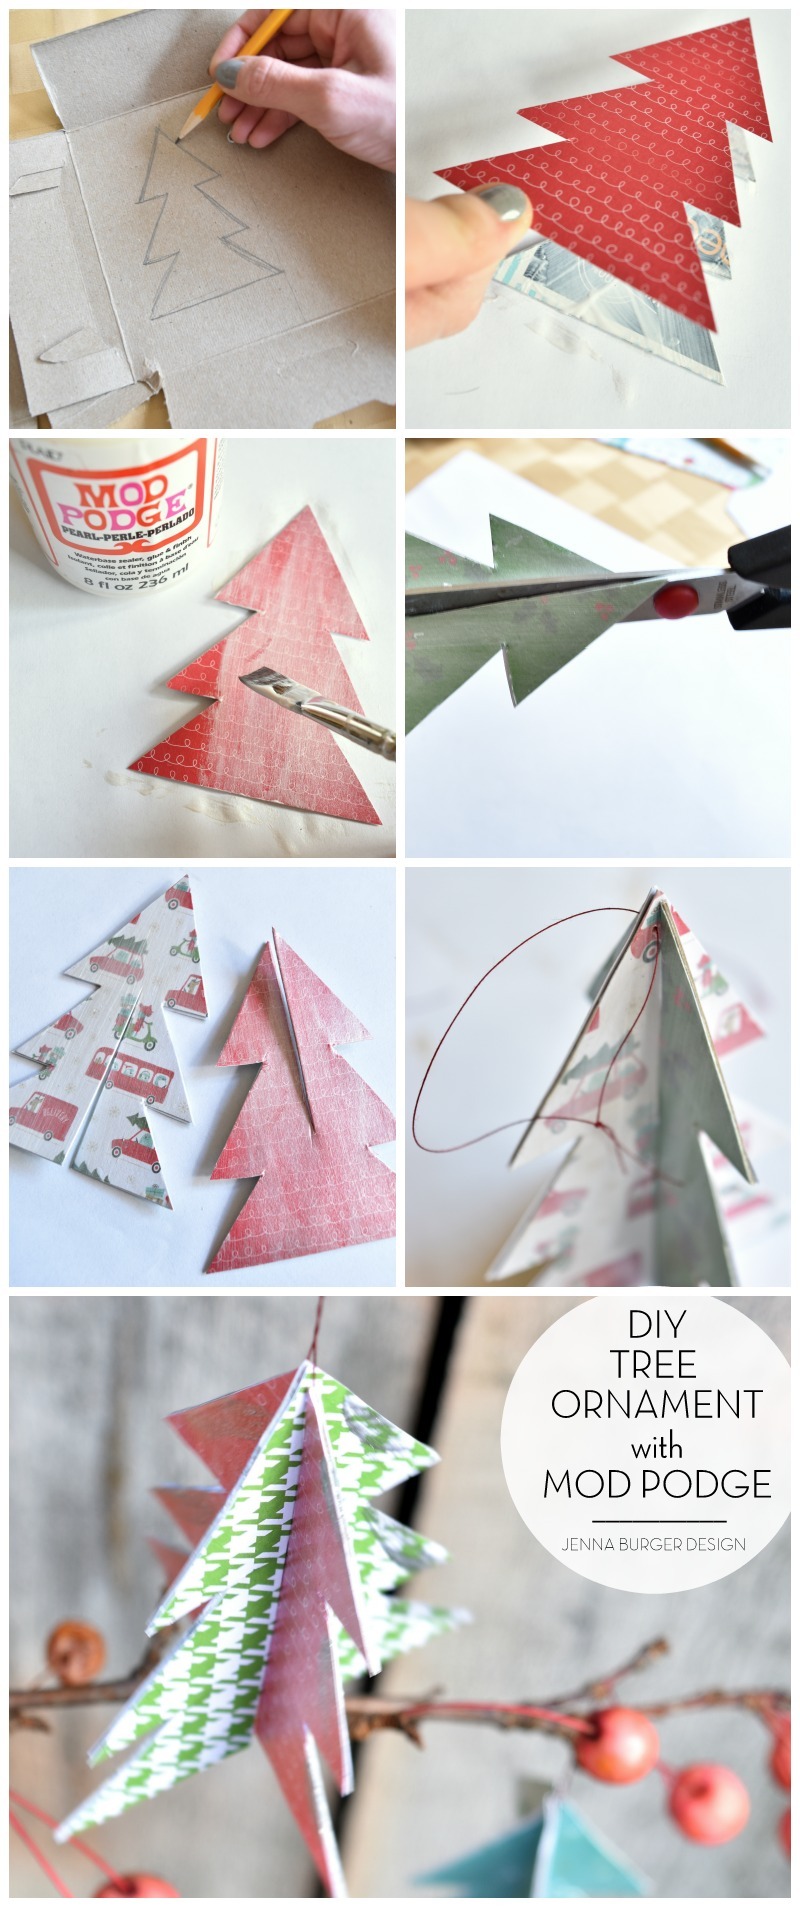 Check out more products + DIY creations by Plaid on Pinterest, Facebook, and Instagram!


