
Tag: Organizing

How-To Make a GIANT Inspiration Board

Pinterest is a favorite for many (including me) who want to organize and keep their online inspiration in one place.

As a visual person though, I feel there is nothing like seeing and holding a picture in hand.  I still buy and subscribe to magazines.  I still tear out pictures and reference them when looking for inspiration.

Until recently, I didn’t have a “place”, a specific go-to spot, for all my collected loves.

I needed something! Thus the creation of my mega, giant, humongous, and amazing inspiration board…

HUGE, Giant Inspiration Board created by @Jenna_Burger, sasinteriors.net

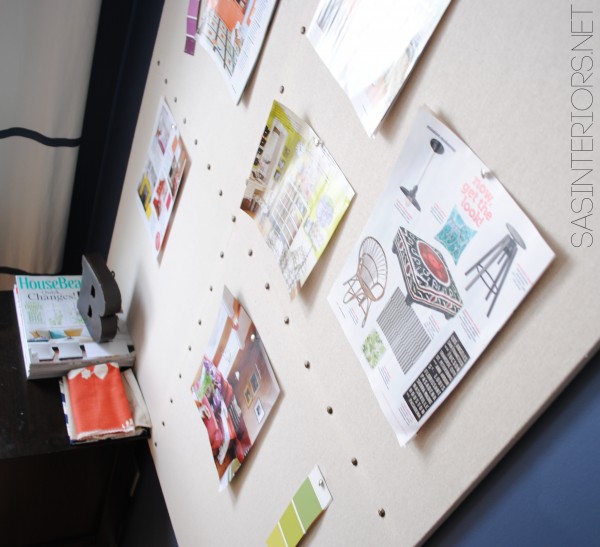
I am in heaven.  This newly created inspiration board is not only functional, but the pictures that are displayed are gorgeous and make the space colorful and fun.

Here’s how I made it.

I started with these supplies:

  • MDF board (I used MDF because I had a large leftover piece from an old upholstered headboard.  A large thick piece of unwarped plywood could also be good for this project)
  • Fabric (I chose a neutral linen-like fabric which was $4/yd – I bought 3 yards)
  • Decorative Nailheads (I purchased them at Hobby Lobby for $2 for 50)
  • Sewing Machine
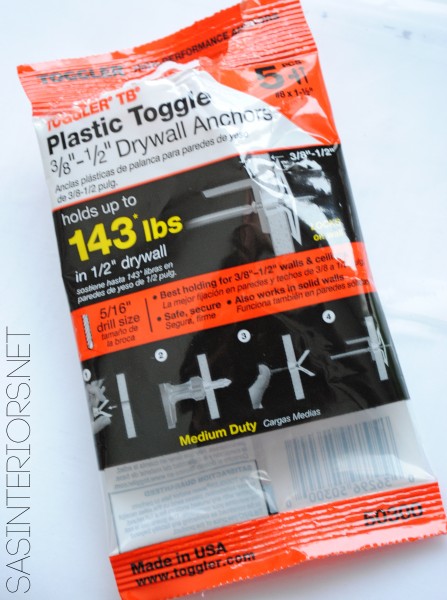
  • Screws and Anchors (I prefer plastic toggle drywall anchors – see below for a picture)
  • Painters Tape
  • Measuring Tape
  • Drill
  • Screwdriver
  • Level (optional, but very helpful)

1. I started off making sure the MDF board was the right size for the wall. The size was perfect, 3′-9″ X 4′-6″, and didn’t need to be cut.  If you’re using this tutorial as inspiration, you can create any size inspiration board that fits your space.

HUGE, Giant Inspiration Board created by @Jenna_Burger, sasinteriors.net

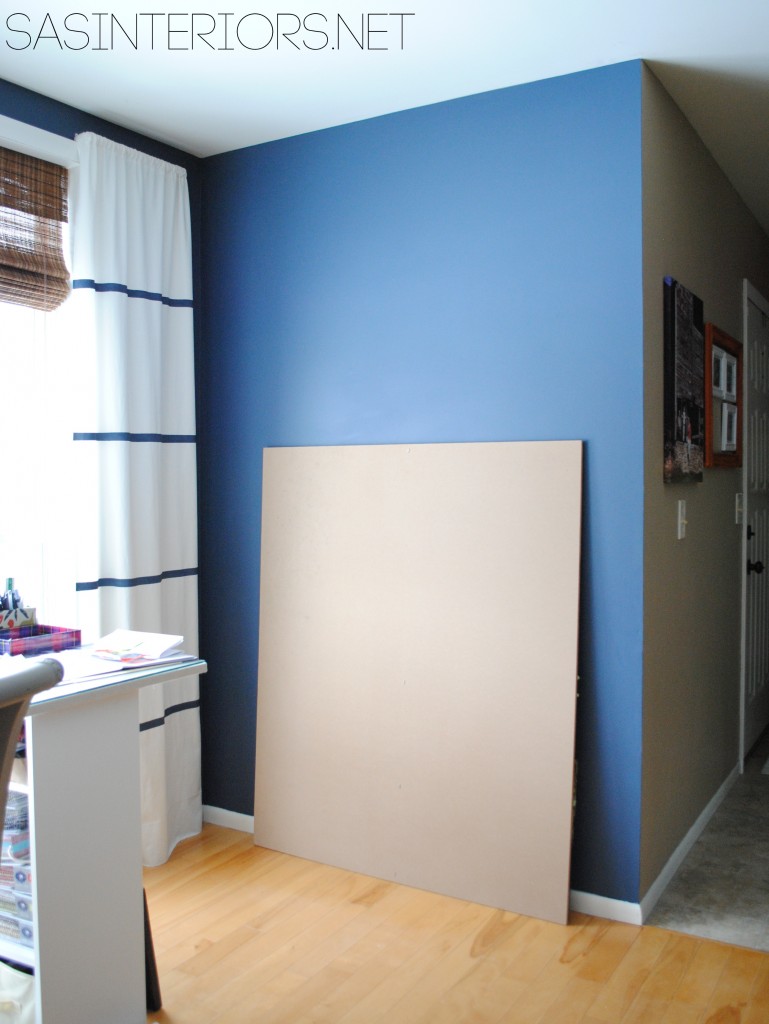
One of the biggest obstacles with making this GIANT Inspiration Board was the difficulty of hanging it.

No doubt, this size board is HEAVY!   Drilling through the board was out of the question because it is covered in fabric and hanging it from wire wouldn’t make the back flush with the wall, which is the look that I desired.

SOoooo…  Onto a different solution.  The basic idea that I came up with was to drill 3 holes into the back of the board that would hang on to 3 screws in the wall.

Let’s take a look at the step by step…

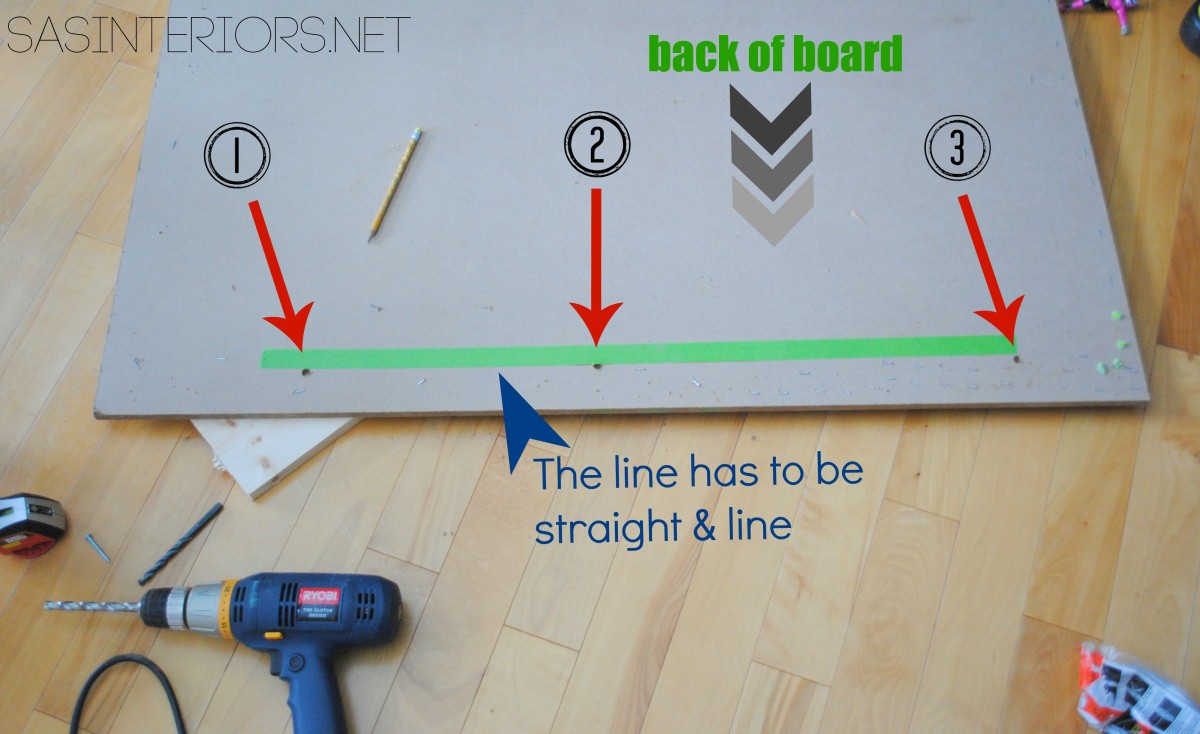
2. After determining and marking the height at which I wanted the board to hang, I layed the board face down so the back was exposed.  I took a piece of painters tape and added it to the back of the board making sure it was completely level with the top of the board.  The tape does not have to go from edge-to-edge, but I made sure each end was within 12″ of the side.

With a permanent marker, I marked three places on the tape – they do not have to be evenly spaced.

HUGE, Giant Inspiration Board created by @Jenna_Burger, sasinteriors.net

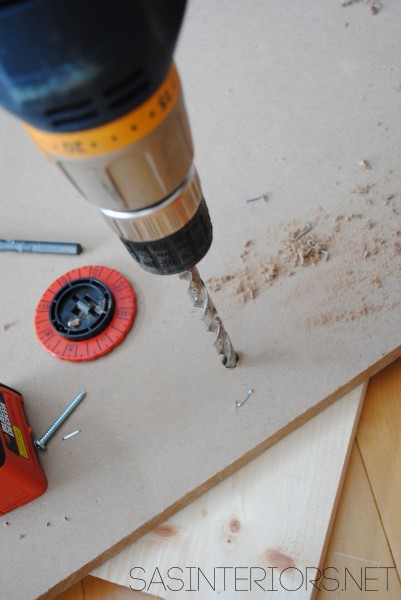
3. Using a drill, I carefully drilled about 3/4 of the way through the MDF back (I DID NOT go through to the front).

HUGE, Giant Inspiration Board created by @Jenna_Burger, sasinteriors.net

4. Once the 3 holes were drilled, I removed the piece of tape and put it on the wall at the height I had determined before.  Also I made sure to hang the tape so it was placed horizontally correct – my board is centered on the wall, but that might not be the case for your creation.  Be sure to hang it vertically (up and down) and horizontally (left and right) correct.

Something to watch out for…

A laser helps with this part, but if you don’t have one, measure down from the ceiling so that all 3 marks are at the same height.

Also, when the board was laying down, the marks went 1,2,3.  Now the marks will be 3,2,1 because of how the board will fit onto the wall.  It will make more sense once you’re in the midst of it.

HUGE, Giant Inspiration Board created by @Jenna_Burger, sasinteriors.net

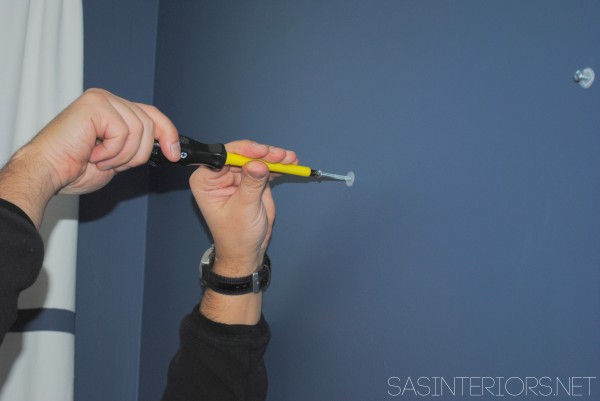
5. Once the wall was marked with the three locations, I drilled the holes.  Then added plastic toggle drywall anchors (which hold mega weight) and then the screws.  These are like my all-time favorite anchors and screws!!

HUGE, Giant Inspiration Board created by @Jenna_Burger, sasinteriors.net

HUGE, Giant Inspiration Board created by @Jenna_Burger, sasinteriors.net

6. Once the screws were secure, it was time to put on the board.  It takes alittle time figuring where the holes meet the screws, but if you measure right and take your time (which thankfully we did), it should work perfectly and be level!

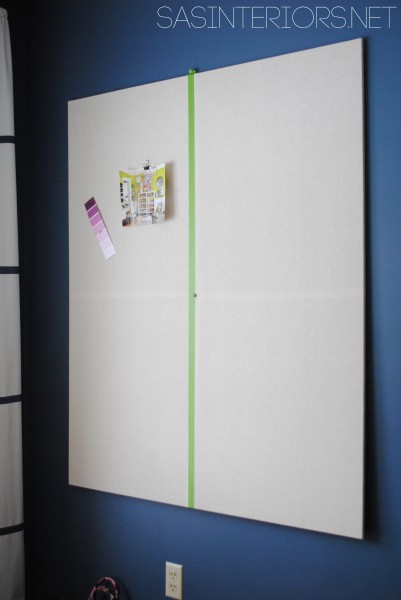
Unfortunately I don’t have a picture of us hanging the board since it was a 2-man job and the kiddos were already asleep (they are my backup photographers), but here’s the result (and part of the next step)…

It’s hanging + straight – YES!

HUGE, Giant Inspiration Board created by @Jenna_Burger, sasinteriors.net

Before hanging this bad-boy on the wall, I covered it in fabric.  I chose a loose natural linen-like cotton.  Because of the width of the board, I needed to piece the fabric together to make one large piece.  I ended up cutting and sewing 4 pieces of equal sized fabric.  The result was fairly good, but my lines were slightly wavey.  Toss it up to DIY, right?!

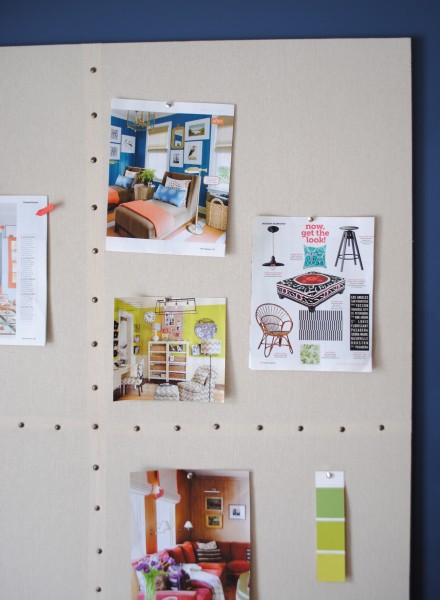
Anyway, to jazz up the board (and distract the eye from my wavy lines), I decided to use decorative nail head trim and follow the lines of the seams horizontally and vertically.

7. To start off, I used painters tape and made a level line from top to bottom and then from left to right following the seam.

HUGE, Giant Inspiration Board created by @Jenna_Burger, sasinteriors.net

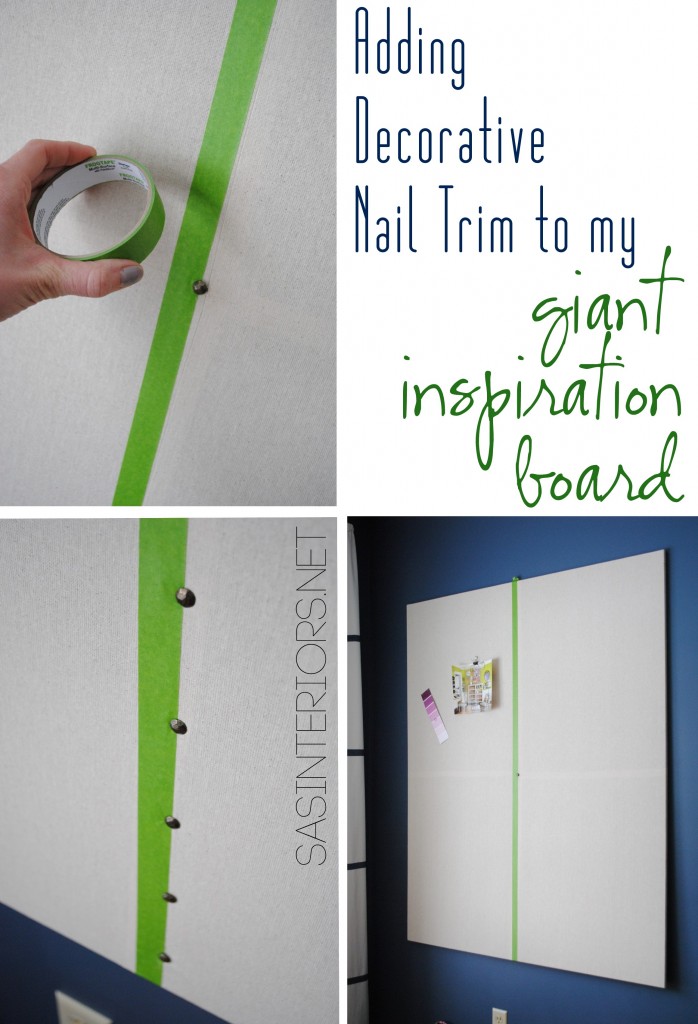
8. On that edge of the tape, I hammered in the nails with a mallet (a hammer will do but sometimes the metal on metal ruins the nailheads), then removed the tape.

HUGE, Giant Inspiration Board created by @Jenna_Burger, sasinteriors.net

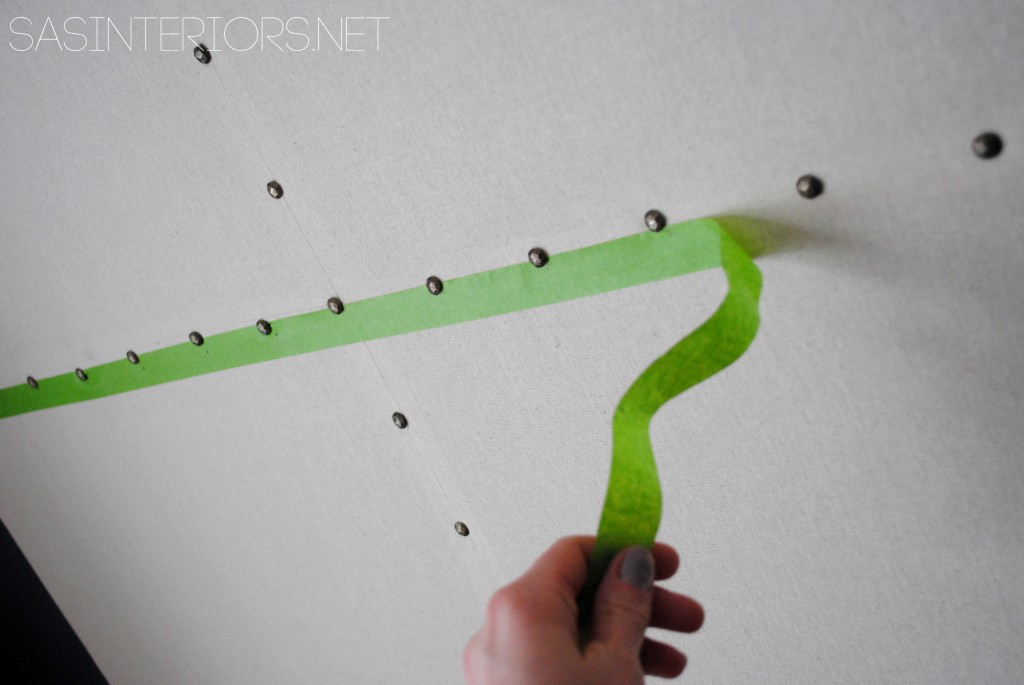
And now was the point of happiness!

I could finally fill up my inspiration board with all the things I love…

HUGE, Giant Inspiration Board created by @Jenna_Burger, sasinteriors.net

HUGE, Giant Inspiration Board created by @Jenna_Burger, sasinteriors.net

MDF board is not exactly like cork (obviously).  Pushpins aren’t as easy to push in, but with a bit of muscle and oomph, it works fine.  As an idea, a layer of cork could have been added to the front surface of the MDF before the fabric was wrapped around, to make it more “cushiony” and pinnable.  For me though, it works fine.

HUGE, Giant Inspiration Board created by @Jenna_Burger, sasinteriors.net

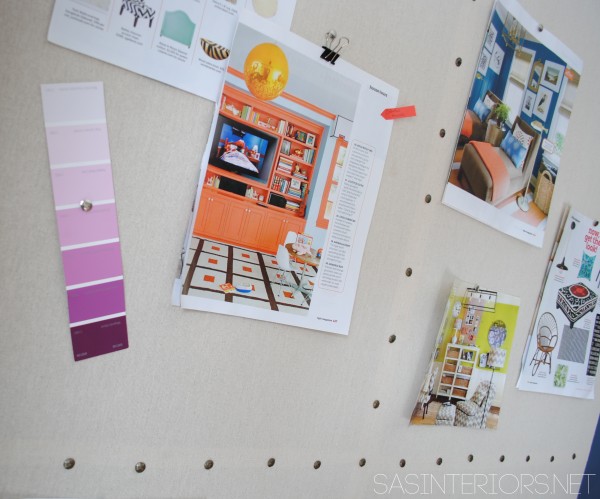
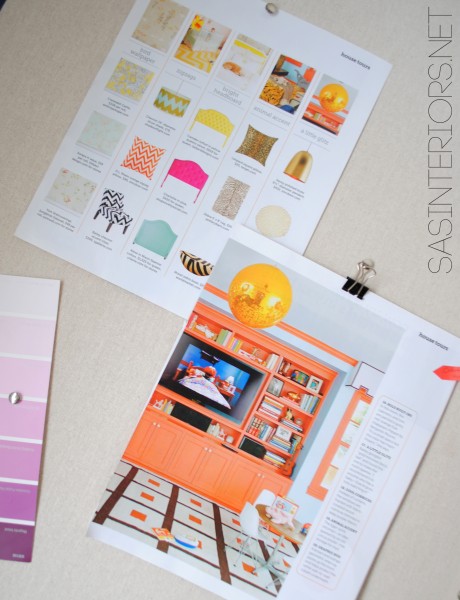
If you know me, I LOVE COLOR, and I have a favorite article pinned on my handmade GIANT inspiration board that I ripped out a recent issue of HGTV Magazine…

I adore the glittery gold disco ball.

HUGE, Giant Inspiration Board created by @Jenna_Burger, sasinteriors.net

Now I have lots and lots and lots of room to fill up.  I’m sure it won’t always look this clean.  I actually am in love with some of these other GIANT Inspiration Boards!

HUGE, Giant Inspiration Board created by @Jenna_Burger, sasinteriors.net

I hope you’re inspired by my new HUMONGOUS Inspiration Board!  I’m loving my new home office / family room.  Not only is it inspiring to work in this new space, but I really enjoy flipping through my favorite magazines and actually pinning them I.R.L.

Aside from Pinterest, how do you collect and organize inspirational things?

I link my projects to some of these parties: Skip to My Lou, Dittle Dattle, Between Naps on the Porch, Today’s Creative Blog, Stories of A to Z, All Things Heart & Home, House of Hepworths, Finding Fabulous, The Shabby Nest, Serenity Now, Tatertots and Jello, Thrifty Decor Chick, Tip Junkie

My New Central Command Center

With back-to-school (well in my case first-time to school since my son is starting kindergarten) around the corner, I wanted to be armed, prepared, and organized for all the papers and plans that will be coming in only a few short weeks.

Creating a Central Command Center has been on my mind for quite some time, and when a wall in my kitchen/dining room area was all of a sudden blank, it was a perfect spot to create this hub-of-the-home.

When visualizing this space, I thoroughly thought through the needs of my family and what we were currently lacking – a family go-to calendar, a place for keys, and all the “stuff” that doesn’t have a home.

In my previous attempt to create a Central Command Center, which can be seen in {this post}, I purchased a dry-erase board that was just too small to fit all the details needed for our daily activities.  This is the wall before and the way-too-small family calendar.

Bye Bye store-bought dry erase board…  Hello to my custom home-made family calendar~

Check back next week for a whole tutorial on how I created this beauty!

I couldn’t just put a calendar on the wall and call it a-day.  I needed more!

Yes, I needed a spot to put the keys, outgoing mail, digital camera, and all the misc “things” that never have a home.  With this project in my mind for a while, I found these mail caddy’s at TJ Maxx last month and scooped them right up.  At the time of purchase, I didn’t have a plan for them, but since then they’ve gotten quite a transformation.

A little black satin spray paint did the trick to transform these once Sea Shell boxes into sophisticated mailboxes for “The Hub”!

To customize and identify these new mail boxes, I removed the label hardware from an old photo box and used liquid nails to glue the metal labels onto these boxes.  Now I just have to put in a label – ‘his’ and ‘hers’ – and they’ll be complete.  Since these handy mail boxes sit directly under the dry-erase calendar, I added a strip of magnet for the pen… it’s tucked in the corner and will hopefully stay out of sight and reach of little fingers (I hope, but I’m probably wrong).

Another detail added to this CCC, are the framed inspirational pictures above the family calendar.  Aren’t they adorable?!

My go-to place, Pinterest, is filled with inspiration and I found these quotes a while ago and have been saving them for a good place to display.  I love being inspired by great words and this was the perfect spot to see them and be inspired on a daily basis!

I printed them on my computer, cut them, and used simple black Ikea frames, to display them – Art is easy to make!

Before everything went up on the wall, I layed it out on the floor to make sure it all fit and to get the spacing just right.  I also had the intention and need for a cork board, but it got the ax since there wasn’t enough room – I’ll have to put that someplace else.

and here it is…

My Completed Central Command Center

It’s already filled with family events and mail to go out ~

And of course, my son couldn’t resist being in the shot – he used to hate the camera, but now loves it!

It feels great to be getting organized before school begins and I loving having a spot where everyone knows whats happening when!  Check back next week for a tutorial on created a personalized dry-erase calendar.

Have a great weekend!  Any plans or DIY projects in the horizon?

Creating a Central Command Center

If I’ve said it once, I’ve said it a gazzillion times alot…I’m always moving things around my house.  As I’ve mentioned in previous posts, my foyer has been making quite the transformation with repurposed items, along with the newly stenciled wall and glazed cabinet.  With a few moves, there was a wall in my kitchen/dining room that was all of a sudden left empty… Yes, it was blank and something had to be done with it!  A blank wall with nothing on it…that’s sinful (ha)!  I thought and thought…what to do?  what to do? 

Let’s take a step back ~ a while back I had created a central command center by my refrigerator, but it really wasn’t useful.  With much thought, I decided to use this newly blank wall for a new CCC (central command center)!

What’s a central command center, you ask?

Well, I will tell you!  It’s the go-to place for EVERYTHING.  A spot (especially if you have kids) where all the daily details are layed out, where papers are organized, and where there’s a detailed calendar of events so you know where everyone is going at a certain time, on a certain day.  A must need for any home ~ don’t you agree?!

I had alot of thoughts in my head of what I needed and how I wanted to design this space, BUT before I started, I wanted to check around for some inspiration.  Where was my go-to place?  Pinterest, of course!

Pottery Barn has some great items to help with organizing your family.  A reader just emailed me yesterday about the picture from this post and it’s the incredible modular system that Pottery Barn offers, that helps pull together any space to create an efficient organzational hub.

Buckets, Baskets, and a Bench… What more do you need to create a central command center?

Isn’t this CCC beautifully layed out and functional?  I really like the idea of having the initial of each member of the family and their information in one place – it’s easy to identify and grab on-the-go!

This Kitchen Command Center created by The Clay Family is a must for any family to stay organized!  With a spot for a daily menu, notes, and kids chore board there is no question of who does what and when…right?!

We all love chalkboard (am I right?) and this CCC that Sarah of The Yellow Cape Cod created is perfect for any large (or small) family.  The daily responsibilities of everyone in the family is simply stated with no questions asked! And I love the quote – “Many Hands Make Light Work” (so true!)

Sometimes a central command center isn’t just for the family, but instead a place where we keep all of our “stuff”.  Candice Stringham created this office/studio/art supply closet to hold all her supplies.  With all the “objects in her office”, now everything has a home.

My kids are young and haven’t been overloaded with homework … YET.  DaNita of Delightful Order created this Homework Bulletin Board for her family, so she can easily keep track of her boys school and activity schedules.  I like how she has added a picture of each of her kids, so their space is easily identifiable.

Two more Pottery Barn spaces that are gorgeously designed.  Great look and fabulous idea for the hub of the home !

House of Fifty (published by one of my favorite bloggers, Janell of Isabella and Max Rooms), a seasonal online magazine has a fabulous article in their premier issue about creating a Command Center for the home.  I love that stylish cork board and just recently made one for myself – I’ll be sharing that soon!

BHG always does it right and has awesome organizational ideas ~ Check out some of their strategies on storage {here}

Lastly (but certainly not least), here’s a sneak peak of my Central Command Center, which I will be revealing tomorrow….

Stay Tuned!

What projects have you been up to lately?

You would have thought after my kitchen makeover that I would have taken a break (that was my intention, but didn’t happen – O, well).  I can’t wait to show you what I created for our new CCC