I hope you’re having a nice weekend! I usually take a break from work on the weekends, but I was eager to share this post with you about blogging.
Over the past few months, several friends and readers have reached out to me for advice on starting a blog. After sharing my story, along with a helpful list of ideas and tips to get going, I thought I could help more than just those few… thus the creation of this post…
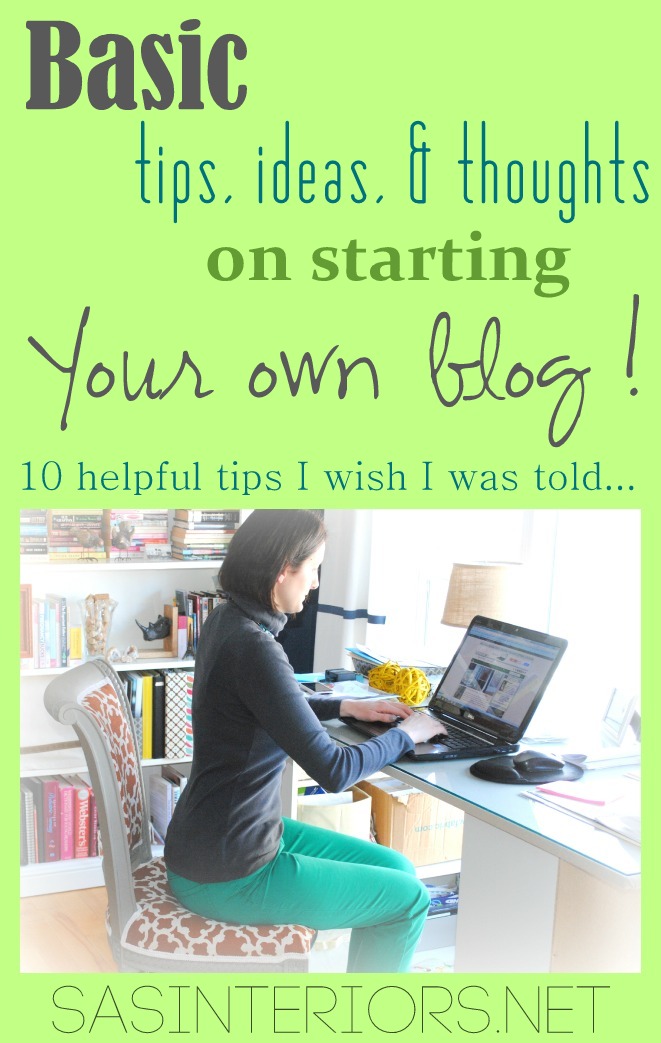
Basic tips, ideas & my thoughts on starting your own blog. 10 helpful tips I wish someone told me when I started blogging 2+ years ago…

Even though I sometimes still look at myself like a newbie and think I have a ton to still learn about blogging, I realized that I also have a lot to share through my personal experiences – good and bad. The beginning days of when I started blogging were exciting and exhilarating, but also (at times) difficult and frustrating. I spent many endless hours and late nights, trying to find my way through coding, HTML, design, and much much more. Now I can look back and appreciate all the lessons that I learned. It feel it’s important to overcome struggles to get to the other side. The feeling will be that more gratifying in the end. It’s how we learn and can reflect on the path taken. That being said, I didn’t have a blog mentor when my blogging days began. It would have been great to have someone to point me in the right direction. So basically the rest of this post shares the ideas, tips, and thoughts I wish I had when first starting out. I hope as a somewhat seasoned Blogger, this helps you out on your possible blogging journey.
To start out, here are a few questions to ask yourself:
- Have you ever thought of starting your own blog but didn’t know where to start?
- Have you ever wondered how a blog can actually be a business?
- Do you have something special and unique to share with others?
- Do you wish you could have a job that doesn’t feel like work and that you truly love to do?
If you’ve ever had these thoughts, keep on reading…
I’m super thankful to have taken the leap to start a blog to influence and inspire so many people. When I decided to start my Interior Design business 2+ years ago, I thought a blog would be beneficial as an “add-on” to reach a larger audience. At the time, I had no expectations for it and thought the blog would simply be a means to share information about design. Boy, has that changed. And I have to be honest, at the time, I really didn’t know much about blogging, how influential they were/are, or how much of a resource blogs can be.
That being said, 2 years later, I love blogging. I love reaching a huge amount of people and inspiring them to think outside the box and to create a home that they may not have thought could be possible. I’m thankful that I have found a job, but feel like I never work. I love that I’m here for my kids each and every day, but at the same time am doing something for myself and providing for my family. It’s a win-win. With hard work, Blogging has become a source of income for my family and I take this job very seriously. At times its difficult to juggle it all, and my life is rarely balanced, but I’m okay with that (honestly, who’s life is??). I wouldn’t change it for anything and I hope you find the same path, whether it be blogging or another passion.
I think when you have something special or unique to offer, it’s important to share that with others, and blogging is a great avenue to do so!
So let my sharing of tips begin…
1. To start off the first and most important question to ask yourself is whether you envision your idea, a.k.a. a new blog, to be a hobby or a business. Many blogs start out as a hobby, but then eventually turn into a business that actually provides an income.
To help determine this, ask yourself these questions…
- How much time do you have to devote to your new blog?
- Would you want to write a few times a week or just on occasion?
- Would you want to share your blog with others? Meaning more than just your family and friends?
- Would you want to (over time) make money?
Looking within yourself at these questions, you’ll hopefully be able to determine how devoted you are. Let me say, hobby blogs are awesome and just fine too. It’s what you want to make it and how much time you devote.
My blog has definitely evolved, but for the last year and a half as I’ve transitioned to making blogging my job, I spend about 30+ hours a week focusing on DIYing, projects, photographing, writing, social media, PR, etc. Additionally, I spend about 10-20 hours on my Interior Design business, but that fluctuates depending on the amount of projects I have going on. I blog about 3-4 times a week and have an idea of what I’m going to post about. I don’t like it to be too ‘set in stone’, because I think it feels more real (for me) when I share projects and ideas as I go along. If you want to create a biz out of blogging, finding the right balance of posts per week will be important. Actual blogging only takes about 25% of my time, while the other remaining 75% is all the other stuff (ie: projects, social media, PR, emails, etc).
2. If you’re thinking of starting a blog, do it because you want to, not to make money. You can absolutely start out with the desire to make money (eventually), but it will take a while. You really need to write about what you love. You have to stand behind your ideas/thoughts and passions. Readers will be drawn to that and that is how your following will begin. Like with any new business, it takes a good two years to see any sort of return. For some it’s faster, but often it takes time.
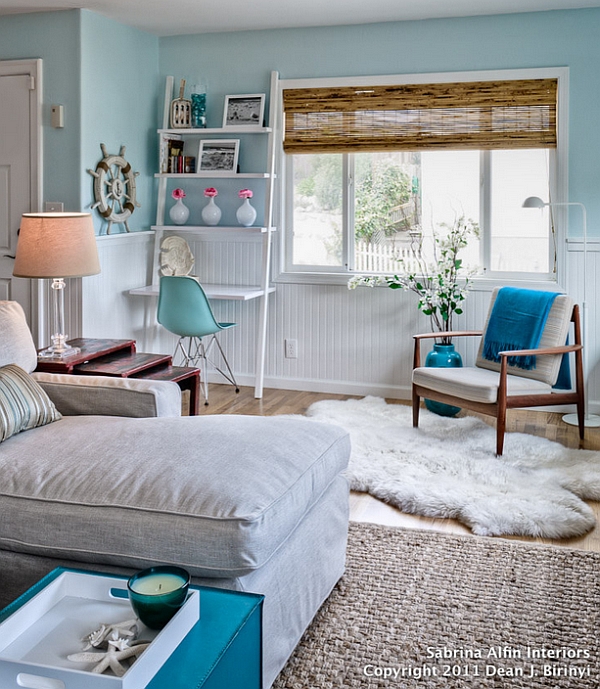
 via
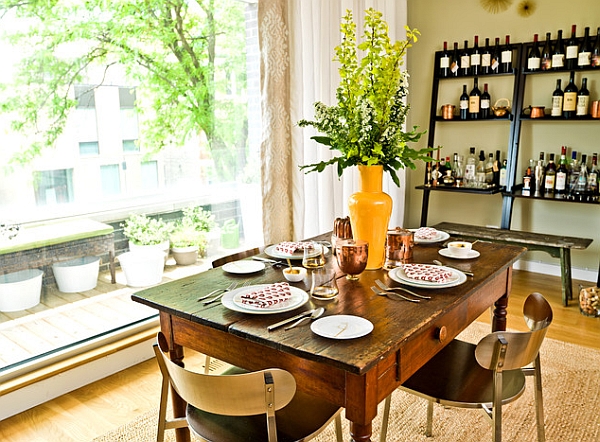
via
I would say at around my two year mark was when I saw a turn. My following / pageviews started to really increase, companies started reaching out to me, and offers started to come my way. Again, that was after two years of really pounding the pavement. But again because I love what I do, I really don’t feel like I work, even though I probably spend more time “working” than a typical 40-hour a week job.
3. Once you’ve established your thoughts on how you envision your blog to be – whether a hobby or a business – it will help determine what blogging platform you use. Blogger.com and WordPress.com are great starter and FREE blogging services. If you’re starting out, these blogs are easy to use and you can be up and running in an afternoon. That being said, with these free blogging sites, you do not OWN your blog, the service you are using owns it. Since you don’t own it, that company (especially with Google) can take it down for no reason (it’s been done to many). Also with Blogger.com, there are limitations, but if it’s for a hobby, then it’s fine and this is a great platform.

Want to learn more, {here} is a great article that shares more pros and cons!
I use WordPress.org and have my site hosted on a server. I own my blog and run everything, but also pay money to do so. I’ve worked with a few designers to design the site to look professional. If you have big visions for a prolonged business and blogging venture, I would suggest starting on WordPress.org from the beginning. It will save you alot of time and alot of money to make the transition at a later date.
*FYI: this is all my opinion. There are many huge, successful blogs that use blogger.com and there are very small hobby blogs that use WordPress.org. There is no right and no wrong.
4. Decide on a name and be sure the URL is available. There are a zillion websites and blogs across the internet and I bet you, the name you love, will be taken. Maybe you’ll be in luck and it’ll be available. Once you’ve established the niche and type of blog you want to start, next up is deciding what to call it. If starting a blog on any platform, I would suggest buying the actual .com or .net name. You can do so through Go Daddy or Mad Dog Domains (there are many others as well).
5. Just like your home or the clothes you wear, the design of your blog will set the tone for what you’re writing about. A blog can simply be a white background with generic typography in the header space or it can be elaborate with different color, graphics, and text. When starting to put your blog together, look for inspiration through other blogs and websites. Whether you are designing it or working with a professional, gather ideas from others. Don’t copy, but be inspired and alter that to fit who you are.
6. If you want to grow your blog, I feel it’s important to have a social media presence. Without, how will people find you? My advice to start out is to set up a Facebook and Pinterest page. These 2 social media networks are the biggest traffic sources and will drive more followers (there are quite a few more, but these are what I feel are the current top 2). It’s the way to reach more people and to share your great posts with others.
 SAS Interiors on Facebook
 SAS Interiors on Pinterest
7. Once your blog is up and running, reach out to other Bloggers in your same niche. Establish or request to become apart of a support group. Visit and comment on blogs. See what others are writing about and how they are driving traffic to their site. Email other Bloggers to start a virtual conversation. If you want to take Blogging up a notch, find a “pack” of like Bloggers and start to build connections and friendships.
One more tip would be to attend a Blogging Conference. Not only will you be able to learn so much about Blogging, but I am sure you will make some lifelong friends!
8. Google Adsense. Day one, no one is going to advertise you. You have no traffic, so there really isn’t a value for them (YET). That being said, I would absolutely set up a Gmail Account (start a business account separate from your personal account) and sign up for Google Adsense. Even if you make 10 cents the first month, it’s something. The longer you have ads through Google on your site, the better the ads will eventually be. Believe me, DO THIS!

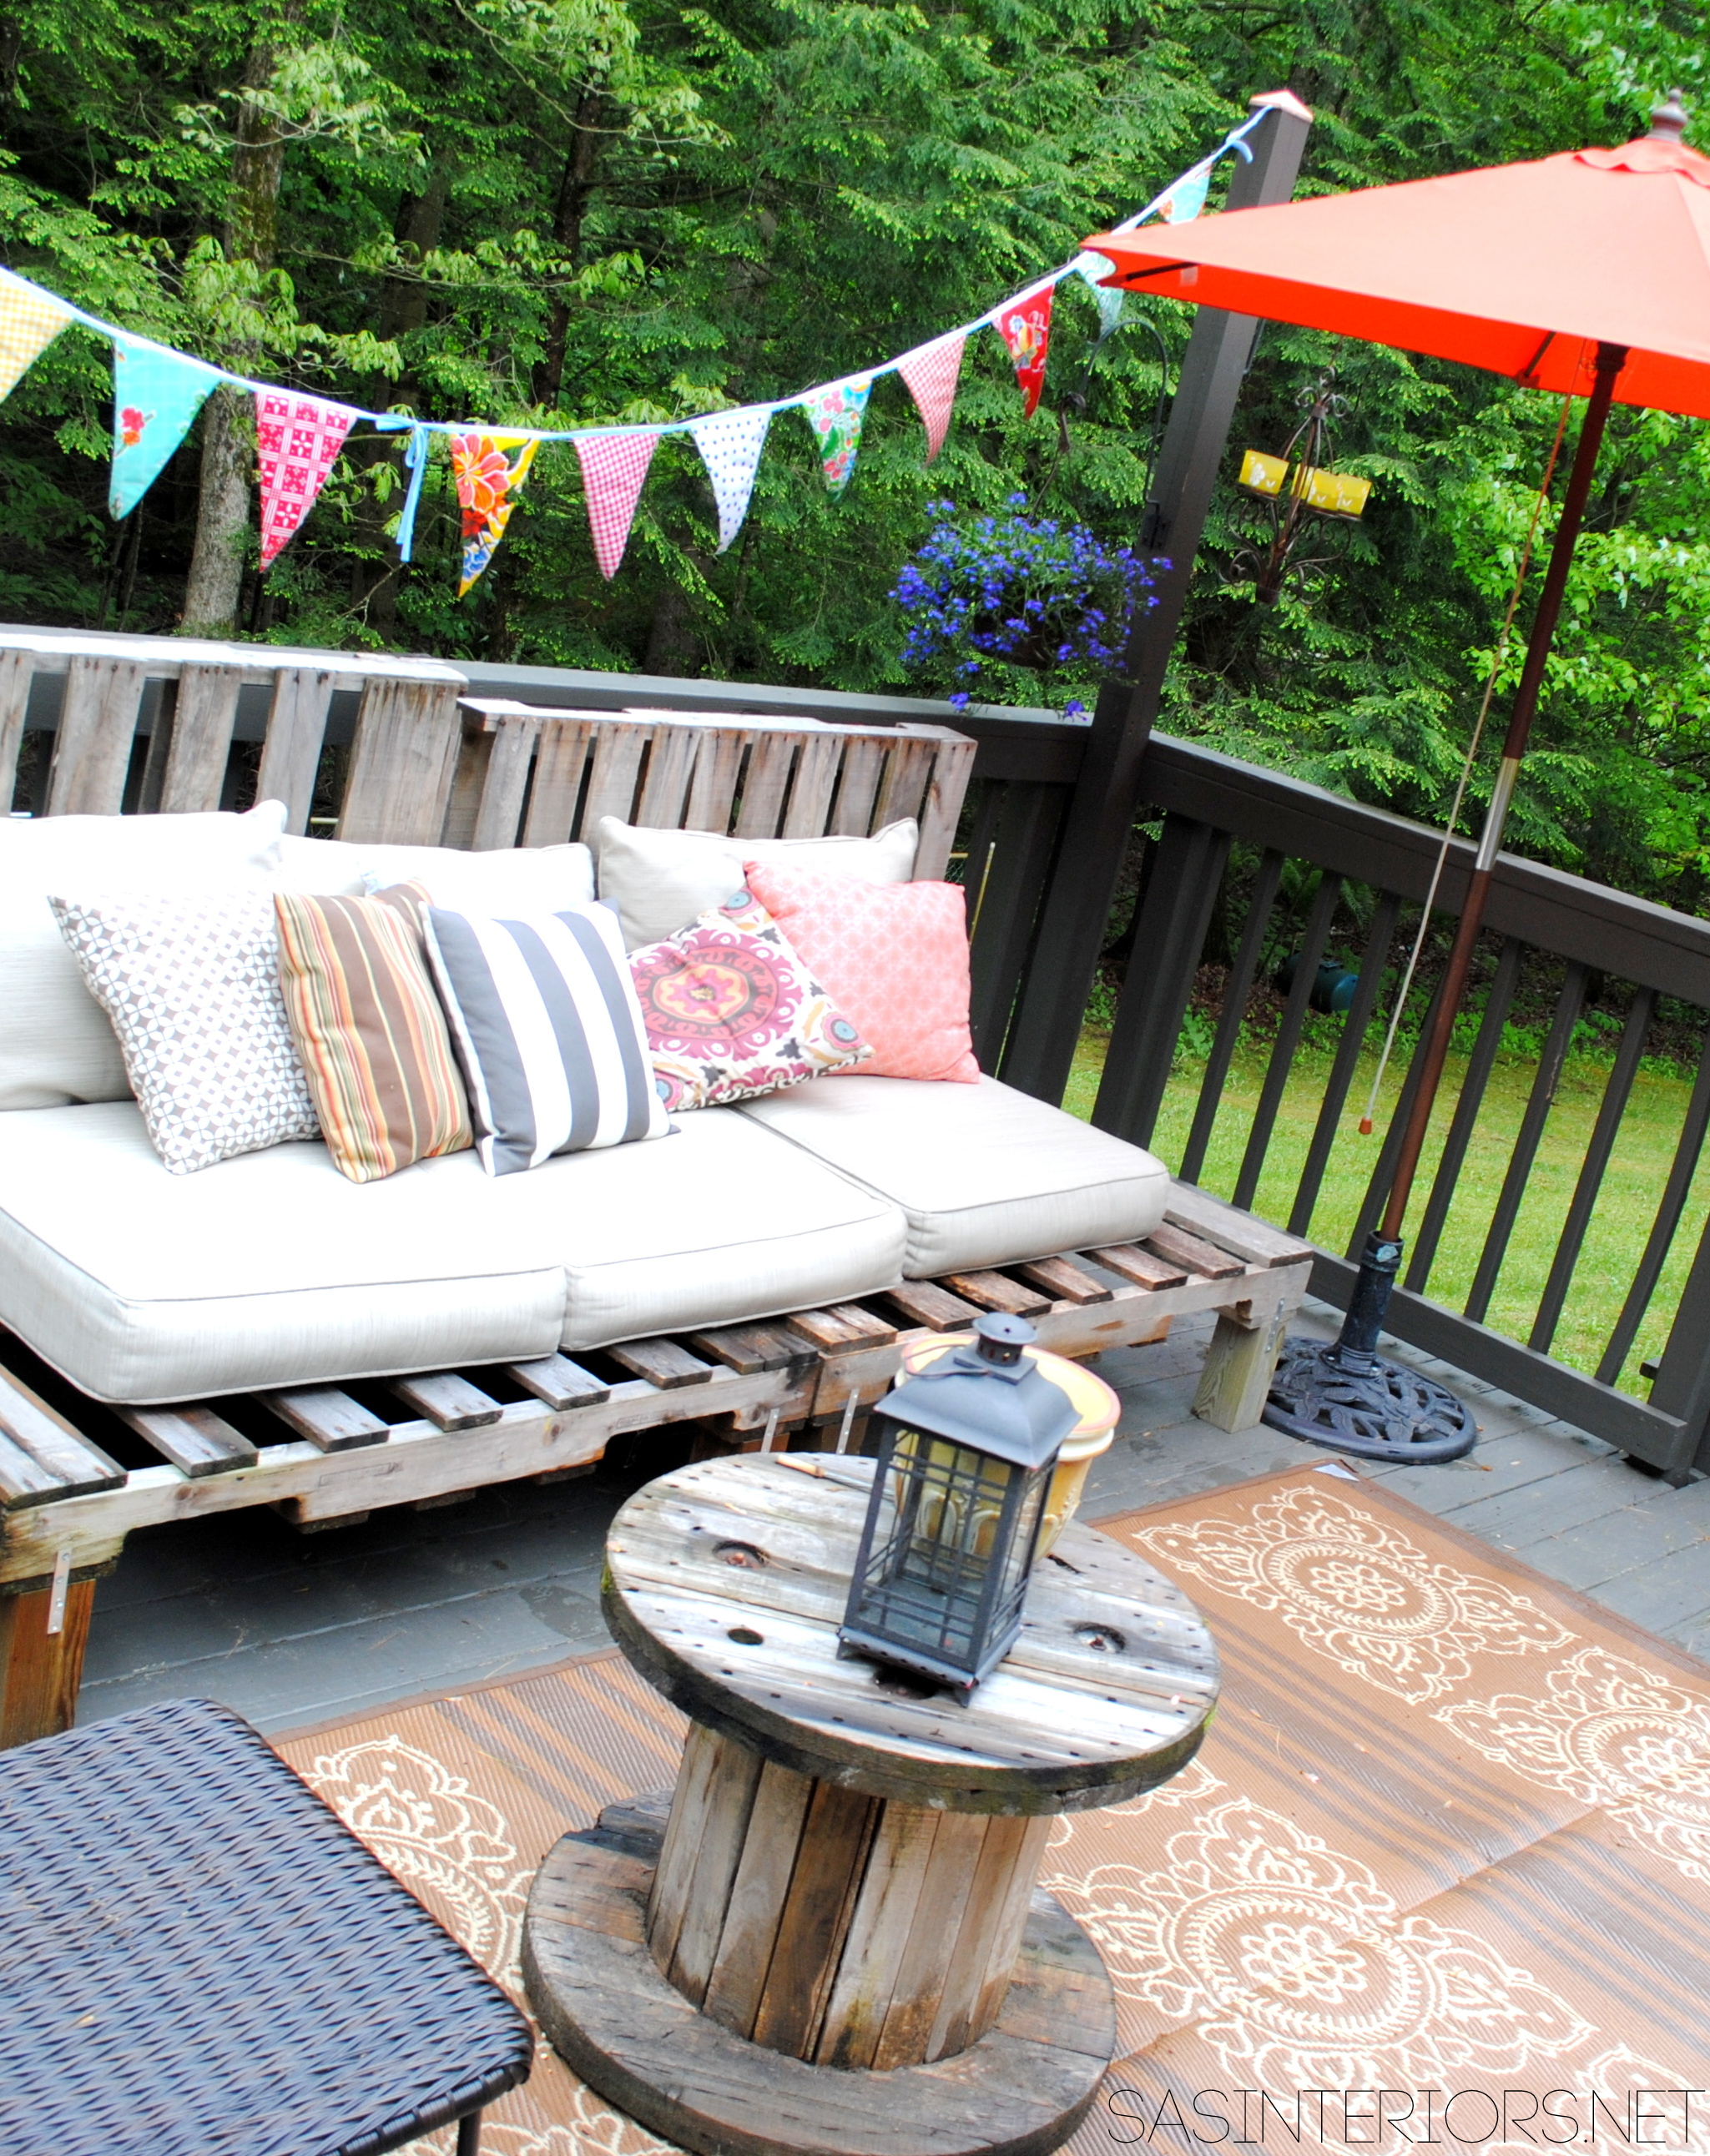
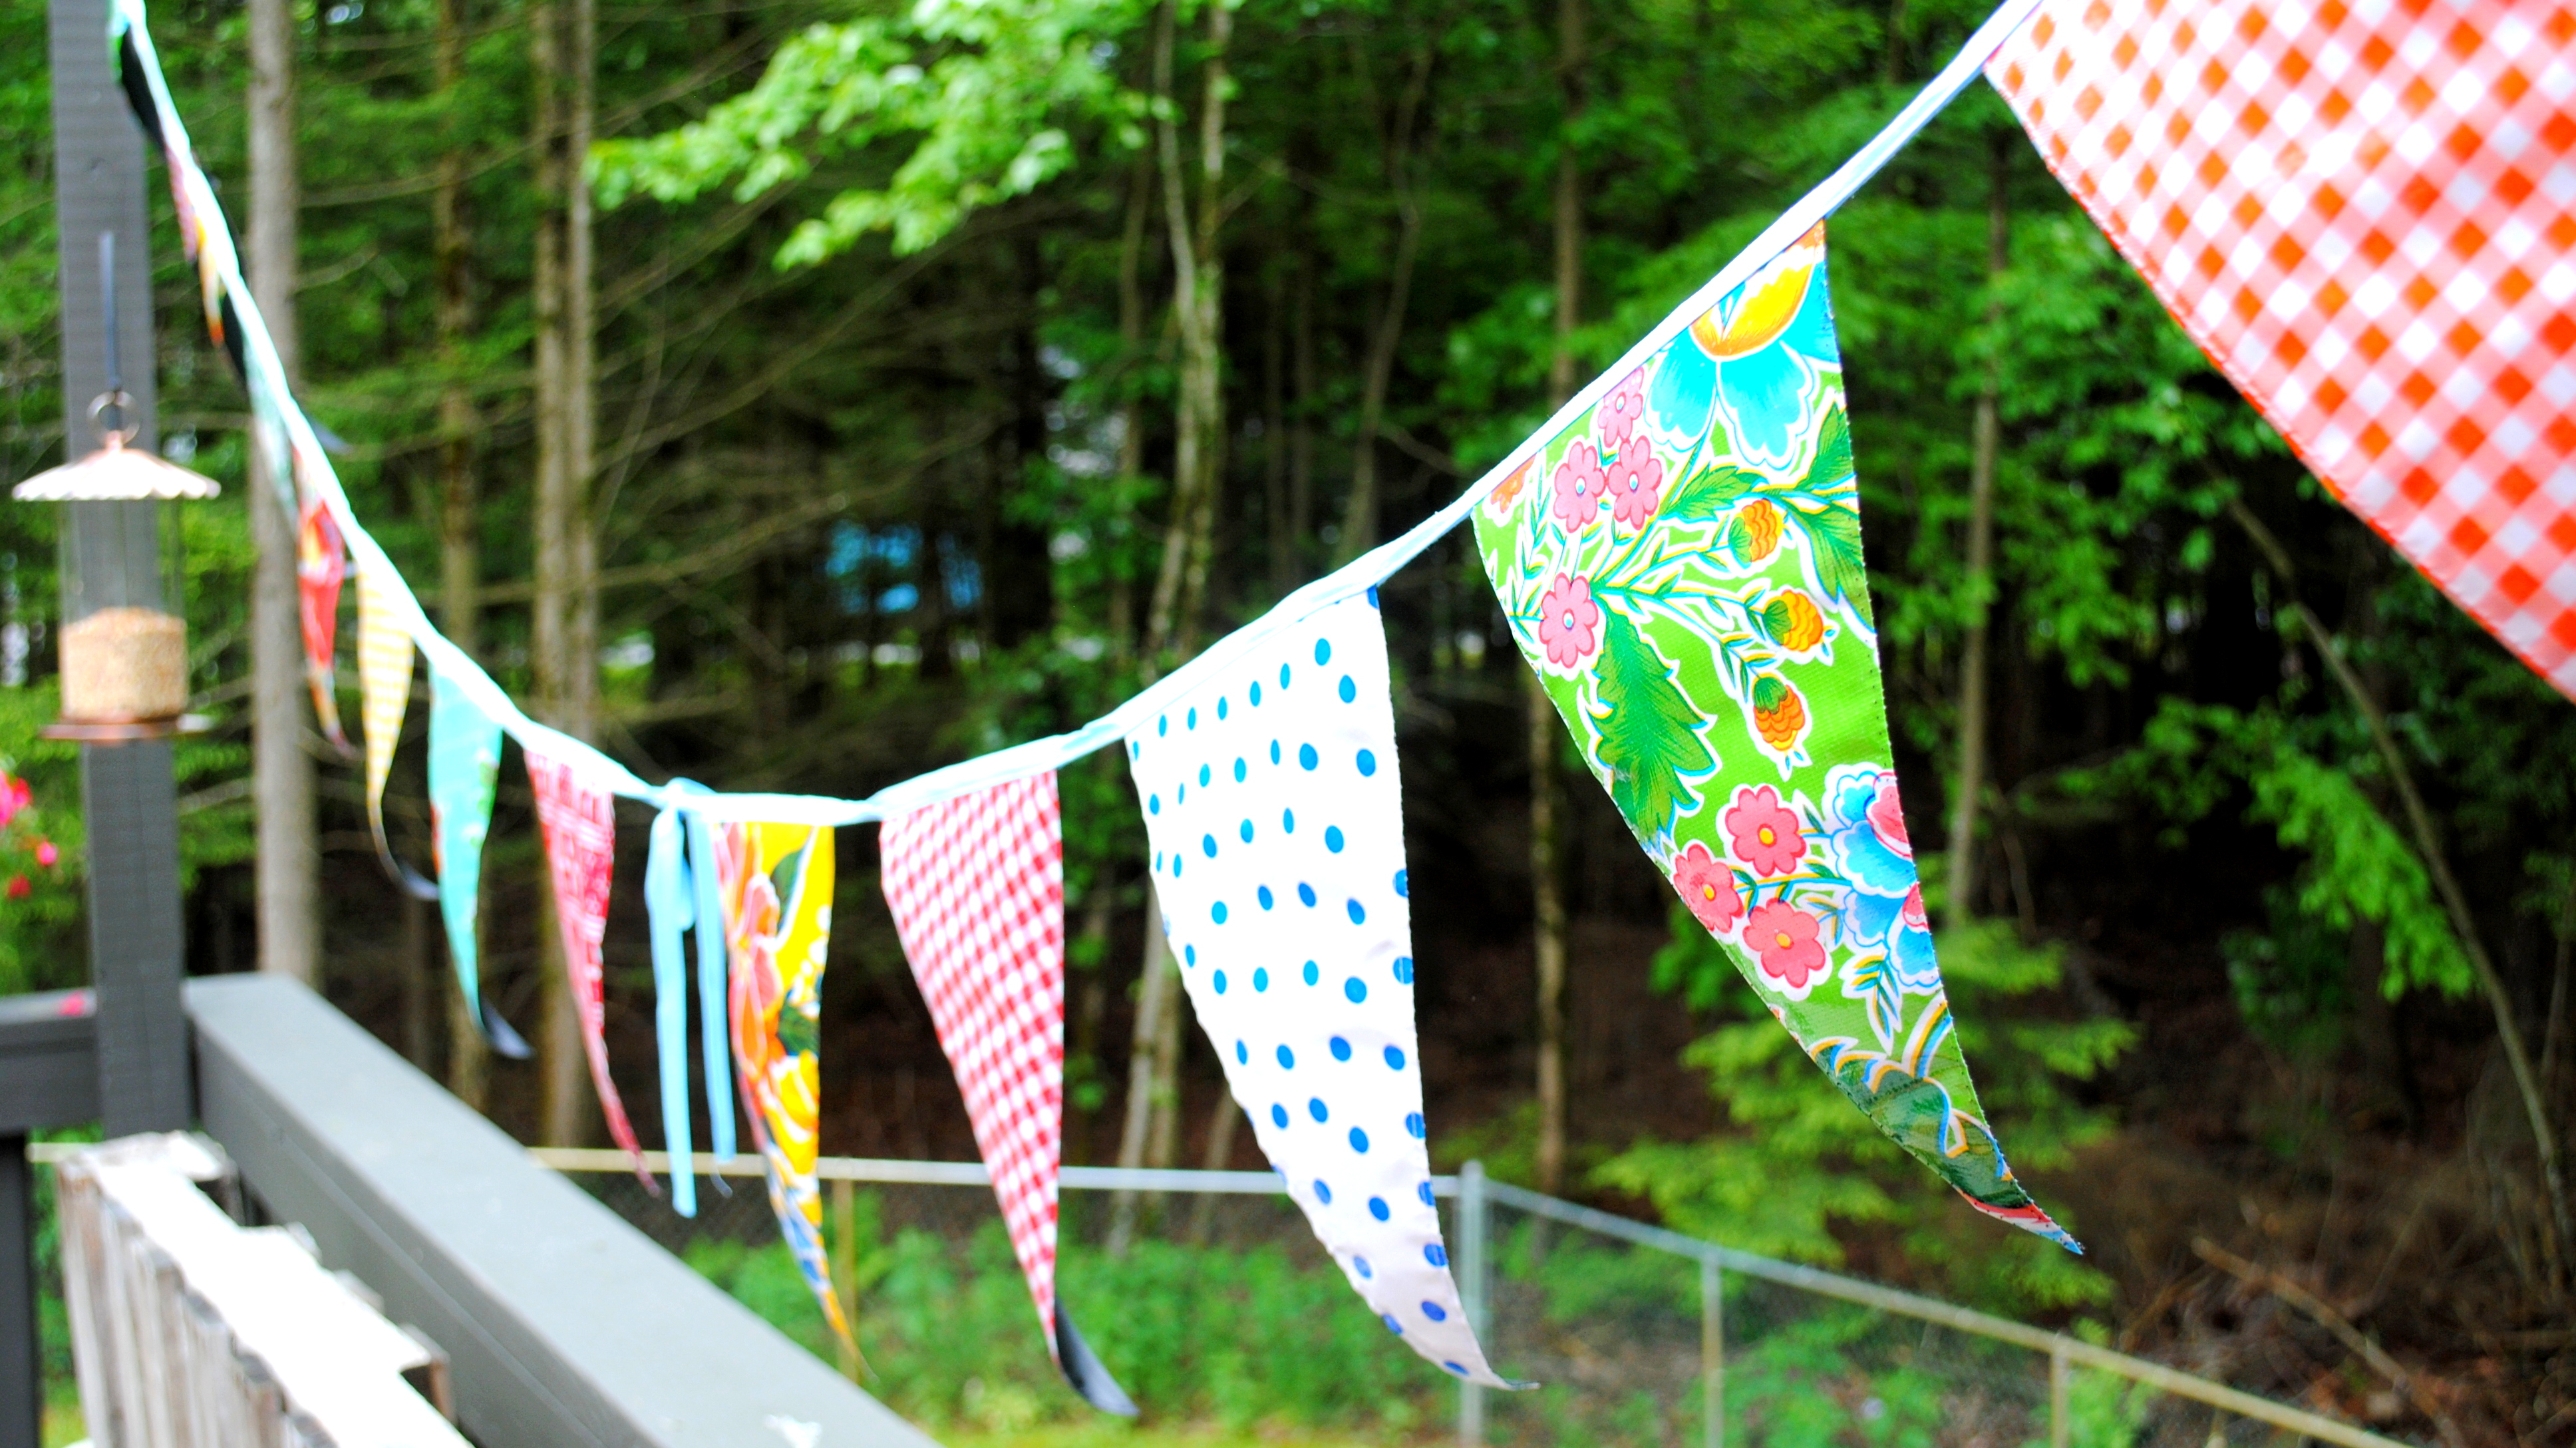
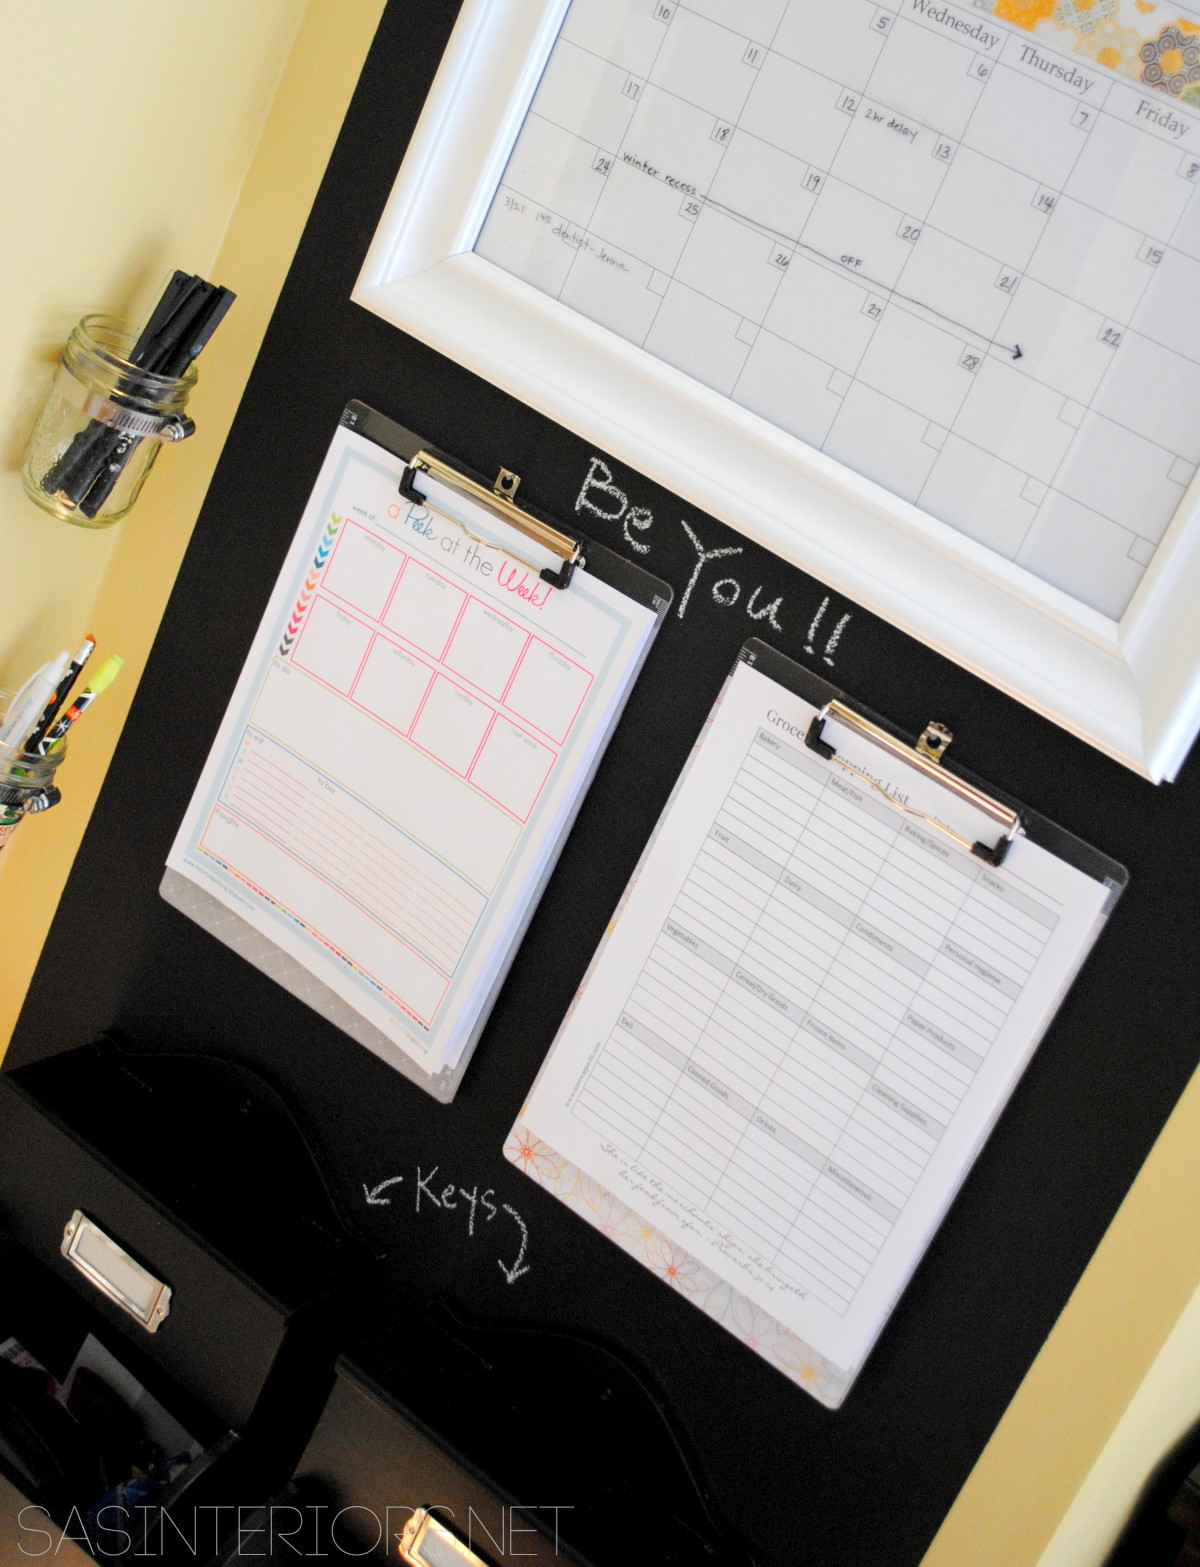
9. If you want to start a blog, pictures are important. Obviously for me, pictures are everything, but even for the text-rich niches, at least one picture is important. People are visual, so make them clear, turn off the flash on your camera (only use manual mode), and make them large on your blog posts (no small pictures!). Also add text to your picture(s). This will be important for Pinterest – head over and you’ll see what I mean. Almost 80% (that’s my guess, not a fact) of the pictures on Pinterest have text on them – it’s a driver to the original source. Using FREE programs like Picasa and Picmonkey make it easy for your to edit pictures and add text (these are the 2 programs I use 95% of the time).
10. This is the last but most important advice! Ready?? BE YOU! BE REAL! WRITE LIKE YOU SPEAK! My biggest obstacle when starting out was I wrote like a robot giving information, but not writing from the heart. Readers want to feel a connection with the writer. That’s why they return time and time again. I know some readers who only read certain blogs because they like the person. They may have never met the person, but they feel they know them through their words. And lastly, remember quality over quantity. Don’t force a post to simply get it out there. It’s not worth it. I post about 3 times a week, but write my posts that have value and truly share something that I know others will benefit or be inspired from.
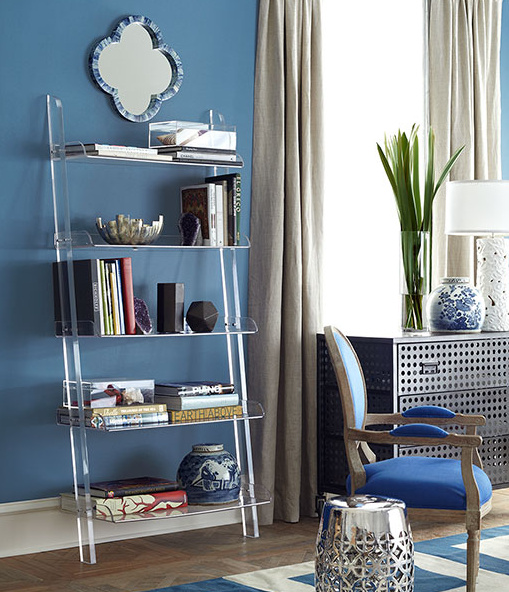
via
As I mentioned earlier in the post, I have helped answer blogging questions for several friends recently, but one in particular is my good friend, Kathy, who just started a primal nutritional blog called Primal Bliss Nutrition. Like me, she has decided to start a nutritional consulting business along with her daily resource blog. Thankfully she took much of my advice – mostly what I shared above – and launched her site last week. As a fresh and new Blogger, here is what she has to say so far about the leap into the World of Blogging…

Learning to blog on WordPress.org is like learning a new language. I am amazed at how much there is to learn. I thoughtit would be much simpler, but it is actually very complex. There is a great deal to learn along the way. I had to learn (and I am still learning) many new functions that I was not familiar with before. However, I am enjoying learning these new skills. That being said, Jenna suggested I go full out with hosting my own site through WordPress.org versus using Blogger.com. There are several reasons for this, the most important to me being the choices for layouts and themes, and the flexibility and control I have over my work. Also transferring to WordPress.org at a later time can be a consuming and expensive process. I am happy I took her advice! As Jenna did for her blog, I worked with DreamUp Studios to design my blog. They were very affordable and very helpful, and I’m happy I worked with a professional designer instead of using a typical template.
Jenna has been a godsend. She taught me that WordPress.org is all coding. The pictures, words, fonts, everything is done based on a code or command entered. Although it is difficult to learn how to apply different codes, it gives you much more flexibility in how your blog appears. You have much more control over everything, and can really personalize your blog. I still have a great deal to learn but I feel like I am way ahead of where I would have been with the advice I was given!
I know there is alot more, but at least that’s a start. I wish you the best of luck in your blogging adventure! Blogging is very rewarding. At times it’s difficult, but I’m so happy to have a platform where I can share my passions and inspire.