
Tag: Spray Paint

Turquoise Table with Wood Top

Howdy there friends!  Happy Monday!!

I was brought many smiles last week from all the praises I received on my Fall front porch.  It’s fun to know that so many of you love color too.

Today’s post is going to be short, but good!

As I mentioned during the Fall front porch tour, I introduced a few new elements including the recently painted coral wicker chairs + the turquoise table, both of which were garage sale finds.

It’s amazing what paint can do.

For the wicker chairs, I used my new Homeright hand spray painter but for the table that I turned turquoise, I used good ole’ spray paint in a can.

Here it is on the Fall front porch…

Turquoise Table Before & After: table that was falling apart with no top got a makeover using turquoise spray paint & pallets.

It didn’t always look like that.

This is a quick pic I snapped and shared on Instagram of my finds a few weeks back…

Garage sale finds

3 items that were desperate for attention.

The table was rusted.

It’s paint was peeling + chipping off.

And it didn’t even have a top.

THE TRANSFORMATION.

I started off by scraping off the chipping paint and sanding some of the edges.  To be honest, I didn’t go crazy with that.  I knew it would never be perfectly smooth and I was okay with that.  After I cleaned it up a bit, I whipped out a new can of turquoise spray paint.

Turquoise Table Before & After: table that was falling apart with no top got a makeover using turquoise spray paint & pallets.

A few coats later, it was complete.

Turquoise Table Before & After: table that was falling apart with no top got a makeover using turquoise spray paint & pallets.

THE WOOD TOP.

A few days later when the paint was completely dry, it was time to add a top.

My neighbor had recently finished a pallet project (per my recommendation – wink, wink) and had a bunch of pallet boards left over.  They were already disassembled, cleaned, AND sanded, so all I had to do was cut them to size.

I measured the length of the table and using the powered miter saw (see my recommendation + favorite tools), I cut them to the correct length so the boards would set in to the existing lip around the edge of the table top.

Turquoise Table Before & After: table that was falling apart with no top got a makeover using turquoise spray paint & pallets.

Once cut, I set them into place.

Turquoise Table Before & After: table that was falling apart with no top got a makeover using turquoise spray paint & pallets.

Turquoise Table Before & After: table that was falling apart with no top got a makeover using turquoise spray paint & pallets.

The boards took no time at all to cut and place in the lip – maybe 10 minutes.

And transformed table that was once garbage-bound now sits beautifully on my front porch.

Turquoise Table Before & After: table that was falling apart with no top got a makeover using turquoise spray paint & pallets.

Turquoise Table Before & After: table that was falling apart with no top got a makeover using turquoise spray paint & pallets.

Turquoise Table Before & After: table that was falling apart with no top got a makeover using turquoise spray paint & pallets.

The turquoise hue gives the front porch such a vibrant pop of color, especially along with the coral chairs + the green door.

It’s amazing what spray paint + a bit of TLC can do!

>>> If you haven’t seen it, don’t miss out on taking a tour of this years Fall Front Porch


A Green Planter + A Turquoise Table + A Coral Chair

Before picture of my garage sale finds— a before shot of my garage sale finds that I shared on my instagram page last week —

This Summer I have been in complete survival mode. Simply surviving, making sure to create memories each day with the kids so they have the Best Summer Ever.  BUT as each night falls, this mama is just d-o-n-e. It’s been a blast, but it’s been tiring. And we still have 2+ more weeks till school starts…

Packed days have left little time for personal creating, but after a quick stop at a garage sale last week where I picked up some ‘trash treasures’, I found myself with a few spare minutes + 2 cans of spray paint.  And that makes this gal gitty with excitement!

First up, Green Citrus (by Rustoleum)…

Before and After planter - $1 garage sale find transformed with Green Citrus spray paint

Isn’t that such a vibrant, unexpected, fun color?! For $10 I made out well after stopping on a whim at a garage sale last Wednesday…

I picked up a wicker chair, a planter, and a table.  ALL need a bit of TLC, but I am confident that ALL will look great with a splash of color!

THE PLANTER.

The planter update is complete.  I chose to spray paint it a lime green hue called Green Citrus in a glossy finish…

Before and After planter - $1 garage sale find transformed with Green Citrus spray paint

A few coats later, it was complete.

Before and After planter - $1 garage sale find transformed with Green Citrus spray paint

And ready to fill with a pretty plant.

Before and After planter - $1 garage sale find transformed with Green Citrus spray paint

Now it sits beautifully on the front porch and looks awesome with the green front door.

Before and After planter - $1 garage sale find transformed with Green Citrus spray paint

Definitely one of the best + EASIEST before and afters ever…

Before and After planter - $1 garage sale find transformed with Green Citrus spray paint

THE TABLE.

A splash of turquoise spray paint gave this falling-apart-table new life.  It’s still rusty but I find that beautiful.  The new color is complete, but there is still work to be done – it needs a top.  I’ve got some ideas, but still need to put it together…

Before and After Table: $3 garage sale find transformed with turquoise spray paint

Want to know how to spray paint like a PRO?  Need Tips?
Check out these 2 helpful posts:

Simple Steps to Spray Painting Success

5 Surfaces to Spray Paint

THE CHAIR.

The chair hasn’t been touched, but I have a plan. CORAL is the COLOR that is going to make this chair shine again.  I first need to prime it, then I’m going to paint it.  I think I’m going to skip spray painting this one and instead try a hand sprayer.  I’ve had one sitting in the garage forever and I think this is just the project to try it on…  Wish me luck 😉

Plans to spray paint this chair a new coral hue

Plans to spray paint this chair a new coral hue

I’m looking for a wicker sibling to go along with this beauty.  Not a twin, but a something alike.  Have a wicker chair?  Share details.

I’ve got plans for these new green + turquoise + coral additions.

You’ll see them finished soon. AND all together.

Somewhere around the homestead.

Before I let you go, here is another great score from the weekend.  The fam & I were up & out early on Saturday at a ‘biggest yard sale’ event & I found these 2 headboards for the girls room (in a couple years).  Oh the potential!  Here is a picture I shared on my Instagram page

Headboard find!


5 Surfaces to Spray Paint

Warmer days are upon us – I just saw mid-40s for next week –  and that means the start of spray painting season!

As an avid DIYer, I have spray painted just about everything and anything.  From baskets to fabric, from lamps (like this one) to furniture, nothing in my home is safe from being revamped with a new coat of color.

When it comes to spray painting, there are a few tricks-of-the-trade to achieve a successful result, but with some practice & patience (and a few tips from my blogger friends), you’ll want to revamp every surface in sight!

Not sure what to spray paint? Here are tips for 5 types of surfaces to tackle using spray paint.

5 Surfaces to Spray Paint: How to spray paint wood, metal, upholstery, fabric, ceramic

Wood Furniture

Whether a dresser, chair, desk, or armoire, most all furniture can be revamped and livened up with a few fresh coats of spray paint.  You’ll be amazed how a new color can completely change the look and feel of something that was old and drear.  After a quick sanding, it’s always best to first apply a primer coat, then you choice of color.

5 Easy DIY Projects Using Spray Paint

Diane of In My Own Style refinished her dining chairs and chose to use a 5 different colors – orange, yellow, blue, pink, and turquoise.  What a fresh, happy update!

5 Surfaces to Spray Paint: How to spray paint wood, metal, upholstery, fabric, ceramic

This is a before & after chair I restored after finding it on the side of the road a few years back…

BEFORE & AFTER CHAIR MAKEOVER USING SPRAY PAINT + A GLAZE FINISH

Upholstery

From an ottoman to a wing back chair, another project to tackle using spray paint is upholstery.  Crazy sounding, but it’s true.  Recovering an upholstered piece of furniture can be costly (a typical wing back chair could cost about $600+), but for many who are on a budget, it’s an affordable and fairly easy way to get the result at a fraction of the cost.

If the fabric covered piece is in good condition, well built, and has good lines, then spray painting to change the upholstery color should be a fairly manageable task.  Here is a beautiful side chair makeover using spray paint – the pop of color with the bold blue is an incredible update.

5 Surfaces to Spray Paint: How to spray paint wood, metal, upholstery, fabric, ceramicCeramics

Because of the slick surface, ceramics can be challenging to spray paint.  To achieve a great result, it’s key to use multiple thin coats and lightly sand the surface between coats using sandpaper or very fine steel wool.  Wipe the surface clean again and spray another coat.  A glossy finish is most durable when spray painting ceramics.

Jennifer of Dimples and Tangle achieved a great result with her spray painting revamp after scooping up an inexpensive garden stool and totally changing the look to a desired white.

5 Surfaces to Spray Paint: How to spray paint wood, metal, upholstery, fabric, ceramic

Fabric (curtains)

Custom curtains can be expensive, but that shouldn’t stop you from getting the look you want.  DIY curtain panels (all of my window treatments are do it yourself creations) can be achieved on a tight budget and spray paint can often help with getting the desired look for less.

Stripes (any size, horizontal or vertical) are the easiest and most manageable style curtain to make when using spray paint.  Maury of Life on Mars chose to create a wide horizontal striped curtain panel for her bedroom in a vibrant, yellow hue.  The result is gorgeous.

5 Surfaces to Spray Paint: How to spray paint wood, metal, upholstery, fabric, ceramic

Metal

Despite dirt and rust, if a piece has good bones and is well built, it most likely can be rejuvenated with a few coats of spray paint.  With the array of color choices, you can truly take something from blah to beautiful with a little elbow grease and a few dollars.  When spray painting a metal surface, it’s important to sand down the surface and then use a primer.  The more your sand and smooth, the better the result.  If your style is more rustic / vintage, then sanding less and showing the “chippy” side of a piece is great, but for a modern aethestic, a slick / shiny surface is best.

From a bar cart that most people would steer clear of to a chandelier ready for the curb, these are two amazing metal pieces transformed with spray paint.

5 Surfaces to Spray Paint: How to spray paint wood, metal, upholstery, fabric, ceramicBar Cart redo by Monica of Living in Vogue featured on Design Sponge

5 Surfaces to Spray Paint: How to spray paint wood, metal, upholstery, fabric, ceramicSpray painted brass chandelier by The Little Green Notebook

You can truly spray paint anything! If you’ve never spray painted before, give it a try – here’s a tutorial.  With the arrival of Spring in only a few short weeks, now is the time to get thinking about what you want to revamp first.  From furniture to home decor, using spray painting is an affordable and fairly easy way to update anything!

Traditional to Transitional Spoon Rack Revamp

As you know, I have a little obsession (well more than a little – little would be an understatement) with transforming and updating the decor around my home.  Most of the furniture or accessories though, have been of little or no value, which always makes me less apprehensive about jumping into a project.  If I mess up, who cares!  There are many pieces that I would love to change, but feel I don’t have the skill set (yet) and would be very upset if the result was NOT what I envisioned.

BUT, recently I took a (reluctant) leap of faith, and changed a special piece… my spoon rack, that houses my growing collection of spoons from our family trips and travels.  It’s a special piece and I was quite apprehensive about touching it, but I really was just tired of the traditional style with heavy black wood and red velvet fabric backing.  The style needed an update for my decor and I couldn’t look at it anymore without wanting to give it a lighter, simpler overhaul.

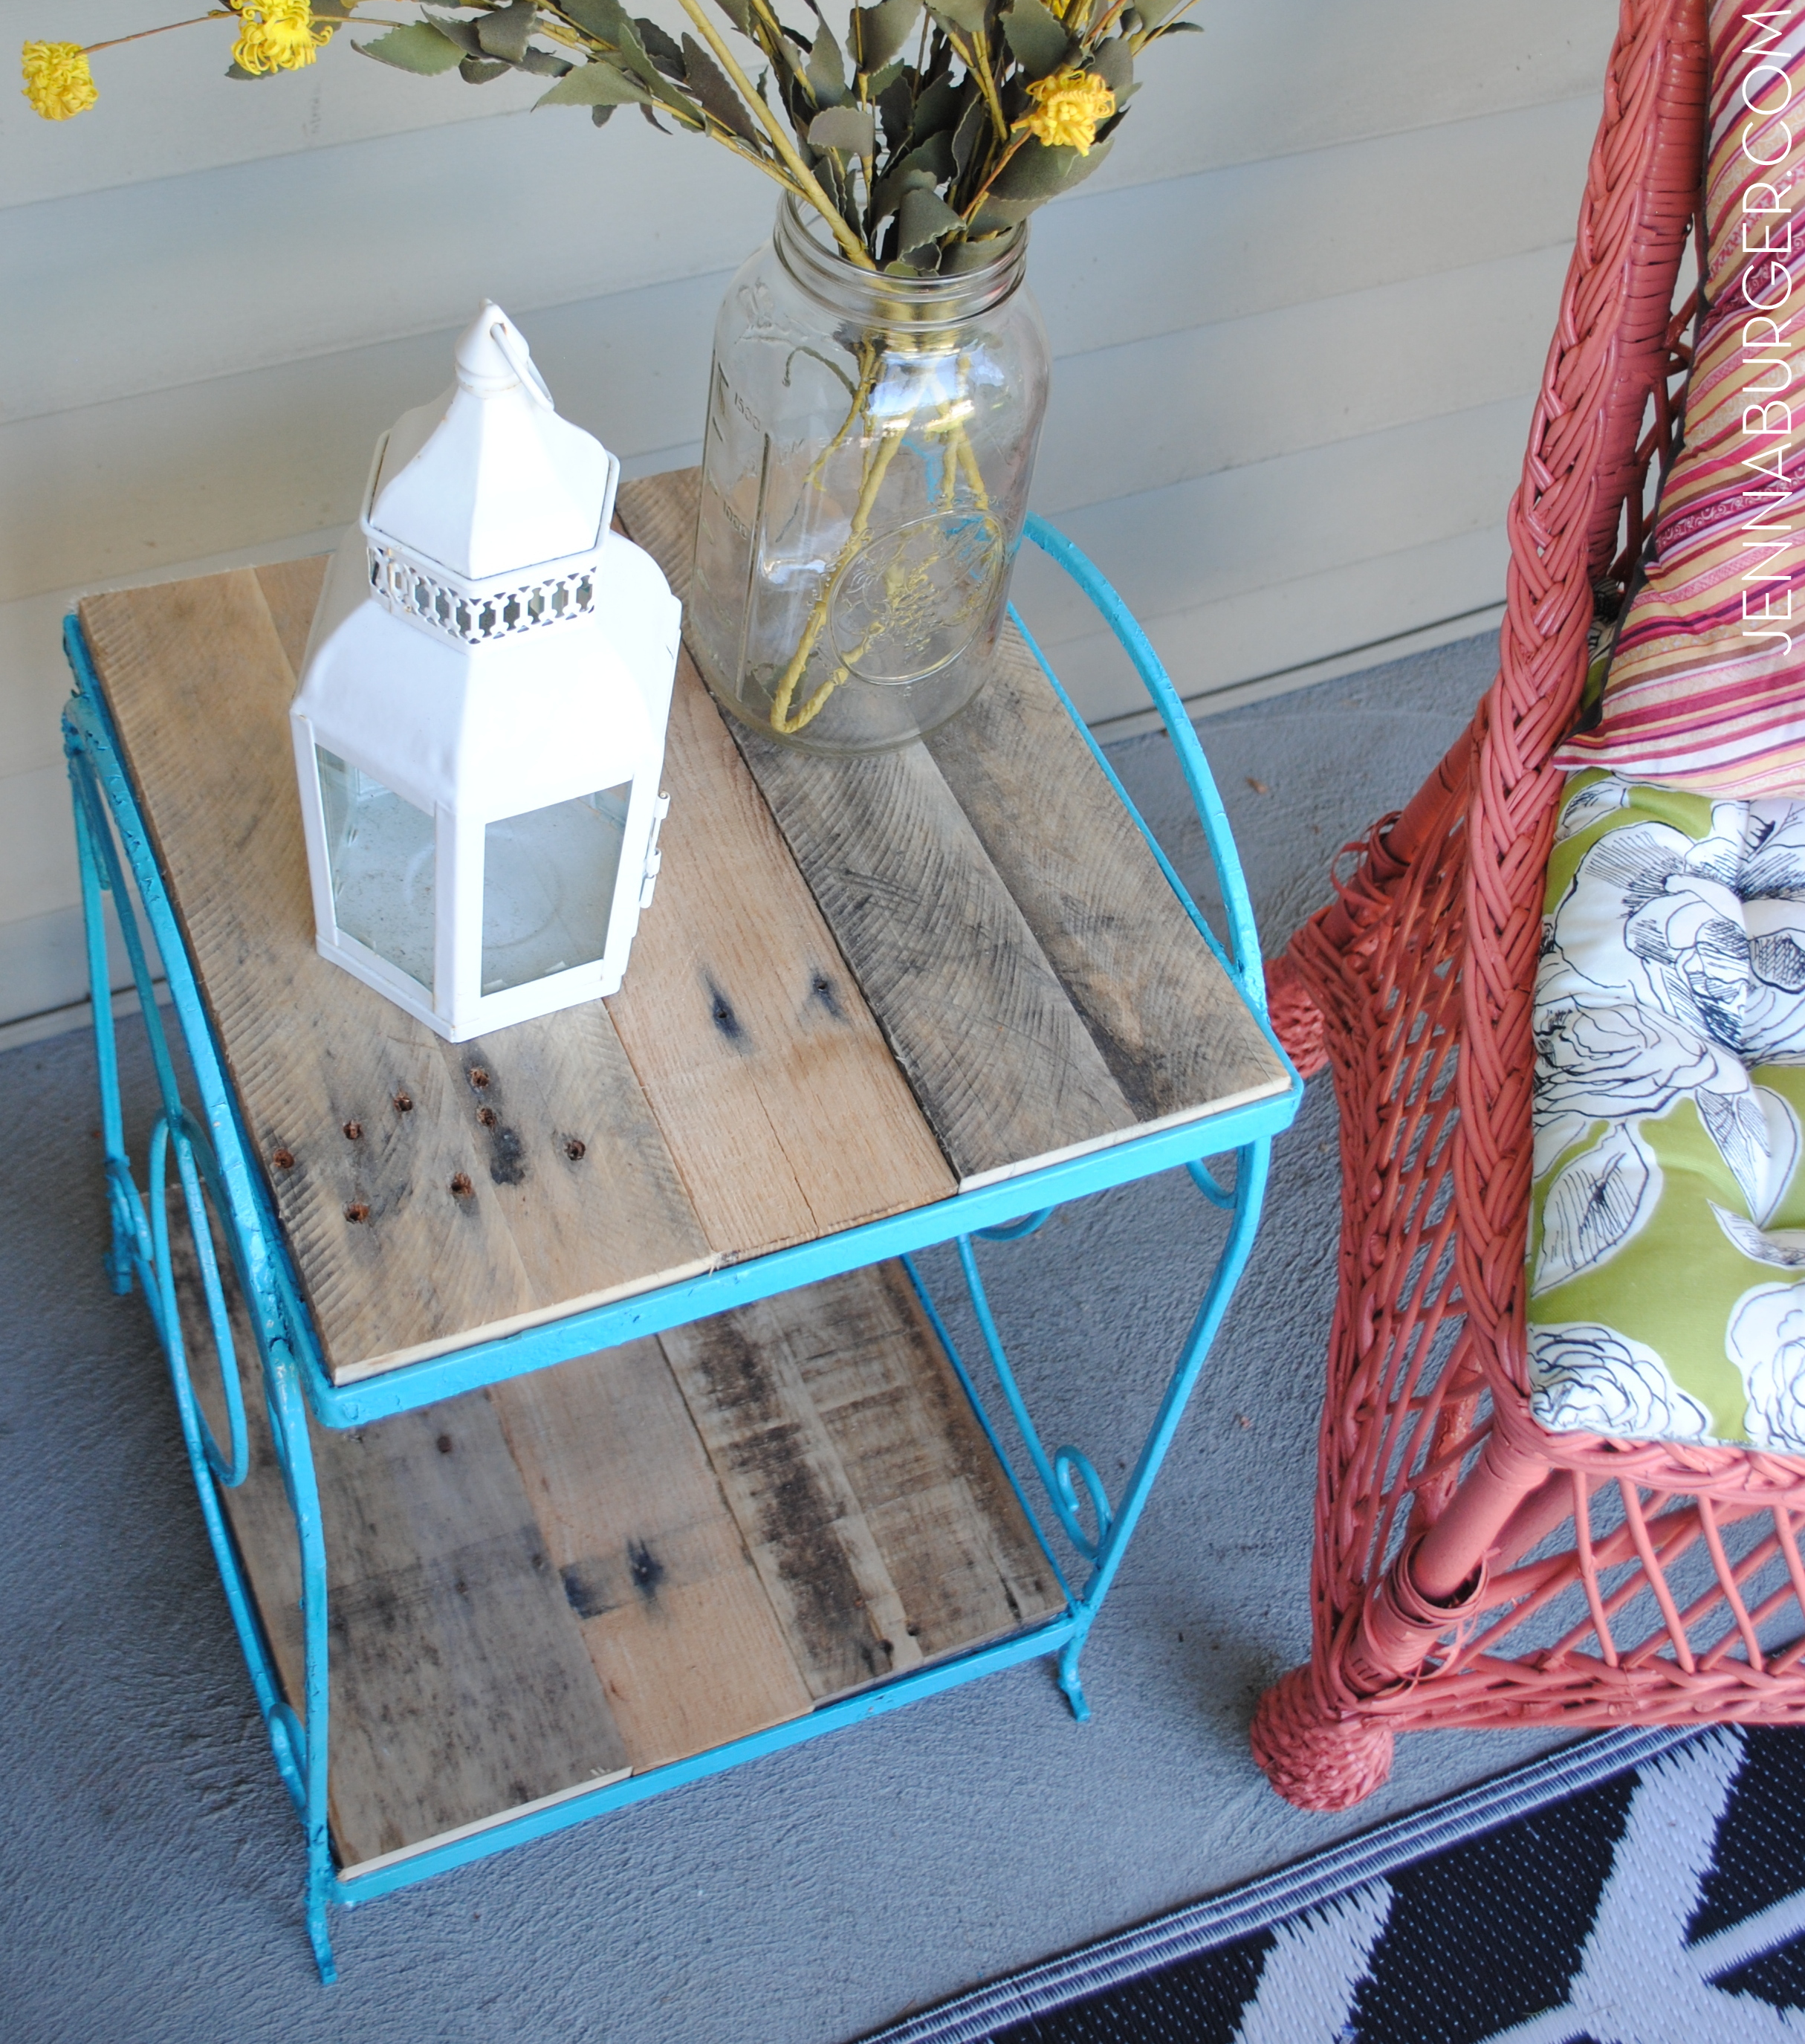
Well, here “she” is.  It was quite the process to get “her” to this point, but I have to say, I am quite satisfied.

I actually wrote about my spoon collection and my special spoon rack when I first started blogging.  It’s kind of dorky and a bit of a cliche to collect spoons, but other than my memories and pictures, the only tangible connection from our family trips are these spoons and they’re a pleasant reminder of the places we’ve been.

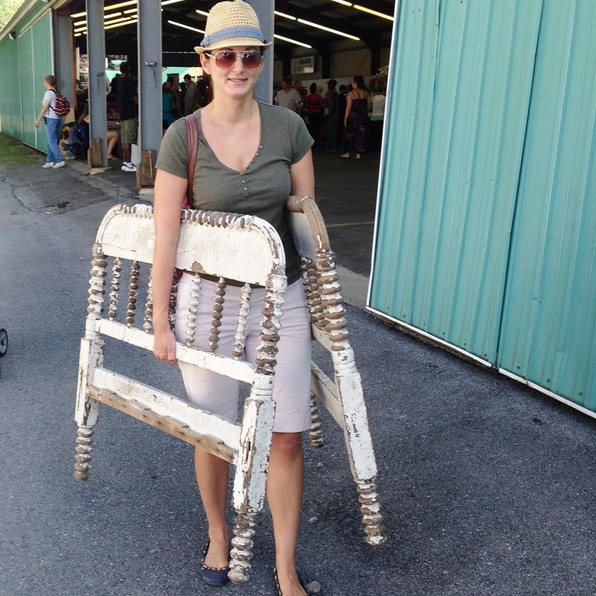
I purchased the spoon rack about 7 years ago from the Bombay Company, which I don’t think is even in business anymore.  At the time, the style went well with my aesthetic and I really liked how different this spoon rack looked compared to what was typical.  But recently, my style has been going more casual and less ornate, so a change was a must.

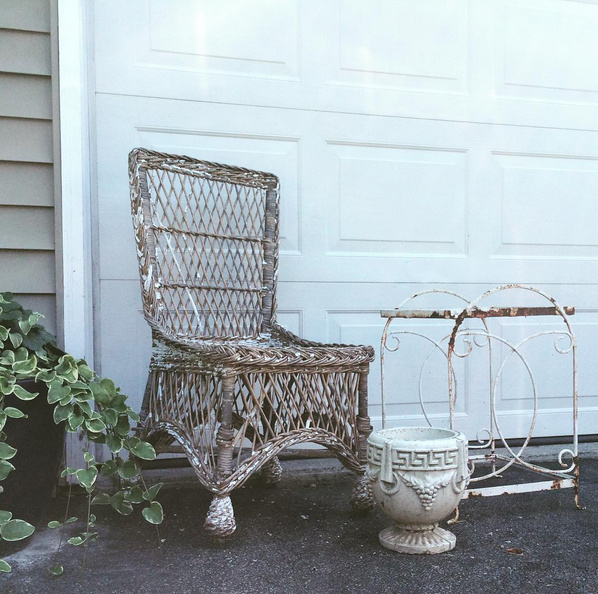
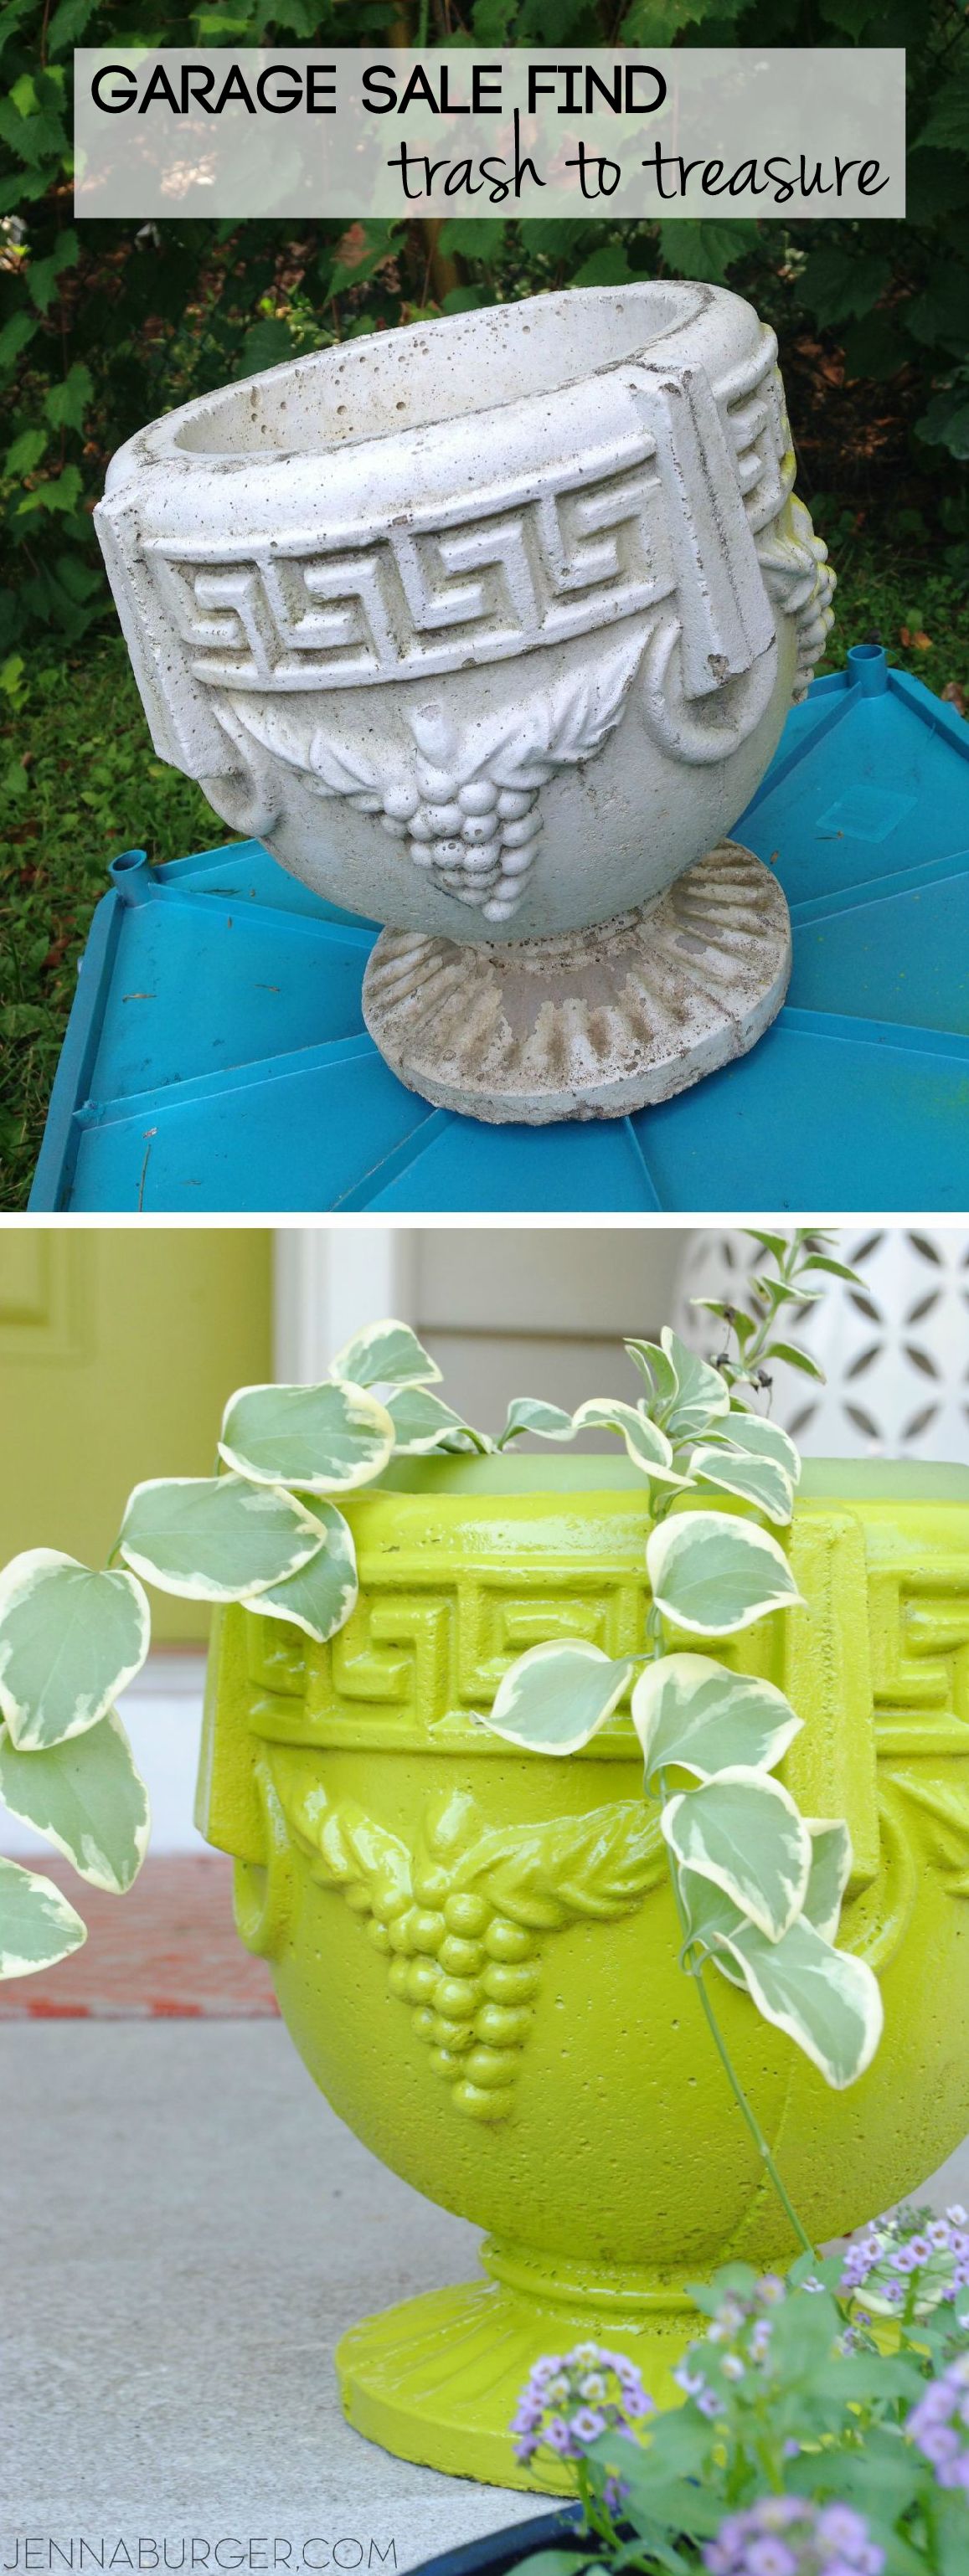
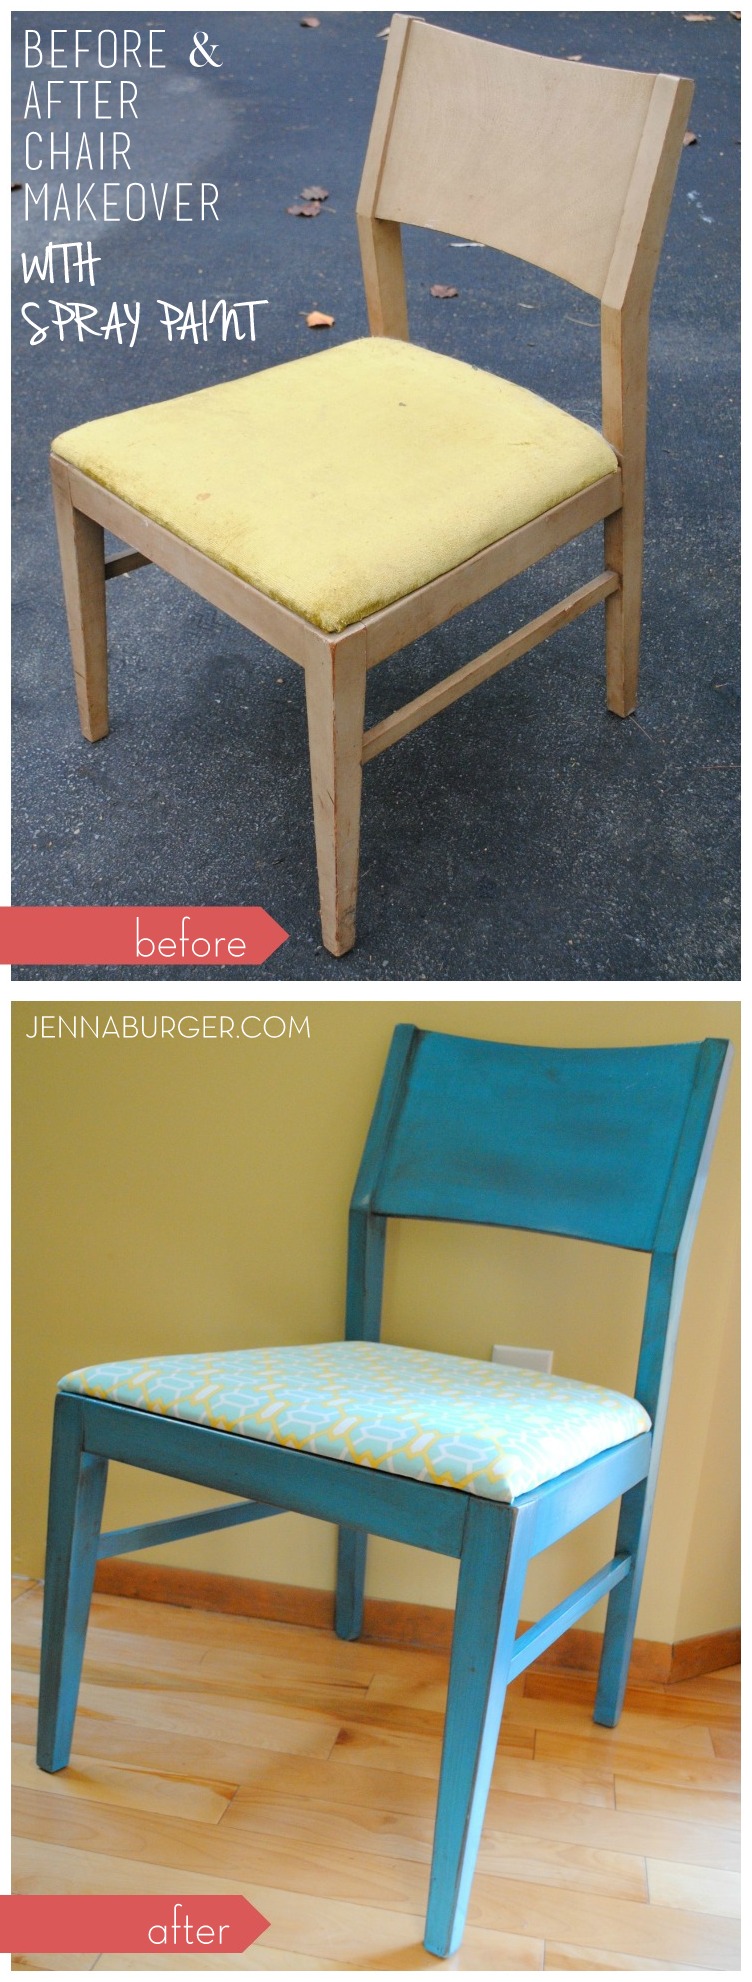
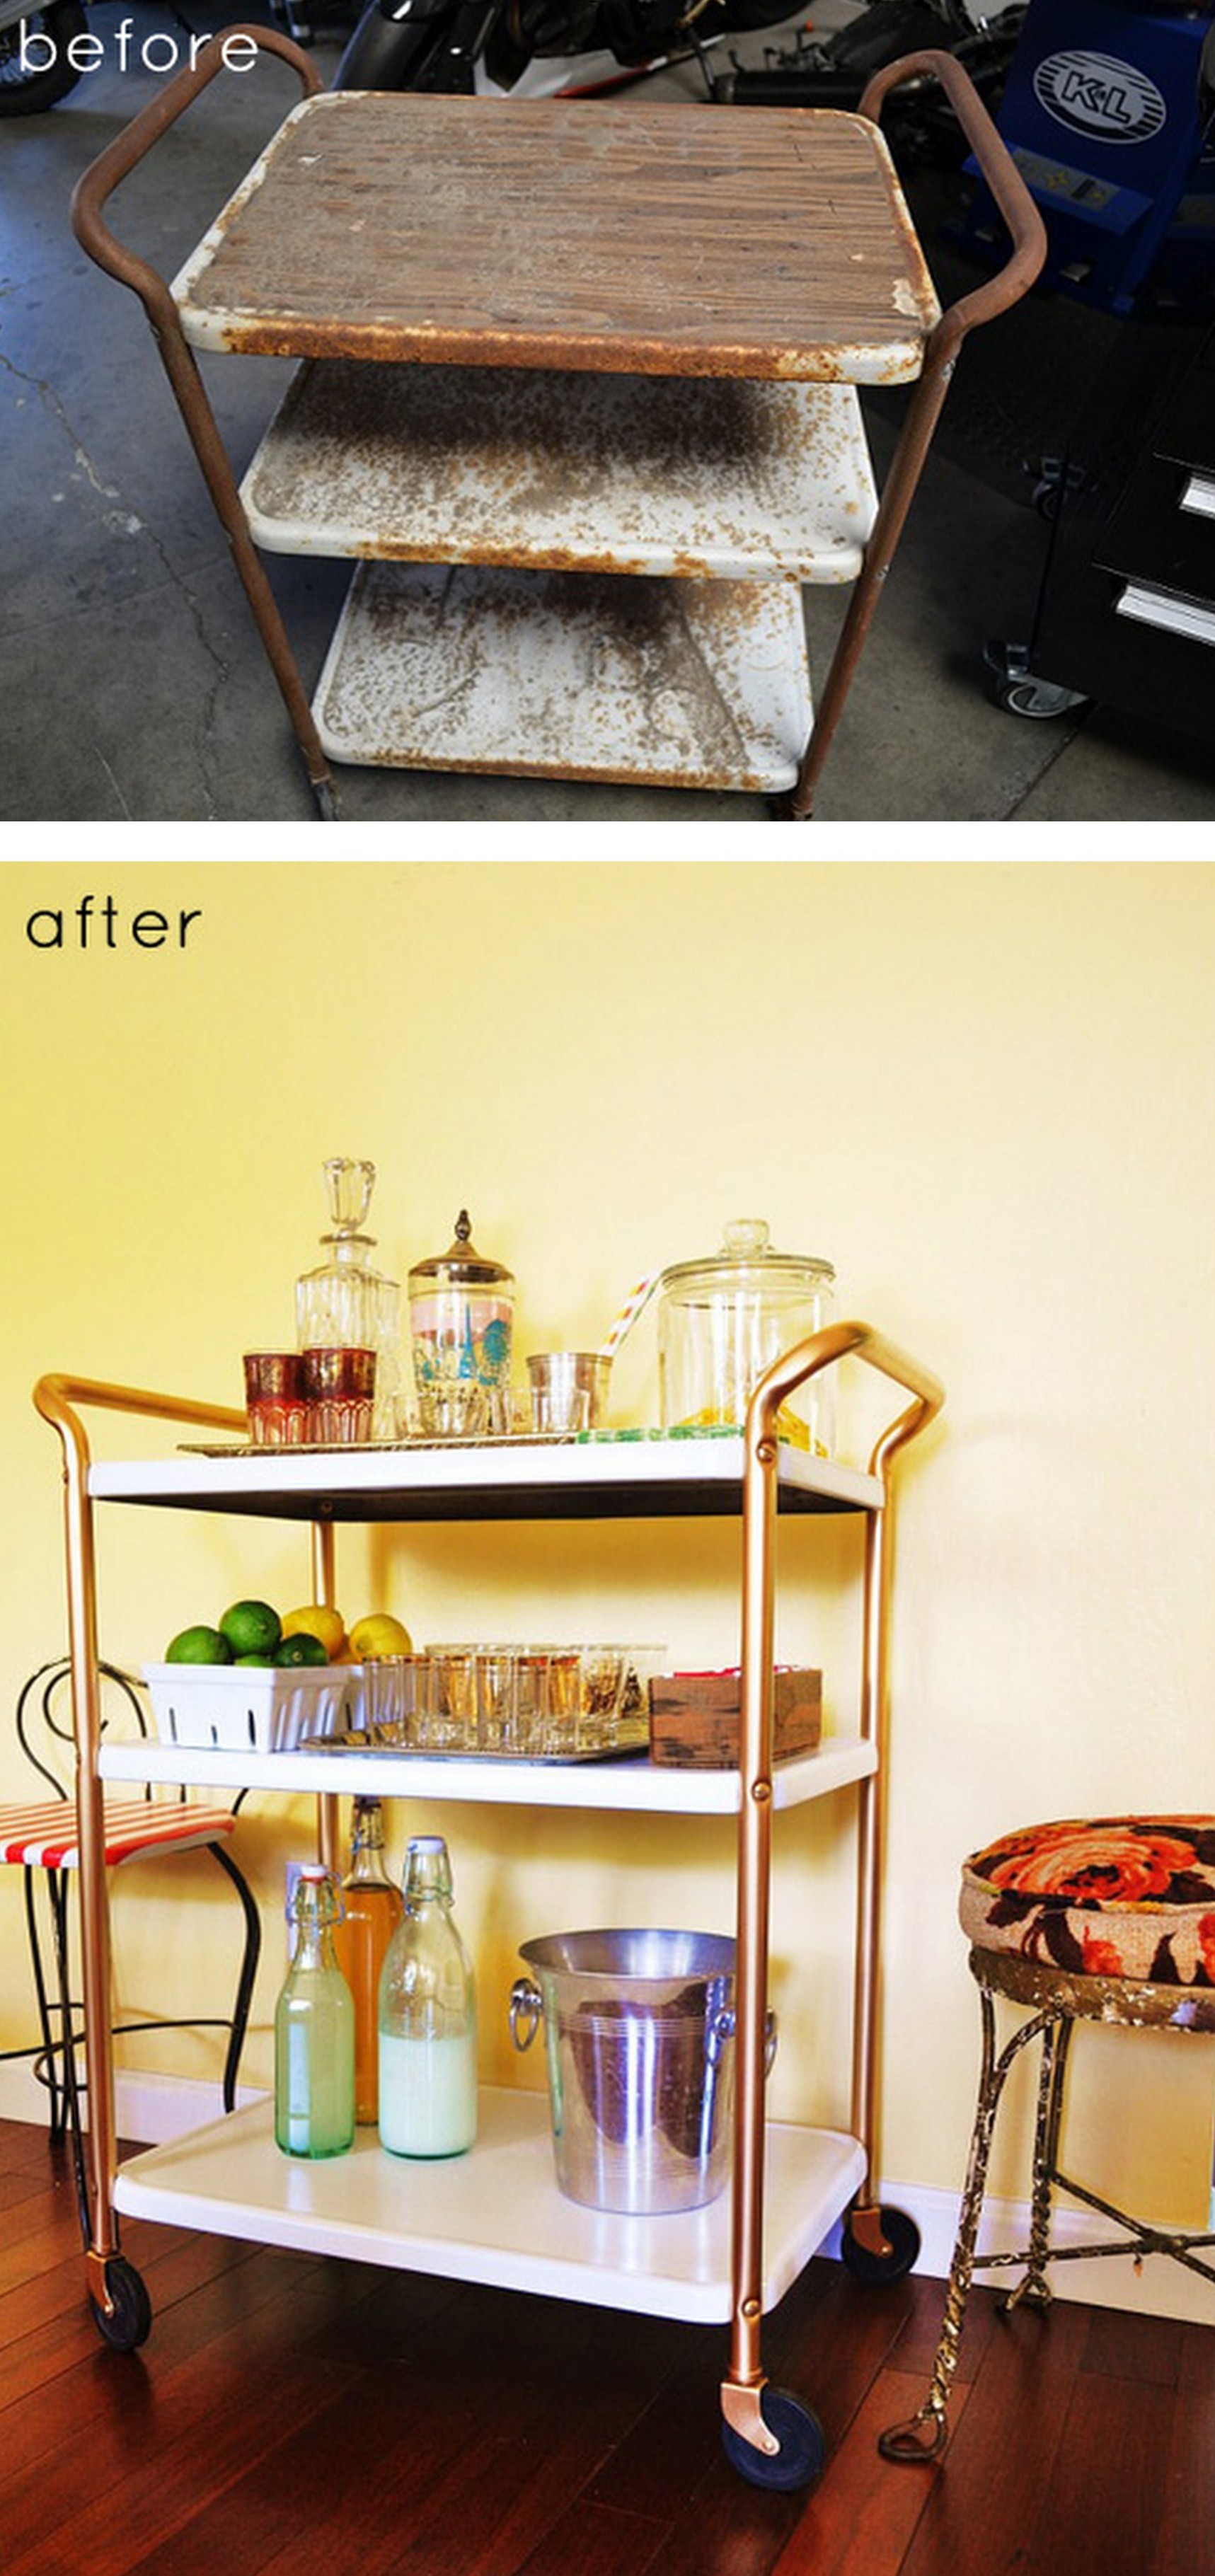
The before… And the after…

Thankfully, this year the Winter has been non-existent and a few weeks ago, the weather was so nice that I was able to work on this project outdoors.  I hadn’t planned on tackling the tranformation till Springtime, but when the opportunity allowed, I jumped on the chance!

I started off sanding all the surfaces with my orbital hand sander, as well as using sandpaper by hand to get in the nooks and crannies.

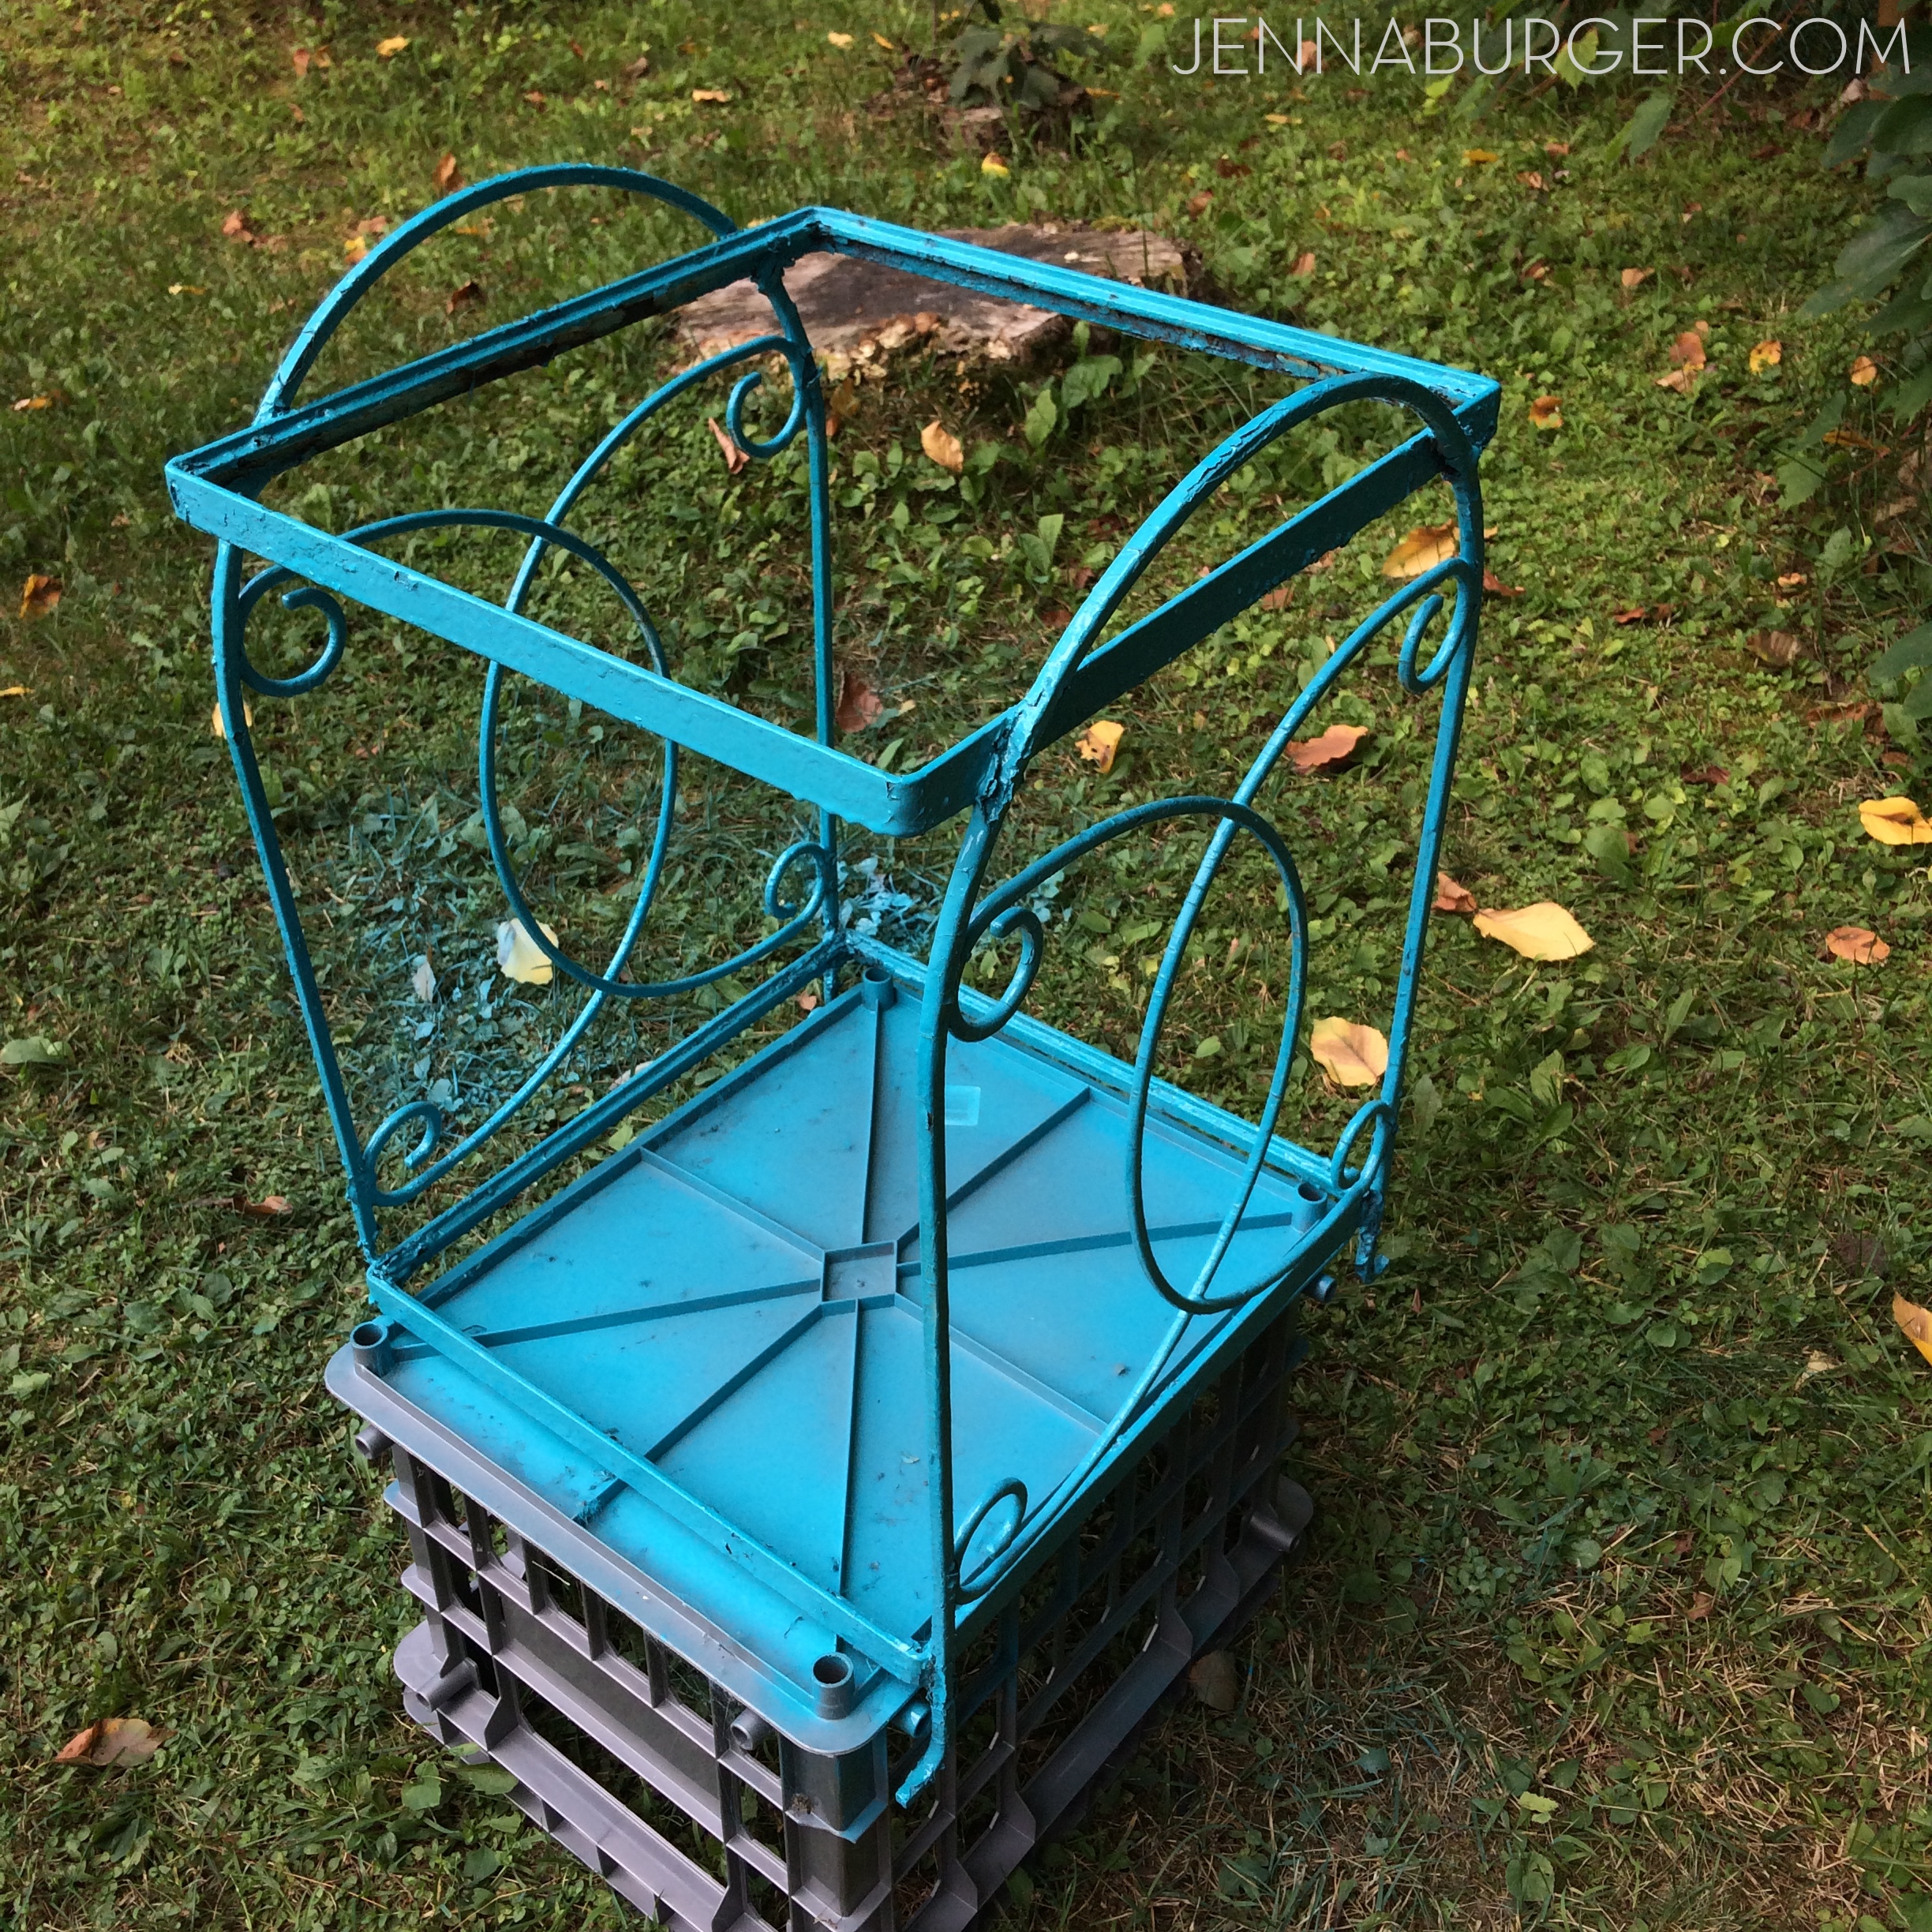
Then, I applied one coat of primer to all the surfaces to allow for a good base before painting.

All primed and ready to paint!

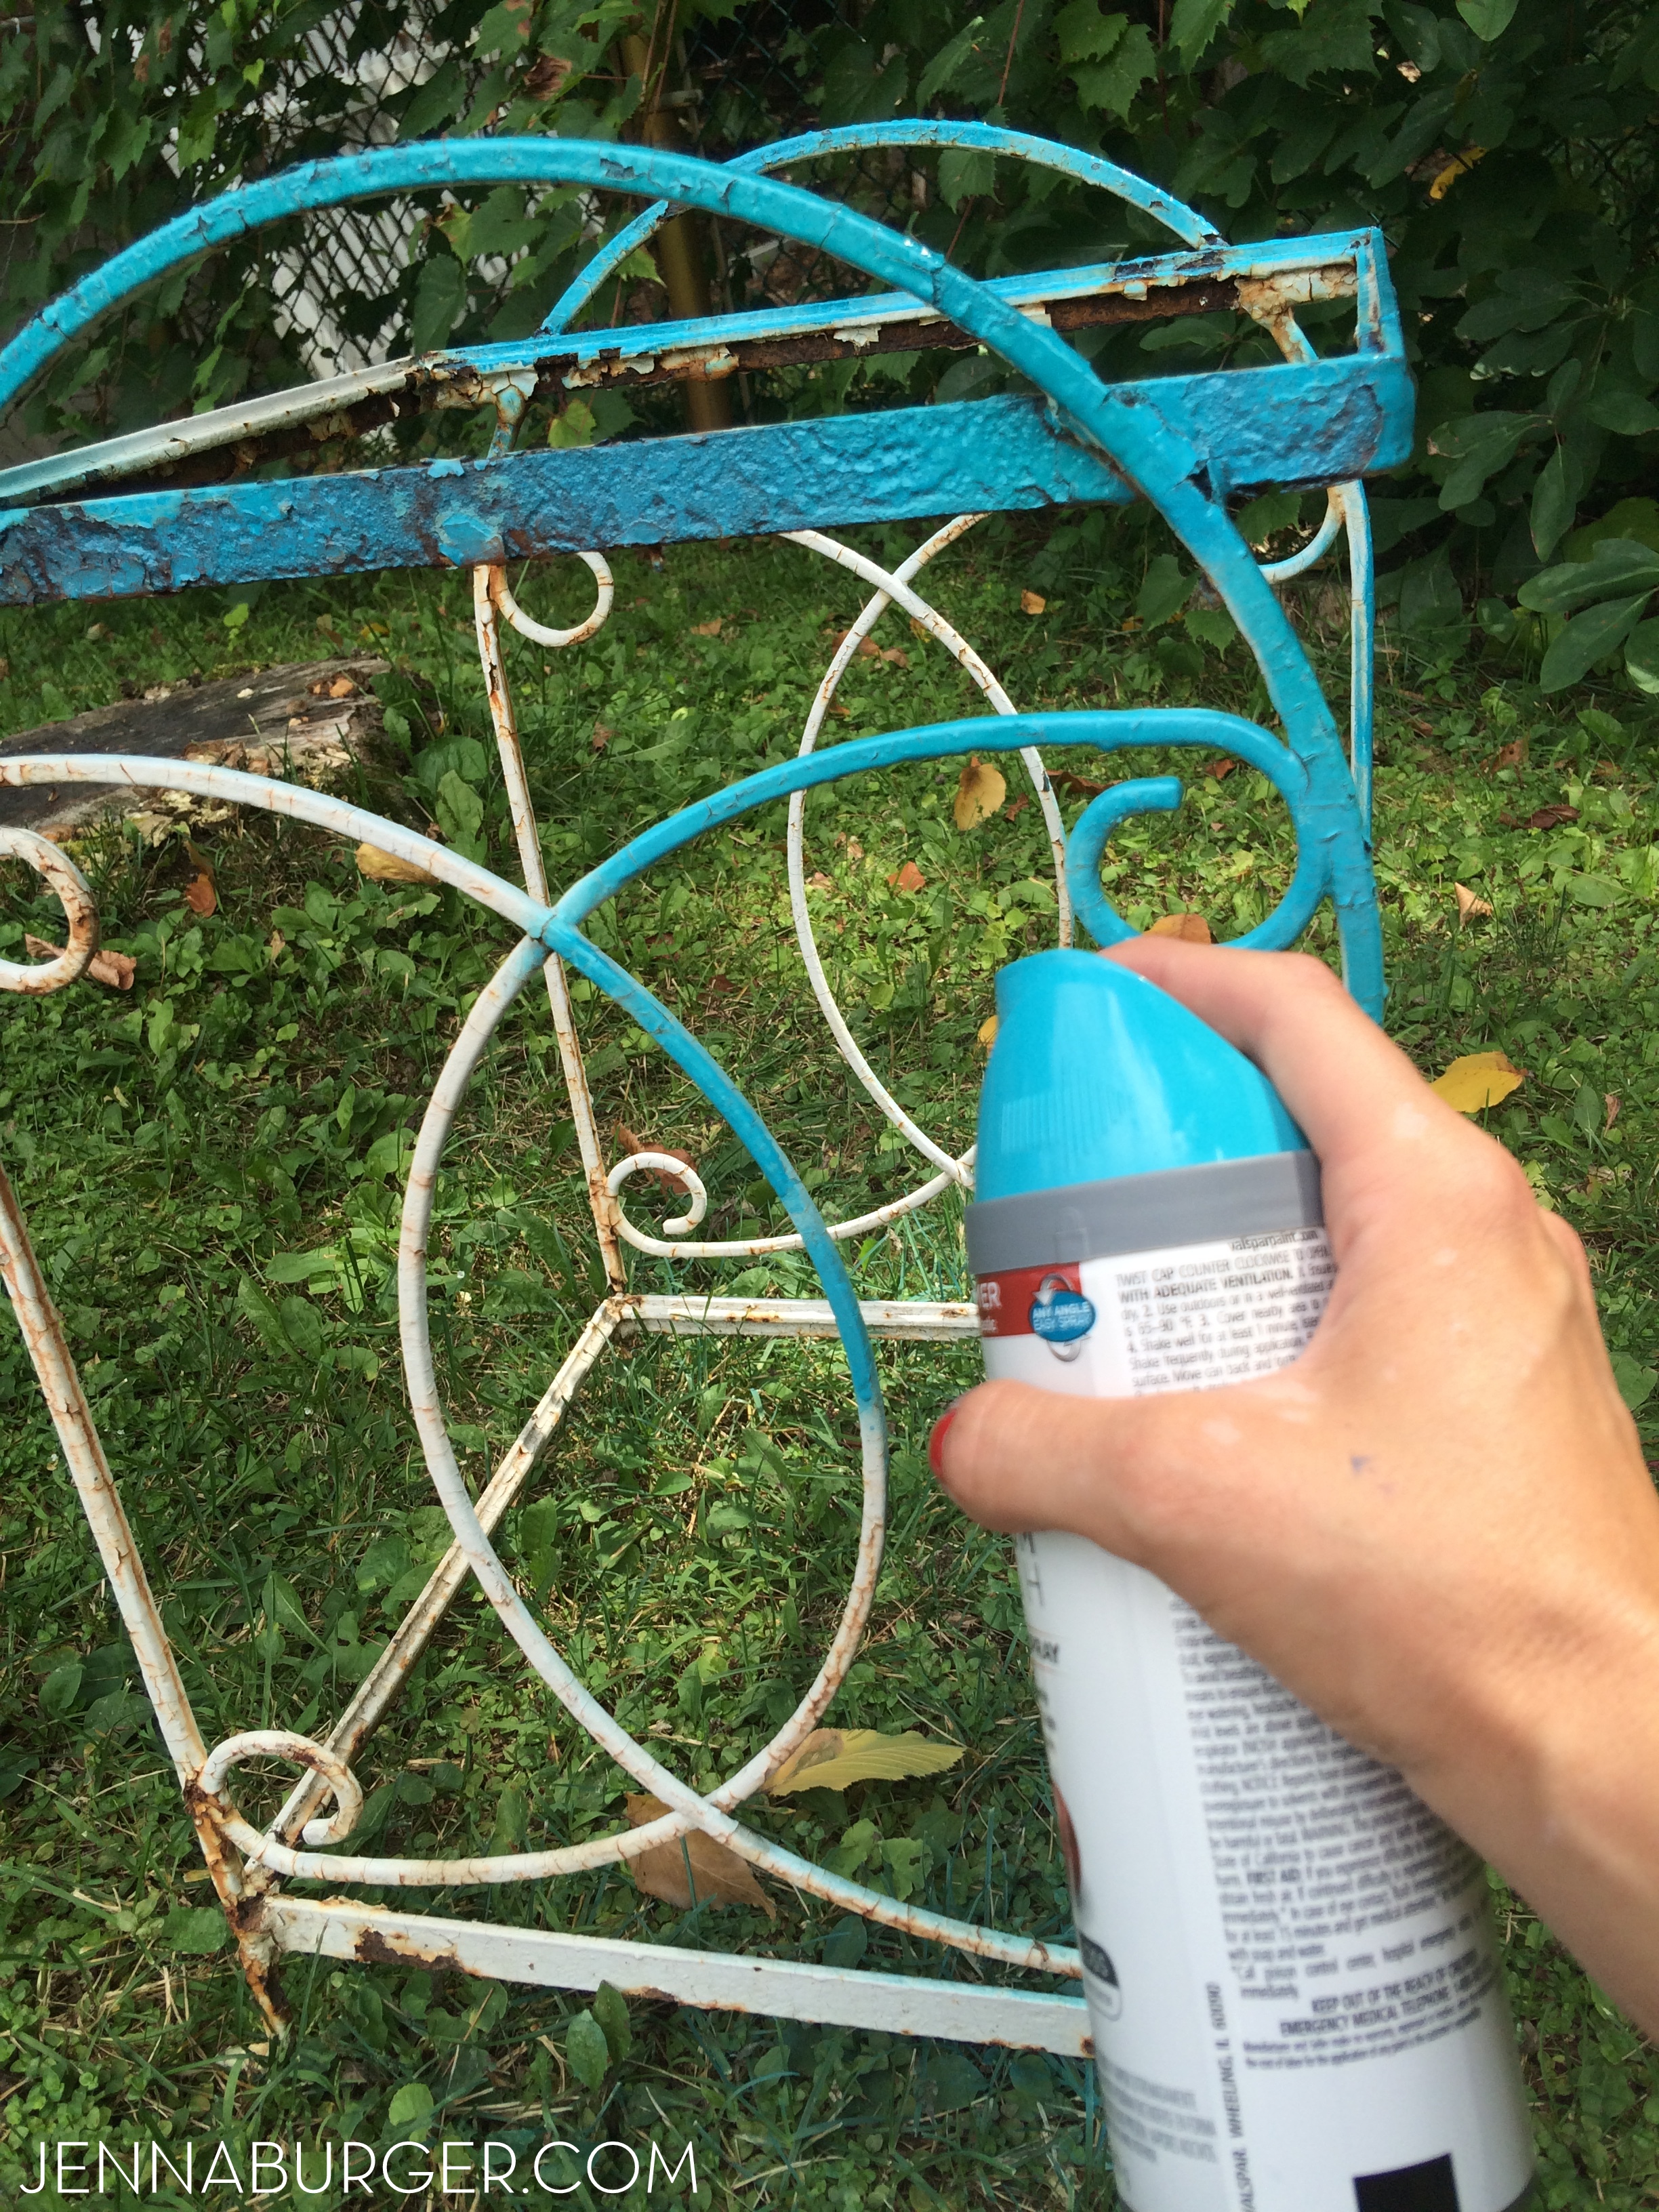
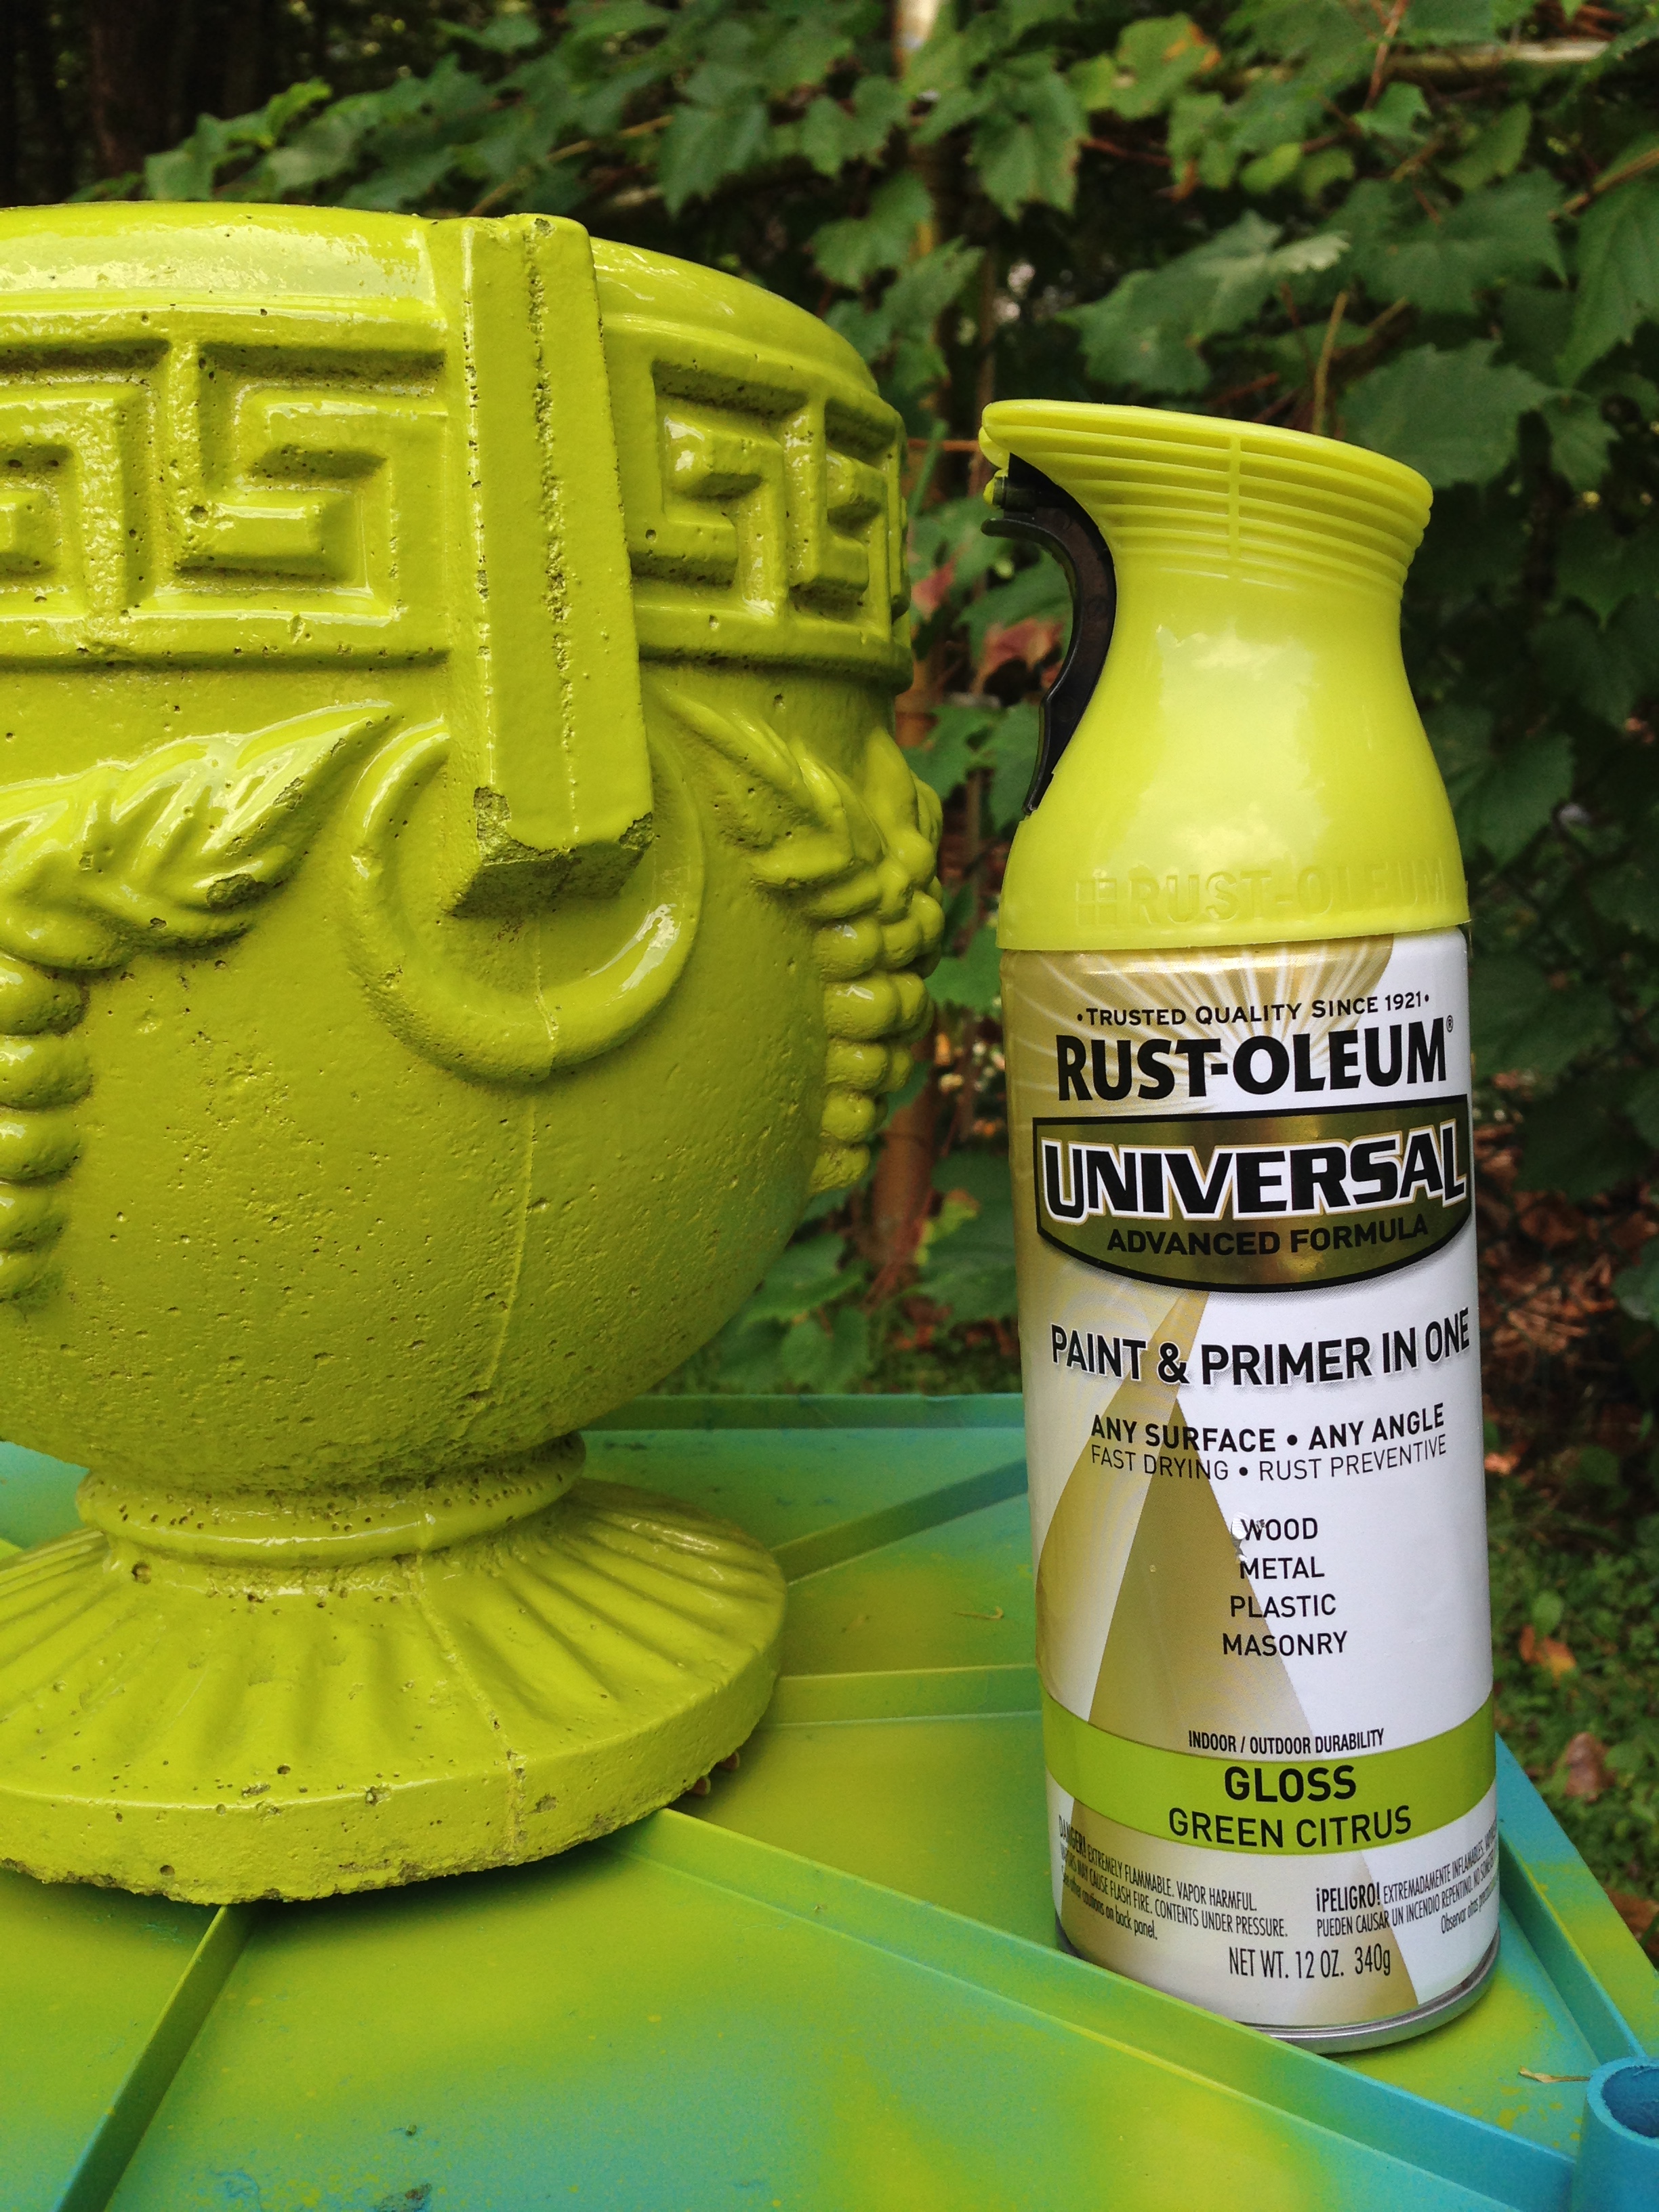
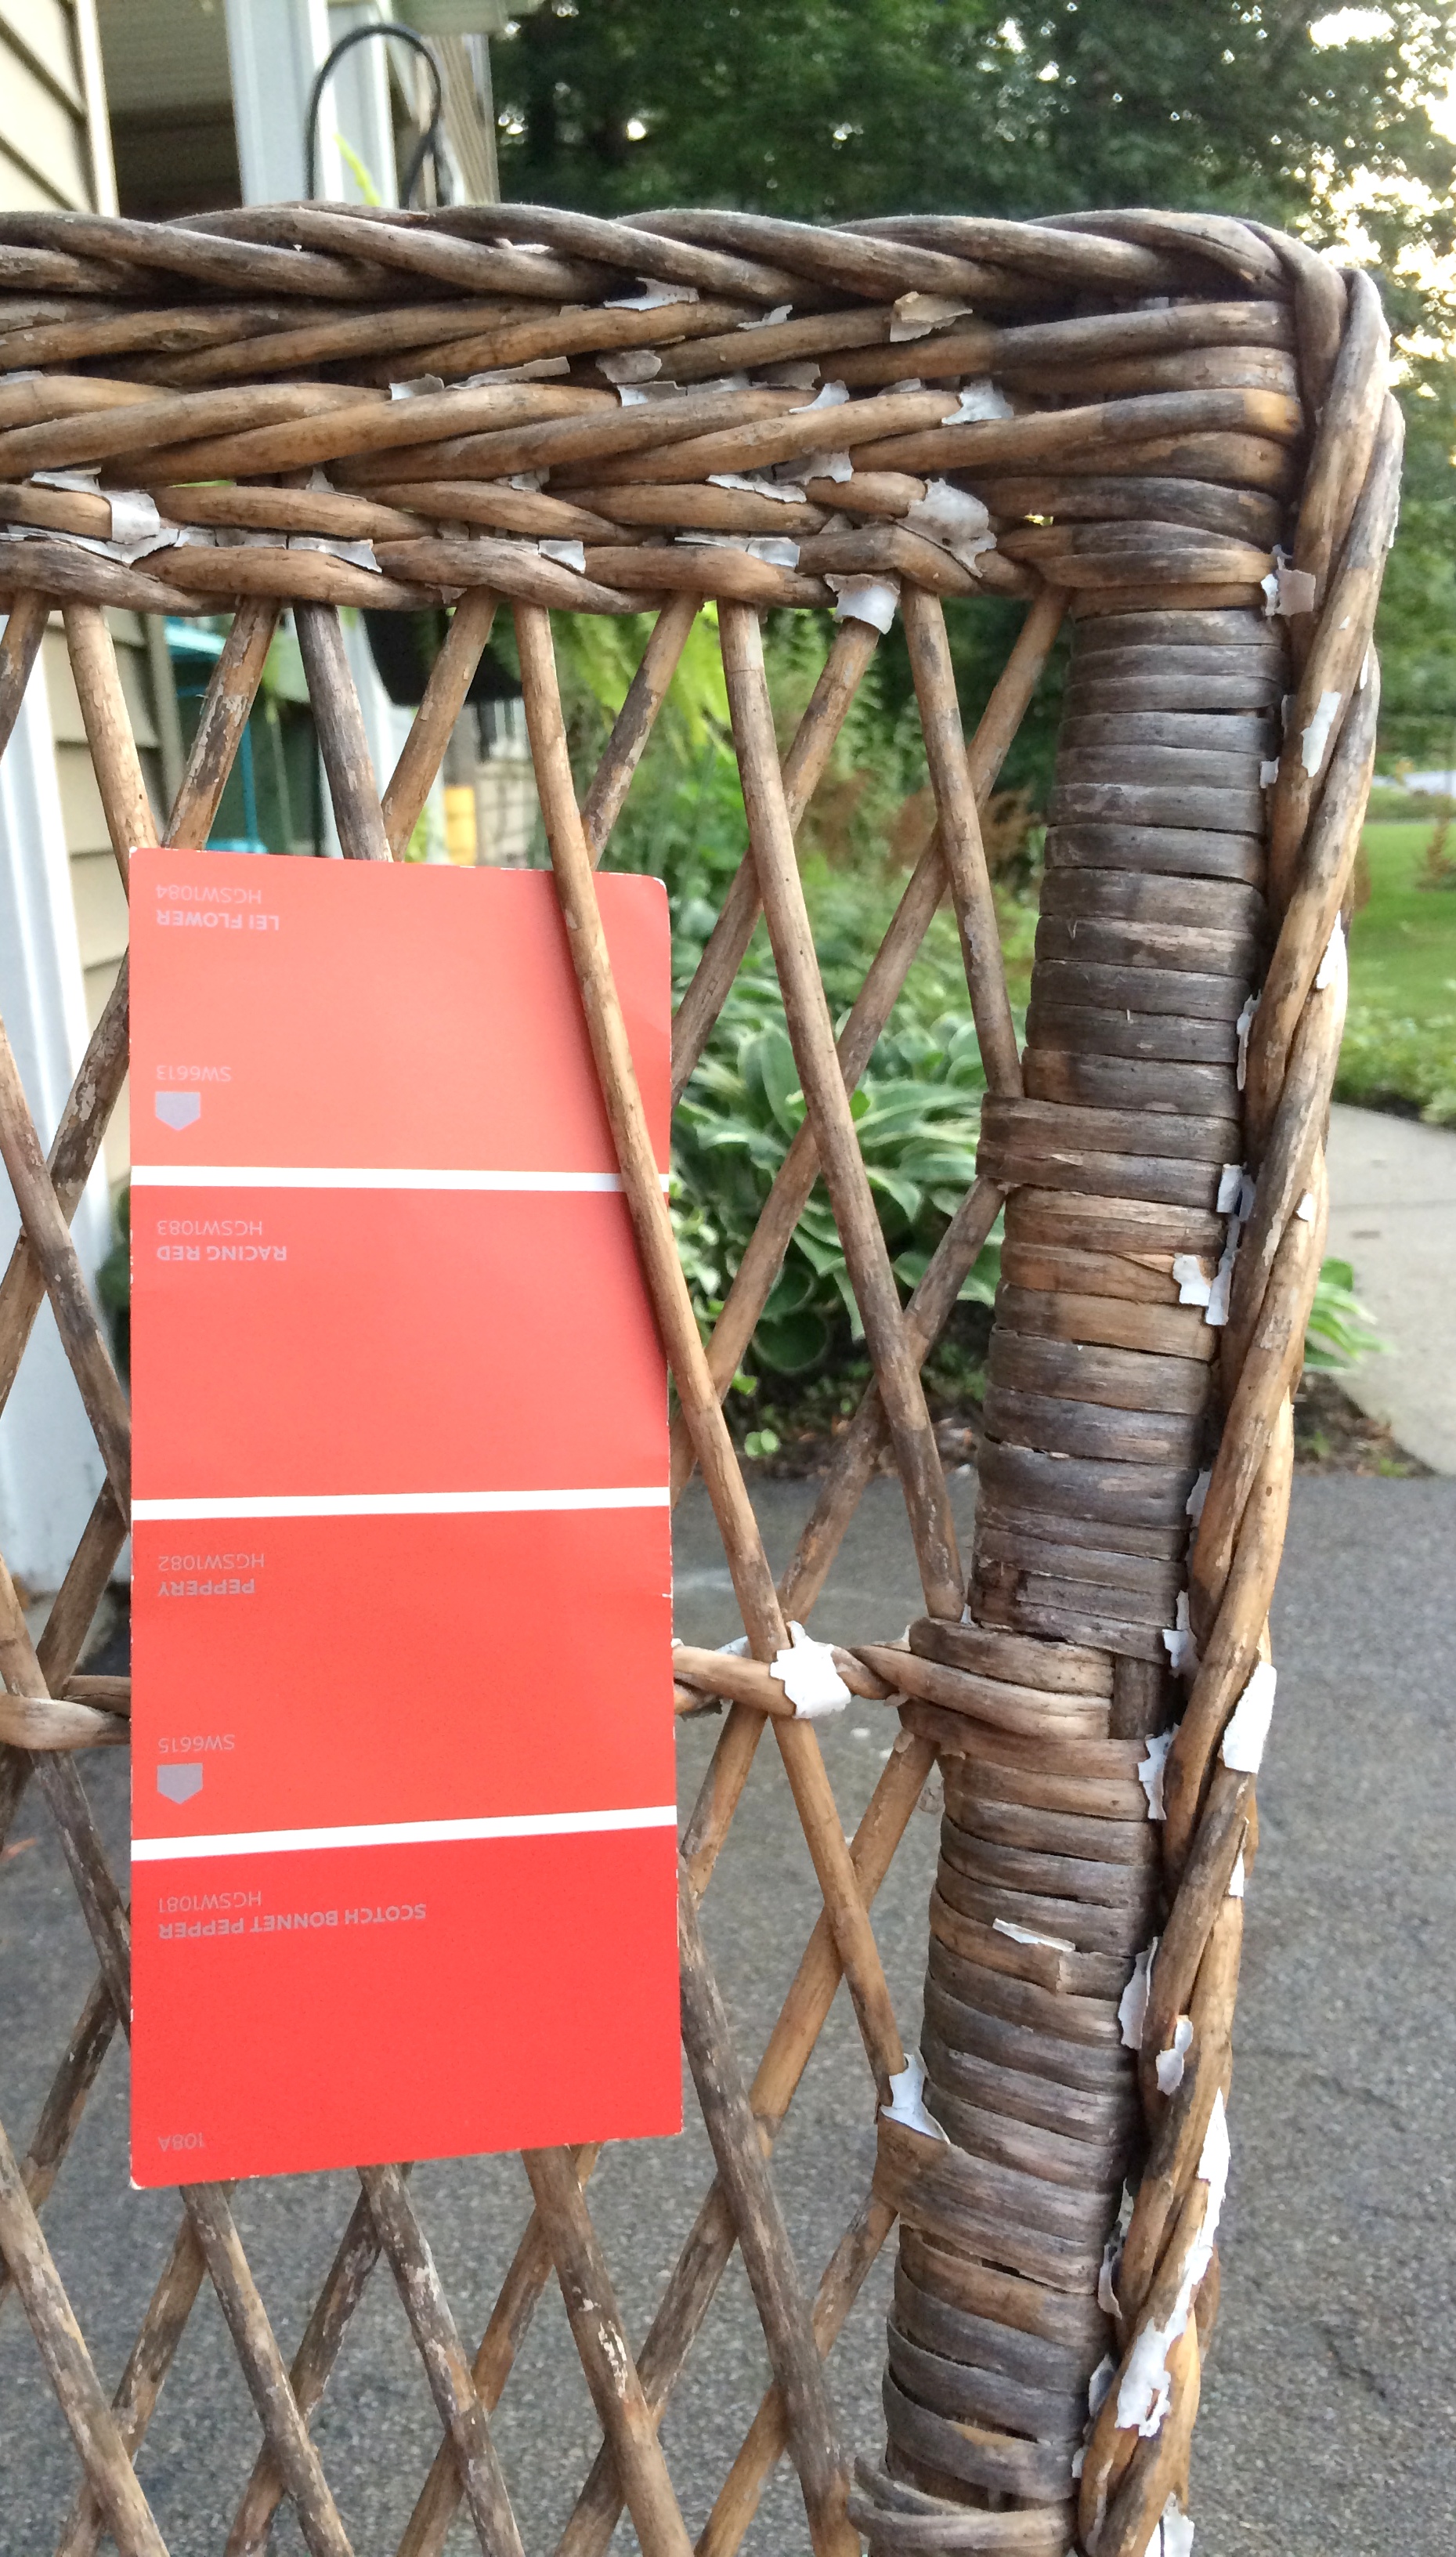
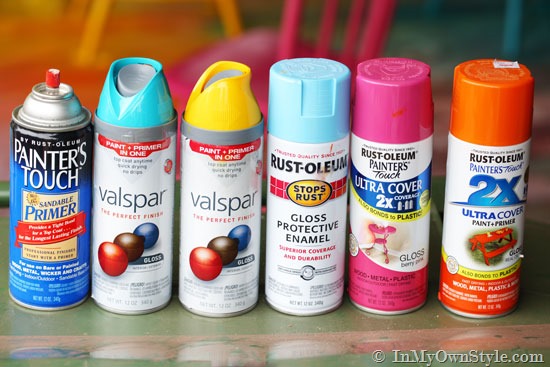
I was originally going to paint the spoon rack the same color as my kitchen cabinets, since my plan was to put the rack in the adjacent room, and the two spaces would tie together.  After giving it some thought, painting it would have been ALOT OF WORK.  So spray paint was the answer.  Thin, Slow, Even Strokes always leads to spray painting success!

My spray paint color of choice for this project? Thorny Brush in Satin (a taupe hue)

After completely spray painting the frame, I tackled the glass door.  This was a little trickier, but using painters tape around the edge and foil in the center, I was able to spray paint the outer edge without getting any paint on the glass. Once it was dry, I ripped off the tape (carefully, of course).

**CONFESSION** ~ I should have taken my own advice.  At first, I DIDN’T use foil for the center and after putting on the tape, just started spray painting.  SHAME, SHAME. Paint got on the glass.  THANKFULLY, I have a quick fix = Brillo and a sharp knife.  Using an abrasive brush or pad (like Brillo), gently scrub the paint off the glass, but steer clear of the edges.  For those tough parts, a sharp knife is perfect to scrape off the paint.

The last step to finish up this spoon rack overhaul was to change the fabric back.  Originally, I thought about using a bright color, then I thought about a fun and funky fabric, but in the end I wanted the spoons to “speak”, so decided on a quiet linen fabric.

What a change!  Once it was complete, I gave a HUGE *sigh* of relief!!  The spoons got to go back to their home.

It’s complete and hung on the wall {happy}!

Throughout the process, I quietly cursed a few times and bit my fingernails alot, but in the end, I am quite happy with the result!  I’m proud of myself for taking a chance on something that I was so unsure about.

Have you transformed or upcycled any projects recently?  Have you ever changed a piece of furniture or decor that you truly treasured? and if so, what was the result?

I link my projects to some of these parties: Skip to My Lou, Dittle Dattle, Between Naps on the Porch, Today’s Creative Blog, Stories of A to Z, All Things Heart & Home, Savvy Southern Style, House of Hepworths, Finding Fabulous, Creation Corner, The Shabby Nest, Tatertots and Jello, Thrifty Decor Chick, Under the Table & Dreaming