Tag: Upcycle

Trash To Treasure: Upcycled Light To Vase

Sometimes the most unlikely objects can turn from trash to treasure.

Trash to Treasure: Upcycled Light to Vase created by @Jenna_Burger, sasinteriors.net

As we’ve been changing the light fixtures throughout our home over the last 3 years (I’m pretty sure every. single. one. has now been updated), most went straight to the curb.  A few weekends ago when the last old, brassy light came down in the upstairs hallway, it was half way to the trash, until I had a thought…

Could I upcycle it into something else?  But what?? A cloak?  Another light?  A vase?  Should I spray paint it or leave it brass?  Lots of thoughts were brewing.

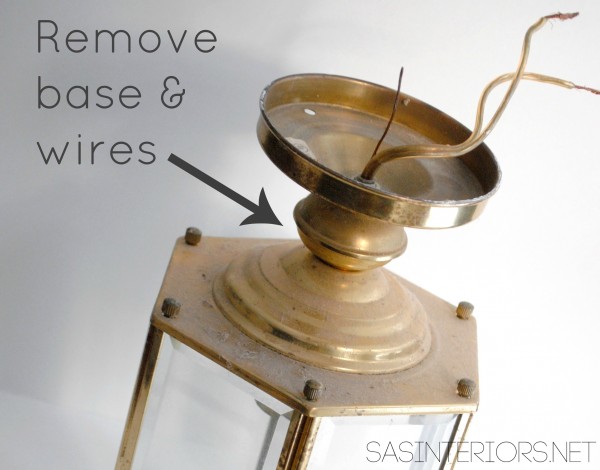
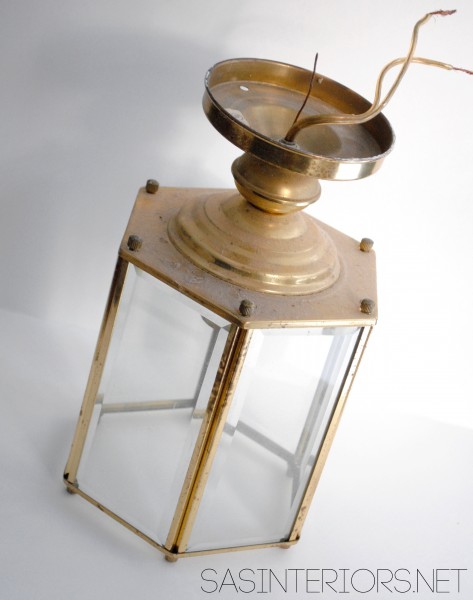
Of course, I forgot to take a pick of the light in it’s old home, but here’s what it looked like right after taken down from the ceiling.

Dust and all…

Trash to Treasure: Upcycled Light to Vase created by @Jenna_Burger, sasinteriors.net

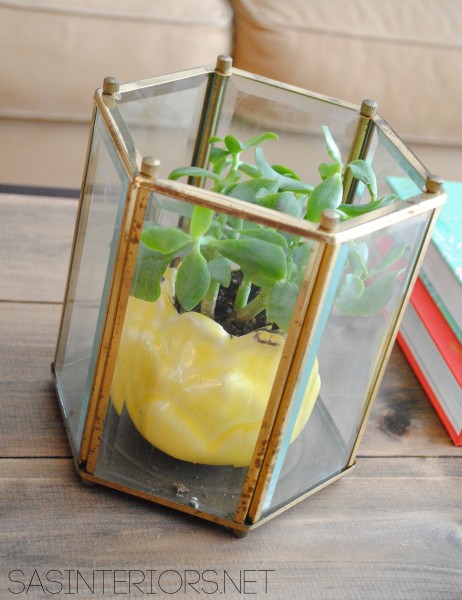
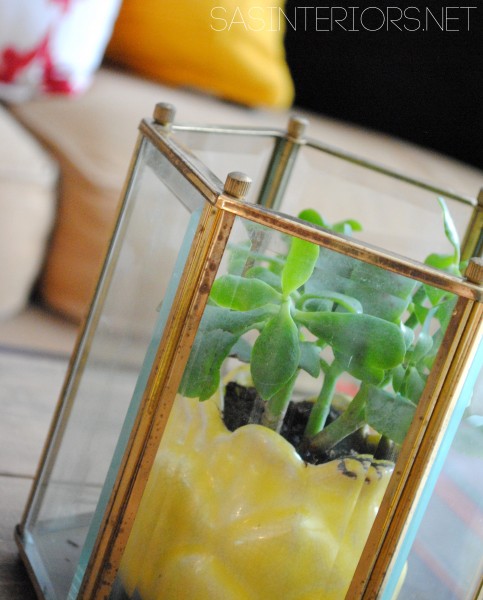
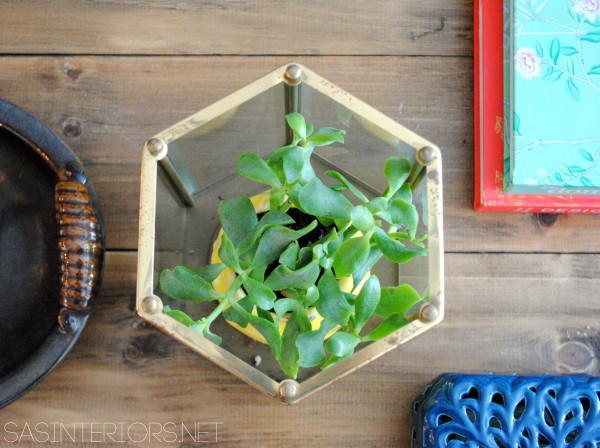
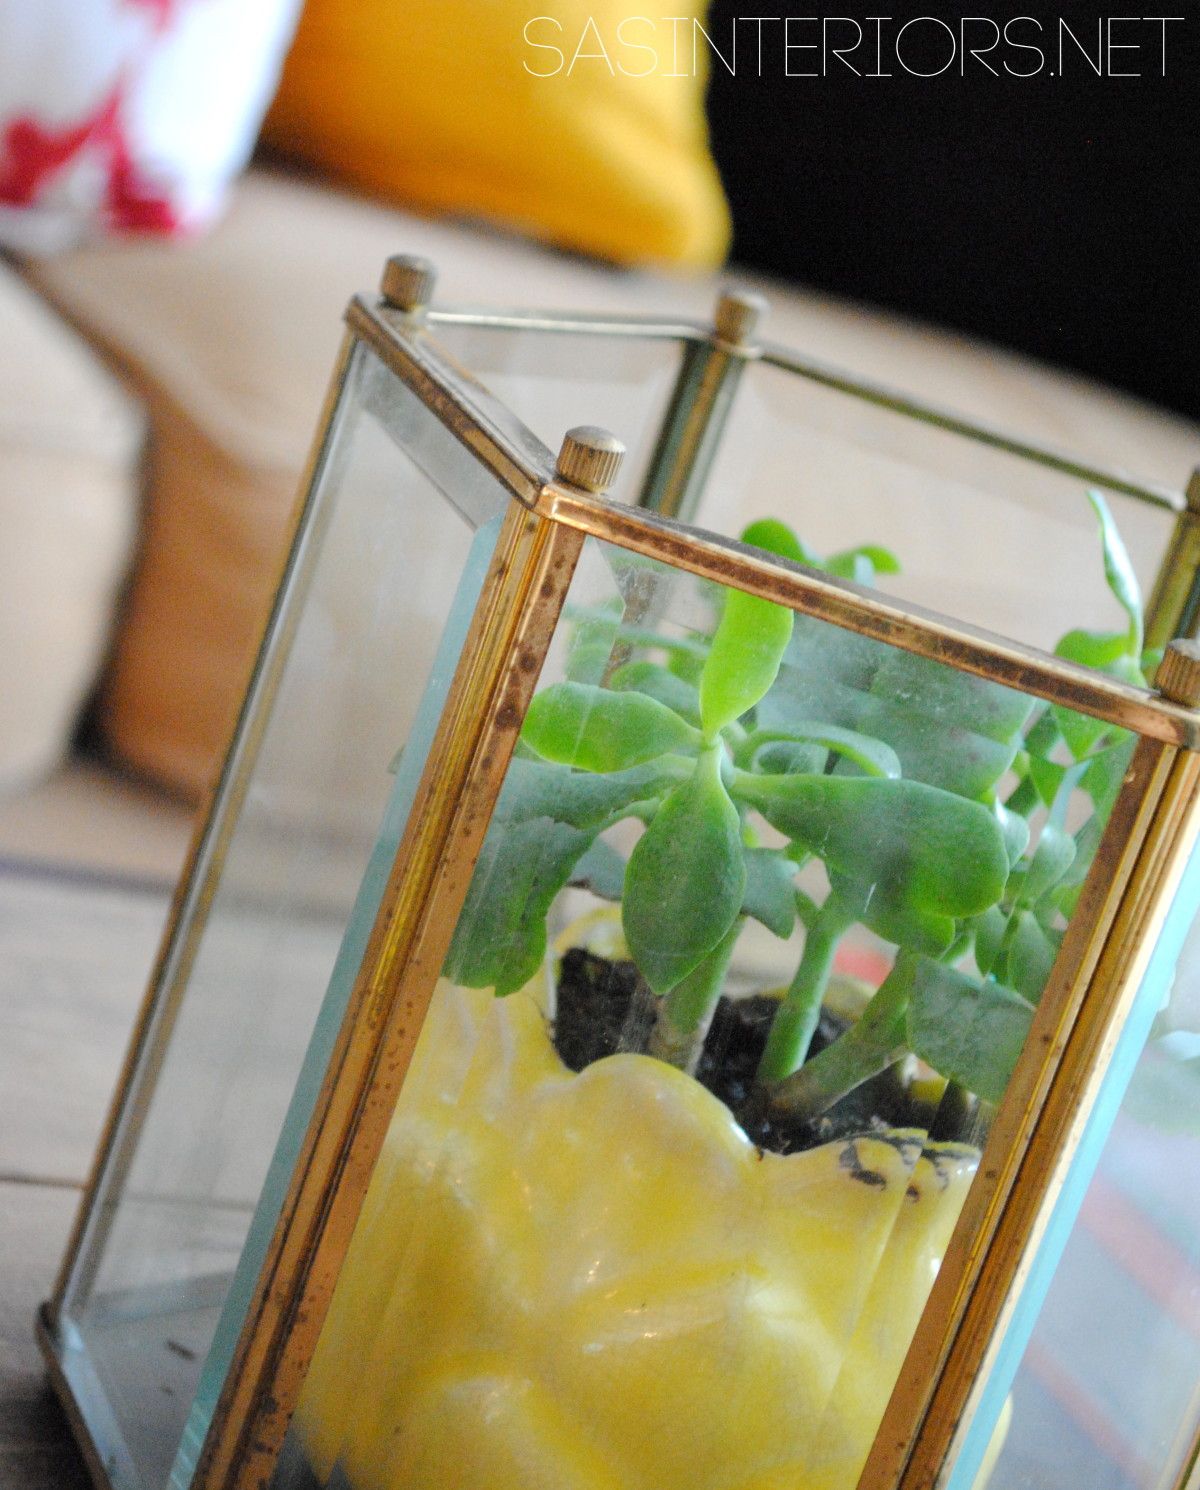
After giving it a good scrubbing, I decided to leave the brassy finish (I liked the warm hue) and use it as an accessory to hold a vase.  A vase within a vase.  Yes!  Perfect!

I removed the base (which I was going to you as a candle stick, but it all fell apart), as well as the wires.

Trash to Treasure: Upcycled Light to Vase created by @Jenna_Burger, sasinteriors.net

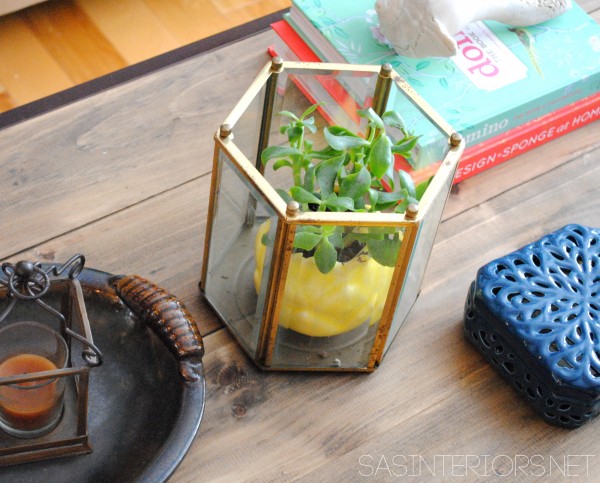
And then within minutes it went from ugly to this treasure…

Trash to Treasure: Upcycled Light to Vase created by @Jenna_Burger, sasinteriors.net

O, you know how I love to spend $0 and shop my home!

Trash to Treasure: Upcycled Light to Vase created by @Jenna_Burger, sasinteriors.net

Trash to Treasure: Upcycled Light to Vase created by @Jenna_Burger, sasinteriors.net

Trash to Treasure: Upcycled Light to Vase created by @Jenna_Burger, sasinteriors.net

I’m in love! Such a silly thing made into something spectacular.  For now it sits on the coffee table, but I’ve got other ideas for my new found treasure.  We’ll see where my thoughts and ideas take me…

What items have you upcycled in your home?  How have you made treasure out of trash?

I link my projects to some of these parties: Skip to My Lou, Dittle Dattle, Between Naps on the Porch, Today’s Creative Blog, Stories of A to Z, All Things Heart & Home, House of Hepworths, Finding Fabulous, The Shabby Nest, Serenity Now, Tatertots and Jello, Thrifty Decor Chick, Tip Junkie
 

Glass Bottle Turned Candle

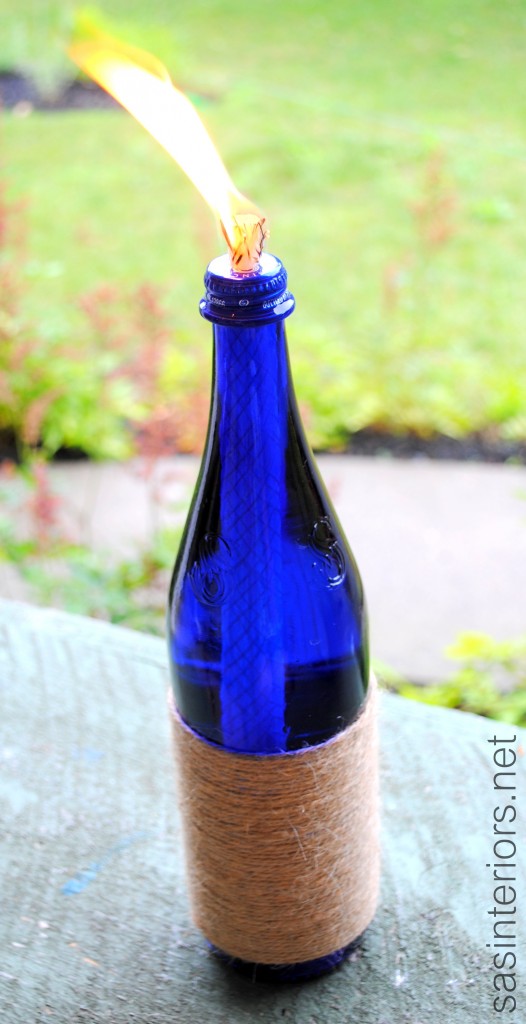
I’ve been working on so many big projects lately (like the stairs, painting, and this chair) that I wanted to take a quick break and create something super quick and easy to share with you. One of my favorite drinks, especially in the summer, is Saratoga Sparkling Water. Since I live in the town where this water is manufactured, it’s available most everywhere and everytime I see the gorgeous cobalt blue bottle, I just stare at it’s beauty.

I never get the nerve to throw the bottles away and have been stockpiling them in my garage waiting for a DIY project to pop into my head. And finally, here’s my first creation with the blue beauties…

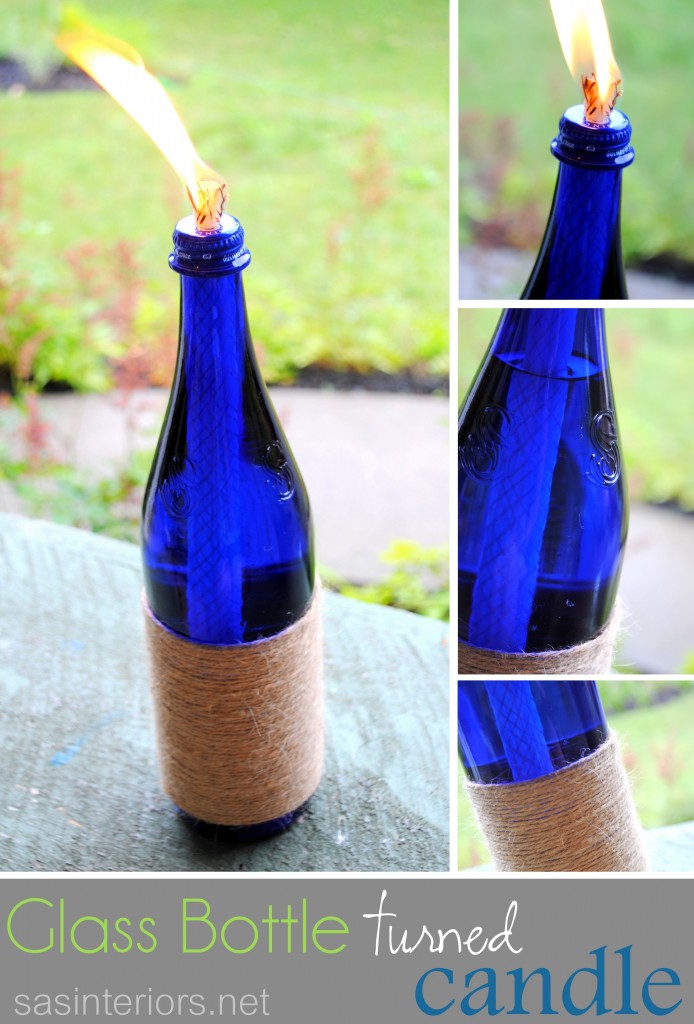
Cute, right?  And it’s uber-easy to make.  Here’s how…

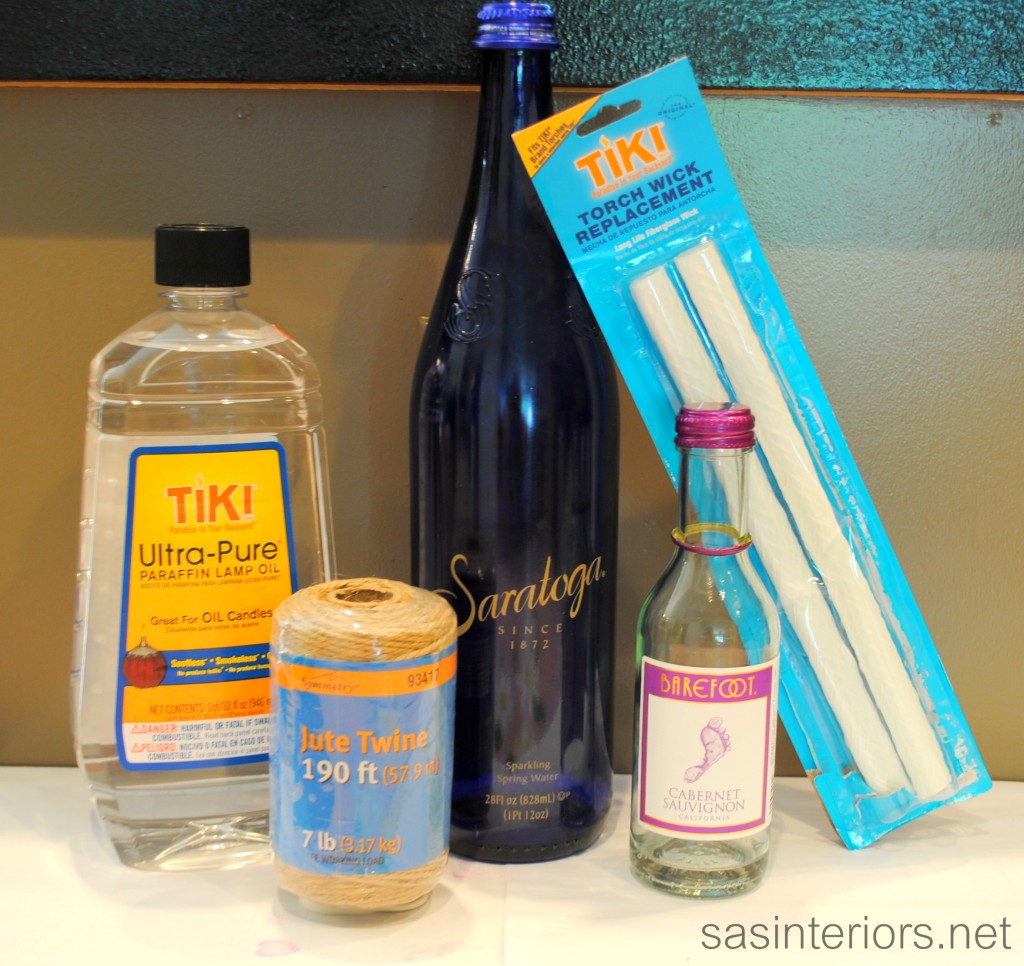
I started off with:

  • my used Saratoga Sparkling Water glass bottle with screw on top *
  • Lamp oil or citronella oil
  • Large Wicks (I found these replacement wicks for tiki torches at Target)
  • twine
  • hot glue gun
  • drill

* other glass bottles like wine bottles, spaghetti jars, mason jars, etc could also work to create this type of a candle. (check out the small Barefoot wine bottle in the pic below)

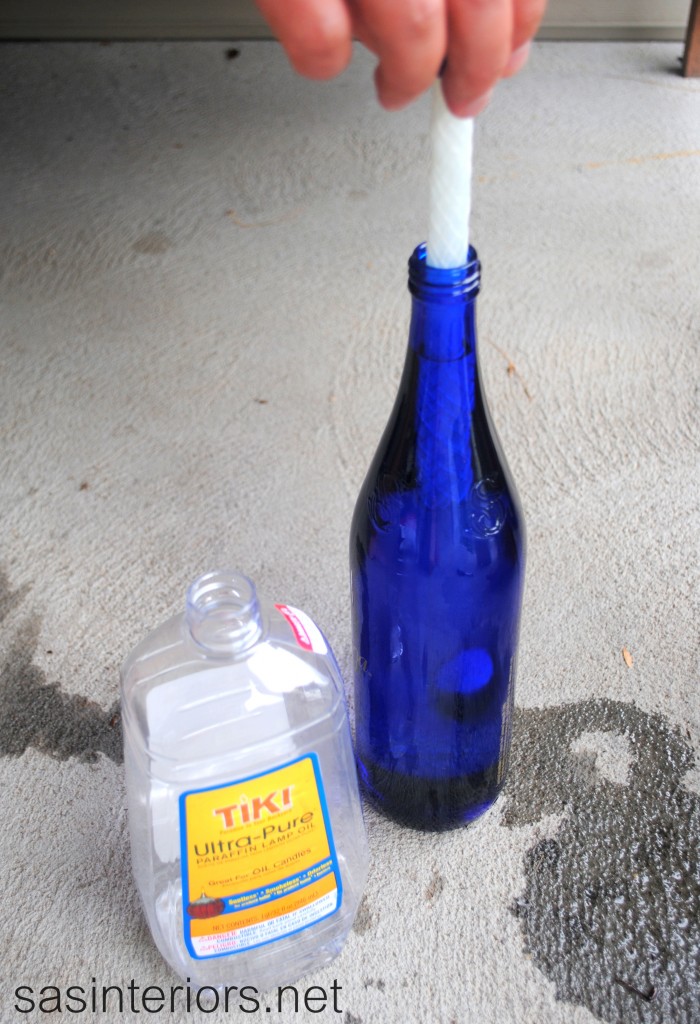
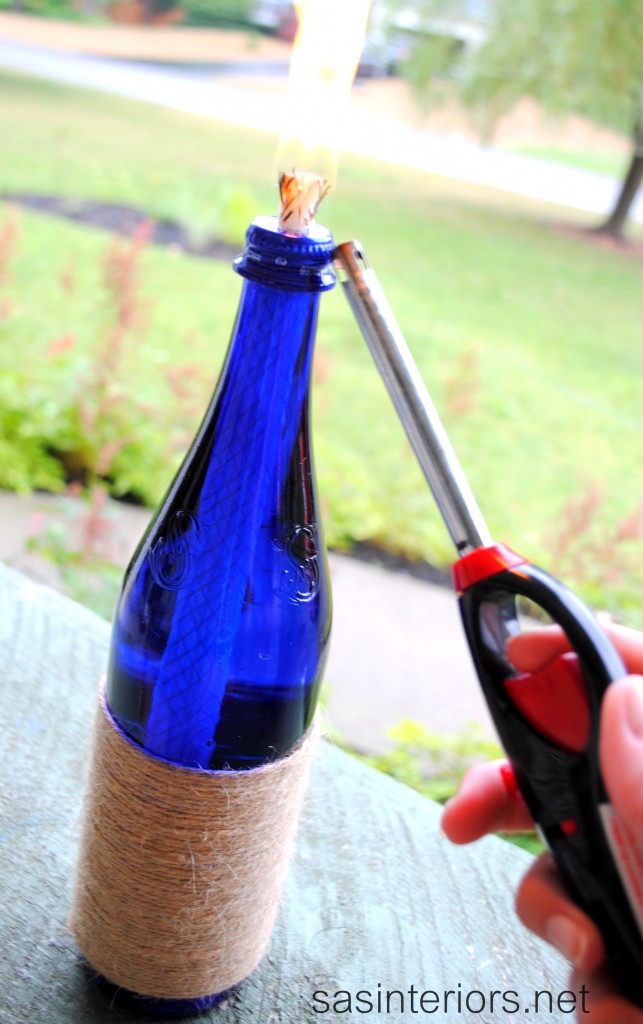
Once I was finished drinking my sparkly, I had the Mister drill a hole in the bottle cap (sorry no pic here because he did it while I was out n’ about).  The hole should be slightly smaller than the wick so it fits snugly. Once the hole is drilled, the wick went in.

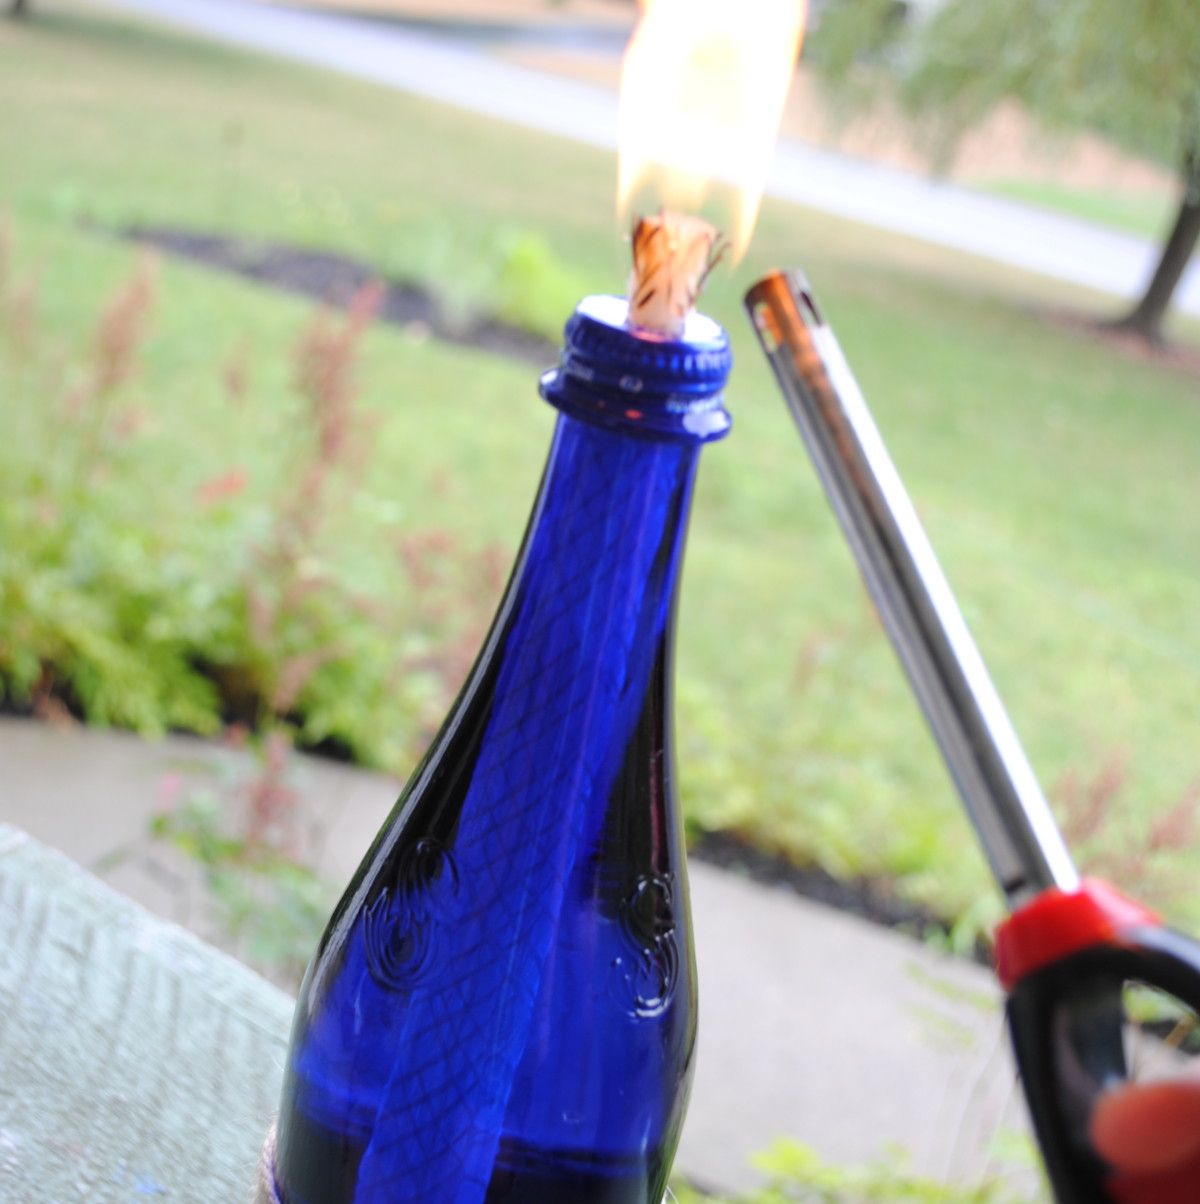
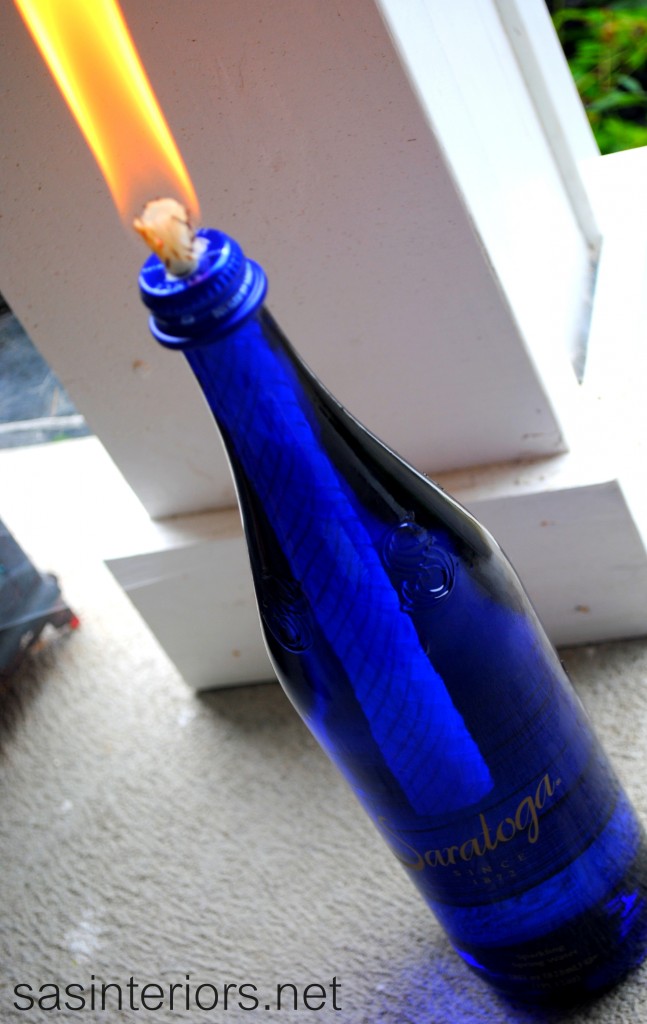
We then filled up the glass bottle with the lantern oil and tested out the new candle.

And it worked!

Then it was time to add some bling (nautical bling, not diamond bling).  I love the Saratoga lettering, but decided to add some rope as an accent.  I’m probably the only DIY blogger who hasn’t created something using rope, so here it goes.

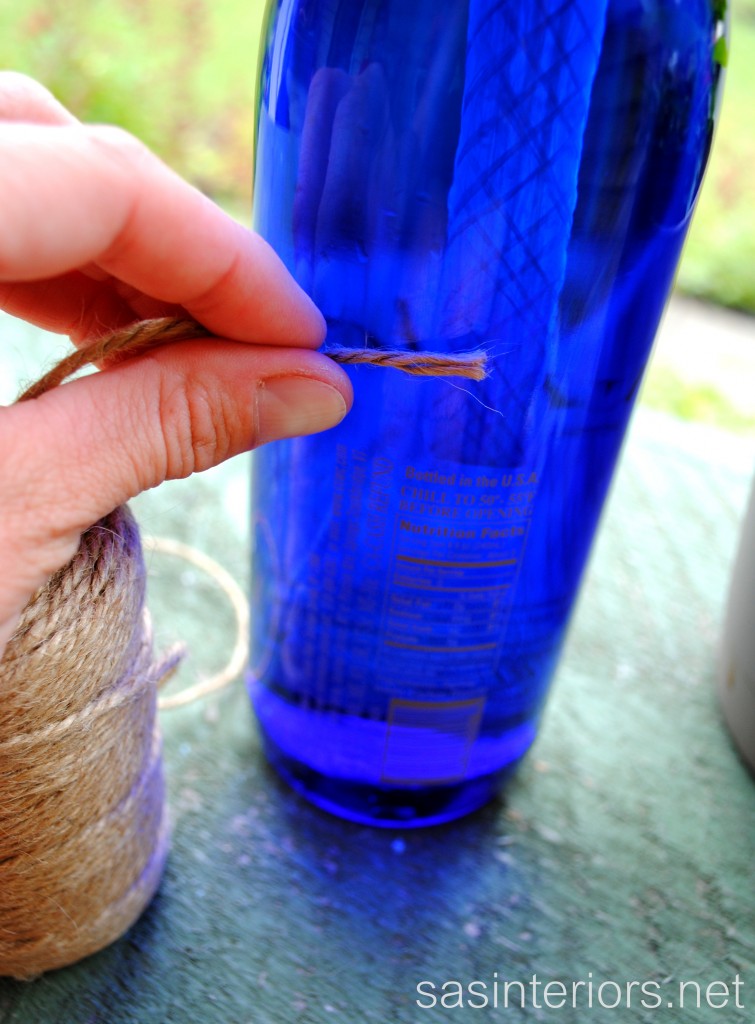
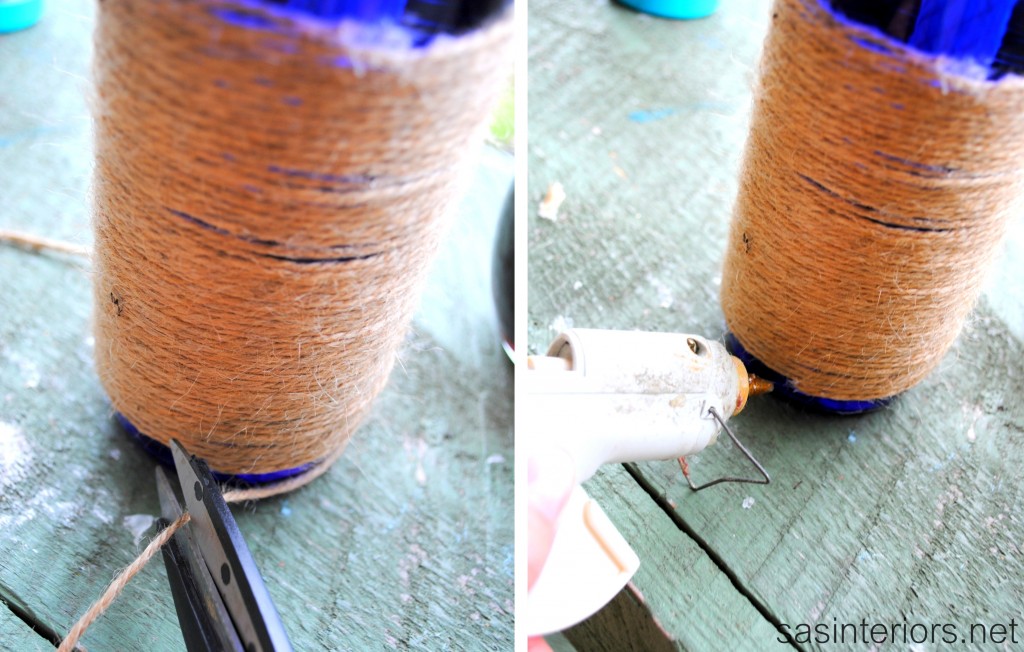
Starting at the back of the bottle, I added a small dab of hot glue and attached the end of the rope.

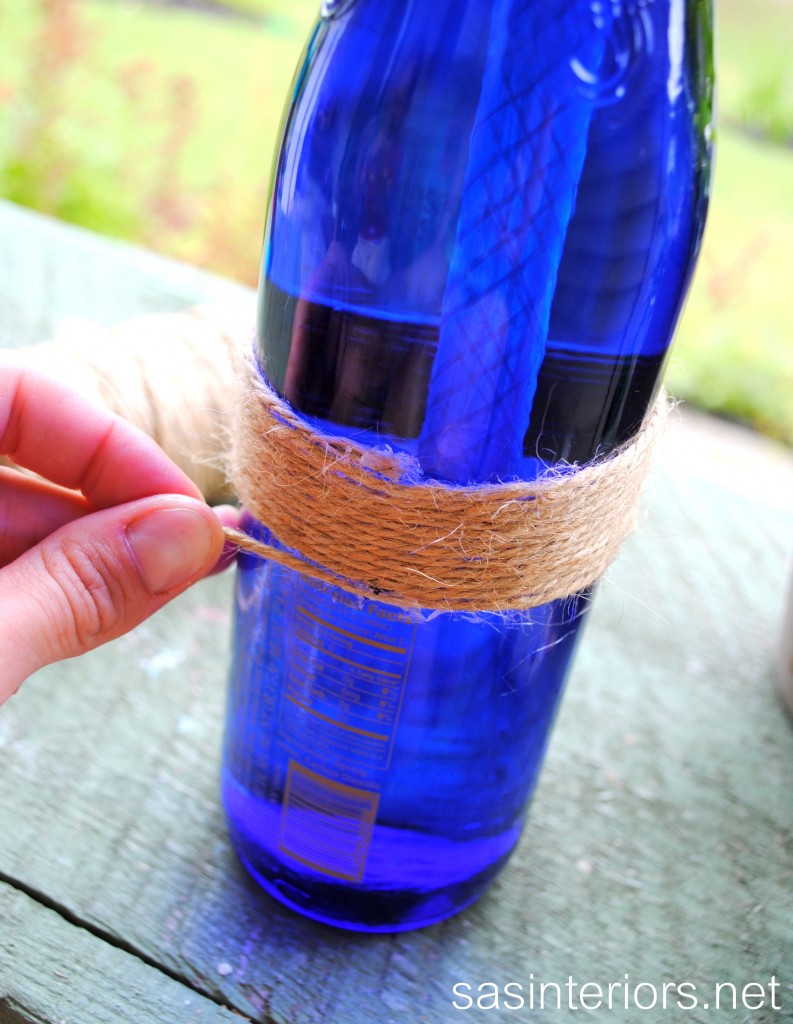
I continued the rope around and around and around…

…and then once I was at the end, I trimmed the rope and added another dab of hot glue.

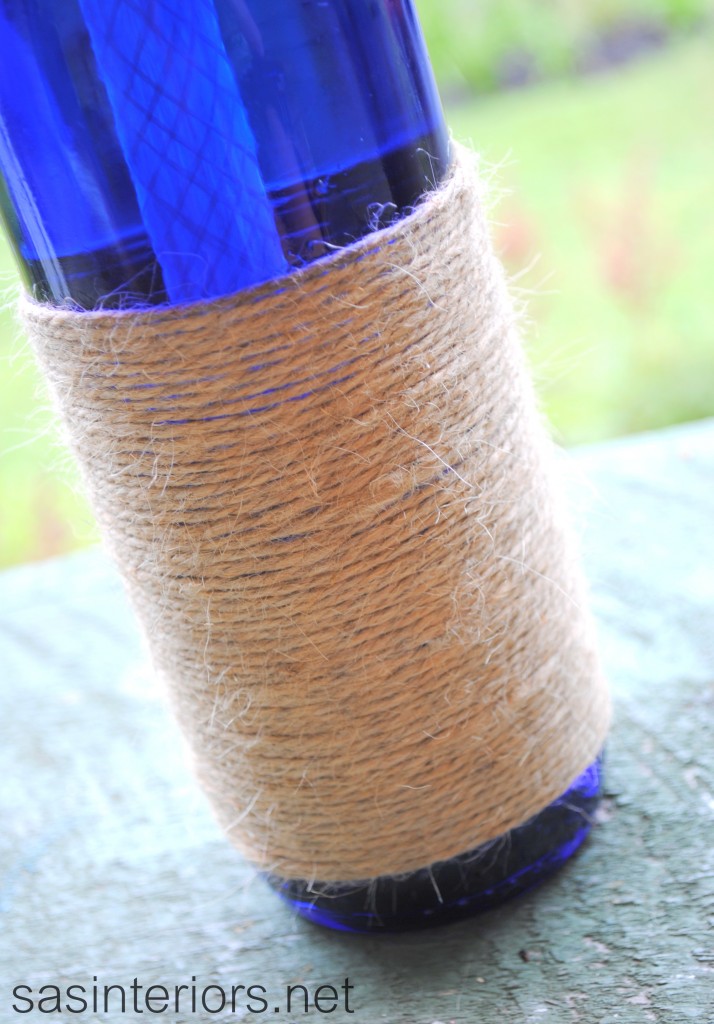
Complete and ready to enjoy!

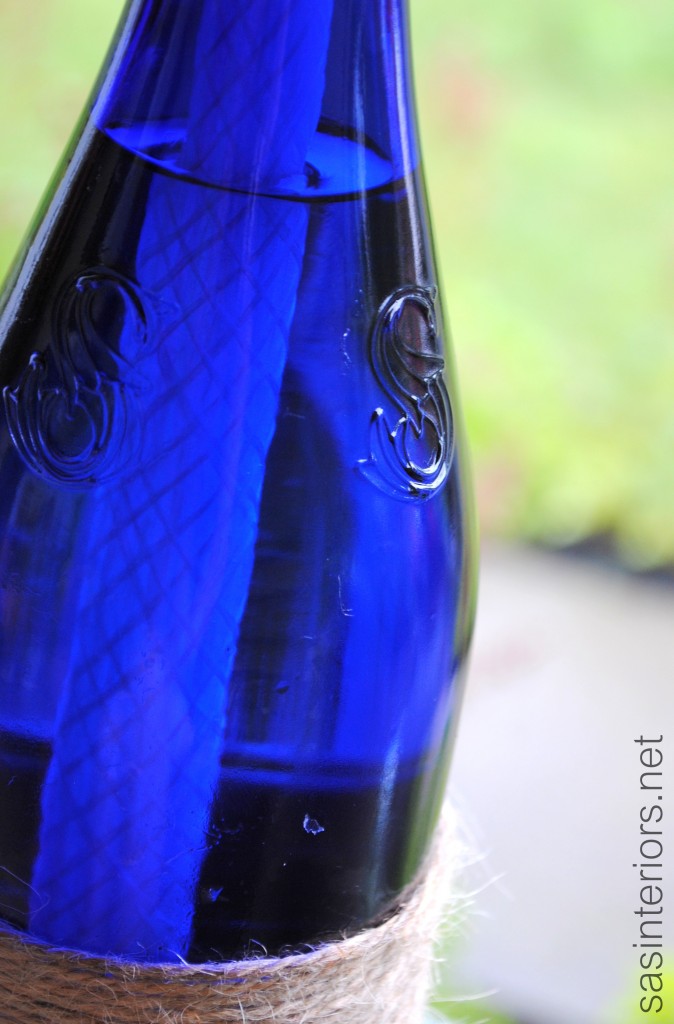
And here are some details…

Pretty simple to create, right?!

Have you ever upcycled a glass bottle or wine bottle?

I link my projects to some of these parties: Skip to My Lou, Dittle Dattle, Between Naps on the Porch, Today’s Creative Blog, Stories of A to Z, All Things Heart & Home, Savvy Southern Style, House of Hepworths, Finding Fabulous, Creation Corner, The Shabby Nest, Tatertots and Jello, Thrifty Decor Chick, Tip Junkie
How to Make a Pallet Bookshelf

What a week it’s been!  Is it really March already?  I’m still in February!  I really thought I would have the bathroom complete by now to reveal today, but (I know, here it comes) it’s not done – boo hoo.  It’s 95% there, but the finishing touches are still needed, and that’s always the most important part.  So sorry to say, you’ll have to wait a few more days… you don’t mind, right? Instead, I have a fun, easy, and unique DIY project to share with you.

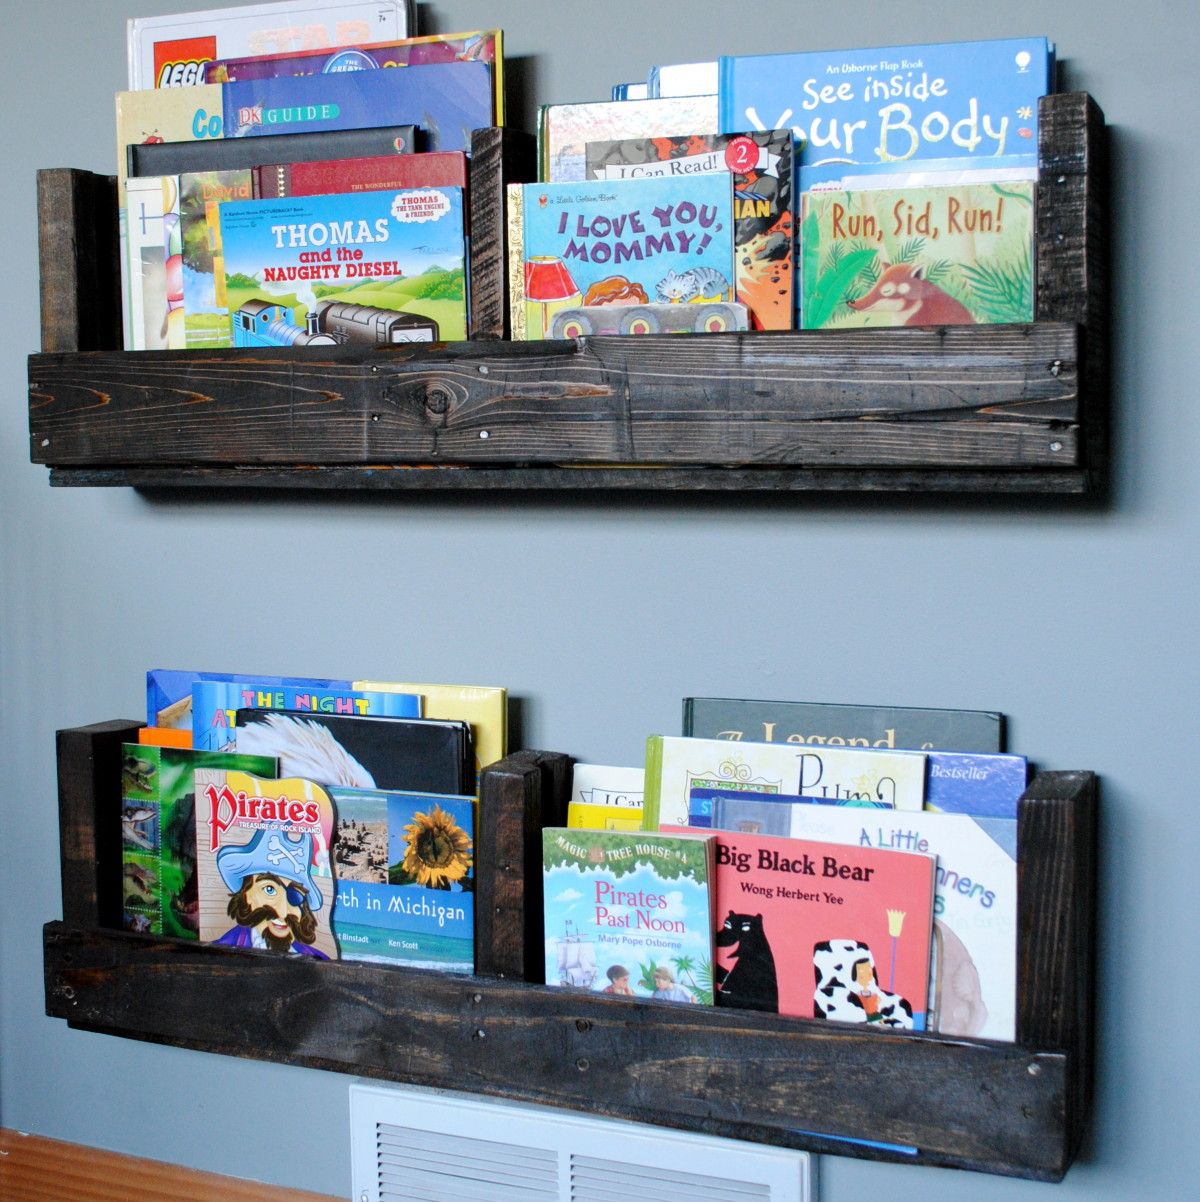
In the midst of my son’s room makeover, the bookcase he had wasn’t fitting anymore, but he still needed something to hold his many of books.  I had wanted to make shelves from old pallets for a long time, so this was the perfect opportunity.  I’ve seen alot of pallet bookshelves around the blogosphere, but hadn’t seen a tutorial (not that I searched long and hard either), so here we go…

After finally snagging a few pallets from my local hardware store, I was ready and working.  Depending on the pallet you find / pick up, you can get two bookshelves from one pallet.  Each end of the pallet is one bookshelf.

Duration of Project: 40 minutes (staining or painting will increase duration of project and may take longer than one day to complete)
Project Difficulty: Easy to Medium
How Many People Needed: 1

1. Remove / pry off the center wood strip(s) from the pallet (as shown in the above image), using the back of a hammer or crowbar.  This wood strip(s) will be reused for the bottom of the bookshelf.  Pallets come in a few difference sizes, so yours may have 1 or multiple center wood strips.  My pallet only had one, so I had to use a wood strip from another pallet to create the bottom for my second bookshelf.

2. Reuse the center wood strip and attach it to the side of the pallet, which will soon be the bottom of your bookshelf.  I reused the nails that were already in the wood strip, but you may need / want to use new nails.

It’s time to cut the wood to create the bookshelves!

3. Measure about 1-2″ above the higher wood strip and make a mark for your cuts.

4. Using a jigsaw, make your cuts.

5. Once the cuts are done, your bookshelf is essentially complete.

6. Sand down all the sharp edges using a hand sander or power sander.

7. Stain.  I used Minwax Jacobean stain for a dark look.  The wood was quite porous, so it soaked it right up!

8. Once completely dry (it took mine a few days to completely dry and not smell anymore), they were ready to hang. To hang the pallet bookshelves, I used Self-Drilling Drywall Anchors which are great to use when you can’t find a stud (never my strong suit).

And they’re ready to fill with your child’s favorites books.

I will admit that this style bookshelf doesn’t hold as much as a typical bookshelf, but I love how the kids can see (and choose) the books straight on.  They add so much color into the space!

These pallet shelves are also great for tight spaces since they’re only about 4″ deep.  Imagine a whole wall of them?!  (Ooo, that gives me an idea…)

The room is still coming together, but like the bathroom, it’s 95% complete (story of my life, I guess, lol). I have another exciting project to show you in his room, so stay tuned.

Have a great weekend!

Have you created anything using pallets?  If you’re in need of more pallet ideas, take a look at my post on Do-It-Yourself Projects Using Pallets.