Tag: Window Panels

How-To Add Decorative Trim to Curtains {for cheap}

It’s been fun to share a few of the many DIY updates that I made for my daughters new Big Girl bedroom, and today I’ve got another.

When planning out the room, I knew I wanted to keep the long window panels, but add some embellishments to dress em’ up a bit.

They are typical 86″ long panels that I purchased 2+ years ago from Bed, Bath, and Beyond and are a deep fuschia color with a small herringbone pattern. I always liked them but thought they were a wee-bit boring… until now.

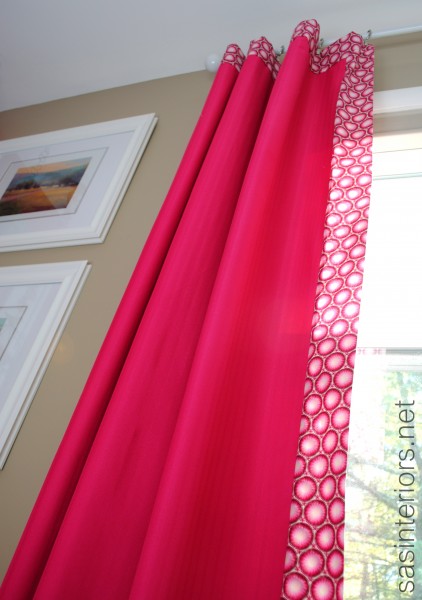
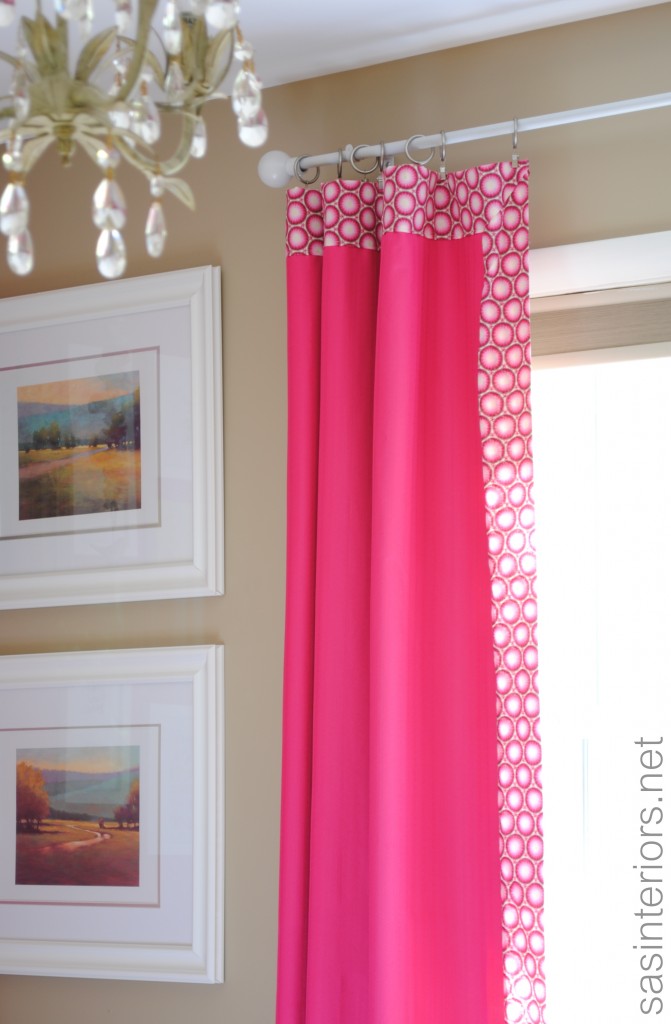
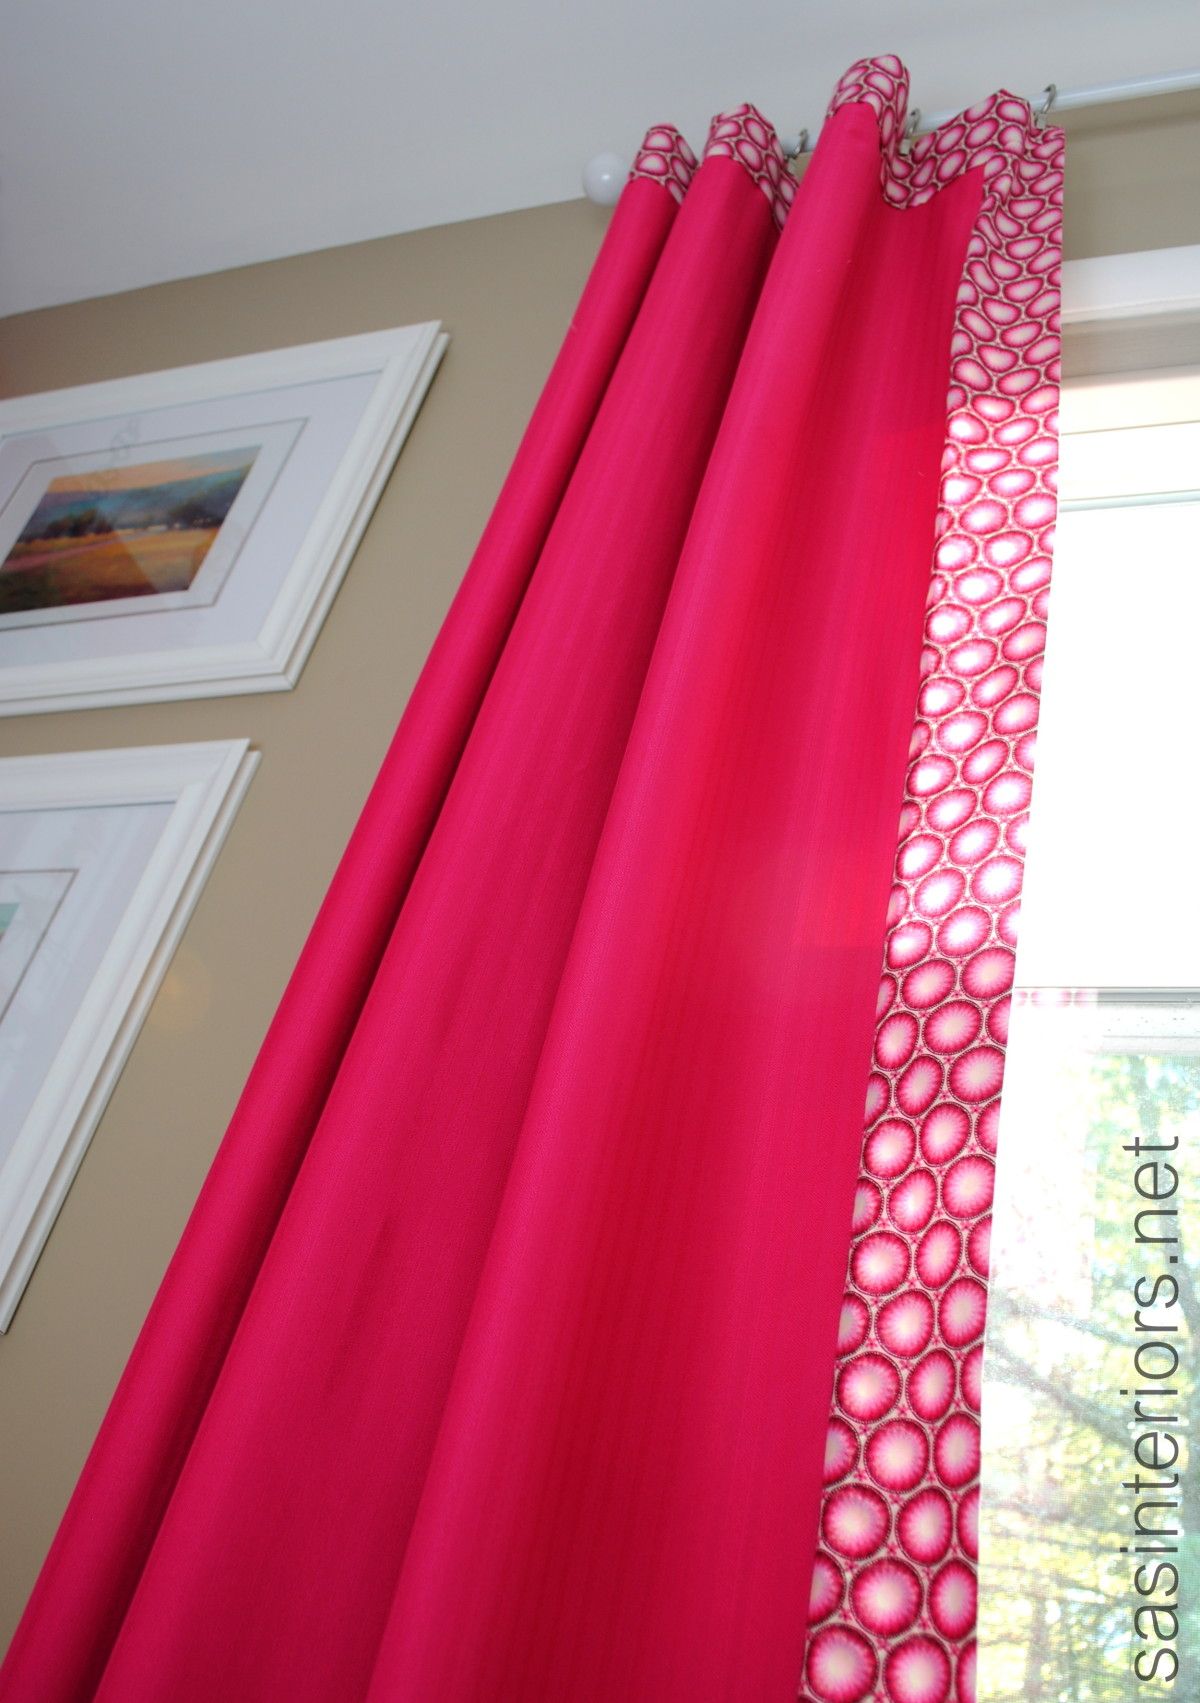
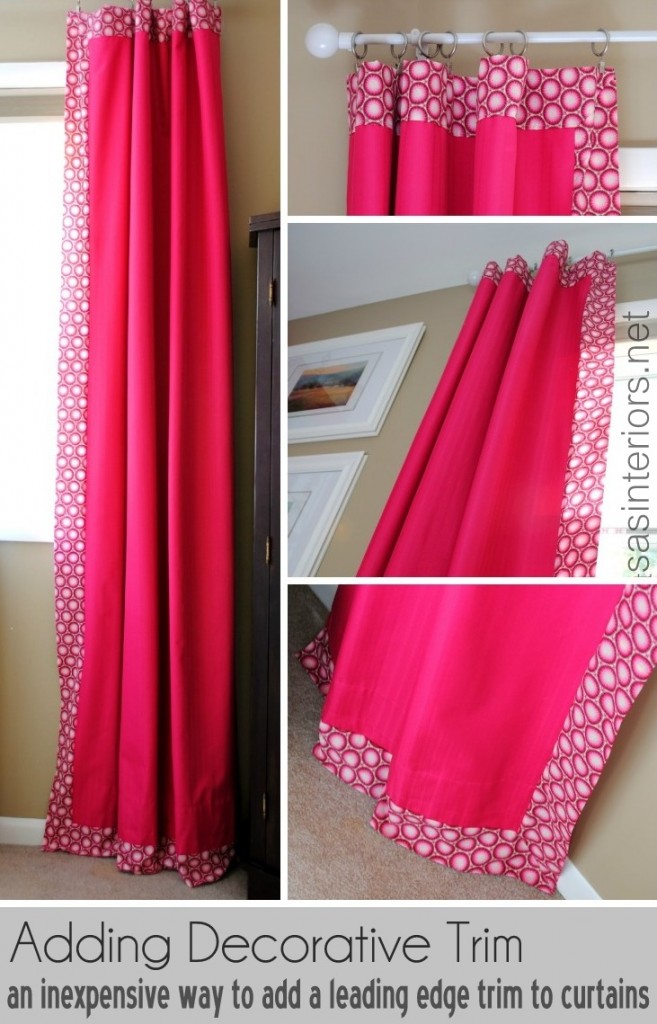
Adding trim, a leading edge, or edge band, is a simple and inexpensive way to give an updated look and a bit of flair to any window treatment. Plus now my revamped drapes are unique and one-of-a-kind, and so can yours.

To get the look is pretty easy and costs only a few dollars.

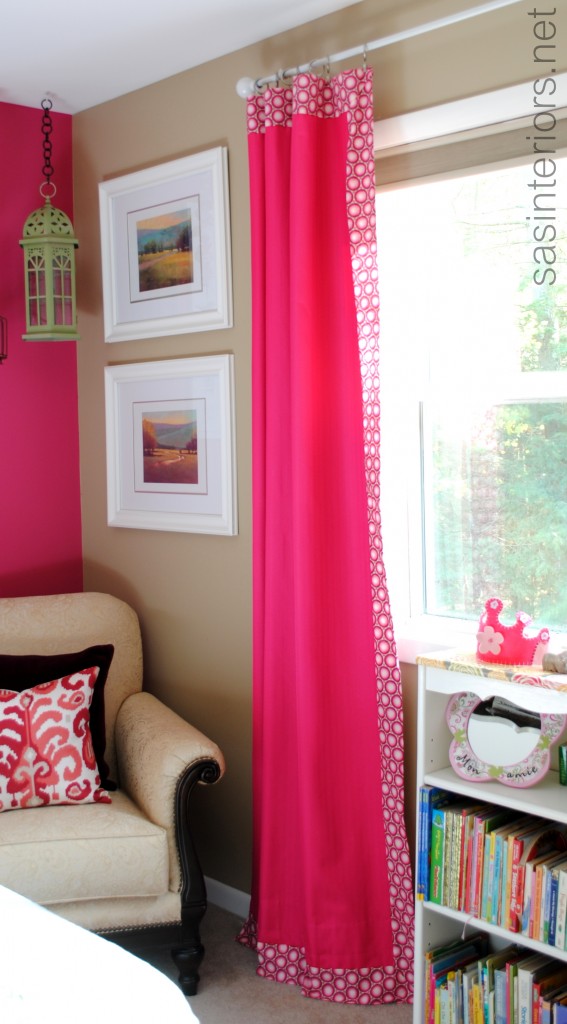
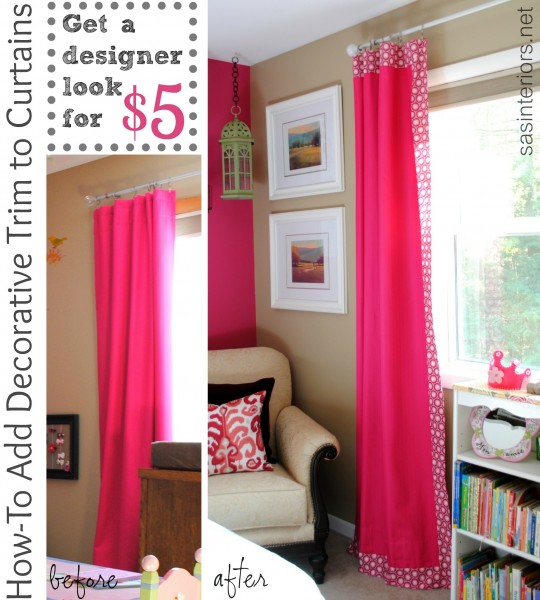
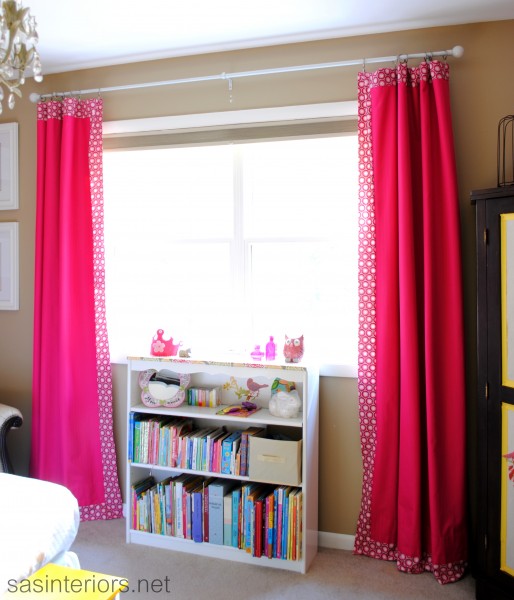
The before panels were okay, but the after is “bam”!

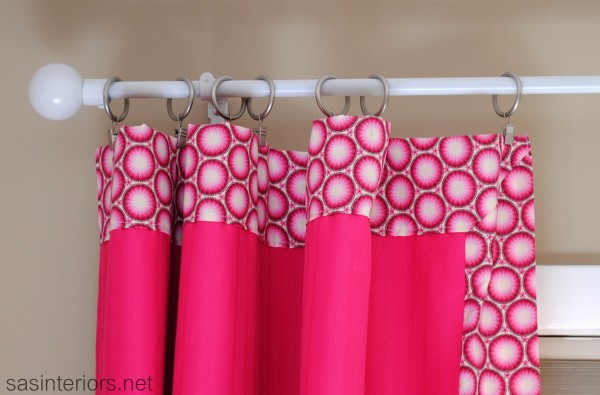
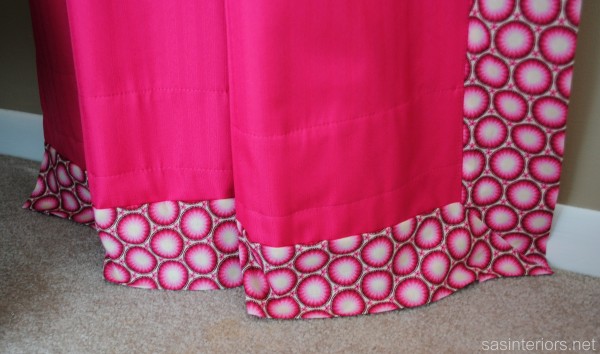
To start off, the panels definitely needed to be raised alittle higher towards the ceiling (the higher the better), and adding a decorative trim band at the top, bottom, and inner side was the answer to give them a designer look.

I found this fun fabric for $3.97/yard, and one yard was just enough for the project.

To start off, I determined that I wanted a 3″ +/- leading edge band on the 3 sides.

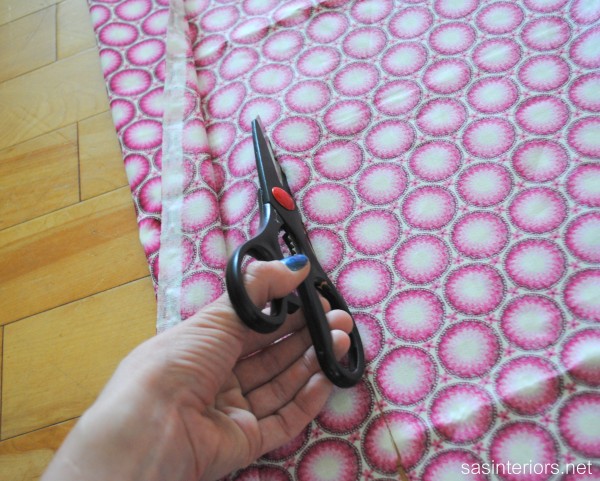
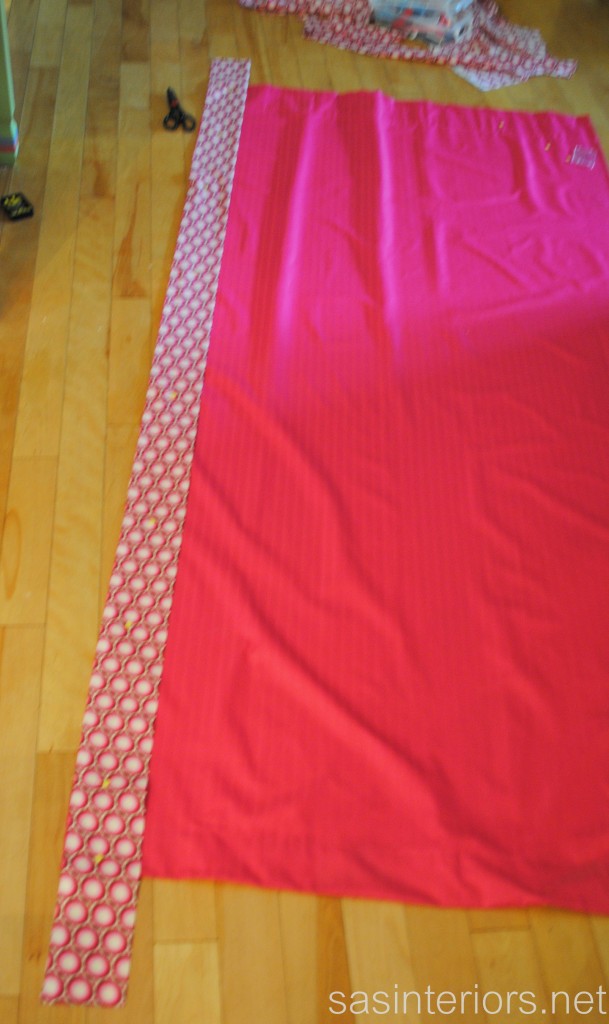
I cut 6-1/2″ strips of fabric.

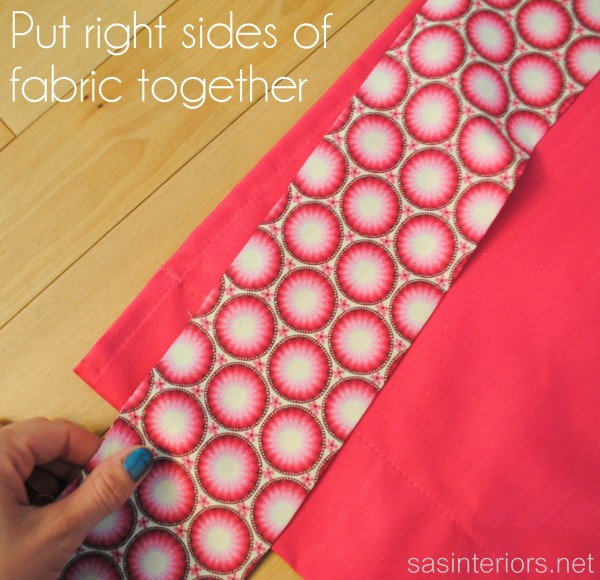
The fabric strips were not long enough for the length of the curtain panel, so I simply took the fabric ends, put right sides together, sewed, and ironed flat to create 1 long strip.

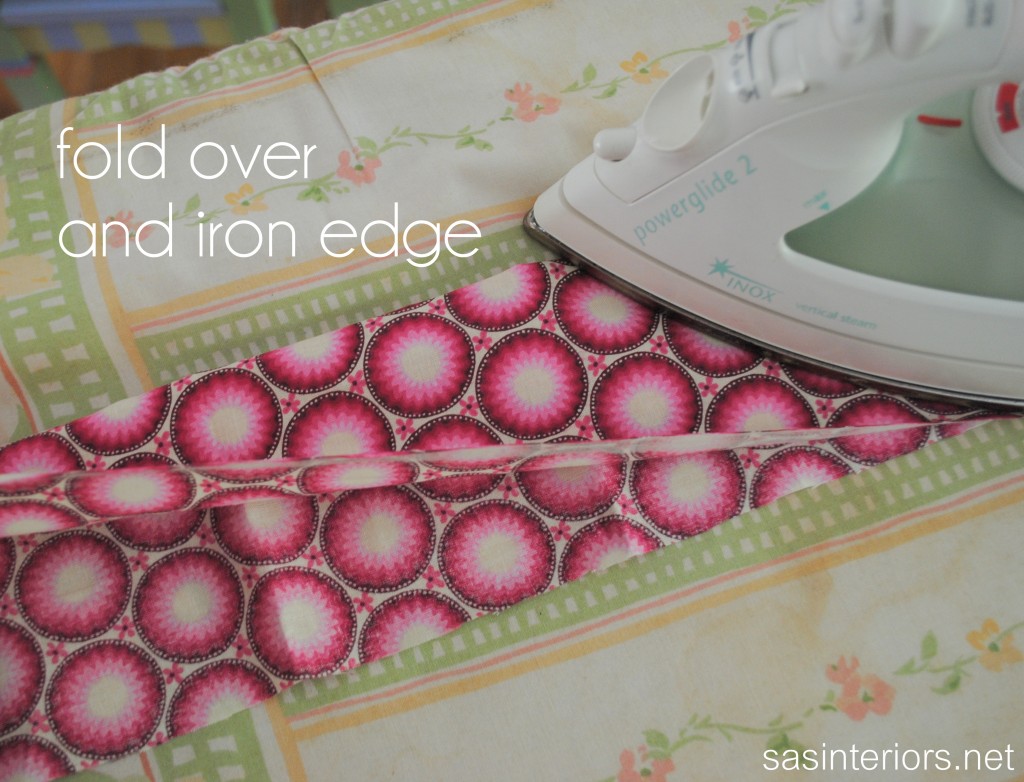
Once the long strip was created for the length and I cut two strips for the top and bottom (x2 for the other panel), I folded the strips in half (wrong sides together) and ironed.

I then aligned the unfinished edge of the trim fabric with the right side of the panel edge…

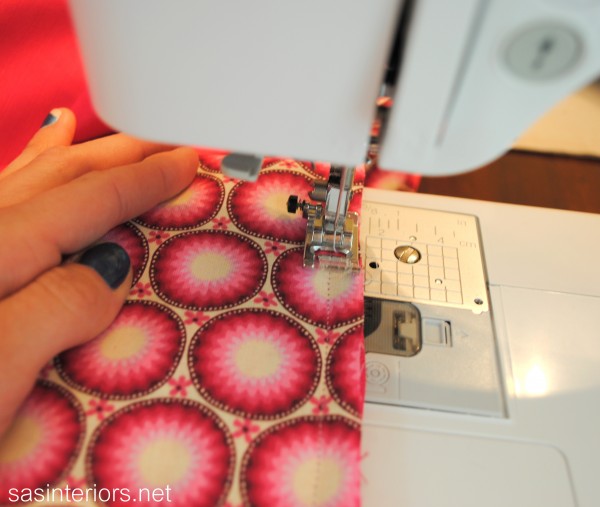
Sewed using a 1/2″ inseam….

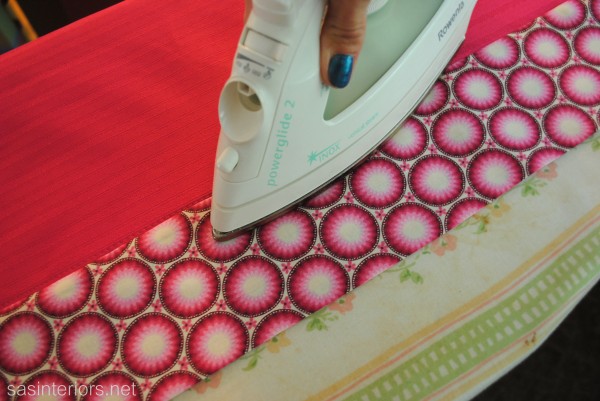
And finished by ironing the seam flat.

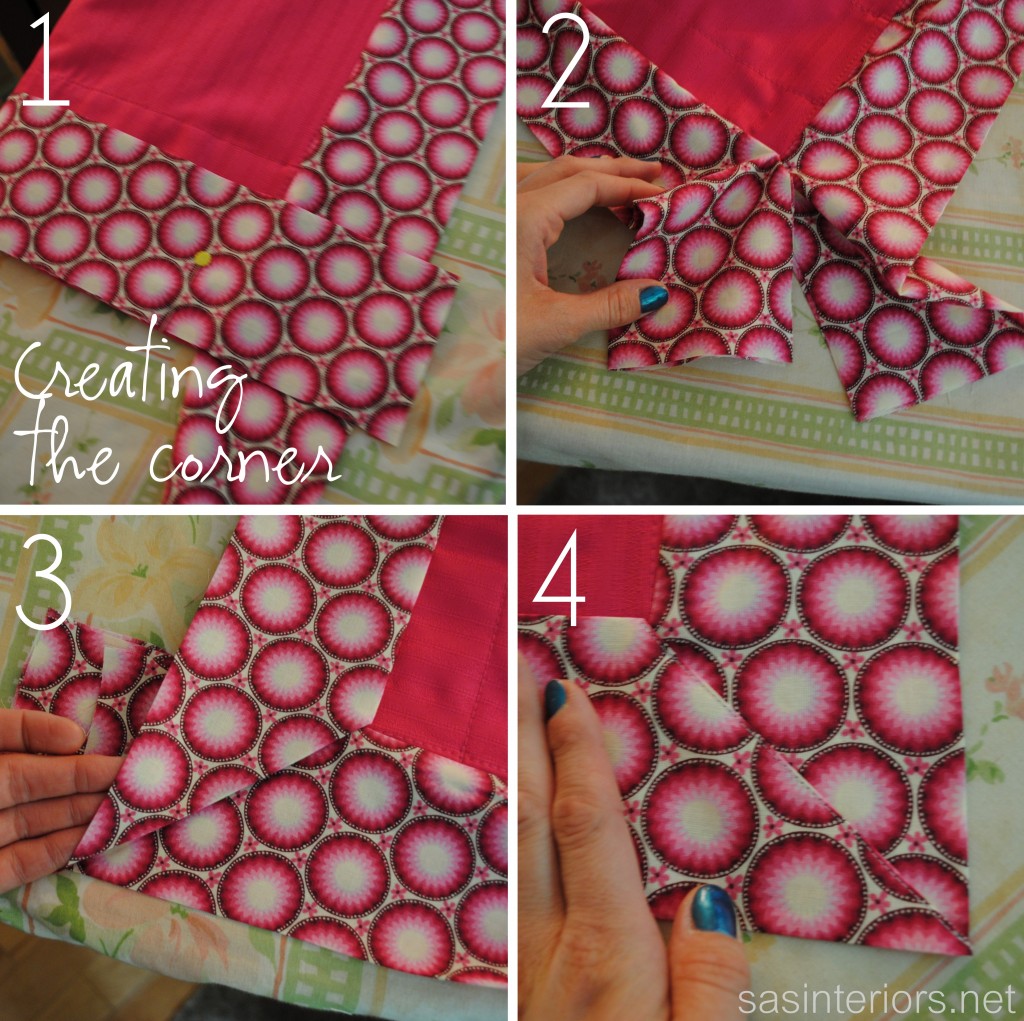
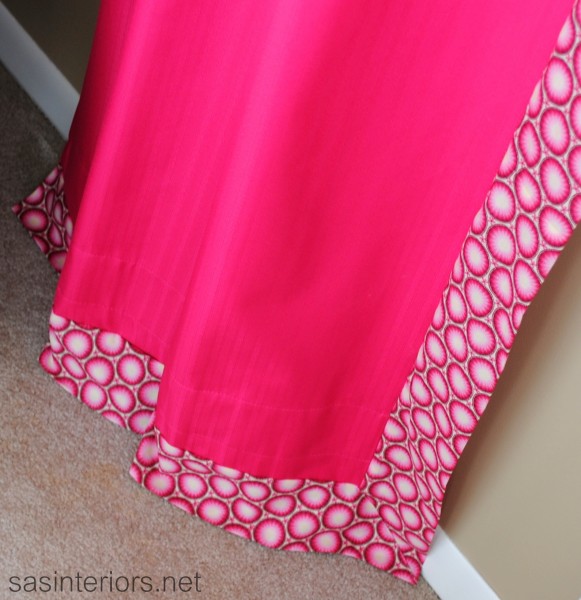
After adding the leading edge band to the inner side, the bottom, and the top, it was time to focus on the corners.

Where the corners meet, I left extra fabric and rolled one side under the other to create a 90 degree angle. Then sewed the edge.

Pictures might explain it better. Take a look…

And here’s the result of my $5 Designer Update

O, I forgot to mention that I also updated the drapery rod too.  The before rod was purchased from Ikea years ago.  No reason to get a new one when a little spray paint does a world-of-wonder!

Hello to Gloss White.

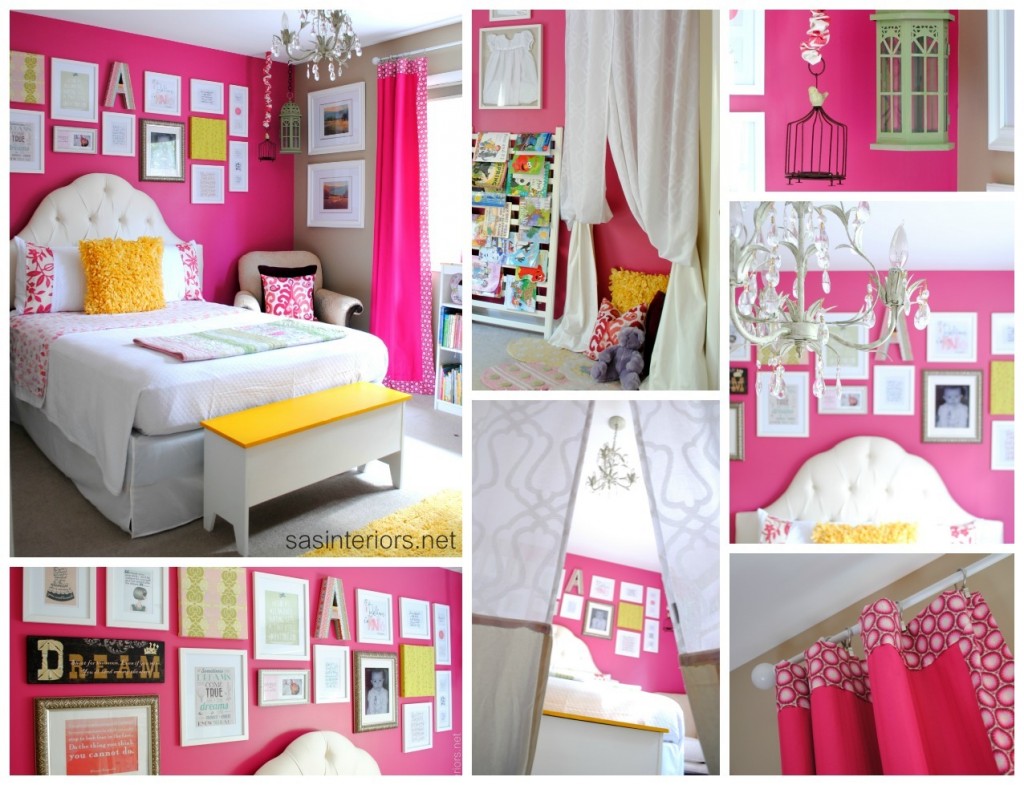
If you happened to miss the whole space, it’s a true treasure.

It’s amazing with a little fabric and/or trim, how a typical store-bought drape can be jazzed up to look designer-made!

I’m pretty passionate about window treatments (call me crazy), and if you want to read/see more, I recommend you check out these posts:
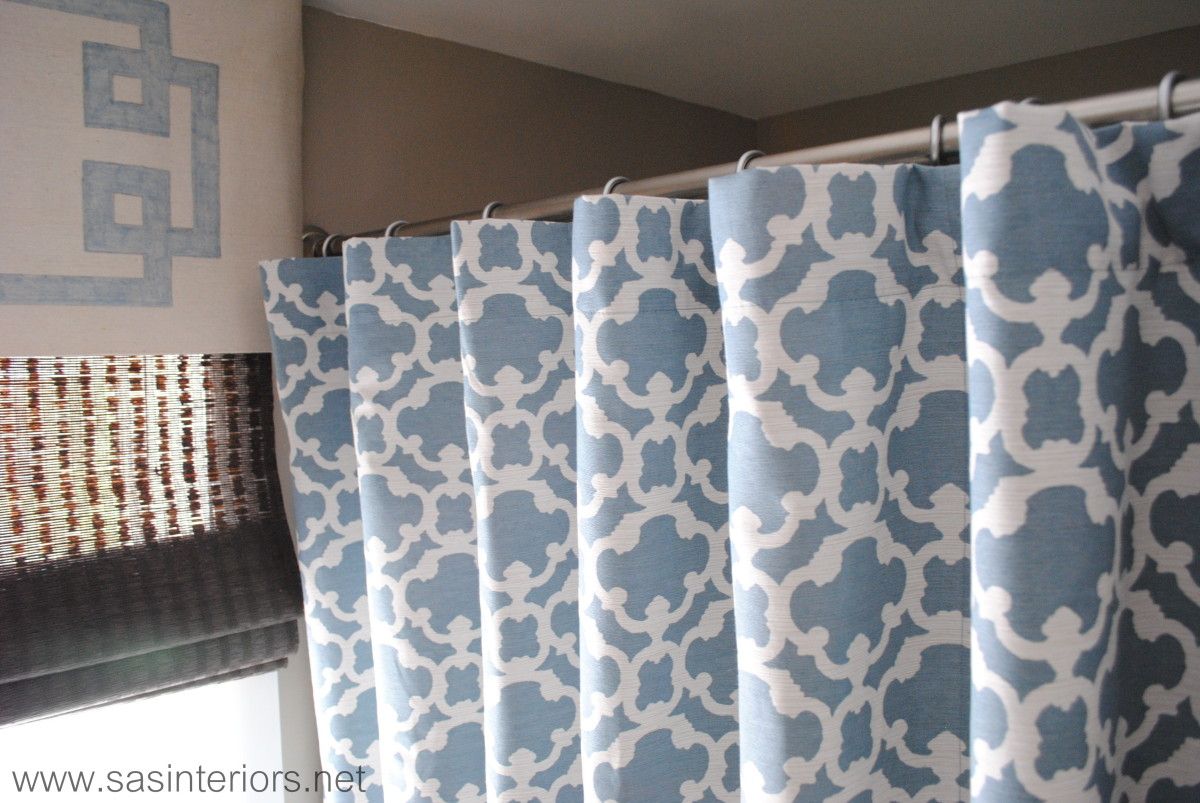
Create a Layered Window Treatment
The Right (and Wrong) Way to Hang Window Drapery Panels
DIY: How To Make Simple Lined Window Drapery Panels
How To Make Any Curtain into a Shower Curtain

I am thrilled to have my master bathroom complete!  The kind and thoughtful comments that YOU, my awesome readers, have left over the past week have made the craziness all worth it.  So thank you, thank you, thank you.  As I mentioned during the reveal, I DIYed (technically not really a word, but you got it) my shower curtain using two window drapery panels (a.k.a. curtains), and now I’m going to show you how.

I had found these curtain panels a while ago and they were basically the inspiration for the space and everything I chose was set around these beauties.

When I originally purchased the window panels my intention was to simply put the shower curtain rod through the already created rod pocket of the window panel.  A problem arose when I went to hang them because the end of the rod was too big (2.5″ dia) for the rod pocket opening in the curtain.  (I hope I didn’t lose ya)…

My first thought was to create a bigger rod pocket on the curtain, but that would have involved sewing and shortening the height of the overall window panels. I nixed that idea right away because I envisioned the window panels as high as possible to heighten the room.  After some thought, I decided to use typical shower rings to create a ring top style panel. Take a look at my quick sketch.

So, here are the steps I took…

I had twelve shower hooks (which is typical for every shower), which I divided amongst the two window panels – 6 and 6.  Then I put a hook at the end of each panel and divided the remaining hooks (4) on the panel.

Note:

  1. My window panels were 54″ wide, times 2 = 108″, wider than a typical shower curtain – that’s okay.  Any width curtain should work and if you’re using this idea for a single shower stall, one window panel should be enough (the length might have to be altered).
  2. A ball-style shower hook would work best.  You can find them in most stores and they are one of the least expensive styles.
  3. As an added step which I have NOT DONE, you can make the cuts more secure by creating a sewn button hole with your sewing machine.
  4. I DID NOT sew the two panels together to create one large “shower curtain” panel, but it’s possible to do.   I left them as two panels in case I decide to use them someplace else in the future.

Once you’ve evenly spaced the shower hooks, using a scissor, cut a 1/2 – 3/4″ slit at each of the shower hook positions (ONLY CUT through the one layer of fabric, not both – the outside layer should look clean and uncut).

Before inserting the ball style shower hooks into the newly cut hole, first put on the shower curtain liner.  Because my window drapery panel was longer than a typical shower curtain, I had to get a longer plastic liner, which I found at Bed, Bath, and Beyond.  It was a little more expensive than a typical plastic liner, but was a must because of the extra length.

Once the plastic liner is in place, put the shower hooks through the “button” holes (or simply the cut holes since I haven’t yet made actual button holes).

And it’s done.  This really is a simple and easy project that makes a huge impact!

Using the two window panels creates for a slightly more flow-y (not in a bad way) shower curtain style as you can see in the image below.  Because the curtain is hung from typical shower hooks, it opens and closes just as a regular shower curtain would.

And here is the overall bathroom space –

The taller than typical curtain really gives the space more height, which makes the overall feel of the room much larger.  Actually one reader left me a comment saying, “Wow, you have tall ceilings”.  But honestly, they are only 8′-0″ high – typical of most homes.  But again, the long panel makes the space feel elongated.  This same idea pertains to the window valance, which is hung at the ceiling plane.  If you remember back from this post on The Right Way to Hang Window Drapery Panels, the higher the panels are hung, the larger the space. I have a tutorial coming soon on how I created the window valance, so stay tuned.

I link my projects to some of these parties: Skip to My Lou, Dittle Dattle, Between Naps on the Porch, Today’s Creative Blog, Stories of A to Z, All Things Heart & Home, Savvy Southern Style, House of Hepworths, Finding Fabulous, Creation Corner, The Shabby Nest, Tatertots and Jello, Thrifty Decor Chick, Under the Table & Dreaming