Living Room Makeover: Black + Bold + Budget
Happy Wednesday my friends!
I am so excited to share that another room makeover is on the horizon.
This time last year, the focus was on the 2nd floor spaces (master, kids rooms – boy & girl, bathroom), but now it’s time to head back down to the first floor to give the living room a freshening up. You might be thinking that we are always changing/updating the rooms in our home, but actually the living space, where we hang out as a family, hasn’t been touched since the day we moved in. And no it’s not the blue room as I was asked by a friend the other day when chatting about my plan of action, but instead the orange room (the tall space with the orange accent wall & taupe fireplace).
Here is what it looks like now…
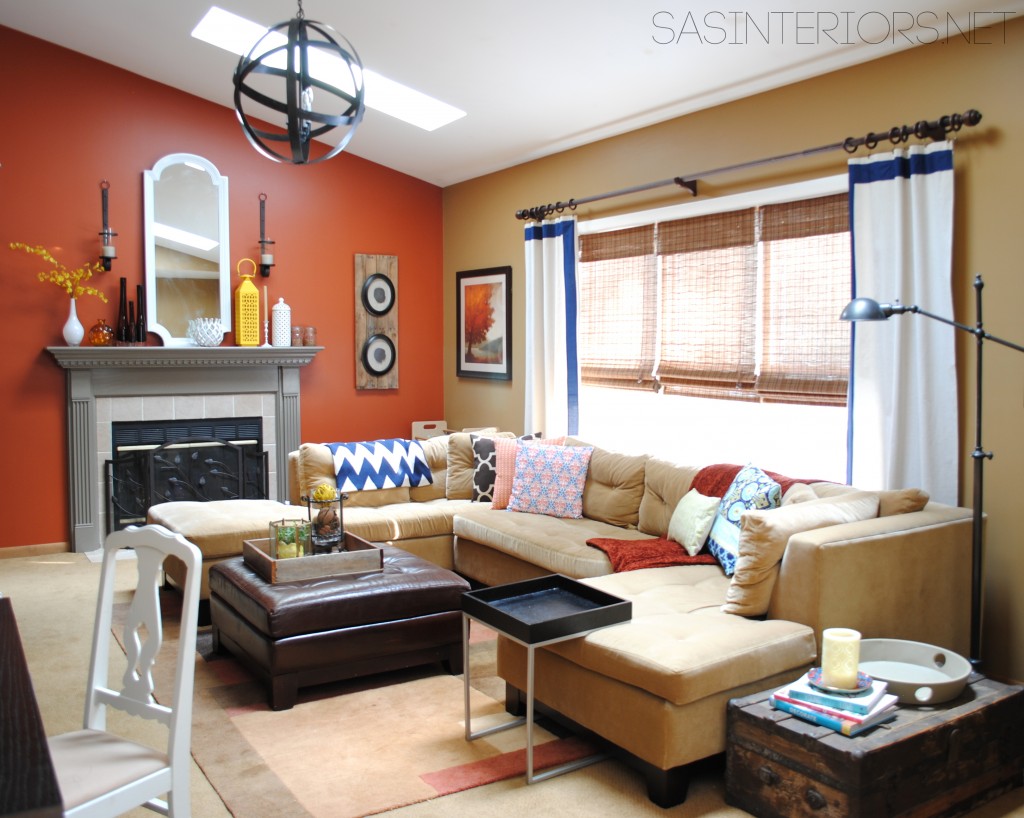
This room, our family’s everyday hang out spot, is a large + open + bright space. There is a big window on one side, a focal point fireplace centered on the far end of the space, and a large opening opposite of it that connects to the remainder of the first floor spaces (check out how the kitchen, dining, and living spaces are one large open flow in this picture that I shared at Christmas).
The burnt orange wall has been the backdrop of many mantel creations & Christmas displays, but as I’ve been transitioning our home to more cooler colors (check out all the paint colors of our home) over the years, the warmer hues in this room are feeling dated & non-cohesive. Additionally I’ve had ideas flowing for a long time on how this room would function better with different furniture. All of the elements in this room came with us from our previously house. As much as we love this sofa, it was a great fit for the room it was purchased for, but never fit right in this space. Having a hard time letting go (yes there is sentimental attachment to many of the pieces we own), we knew it was time to be passed on and one day the perfect opportunity fell into our laps…
Earlier this month, a dear friend of mine was moving into an apartment and was in need of everything. lightbulb moment! I have lots of furniture! Longstory short, we sold a bunch of our furniture to her including the sofa, rug, and large TV cabinet from this room. Boy, did it feel liberating. We were holding on to material things, but living in a space that we weren’t 100% loving + wasn’t functioning the best way possible. So… Once the furniture was out, the plan started coming together!
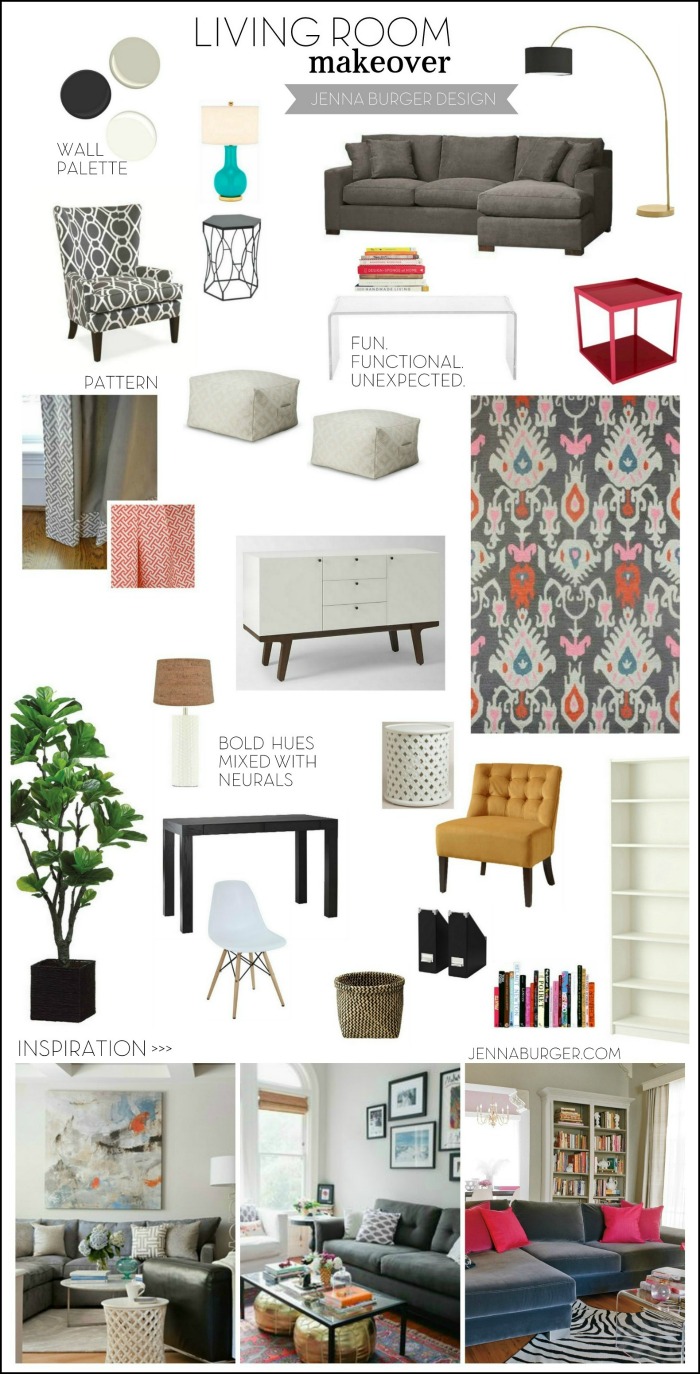
Of course, the new design couldn’t begin without a mood board…
And this is the proposed floor plan…
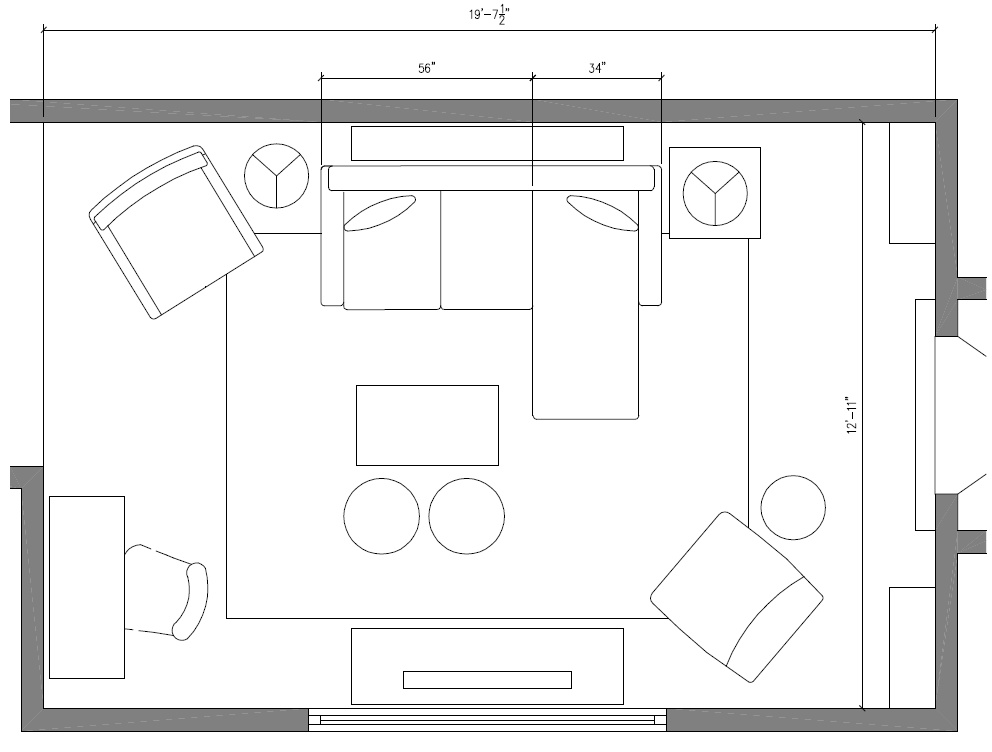
The sofa will be on the opposite wall that it is now and the TV which will no longer be in an oversized cabinet will sit on a new media stand under the window. This new layout is a lot more open making the fireplace the focal point of the space.
Onto the new paint colors on the walls…
If you checked out the title of this post, you may be wondering about the word BLACK.
As much as the new living space is going to be light + bright, it’s also going to be dramatic and black is the answer! The orange focal wall is going to be covered in deep, dark, bold black.
On the sides of the fireplace will be two new white bookcases which will contrast the deep black hue, similar to the inspirational picture above, and the mantel (which was taupe) will go white as well. The transformation is already underway which I shared on Instagram over the weekend. Here’s a peek…


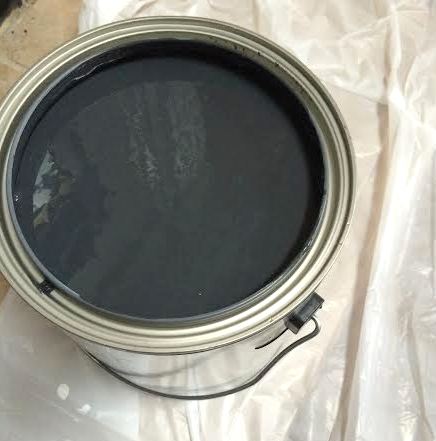
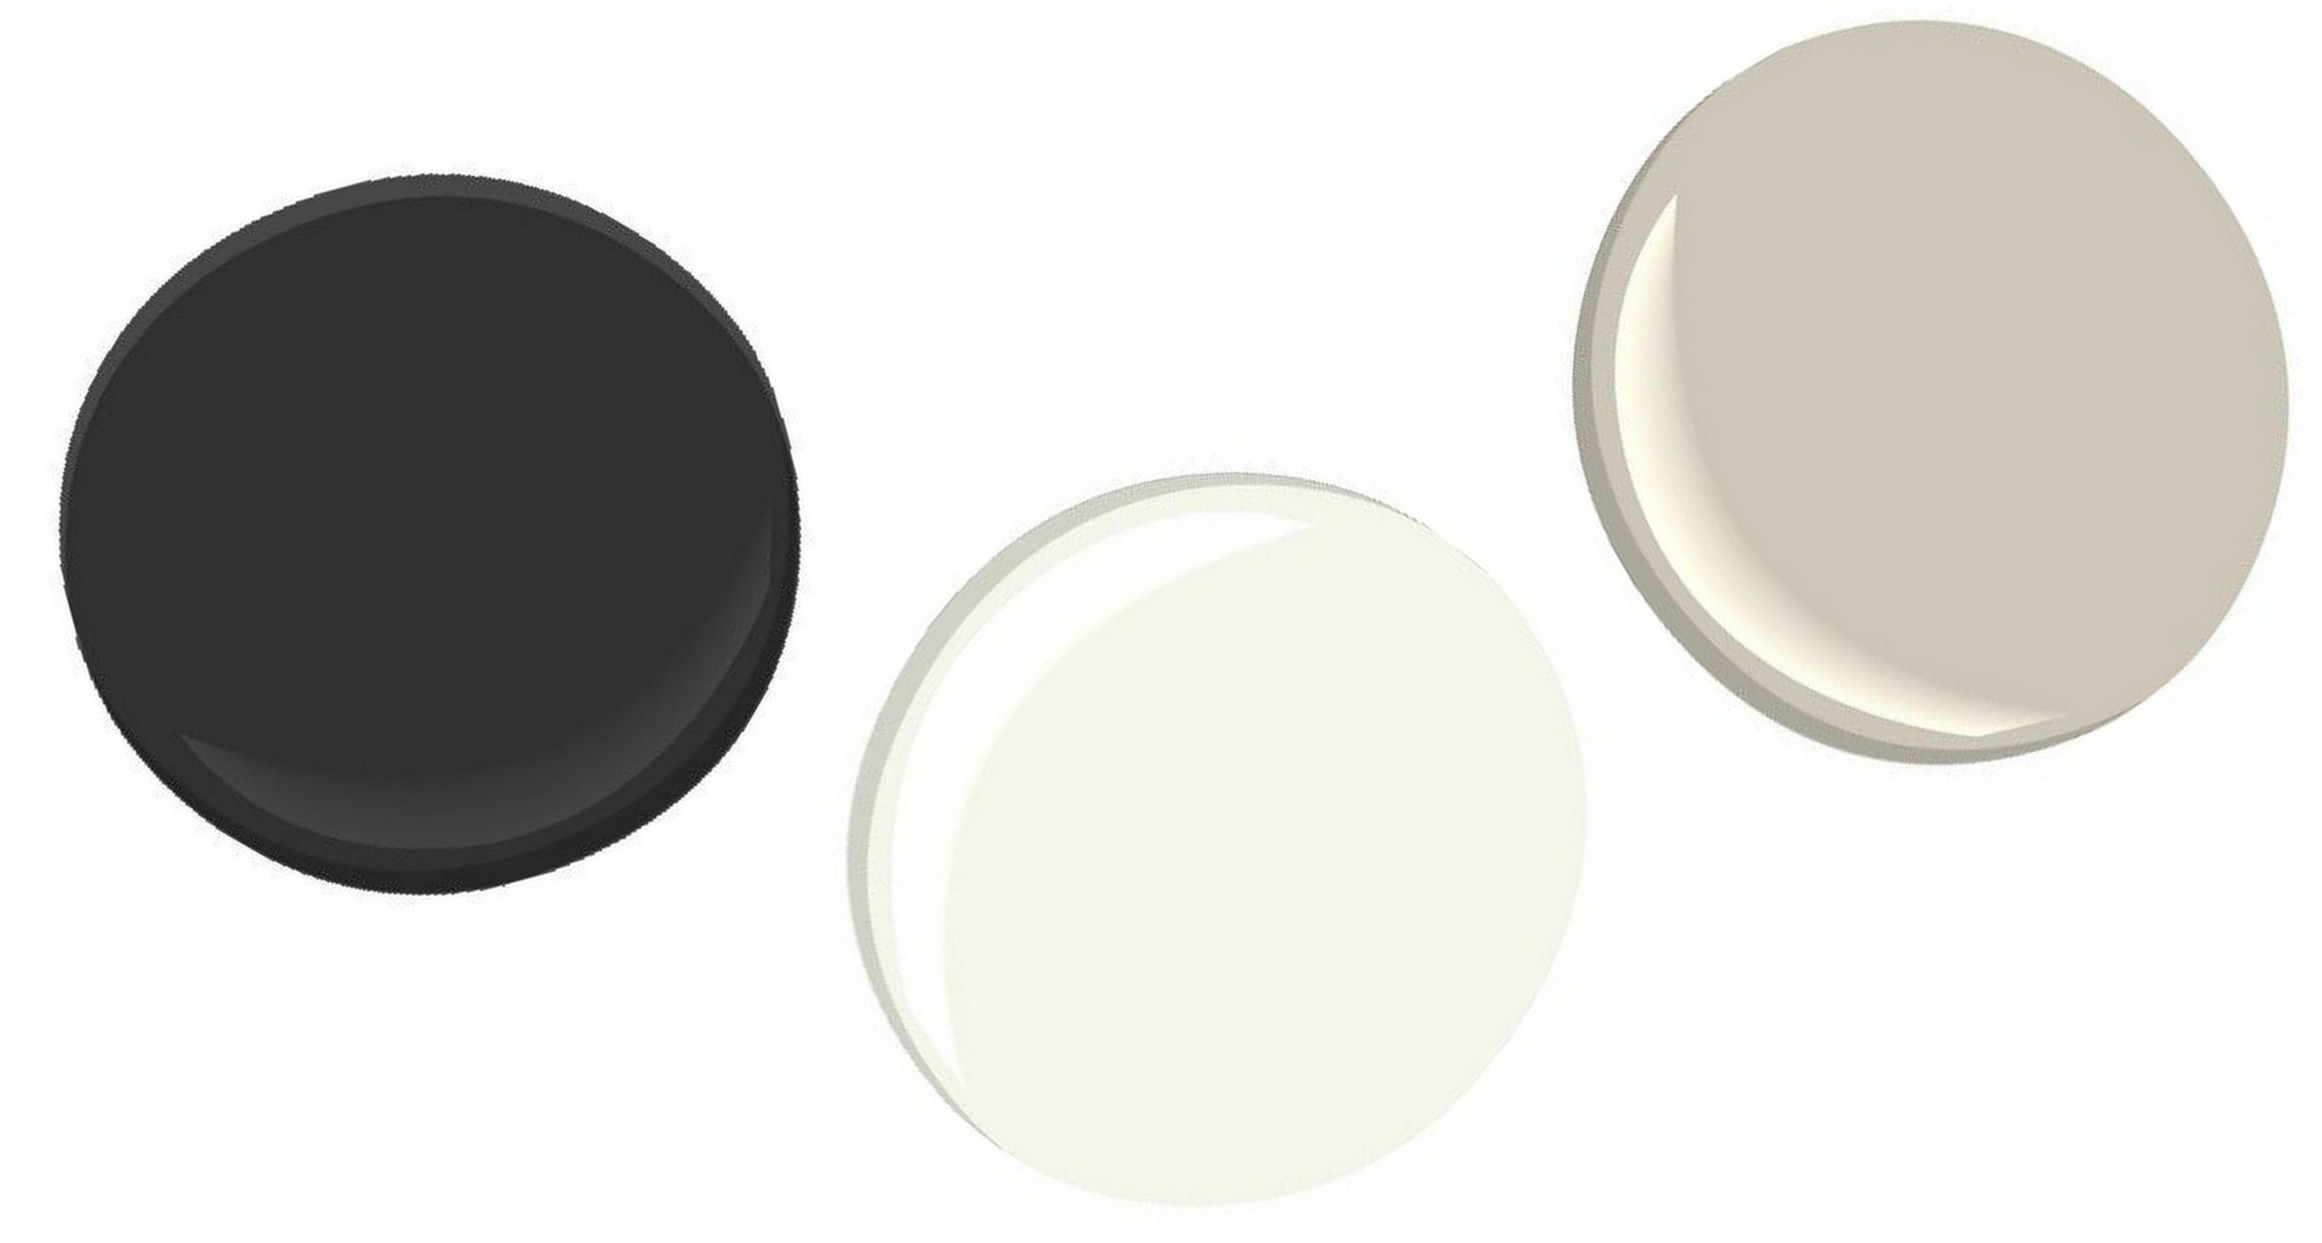
The black paint color is Valspar Black Heron V120-3 in a flat sheen. It’s not jet black, but more of a chalkboard, deep charcoal black.
The taupe colored mantel is covered up with the new color of Valspar New Ream V148 in a semi-gloss finish. I first used a Kilz stain-blocking primer, then 3 coats of the new hue for full coverage.
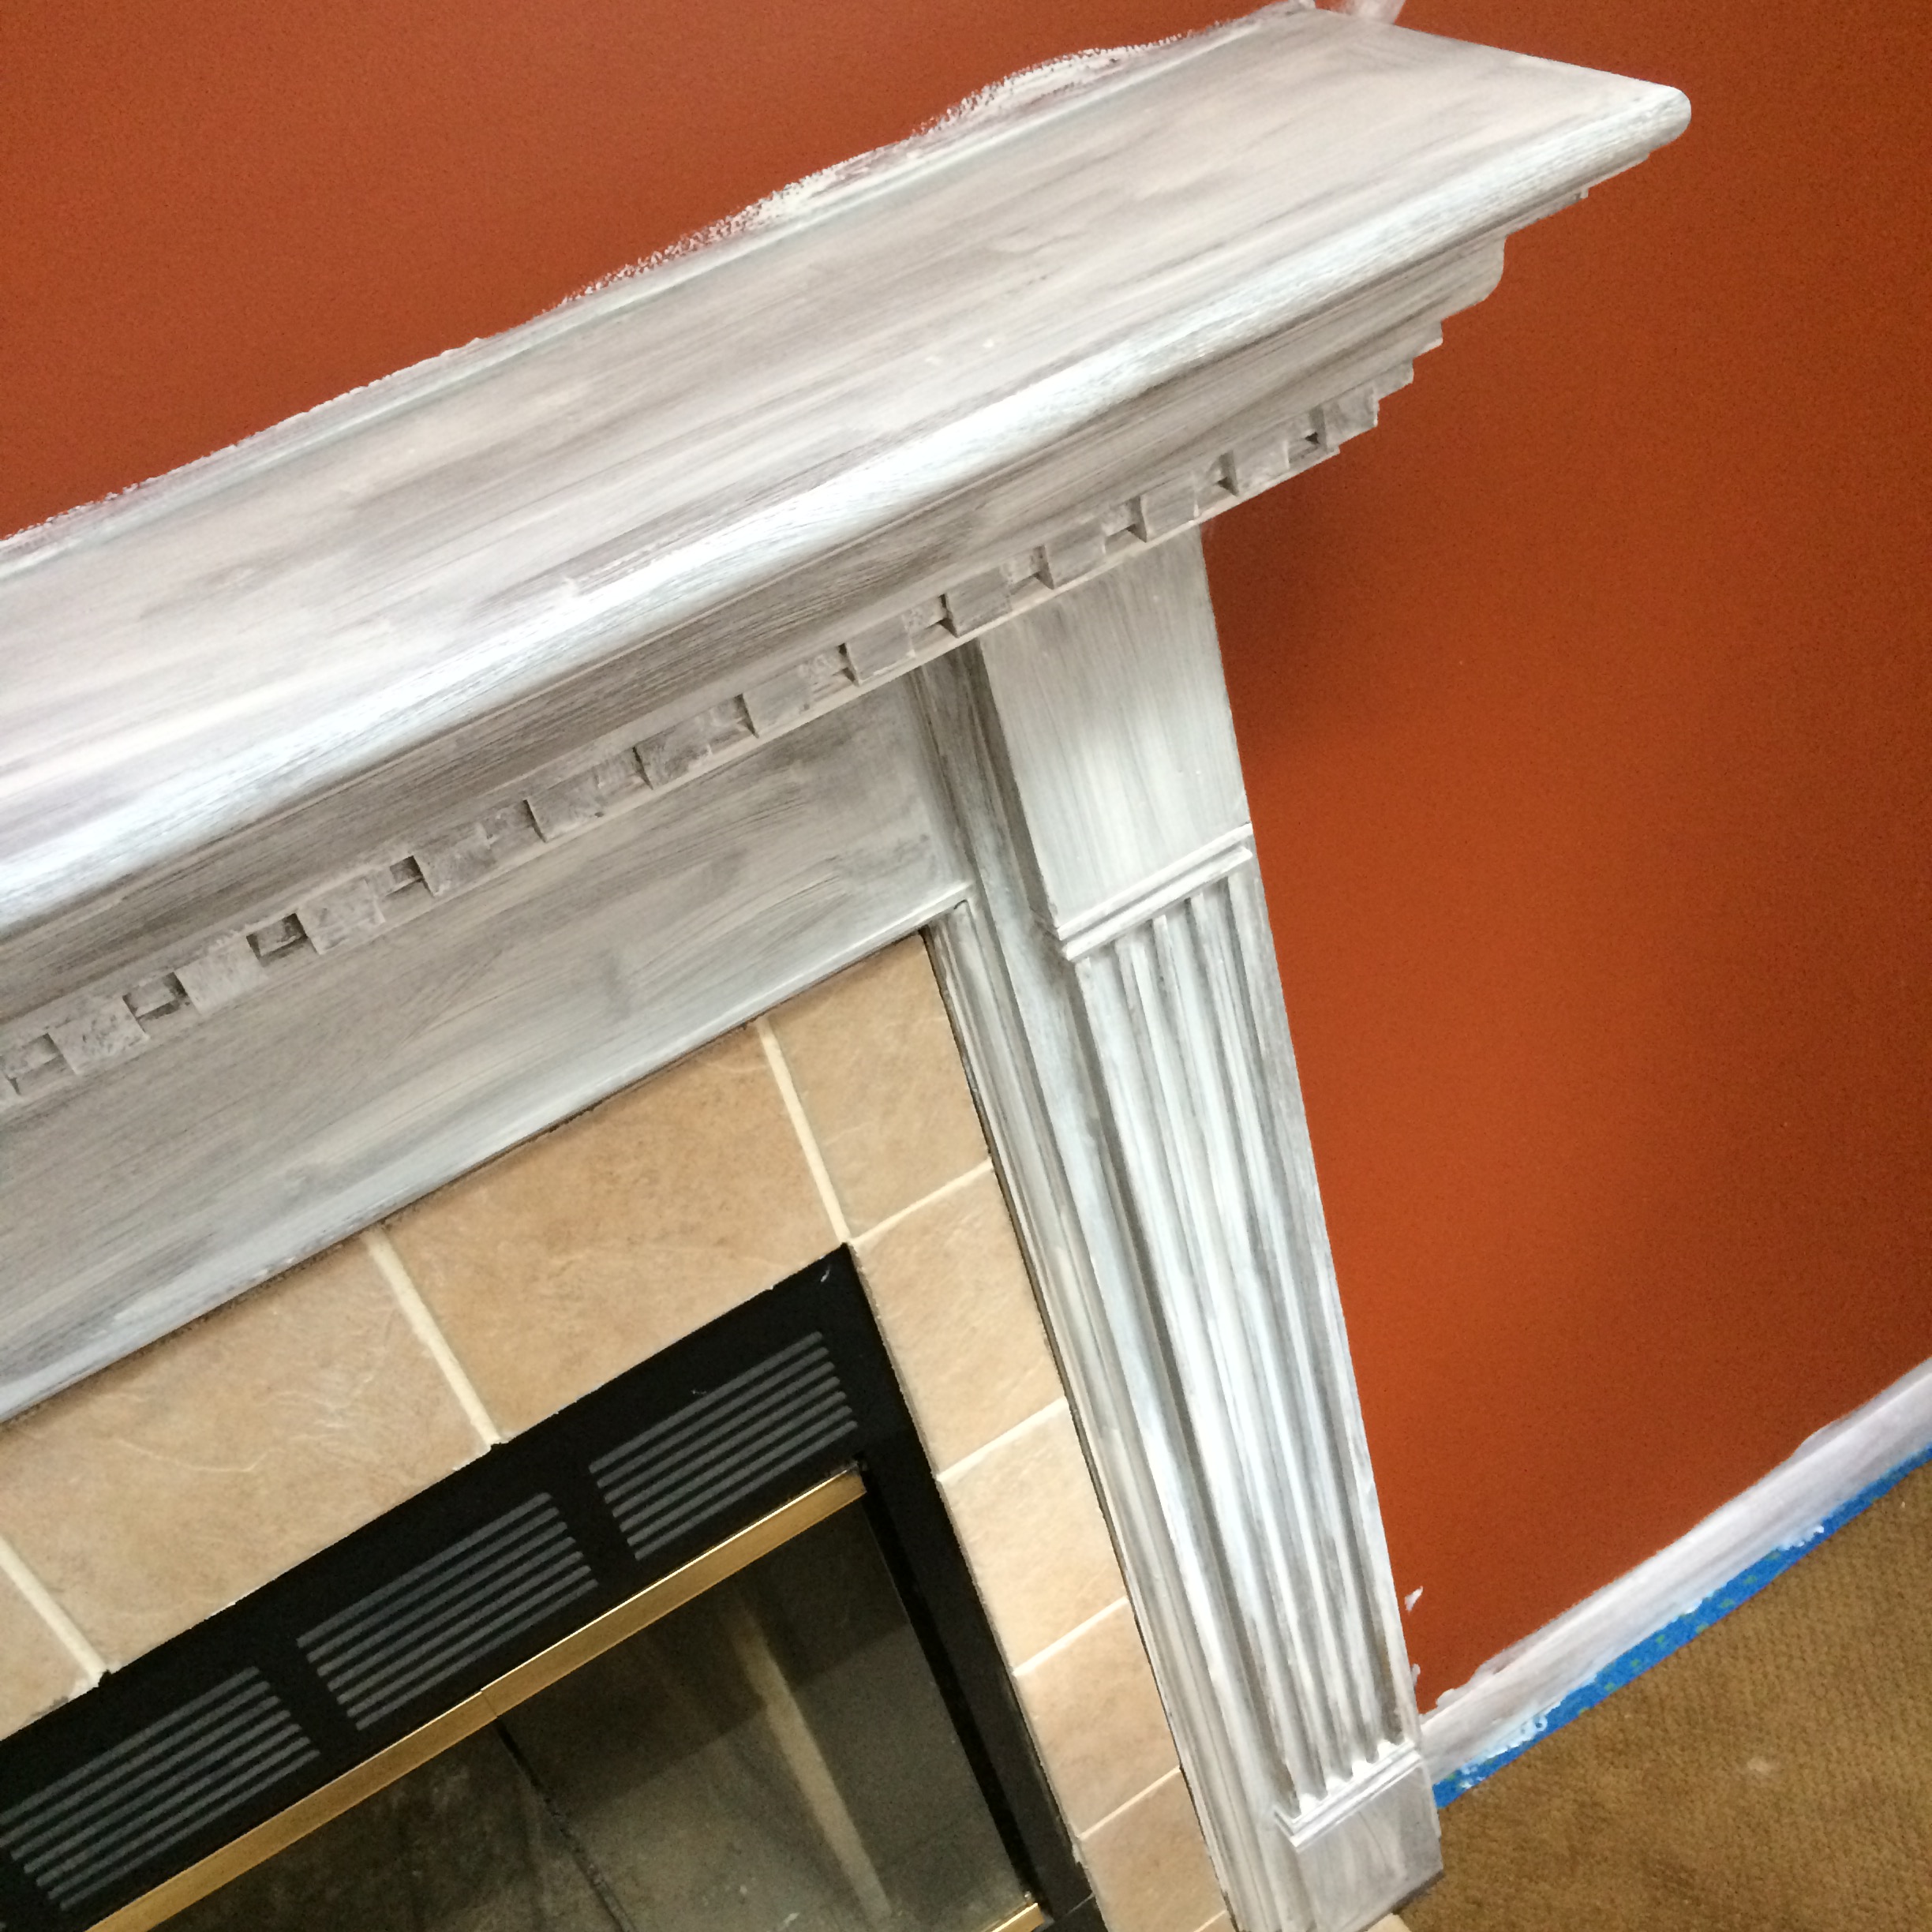
The other 3 walls in the living room that were previously painted beige are going much lighter. I chose the color Valspar Silver Thistle Down V120-1 in a satin finish, which will be a beautiful contrast to the dark fireplace wall. Here is the color palette…
Of course, if you know me & my design aesthetic, I would never have only neutral colors like black, gray, and white. There will absolutely be color, layers, and a whole lotta bold in this new living room space. My design approach is to choose basic + neutral elements that are expensive & you don’t want to change in a short time, THEN add the color + texture + bold with layers – pillows, pictures, tables, lamps, etc.
These are a few more elements for the new space…
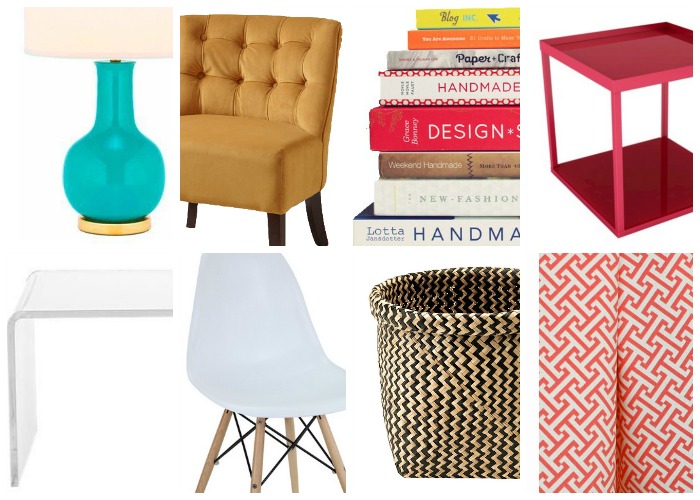
+ I will be incorporating an amazing new rug that I just snagged at 75% off from Rugs USA. Even though there is carpet already in the space, a rug will ground the furniture and the layout. I chose this Ikat patterned rug with colors of deep + light gray, turquoise, red, and pink. It is going to tie in beautifully with the china cabinet that sits in the adjacent space.

The other aspect of this makeover is the budget.
It’s slim, but I want to make smart purchases especially with the key elements like the sofa and chair that will get used and abused daily by our family of 5. We are planning to purchase the sofa + side chair from a local furniture store and even though they’re a little more expensive than others we’ve seen online, the comfort + durability are important to us. These 2 items are the big splurges of the makeover. As for the other items, like the side table, lamps, accessories, etc I will be using my designer-on-a-budget cap to either find deals or high-end look for less items. And of course, there is no room makeover – in our homestead – that isn’t complete without a few DIY projects!
So that’s the plan of action + direction for this new makeover that is just underway. We shall see where it goes from here… I hope you will follow along & as always, be inspired!

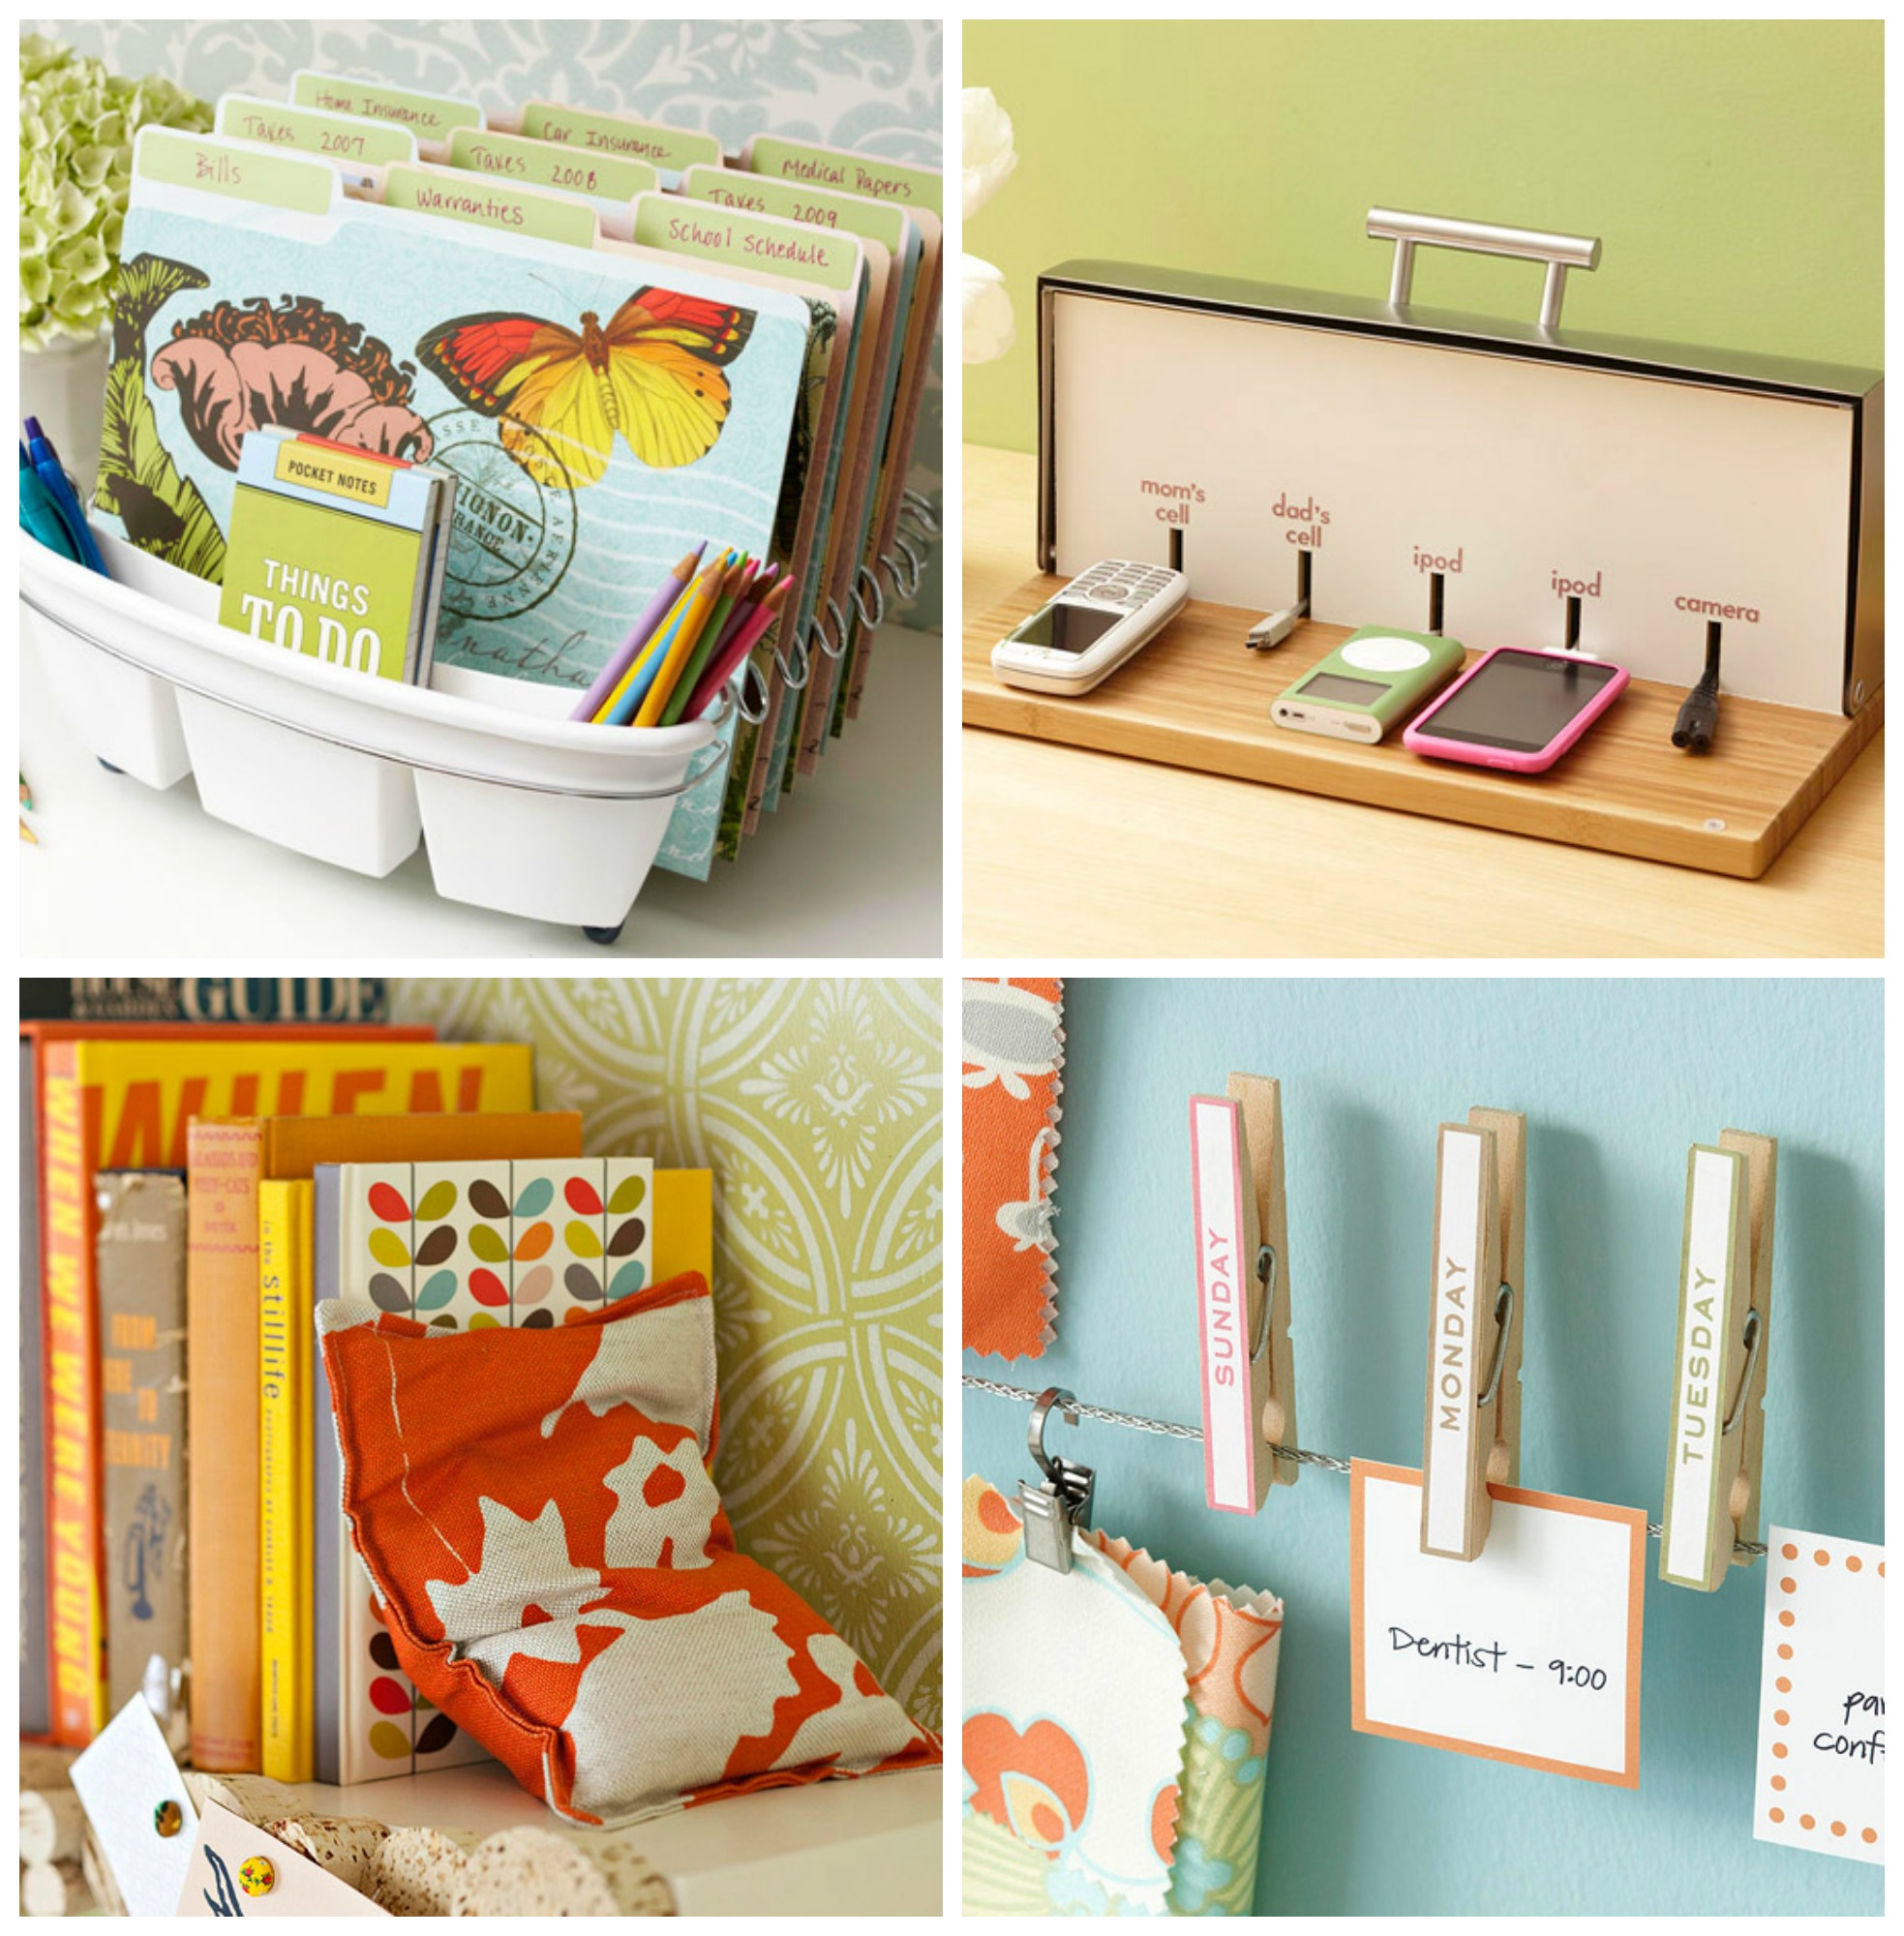
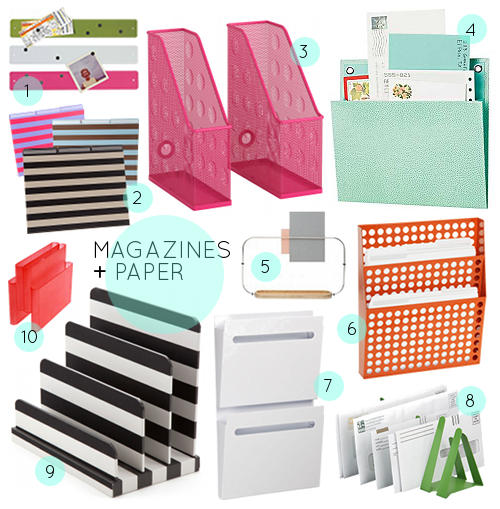


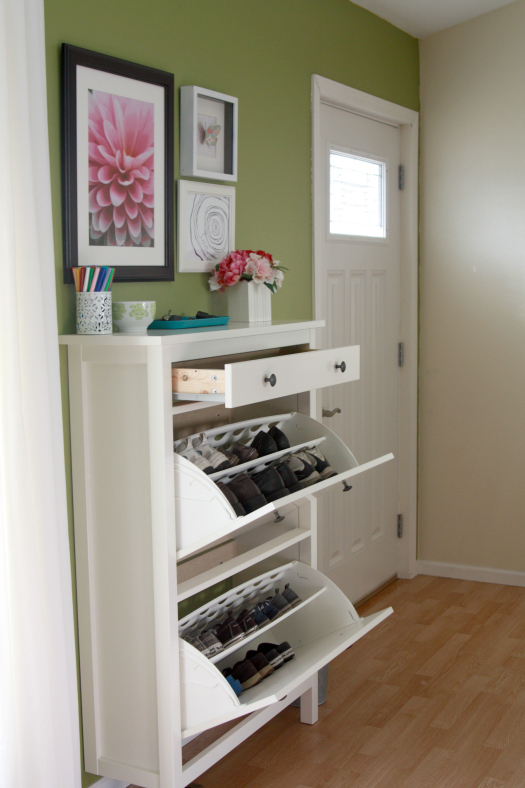
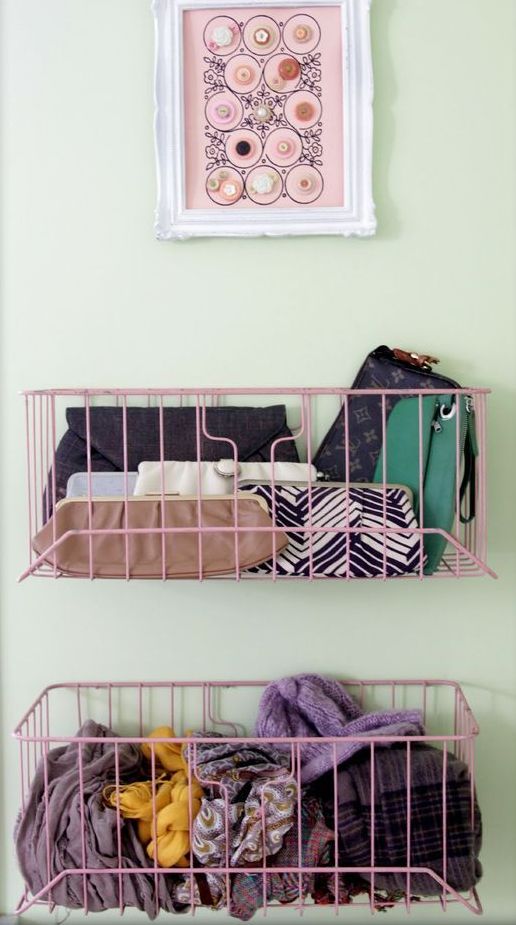
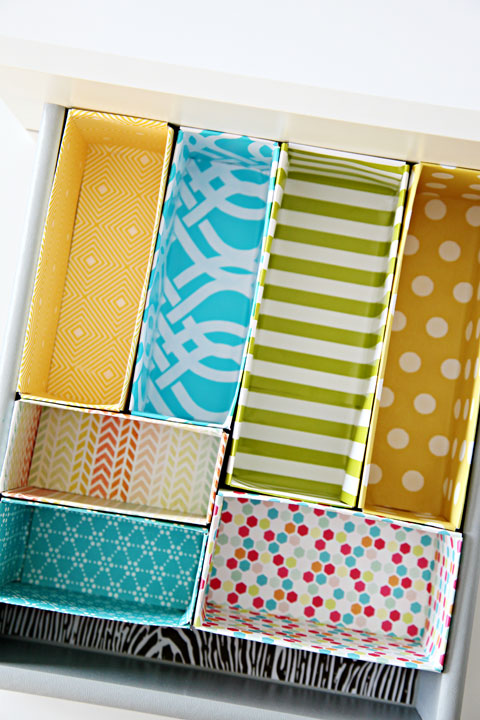


![DIY Tutorial: Honeycomb shaped wall hooks [inspiration for many other fun + functional wall storage ideas] Tutorial by Jenna Burger Design www.jennaburger.com](https://www.jennaburger.com/wp-content/uploads/2015/01/41.jpg)
![DIY Tutorial: Honeycomb shaped wall hooks [inspiration for many other fun + functional wall storage ideas] Tutorial by Jenna Burger Design www.jennaburger.com](https://www.jennaburger.com/wp-content/uploads/2015/01/2B.jpg)
![DIY Tutorial: Honeycomb shaped wall hooks [inspiration for many other fun + functional wall storage ideas] Tutorial by Jenna Burger Design www.jennaburger.com](https://www.jennaburger.com/wp-content/uploads/2015/01/collage2.jpg)
![DIY Tutorial: Honeycomb shaped wall hooks [inspiration for many other fun + functional wall storage ideas] Tutorial by Jenna Burger Design www.jennaburger.com](https://www.jennaburger.com/wp-content/uploads/2015/01/DIY_HexagonCoatRack-001.jpg)
![DIY Tutorial: Honeycomb shaped wall hooks [inspiration for many other fun + functional wall storage ideas] Tutorial by Jenna Burger Design www.jennaburger.com](https://www.jennaburger.com/wp-content/uploads/2015/01/collage.jpg)
![DIY Tutorial: Honeycomb shaped wall hooks [inspiration for many other fun + functional wall storage ideas] Tutorial by Jenna Burger Design www.jennaburger.com](https://www.jennaburger.com/wp-content/uploads/2015/01/DIY_HexagonCoatRack-002.jpg)
![DIY Tutorial: Honeycomb shaped wall hooks [inspiration for many other fun + functional wall storage ideas] Tutorial by Jenna Burger Design www.jennaburger.com](https://www.jennaburger.com/wp-content/uploads/2015/01/192.jpg)
![DIY Tutorial: Honeycomb shaped wall hooks [inspiration for many other fun + functional wall storage ideas] Tutorial by Jenna Burger Design www.jennaburger.com](https://www.jennaburger.com/wp-content/uploads/2015/01/181.jpg)
![DIY Tutorial: Honeycomb shaped wall hooks [inspiration for many other fun + functional wall storage ideas] Tutorial by Jenna Burger Design www.jennaburger.com](https://www.jennaburger.com/wp-content/uploads/2015/01/171.jpg)
![DIY Tutorial: Honeycomb shaped wall hooks [inspiration for many other fun + functional wall storage ideas] Tutorial by Jenna Burger Design www.jennaburger.com](https://www.jennaburger.com/wp-content/uploads/2015/01/161.jpg)
![DIY Tutorial: Honeycomb shaped wall hooks [inspiration for many other fun + functional wall storage ideas] Tutorial by Jenna Burger Design www.jennaburger.com](https://www.jennaburger.com/wp-content/uploads/2015/01/DIY_HexagonCoatRack.jpg)
![DIY Tutorial: Honeycomb shaped wall hooks [inspiration for many other fun + functional wall storage ideas] Tutorial by Jenna Burger Design www.jennaburger.com](https://www.jennaburger.com/wp-content/uploads/2015/01/151.jpg)
![DIY Tutorial: Honeycomb shaped wall hooks [inspiration for many other fun + functional wall storage ideas] Tutorial by Jenna Burger Design www.jennaburger.com](https://www.jennaburger.com/wp-content/uploads/2015/01/102.jpg)
![DIY Tutorial: Honeycomb shaped wall hooks [inspiration for many other fun + functional wall storage ideas] Tutorial by Jenna Burger Design www.jennaburger.com](https://www.jennaburger.com/wp-content/uploads/2015/01/121.jpg)
![DIY Tutorial: Honeycomb shaped wall hooks [inspiration for many other fun + functional wall storage ideas] Tutorial by Jenna Burger Design www.jennaburger.com](https://www.jennaburger.com/wp-content/uploads/2015/01/132.jpg)
![DIY Tutorial: Honeycomb shaped wall hooks [inspiration for many other fun + functional wall storage ideas] Tutorial by Jenna Burger Design www.jennaburger.com](https://www.jennaburger.com/wp-content/uploads/2015/01/21a.jpg)
![DIY Tutorial: Honeycomb shaped wall hooks [inspiration for many other fun + functional wall storage ideas] Tutorial by Jenna Burger Design www.jennaburger.com](https://www.jennaburger.com/wp-content/uploads/2015/01/3a.jpg)
![DIY Tutorial: Honeycomb shaped wall hooks [inspiration for many other fun + functional wall storage ideas] Tutorial by Jenna Burger Design www.jennaburger.com](https://www.jennaburger.com/wp-content/uploads/2015/01/9a.jpg)
![DIY Tutorial: Honeycomb shaped wall hooks [inspiration for many other fun + functional wall storage ideas] Tutorial by Jenna Burger Design www.jennaburger.com](https://jb.spacityhosting.com/wp-content/uploads/2015/01/110.jpg)
![DIY Tutorial: Honeycomb shaped wall hooks [inspiration for many other fun + functional wall storage ideas] Tutorial by Jenna Burger Design www.jennaburger.com](https://www.jennaburger.com/wp-content/uploads/2015/01/7a.jpg)
![DIY Tutorial: Honeycomb shaped wall hooks [inspiration for many other fun + functional wall storage ideas] Tutorial by Jenna Burger Design www.jennaburger.com](https://www.jennaburger.com/wp-content/uploads/2015/01/6a1.jpg)
![DIY Tutorial: Honeycomb shaped wall hooks [inspiration for many other fun + functional wall storage ideas] Tutorial by Jenna Burger Design www.jennaburger.com](https://www.jennaburger.com/wp-content/uploads/2015/01/before-after.jpg)

![DIY Tutorial: Honeycomb shaped wall hooks [inspiration for many other fun + functional wall storage ideas] Tutorial by Jenna Burger Design www.jennaburger.com](https://www.jennaburger.com/wp-content/uploads/2015/01/overall-collage.jpg)


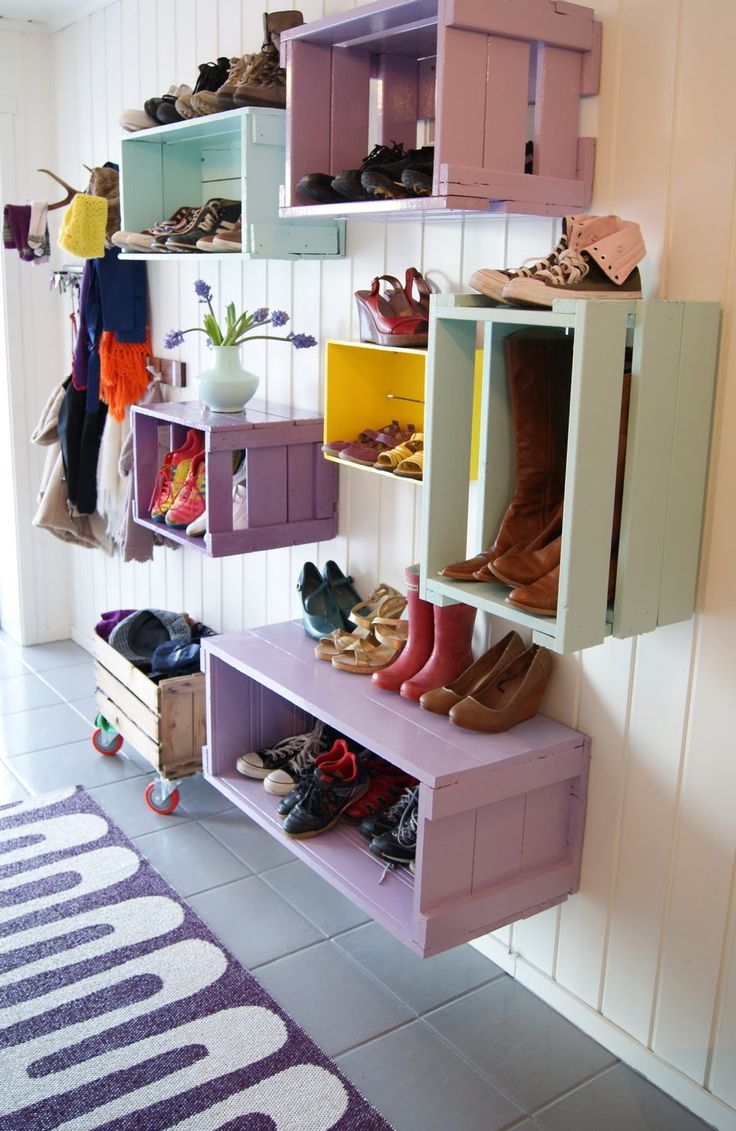
![Get Organized! For an easy entry upgrade, add built-in coat hooks and wooden crates [easy do it yourself project] www.jennaburger.com](https://www.jennaburger.com/wp-content/uploads/2015/01/13.jpg)